
Enjoy the benefits of a premium membership!
Upgrade Account
-
TalkBass has been independent since 1998. Add your voice.
Create a free account to reply to discussions, view embedded media, and browse with fewer display ads.
Join free Log in
Want zero display ads or expanded classifieds tools? Compare plans.
You are using an out of date browser. It may not display this or other websites correctly.
You should upgrade or use an alternative browser.
You should upgrade or use an alternative browser.
More options
Who Replied?
Dude, it looks great! I love the rustic Trans Black look! Coming along nicely, well done!
Thanks so much! I am definitely digging the "rustic" aspect of things. I had originally planned to try and make it as clean and proper of a refinish as I could, but the roughness certainly has a charm.
I'm so tempted to say "hell with it" and put it together now just to hear how it sounds, but I'm doing my best to exercise patience. I still need shielding tape for the body cavity, and to order some strings- so I'm several days away from being finished at best. I think I'll place my order for strap buttons, shielding tape, and maybe some heat shrink tubing (just to keep the body cavity clean) tonight.


Fun thread. I do a lot of builds. It is very addictive and rewarding. Can't wait to see the finished result.
Fun thread. I do a lot of builds. It is very addictive and rewarding. Can't wait to see the finished result.
Me neither! I just want to see the thing completed and hear how these pickups sound together. I wasn’t particularly floored when I tinkered with some PJ’s at a local shop so I’m not expecting anything groundbreaking, but I’m excited nonetheless.
I’m a bit concerned that I put on the polycrylic too thick- it’s been several days since I did the first bout of coats (albeit several damp days) and the finish is still a bit soft- to the extent that I can put a nick in it using my fingernail with some fervor.
I’d like to try and sand/apply the final coats this weekend so I can let it harden/cure for a couple weeks before polishing/buffing, but I’m not supremely confident it’ll harden by Saturday. We shall see!
In other news: I just received the shielding tape/strings/strap buttons, bringing an official close to parts purchasing for this build. All that’s left is finishing the body. The strap button screws seem awfully short so I’ll probably swap for longer ones:
Happy Friday All! Quick Update:
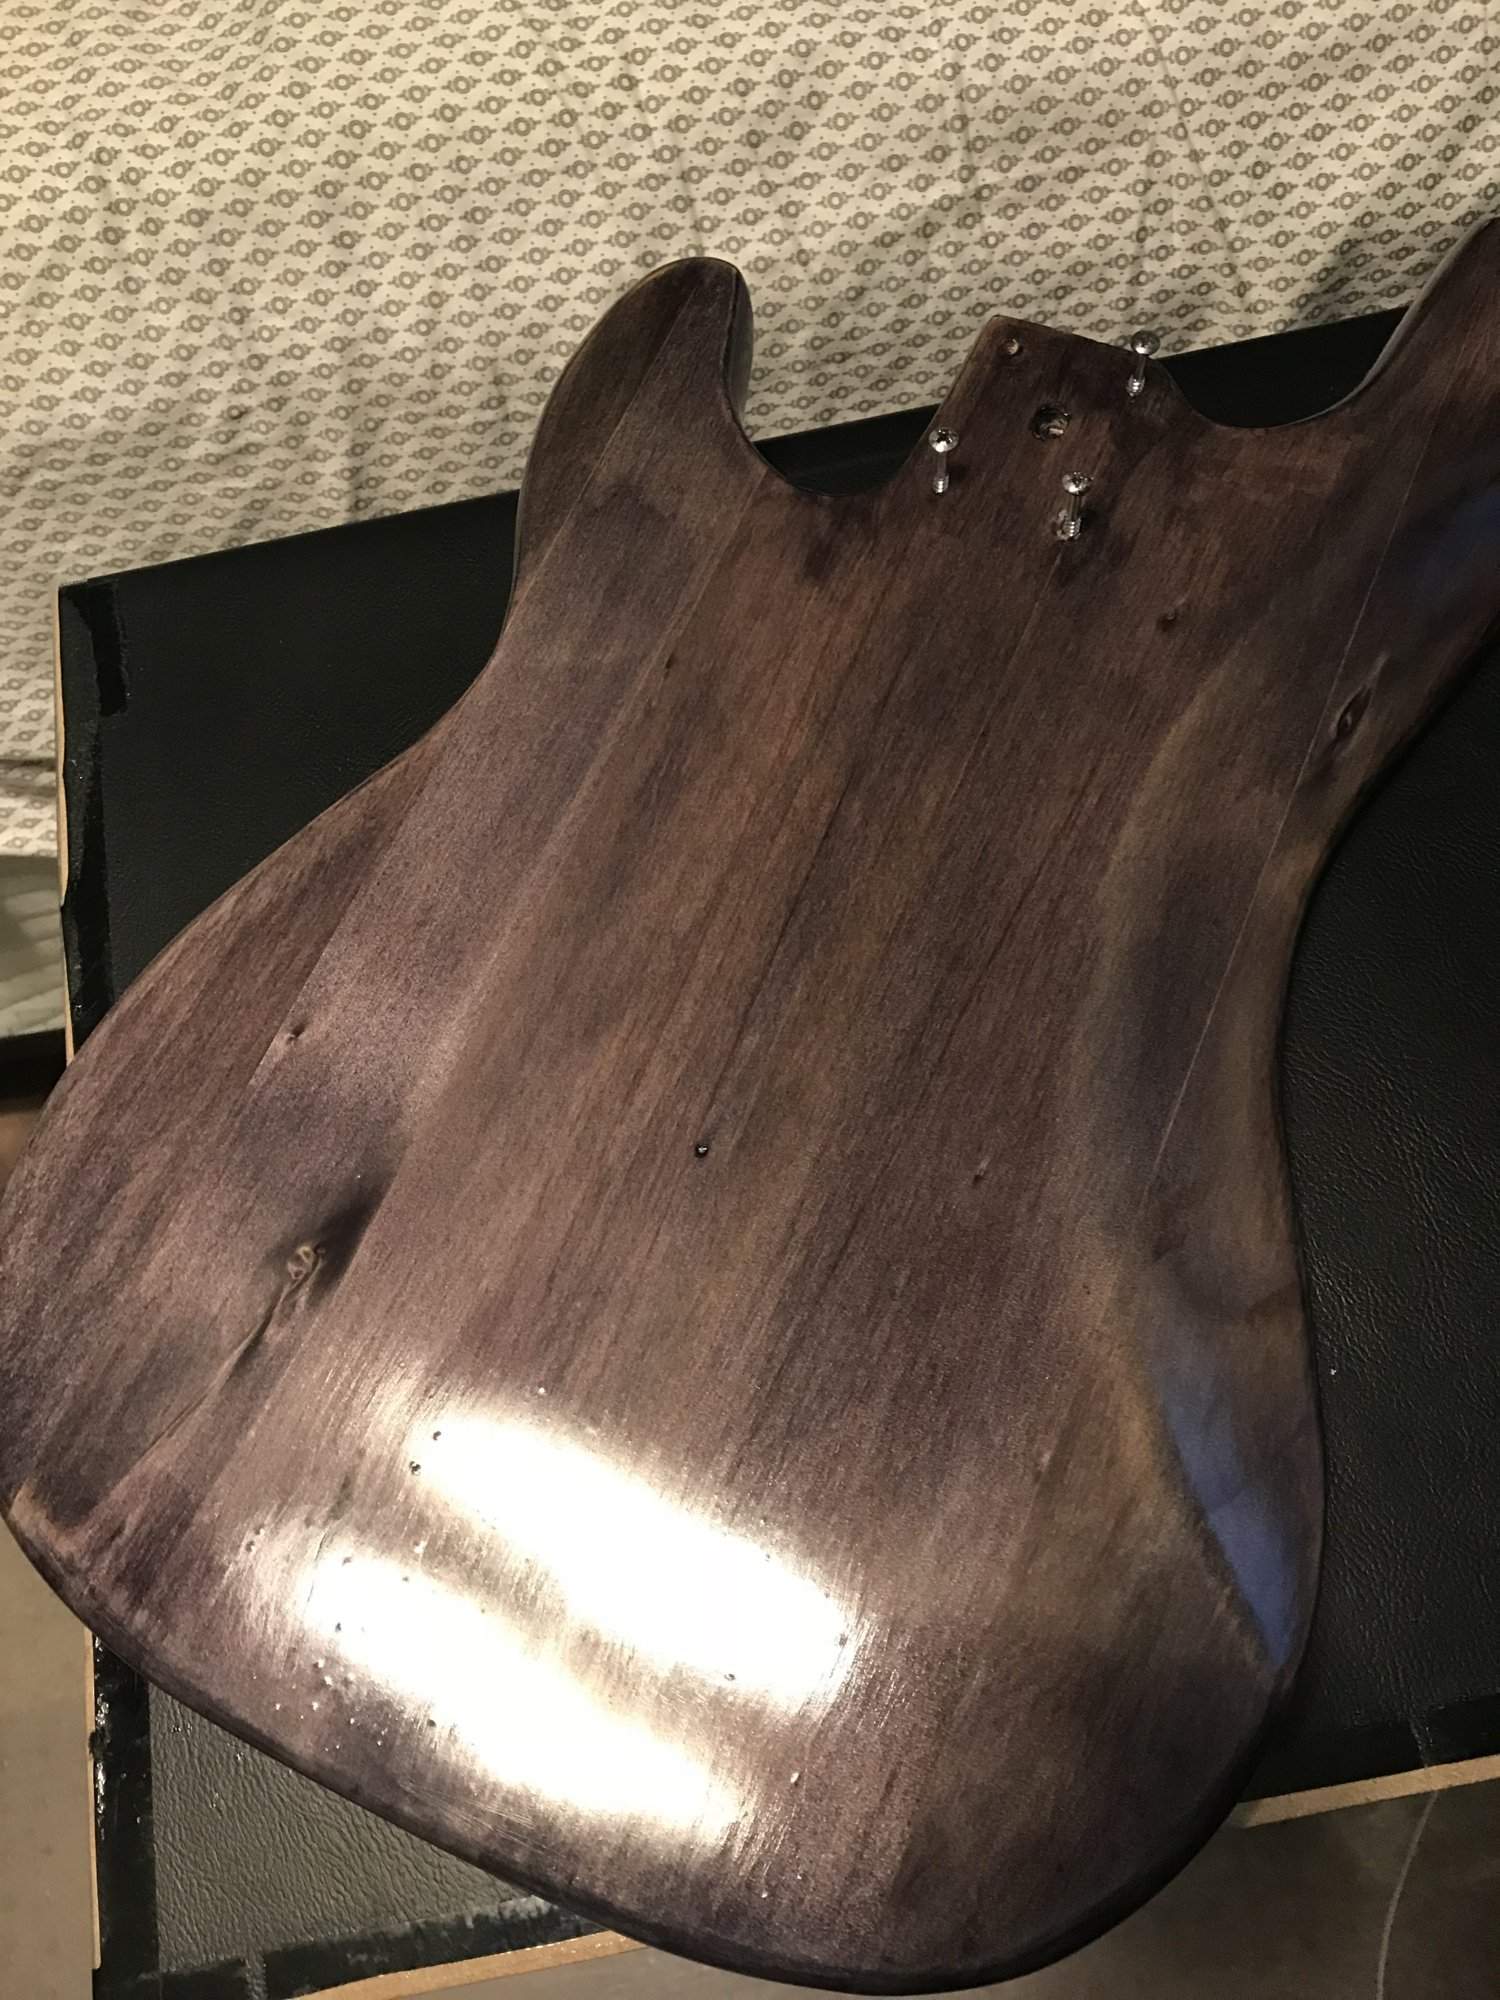
I decided to go ahead and get started sanding the body back down to 320 after laying on too many layers of the polycyclic, too thick. You could see innumerable imperfections and specs/bubbles/brush marks, which had me a little apprehensive about how the sanding would go.
However with a little care and elbow grease, I've gotten about 90% of the sanding down. You can still see several streaks of gloss left among the sea of purple hued satin-y texture, but nothing that another half hour of focused and light sanding can't handle. I started with a block, but I just don't trust my ability to apply even pressure across the entirety of the surface so I audibled and hand sanded the whole thing.
At the outset of the project I was hoping to achieve as close to a mirror finish as possible. Given that this is the first time I'm really doing a somewhat legitimate refinish, I wasn't setting my heart on it. But after seeing how smooth the body is and how adequately I appear to have coated it during the first round, I think I might actually be able to pull this off! I'll need to be WAY more careful about drying the brush before diving into a new coat though.
Here are some pictures trying to capture the glossy bits:
Down toward the bridge end you can see some (and by the neck plate area):
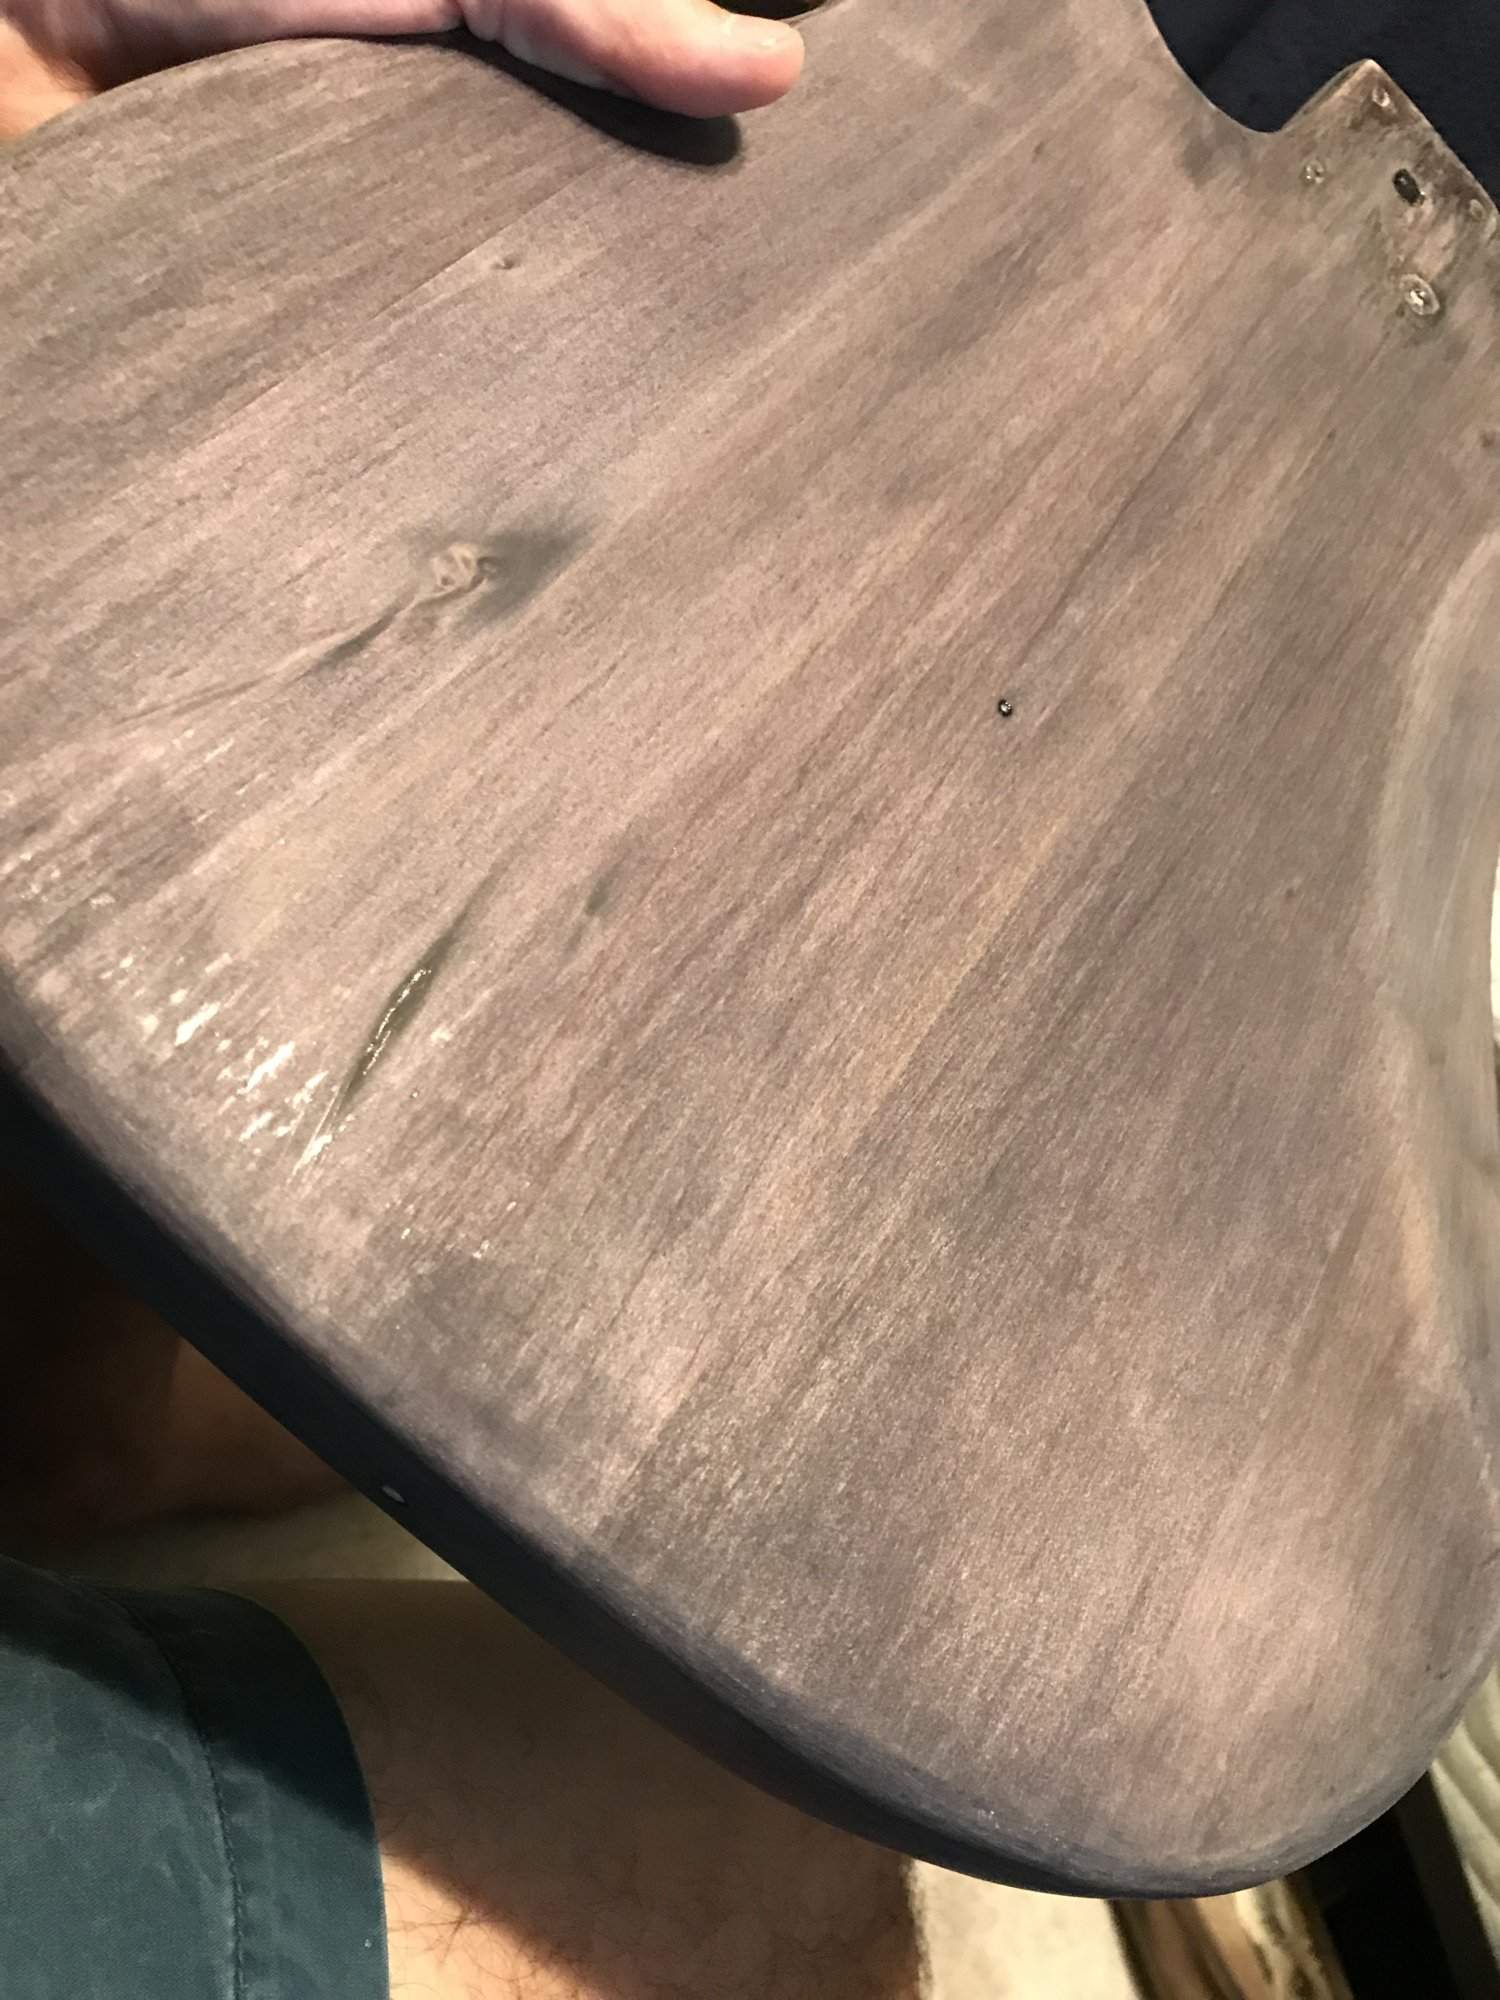
Close up of neck plate area. Very sloppy up in this neck of the woods, and you can really see how much extra material I took off when sanding the wood at the top of the neck pocket; there's just enough meat there so the plate/bushing have a few mm to spare without hanging over the edge....
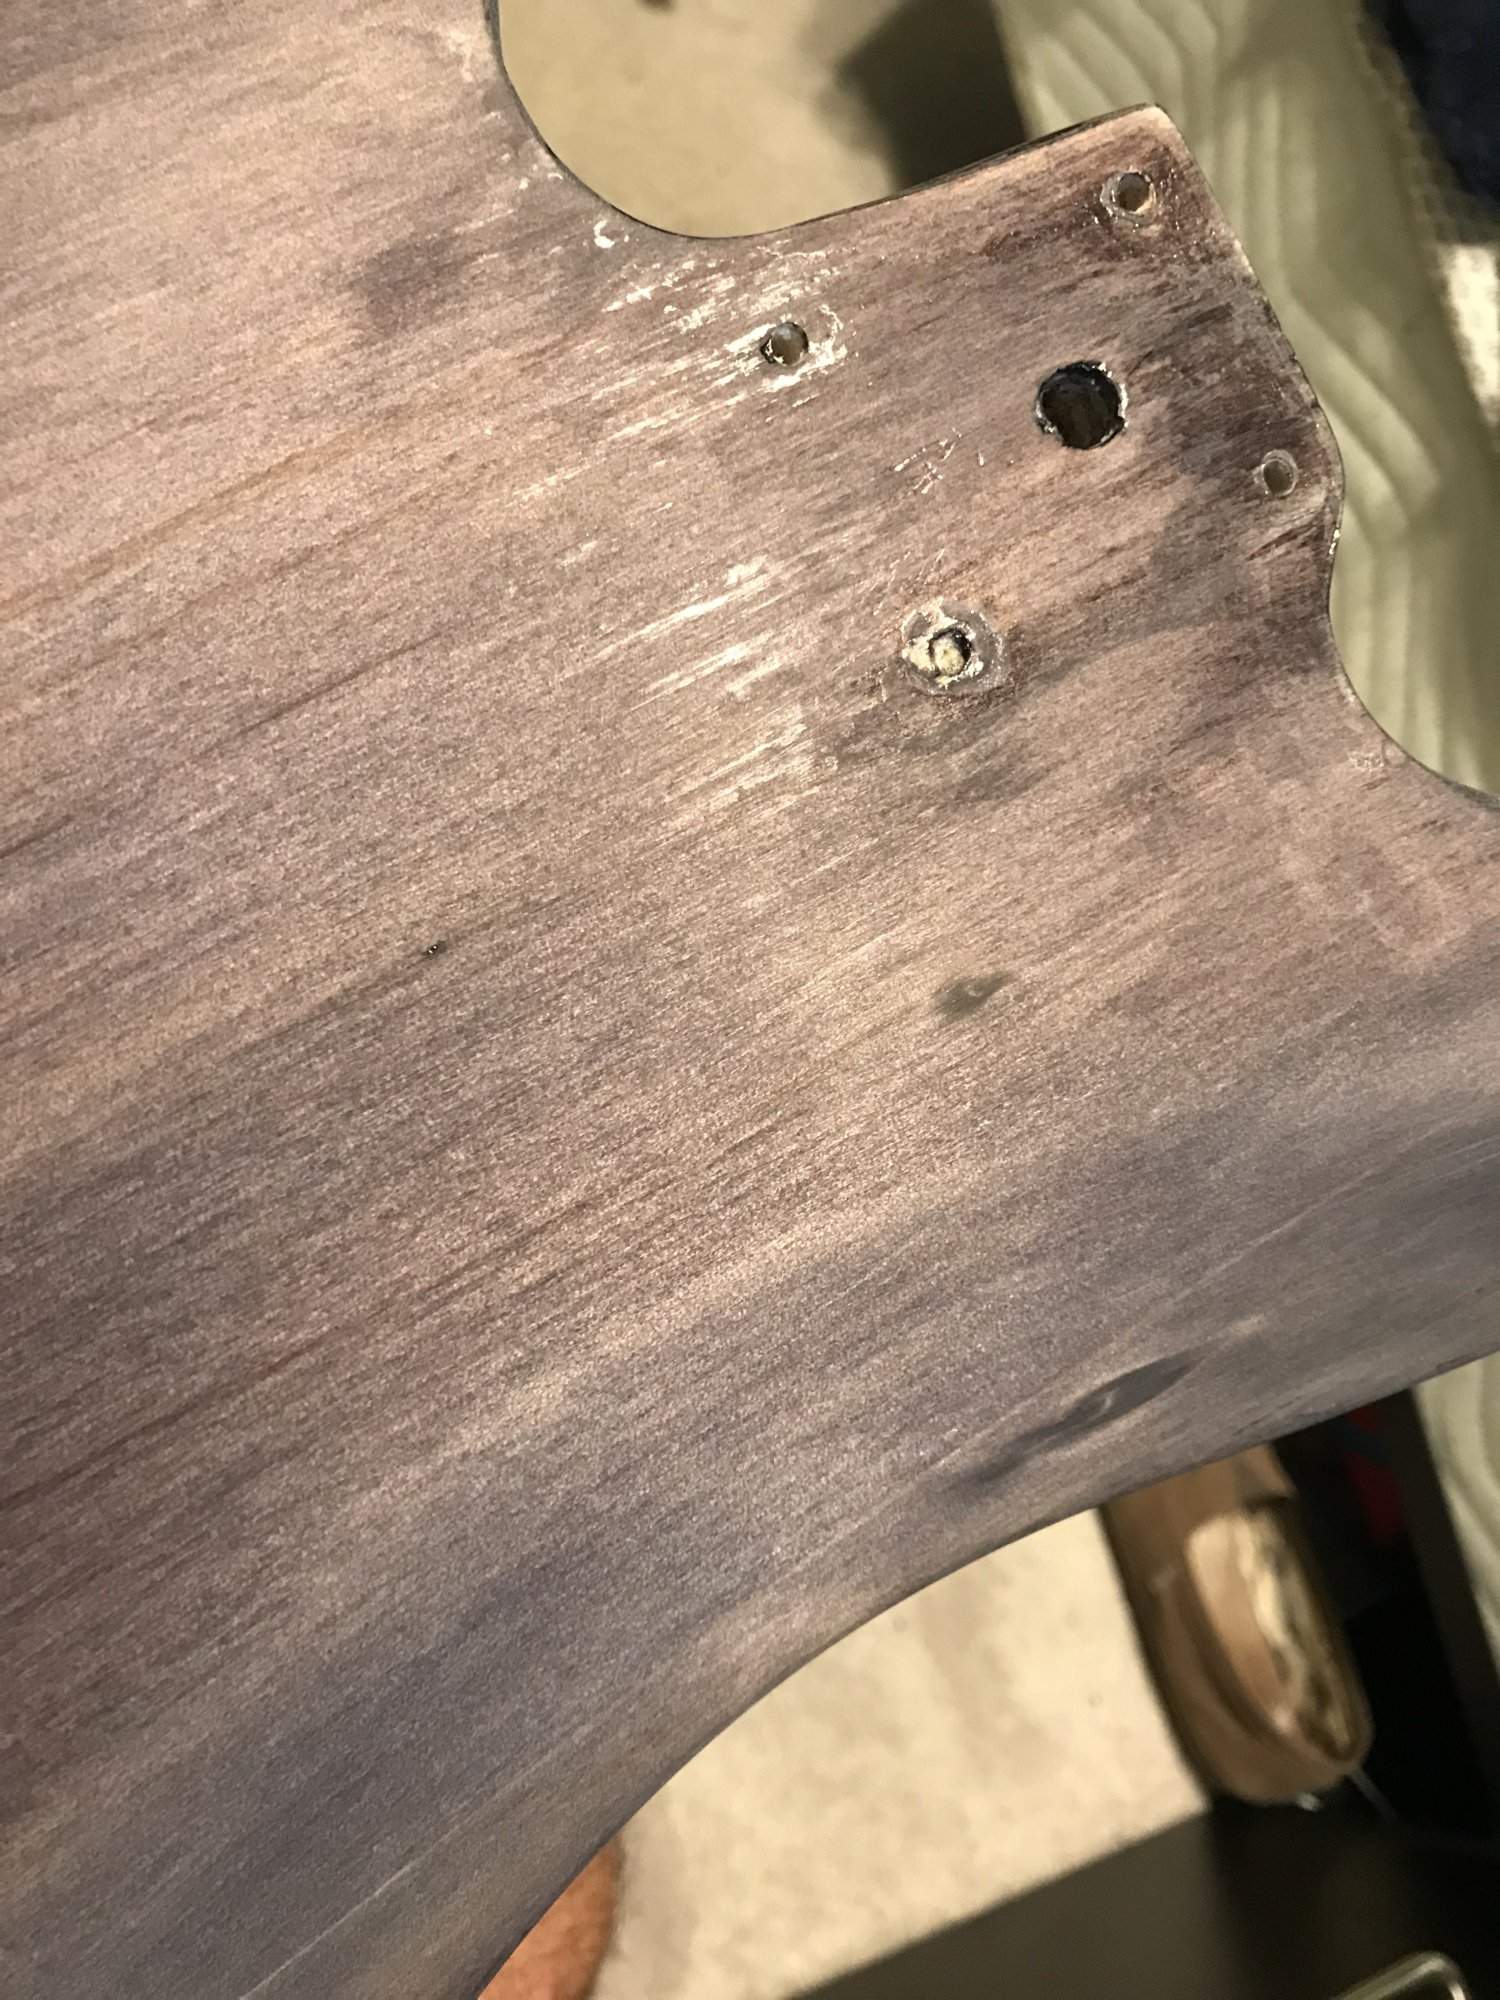
By the bass side of the p pickup of course:
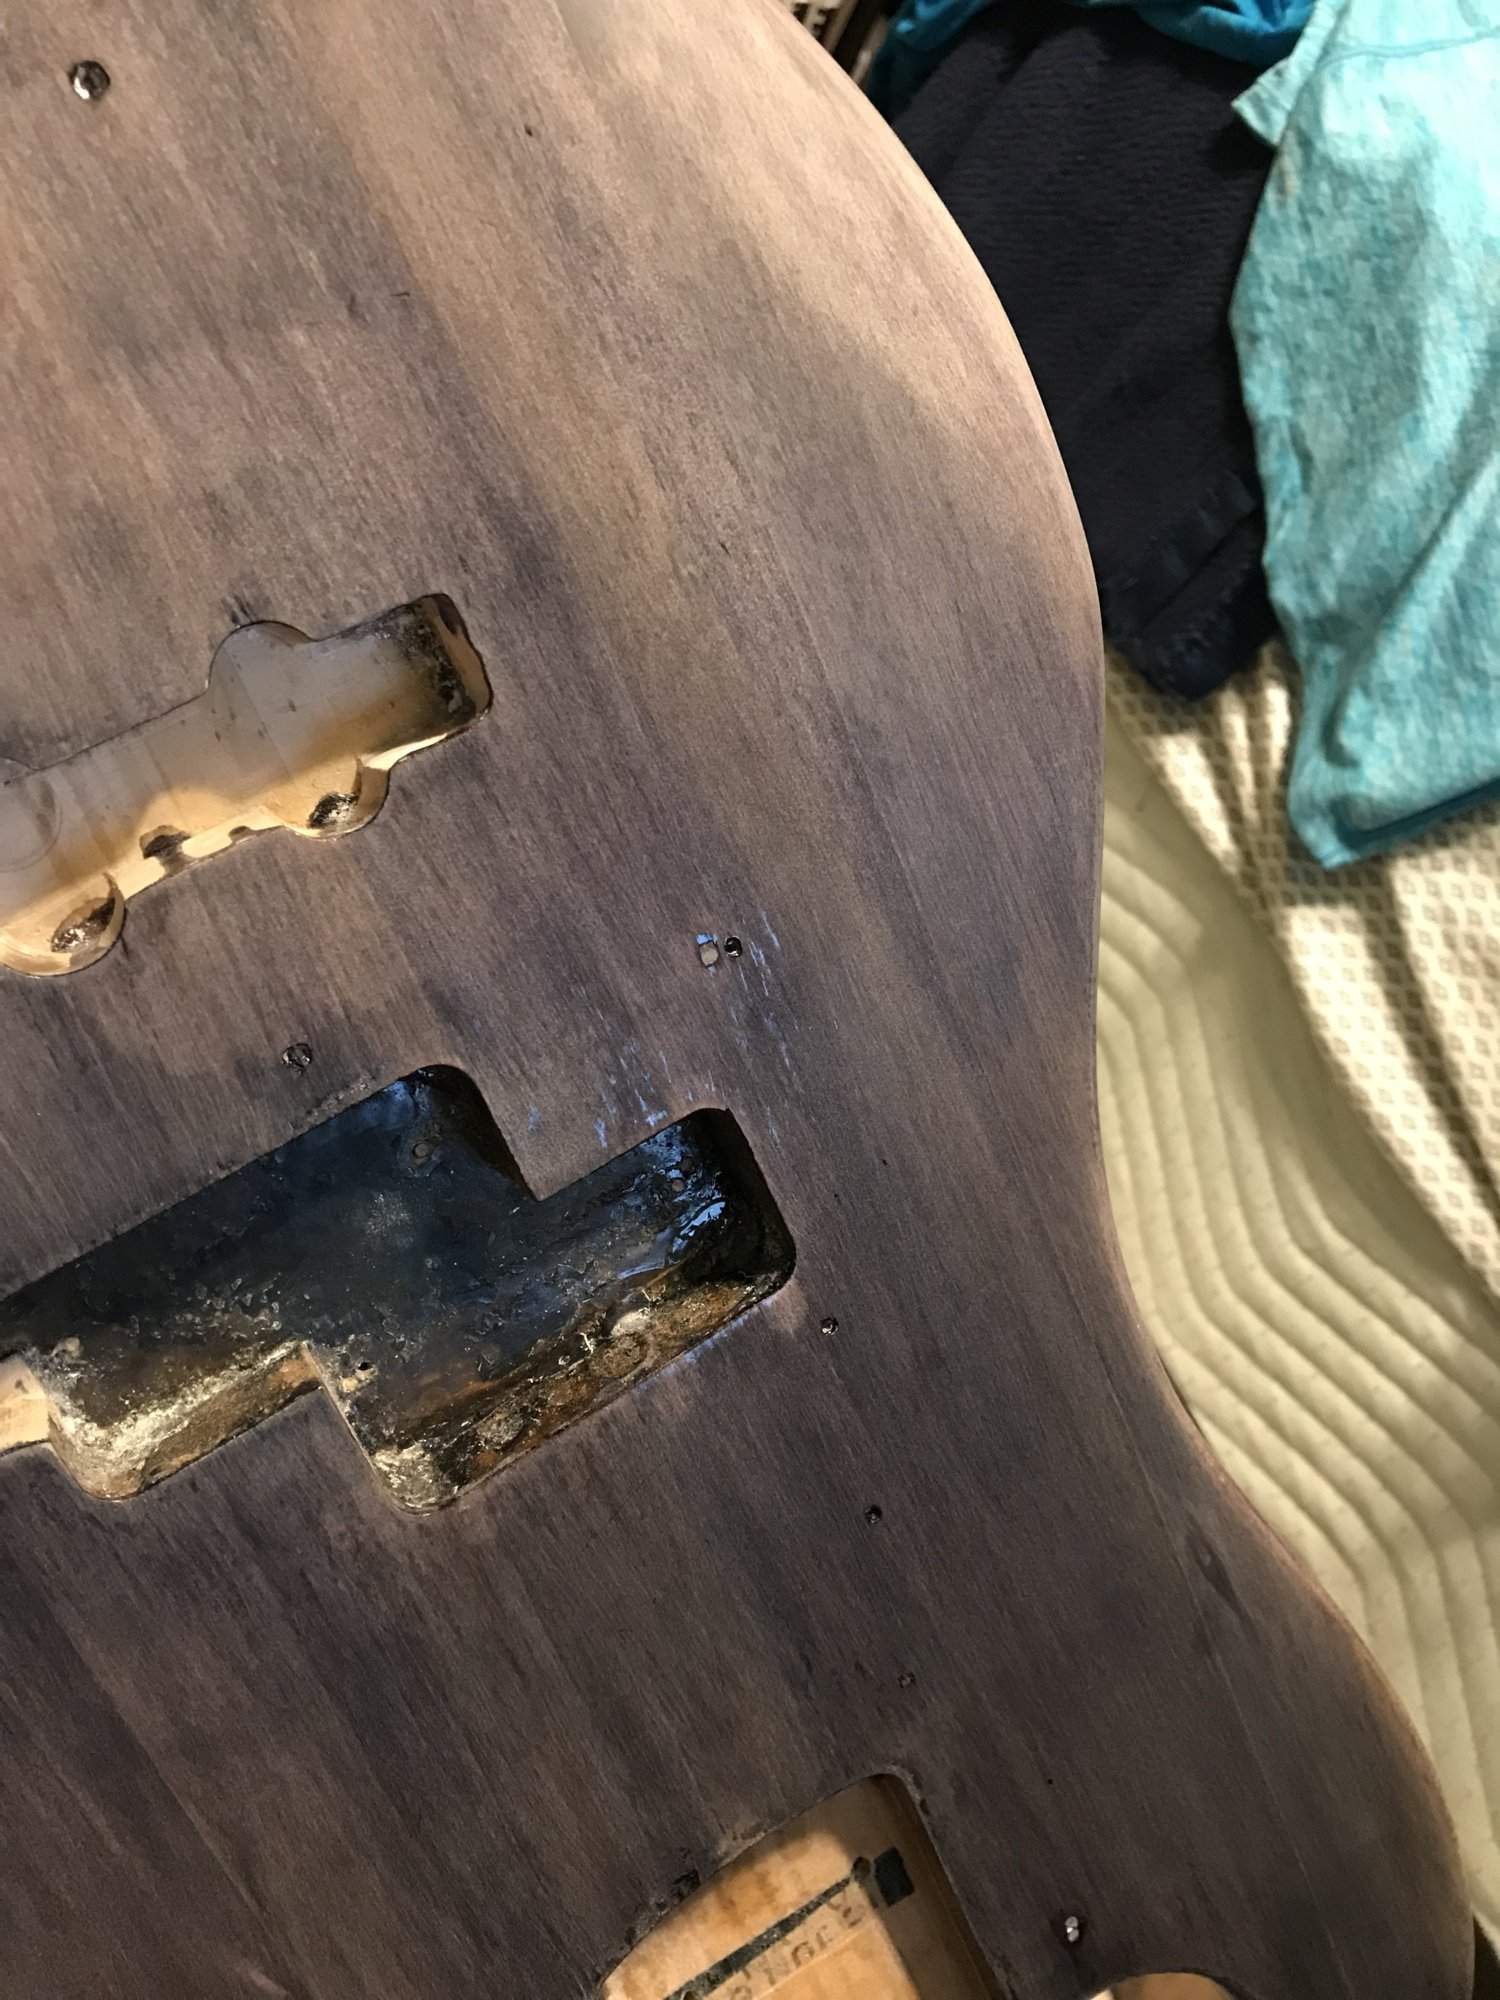
A few up by the forearm rest:
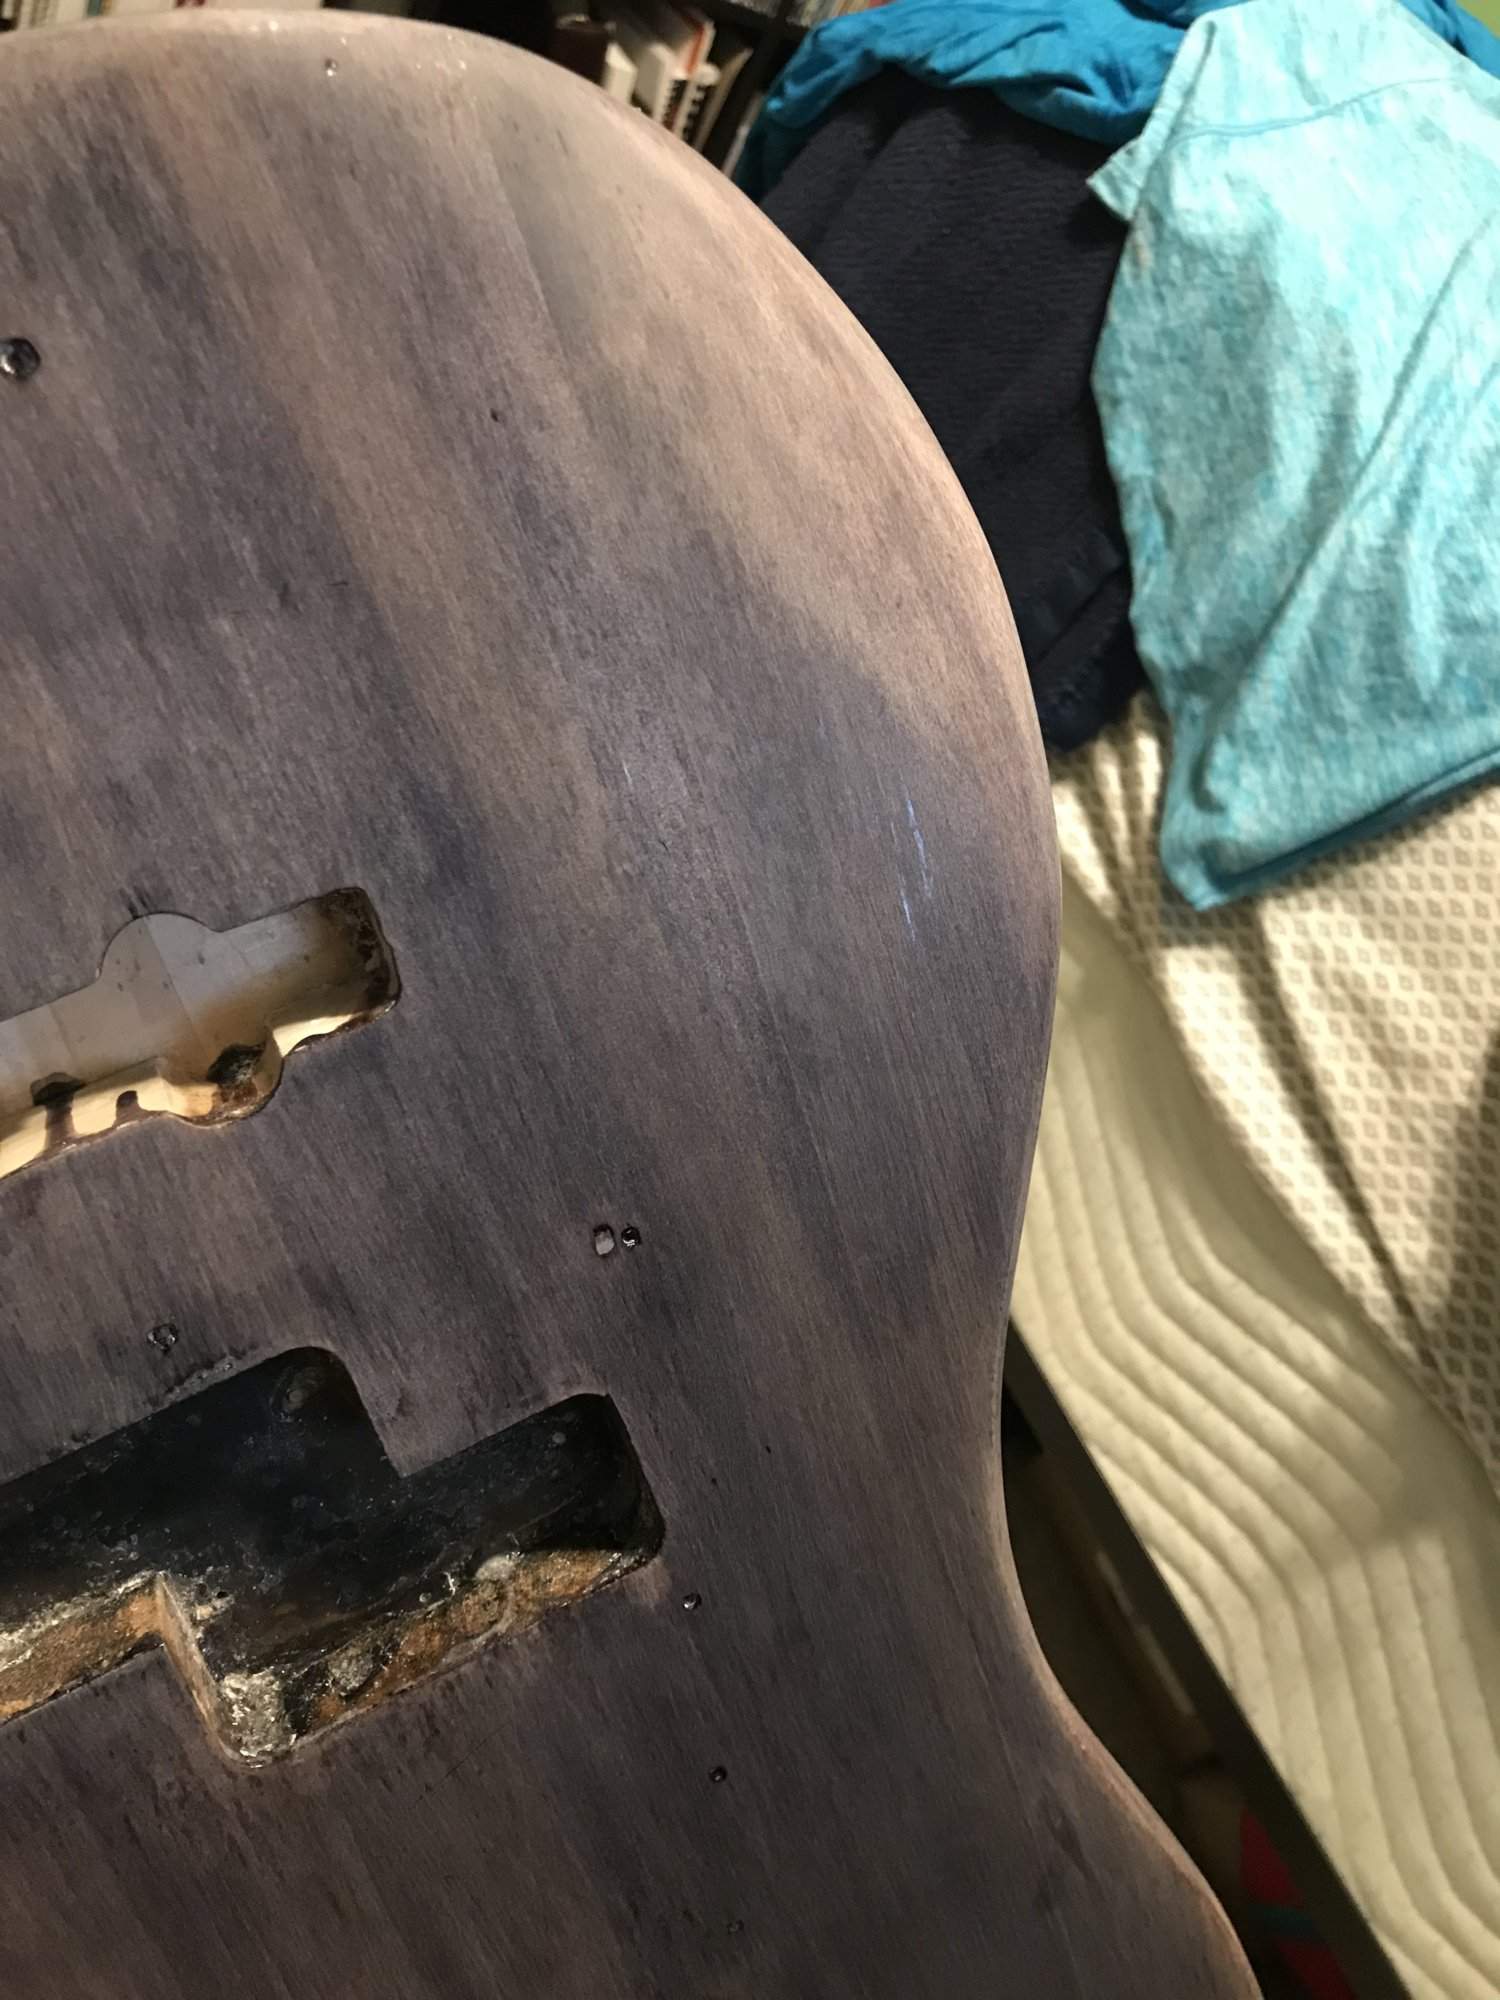
I'm thinking I'll cap off the rest of the sanding early tomorrow, and if I'm feeling ambitious maybe I'll start adding more coats. Part of me wants to let the thing dry for several more days before applying more coats because I could see the stuff was not totally dry- it started to gum up in a few spots while sanding. It's been pretty wet/cool/humid here since I started clearing so I'm not surprised.
Getting closer.....
I decided to go ahead and get started sanding the body back down to 320 after laying on too many layers of the polycyclic, too thick. You could see innumerable imperfections and specs/bubbles/brush marks, which had me a little apprehensive about how the sanding would go.
However with a little care and elbow grease, I've gotten about 90% of the sanding down. You can still see several streaks of gloss left among the sea of purple hued satin-y texture, but nothing that another half hour of focused and light sanding can't handle. I started with a block, but I just don't trust my ability to apply even pressure across the entirety of the surface so I audibled and hand sanded the whole thing.
At the outset of the project I was hoping to achieve as close to a mirror finish as possible. Given that this is the first time I'm really doing a somewhat legitimate refinish, I wasn't setting my heart on it. But after seeing how smooth the body is and how adequately I appear to have coated it during the first round, I think I might actually be able to pull this off! I'll need to be WAY more careful about drying the brush before diving into a new coat though.
Here are some pictures trying to capture the glossy bits:
Down toward the bridge end you can see some (and by the neck plate area):
Close up of neck plate area. Very sloppy up in this neck of the woods, and you can really see how much extra material I took off when sanding the wood at the top of the neck pocket; there's just enough meat there so the plate/bushing have a few mm to spare without hanging over the edge....
By the bass side of the p pickup of course:
A few up by the forearm rest:
I'm thinking I'll cap off the rest of the sanding early tomorrow, and if I'm feeling ambitious maybe I'll start adding more coats. Part of me wants to let the thing dry for several more days before applying more coats because I could see the stuff was not totally dry- it started to gum up in a few spots while sanding. It's been pretty wet/cool/humid here since I started clearing so I'm not surprised.
Getting closer.....
Another coat...
Adding a couple more tonight in the hopes of getting three total on tonight before letting it dry/Harden for several days before either sanding and adding more coats, or sanding to finish/polish. This application was way smoother than the first one, only a few handfuls of small specks/bubbles this time around. I missed a few tiny spots no larger than a couple millimeters so I'll have to be sure to get them on the next one.
PS- I almost bought an Aguilar HotP earlier today off TB to go with the Fender noiseless dual coil jazz pickup- It was a good deal but I kept from impulse buying it... I'm still not sure how happy I am about that
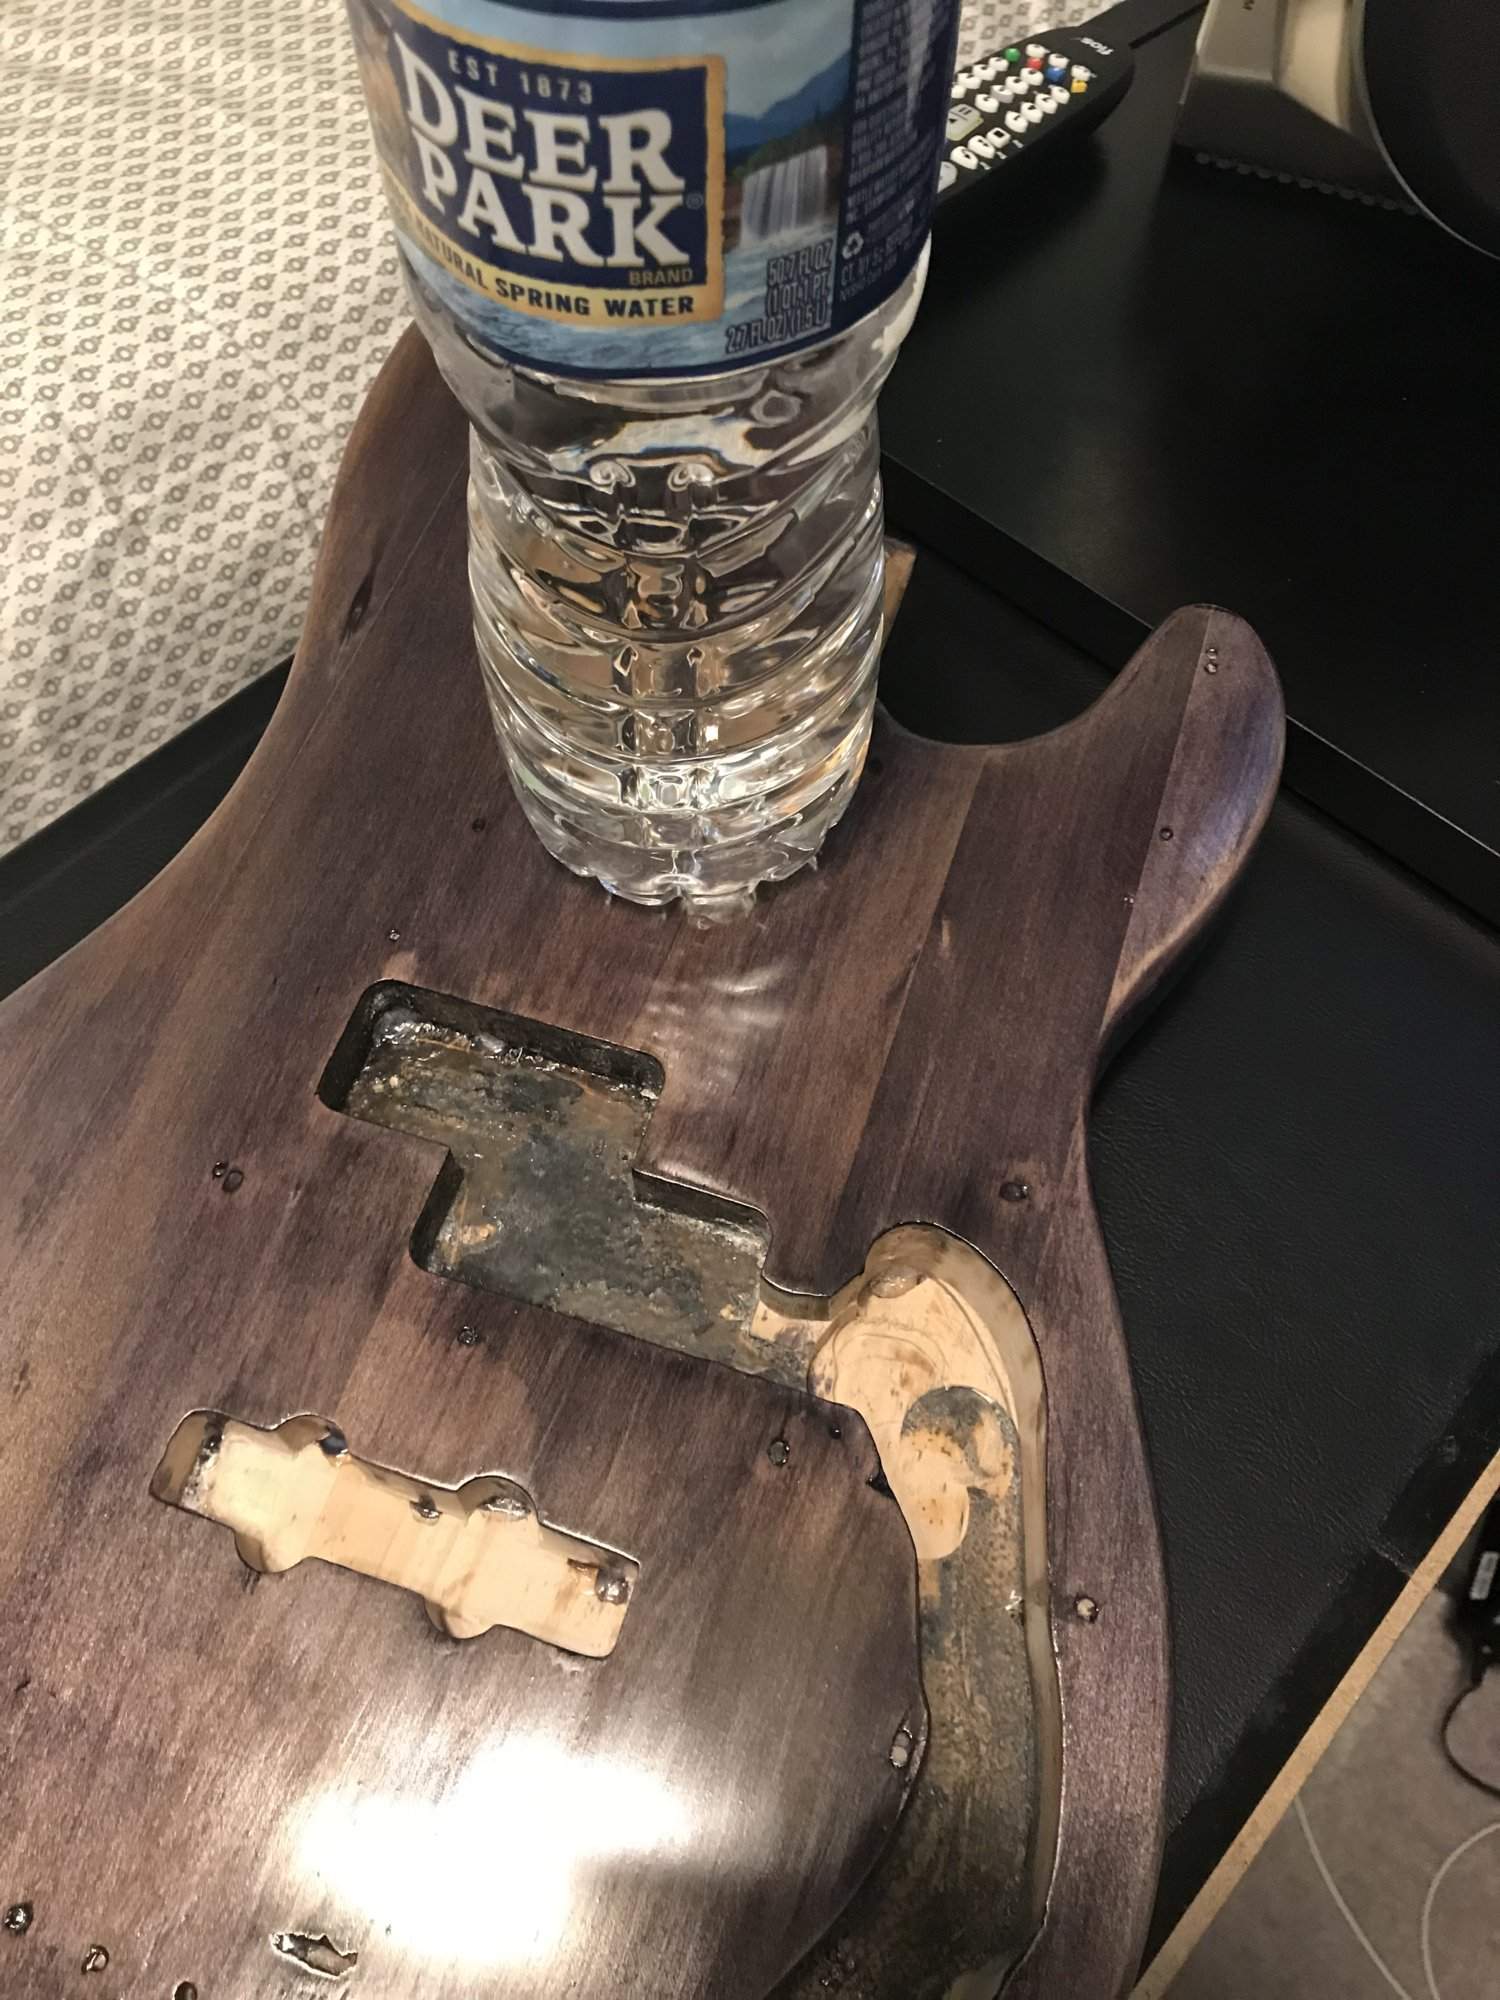
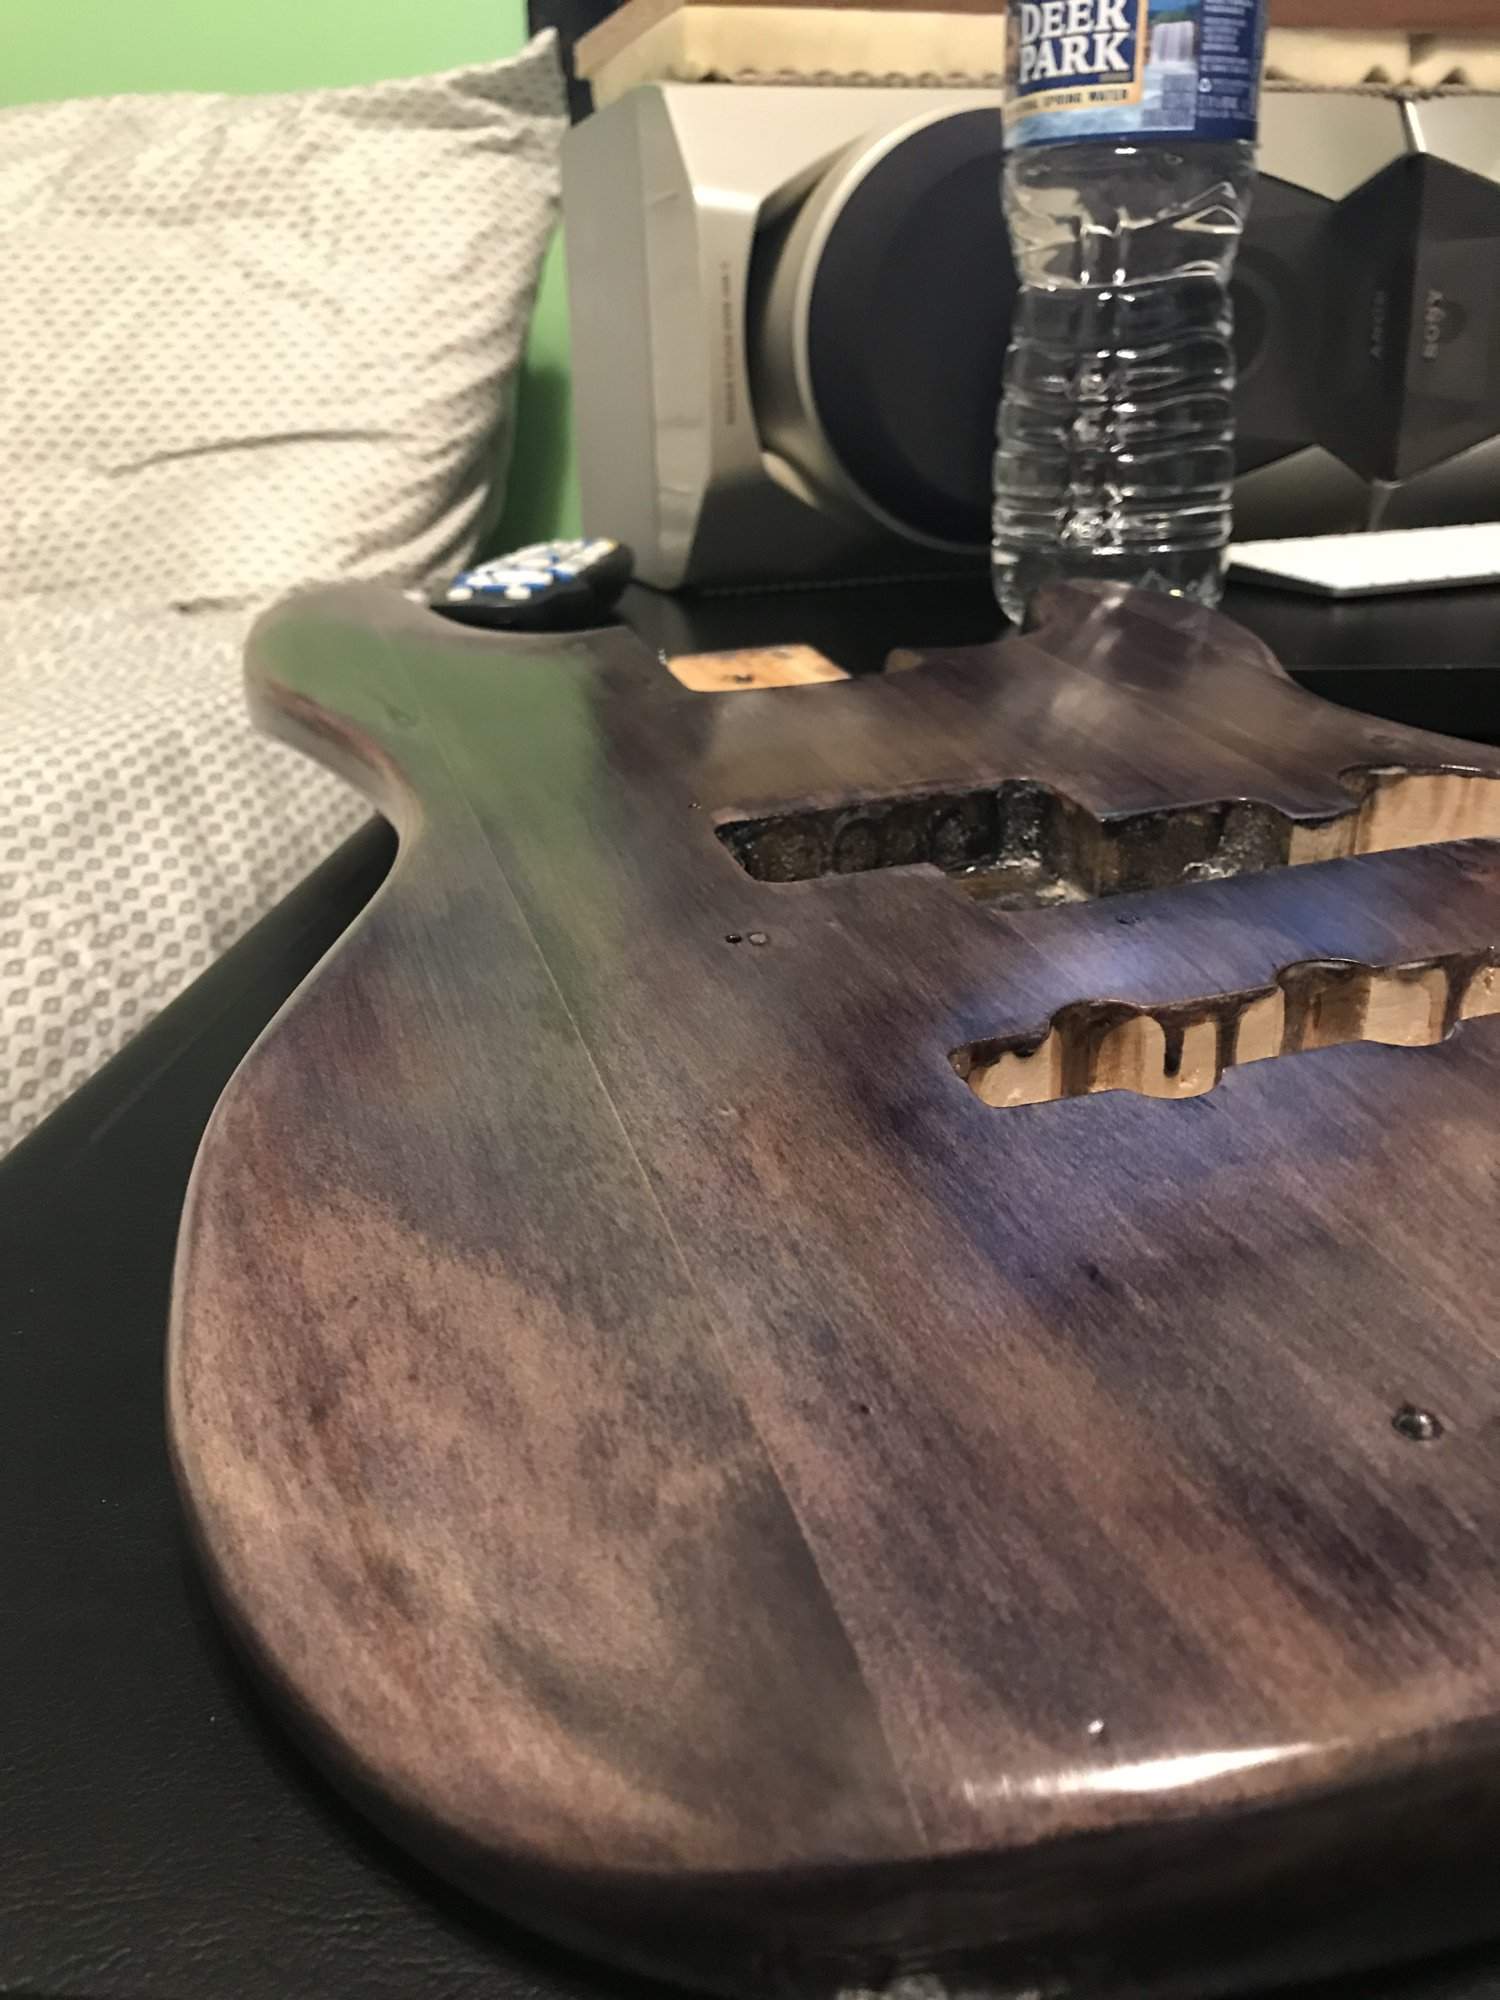
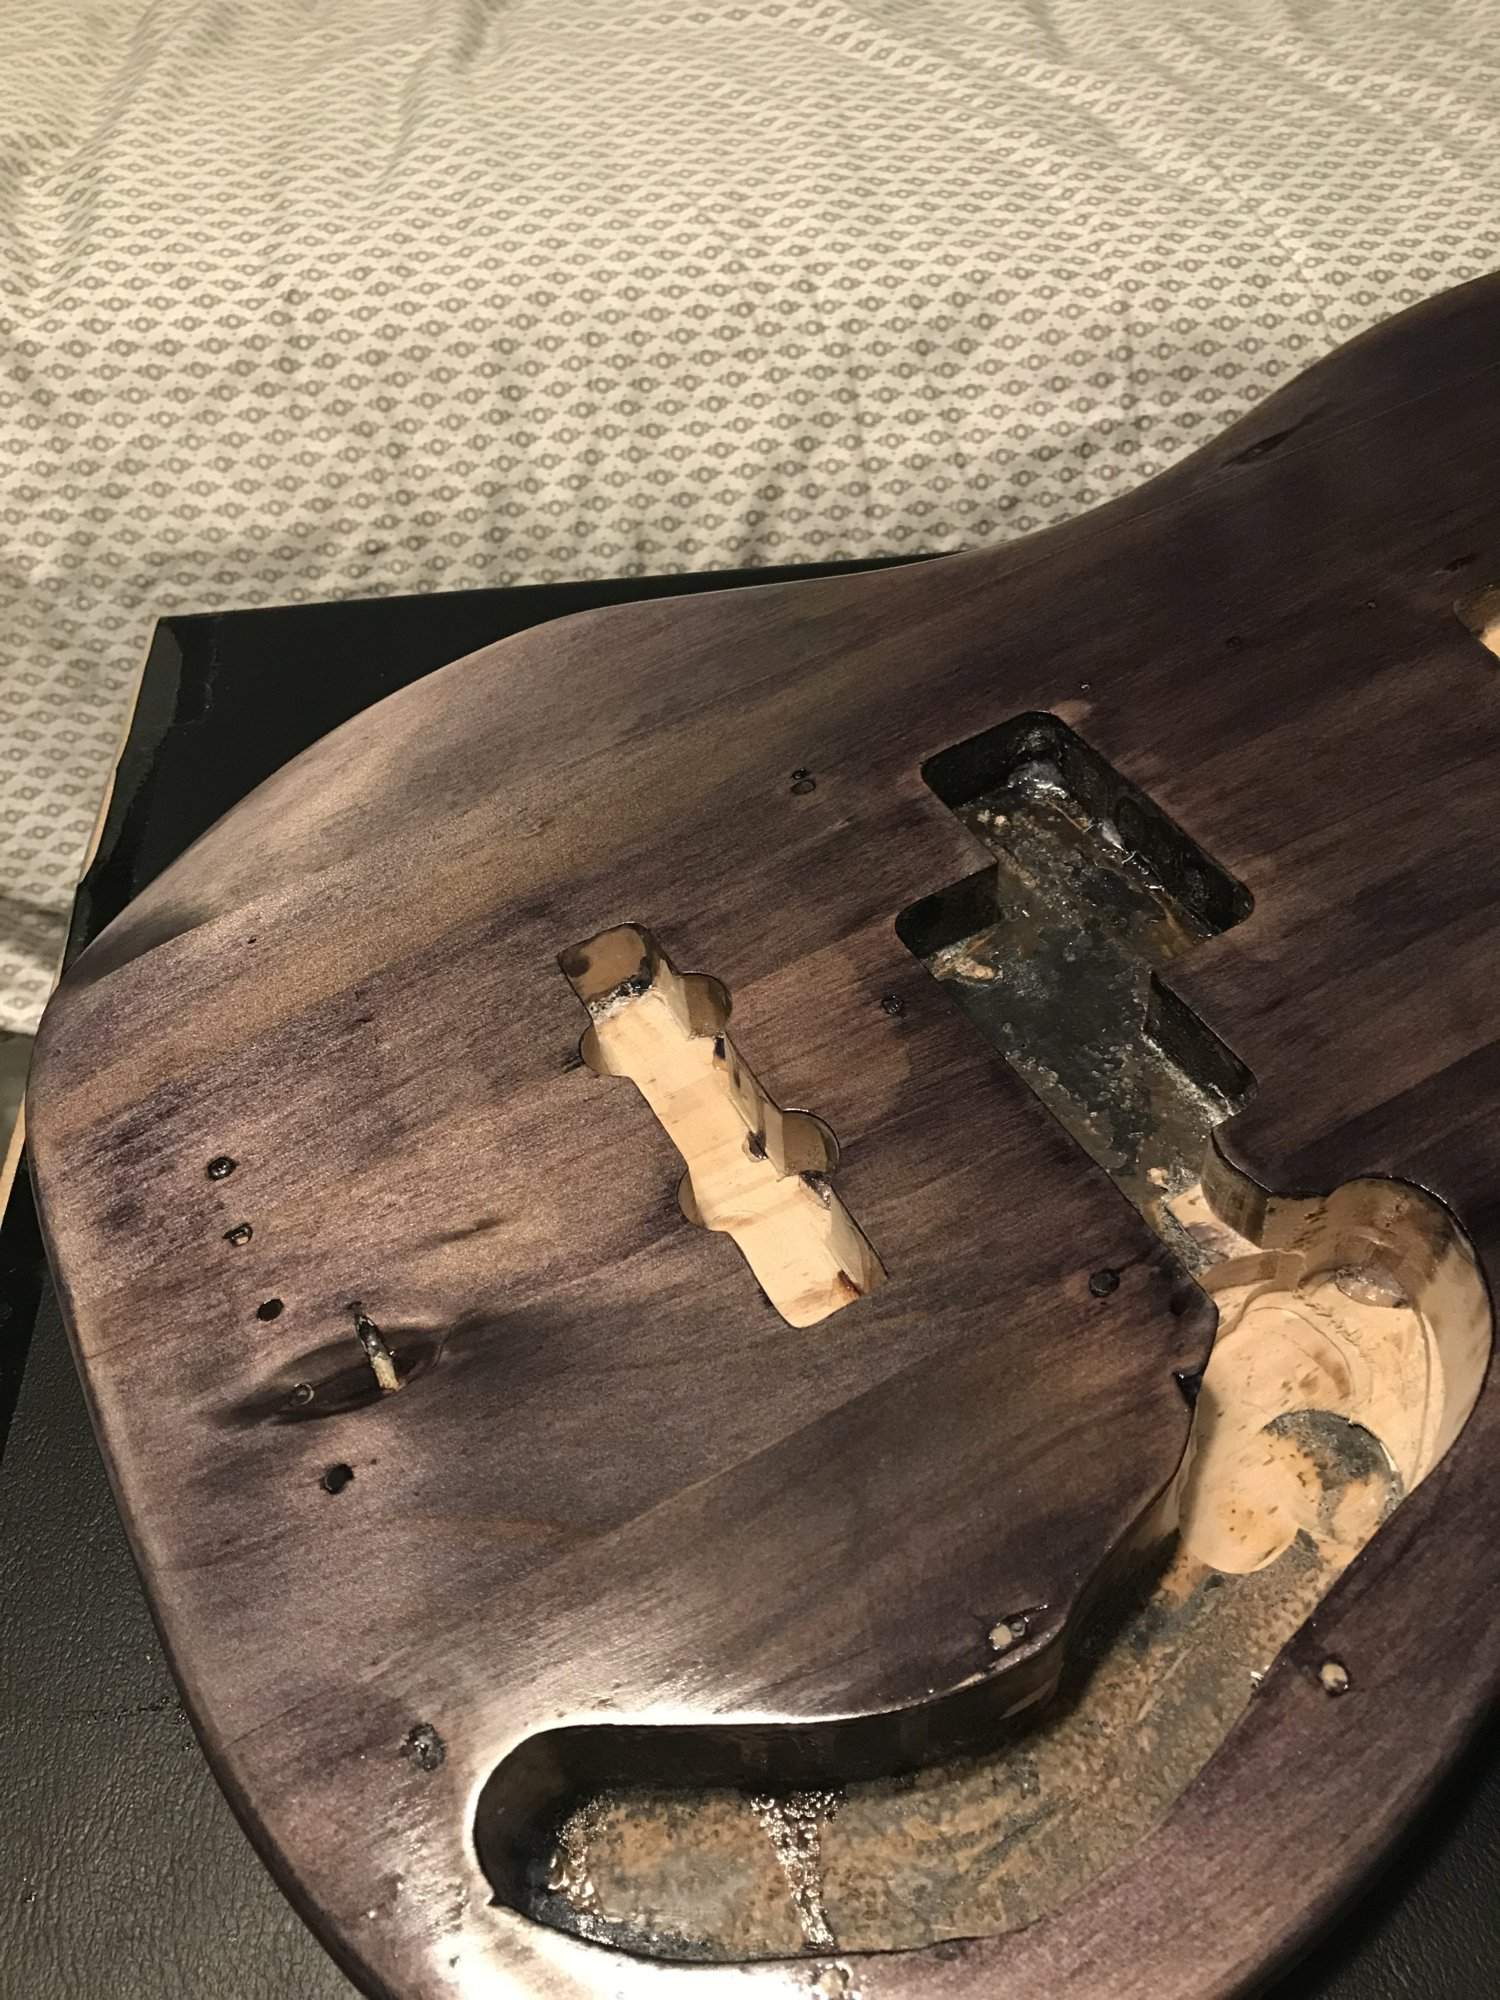
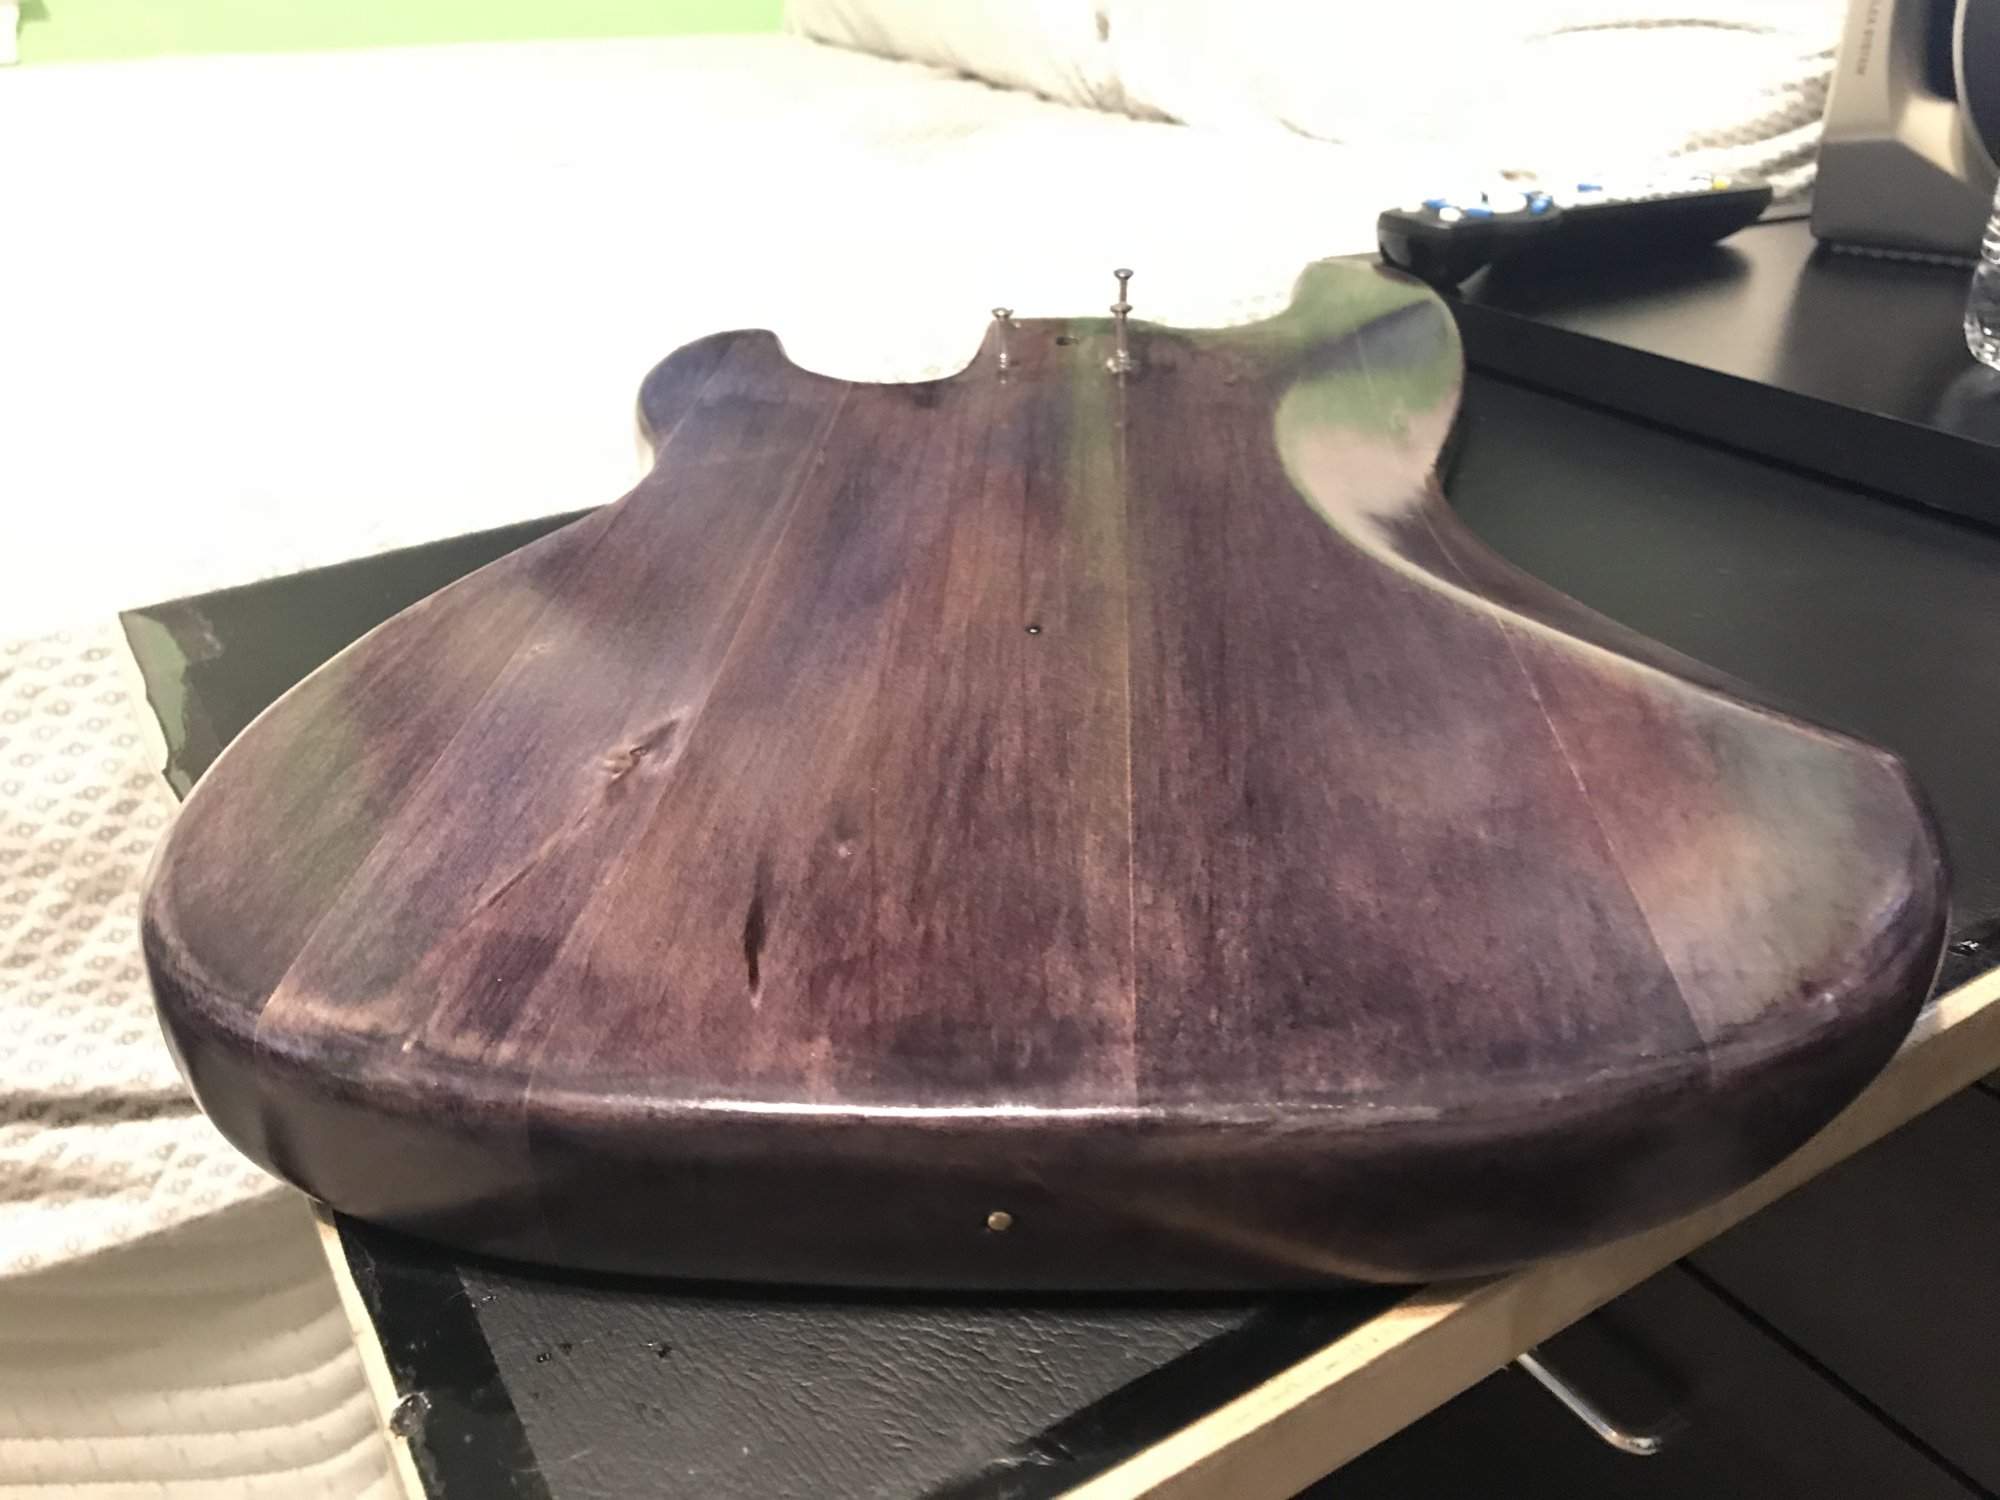
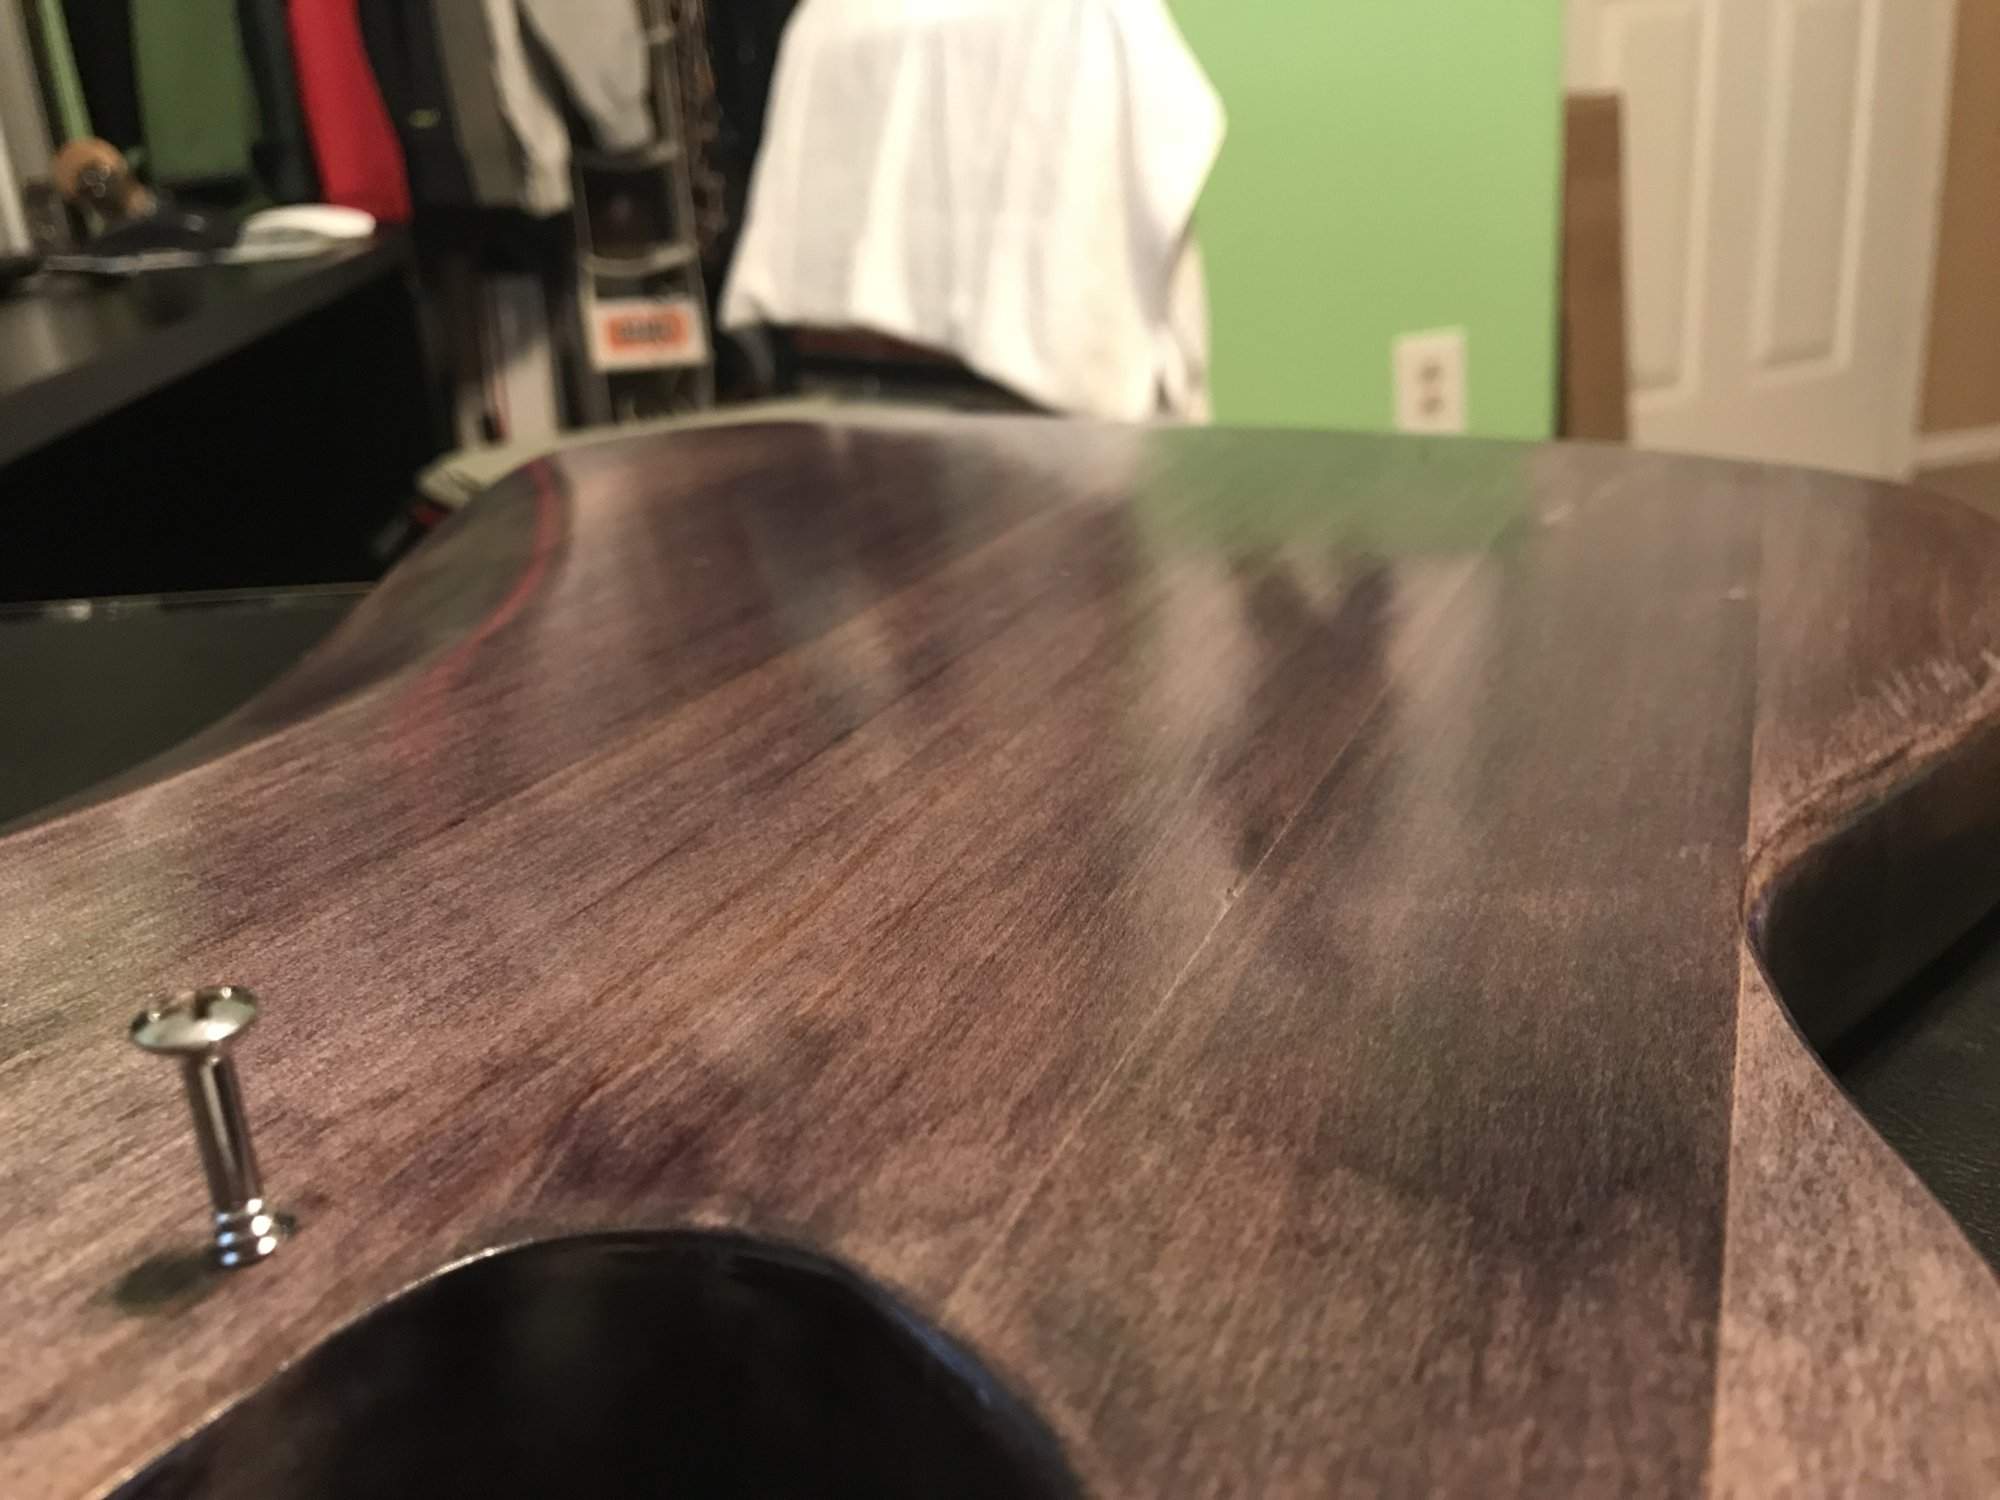
Adding a couple more tonight in the hopes of getting three total on tonight before letting it dry/Harden for several days before either sanding and adding more coats, or sanding to finish/polish. This application was way smoother than the first one, only a few handfuls of small specks/bubbles this time around. I missed a few tiny spots no larger than a couple millimeters so I'll have to be sure to get them on the next one.
PS- I almost bought an Aguilar HotP earlier today off TB to go with the Fender noiseless dual coil jazz pickup- It was a good deal but I kept from impulse buying it... I'm still not sure how happy I am about that

Coming out pretty nicely...
Much obliged!
After I added another coat, it looks even better. Way smoother and glassier looking:

Final coats were applied today
I called a random audible and ended up spraying the last coat ; I’m glad I did.
I watched a few videos earlier and it looks like all I have in my future is some sanding with 600/800/1000/1200, some polishing compound, and then finishing polish?

I called a random audible and ended up spraying the last coat
; I’m glad I did. I watched a few videos earlier and it looks like all I have in my future is some sanding with 600/800/1000/1200, some polishing compound, and then finishing polish?
Sneak peek!
No sanding yet after the last coats in these images. There is definitely some texture that will be knocked down in the final sanding but I’m optimistic, given how glossy and even it appears to be already.
The reflection is pretty clear as well drool
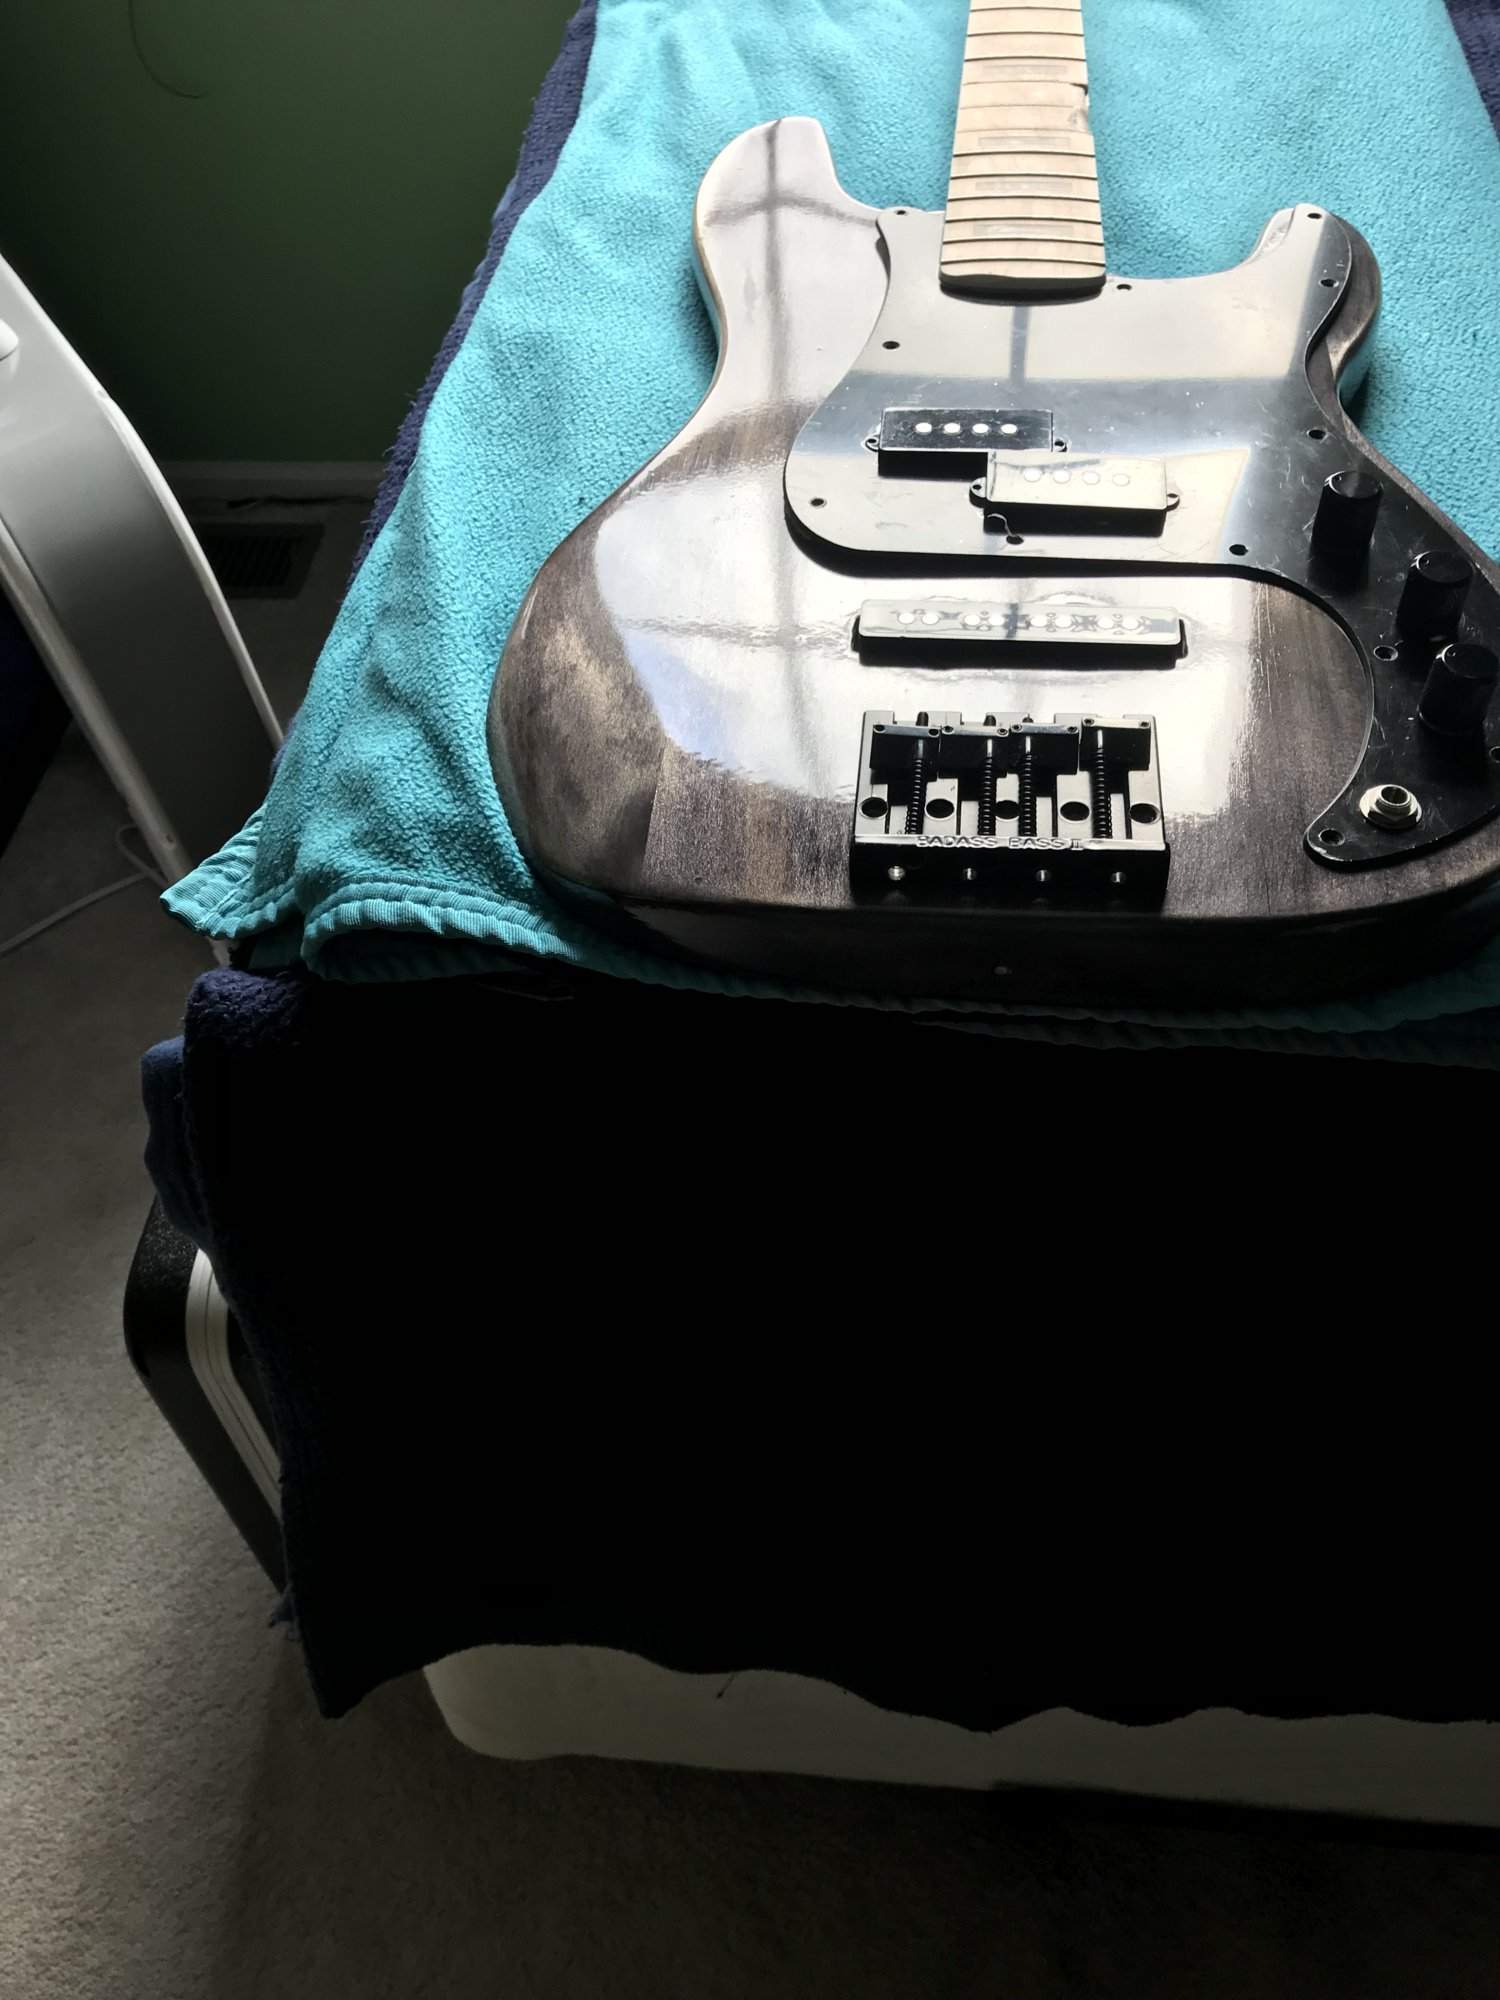
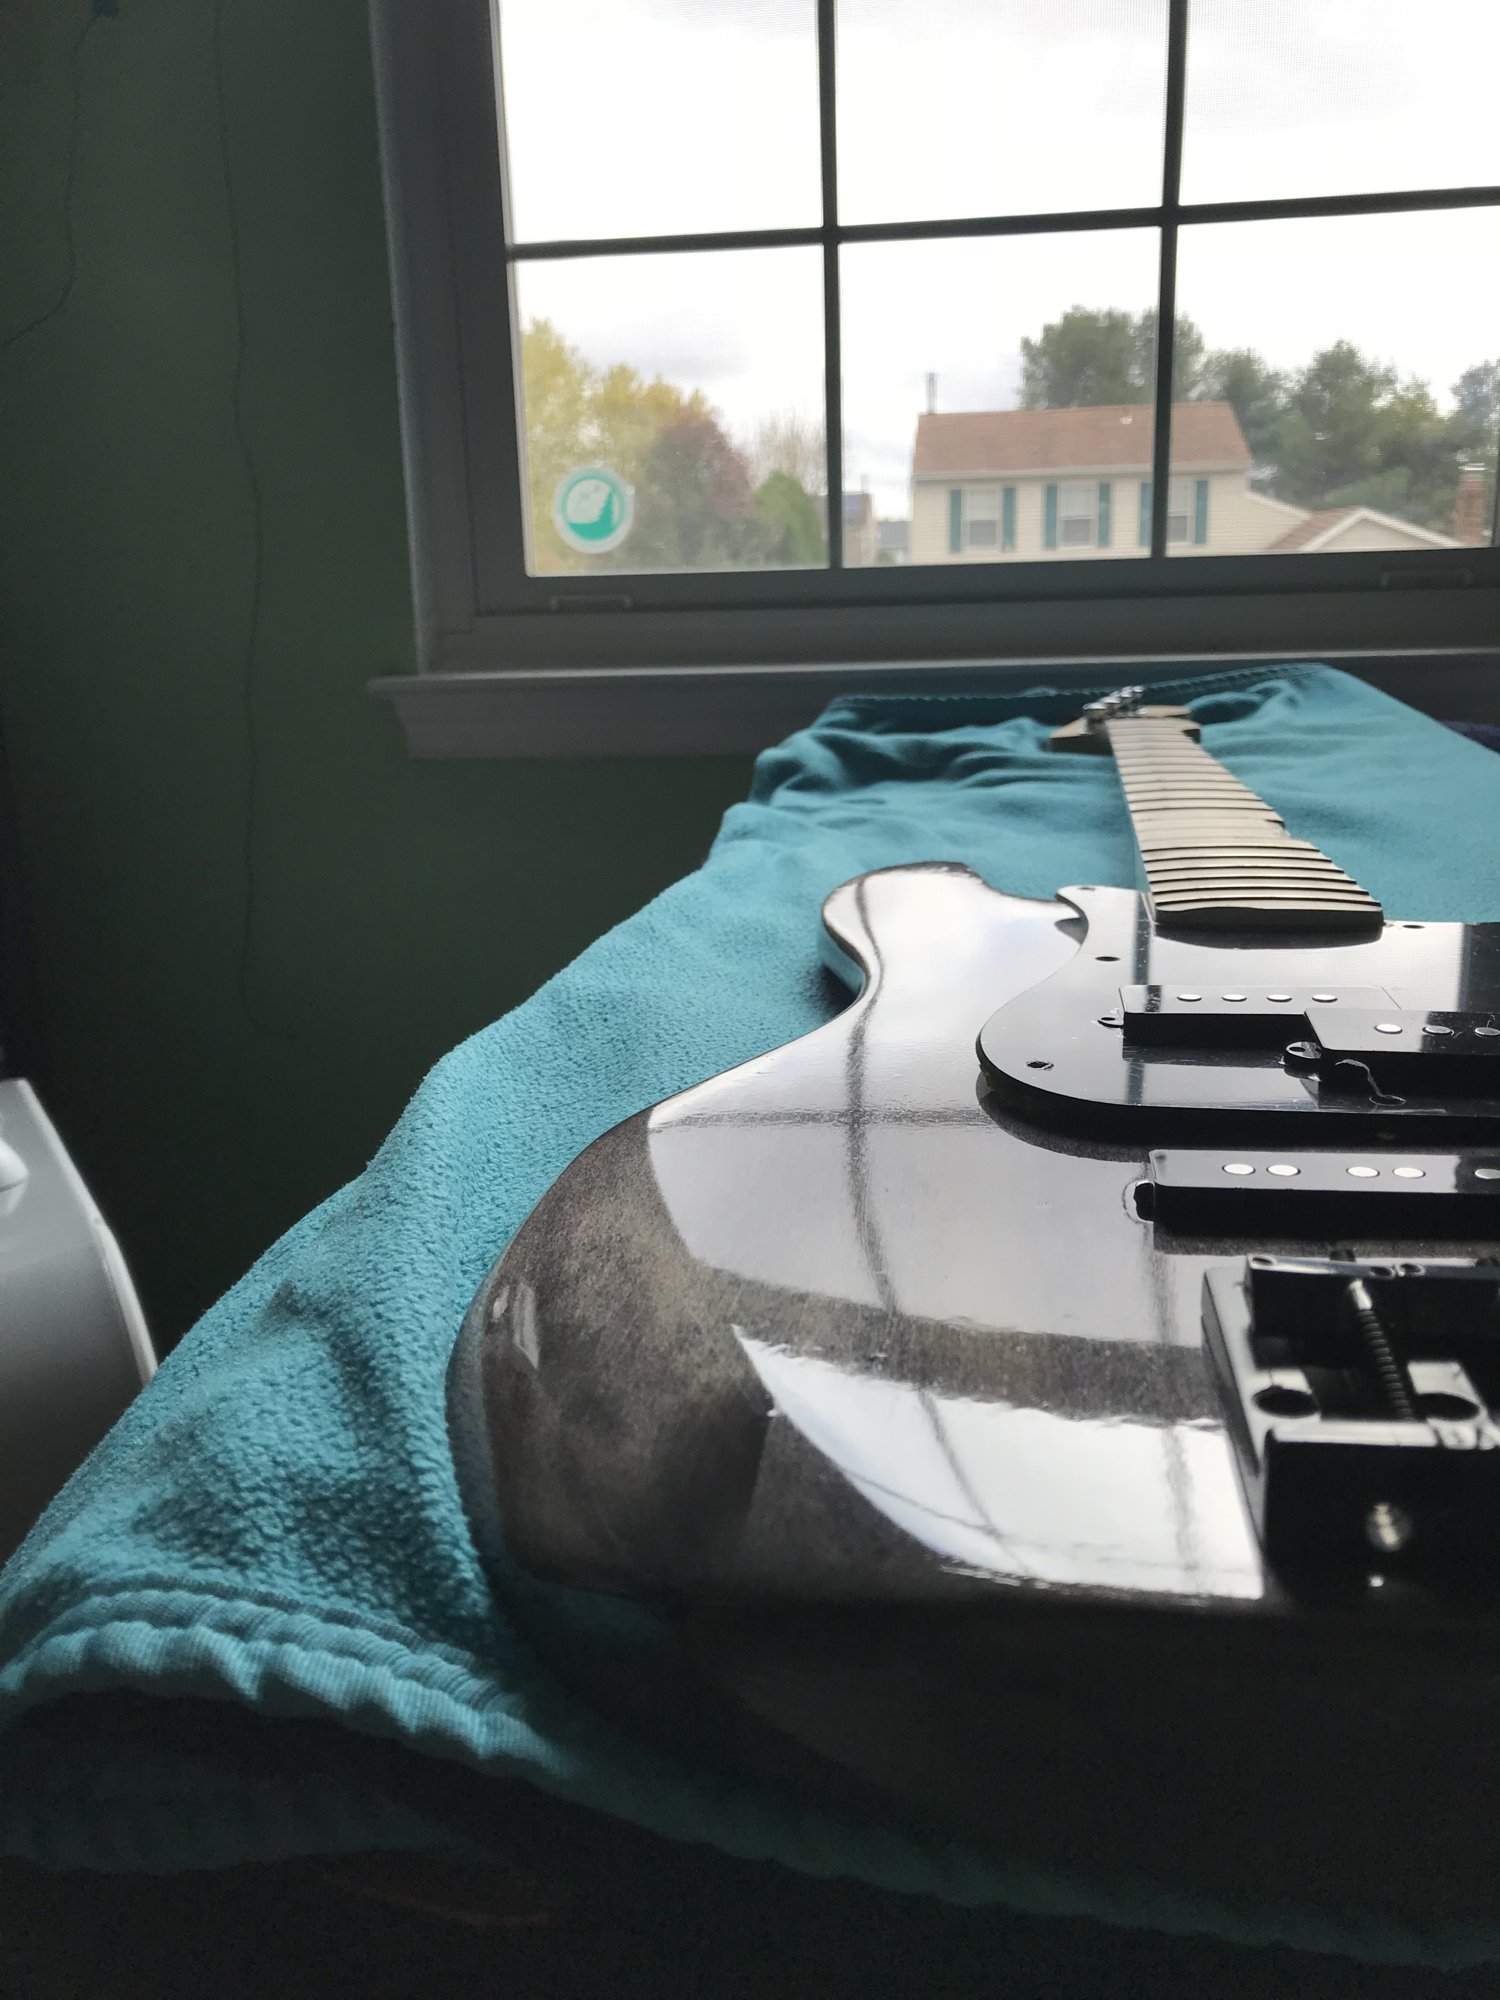
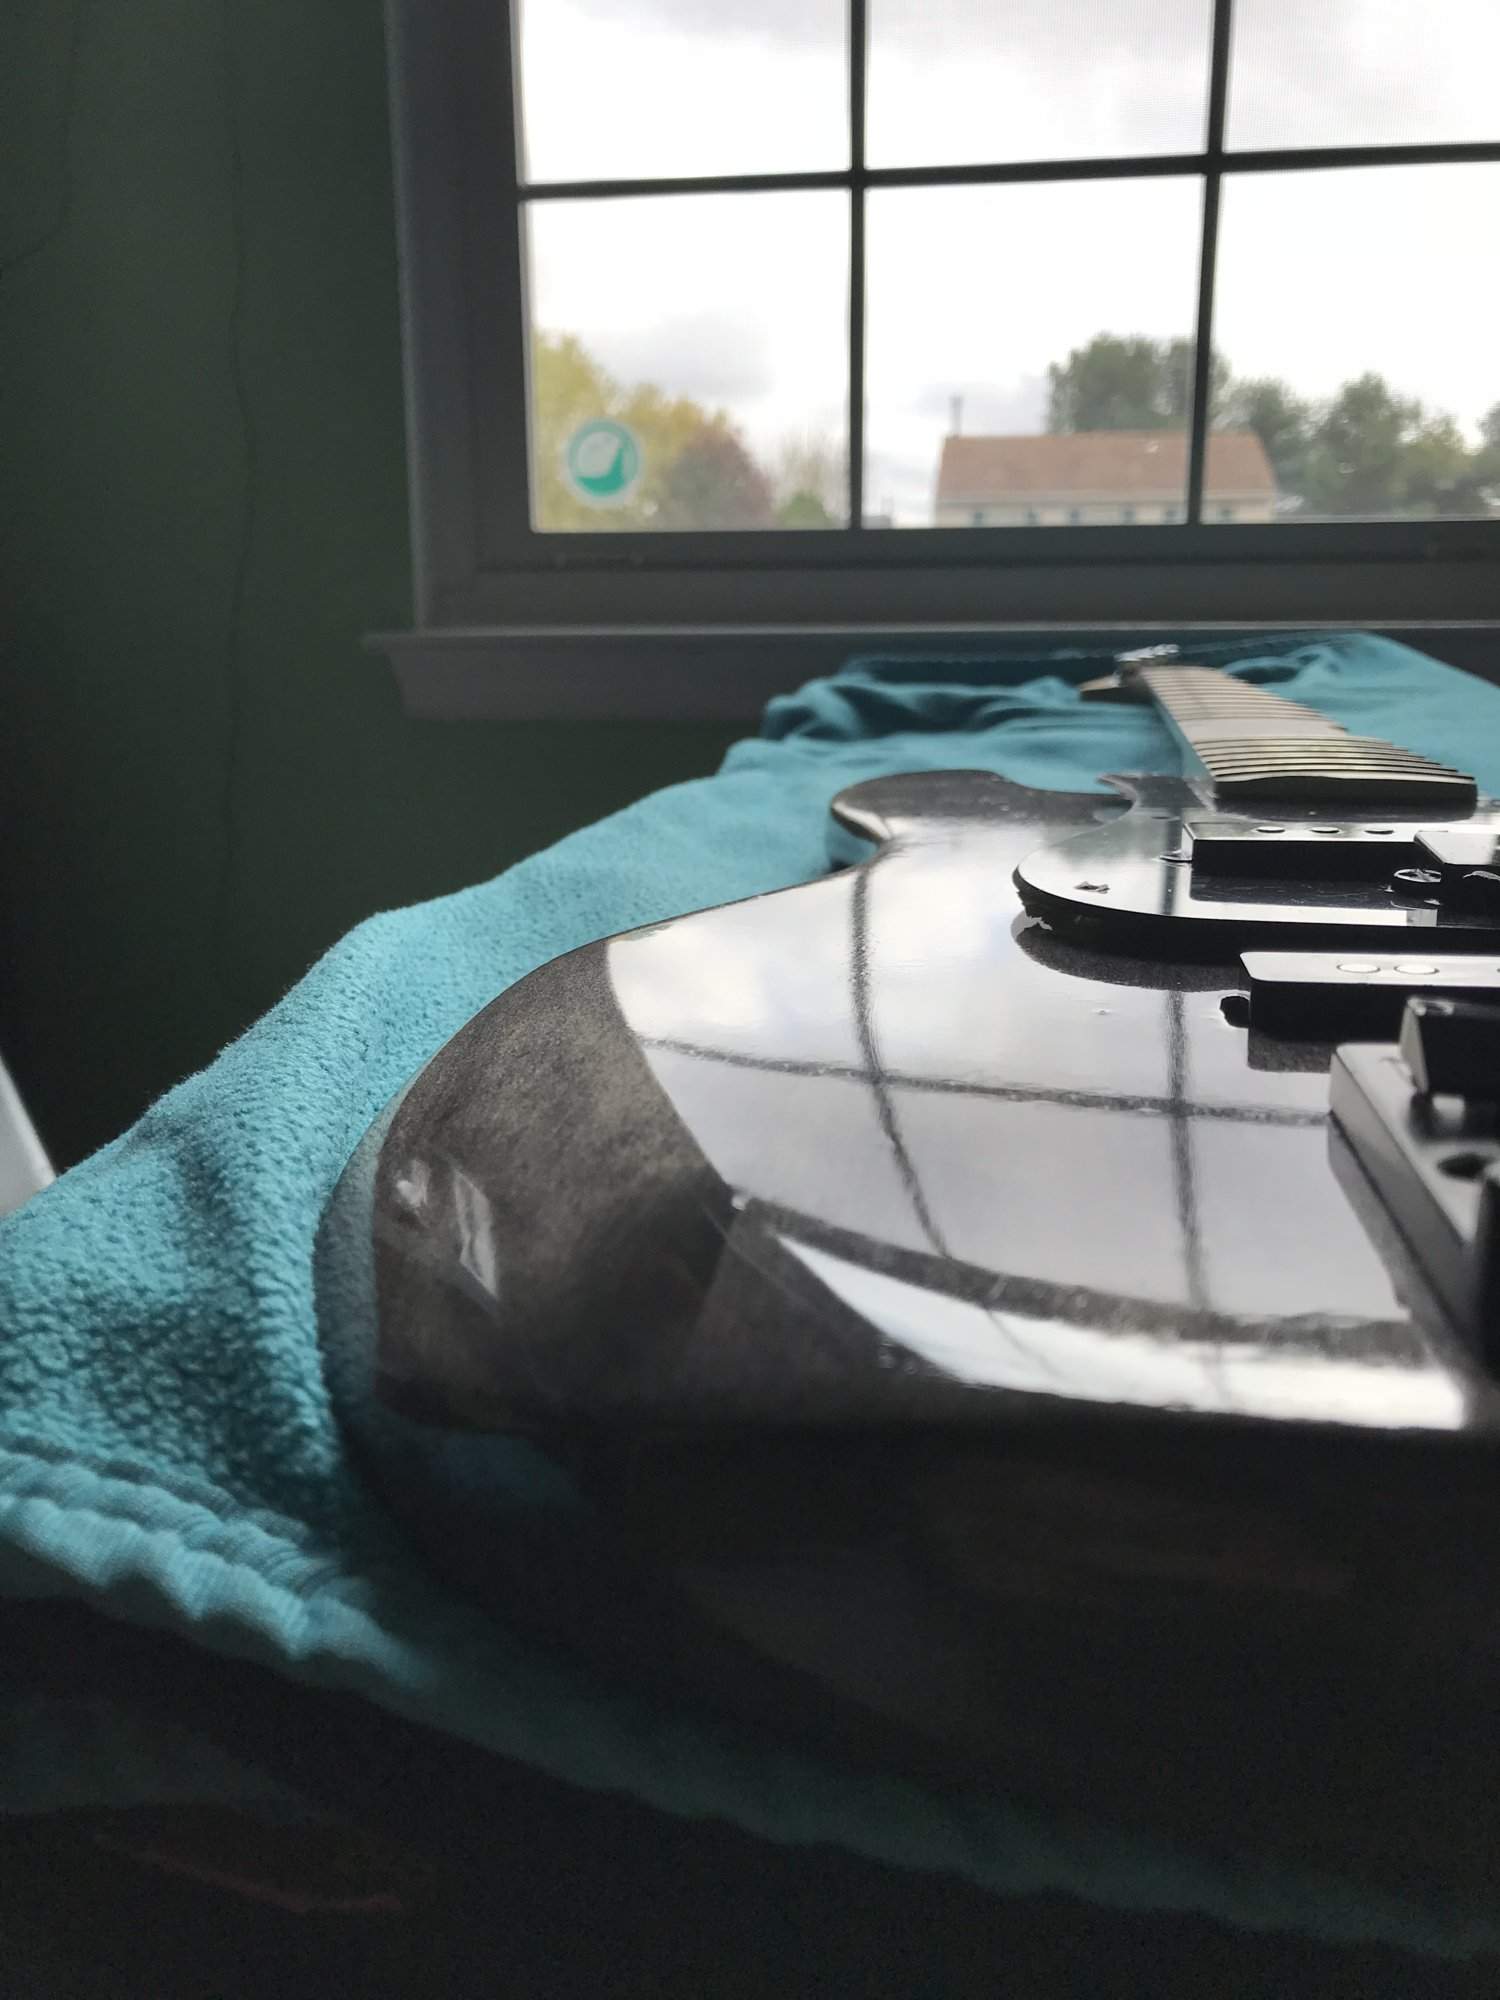
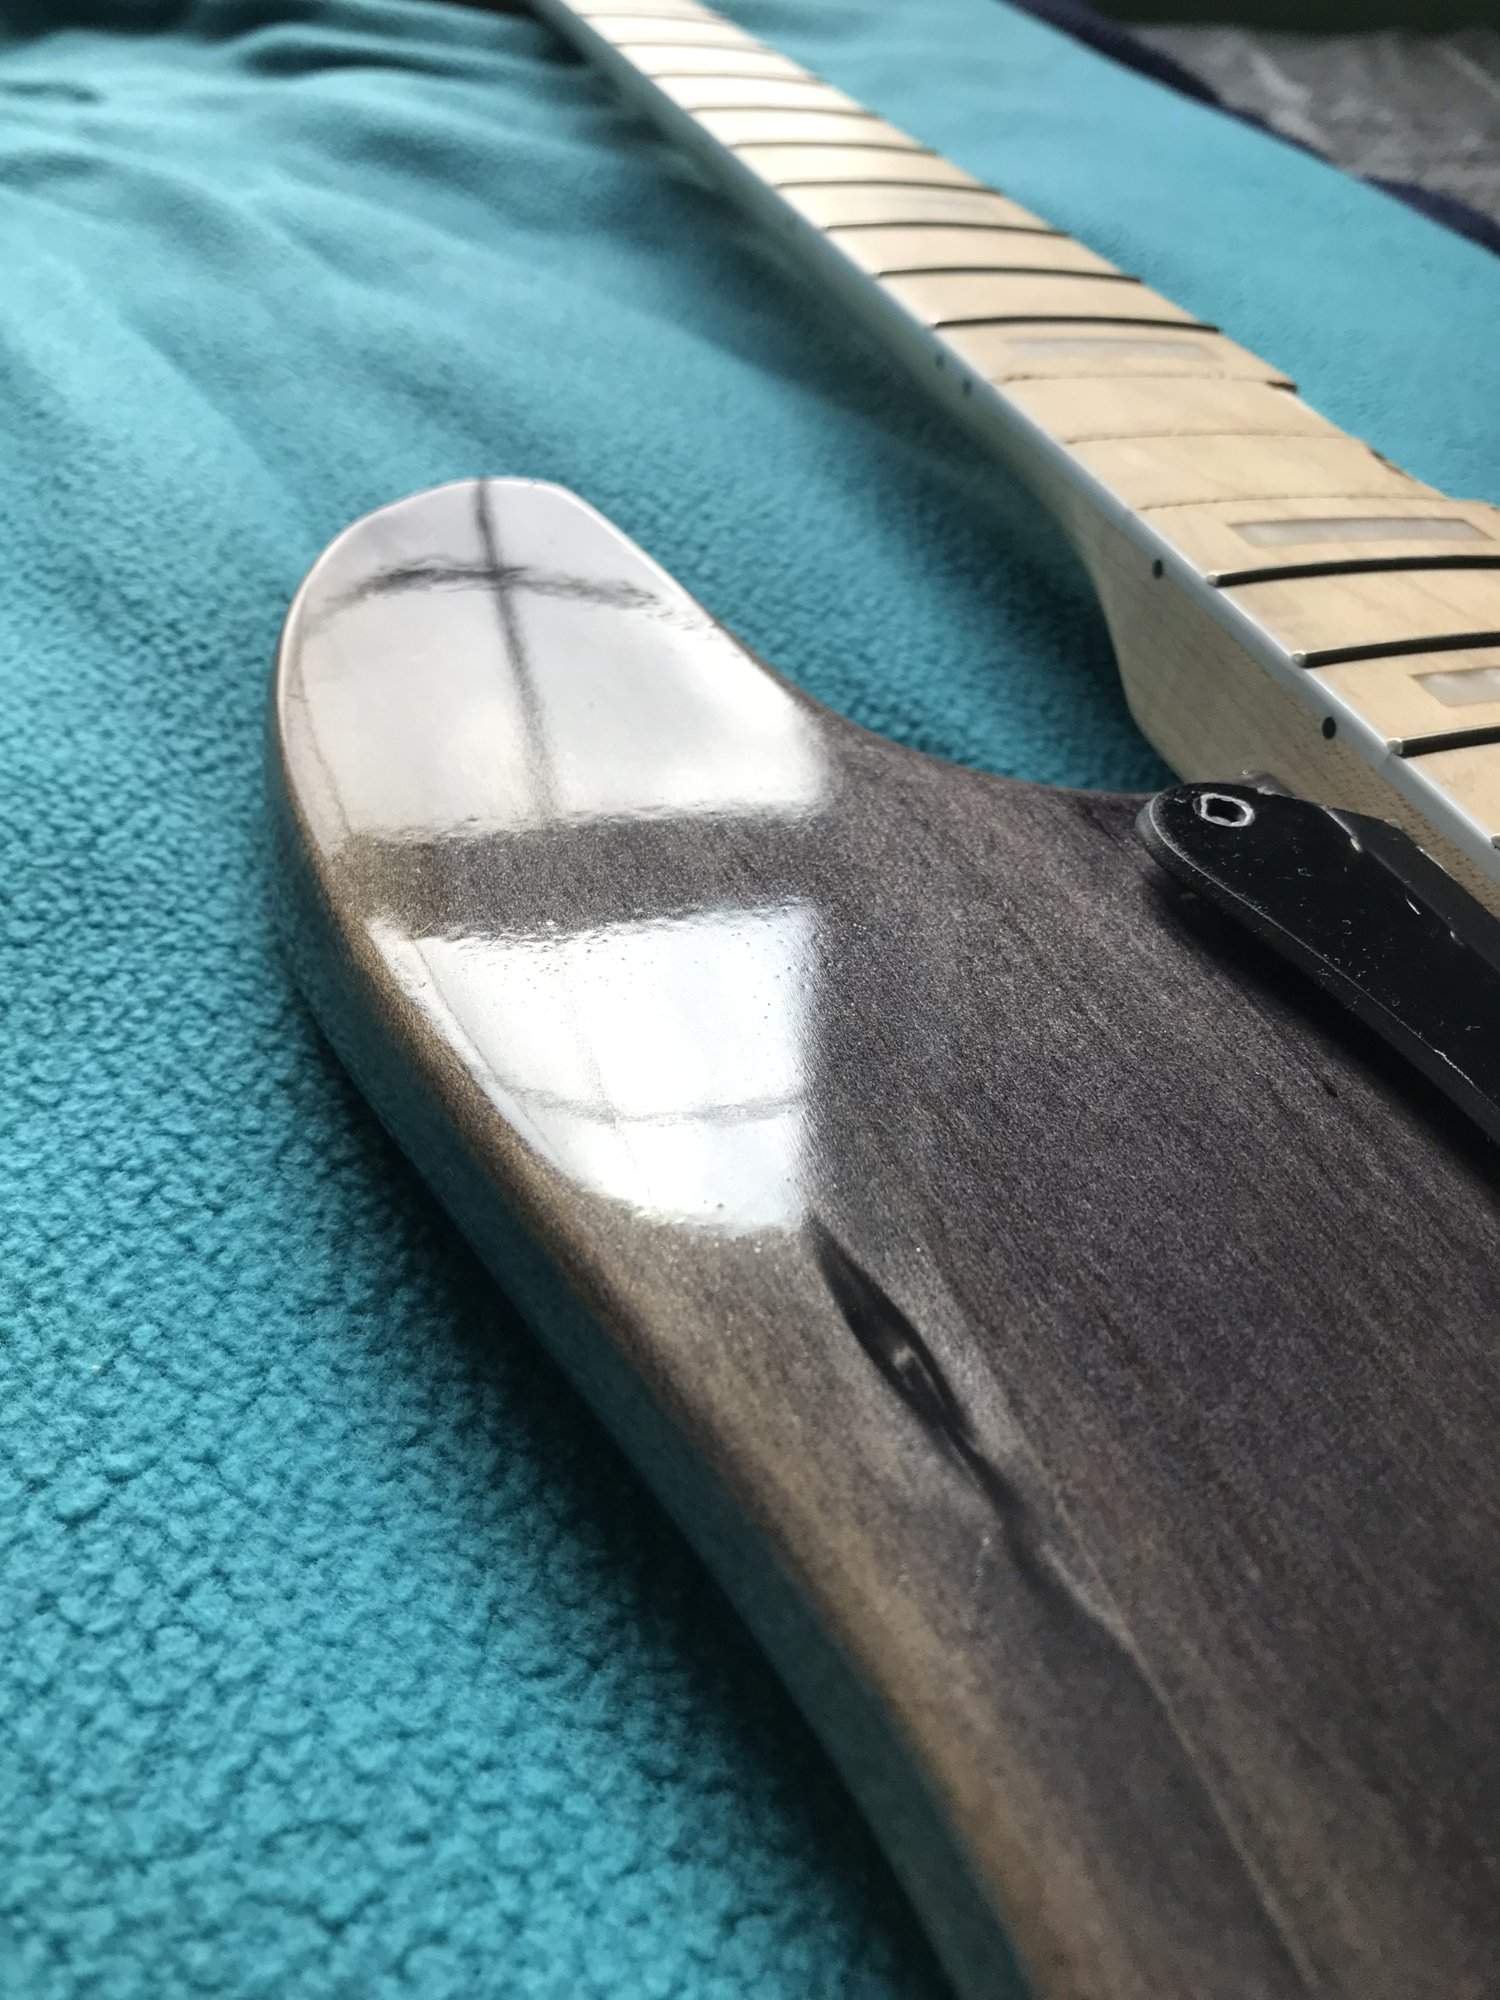
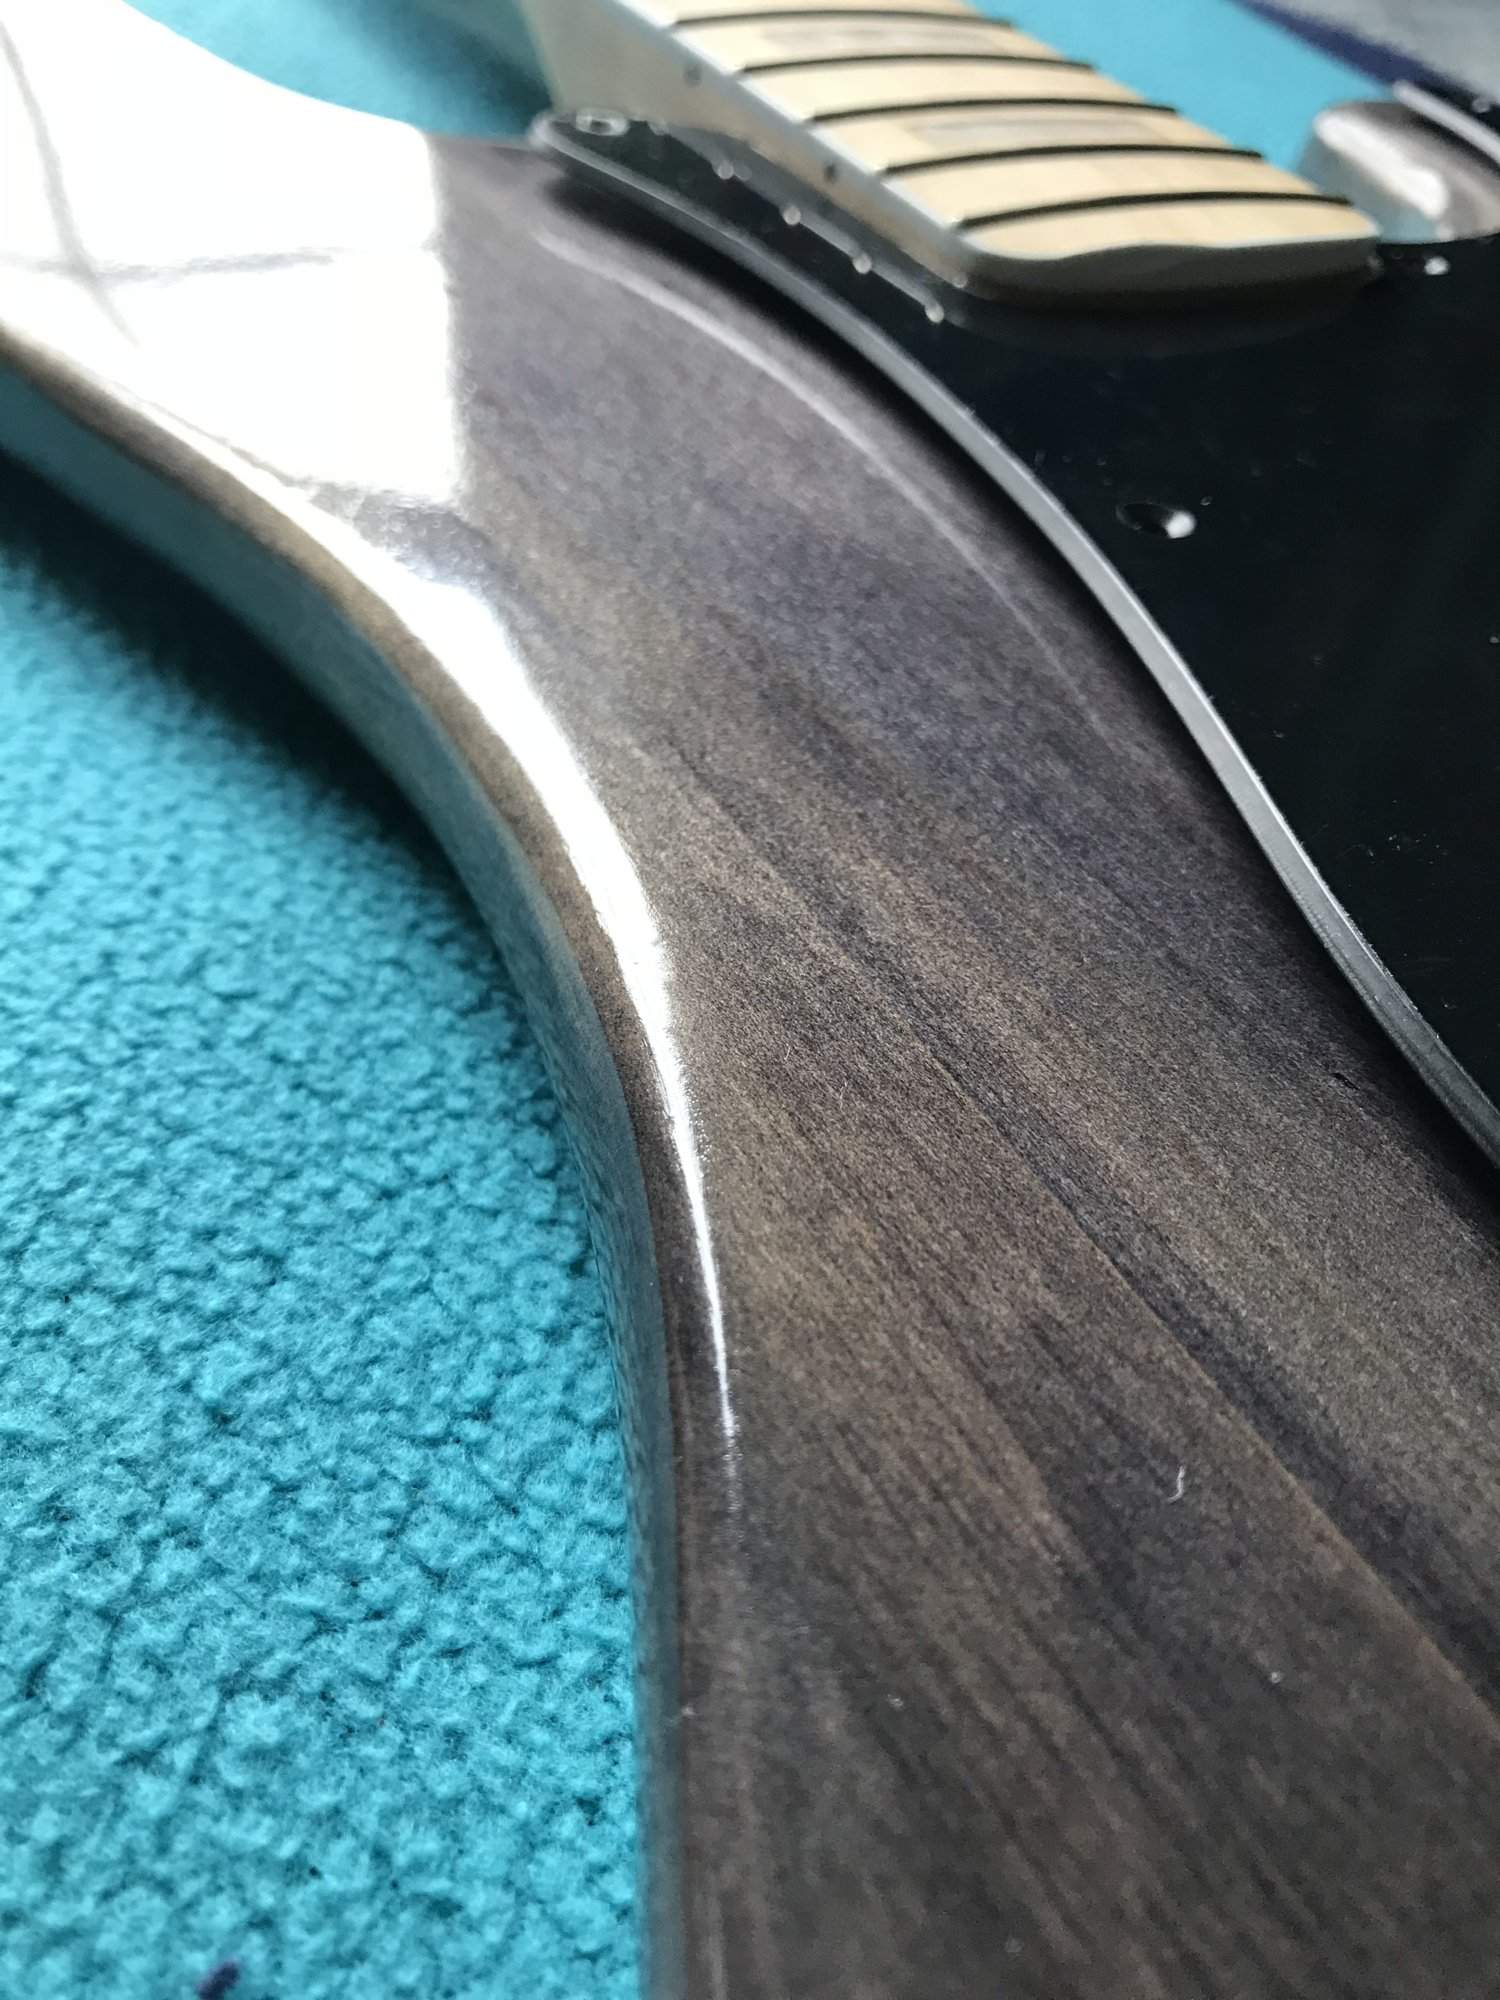
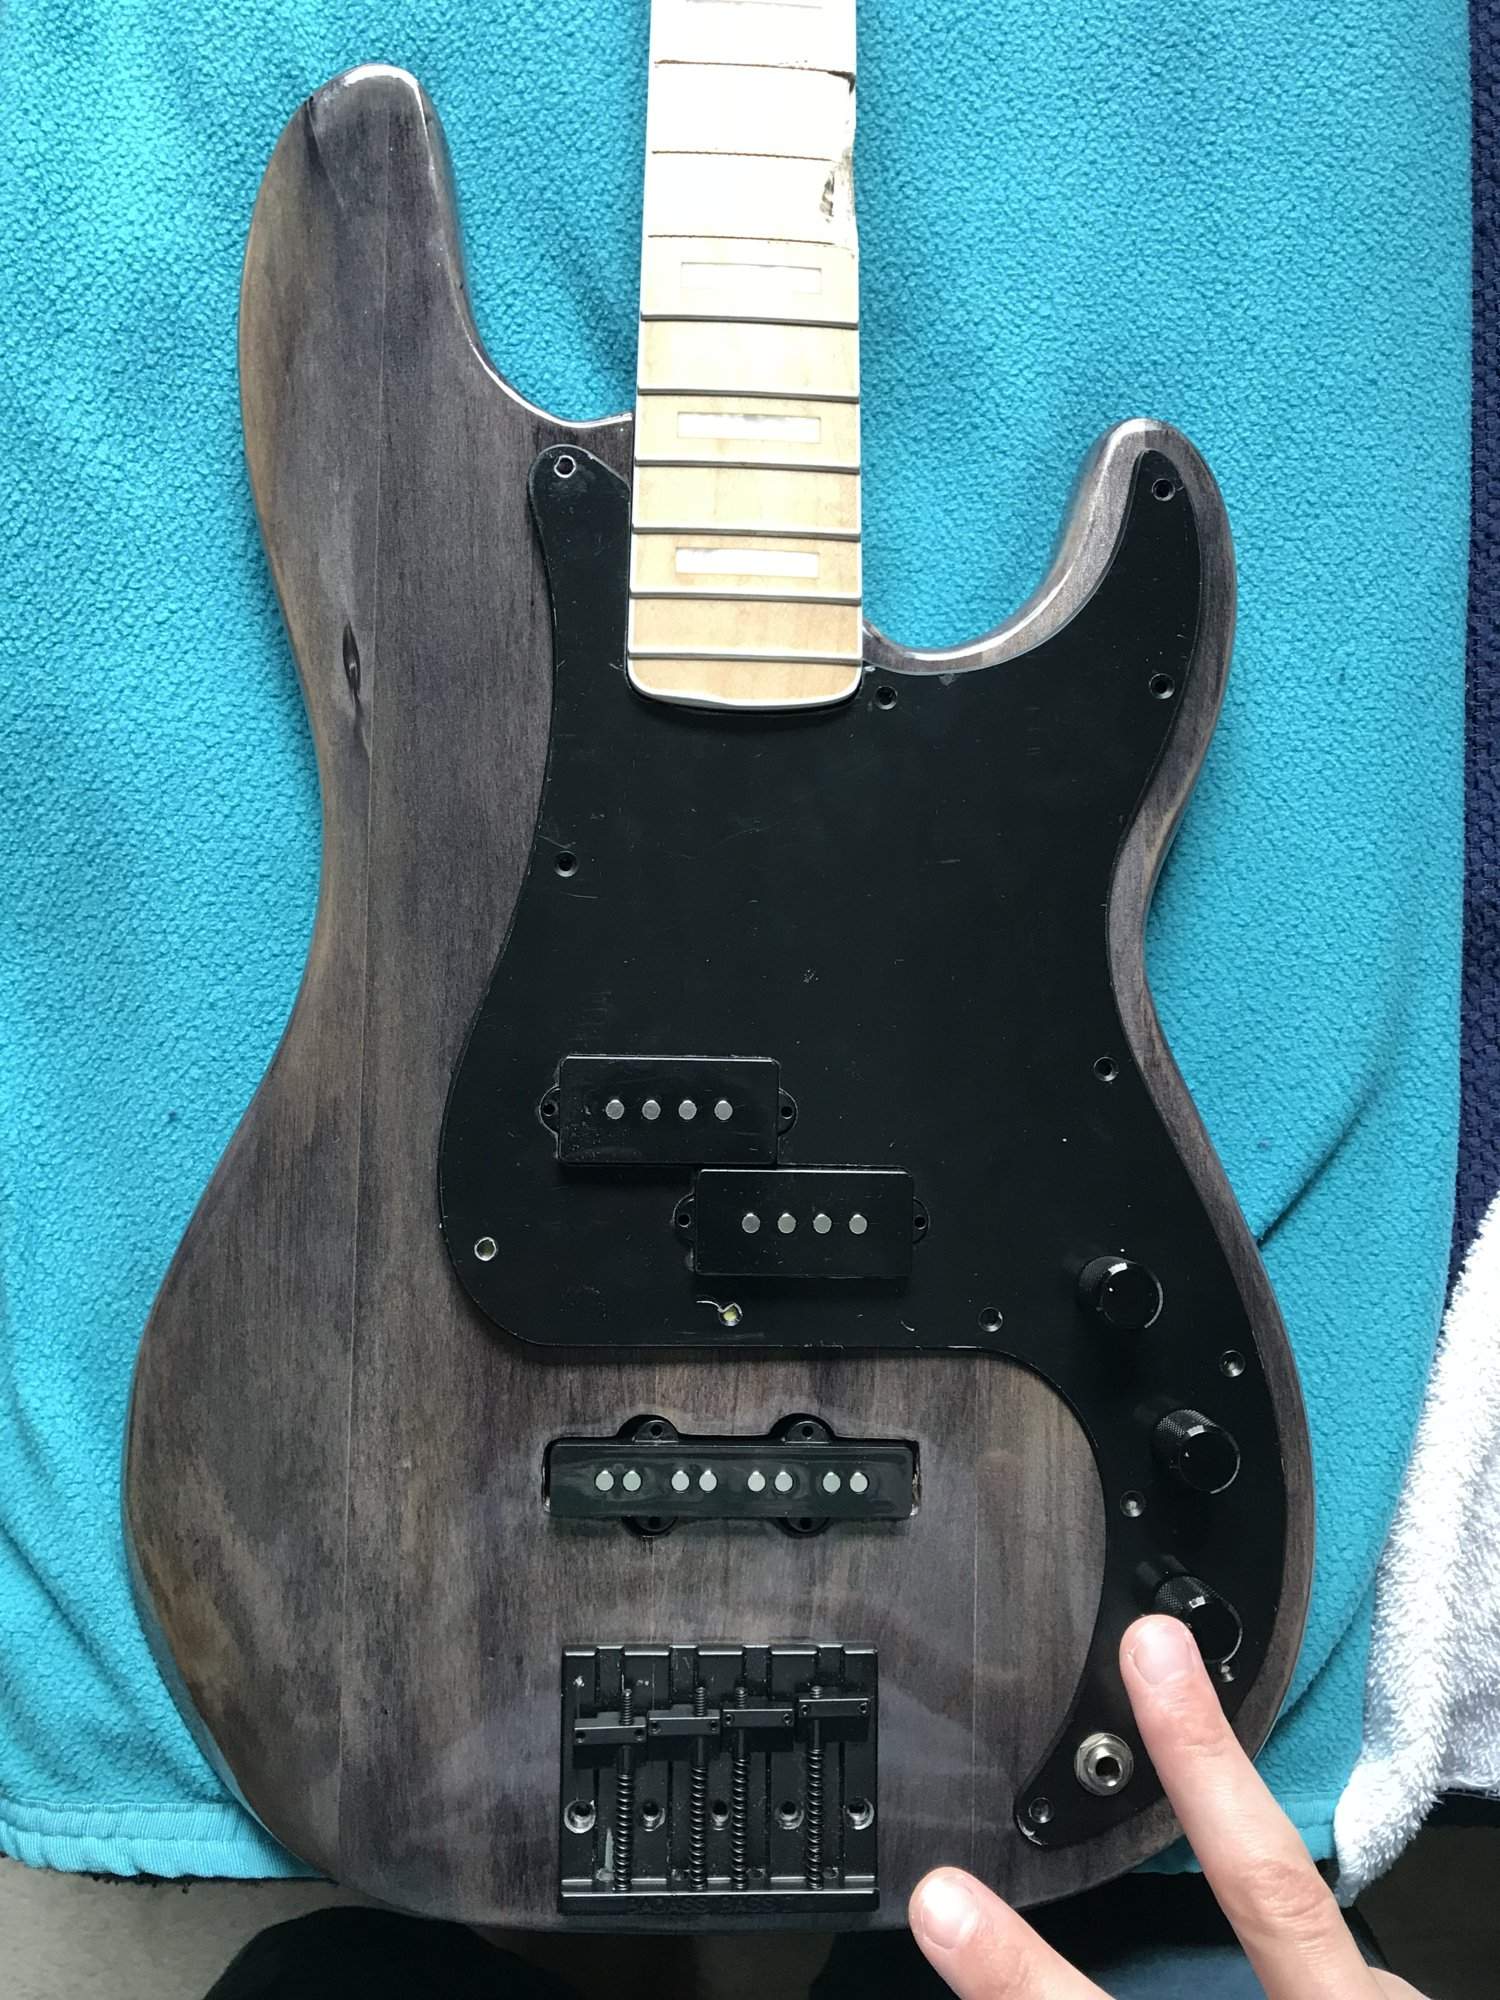
No sanding yet after the last coats in these images. There is definitely some texture that will be knocked down in the final sanding but I’m optimistic, given how glossy and even it appears to be already.
The reflection is pretty clear as well drool

Color came out nice - looks like the shiniest bit of weathered old barn wood I ever did see...
That was basically my objective! I’m glad the aesthetic I was going for came through so far. I was trying to get as close to this as possible and aside from the hue/tint of the purple, I landed pretty close!
Final small update before some more pictures:
Going to start finish sanding this week, but I wanted to ping the hive mind of TB for some pointers:
The last grit I used before the final polycrylic coats was 400. I've read that for finish sanding, a lot of folks will wet sand with 800, then 1000, then 1200, then sometimes one of those 0000 finishing pads. After that, some kind of automotive polishing compound (usually medium or fine abrasiveness if I recall), then finally a hard buff/rub with a polish of some sort.
Does this sound like a reasonable method? Of course I'll need to take care not to go through the clear, so very gentle hand sanding will be the order of the day. But I was more concerned with the overall structure of the process (progressively finer grits for 3-4 grits, polishing compound, then finishing polish).
There are so many different ways and combinations of methods/products that I've seen and find it difficult to pin down much that is consistent across threads/forums.
Going to start finish sanding this week, but I wanted to ping the hive mind of TB for some pointers:
The last grit I used before the final polycrylic coats was 400. I've read that for finish sanding, a lot of folks will wet sand with 800, then 1000, then 1200, then sometimes one of those 0000 finishing pads. After that, some kind of automotive polishing compound (usually medium or fine abrasiveness if I recall), then finally a hard buff/rub with a polish of some sort.
Does this sound like a reasonable method? Of course I'll need to take care not to go through the clear, so very gentle hand sanding will be the order of the day. But I was more concerned with the overall structure of the process (progressively finer grits for 3-4 grits, polishing compound, then finishing polish).
There are so many different ways and combinations of methods/products that I've seen and find it difficult to pin down much that is consistent across threads/forums.
Happy Thanksgiving Eve All!
I've been sitting here waiting, and waiting, and waiting, and waiting, for this damned body to dry/cure/harden. Two and a half weeks later, my impatience may have gotten the better of me and I decided to do a "dry run" or a mock up, to make sure all the parts fit and play nicely together and that there is no additional work needed before the final sanding (so I don't mar up a pretty finish clearing out the bridge ground wire hole of clear, for example).
Well, one thing led to another and after about two hours of tinkering, I got her together. The neck fits snugly into the pocket, the pickguard lines up beautifully, and the action/setup feels great right off the bat. I still need to file the bridge saddles, shield the pickup cavities, and figure out the wiring since I'm getting some scratches/pops, and there is a pretty drastic volume drop-off when the blend is rolled back to the bridge pickup. I'm not sure how normal it is- I still haven't messed with the pickup heights really so I'm sure that will help in leveling the two out.
OH! And get this: A svelte 7.6 pounds!!!
Without further adieu....
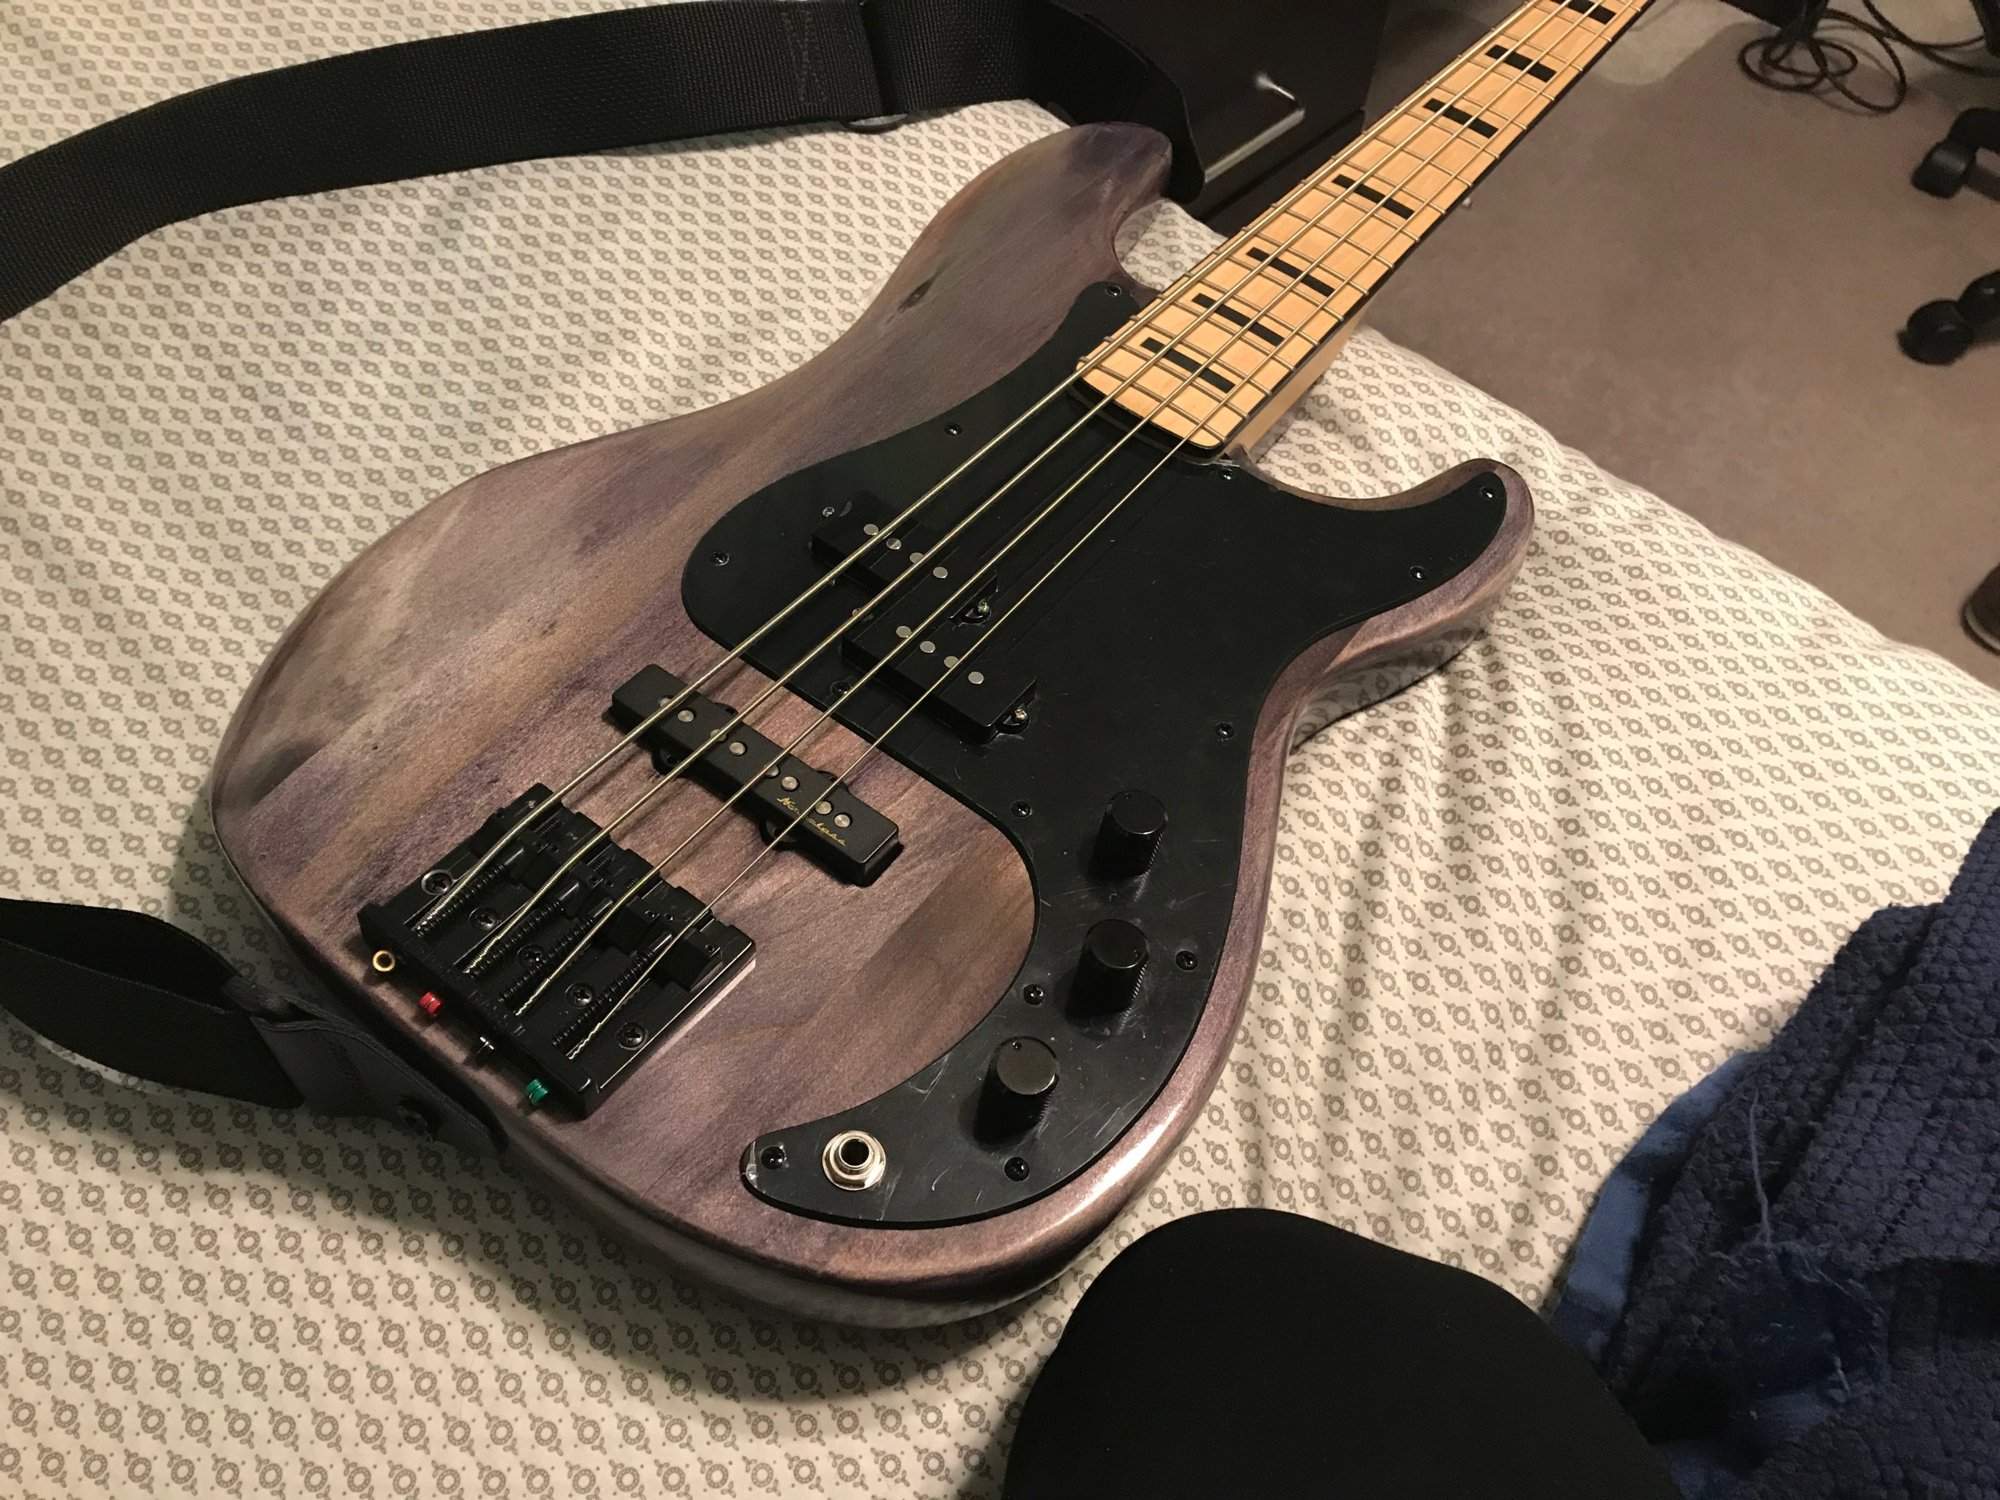
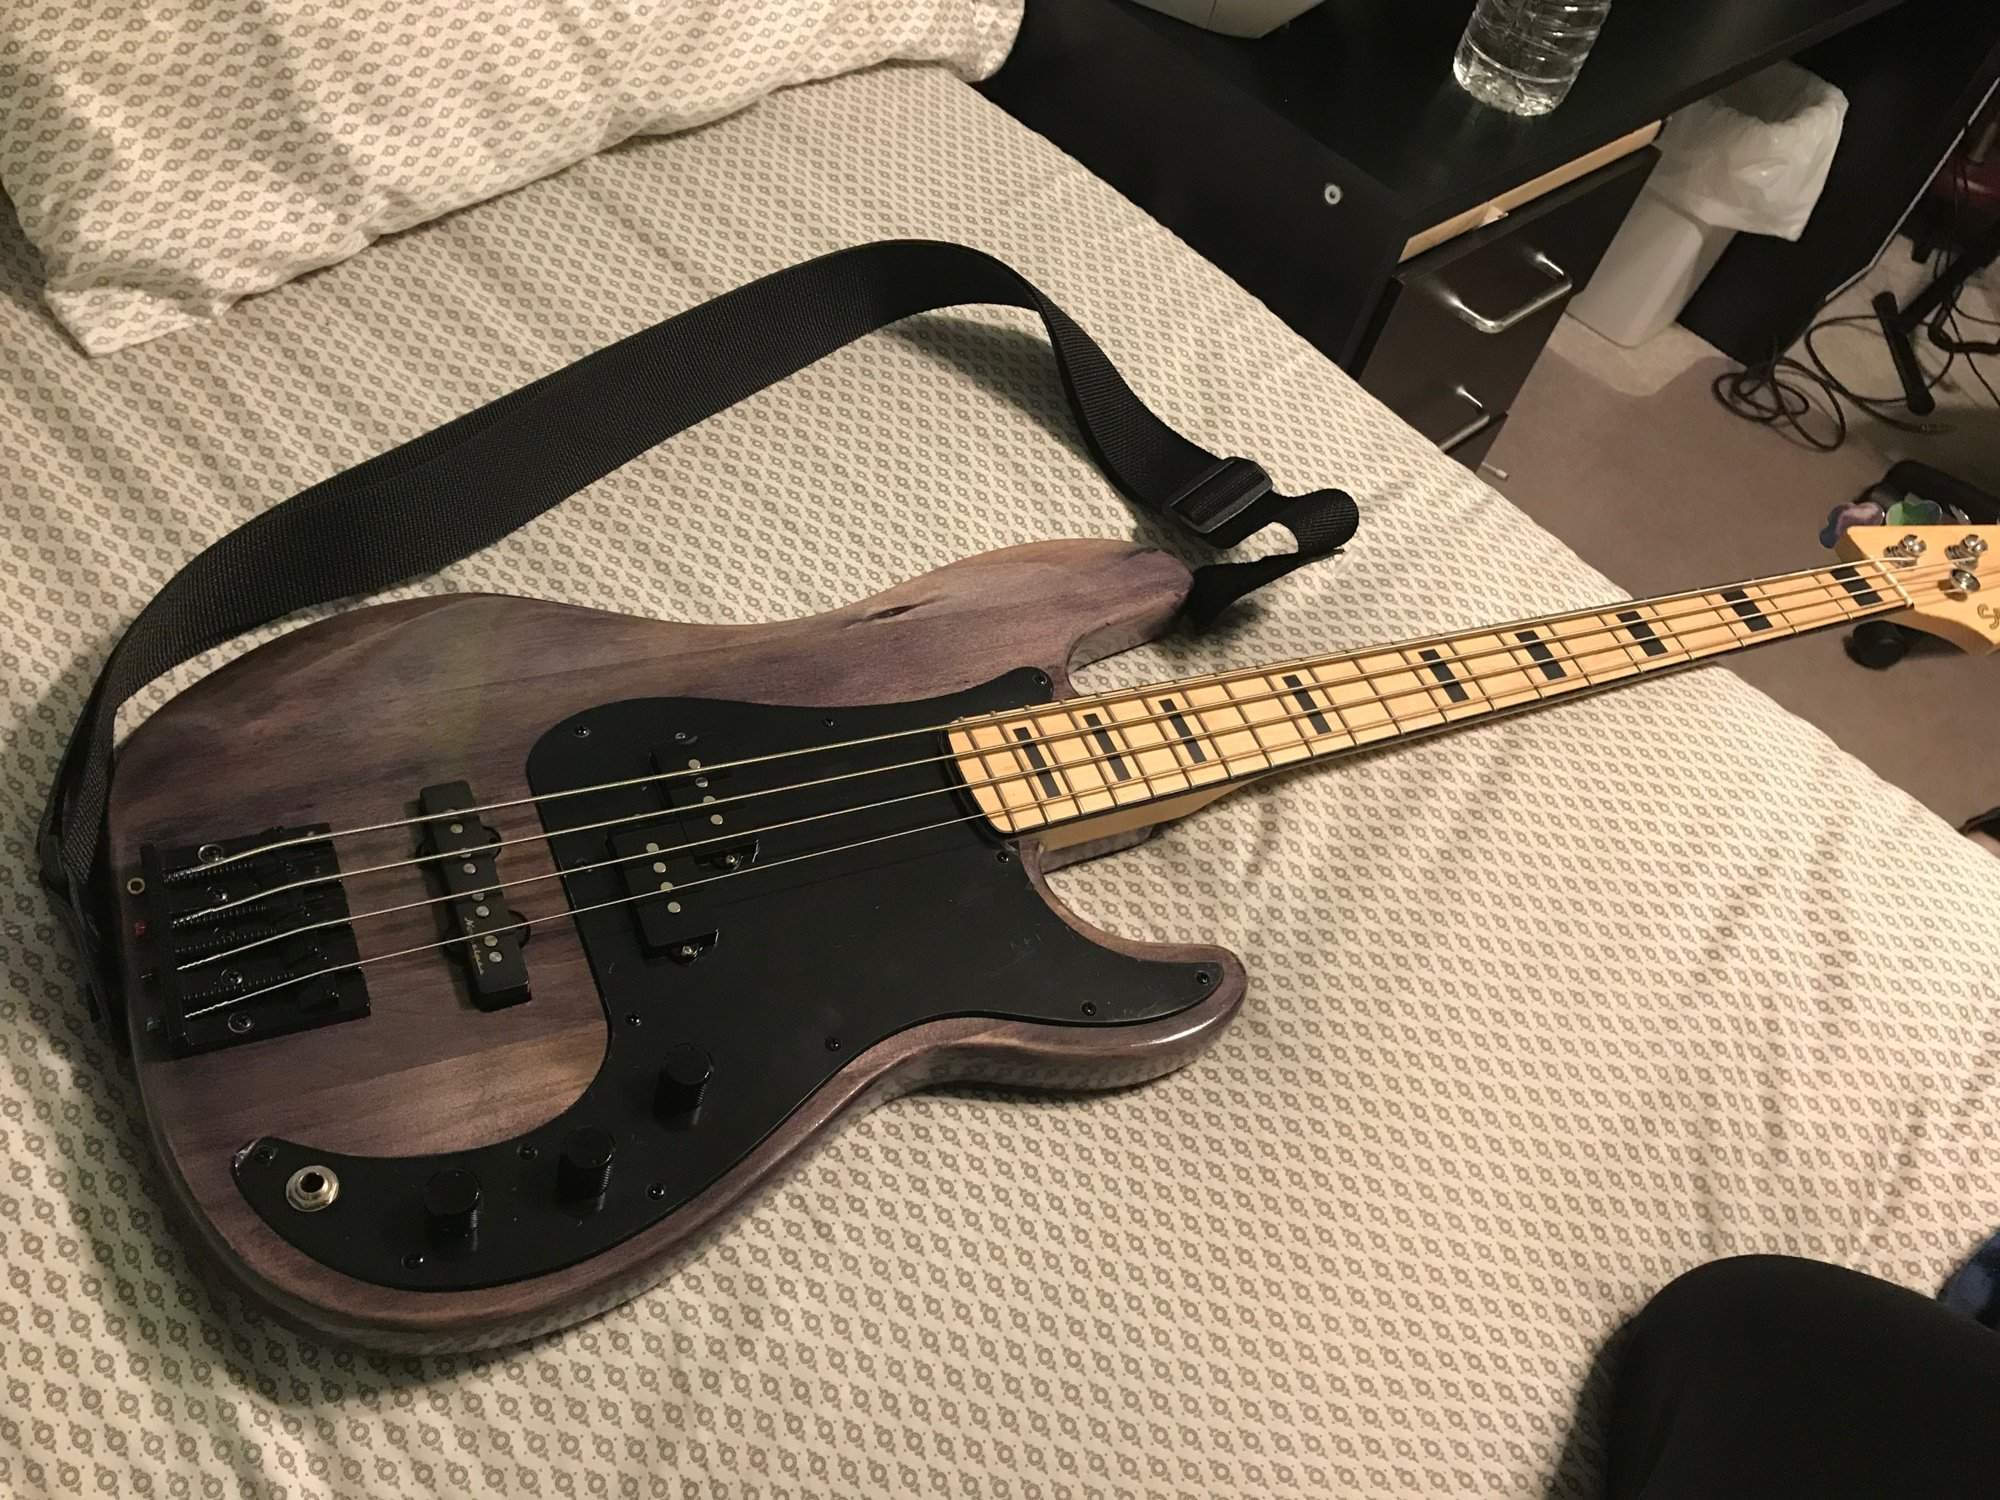
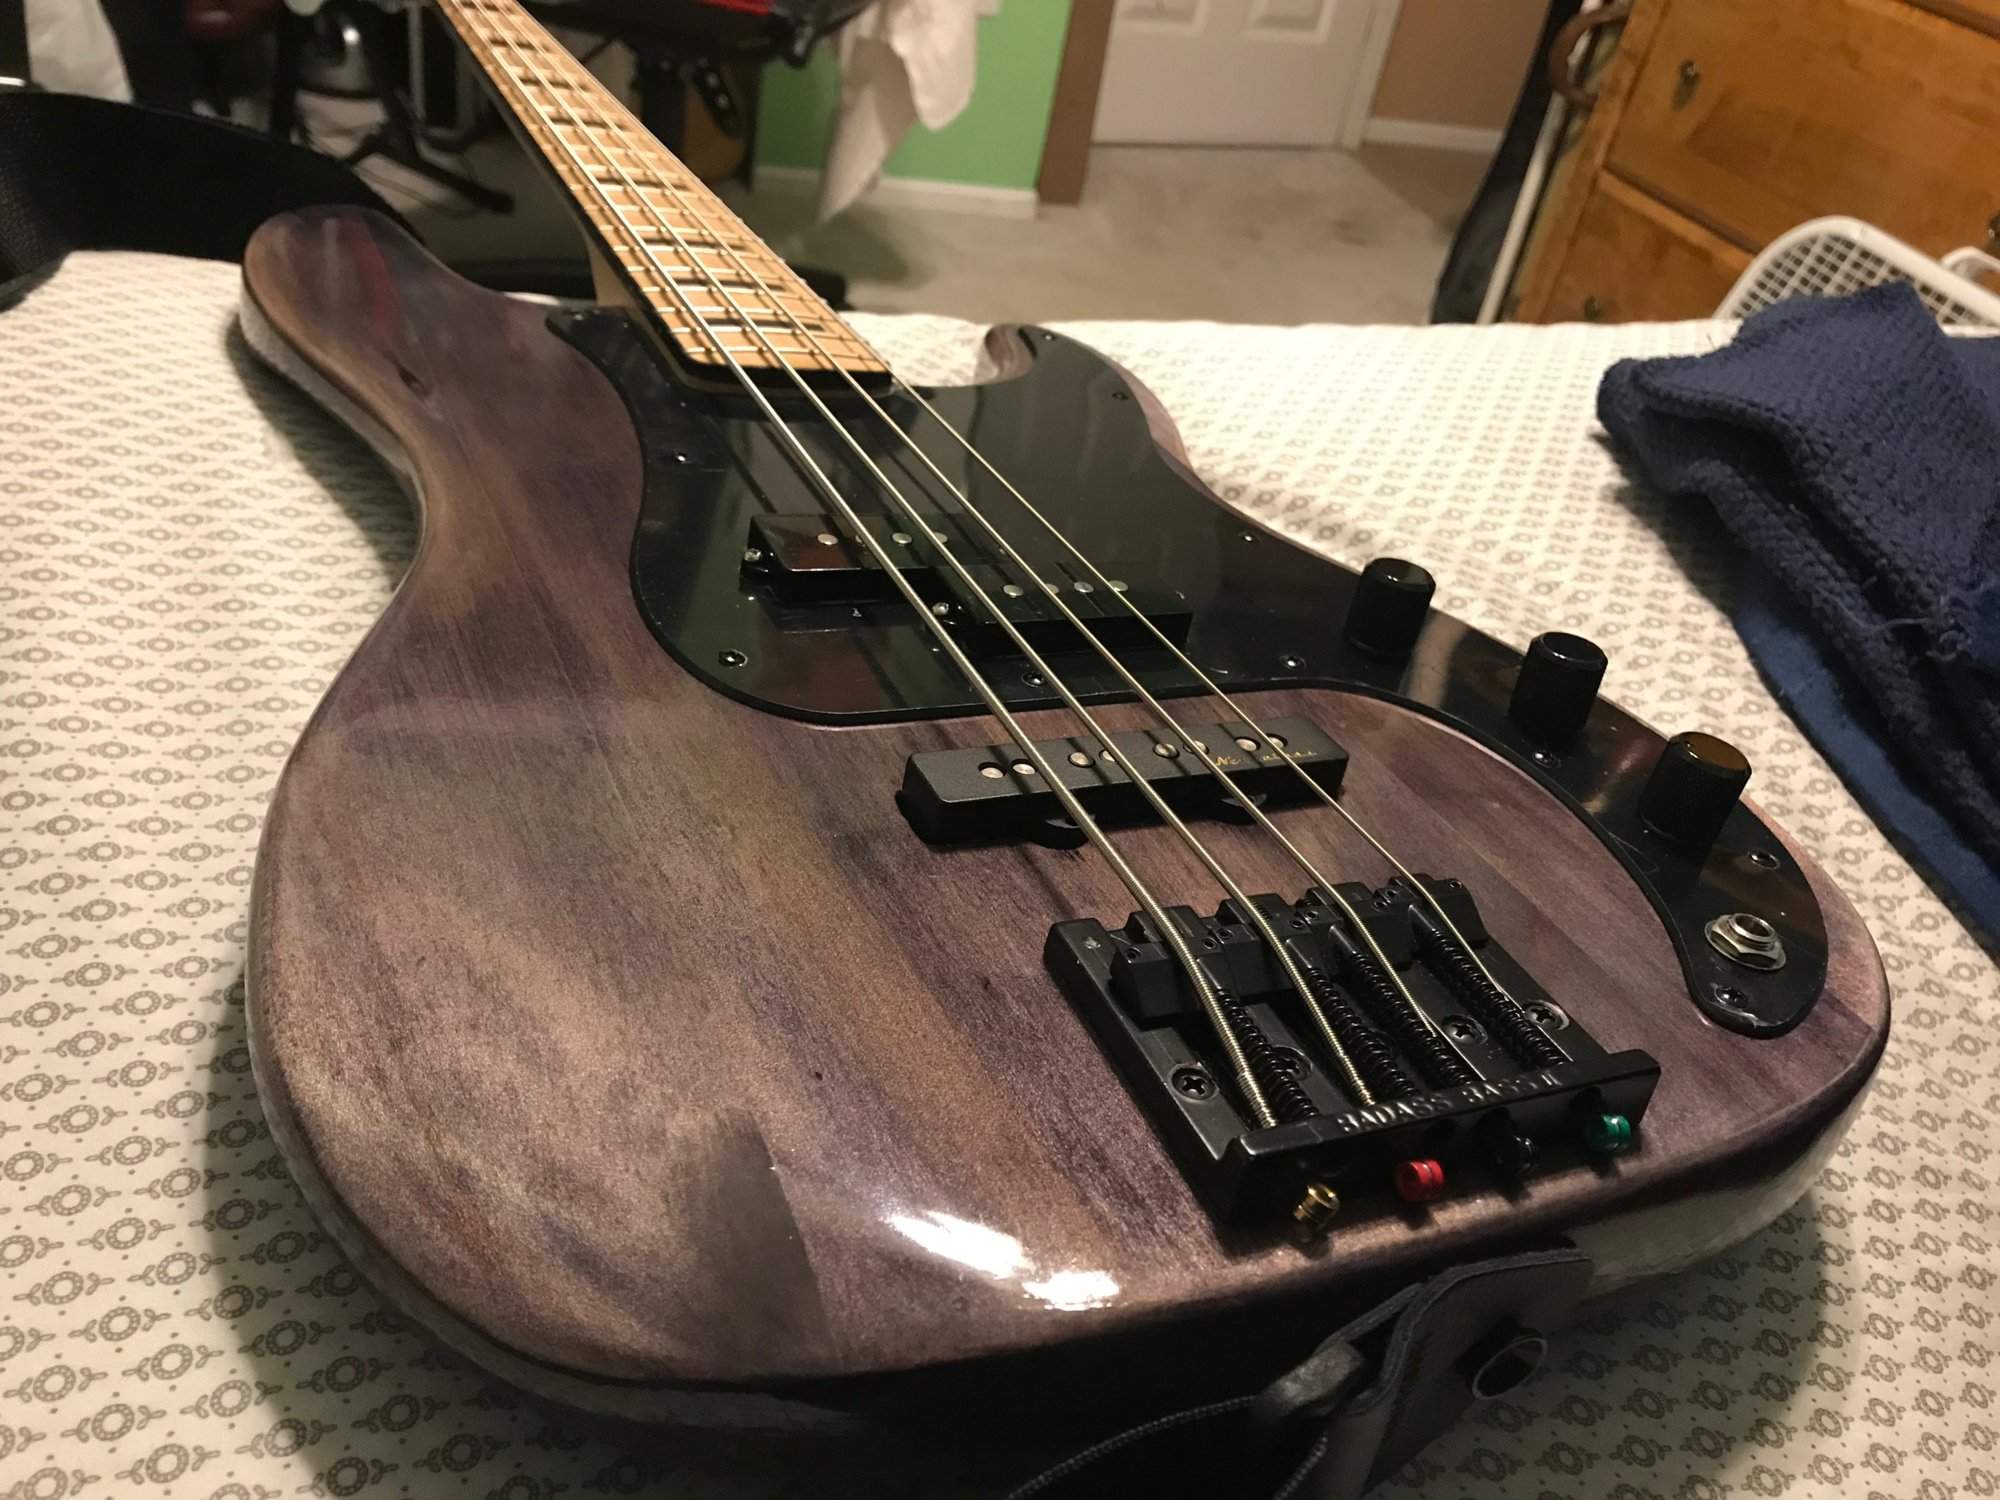
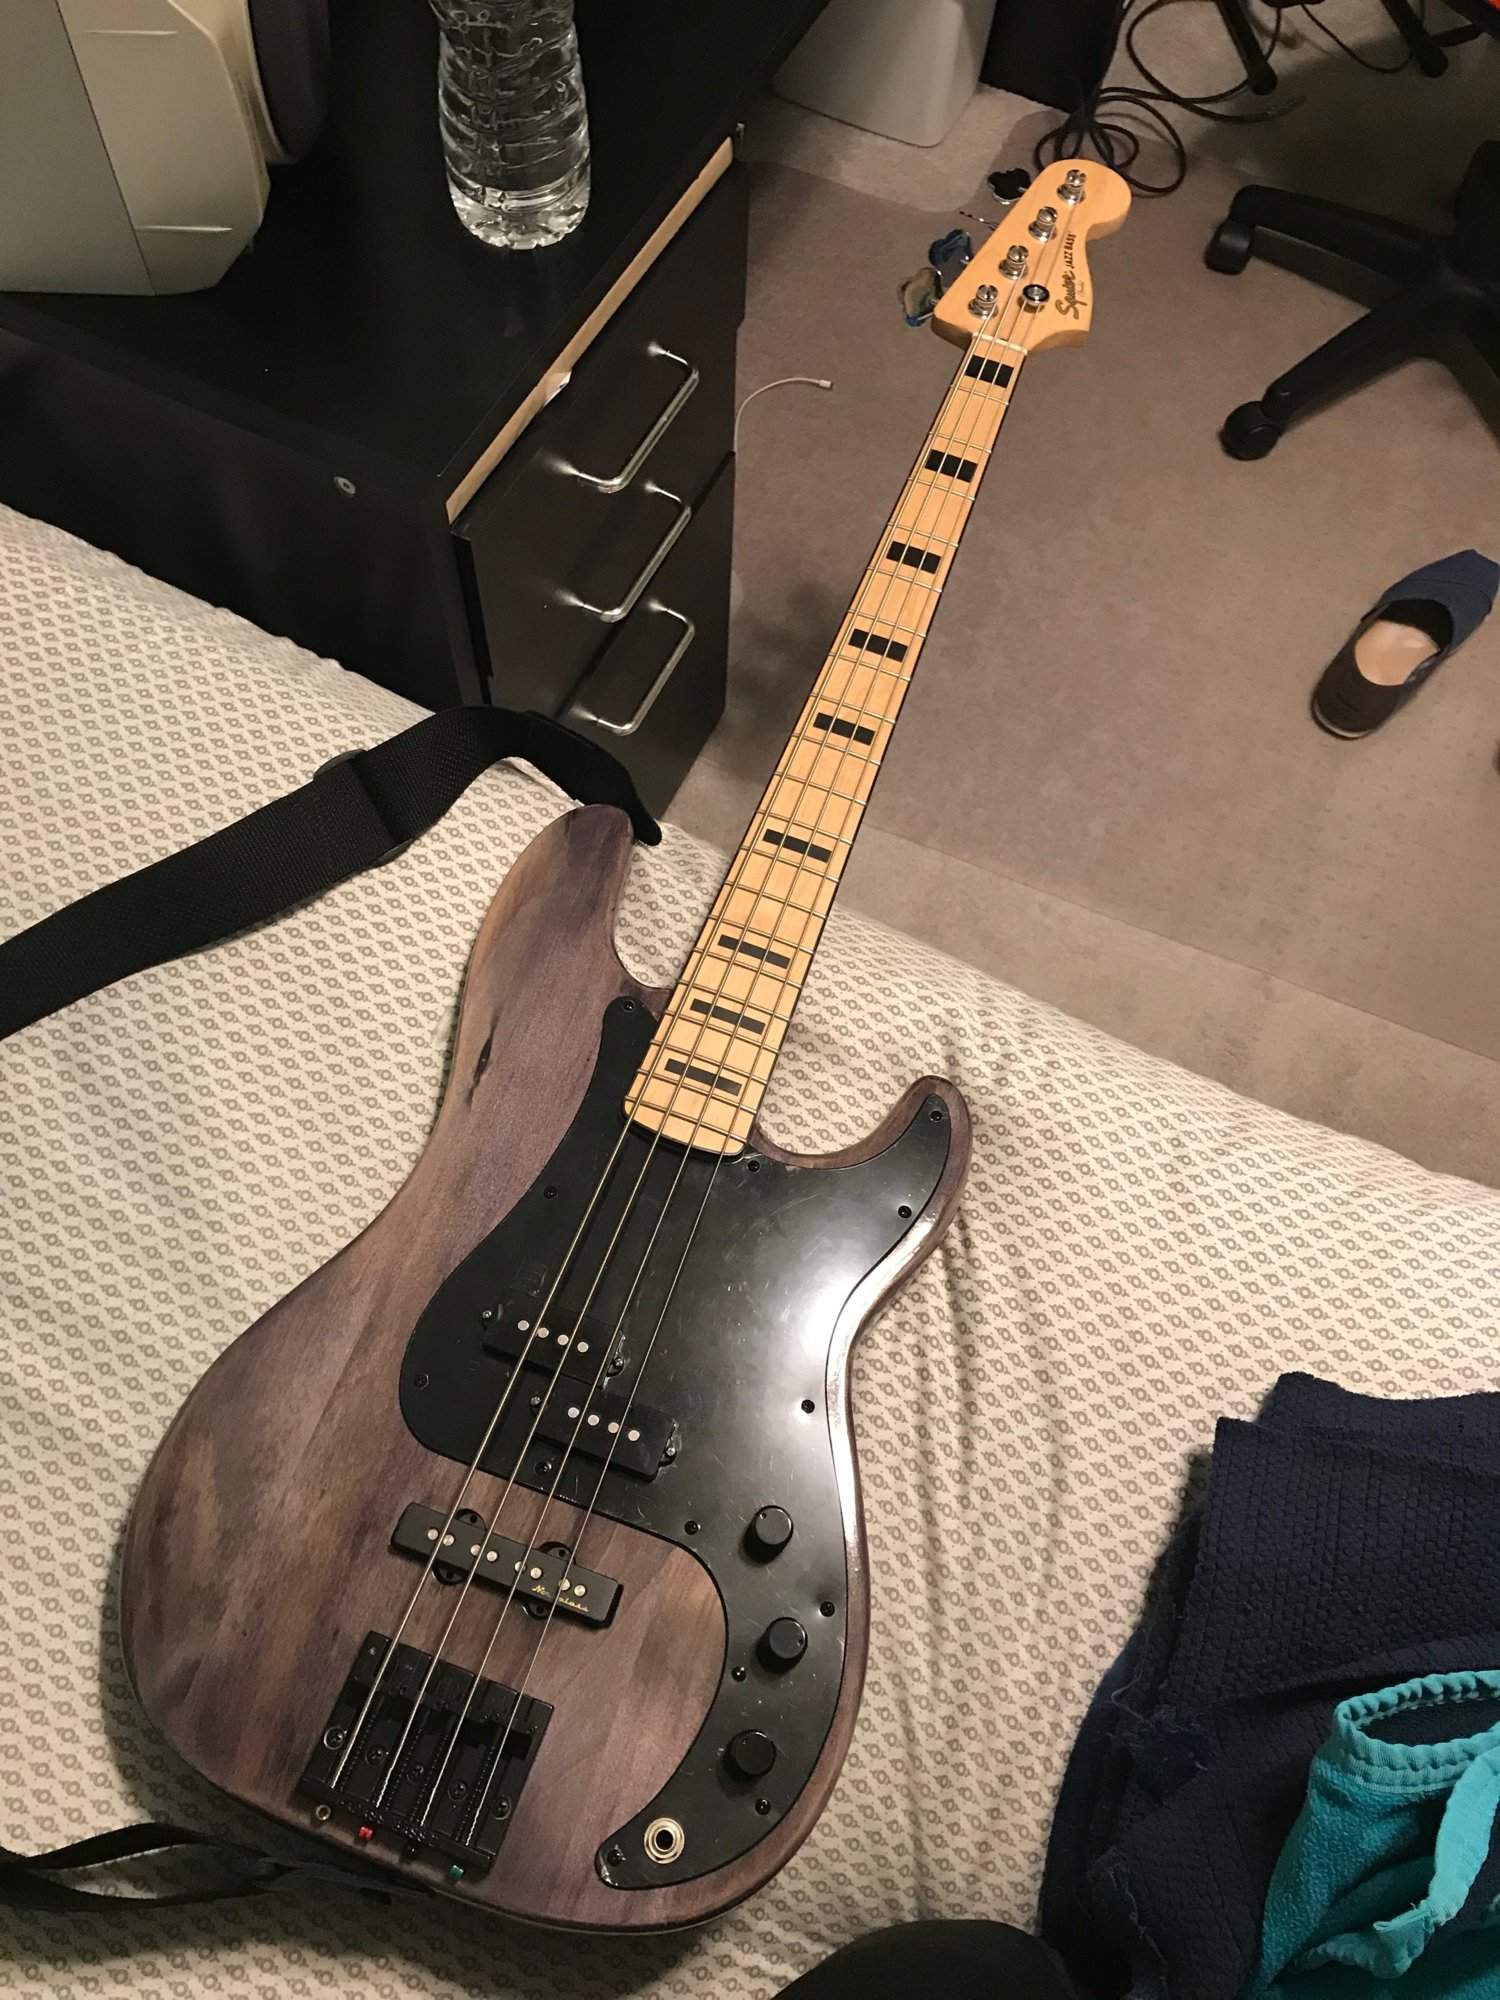
I've been sitting here waiting, and waiting, and waiting, and waiting, for this damned body to dry/cure/harden. Two and a half weeks later, my impatience may have gotten the better of me and I decided to do a "dry run" or a mock up, to make sure all the parts fit and play nicely together and that there is no additional work needed before the final sanding (so I don't mar up a pretty finish clearing out the bridge ground wire hole of clear, for example).
Well, one thing led to another and after about two hours of tinkering, I got her together. The neck fits snugly into the pocket, the pickguard lines up beautifully, and the action/setup feels great right off the bat. I still need to file the bridge saddles, shield the pickup cavities, and figure out the wiring since I'm getting some scratches/pops, and there is a pretty drastic volume drop-off when the blend is rolled back to the bridge pickup. I'm not sure how normal it is- I still haven't messed with the pickup heights really so I'm sure that will help in leveling the two out.
OH! And get this: A svelte 7.6 pounds!!!
Without further adieu....



A very beautiful instrument!
Dang she's pretty! We'll done!
Looking good. The maple fretboard with black, block inlays is a favorite of mine.
I like that. I like that a lot.
Much obliged all!
I've attached a few more pictures below of the twins and the PJ. Since last posting I've filed down the saddles, adjusted the pickup heights, and slapped some new strings on it. It wouldn't hurt to take off a touch more material on the bridge saddles to add to the depth, especially the E and G strings, but currently it's more than acceptable/compensable (relative to the height screws, nut, etc).
Unfortunately, I have what I believe is a grounding issue somewhere since when I touch a pick guard screw (which makes contact between the body cavity and the pick guard shielding), the little bit of buzz goes away. I'm guessing I have to tidy up a ground connection somewhere, but I'll take another look soon.
I have already put a couple dents in the finish which is discouraging, but once I get her singing, I'll do the finish sanding and will need to exercise extra caution

Definitely digging the sound so far, and I was able to even-up the volume drop when going to the bridge pickup. There is still a slightly noticeable drop, but it's MUCH more reasonable. I'd say it was around a 70%-ish reduction in volume discrepancy just from adjusting pickup height. The jazz pickup is pretty close to the strings and to my ear, it doesn't sound like there's anything missing but who knows.
Aside from those couple things, I'm rather pleased with the final result. However, I'd be lying if I said I haven't already had ideas of a custom matched PJ set from a couple different places...
 But I'll be sitting tight for a while.


