Hi.
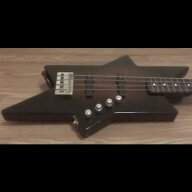
Since there wasnt an easily available case for the Epi LTD Explorer I recently bought, and a custom case is well beyond my budget, I decided to take the DIY route.
Seeing that questions about DIY cases are quite frequent here in TB, I decided to post a thread about the build.
Usually DIY isnt the best way to save money and that holds true in this case also if the quite necessary tools arent available. The tools arent absolutely essential if You can get the panels and the extrusions pre-cut to correct lenghts.
Most sheet suppliers do offer cutting service and if accurate enough, that can save a lot of time and make moving the pieces a lot easier. Almost a 3 m^2 sheet may pose a bit of a transportation problem for some folks.
Having the extrusions cut properly is more important though, and thats usually the reason people dont build cases.
This is not intended to be a thorough tutorial to case-making, Im just a hobbyist with the need and the necessary tools, not a professional. People with extensive experience in pro-casemaking will spot several incorrect methods Im sure. There is however a reason for why I do things the way I do, and thats how Ive always done it is one of them . I do hope that this thread inspires some exchange of thought about the methods among the DIYers in TB.
I wont go into areas of general woodworking or general metalworking either. You have to know how to make precice and repeatable cuts or the expensive materials will turn into a pile of scrap. (Or a smaller and smaller case up until its a perfect fit for a violin )
)
The extrusions and hardware I used is Adam Hall, but obviously any will do. I chose AH for convenience and previous experiences with that particular brand has been good.
I also used the cheapest 6.5mm waterproof plywood we have available in here, roughly translated as farm-plywood. The price reducing reason is that its not dead straight, but otherwise just as good as any other suitable variety. Its only a problem when cutting, the smaller pieces are dead straight as the internal stresses diminish when reducing the size of the sheet.
The sheets we have in here are 1200mm*2400mm and it pretty much vanishes when making a big case like this one. You do have some leftovers, thats true, and those can be used in another project, but usually not enough to make anything else than a mic-case or something like that.
Theres several ways to reduce the cost as well as improve the quality. I took the middle-way by using the materials easiest for me to get, while taking the advantage of the modern extrusions.
By modern I mean casemaker extrusions. Those werent available, at least not in here, in the stone ages (80s) when I first started making some cases as a kid. Basemaker and Lidmaker extrusions werent available for me in adequate lenghts at the time of purchase, so I didnt use those. Basemaker and Lidmaker extrusions take the miter saw requirements up a level or a two as well.
What obviously are the main points in a venture like this (for me anyway) are: the final price, how long it takes to make one and how much will it weigh.
The price aint bad IMHO. For about 110 to the materials, Youll get a professional looking case that will protect Your instrument well for a very long time.
Making an one off case like this, designing as You go is a slow process. I think I got this done with 10 hours on the box and additional 5 for the internal structure. The internal structure will take a lot of time or no time at all depending of the desired form, but Id say that the box making time can be reduced in half for the additional cases.
The weight is directly proportional to how sturdy (cost efficient) You want the case to be. Using regular plywood of a reasonable stifness and protective properties will always be heavy, no way around that. The alternative materials however cost at least three times more, so plywood is the most used material.
The empty box tipped a household scale at 14.7 Kg, so thats some indication of the weight.
Planning and designing the case, well anything really, is something that should be done with plenty of time. Quite important material savings can be acchieved if the planning is done properly. If You plan carefully, you dont have to trim the edges of the corner protectors like I had to. Wouldve made the case even thicker though.
Where to start then?
The obvious determening factor is the instrument that the case is being made for.
Straight headstocks are easy depth-wise, but angled headstocks like in the Epi pose a bit of a problem. Even more so if the edge of the body is angled A flat surface with some fillers should provide the needed mock up for the thickness measurement though. A cardboard template of the outline isnt such a bad idea either when finding out the X-Y dimensions and the orientation of the instrument in the case.
I like to have at least the protective material thickness around the instrument, in this case 15mm, so that has to be added. On every surface.
If Youre tight on the external dimensions for some reason and/or you are shooting for a specific outside dimensions, the casemaker profile thickness has to be taken to account on the calculations. I didnt care about that, I just determined the area that was needed and took the additional 5mm/side ID as a bonus. Thats usually a good thing as the measured dimensions tend to be in the small side.
Unlike a real cabinet maker, I like to build the box structure from bottom to the top to be completely ready, instead of the usual: make a closed box first and then cut it in half.
While the correct method has its undisputed benefits, it does make fitting the edge extrusions a bit of a PITA. With an angle grinder and a steady hand it can be done though.
I also like to install the ball corners, corner protectors and misc. hardware afterwards.
A short pictorial of the project:
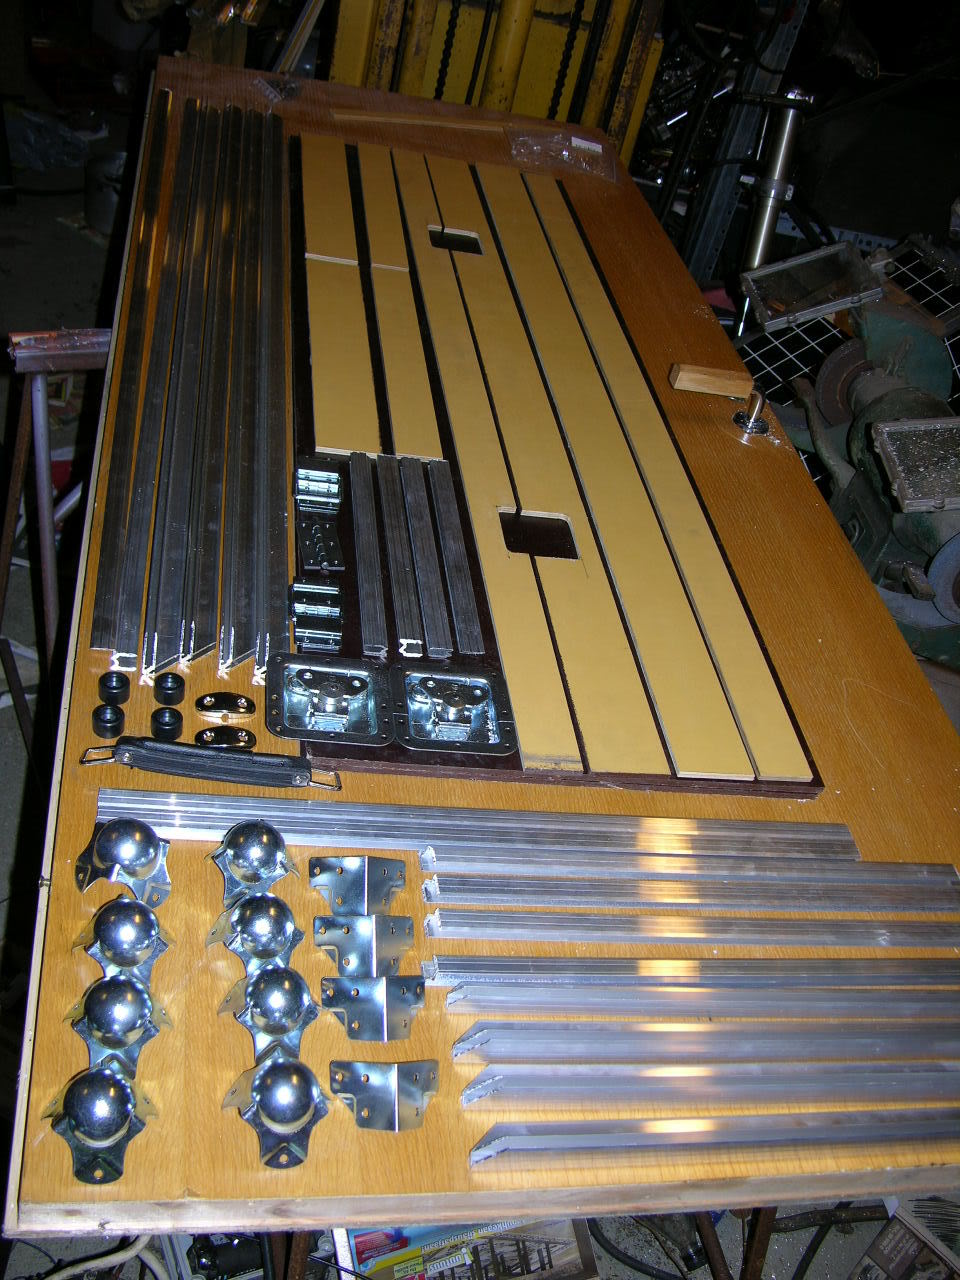
Heres the materials for the box, save the rivets and a few other pieces of hardware:
A close up of the corner miters:

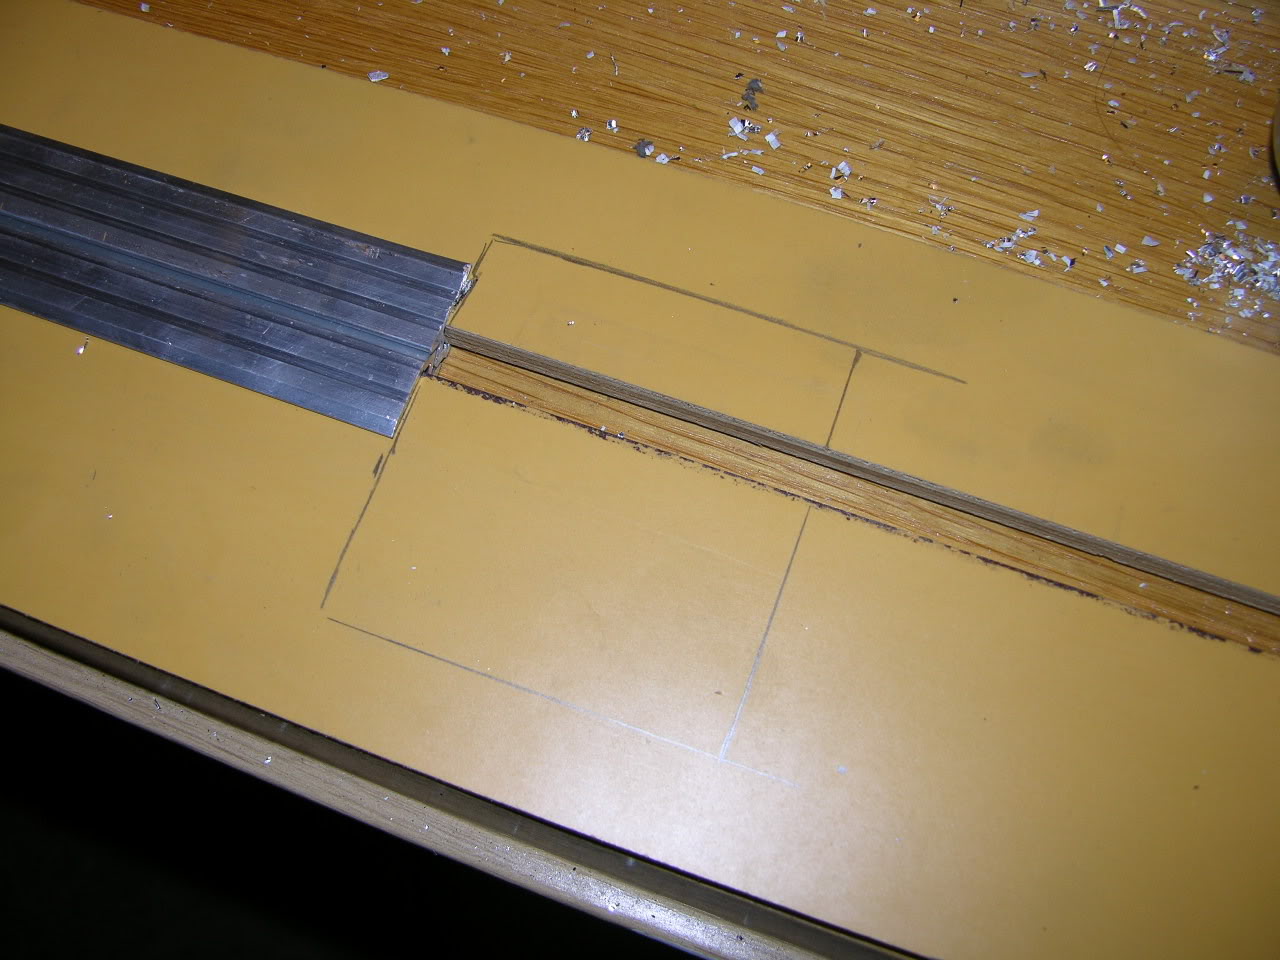
The latch cutout marking:
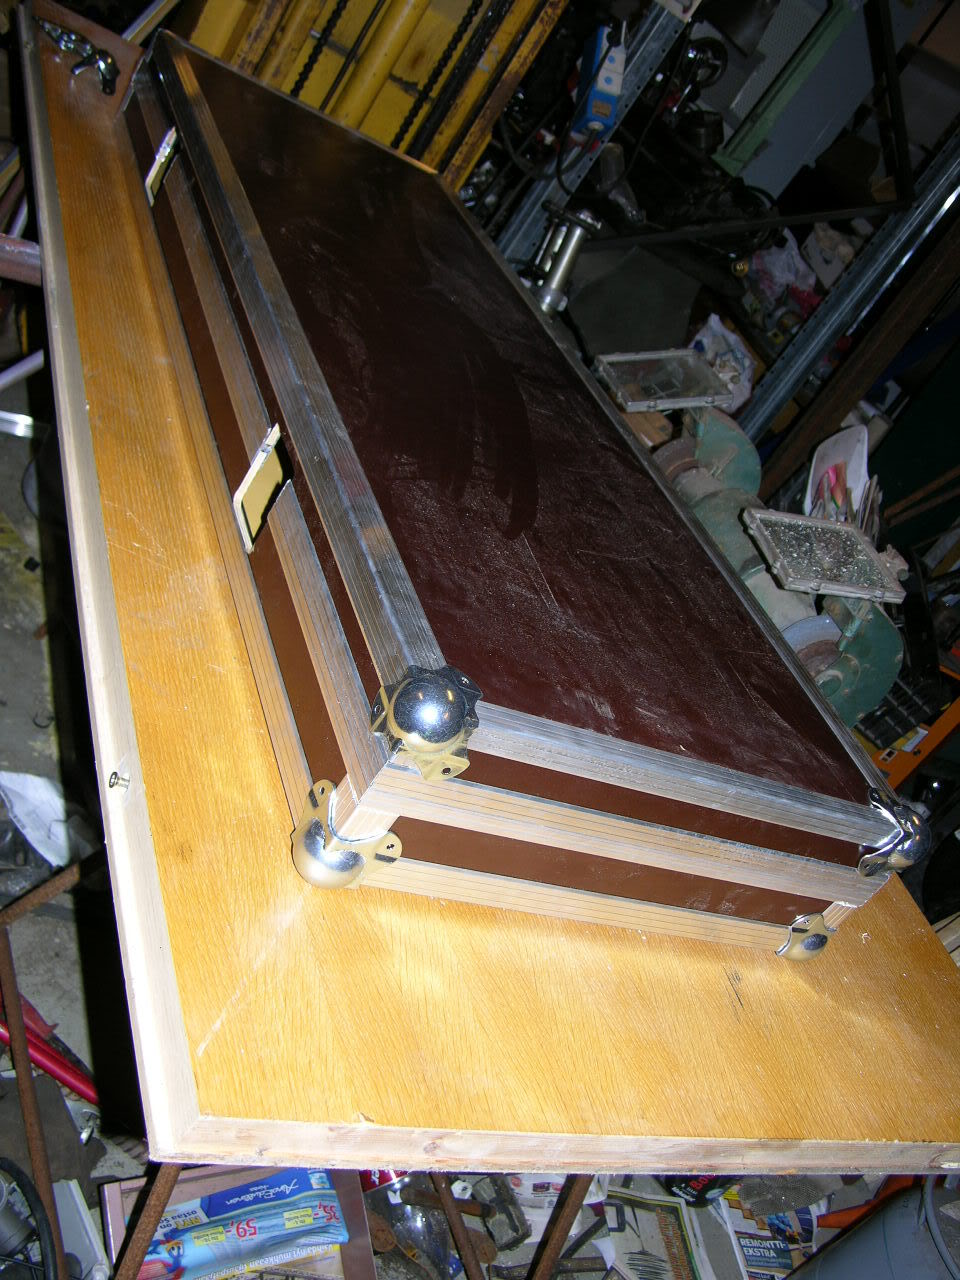
The mock-up installation with, and without the ball corners.
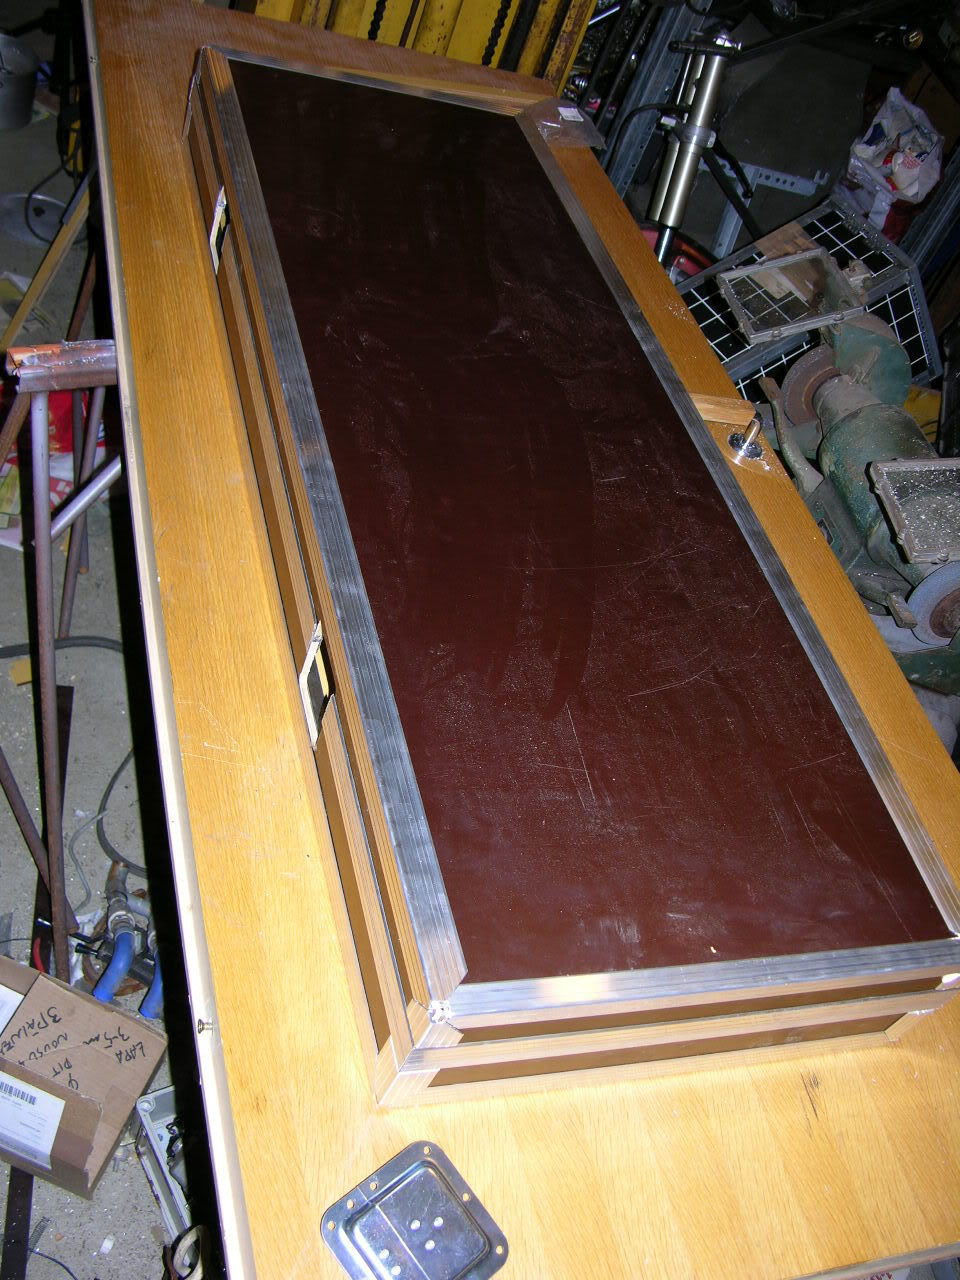
After the mock-up installation I found out that the lid locators were 5mm too long so a bit of trimming was in order.
A dry fit with the bass:
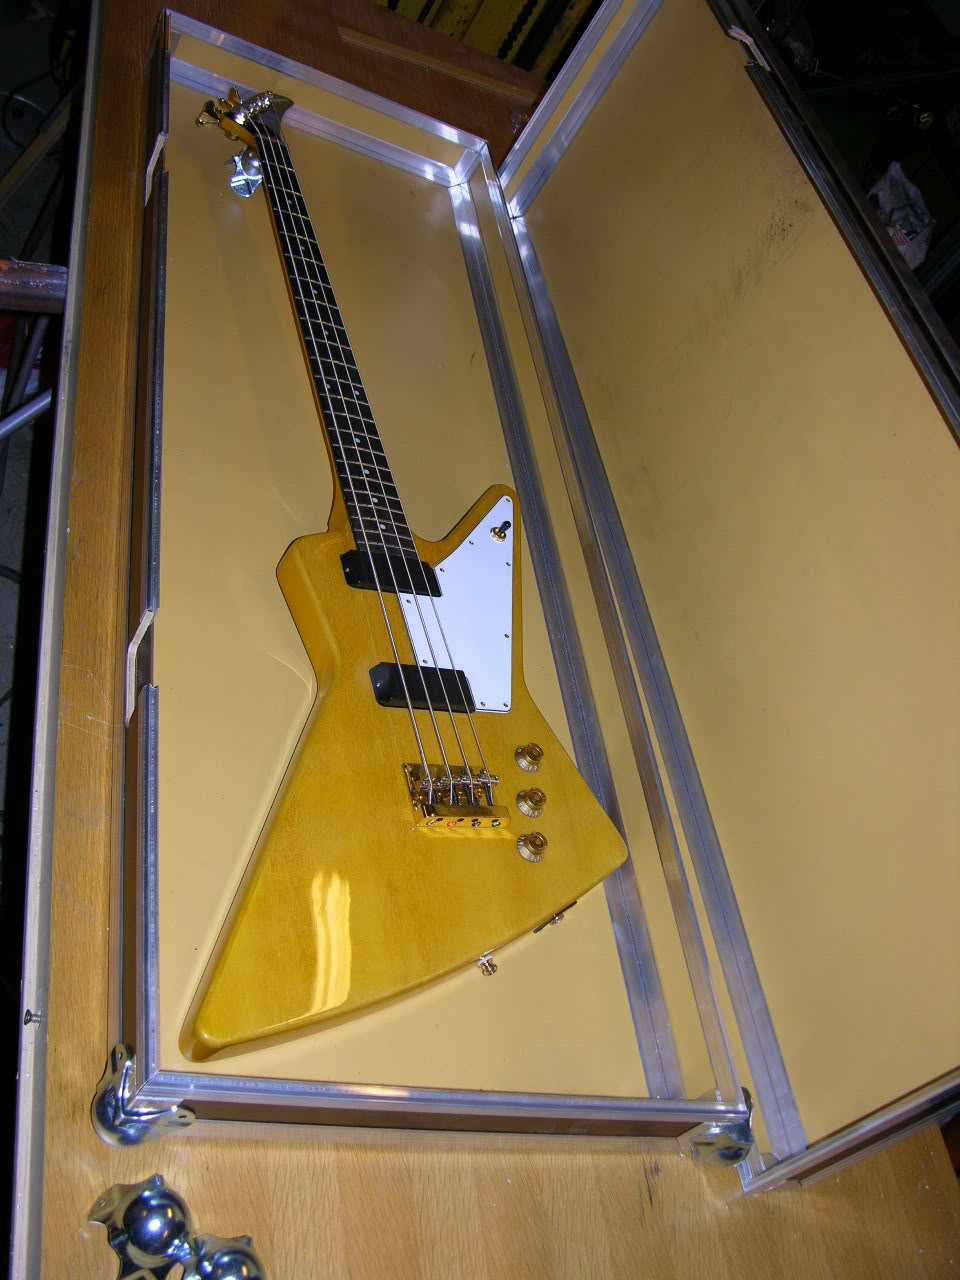
The base is glued:
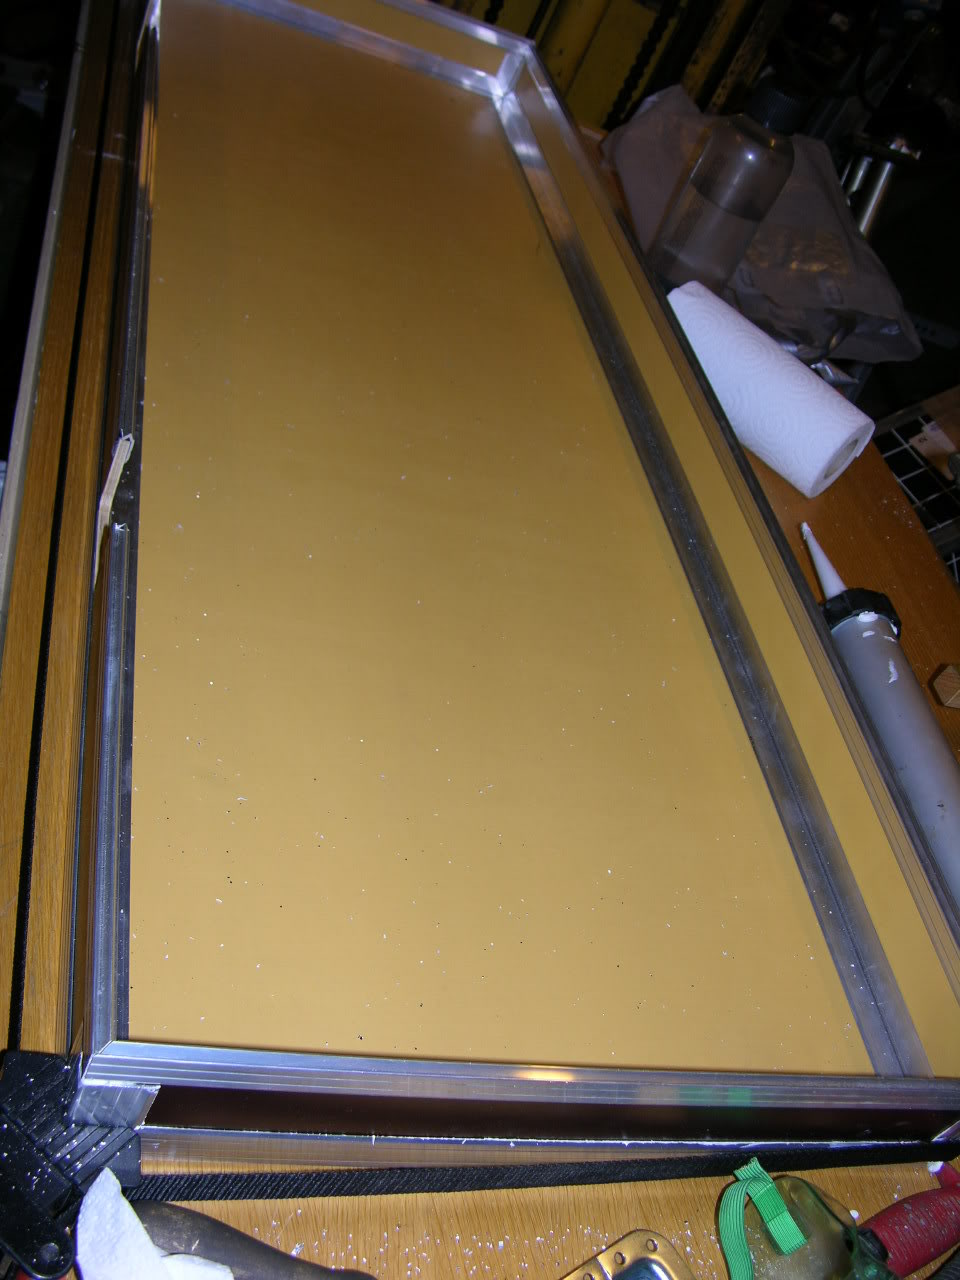
Followed with the lid frame:
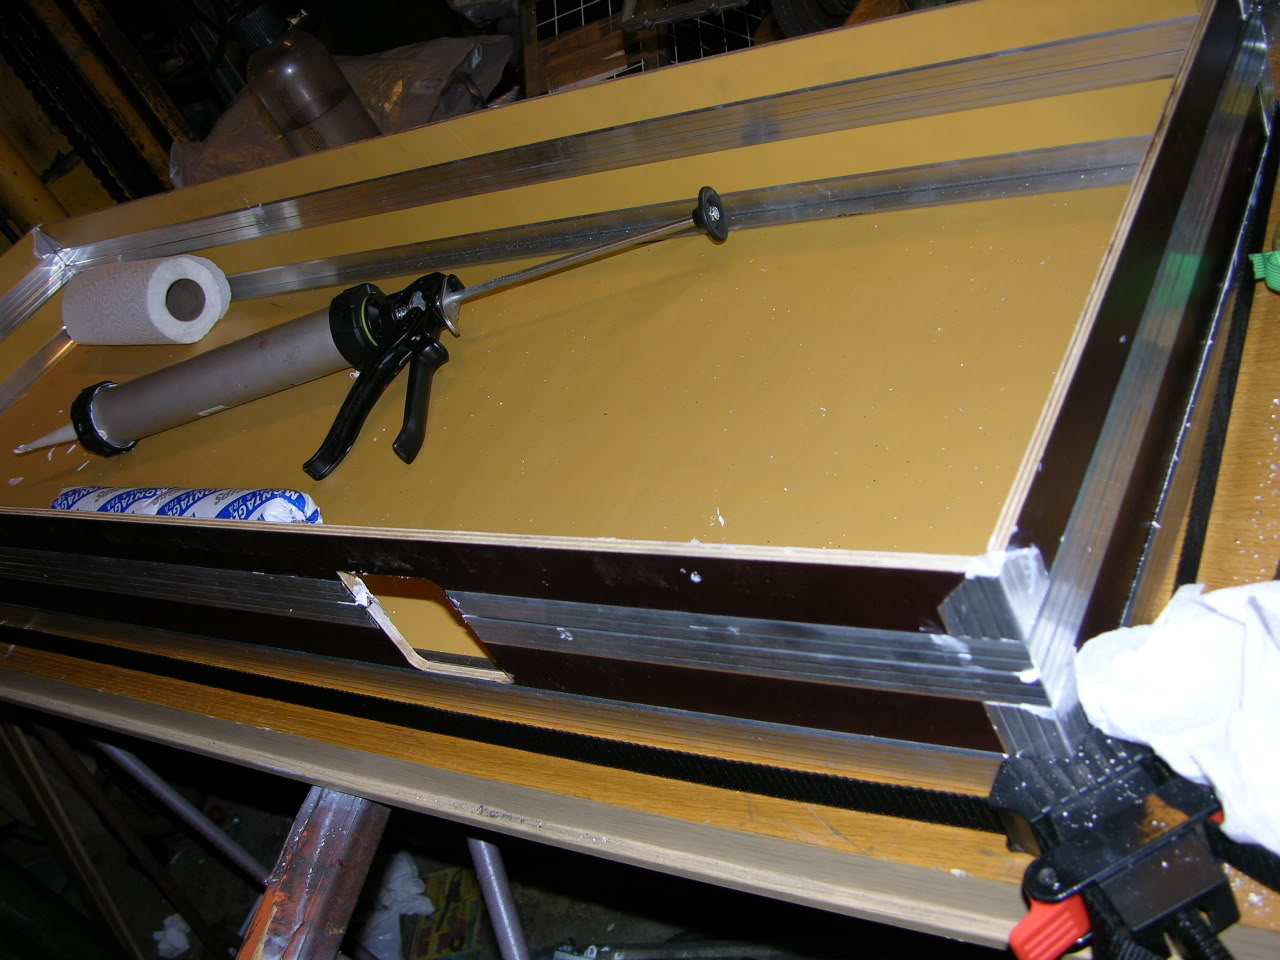
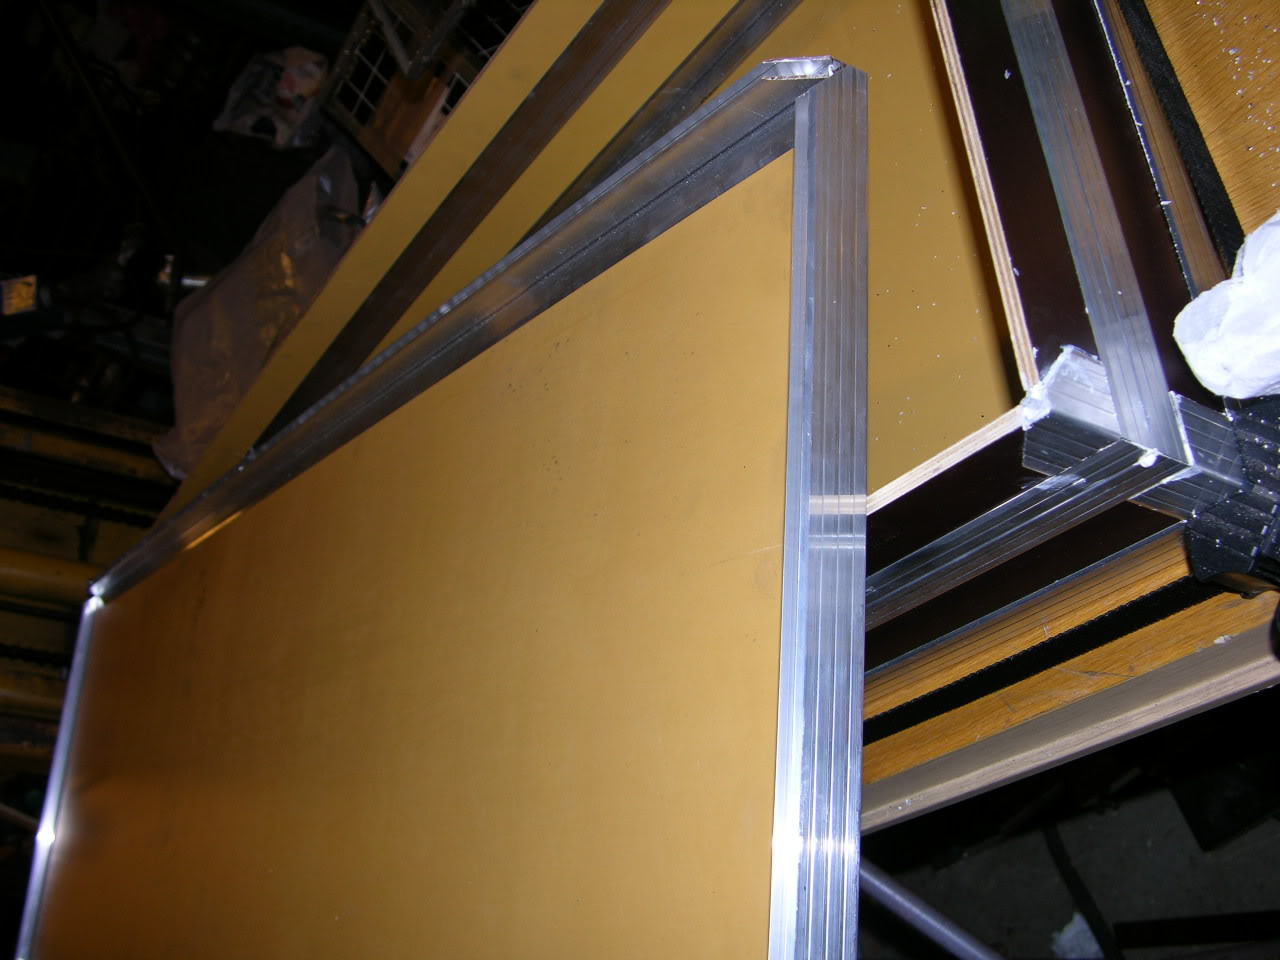
And the lid sheet with the profiles:
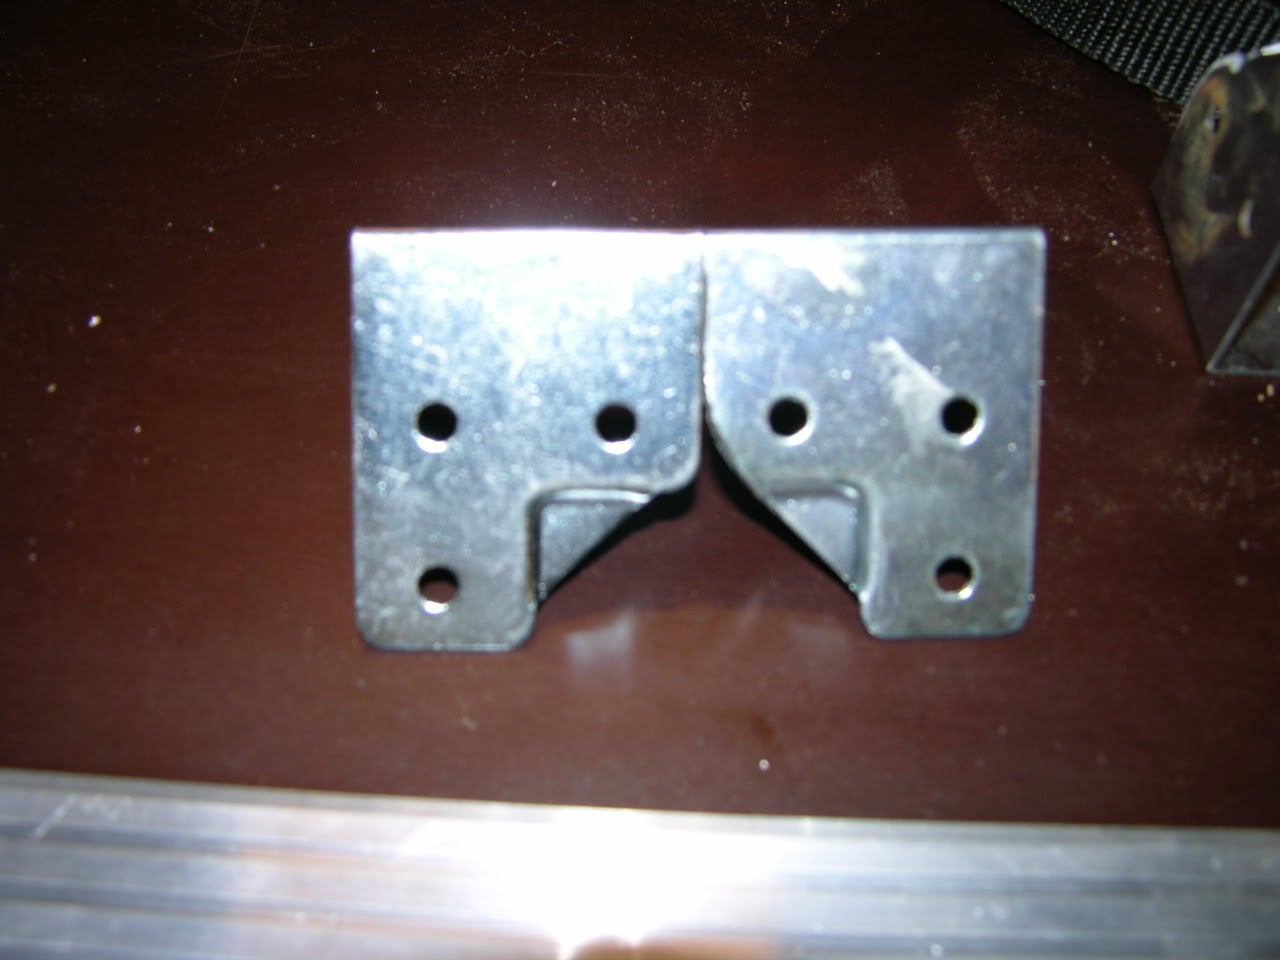
The small hardware is straight forward to install, but I had to do some trimming in order to the pieces to fit properly.
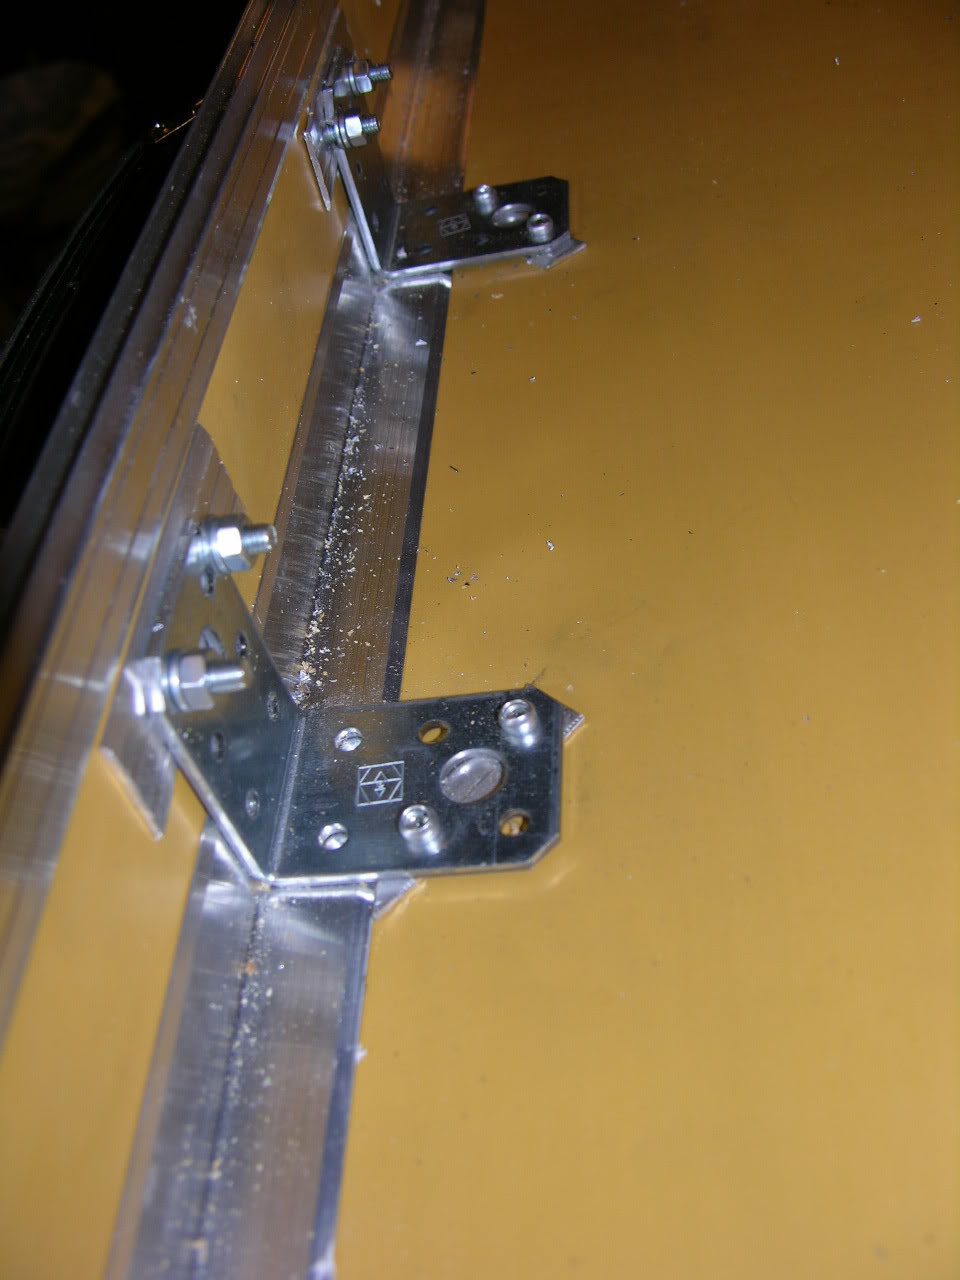
As the devil is in the details, I installed a pair of regular framing angles to support the handle. (Changed the nuts for nylocs though)
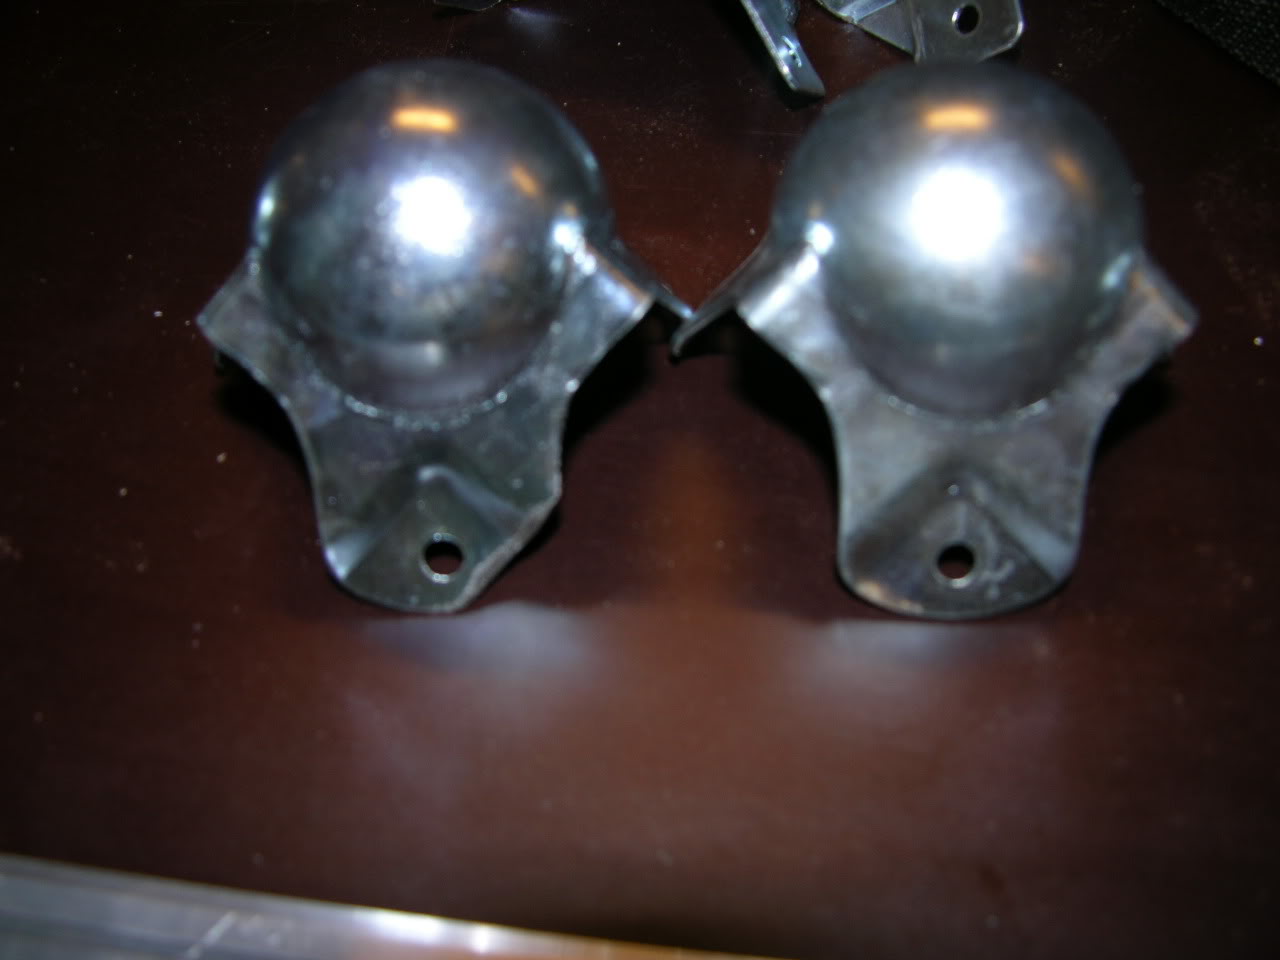
I also used stacking ball corners on the bottom of the case as the added friction surface makes the case more steady when transporting. I also plan to make at least one other case like this so stacking ability is a definite plus when storing and transporting.
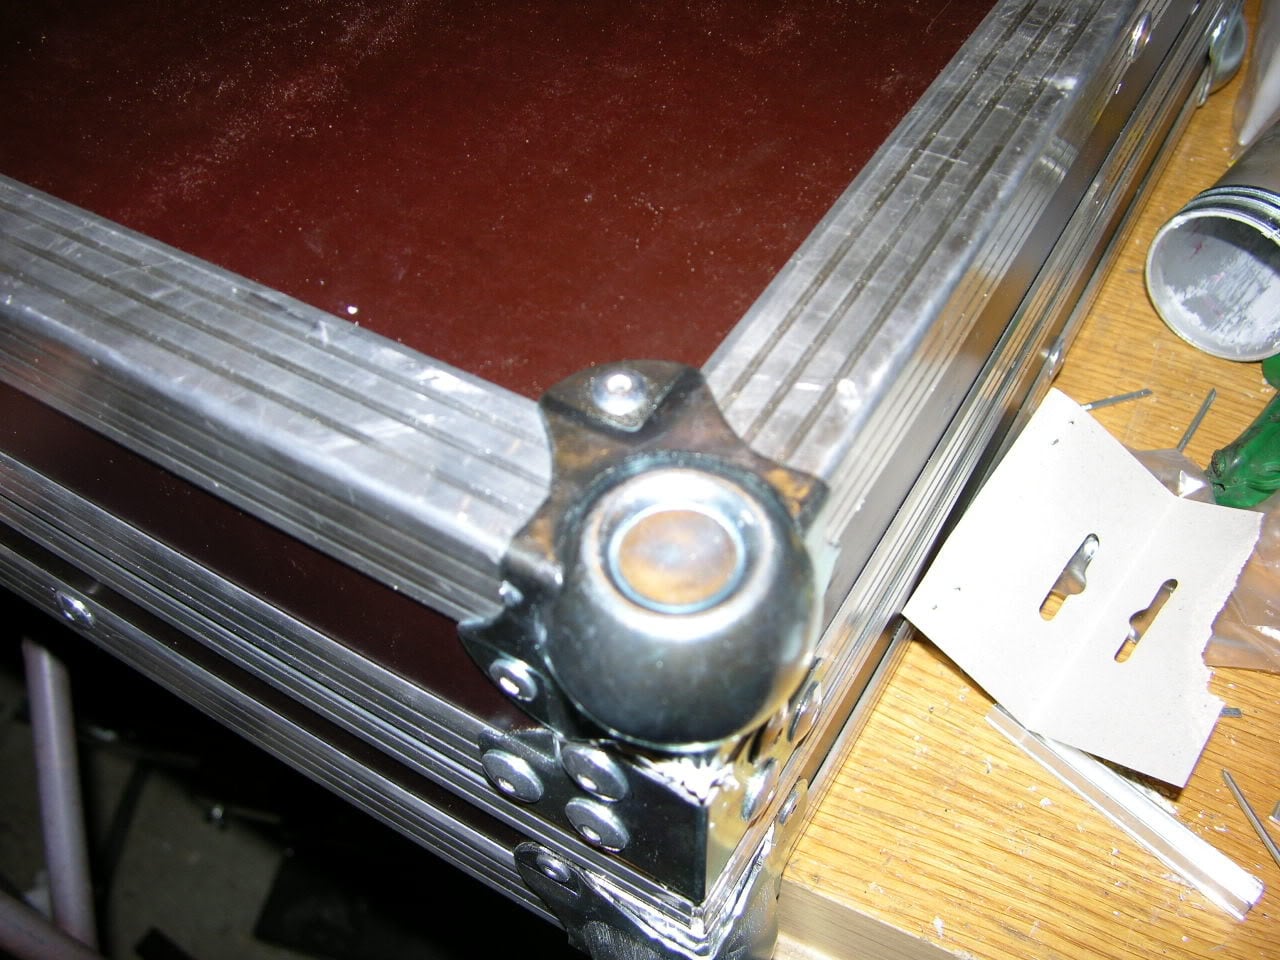
The interior design is something everyone has to figure out by themselves, to fit the materials theyre using. I happened to have a roll of frost insulation material, so that went into this case. Its expensive as hell if You need to actually buy some, so a substitute may be a good idea. It's not particulary good looking either.
Do keep in mind that all the synthetic (or natural for that matter) arent necessarily compatible with all the finishes. Avoid nasty surprises at all costs.
Anyway, heres the thickness pieces to provide the angle for the body:
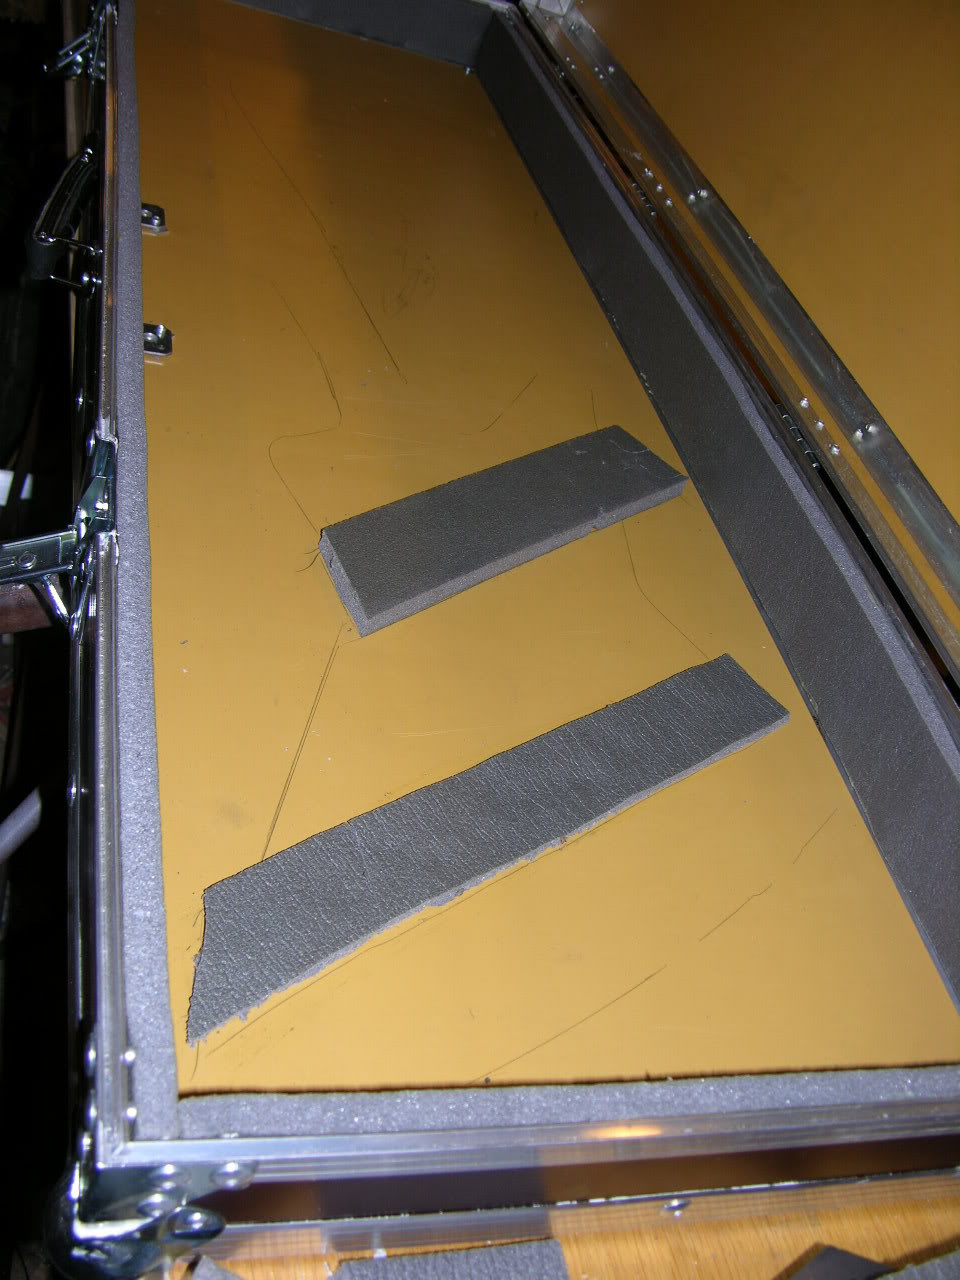
Followed by a few smooth and form fit layers:
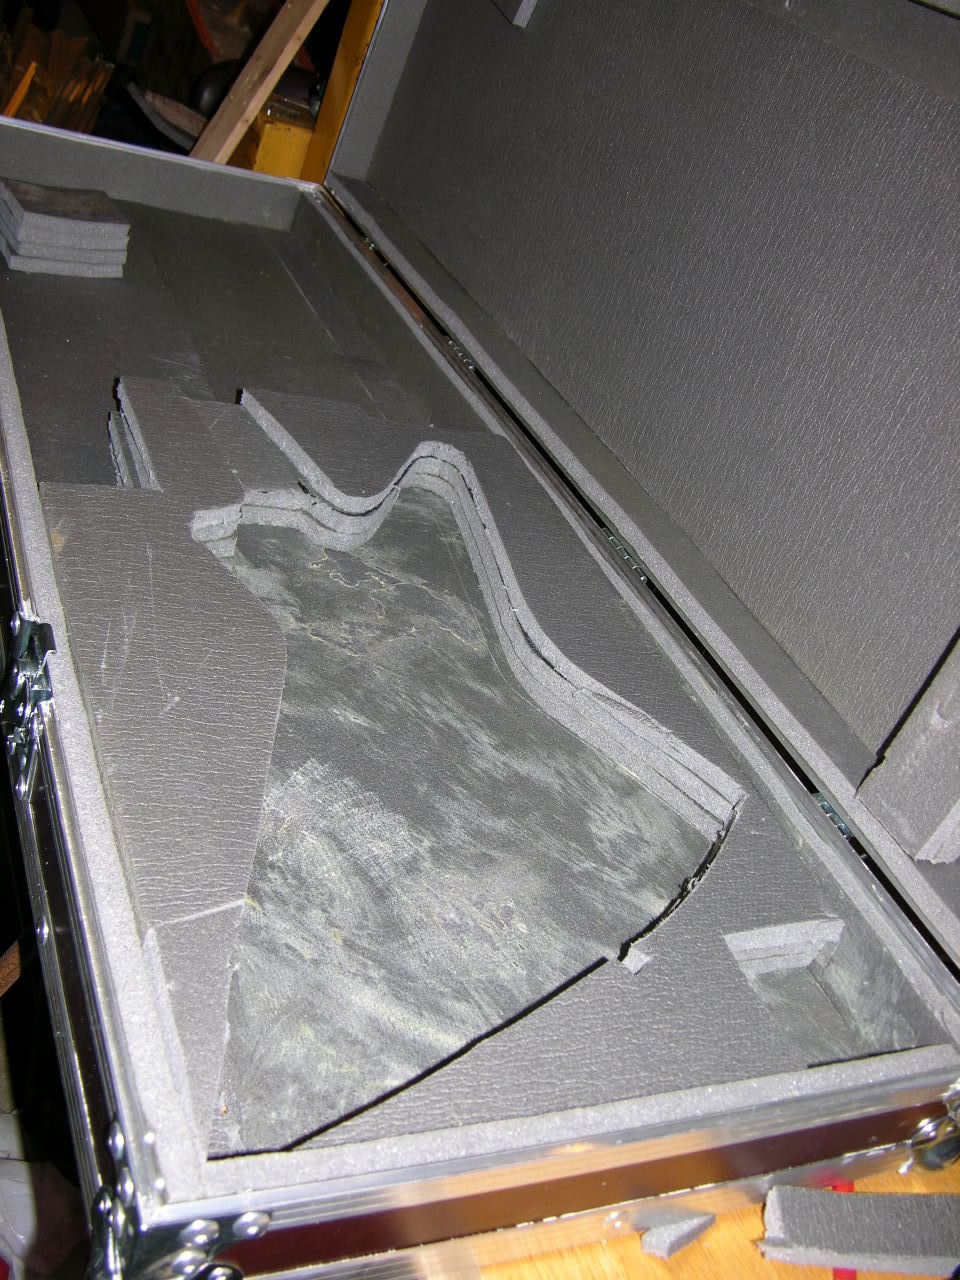
And a couple of pics of a finished product:
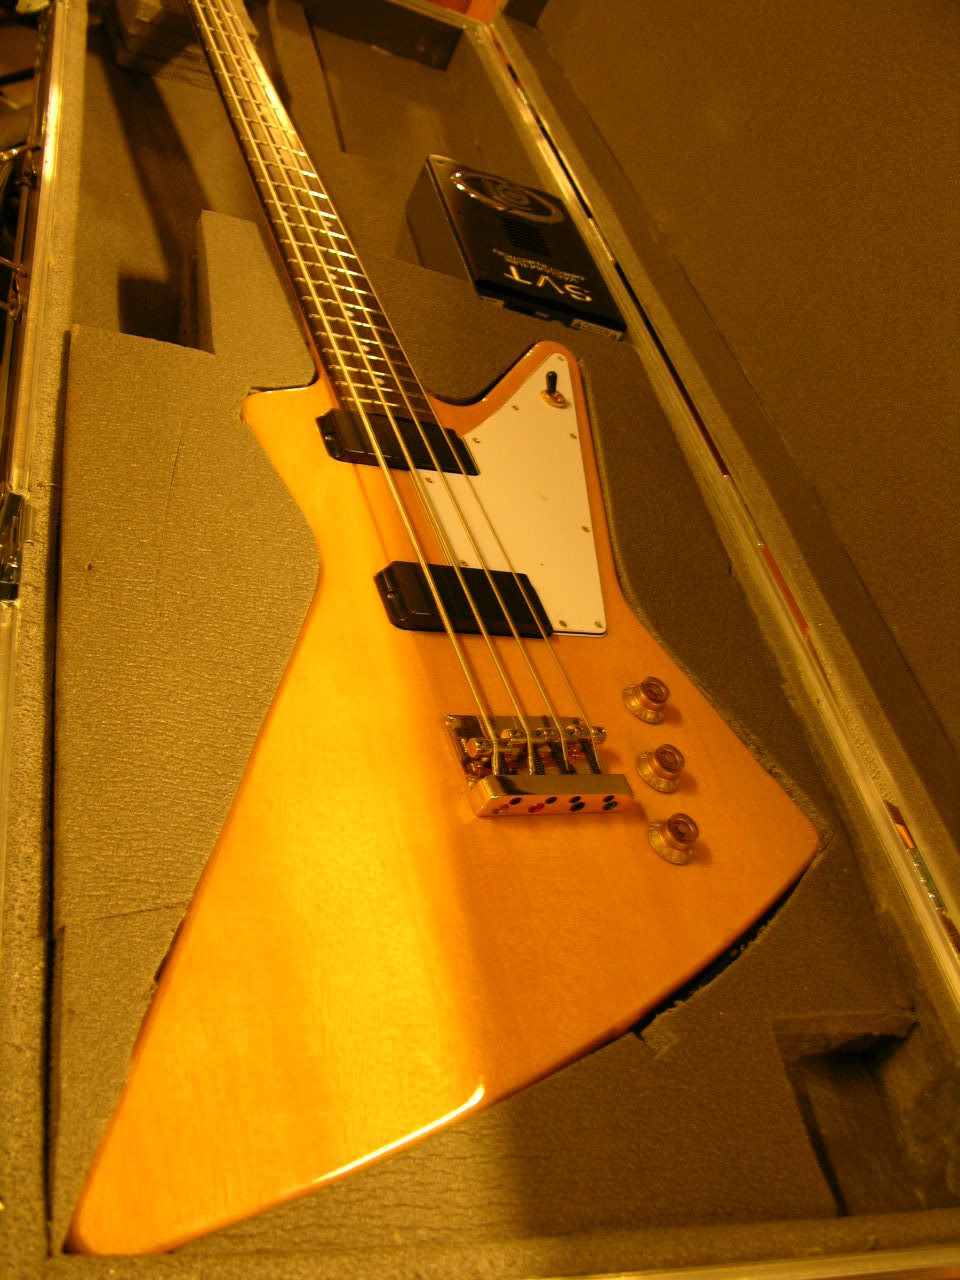
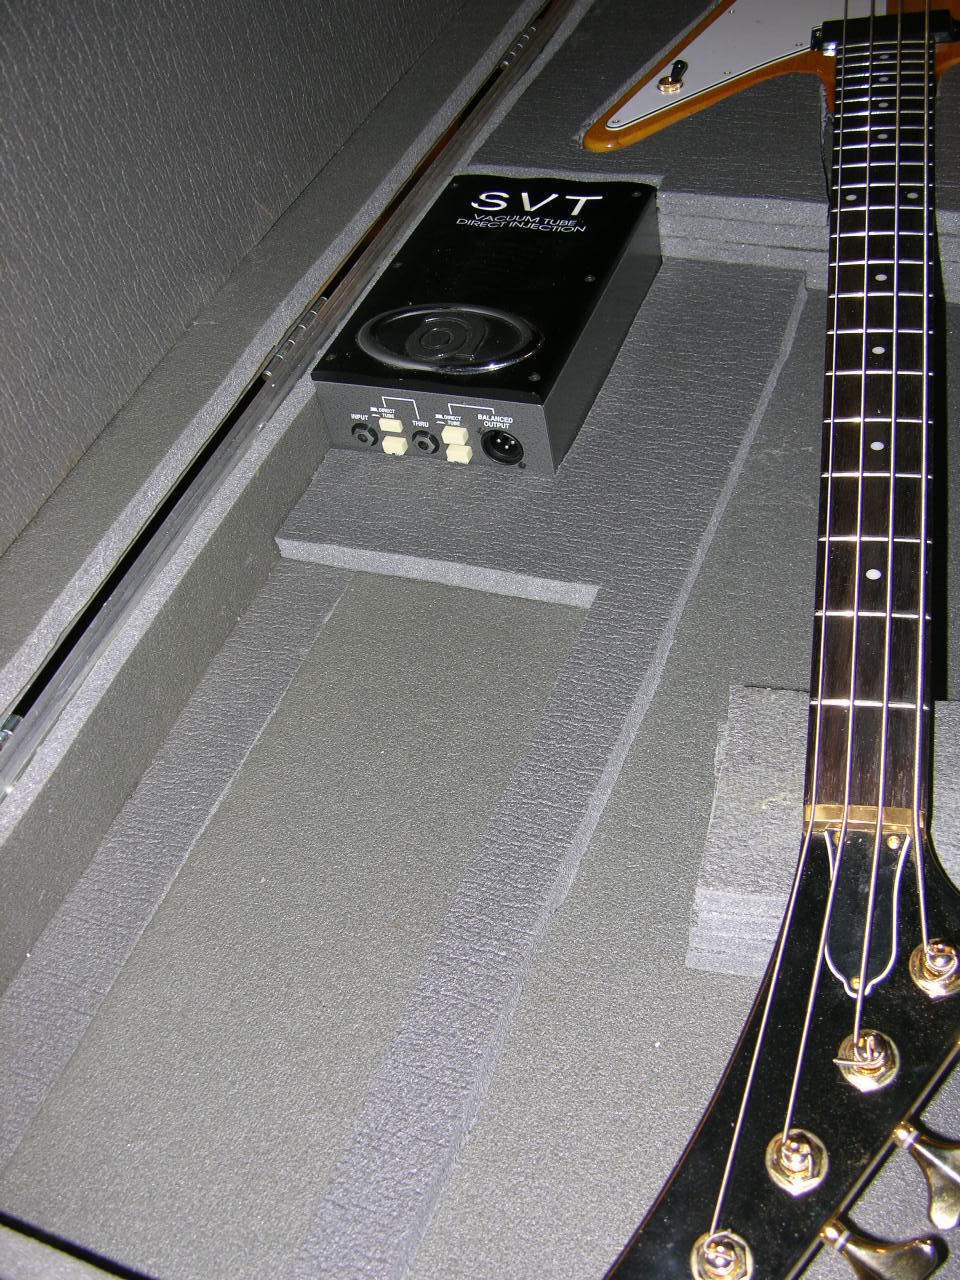
Finished as theres still some accessory compartments and such to be made.
Unfortunately I ran out of contact cement so those may have to wait.
Materials used in this particular project:
(Metric.)
6.5mm plywood:
2pcs 1345*450
2pcs 1345*70
2pcs 1345*50
2pcs 450*70
2pcs 450*50
Which roughly translates to 1.7 m^2
Adam Hall:
Extrusions (with miters):
7mm Casemaker 6106
4pcs 1347
4pcs 452
4pcs 54
4pcs 34
7mm hybrid lid 6102:
2pcs 1365
2pcs 610
4pcs 470
4pcs 209
Hardware:
2pcs 17295TP (locks)
4pcs 4124 (ball corner)
4pcs 4128 (stacking ball corner)
4pcs 4053 (corner reinforcment)
4pcs 4041 (corner reinforcment)
4pcs 4905TP (feet)
2pcs 2524 (strut hinge)
2pcs 2602 (hinge)
1pcs 3418 (handle)
~170 4,8mm POP-rivets
~20 5mm washers for reinforcment where the expanding end is on the plywood.
Hard cellfoam frost insulation material for the interior.
1L contact cement.
Construction glue, 2 tubes.
Special tools needed.
Power miter saw, non sliding preferable for sturdiness.
Power drill.
POP-riveter.
POP-rivet drill bit
(electric angle-grinder)
(center punch)
Regards
Sam
Since there wasnt an easily available case for the Epi LTD Explorer I recently bought, and a custom case is well beyond my budget, I decided to take the DIY route.
Seeing that questions about DIY cases are quite frequent here in TB, I decided to post a thread about the build.
Usually DIY isnt the best way to save money and that holds true in this case
also if the quite necessary tools arent available. The tools arent absolutely essential if You can get the panels and the extrusions pre-cut to correct lenghts.Most sheet suppliers do offer cutting service and if accurate enough, that can save a lot of time and make moving the pieces a lot easier. Almost a 3 m^2 sheet may pose a bit of a transportation problem for some folks.
Having the extrusions cut properly is more important though, and thats usually the reason people dont build cases.
This is not intended to be a thorough tutorial to case-making, Im just a hobbyist with the need and the necessary tools, not a professional. People with extensive experience in pro-casemaking will spot several incorrect methods Im sure. There is however a reason for why I do things the way I do, and thats how Ive always done it is one of them
. I do hope that this thread inspires some exchange of thought about the methods among the DIYers in TB.I wont go into areas of general woodworking or general metalworking either. You have to know how to make precice and repeatable cuts or the expensive materials will turn into a pile of scrap. (Or a smaller and smaller case up until its a perfect fit for a violin
)The extrusions and hardware I used is Adam Hall, but obviously any will do. I chose AH for convenience and previous experiences with that particular brand has been good.
I also used the cheapest 6.5mm waterproof plywood we have available in here, roughly translated as farm-plywood. The price reducing reason is that its not dead straight, but otherwise just as good as any other suitable variety. Its only a problem when cutting, the smaller pieces are dead straight as the internal stresses diminish when reducing the size of the sheet.
The sheets we have in here are 1200mm*2400mm and it pretty much vanishes when making a big case like this one. You do have some leftovers, thats true, and those can be used in another project, but usually not enough to make anything else than a mic-case or something like that.
Theres several ways to reduce the cost as well as improve the quality. I took the middle-way by using the materials easiest for me to get, while taking the advantage of the modern extrusions.
By modern I mean casemaker extrusions. Those werent available, at least not in here, in the stone ages (80s) when I first started making some cases as a kid. Basemaker and Lidmaker extrusions werent available for me in adequate lenghts at the time of purchase, so I didnt use those. Basemaker and Lidmaker extrusions take the miter saw requirements up a level or a two as well.
What obviously are the main points in a venture like this (for me anyway) are: the final price, how long it takes to make one and how much will it weigh.
The price aint bad IMHO. For about 110 to the materials, Youll get a professional looking case that will protect Your instrument well for a very long time.
Making an one off case like this, designing as You go is a slow process. I think I got this done with 10 hours on the box and additional 5 for the internal structure. The internal structure will take a lot of time or no time at all depending of the desired form, but Id say that the box making time can be reduced in half for the additional cases.
The weight is directly proportional to how sturdy (cost efficient) You want the case to be. Using regular plywood of a reasonable stifness and protective properties will always be heavy, no way around that. The alternative materials however cost at least three times more, so plywood is the most used material.
The empty box tipped a household scale at 14.7 Kg, so thats some indication of the weight.
Planning and designing the case, well anything really, is something that should be done with plenty of time. Quite important material savings can be acchieved if the planning is done properly. If You plan carefully, you dont have to trim the edges of the corner protectors like I had to
. Wouldve made the case even thicker though.Where to start then?
The obvious determening factor is the instrument that the case is being made for.
Straight headstocks are easy depth-wise, but angled headstocks like in the Epi pose a bit of a problem. Even more so if the edge of the body is angled A flat surface with some fillers should provide the needed mock up for the thickness measurement though. A cardboard template of the outline isnt such a bad idea either when finding out the X-Y dimensions and the orientation of the instrument in the case.
I like to have at least the protective material thickness around the instrument, in this case 15mm, so that has to be added. On every surface
.If Youre tight on the external dimensions for some reason and/or you are shooting for a specific outside dimensions, the casemaker profile thickness has to be taken to account on the calculations. I didnt care about that, I just determined the area that was needed and took the additional 5mm/side ID as a bonus. Thats usually a good thing as the measured dimensions tend to be in the small side.
Unlike a real cabinet maker, I like to build the box structure from bottom to the top to be completely ready, instead of the usual: make a closed box first and then cut it in half.
While the correct method has its undisputed benefits, it does make fitting the edge extrusions a bit of a PITA. With an angle grinder and a steady hand it can be done though.
I also like to install the ball corners, corner protectors and misc. hardware afterwards.
A short pictorial of the project:
Heres the materials for the box, save the rivets and a few other pieces of hardware:
A close up of the corner miters:
The latch cutout marking:
The mock-up installation with, and without the ball corners.
After the mock-up installation I found out that the lid locators were 5mm too long so a bit of trimming was in order.
A dry fit with the bass:
The base is glued:
Followed with the lid frame:
And the lid sheet with the profiles:
The small hardware is straight forward to install, but I had to do some trimming in order to the pieces to fit properly.
As the devil is in the details, I installed a pair of regular framing angles to support the handle. (Changed the nuts for nylocs though)
I also used stacking ball corners on the bottom of the case as the added friction surface makes the case more steady when transporting. I also plan to make at least one other case like this so stacking ability is a definite plus when storing and transporting.
The interior design is something everyone has to figure out by themselves, to fit the materials theyre using. I happened to have a roll of frost insulation material, so that went into this case. Its expensive as hell if You need to actually buy some, so a substitute may be a good idea
. It's not particulary good looking either. Do keep in mind that all the synthetic (or natural for that matter) arent necessarily compatible with all the finishes. Avoid nasty surprises at all costs.
Anyway, heres the thickness pieces to provide the angle for the body:
Followed by a few smooth and form fit layers:
And a couple of pics of a finished product:
Finished as theres still some accessory compartments and such to be made.
Unfortunately I ran out of contact cement so those may have to wait.
Materials used in this particular project:
(Metric.)
6.5mm plywood:
2pcs 1345*450
2pcs 1345*70
2pcs 1345*50
2pcs 450*70
2pcs 450*50
Which roughly translates to 1.7 m^2
Adam Hall:
Extrusions (with miters):
7mm Casemaker 6106
4pcs 1347
4pcs 452
4pcs 54
4pcs 34
7mm hybrid lid 6102:
2pcs 1365
2pcs 610
4pcs 470
4pcs 209
Hardware:
2pcs 17295TP (locks)
4pcs 4124 (ball corner)
4pcs 4128 (stacking ball corner)
4pcs 4053 (corner reinforcment)
4pcs 4041 (corner reinforcment)
4pcs 4905TP (feet)
2pcs 2524 (strut hinge)
2pcs 2602 (hinge)
1pcs 3418 (handle)
~170 4,8mm POP-rivets
~20 5mm washers for reinforcment where the expanding end is on the plywood.
Hard cellfoam frost insulation material for the interior.
1L contact cement.
Construction glue, 2 tubes.
Special tools needed.
Power miter saw, non sliding preferable for sturdiness.
Power drill.
POP-riveter.
POP-rivet drill bit
(electric angle-grinder)
(center punch)
Regards
Sam