

Enjoy the benefits of a premium membership!
Upgrade Account
-
TalkBass has been independent since 1998. Add your voice.
Create a free account to reply to discussions, view embedded media, and browse with fewer display ads.
Join free Log in
Want zero display ads or expanded classifieds tools? Compare plans.
You are using an out of date browser. It may not display this or other websites correctly.
You should upgrade or use an alternative browser.
You should upgrade or use an alternative browser.
Making my bass lighter
- Thread starter jbybj
- Start date
More options
Who Replied?
My grain is not so distinct, but if you imagine the top and bottom placed vertically, I’m going to have this orientation to my boards.
()
)(
My layman’s perspective tells me this should achieve similar results. Anyway, I’m committed now.
What I really need is a table saw, and a drill press, and a planer, and, oh hell, I should just get a CNC machine, but then I wouldn’t recognize my own work , it would be too clean.
()
)(
My layman’s perspective tells me this should achieve similar results. Anyway, I’m committed now.
What I really need is a table saw, and a drill press, and a planer, and, oh hell, I should just get a CNC machine, but then I wouldn’t recognize my own work , it would be too clean.
A drill press, a router, and a bandsaw are the basic power tools for Luthiers. Everything else just saves time and takes up space. A CNC machine takes up space and uses up much more of your time.

I'm also going to pressure you to make a template at home. 
I draw mine out to the shape I need on MDF, then cut about 1/16" or so away from it with my jigsaw. Then I take a bastard file and hand file the top edge down to the line, as smooth as I can get it. As long as there is 1/8" of vertically filed edge, I can then run around it with my router. This cleans up the bottom of the template edge, and I can flip it over to run it around the perimeter again, and I have a perfect template.
Sounds like a lot, but even making body template, the whole operation takes me about a half hour.
One of these days I'll take some pics of the process.
I draw mine out to the shape I need on MDF, then cut about 1/16" or so away from it with my jigsaw. Then I take a bastard file and hand file the top edge down to the line, as smooth as I can get it. As long as there is 1/8" of vertically filed edge, I can then run around it with my router. This cleans up the bottom of the template edge, and I can flip it over to run it around the perimeter again, and I have a perfect template.
Sounds like a lot, but even making body template, the whole operation takes me about a half hour.
One of these days I'll take some pics of the process.
Whats a "bastard" file? Never mind, I googled it. I've got lots of those. Patience is what I lack. But it's posts like yours that push me to reconsider my lazy path. Thanks.I'm also going to pressure you to make a template at home.
I draw mine out to the shape I need on MDF, then cut about 1/16" or so away from it with my jigsaw. Then I take a bastard file and hand file the top edge down to the line, as smooth as I can get it. As long as there is 1/8" of vertically filed edge, I can then run around it with my router. This cleans up the bottom of the template edge, and I can flip it over to run it around the perimeter again, and I have a perfect template.
Sounds like a lot, but even making body template, the whole operation takes me about a half hour.
One of these days I'll take some pics of the process.
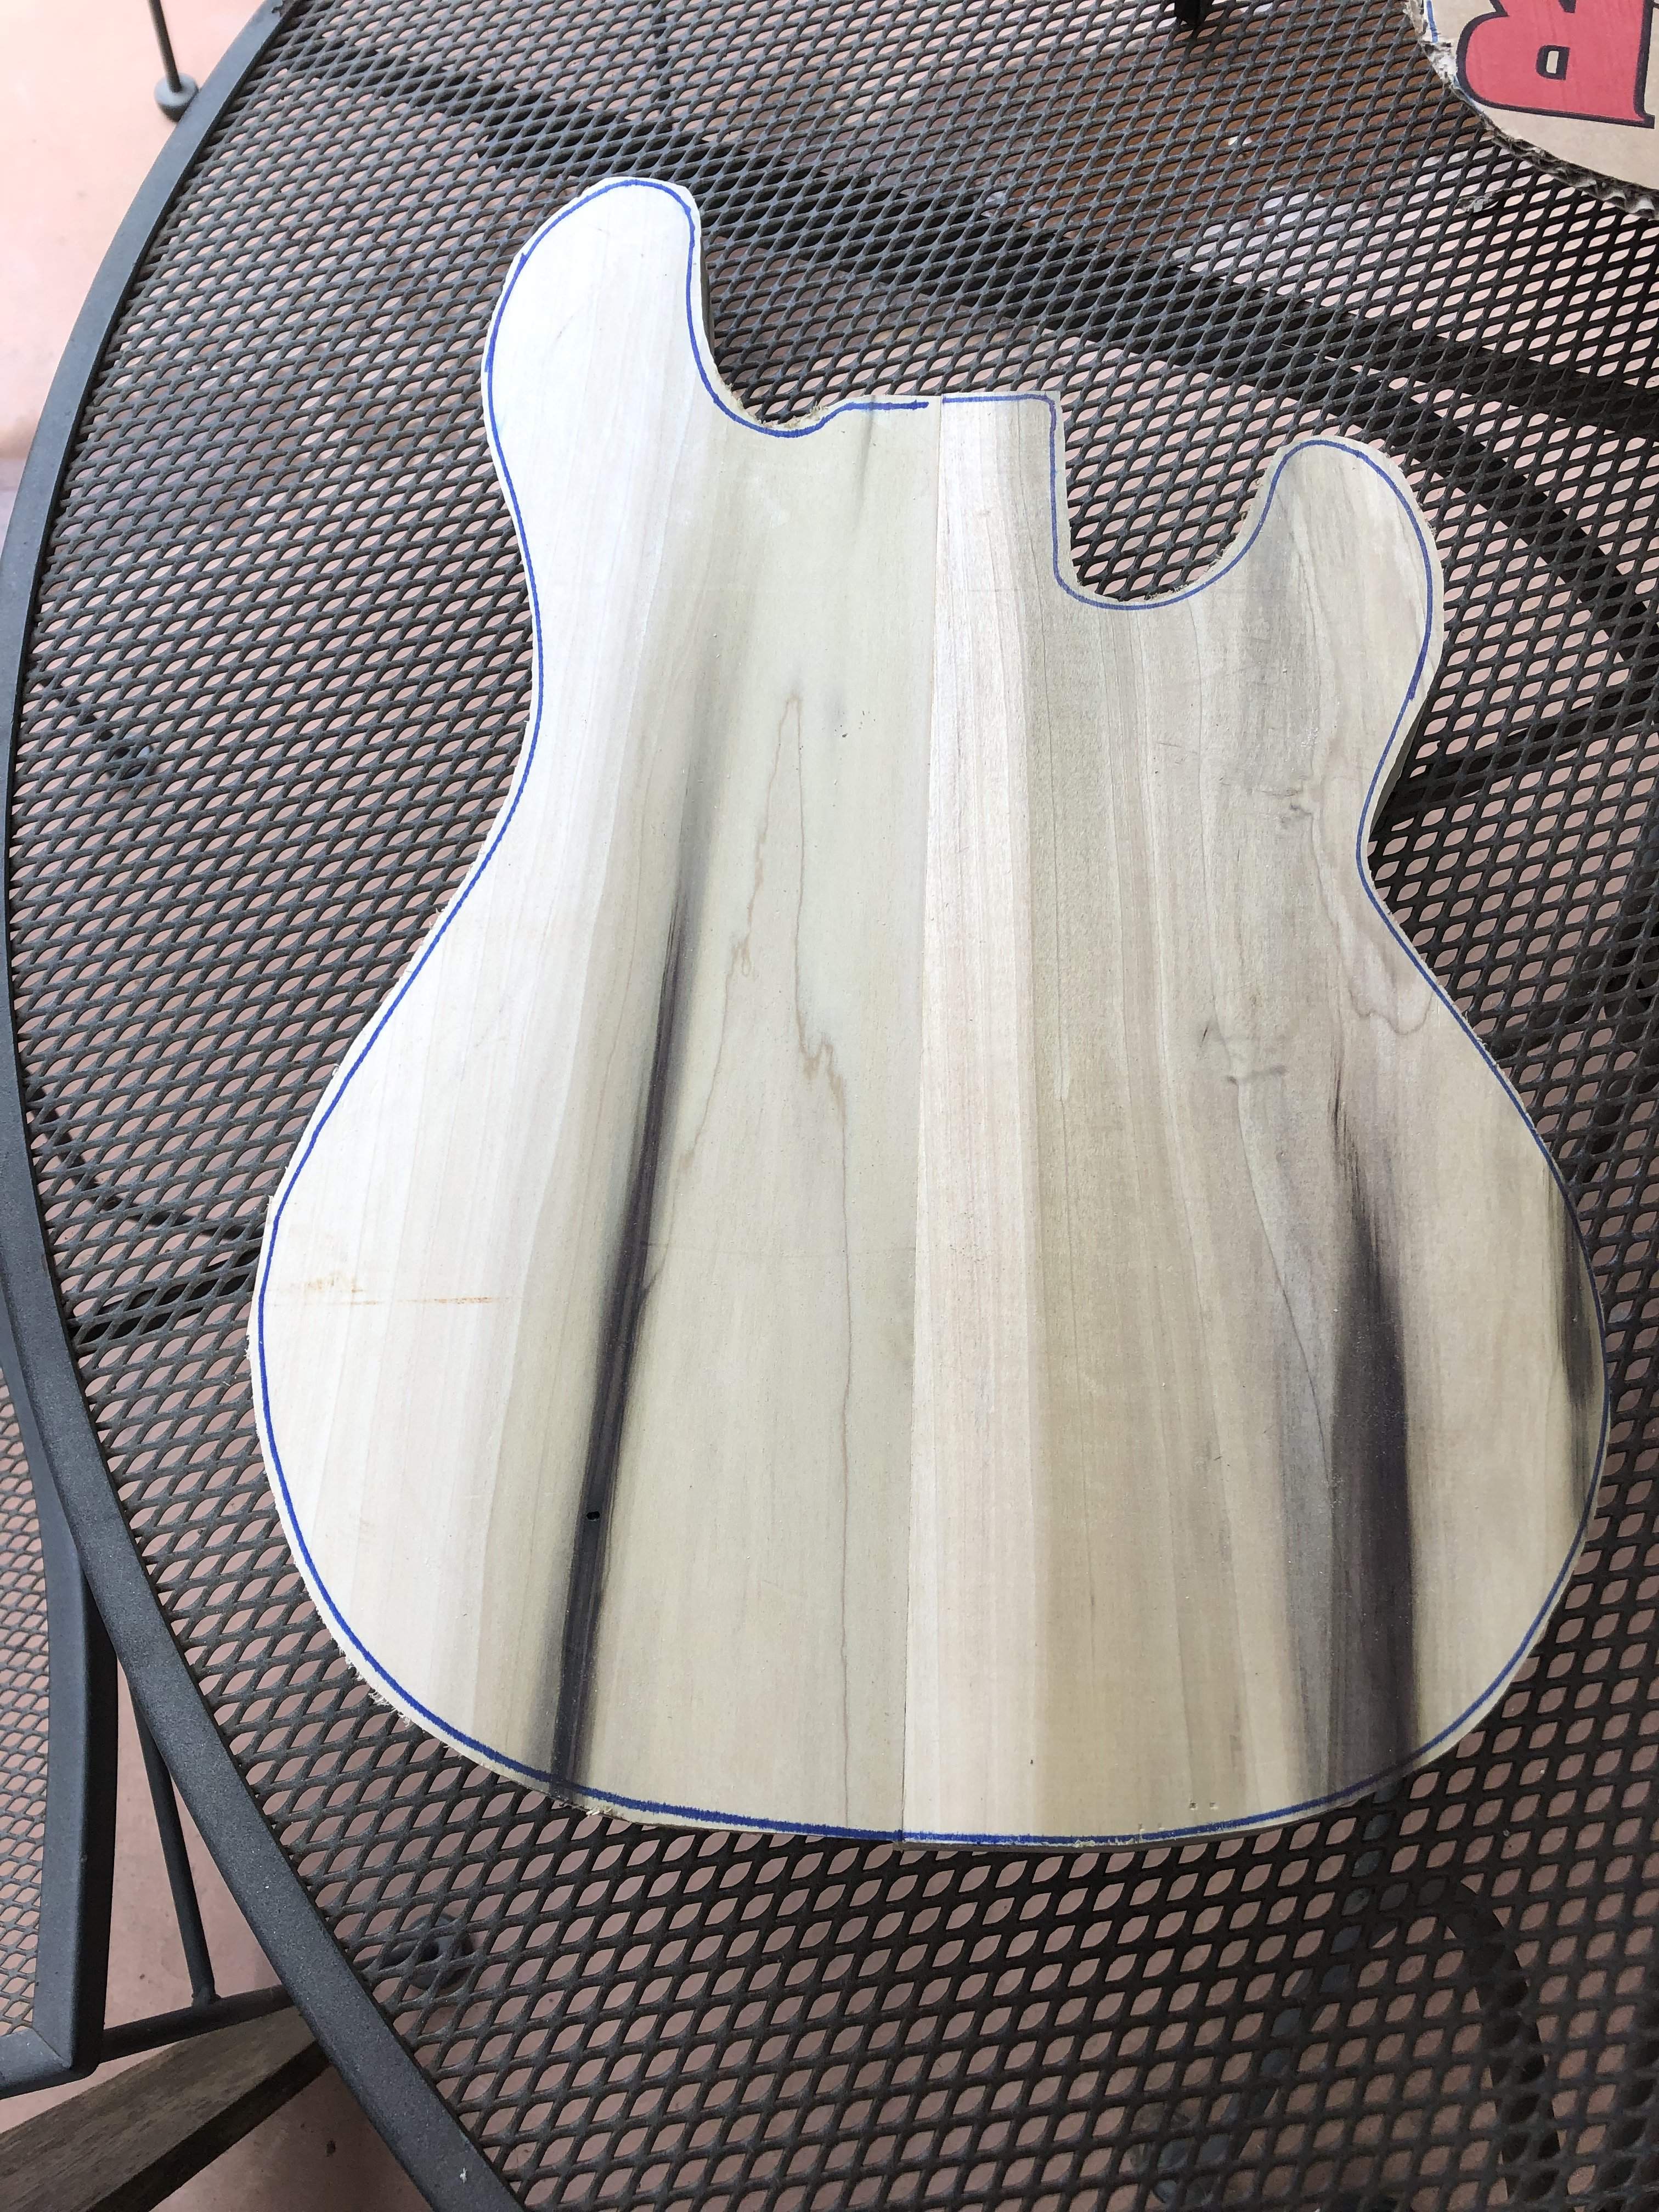
Rough cut of the outline. Original body 5lbs 7ozs. Rough cut no chambers, 5lbs 14ozs.
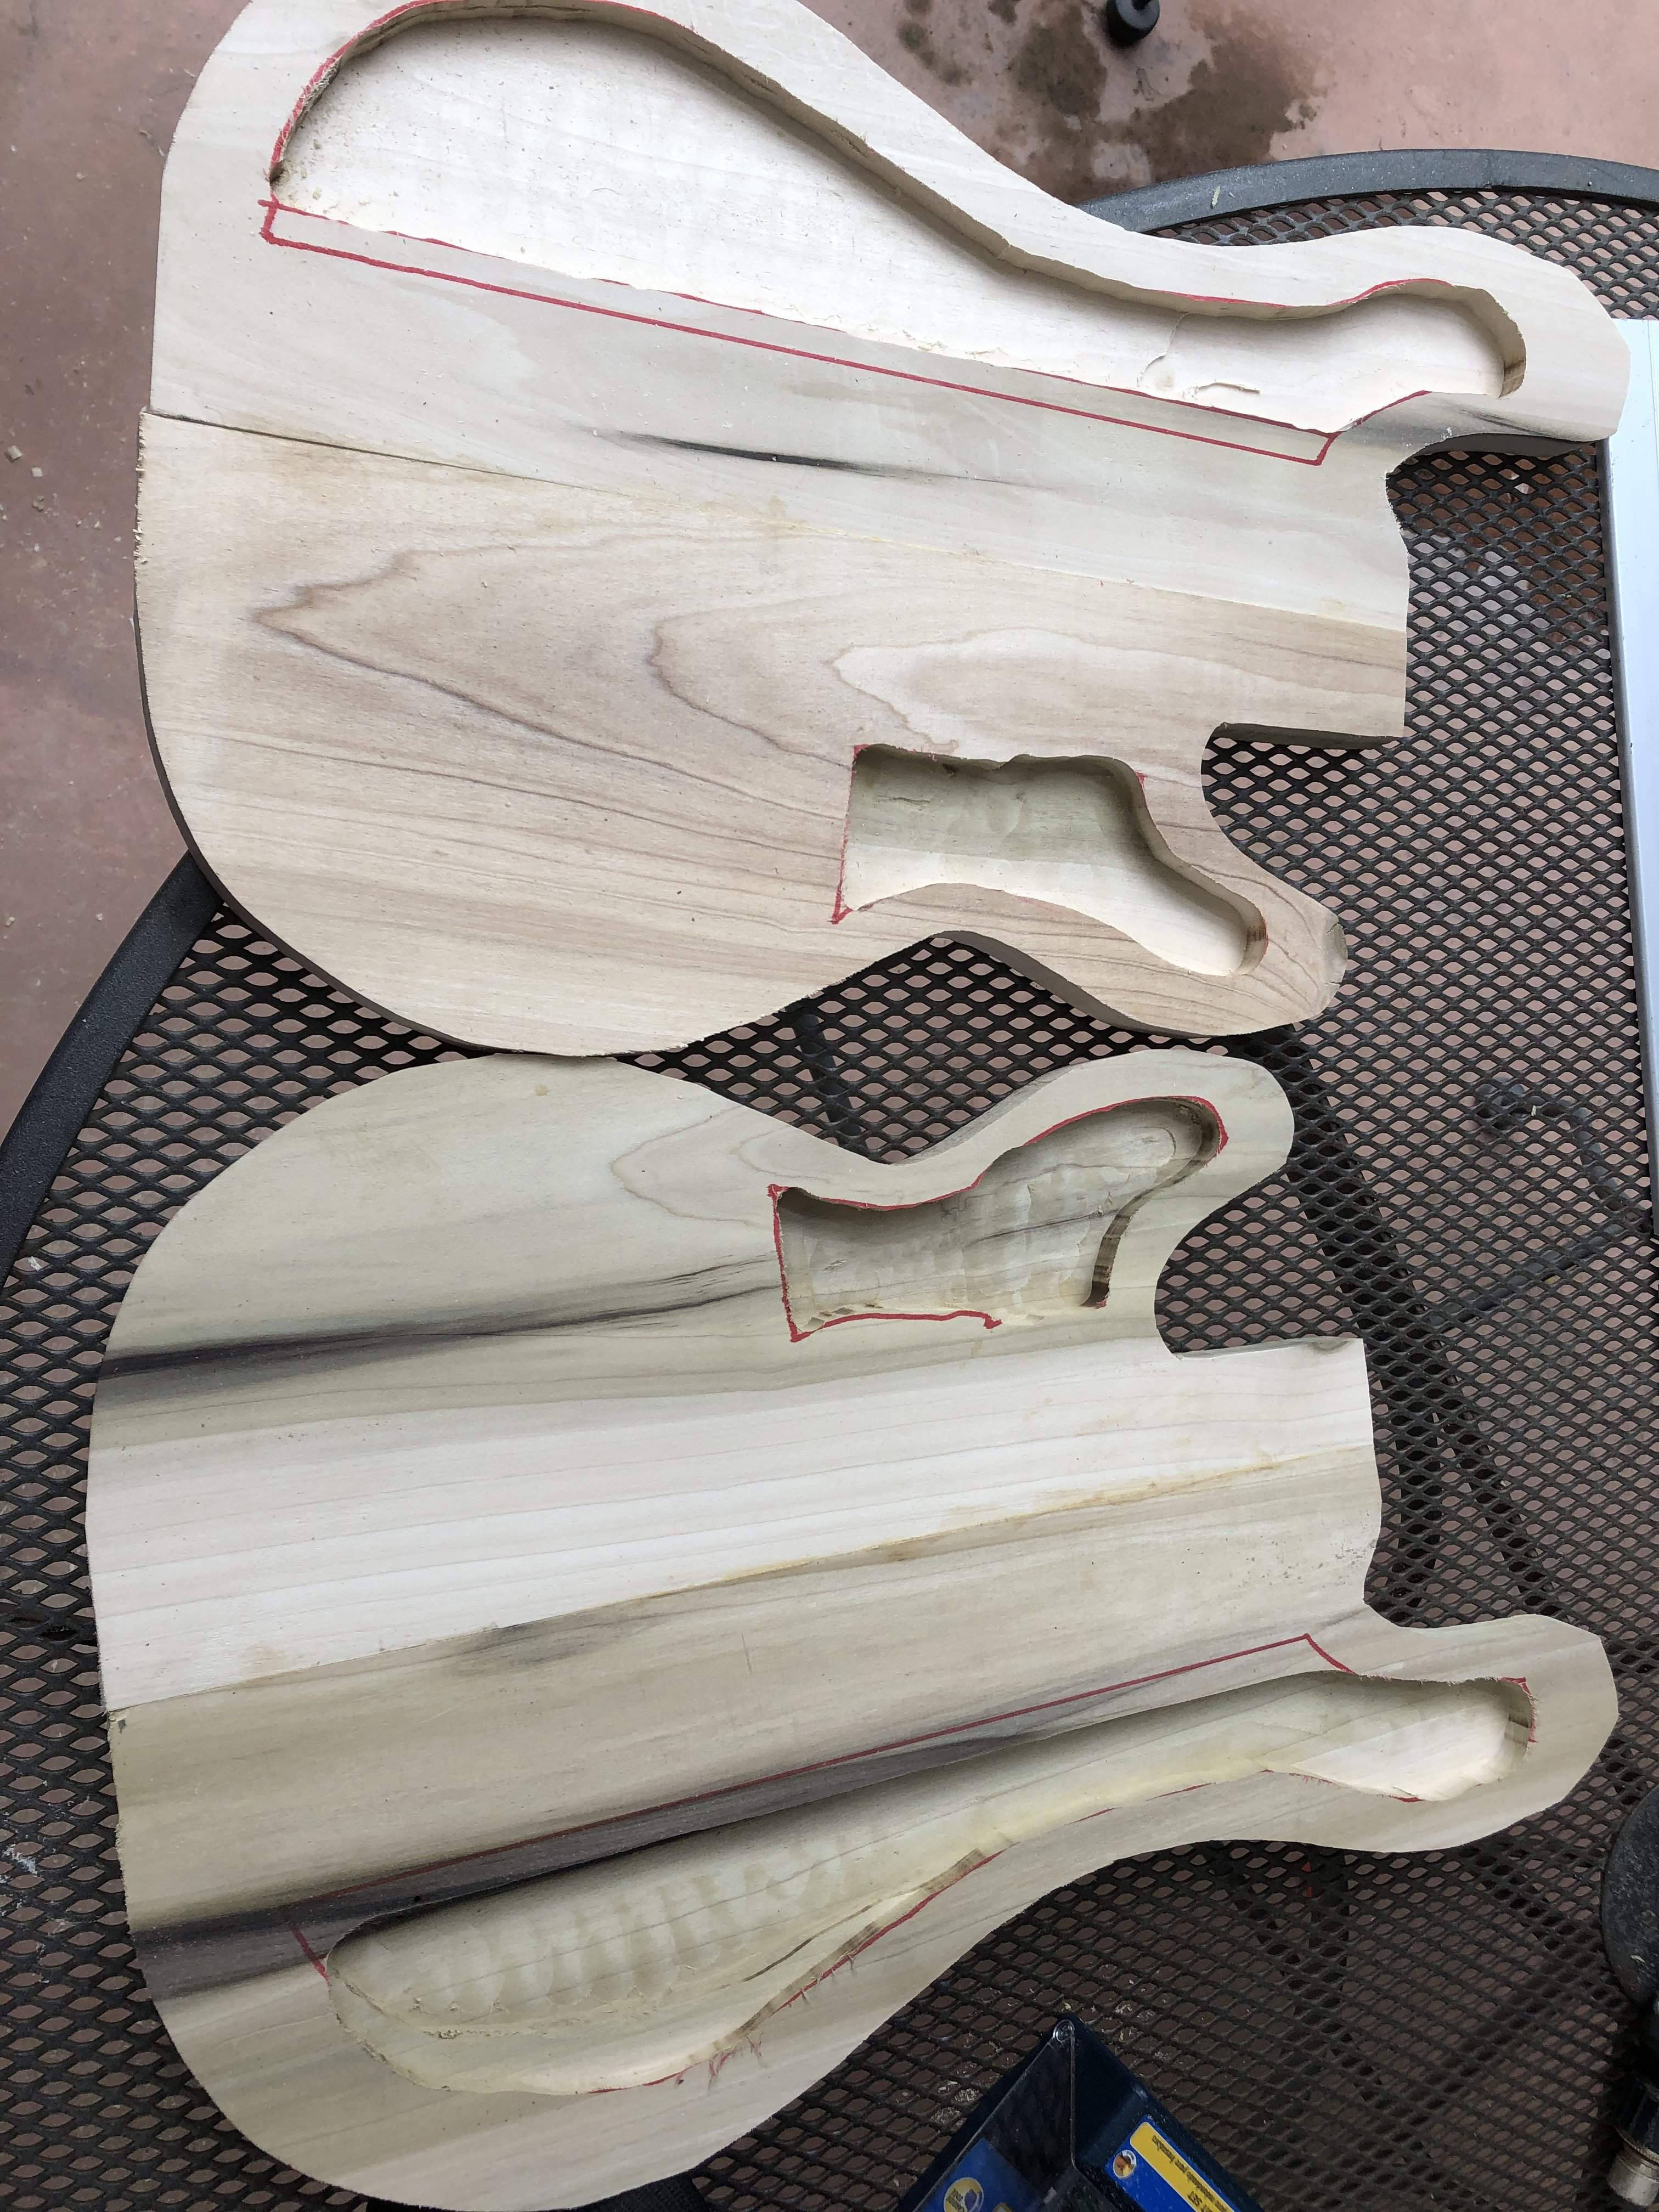
Chambers routed. 5lbs 3ozs.
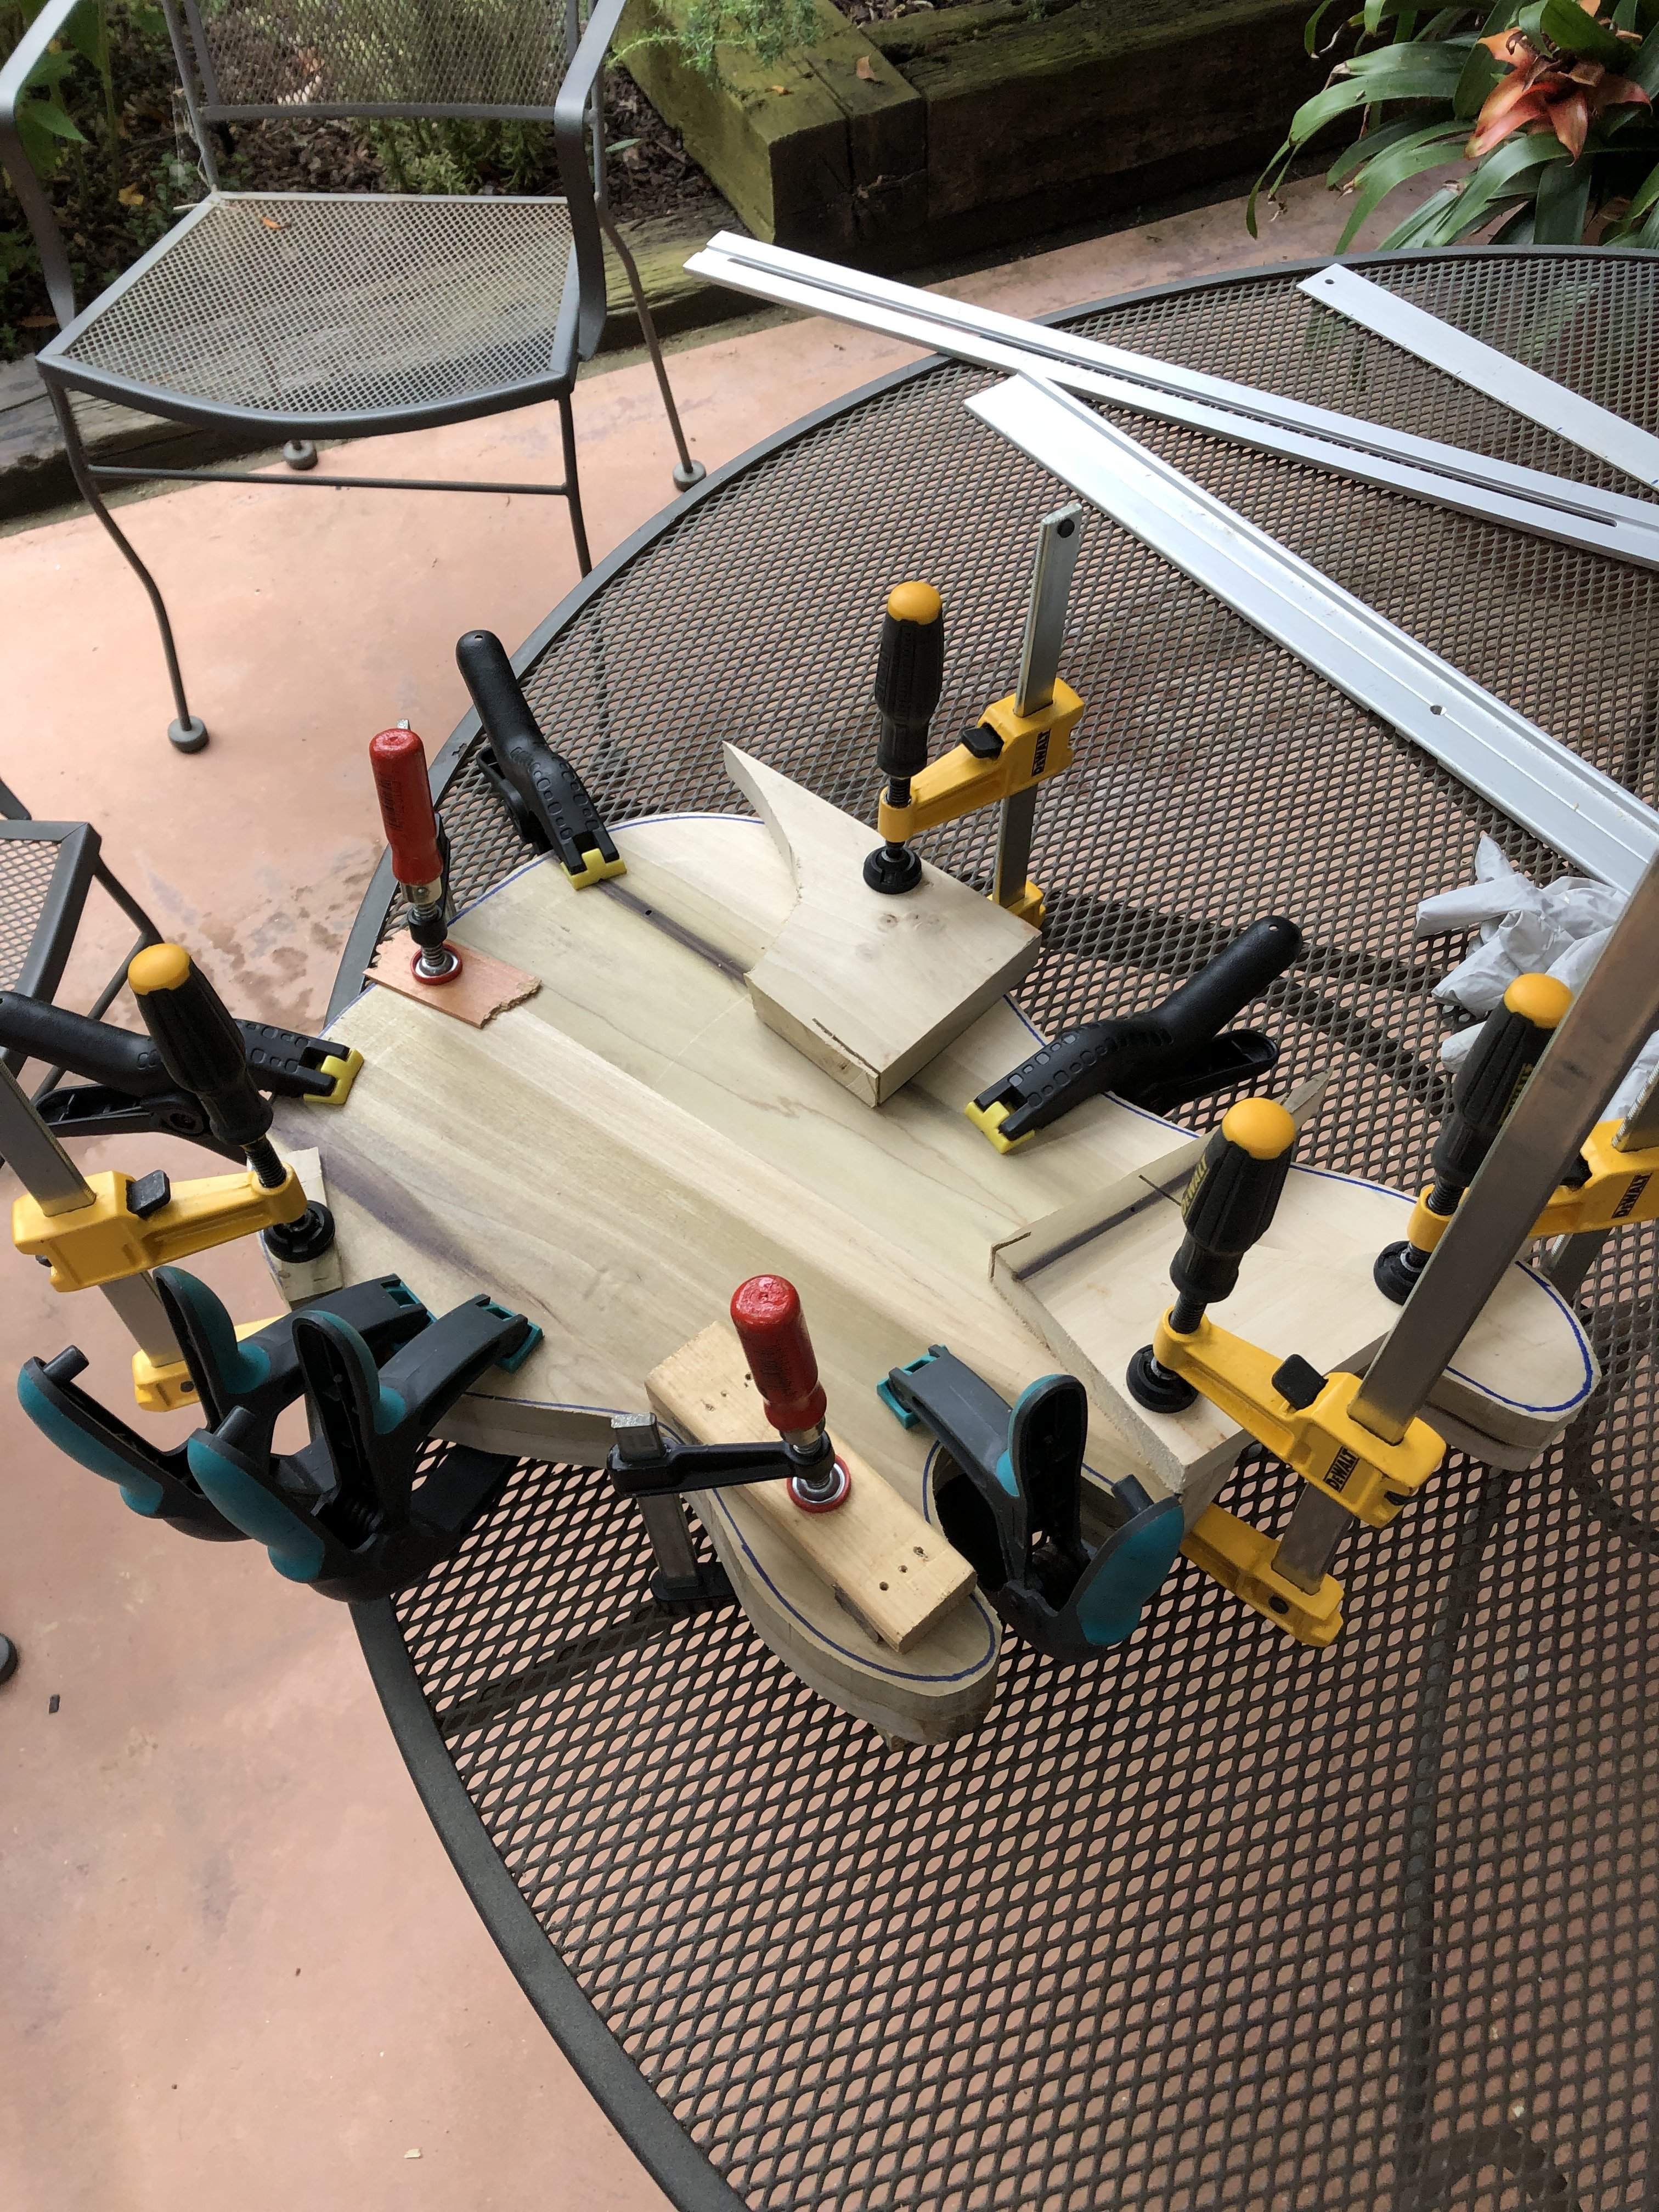
Glue sandwich.
Based on the reduction from the chambers, I estimate another 12 to 14 ozs. from the control cavity, pups, neck pocket, and shaping. This will put my new body about one pound lighter than the original. The other 1.5 - 2 lbs will have to come from the hardware. I think I’ve got a chance.
Chambers routed. 5lbs 3ozs.
Glue sandwich.
Based on the reduction from the chambers, I estimate another 12 to 14 ozs. from the control cavity, pups, neck pocket, and shaping. This will put my new body about one pound lighter than the original. The other 1.5 - 2 lbs will have to come from the hardware. I think I’ve got a chance.
Attachments


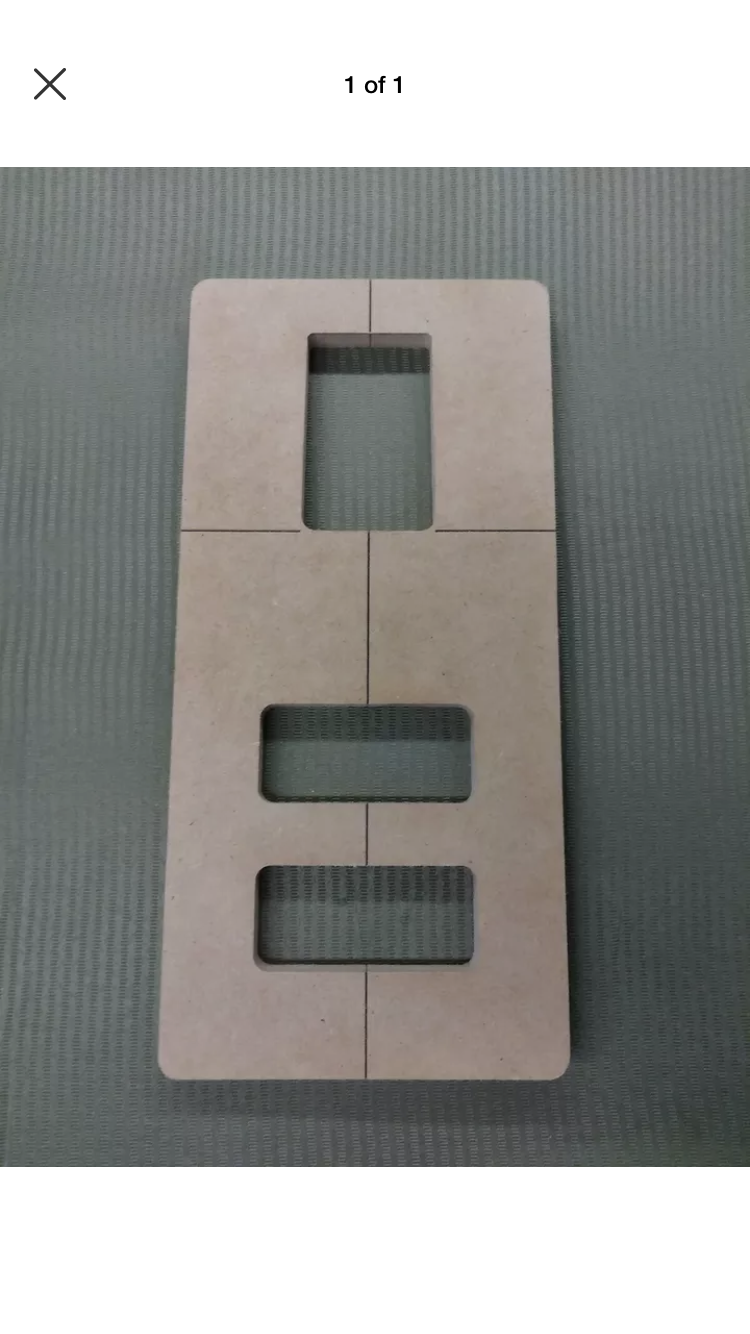
For those who encouraged me to make my own template, you simply don’t know me. That would have been a recipe for frustration. Especially when this was just made for me, quickly, and precisely, at a fair price.

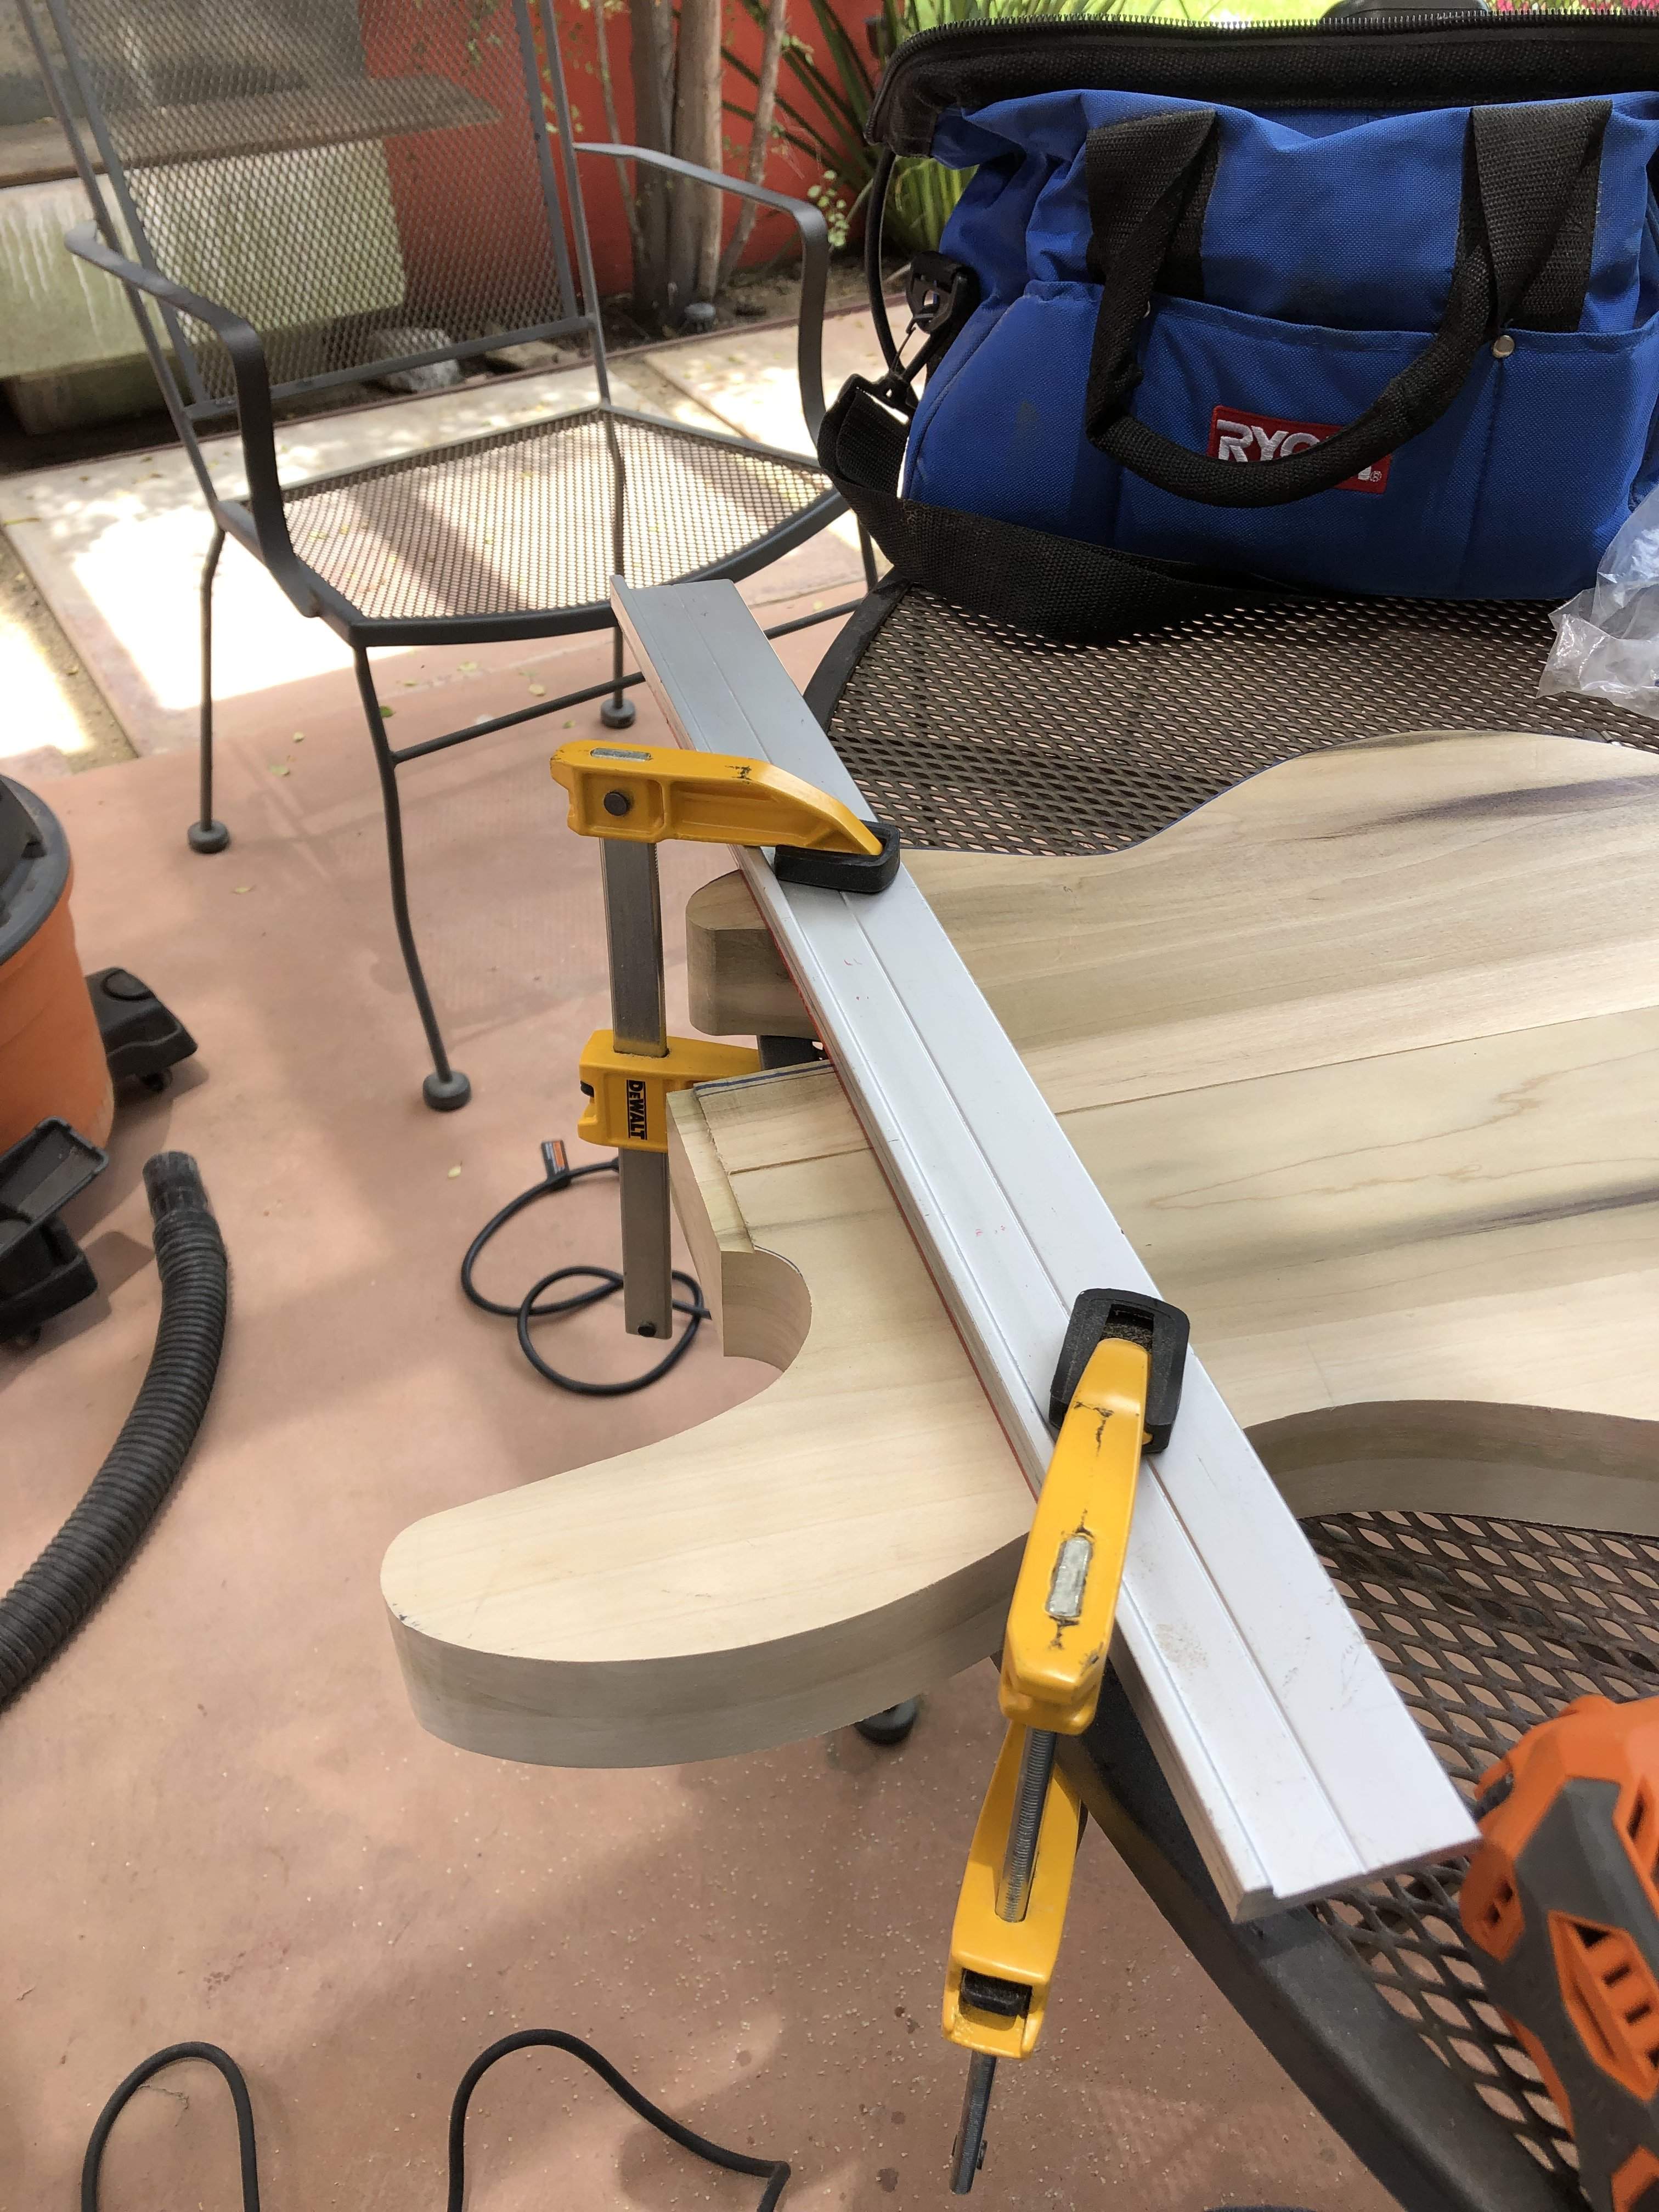
The only way I can make a precise flat cut for the neck pocket corner of the body is to set up a jig for my router.
But my router bit can’t go deep enough.
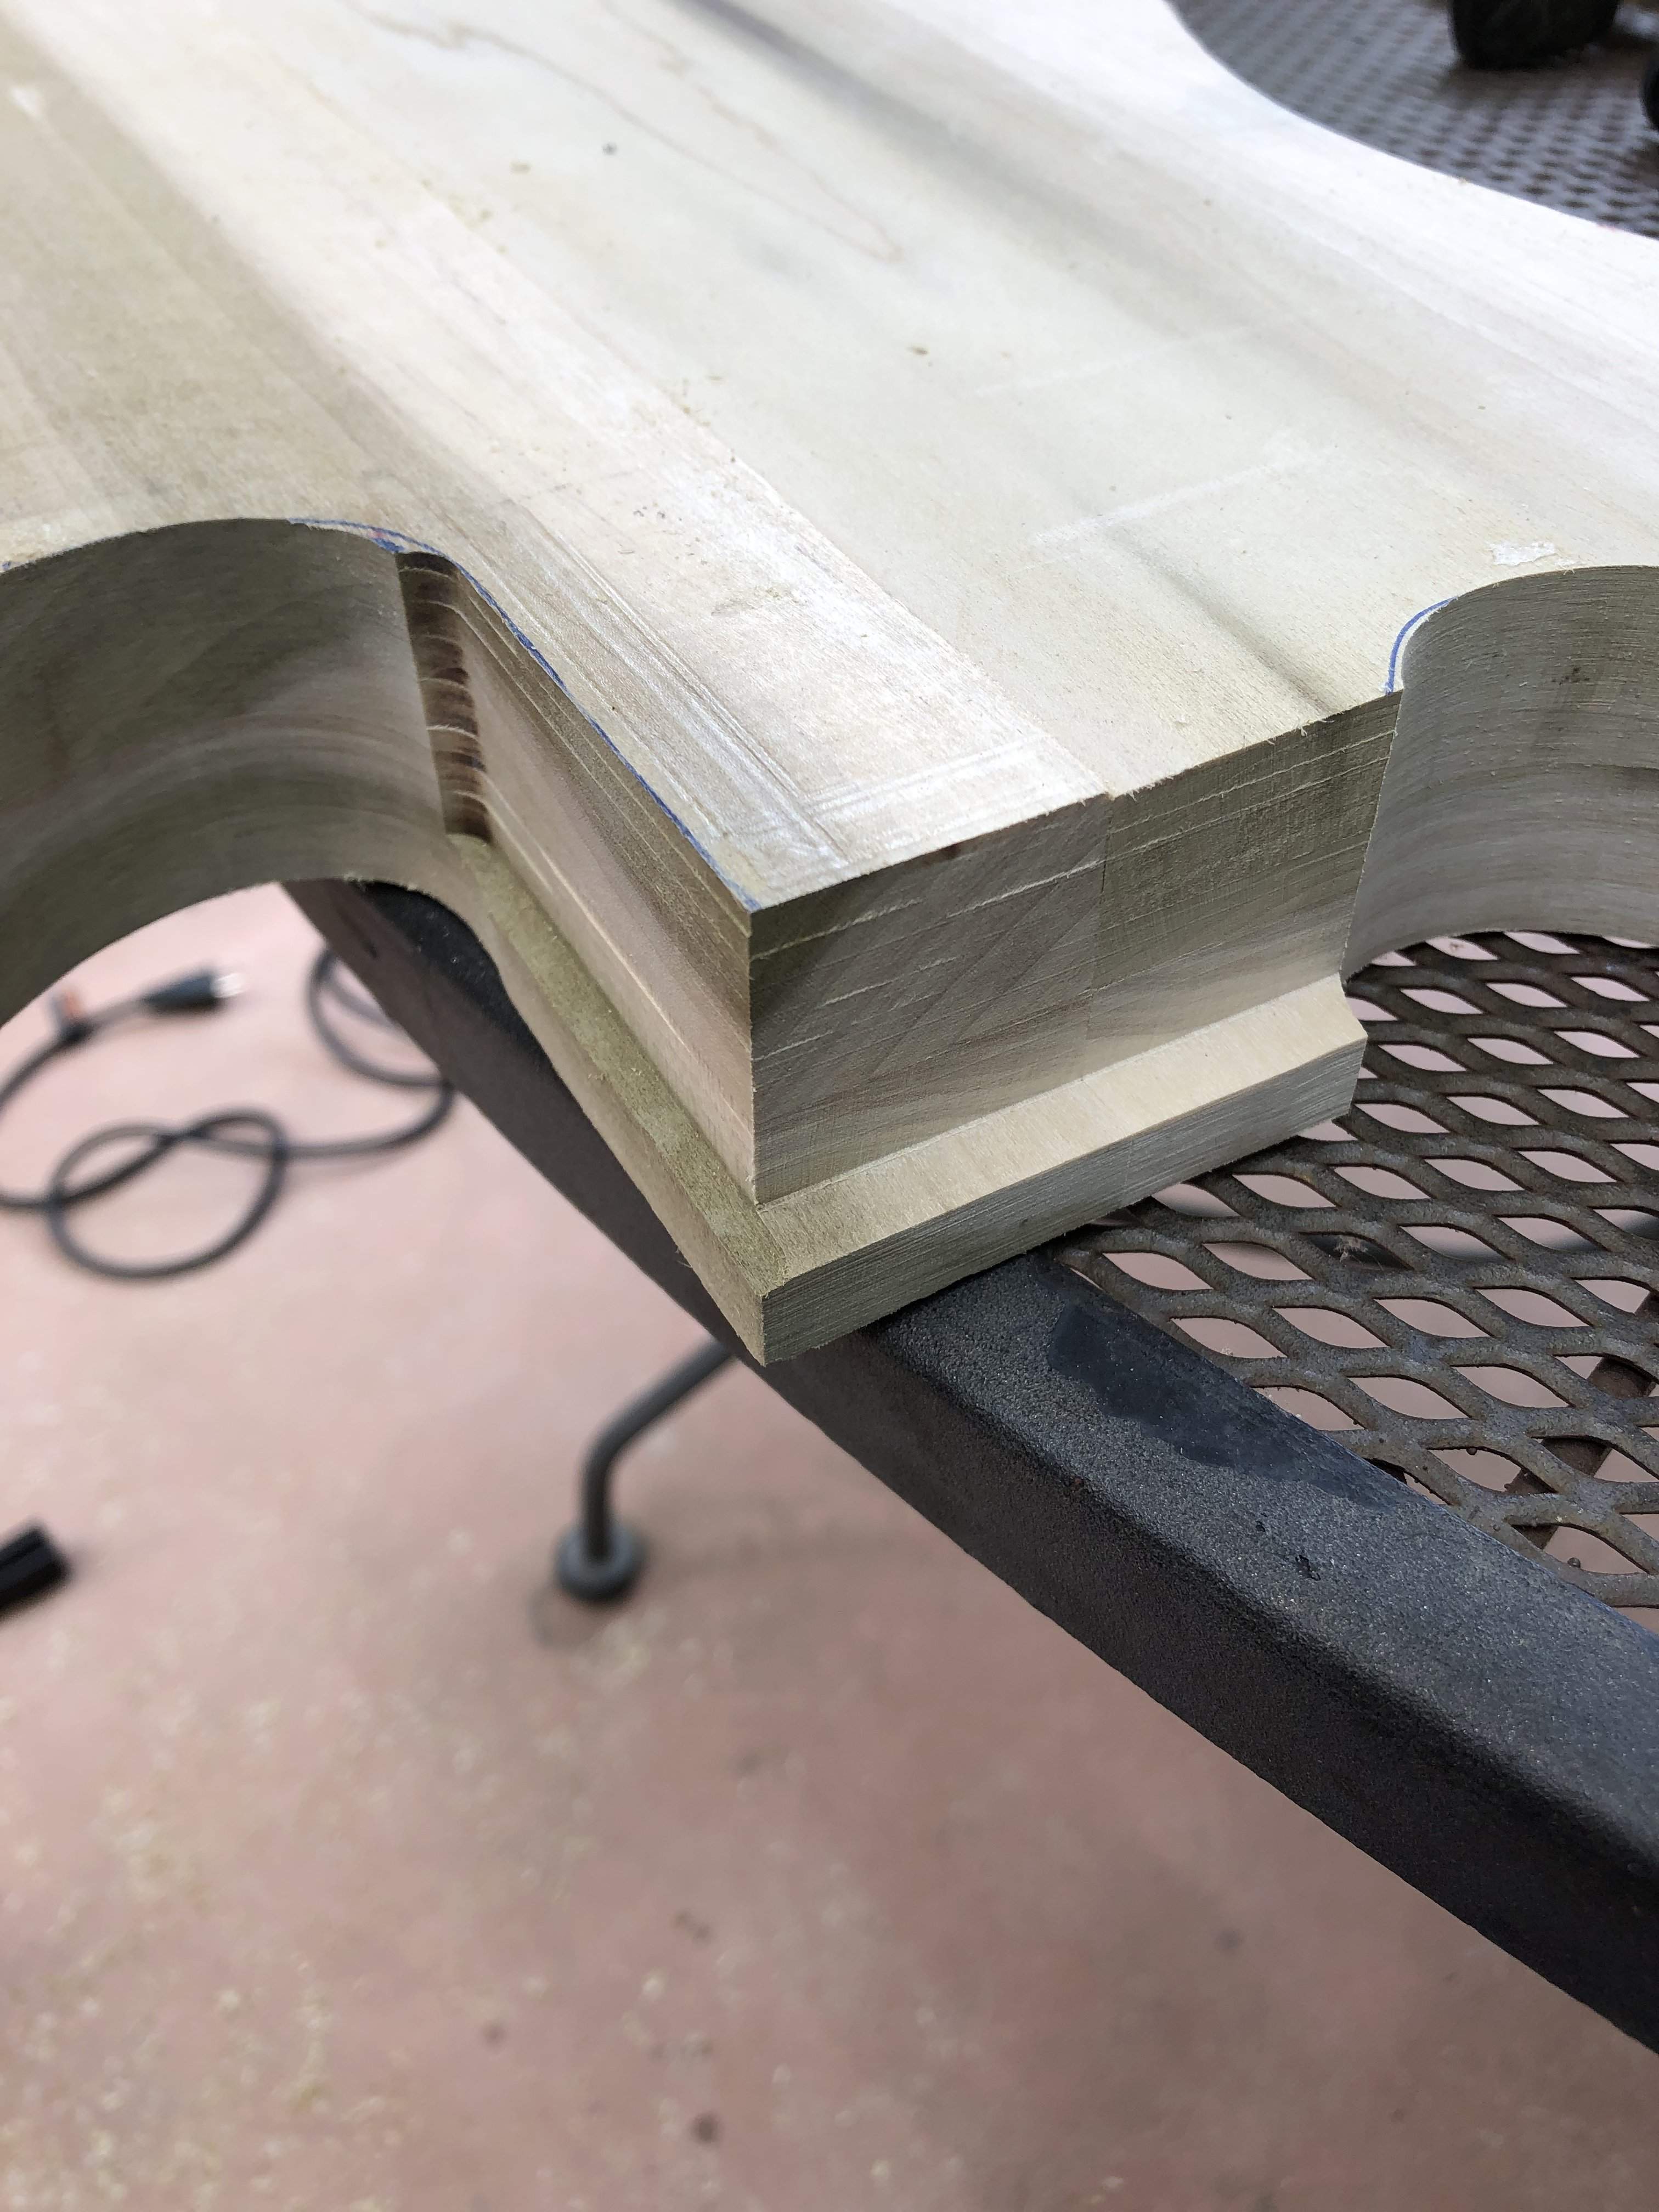
So I finished it with a hand saw, using the flat part as a guide, and some sanding to even it out.
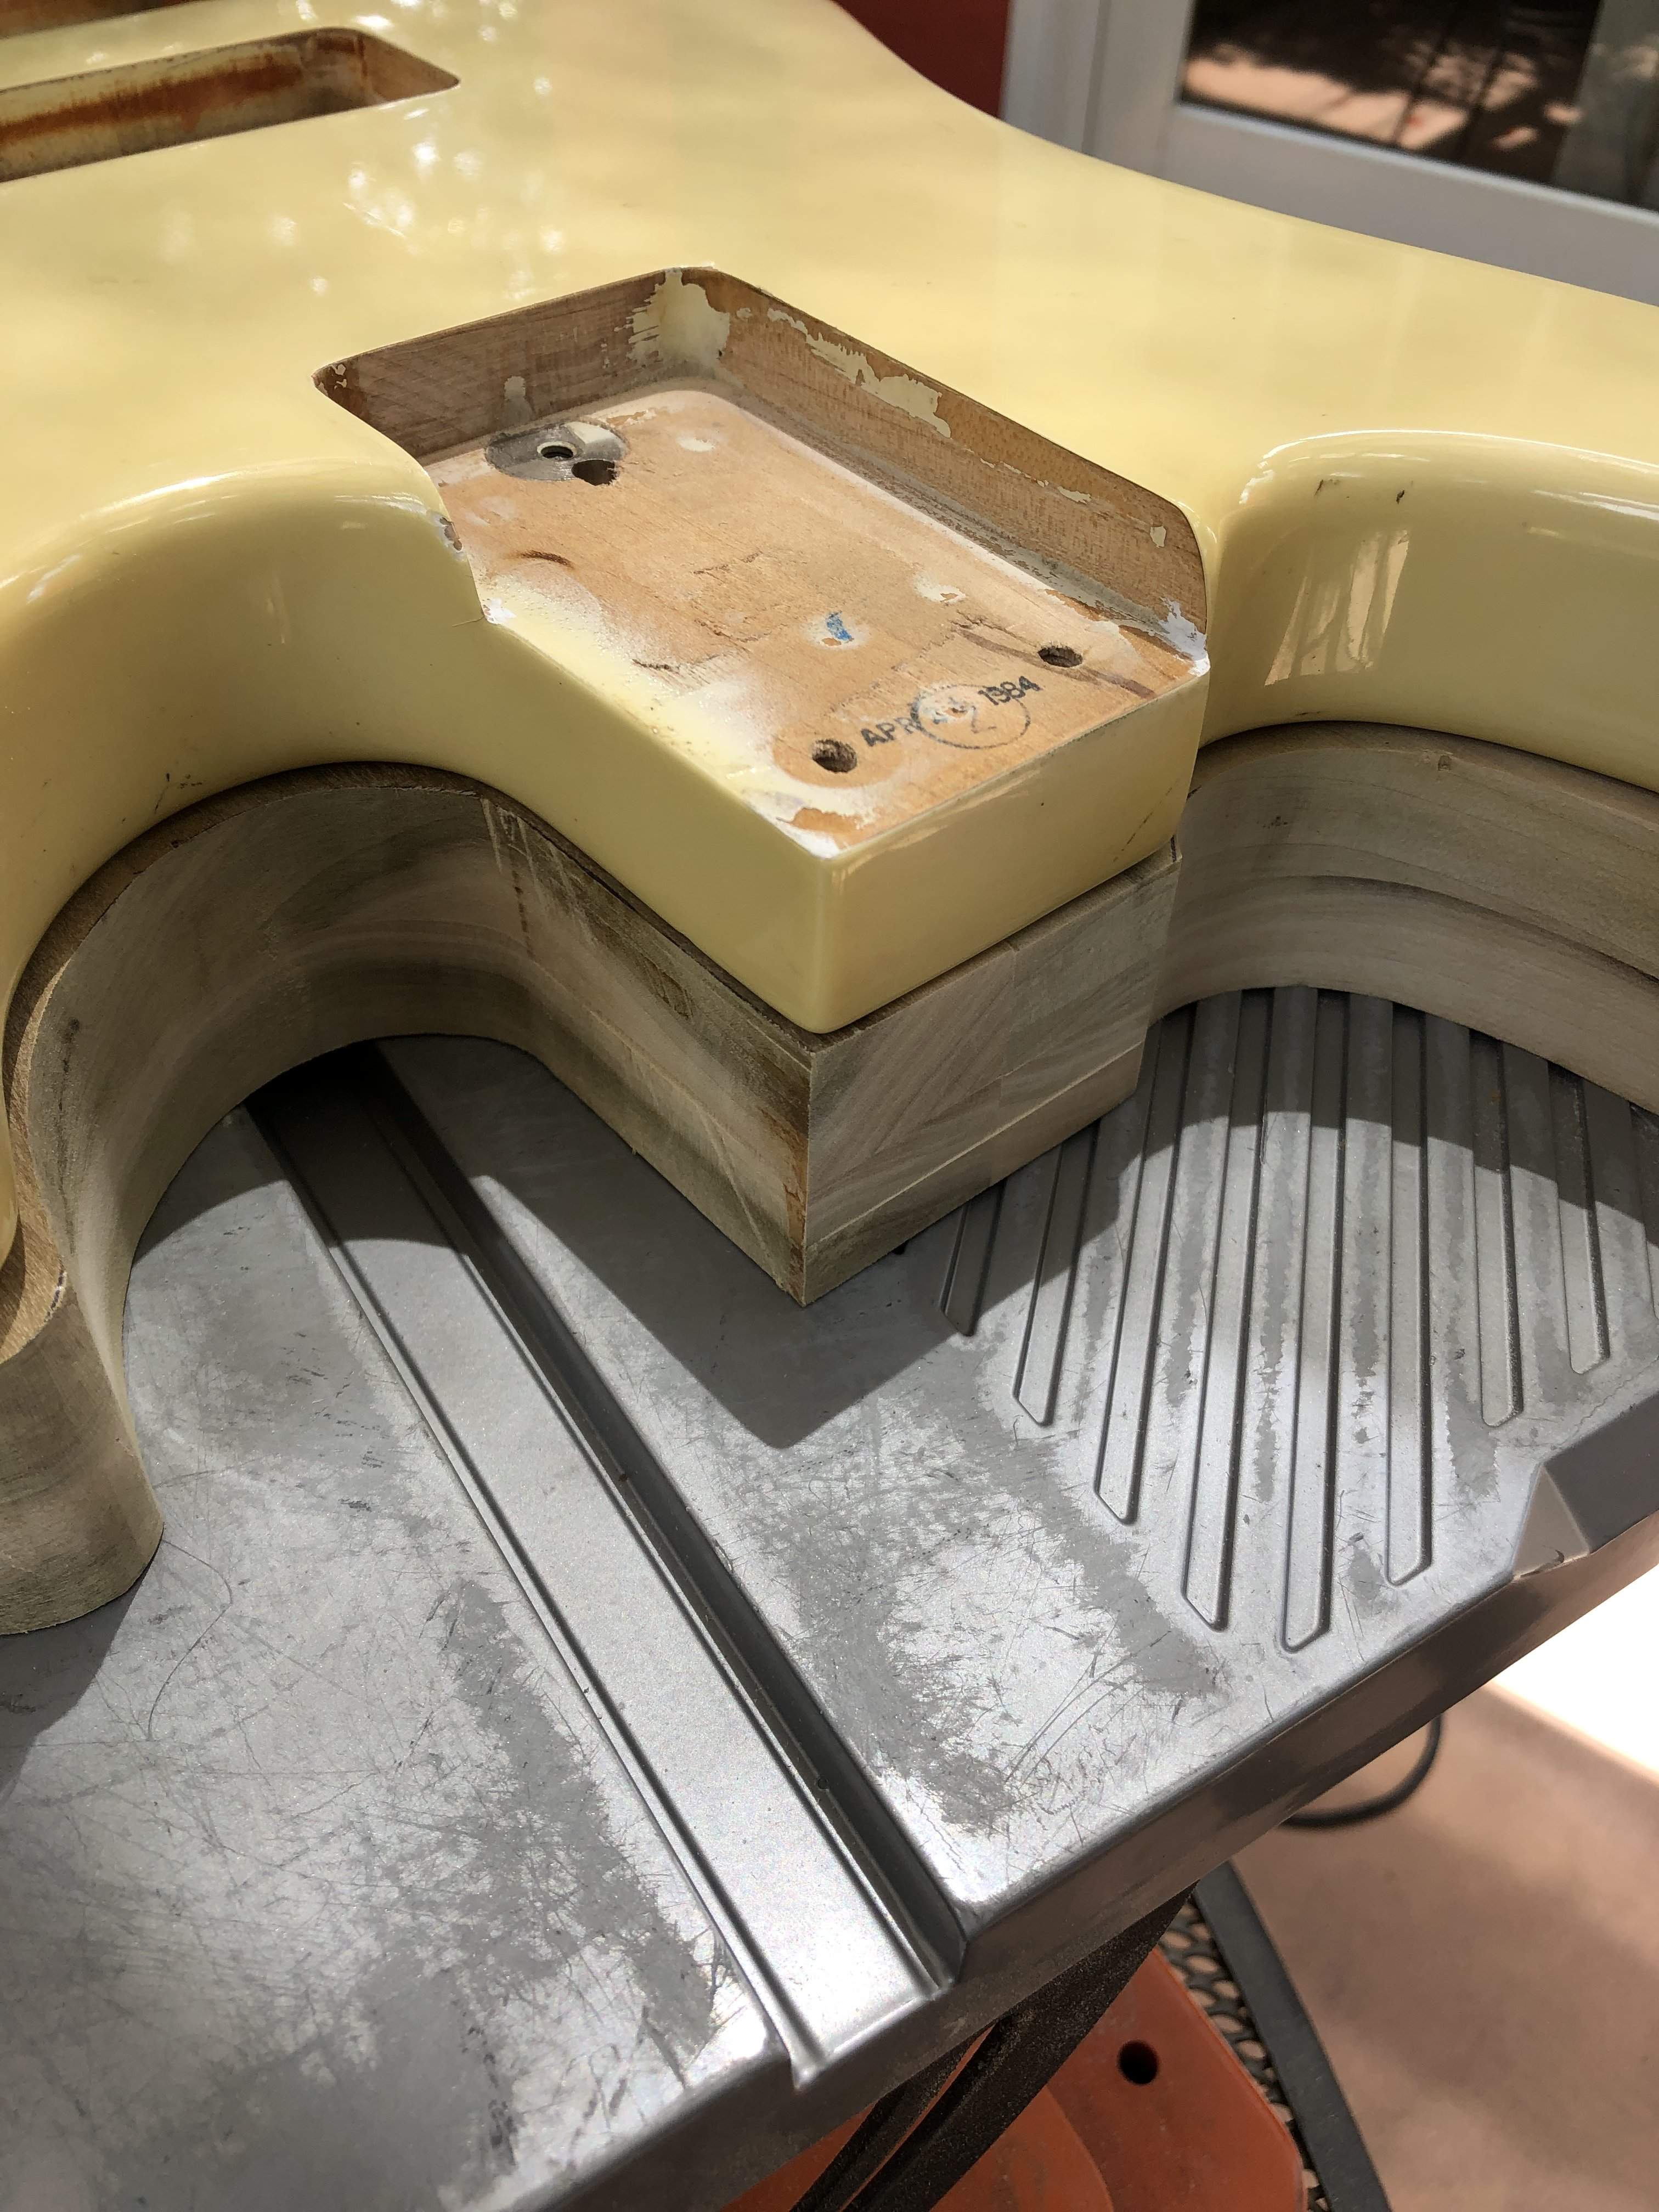
Planed and sanded about an eighth of an inch off the thickness, and got it to the final overall shape. It’s down to 4 lbs
7 ozs. With all the pockets, and belly/forearm contours still to be taken out. Cleaned it up with a little Naptha, which brought out the stripes and grain.
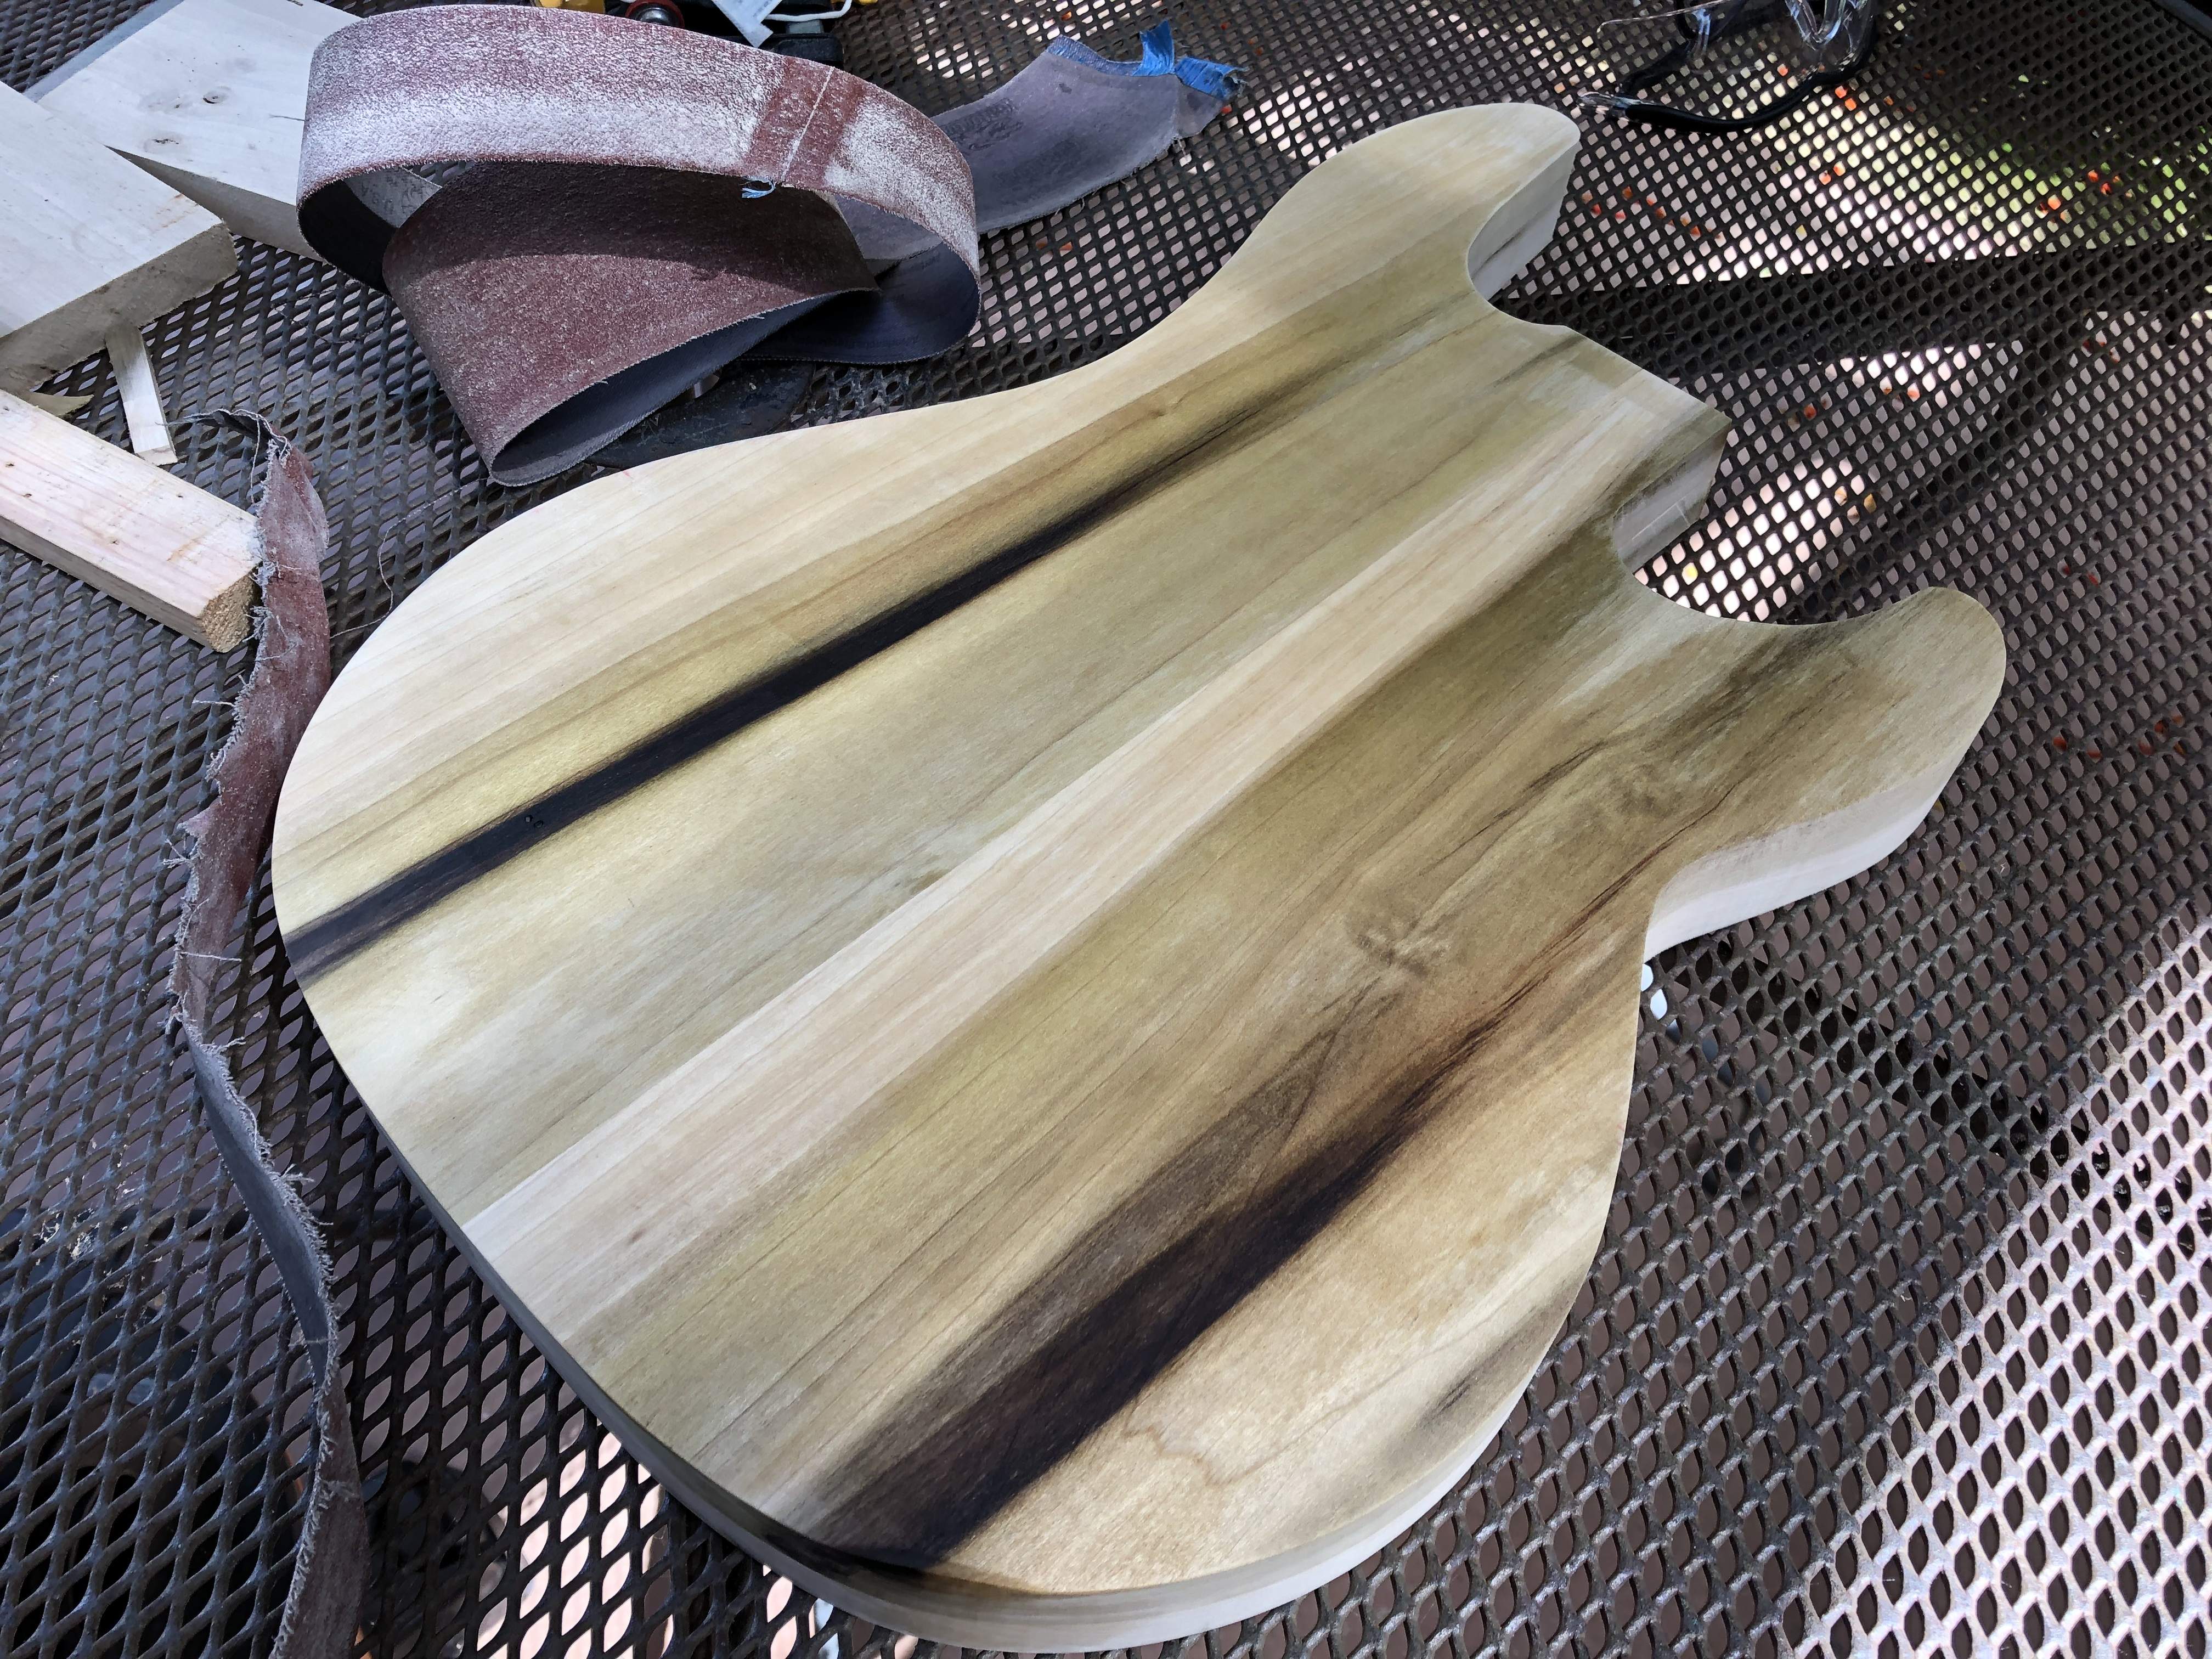
It occurred to me as I was cleaning up today, that it would be a shame for me to make it past all my challenges in this build, only to get to the final drilling for the neck bolts, and face that with only a handheld drill. I think straight holes are important. So I went shopping
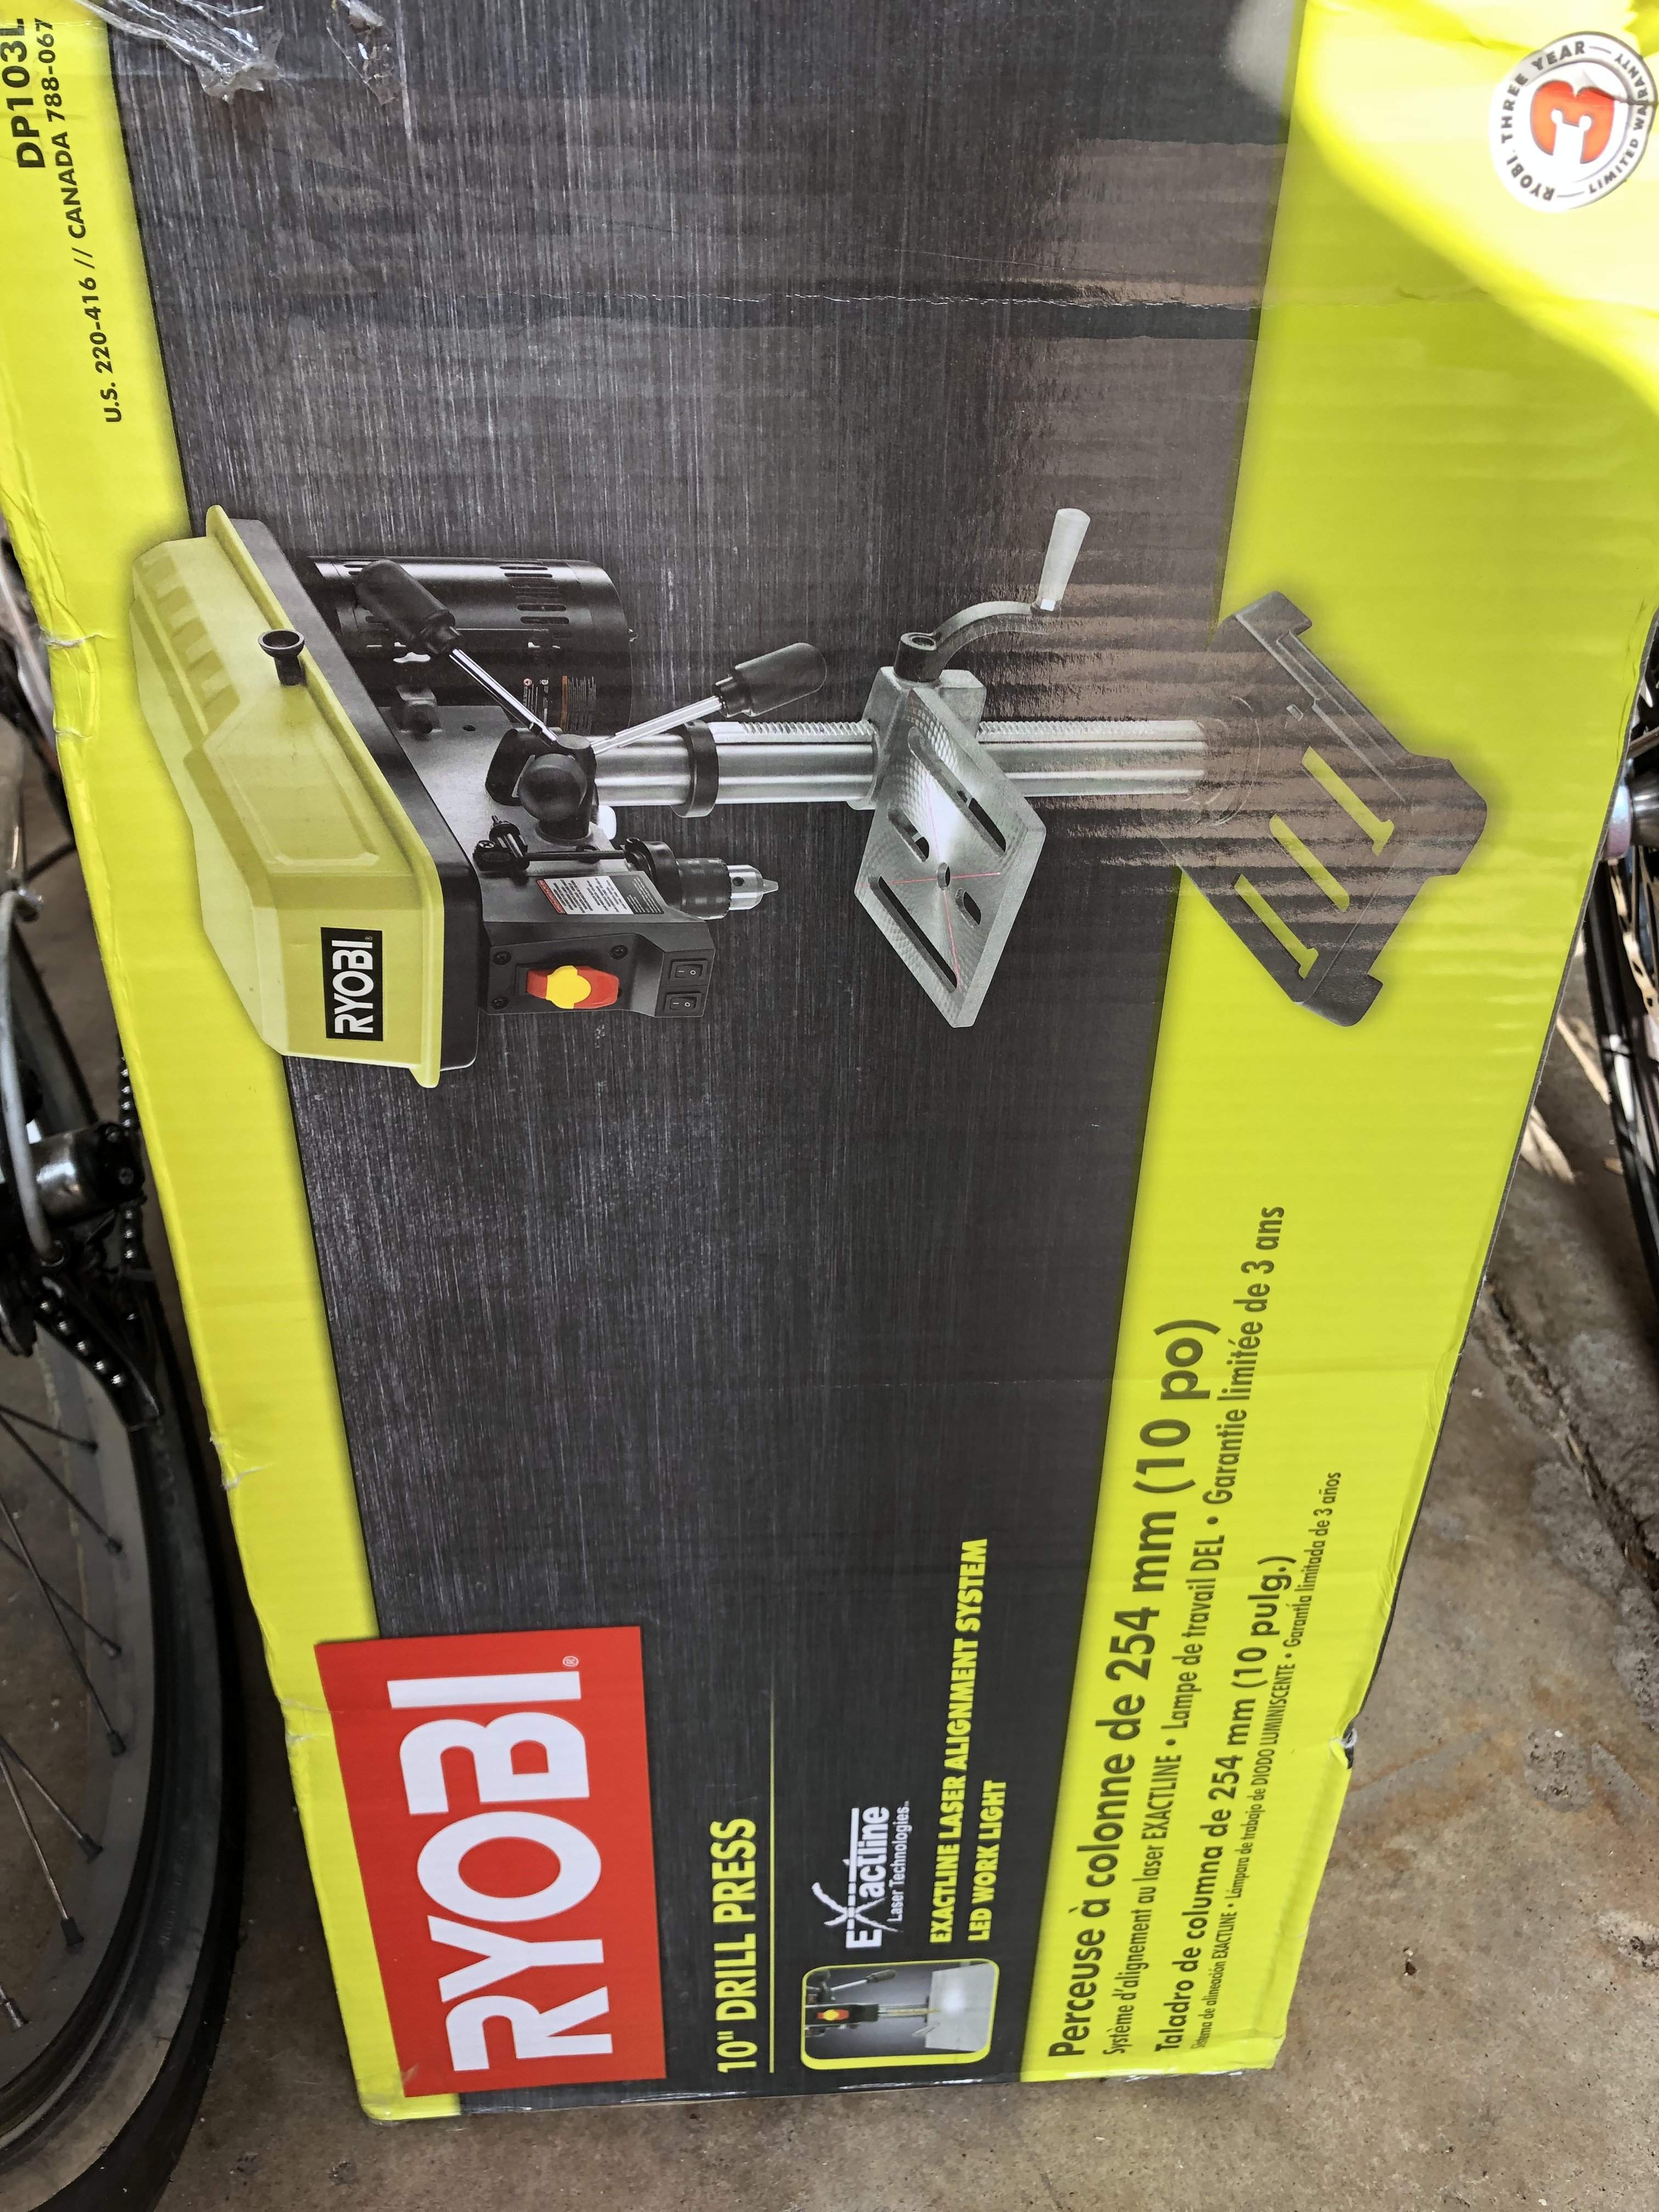
But my router bit can’t go deep enough.
So I finished it with a hand saw, using the flat part as a guide, and some sanding to even it out.
Planed and sanded about an eighth of an inch off the thickness, and got it to the final overall shape. It’s down to 4 lbs
7 ozs. With all the pockets, and belly/forearm contours still to be taken out. Cleaned it up with a little Naptha, which brought out the stripes and grain.
It occurred to me as I was cleaning up today, that it would be a shame for me to make it past all my challenges in this build, only to get to the final drilling for the neck bolts, and face that with only a handheld drill. I think straight holes are important. So I went shopping
[QUOTE="Remoman, post: 22683674, member] G&L ultralite bass tuners are available in the store, that and some other small changes might get you under 10lbs, and that with a comfortable strap I would think is workable.
Tuning Key - G&L USA Ultralite Bass Reversible
[/QUOTE]
Thank you for this link. I just made the choice to go G&L Ultralite tuning keys
Tuning Key - G&L USA Ultralite Bass Reversible
[/QUOTE]
Thank you for this link. I just made the choice to go G&L Ultralite tuning keys

Looks like you’re enjoying this project, looking great!
You mentioned that you like removing wood... How are you planning on making body contours? Some like using angle grinders with a course grit sanding disk, and some others like using rasps..... Then there’s the ever popular Shinto rasp
You mentioned that you like removing wood... How are you planning on making body contours? Some like using angle grinders with a course grit sanding disk, and some others like using rasps..... Then there’s the ever popular Shinto rasp
Looks like you’re enjoying this project, looking great!
You mentioned that you like removing wood... How are you planning on making body contours? Some like using angle grinders with a course grit sanding disk, and some others like using rasps..... Then there’s the ever popular Shinto rasp
Thanks, yes I’m enjoying it so far.
I will use the table sander pictured in post #90 to form the contours. It has the belt, in the picture, and 5 different width cylinders. I will fine tune them with a rasp or file, and hand sanding.
Spent four hours today power tooling. After cleanup I test fitted the control plate with all the pots and switches attached, only to find my control cavity was about 1/8" too small in places. I resisted the urge to fix it now, because I was tired, and thats when the best mistakes happen.
First, the template for the pups and neck.
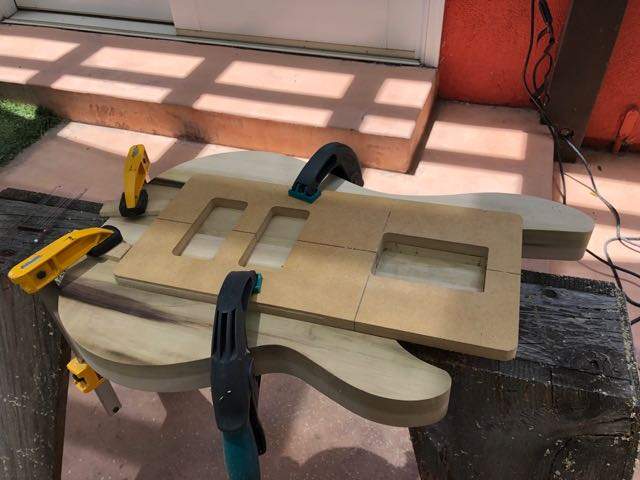
Whenever I put a router to a piece of wood I find it to be supremely nerve wracking. I only had two router mishaps today, none were catastrophic.
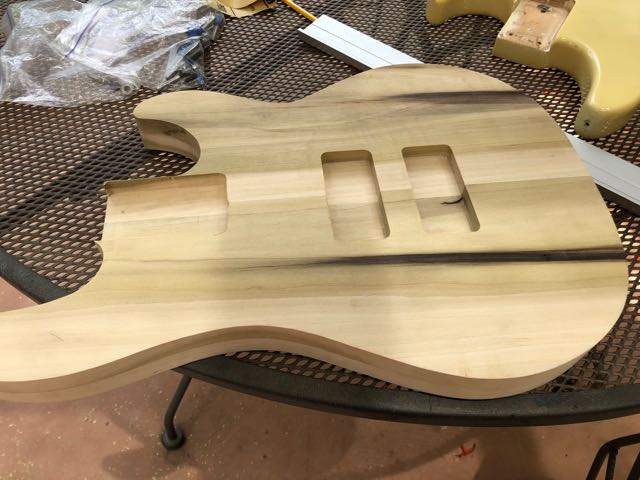
One router misfire was in the neck pocket.
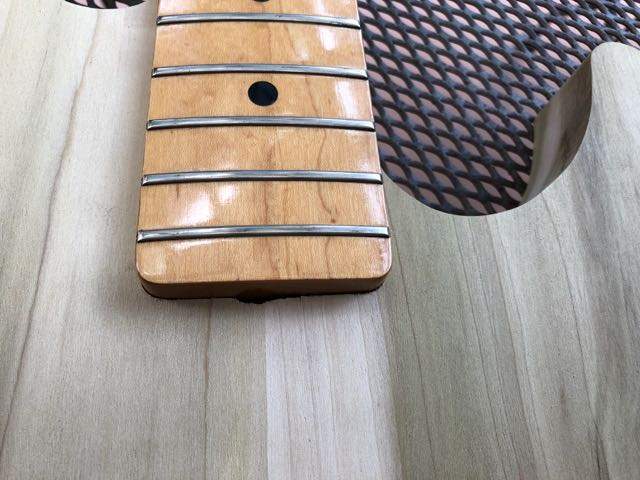
I patched it with some wood epoxy.
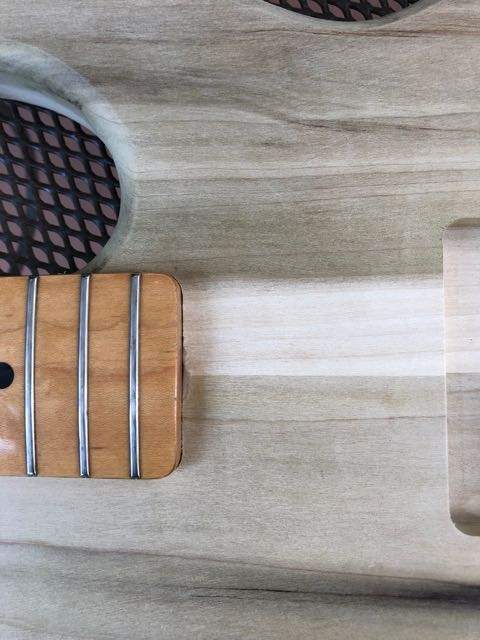
Used the drill press to start the control cavity. Smoothed the scalloped edges left by the drill with a dremel.
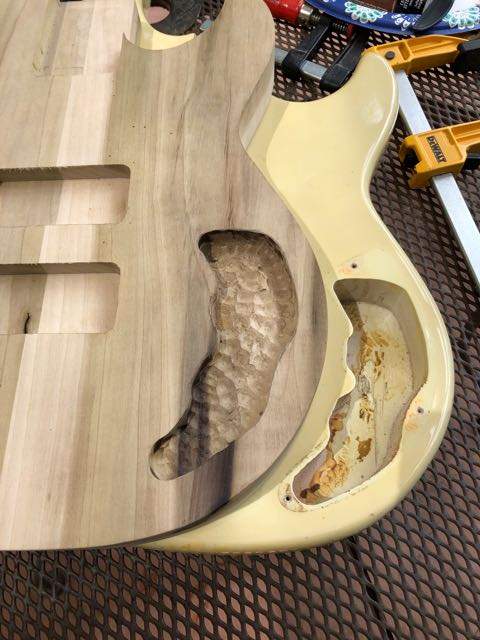
Then finished to the proper depth with the router.
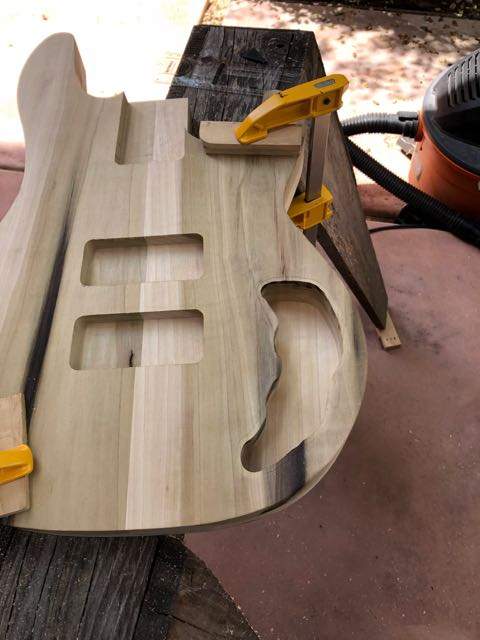
3/8" Round over for the edges, and formed the contours with the table sander. The belly and forearm contours are much less severe than the original, primarily because I didn't have anyway to be sure when I would hit the chambers. Smaller contours, but they fulfill the function.
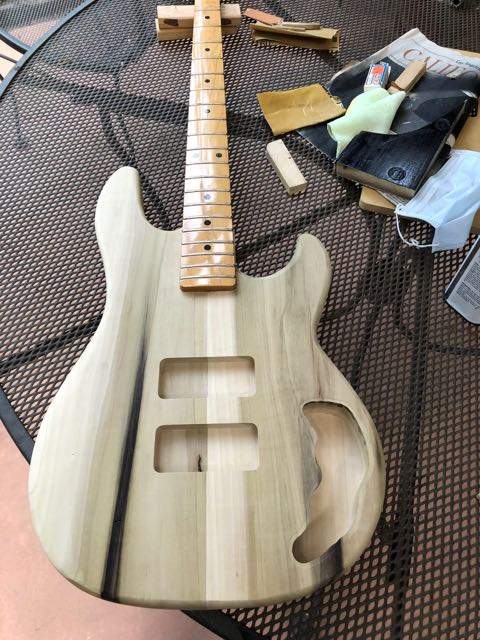
At 3 lbs 15 ozs, it's almost exactly 1 1/2 lbs lighter than the original body. Much to my pleasure, it looks a lot like an L2000. Except for the battery, I still haven't decided where thats going to go, today was the last of the activity that had a high likelihood of me screwing the pooch. Drilling holes is the final power tool activity. If I screw that up, there is always a dowel and some glue.
First, the template for the pups and neck.
Whenever I put a router to a piece of wood I find it to be supremely nerve wracking. I only had two router mishaps today, none were catastrophic.
One router misfire was in the neck pocket.
I patched it with some wood epoxy.
Used the drill press to start the control cavity. Smoothed the scalloped edges left by the drill with a dremel.
Then finished to the proper depth with the router.
3/8" Round over for the edges, and formed the contours with the table sander. The belly and forearm contours are much less severe than the original, primarily because I didn't have anyway to be sure when I would hit the chambers. Smaller contours, but they fulfill the function.
At 3 lbs 15 ozs, it's almost exactly 1 1/2 lbs lighter than the original body. Much to my pleasure, it looks a lot like an L2000. Except for the battery, I still haven't decided where thats going to go, today was the last of the activity that had a high likelihood of me screwing the pooch. Drilling holes is the final power tool activity. If I screw that up, there is always a dowel and some glue.
Attachments


Having finished my routing today, I fondled the new body tonight while watching tv. I like to map out the imperfections and find where to focus my efforts with hand sanding. I tried knocking about with my knuckle, and noticed a distinct difference in the resonance when moving from chamber to solid sections. The bigger chamber on the top half was lower in pitch, (3? half steps), and had a longer decay.Be aware that it will change the sonic character of the bass - if you are familiar with it you will hear the difference. Not saying qualitatively different - but different. That's part of the process - and we will all be interested in hearing about that difference beyond obvious weight loss.
I’m fascinated to hear how this will translate through the electronics.

- Jun 30, 2010
- 49,591
- 221,978
- Disclosures
- musician/artist/owner - Gildaxe
Having finished my routing today, I fondled the new body tonight while watching tv. I like to map out the imperfections and find where to focus my efforts with hand sanding. I tried knocking about with my knuckle, and noticed a distinct difference in the resonance when moving from chamber to solid sections. The bigger chamber on the top half was lower in pitch, (3? half steps), and had a longer decay.
I’m fascinated to hear how this will translate through the electronics.
The procedure of lightening/chambering an electric solid-body is a great experiment as it's physically doing something that leads to an audible change. There's no way it wouldn't but it depends on how much and where it's chambered as to how much it will be audible. To put it in focus, think extremes - from a solid body to a hollow body. If you build the exact same body shape/wood with all the same pu's/electronics/bridge/stings etc, but completely hollow out one (managing needed mass at a couple key areas like the neck pocket and bridge) - they will produce distinctly different sound qualities.
With expanded modern technical resources, it should be possible to analyze exactly how and where a body made of a certain type of wood will resonate best, maintain or enhance fundamentals and generally sound good with targeted chambering, but I doubt that level of pin-pointing has happened yet. I'm aware that some top boutique builders utilize chambering (the preferred term) with claims of improved sound but I'm imagining it to be less scientifically technical and more luthier experienced based. I mean, luthiers have been creating wonderful sounding stringed instruments for centuries based on their collective knowledge/hands on experience. Excluding most novice builders including myself, if ones goal was to understand chambering in depth, I'd think studying master luthier techniques and discoveries would be the place to begin.
Having said that, if one were to dedicate their life to creating 'the perfect bass body' - you'd still only be talking about one "perfect".

Original tuners, 13 ozs
G&L Ultralites, 9 ozs
I fixed the control cavity and inaugurated my new 3/16 by 12” bit, pups to control.
G&L Ultralites, 9 ozs
I fixed the control cavity and inaugurated my new 3/16 by 12” bit, pups to control.


