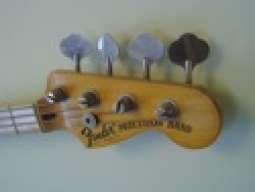
I'm sure you've all seen JIO's thread Back To The Future circa 1985, where he brings a rare old Fender Performer back to life. When he got it, it was missing the original bridge, so he asked me to make up an authentic replica.
Why did we need to make one? Well, the Performer bridge is classic Fender-style construction, with the bent steel base plate and the barrel saddles. But all the dimensions are different from the commonly available P and J bass bridges. It's narrower string spacing, a long narrow base plate, larger diameter barrels, etc. JIO wanted to keep this bass authentic.
So, I thought I'd show you guys how I built this bridge; what machines and techniques are needed to make parts like these.
Most instrument hardware can be made with hobby-level metalworking machinery. The two main machines are a benchtop metalworking lathe and a small milling machine. Other helpful tools are a slow speed metal cutting bandsaw, a drill press, a small hydraulic press, and a grinder with a finishing wheel.
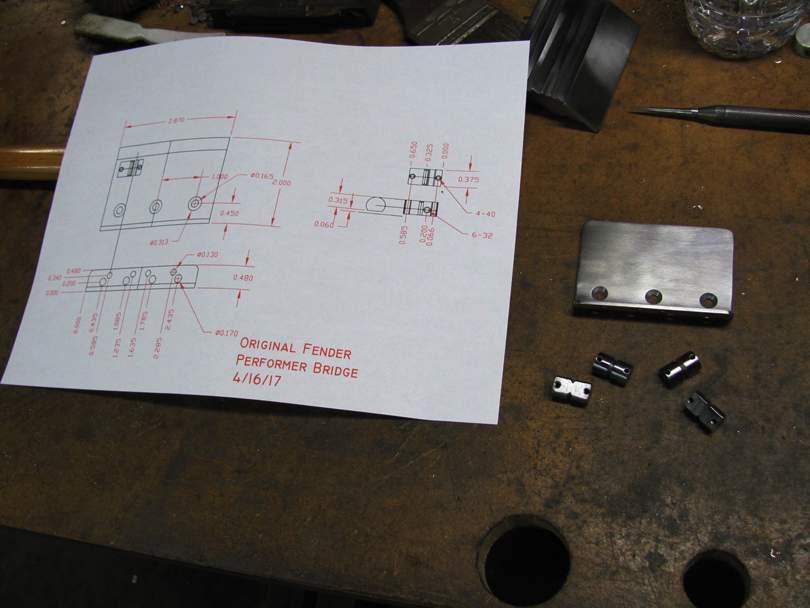
The first step is to design and draw up the parts accurately. I use an old 2003 version of AutoCad LT, which is a simple 2-D drawing program. Last summer, Keith and I did some modifications to another original Performer, improving the mounting of its bridge. Since I had its bridge here in my shop, I took the time to measure it and write down the numbers. From those notes and pictures that JIO sent me from another Performer owner, I drew up the plate and saddles as accurately as I could.
Here's a printout of the drawing next to the finished parts.
Getting started, the bridge plate is made from 0.090" mild steel plate. I buy steel plate in small pieces from my local metal supplier. I used soft mild 1018 alloy for this because it needed to be bent.
You may have seen the base plate I made earlier for the Transformer project, where I sawed a section out of a piece of rectangular steel tubing, to get the bent part. That was 0.125 thick steel; this one needs to be 0.090" thick. Scraps of tubing of that wall thickness are harder to find, so I needed to bend this one.
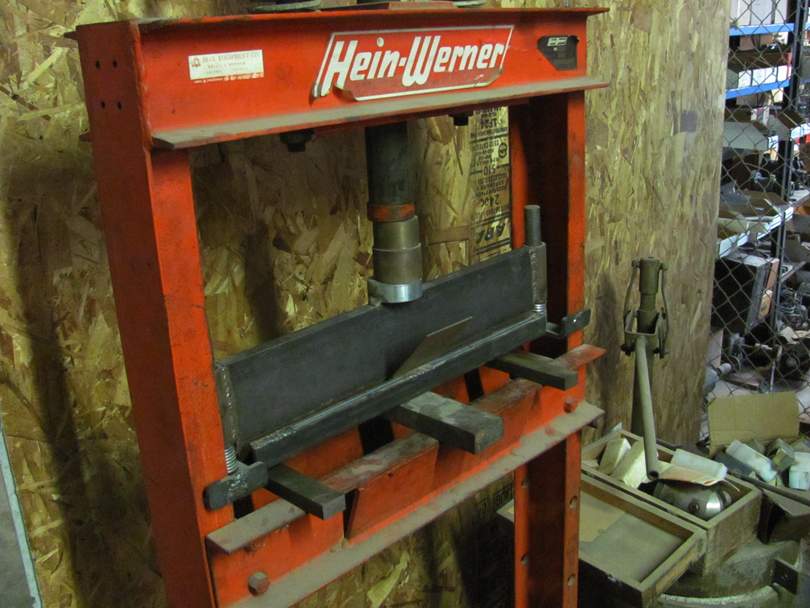
I made the bend in my hydraulic press. This is a basic 10 ton press that I bought for $100 from a friend who was closing down an auto repair shop. I bought the shop-made bending die set from another friend. Someday I'll machine up a better die set for it.
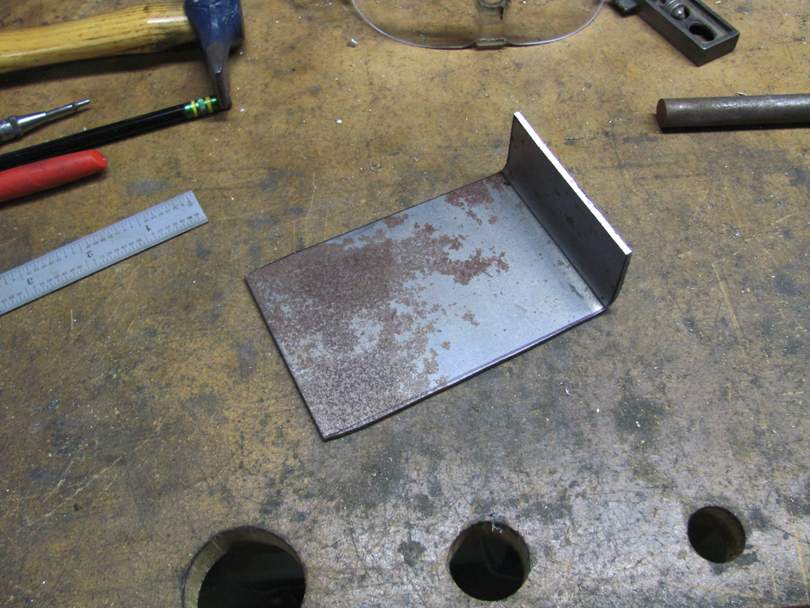
It's difficult make the bend exactly where you want it on the part, plus you need some extra material beyond the bend for the die to press against. So, I sawed out the plate oversized length and width, made the bend, then trimmed it to size in the mill.
I sawed the plate using my steel-cutting vertical bandsaw. It's a regular sized 14" bandsaw, with an extra gearbox and belt drive to slow it down to steel cutting speeds.
Here's the oversized plate after bending:
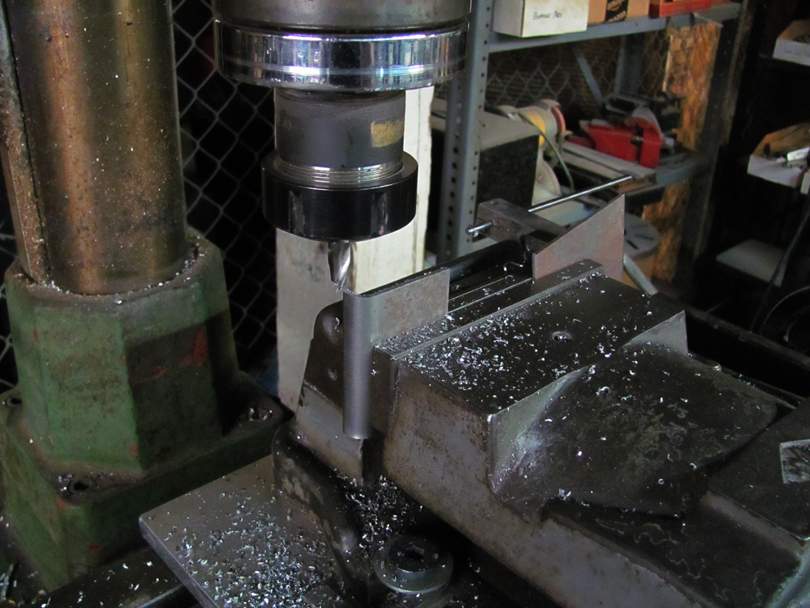
Next, I clamped it vertically in the mill vise and used an end mill to trim off the extra off of the rear flange. This makes the top edge parallel to the base.

Then I clamped it sideways on a parallel and milled the two sides to bring it to the final width.
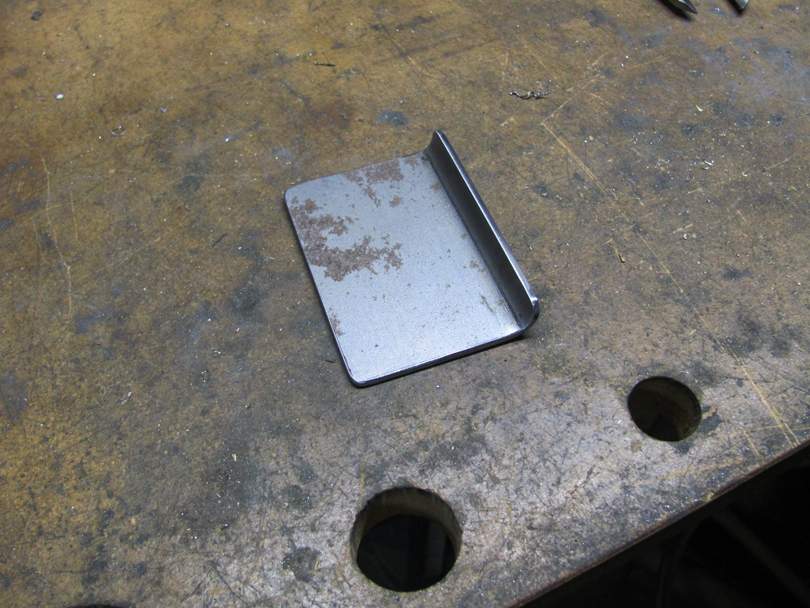
Here's the bridge plate, milled to the final size. I rounded off the corners by hand on a belt sander, and smoothed and deburred the edges on the finishing wheel.
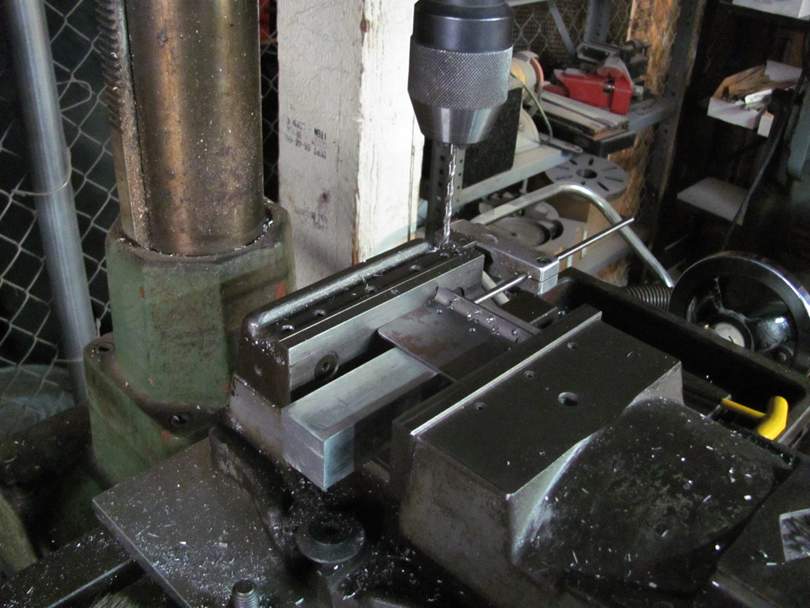
The next step is to drill the holes in the milling machine, using the digital readouts, going to the positions on the drawing.
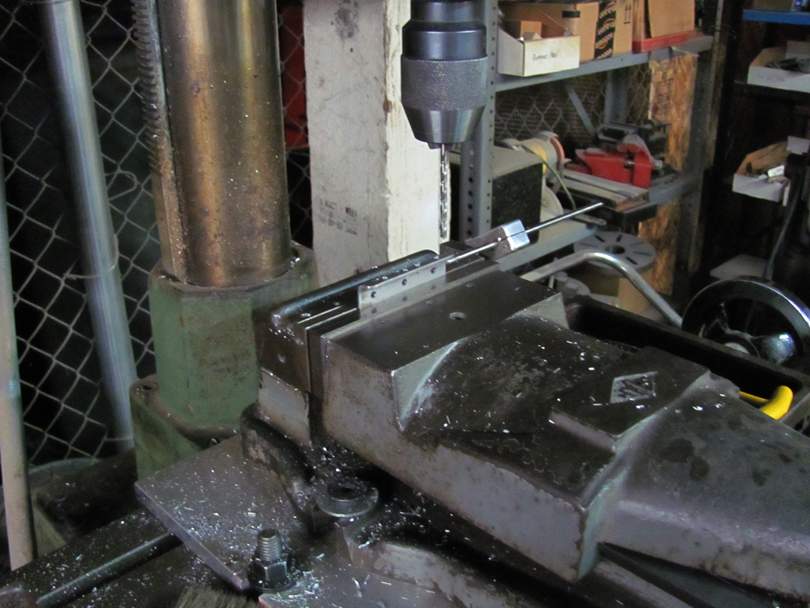
That's about it for the base plate. The last step is some sanding and polishing to get it ready for plating.
Why did we need to make one? Well, the Performer bridge is classic Fender-style construction, with the bent steel base plate and the barrel saddles. But all the dimensions are different from the commonly available P and J bass bridges. It's narrower string spacing, a long narrow base plate, larger diameter barrels, etc. JIO wanted to keep this bass authentic.
So, I thought I'd show you guys how I built this bridge; what machines and techniques are needed to make parts like these.
Most instrument hardware can be made with hobby-level metalworking machinery. The two main machines are a benchtop metalworking lathe and a small milling machine. Other helpful tools are a slow speed metal cutting bandsaw, a drill press, a small hydraulic press, and a grinder with a finishing wheel.
The first step is to design and draw up the parts accurately. I use an old 2003 version of AutoCad LT, which is a simple 2-D drawing program. Last summer, Keith and I did some modifications to another original Performer, improving the mounting of its bridge. Since I had its bridge here in my shop, I took the time to measure it and write down the numbers. From those notes and pictures that JIO sent me from another Performer owner, I drew up the plate and saddles as accurately as I could.
Here's a printout of the drawing next to the finished parts.
Getting started, the bridge plate is made from 0.090" mild steel plate. I buy steel plate in small pieces from my local metal supplier. I used soft mild 1018 alloy for this because it needed to be bent.
You may have seen the base plate I made earlier for the Transformer project, where I sawed a section out of a piece of rectangular steel tubing, to get the bent part. That was 0.125 thick steel; this one needs to be 0.090" thick. Scraps of tubing of that wall thickness are harder to find, so I needed to bend this one.
I made the bend in my hydraulic press. This is a basic 10 ton press that I bought for $100 from a friend who was closing down an auto repair shop. I bought the shop-made bending die set from another friend. Someday I'll machine up a better die set for it.
It's difficult make the bend exactly where you want it on the part, plus you need some extra material beyond the bend for the die to press against. So, I sawed out the plate oversized length and width, made the bend, then trimmed it to size in the mill.
I sawed the plate using my steel-cutting vertical bandsaw. It's a regular sized 14" bandsaw, with an extra gearbox and belt drive to slow it down to steel cutting speeds.
Here's the oversized plate after bending:
Next, I clamped it vertically in the mill vise and used an end mill to trim off the extra off of the rear flange. This makes the top edge parallel to the base.
Then I clamped it sideways on a parallel and milled the two sides to bring it to the final width.
Here's the bridge plate, milled to the final size. I rounded off the corners by hand on a belt sander, and smoothed and deburred the edges on the finishing wheel.
The next step is to drill the holes in the milling machine, using the digital readouts, going to the positions on the drawing.
That's about it for the base plate. The last step is some sanding and polishing to get it ready for plating.