• TalkBass has been independent since 1998. Add your voice.
    Create a free account to reply to discussions, view embedded media, and browse with fewer display ads.
    Join freeLog in
    Want zero display ads or expanded classifieds tools? Compare plans.

My bro's multiscale Coco 6 string

Well, some of you might remember the 'cocobass' I was building, I started it a year and a half ago and Ive had every possible problem with it (fretboard unglued due to ignorance {acetone on coco} , broken glue joints everywhere due to liquid hide glue) in fact the only thing it didnt do is spontaneously combust... anyways I went completely berserk last week and ended the night with a bonfire, case of beer, and the cocobass, not to mention a bit of regret... Now I am expecting some of you to knock at my door with pitchforks. So now that this bass is no more, I feel relieved, and I have to give a bass to my brother since the coco bass was, originally, for him. So we decided he would take the multiscale which I have been wanting to finish so bad for a while. So here it goes...
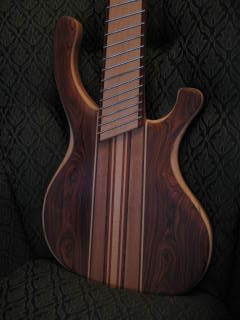
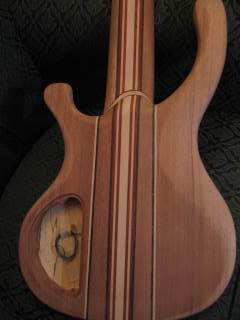
Picture001-1.jpg


Picture003-2.jpg


Picture004.jpg


I finished shaping it this week, next up is the bridge, then the pickups (my own)

-Cocobolo top on Spalted Maple on Khaya Mahogany
-Mahogany, Wenge, Padauk and curly Maple neck
-Curly Maple 24 fret board with Wenge/Padauk binding
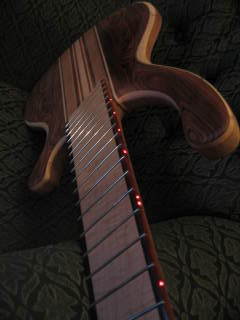
-Red LEDs, I forget the Ohms... I can explain how I did it if asked.
-35.5 - 32.5 scales
-Tremblay bridge (new design !) and single coil pickups.
-Gold Ultralites, knobs and locks.

 
hey Enrique buddy, Headstock will wait a bit since it aint to my liking... yet. And well when I dont quite like something, ahmmm, I either destroy it, or at the least, not show it. There will be more progress pics on Sunday when I work on these basses.

Jared, It costs about 2.50$ to do leds on a bass, seriously, a pack of 10 leds are about 1.49, then resistances are about 4cents each, and I used telephone wire (1 of the 4) at about 11cents a foot. The real pita is to figure out how to run the wires properly... example, I had to route out 2 channels on the side of the neck blank, one for the pups at about 5/8 from the top, and then another at 1 1/4 for the leds. Reason for this is, evidently you run the wire before gluing the wings, you dont destroy the wire when routing the pup cavities. I also had to do the CC before. But in the end, when I see peoples faces when I show them, and also since its a 150$ upgrade with most builders, i guess its worth it.
 
Finally got some work done on this one. Pickups are coming along tomorrow and should be ready for winding, bridge is taking shape. Pickup cavities are done. I get the equal spacing between the holes with spacers, I got inspired by the fingerjoint jigs.

Picture020-1.jpg


Picture019-1.jpg


Start Here..
Picture013-1.jpg


17mm spacing in between each..
Picture015-1.jpg


Simple.
Picture014-1.jpg


It was a tad more complicated on this one since the tailpiece is on a 16degree angle.. So I set the drill press table on a 16degree angle. Like I said, simple.
 
nope, St-Eustache buddy. I cant stand the city, driving my van in the city, one way streets in the city, no parking in the city... I like the north shore better. See ya soon at our g2g in my new shop !

Hrm, I wasn't familiar with this GTG, but PM me the details (if/when you have them) I'll definately try to make it!