• TalkBass has been independent since 1998. Add your voice.
    Create a free account to reply to discussions, view embedded media, and browse with fewer display ads.
    Join freeLog in
    Want zero display ads or expanded classifieds tools? Compare plans.

My first soldering job! (pics included)

I ruined my cable a couple of days ago, and instead of buying a new one, I decided to solder it myself. Having never soldered before, I soon came to the conclusion that I should have checked TB first. :D Alas, the computer wasn't available at the time, so I went for it. My brother was with me, and decided to make a little picture report! :D Here it is:

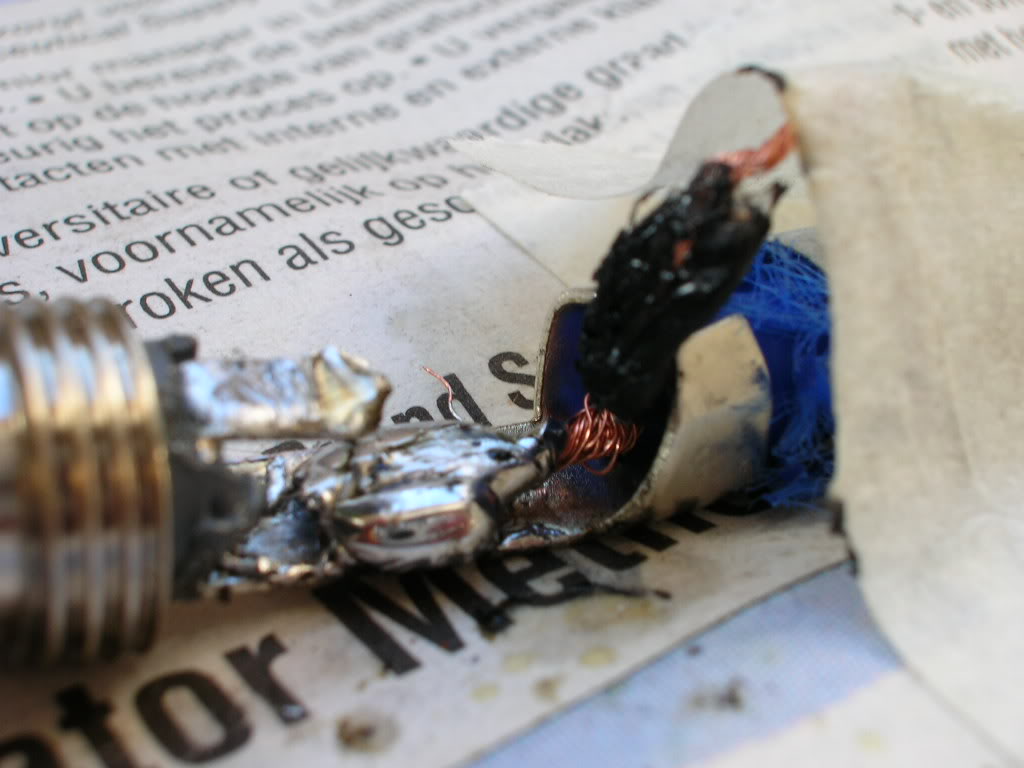
Dscn1074.jpg

One wire done. At this point I'm starting to realise that the stench I'm smelling is not the soldering itself, but the plastic wrapping around the other wire that is melting..

Dscn1077.jpg

Soldering is fun! Yeey!

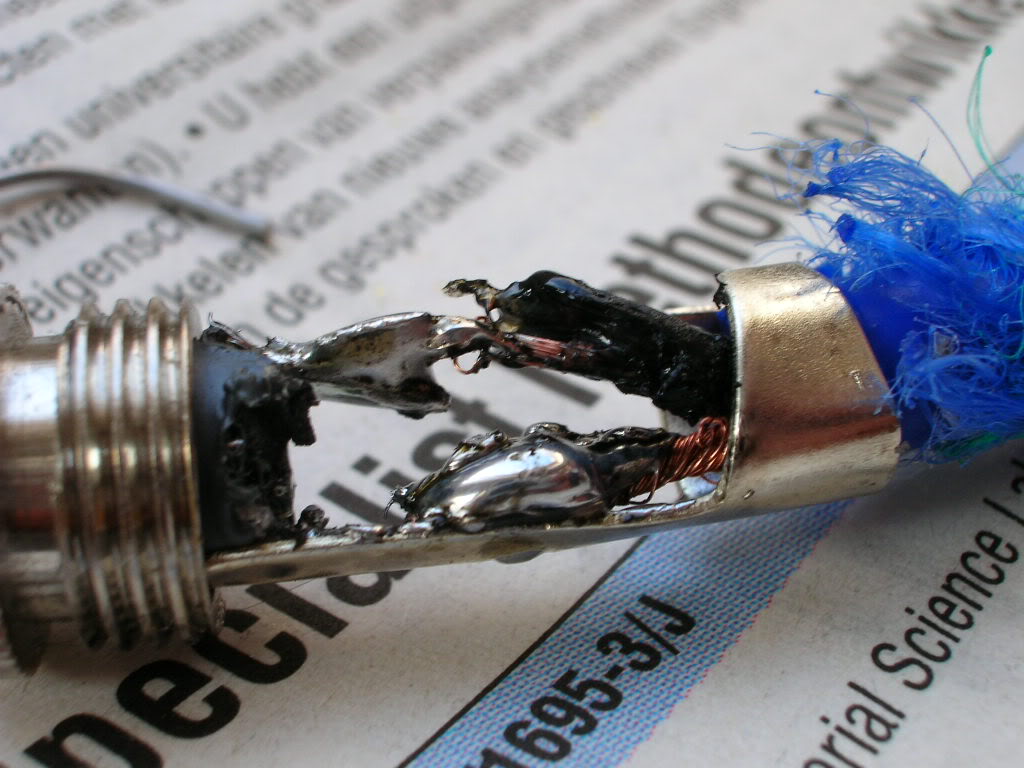
Dscn1081.jpg

second wire attached, easier than the first one, and it looks terrible.

Dscn1080.jpg

Very happy with the result!

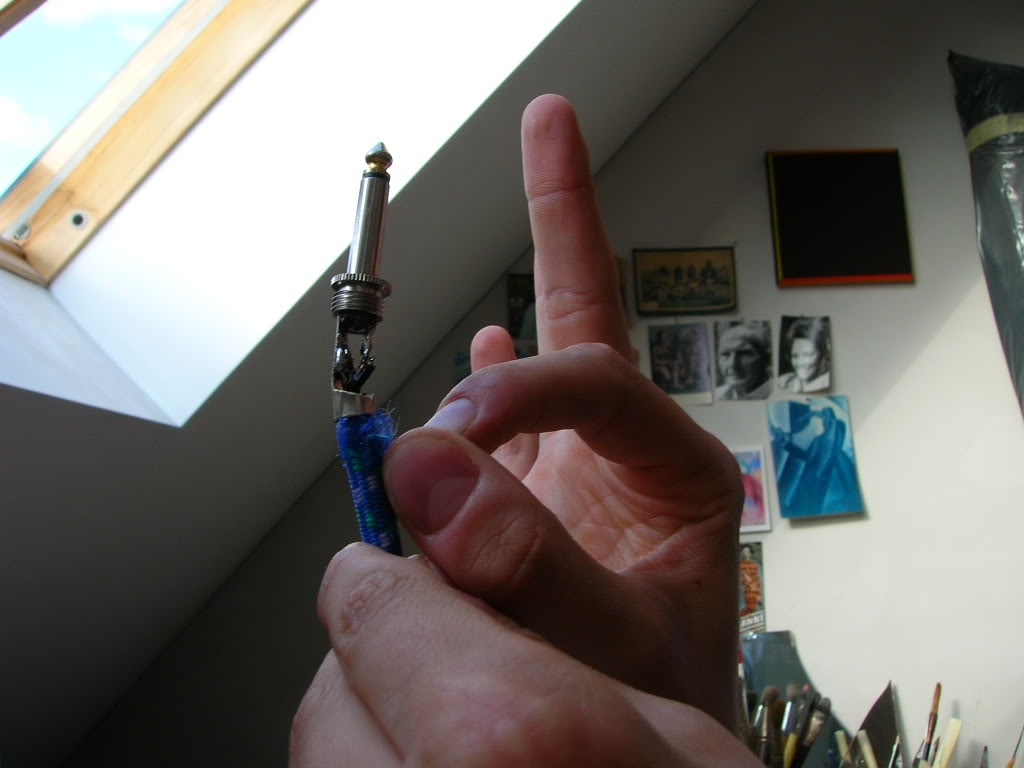
Dscn1085.jpg

And it works too! w00t, didn't see that one coming..

I learned my lesson, always check TB first :scowl: :D
 
OK, now for some instruction - not that you need it but your soldering does! :D You've got the ambition and you've done it once, now let's do it properly!

Here's what my father always said - heat the work not your solder! And the easiest way to do that is put your iron on one side of the piece touching the metal and touch the solder to the other side to melt it. You have a powerful gun there and the way to use that much power is not to touch it to the work and then pull the trigger. It's better to heat it up before touching it to the work then just barely put it on and then take it off. That way the heat needed to melt the solder is right there at the point of contact and not constantly being drained away into the rest of the work. That's why you burned the insulation. If you heat up the iron first, touch it and the solder to the work briefly at the same time and then get off just as the solder melts, the high temps won't ever get more than a 1/10" from the point of contact

Second, always tin your work. By "tinning" I mean to presolder the ends of the wires and use a paste flux for helping melt the solder into the wire. Do this by stripping the wire about 3/4". Then twist the ends to make a nice spiral, but not too tight. Now, push the end of the wire into the paste flux and pull it out clean. It shouldn't look like it has ANY paste on it but it does. Now, heat one side of the wire and briefly touch your solder to the other side. See the solder jump into the wire? That's due to the flux allowing the solder to flow and the heat already being there.

I like to use a small diameter flux core solder. I think I'm using .018" right now but it might be a little bigger. Smaller solder is easier to control and you can't get too much in one place. You can always add more if you need it.

Always clean your parts completely before soldering. If the molten solder beads up, the surface wasn't clean. The solder should puddle like blood if the surface is clean enough. Use fine steel wool or a little fine sandpaper to help.

Always keep the oxidation off of your iron's tip. I clean mine with steel wool to keep it clean. Then I tin the tip. If you put a drop of solder on the tip before you go in for a connection it will help transfer heat quicker. This is especially helpful when soldering to potentiometer cans.

A good solder joint should appear smooth and bright not lumpy and dull. However, I have used some solders where this isn't true. You should test with a meter, any work you do in these early stages to make sure you are getting good continuity.

Want to make a REALLY bulletproof cord? Use the metal ends and before you screw the cover on, slide it up close to the plug and fill it with silicone sealant and then screw it on. Wipe any excess off of the cable and let it cure. That will seal up the cable in the plug and keep moisture out and act as a helluva strain relief. If you need to repair it, it can be removed and cleaned out but you won't need to for years if then.

Hope this helps
 
Hambone said:
Want to make a REALLY bulletproof cord? Use the metal ends and before you screw the cover on, slide it up close to the plug and fill it with silicone sealant and then screw it on. Wipe any excess off of the cable and let it cure. That will seal up the cable in the plug and keep moisture out and act as a helluva strain relief. If you need to repair it, it can be removed and cleaned out but you won't need to for years if then.

While I would agree with most of Hambone's excellent post:

You will want to be careful with the silicon sealant in the cable body. Many of the silicones will weep out silicon oil for a long time (years is not unknown). If the silicon oil gets on the end of your cable by wicking then it will make an excellent insulator. NASA in the past (if not present) did not allow silicones to be used because they had some very long distance wicking failures...

Other sealing/potting compounds should work and will stop water etc.
 
NASA still won't allow silicone adhesives. They are a particular problem for the optics as the silicone adhesives will outgas and potentially mess up the optics.

A second problem with silicone adhesives is that they will potentially attack the copper wiring. You don't want to use the types of silicone adhesives that smell like vinegar. What you're smelling is acetic acid and it will attack copper wiring.

The type to use is called RTV adhesive, but it is much more expensive.

Wings
 
Vorago said:
Thanks Wings :)

Damn, I really should have asked help first.

NAH! Part of the learning process is doing something with complete gusto and then finding out there's better ways. Good job on your first efforts. I would HIGHLY recommend a lower wattage soldering iron. That thing you've got is serious overkill for electronics work, as it will get things cooking very quickly which can wind up damaging things.

Trust me though, you can do lots of damage even when you know what you're doing. The other night (after YEARS of electronics repair) I smelled this wierd plastic burning smell, but couldn't figure out where it was coming from.... it was my original pickguard... woops, now it's got some character I guess! :bassist:
 
Wings said:
NASA still won't allow silicone adhesives. They are a particular problem for the optics as the silicone adhesives will outgas and potentially mess up the optics.

A second problem with silicone adhesives is that they will potentially attack the copper wiring. You don't want to use the types of silicone adhesives that smell like vinegar. What you're smelling is acetic acid and it will attack copper wiring.

The type to use is called RTV adhesive, but it is much more expensive.

Wings

Yup, you're right

I should have mentioned using RTV silicone instead of the "sealant" types. RTV is used as an electrical insulator and is quite common for this type of job. You can even get some of the high temp silicone gasket materials used in the automotive trades. The red stuff is very tough and dries quickly and I guarantee that it doesn't outgas or weep oil

Way back, I had one of those "coily" cords that we all loved so much :rolleyes: Of course I couldn't keep ends on it from twisting off. After my dad did this treatment that cord lasted for nearly 5 years before a short somewhere along it's length killed it.