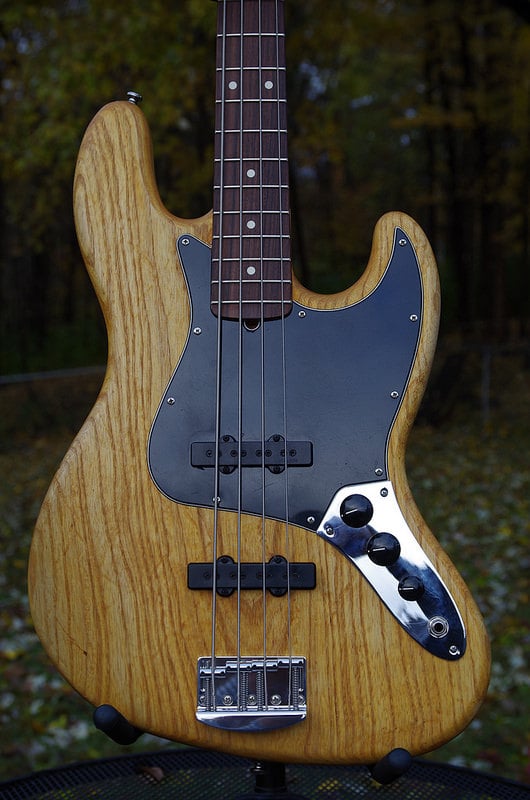
To get your pickguard just right, mount your neck, then fit you guard to the neck heel. You want a close fit but not so close you can’t remove the neck with the guard intact. Once that’s done position your guard and tape it if the neck heel is not holding it in place. Carefully position a small centerpunch in the center of the guard holes and make just enough of a dent to keep you drill bit from walking, then remove your guard and drill pilot holes for your screws. I use a tiny bit in a hand chuck for this. I make a hole just large enough to let the tip of the screw get a grip, then carefully screw my waxed screws down making sure they are going in perpendicular to the top of the body. Don’t run them all the way down, go just deep enough to get the full diameter of the screw in the wood. Remove the screws, drop on your guard and run the screws all the way down. Next, do the same with your fully assembled control plate if you have one. Set in place and line it up so it looks right and leaves no gap between the guard and plate, then repeat the steps for punching driiling and running your screws down.
patience is the key here and your initial fitting of parts and centerpunching will determine the quality of your install.