
Enjoy the benefits of a premium membership!
Upgrade Account
-
TalkBass has been independent since 1998. Add your voice.
Create a free account to reply to discussions, view embedded media, and browse with fewer display ads.
Join free Log in
Want zero display ads or expanded classifieds tools? Compare plans.
You are using an out of date browser. It may not display this or other websites correctly.
You should upgrade or use an alternative browser.
You should upgrade or use an alternative browser.
NBD! '66 Epiphone Rivoli
- Thread starter neilshane
- Start date
More options
Who Replied?
I sold a bass to raise funds and picked up this stunning cherry '66 Epiphone Rivoli. I'm shocked at how good of shape this bass is in for its age. And the color is pure beauty!
It's all original as far as I can tell. Included the original hard shell case as well.
I've had a Rivoli obsession for years. I think they are the most beautiful basses ever made. However, the tone can leave something to be desired.
To remedy that, I've ordered a Curtis Novak BS-DS bisonic that will be here next week. BS-DS
I had a Guild bisonic in a '90s reissue Rivoli a while back and I was drop in so I'm hoping the same is true here. I'll update once
I get the pickup installed.
In the meantime, here are some pics!
View attachment 3875276 View attachment 3875277 View attachment 3875278 View attachment 3875279 View attachment 3875280
sweet! I hope you like the pick up upgrade. I’m not a fan of those Gibson mud bucker s.


I have posted this quite a bit but I've always loved the overdriven sound of the Rivoli in this tune, it's one of my all time favorite bass tones., there's a P bass in the video but he's shown much more often with a Rivoli.
Although I've never played a Gibson myself, I'd say that's definitely the Gibson sound. Great! Thanks for sharing.
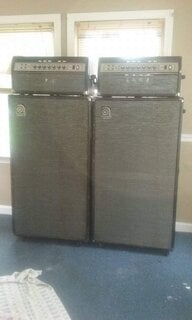
Above is what’s under the bridge. I guess the metal under it is actually the choke box? I just need to dig that out of the wax and cut the green wire?
The wire on mine was someplace in the middle under the wax on top near the middle IIRC. There should only be two wires on that, I don't remember the color of the one I unhooked but I would try running a slim piece of metal in the wax, little tiny screwdriver or something like that and you should be able to find the wire, just clip it when you do. I'm not an expert I'm just another bozo here but it worked for me.

You guys!!! I cannot thank you enough! I cut the wire. It’s like a whole new bass!! Totally opened up the tone. Awesome!!
I will still install the Novak pickup, but it will be so much better now! Thanks!!!
I will still install the Novak pickup, but it will be so much better now! Thanks!!!

sweet! I hope you like the pick up upgrade. I’m not a fan of those Gibson mud bucker s.
Yeah mudbuckers are like anchovies. Not too many people order them but people that do love them on their pizza love them so they’re still on the menu! Ha! That’s why they’re always a viable option even today.
Mudbuckers leave a strong taste in the bass of the music mix but if it’s your flavor you dig it!
Mudbuckers are more of a feel instead of a sound! You ever see how many wire windings and how they build a mudbucker? It’s a chunck of metal engineering.
I personally like the mini humbucker dialed in for some highs and together that is one massive wall of sound! Motown, british invasion, british blues, anerican rock, punk and many more genres are all based on that old mudbucker! Fenders rule but they’re not the only tonal pallette for bass players.
I own P basses and even had a jazz but to really sound unique I pick up my Gibbys and Epis. No knock on Fenders!
They rule for a reason but too many people think anything else is inferior.


I would much prefer not to remove the wiring harness so my plan is to cut the wire from the old pickup and solder the wiring of the new Novak BS-DS pickup to it. I saw Dan Erlewine demo the method on Youtube some time back.
The old pickup has a black wire inside a mesh wire sheath. Like this:
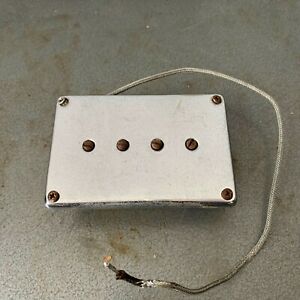
Do I connect the black wire of the new pickup to the sheath and white wire to wire inside the sheath? Or what?
Here's the Rivoli schematic:

Thank you!!
The old pickup has a black wire inside a mesh wire sheath. Like this:
Do I connect the black wire of the new pickup to the sheath and white wire to wire inside the sheath? Or what?
Here's the Rivoli schematic:
Thank you!!
Carefully roll back the shield or braided wire an inch on each wire connection and slide a piece of 3/4” heat shrink over the 1/4” of trimmed and tinned white wires allowing room to solder. If heat shrink is too close when soldering it will shrink and be hard too slide over signal splice. Overlap and Solder the signal wires together and slide the 3/4” heat shrink over the spliced signal wire connection. Heat heat shrink over wire until it shrinks tight on solder connection.
Verify no wire strands are exposed on signal wire under heat shrink that could short signal wire to shield.
Carefully roll back and flatten braided shield wires back over spliced signal connection.
I use 1” copper tape to wrap the braids where they’re spliced and use electrical tape to tightly secure over-lapped braided splice to keep braided shield intact as possible. The main thing you want is a good solid signal connection with an intact shield to keep noise out of signal wire.
If the new pickup has only a black and white wire with no shield then loosely twist the 2 wires and connect white to white and black to shield.
Sounds more complicated then it is!
Verify no wire strands are exposed on signal wire under heat shrink that could short signal wire to shield.
Carefully roll back and flatten braided shield wires back over spliced signal connection.
I use 1” copper tape to wrap the braids where they’re spliced and use electrical tape to tightly secure over-lapped braided splice to keep braided shield intact as possible. The main thing you want is a good solid signal connection with an intact shield to keep noise out of signal wire.
If the new pickup has only a black and white wire with no shield then loosely twist the 2 wires and connect white to white and black to shield.
Sounds more complicated then it is!
Last edited:
@SubHuman Thank you!! So the mudbucker should have a black and a white wire inside the mesh shield, correct? The schematic appears only to have the mesh shield attached to the pots. Unless I'm reading that wrong?
On the older guitars the shield is the ground wire. The white (center) wire carries the signal and the braided shield is the return or ground. On some newer style pickups they use a common black wire for the return or ground. Newer guitars shield the cavities the wires lay in so some do not even have a braided shield.
If your new pickup doesn't have a braided shield lightly twist the wires together before soldering.
This creates a cancelling effect on noise.
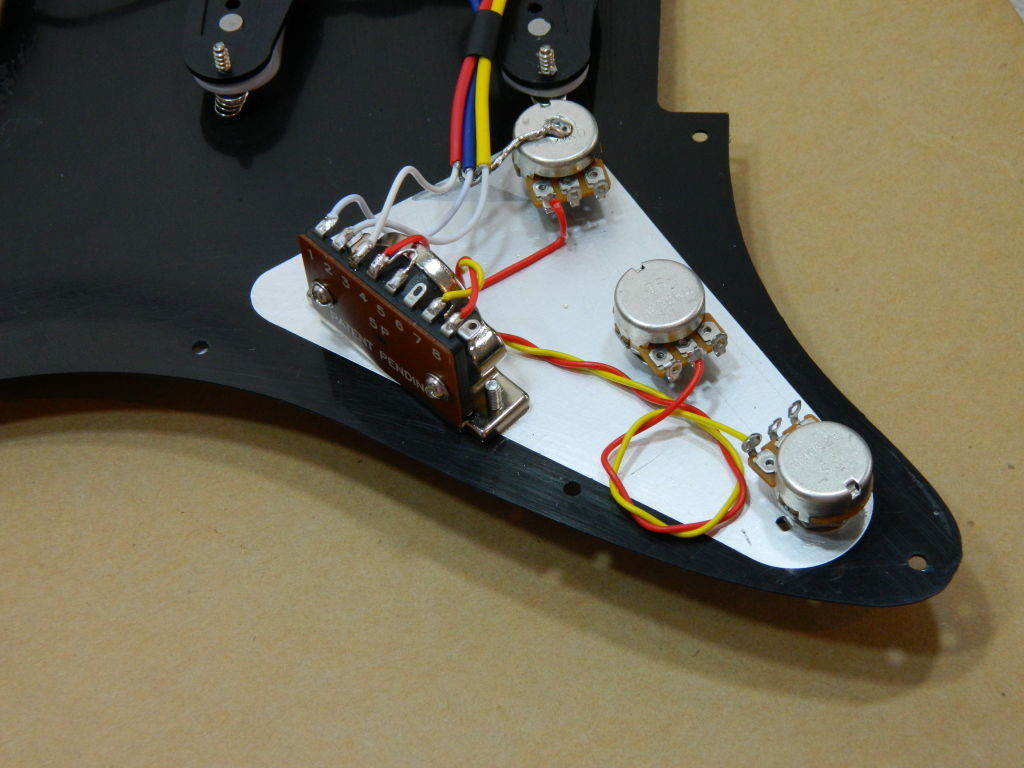
This creates a cancelling effect on noise.
Thank you @bradd and @SubHuman! So, I should connect the white wire from the Novak to the inside wire on the Epi pickup and the black from the Novak to the mesh on the Epi? Or is that backwards?
That sounds correct!
Keep us posted on your pickup upgrade!
Hope it goes well and she rocks out after the new pickup is installed.
Hope it goes well and she rocks out after the new pickup is installed.


