• TalkBass has been independent since 1998. Add your voice.
    Create a free account to reply to discussions, view embedded media, and browse with fewer display ads.
    Join freeLog in
    Want zero display ads or expanded classifieds tools? Compare plans.

Neck for Bass-Adrenaline

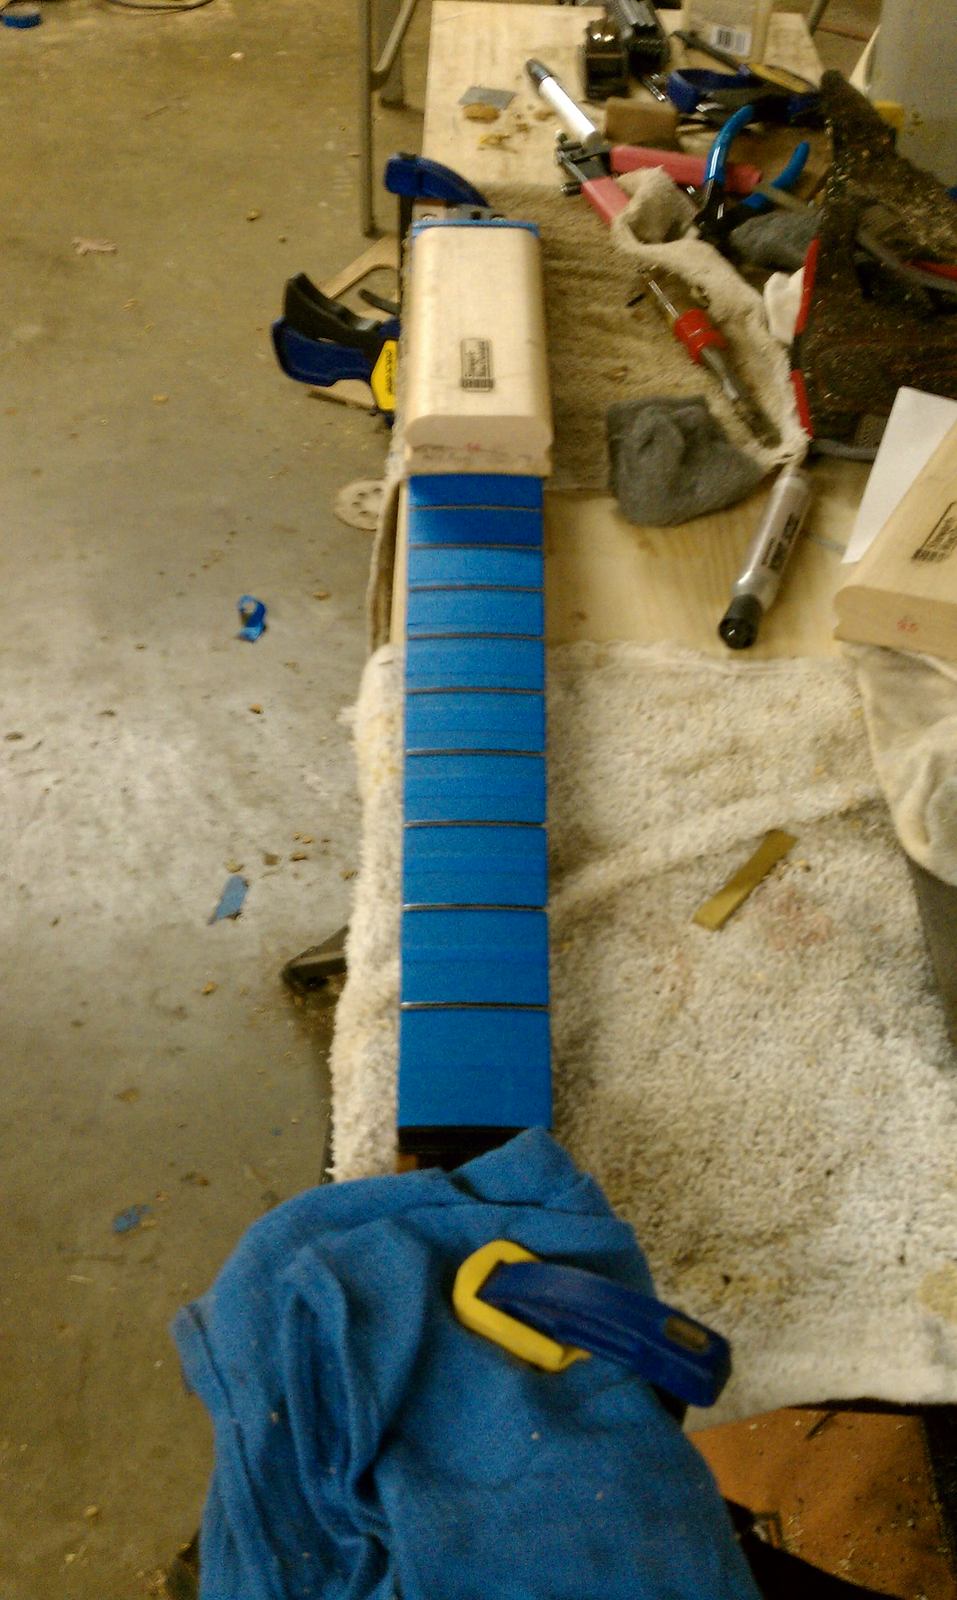
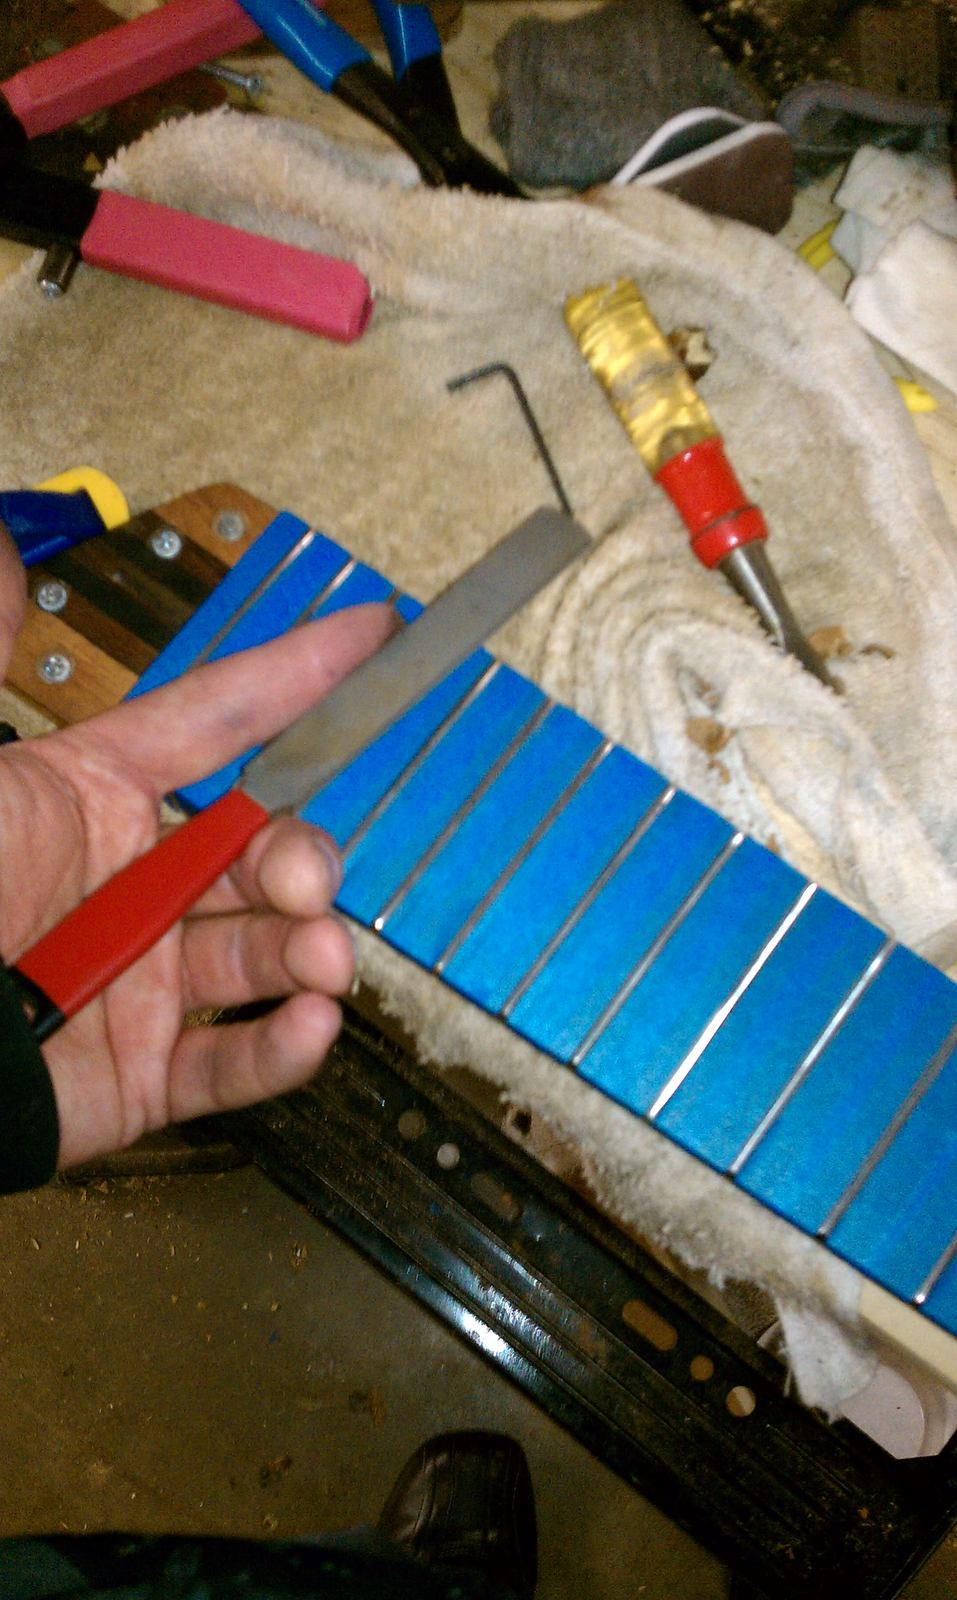
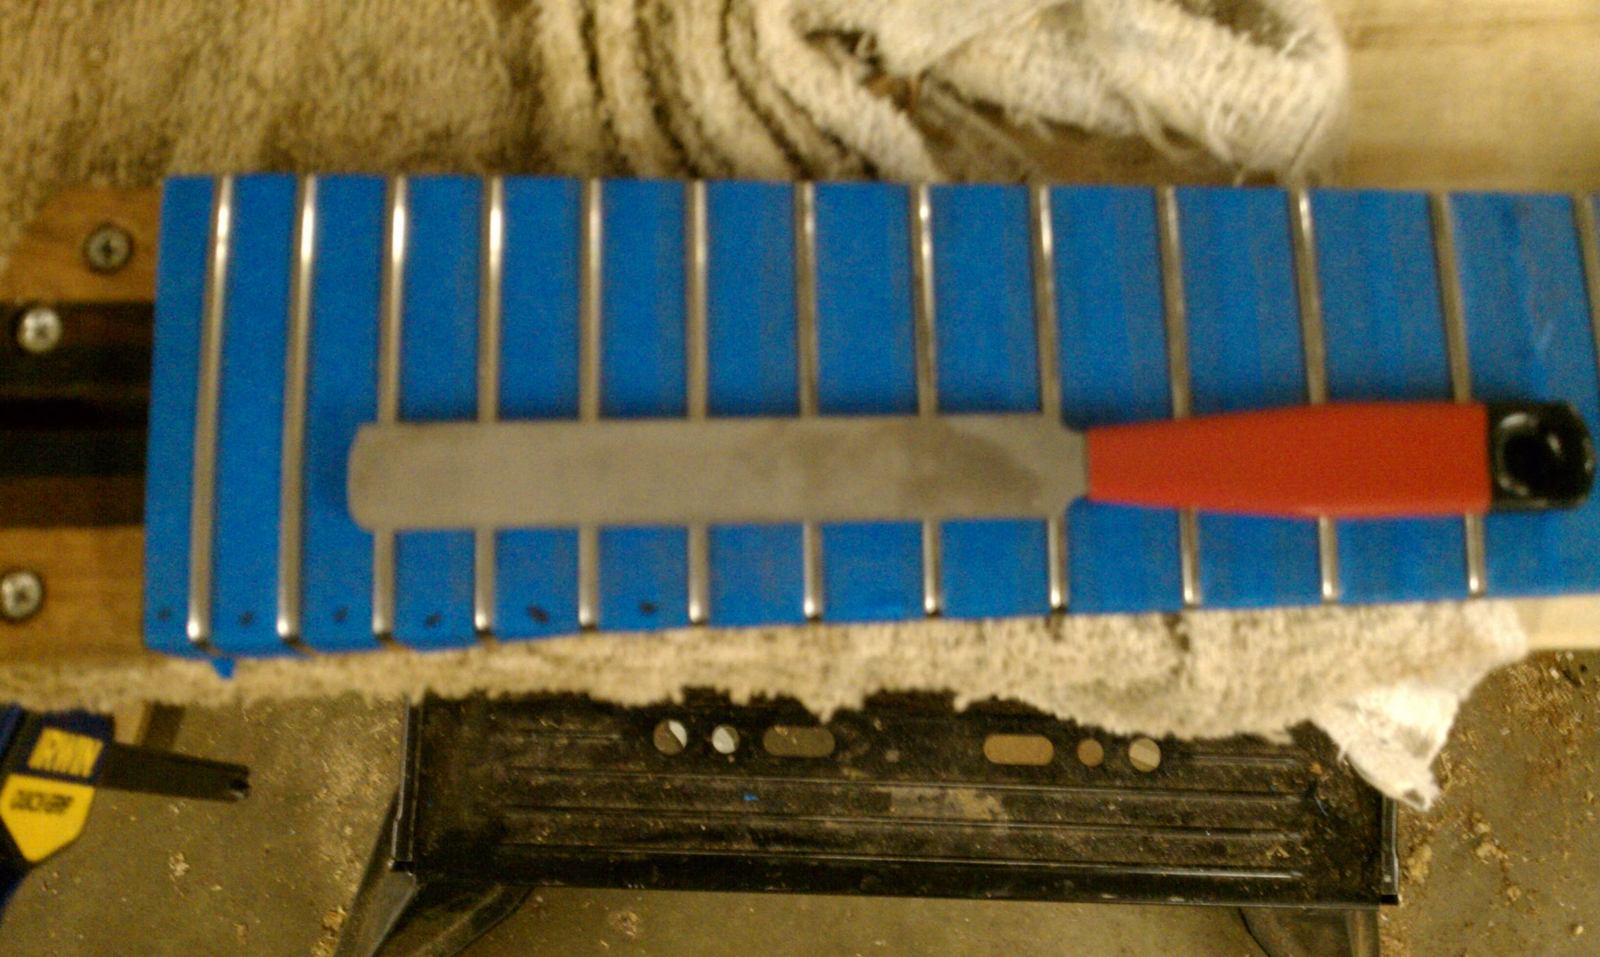
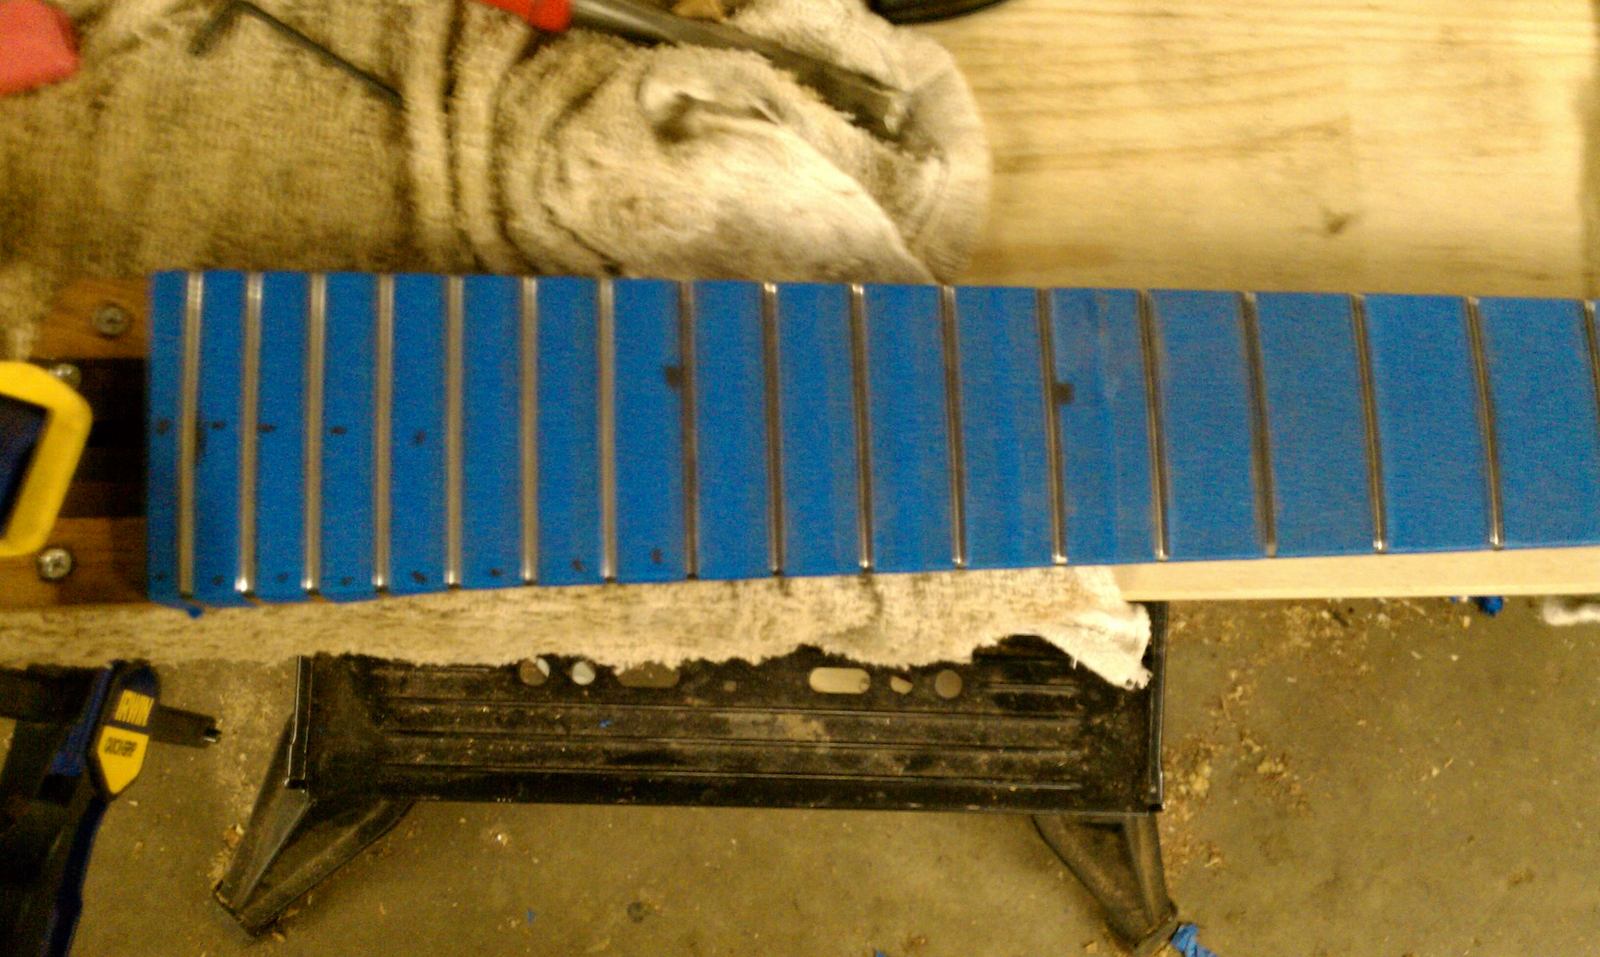
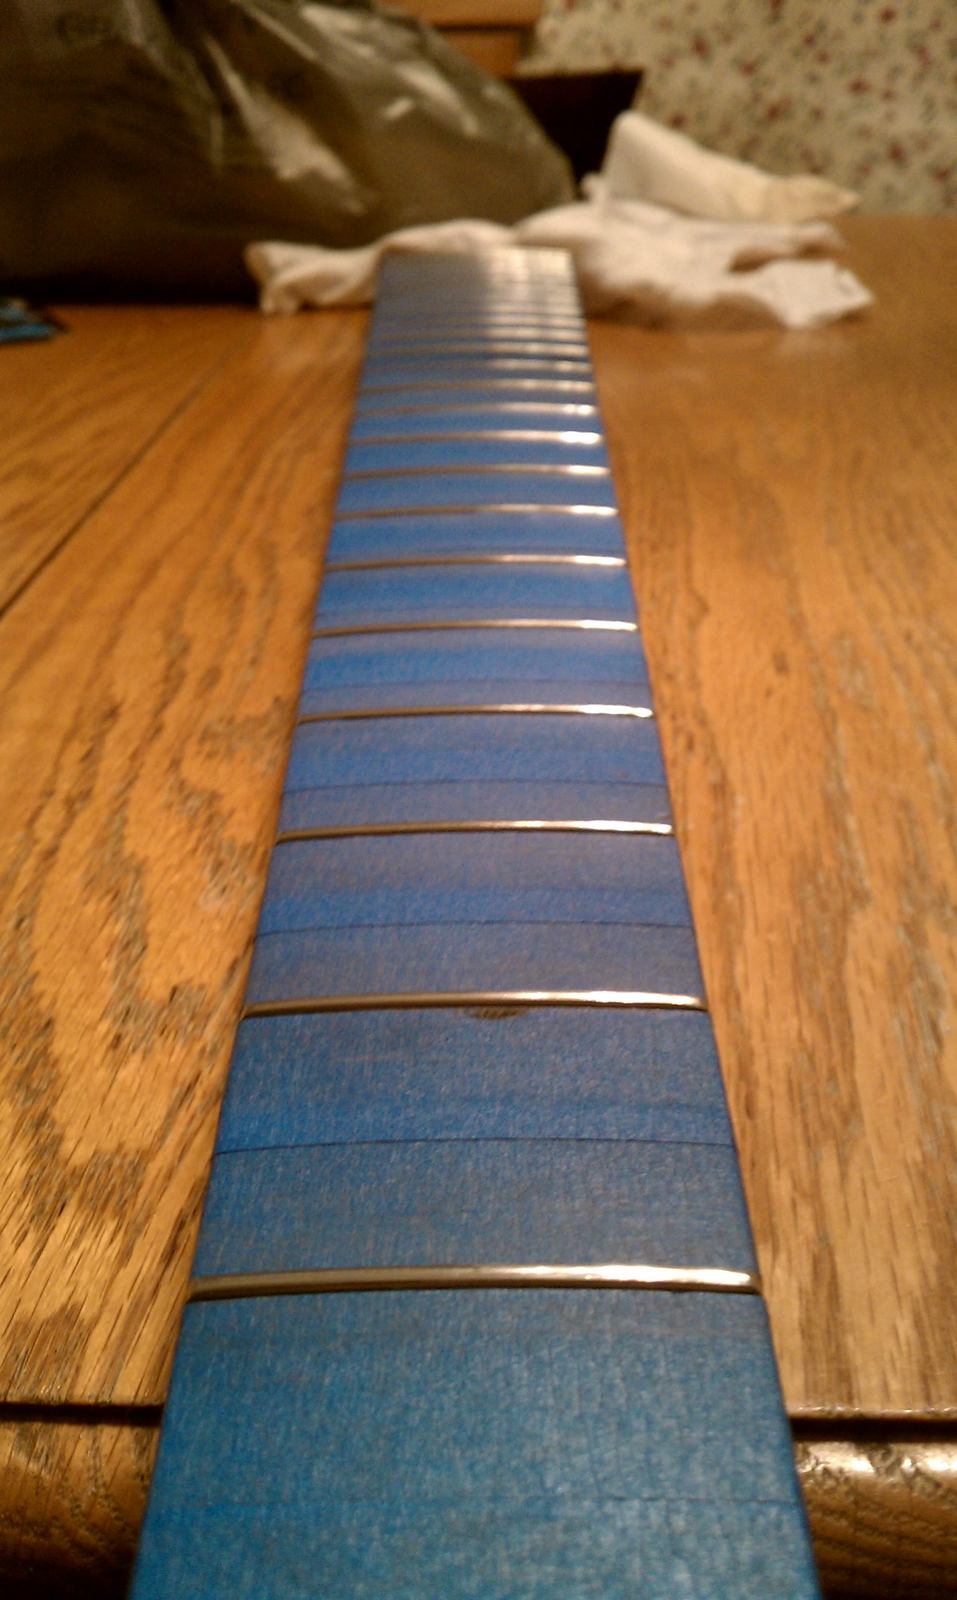
Leveled the frets....and recrowned them..

I start off by taping the fretboard and marking each top of the frets with a black paint pen. I use the radius block with 80 grit and lightly run it, until all the marks on the fret are gone.

IMAG0615.jpg

IMAG0616.jpg

IMAG0617.jpg


When crowning, I mark them again and file off, until the mark is gone.

IMAG0618.jpg


IMAG0620.jpg
 
Inlaying the "R" part of my logo.


First, the layout.....

IMAG0628.jpg


we'll need to fix it down with some paste, clamp it in place and after about 20 minutes, score the edges with a blade (blade is a #12).

IMAG0629.jpg

IMAG0630.jpg

IMAG0631.jpg


After scraping around all the edges (in the tight edges, you can also "stab", if you can't get the blade in the tight areas). I douse a bit of water in the area, to loosen the shell.
I then take a soapstone with a razor and scrape enough on the to rub in with my finger.

IMAG0644.jpg

IMAG0633.jpg

IMAG0634.jpg

IMAG0635.jpg

IMAG0636.jpg


I adjust the height of the bit, so that it's right under the total thickness. Once I get the areas close to the "white edges", I fit it several times, so that I get a good fit. After the cavity is a good fit, I scrape the bottom, so that the routed area is uniform, otherwise, there may be a little piece in there that could potentially break the shell, when pushing it into the cavity. I pool a tiny bit of CA glue and press the shell in place and clamp it tight for a few minutes. Also before pressing, the back of the shell is ran across 800 sandpaper, to clean off any paste.

IMAG0637.jpg

IMAG0642.jpg

IMAG0641.jpg

IMAG0643.jpg


Now that this part is done. You'll notice that there's 3 different pieces of wood in this cavity area. dust from each type of wood and ca glue, I taped off each area, so that we're matching wood colors here.

IMAG0645.jpg

IMAG0646.jpg

IMAG0647.jpg

IMAG0648.jpg


And here's what it looks like (I went around the edges with a very thin brush, with black ink):

IMAG0649.jpg
 
That inlayed logo looks really good Jason! This neck is really cool!

I know you like the large pictures, but this thread takes 2-3 minutes to load per page on my machine! Scrolling through is really slow too. Really, for the web you only need 800x600, or 1024x768 (at the most), as most websites tell the browser to resize the originals anyway.
 
A few more top coats on the neck and it'll be good....


Now, to the pickups and pre..........

Because this is foiled in a few pieces, had to make them all one.
I soldered these spots, where the tape joined the other pieces. Once I did that, checked continuity with a meter. So, the spots were where the bridge sits, the bridge, neck pickup cavities and the points where they arrived into the control cavity. No wire used.

IMAG0671.jpg

IMAG0670.jpg


Mounted the pickups, attached the pots and put the knobs on..

IMAG0674.jpg

IMAG0675.jpg


Wired it up. I wrapped most of the wiring for each pot with electrical tape.

IMAG0676.jpg


Soldered the ground for the jack to the cavity as well.

IMAG0677.jpg


Put in the tele style jack.

IMAG0678.jpg
 
Been awhile since I've posted here (I'm glad Adrenaline is a good sport about this)........ Alot of "life" stuff taken place, but getting better......

I did not like the Straplock buton on the horn, just didn't sit on enough wood for me, so here's what I did about it:

Cut some aluminum rod, to make up the difference.

IMAG0799.jpg


Got the correct shape with a round file and used some CA glue and affixed a piece of veneer on the body end of the piece.

IMAG0800.jpg


Now with it on, there's more area for the strap button to sit on........

IMAG0801.jpg


The next item, will be more like a how to for a ramp. I wanted a non-invasive way and still have a nice solid ramp.

I glued 2 different piece together, wenge and mahogany. That way Chase can make the decision of which one he likes better.

I also wanted to put binding around it, so there's no regard to the mixmatched look.
I wet down the veneer and clamped it to the ramp, so it would dry bent.

IMAG0812.jpg

IMAG0813.jpg


Mahogany side

IMAG0815.jpg


Wenge side

IMAG0816.jpg


Ramp, with a piece of thin gauge aluminum (siding/gutter material).

IMAG0817.jpg


Now the the Aluminum is trimmed, I bent it and made sure that it fit.

IMAG0818.jpg

IMAG0819.jpg

IMAG0820.jpg


Used CA glue (plenty), to make it adhere good...

IMAG0821.jpg

IMAG0822.jpg


Here it is fitted. keep in mind, the pieces that sit inside the pickup cavity are made to sit at the treble end of the pickup cavity all the way, so it doesn't slide around. I bent the tabs inward to make it tighter and it's harder to move around now. Also started the tru-oil coats.


IMAG0824.jpg

IMAG0825.jpg

IMAG0826.jpg