• TalkBass has been independent since 1998. Add your voice.
    Create a free account to reply to discussions, view embedded media, and browse with fewer display ads.
    Join freeLog in
    Want zero display ads or expanded classifieds tools? Compare plans.

New bass for Tom Petersson

Basvarken

Commercial User
Dec 3, 2010
1,743
10,606
Velp Rockcity
www.thegibsonbassbook.com
Disclosures
Hobby Luthier / Gibson Bass Book
Hooray!
A new Brooks bass was born.
The EXB-12-TP White Falcon

Built for none other than Tom Petersson of Cheap Trick.

Specifications:
- Korina body
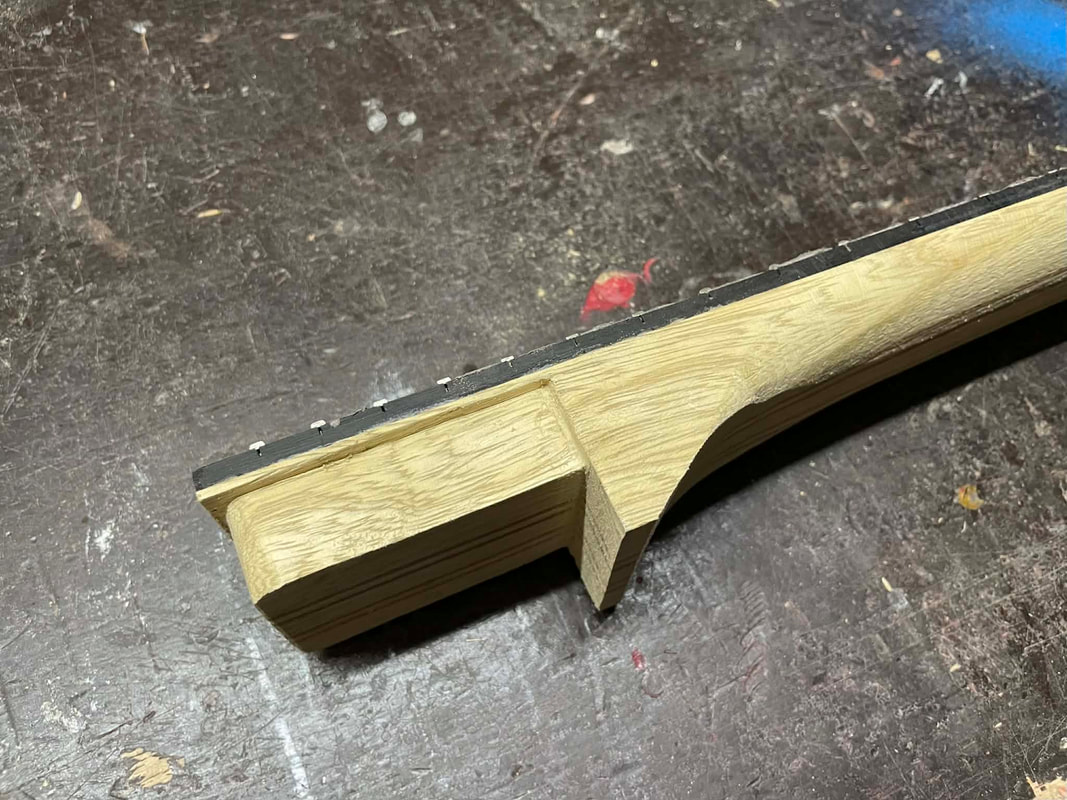
- Nine-ply Korina/mahogany neck. Glued in
- Vintage White finish
- Checkerboard binding
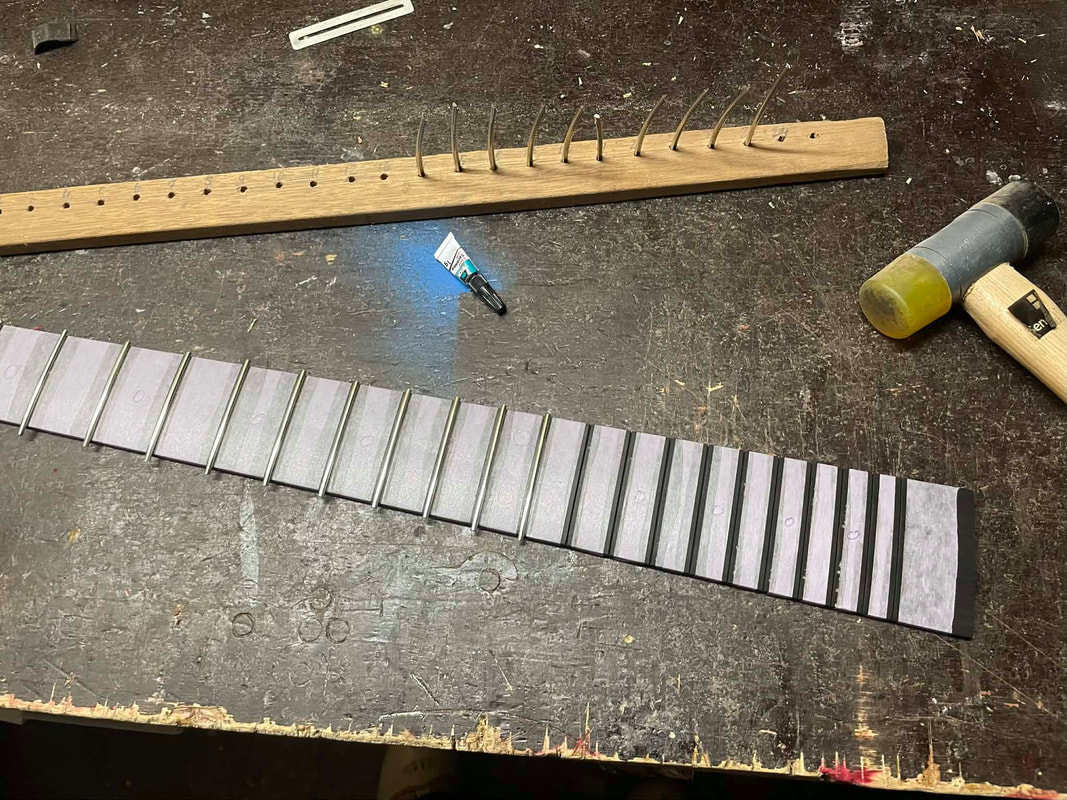
- Ebony fretboard
- Mothe of pearl position dots. Two brass rings in 12th position
- Jumbo frets
- 30 1/2" scale
- Buffalo horn nut
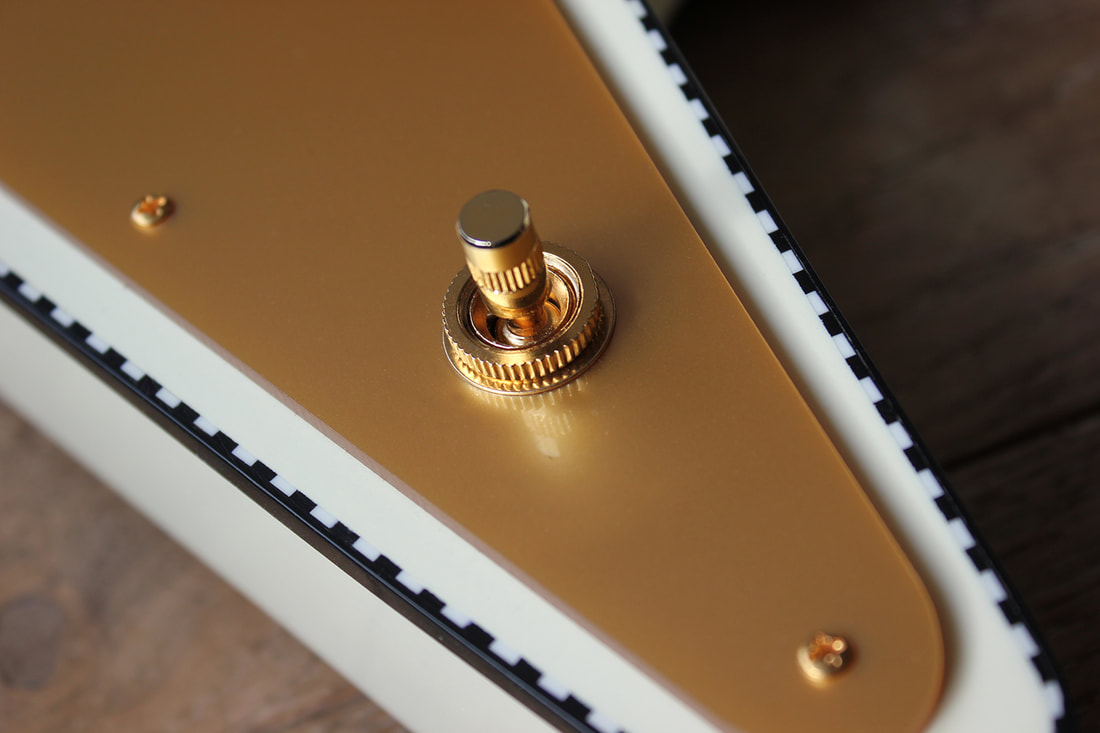
- Acrylic pickguard Gold
- ETS Custom made twelve string bridge set. Gold
- Two spokewheel double action trussrods
- Carbon reinforcement strip in the neck
- Gemini Dominator in the neck position. Gold
- Gemini Devastator in the middle position. Gold
- Pure Tone output. Gold
- 3-way pickup selector toggle switch. Gold
- Gotoh GB350 bass tuners. Gold
- Schaller GrandTune tuners. Gold, Pearloid button
- d'Addario custom strings
- Weight 4.9kg


brooks-exb-12-tp-wf-full-front2-1500_orig.jpg

brooks-exb-12-tp-wf-body-angle-1500_orig.jpg

brooks-exb-12-tp-wf-headstock-1500_orig.jpg

brooks-exb-12-tp-wf-12-custom-built-1500_orig.jpg

brooks-exb-12-tp-wf-12-knobs-1500_orig.jpg

brooks-exb-12-tp-wf-toggle-1500_orig.jpg

brooks-exb-12-tp-wf-bridge-set-1500_orig.jpg

brooks-exb-12-tp-wf-12-headstock-back-1500_orig.jpg

brooks-exb-12-tp-wf-full-back-1500_orig.jpg

brooks-exb-12-tp-wf-12-pickups-1500_orig.jpg

brooks-exb-12-tp-wf-12-position-1500_orig.jpg

brooks-exb-12-tp-wf-output-1500_orig.jpg


I'll share pics of the build process in separate posts below
 
Routed the profile for the first step of the checkerboard binding

brooks-exb-12-tp-wf-binding-channel-routed-total_orig.jpeg

brooks-exb-12-tp-wf-binding-channel-routed_orig.jpeg


Glued the binding in. The outer black strip only functions as a carrier for the black and white blocks.

brooks-exb-12-tp-wf-block-binding-channel-glued-and-taped-total_orig.jpeg

brooks-exb-12-tp-wf-block-binding-channel-glued-and-taped_orig.jpeg

brooks-exb-12-tp-wf-block-binding-channel-glued-close_orig.jpeg

brooks-exb-12-tp-wf-block-binding-channel-glued-corner_orig.jpeg

brooks-exb-12-tp-wf-block-binding-channel-glued_orig.jpeg


Then routed the second channel for the final outer binding

brooks-exb-12-tp-wf-outer-binding-channel-routed-close_orig.jpeg

brooks-exb-12-tp-wf-outer-binding-channel-routed-corner_orig.jpeg

brooks-exb-12-tp-wf-outer-binding-channel-routed-horn_orig.jpeg

brooks-exb-12-tp-wf-outer-binding-channel-routed_orig.jpeg


And gued the outer (black) binding in place. And tied the corners with rubber strips while the glue hardened

brooks-exb-12-tp-wf-outer-binding-glued-in_orig.jpeg

brooks-exb-12-tp-wf-outer-binding-glued_orig.jpeg
 
Shaped the heel for the neck joint

brooks-exb-12-tp-wf-neck-heel_orig.jpeg


Routed the neck pocket

brooks-exb-12-tp-wf-routed-neck-pocket_orig.jpeg


Before I glued the neck in I drilled the holes for the tuners

brooks-exb-12-tp-wf-drilling-tuner-holes_orig.jpeg
brooks-exb-12-tp-wf-drilled-tuner-holes_orig.jpeg


Made the side position markers

brooks-exb-12-tp-wf-drilling-side-markers_orig.jpeg
brooks-exb-12-tp-wf-making-side-markers_orig.jpeg


For the 12th position I made brass rings. The brass will match the gold hardware nicely

brooks-exb-12-tp-wf-12th-side-markers_orig.jpeg


Routed the pickup cavities

brooks-exb-12-tp-wf-routing-first-pickup-cavity_orig.jpeg
brooks-exb-12-tp-wf-routong-second-pickup-cavity_orig.jpeg
brooks-exb-12-tp-wf-pickup-cavities_orig.jpeg


Drilled the output hole on the side of the body

brooks-exb-12-tp-wf-output-hole_orig.jpeg


And the holes for the pots

brooks-exb-12-tp-wf-drilled-holes_orig.jpeg


Finally glued the neck in

brooks-exb-12-tp-wf-glueing-the-neck_orig.jpeg
brooks-exb-12-tp-wf-glueing-the-neck2_orig.jpeg
 
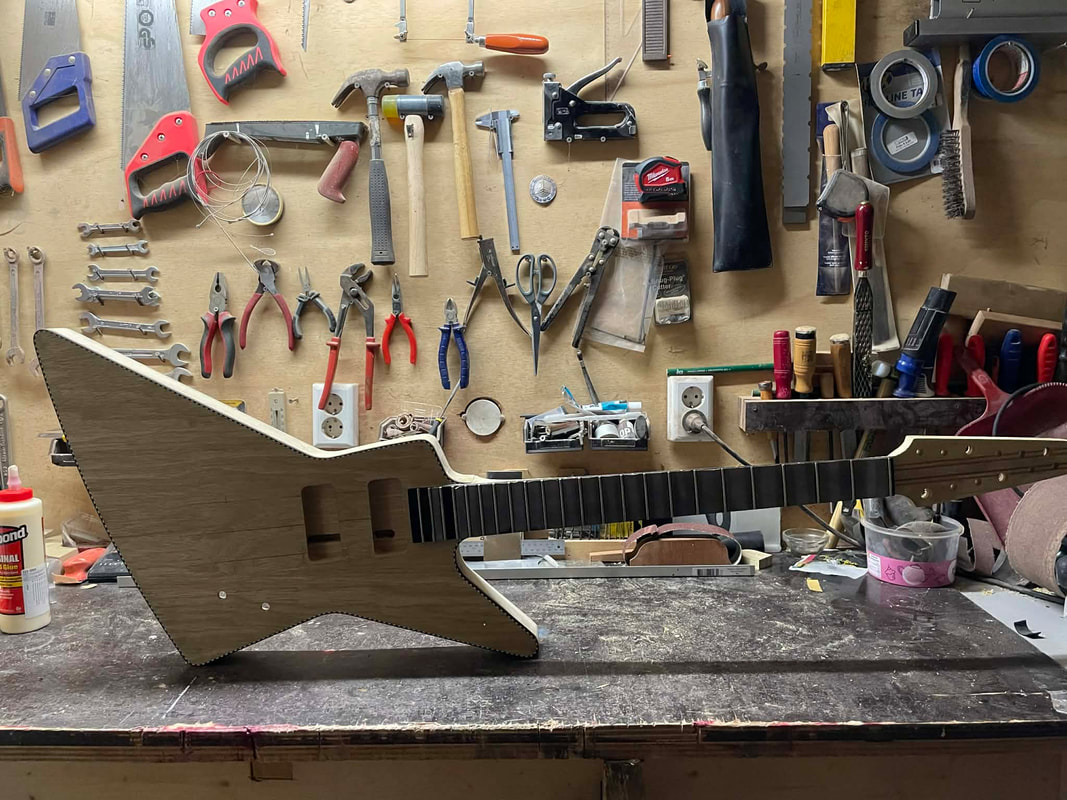
Starting to look like a bass already

brooks-exb-12-tp-wf-bare-bones_orig.jpeg


Filled the pores with Z-poxy.

And sanded it as smooth as possible

Then sprayed sanding sealer and primer

brooks-exb-12-tp-wf-sanding-sealer_orig.jpeg
brooks-exb-12-tp-wf-primer-back_orig.jpeg
brooks-exb-12-tp-wf-primer-front_orig.jpeg


Then sprayed the nitrocellulose Vintage White color

brooks-exb-12-tp-wf-vintage-white_orig.jpeg

brooks-exb-12-tp-wf-sprayed-vintage-white_orig.jpeg


After several layers of acrylic clear I applied the decals

brooks-exb-12-tp-wf-serial-number-decals_orig.jpeg
brooks-exb-12-tp-wf-serial-number-decal_orig.jpeg
brooks-exb-12-tp-wf-made-for-decal_orig.jpeg


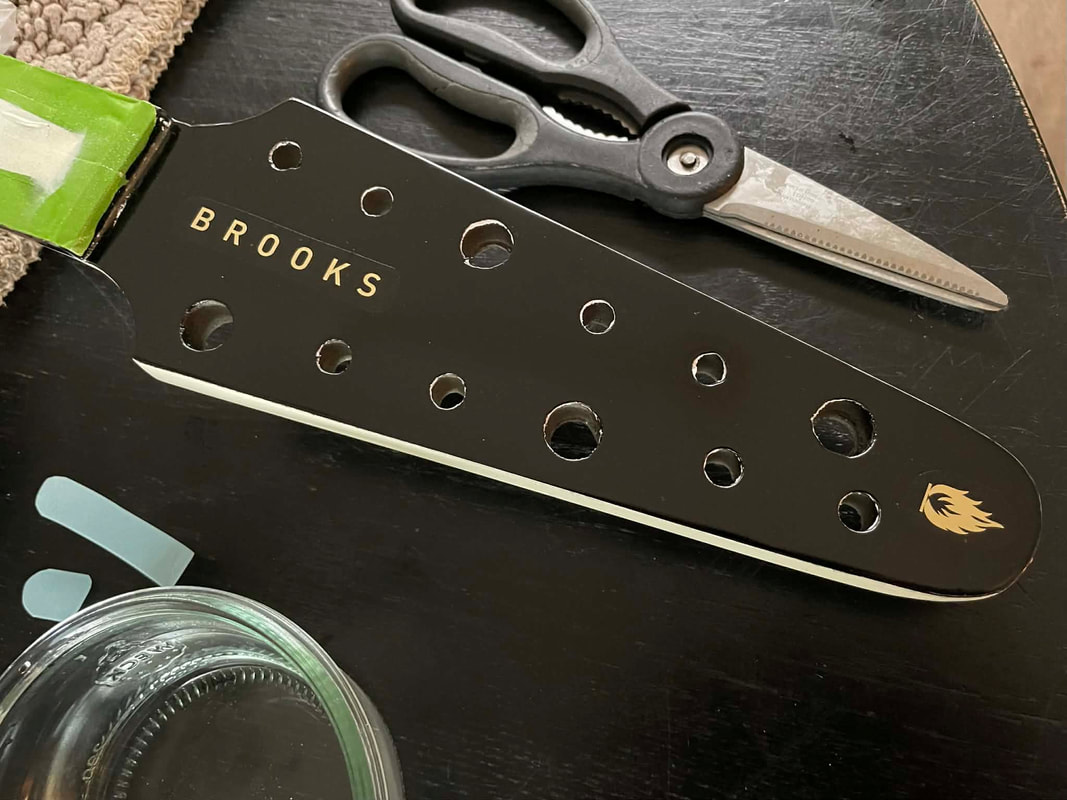
Sprayed the face of the headstock black
And applied the decals

brooks-exb-12-tp-wf-logo-decal_orig.jpeg


Ready to polish

brooks-exb-12-tp-wf-front-vintage-white_orig.jpeg


Mounted the hardware.
I laser cut the gold acrylic pickguard by the way

brooks-exb-12-tp-wf-hardware-mounted2_orig.jpeg
brooks-exb-12-tp-wf-tuners-mounted_orig.jpg
 
Very impressive build! Is working for a “name” like that more stressful? I have a hard time satisfying myself, let alone a famous bassist. Very fine work indeed.

I’ve done (3) basses now with checker binding, I was wondering why you cut the two binding “ledges” separately? I’ve always cut both and then applied first the inner then outer binding in two passes, or both simultaneously, which avoids the inner layer “toeing out”, but is harder to bend. Do you get a truer ledge on the outer by letting the template bit follow the binding instead of the body outline? Do you glue both inner and outer binding in the same pass?
 
  • Like
Reactions: Basvarken
Very impressive build! Is working for a “name” like that more stressful? I have a hard time satisfying myself, let alone a famous bassist. Very fine work indeed.

I’ve done (3) basses now with checker binding, I was wondering why you cut the two binding “ledges” separately? I’ve always cut both and then applied first the inner then outer binding in two passes, or both simultaneously, which avoids the inner layer “toeing out”, but is harder to bend. Do you get a truer ledge on the outer by letting the template bit follow the binding instead of the body outline? Do you glue both inner and outer binding in the same pass?

Thank you. No, it is not more stressful. But I do feel pressure when someone pays a lot of money for a bass. I feel have to live up to that. And I never feel I really can... I think I suffer from imposter-syndrome.


I can't really follow the method you describe.

But the way I do it is because the black and white binding is not very tall. Plus the outside binding is not very flexible. It tends to break on the sharper corners. It is really only meant as a carrier for the black and white blocks.
Plus the strips of checkerboard are rather short. I really do not want several seams in the outer binding!

So I glue the strips of checkerboard in. Around the corners that is usually done block by block!

And then route the second and taller profile. Cutting away the outer carrier that is now obsolete because the black and white blocks are glued to the body.
By the way: The router bearing follows the body outline. Not the binding outline.

Then I glue in the outer binding. Which is one long strip without any seams.
I soften the binding with a hair dryer to make it bend easier around the sharp corners.

brooks-exb-12-tp-heating-binding-corner_orig.jpeg
 
Last edited:
No doubt the checker binding is finicky stuff, the version I’ve been using is from Winfield Vintage, and it’s real celluloid. I’ve ruined more than my share of it by getting it just slightly too hot with a heat gun, and having it deform. I managed to IGNITE some of it briefly, very exciting. I think I see what you mean about cutting away the sacrificial “carrier”, very clever.
 
  • Like
Reactions: Basvarken
Hooray!
A new Brooks bass was born.
The EXB-12-TP White Falcon

Built for none other than Tom Petersson of Cheap Trick.

Specifications:
- Korina body
- Nine-ply Korina/mahogany neck. Glued in
- Vintage White finish
- Checkerboard binding
- Ebony fretboard
- Mothe of pearl position dots. Two brass rings in 12th position
- Jumbo frets
- 30 1/2" scale
- Buffalo horn nut
- Acrylic pickguard Gold
- ETS Custom made twelve string bridge set. Gold
- Two spokewheel double action trussrods
- Carbon reinforcement strip in the neck
- Gemini Dominator in the neck position. Gold
- Gemini Devastator in the middle position. Gold
- Pure Tone output. Gold
- 3-way pickup selector toggle switch. Gold
- Gotoh GB350 bass tuners. Gold
- Schaller GrandTune tuners. Gold, Pearloid button
- d'Addario custom strings
- Weight 4.9kg


brooks-exb-12-tp-wf-full-front2-1500_orig.jpg

brooks-exb-12-tp-wf-body-angle-1500_orig.jpg

brooks-exb-12-tp-wf-headstock-1500_orig.jpg

brooks-exb-12-tp-wf-12-custom-built-1500_orig.jpg

brooks-exb-12-tp-wf-12-knobs-1500_orig.jpg

brooks-exb-12-tp-wf-toggle-1500_orig.jpg

brooks-exb-12-tp-wf-bridge-set-1500_orig.jpg

brooks-exb-12-tp-wf-12-headstock-back-1500_orig.jpg

brooks-exb-12-tp-wf-full-back-1500_orig.jpg

brooks-exb-12-tp-wf-12-pickups-1500_orig.jpg

brooks-exb-12-tp-wf-12-position-1500_orig.jpg

brooks-exb-12-tp-wf-output-1500_orig.jpg


I'll share pics of the build process in separate posts below
Beautiful, as are all your creations.
 
  • Like
Reactions: Basvarken