• TalkBass has been independent since 1998. Add your voice.
    Create a free account to reply to discussions, view embedded media, and browse with fewer display ads.
    Join freeLog in
    Want zero display ads or expanded classifieds tools? Compare plans.

Double Bass Newbie going for bridge setup DIY

I am 46 years old and starting with the double bass. The first thing I noticed, is how hard is to press the strings (I am experienced with acoustic guitar and bass guitar). Some time has passed, and the playability is getting better, but still not a joy.

After hour and hours of research, I learned a bit about the instrument. These are my string heights at the end of the fingerboard : G 12mm D 14mm A 15mm E 15mm. The strings height at the nut seems to be ok (tested with the bussiness card / credit card thing).

I dont have access to a luthier around here (Maracaibo, Venezuela). I am looking for a reasonable low action instrument, suited for bowing technique. So I am considering two options:

1.- Hire the service of an acoustic guitar's luthier. She is willing to do the job.
2.- Going myself with this plan: loosen up one string at a time, and make the string notch deeper, until G 5mm D 6mm A 7mm E 8mm.... AND NOTHING MORE.

Lets say i go for the second option:
1.- How big could be the impact on a given string sound ? Lets consider i am just studying the bass, and only need an acceptable sound.
2.- Which tool(s) do you recommend me for this (simple ?) job

Thank you very much

BASS: Samuel Eastman VB95GR 3/4
STRINGS: Helicore Orchestra (maybe the first ones, around 5 years old)

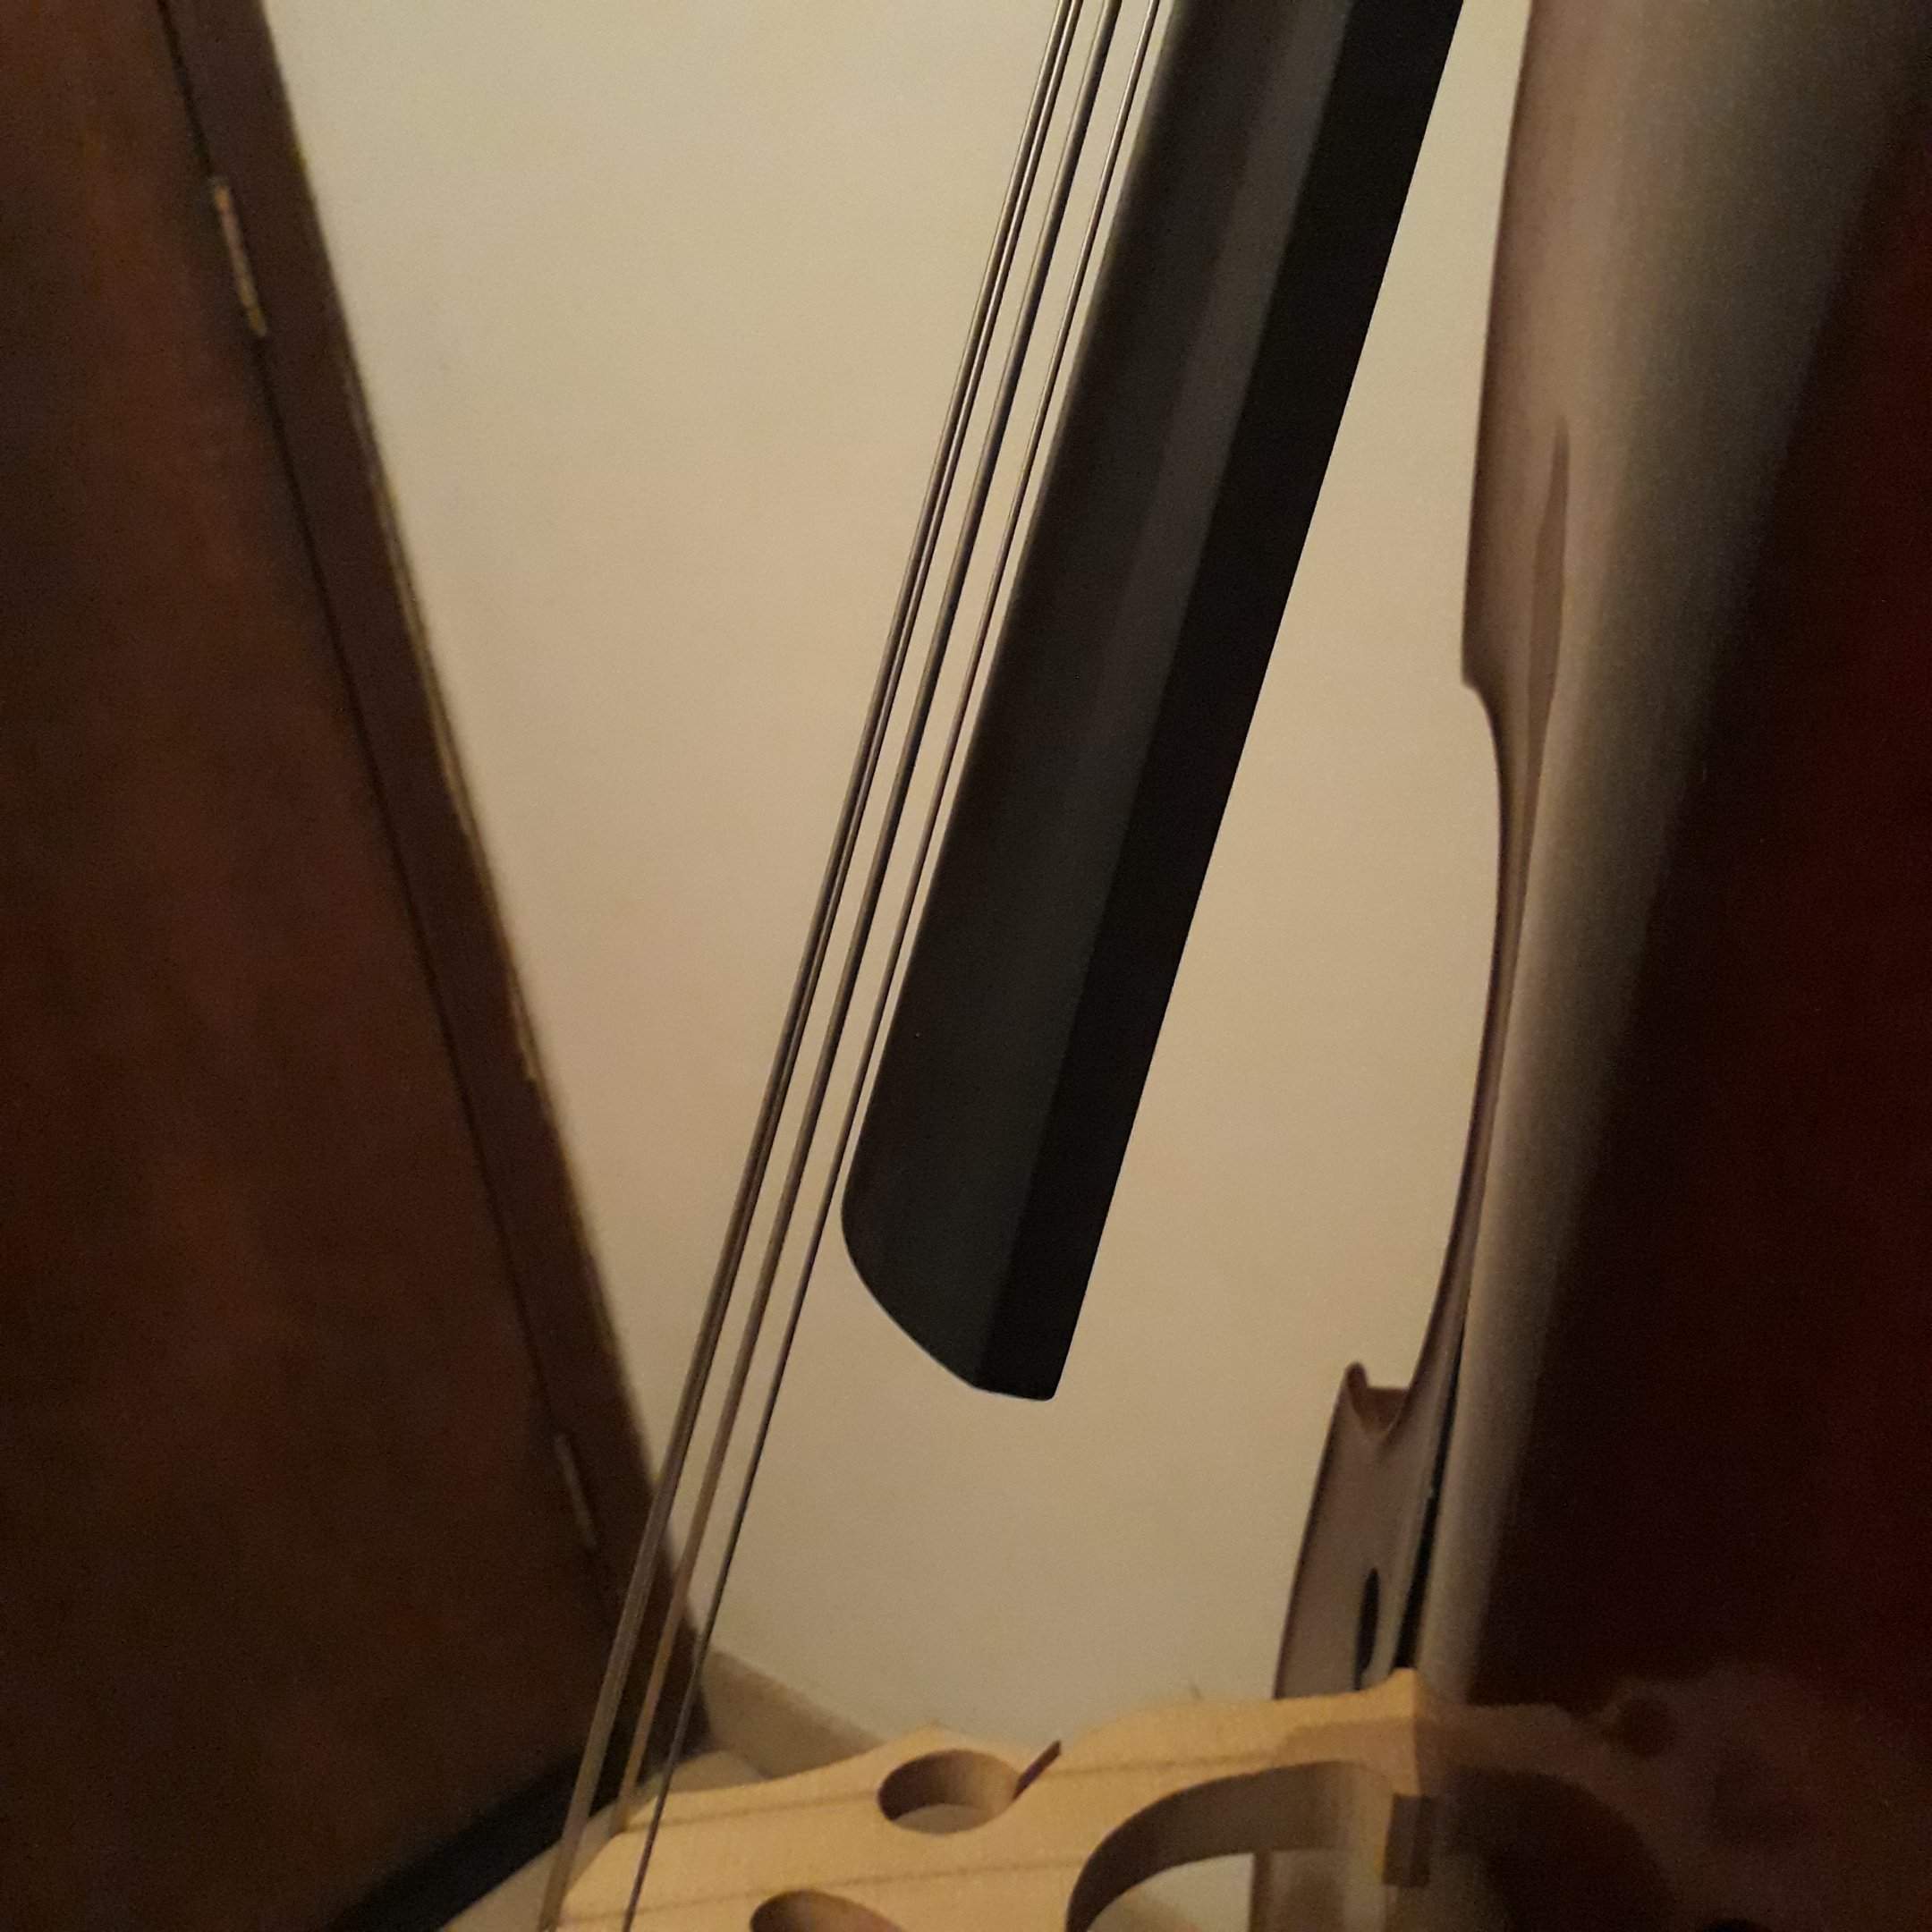
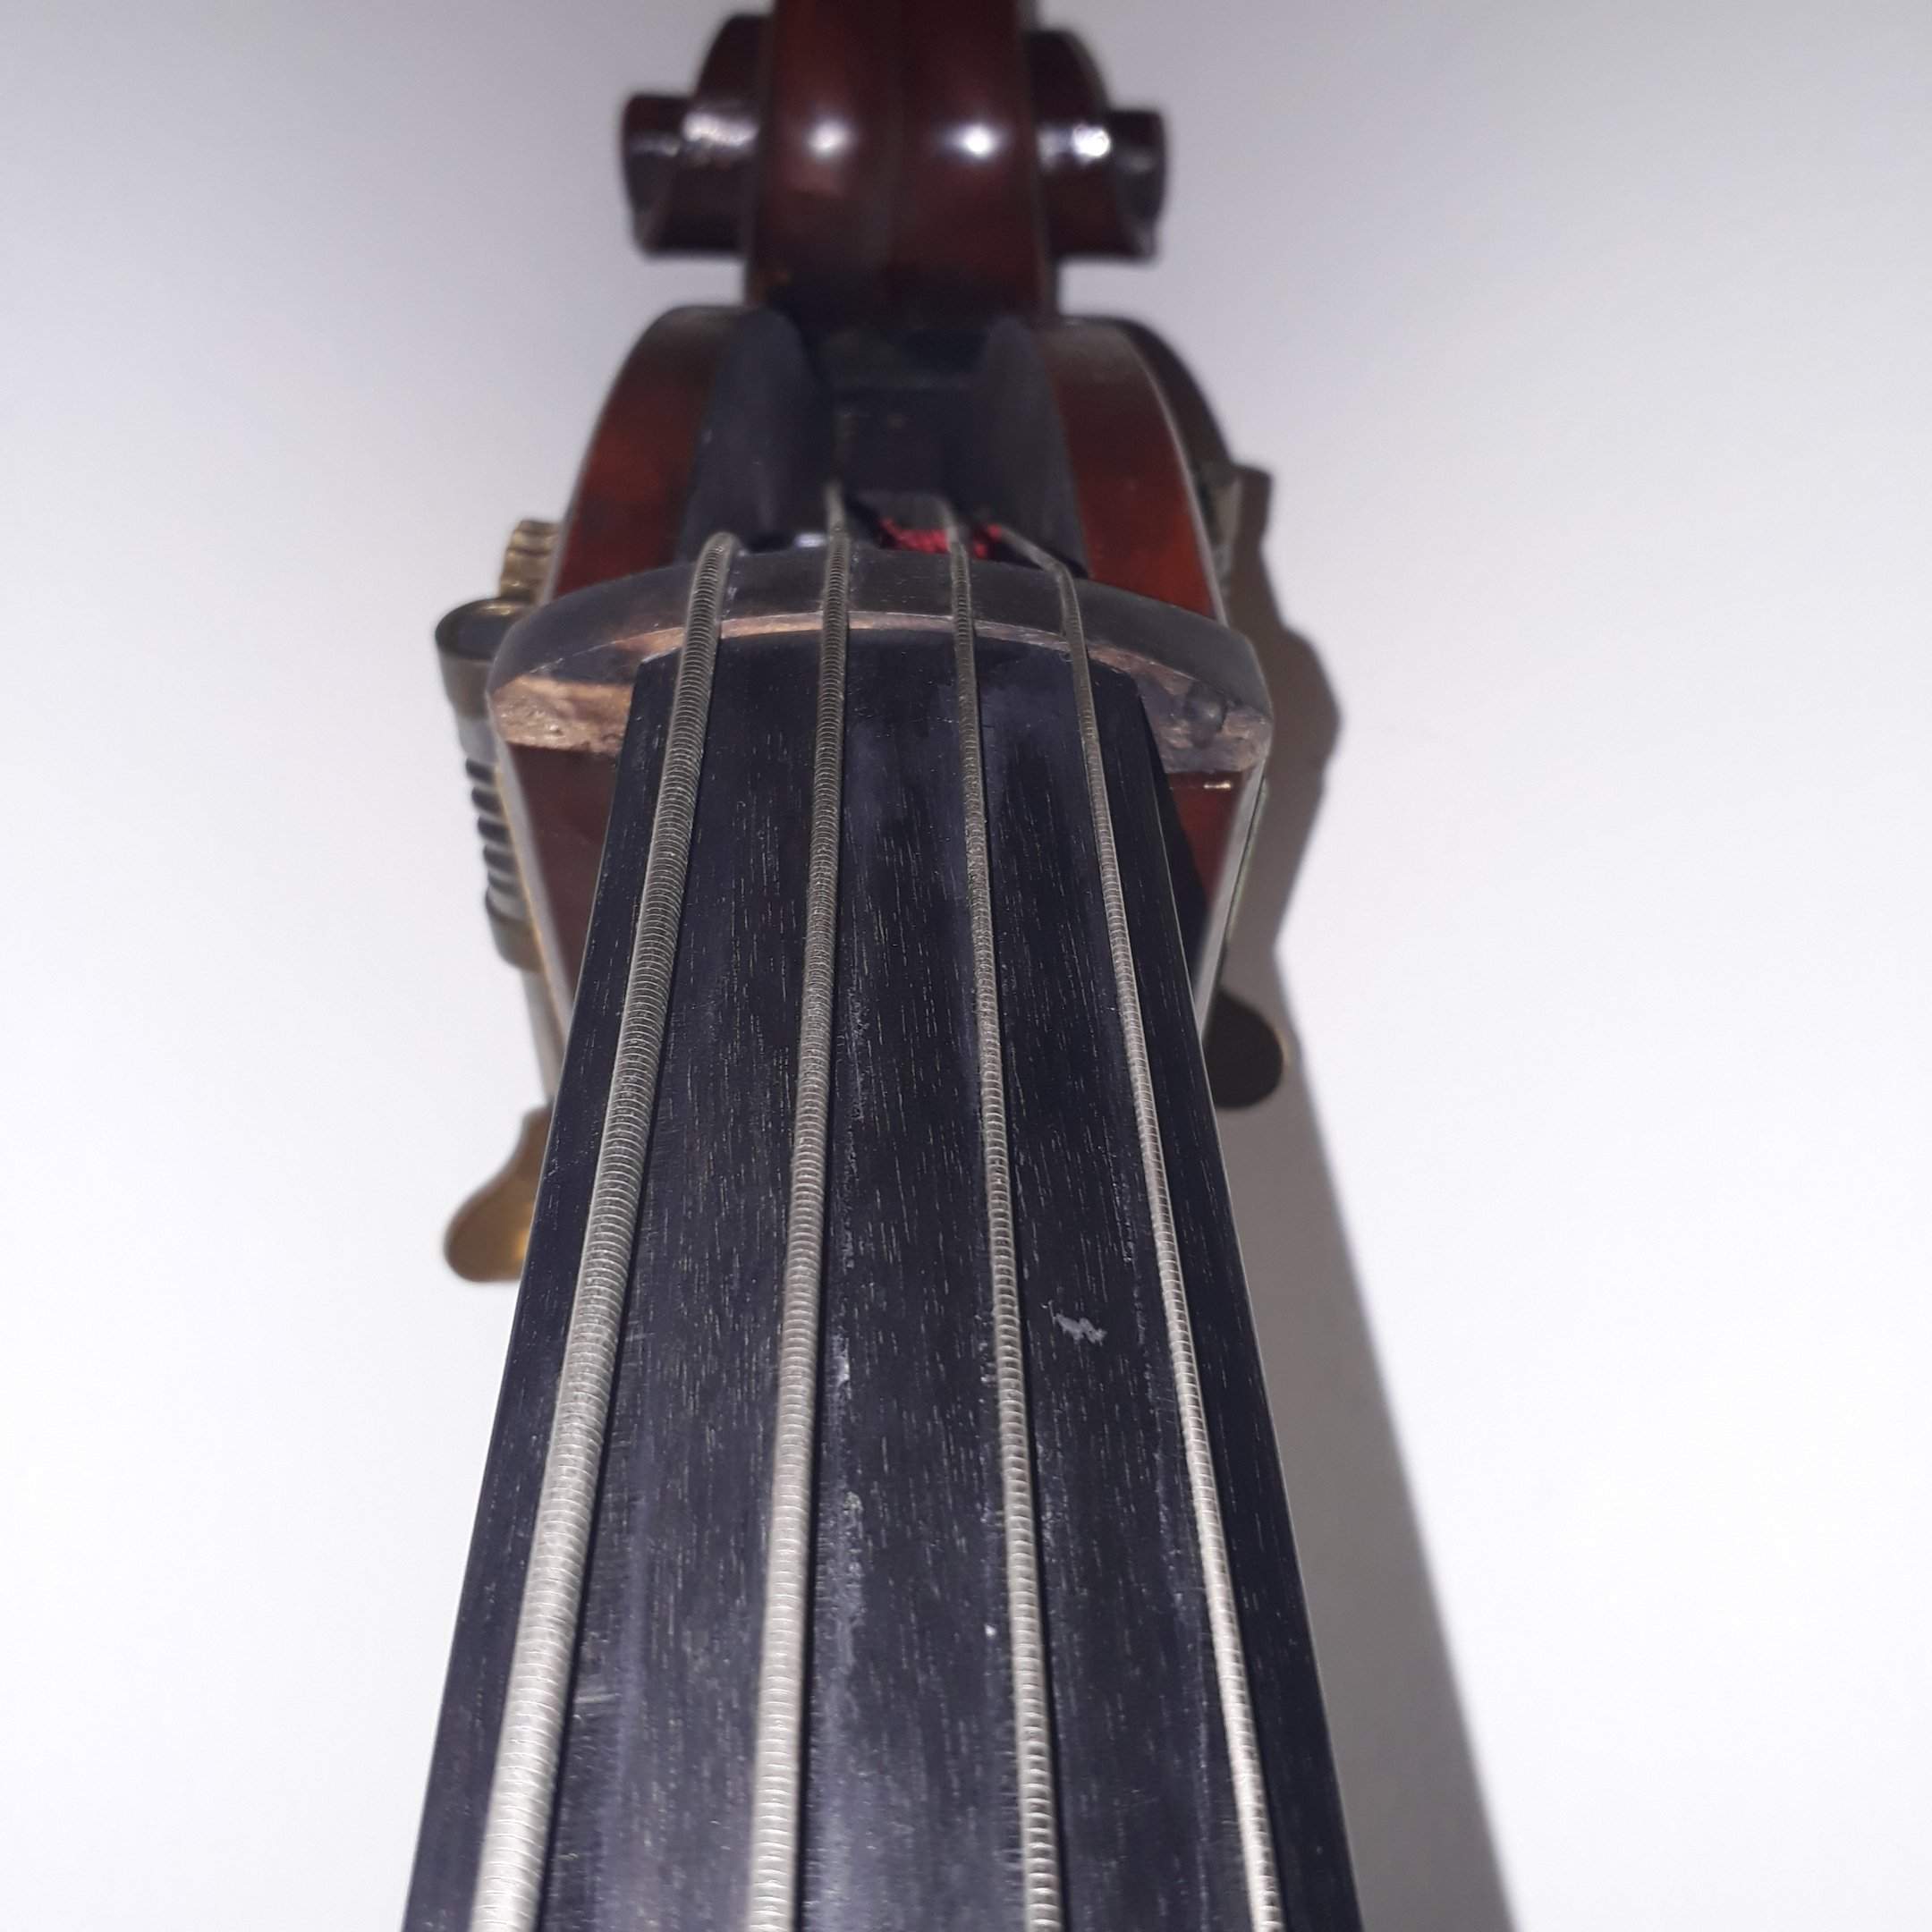
PHOTOS
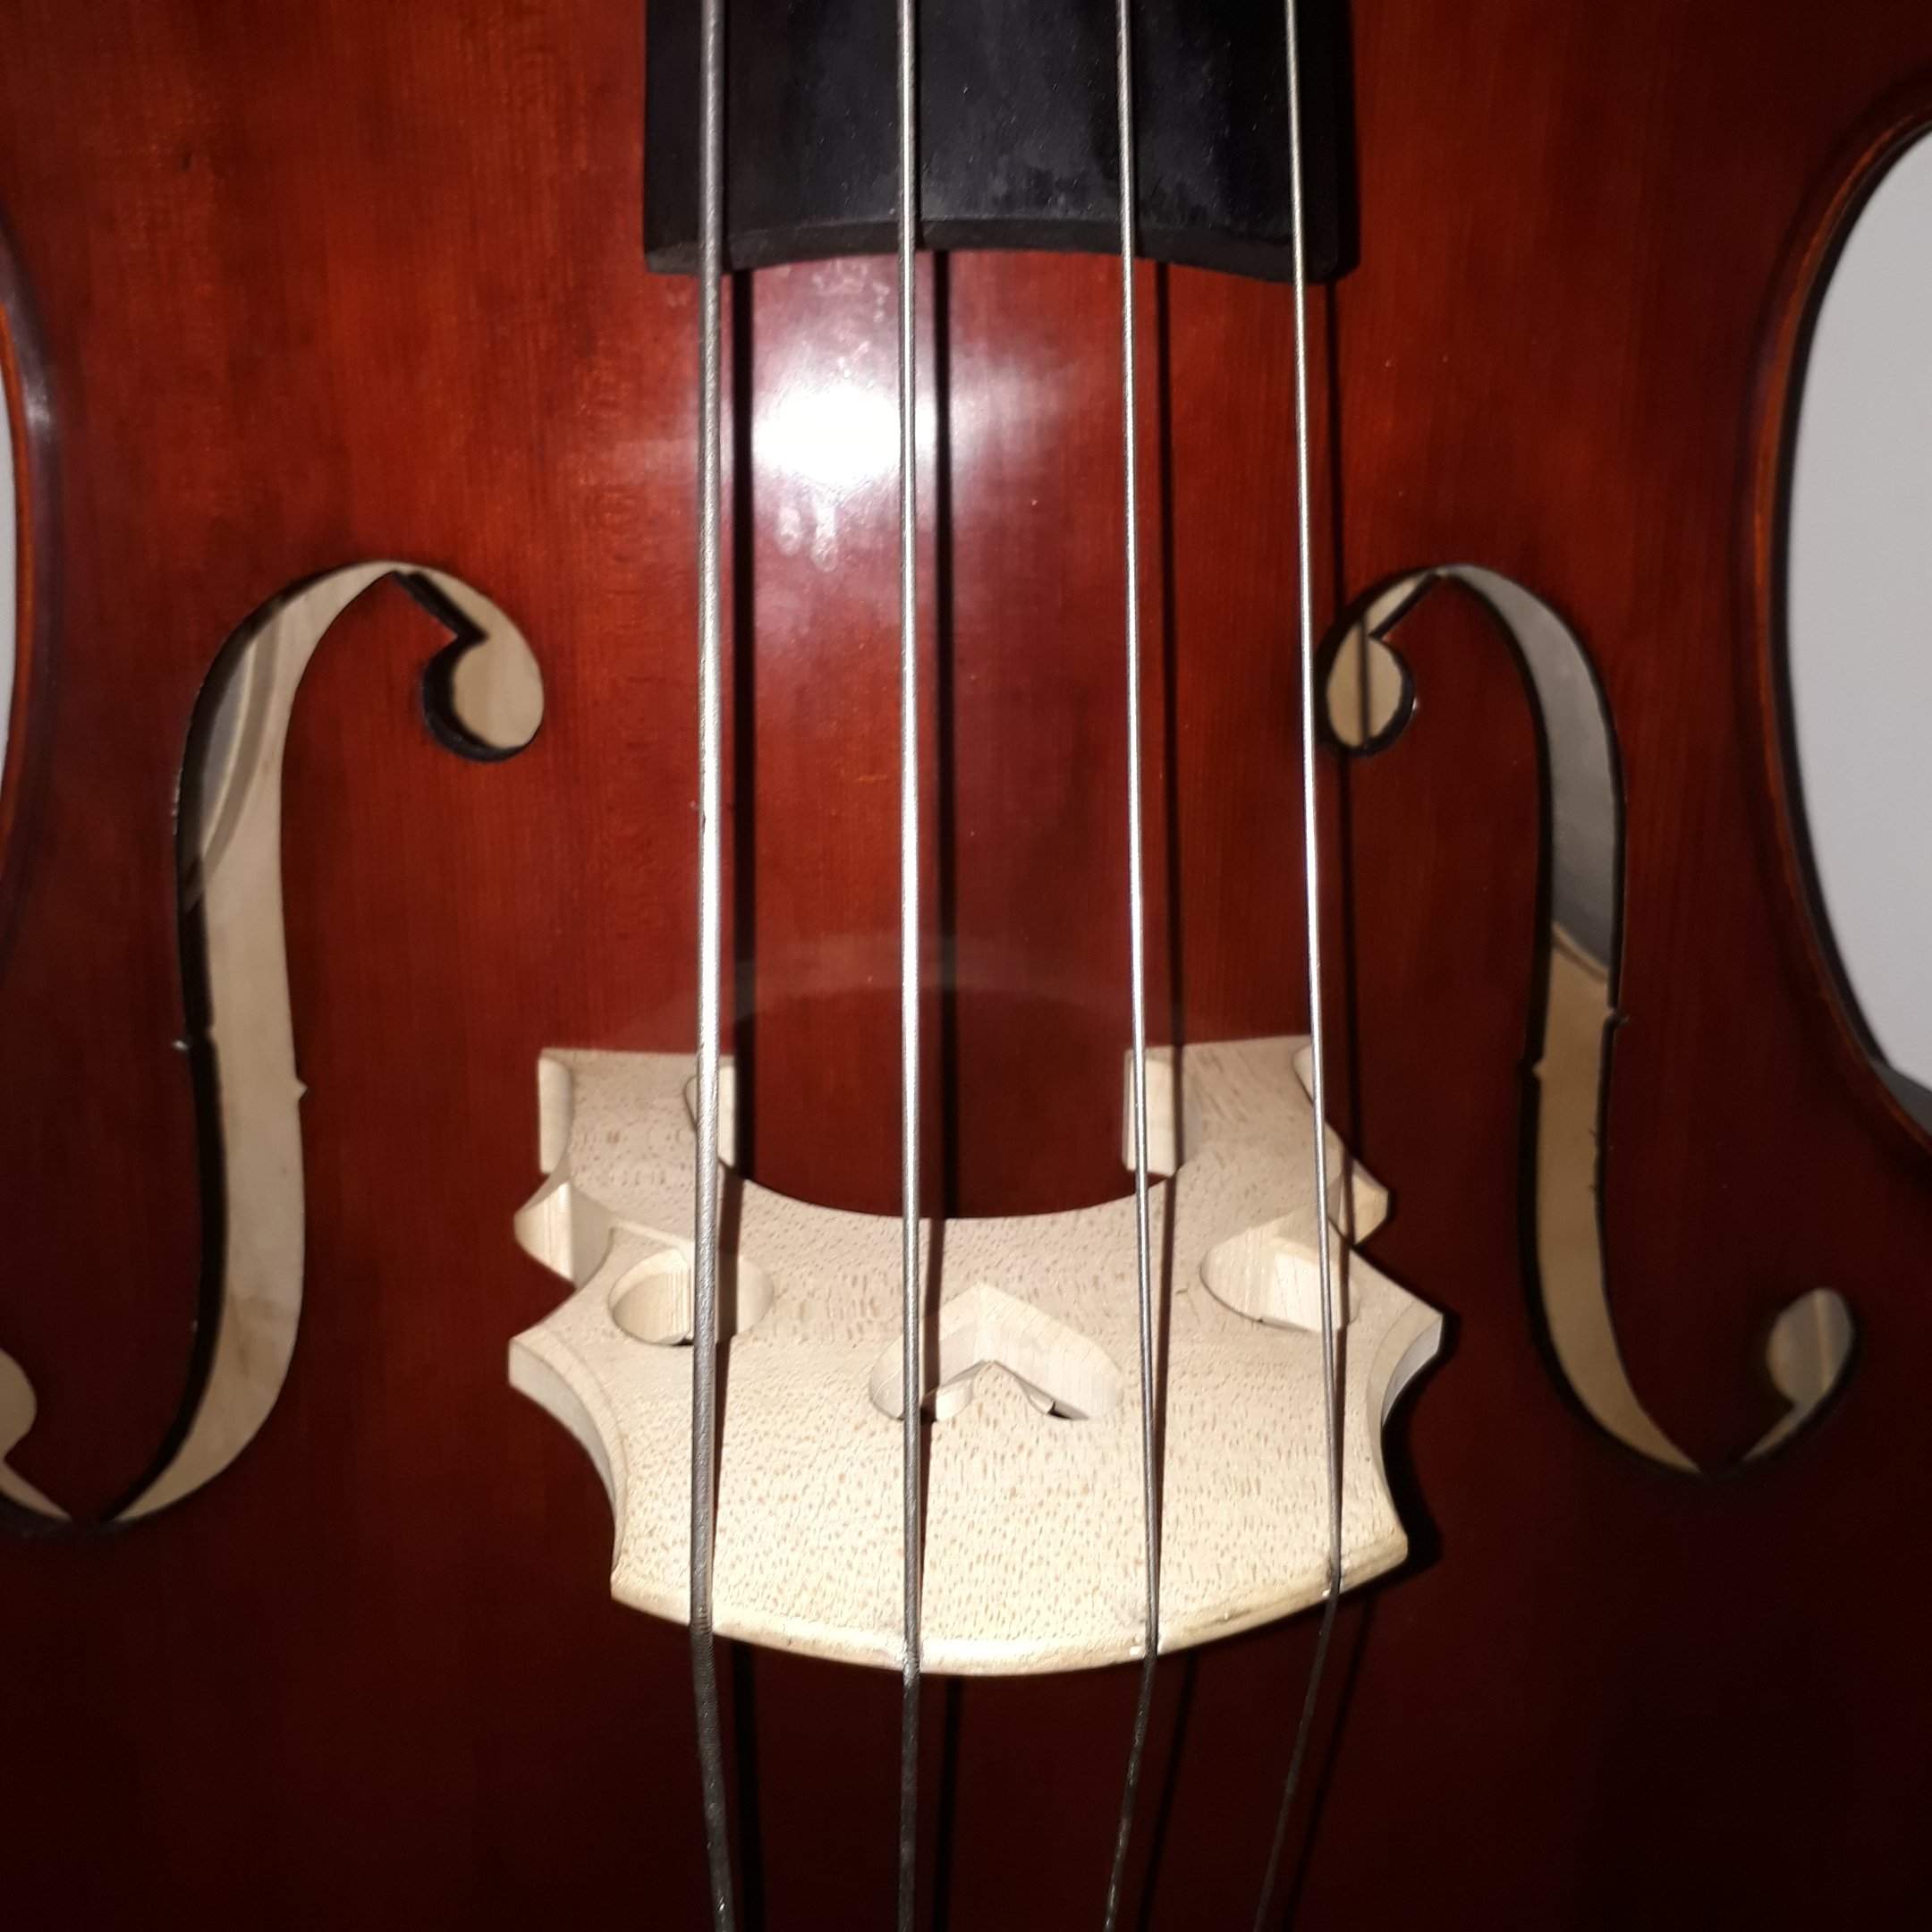
20190809_201741.jpg

20190809_201903.jpg
20190809_201947.jpg
 
Just so it's been said, first be sure your neck joint is solid and hasn't moved. At all. If it's moved, cutting the bridge won't help, and it's likely to get worse.

Also run a long straightedge on your fingerboard to determine whether it's properly relieved for the strings and by how much. This will tell you how far you can go with lowering the strings without planing the fingerboard. As you go lower, the fingerboard can interfere with string vibration if you don't have enough relief in the middle.

With the strings at full tension, place a block of wood (maybe a few popsicle sticks or something) between the E string and the fingerboard at about the octave position, and play that E loud, both pizz and arco. Reduce the thickness of the block till you get a clear note. That thickness is about how low you can go with that string; double it, subtract a couple of mm and that's about how much you may be able to bring down the bridge nock. Rerun the test with the next string, etc.

You have a few mm available in the feet of the bridge too. This area requires a little more finesse to get right, but offers a more predictable result.

Deepening the nocks will get the action down, but be sure to cut perpendicular to the feet, not to the curved edge of the bridge. Use round files and graduate the widths with the strings. Cut a little, stretch a string to see where you are, then cut a little more.

You won't want to leave excess wood above and between the strings, this will reduce the voice somewhat and interfere with the bow.

Bear in mind that as you lower the action, your playing volume will also go down to an extent. This is a complex acoustic system, much more so than guitar.

The bridge is wedge-shaped, and once you're at the right height, you'll want to reduce the thickness of the bridge at the strings to what it was before you started. Sand the entire bridge flat on the lower side, keeping it perpendicular to the feet (this is important).

A guitar luthier may have good intentions, but without relevant experience will probably be no better at this job than you will.
 
@Steven Ayres has provided excellent professional instructions...

It's probably worth mentioning, there are both metal and synthetic strings that might feel better on your hands than those that you currently have on the instrument. It might be good to consider changing strings before you work on the bridge, doing the easy work first. If you aren't aware, it's best to change only one string at a time, keeping some string tension on your bridge and on your double bass's top so your sound post does not fall.

You probably will still want to do the work on the bridge, but different strings will help whatever work you do. There is a world of strings to select from, so you may also want some recommendations here about them.

Just like with modifying the bridge, changing strings will also change the sound of your double bass.

As @two fingers has mentioned, welcome! And good luck with your double bass!
 
  • Like
Reactions: victor zambrano
Yeah that string height looks painful, especially with Helicores. Doesn't matter how good it sounds if it's impossible to play :laugh:

+1 to what Steven said, especially checking out the neck joint first. I've fit five or six bridges at home and it's straightforward, but it's necessary to bring the string up to pitch and check often, because tiny amounts of wood removed at the bridge have a seemingly magnified effect on the string height over the fingerboard.

You might also consider getting some bridge adjusters. If you know someone with a drill press, they are generally cheap and easy to install and you can leave your existing bridge radius exactly the same.

And getcha some Spiro weichs. Just my opinion :D
 
  • Like
Reactions: victor zambrano
First of all, thank you all for your warm welcome and such a fantastic feedback.

Just so it's been said, first be sure your neck joint is solid and hasn't moved. At all. If it's moved, cutting the bridge won't help, and it's likely to get worse.

Well it seems to be solid, but i dont know what else i can do to check for this detail. Photo included.

20190810_174653.jpg


Deepening the nocks will get the action down, but be sure to cut perpendicular to the feet, not to the curved edge of the bridge.

I figured your recomendation to be as in the blue lines... right ?

bridge4.gif

You won't want to leave excess wood above and between the strings, this will reduce the voice somewhat and interfere with the bow.

By excess of wood above and between, do you mean this ? This is exactly what i am going for at this moment :sorry:... if i get confident, i will sand the excess in a later stage

bridge notches.png


The bridge is wedge-shaped, and once you're at the right height, you'll want to reduce the thickness of the bridge at the strings to what it was before you started. Sand the entire bridge flat on the lower side, keeping it perpendicular to the feet (this is important).

I got it... but i have a question. The lower side is the right angled side of the bridge, and the upper side is the sanded side to make it a wedge. So, why to sand the entire lower side instead the previously sanded upper side ?

Thank you guys, you are great
 
The bridge has a natural tendency to flip over toward the upper side because the string tension off of the tailpiece is pressing the top of the bridge both down and foward. The angle at the bridge feet on the upper side helps keep the tension of the strings toward the lower side of the bridge which helps keep it standing properly, at a correct angle, perpendicular to the top. If you sand the upper side, it's harder to maintain that exact angle than it is to sand the lower side of the bridge and maintain that perpendicular (90 degree) angle to the feet.
 
Your understanding is correct.

why sand the entire lower side instead the previously sanded upper side?

When you get it on the belt sander you'll see that the physics make more sense for keeping things aligned. But the main thing is that you've set the nocks where you want them, and they're angled down toward the tailpiece to break the string at the upper edge. As you remove material from the upper side, the nocks drift downward and the scale increases. That's why the bridge-maker's mark is on the upper side; it's saying, "don't cut this side."