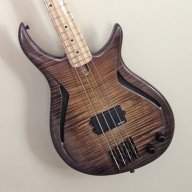
Hi all.
This summer I have been working on a lefty bass for TBer Dan Swain. It's my first commission and to say the least it's been very exciting to work on.
I have been taking picts along the way so it is going to seem like a speed build.
A few specs and we will be off with some picts.
6 string lefty
Body is Spanish Cedar with Sitka Spruce top
Neck, Wenge with Purpleheart center laminate and maple accents veneers
Full ramp/pickup cover loaded with a JWorrell pup.
Dan and I did a little bit of modifying to the design. Dan called the bass the "Avatar" bass, since it is the bass I use in my avatar at TB. The name has really stuck so this is now the "Avatar Bass" (thanks Dan).
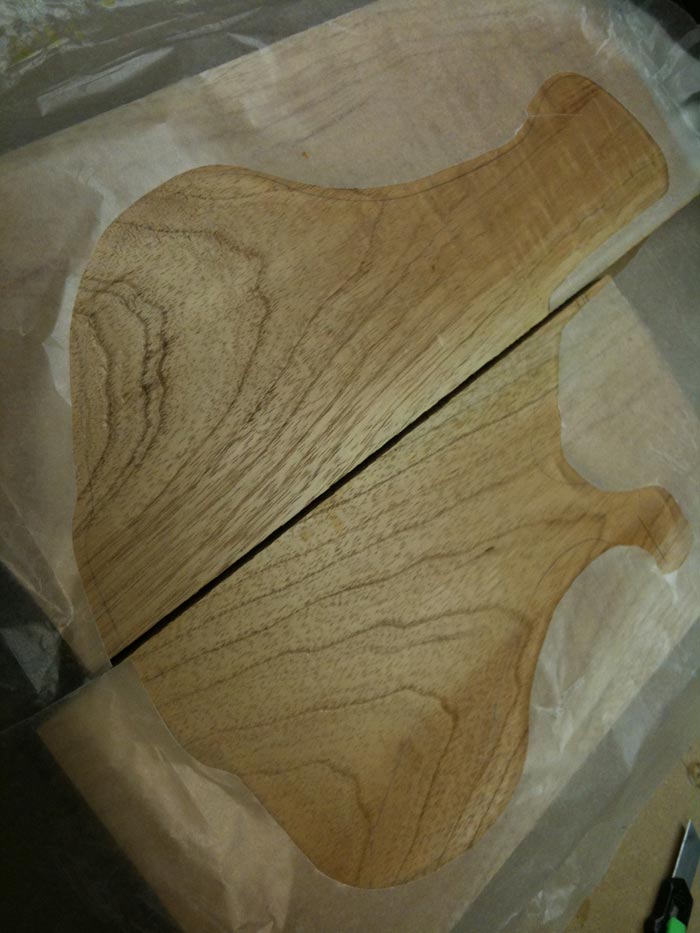
I found a great piece of spanish cedar. you can see there is a bit of flame in the wood. this will be the back.
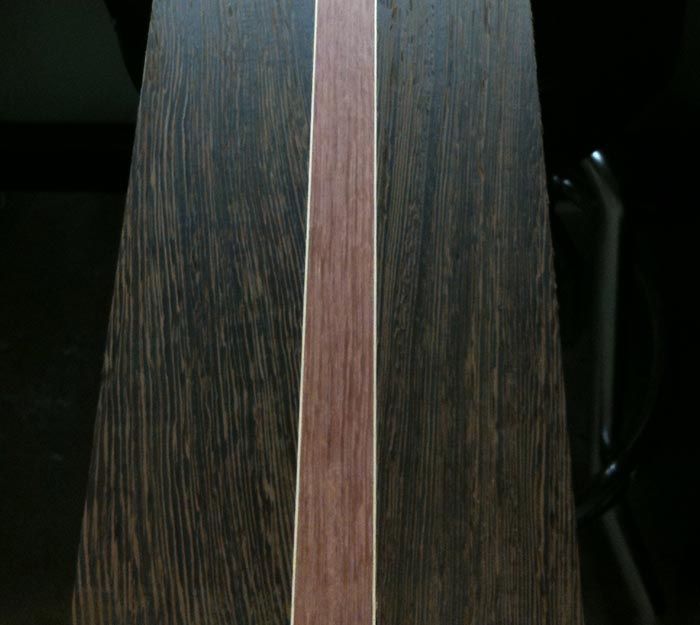
This is the neck blank all glued up. wenge/maple/purpleheart/maple/wenge.
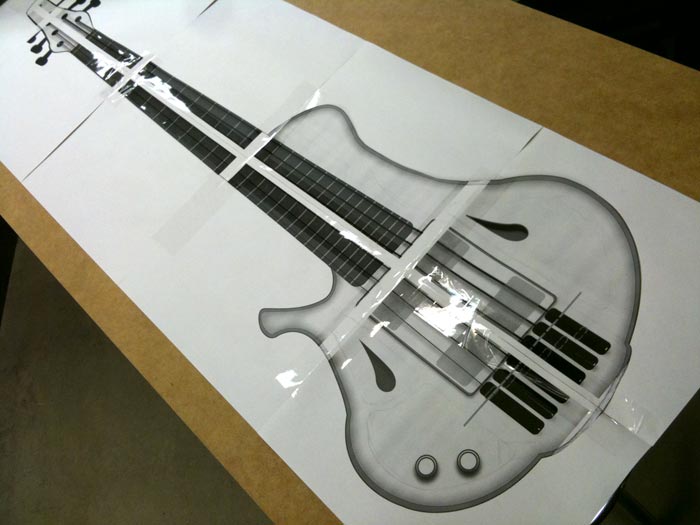
After a few mods to the design I do a full printout on paper to make the templates.
This is the paper template all cut out and the MDF layed out, and ready to cut...
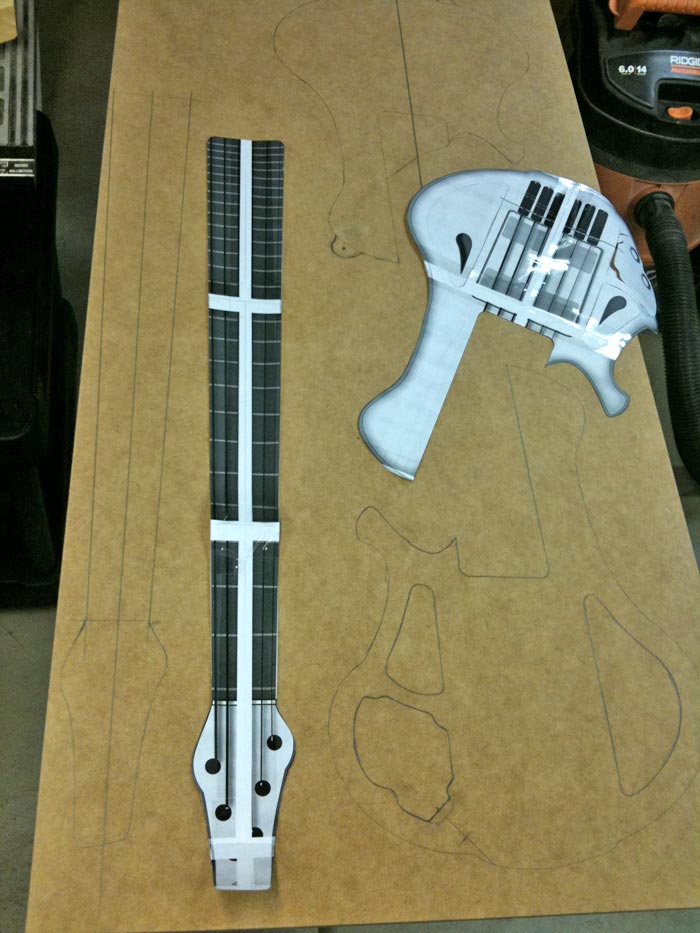
The templates are all cut out. There are guide tabs on the templates so I can swap between the cavity route template to the body route template. The great thing about these is that they flip to be used as either righty or lefty templates. I took a lot of care in making these templates. I plan on making a righty for myself this winter.
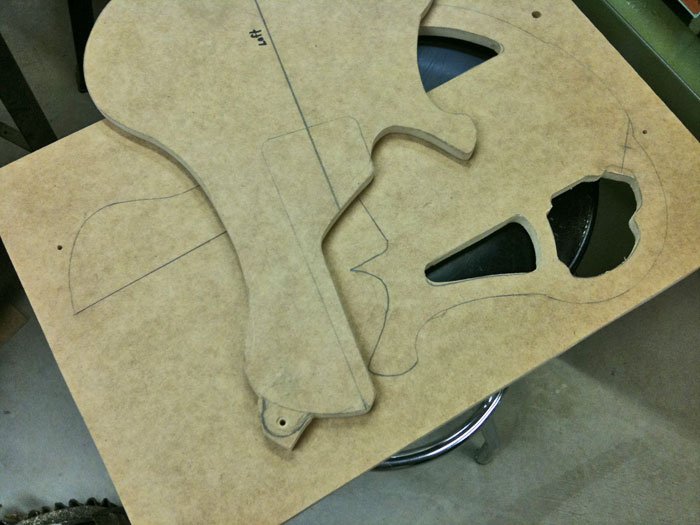
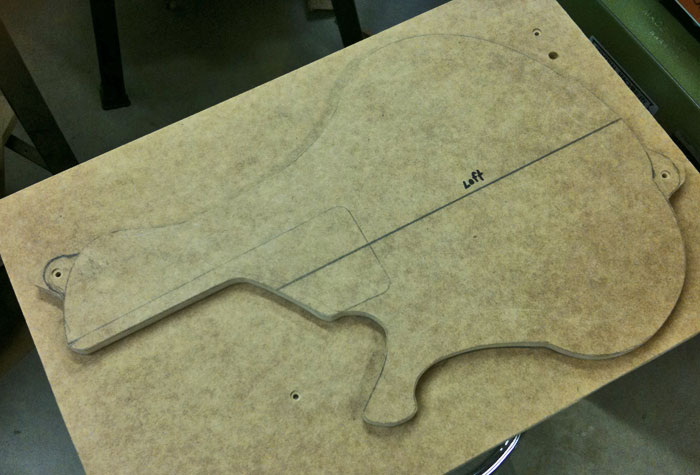
The body gets built in upper and lower halves. I route out the cavities first, then glue the top onto each half. Then I glue the two halves together.
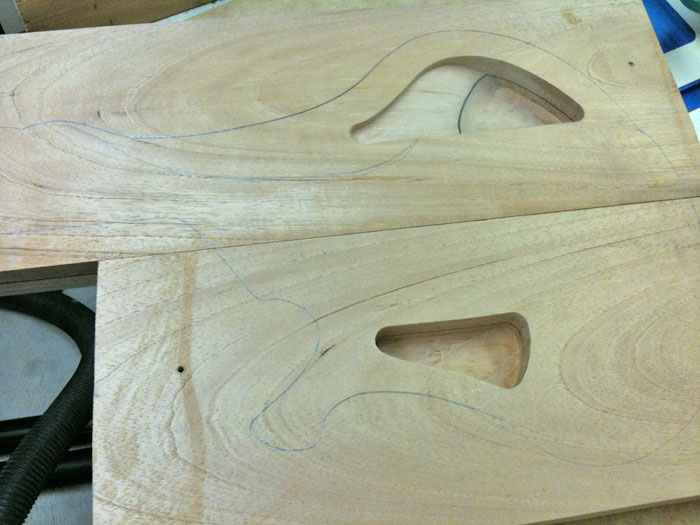
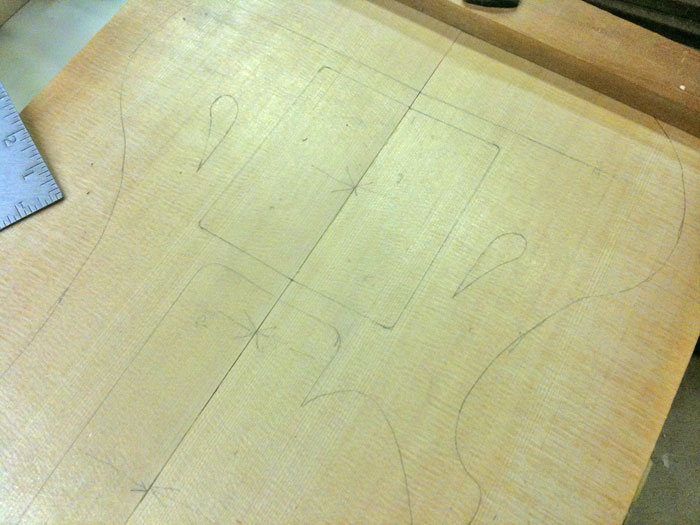
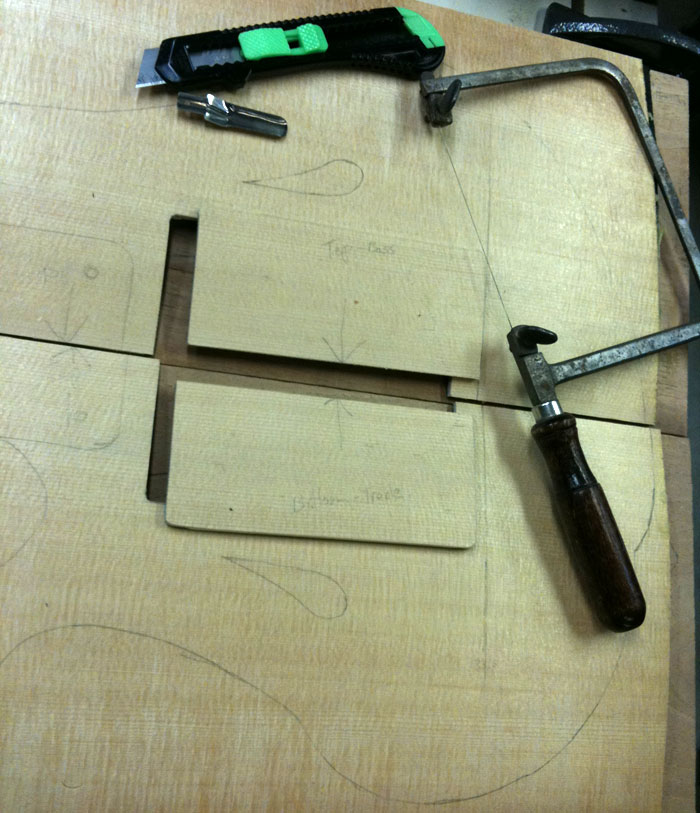
This build I am using a large ramp that will double as a pickup cover. I have the top pieces layed out and I used a jewelers saw, and a sharp box cutter to cut the ramp out before the tops are glued onto the body core.
The tops are glued onto the halves
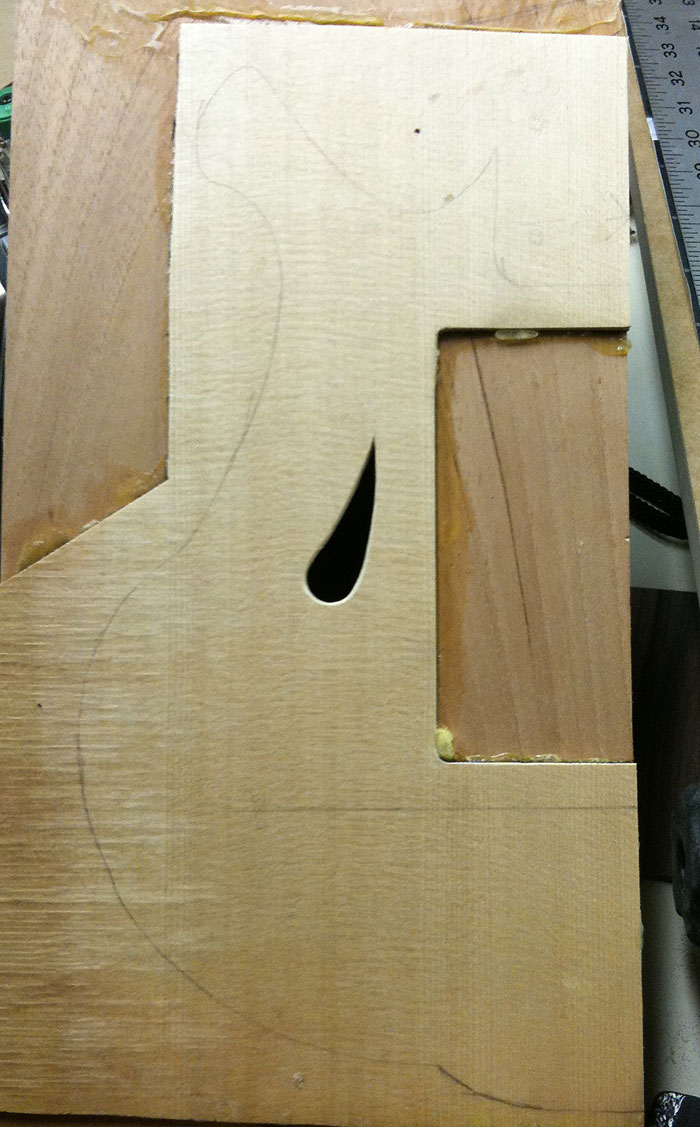
Vwalla... The body is glued together and it takes a spin around the router. Notice there are still tabs for the templates
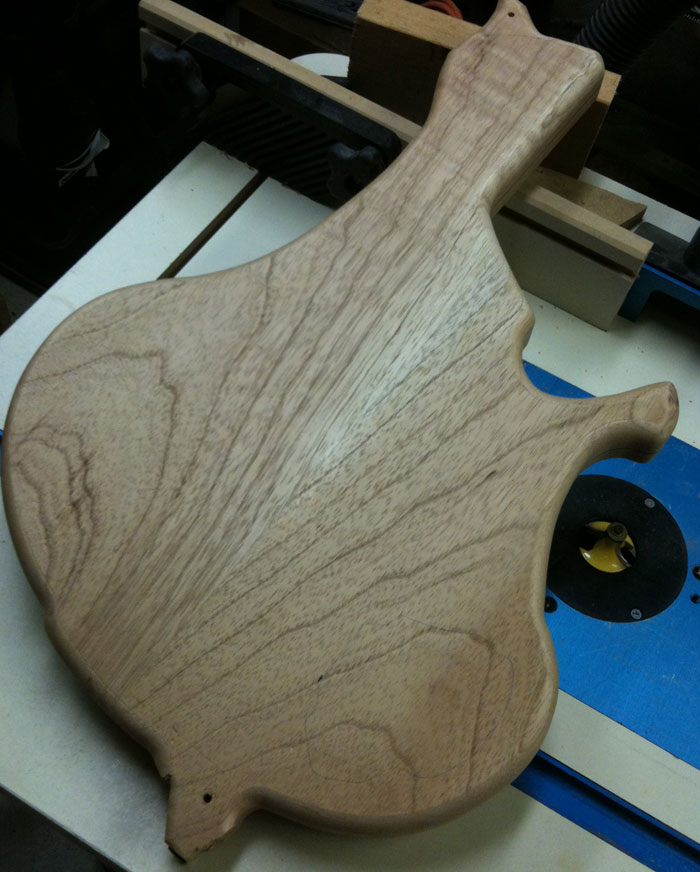
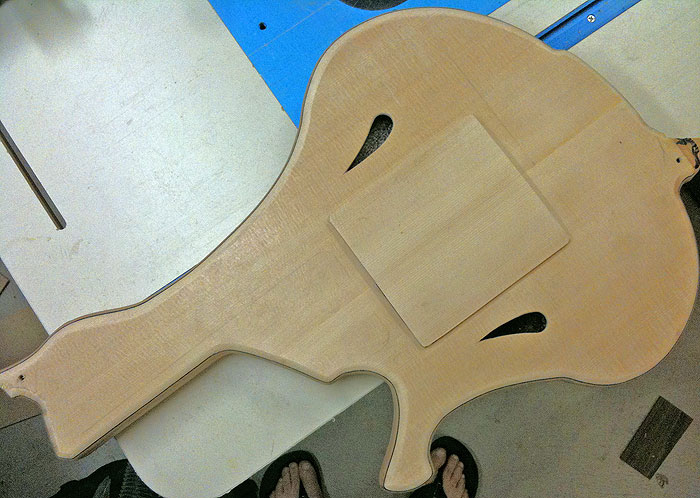
The ramp is just sitting on the body in the above picture. I really like that the grain will match from the body to the ramp. I know a lot of builders do this but I have faked it in the past, matching grain instead of actually cutting out the pieces from the top.
Well, thanks for looking. I have more to post to bring the build up to date so check back if you wish. I am off to the grocery store.
Nomad98
This summer I have been working on a lefty bass for TBer Dan Swain. It's my first commission and to say the least it's been very exciting to work on.
I have been taking picts along the way so it is going to seem like a speed build.
A few specs and we will be off with some picts.
6 string lefty
Body is Spanish Cedar with Sitka Spruce top
Neck, Wenge with Purpleheart center laminate and maple accents veneers
Full ramp/pickup cover loaded with a JWorrell pup.
Dan and I did a little bit of modifying to the design. Dan called the bass the "Avatar" bass, since it is the bass I use in my avatar at TB. The name has really stuck so this is now the "Avatar Bass" (thanks Dan).
I found a great piece of spanish cedar. you can see there is a bit of flame in the wood. this will be the back.
This is the neck blank all glued up. wenge/maple/purpleheart/maple/wenge.
After a few mods to the design I do a full printout on paper to make the templates.
This is the paper template all cut out and the MDF layed out, and ready to cut...
The templates are all cut out. There are guide tabs on the templates so I can swap between the cavity route template to the body route template. The great thing about these is that they flip to be used as either righty or lefty templates. I took a lot of care in making these templates. I plan on making a righty for myself this winter.
The body gets built in upper and lower halves. I route out the cavities first, then glue the top onto each half. Then I glue the two halves together.
This build I am using a large ramp that will double as a pickup cover. I have the top pieces layed out and I used a jewelers saw, and a sharp box cutter to cut the ramp out before the tops are glued onto the body core.
The tops are glued onto the halves
Vwalla... The body is glued together and it takes a spin around the router. Notice there are still tabs for the templates
The ramp is just sitting on the body in the above picture. I really like that the grain will match from the body to the ramp. I know a lot of builders do this but I have faked it in the past, matching grain instead of actually cutting out the pieces from the top.
Well, thanks for looking. I have more to post to bring the build up to date so check back if you wish. I am off to the grocery store.
Nomad98


 Plus, it hadn't been long since James Cameron's movie had been released...at least, it was still a talking point amongst popular culture. Along with it being something that reminded me of ancient culture (Mayans, Incans, Egyptians), the name seemed very fitting, so it stuck!