
I haven't had a whole lot of time to actually get on a computer to update in a while so this is gonna be a fairly big one.
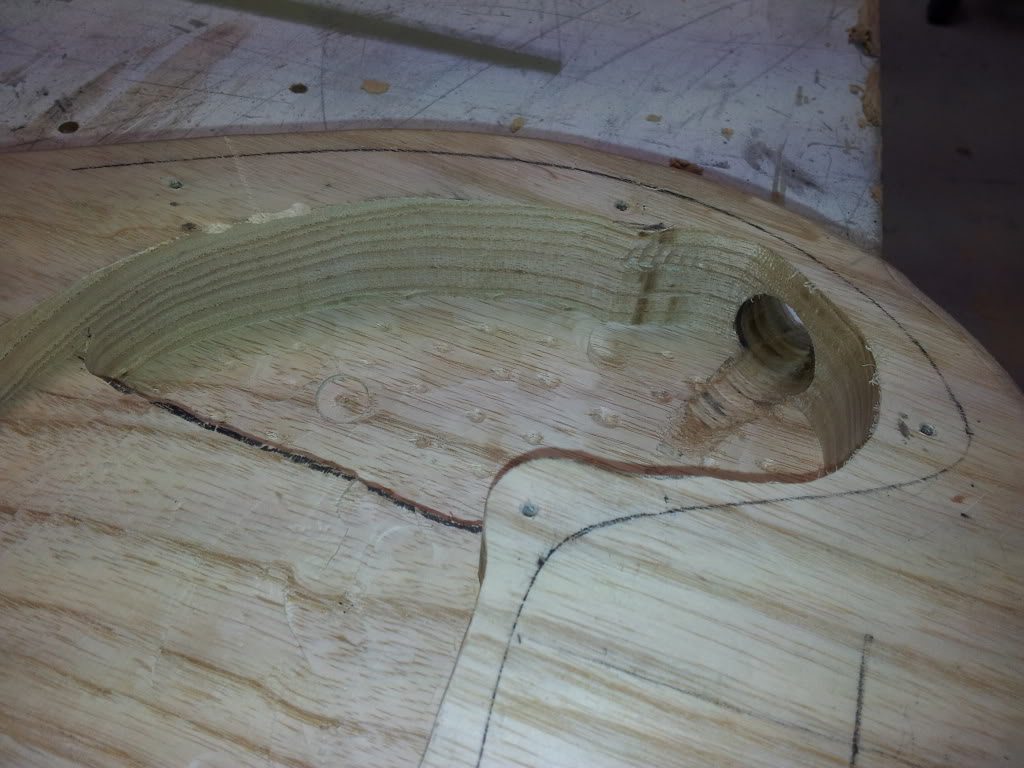
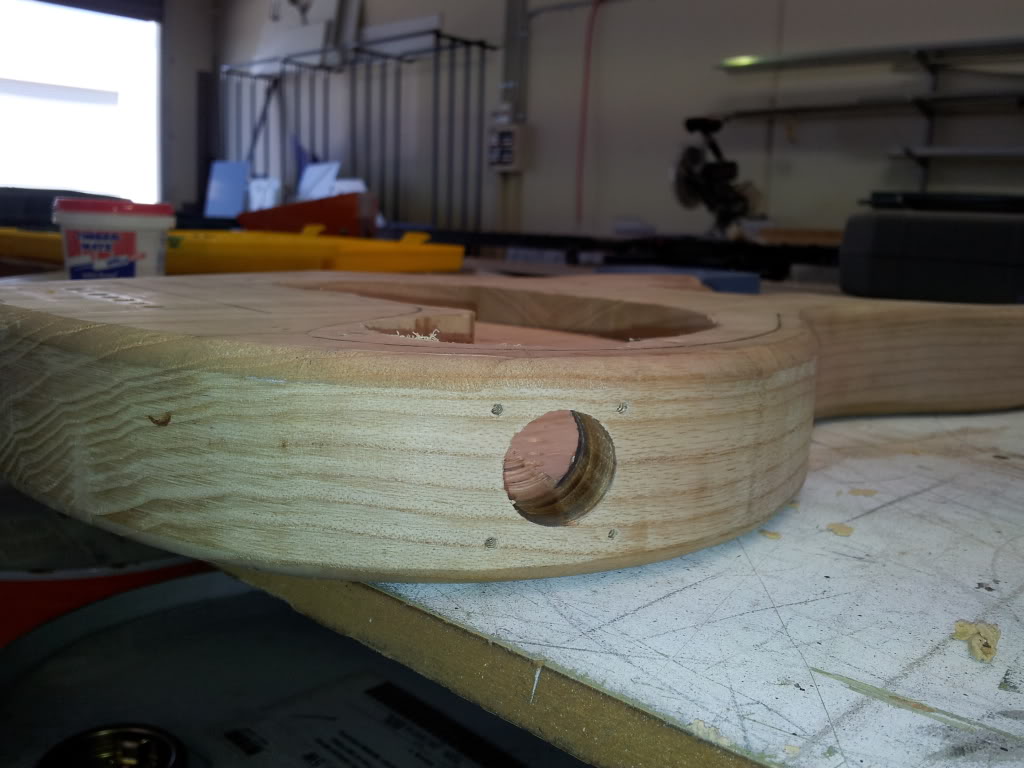
A lot has happened since my last post, I put the bridge on, drilled the body for the string-through, routed the pickup and control cavities and drilled the hole for the input jack.
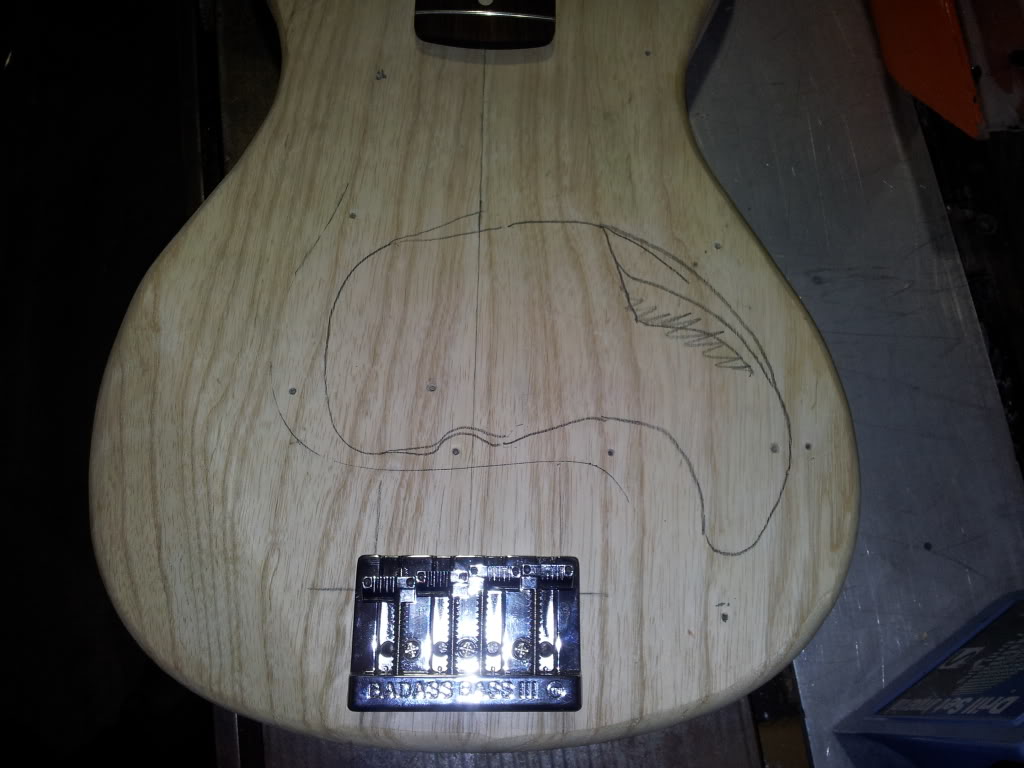
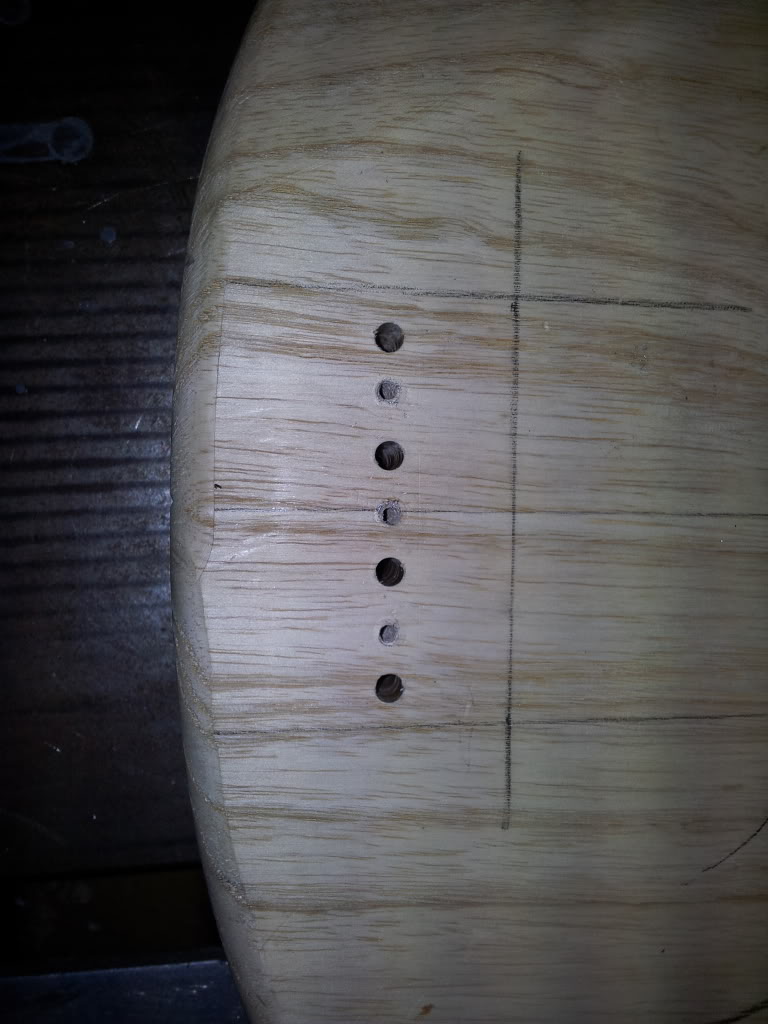
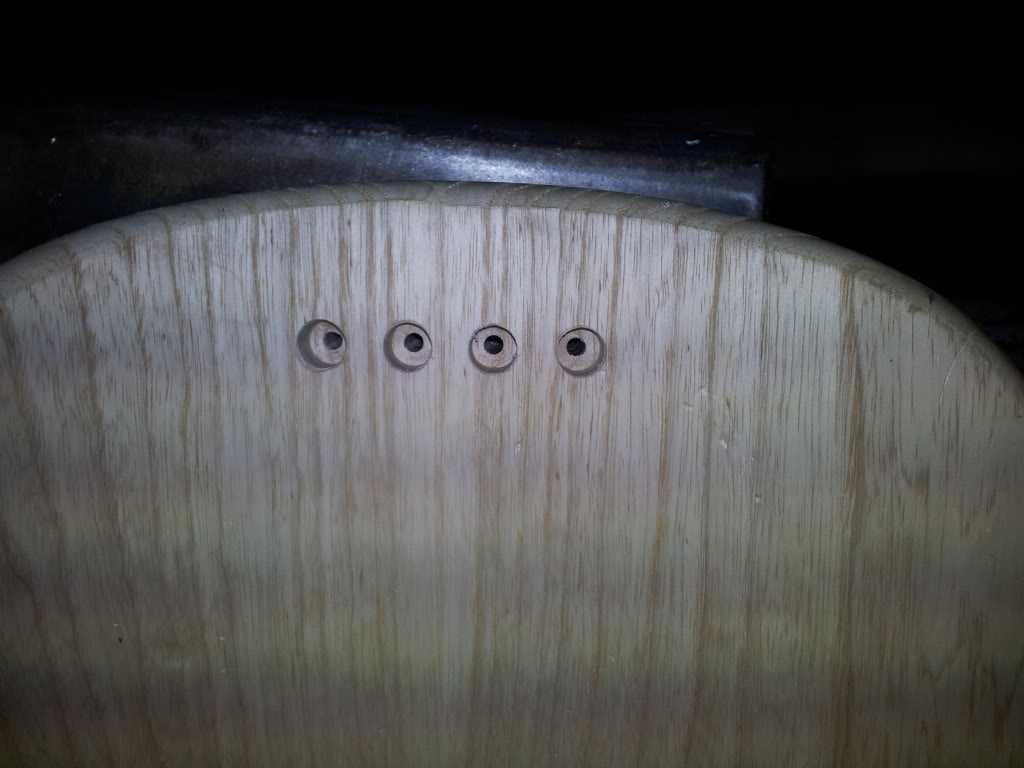
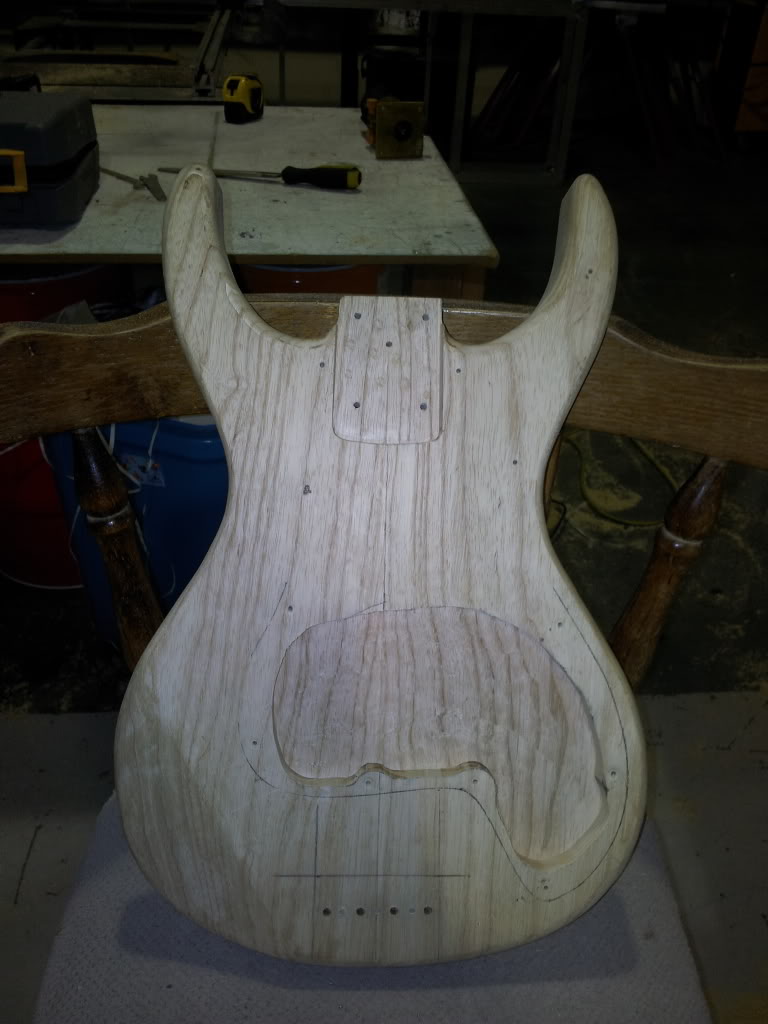
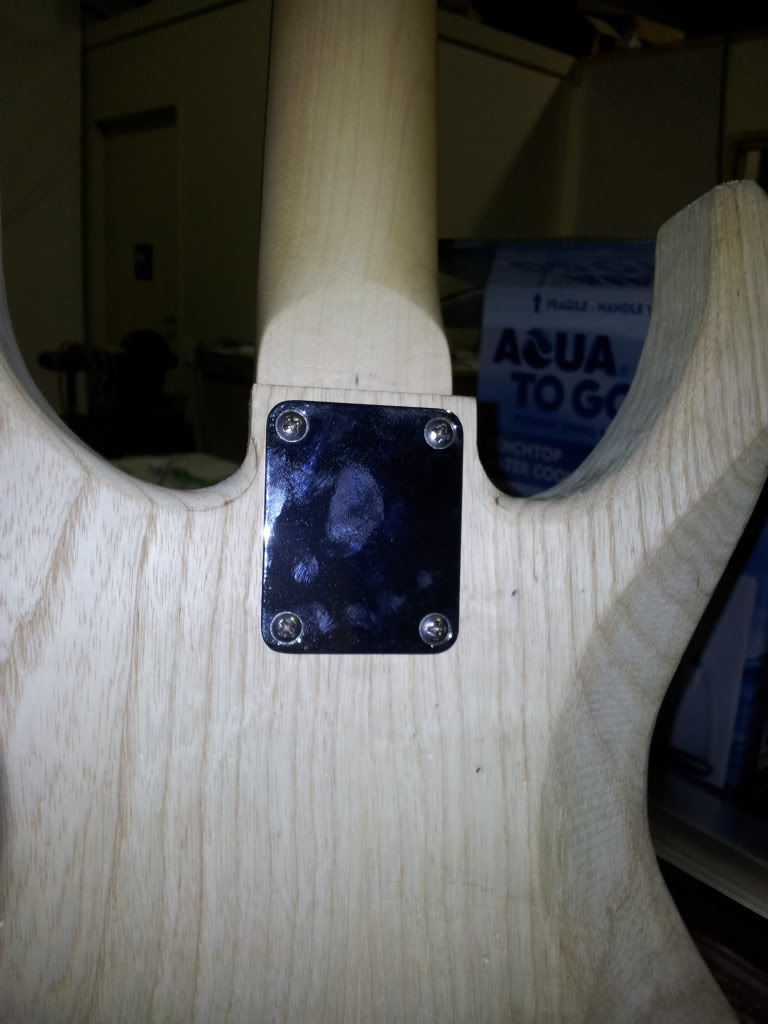
I also got the neck on, then I strung some wires across where the E and G strings should be to get my pickup placement right then I proceeded to route the pickup holes in the pickguard.
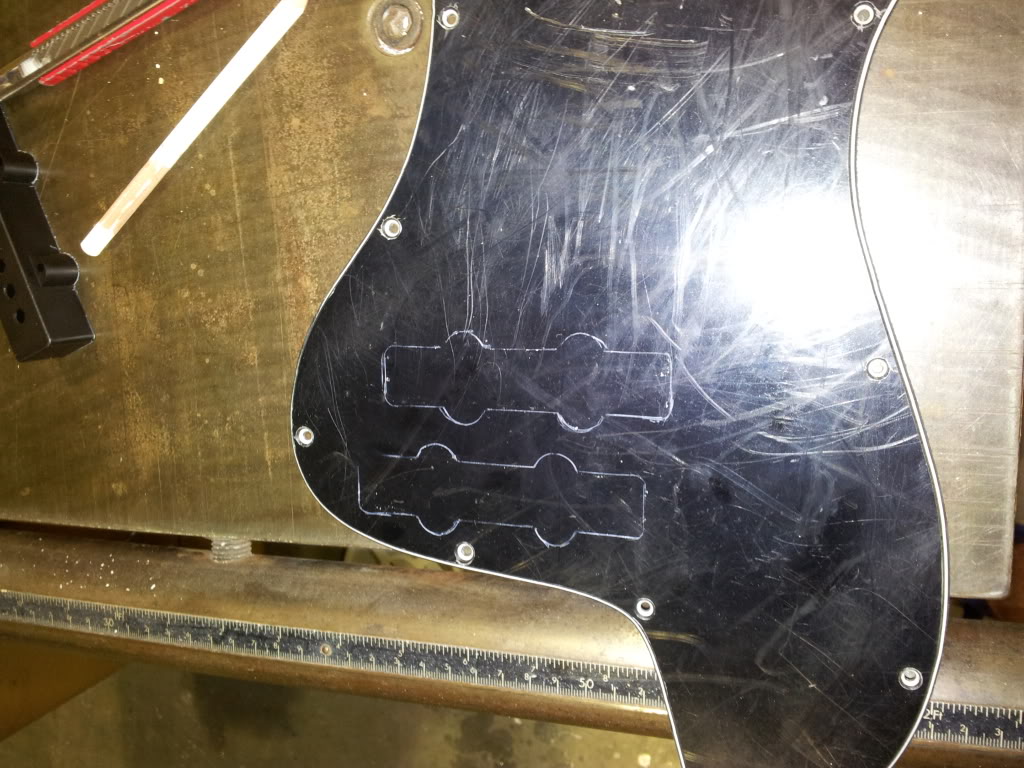
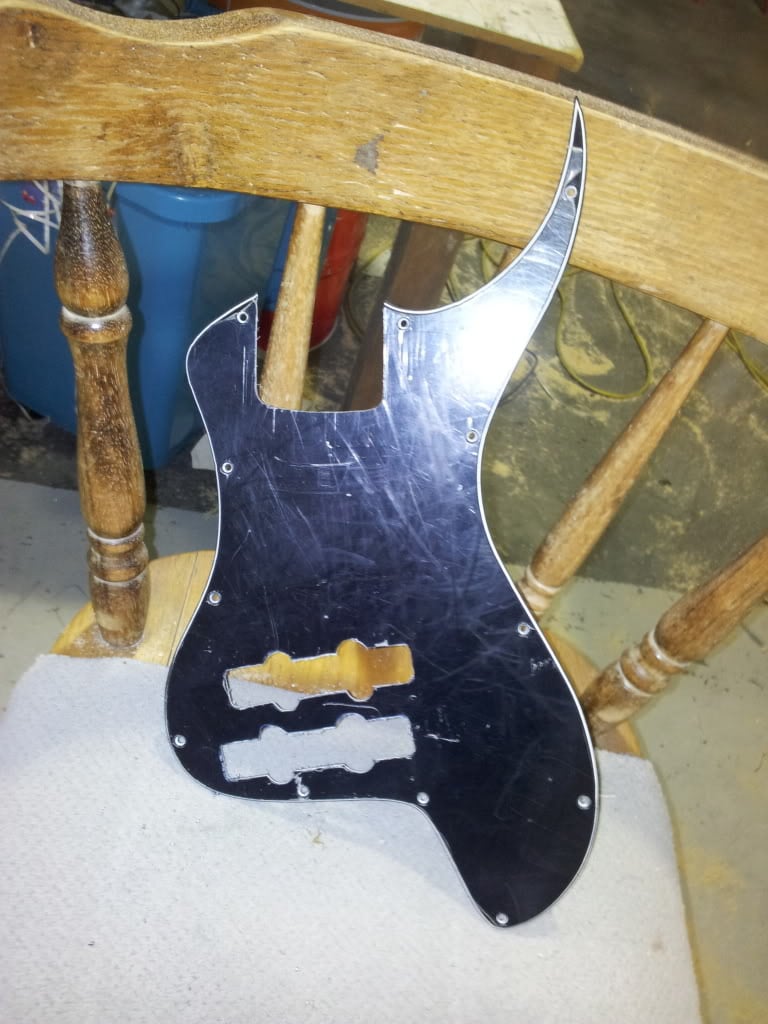
I made the decision (due to my own impatience, something I'm not proud of) to route the pickguard freehand. While it didn't come out looking that brilliant, it's not super noticeable from a distance. If it really gets to me I can just make a new one.
I also started to putty the rip outs in the body routing. I'll only just did this today so in about 24 hours I can start sanding that back down and slapping more over the top.
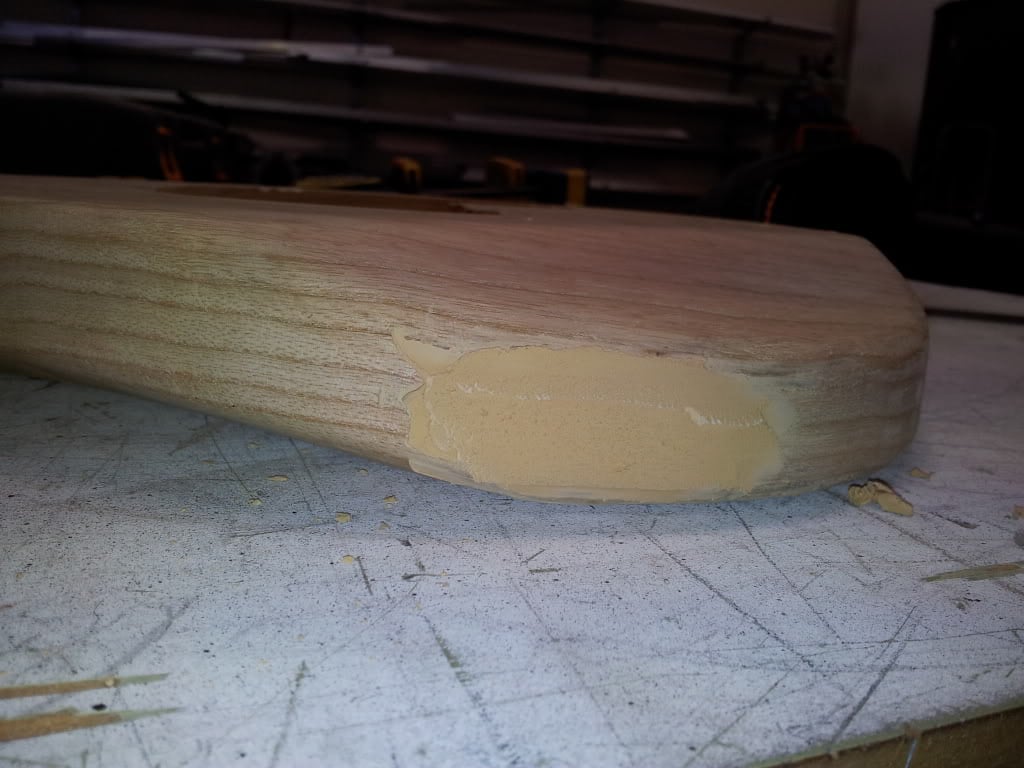
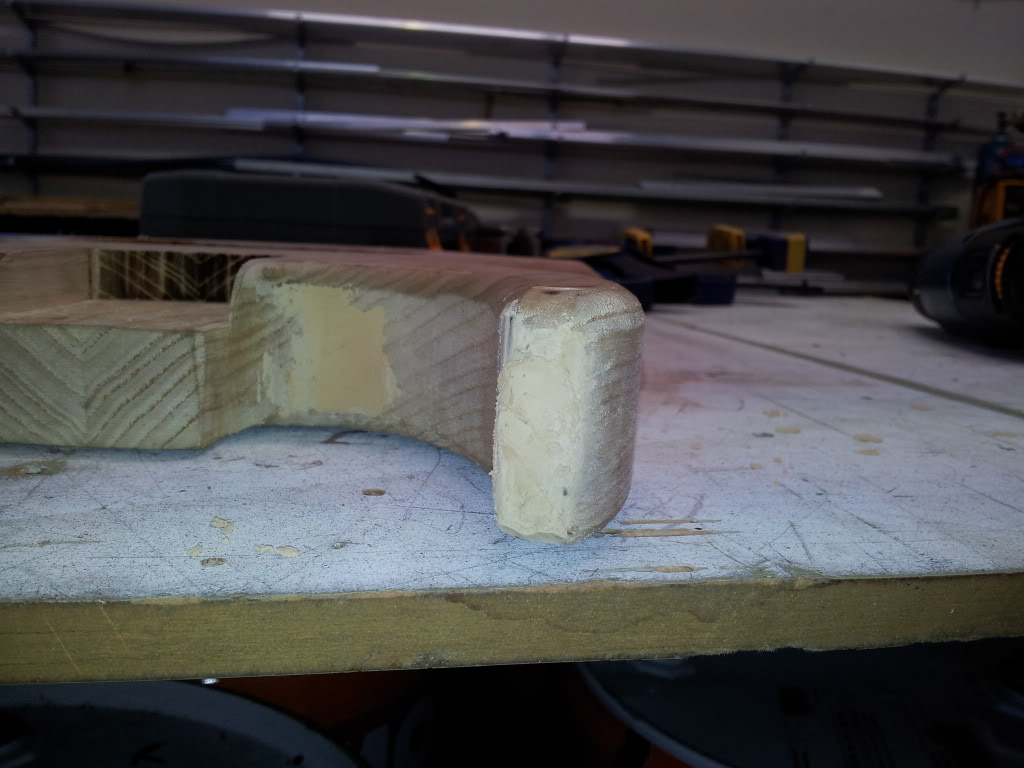
By the way, thanks for the tip Joe. I looked around for Bondo but I think it might have a different name here in Aus. I found a suitable filler anyway, it's not a two pack but it seems to be pretty solid.
A lot has happened since my last post, I put the bridge on, drilled the body for the string-through, routed the pickup and control cavities and drilled the hole for the input jack.
I also got the neck on, then I strung some wires across where the E and G strings should be to get my pickup placement right then I proceeded to route the pickup holes in the pickguard.
I made the decision (due to my own impatience, something I'm not proud of) to route the pickguard freehand. While it didn't come out looking that brilliant, it's not super noticeable from a distance. If it really gets to me I can just make a new one.
I also started to putty the rip outs in the body routing. I'll only just did this today so in about 24 hours I can start sanding that back down and slapping more over the top.
By the way, thanks for the tip Joe. I looked around for Bondo but I think it might have a different name here in Aus. I found a suitable filler anyway, it's not a two pack but it seems to be pretty solid.


