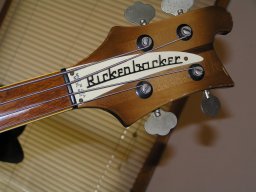
There’s a pretty good backstory to this build. Or re-re-build as the case may be. Here’s the background thread if you are interested. (If you like story, you should click the link)
Worst. Bass. Build. Ever.
That long story short, I ended up with an unplayable, ridiculous looking bass and it was destined to sit in a case for the rest of time. Here’s where we started...

Side story, I built a bass and inadvertently installed a broken truss rod. I ended up building a new neck. The though hit me that I could just take this bass, cut off the neck and build a bolt on neck. I just happened to have an old maple jazz bass neck template and an extra piece of 1/4” thick Wenge and a working truss rod laying around. Hmmm...
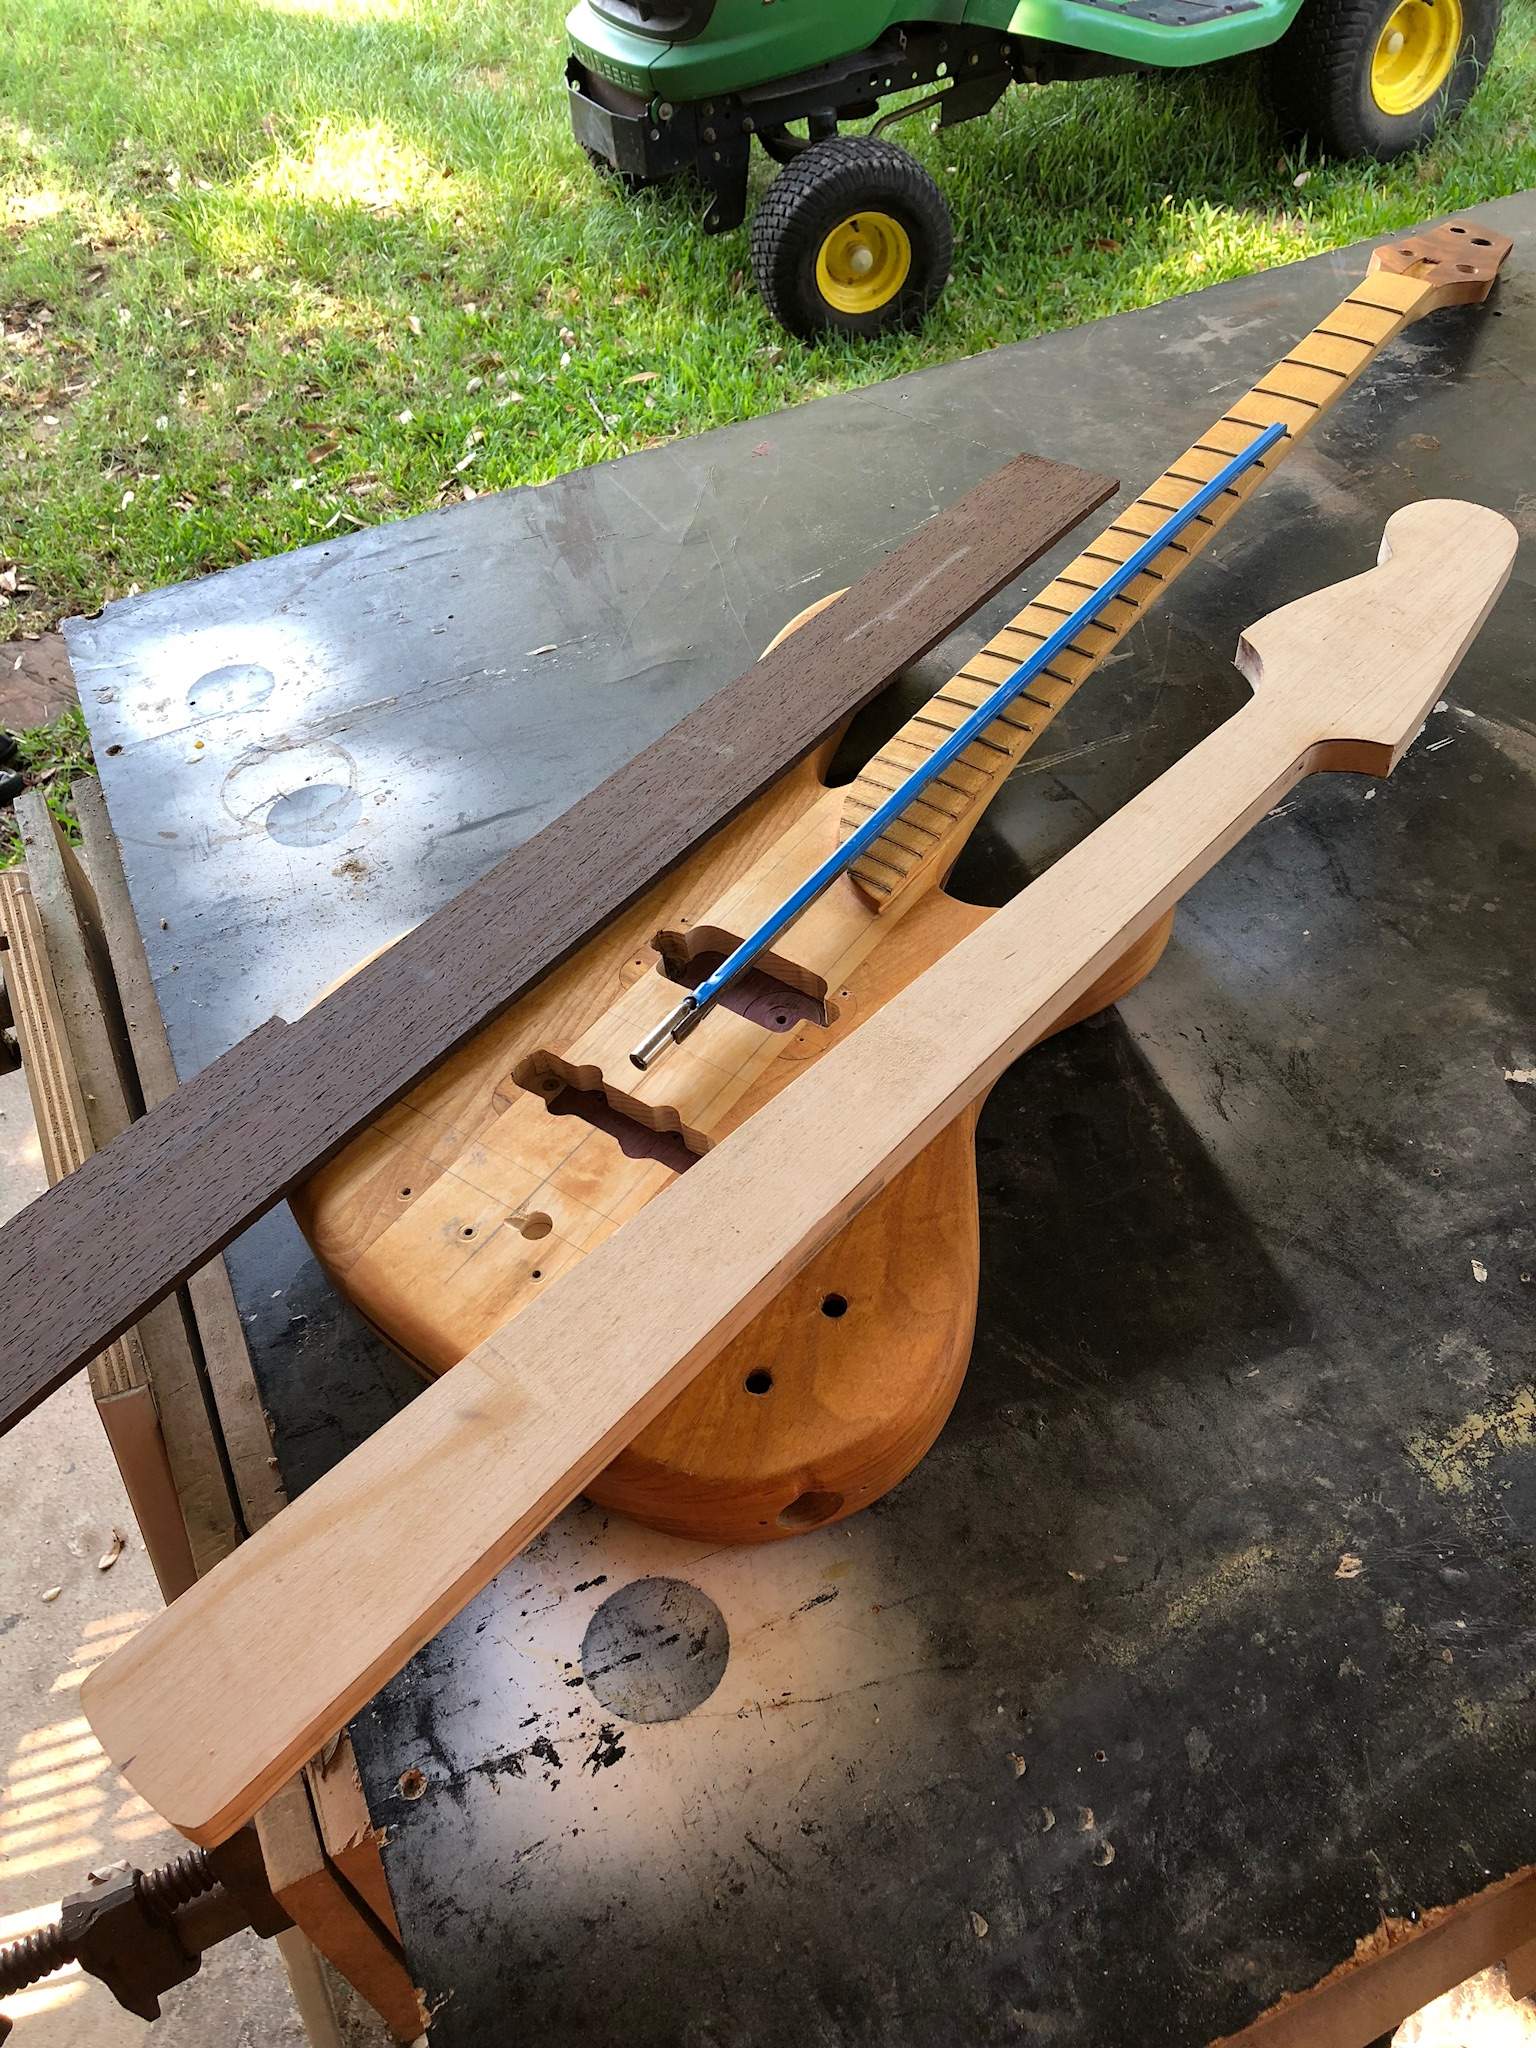
After looking at the neck-through, I had shaped the neck a little to much to bolt anything to it, so I decided to cut the swamp ash wings off and just rebuild the center section with enough meat to bolt to. Chop chop...

I needed a center section and I had some walnut chunks that just happened to be the right size, so I glued them together...

It was looking good, but it wasn’t quite thick enough. Lo and behold, I had some 1/8” Wenge with a big knot on one side, so it couldn’t be used for the project that it was acquired for, so it was perfect!

Time to start the neck. I set up a rudimentary routing guide and got to work routing for the truss rod. Also, if you’ll notice, I reshaped the jazz headstock to a reverse MusicMan. I like it...

Truss rod installed...

Gluing on the fingerboard...
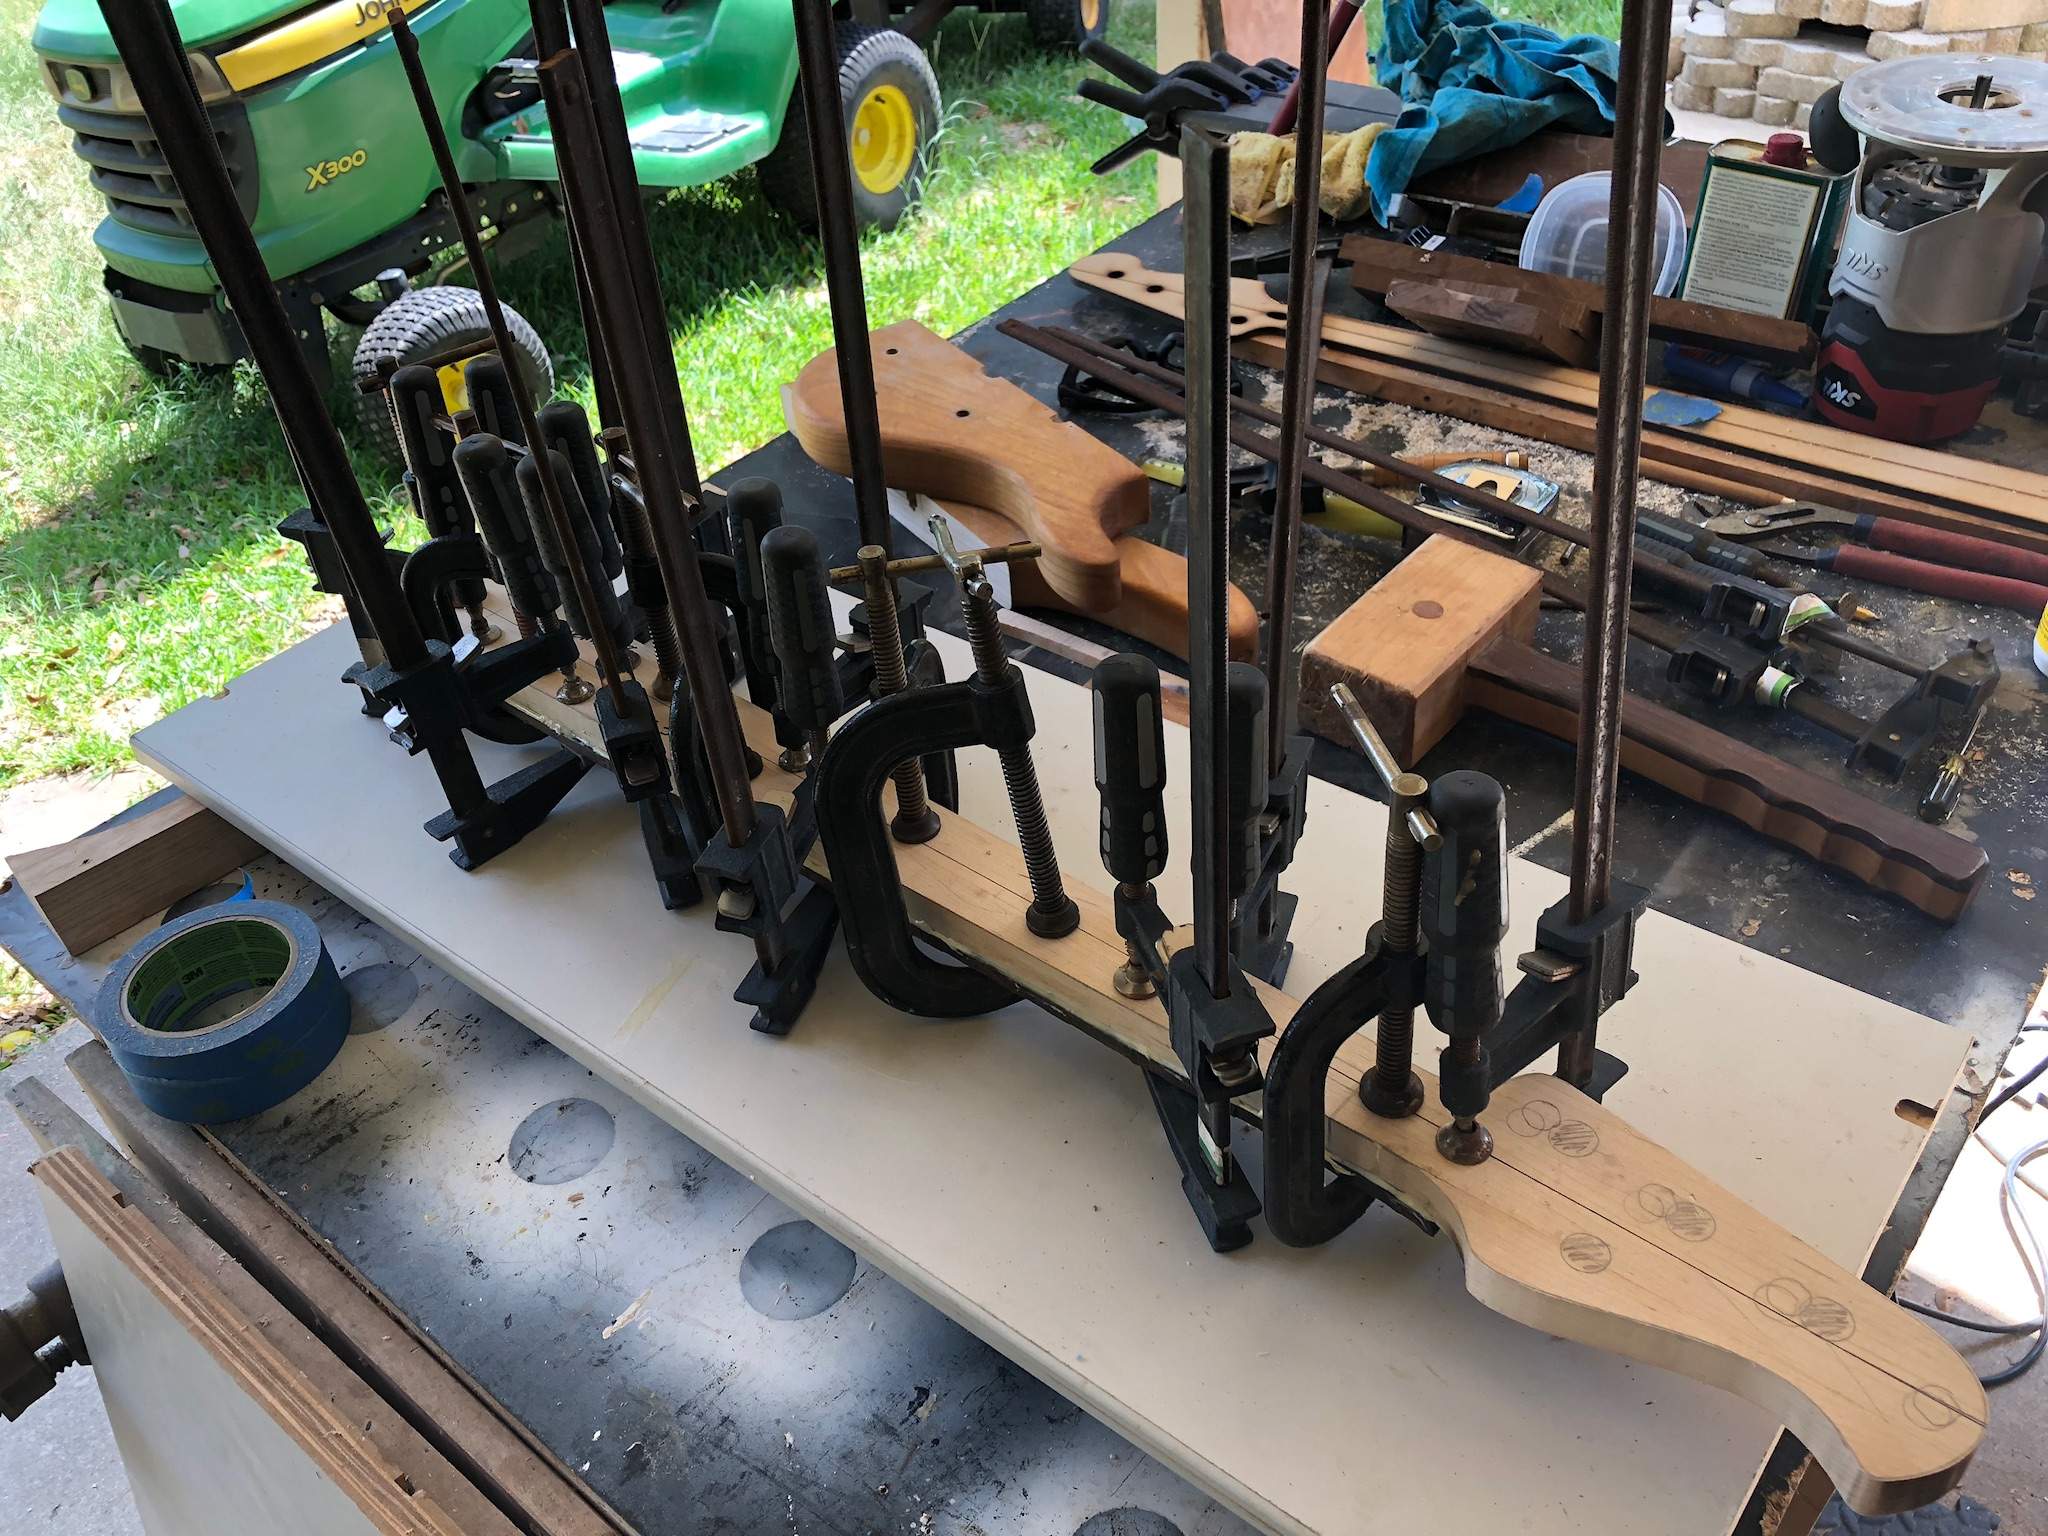
After gluing on the fingerboard, I had a last minute idea (that I ended up LOVING). With the leftover scrap of 1/8” Wenge, I glued it to the BACK of the headstock. I thought it might make a cool contrast, and with the shape of the neck joint transition, I figured it could be cool...
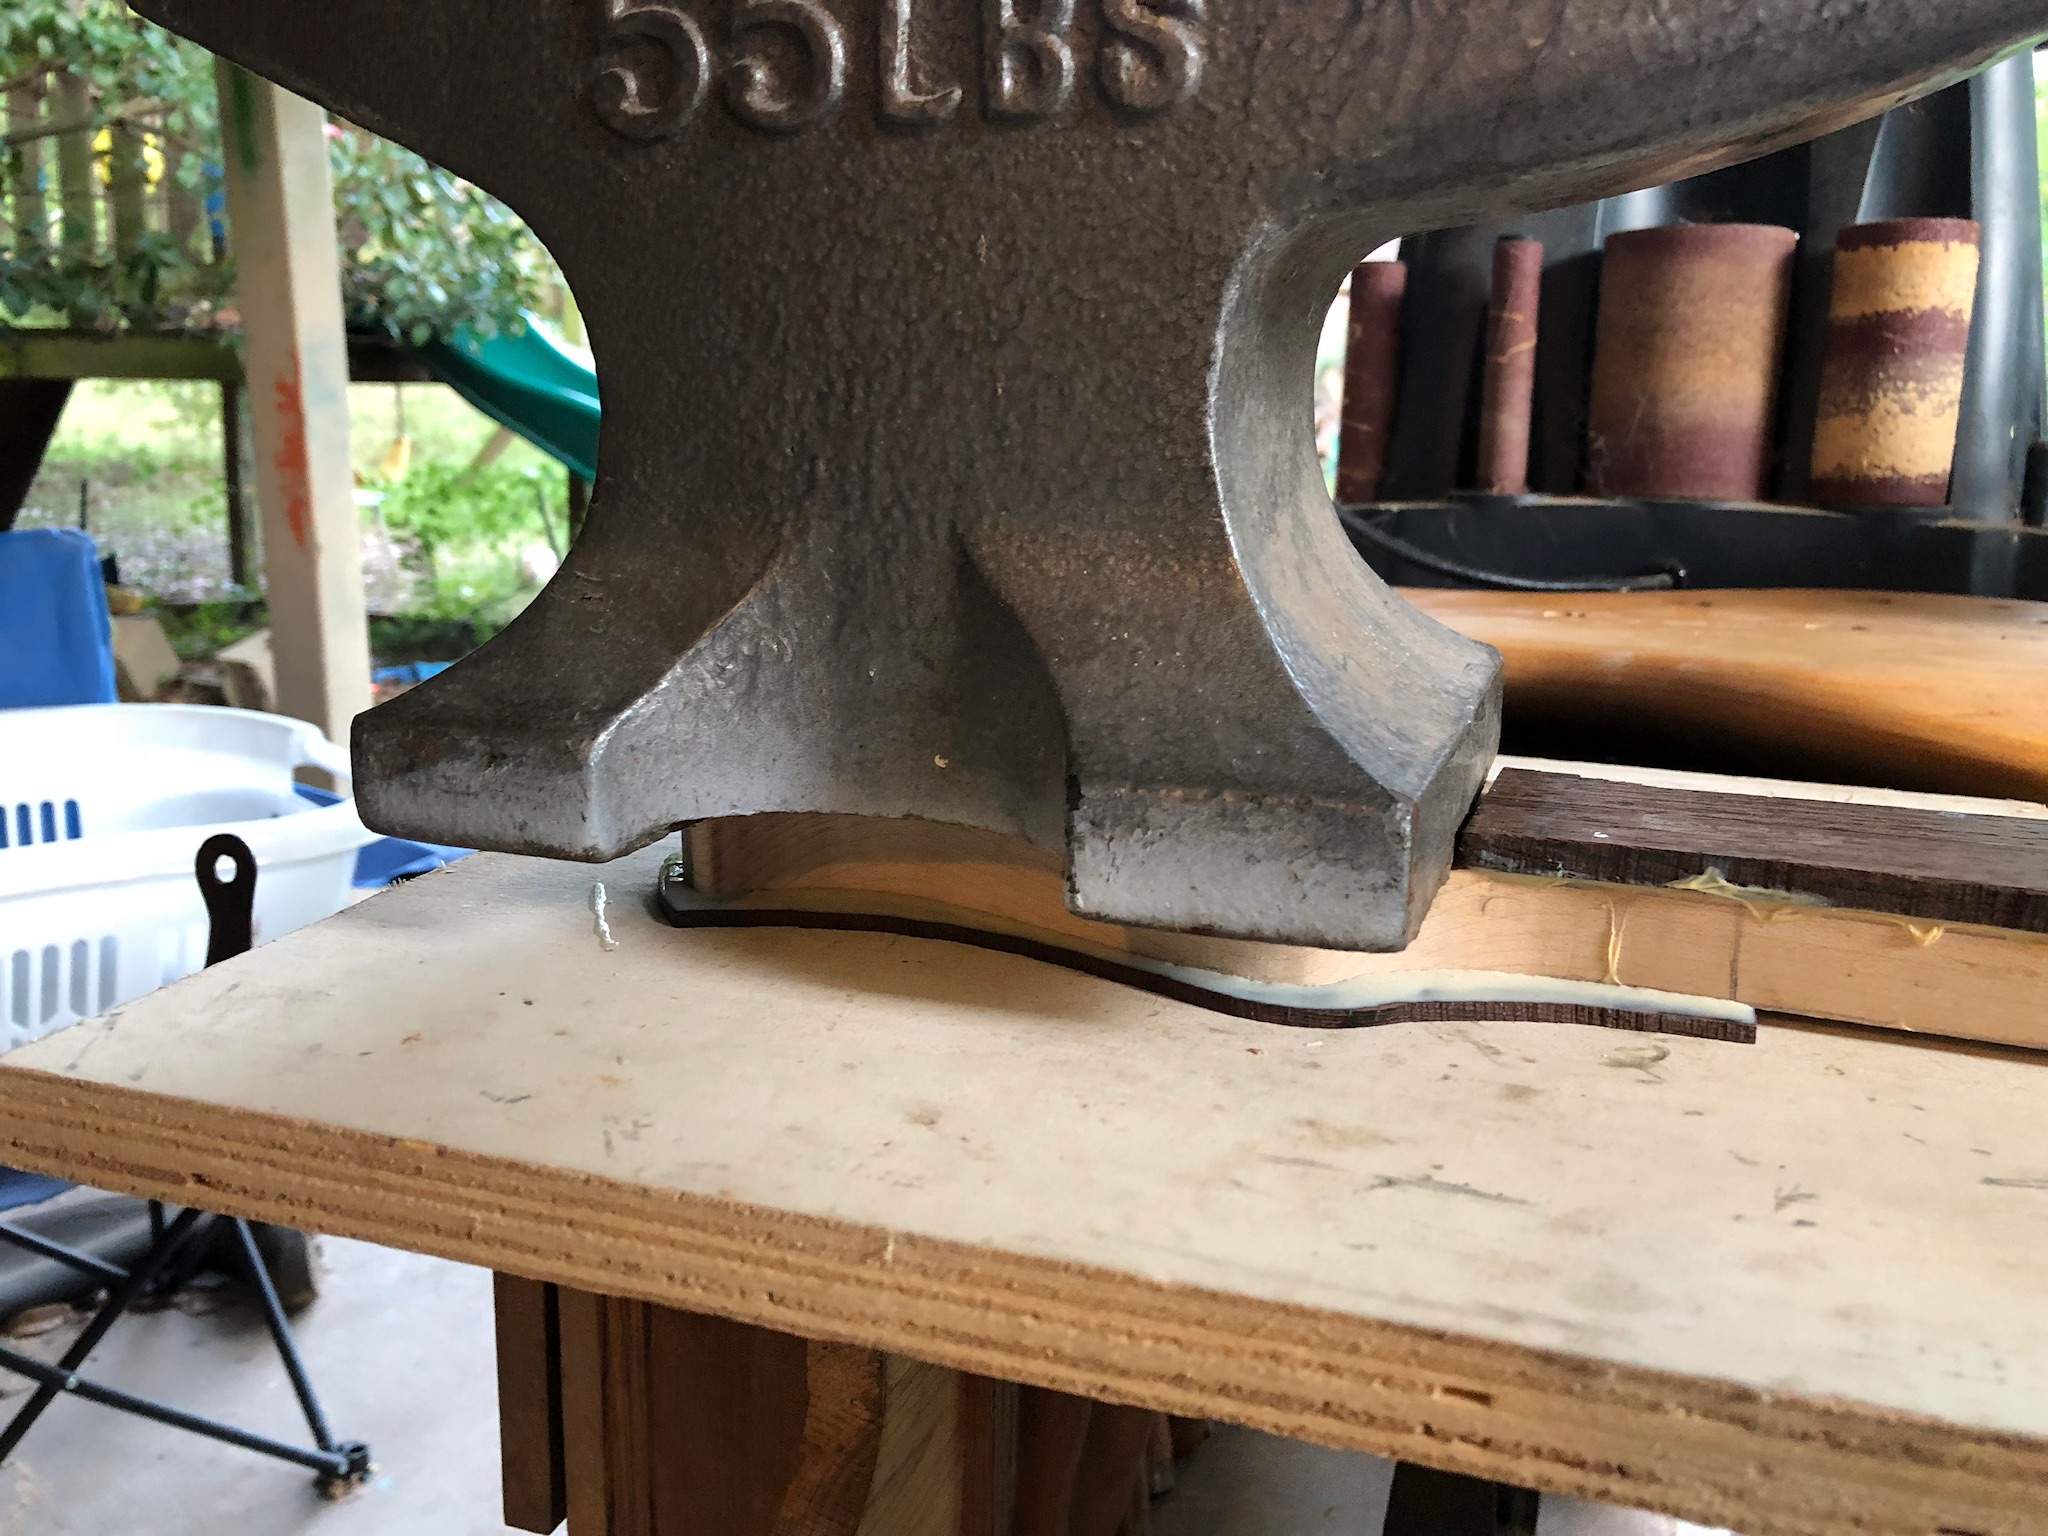
I’m going to go out on a limb and say that I had roughly 55lbs of clamping pressure on that glue up!!
So far, I haven’t spent a dime on this bass, so I made the decision to go all out...or rather all in. I was going to build a bass that was acceptable looking and playable for as cheap as possible!! Project Cheapskate was born...

Since the wings were ready and the center section was cured, it was time to make it look like a bass...
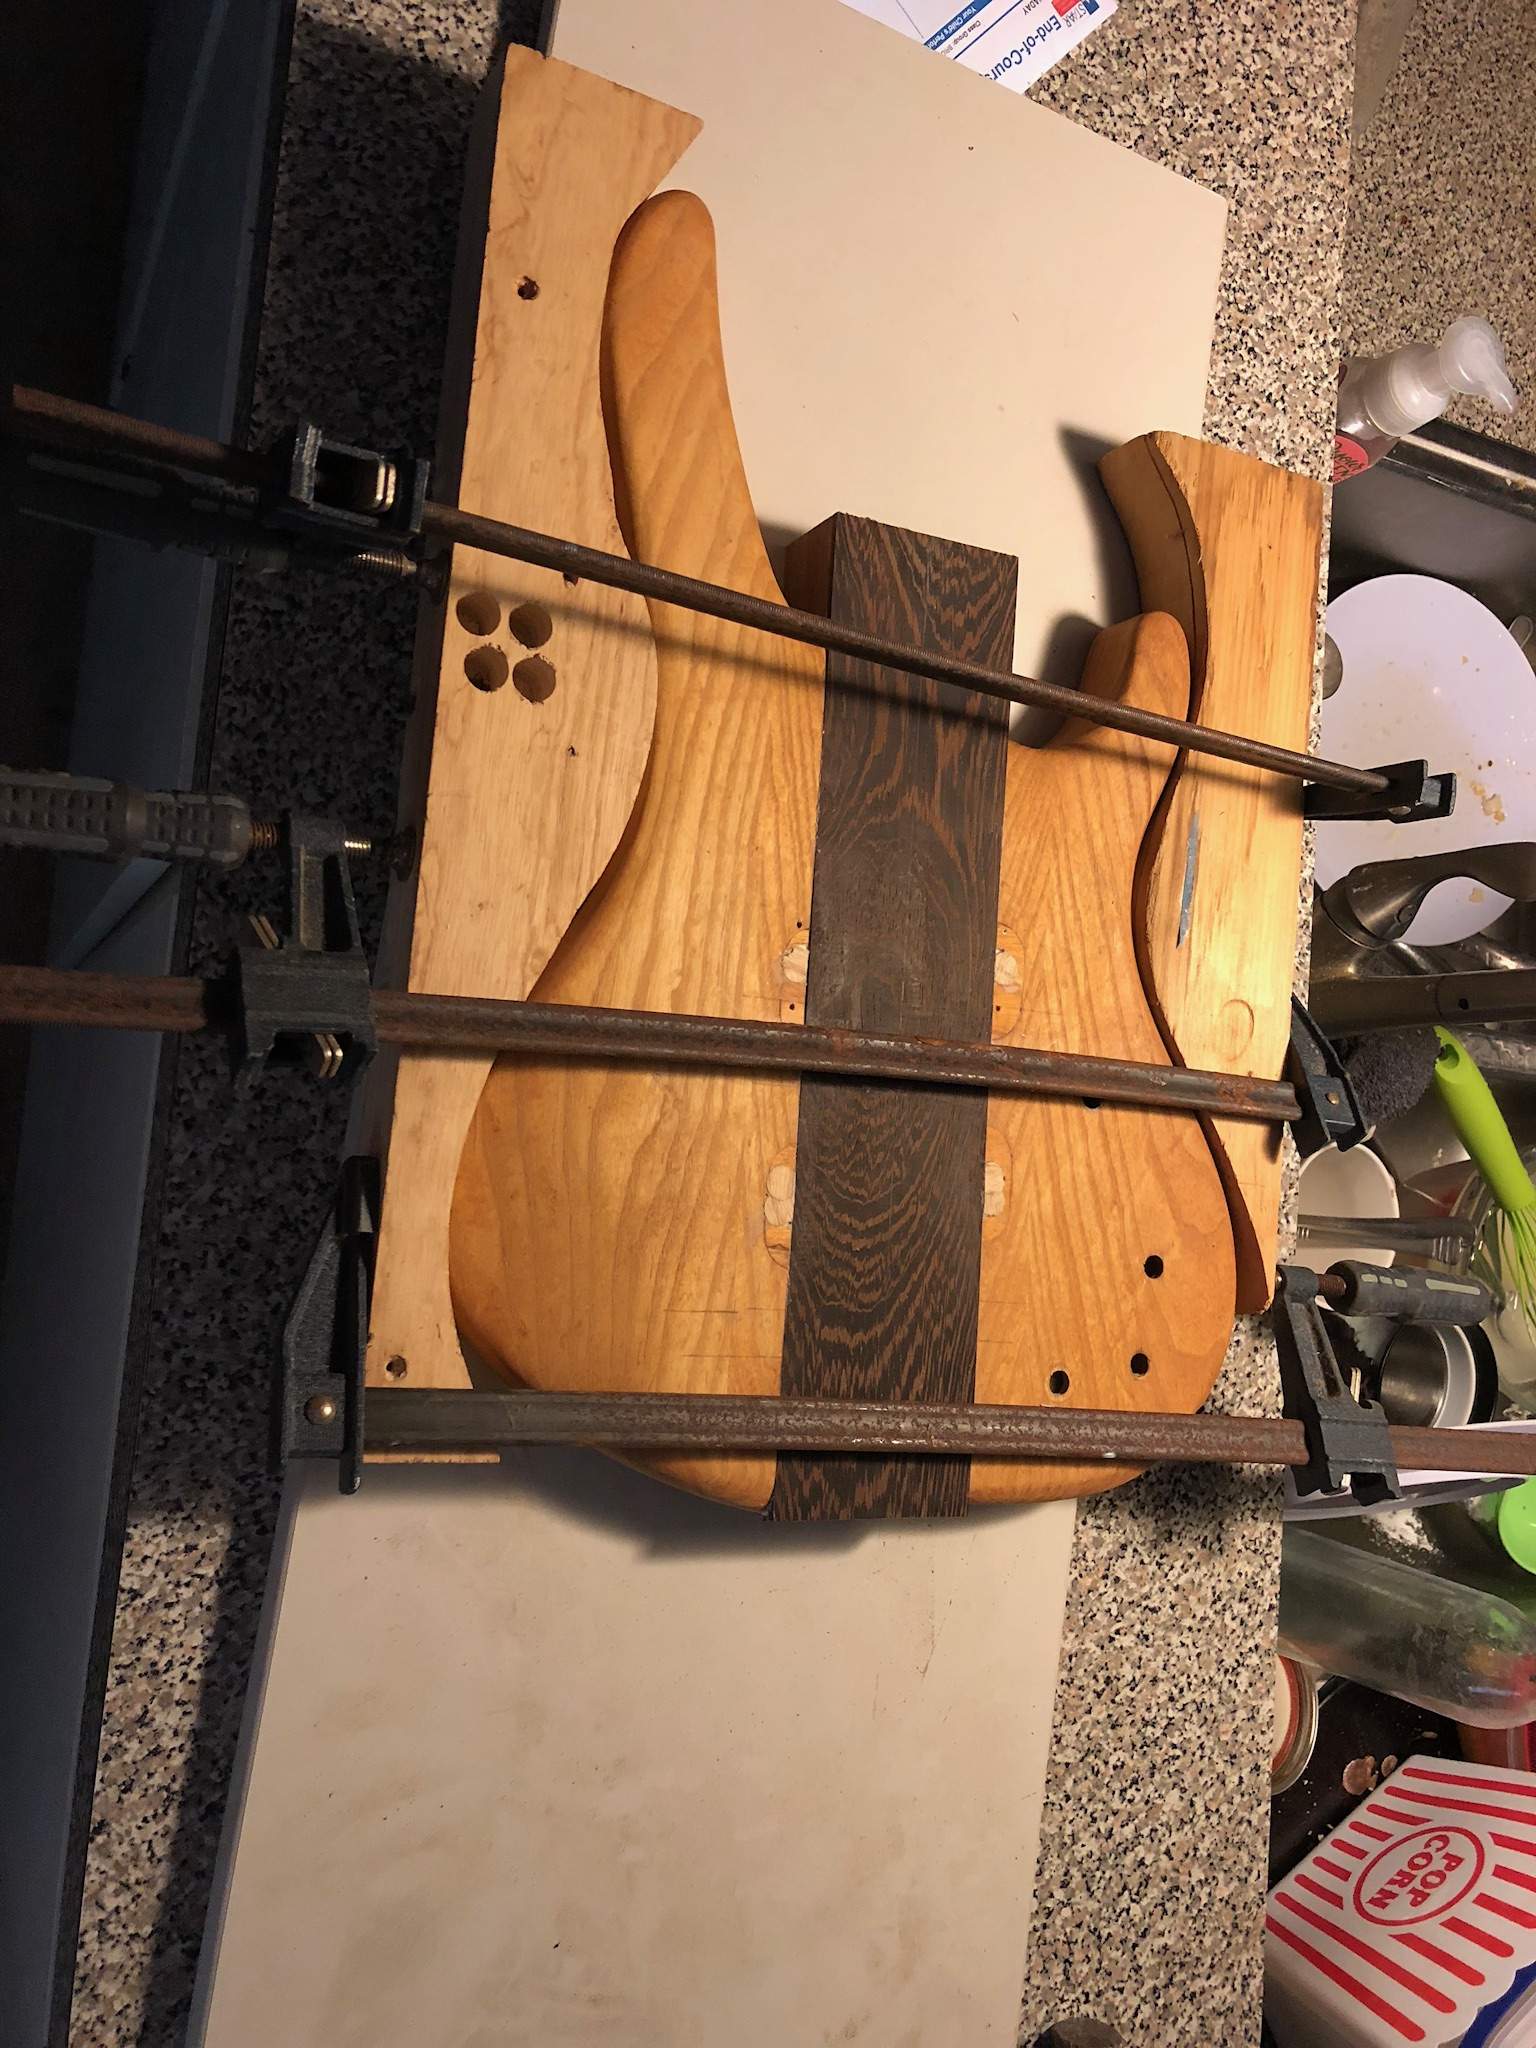
And done. The old pickup routs are still very visible. Oh well.
In the end, I like where this build was going...

Enough gluing, time to rasp. I hated this step on my first build, but I think it’s the part I look forward to the most now. Something oddly relaxing about it...
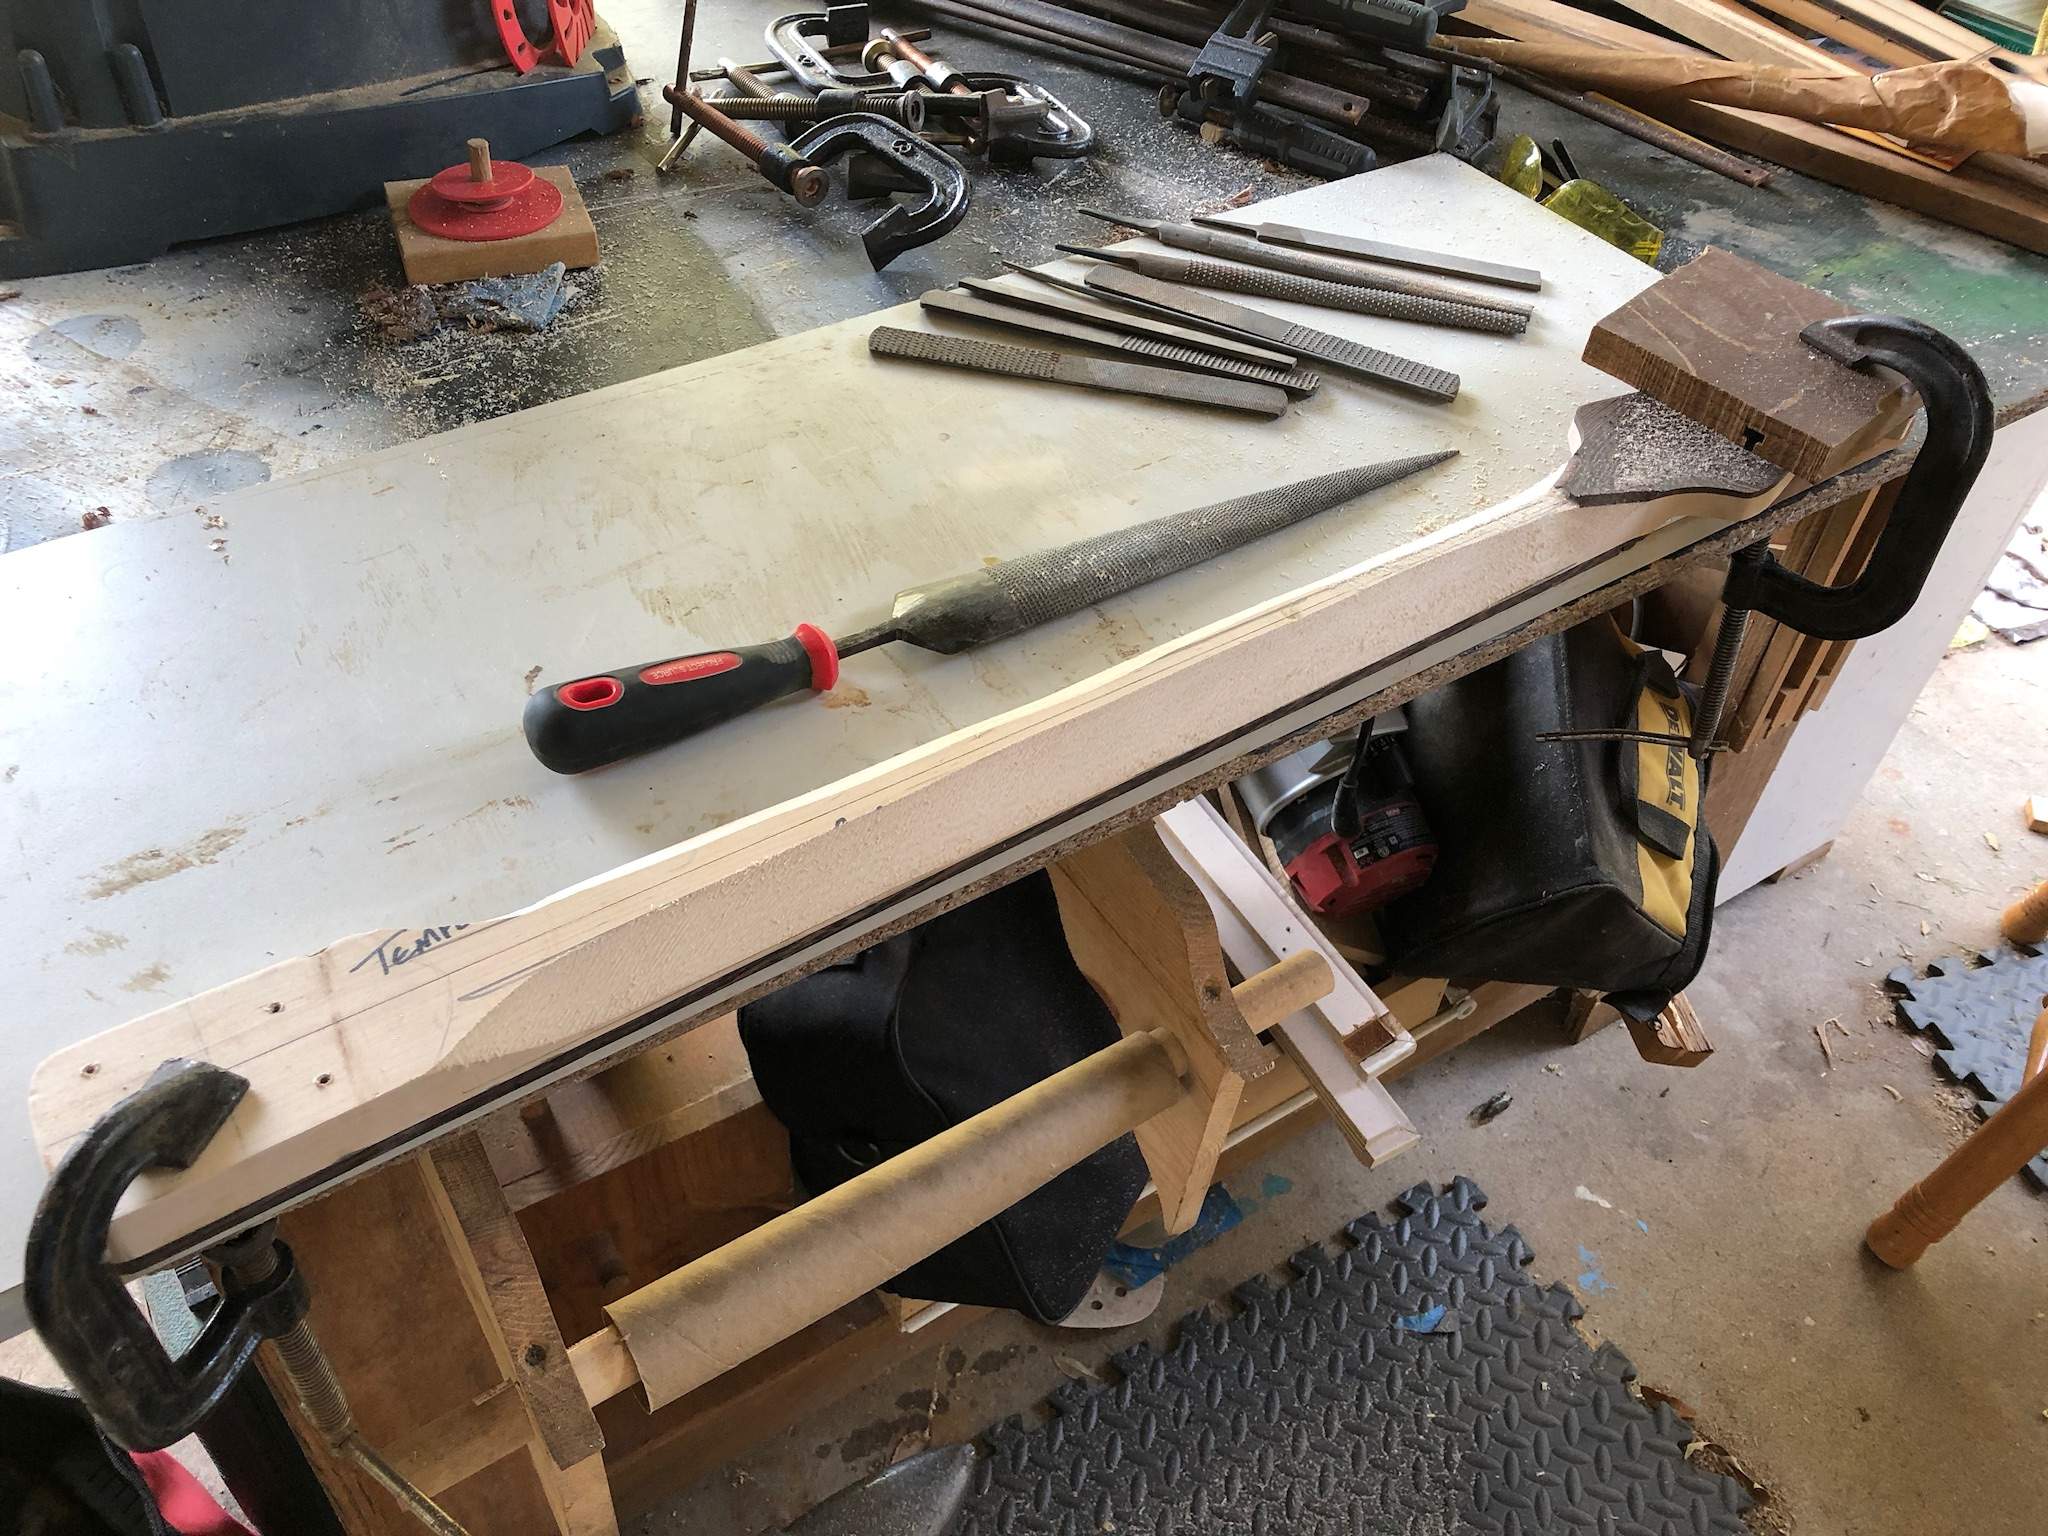
This is going to be a fretless, so I needed some side “fret” markers. I used some old mahogany veneer I had laying around. Works pretty well...
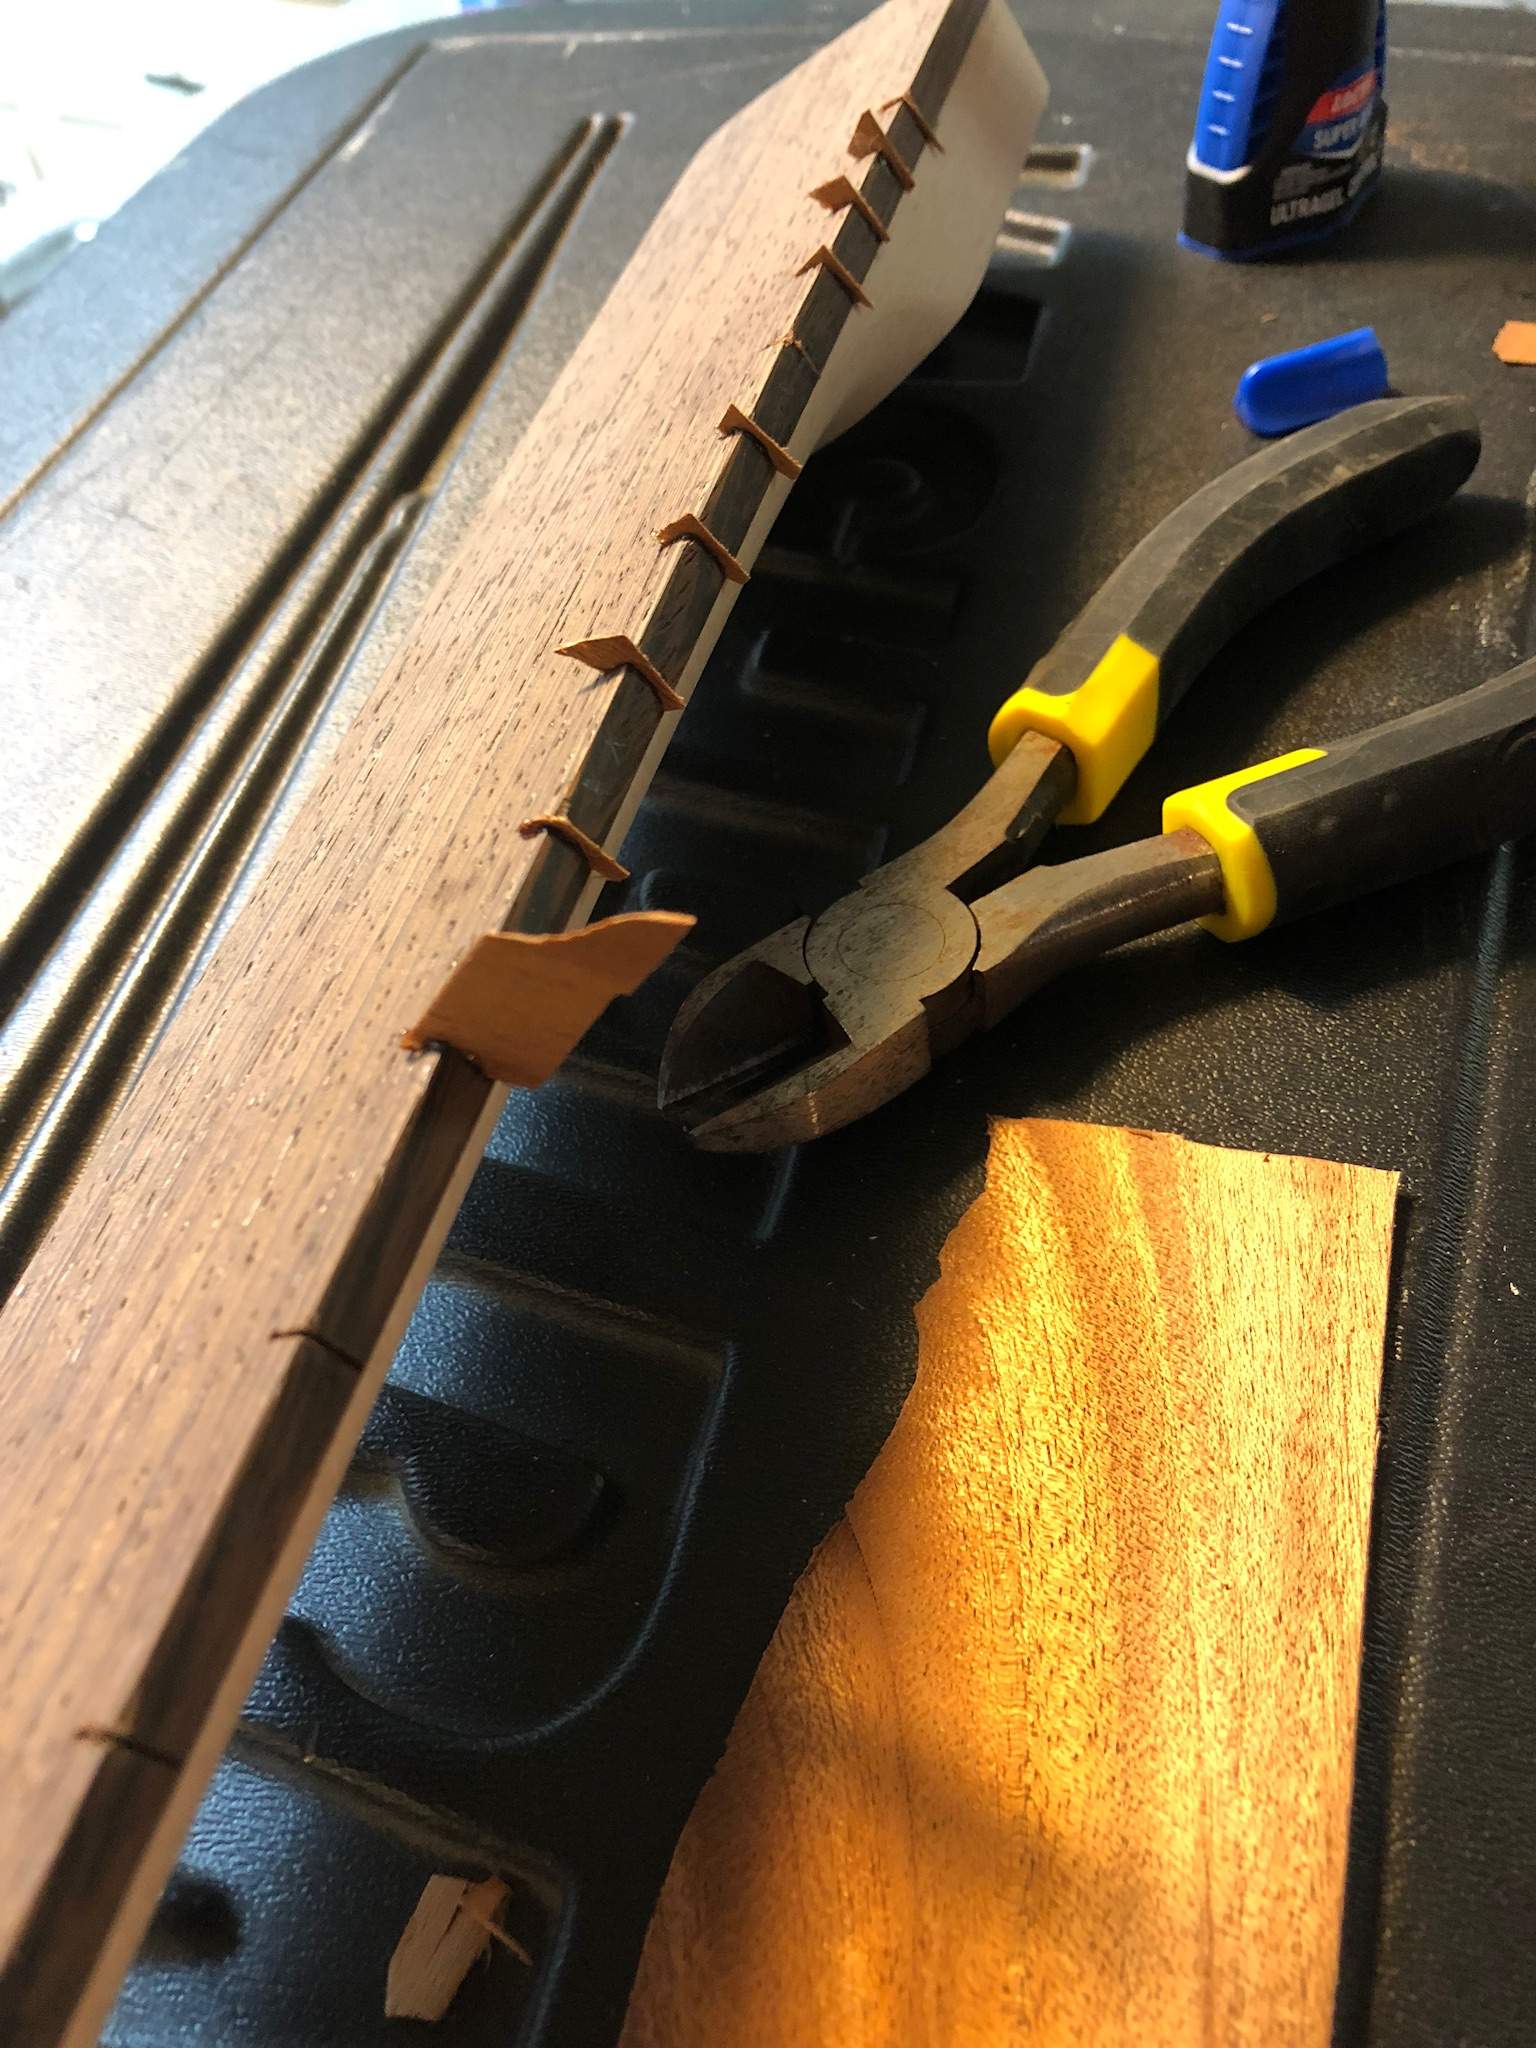
Neck done...here’s the front...

The back...
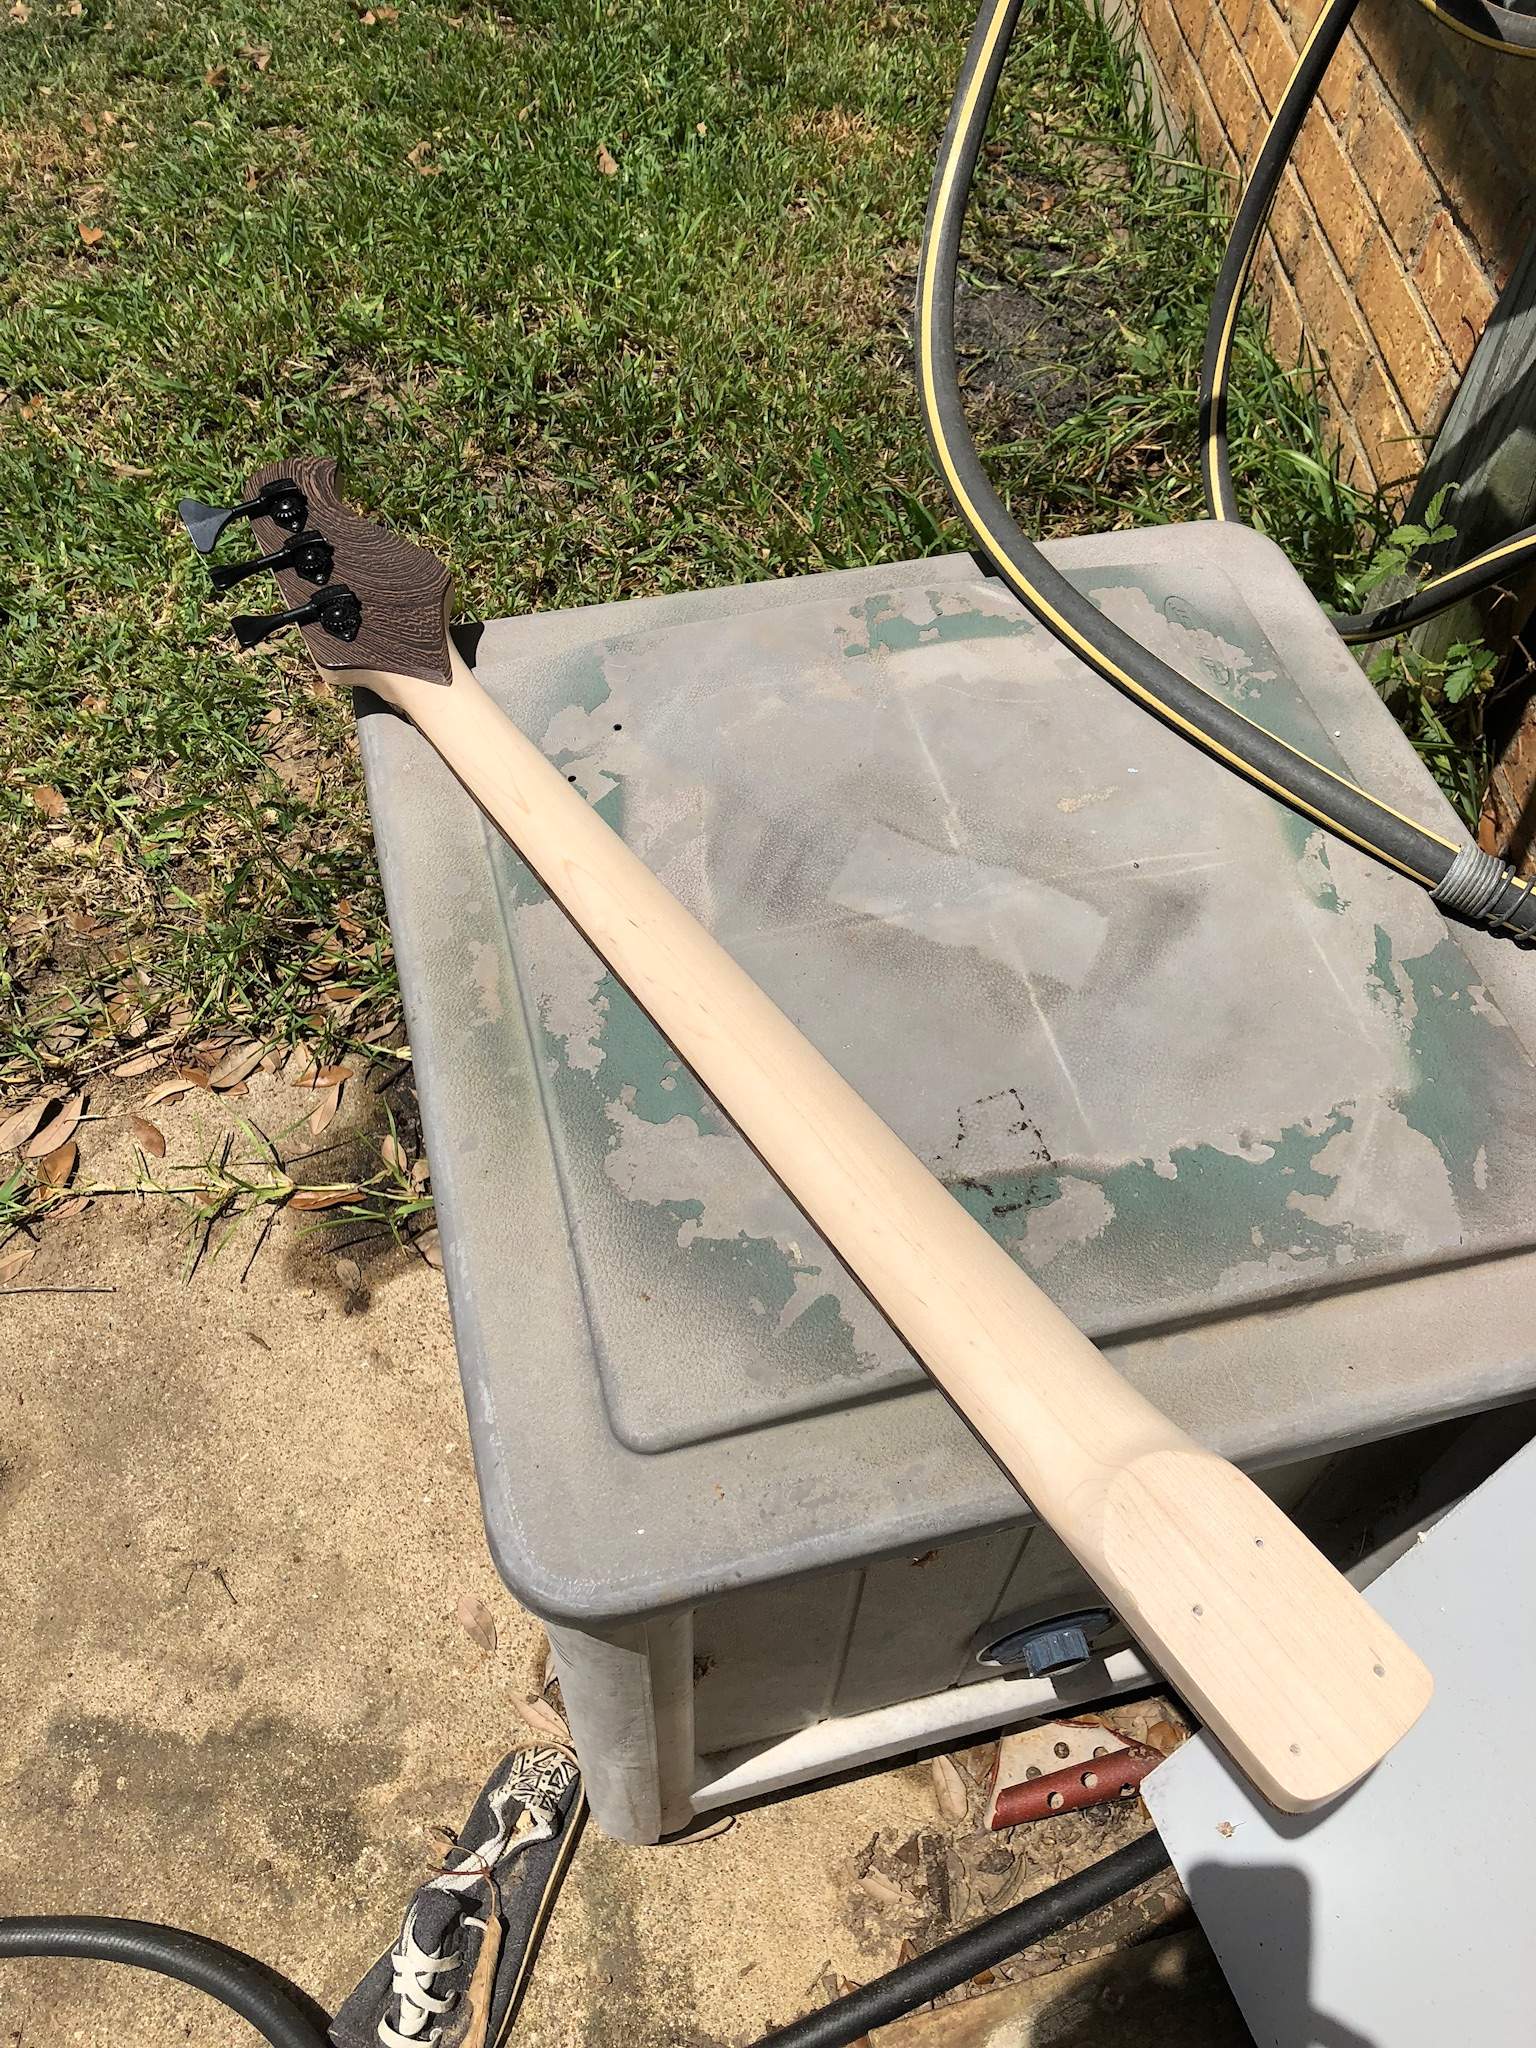
And a closeup of the back of the headstock. I ended up using a reverse MusicMan headstock. I used the 3 treble side Hipshot ultralights that I had in my spare parts bin. I didn’t have a 4th tuner. Looks like I’ll have to spend money...

See what I mean about the neck transition shape. I love this part of the bass!!!
Anyhoo...it’s time to radius the fretboard...

Back to the body. I had a DiMarzio bridge jazz pickup and an old jazz bass bridge, so I decided to get some cheap p bass pickups and go PJ!! Here the neck and pickup rout done...

...and now for the part I really still don’t fully understand...electronics! I had an old Aguilar DB924 external preamp that I had taken apart, so I decided to use as an onboard pre. A little wiring modification, and there you go...free preamp!!!

Worst. Bass. Build. Ever.
That long story short, I ended up with an unplayable, ridiculous looking bass and it was destined to sit in a case for the rest of time. Here’s where we started...
Side story, I built a bass and inadvertently installed a broken truss rod. I ended up building a new neck. The though hit me that I could just take this bass, cut off the neck and build a bolt on neck. I just happened to have an old maple jazz bass neck template and an extra piece of 1/4” thick Wenge and a working truss rod laying around. Hmmm...
After looking at the neck-through, I had shaped the neck a little to much to bolt anything to it, so I decided to cut the swamp ash wings off and just rebuild the center section with enough meat to bolt to. Chop chop...
I needed a center section and I had some walnut chunks that just happened to be the right size, so I glued them together...
It was looking good, but it wasn’t quite thick enough. Lo and behold, I had some 1/8” Wenge with a big knot on one side, so it couldn’t be used for the project that it was acquired for, so it was perfect!
Time to start the neck. I set up a rudimentary routing guide and got to work routing for the truss rod. Also, if you’ll notice, I reshaped the jazz headstock to a reverse MusicMan. I like it...
Truss rod installed...
Gluing on the fingerboard...
After gluing on the fingerboard, I had a last minute idea (that I ended up LOVING). With the leftover scrap of 1/8” Wenge, I glued it to the BACK of the headstock. I thought it might make a cool contrast, and with the shape of the neck joint transition, I figured it could be cool...
I’m going to go out on a limb and say that I had roughly 55lbs of clamping pressure on that glue up!!
So far, I haven’t spent a dime on this bass, so I made the decision to go all out...or rather all in. I was going to build a bass that was acceptable looking and playable for as cheap as possible!! Project Cheapskate was born...
Since the wings were ready and the center section was cured, it was time to make it look like a bass...
And done. The old pickup routs are still very visible. Oh well.
In the end, I like where this build was going...
Enough gluing, time to rasp. I hated this step on my first build, but I think it’s the part I look forward to the most now. Something oddly relaxing about it...
This is going to be a fretless, so I needed some side “fret” markers. I used some old mahogany veneer I had laying around. Works pretty well...
Neck done...here’s the front...
The back...
And a closeup of the back of the headstock. I ended up using a reverse MusicMan headstock. I used the 3 treble side Hipshot ultralights that I had in my spare parts bin. I didn’t have a 4th tuner. Looks like I’ll have to spend money...
See what I mean about the neck transition shape. I love this part of the bass!!!
Anyhoo...it’s time to radius the fretboard...
Back to the body. I had a DiMarzio bridge jazz pickup and an old jazz bass bridge, so I decided to get some cheap p bass pickups and go PJ!! Here the neck and pickup rout done...
...and now for the part I really still don’t fully understand...electronics! I had an old Aguilar DB924 external preamp that I had taken apart, so I decided to use as an onboard pre. A little wiring modification, and there you go...free preamp!!!
Last edited: