Hey Tim;
You're off to a good start, but you have a couple of problems to work out still. As the other guys have said, the whole rig needs to be fairly tight fitting, but still able to slide smoothly.
Here's a look at my fingerboard radiusing rig. It's built to hold complete necks (with the fingerboard blank glued on), but you could make a shallower version for just cutting unattached fingerboards.
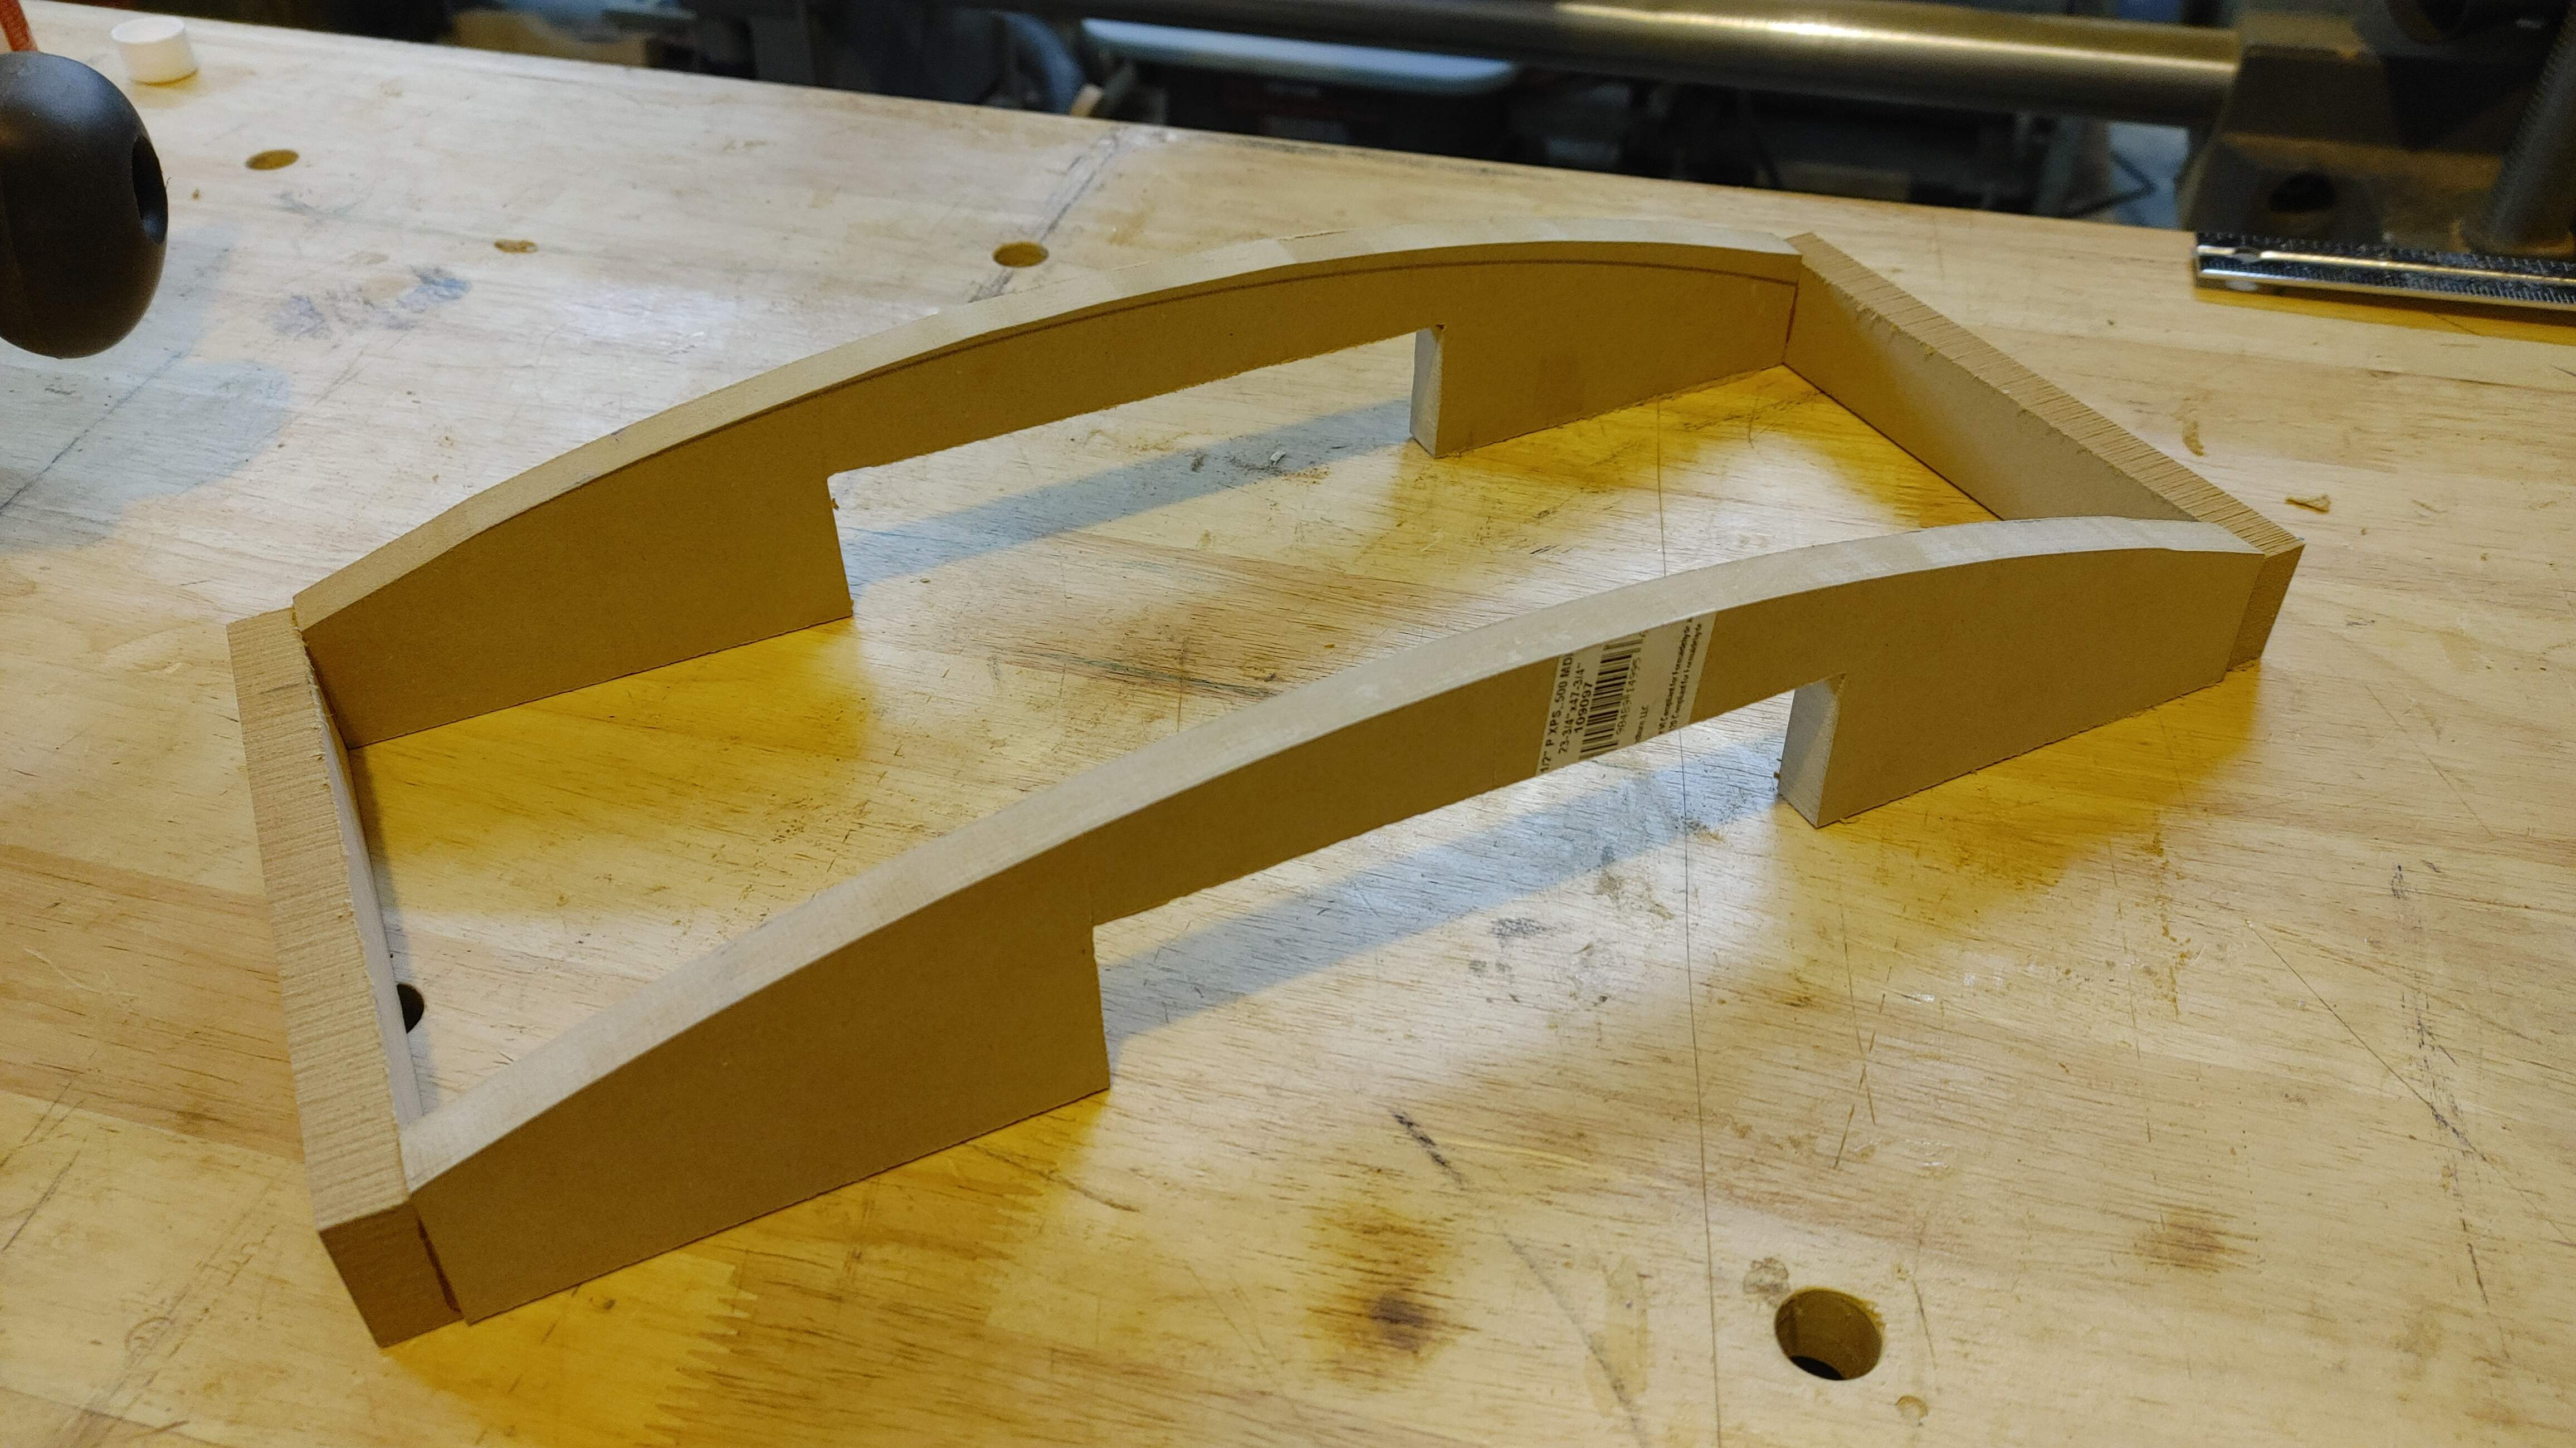
The router base has the two MDF side plates with radiused undersides, like yours. The base slides and rolls on a pair of parallel round aluminum rods on either side of the fingerboard. This eliminates that lower base that you have, and makes things simpler. The neck (fingerboard) can be finely adjusted up and down vertically, separately at either end.
The geometry is laid out so the final cutting radius is exactly 1/4" below the curved side plates of the base. In the setup above, I'm cutting 7 1/4" radius. The router base side plates are 7 1/2" radius. The router is set to "0" with the face of the bit sticking down 1/4" below the curved side plates. That's the "0" point.
The fingerboard is raised up so that its final intended thickness ends up at that same "0" point (exactly 1/4" below the curved side plates). For example, if the fingerboard blank is 0.300" thick and I want it to end up at 0.250" thick at the center, then I adjust its vertical height so the top surface is 0.050" above that "0" point. If I want to put some vertical taper into the fingerboard, I can by raising the nut end a little bit more. If I raise the nut end to 0.080" above "0", then the fingerboard will end up tapering from 0.250" thick at the heel to 0.220" at the nut. That's a common thing to do to make the side edges of the fingerboard look more even in height.
To start cutting the surface, I raise the router head up in its own base maybe 1/16" (0.063"). Cutting a hard board like ebony, I cut the surface in a series of passes of about 0.020" each, with the last pass at about 0.010". Bring it right down to the pre-set "0" mark. The fingerboard will be right on 7 1/4" radius, and at 0.220" x 0.250" thickness.
Making the cuts, I go down the length of the board, in a climb cut direction, starting at the outside edges, working in to the center. In the picture, I go down the left side, away from the camera, taking about 1/4" wide off the edge. Off the end at the far end, tilt the base over to the other side, pull it back this way taking 1/4" off the right side. Keep going like that, 1/4" strip on the left side going away, 1/4" on the right side coming back. Down and back, narrow strips working in toward the center. The final pass right down the middle. That was all at one depth of cut pass. The first pass will only cut at the edges and not touch the center. Adjust the router head down 0.020" and make the next pass. The final pass should be about 0.010". For reference, the 1/64" marks on the router base are 0.016". So, 0.010" is about 2/3 of 1/64".
Over the years, I've made up a whole set of different router bases to cut different radiuses from 4" up to 20". I believe I currently have 4, 7 1/4, 9, 9 1/2, 10, 12, 16 and 20. One of the bases has quickly interchangeable side plates, so I can quickly make up other radiuses if I need them. They are all made to the same reference geometry of the router bit being 1/4" below the radius of the base side plates. The base to cut 12" has an actual radius of 12 1/4"; the base to cut 20" has an actual radius of 20 1/4".
Here's some pictures of the rig cutting a 7 1/4" radius on an SSB neck.
Here it is doing a 4" radius. For this setup, I unbolt the one side rail of the fixture and move them closer together. You can see one of the simple wood gauges I use for setting up the height of the neck.