

Enjoy the benefits of a premium membership!
Upgrade Account
-
TalkBass has been independent since 1998. Add your voice.
Create a free account to reply to discussions, view embedded media, and browse with fewer display ads.
Join free Log in
Want zero display ads or expanded classifieds tools? Compare plans.
You are using an out of date browser. It may not display this or other websites correctly.
You should upgrade or use an alternative browser.
You should upgrade or use an alternative browser.
Sanding a Neck Down to Size
- Thread starter Count Bassie
- Start date
More options
Who Replied?

First, make sure you know what type of trussrod. if it's an older single action style, it's an arc, closest to the fingerboard at nut and heel, and bellying down around the center. There usually is 1/8" or less between bottom of the trussrod and the back face of the neck, and if you sand or file through it, the neck is toast. If it's a double action, they are more or less a continuous slot around 3/8' below the fingerboard, so there is more "meat" under the rod, but not a lot more. If you don't know how much meat, just stay away from the midline center of the neck. It's not just the depth of the neck that makes it feel like a baseball bat, its the "shoulders", the area just under the fingerboard on the sides of the neck, where the web of your hand makes contact. You can safely remove a fair amount of material in those areas, turning a "c" profile into a "soft vee" for instance, but don't go nuts with it, you could weaken the neck over-doing it. Go to Harbor Freight or online and get a profile gauge. I like the ones with metal pins, but the plastic ones work fine too. If you have a neck you like, take a few profiles off it at nut, 12th fret and up near the heel. Transfer those profiles to a piece of cardstock and cut out a "negative" of the profiles you can put on your project neck to see where wood has to come off. A little bit of wood removal can go a long way, so carve a little, play it for a while, carve a little more, etc. Your fingers can feel the width of a human hair, so just close your eyes and feel for any tiny inconsistencies, and mark them with a pencil for more attention. Most necks get a little thinner in a steady line from heel to nut, so keep checking with a straightedge to make sure you are maintaining a straight line with no dips or humps. If you take your time and be careful, you can do this, but it's easy to screw it up too, so there is some risk involved. I wouldn't be doing this on my #1 bass the first try, if you have a beater you don't care about, use that for practice. As far as tools, you can do it with files, rasps, and sandpaper glued to a a piece of something known flat, like MDF. I use some old beltsander strips to do the "shoeshine" move, which tends to cut out humps and dips. I use the "facet" method for carving necks, to me it seems safe and most controllable, look it up on Youtube, lots of tutorial videos. Good luck with it, there are multiple ways to do this, I'm sure you'll hear other methods to the same result. You'll have to refinish the back of the neck when you are done, which is a whole other rabbit hole.....
Last edited:

I thought neck shaping was done with a spokeshave? Sanding sounds like a great way to end up with a very non-uniform shape.

check out haywire, Rick did a great job on a bass for me and refinished in satin instead of gloss. It came out ~200-250ish with shipping both ways (I only shipped the neck).
EDIT - saw this the luthier's corner, so outsourcing the job isn't what you're looking for, apologies!
EDIT - saw this the luthier's corner, so outsourcing the job isn't what you're looking for, apologies!

I thought neck shaping was done with a spokeshave? Sanding sounds like a great way to end up with a very non-uniform shape.
The shave would be faster, but coarse grits can be pretty fast, as would a good quality rasp. Any of them could also destroy the neck quickly.
Spokeshaves need to be razor-sharp, and take a good bit of skill to use well, it's very easy to "dig in" and cut deeper than intended. The safest and most precise method I know of is the Facet method, which is more or less foolproof if you do it right, and it's typically done with rasps, files, and progressively finer sandpaaper. You see a lot of builders on YT cut the profile at nut and heel ends and then "connect the dots" between them, but I've never had much luck with that, and it really only applies to carving a neck from scratch. There are multiple routes to the same end , and a spokeshave carve would still require a good bit of sanding to blend in all the flats created. All the methods I'm aware of (except CNC, which has it's own learning curve and expensive tooling) require some practice to do well, it's not something anyone should dive into on their favorite bass and expect it to come out perfect first try. In the OP's shoes, I'd find a super-cheap Chinese neck to practice on first, or just get a Maple (or whatever species his neck is) neck blank and practice on that. Maple and mahogany, for instance, carve very differently.
Last edited:

Sanding is a decent way to do it, but as said before, you need to know where the truss rod is, and having the right tools to measure the neck thickness accurately is important to getting a decent contour.I thought neck shaping was done with a spokeshave? Sanding sounds like a great way to end up with a very non-uniform shape.

MikeBass
Supporting Member
- Nov 4, 2003
- 11,943
- 3,136
- Disclosures
- Endorsing artist- Suhr basses, PedalTrain, GHS, Ultimate Ears
You have contact information for him?
You can DM me if you’d like.
Thanks!
You can DM me if you’d like.
Thanks!
check out haywire, Rick did a great job on a bass for me and refinished in satin instead of gloss. It came out ~200-250ish with shipping both ways (I only shipped the neck).
EDIT - saw this the luthier's corner, so outsourcing the job isn't what you're looking for, apologies!

Sanding with sandpaper on a good block or other flat surface and checking regularly is a perfectly good way to shape or in this case reshape a neck and it’s generally easier to catch yourself getting off then with tools that remove material more quickly. I’ve done bulk removal with spokeshaves but final shaping works better, for me anyway, with files, rasps and sandpaper.
Since the facet method of neck carving was mentioned this is a reasonable example. Ted makes a new neck for an acoustic. The facet bit starts at about 19 minutes.
Since the facet method of neck carving was mentioned this is a reasonable example. Ted makes a new neck for an acoustic. The facet bit starts at about 19 minutes.
Bear witness, good advice, thank you. The profile gauge is a great idea, something like that was buzzing around in my head...First, make sure you know what type of trussrod. if it's an older single action style, it's an arc, closest to the fingerboard at nut and heel, and bellying down around the center. There usually is 1/8" or less between bottom of the trussrod and the back face of the neck, and if you sand or file through it, the neck is toast. If it's a double action, they are more or less a continuous slot around 3/8' below the fingerboard, so there is more "meat" under the rod, but not a lot more. If you don't know how much meat, just stay away from the midline center of the neck. It's not just the depth of the neck that makes it feel like a baseball bat, its the "shoulders", the area just under the fingerboard on the sides of the neck, where the web of your hand makes contact. You can safely remove a fair amount of material in those areas, turning a "c" profile into a "soft vee" for instance, but don't go nuts with it, you could weaken the neck over-doing it. Go to Harbor Freight or online and get a profile gauge. I like the ones with metal pins, but the plastic ones work fine too. If you have a neck you like, take a few profiles off it at nut, 12th fret and up near the heel. Transfer those profiles to a piece of cardstock and cut out a "negative" of the profiles you can put on your project neck to see where wood has to come off. A little bit of wood removal can go a long way, so carve a little, play it for a while, carve a little more, etc. Your fingers can feel the width of a human hair, so just close your eyes and feel for any tiny inconsistencies, and mark them with a pencil for more attention. Most necks get a little thinner in a steady line from heel to nut, so keep checking with a straightedge to make sure you are maintaining a straight line with no dips or humps. If you take your time and be careful, you can do this, but it's easy to screw it up too, so there is some risk involved. I wouldn't be doing this on my #1 bass the first try, if you have a beater you don't care about, use that for practice. As far as tools, you can do it with files, rasps, and sandpaper glued to a a piece of something known flat, like MDF. I use some old beltsander strips to do the "shoeshine" move, which tends to cut out humps and dips. I use the "facet" method for carving necks, to me it seems safe and most controllable, look it up on Youtube, lots of tutorial videos. Good luck with it, there are multiple ways to do this, I'm sure you'll hear other methods to the same result. You'll have to refinish the back of the neck when you are done, which is a whole other rabbit hole.....
Much appreciated!
So lots of help here, I appreciate it, thanks everyone.
I've got some decent sandpaper and rasp chops, I've been a carpenter for maybe 30 years, and some shop experience. I'm going at this very slowly, after I learn which truss rod is in there. I know the guy who put the bass together, so I'll just write him a note of inquiry.
I'll check in as this goes, just to have an eye on the guardrails... Lol.

I've got some decent sandpaper and rasp chops, I've been a carpenter for maybe 30 years, and some shop experience. I'm going at this very slowly, after I learn which truss rod is in there. I know the guy who put the bass together, so I'll just write him a note of inquiry.
I'll check in as this goes, just to have an eye on the guardrails... Lol.
My tool of choice for neck carving is a shinto rasp. The one I have has fine teeth on one side, coarse teeth on the other. It alllows for a wide range of use, from an almost "sandpaper-like" subtlety with the fine side to fast bulk wood removal with the coarse side. Using the facet method with a shinto rasp, then moving on to the "shoeshine-maneuver" with 60-grit is how I'd approach the shaping, then move up the grits to finish prep.
here's the info - he's got a public site, so think it's fair to share.You have contact information for him?
You can DM me if you’d like.
Thanks!
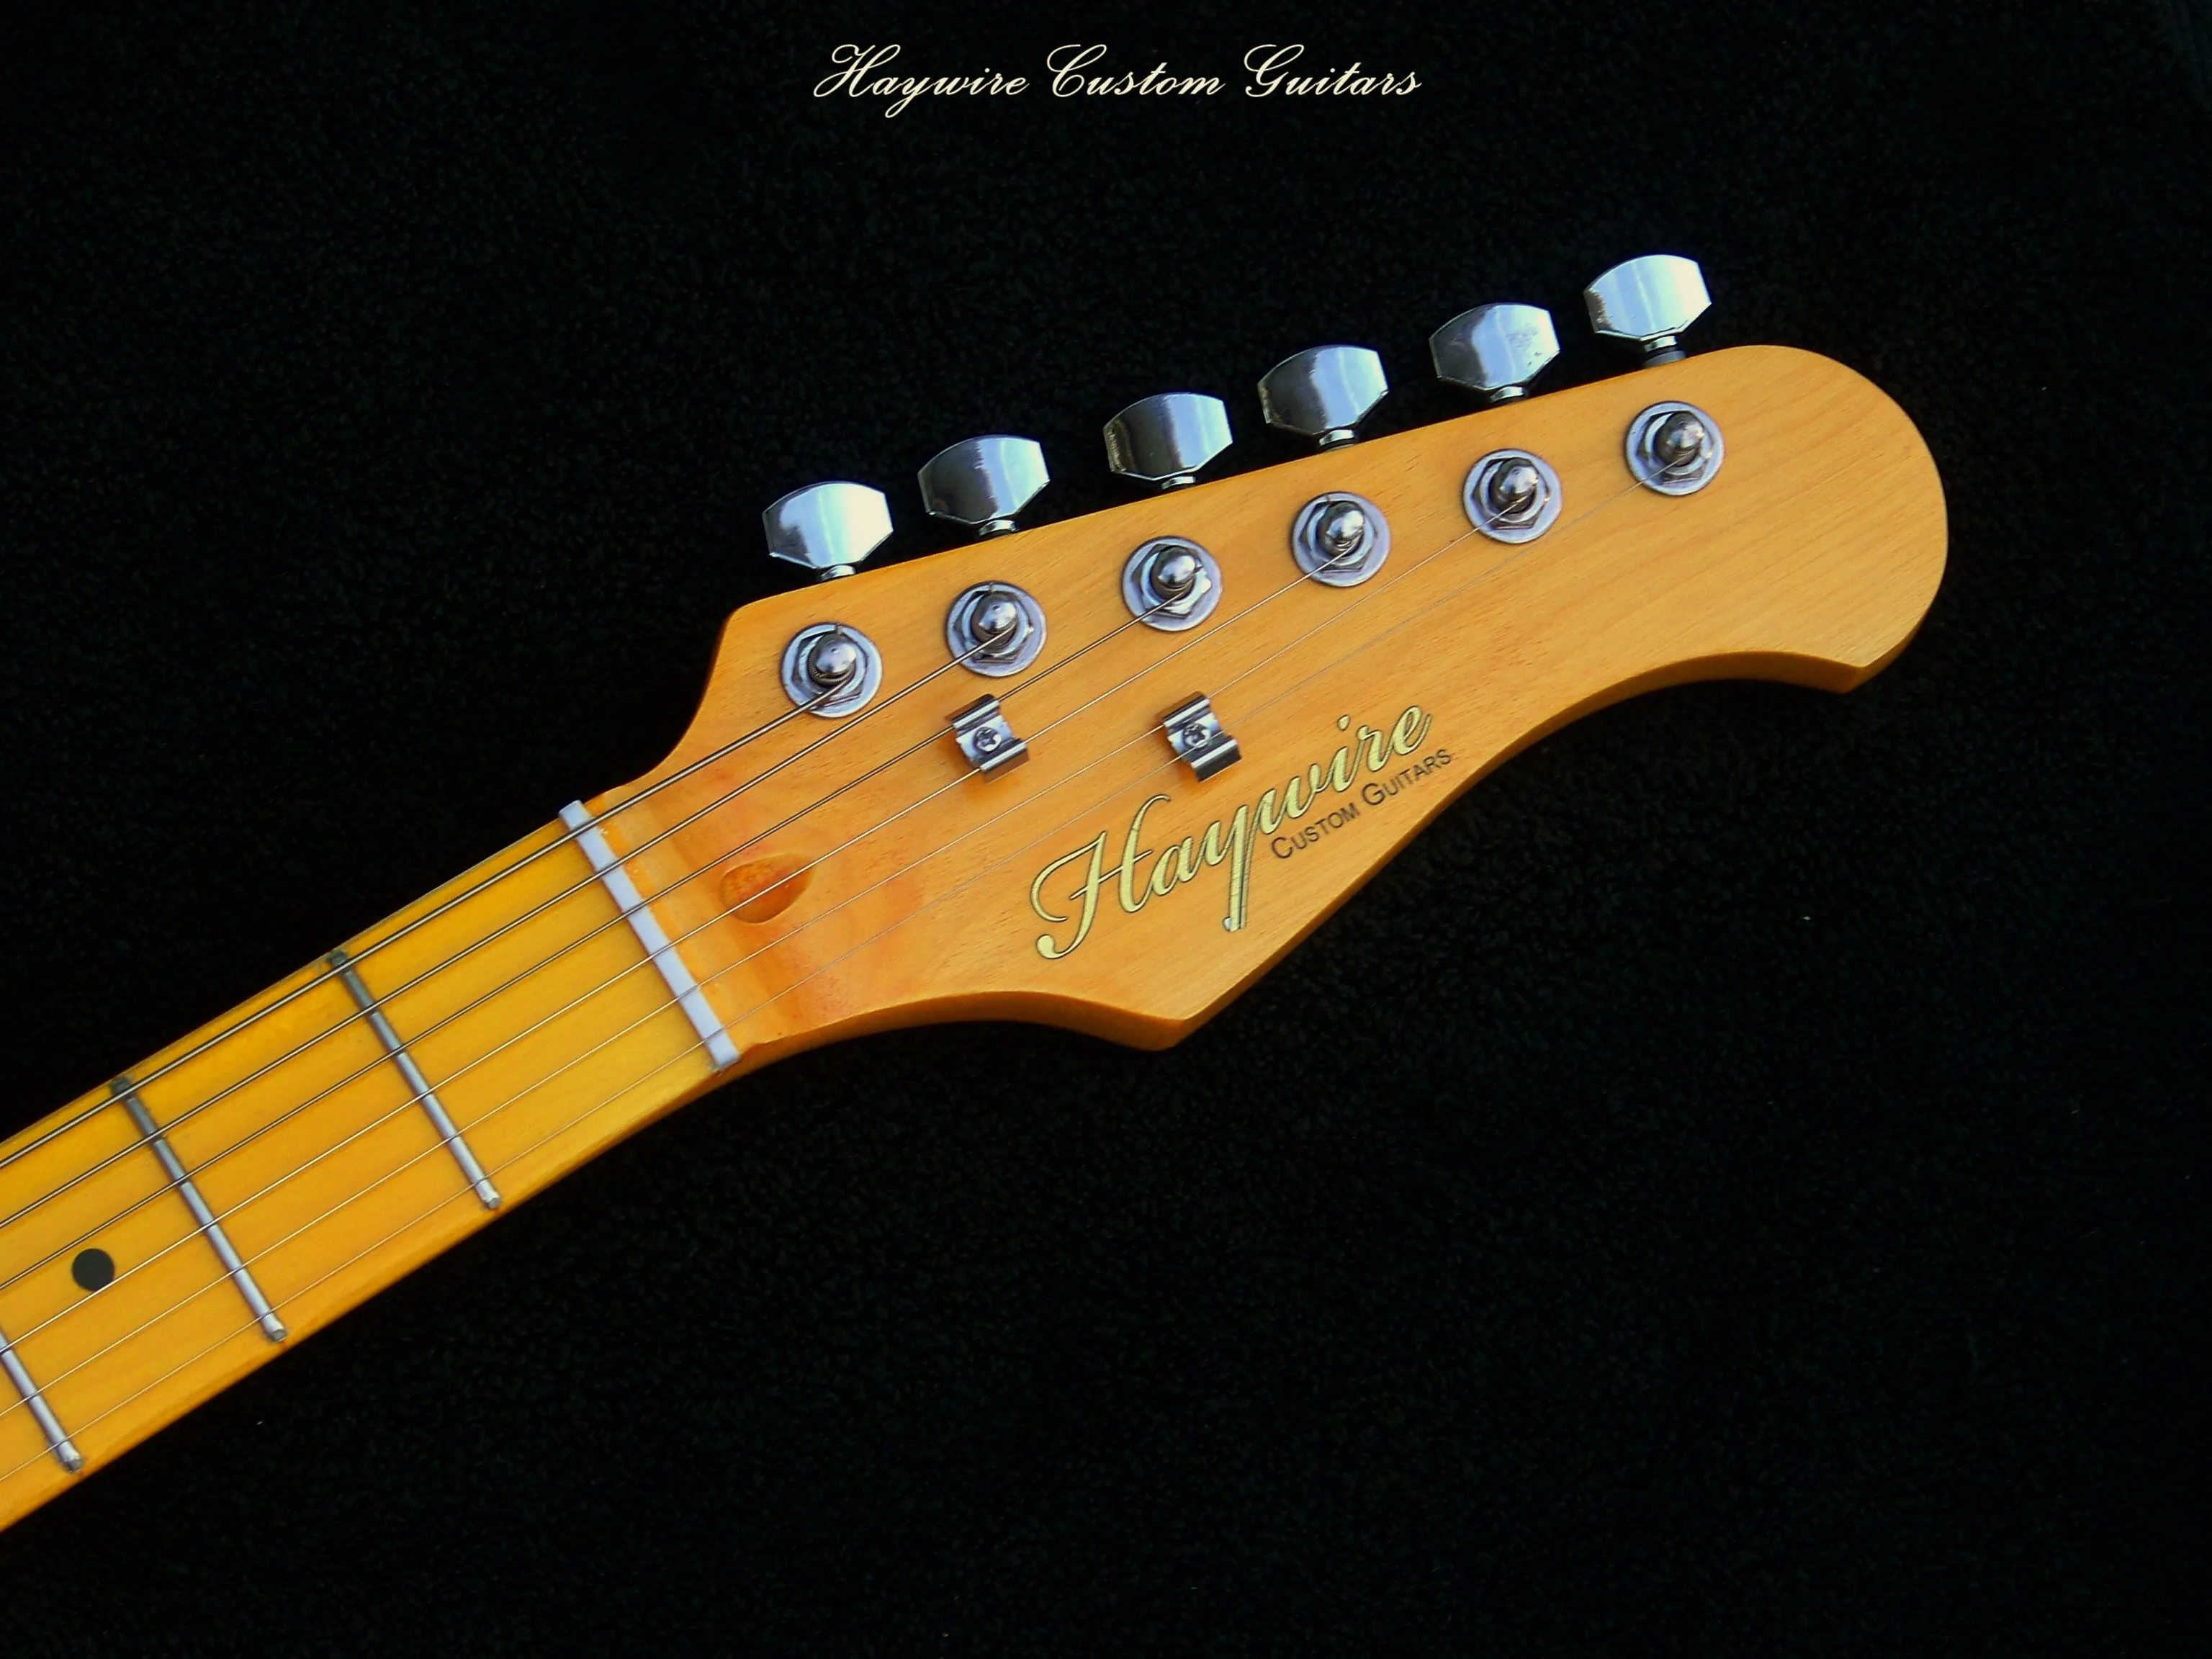
Haywire Custom Shop Guitar Neck Shaving Option✅
Guitar neck shaving, neck carving, thinning or reshaping a guitar neck, re-profiling a guitar neck or duplicating guitar necks? We do it all.
 haywirecustomguitars.com

If you are really interested in the tools that can be used for shaping necks, here's a thread all about the subject. We compare and debate them all:

Due to my inherent Cheapskatery, I've been making do with a set of cheap Harbor Freight rasps. They do the job, but clog easily, and leave a rough finish that takes a while to sand out. Other than the Usual Suspects, like a Shinto rasp (tried one, not hugely impressed), what are you all using? Ive tried some of the micro-plane rasps with limited success, but that may be down to technique. I think my ideal would be something short, half round for flats or curves, fairly aggressive, but cuts rather than gouges like a rasp, and leaves a finish that doesnt take hours to sand out. Maybe it...
- Gilmourisgod
- Replies: 65
- Forum: Luthier's Corner

I had Rick do 2, Fender necks for me and was very happy wit the results. Quick turn around and good communication.here's the info - he's got a public site, so think it's fair to share.
Haywire Custom Shop Guitar Neck Shaving Option✅
Guitar neck shaving, neck carving, thinning or reshaping a guitar neck, re-profiling a guitar neck or duplicating guitar necks? We do it all.
The second neck was a Vintera II Telecaster bass neck taken down to jazz bass neck specs. I provided the measurements and he removed a good bit of the massive heel as well.

I've done it a couple times with just a file in the pictures and sand paper. Here was my process.So lots of help here, I appreciate it, thanks everyone.
I've got some decent sandpaper and rasp chops, I've been a carpenter for maybe 30 years, and some shop experience. I'm going at this very slowly, after I learn which truss rod is in there. I know the guy who put the bass together, so I'll just write him a note of inquiry.
I'll check in as this goes, just to have an eye on the guardrails... Lol.


Good luck and enjoy the work.
Nice. Yeah, that's how it has to be.I've done it a couple times with just a file in the pictures and sand paper. Here was my process.
View attachment 7378214View attachment 7378215View attachment 7378216View attachment 7378217View attachment 7378218View attachment 7378219View attachment 7378220
Good luck and enjoy the work.
+1 on the Shinto rasp, though I haven't found much use for the Coarse side, It's basically a bunch of hacksaw blades riveted together, but it WORKS.
I remember when I shaped necks the hardest parts for me were consistency length wise and actually carving the profile to be the shape I originally intended. The facet method helps in both cases if executed properly.
A helpful tool for the lengthwise consistency was a relatively heavy sanding block with rounded ends. This I feel was pretty foolproof and effective. And cheap.
The other thing I say is plan good. And make templates of the shape you want and the original. That way it's easy to monitor your progress especially if you're taking off more material.
And remember that a neck feels very different playing than when feeling it at the workbench without the strings.
I actually have a couple of necks that need a bit of reshaping. If I get to them anytime soon I might post something here.
In the meantime: good luck.
A helpful tool for the lengthwise consistency was a relatively heavy sanding block with rounded ends. This I feel was pretty foolproof and effective. And cheap.
The other thing I say is plan good. And make templates of the shape you want and the original. That way it's easy to monitor your progress especially if you're taking off more material.
And remember that a neck feels very different playing than when feeling it at the workbench without the strings.
I actually have a couple of necks that need a bit of reshaping. If I get to them anytime soon I might post something here.
In the meantime: good luck.
Last edited:

Another couple options I like to use is bandsaw to rough dimensions, then spokeshave, then farriers rasp or microplane, random orbital sander (helps with flatness), and even cabinet scrapers to really help smooth things level. Of course hand block sanding is good too.
If you're just reshaping and existing neck, the cabinet scraper and some sanding might be all that's needed.
Best of success to you.
If you're just reshaping and existing neck, the cabinet scraper and some sanding might be all that's needed.
Best of success to you.


