

Enjoy the benefits of a premium membership!
Upgrade Account
-
TalkBass has been independent since 1998. Add your voice.
Create a free account to reply to discussions, view embedded media, and browse with fewer display ads.
Join free Log in
Want zero display ads or expanded classifieds tools? Compare plans.
You are using an out of date browser. It may not display this or other websites correctly.
You should upgrade or use an alternative browser.
You should upgrade or use an alternative browser.
SBO: Thunderchicken MMXXIV
- Thread starter Dark Horse
- Start date
More options
Who Replied?

#1 looks better IMO, but I've done 3 similar builds and used 2 PUPs, I never just run the neck PUP, also doing 100% neck and 80% bridge.
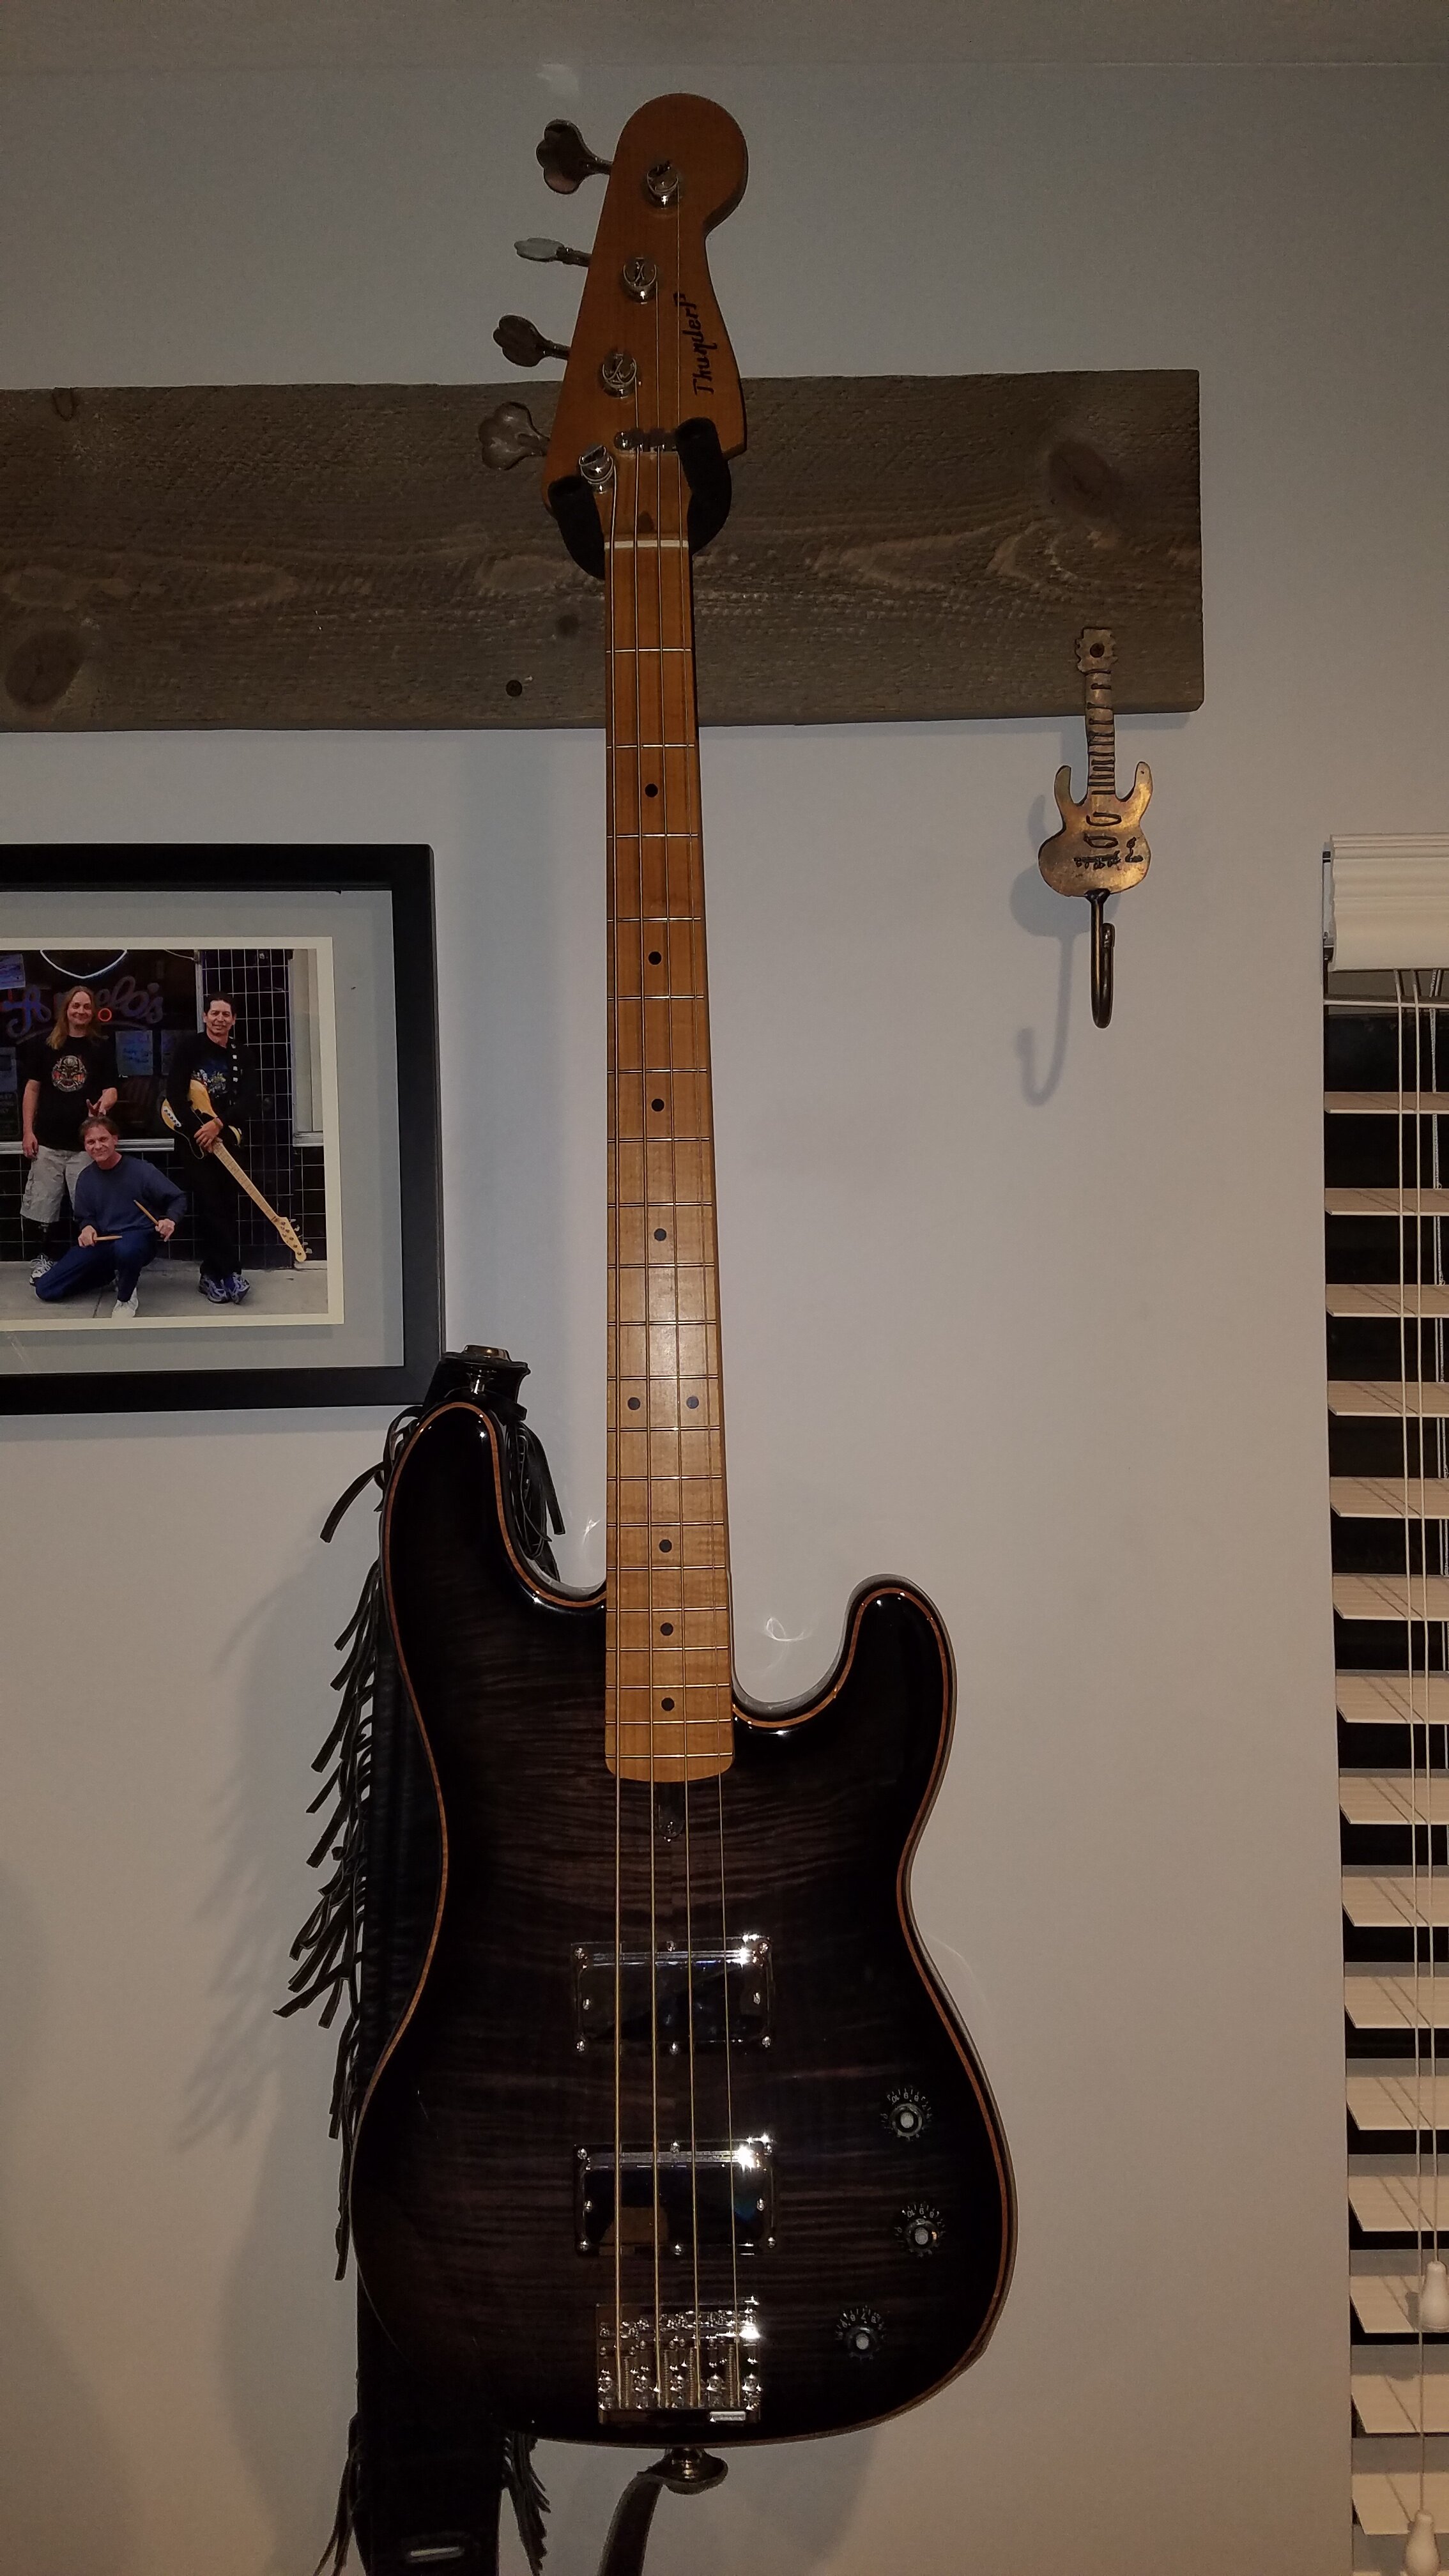

I vote for number 2, because...more chrome
Your wish is my command… MORE CHROME !!!
(I forgot the control plate in the previous mockups …oops)

Oh yeah!Your wish is my command… MORE CHROME !!!
(I forgot the control plate in the previous mockups …oops)
View attachment 5491195

Well if more chrome is what ya want, then it needs a chrome kickass bridge too... 
I have an omega bridge here, lots of chrome….. but that AND the control plate adds a fair amount of weight. Since I have tumors in my spine, more weight = no buenoWell if more chrome is what ya want, then it needs a chrome kickass bridge too...

Ok, feeling reasonably capable today, so I got some actual work done.
first up… fitting the neck.
so, square neck heel, round body pocket . No bueno. Could just bolt it in and structurally it’d be ok, but the little gap would bug me every time I’d see it…..
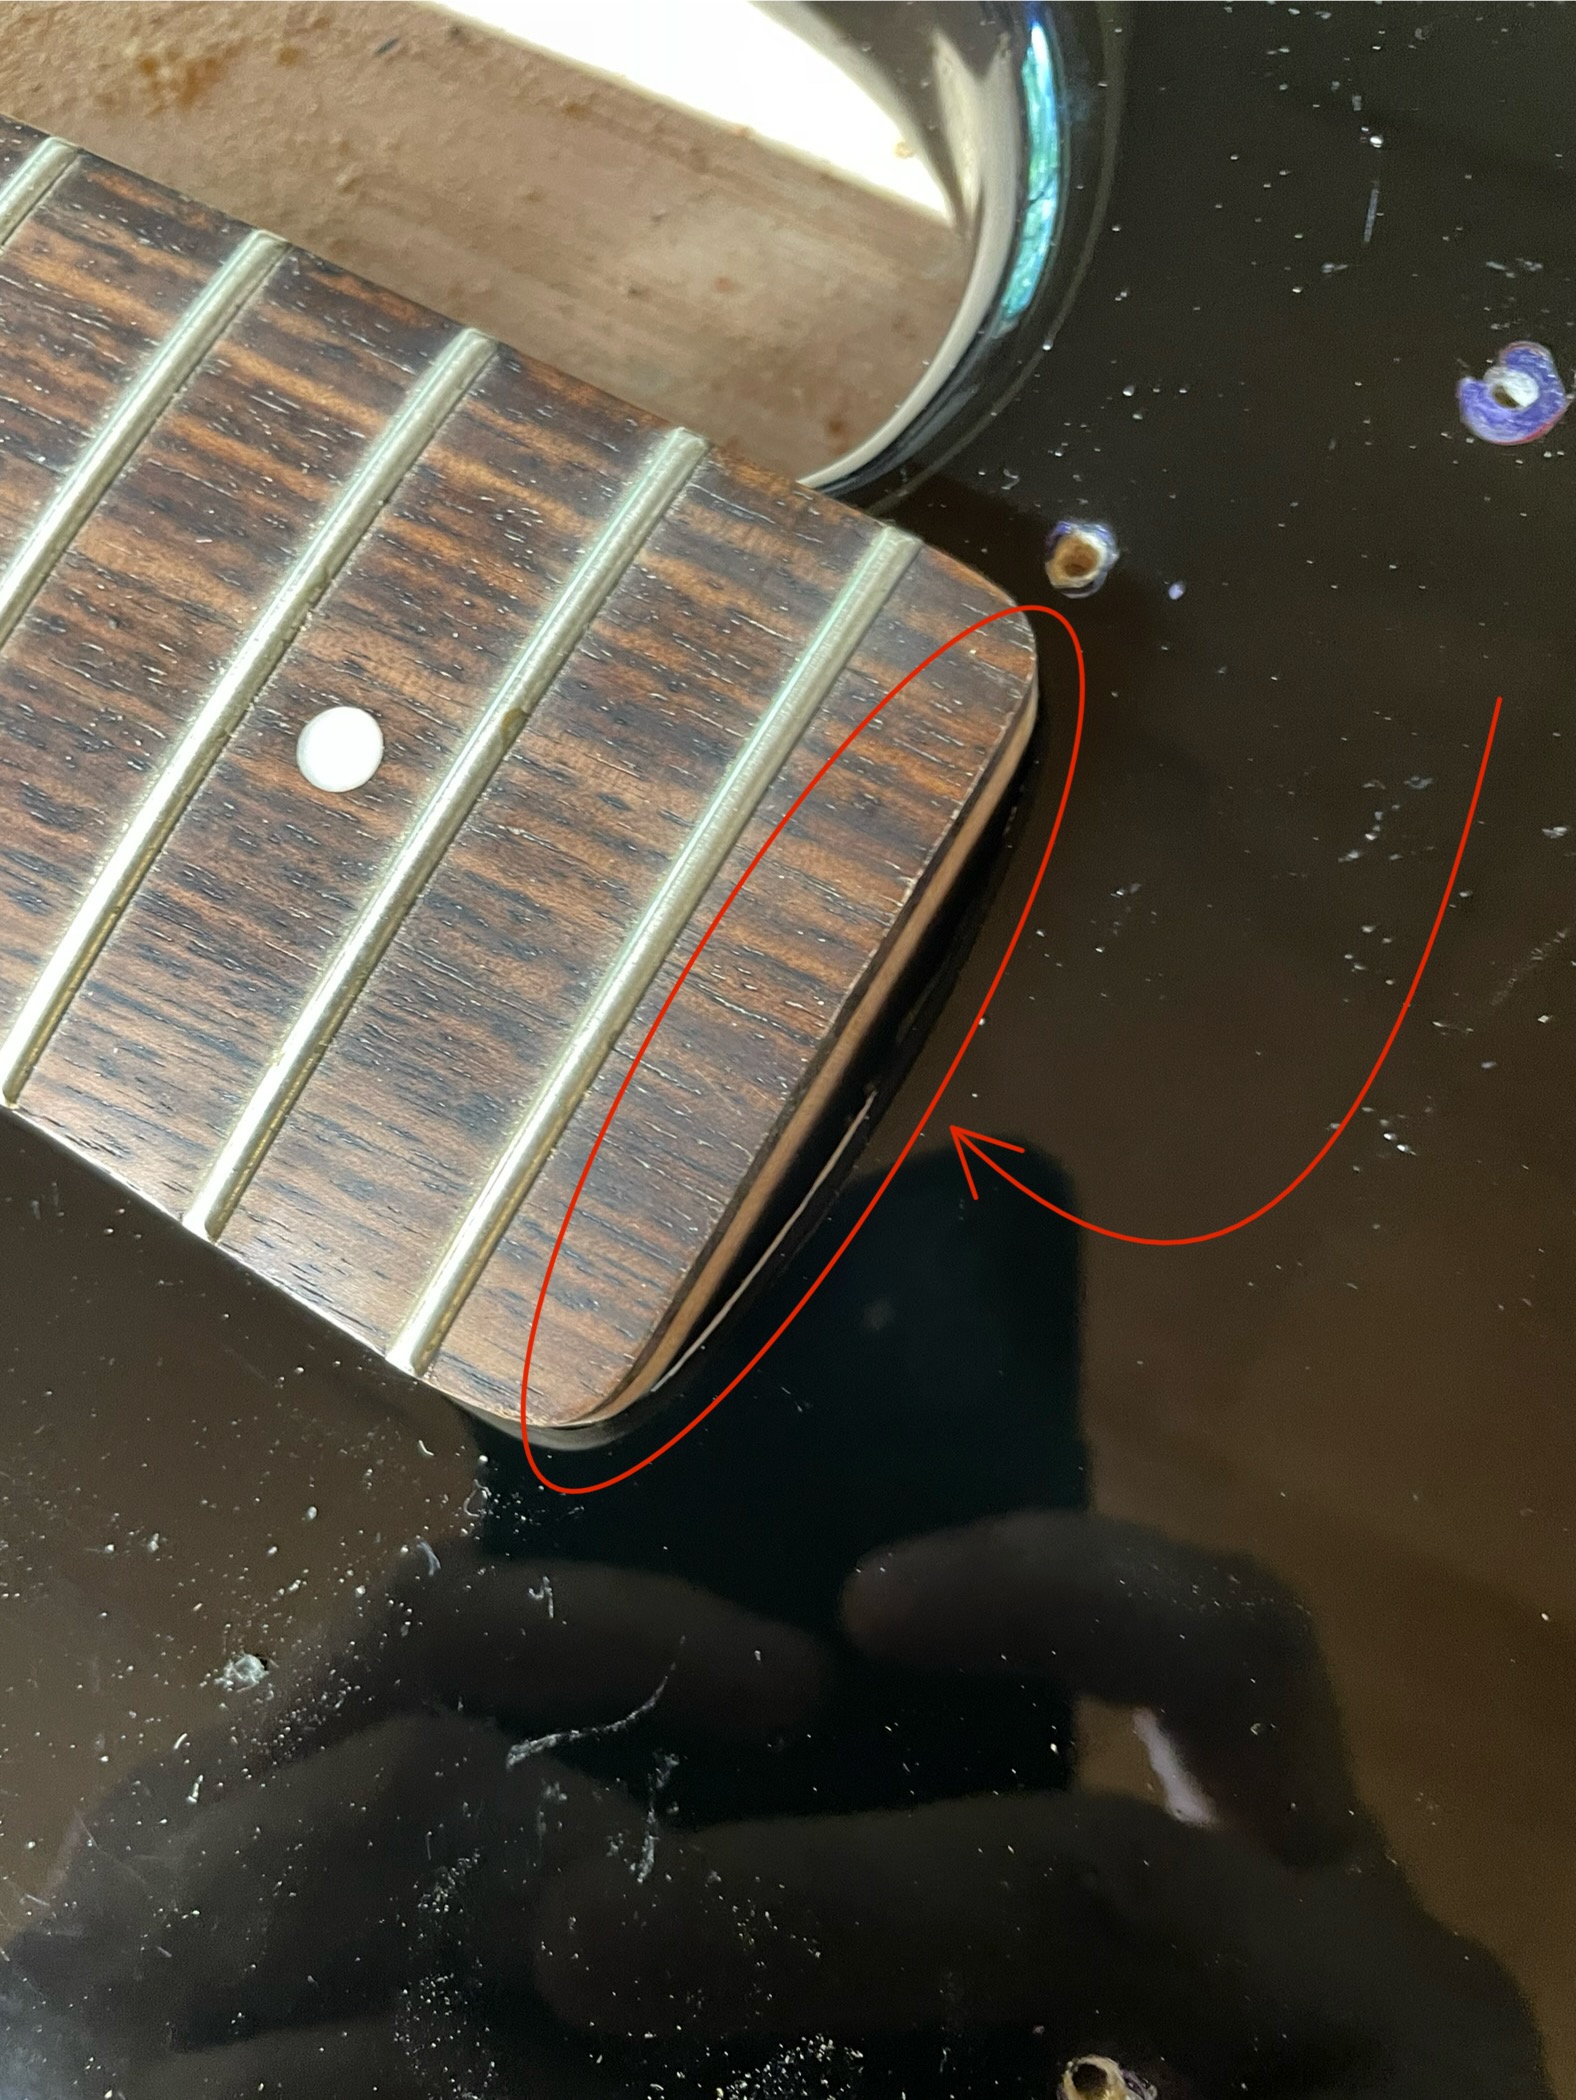
how do you fit a square peg into a round hole ?
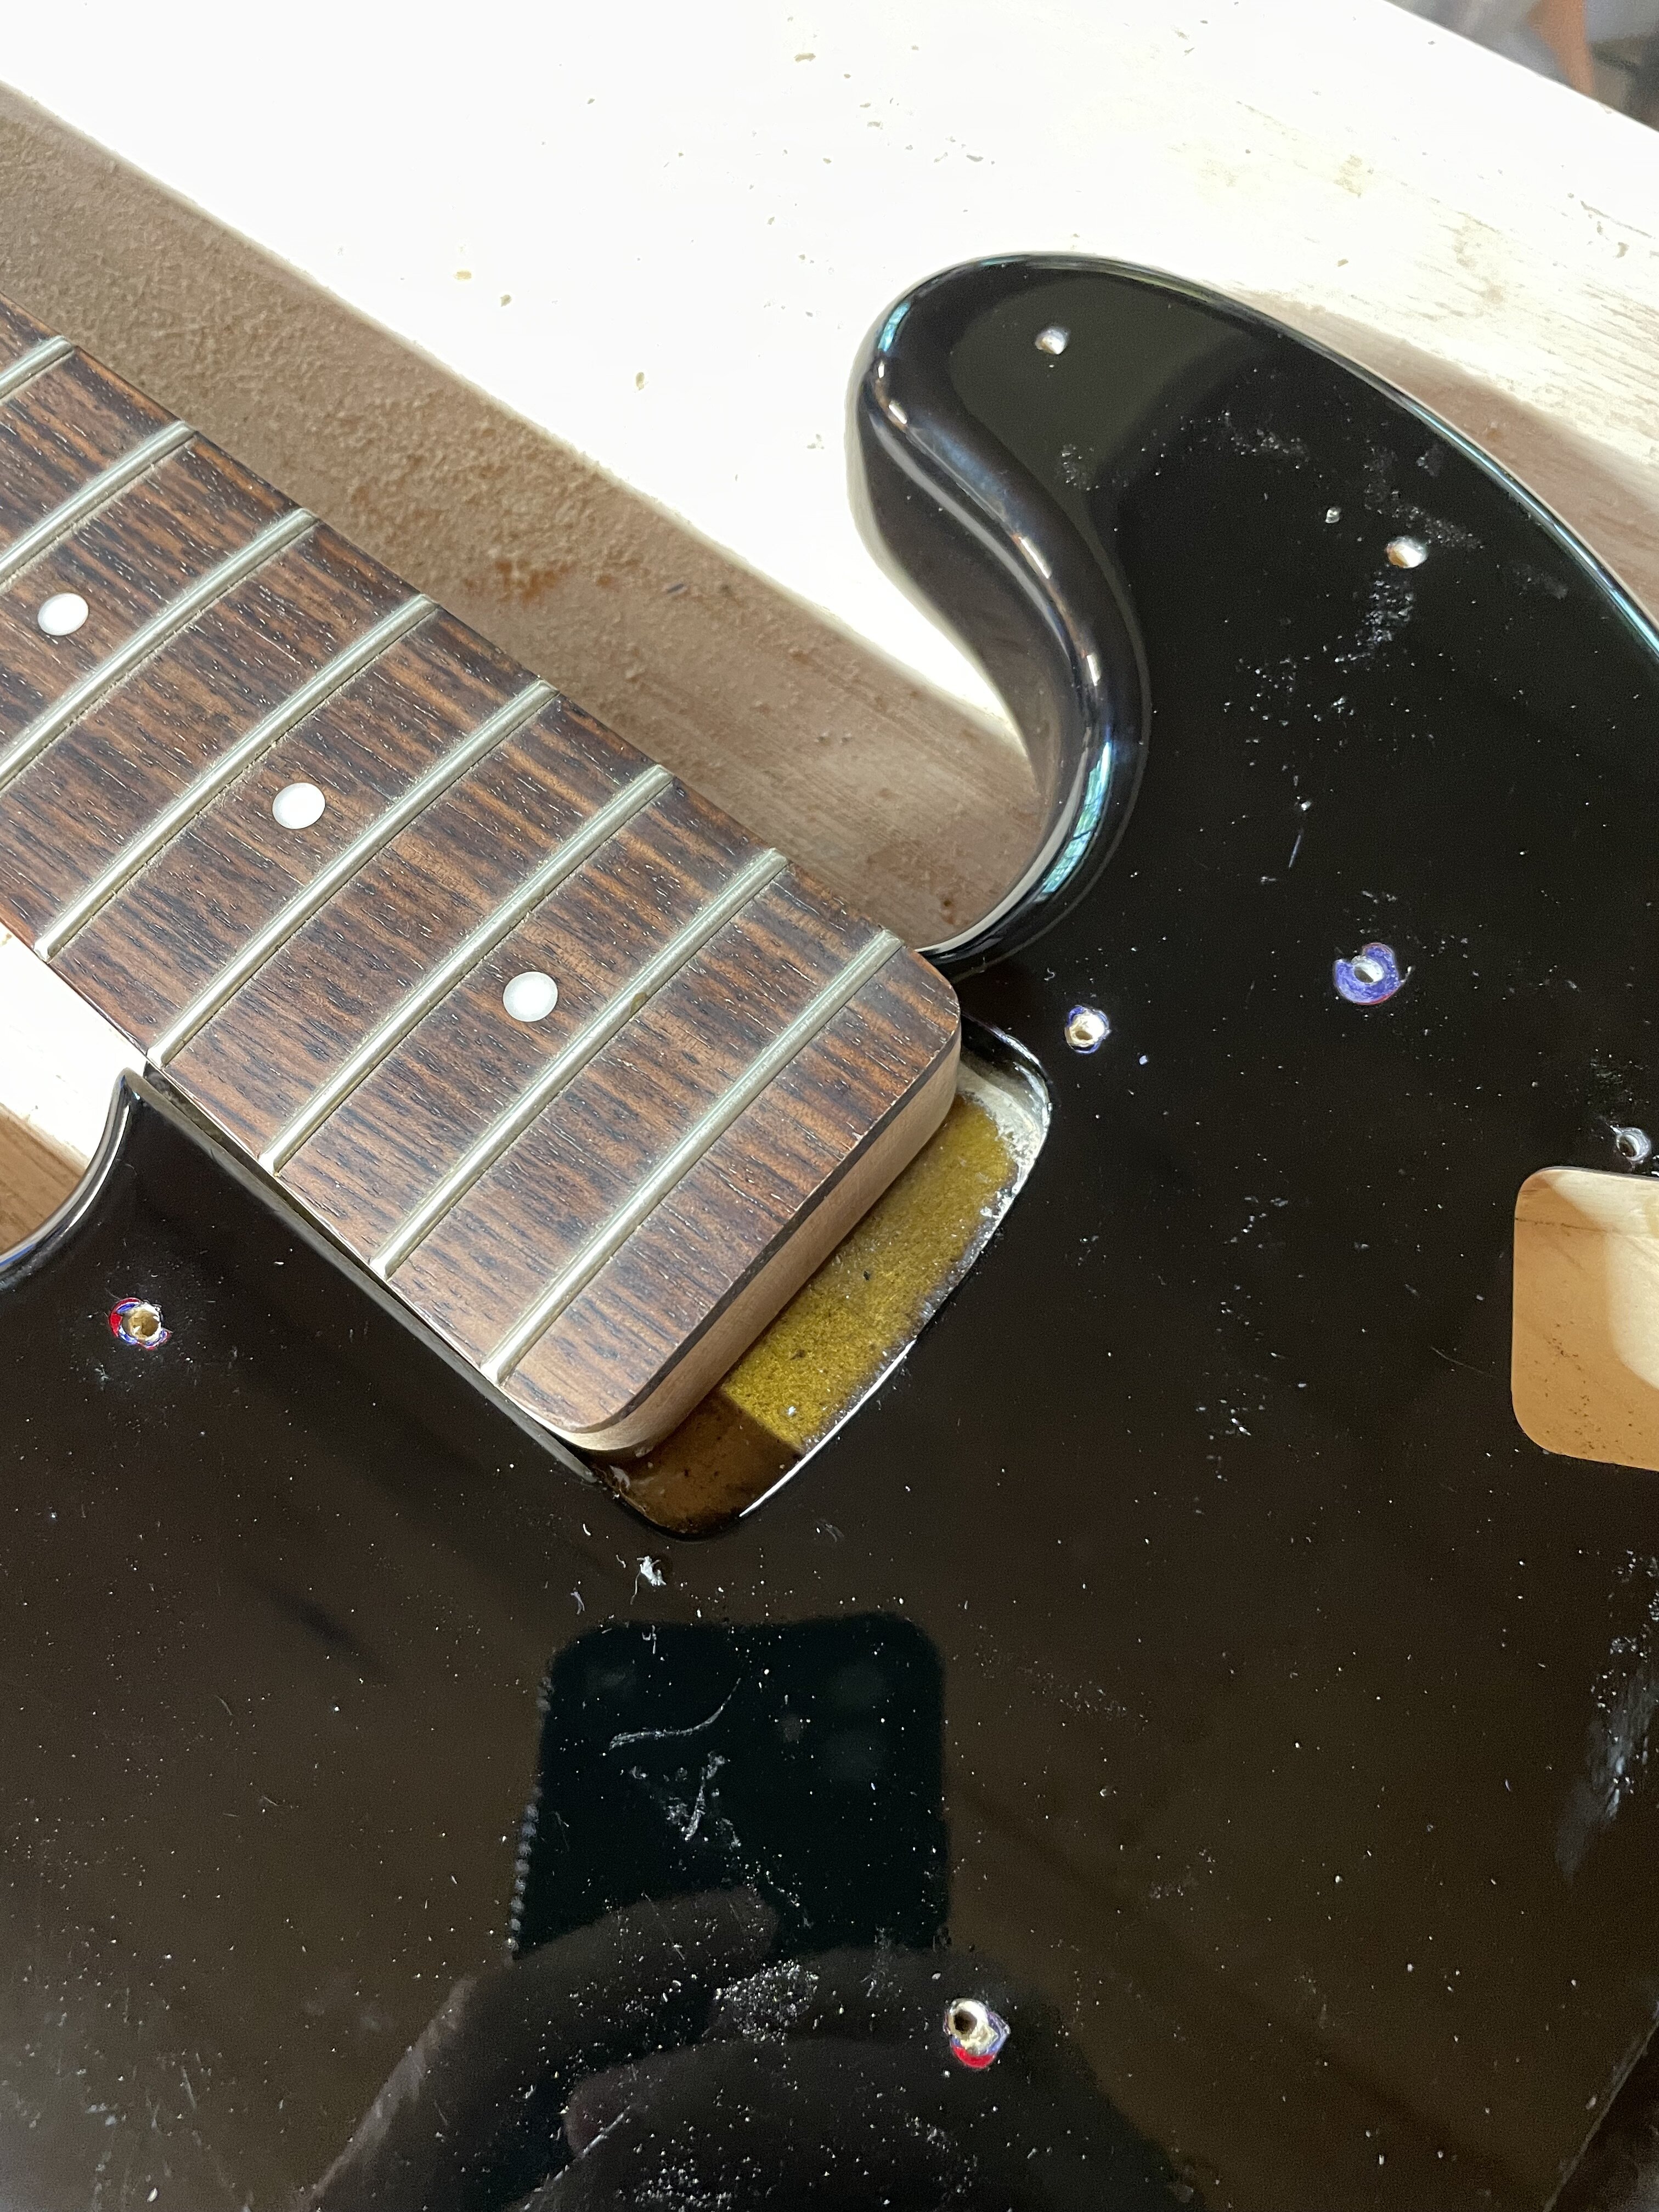
there are a couple ways to do this….one involves routing the body a little and possibly having to move the bridge, and I don’t want to do that….
so….. we fit a square peg into a round hole by making the square “round” !
I Started by taking a Pickguard and making sure the neck pocket curvature matches. Once confirmed, I used a pencil to transfer the curve of the Pickguard to the neck heel so I had a good visual representation of the curve.
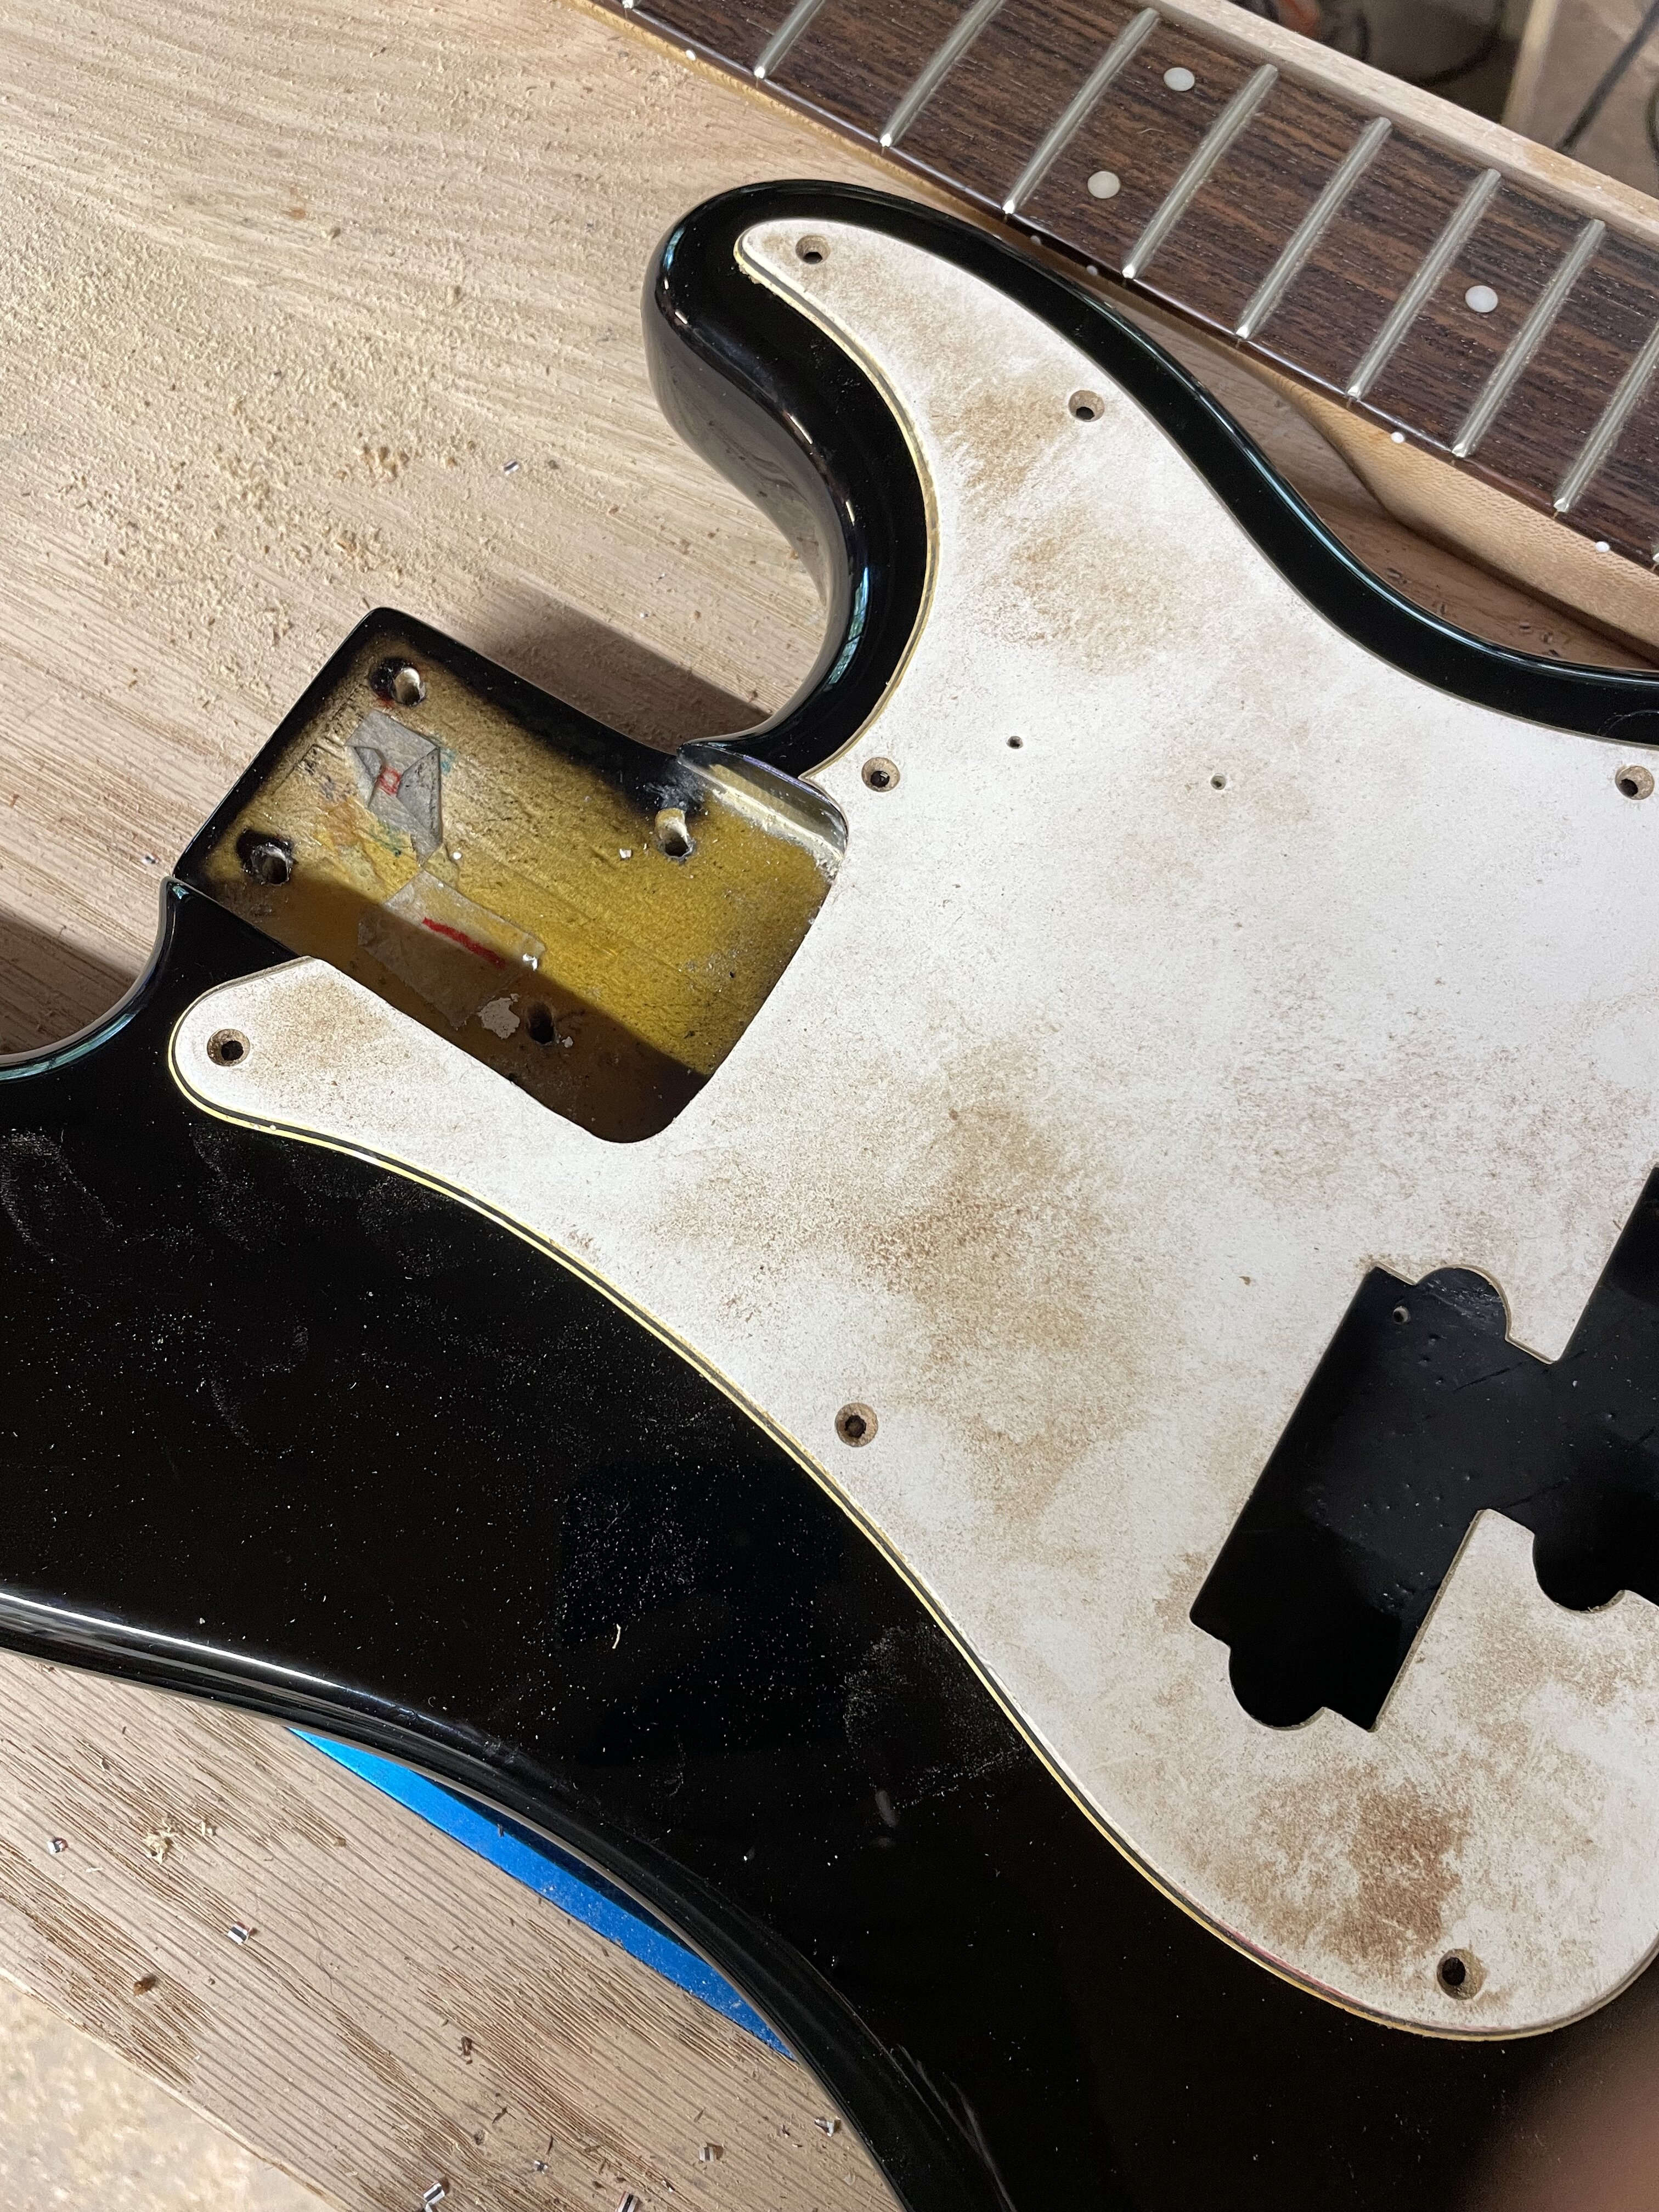
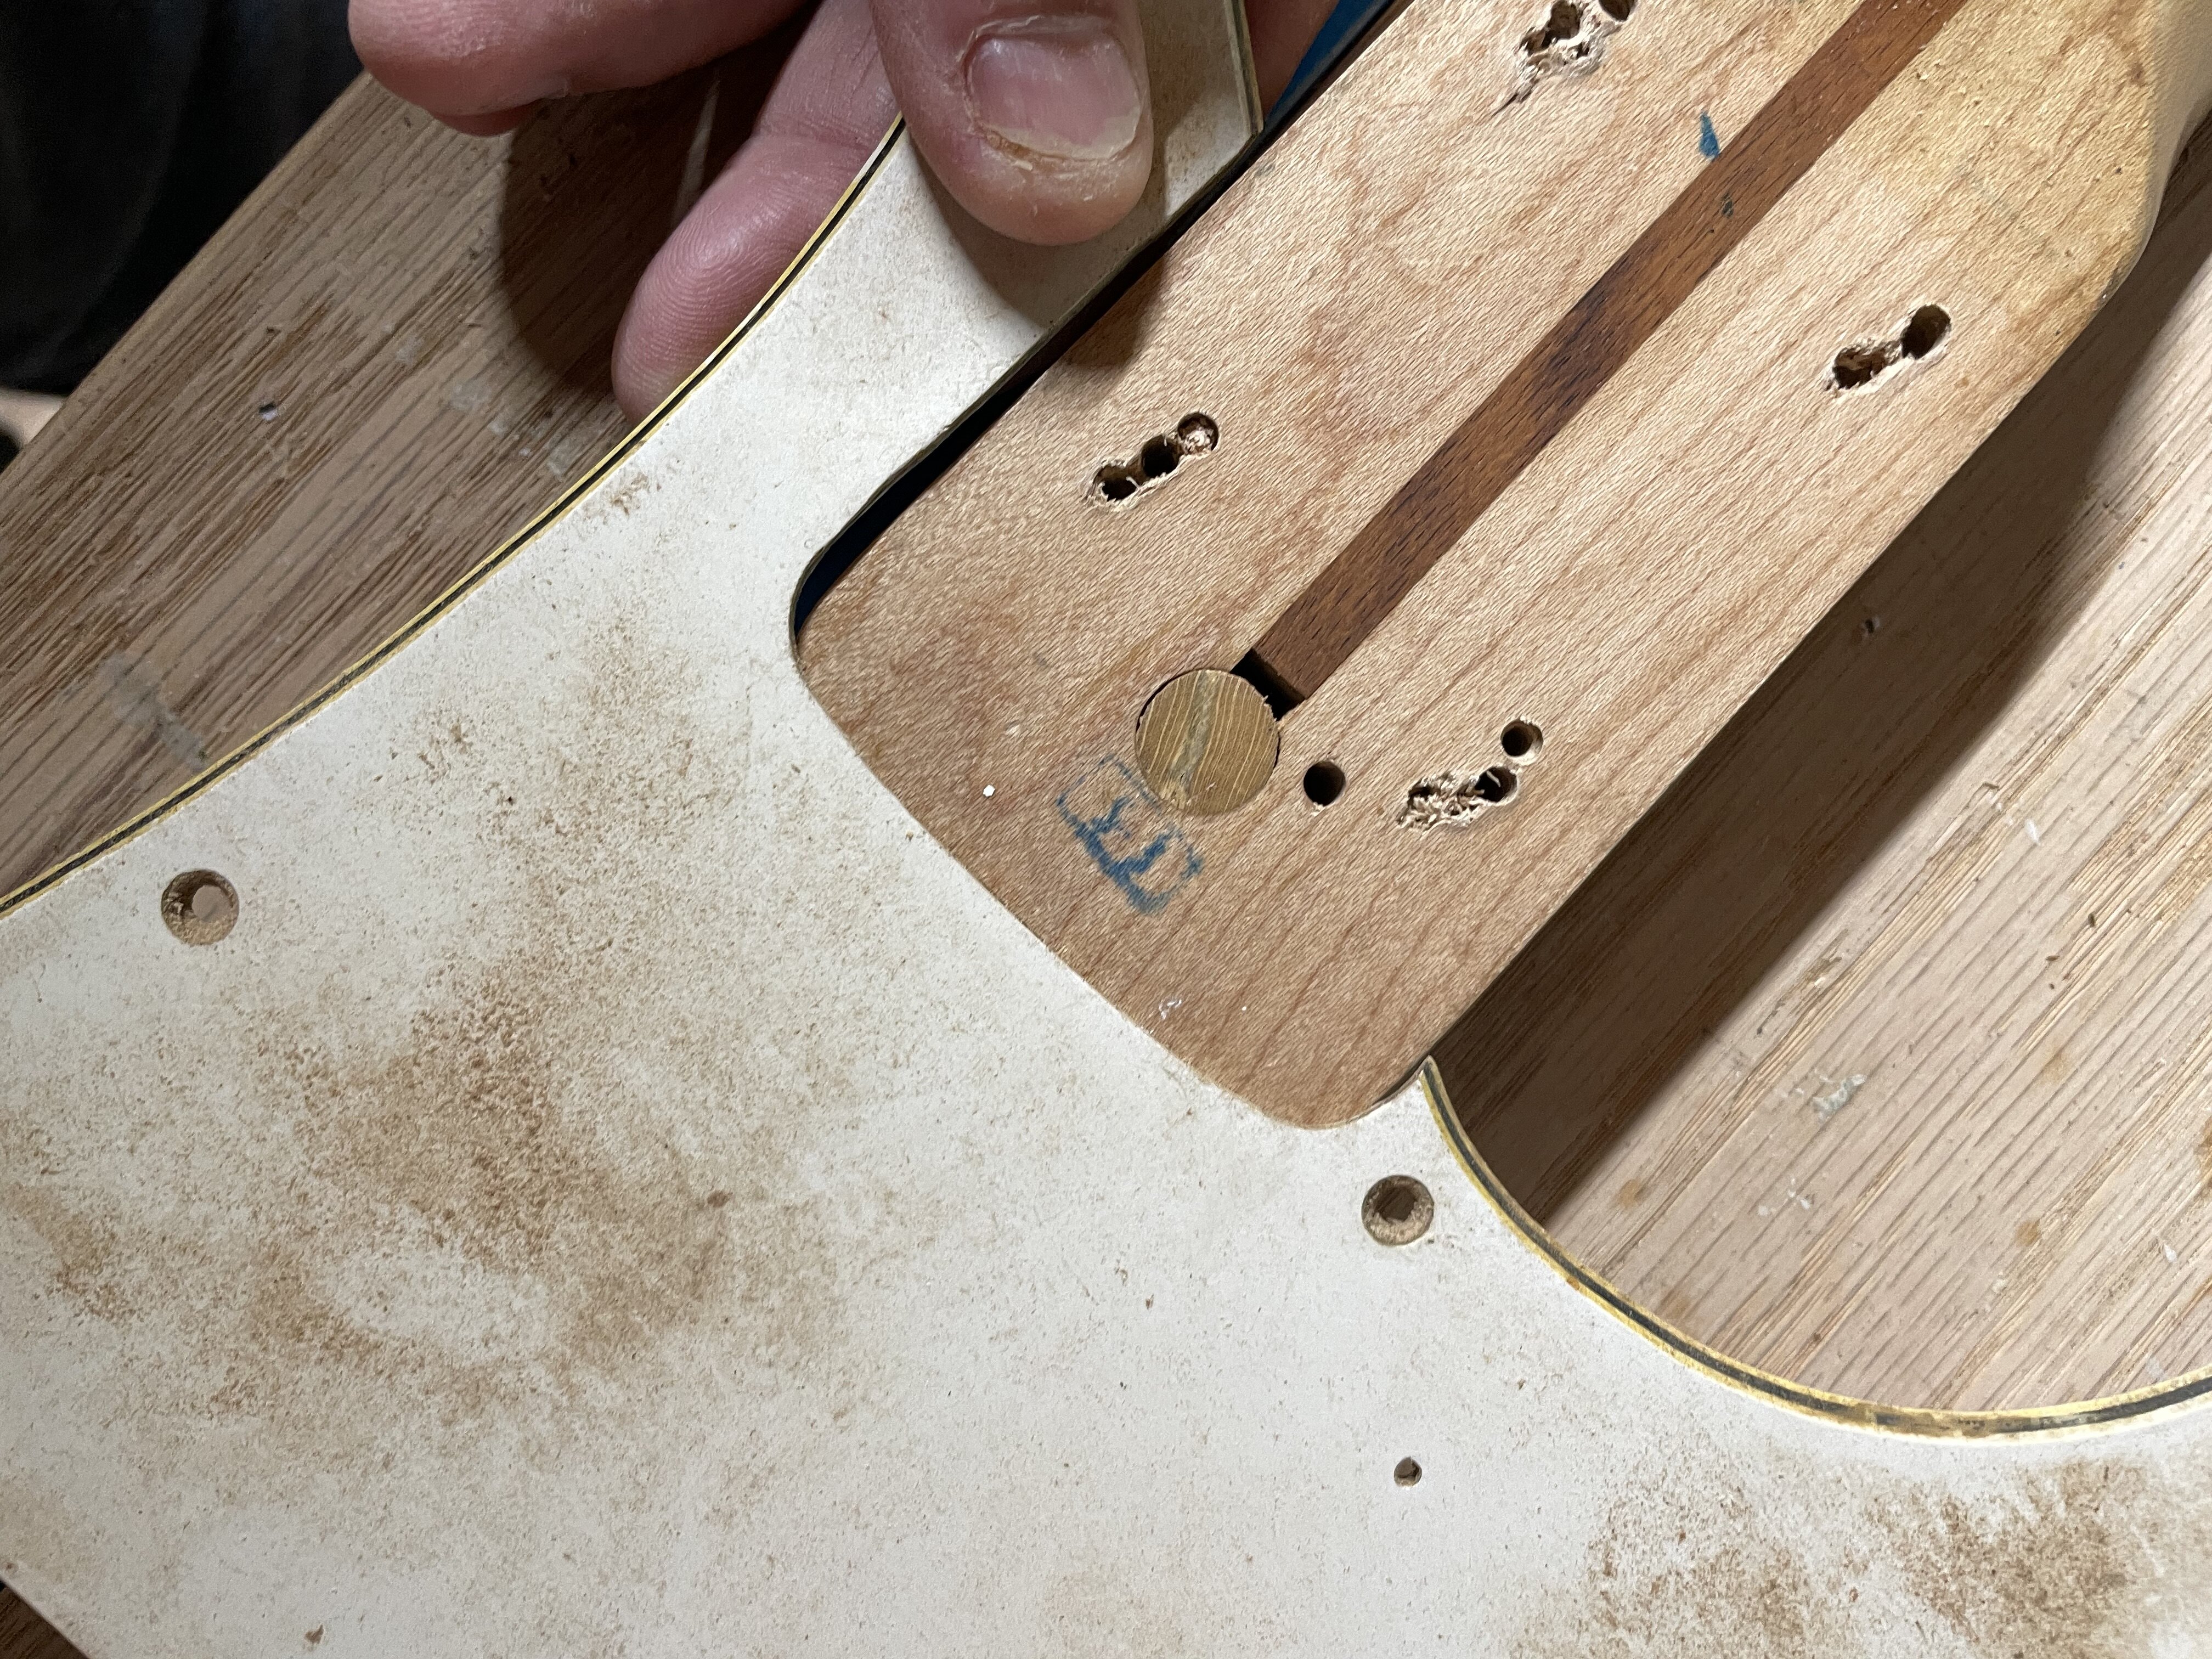
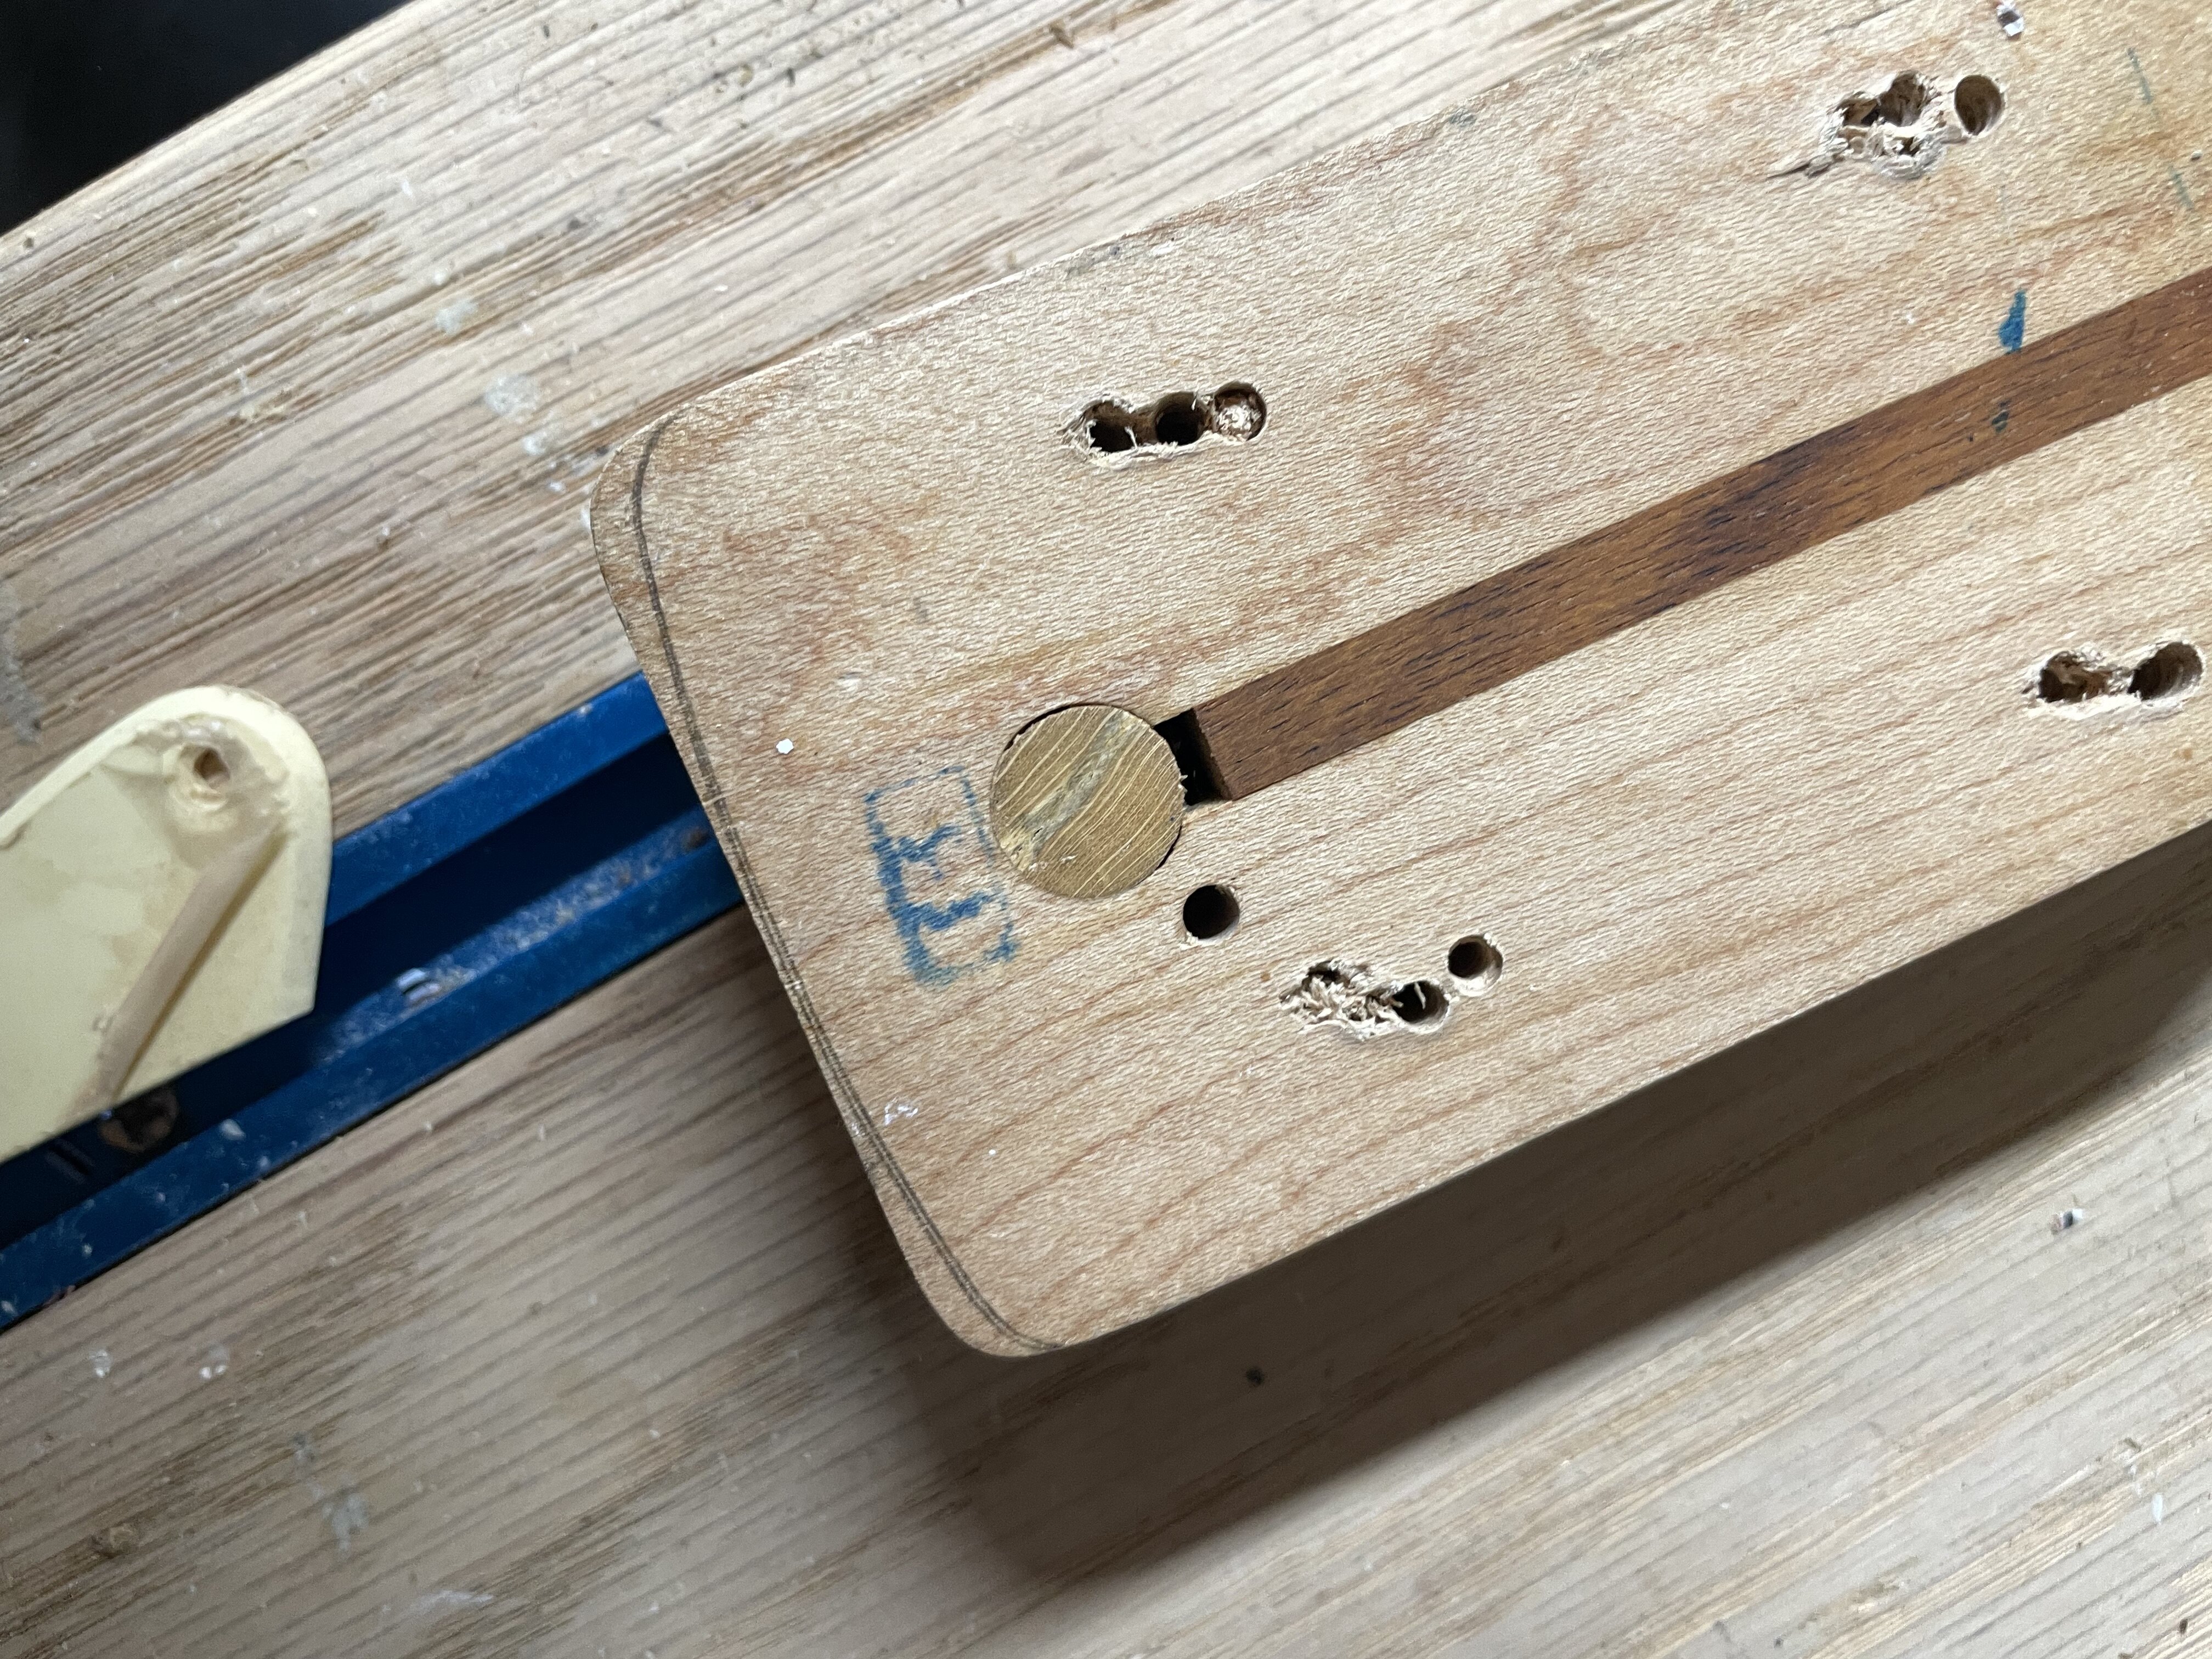
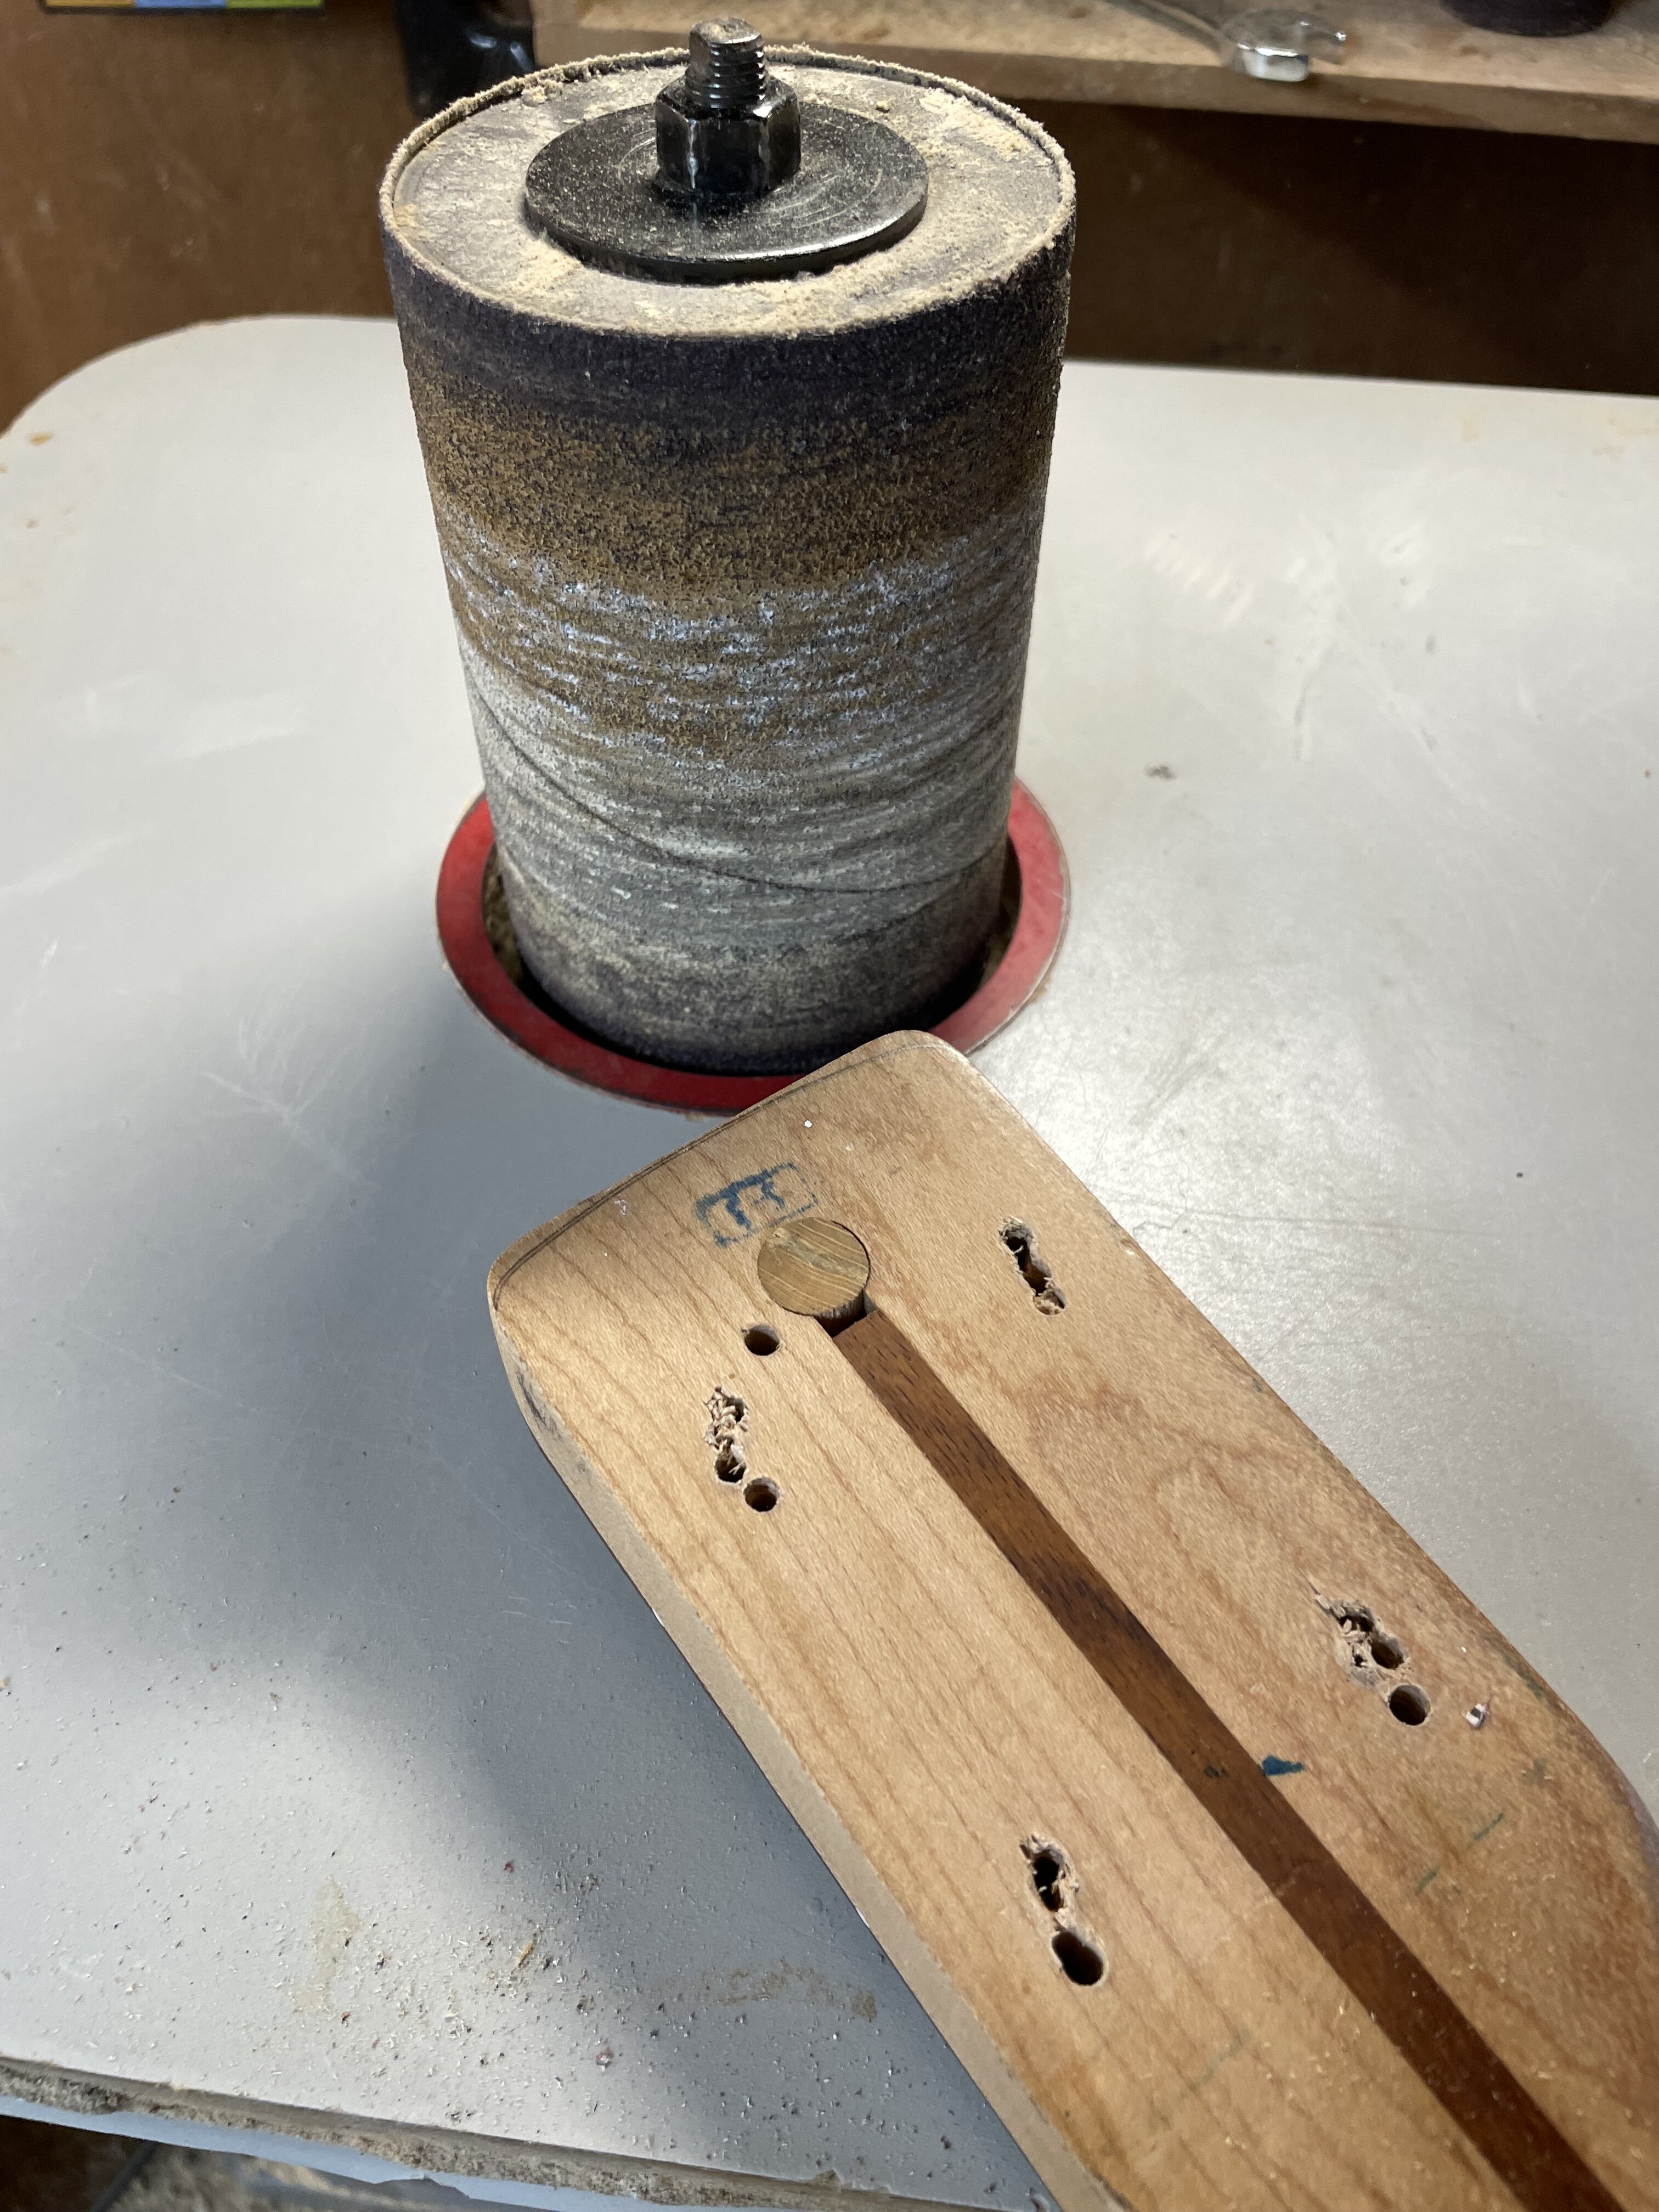
Once I had that, it’s off to the oscillating spindle sander. Sand off to just outside the line I drew, and work up to it, testing the neck fit into the pocket regularly until I had a good fit.
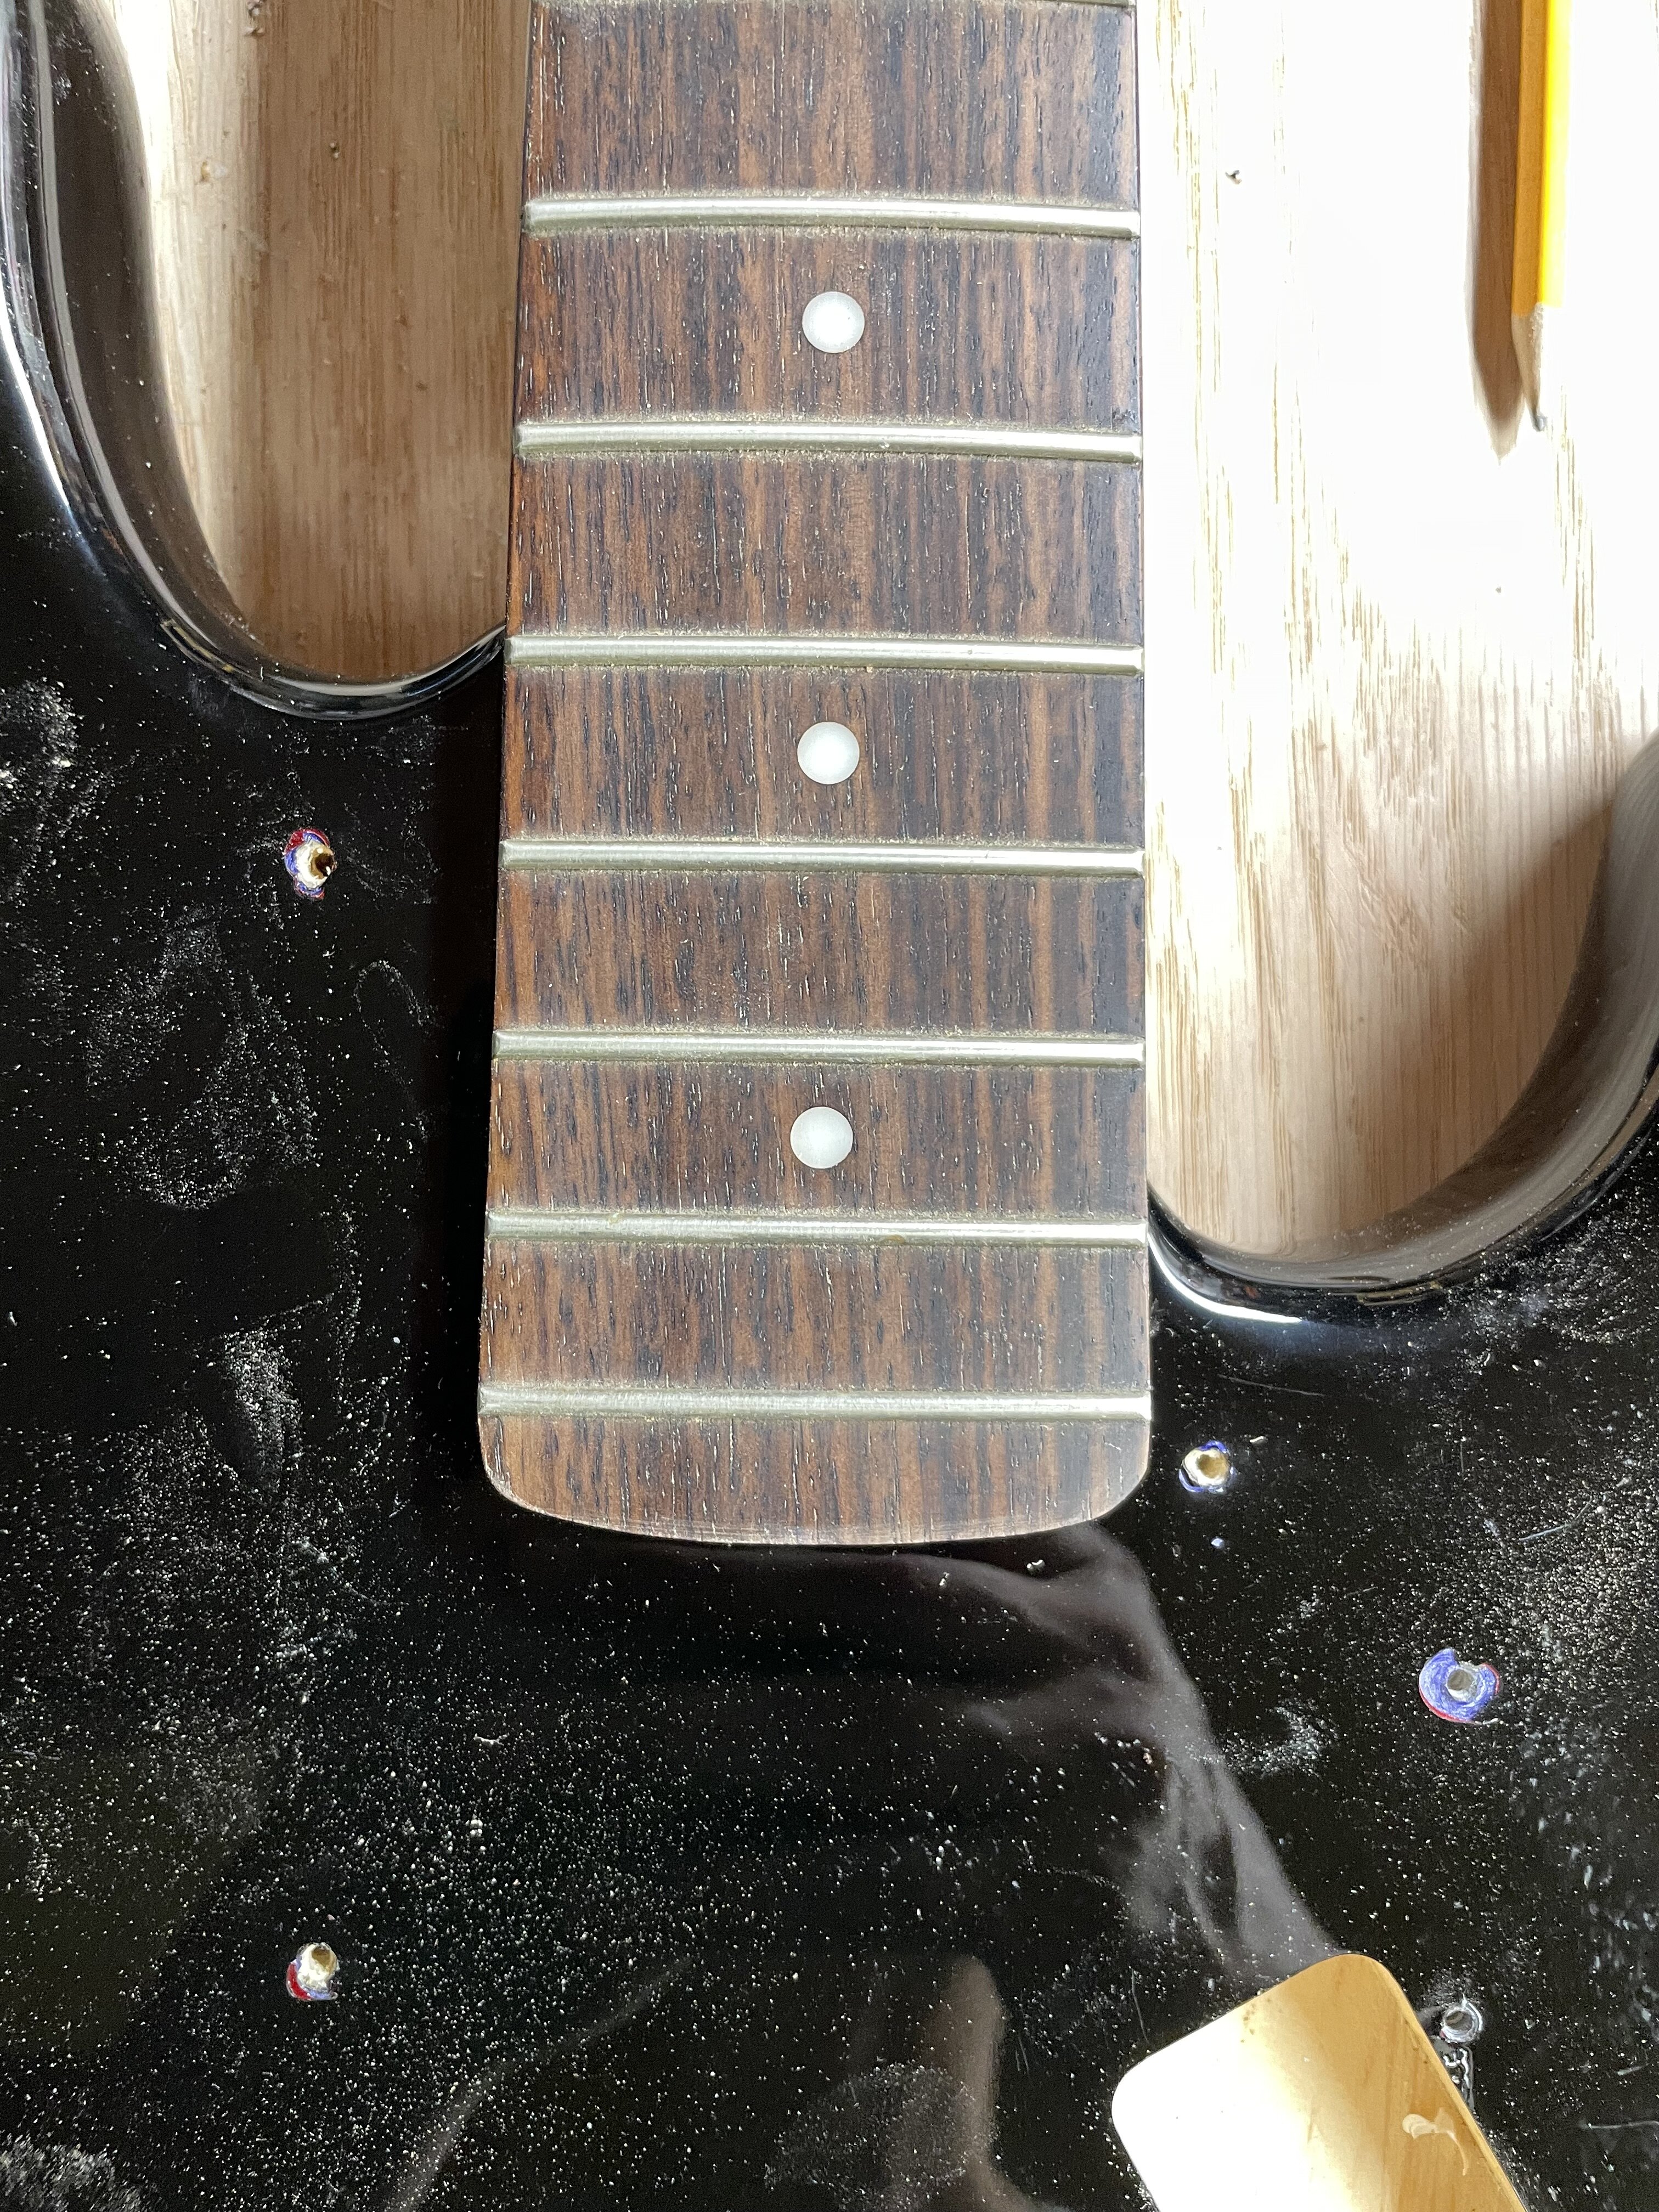
Pretty much perfect !!! Problem #1 solved !!!
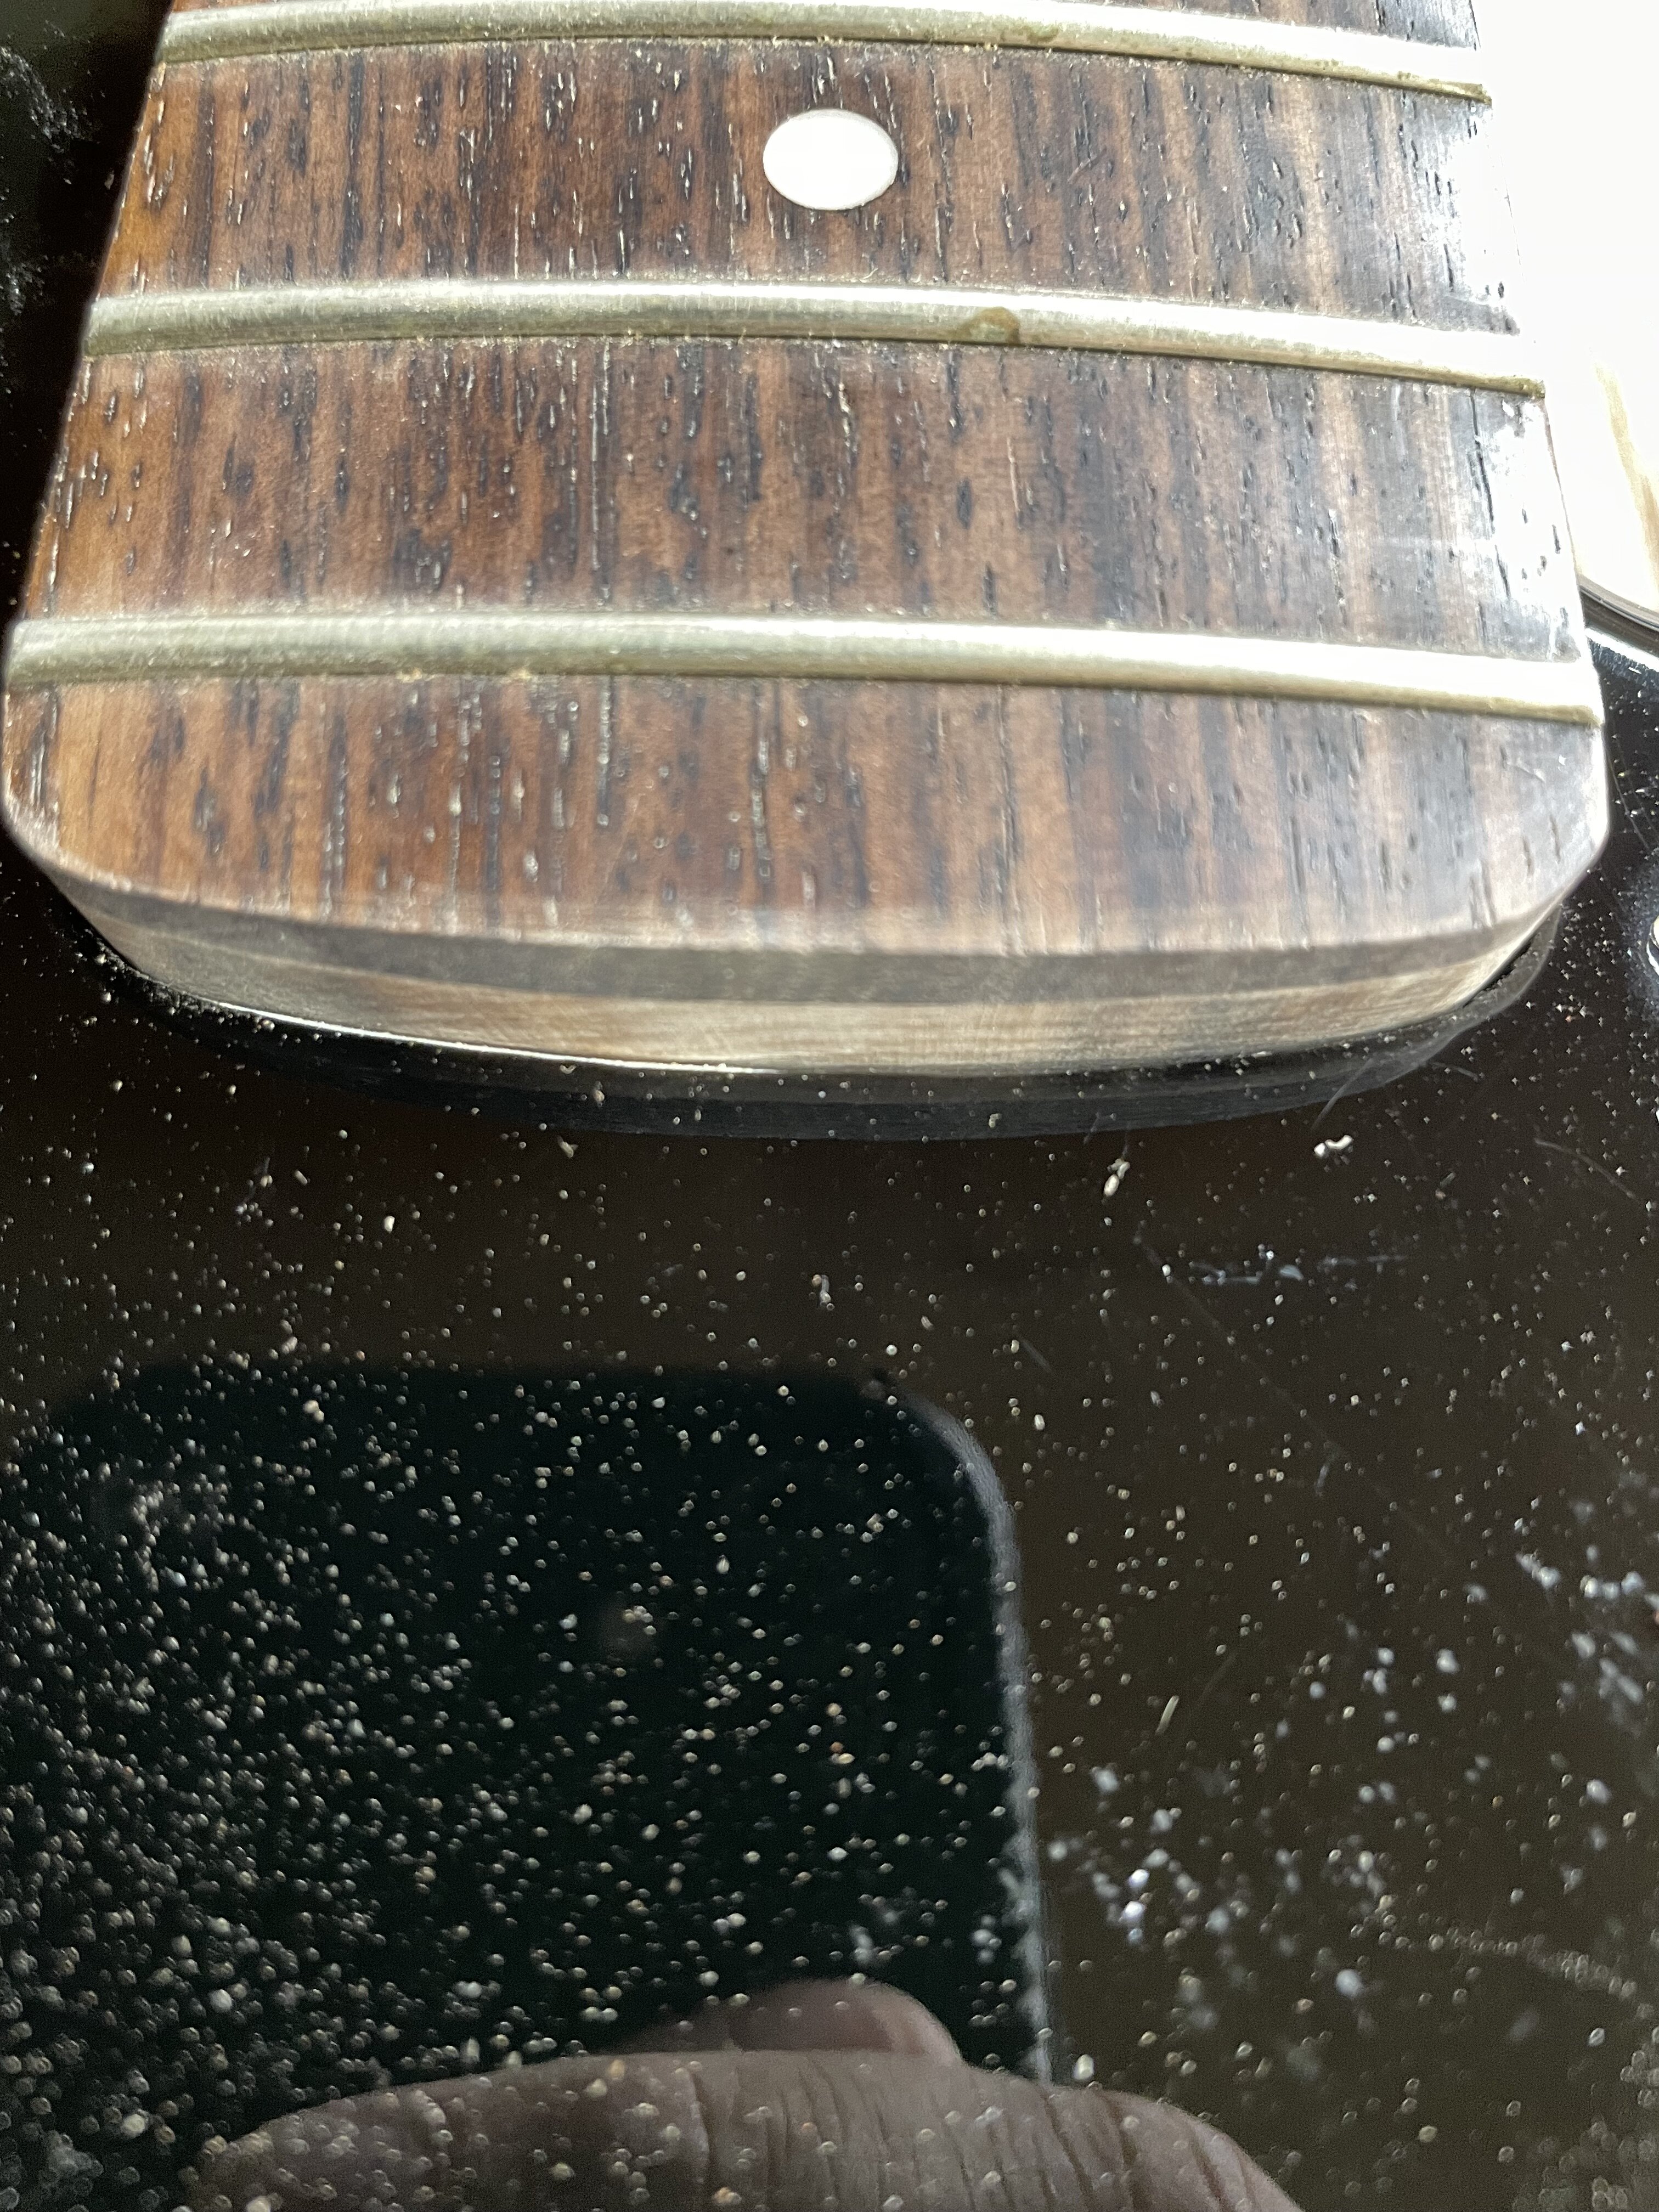
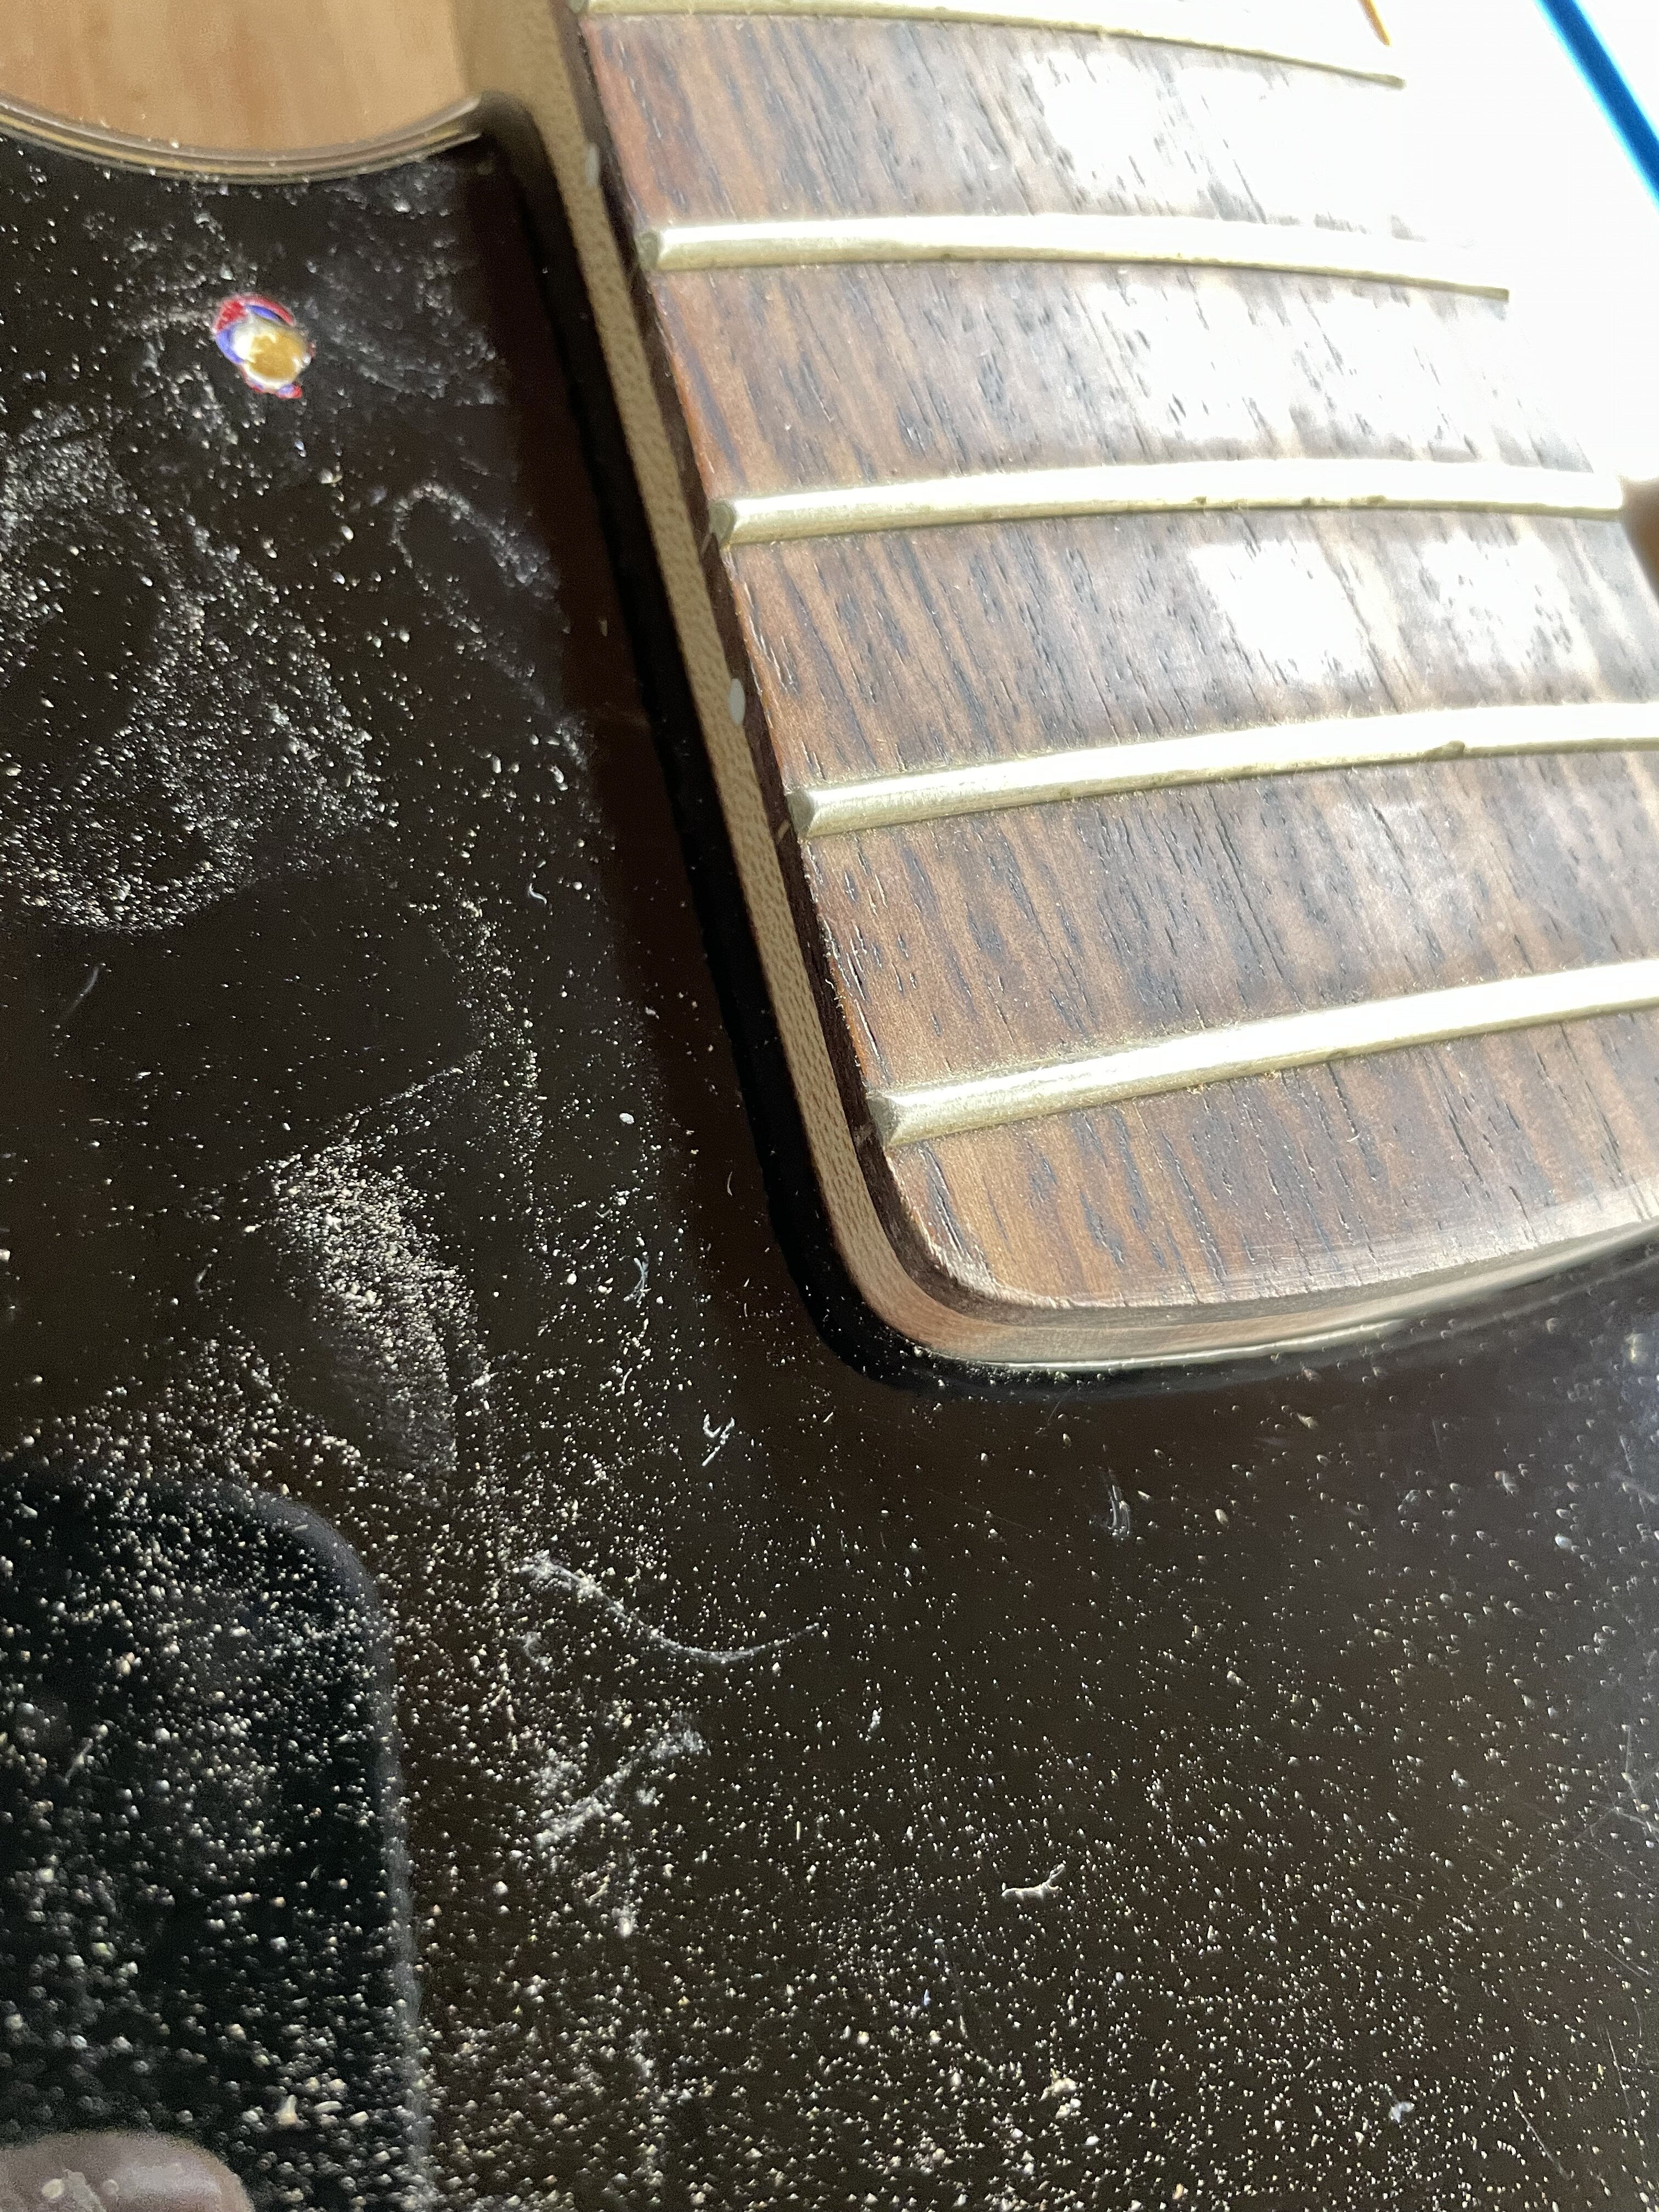
first up… fitting the neck.
so, square neck heel, round body pocket . No bueno. Could just bolt it in and structurally it’d be ok, but the little gap would bug me every time I’d see it…..
how do you fit a square peg into a round hole ?
there are a couple ways to do this….one involves routing the body a little and possibly having to move the bridge, and I don’t want to do that….
so….. we fit a square peg into a round hole by making the square “round” !
I Started by taking a Pickguard and making sure the neck pocket curvature matches. Once confirmed, I used a pencil to transfer the curve of the Pickguard to the neck heel so I had a good visual representation of the curve.
Once I had that, it’s off to the oscillating spindle sander. Sand off to just outside the line I drew, and work up to it, testing the neck fit into the pocket regularly until I had a good fit.
Pretty much perfect !!! Problem #1 solved !!!
Attachments

I’m going to need a Pickguard for it. The Thunderbird pickup trim ring doesn’t quite cover the p bass route in an original p bass guard, so I need to make a new guard. Since I’m making the guard, I can decide whether or not I want to use the trim rings later.
anyway, I started by tracing the Pickguard onto some mdf, plywood, or laminate board. I used laminate board here because A) it was a scrap piece I had, and B) this won’t be the final template… it’ll be USED to make the final, thicker template. The laminate board, being thinner, is easier to work and sand, and gives a better result when you use it to make the master template. I’ll probably make the master template “just the outline, control and screw holes”… and that way I can use the master for various pickup configurations.
anyway,
traced……. cut….. sanded….. drilled.
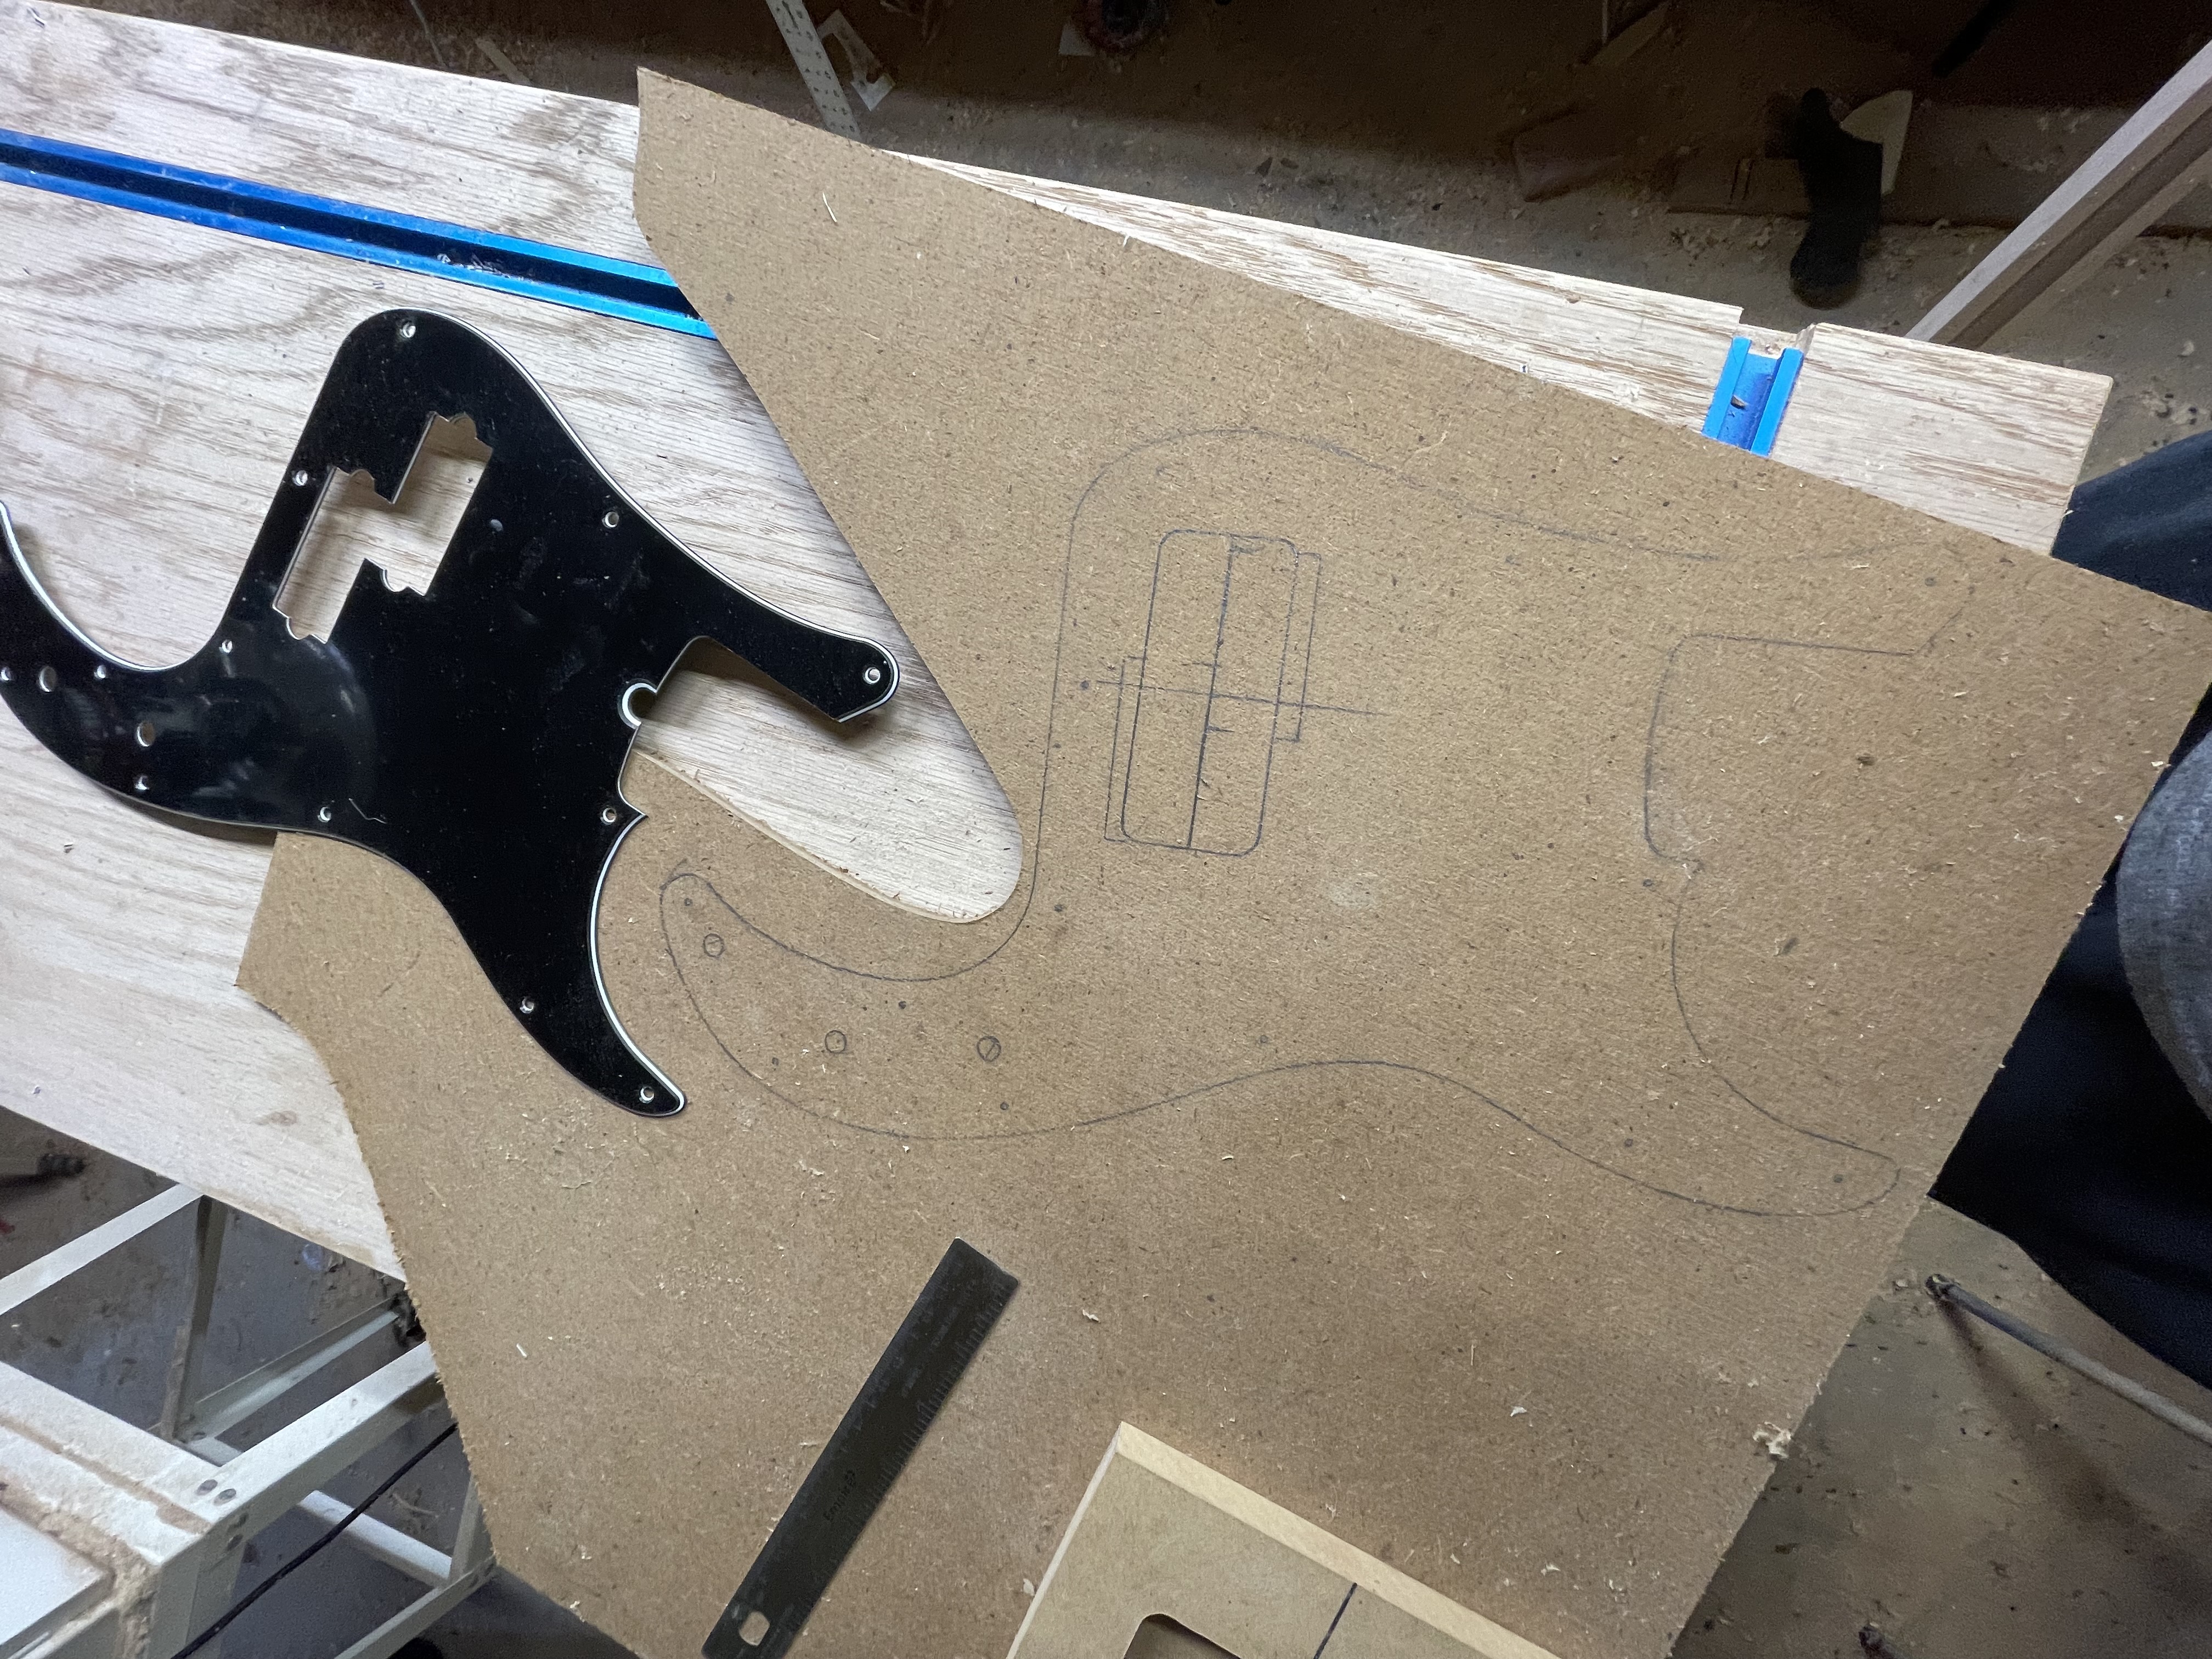
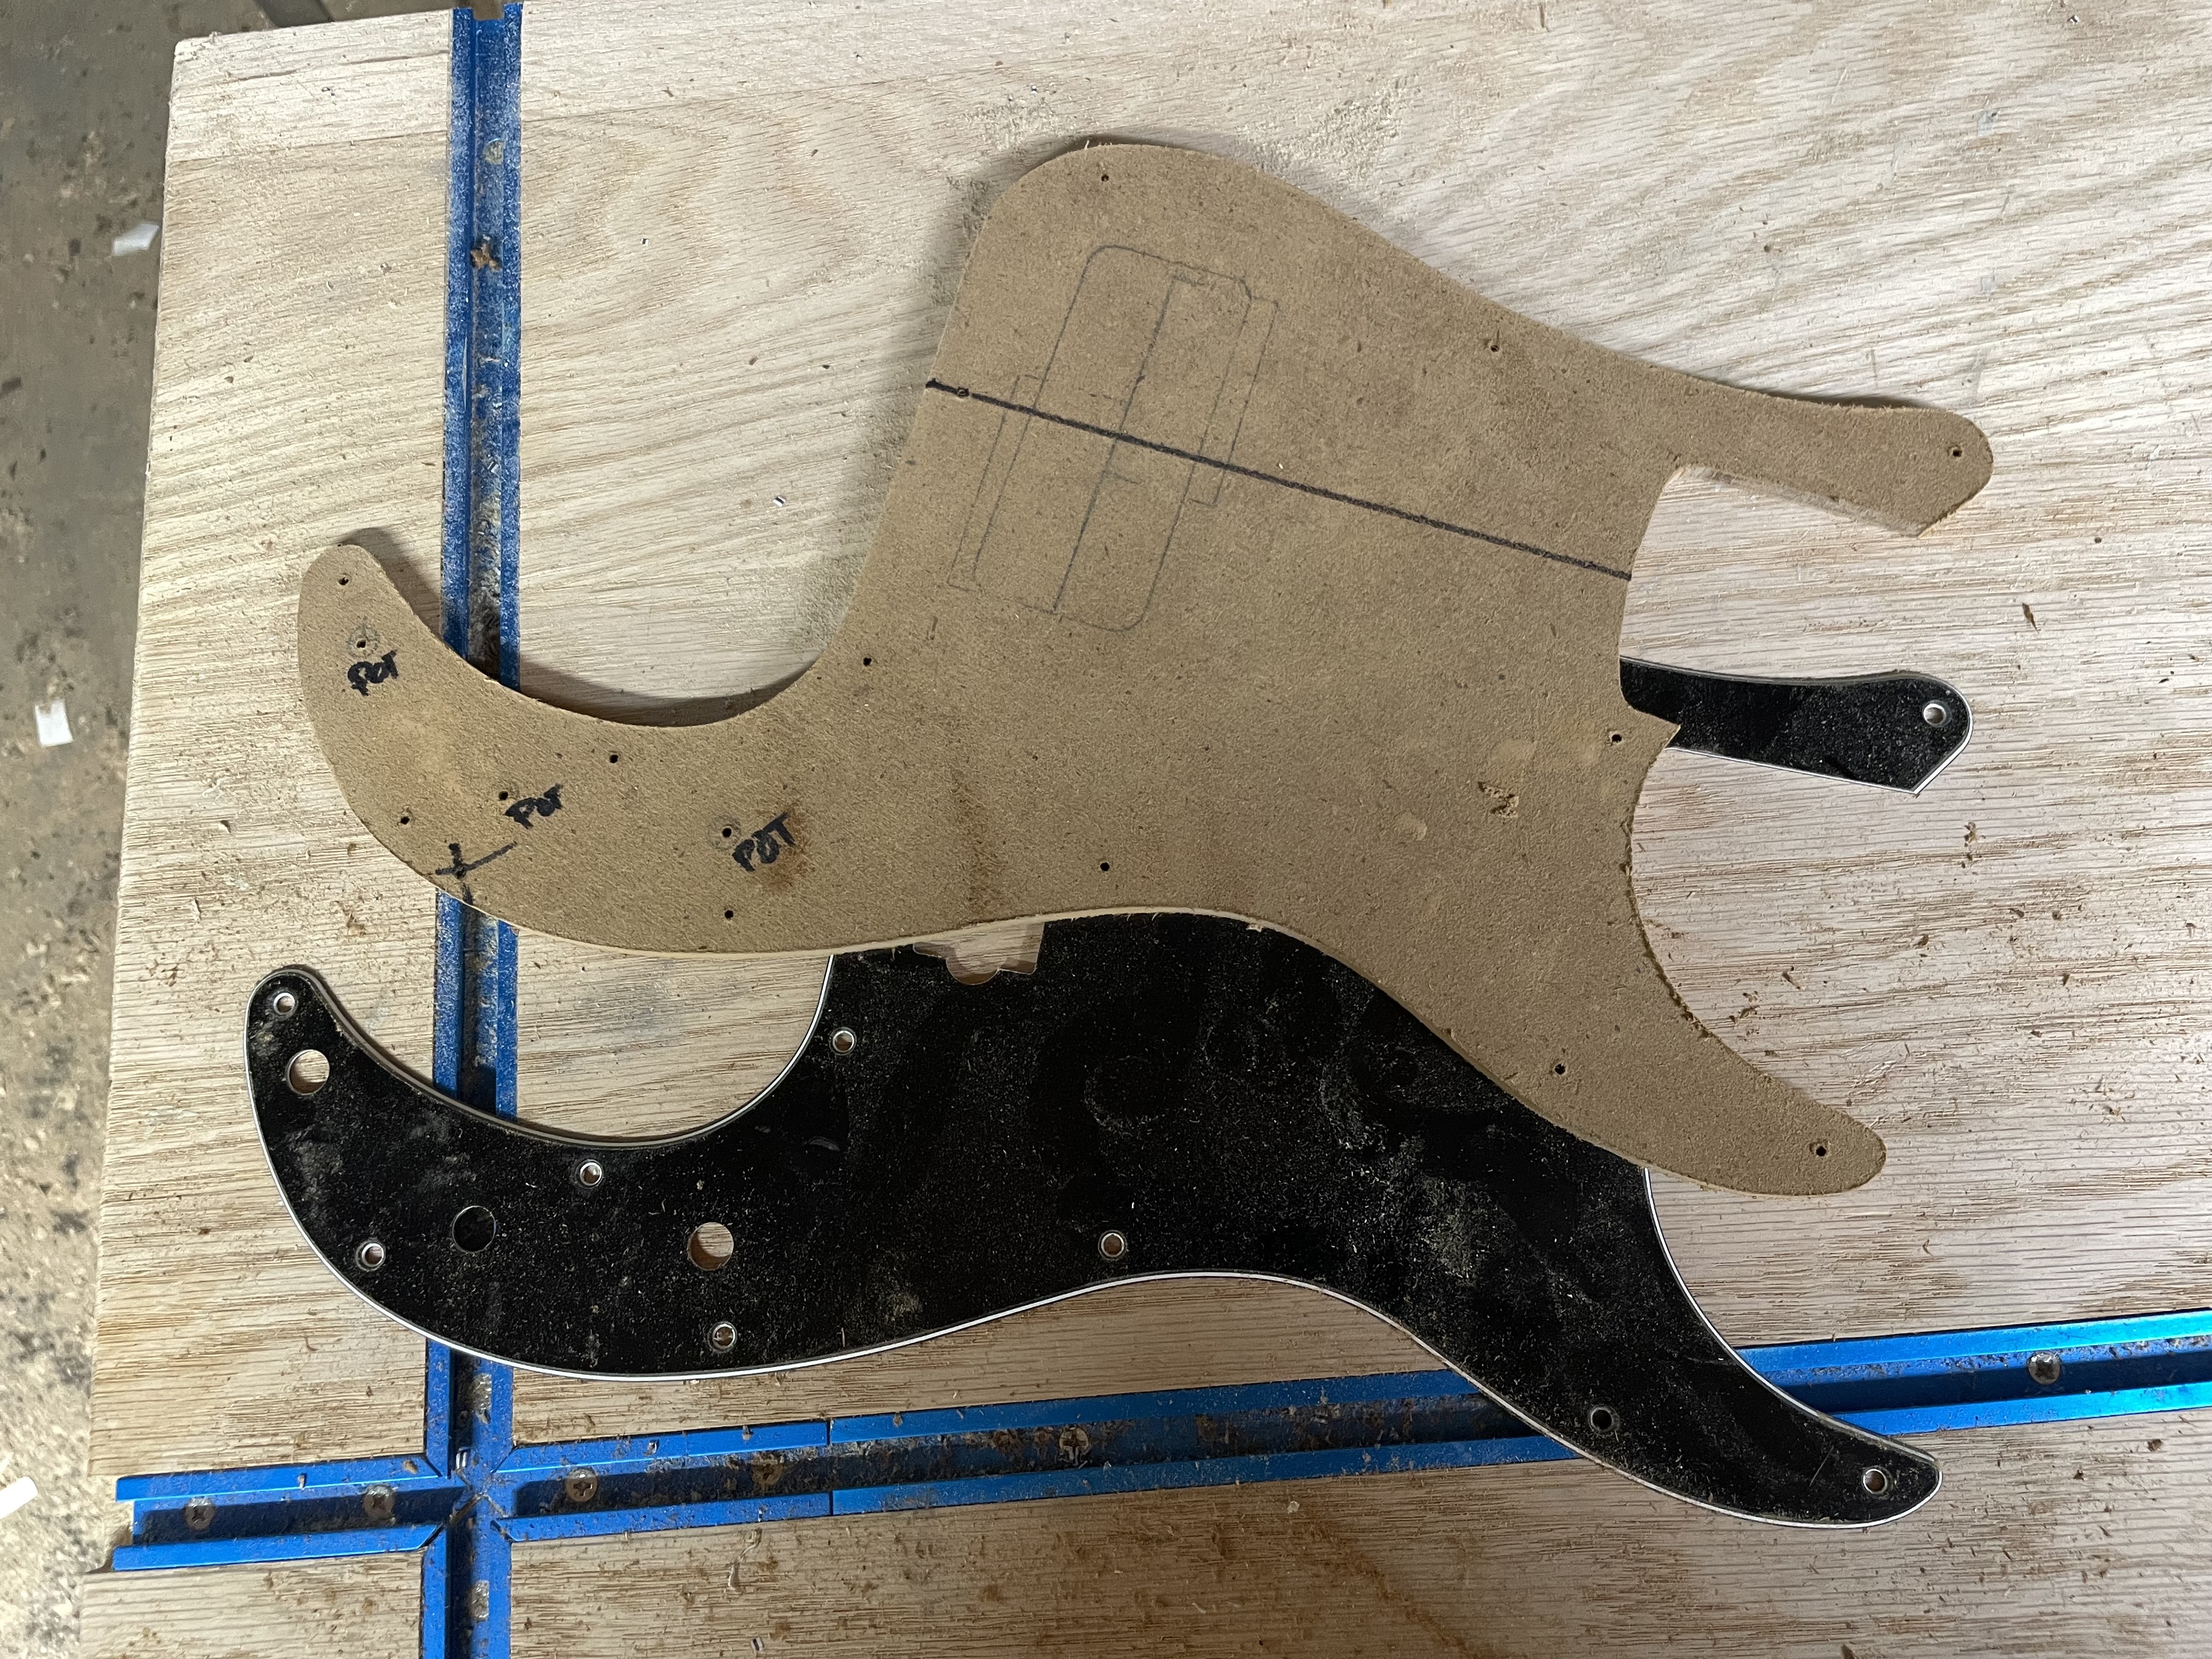
Next up is to make the master template, but working on those couple things took a lot out of me, so it’s time to rest for now…
anyway, I started by tracing the Pickguard onto some mdf, plywood, or laminate board. I used laminate board here because A) it was a scrap piece I had, and B) this won’t be the final template… it’ll be USED to make the final, thicker template. The laminate board, being thinner, is easier to work and sand, and gives a better result when you use it to make the master template. I’ll probably make the master template “just the outline, control and screw holes”… and that way I can use the master for various pickup configurations.
anyway,
traced……. cut….. sanded….. drilled.
Next up is to make the master template, but working on those couple things took a lot out of me, so it’s time to rest for now…

The neck heel might need some big hardwood dowel pins…………Ok, feeling reasonably capable today, so I got some actual work done.
first up… fitting the neck.
so, square neck heel, round body pocket . No bueno. Could just bolt it in and structurally it’d be ok, but the little gap would bug me every time I’d see it…..
View attachment 5491268
how do you fit a square peg into a round hole ?
View attachment 5491265
there are a couple ways to do this….one involves routing the body a little and possibly having to move the bridge, and I don’t want to do that….
so….. we fit a square peg into a round hole by making the square “round” !
I Started by taking a Pickguard and making sure the neck pocket curvature matches. Once confirmed, I used a pencil to transfer the curve of the Pickguard to the neck heel so I had a good visual representation of the curve.
View attachment 5491269
View attachment 5491270
View attachment 5491271
Once I had that, it’s off to the oscillating spindle sander. Sand off to just outside the line I drew, and work up to it, testing the neck fit into the pocket regularly until I had a good fit.
View attachment 5491272
Pretty much perfect !!! Problem #1 solved !!!
View attachment 5491273
View attachment 5491274
View attachment 5491275
Otherwise, nice fit altogether !
The neck heel might need some big hardwood dowel pins…………
Otherwise, nice fit altogether !
Yep…..I’ll be checking to see where the screw holes lie, and if needed I’ll use oak dowels
the good thing about fitting the neck like this is that it moves the fret position very little… almost nil. So the bridge can easily compensate without having to move the whole thing.
Last edited:
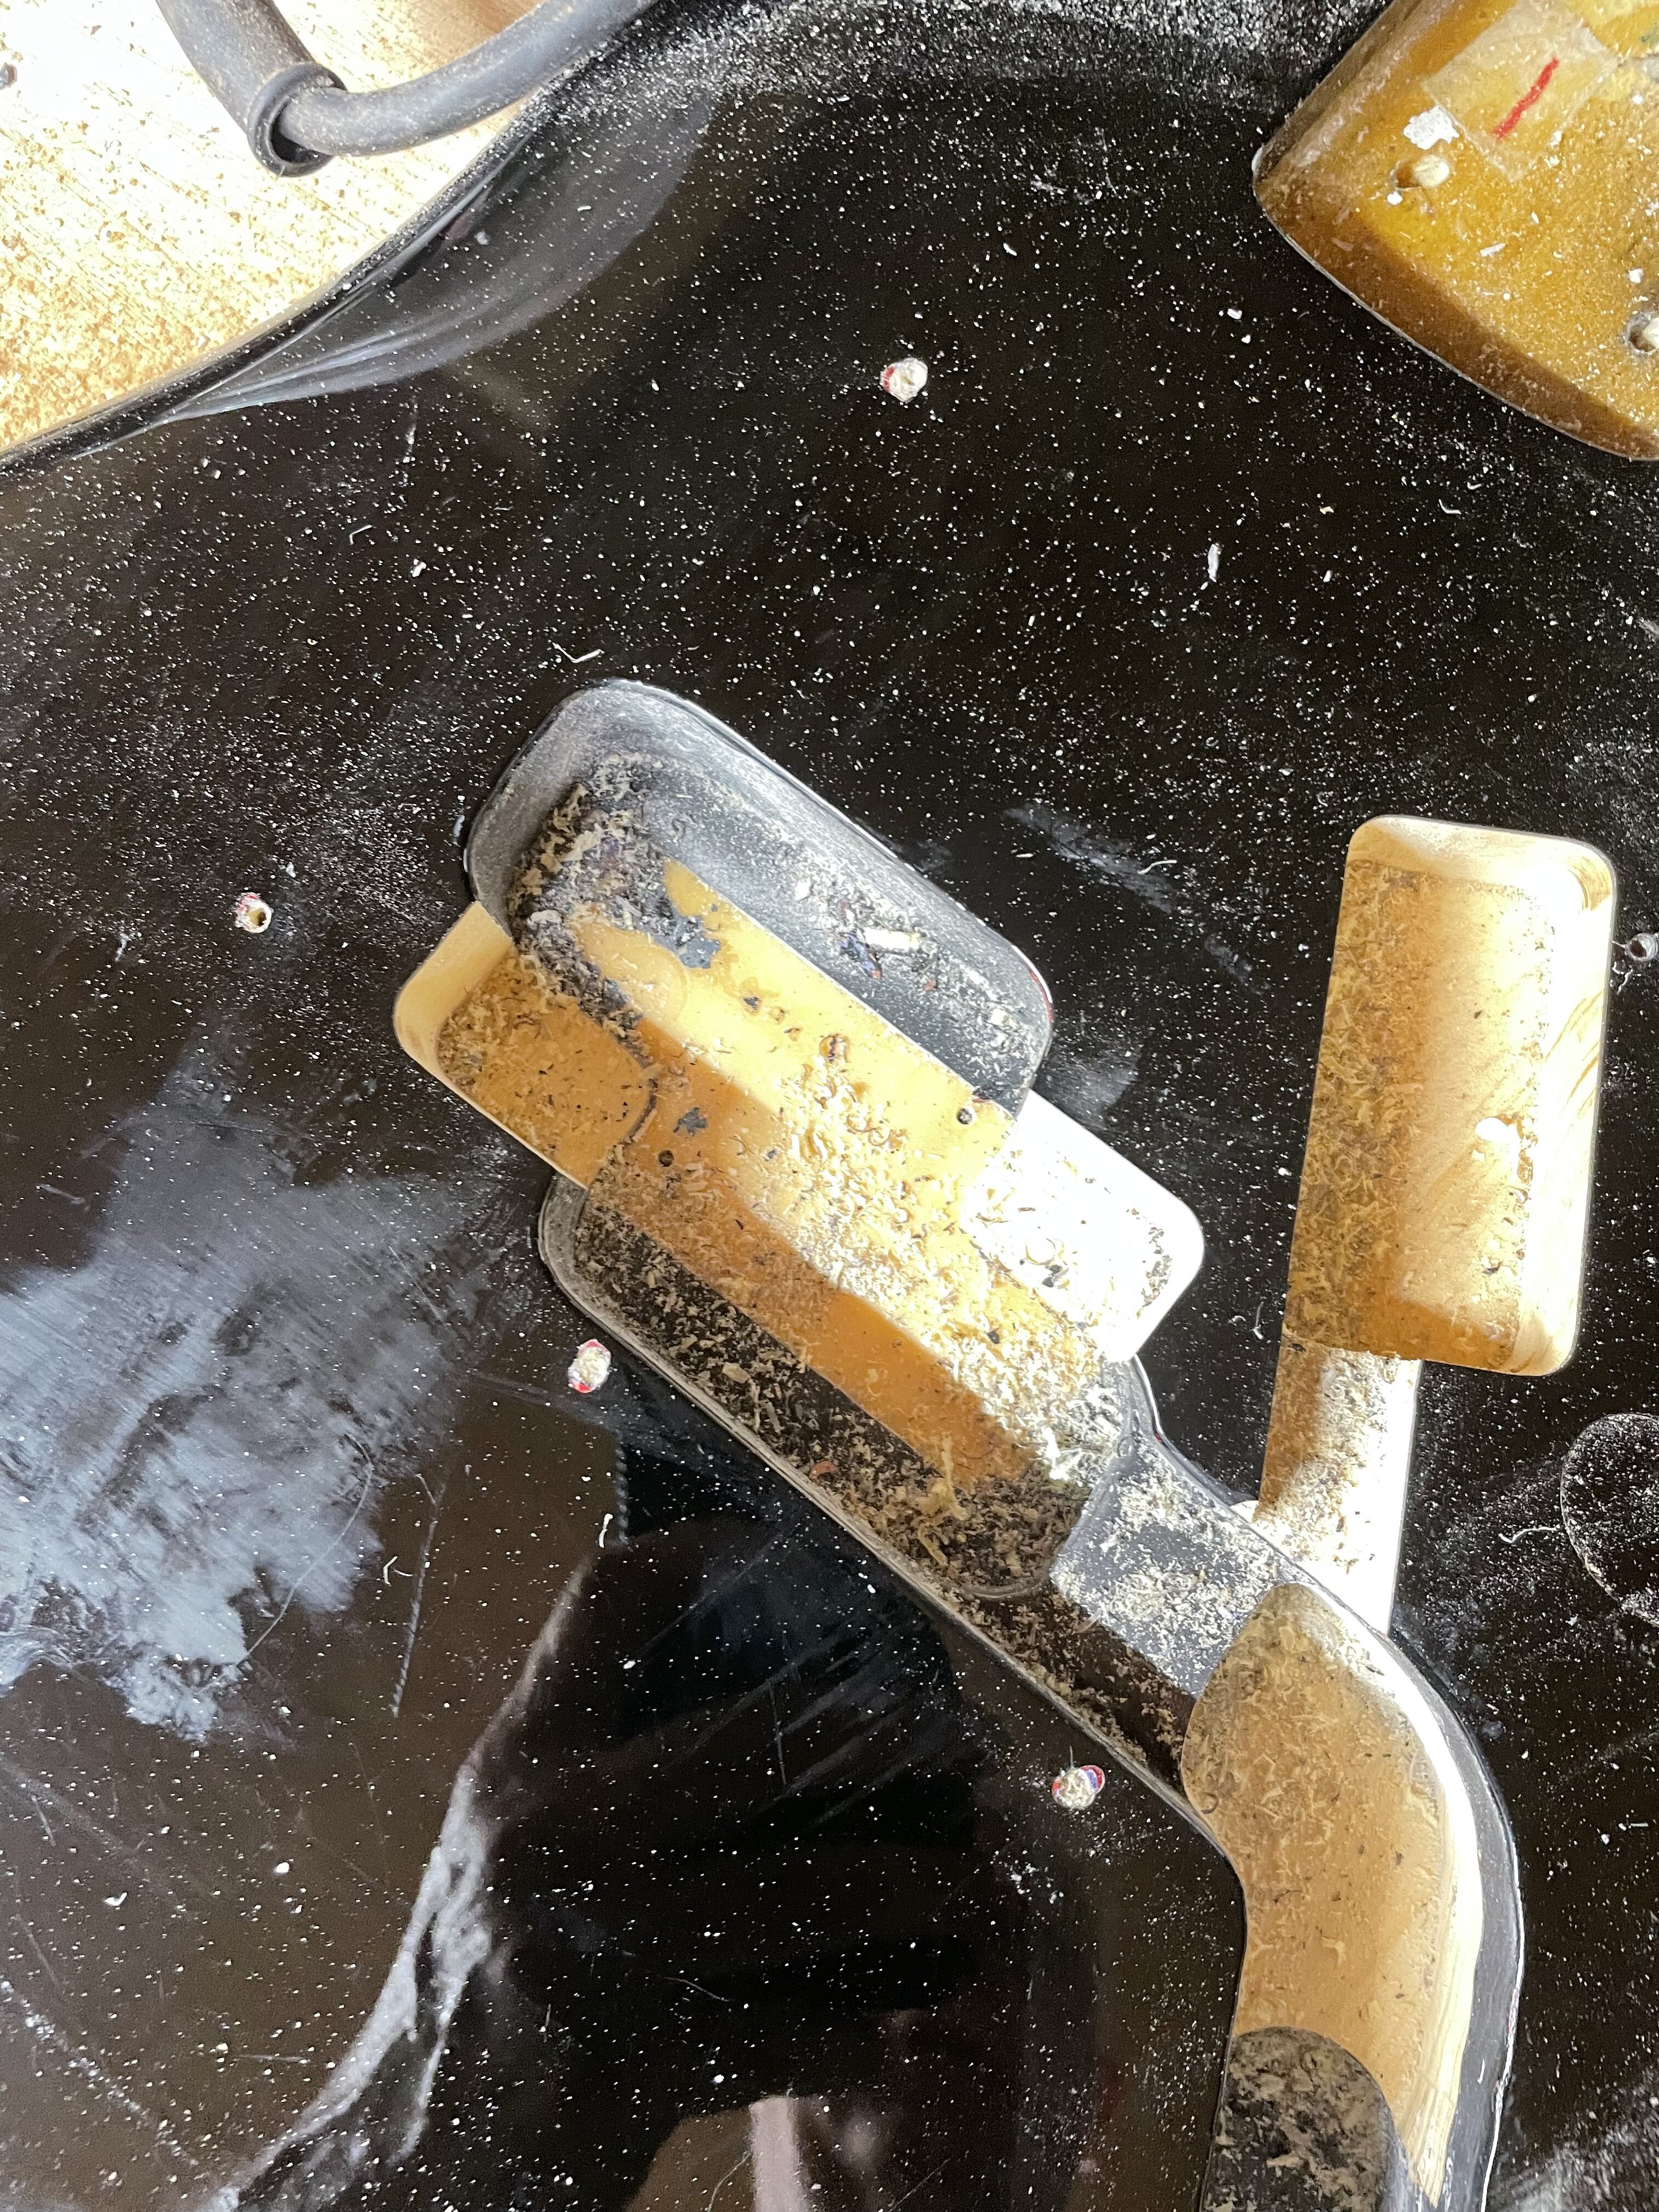
It took literally everything out of me tonight to make a simple Thunderbird pickup routing template and then route the body for it. I’m beat and I need a shower and to rest. BUT I GOT IT DONE!
four months ago that would’ve been easy peasy, no worries…. Now it’s a major undertaking. But I’m stoked that I was able to make a bit more progress.
still deciding whether I’ll use a bridge pickup on this. I might just do the neck for now, see how I like it… I can always add a bridge pup later.
Battery cavity was something I router into this body a while back. Tonight was JUST the pickup route.
next up, make a Pickguard.
four months ago that would’ve been easy peasy, no worries…. Now it’s a major undertaking. But I’m stoked that I was able to make a bit more progress.
still deciding whether I’ll use a bridge pickup on this. I might just do the neck for now, see how I like it… I can always add a bridge pup later.
Battery cavity was something I router into this body a while back. Tonight was JUST the pickup route.
next up, make a Pickguard.

Fantastic you pushed through and accomplished it 
Thanks Beej !Fantastic you pushed through and accomplished it



It’s looking really good, nice work on the neck heal fitting and the PG template.
The new site update has me in “get off my lawn” mode !

It's starting to look like that dog'll hunt. Keep trucking along man, it's coming along great.It took literally everything out of me tonight to make a simple Thunderbird pickup routing template and then route the body for it. I’m beat and I need a shower and to rest. BUT I GOT IT DONE!
four months ago that would’ve been easy peasy, no worries…. Now it’s a major undertaking. But I’m stoked that I was able to make a bit more progress.
still deciding whether I’ll use a bridge pickup on this. I might just do the neck for now, see how I like it… I can always add a bridge pup later.
Battery cavity was something I router into this body a while back. Tonight was JUST the pickup route.
next up, make a Pickguard.
View attachment 5492752
I got a tiny bit of work done on a double super secret project I’m working on. Started spraying the neck, and made a Pickguard for it…..
But it’s double super secret, so you didn’t see it….

But it’s double super secret, so you didn’t see it….
Last edited:
That's a classic timeless color combo.I got a tiny bit of work done on a double super secret project I’m working on. Started spraying the neck, and made a Pickguard for it…..
But it’s double super secret, so you didn’t see it….


