I have been asked many times what tools I use to setup basses - do I use any special gauges or rulers? (rules actually, rulers are kings and presidents and such). Do I make use of radius gauges? I am not going into the details of the setup per se, but rather just the tools I use. Later I may describe nut and pickup height adjustment, but for now I will just consider neck relief and string height.
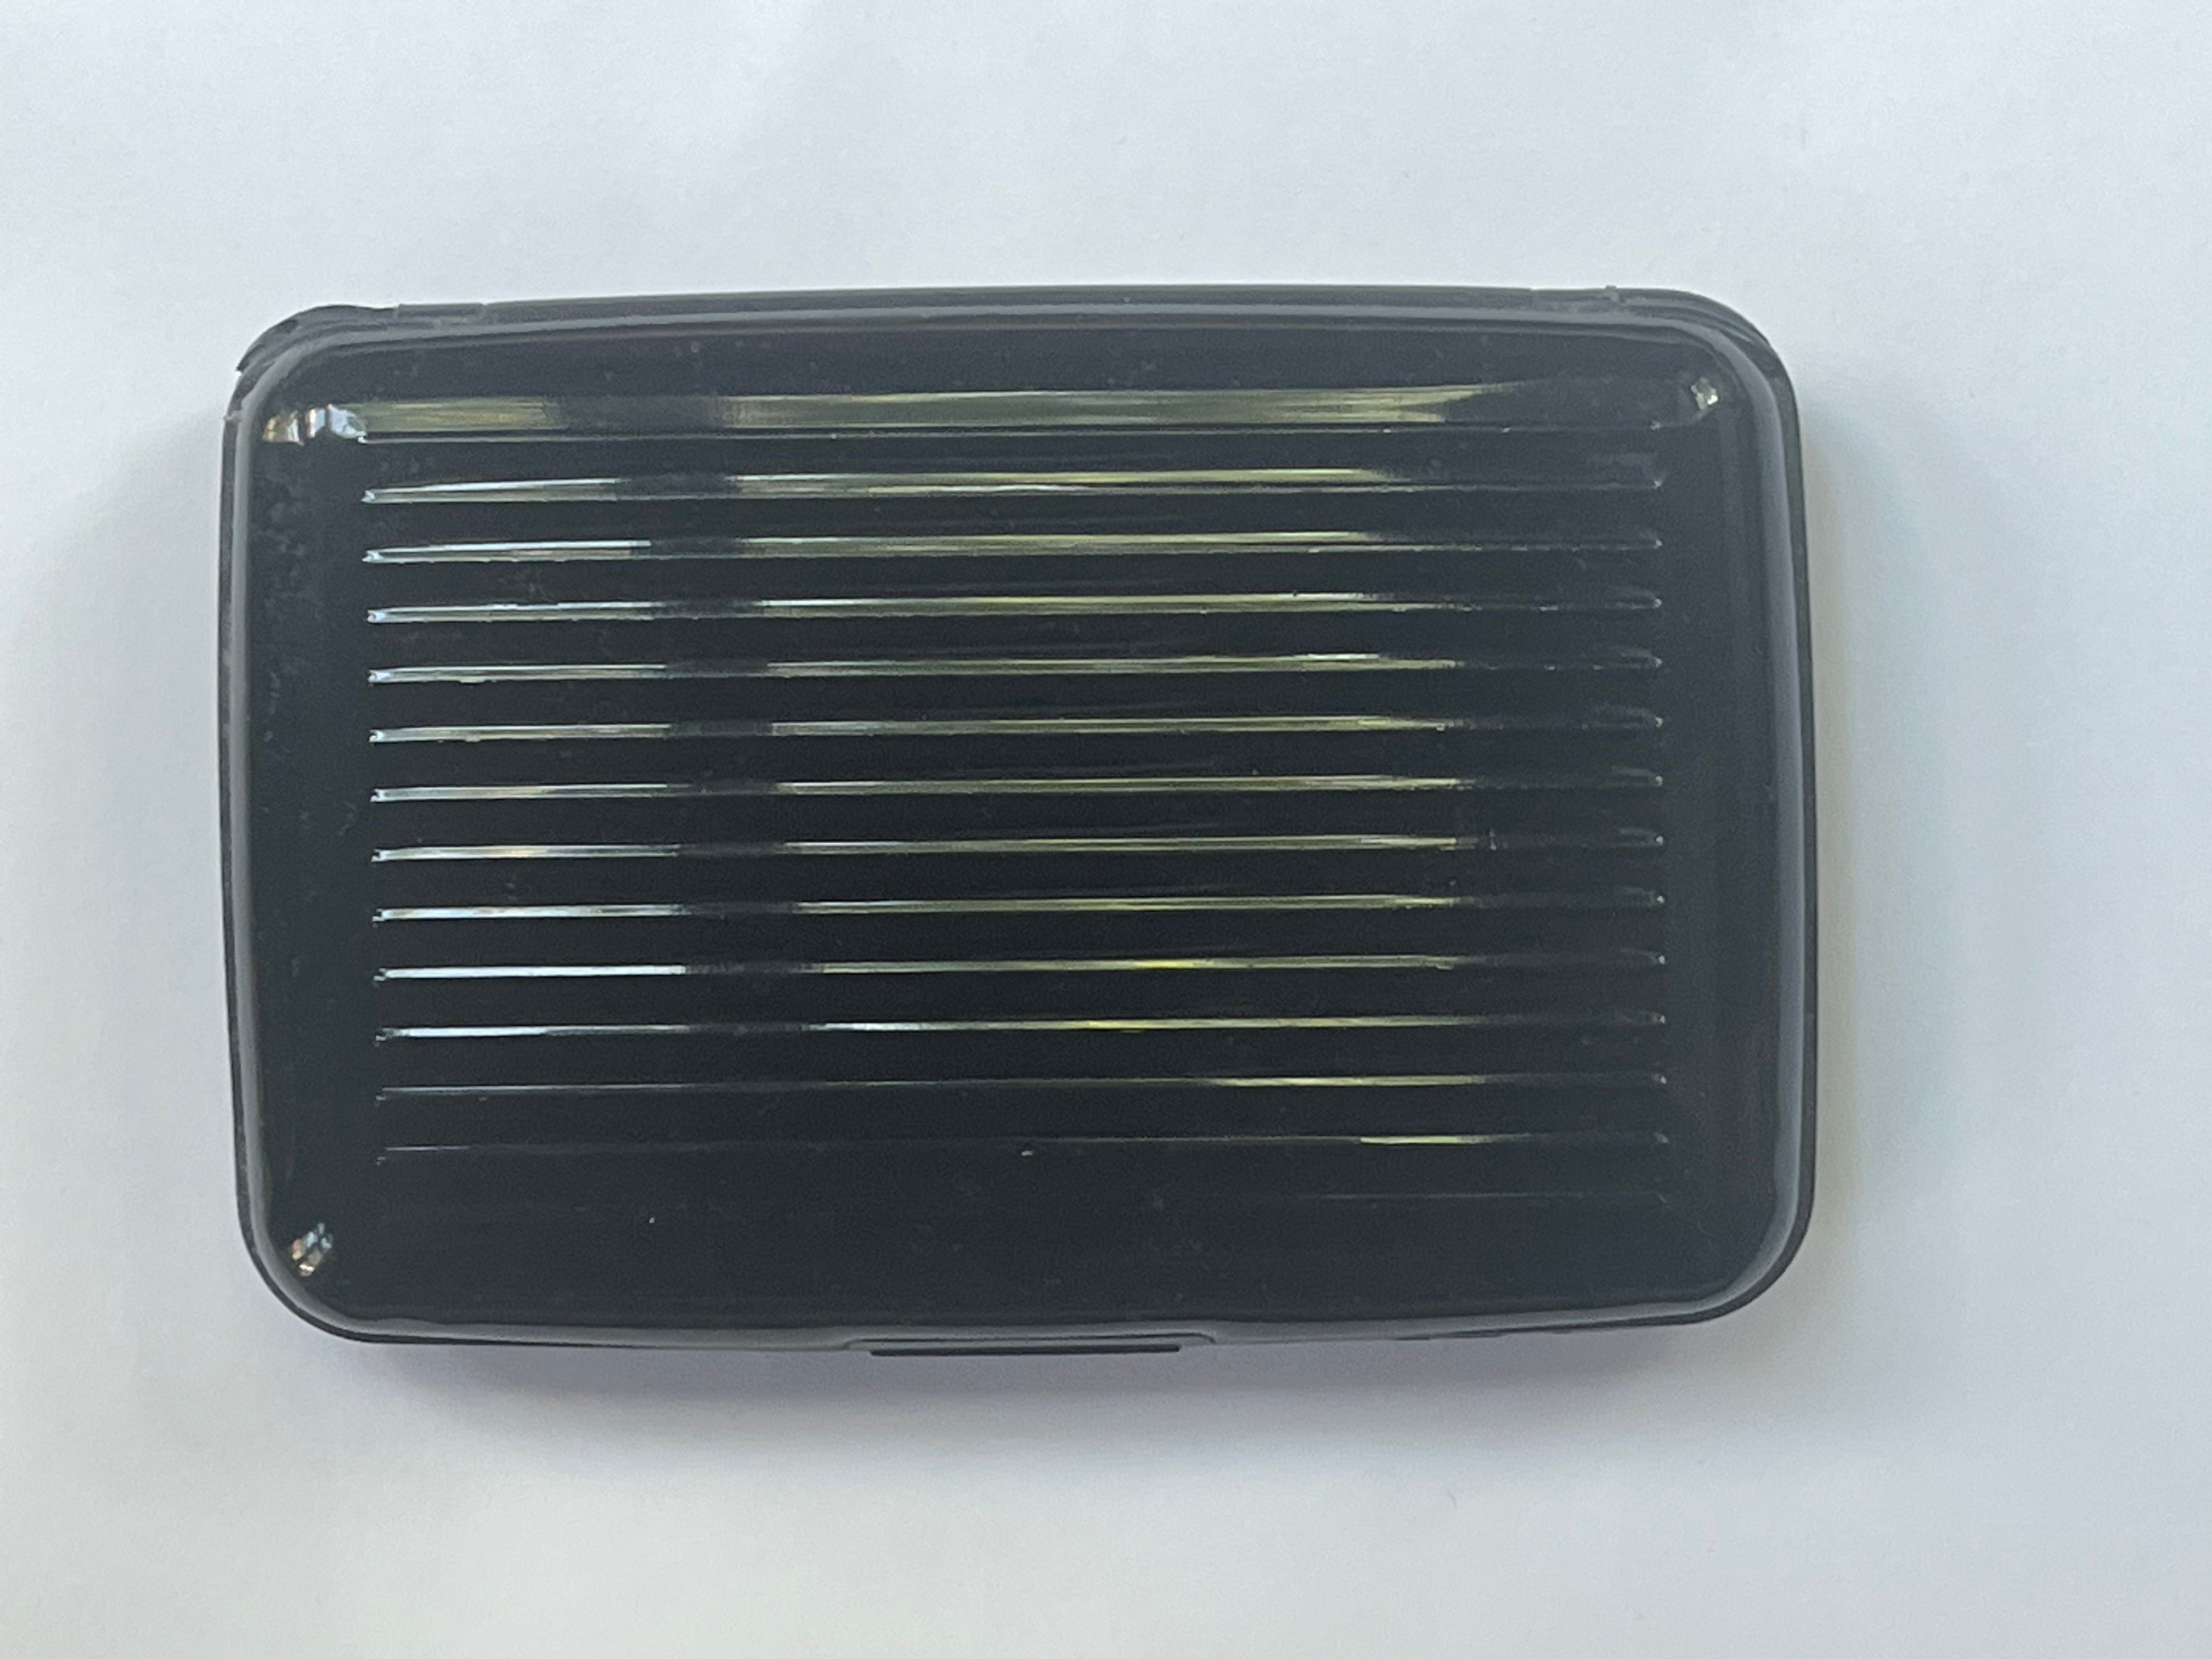
Let me start with the simple tools. These are the ones I keep in each of my bass cases so that I can make adjustments at any time, even on a gig. In particular, this is the set I have in the case of my MIM Fender Jazz. I keep the tools in a cheap plastic cigarette case I picked up at the Dollar Store (for - you guessed it - one dollar)
Inside the case:
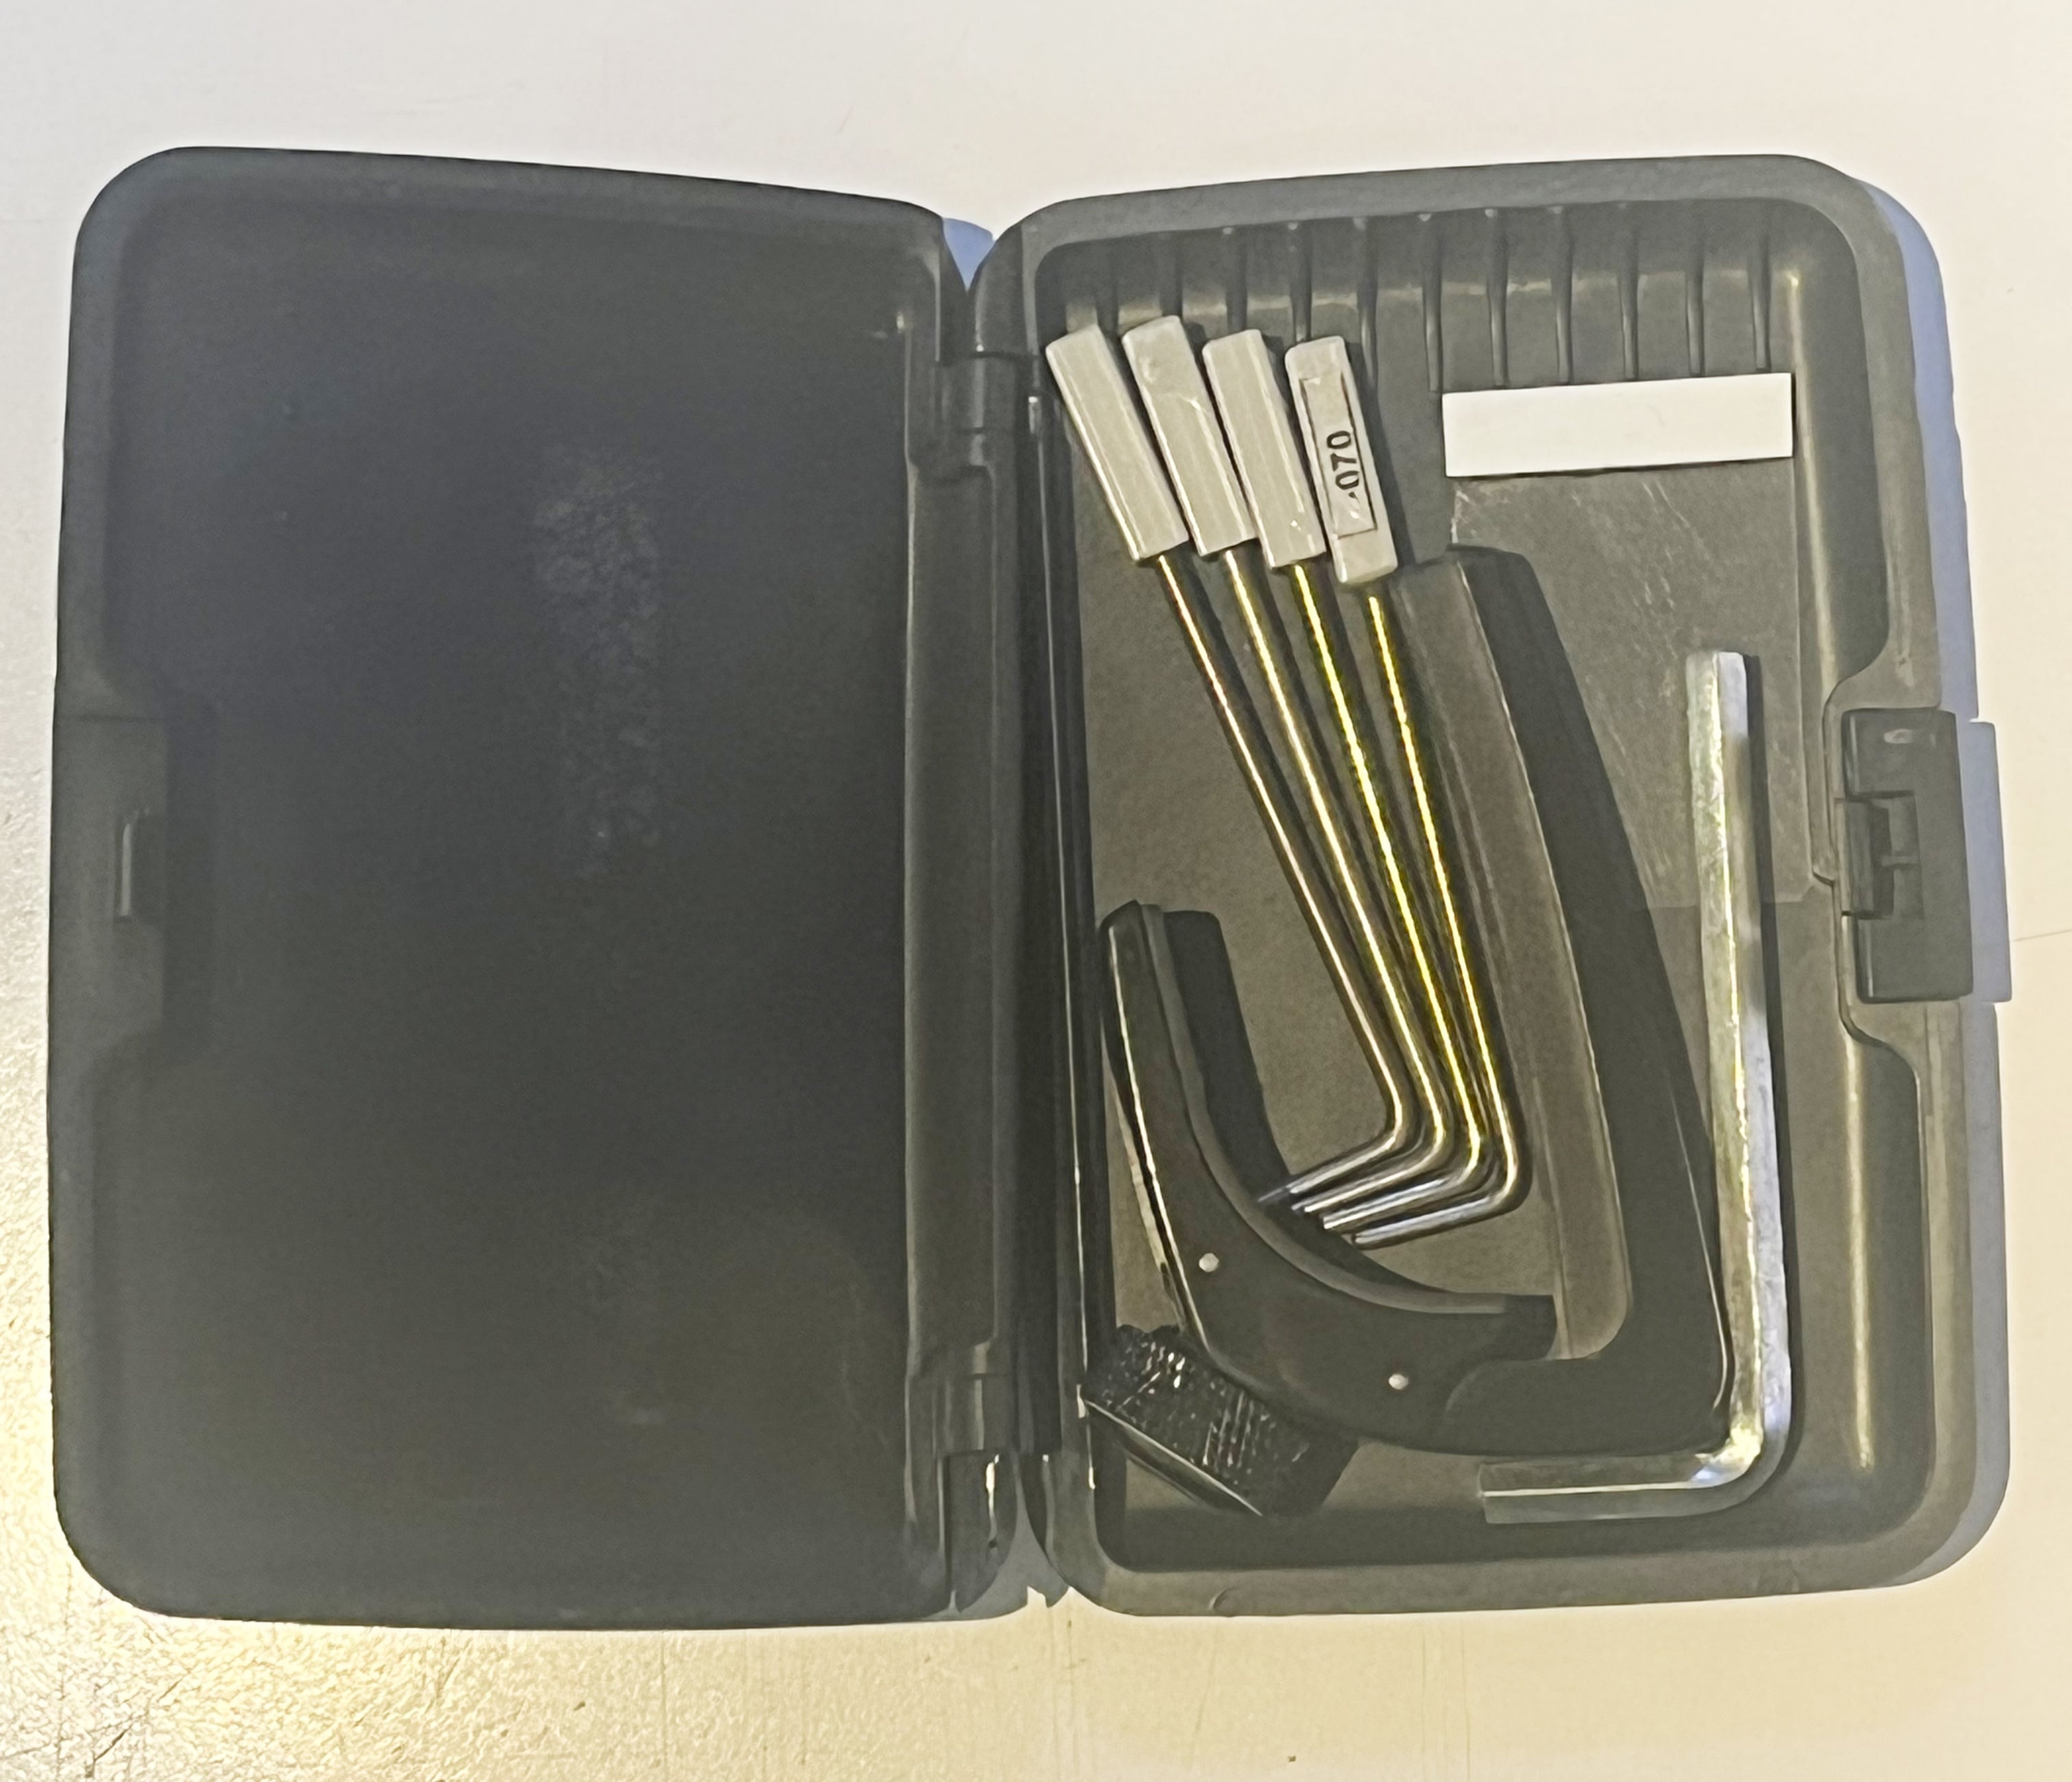
First off is the capo. I prefer a Shubb-type over this one because it's a bit less bulky, but it's a small matter. I capo at the first fret and hold down the string at the body joint (16th fret) and measure the gap at the 7th fret with my shop-made feeler:
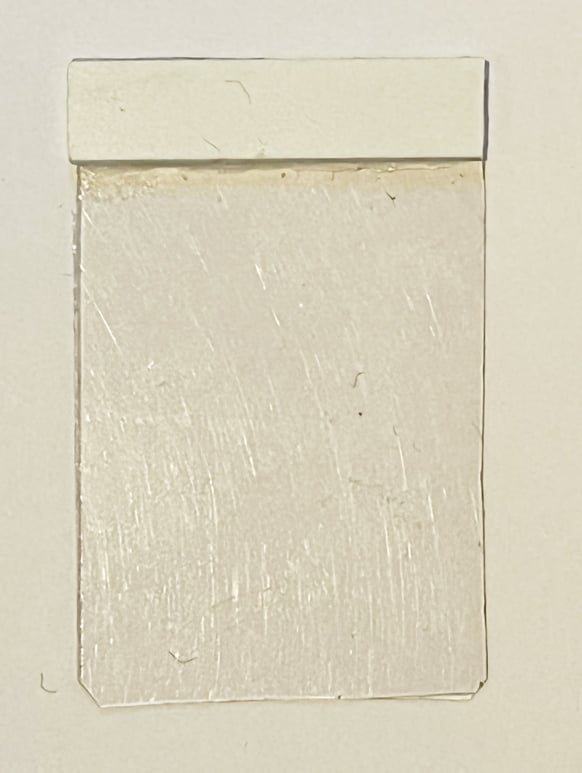
This deserves a bit of explanation. The gauge is a piece of clear plastic I salvaged from some packaging. Many of the items we buy are encased in plastic packaging. I cut out the flat areas of the package and toss them into my salvage bin. Then every once in while I get out my thickness gauge and measure each piece and make them into these gauges. The clear part is the packaging material, in this case .010" thick. I glued a thicker strip of white plastic across one end, and this is where I would apply a label, though I didn't bother in this case.
With the capo on the first fret and depressing the string at the 16th, I slip the feeler between string and the 7th fret while holding the bass in playing position. If the relief is too little the friction will hold it there, like this:
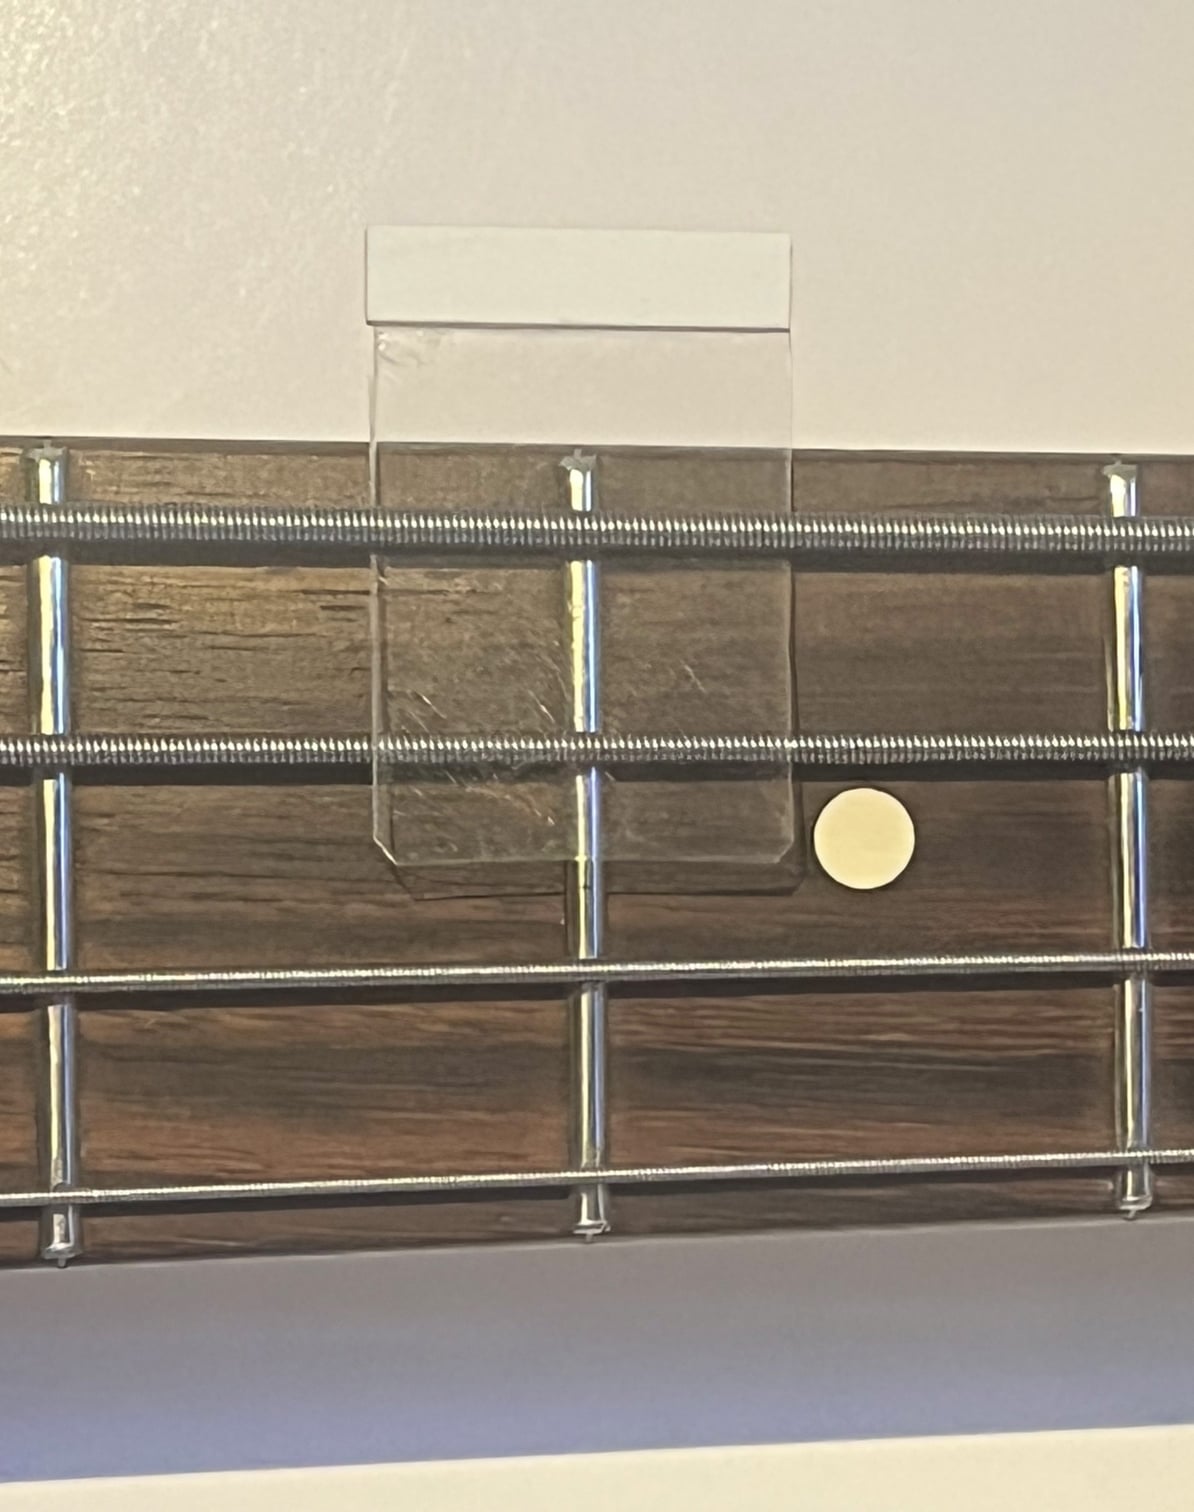
Then I loosen the truss rod a bit at a time until the feeler just drops. The white strip catches on the string and keeps the feeler from dropping onto the floor. If the relief is too much to start with, I tighten the rod until the string holds the gauge as above, then loosen a bit at a time until it drops. That gives me a pretty accurate setting of .010" relief.
On to the string height, adjusted at the bridge saddles. I don't use the typical string height gauge you see that are really just a rule. Rules are too difficult to read and can introduce errors due to parallax. I prefer to use feeler gauges to measure the string height. In my case the gauges you see here are some I made in the shop:

These are simply small gauge rods that I bent into an L shape and ground the short section to the desired thickness. This particular set is .075", .070", .065" and .062", corresponding to the string height I like at the 12th fret for the E to G strings. I stuck a small plastic handle on the other end where I usually label the thickness - you can see I only bothered to label one of the four above.
Also in the case (though it doesn't show in the pic), is a small hex key of the size that fits the bridge saddles on this bass. And the larger hex key is the one that I use to adjust the truss rod, in this case 3/16" that fits the MIM Fender.
Not all of my basses have the same setup, so the thickness of the gauges vary and just the appropriate ones are kept in the case of each bass. So for a quick setup, even in the middle of a gig, I can slap on the capo, stick the relief gauge on place while I hold the string at the 16th fret, tweak the truss rod until the gauge drops, and I'm set, all within 1 minute. My saddles don't drift on their own (some do) so a quick setup is really just a truss rod adjustment.
I never use radius gauges in setups - it's pointless. The graduated set of gauges ensure that the strings follow the fretboard radius, with an increasing clearance as the string gauge increases.
So this is the set of tools I use for quick setups on my own basses. When I work on clients' basses in the shop I use a different tool for setting relief, and I will go into that in a later post.
Let me start with the simple tools. These are the ones I keep in each of my bass cases so that I can make adjustments at any time, even on a gig. In particular, this is the set I have in the case of my MIM Fender Jazz. I keep the tools in a cheap plastic cigarette case I picked up at the Dollar Store (for - you guessed it - one dollar)
Inside the case:
First off is the capo. I prefer a Shubb-type over this one because it's a bit less bulky, but it's a small matter. I capo at the first fret and hold down the string at the body joint (16th fret) and measure the gap at the 7th fret with my shop-made feeler:
This deserves a bit of explanation. The gauge is a piece of clear plastic I salvaged from some packaging. Many of the items we buy are encased in plastic packaging. I cut out the flat areas of the package and toss them into my salvage bin. Then every once in while I get out my thickness gauge and measure each piece and make them into these gauges. The clear part is the packaging material, in this case .010" thick. I glued a thicker strip of white plastic across one end, and this is where I would apply a label, though I didn't bother in this case.
With the capo on the first fret and depressing the string at the 16th, I slip the feeler between string and the 7th fret while holding the bass in playing position. If the relief is too little the friction will hold it there, like this:
Then I loosen the truss rod a bit at a time until the feeler just drops. The white strip catches on the string and keeps the feeler from dropping onto the floor. If the relief is too much to start with, I tighten the rod until the string holds the gauge as above, then loosen a bit at a time until it drops. That gives me a pretty accurate setting of .010" relief.
On to the string height, adjusted at the bridge saddles. I don't use the typical string height gauge you see that are really just a rule. Rules are too difficult to read and can introduce errors due to parallax. I prefer to use feeler gauges to measure the string height. In my case the gauges you see here are some I made in the shop:
These are simply small gauge rods that I bent into an L shape and ground the short section to the desired thickness. This particular set is .075", .070", .065" and .062", corresponding to the string height I like at the 12th fret for the E to G strings. I stuck a small plastic handle on the other end where I usually label the thickness - you can see I only bothered to label one of the four above.
Also in the case (though it doesn't show in the pic), is a small hex key of the size that fits the bridge saddles on this bass. And the larger hex key is the one that I use to adjust the truss rod, in this case 3/16" that fits the MIM Fender.
Not all of my basses have the same setup, so the thickness of the gauges vary and just the appropriate ones are kept in the case of each bass. So for a quick setup, even in the middle of a gig, I can slap on the capo, stick the relief gauge on place while I hold the string at the 16th fret, tweak the truss rod until the gauge drops, and I'm set, all within 1 minute. My saddles don't drift on their own (some do) so a quick setup is really just a truss rod adjustment.
I never use radius gauges in setups - it's pointless. The graduated set of gauges ensure that the strings follow the fretboard radius, with an increasing clearance as the string gauge increases.
So this is the set of tools I use for quick setups on my own basses. When I work on clients' basses in the shop I use a different tool for setting relief, and I will go into that in a later post.