• TalkBass has been independent since 1998. Add your voice.
    Create a free account to reply to discussions, view embedded media, and browse with fewer display ads.
    Join freeLog in
    Want zero display ads or expanded classifieds tools? Compare plans.

Some new stuff... (soon)

Once im done with the few basses Im working on, ill be starting on three new ones. I am not starting any of them until I finish the others... its really hard to do....

Canary top and back on black walnut, Arariba fretboard.
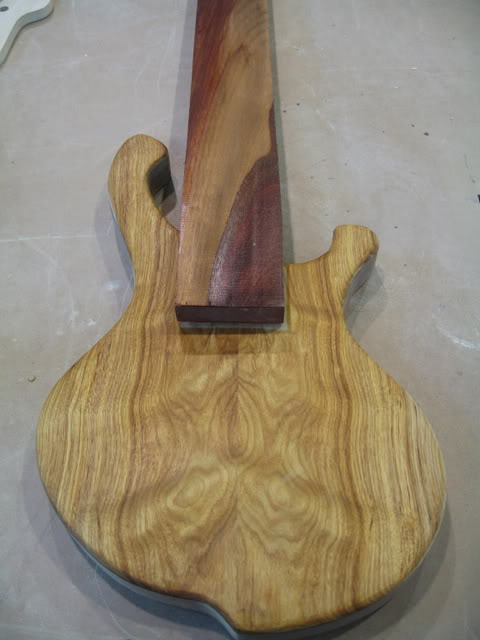
IMG_0357.jpg


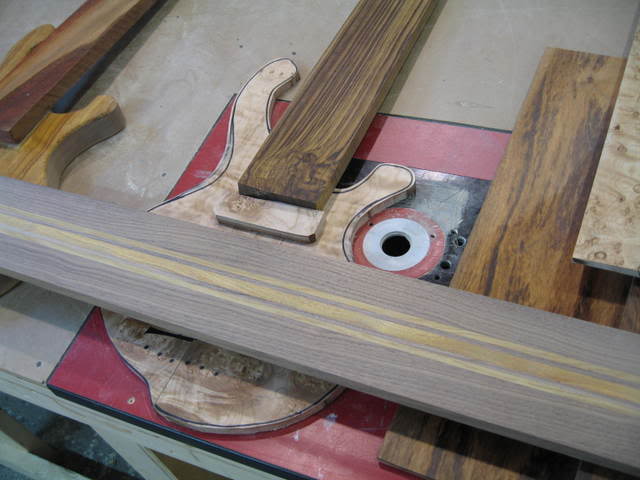
Maple burl top and flamed maple back on Ash (with black accent lines) with Burmese Teak board.
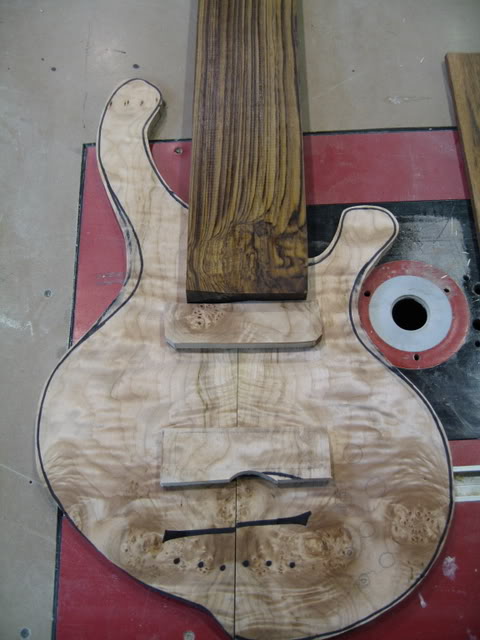
IMG_0358.jpg


Thuya burl top, Goncalo Alves back on Ash, (with black white accents) and a splendid birdseye board.
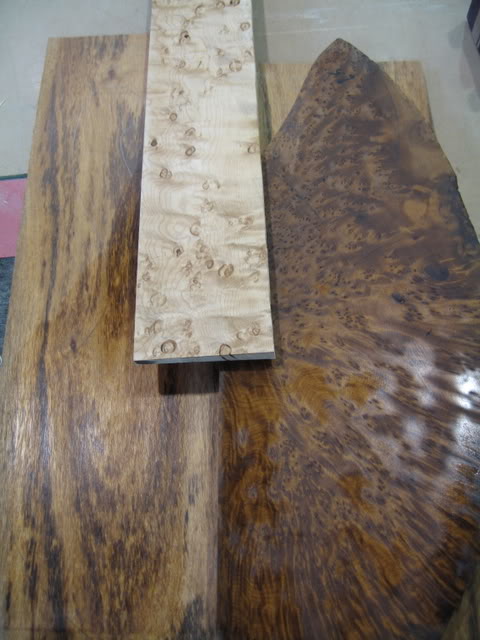
IMG_0359.jpg


All three will have this neck
IMG_0360.jpg

They are walnut and Canary. I got three blanks ready to be scarfjointed. hihih Cant wait to post progress pics of these babies !

 
Today would have been the day exposing in Germany for Bassday, but with the rather very busy past year, I couldnt make it. So I spent the day working on these guys, in hopes of going next year.

I will build all three at the same time, using the same methods, but since I can only post progress of one at a time, Ill focus on the Thuya burl one after this post, because it will be (imo, the nicest) and also because it will be a 5 string tuned EADGC with a 32'' scale.

So I scarfed all three necks, glued the caps on, next step is to route the channels for the rods. I also glued the bodies (a while ago) turns out they are Cherry instead of Ash.

DSC00329.jpg


DSC00330.jpg
 
All three necks are tapered now, I use some really strong double sided tape (thats why everything is wrapped in masking tape)

DSC00346.jpg


The fingerboard is slotted and the bindings are glued on. I scraped the extra glue that squeezed its way into the fret slots while it was still kinda tacky. Next up is a quick sanding of the entire board and then inlay. Nothing fancy...

DSC00377.jpg


DSC00374.jpg


DSC00376.jpg


Goncalo Alves back

DSC00379.jpg


DSC00380.jpg


More to come on this bass !
 
I glued on the fretboard, then sanded down the board flush with the neck.

DSC00381.jpg


DSC00382.jpg


To route out the neck pocket, I clamp two pieces of (straight) scrap on each side of the neck.

DSC00384.jpg


While the neck is at the center at the heel, I have to make sure its centered with the body joint. Then I scribe around the neck

I transfer everything onto a 1/4'' plywood

DSC00385.jpg


Drill out the bulk

DSC00386.jpg


Then I routed the plywood, stuck it onto the body, and routed out the neck pocket

DSC00390.jpg


DSC00391.jpg


glued on the 'tranny' (lmao) block

DSC00393.jpg


And it's a perfect fit !

DSC00395.jpg


Started working on the heel and neck shaping

DSC00396.jpg


DSC00398.jpg


Its been a good day...

DSC00397.jpg
 
Looks great!

With regard to your approach to making the neck pocket, I take a similar approach with clamp-up to get the correct transfer of the neck taper. In these photos, I see you used the transfer to first make a neck pocket template for your router - would you say this step gives you advantages over simply using the clamped up pieces as the actual template? Curious to get your thoughts, as I might try doing it your way with the creation of a template on my next bolt-on build.

Lonnybass
 
Is that an accent layer between the fingerboard and neck? It looks really awesome.

No, Its the glue joint ! ;) It is Birch veneer, I glued the Wenge bindings onto the Maple board , then sandwiched a birch veneer between the Walnut/Canary neck and the Maple/Wenge Fretboard.

Scott, Thanks buddy ! Things have been going good and that shows on my building. Should be gettin' better and better !!

Lonny, the one pic that is missing is the one with the clamps on those Pine scraps. Basically I clamp the pine scraps onto the neck, then scribe at the heel of the neck, taking carfeul measurements, I make sure the neck is centered with the body center joint and then clamp the two pine scraps onto the body, with 4 clamps, 2 per scrap. Then I scribe the two final lines onto the body.

Then I put two strips of that double sided tape onto the scraps, clamp them back onto the neck, and stick them somewhere onto the center of a 1/4'' plywood, then measure the distance between both scraps at the heel, I add another piece of scrap to the plywood, using, again, the same double sided tape . Then I route out the plywood so I can use that as a template, I like it a lot because im a big fan of using the tool stationary and having the material in your hands. I find I have more control on the tool that way. I use a lot of scraps and double sided tape to do templates, it doenst take me much time anymore and they are easy to do/use at this point. I did the Pickup cavities and covers the same way today in a few hours.

DSC00399.jpg


Then i did templates out of plexiglass based on an old neck I had, and shaped up the neck too.

DSC00401.jpg


Work will be slower on this one soon, since I gotta catch up woth the other basses.
 

Latest posts