

Enjoy the benefits of a premium membership!
Upgrade Account
-
TalkBass has been independent since 1998. Add your voice.
Create a free account to reply to discussions, view embedded media, and browse with fewer display ads.
Join free Log in
Want zero display ads or expanded classifieds tools? Compare plans.
You are using an out of date browser. It may not display this or other websites correctly.
You should upgrade or use an alternative browser.
You should upgrade or use an alternative browser.
More options
Who Replied?

I know it will be a while before I can get to sand and polish, but I'd be interested in any insight on how to work the curves and tight spots? I feel pretty confident with the wide open spaces, just a little concerned about techniques to get in and around the horns and the transition from the sides to the top/back...
An auto parts store will have rubber sanding blocks that are more flexable on one side then the other. I use those on curves. Shaped wood blocks, pieces of PVC pipe, a pink pencil eraser in a pinch. The hardware store should have sanding sponge blocks that you can wrap other grits of sandpaper around. Lately, I’ve been using Abranet discs and the pad that they come with seems to work pretty well for spreading out finger pressure as well.
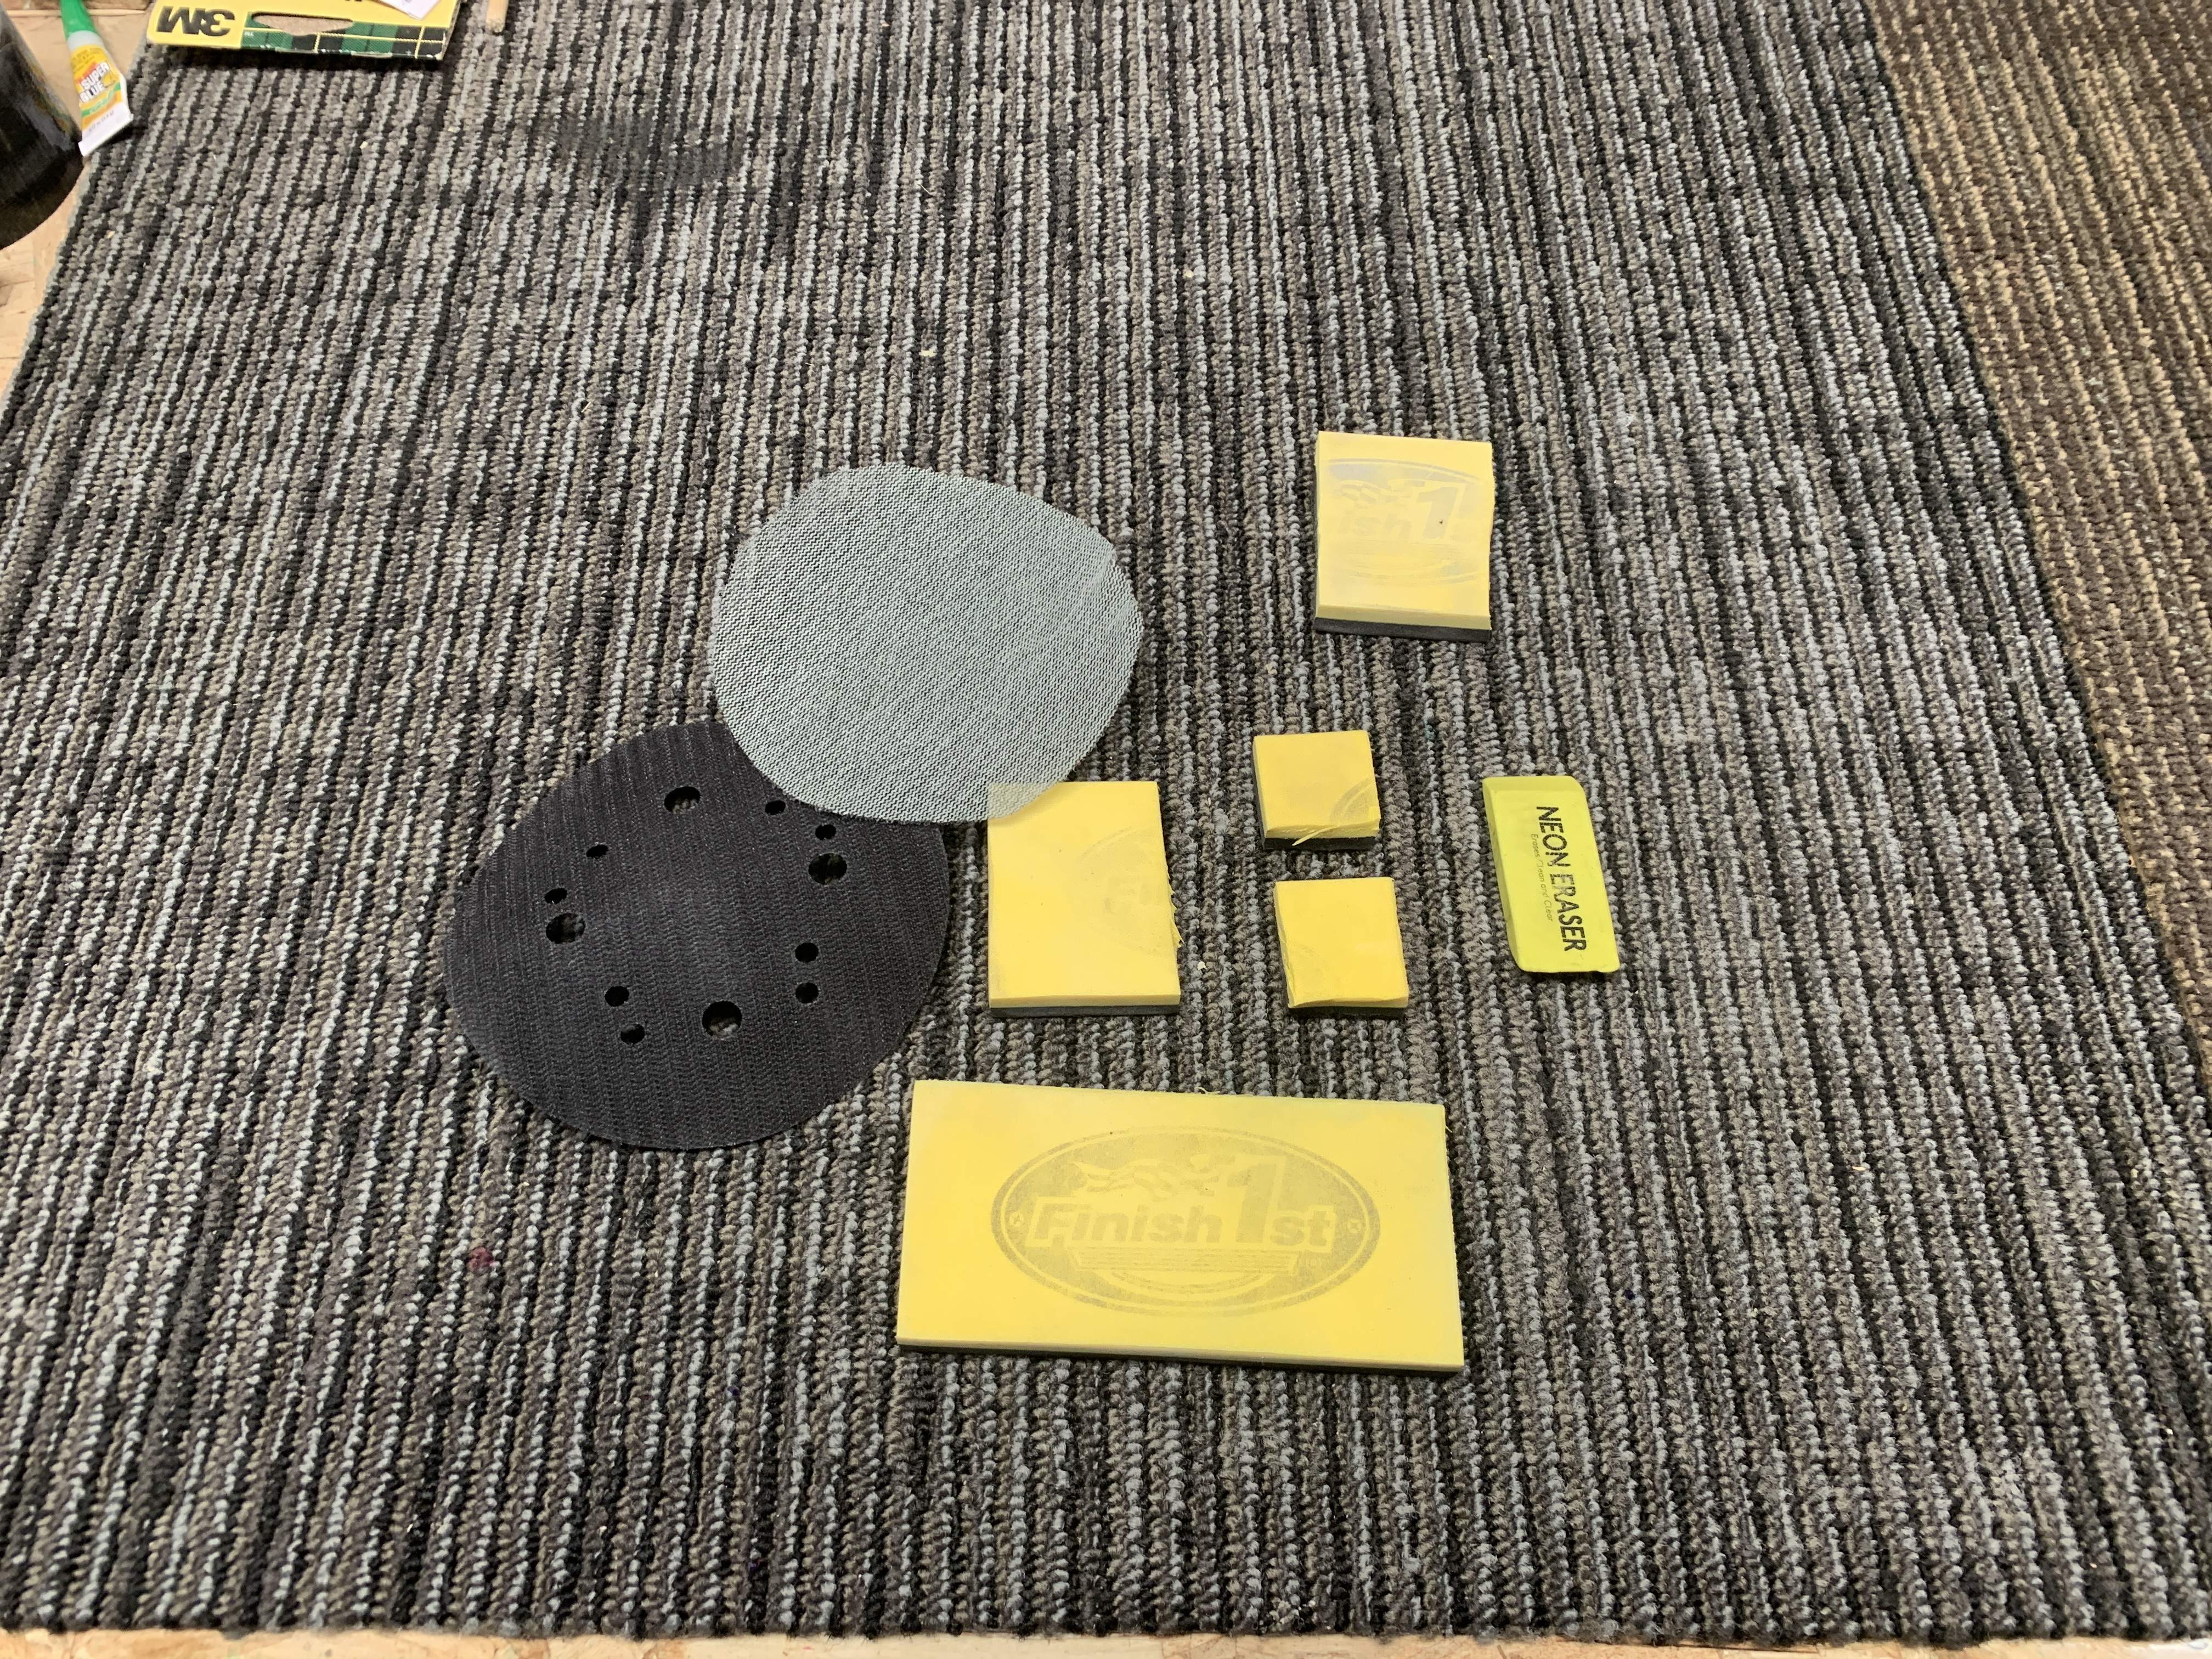
Very cool thanks! I've seen people online using the eraser, I hadn't considered a sponge. I have a bunch of em from a sanding sponge to kitchen sponges to a huge sponge for floating spackle. I can probably cut up various sponges to make whatever sizes and shapes I needAn auto parts store will have rubber sanding blocks that are more flexable on one side then the other. I use those on curves. Shaped wood blocks, pieces of PVC pipe, a pink pencil eraser in a pinch. The hardware store should have sanding sponge blocks that you can wrap other grits of sandpaper around. Lately, I’ve been using Abranet discs and the pad that they come with seems to work pretty well for spreading out finger pressure as well.
View attachment 3790588

Do you still work in a circular motion in the tight spots?

- Apr 18, 2008
- 16,019
- 1
- 31,734
- Disclosures
- I'm highly opinionated and extremely self-assured
Do you still work in a circular motion in the tight spots?
... destined to take the place of the mud shark in your mythology ....

Very cool thanks! I've seen people online using the eraser, I hadn't considered a sponge. I have a bunch of em from a sanding sponge to kitchen sponges to a huge sponge for floating spackle. I can probably cut up various sponges to make whatever sizes and shapes I need
Do you still work in a circular motion in the tight spots?
A vigorous circular motion... Actually, whatever seems to work. I haven’t really thought about it or paid attention when I’m sanding. I guess with paint I finish off with circular or figure eight pattern but, really whatever gets it done.

Do you still work in a circular motion in the tight spots?
As the actress said to the bishop....

Took longer to get another can of clear than it did last time, but it was delivered late yesterday and I'm back on it today.
I level sanded really lightly to prep for more spraying and a couple good things came out of it. I fixed a couple dust spots. And found a run I didn't notice before and fixed that. I'm happy that one, the sides and back are taking the poly smoother and need less flattening, and two light, dry level sanding did not go through the clear and affect the color layer (happily no burn through anywhere).
So I'm back to building up clear layers. Next weekend I should be able to install the bridge and do a mock layout. Then its cure, shine, and assemble.
I level sanded really lightly to prep for more spraying and a couple good things came out of it. I fixed a couple dust spots. And found a run I didn't notice before and fixed that. I'm happy that one, the sides and back are taking the poly smoother and need less flattening, and two light, dry level sanding did not go through the clear and affect the color layer (happily no burn through anywhere).
So I'm back to building up clear layers. Next weekend I should be able to install the bridge and do a mock layout. Then its cure, shine, and assemble.
So, spraying is done (barring any catastrophic mistakes) and I'm installing the neck and bridge today. Couldn't resist setting everything in place to see what the final result will look like:


Might make a wenge truss cover if time allows and I have a scrap big enough.
Might make a wenge truss cover if time allows and I have a scrap big enough.
Last edited:
Looking pretty as a picture there man....So, spraying is done (barring any catastrophic mistakes) and I'm installing the neck and bridge today. Couldn't resist setting everything in place to see what the final result will look like:
View attachment 3811894
View attachment 3811895
Might make a wenge truss cover if time allows and I have a scrapbig enough.
....Whenever I hear someone pronounce "Wenge"....I always want to....and sometimes do....
.....say ..."Thurgy"....shrugs 

So, spraying is done (barring any catastrophic mistakes) and I'm installing the neck and bridge today. Couldn't resist setting everything in place to see what the final result will look like:
View attachment 3811894
View attachment 3811895
Might make a wenge truss cover if time allows and I have a scrap big enough.
I have some wenge here if you need me to send you a scrap
Very much appreciatedI have some wenge here if you need me to send you a scrap
I check my scrap pile and PM you if I come up short.
Alright, got the holes for the neck-screw ferrules cleaned out with the little sanding drums and the dremel. The ferrules drop in nice now.

Then cleared the bridge ground channel. This was a bit tough. The hole was drilled from the control cavity, but I don't have a bit long enough so I ended up turning a short bit with vice grips while keeping pressure on the back of it. Took a little time but it worked. The wenge of course splintered a little. Its not bad and will be hidden by the bridge. It lifted the poly a little bit too (again in a hidden spot) so I took the dremel fine sanding drum and blended the edges so there was no poly with air under it. Then mopped on a little wipe-on poly to seal it.

Now gonna let that little bit of wipe-on poly dry. So bridge will be located and installed tomorrow.
It's ok, the weather here in Jersey is gorgeous today and our parks were just reopened so I'm going hiking (which has been my preferred method of social distancing for many years)
Then cleared the bridge ground channel. This was a bit tough. The hole was drilled from the control cavity, but I don't have a bit long enough so I ended up turning a short bit with vice grips while keeping pressure on the back of it. Took a little time but it worked. The wenge of course splintered a little. Its not bad and will be hidden by the bridge. It lifted the poly a little bit too (again in a hidden spot) so I took the dremel fine sanding drum and blended the edges so there was no poly with air under it. Then mopped on a little wipe-on poly to seal it.
Now gonna let that little bit of wipe-on poly dry. So bridge will be located and installed tomorrow.
It's ok, the weather here in Jersey is gorgeous today and our parks were just reopened so I'm going hiking (which has been my preferred method of social distancing for many years
)The neck glides in and out of the pocket no problem (was worried the finish might bind). After a ton of measuring and double checking the bridge is installed.

This is when I really get to see how close to centered the wenge strip is...
...and turned out it was super close. I was off by a 32nd, maybe less, not enough to see. I had to mount the bridge pretty far back to get it where there's enough room to adjust intonation (which I knew when I bought the large bridge). Hipshot includes two short screws for the B & E just in case, and with those I should be fine. I love the visual impact of this bridge, and it pretty much spans the wenge exactly.
Now the body is hanging to let the poly cure, so I cleaned up the neck. Took some scotch brite and cleaned the frets (they have no wear, but were covered in crud.

Then cleaned the rosewood (also had some gunk on it) and conditioned.
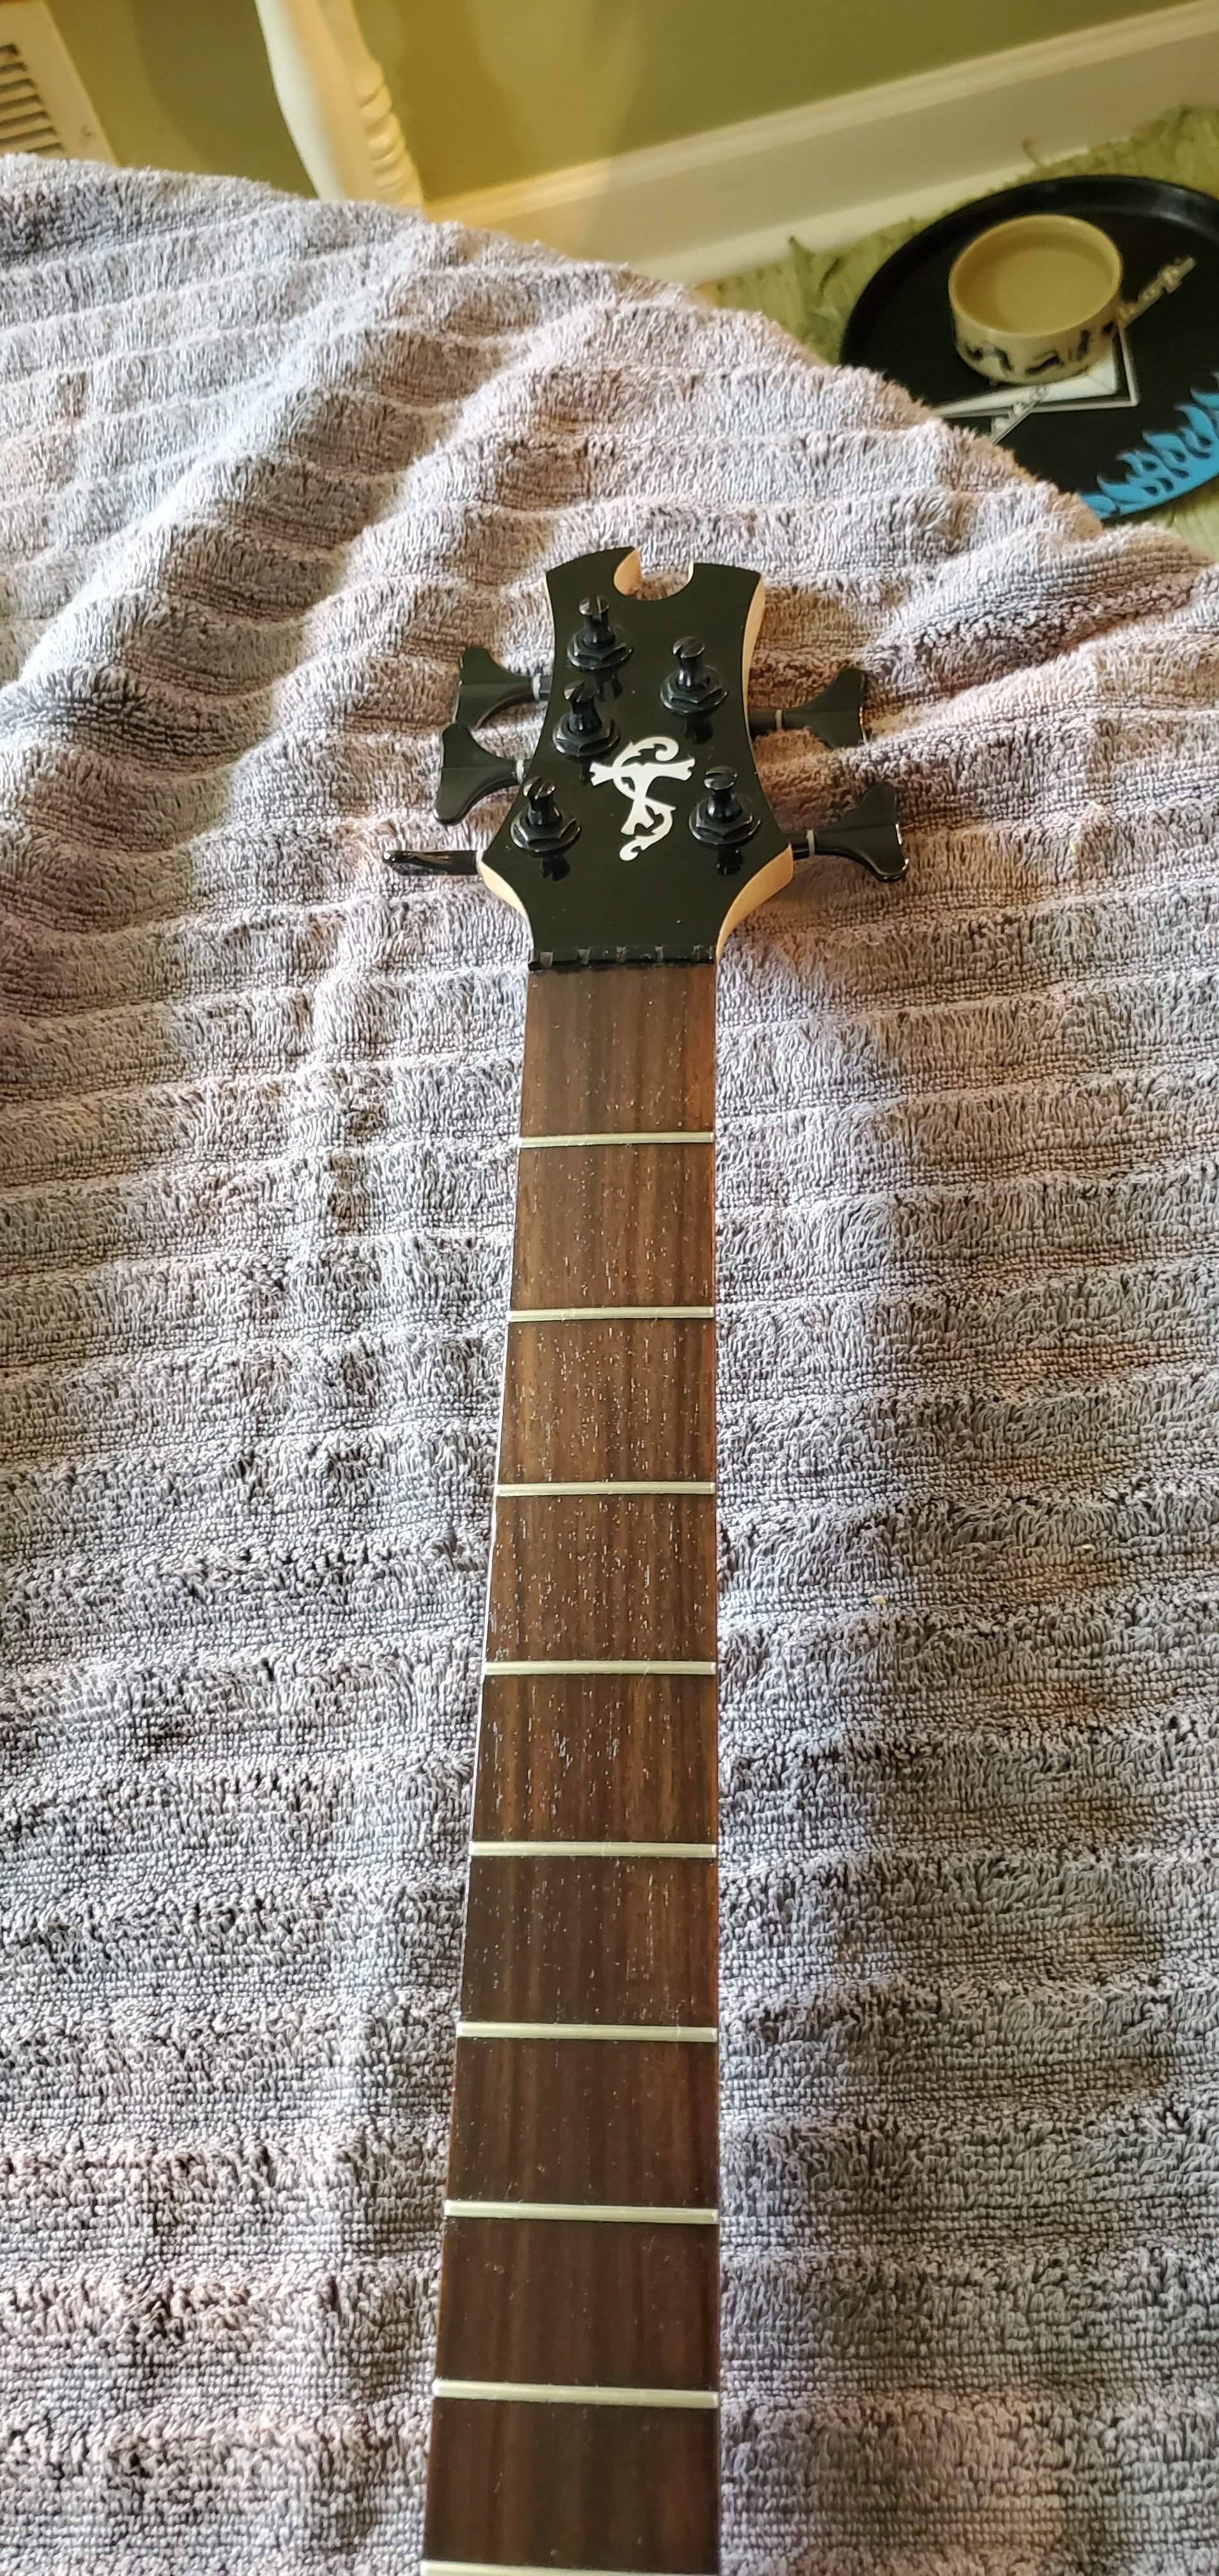
It's a tedious job but really impactful. I love watching the wood go from dull and grey to a rich collection of warm brown tones. In case you noticed it, yes, my cats water dish lives on a Fender Custom Shop tray

This is when I really get to see how close to centered the wenge strip is...
...and turned out it was super close. I was off by a 32nd, maybe less, not enough to see. I had to mount the bridge pretty far back to get it where there's enough room to adjust intonation (which I knew when I bought the large bridge). Hipshot includes two short screws for the B & E just in case, and with those I should be fine
. I love the visual impact of this bridge, and it pretty much spans the wenge exactly.Now the body is hanging to let the poly cure, so I cleaned up the neck. Took some scotch brite and cleaned the frets (they have no wear, but were covered in crud.
Then cleaned the rosewood (also had some gunk on it) and conditioned.
It's a tedious job but really impactful. I love watching the wood go from dull and grey to a rich collection of warm brown tones. In case you noticed it, yes, my cats water dish lives on a Fender Custom Shop tray
Last edited:
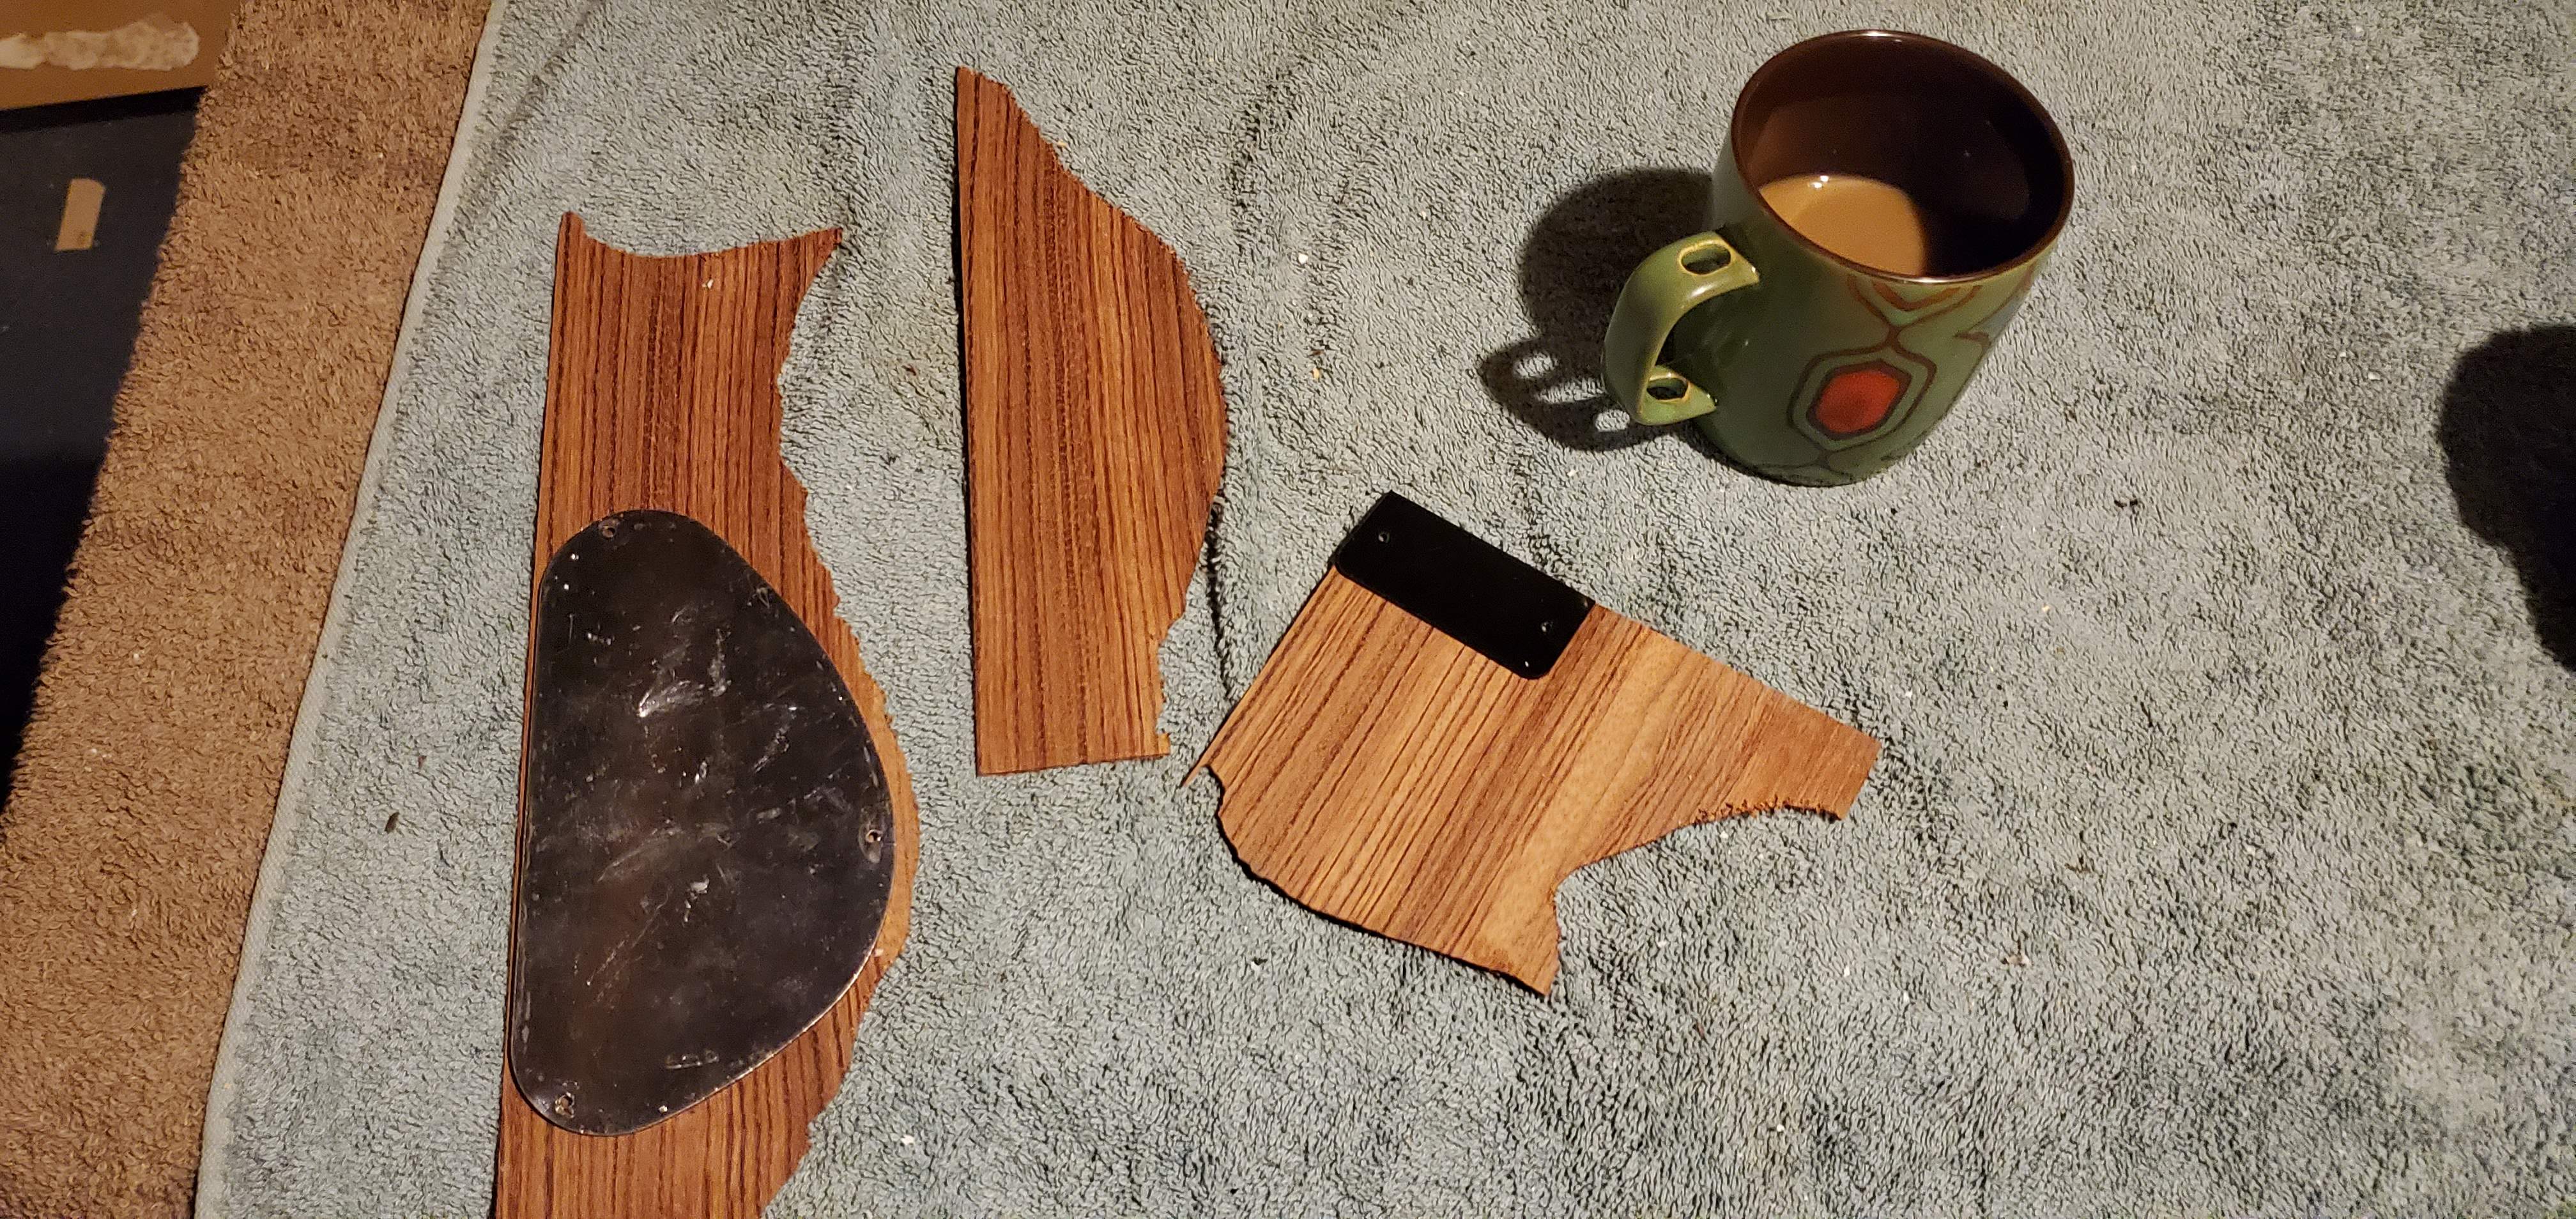
so, waiting for the poly to cure, got some scrap bubinga, gonna try and make control cavity and truss rod covers.
@Dark Horse your offer was totally gracious, and much appreciated, but I figure I've got the bubinga, might as well start with that. If I screw it up real bad I'll reach out (more than likely to commission you to make one for me )
)
@Dark Horse your offer was totally gracious, and much appreciated, but I figure I've got the bubinga, might as well start with that. If I screw it up real bad I'll reach out (more than likely to commission you to make one for me
)
so, waiting for the poly to cure, got some scrap bubinga, gonna try and make control cavity and truss rod covers.
View attachment 3821725That bubinga is lovely, but man that coffee looks delicious.
@Dark Horse your offer was totally gracious, and much appreciated, but I figure I've got the bubinga, might as well start with that. If I screw it up real bad I'll reach out (more than likely to commission you to make one for me


