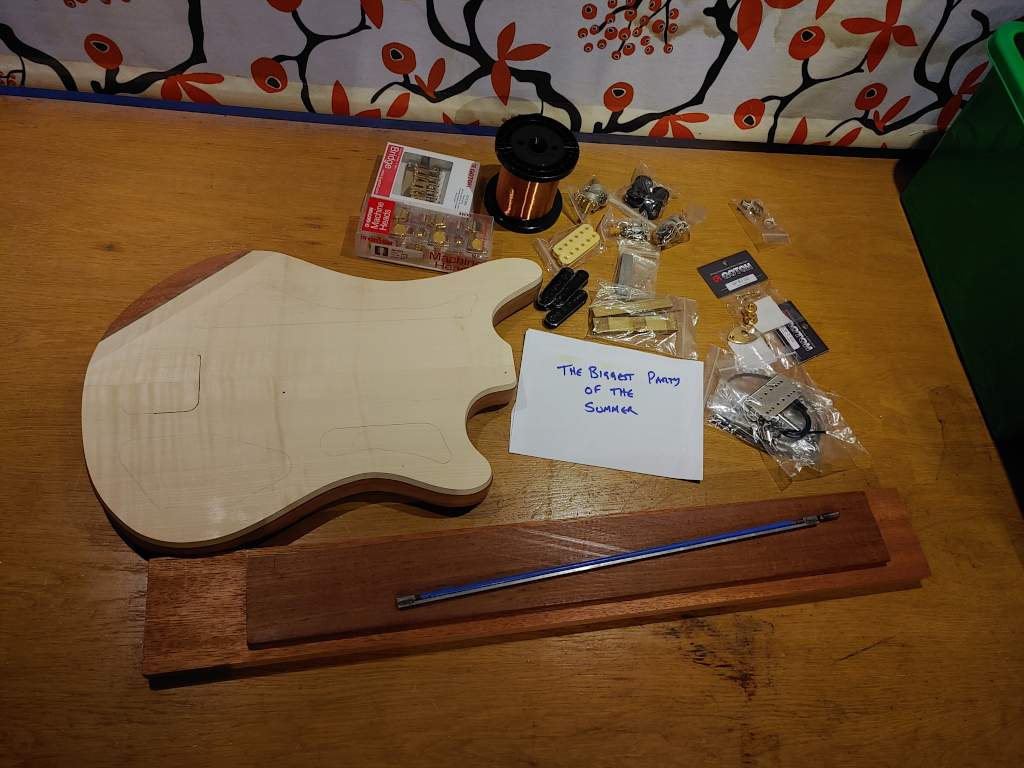
When it rain, it pour
I came to bring the pain once more (
foreshadowing #1, trigger warning: extremely mild violence).
TLDR: I made a fingerboard.
That's enough of a head start, I think. Time to get this show on the road.
I started by taking the stock for the neck and fingerboard and thicknessing it to roughly where I needed it. Fortunately, I had some scraps that were close enough in thickness to act as snipe sentinels. The difference in sound between the narrower SPF sentinel and the knobthorn blank going through the cutters was hilarious.
I was aiming for somewhere around 21mm on the Utile neck blank and about 7mm on the Knobthorn fingerboard. I called quits on the neck at 21.4mm as it gives me some wiggle room. The fingerboard came out pretty close:
I took the fingerboard blank and planed one edge straight and square. I chose the line of the edge to try and make the best straightness of the grain lines, which are slightly wavey. I then used a mitre saw and shooting board to get the two fingerboard ends square relative to that edge. I'm doing the neck a little bit differently this time, order-of-ops-wise, in that I'm going to make most of the fingerboard relative to a fixed reference-edge and then use centre lines and locating pins to glue it to the neck in a mostly finished state.
Somewhere, during the Spring, budget carbide retailers Rennie had router bits on sale over here, so I invested in a 1/4" 2-flute down-cut bit. I used it to create the nut slot by running it along a straight edge on the router table with a straight and true-cornered backer-board acting as a sled:
In theory, this would fit the 1/4" Tusq nut blank I have perfectly, but it didn't; it was a couple of hairs too-tight for comfort, so I added 2 layers of standard white masking tape to the
end of the fingerboard adjacent to the nut and did it again. This has the effect of pushing the board out from the straight-edge by 2 tape thicknesses, widening the slot by the same amount.
Warning: If you do this, even though it's a very thin cut, it's
effectively a climb cut and the board can jump / kick-forward / catch unless you hold it down fairly-tightly close to the blade (this probability is worse with harder/denser woods). Try not to do it this way; it's one of those things that will work right up until the moment where it doesn't, with potentially disastrous results (for your fingers as well as the work-piece). A better way would either be to (a) move the straight-edge back a tiny amount with a feeler-gauge-spacing trick;
or (b) to put the tape on first, make the rearmost cut, remove the tape and make the front cut; that way it's a conventional cut. I didn't do that because I didn't know how many microns / layers of tape would be needed; 'turns out it's two. Now you know.
It came out pretty decently, though:
I placed tape down the centre of the board, then used calipers to locate centre-line locations relative to the reference edge. I clamped a straight-edge down the centre-line and cut the tape exactly to the centre-line. I then removed one half of the tape, so the tape line was effectively the centre (or, at least, a consistent distance from the reference edge). I then clamped a ruler next to the tape and used it to mark out the fret positions. Using one of them-thar fancy protractors, in combination with an engineering square from the reference edge, gave me two ways to mark / double-check the fret positions, which I scored-in with a knife.
I measured all my positions relative to the nut-line, so I went back afterwards and double-checked that they were the right distance from each other individually.
Because my fret-slot-cutting jig isn't designed to use templates (mainly because I'm going to be using off-brand scale lengths and low volume output anyway ...), the fingerboard itself can be the template. So I used a some small saws (including the slotting saw) to cut into the knife scores on the edge of the fingerboard to give the main saw something to locate into once in the jig. This
mostly worked well (
foreshadowing #2):
I then took the board to my jig and cut away. Twenty-two times. (Why, yes; those
are the wing-knobs from an old electric hover-mower; why do you ask? ...)
The board came out mostly great ...
... except for fret slot number 3 (
aft-shadowing #2)...
What had happened was that I must have slightly mis-cut one of the reference notches, failed to check it, and then chose to reference off that one in the jig. Fortunately, I caught it reasonably early; the jig is
so square that it immediately showed something was off, so I checked for correctness, referenced off the opposite notch (which was right) and cut it correctly, but not before one side came out over-wide to partial depth.
Normally, I'd be super-Pee'd-off at this point, but I wasn't panicking for three reasons: (1) When I put the chosen fret-wire in there, it still bit in the deeper slot and the wire was wide enough that it still seated over both edges anyway; (2) the fingerboard was yet to be radiused -- that would take quite a lot of the offending section off; and (3) the board is still over-wide at this point; there's about 14mm (~9/16") to come off, which will also remove a chunk of the problem, so I was fairly confident it would come out "OK".
Nevertheless, I decided to "
fix it in pre-" just in case it needed a little help, so I readied the troops:
I had some spare knobthorn from the scrap, so I used 80-grit paper to prepare a pile of sawdust and mixed it 2:1 with epoxy. Filled when wet:
Still wet-but-gummifying with tape removed and some careful acetone mop-up:
The next day, dried, with stray epoxy pared-away with a sharp 1" (25mm) chisel:
With the slot re-cut:
With the slots and nut placements pretty much established, it was time to get to the radius. I found a 2"x3" (50mm x 75mm) cut-off from an old gate project and planed two adjacent surfaces straight, flat and square to each other. This was slightly tricky owing to one knot, but the jack plane took care of it:
I had literally
just changed the blade in my marking knife and was in the process of carrying the centre-line around to the back of the fingerboard, when the murderous Mr. Bozo paid me the courtesy of a visit (
aft-shadowing #1):
While cutting tape to lie adjacent to the centre-line, I caught myself enough to put a not-too-deep but somewhat annoying 3mm (1/8") deep 'notch' in my left index. It's nothing that needs surgery, but I won't be playing the bass for about four days:
I've been playing around with circular saws, table saws, angle grinders and routers for over twenty years and -- literally touch wood -- nothing bad has happened to me in the shop or on worksites (there
were two incidents, but on both occasions the guards did their job. I love you, guards). The only times I've ever bled while on the job have been knives and chisels. Every. Single. Time. And, even then, the chisels weren't that serious, just grazes. It's always the knives. Always.
Anyway, because kitchen towels and masking tape are essentially trauma dressings and micropore, we tidied-up and continued.
I taped the fingerboard to the effective-router-sled 3"x2", matched exactly along the centre-line, set up the big router table and fence, and cheerfully joined
@Gary_M and
@Flying B in the routing-your-radiuses club. After one side (three passes):
I flipped it, matched to centre-line, and did the other side:
Truth be told, I should have been more aggressive here. By leaving an untouched strip down the middle it is effectively a low spot relative to the target radius, and I had to work harder to sand the sides later. I think the best bet would be to overlap the cuts very slightly, which would leave you having to sand a slight high-spot in the middle (relative to the target radius), which would be less work.
Radius-end art shot:
This was the 'glitchy' fret slot number 3 after the router-radiusing:
I probably didn't take the epoxy back far enough but, even at this stage, it's essentially fine. There's still sanding and cutting it down to width to go.
I then put 120-grit on a sanding block and went to work. Knobthorn is, to use the scientific terminology,
b@stard hard and, had I known how resilient it was going to be, I'd have started with 80. However, it didn't take
too much time or sweat.
I then switched to 240-grit and finished her off:
The 3rd fret slot came out even better (it's basically a non-problem):
Whew. Done. Neck neckst.
TBC.