• TalkBass has been independent since 1998. Add your voice.
    Create a free account to reply to discussions, view embedded media, and browse with fewer display ads.
    Join freeLog in
    Want zero display ads or expanded classifieds tools? Compare plans.

Summer Build Off 2024 - Slab body P/J

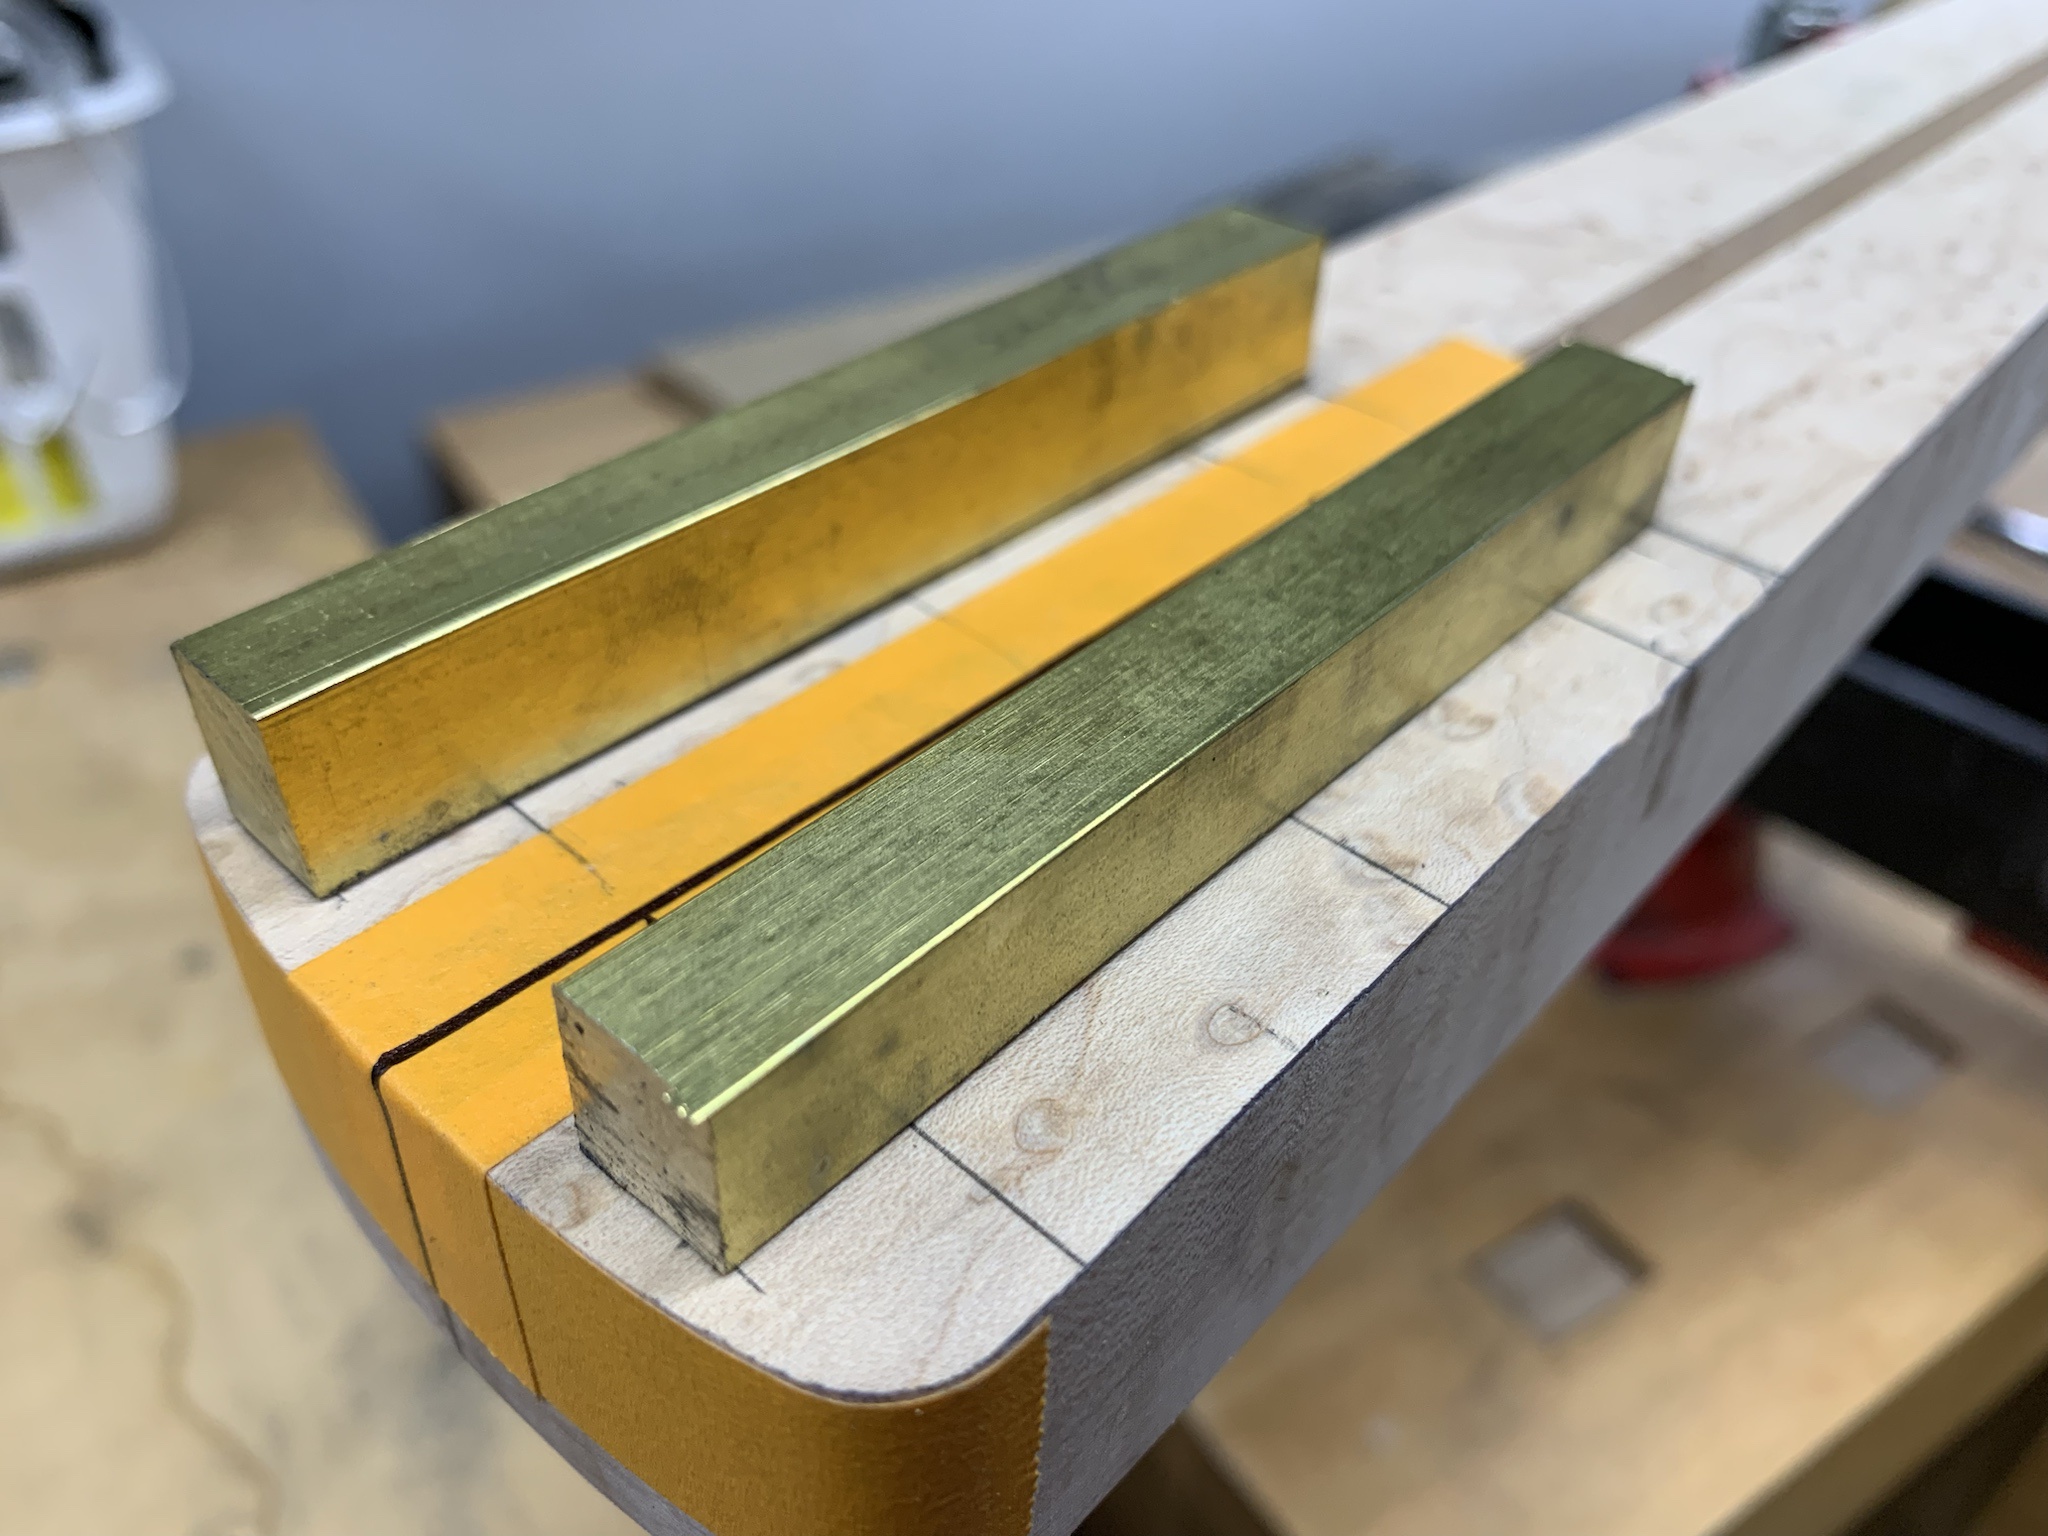
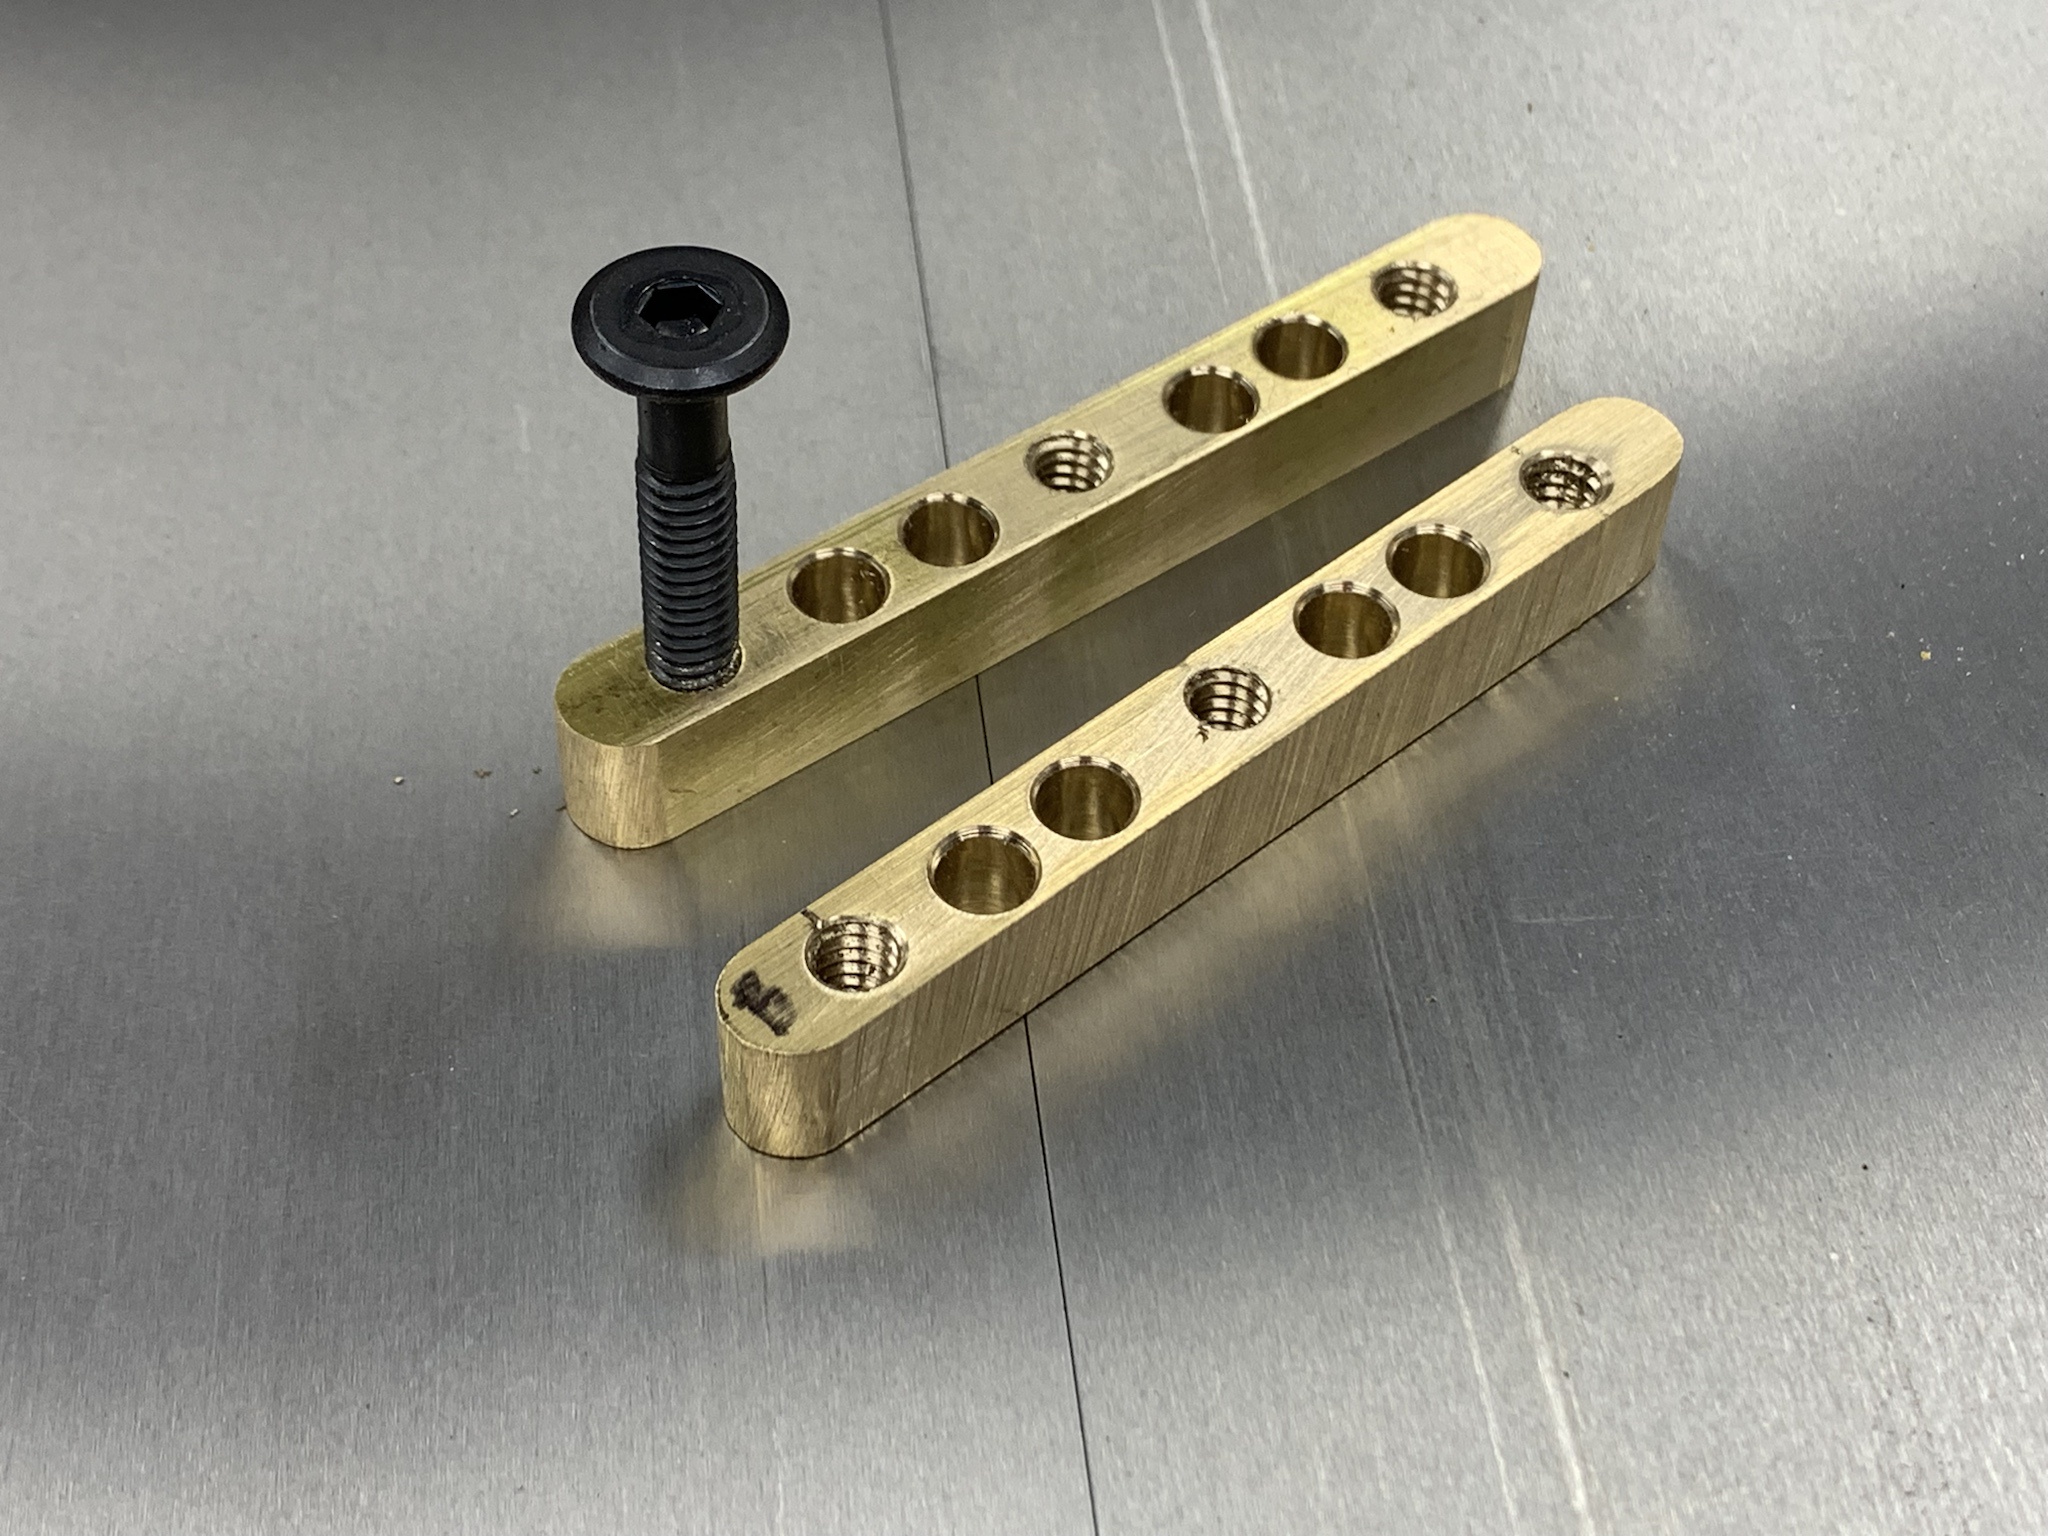
OK, some more baby steps on the neck. Before I can attach the fretboard, I needed to get the brass Bruce bars (B-cubed, as I am now dubbing them) prepped and fitted.

Rough cut the brass bars and laid out the bolt locations.

FldKHQ2.jpg


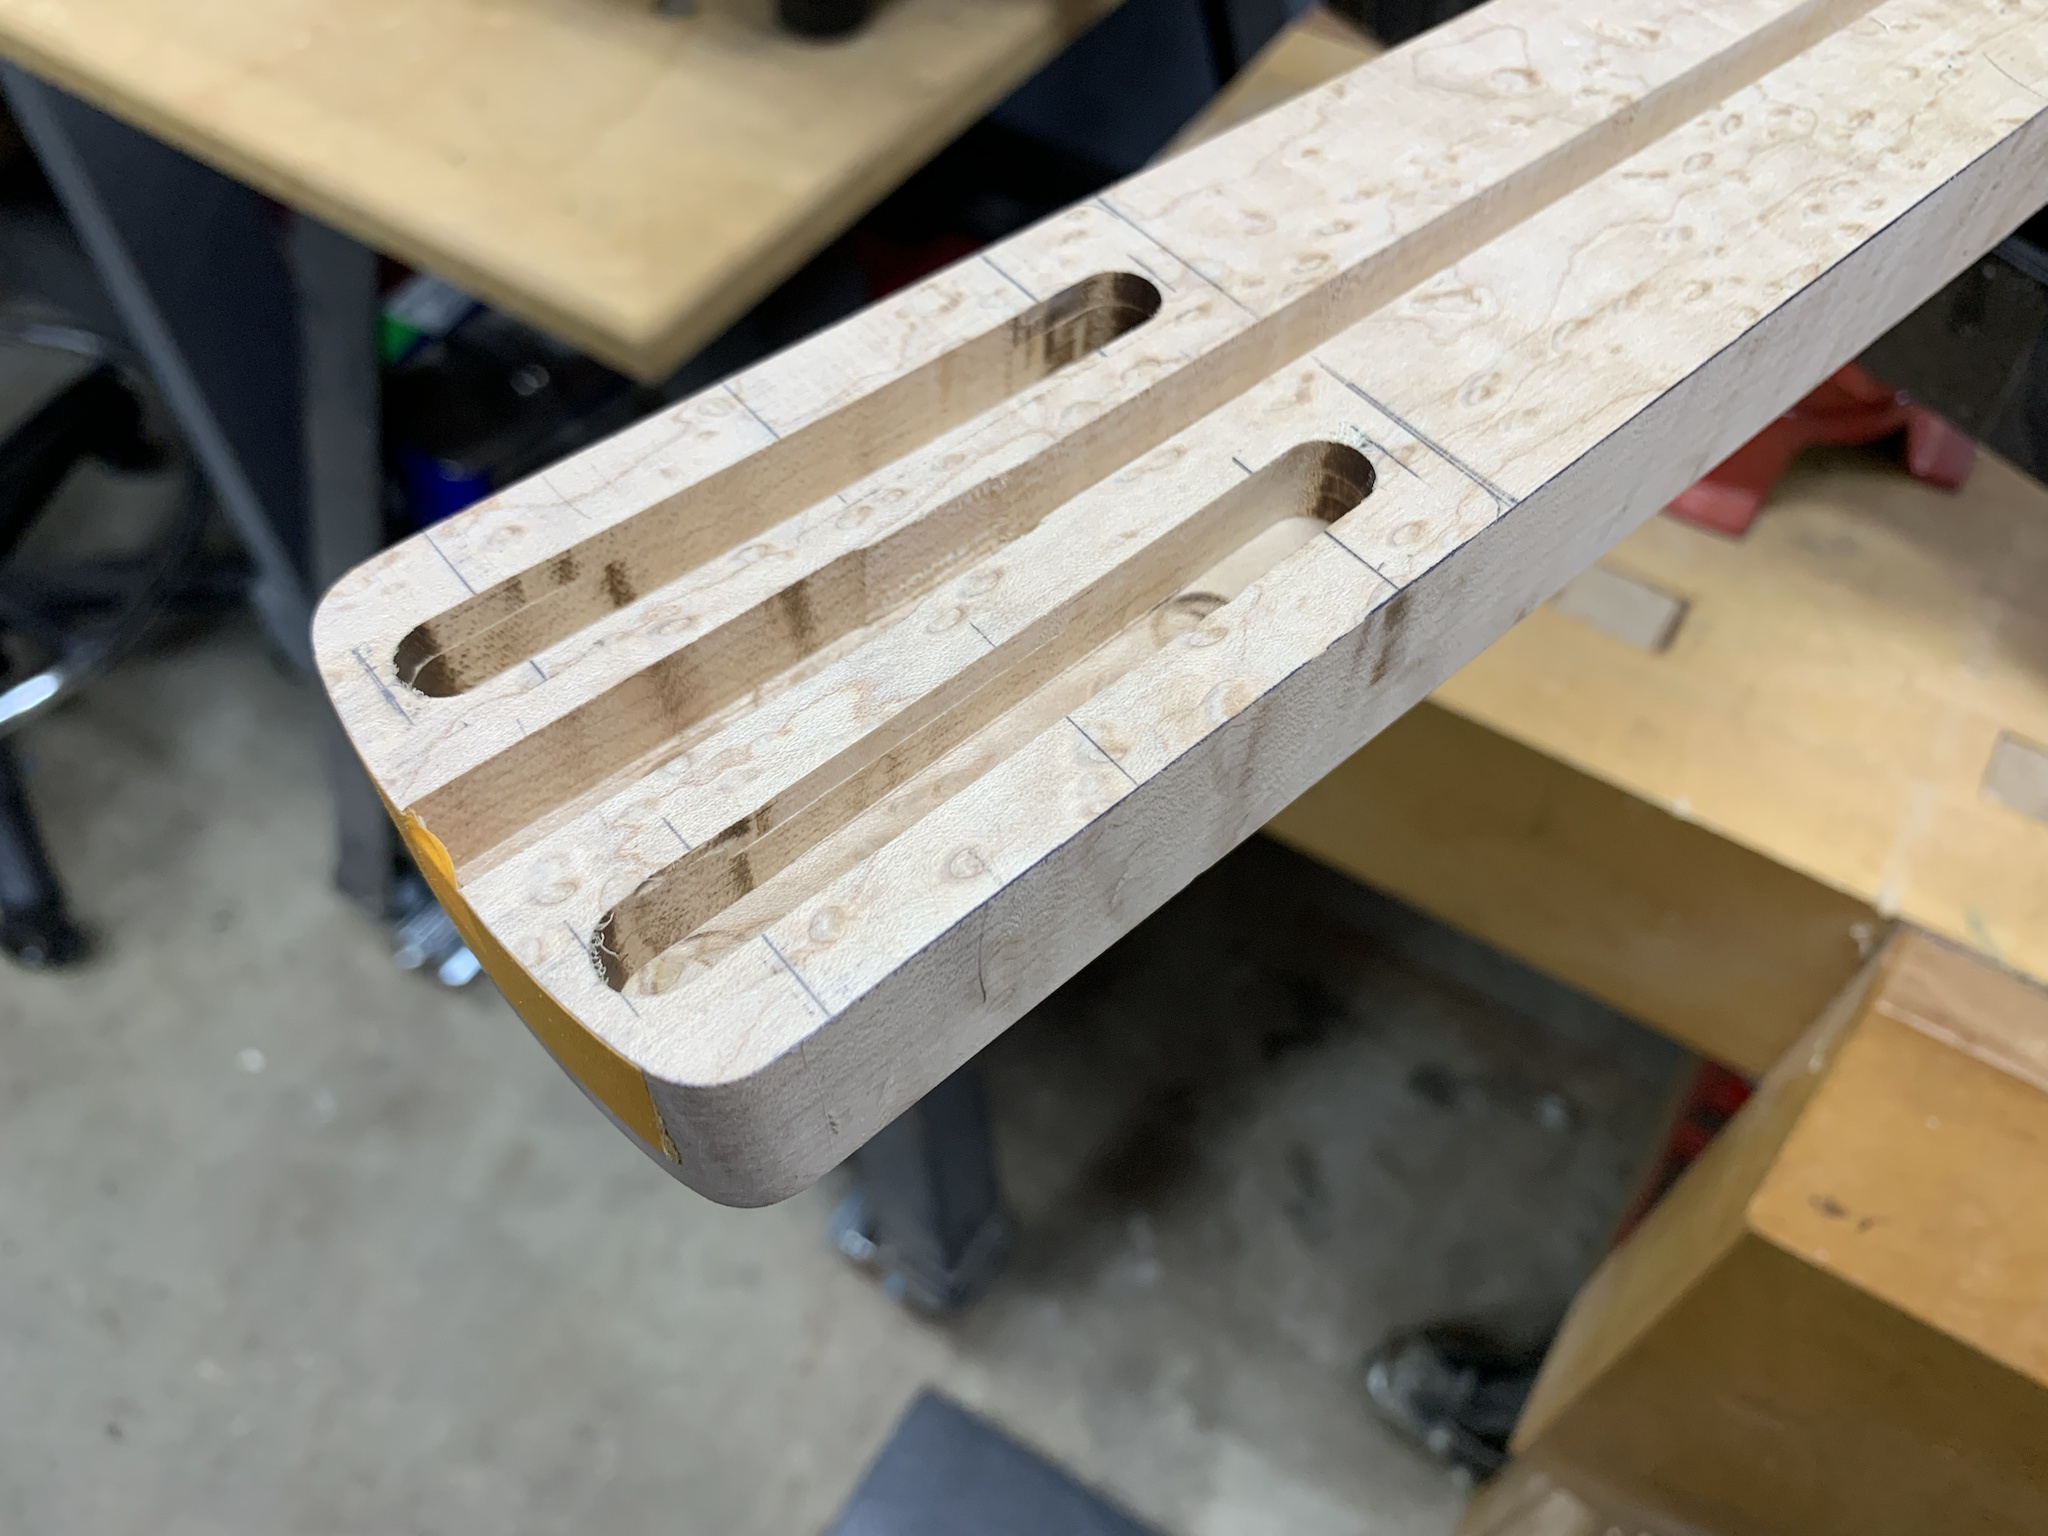
Routed the bar pockets using a Colt router with a plunge base and a 3/8" bit... no pictures of the process for some reason.

BkBPEj7.jpg


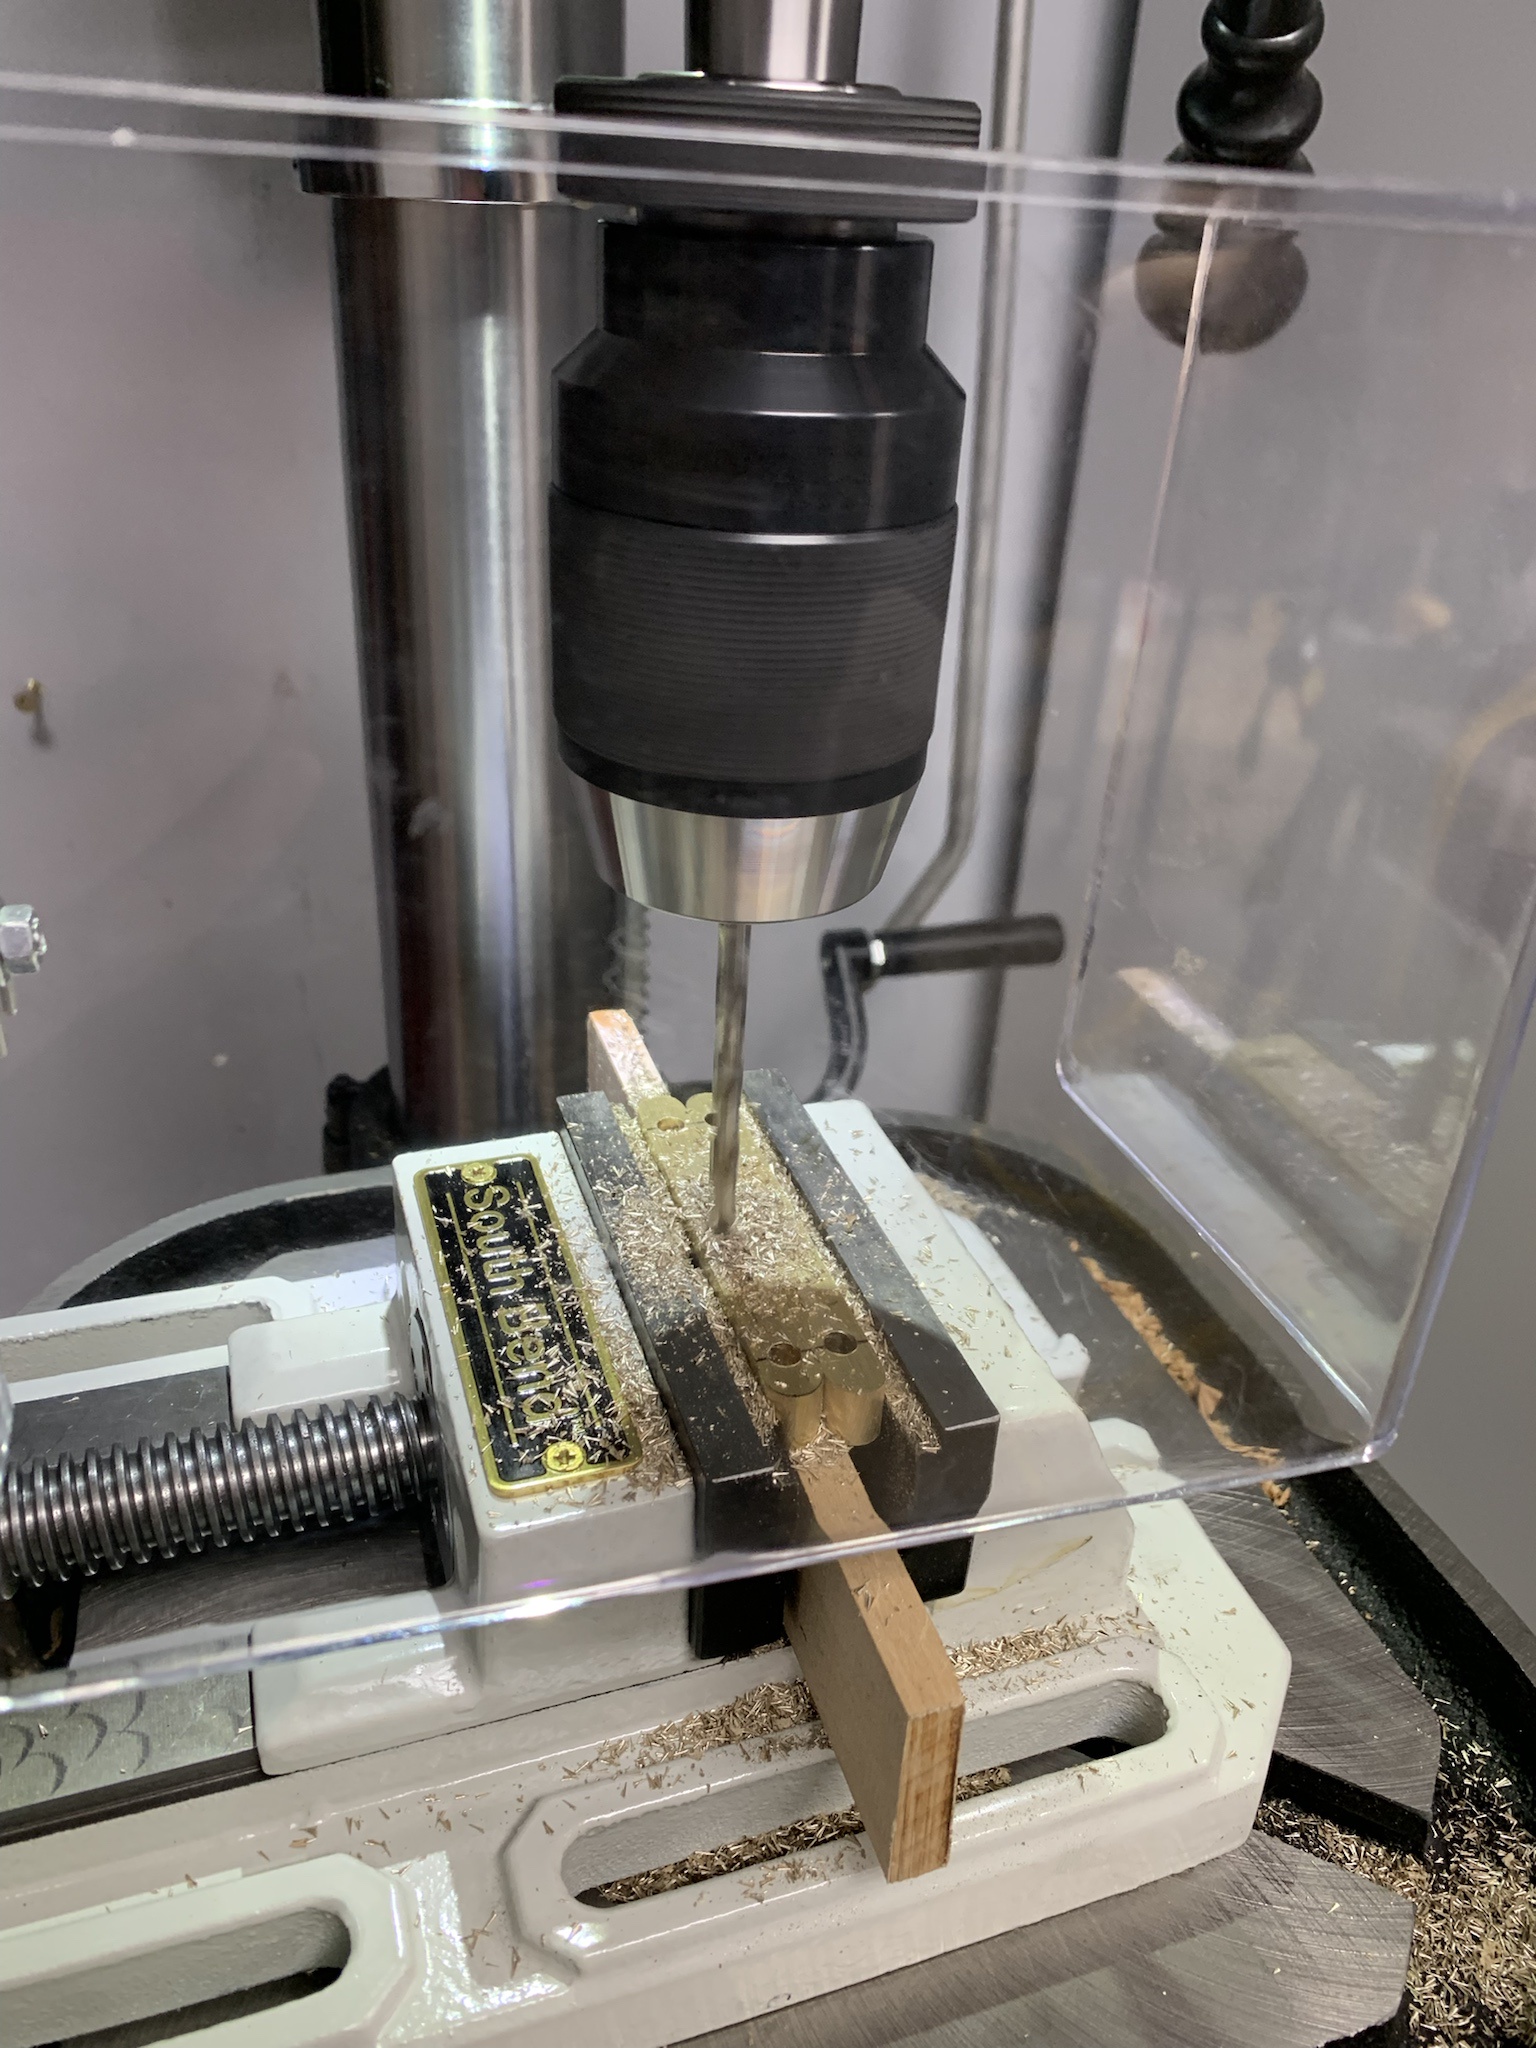
Fitted the brass bars to the pockets, then transferred the bolt locations and drilled.

ehRQKu6.jpg


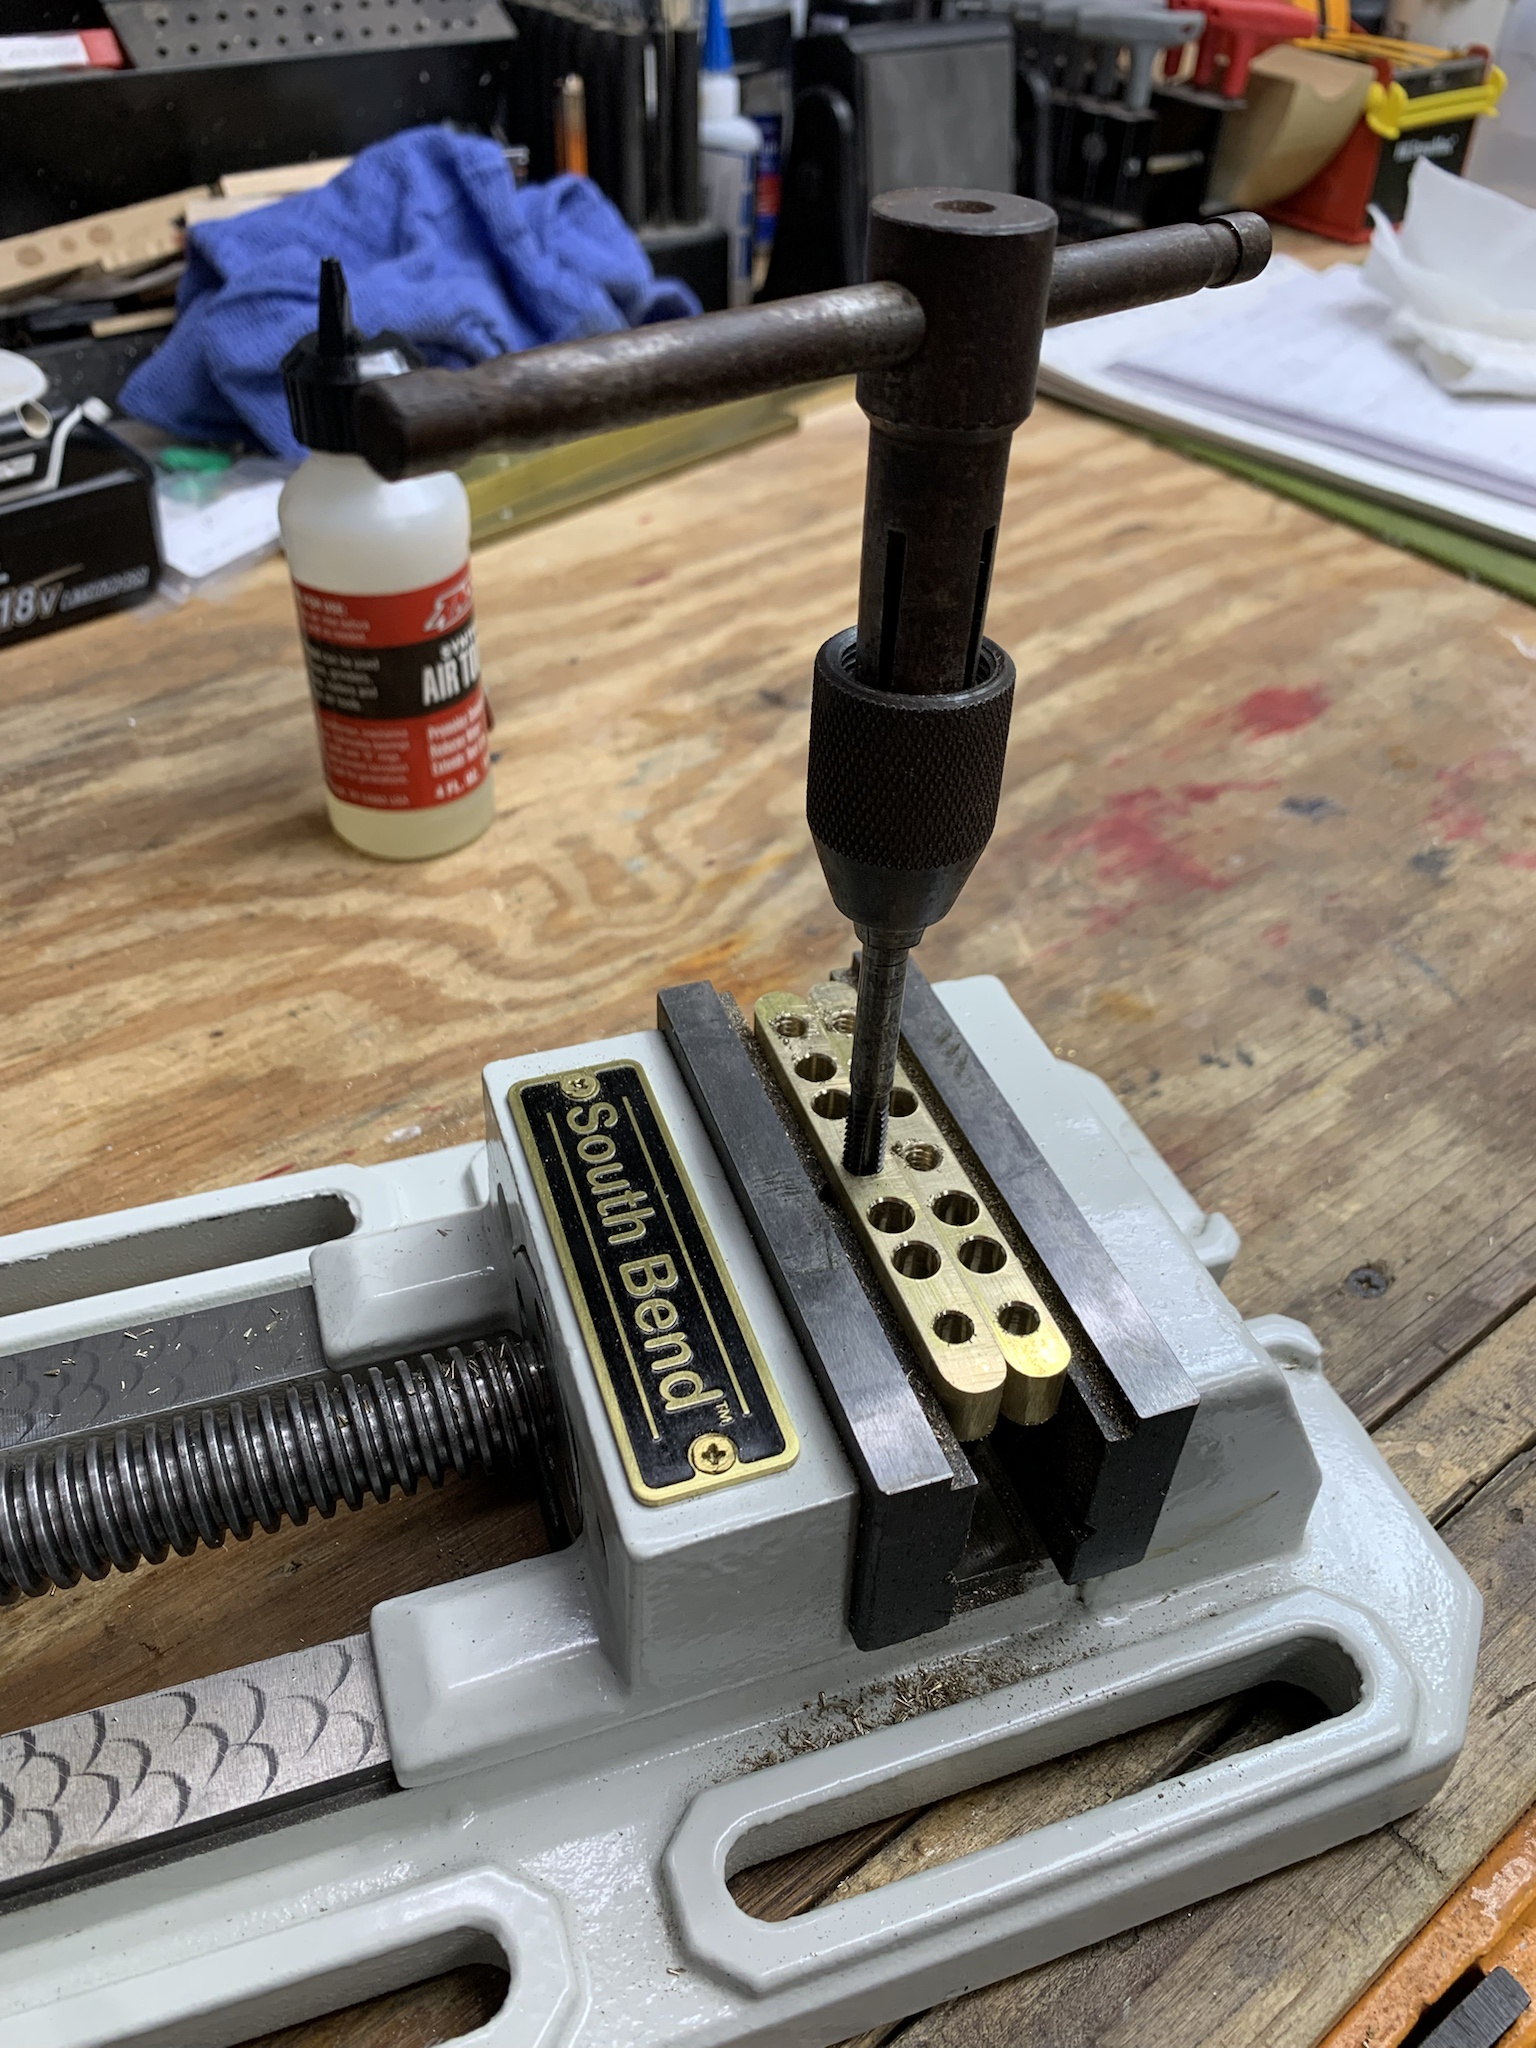
Tapped with 1/4"-20 threads.

hRI2r7D.jpg


Ready to go.

DnwntuC.jpg


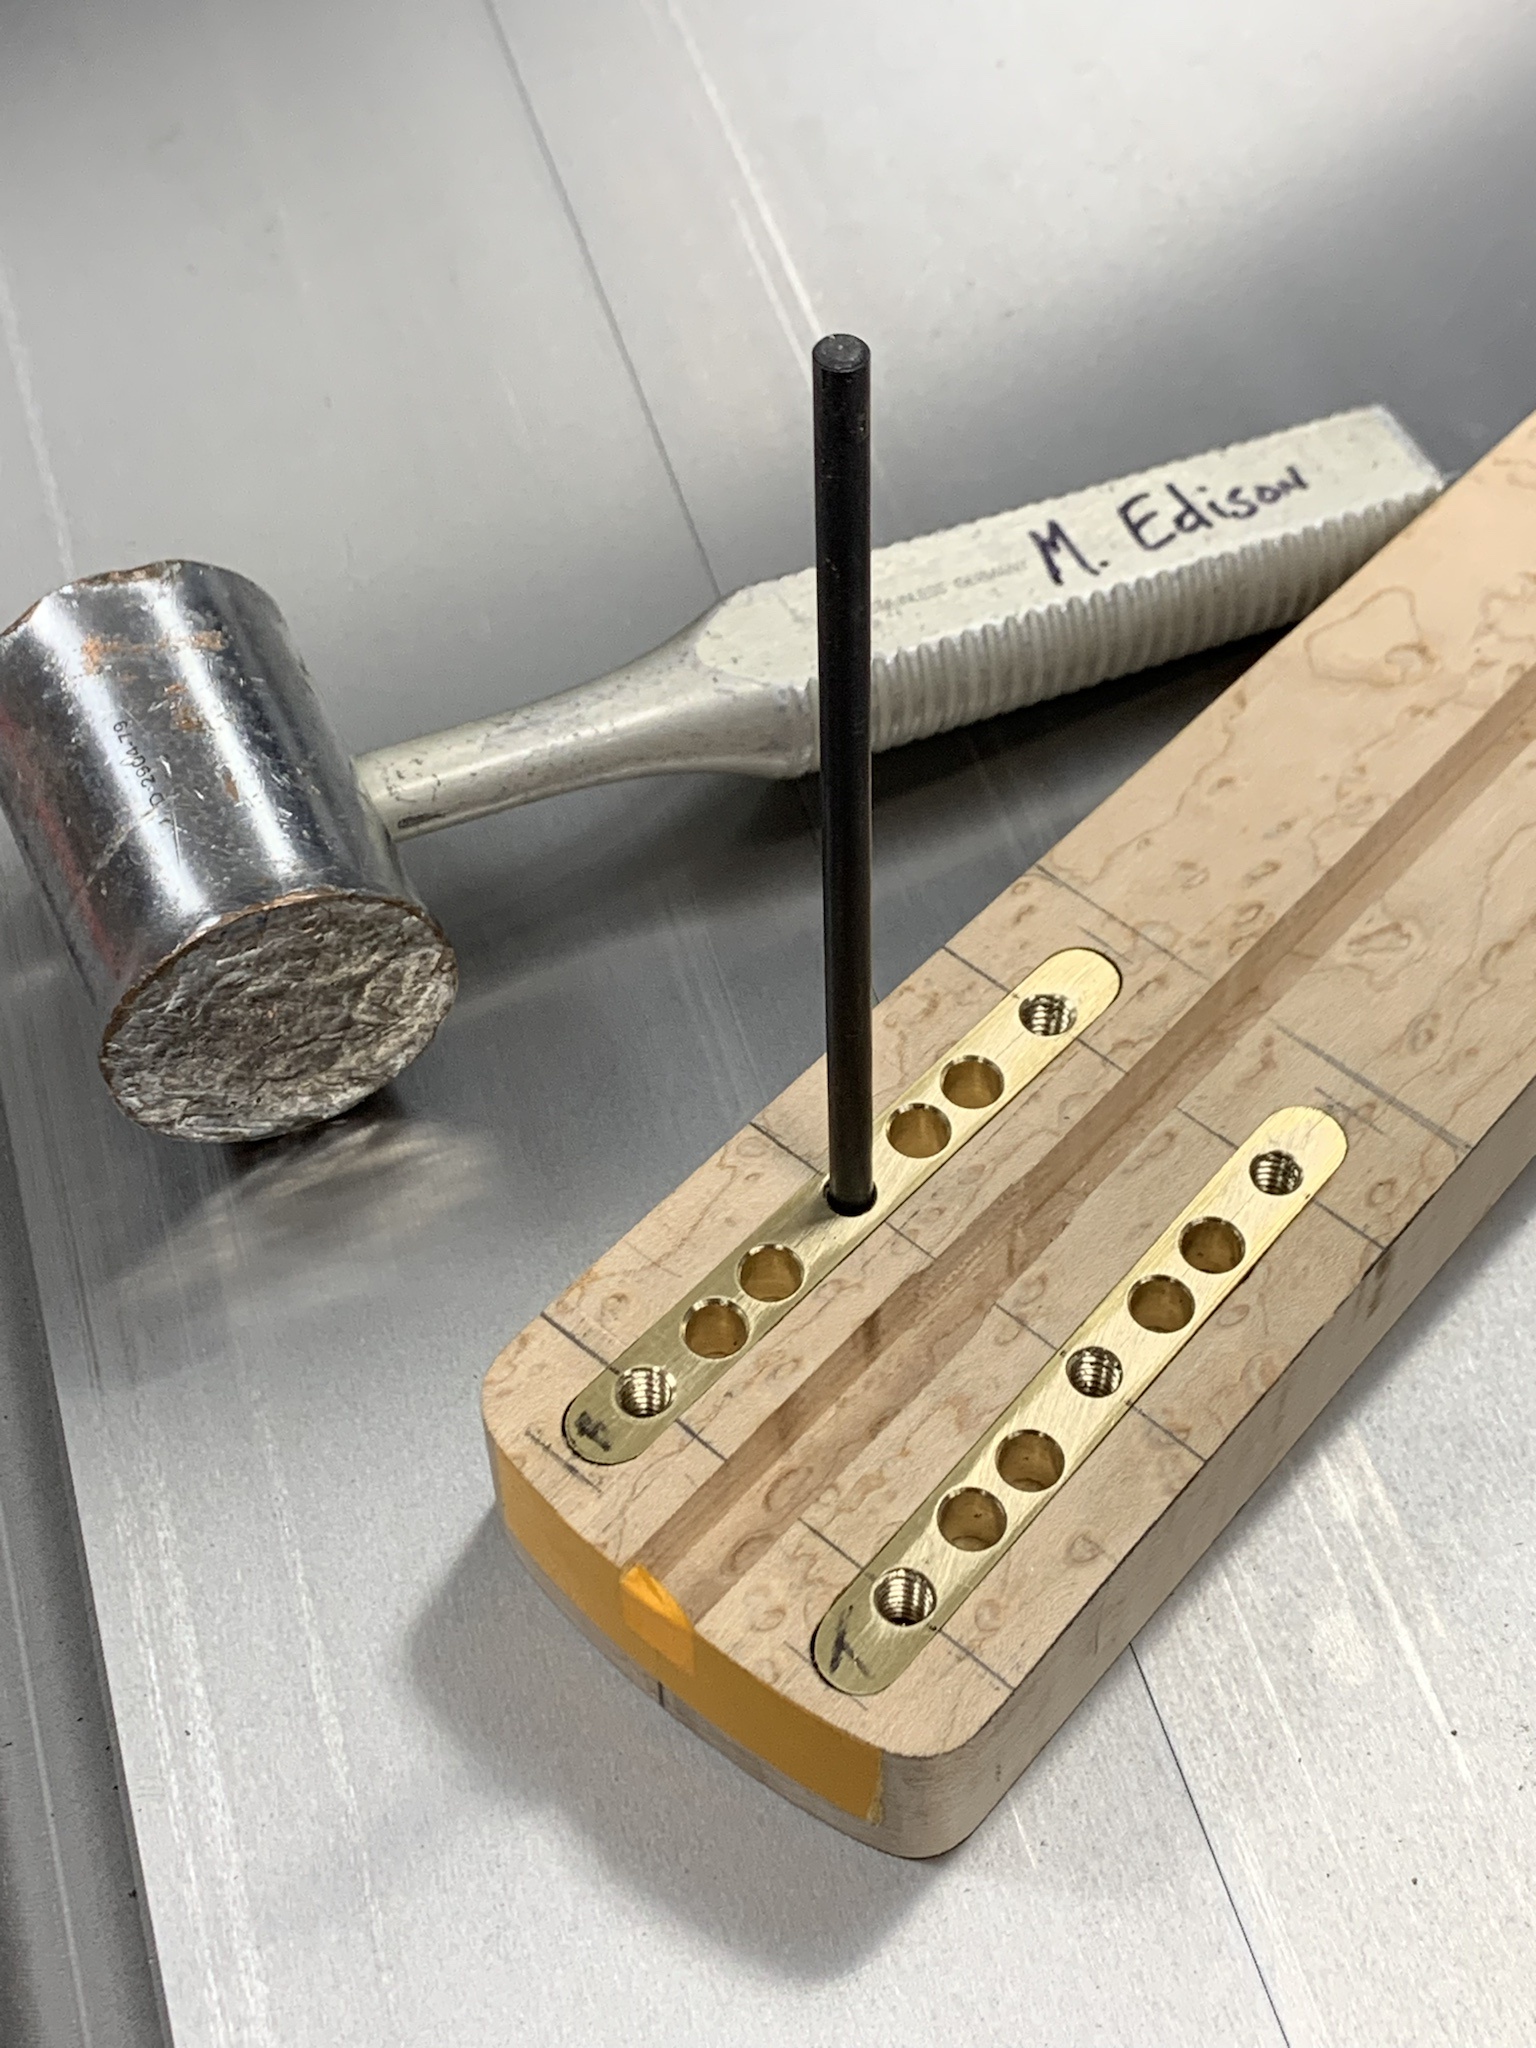
Installed the bars temporarily and transferred the bolt locations.

fWTmGhQ.jpg


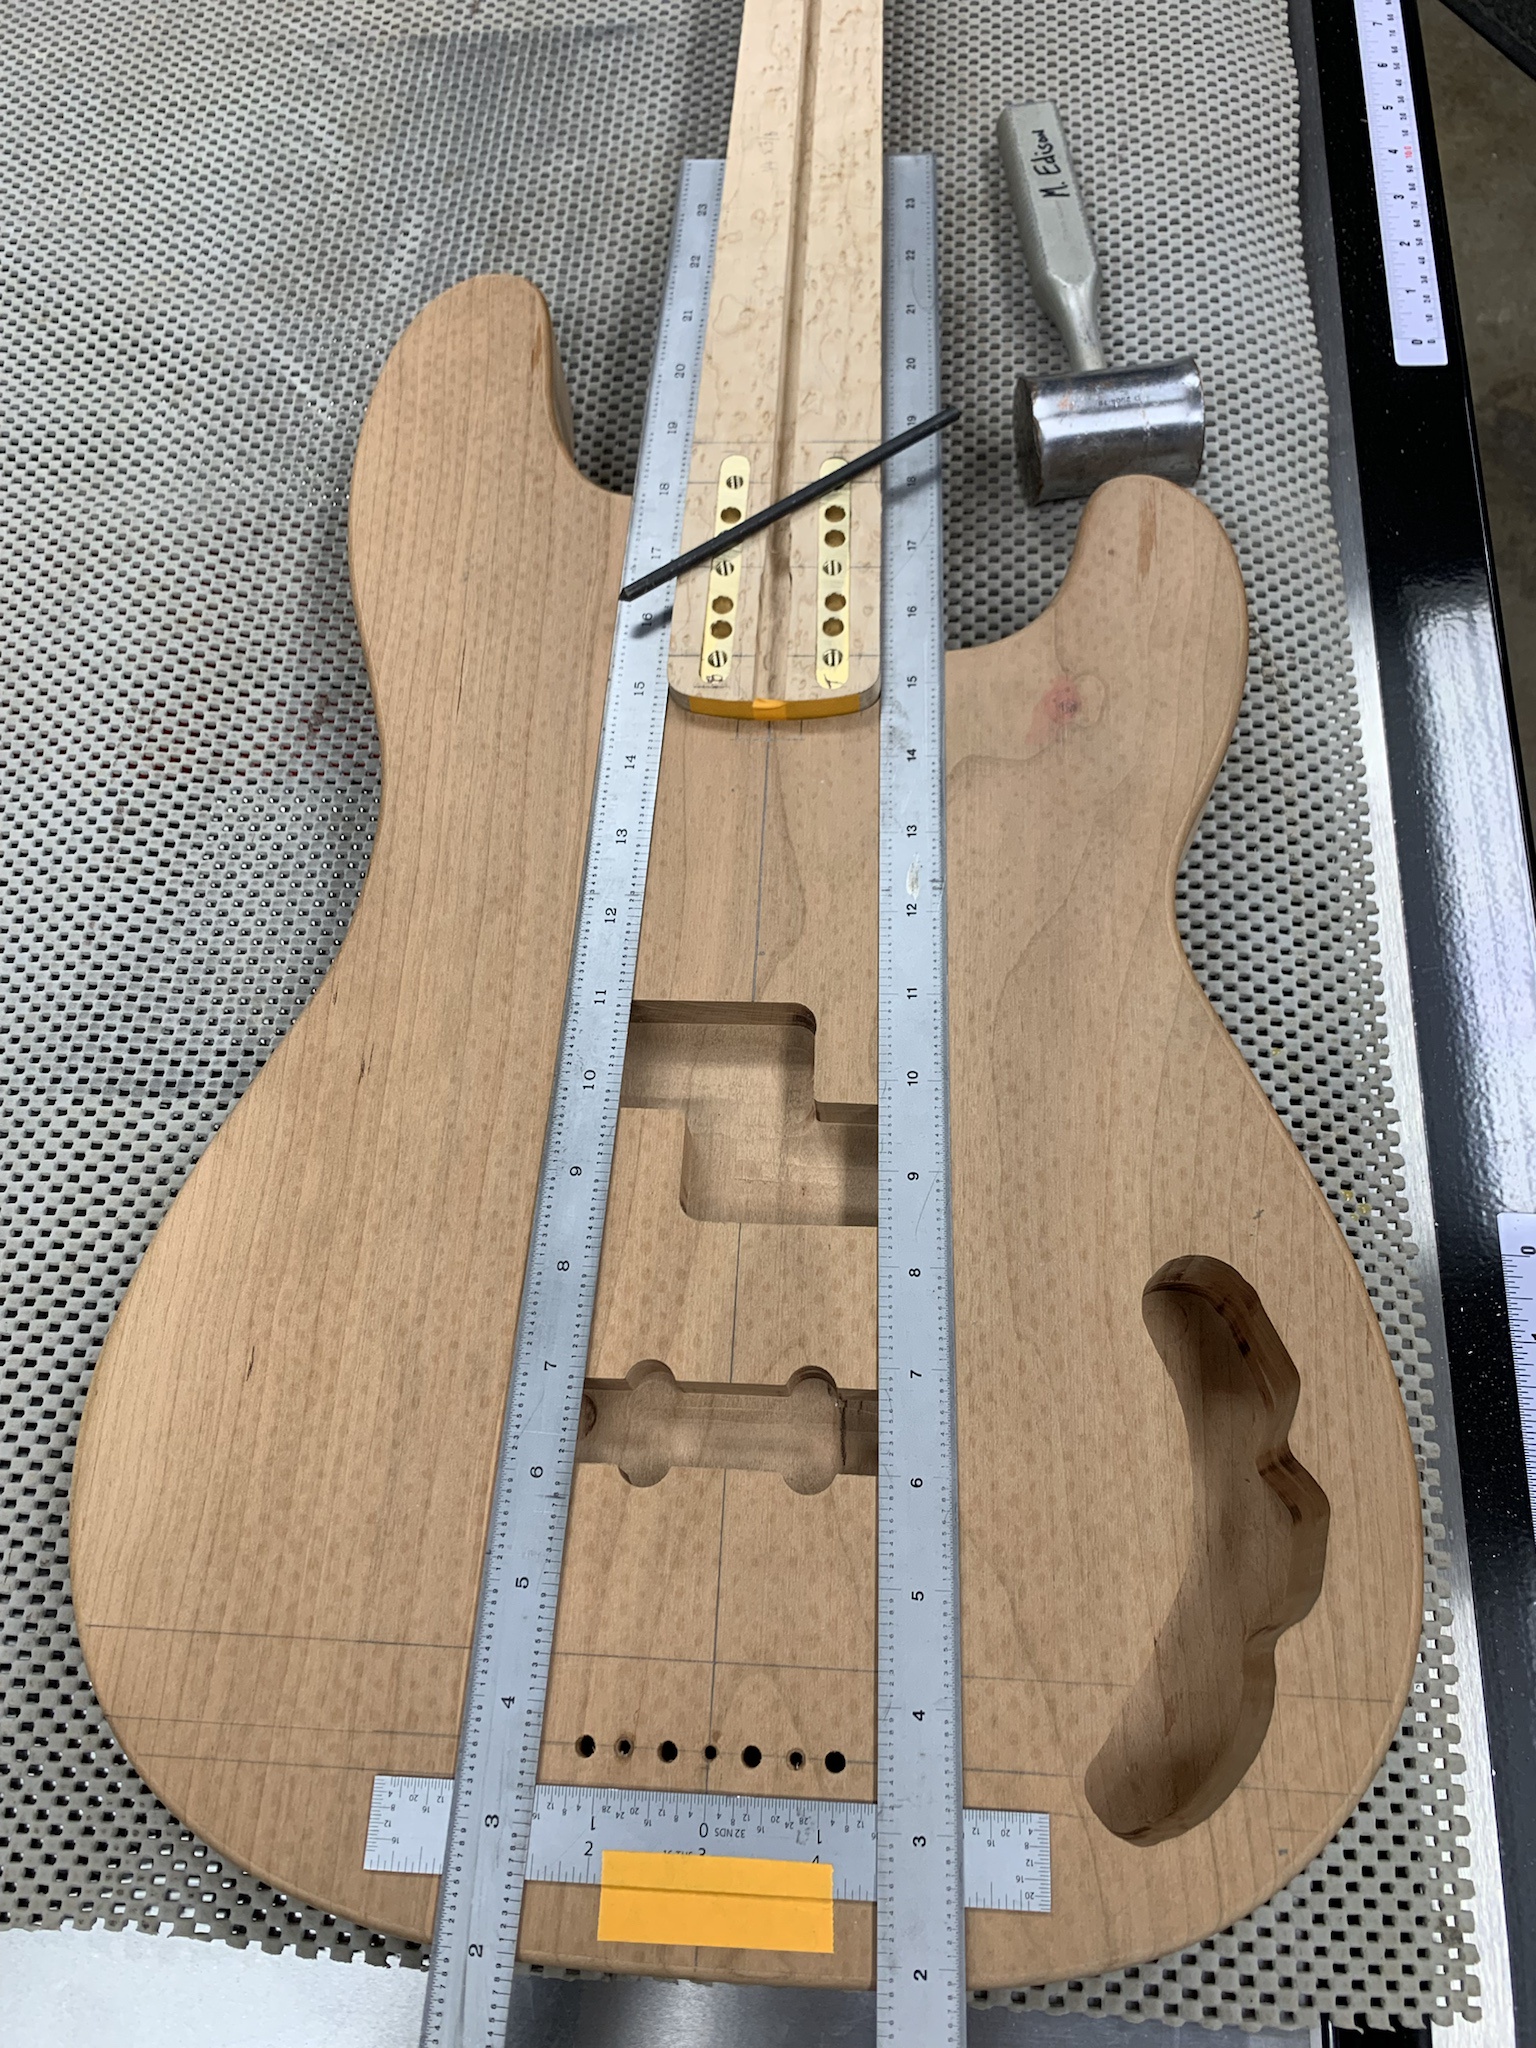
Next, I'll drill through the neck at the bolt locations, get the neck aligned and transfer those locations to the neck pocket. Then I will get the neck bolt pockets made, etc. Just doing everything I can to put off working on the block inlays. :D

More soon.
 
Still working away at this one, but slim to no chance of finishing on time. :D

More neck progress. I swear, I think necks are roughly 95% of the build... Did a little alignment and transfer of the bolt locations.

h1b2qiN.jpg


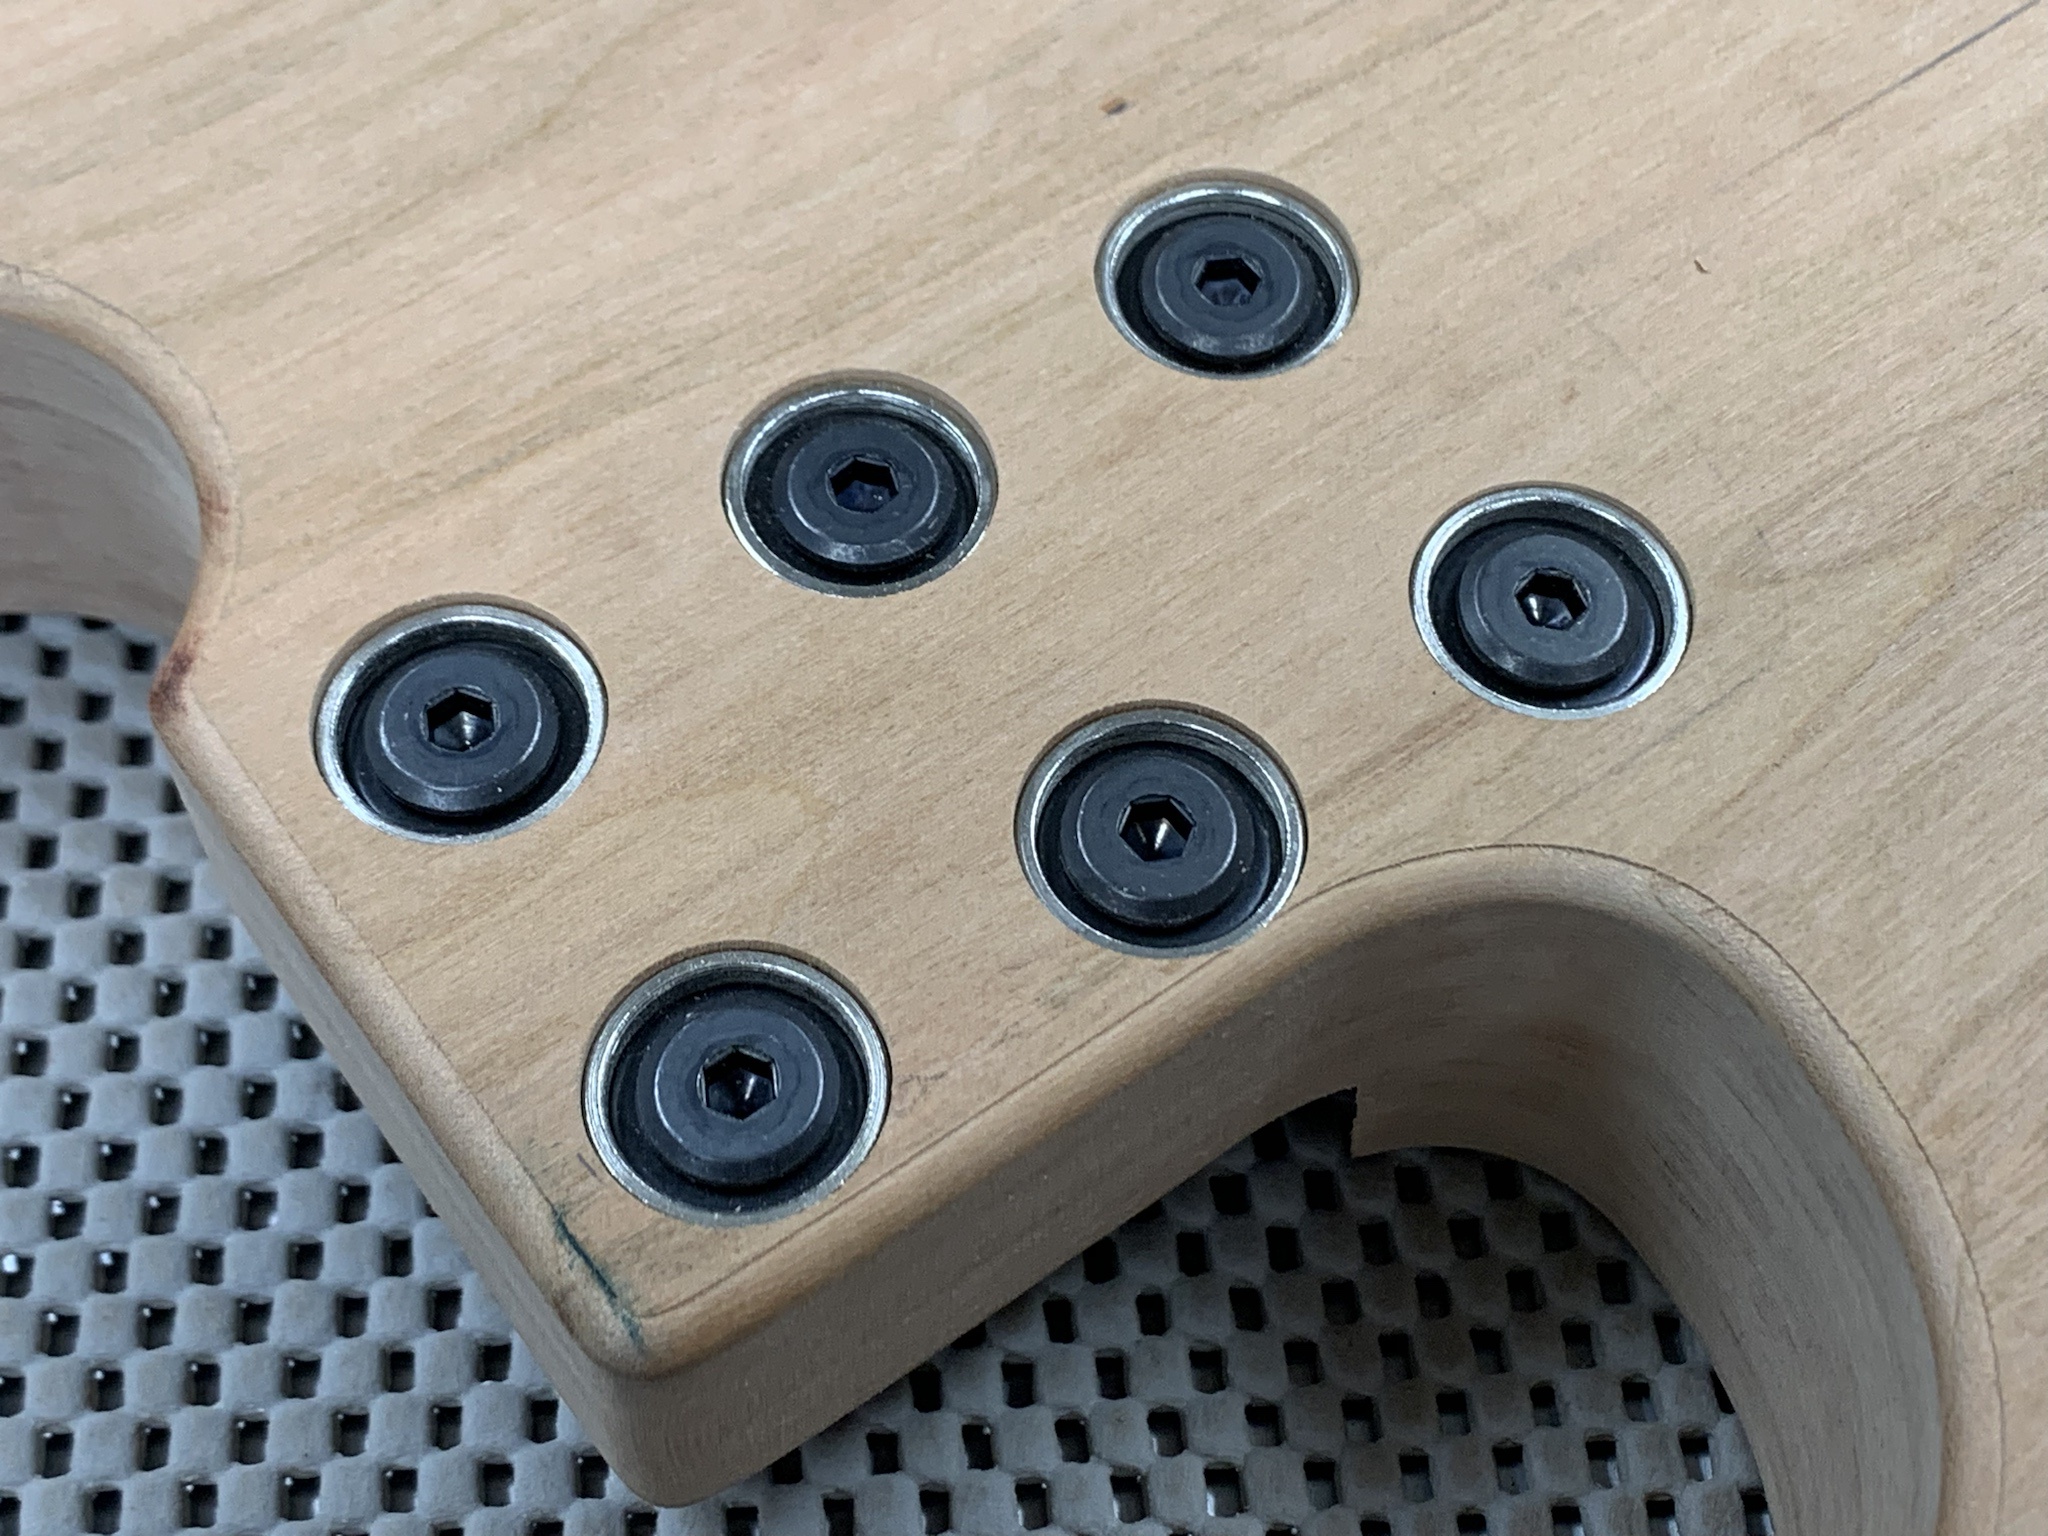
Drilled for neck bolts and ferules.

bmU6RjF.jpg


Aligned the fretboard, clamped in position and drilled for locating pins. Check out the bling on that clamp! :D HHG heating up in the background.

0uPYfrX.jpg


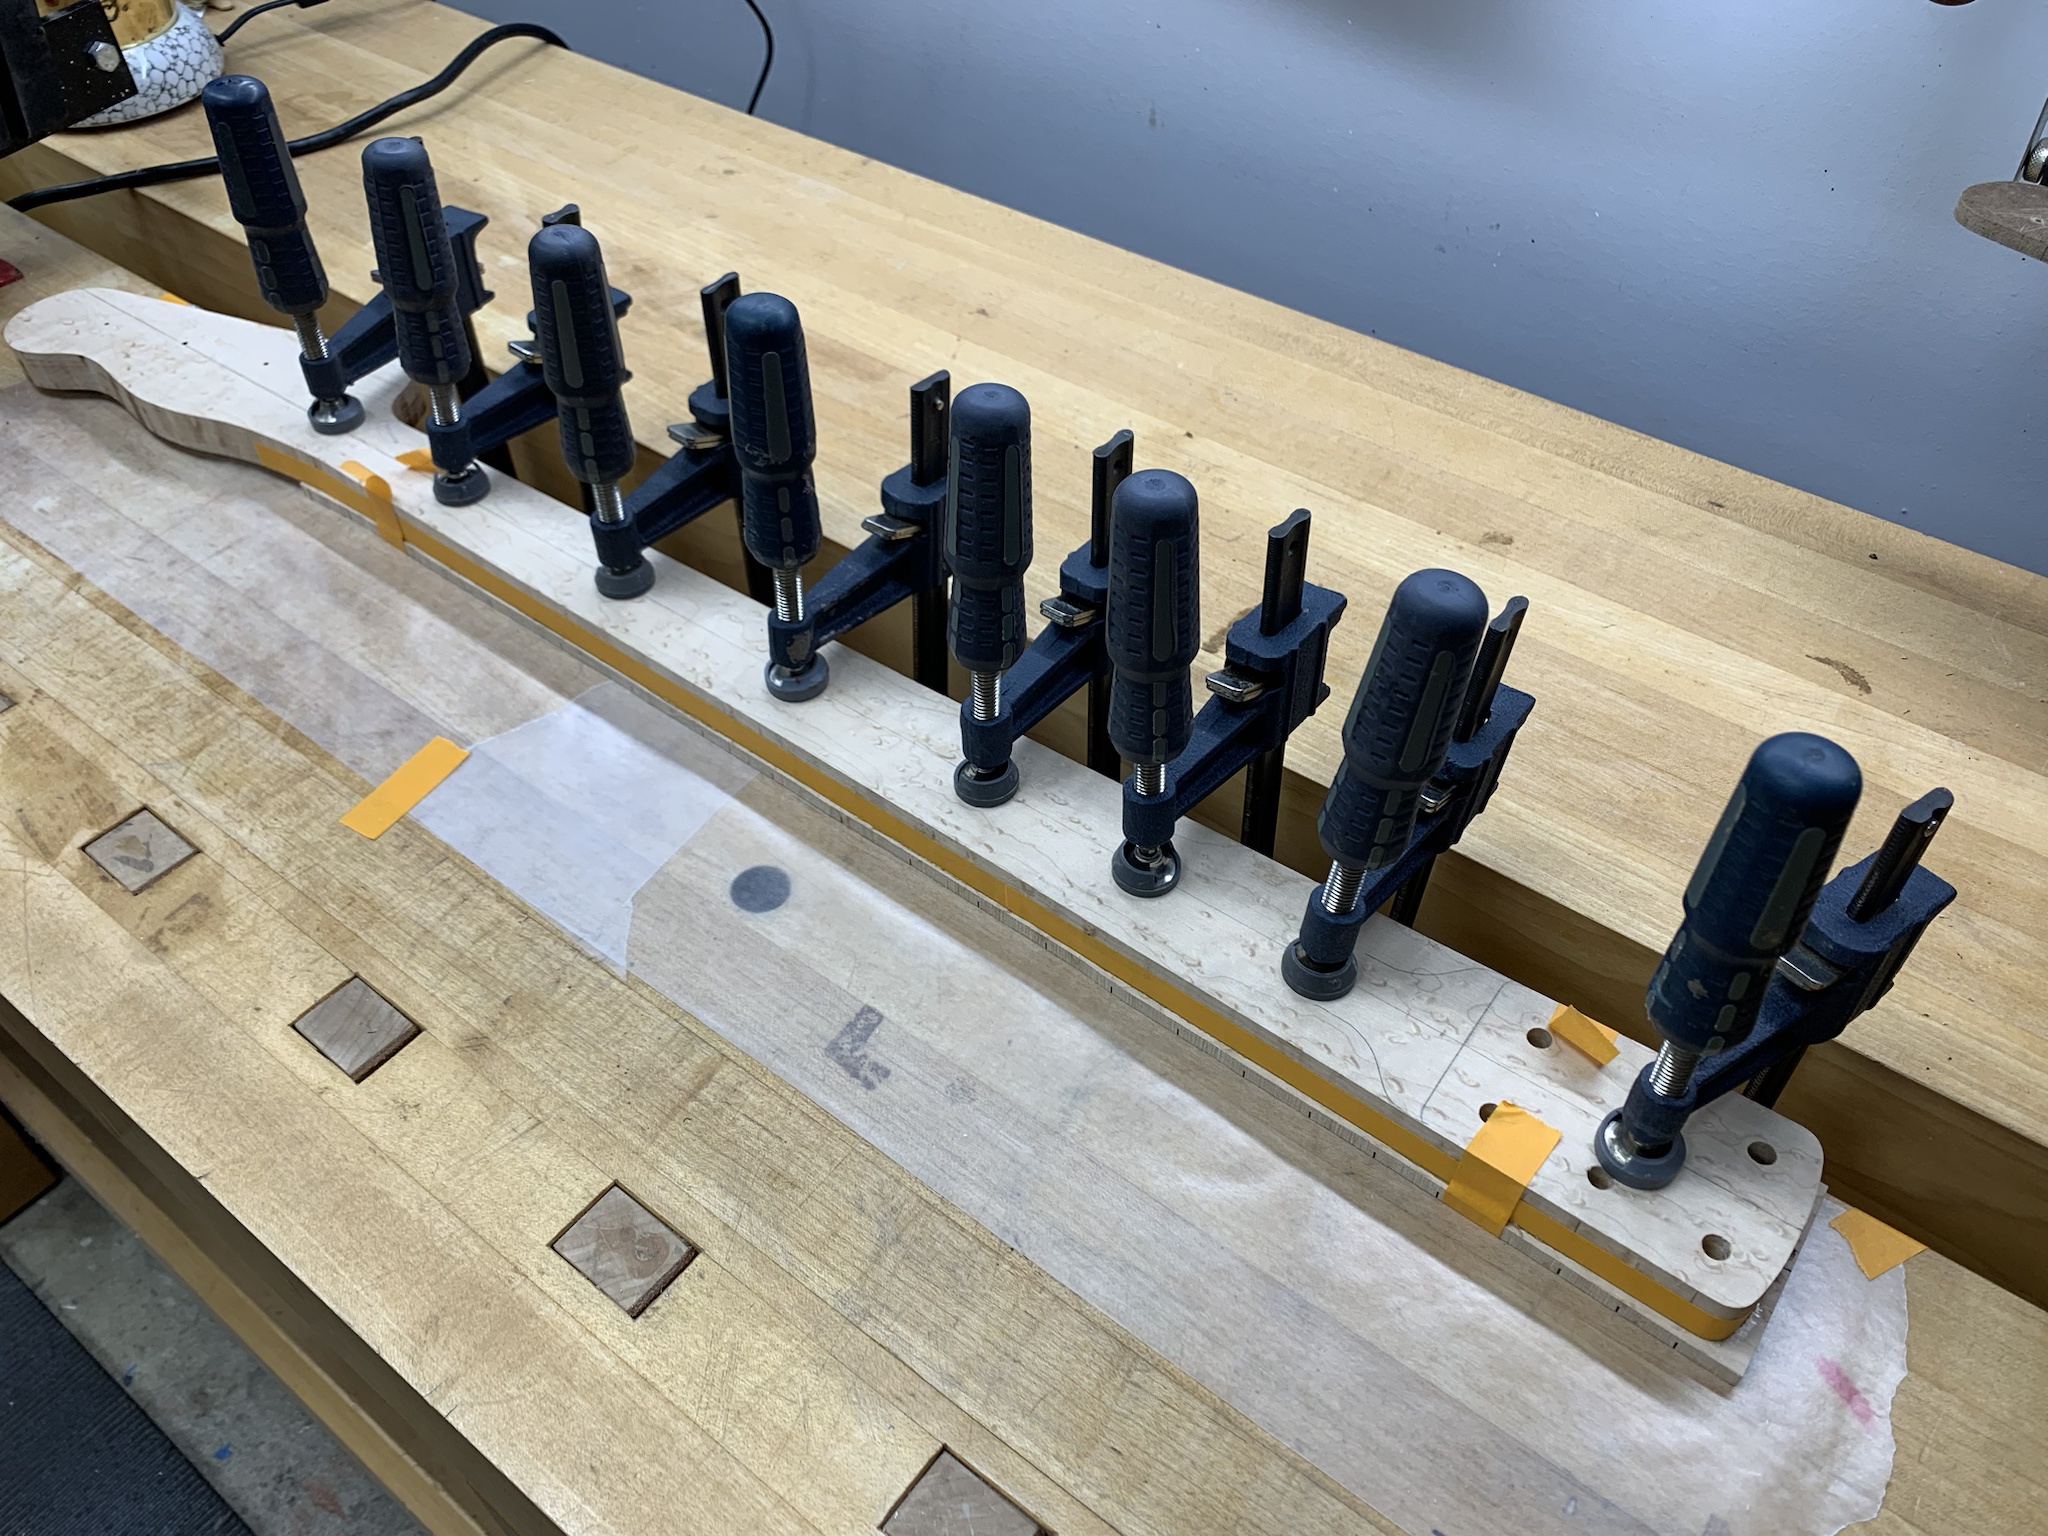
Fretboard was glued on with HHG, positioned with locating pins, then flipped over and clamped to the bench top. The fretboard is still square so it makes this step a little easier.

MwD8WCT.jpg


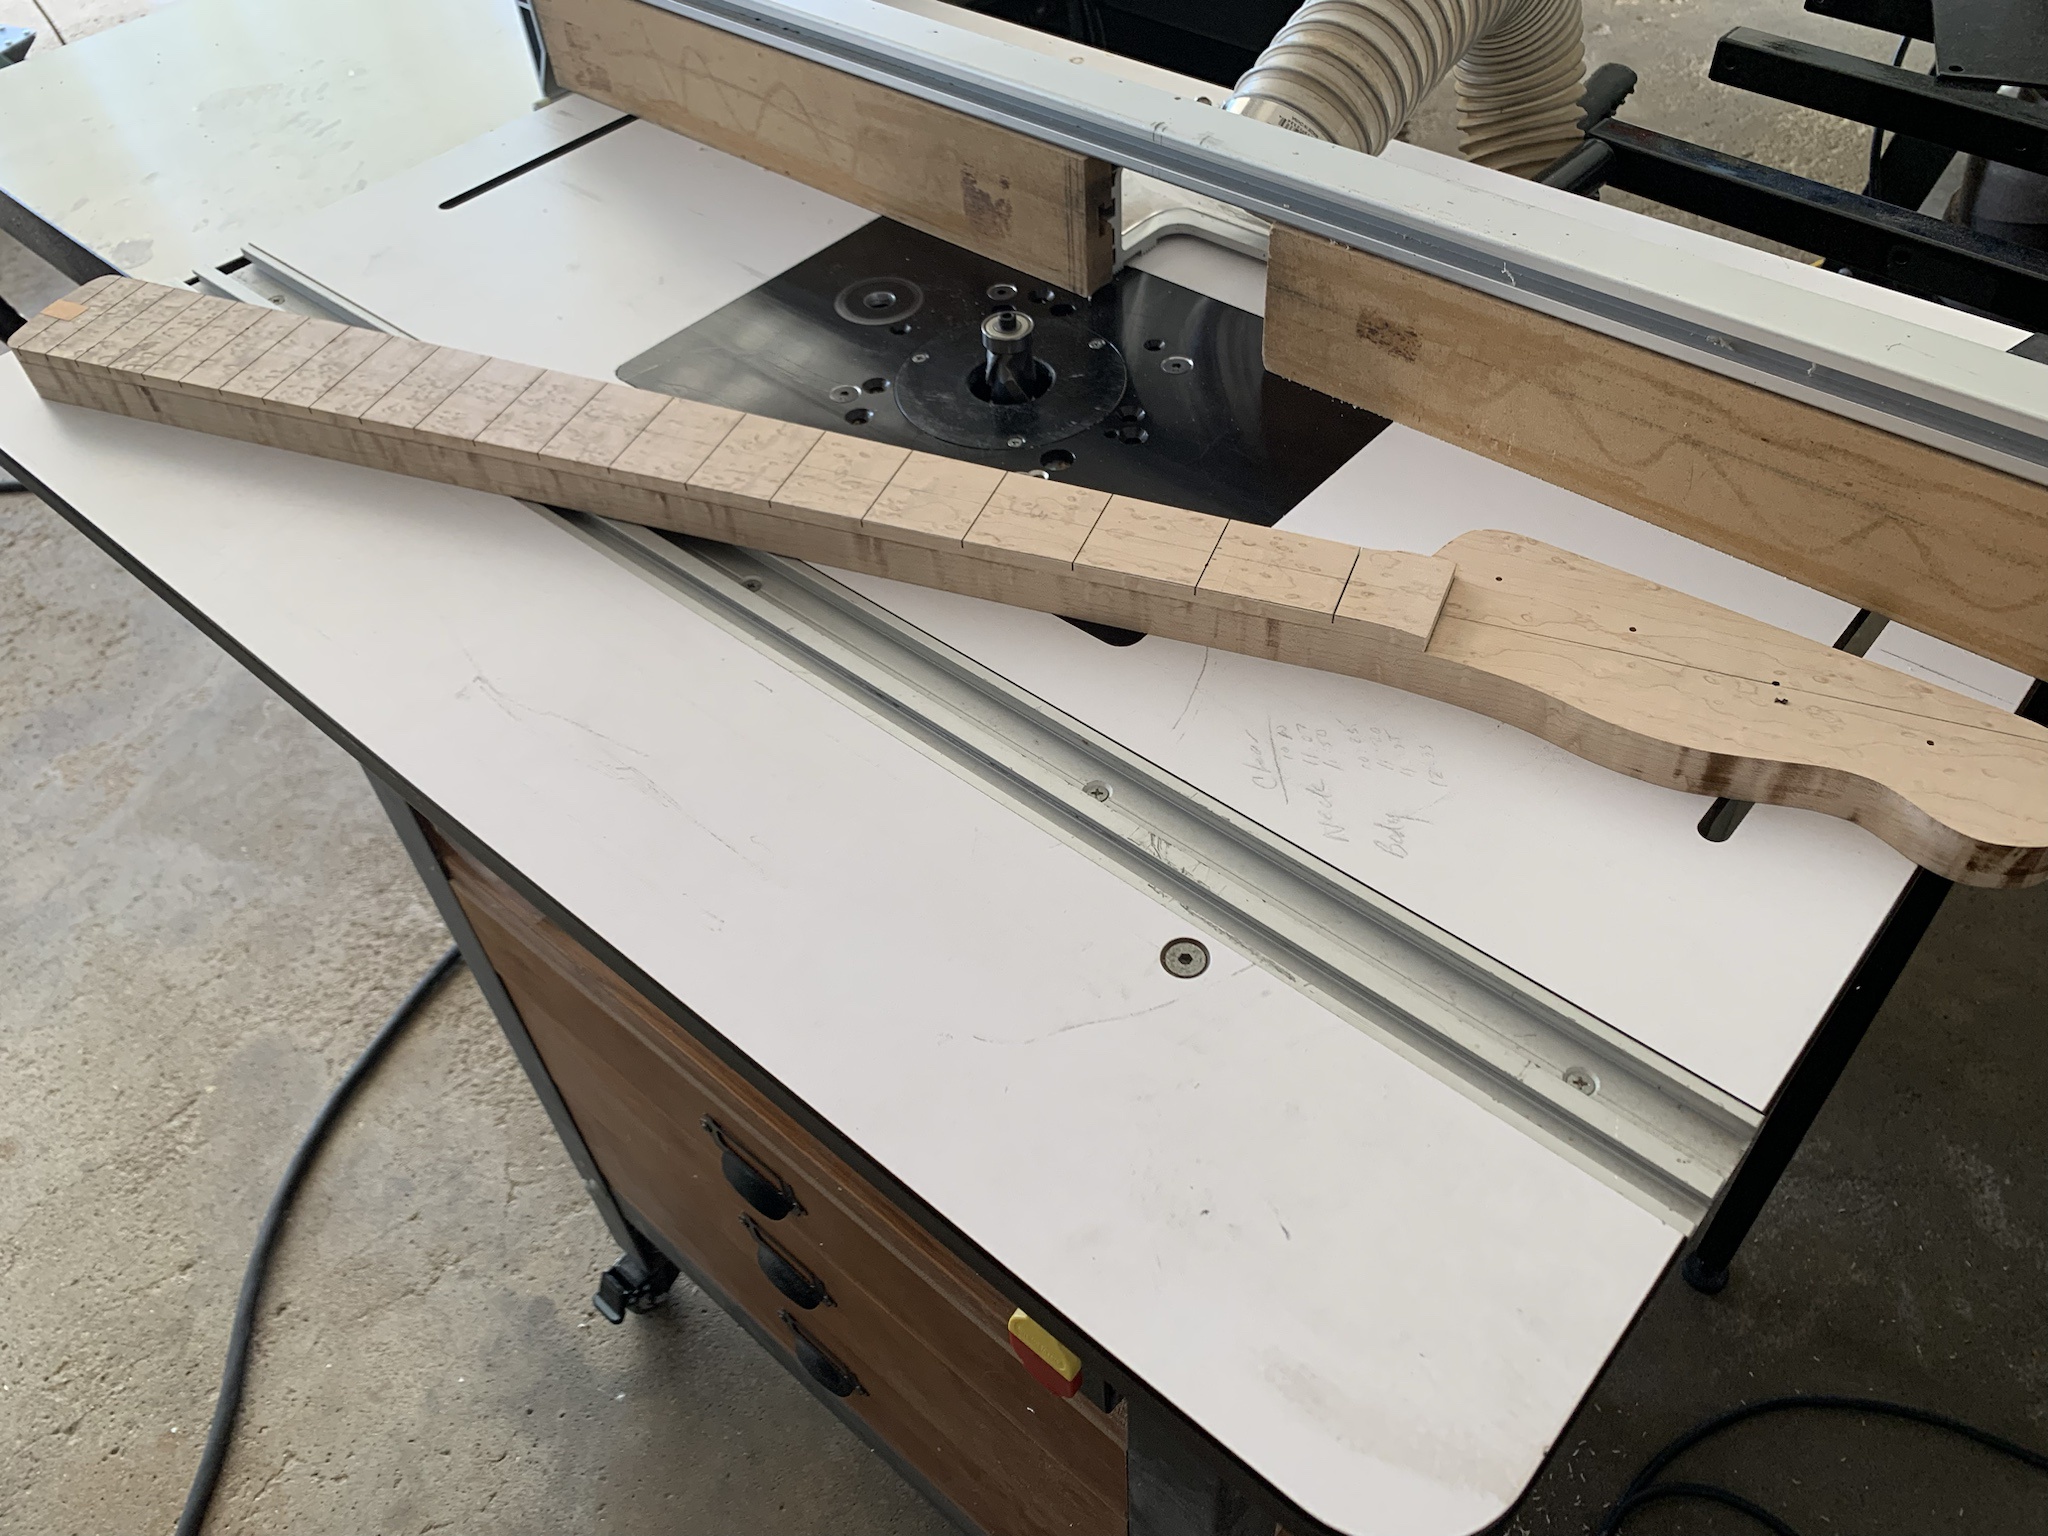
Next day, I trimmed up the board at the edge sander (not pictured), then flush trimmed at the router table.
JnzqzJC.jpg


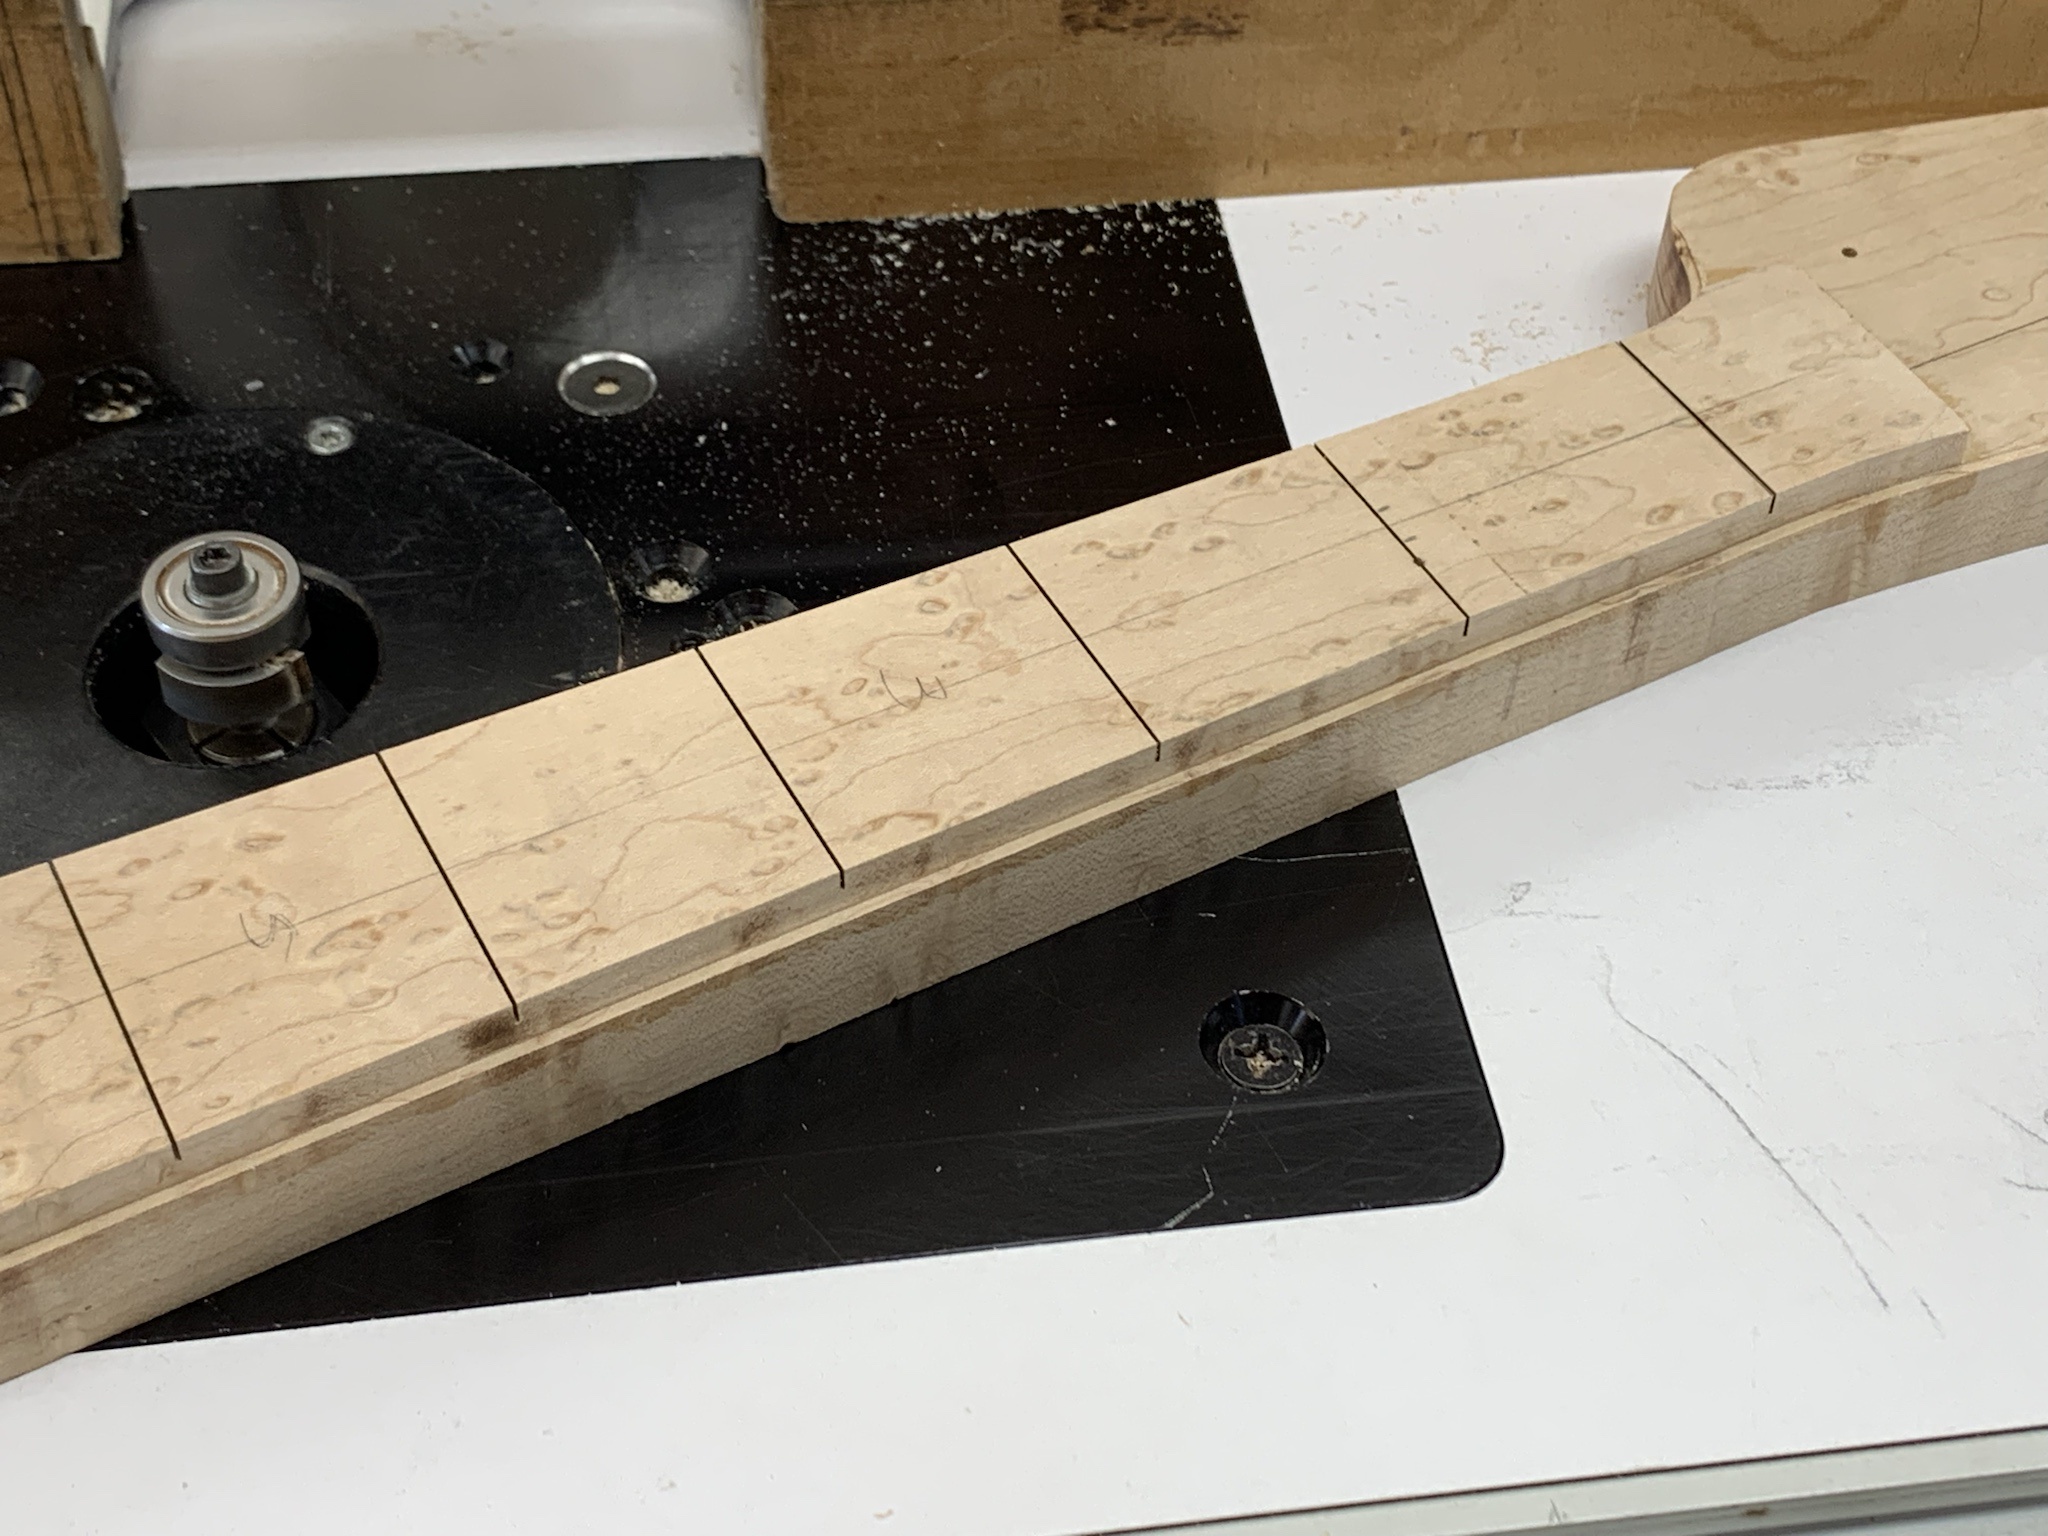
Cut the binding ledge at the router table.

PTwCkxJ.jpg


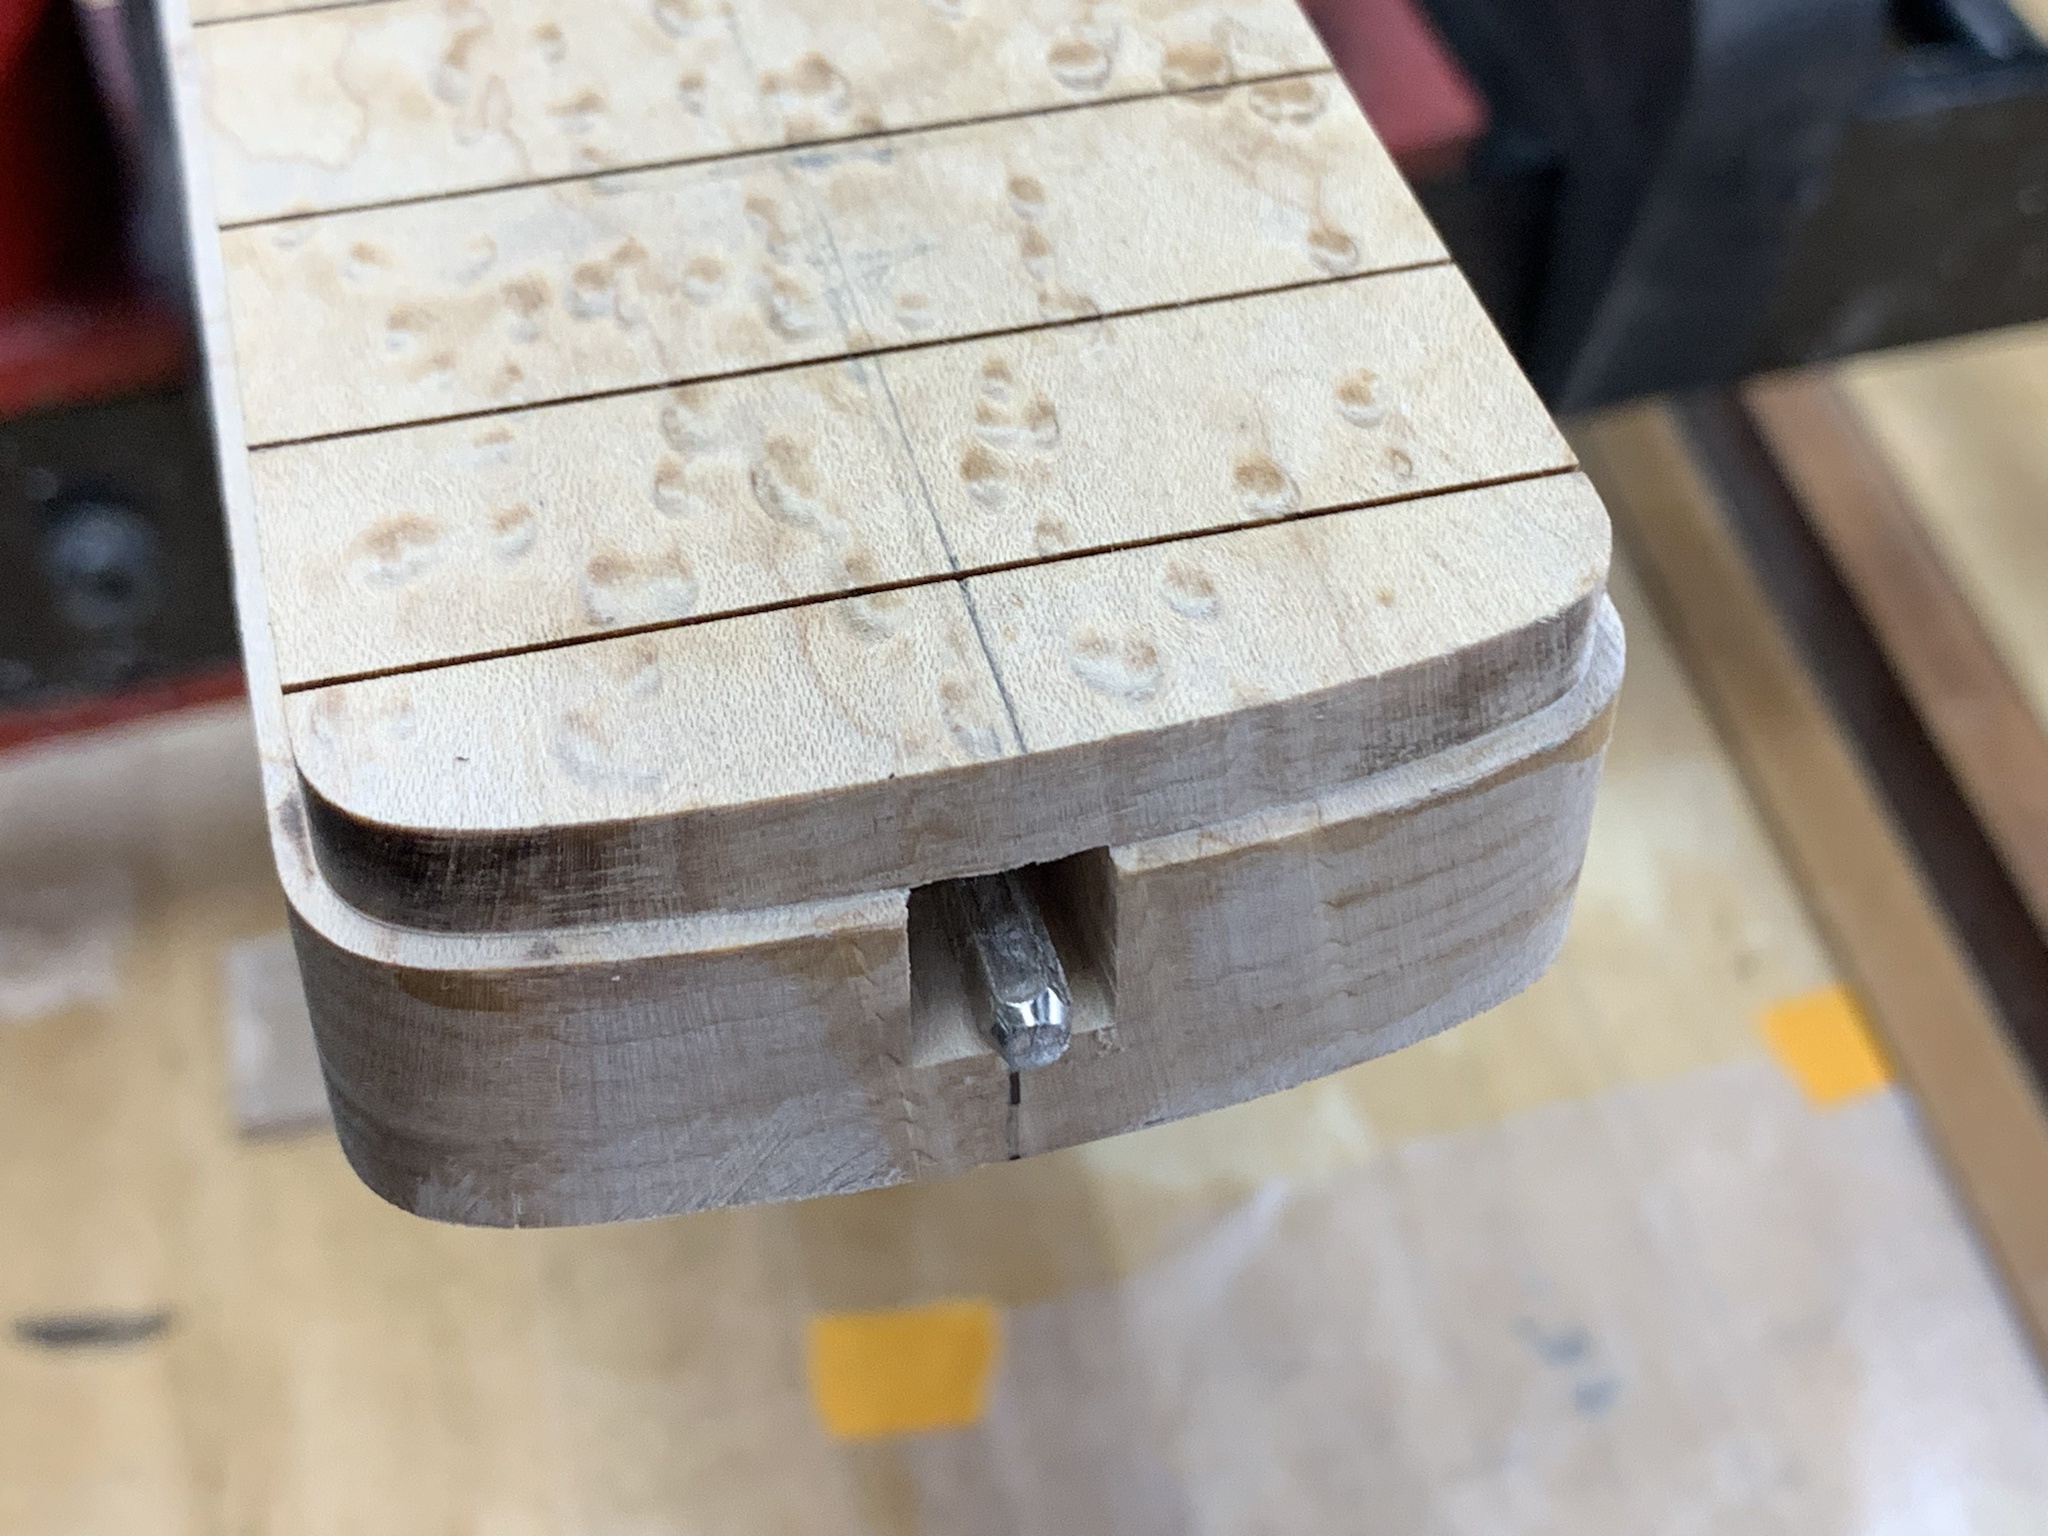
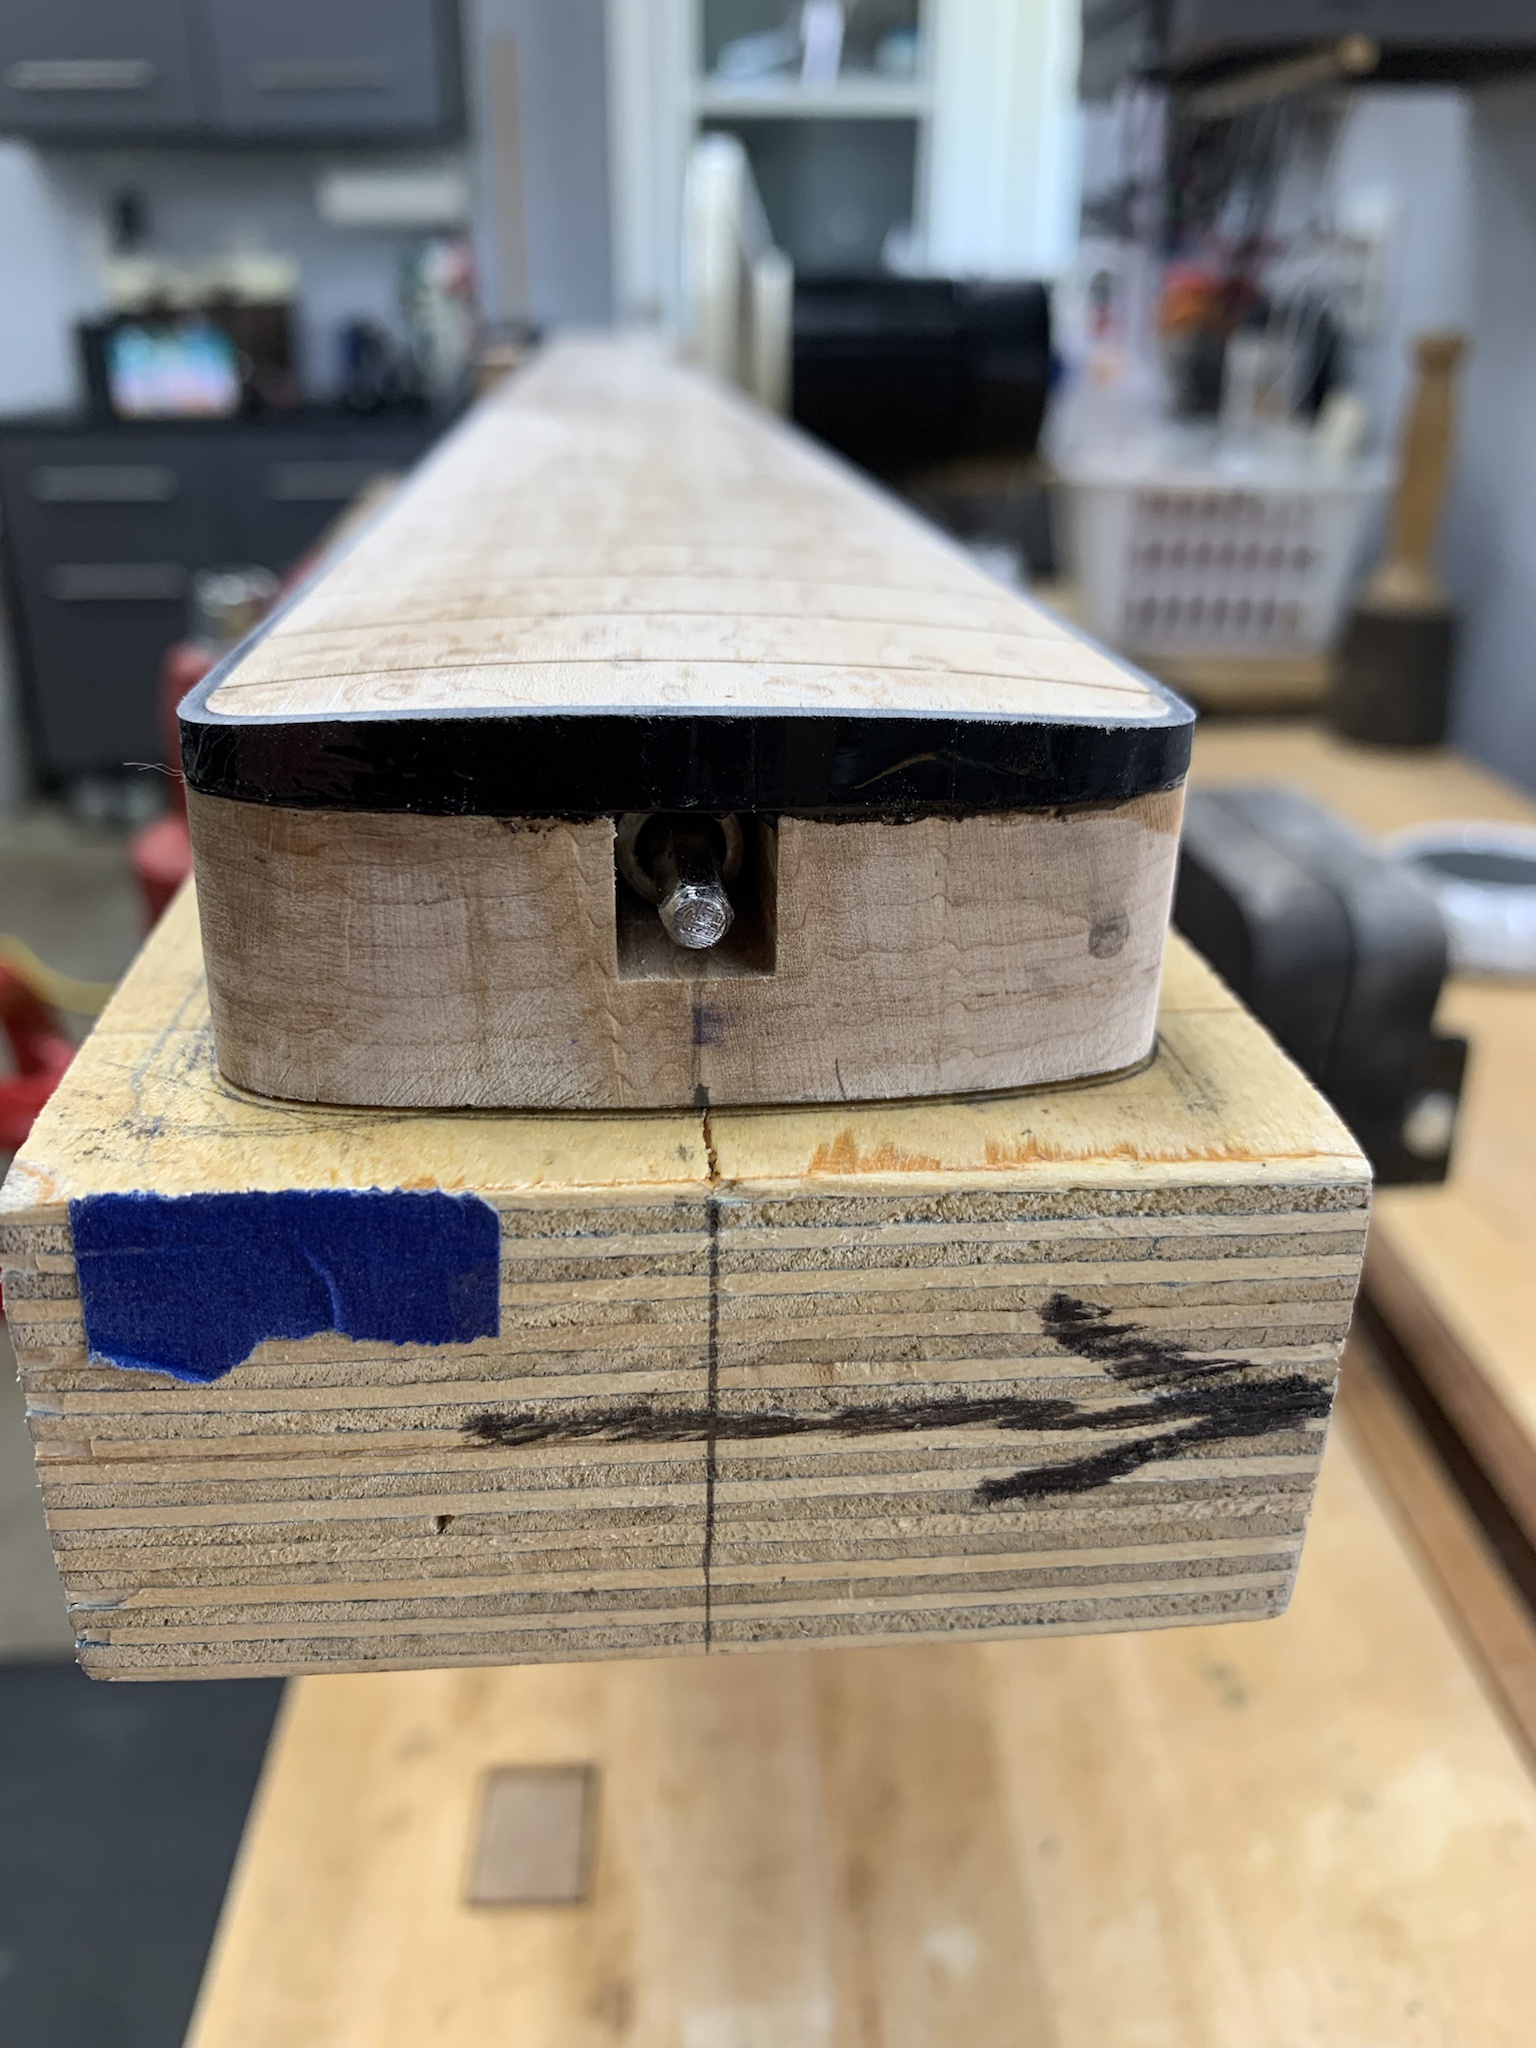
I had to avoid the end where my truss rod was sticking out while routing the binding ledge at the router table. To finish this area off, I attached the neck outline template, scootched it down a bit, then used a hinge mortising bit to flush trim and complete the binding ledge.

zRLdW2M.jpg


Here it is after a little cleanup.

hdEBPye.jpg


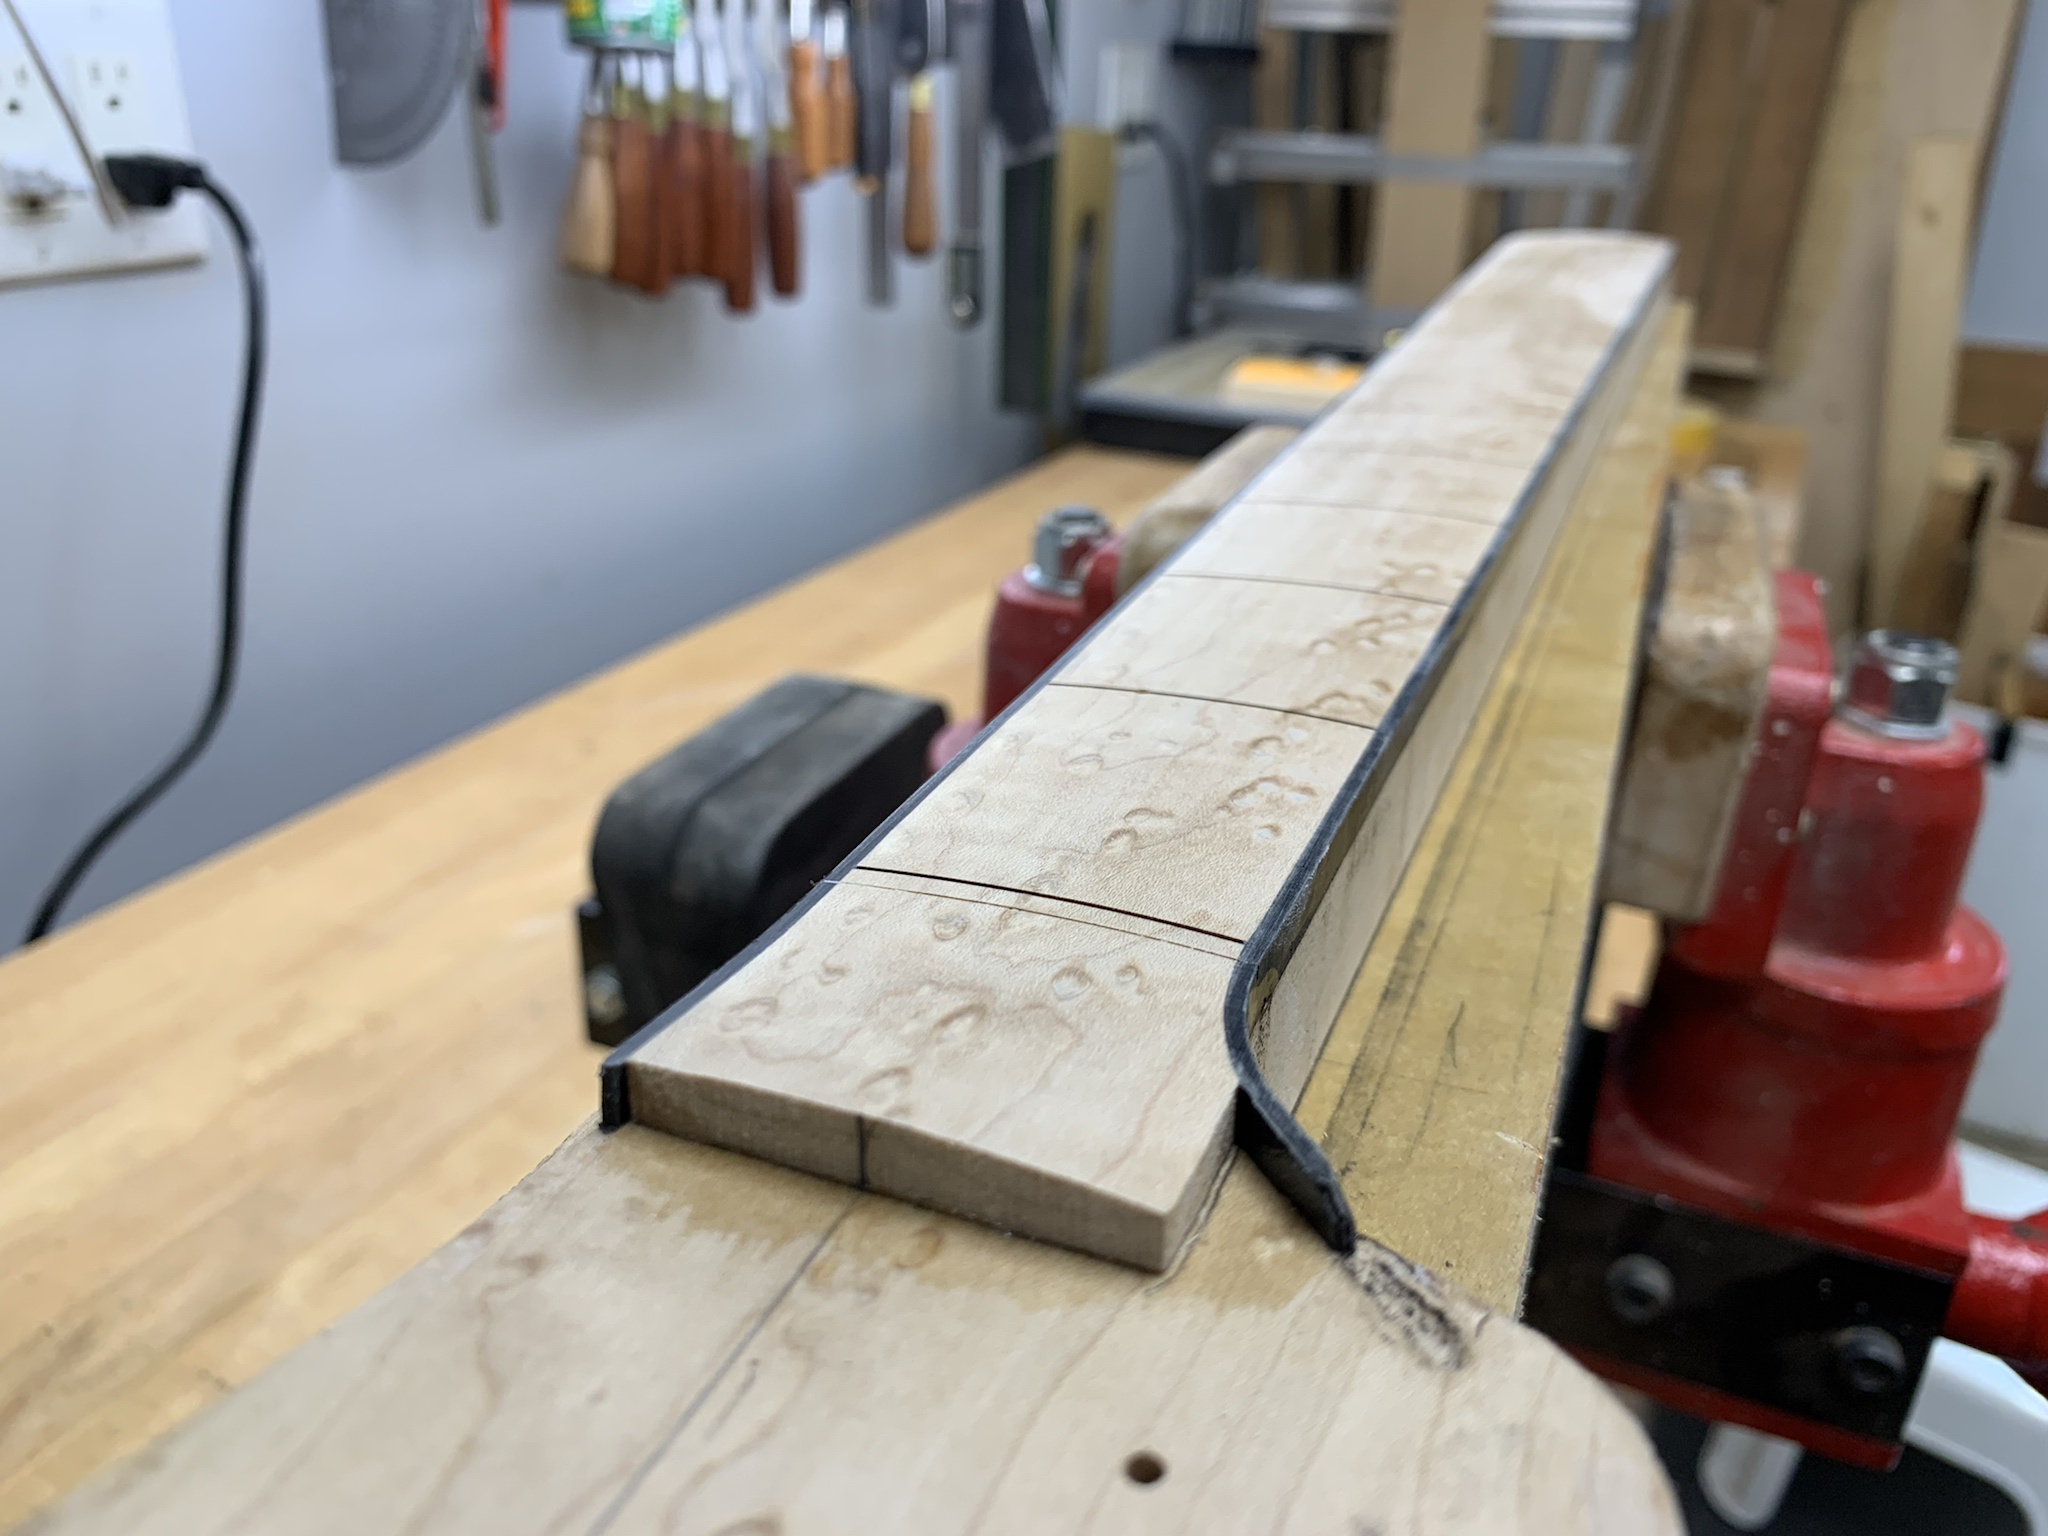
Installing the ABS binding with acetone to weld it in place.

2dlAlA6.jpg


And a quick mock-up. :)

sxQjJZM.jpg


More soon. :)
 
Here's a little more work that was completed on the neck.

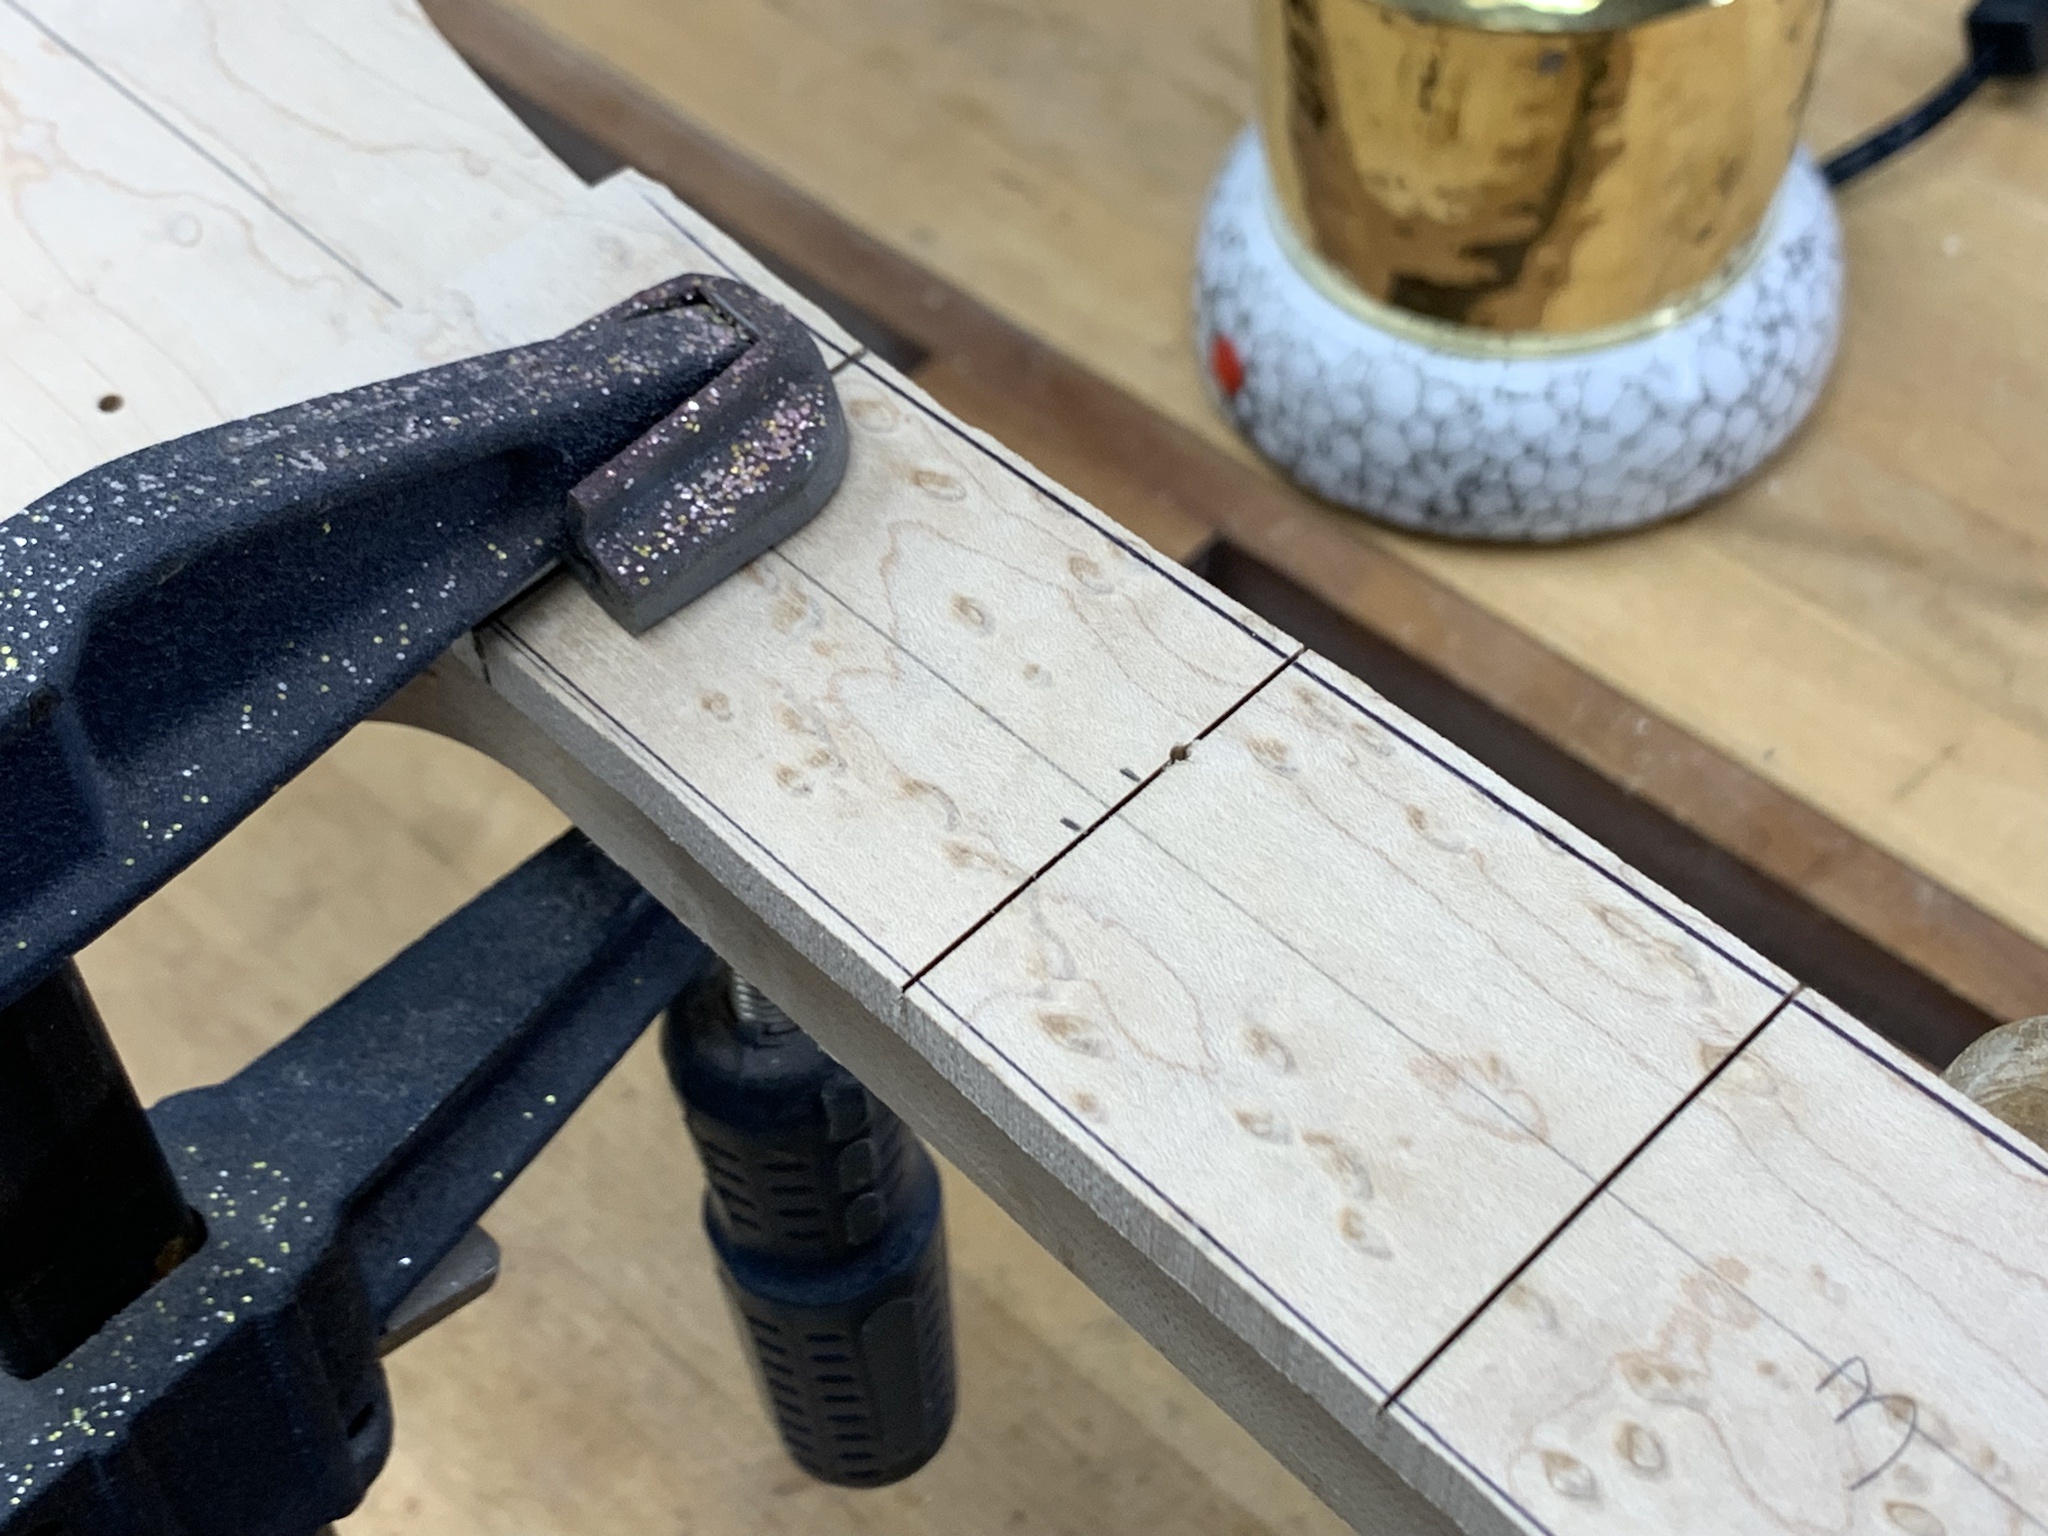
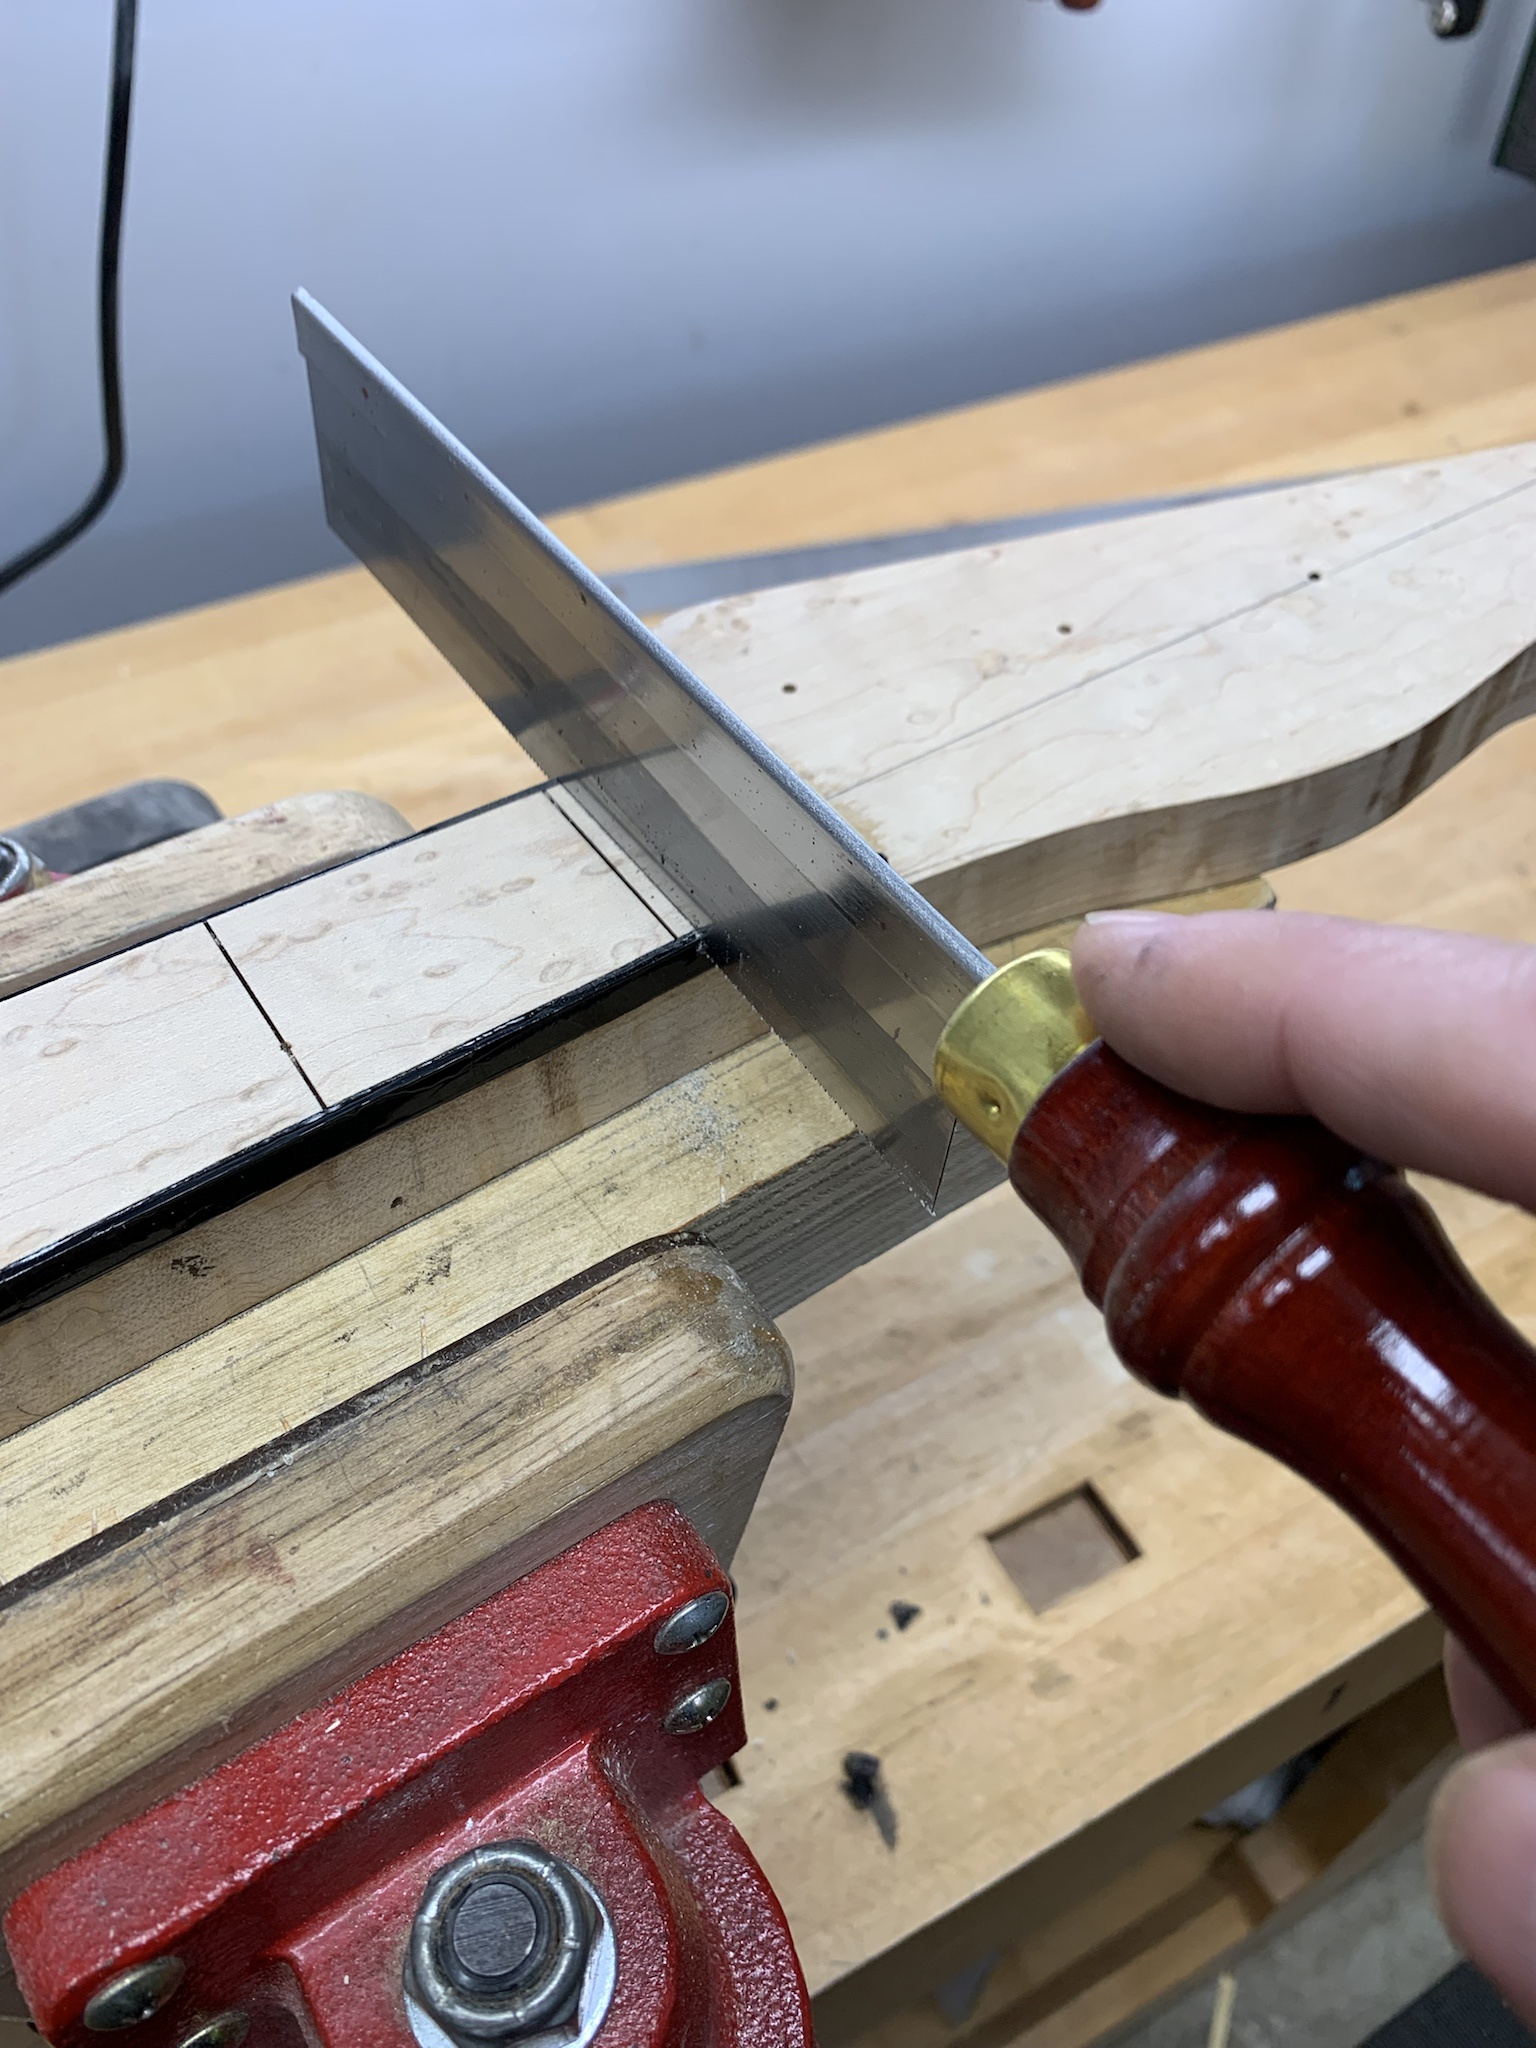
Cut the secondary nut slot using a razor saw. IDK why the StewMac Fender fretboard template does not have that second notch, but I'm gonna cut one in there before I use it again. The guitar scale length template already has it.
xN4kulx.jpg


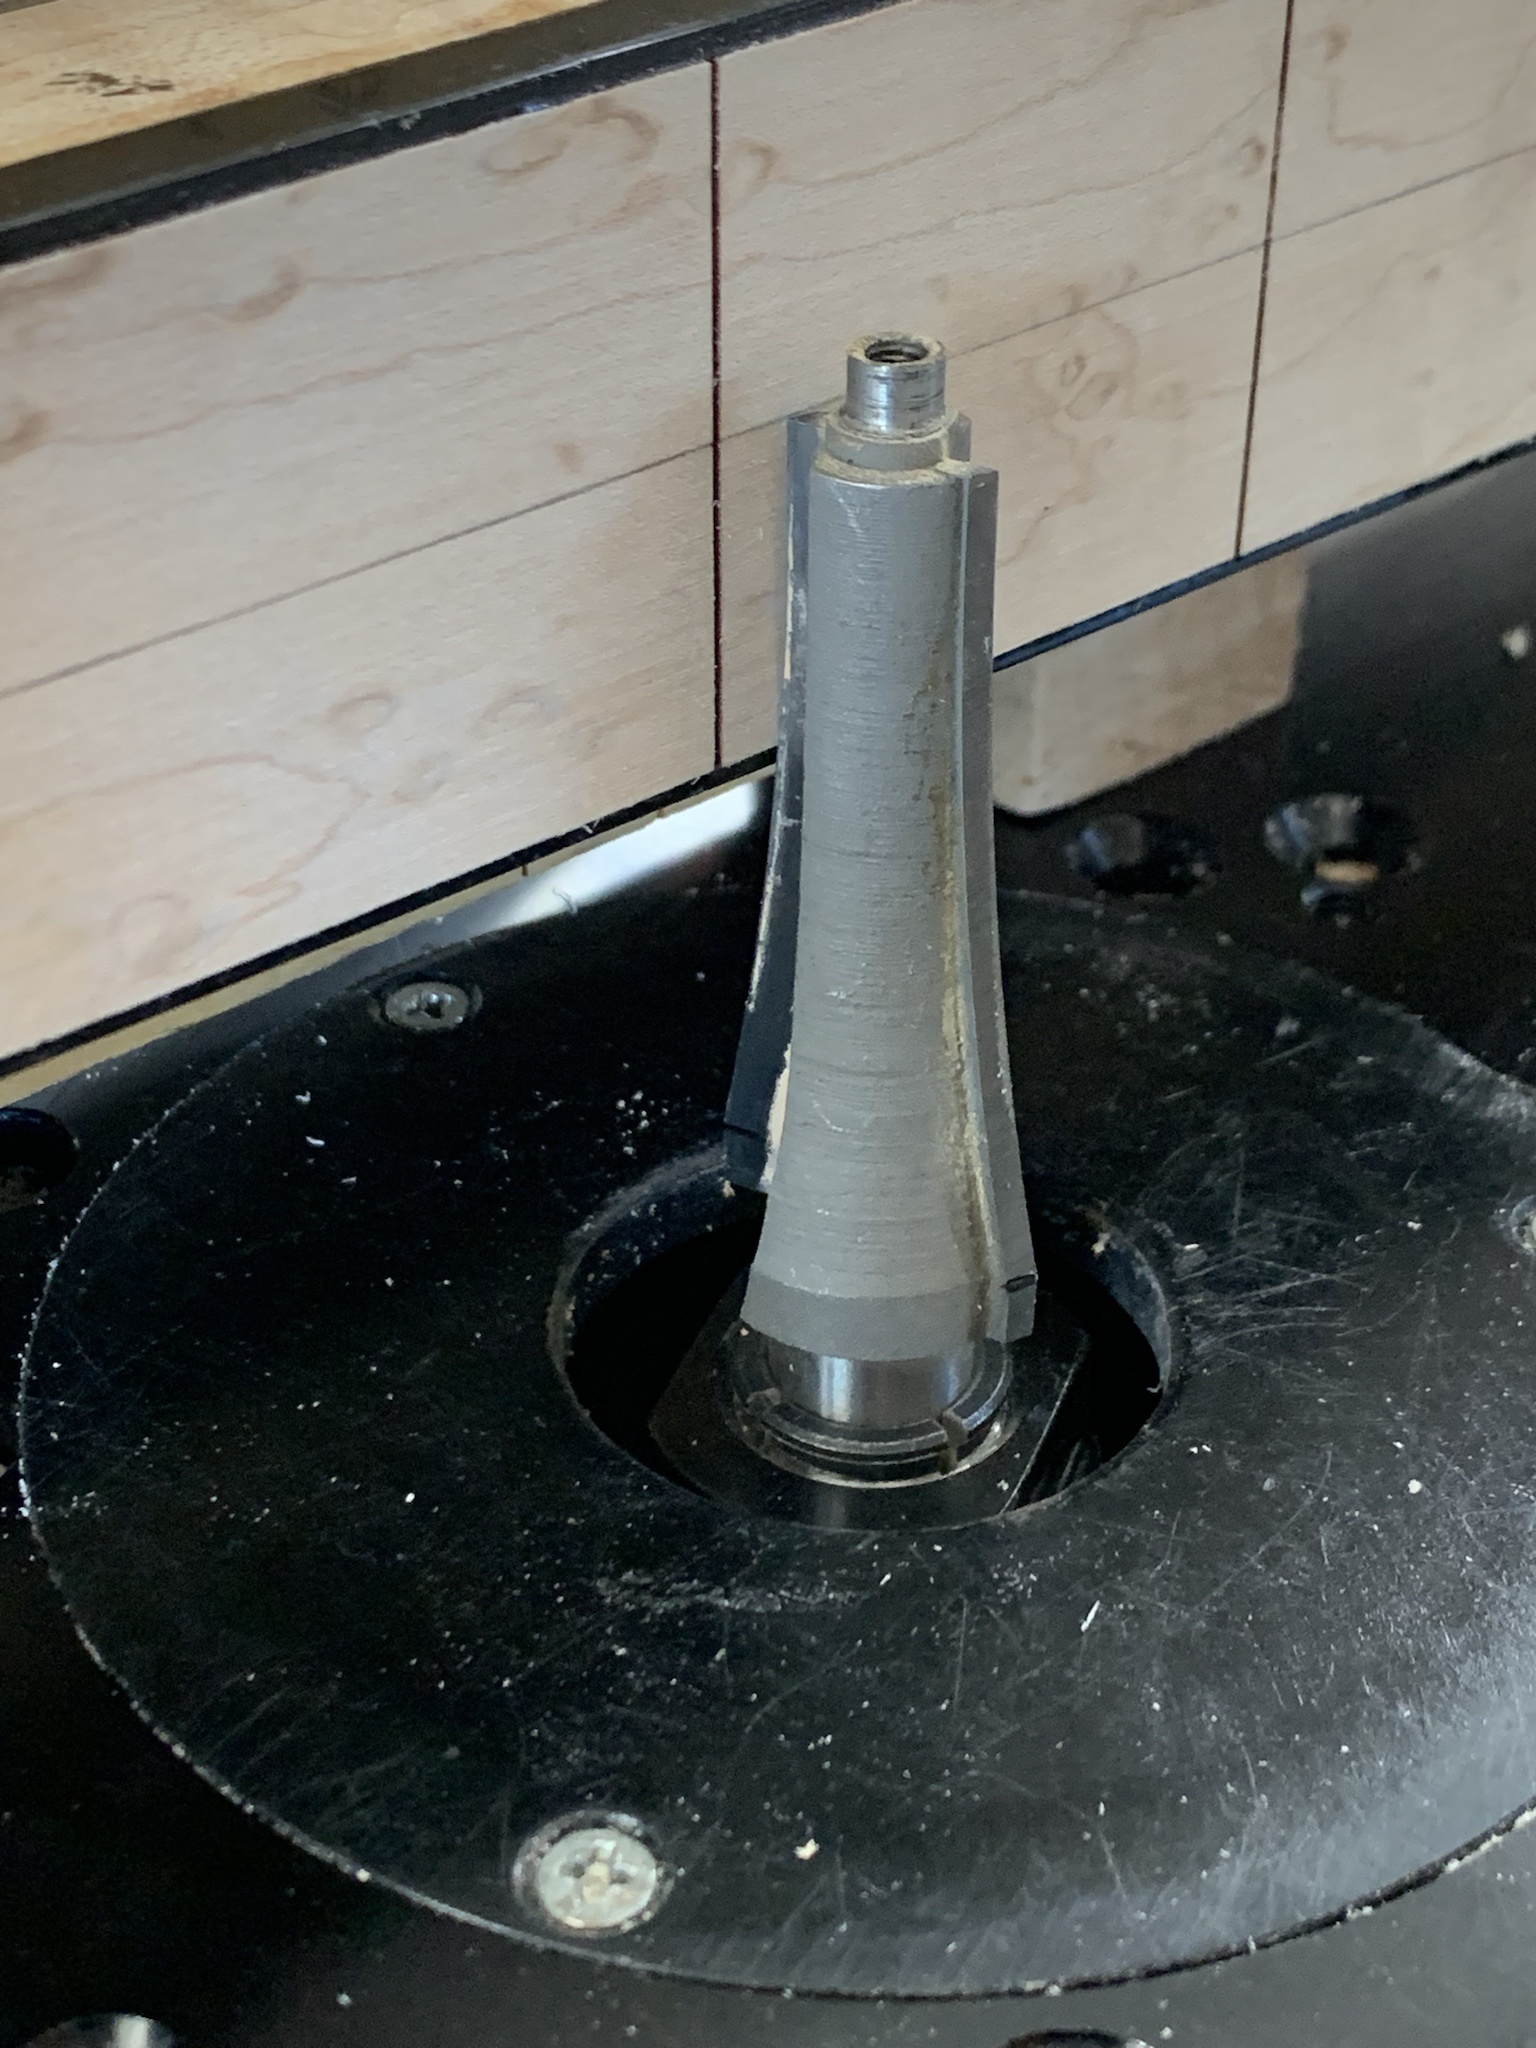
Setting up the height for the radius bit. The bit will be buried in the fence, and that will set the depth of cut.
caEVbS0.jpg


Radius completed.
UKn7YnJ.jpg


KzlK85U.jpg


More soon. :)
 
Wow, it's been forever since I've updated this one. I'll make a few posts and get caught up again. I've actually been making steady progress on this one over the past week or two.

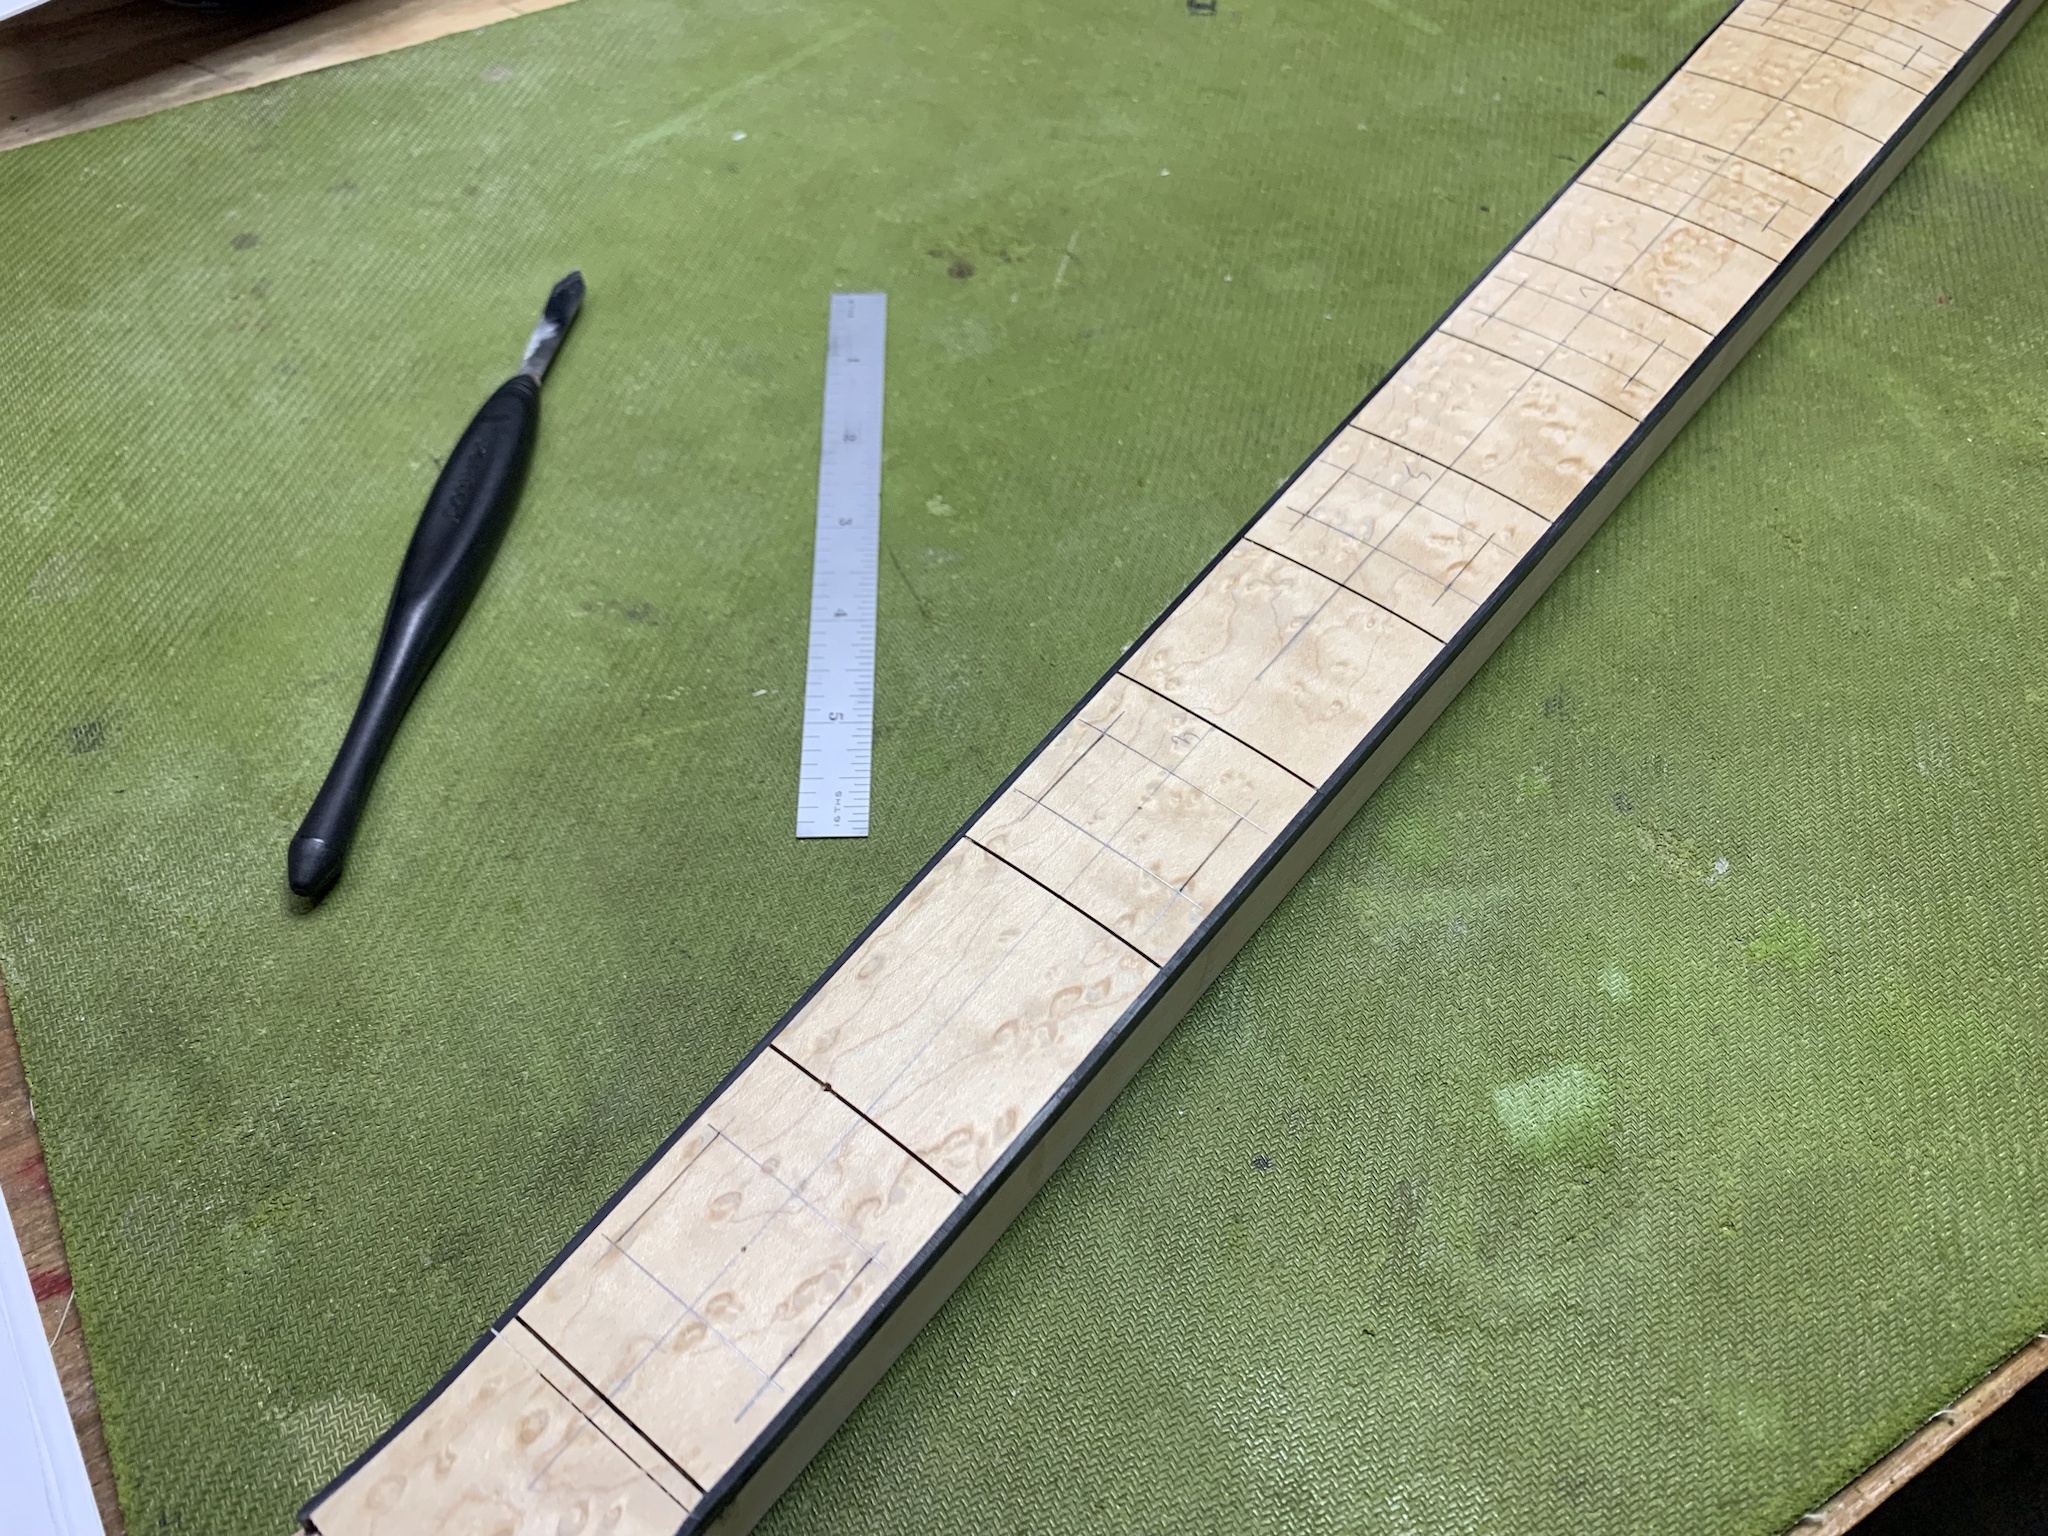
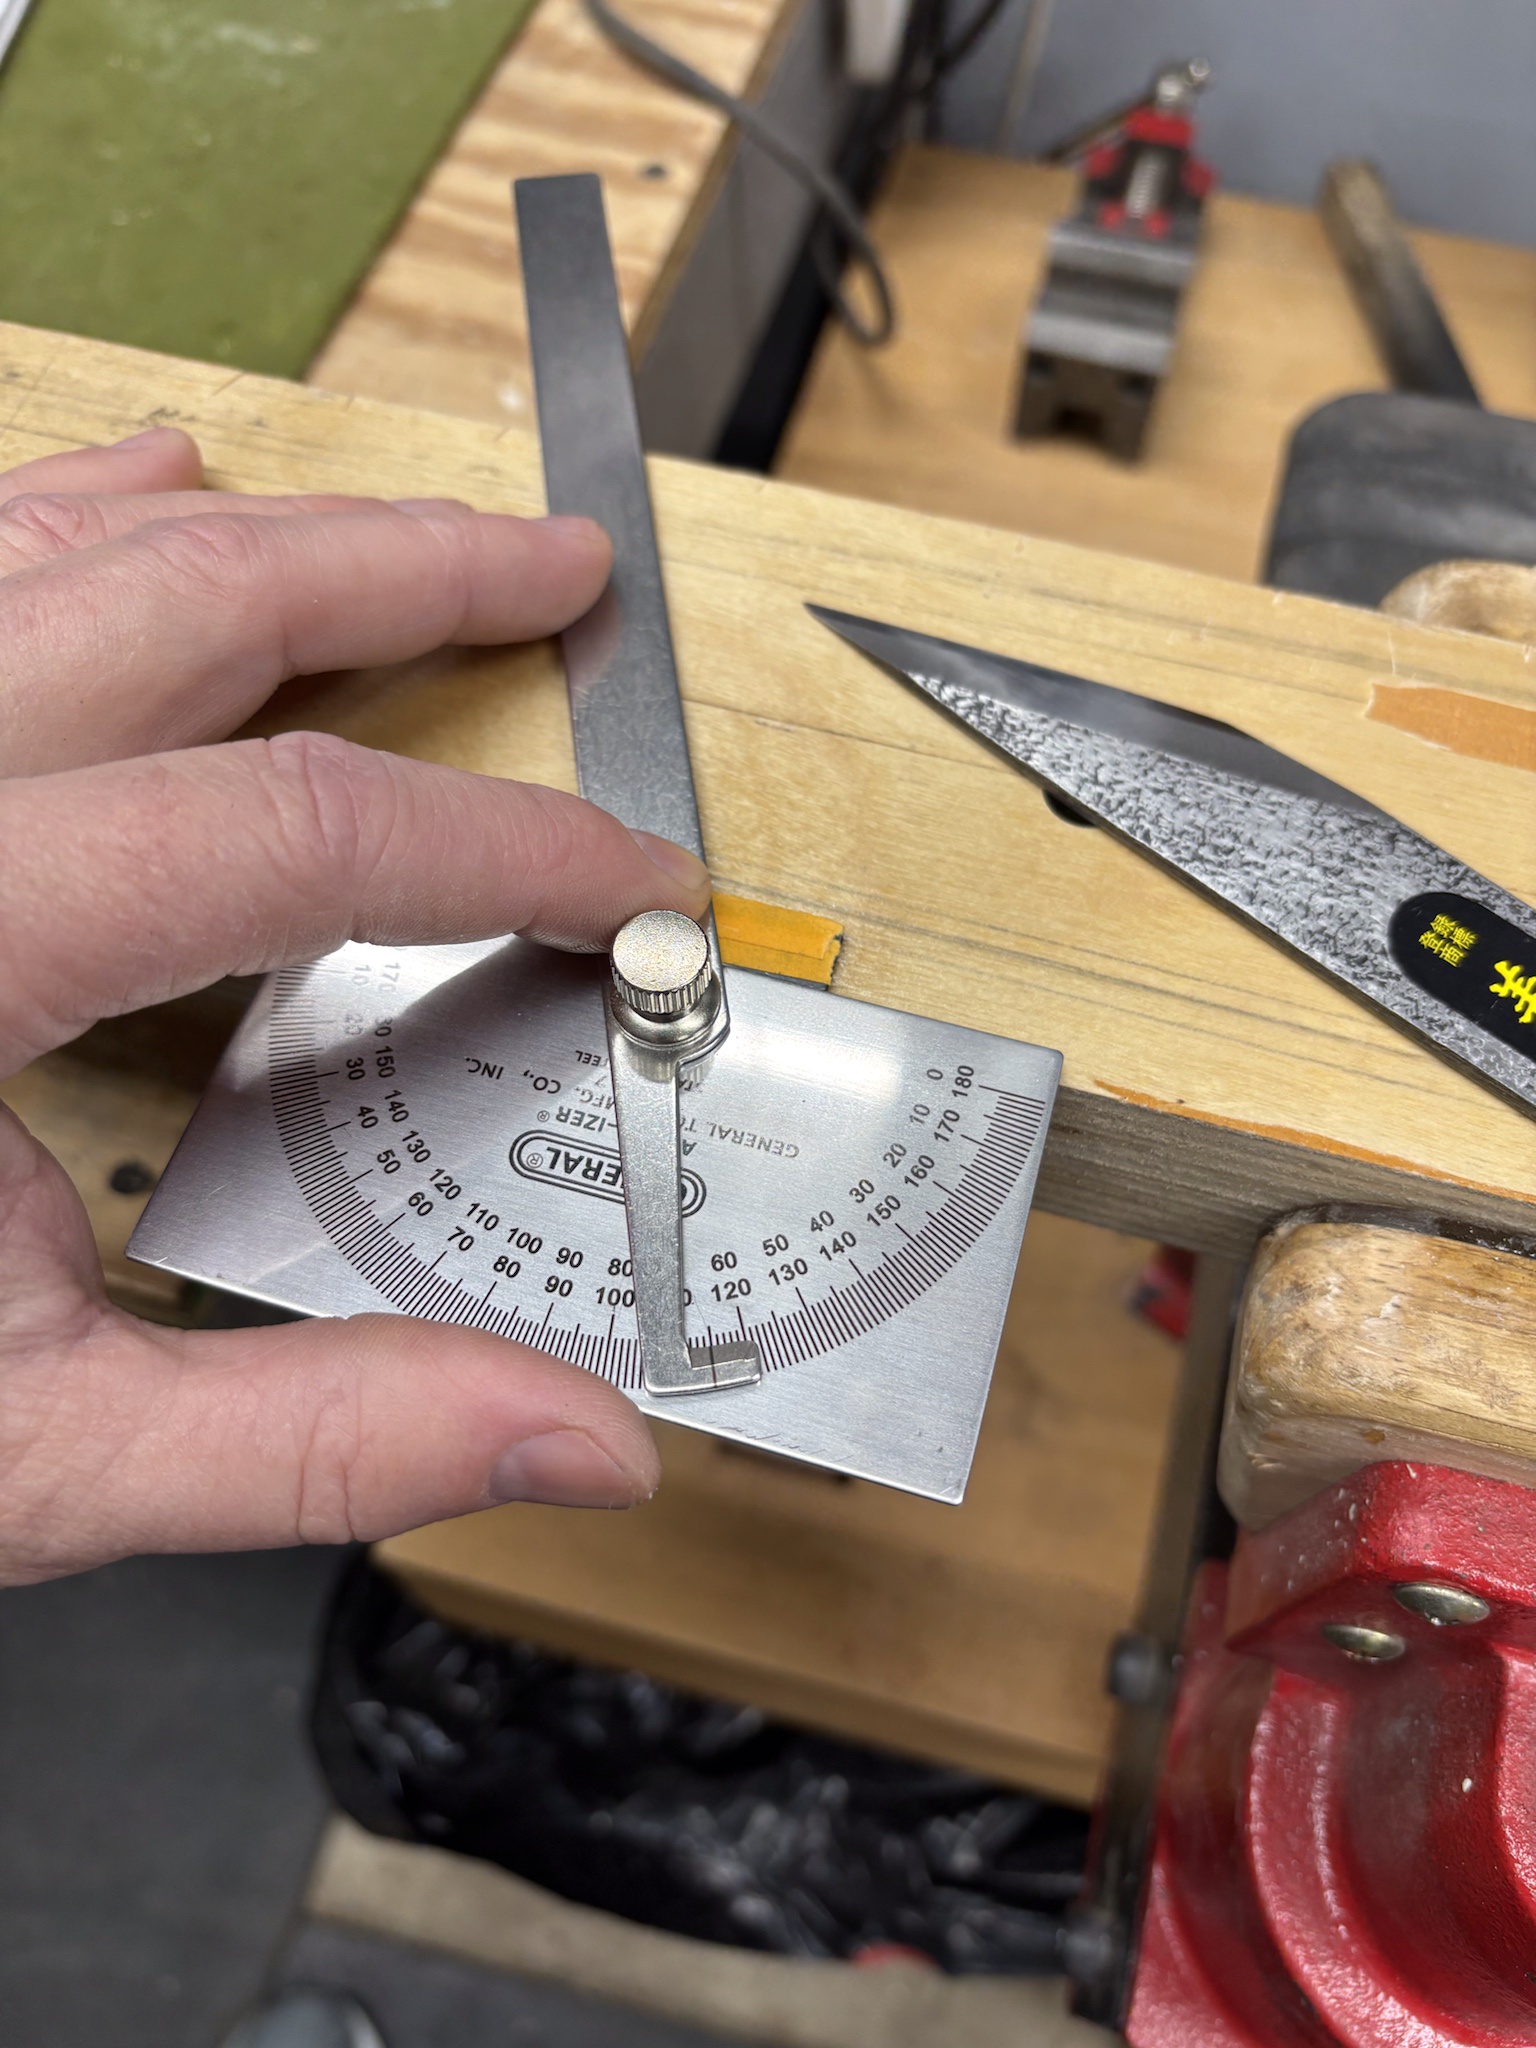
I'm pretty sure I did this part last fall... probably September. Anyway, I laid out the block positions using a protractor and pencil. I then used a small flexible ruler and a knife to define the edges of the cavities. Measurements were taken from my 1978 Jazz neck inlays.
ZF41RAG.jpg


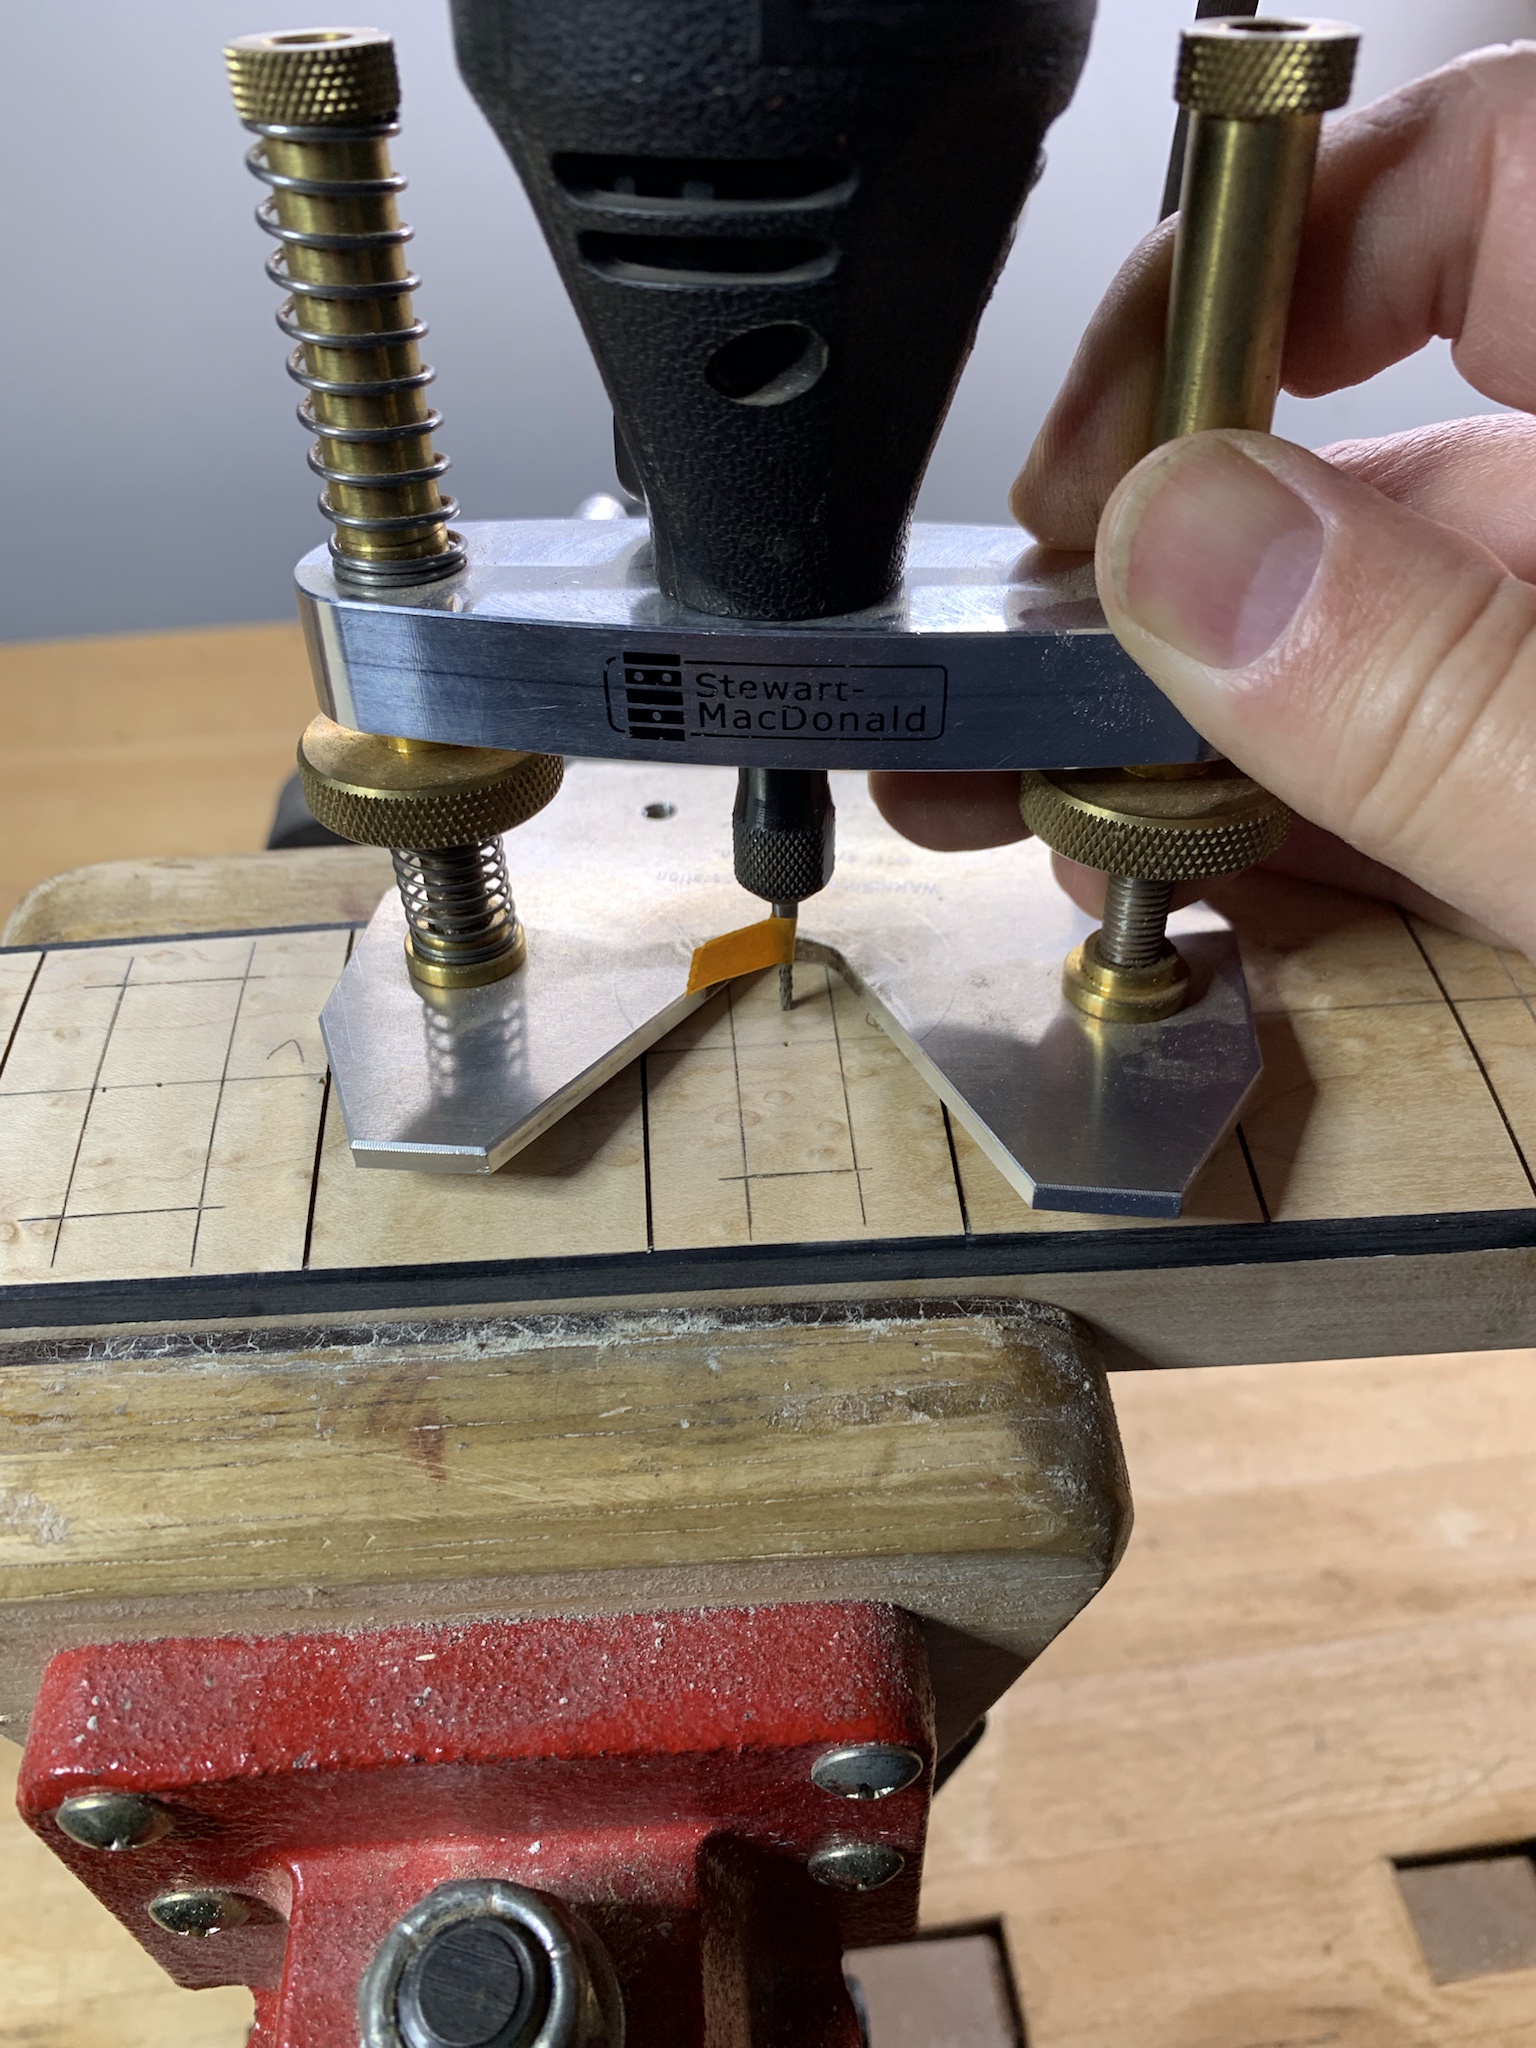
I then removed the bulk of the waste freehand with a Dremel and router base.
oErXIVe.jpg


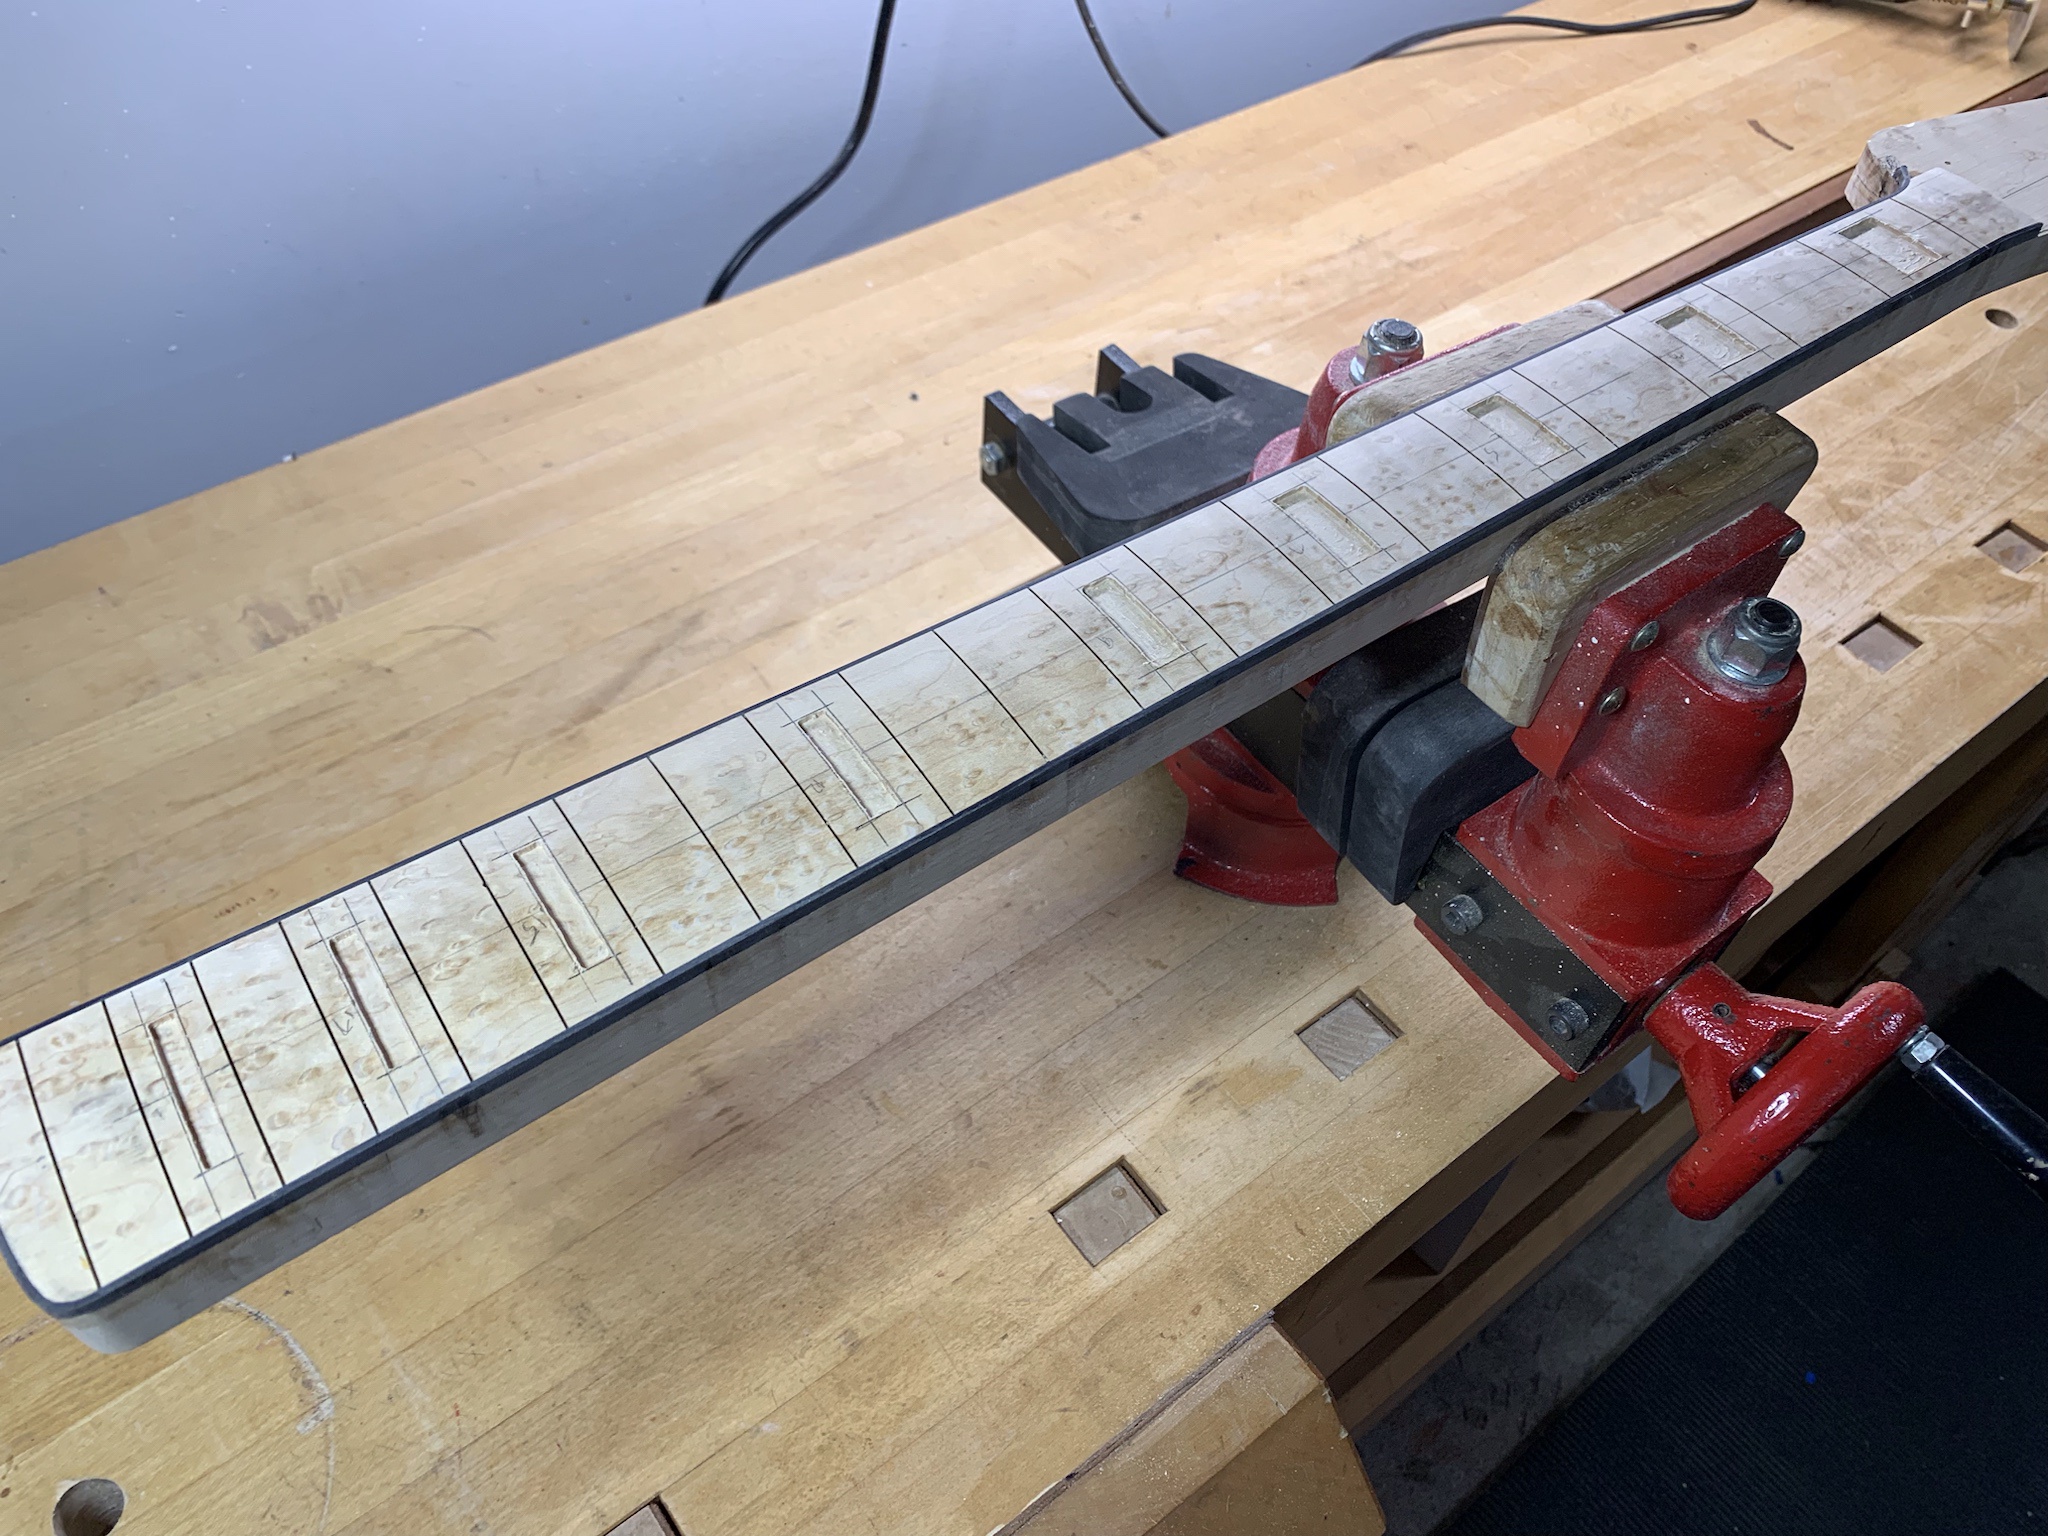
Pockets roughly formed.
tyUwEDj.jpg


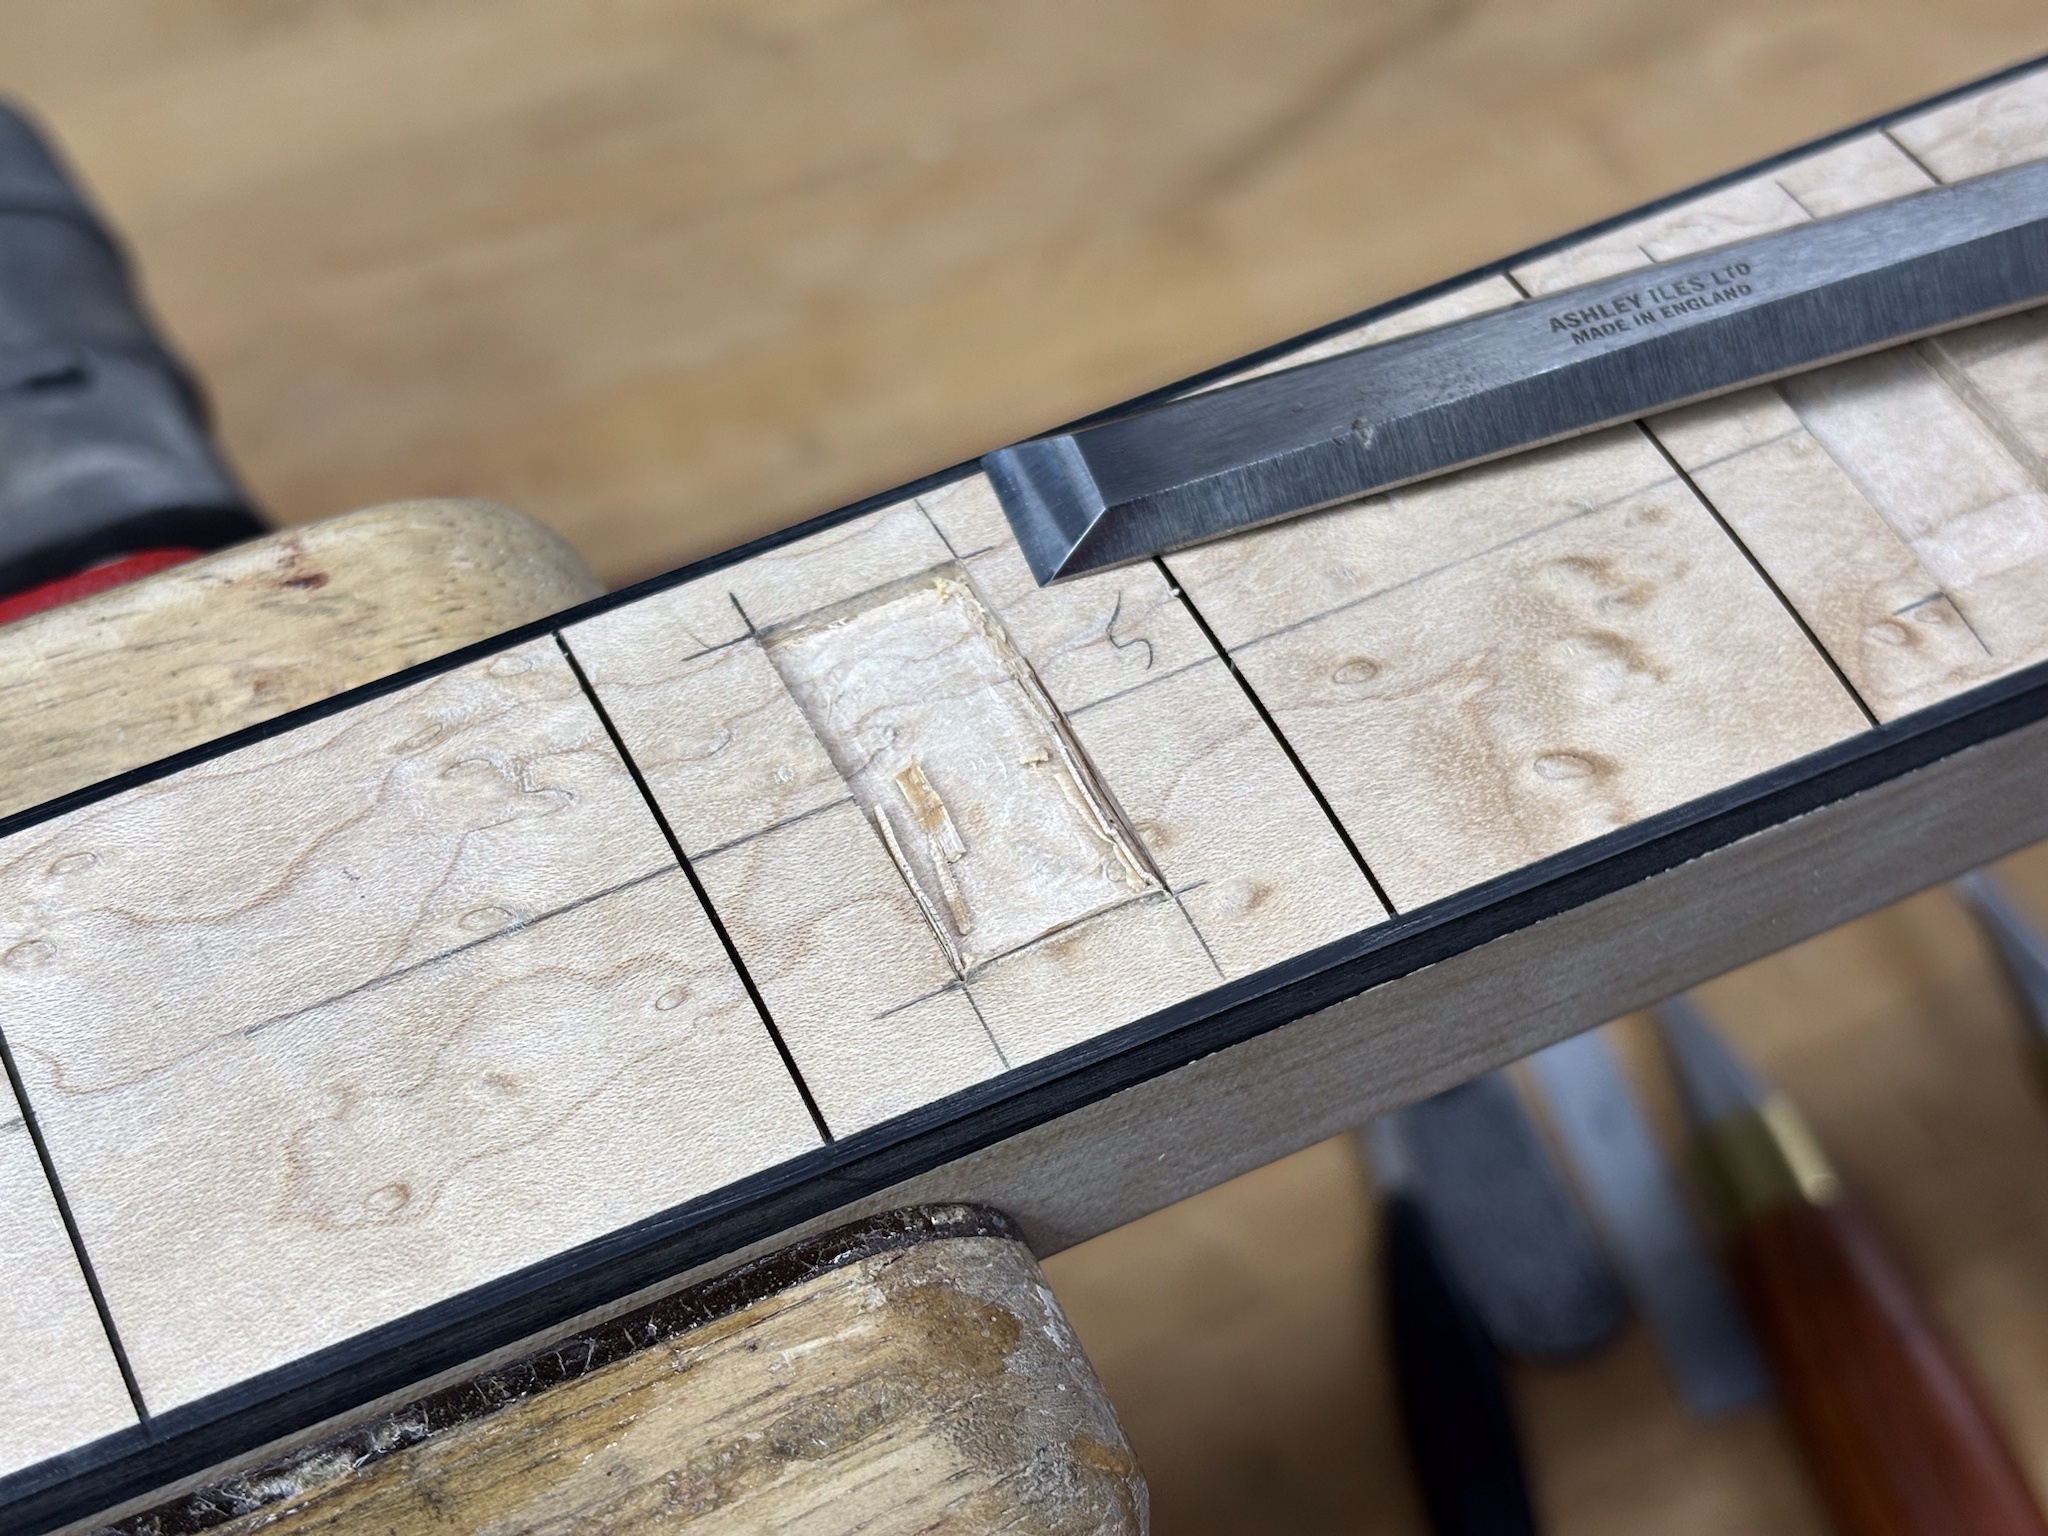
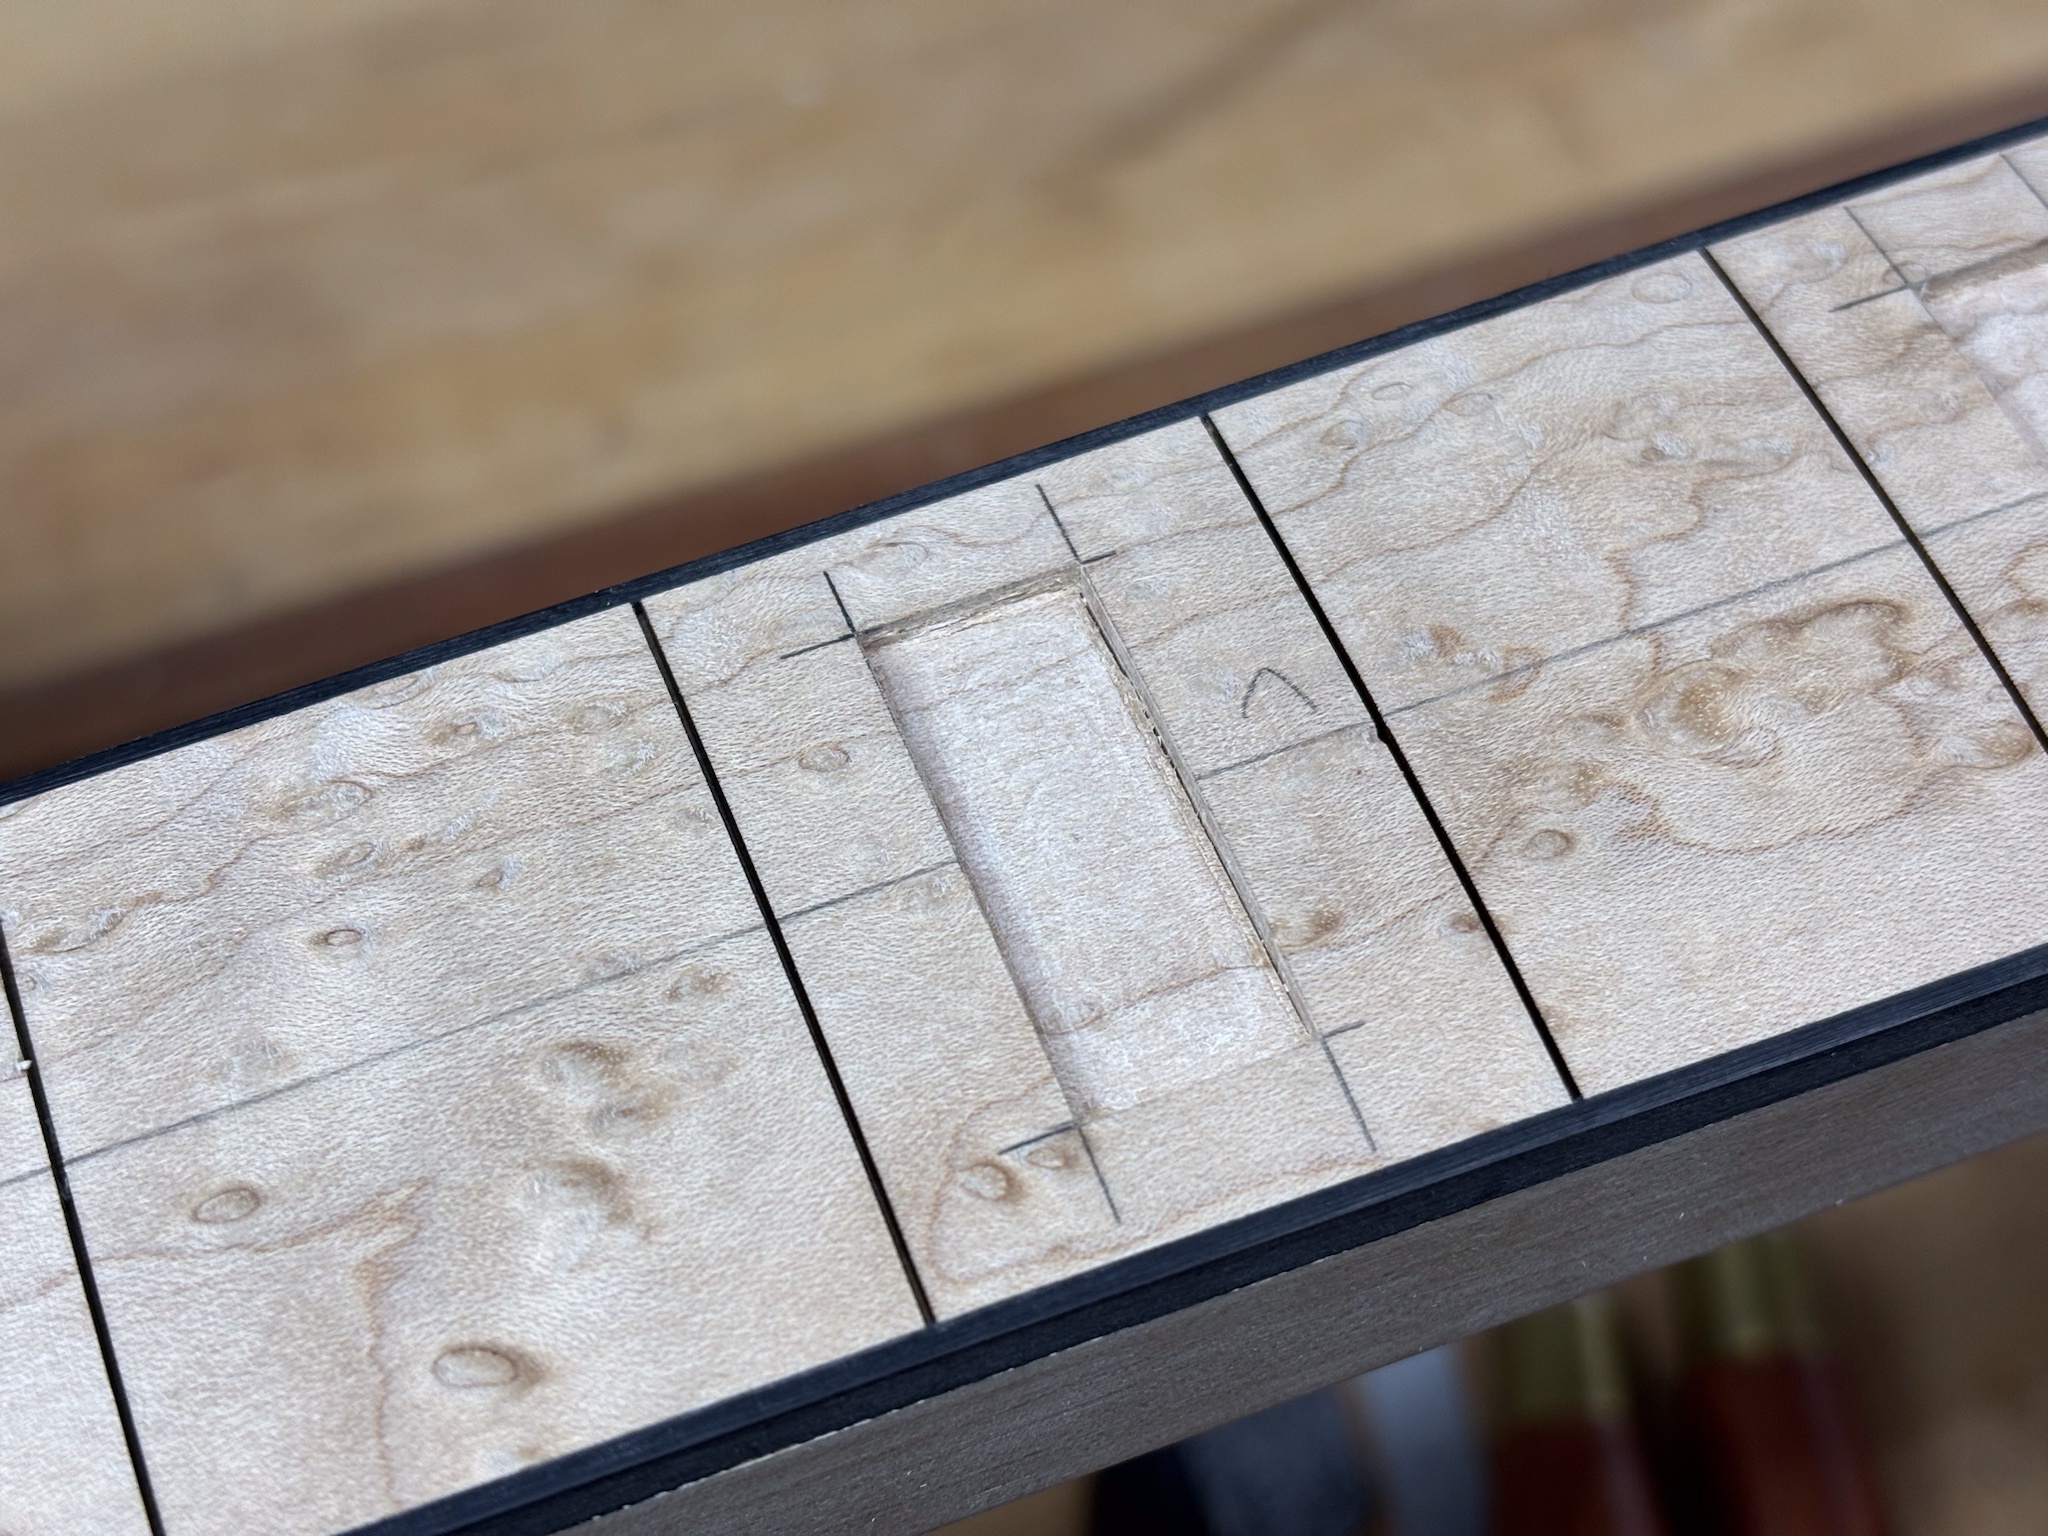
This is where I picked up recently. Cleaned up the inlay pockets with chisels, bringing them out to the knifelines.
z1pIZlu.jpg


IE4RFKj.jpg


I'll try to keep these posts to a reasonable length, so more in the next one. :)
 
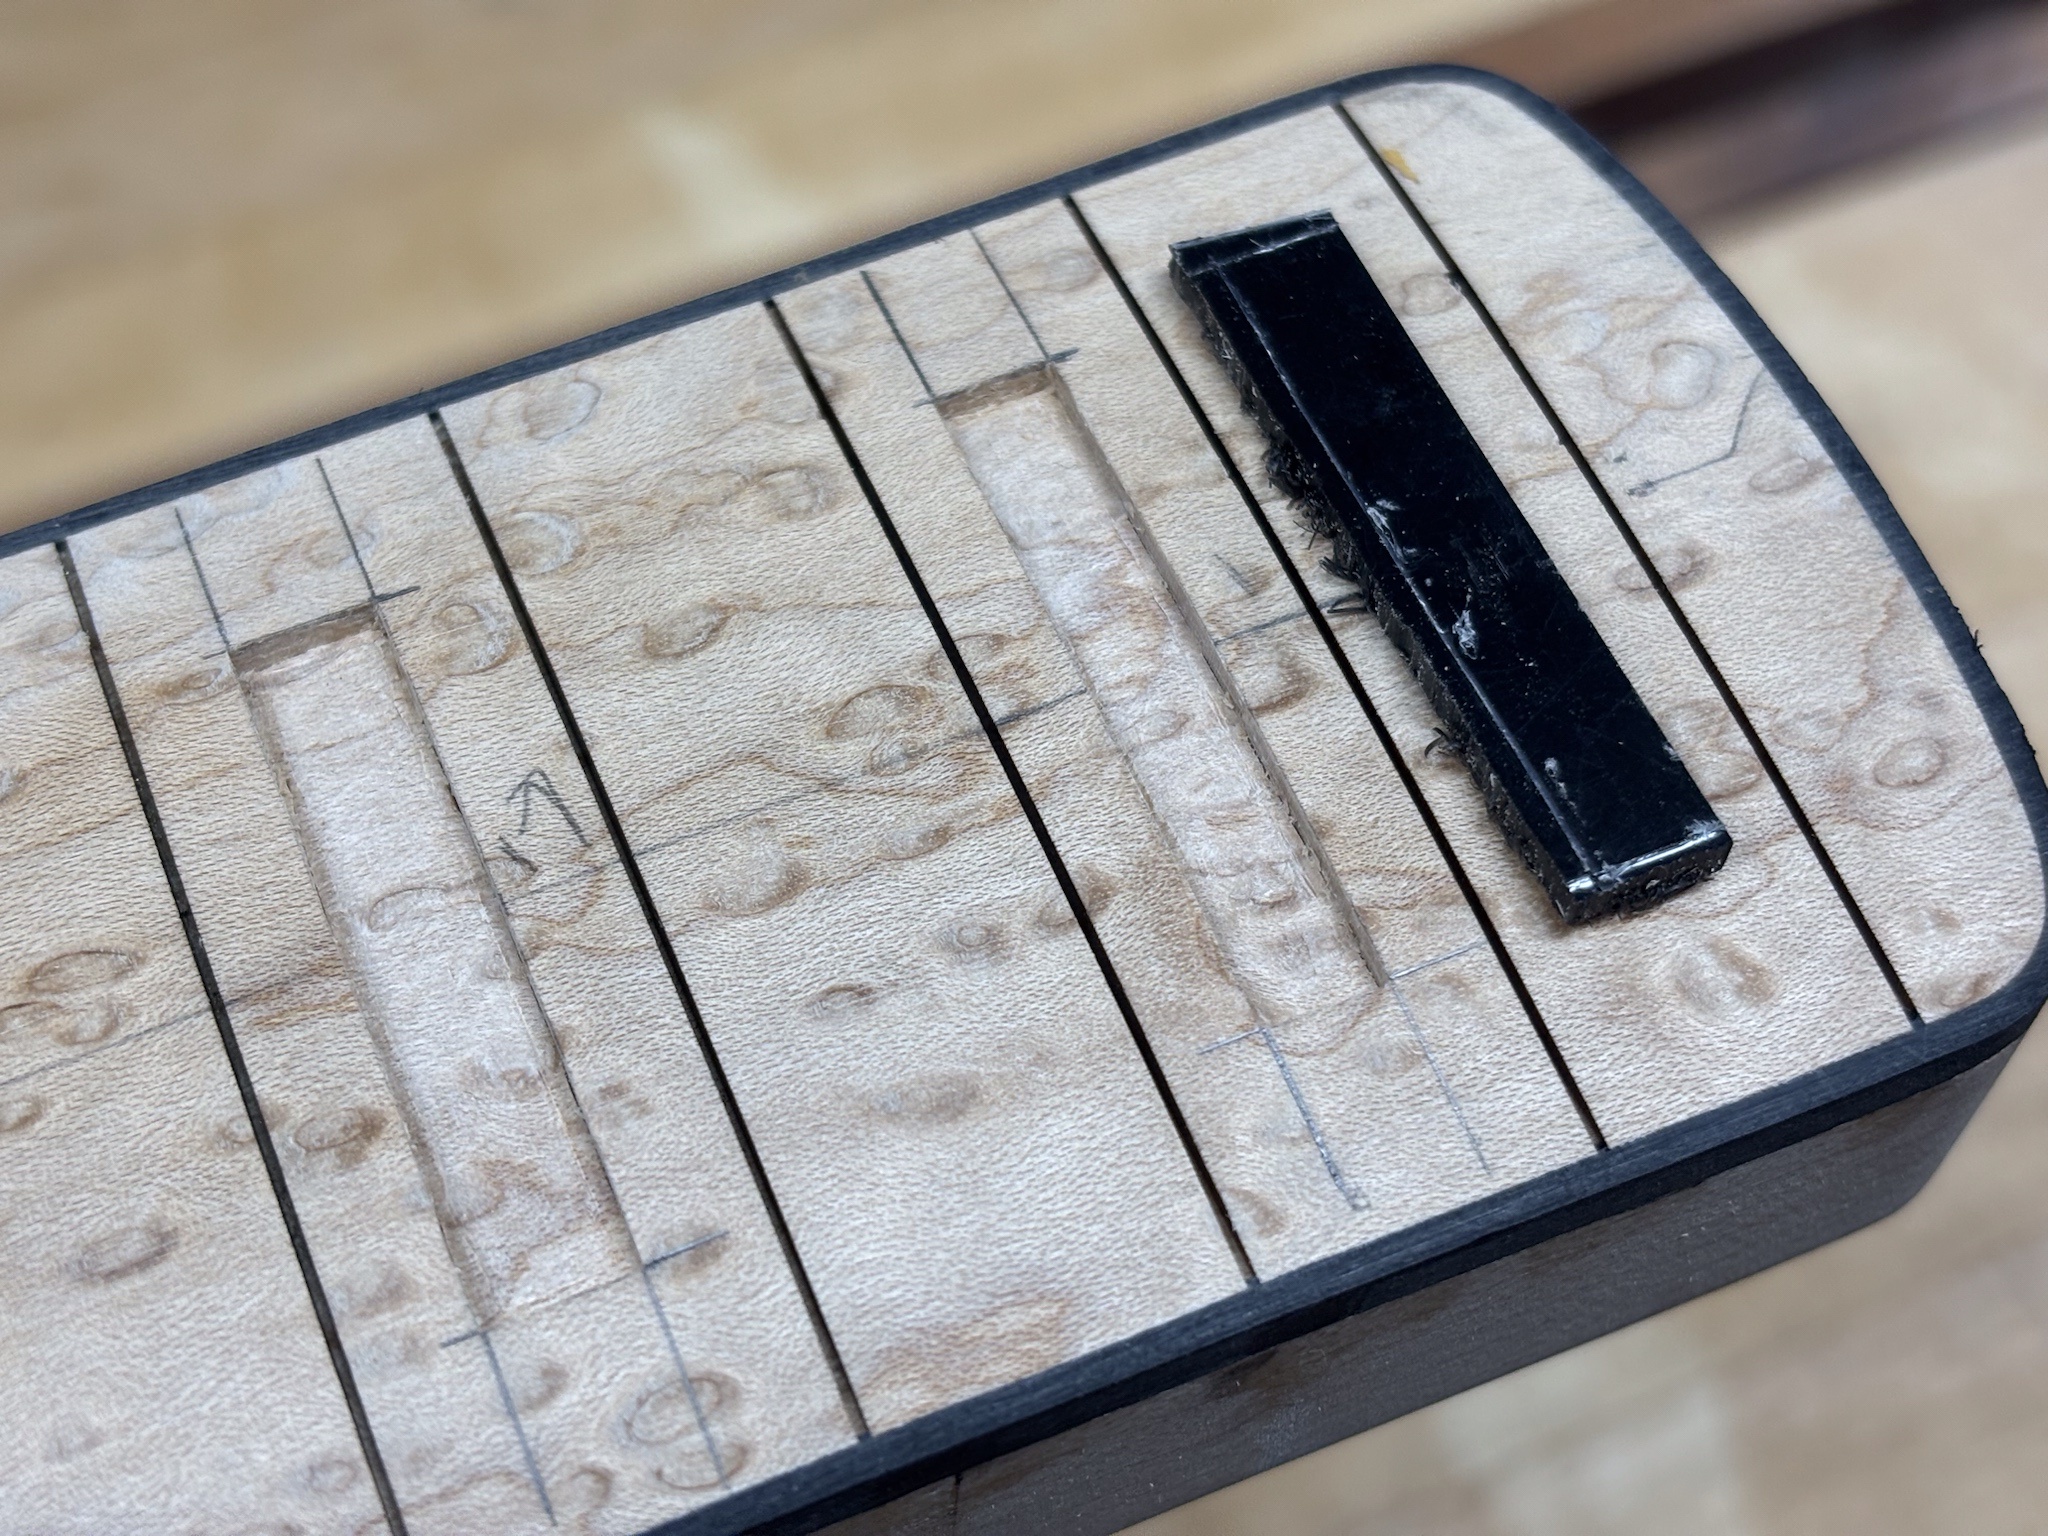
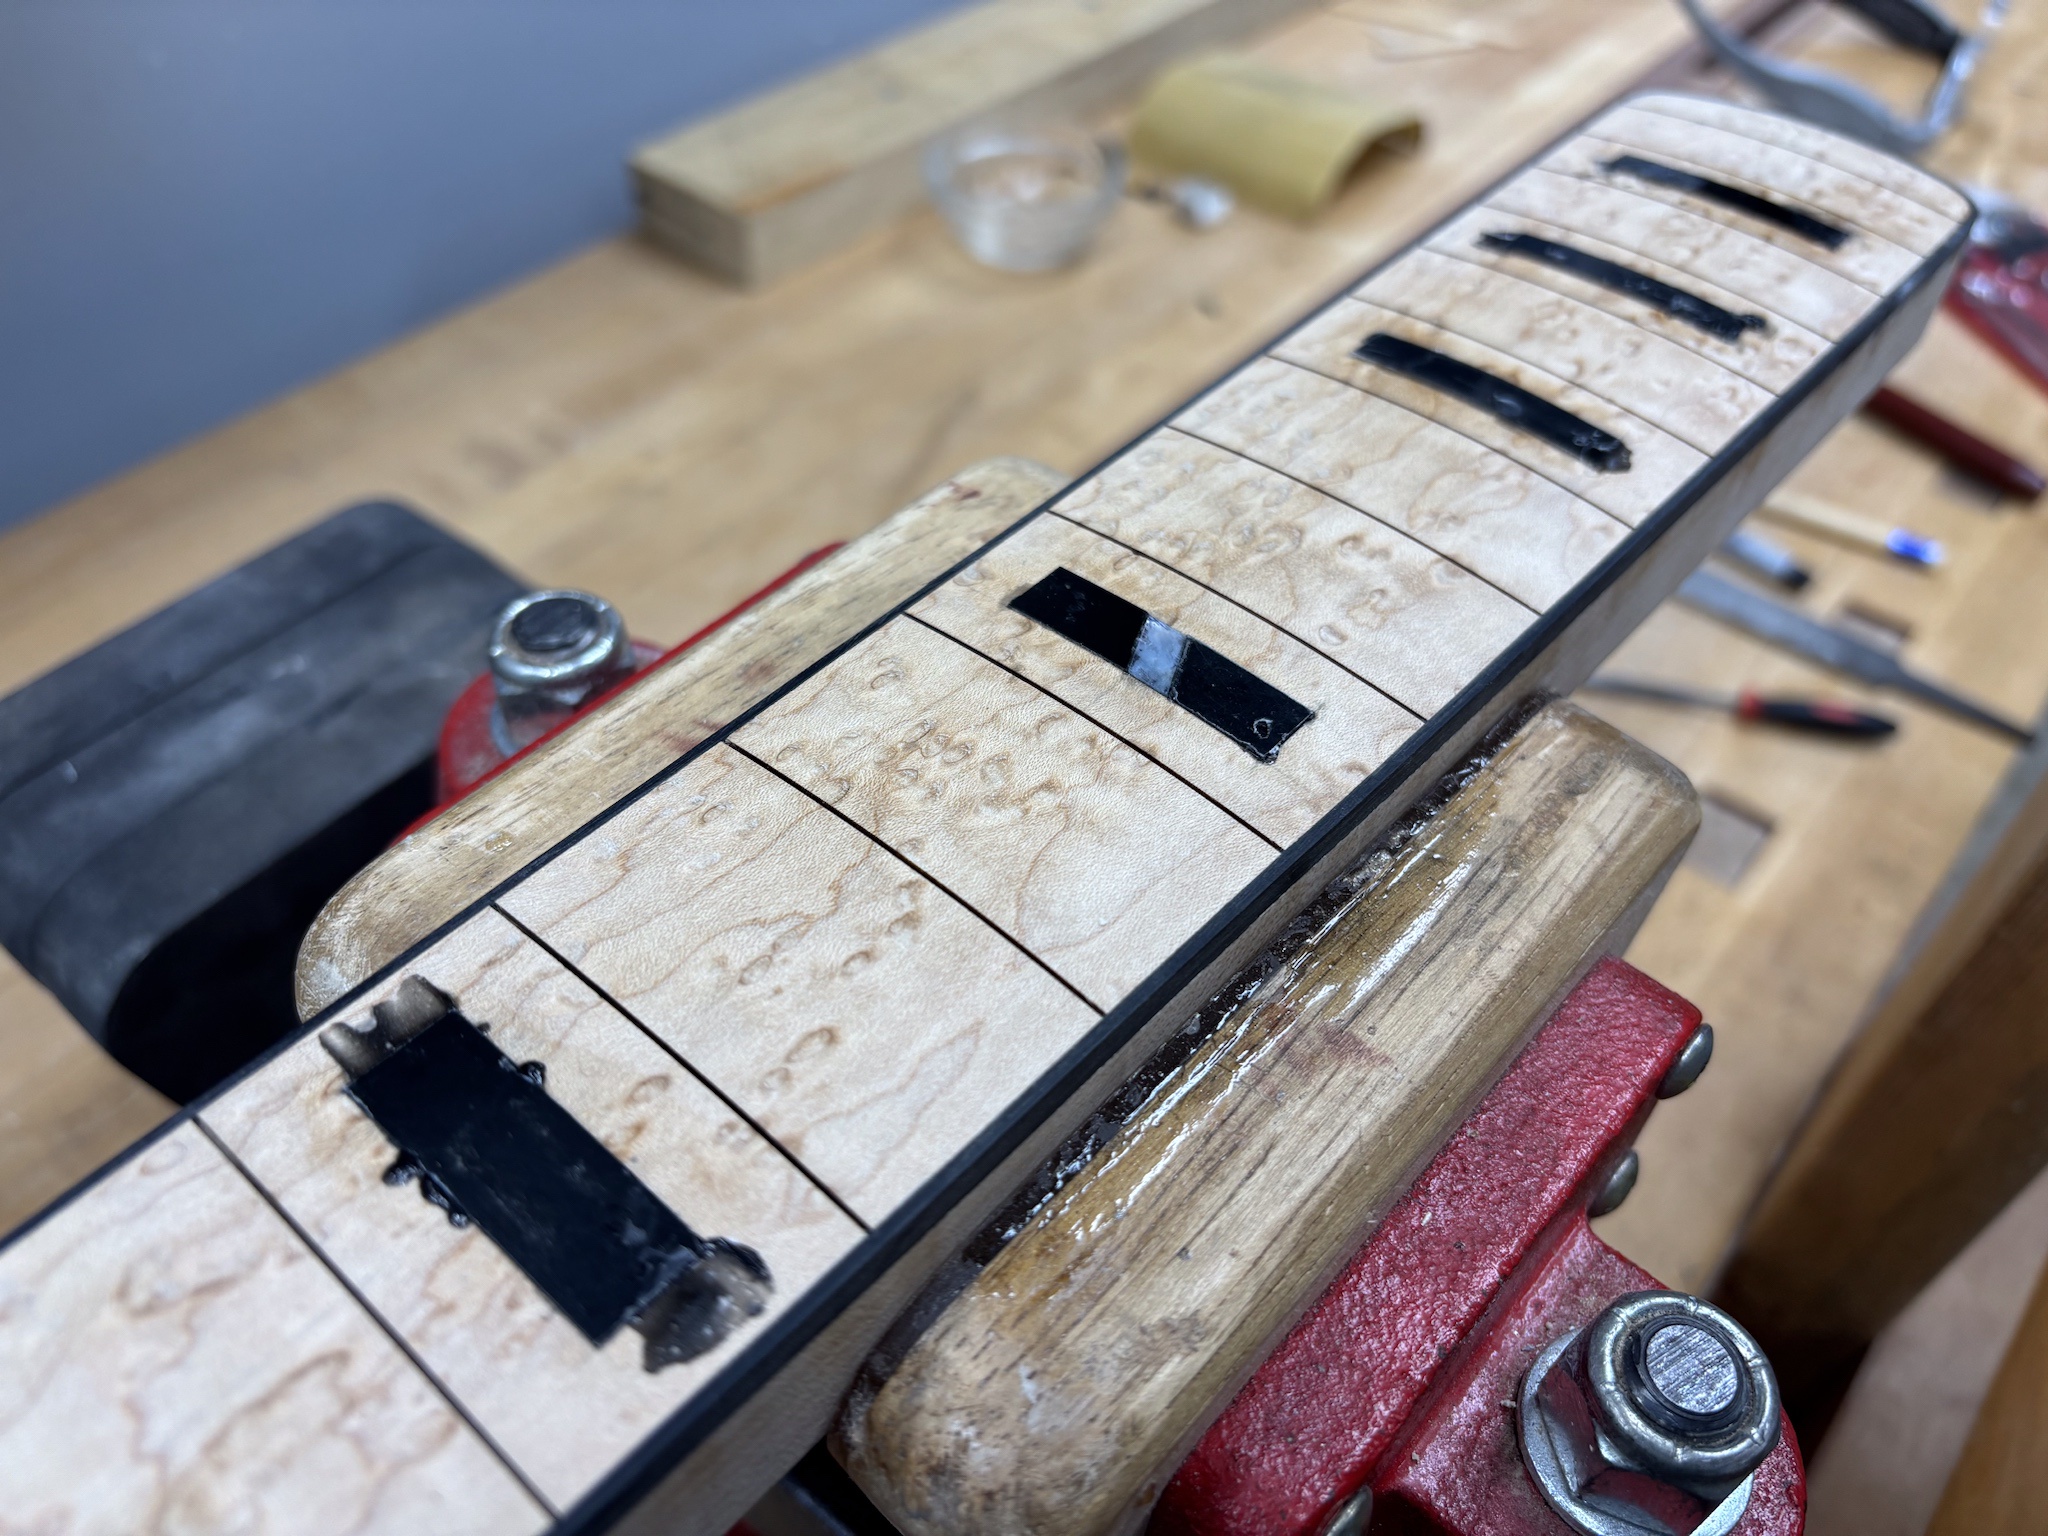
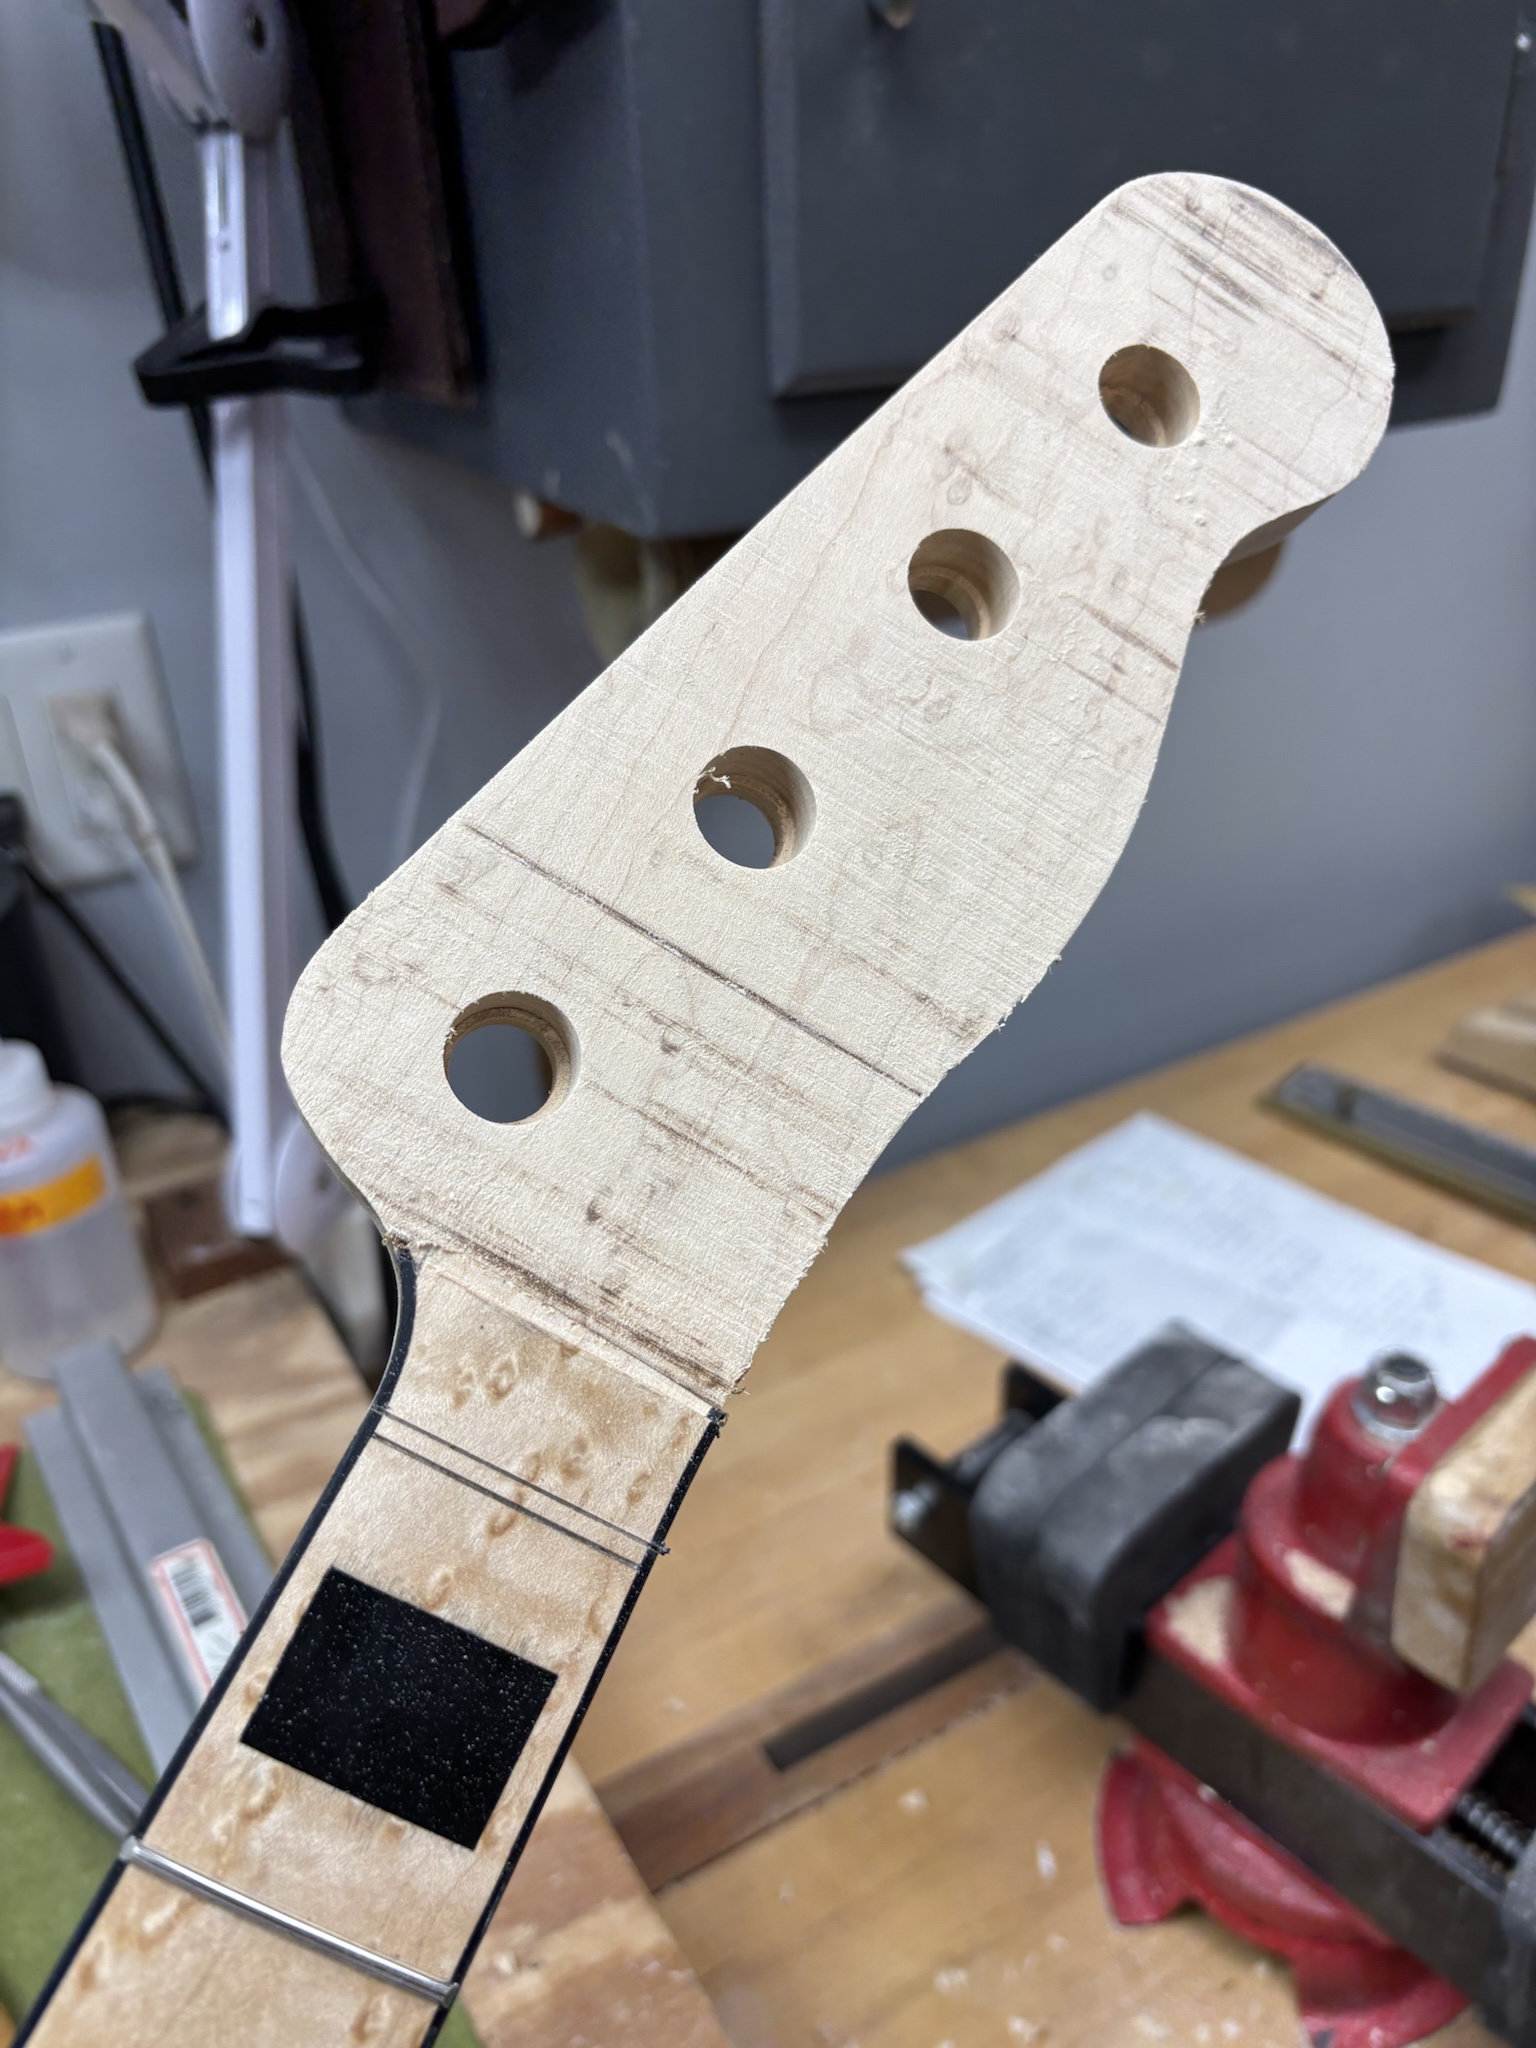
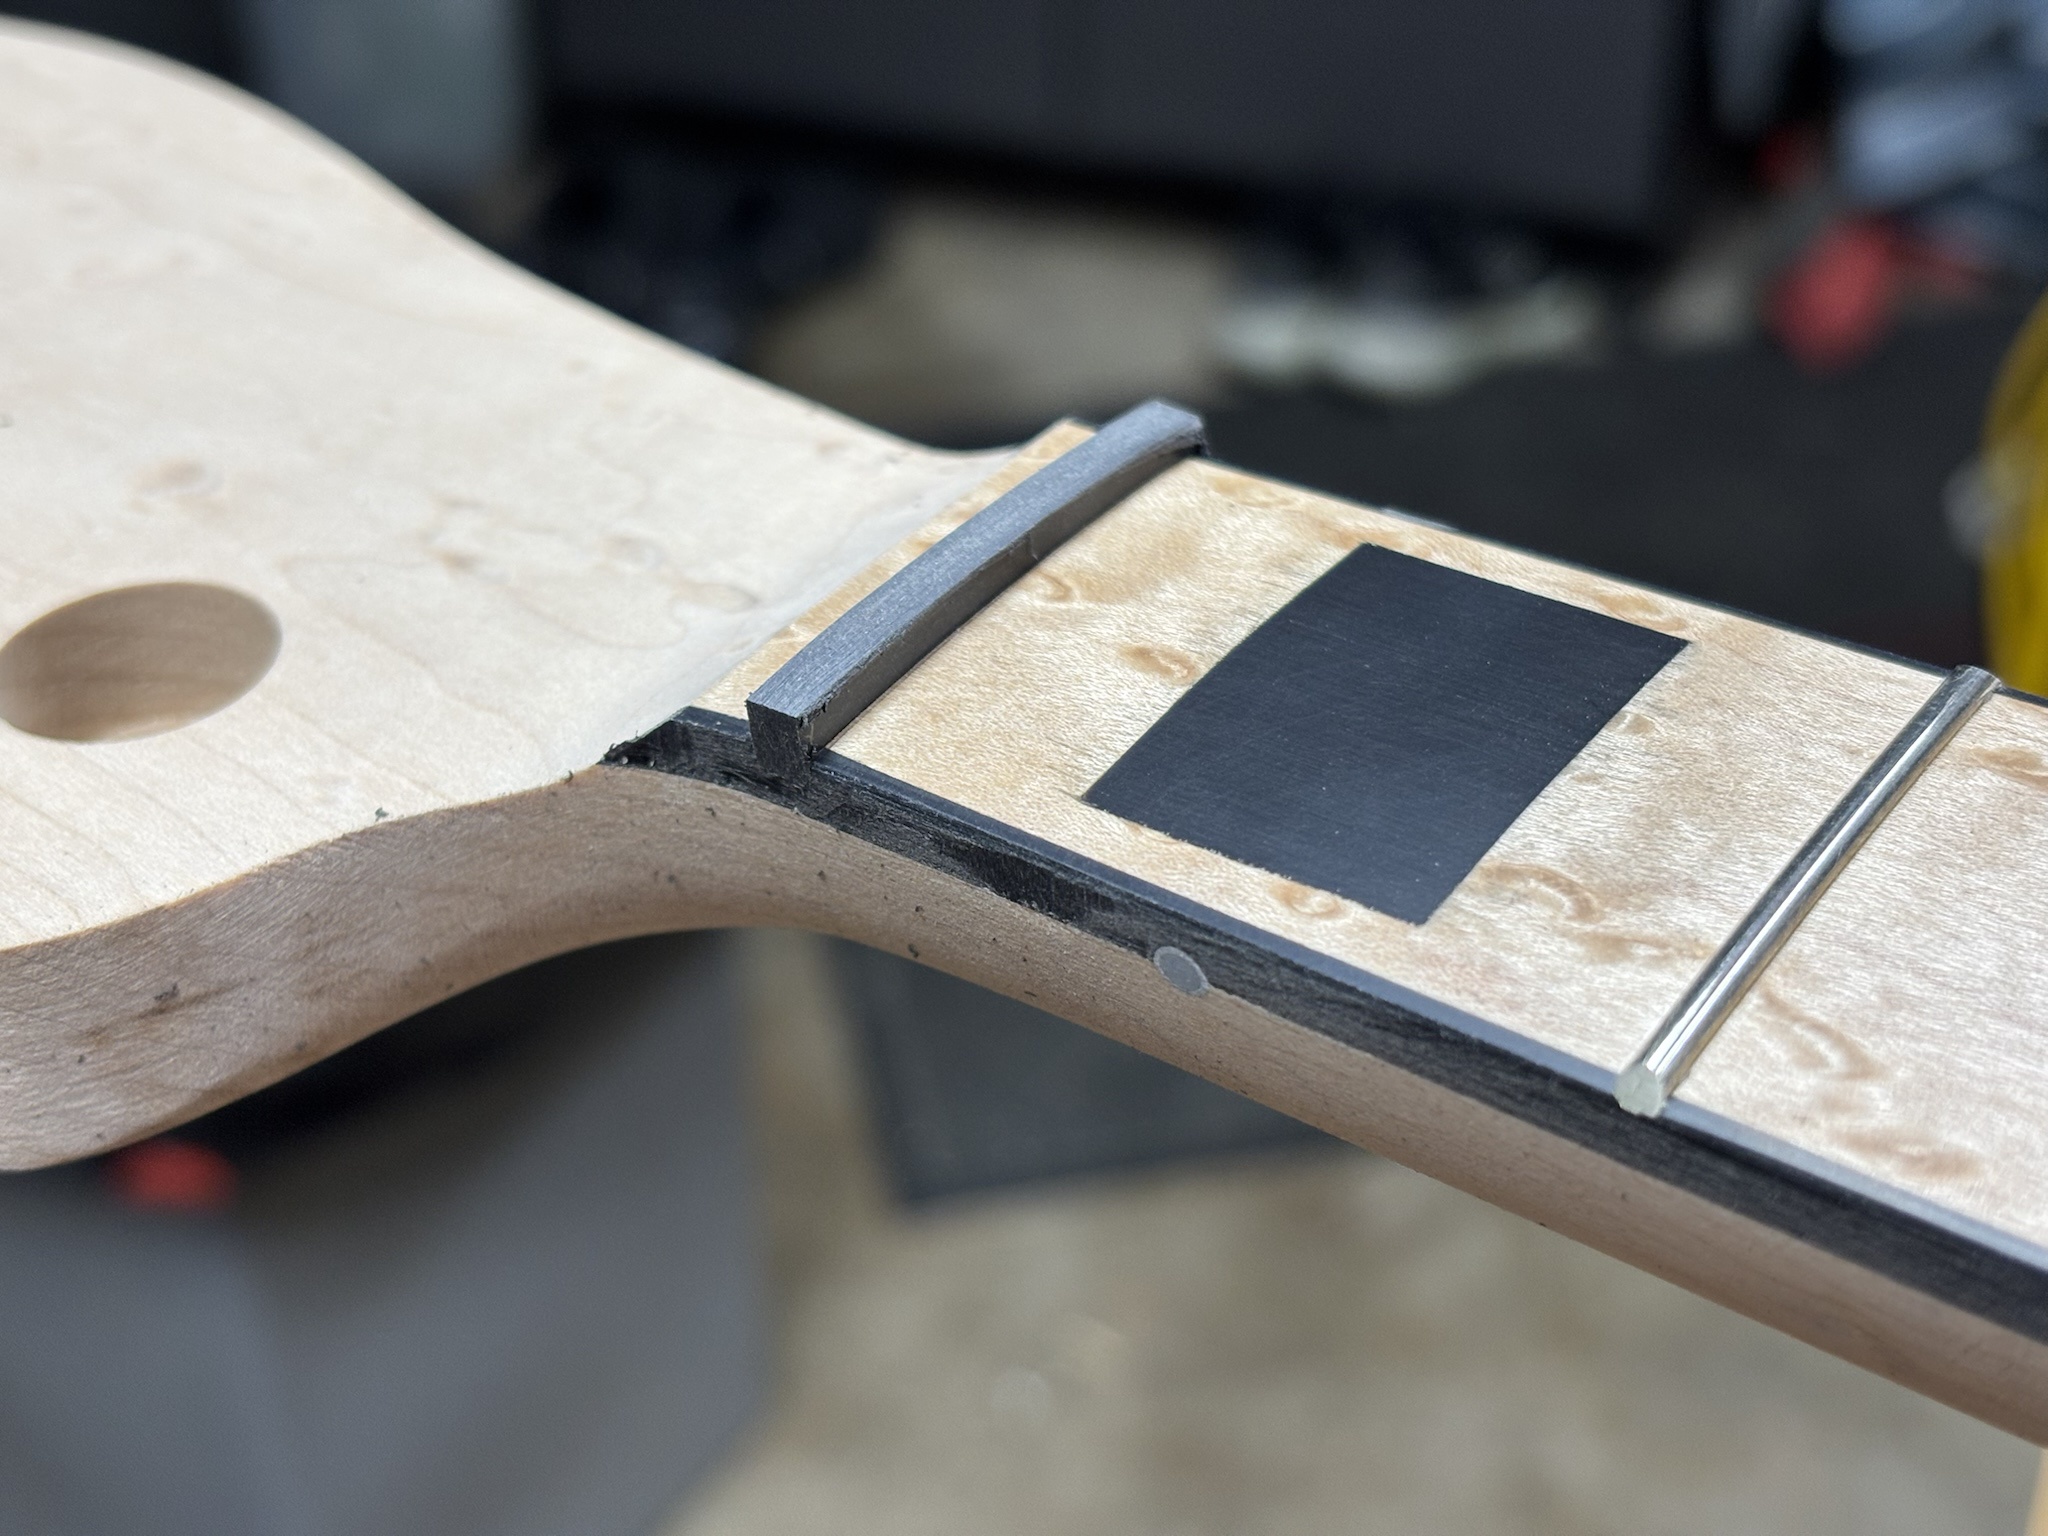
This neck is getting black block inlays, and I had planned on cutting them from pickguard plastic. I was very worried about getting a tight fit, so I kicked around a lot of ideas for glue/filler material. In my opinion, this has to be one of the most difficult combinations to get right and make it look clean. I could not find any other tutorials or just a random video showing a similar process. So, as is my normal process, I just wung it. :D

I marked out the dimensions using a silver welders pencil onto the black plastic, then rough cut the pieces on the band saw.
A8zzmTm.jpg


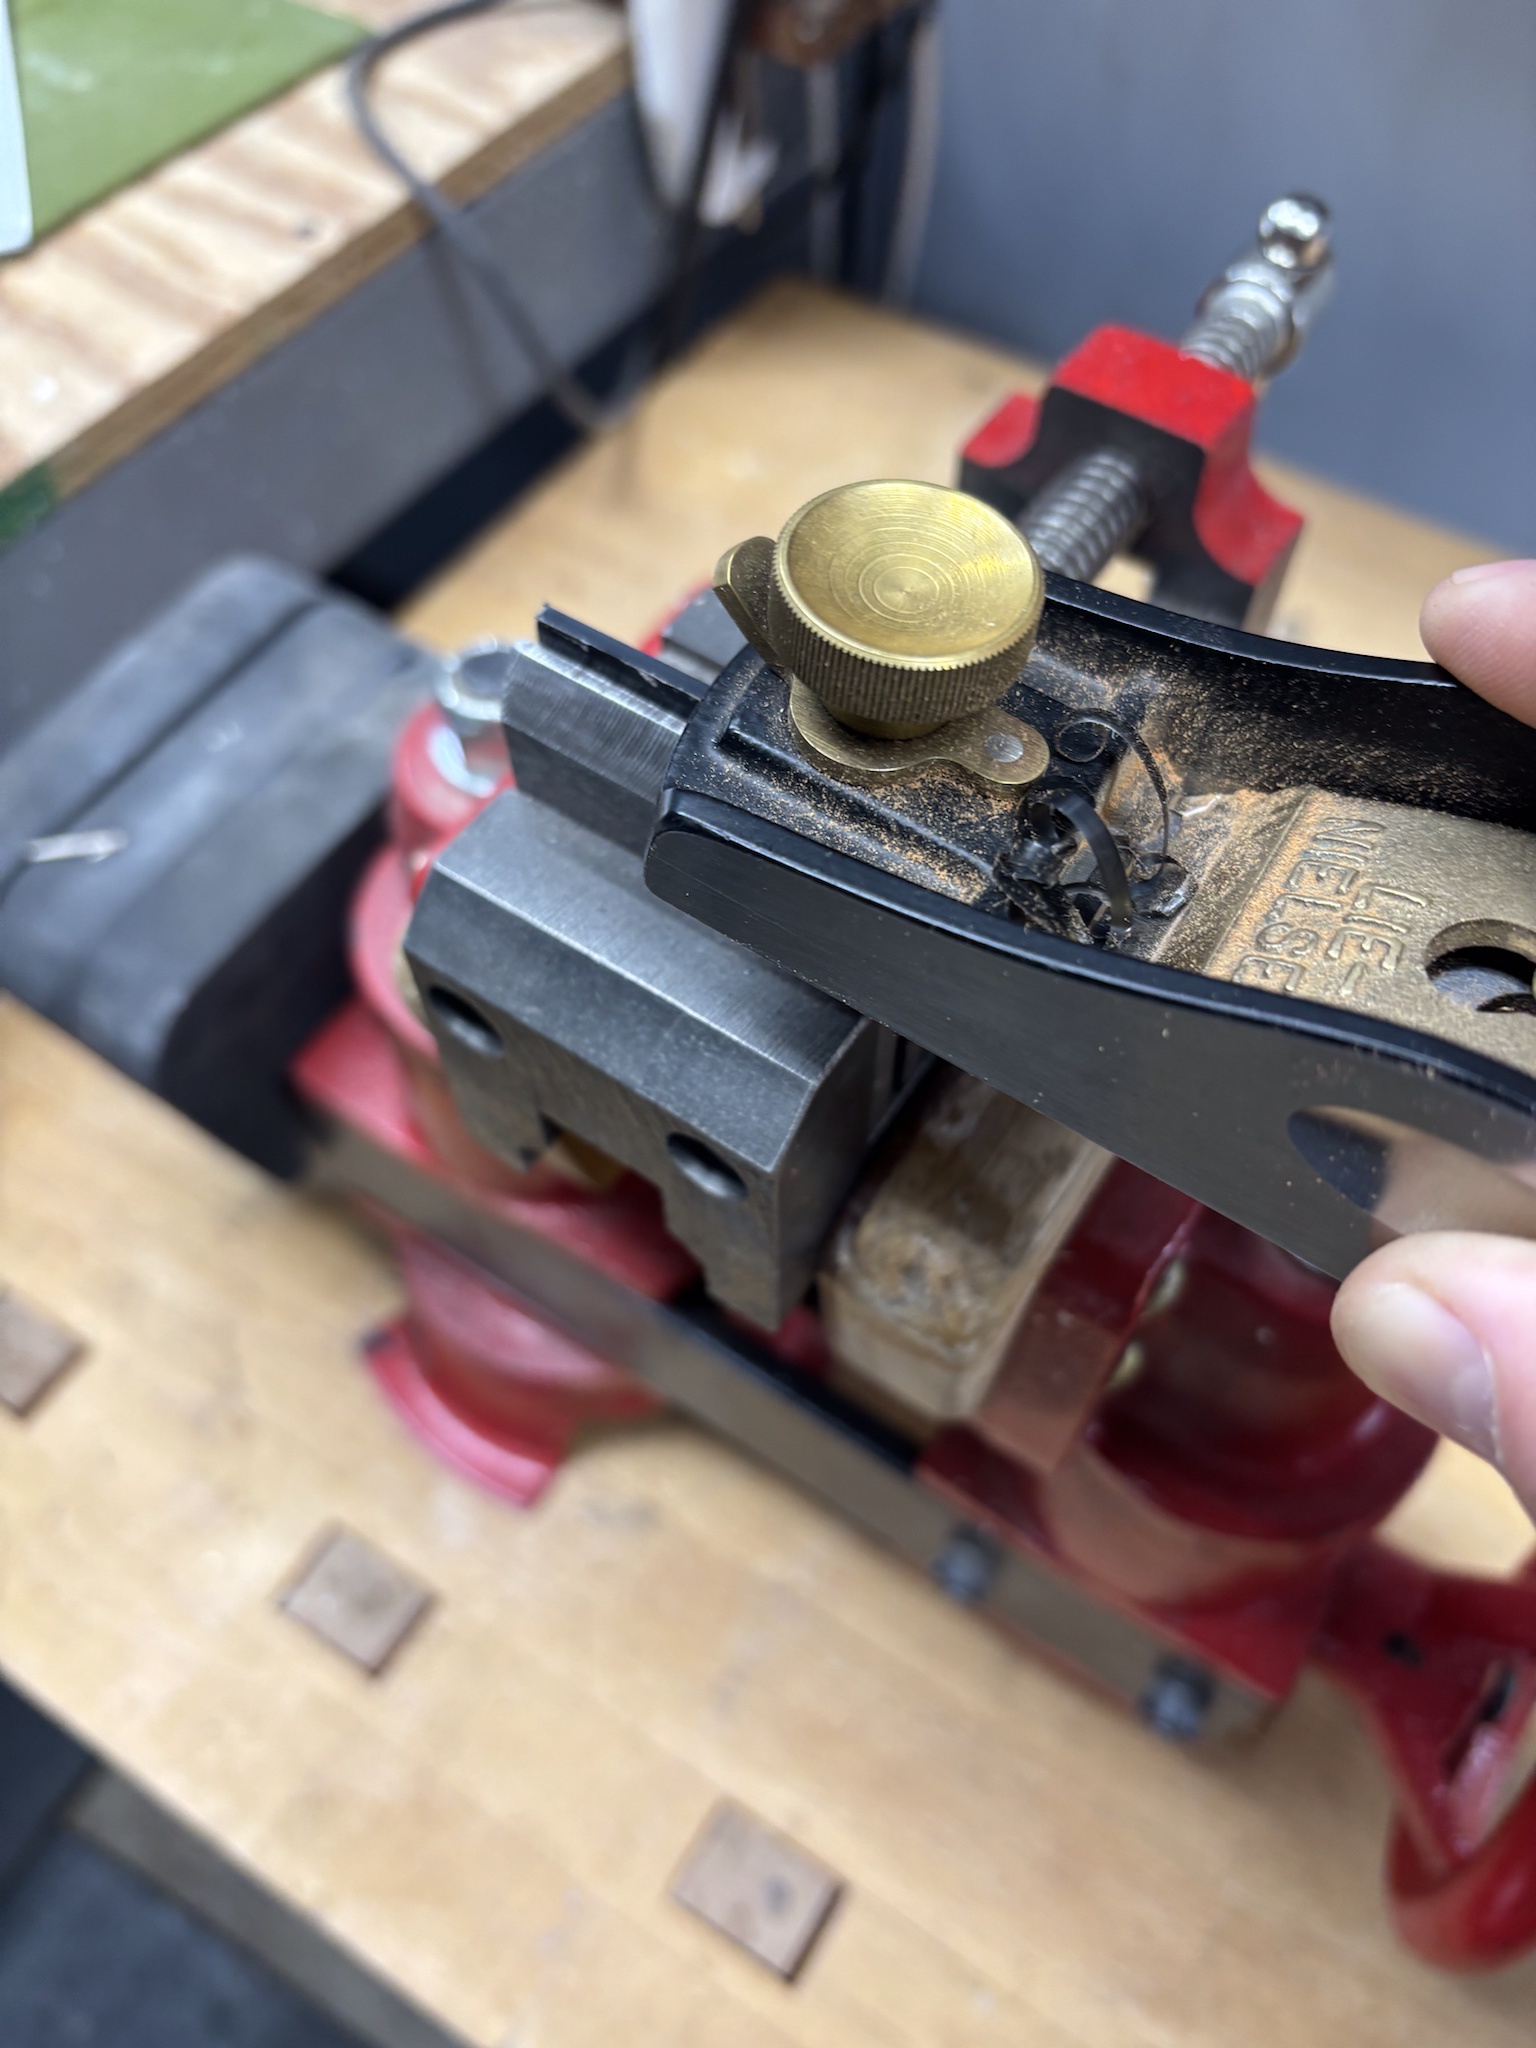
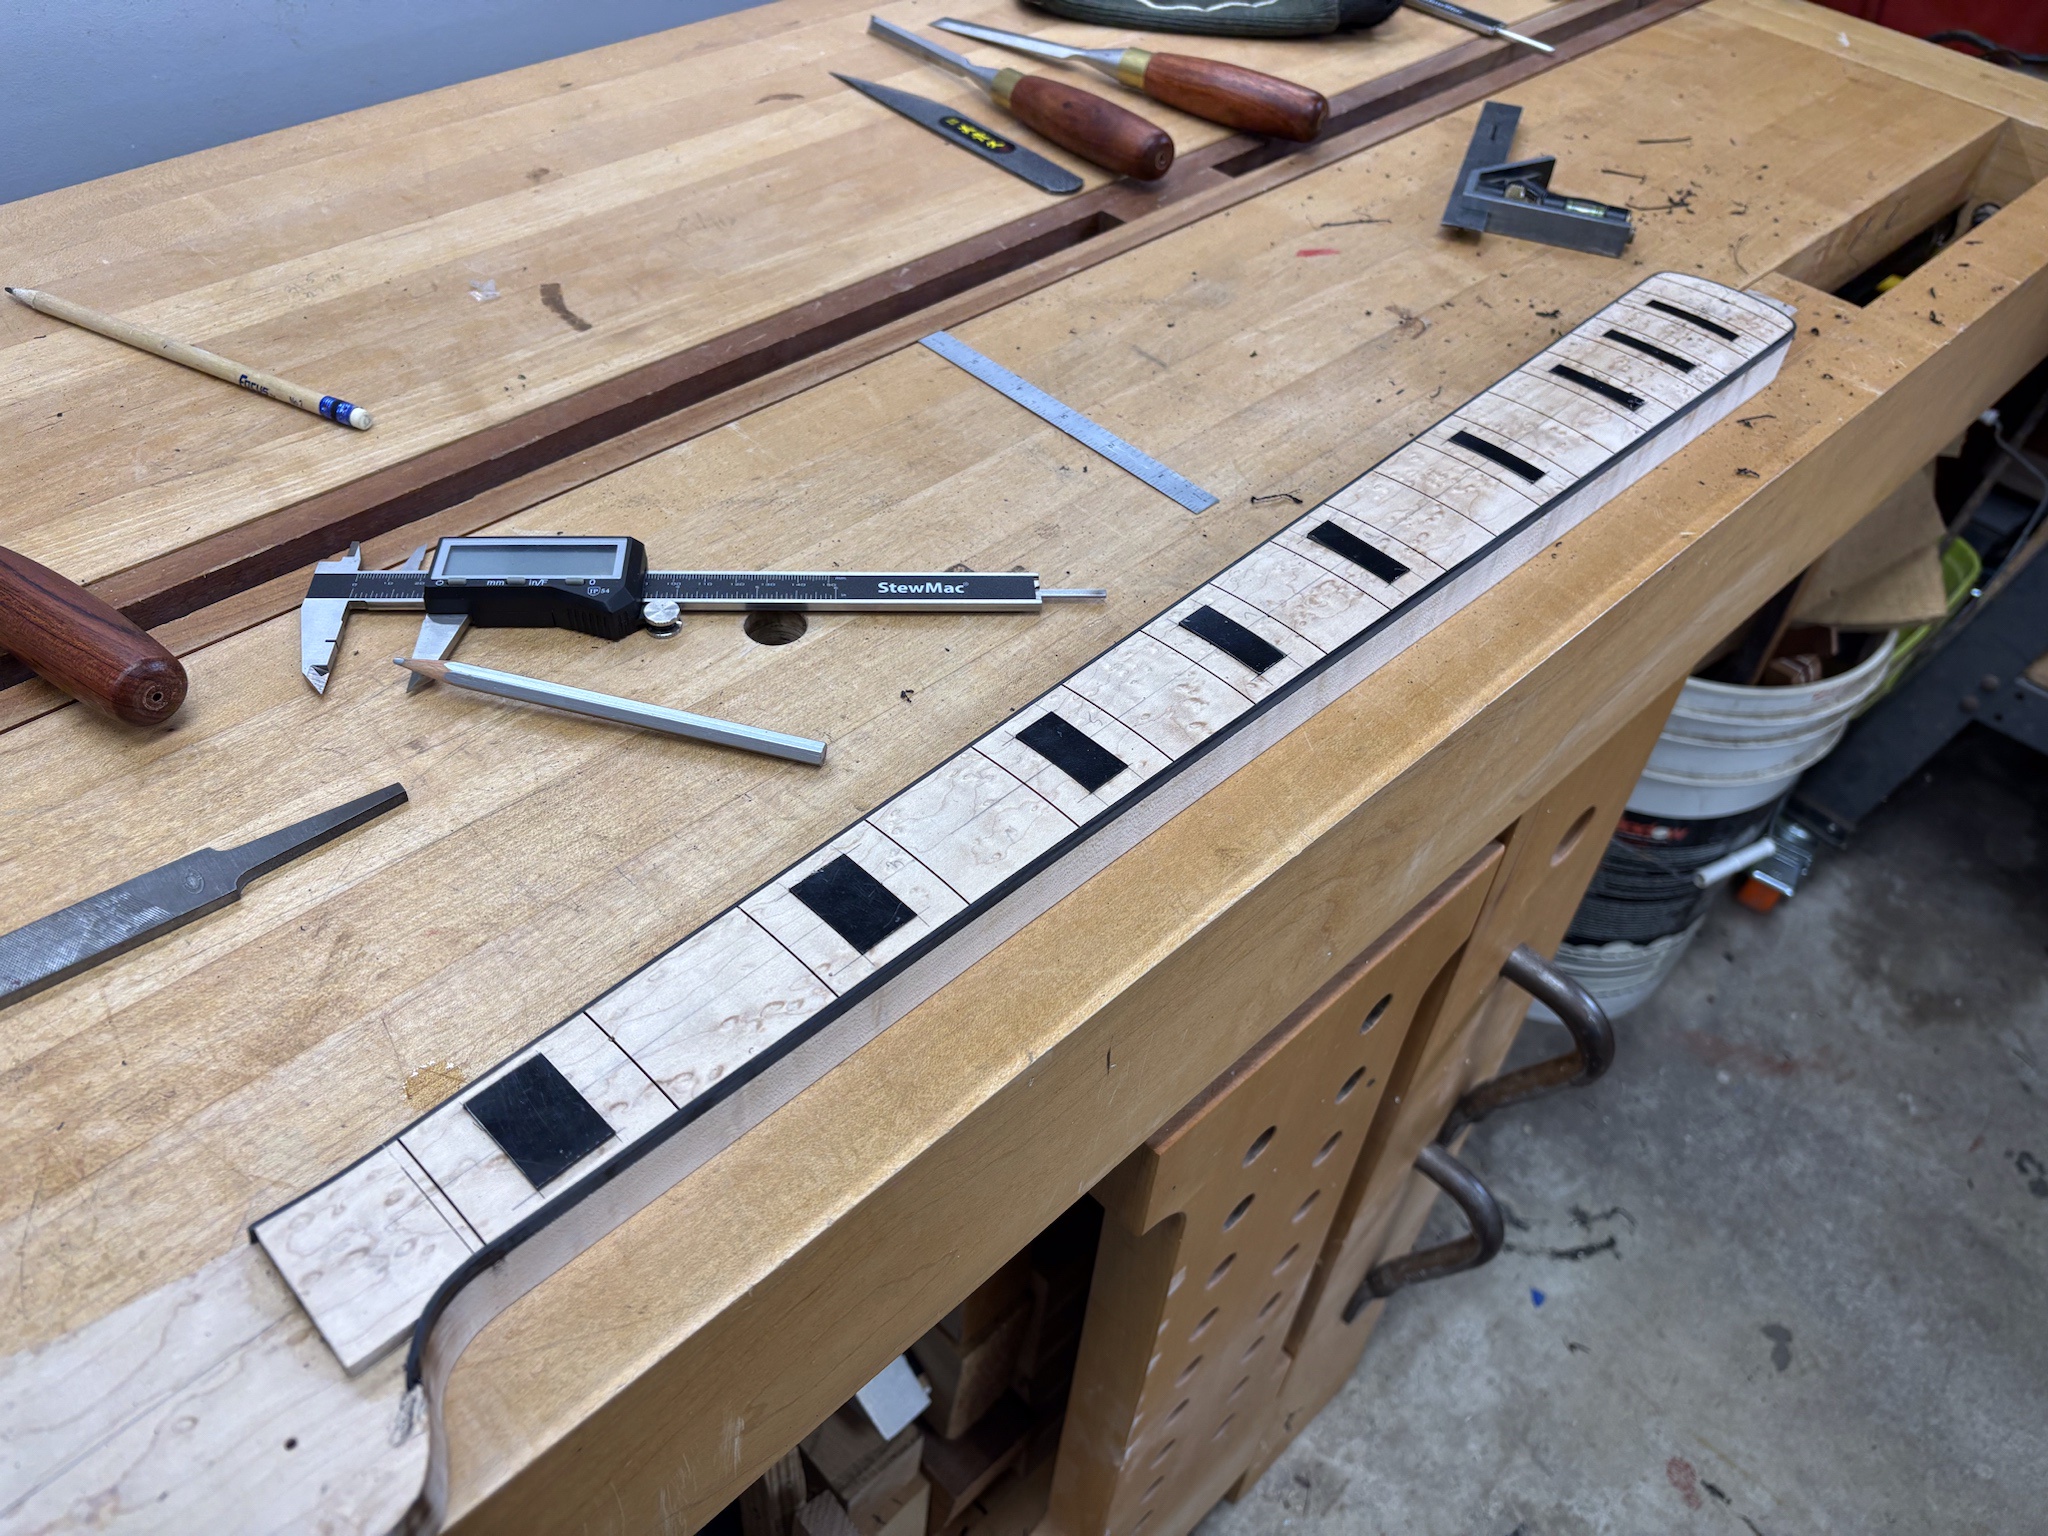
I then used a combination of a 12 inch disk sander, a block plane and files to fit the blocks to the pockets. I undercut the sides by just a few degrees to help aid in a piston fit.
XMcI2DQ.jpg


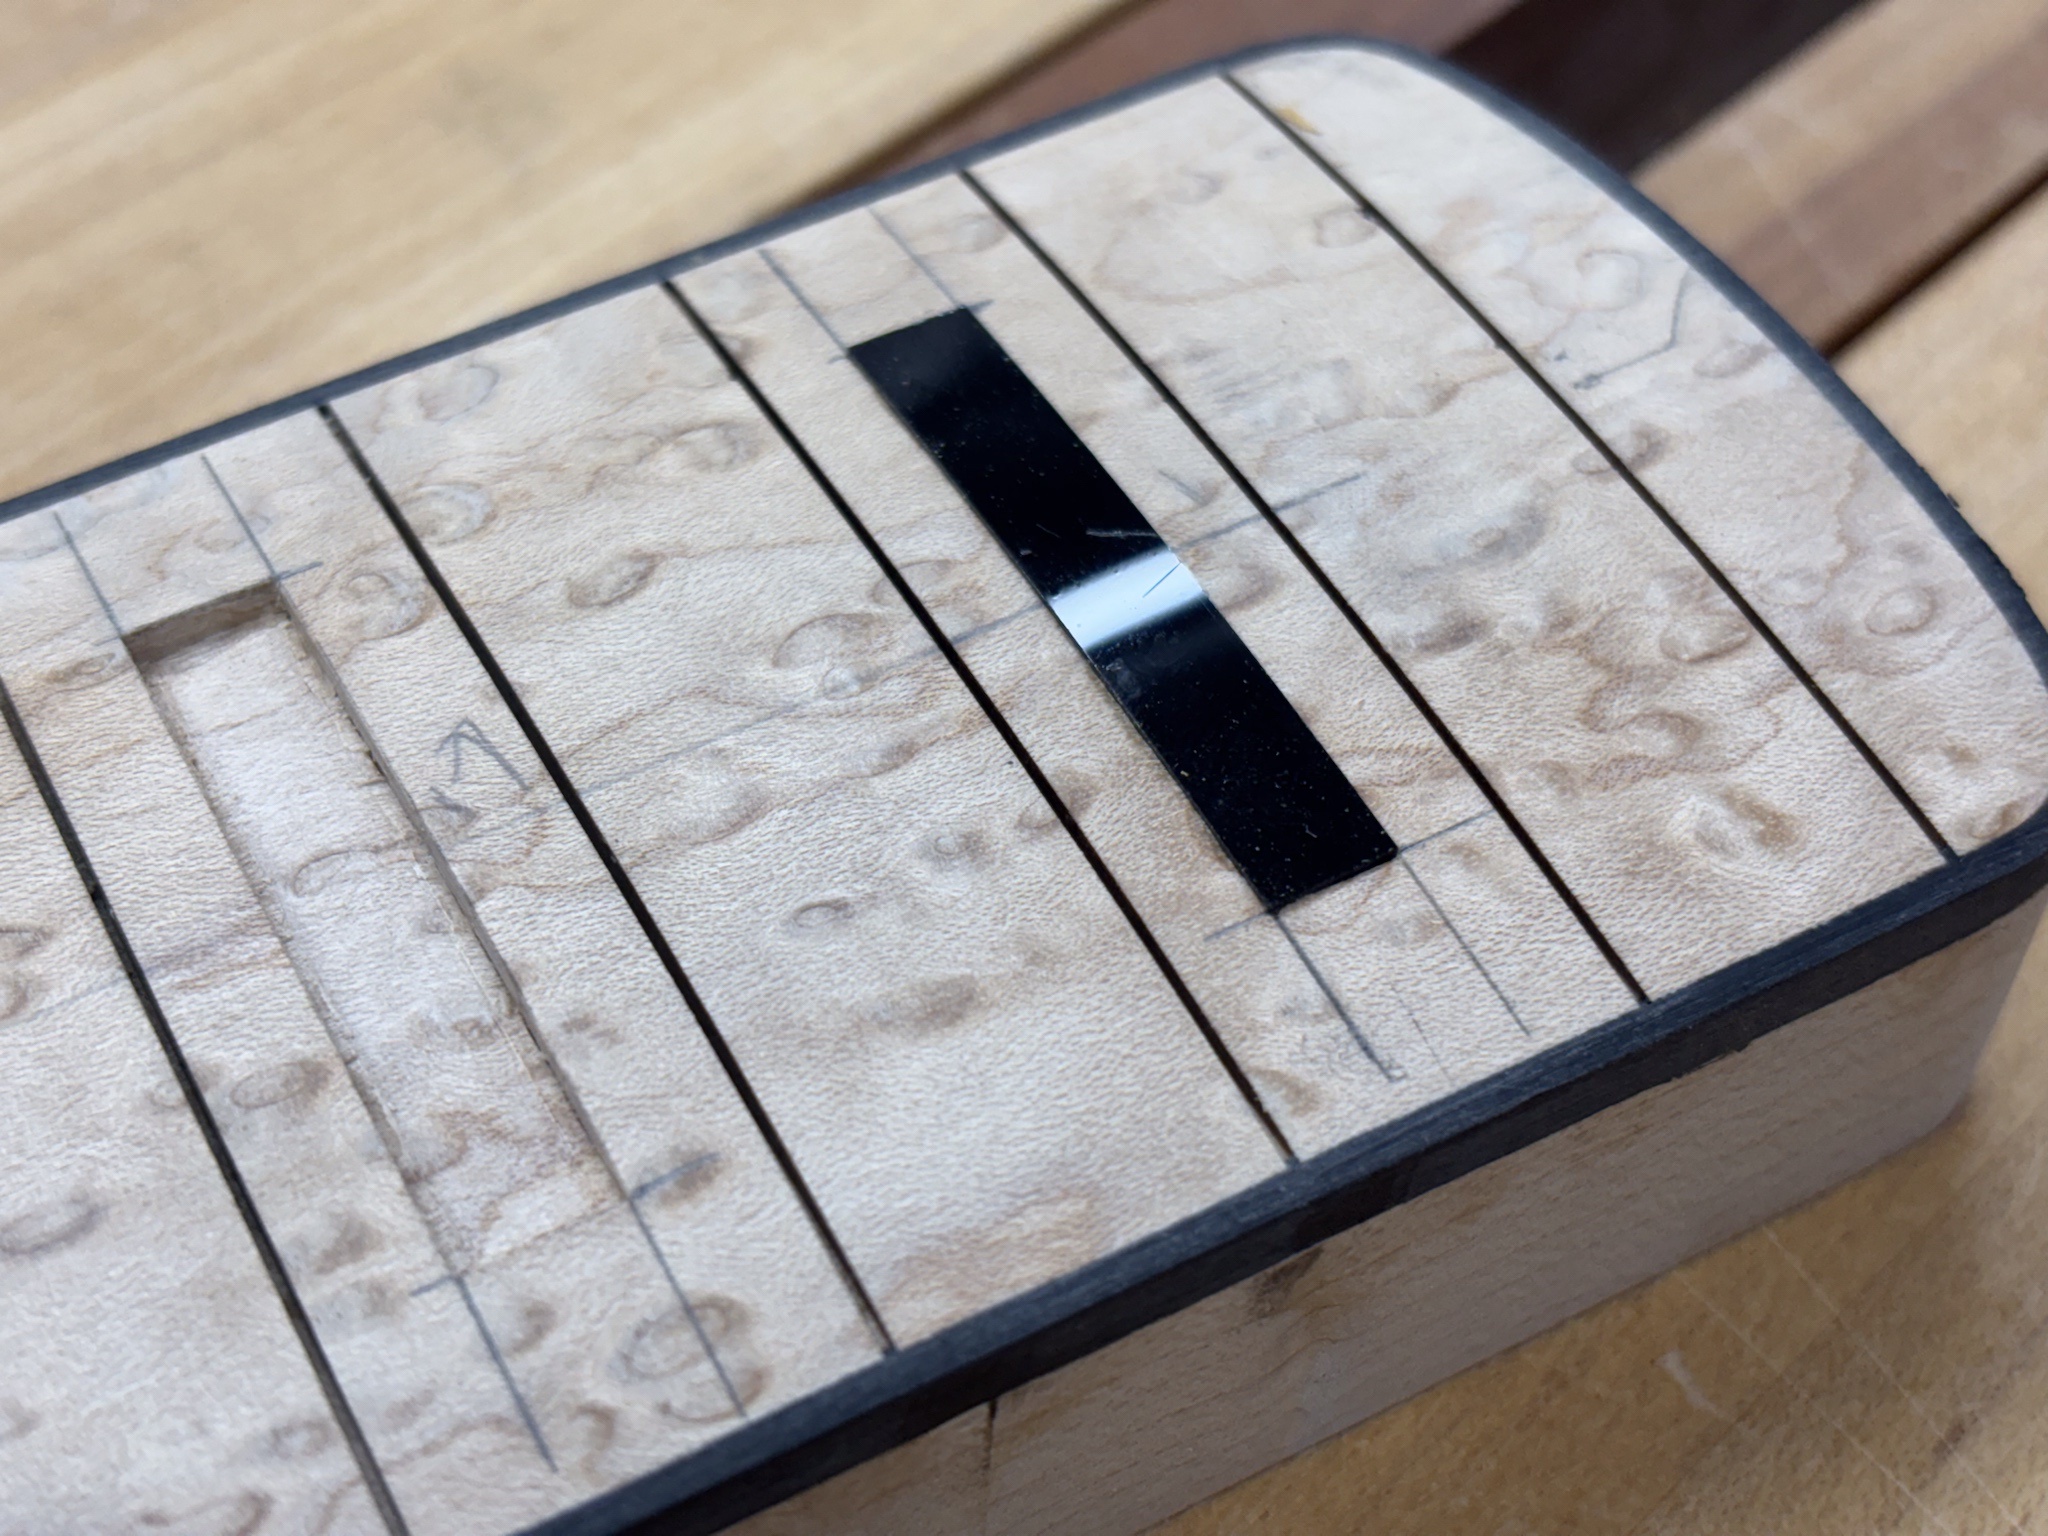
First one dry fitted. I sent this picture to my client (Kevin) and he replied that he liked the white stripe. I had to laugh and told him that was just a reflection on the shiny plastic... but that sparked an idea. :smug:
aC6mvzg.jpg


And after much fussing, I had the whole set.
wIuWahU.jpg


Kevin's comment about the stripe prompted me to do something a little extra for the 12th fret inlay.

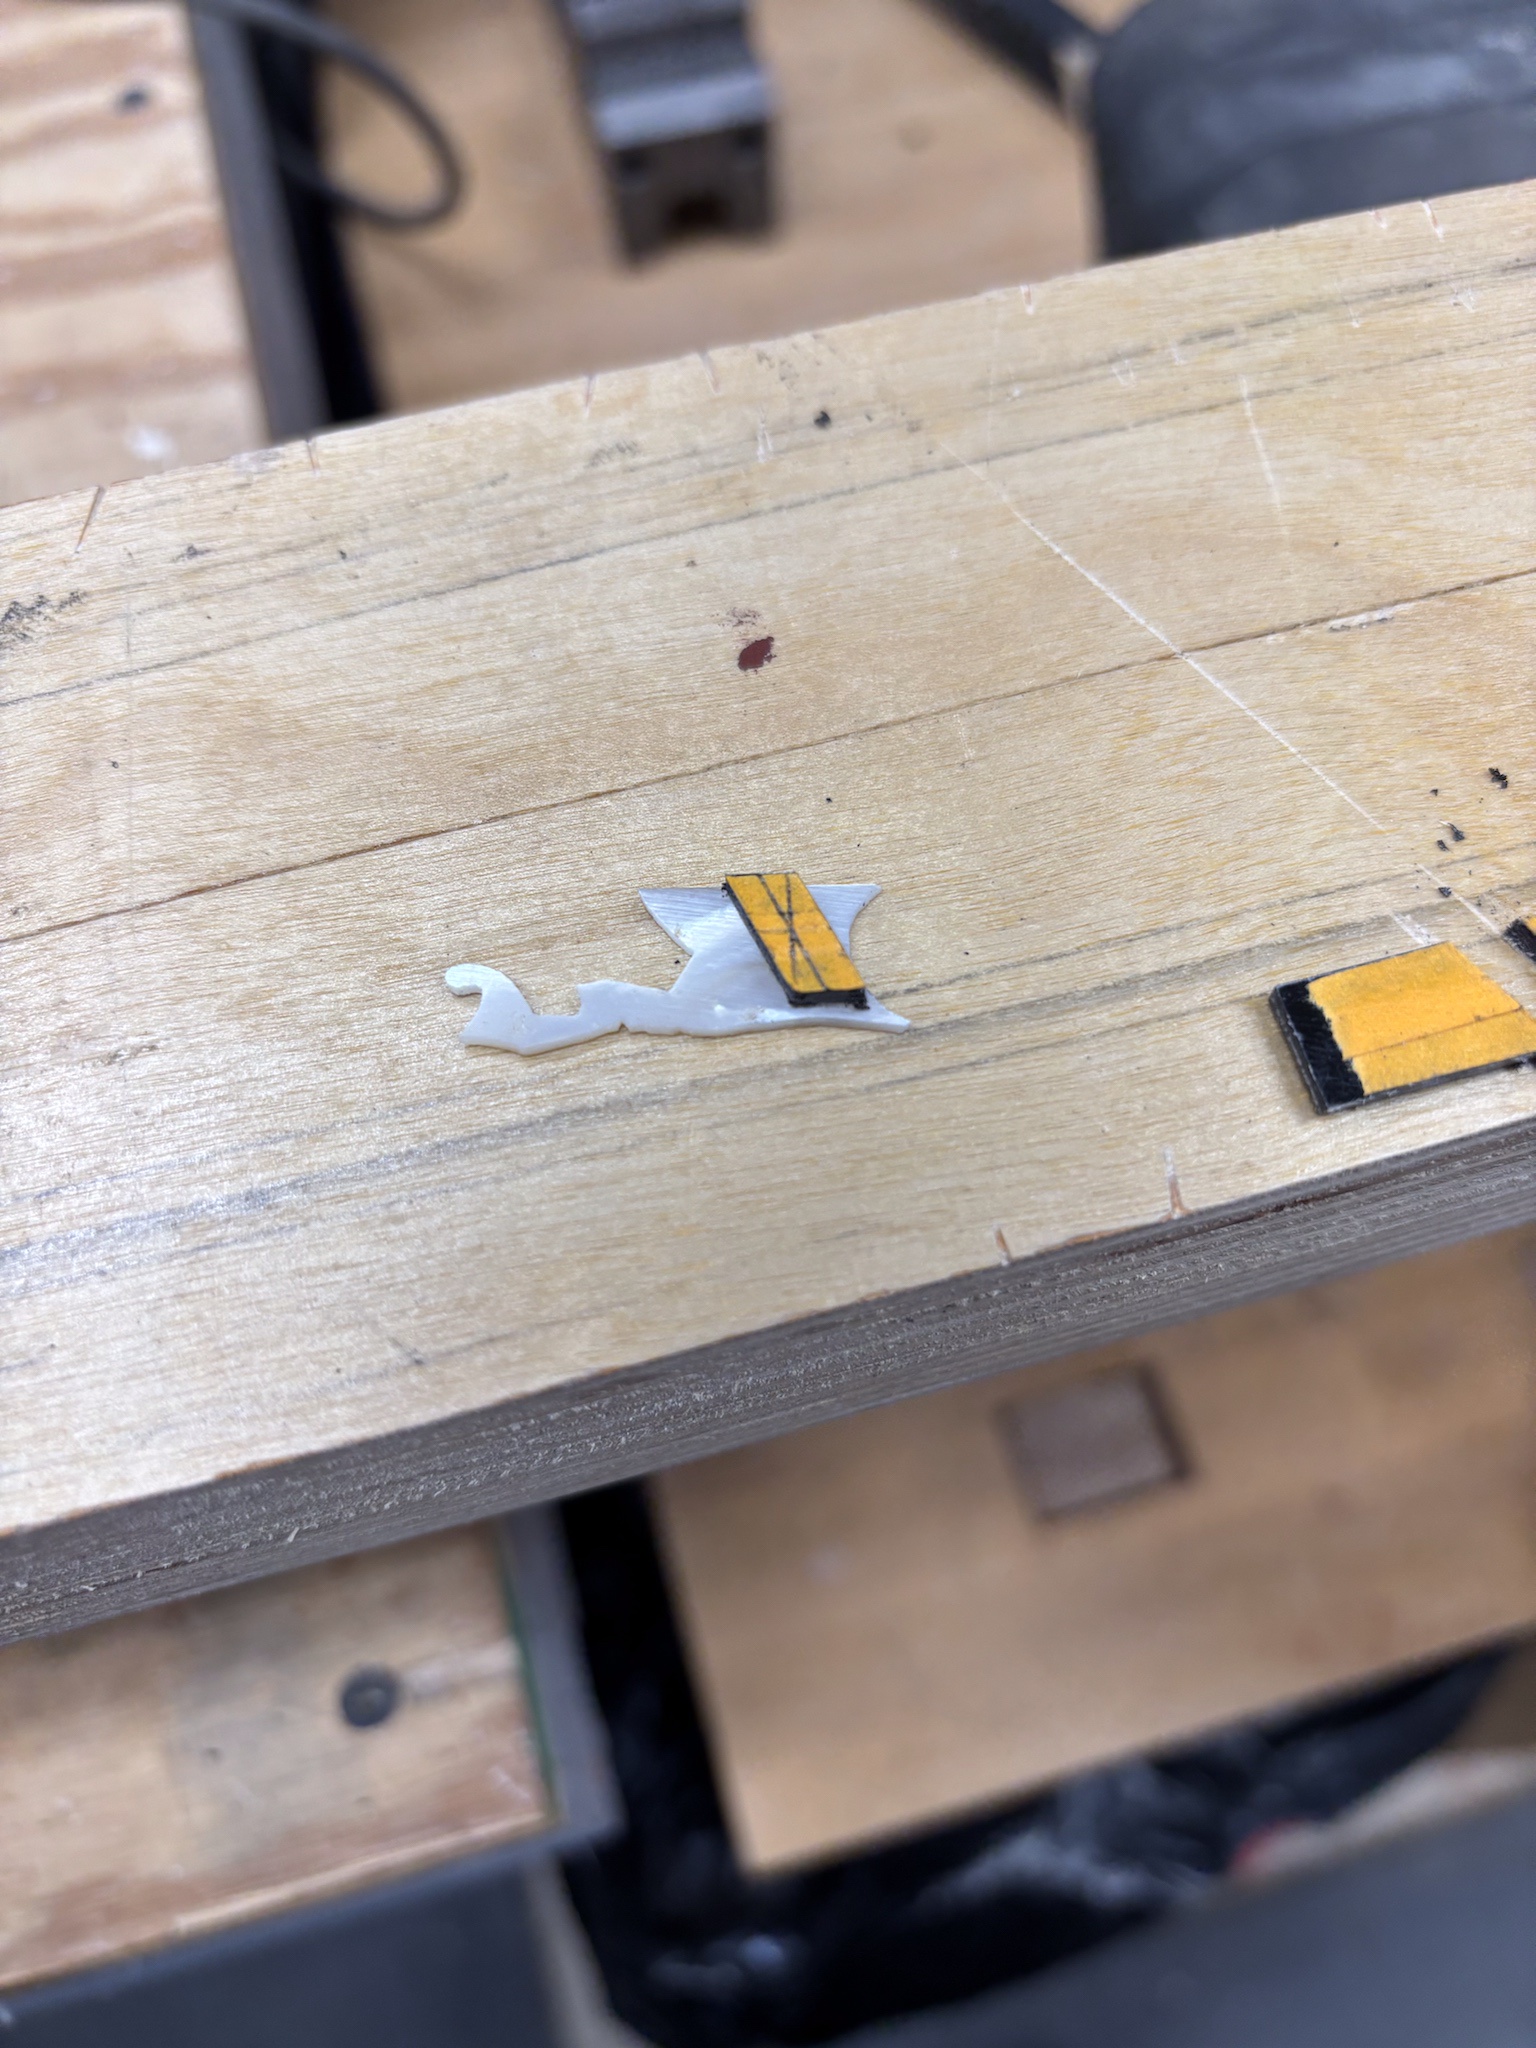
How about using a diagonal piece of mother of pearl in the center... effectively retaining the block shape, but also creating two black markers? I always liked the Gibson split blocks, so I used a similar angle for this one.

I covered the 12th inlay block in tape so that I could draw on it. I fastened it to a board using double sided tape. I then penciled and knifed the design.
eEwlT8l.jpg


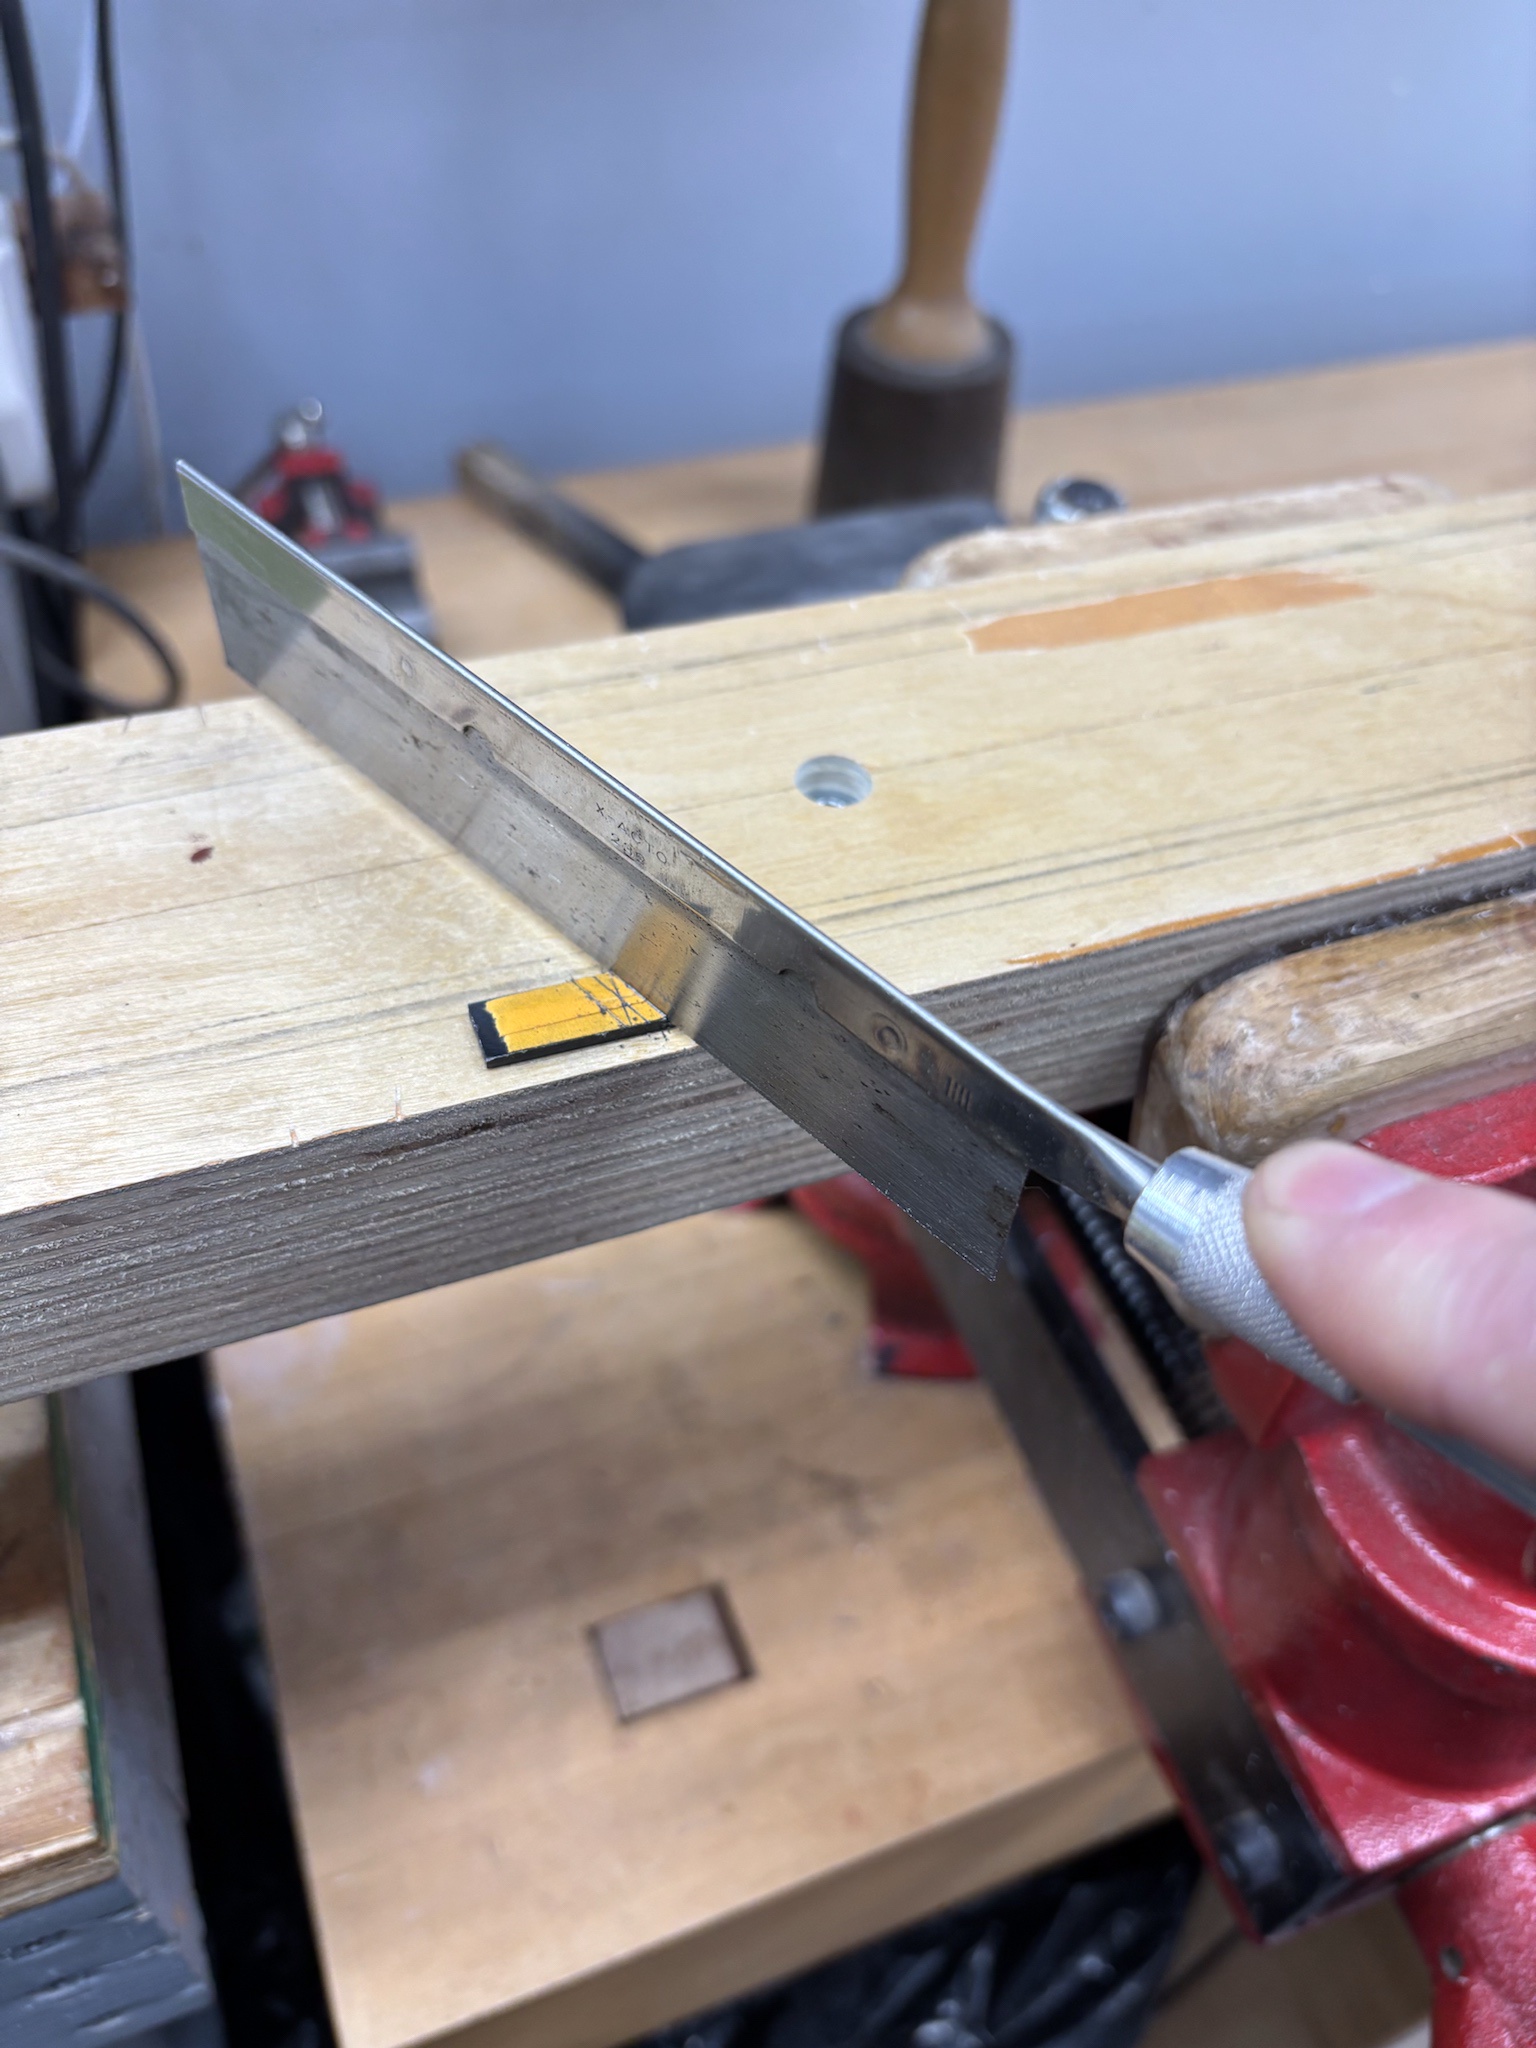
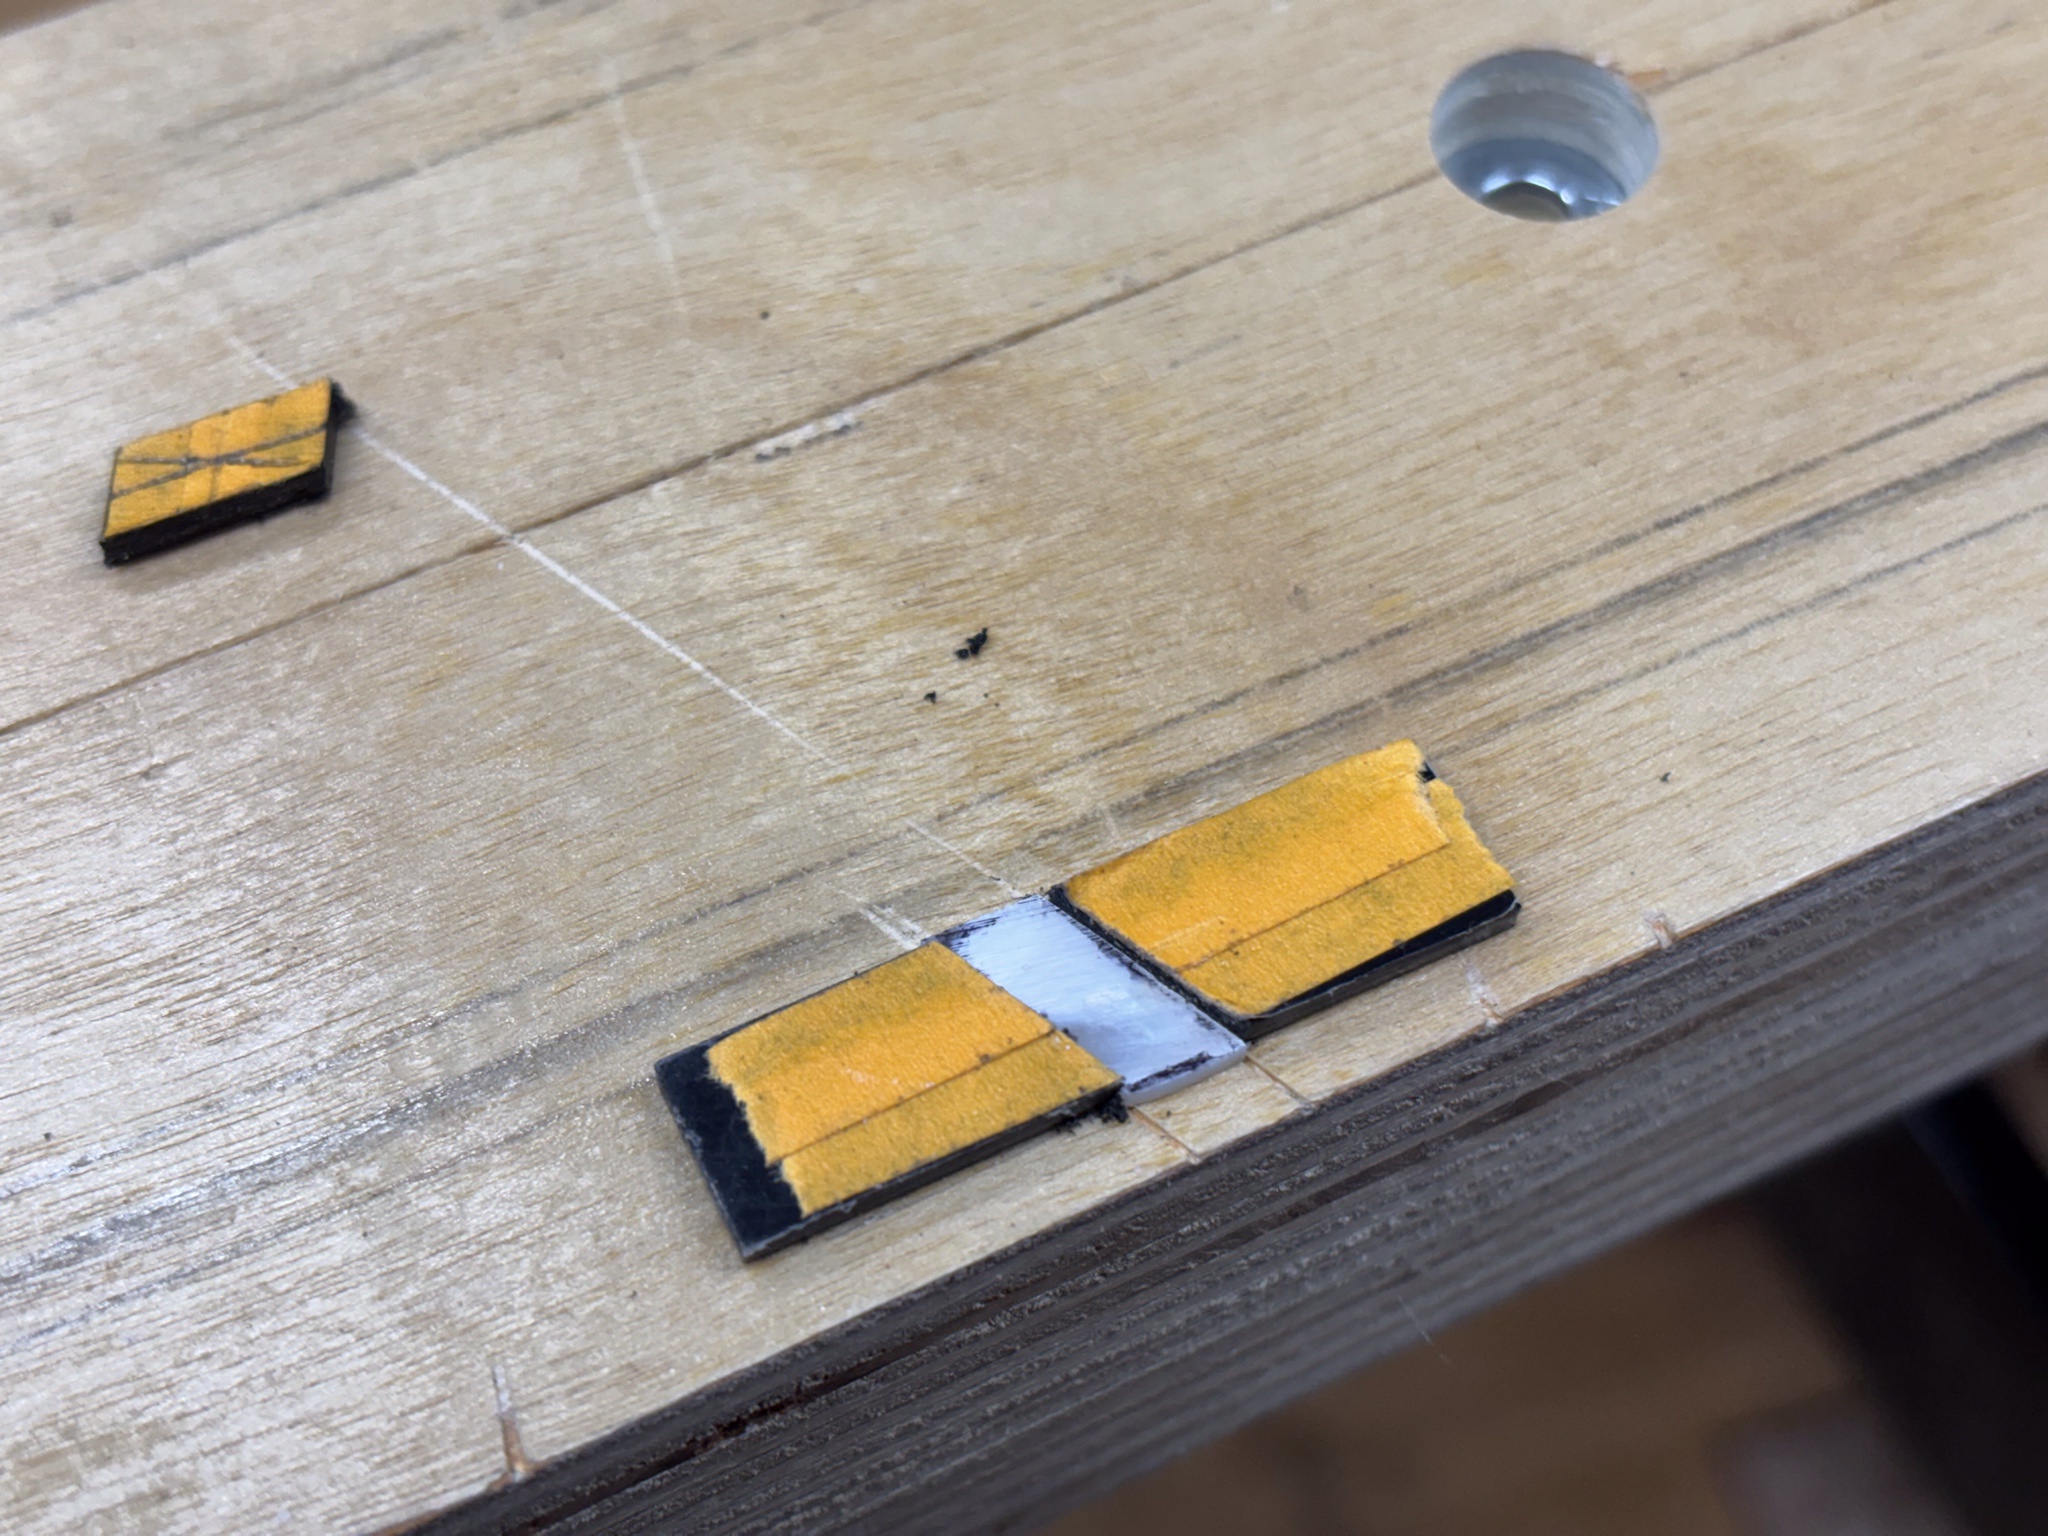
I used a super worn out X-Acto razor saw to make the cuts on the knife lines. I could then remove the center leaving the outside pieces firmly in place.
gYAUMUr.jpg


I used the center waste to roughly mark the outline on a piece of pearl. Shaped with disk sander, files, etc.
aXPTLlm.jpg


Roughly fit.
tFZv83e.jpg


To be continued... :)
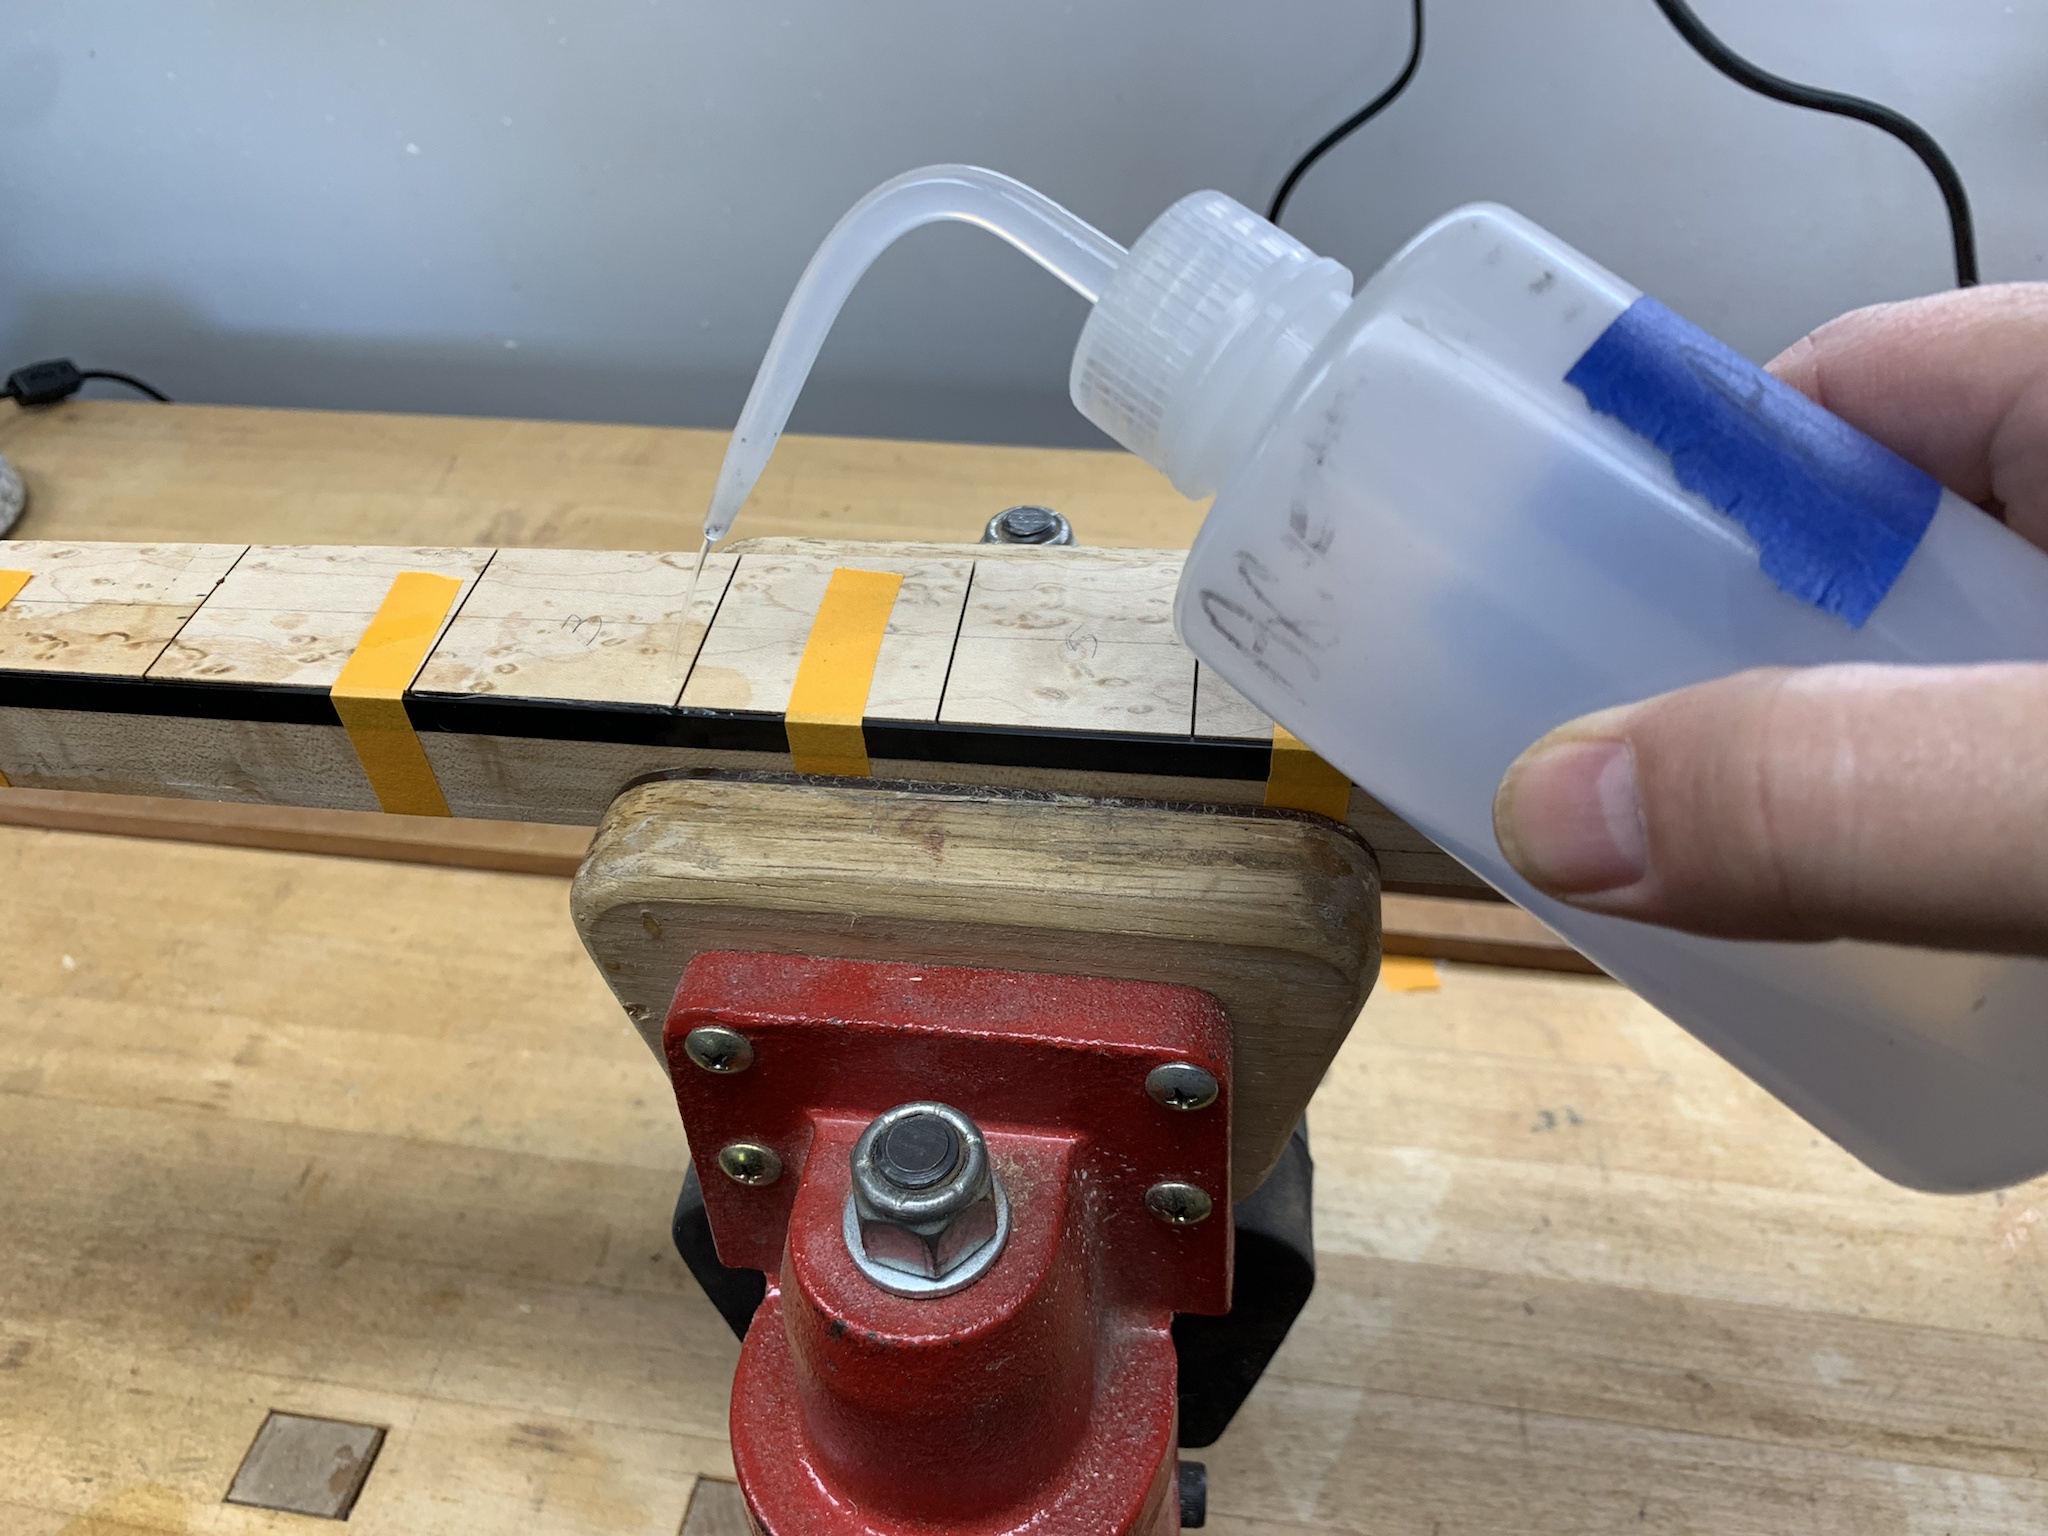
 
The next step was to glue the blocks into the pockets. I had decided that if my pockets were cut crisply, then a black glue/filler should work and leave a nice clean line around the perimeter of the inlays. I landed on black CA for the job.

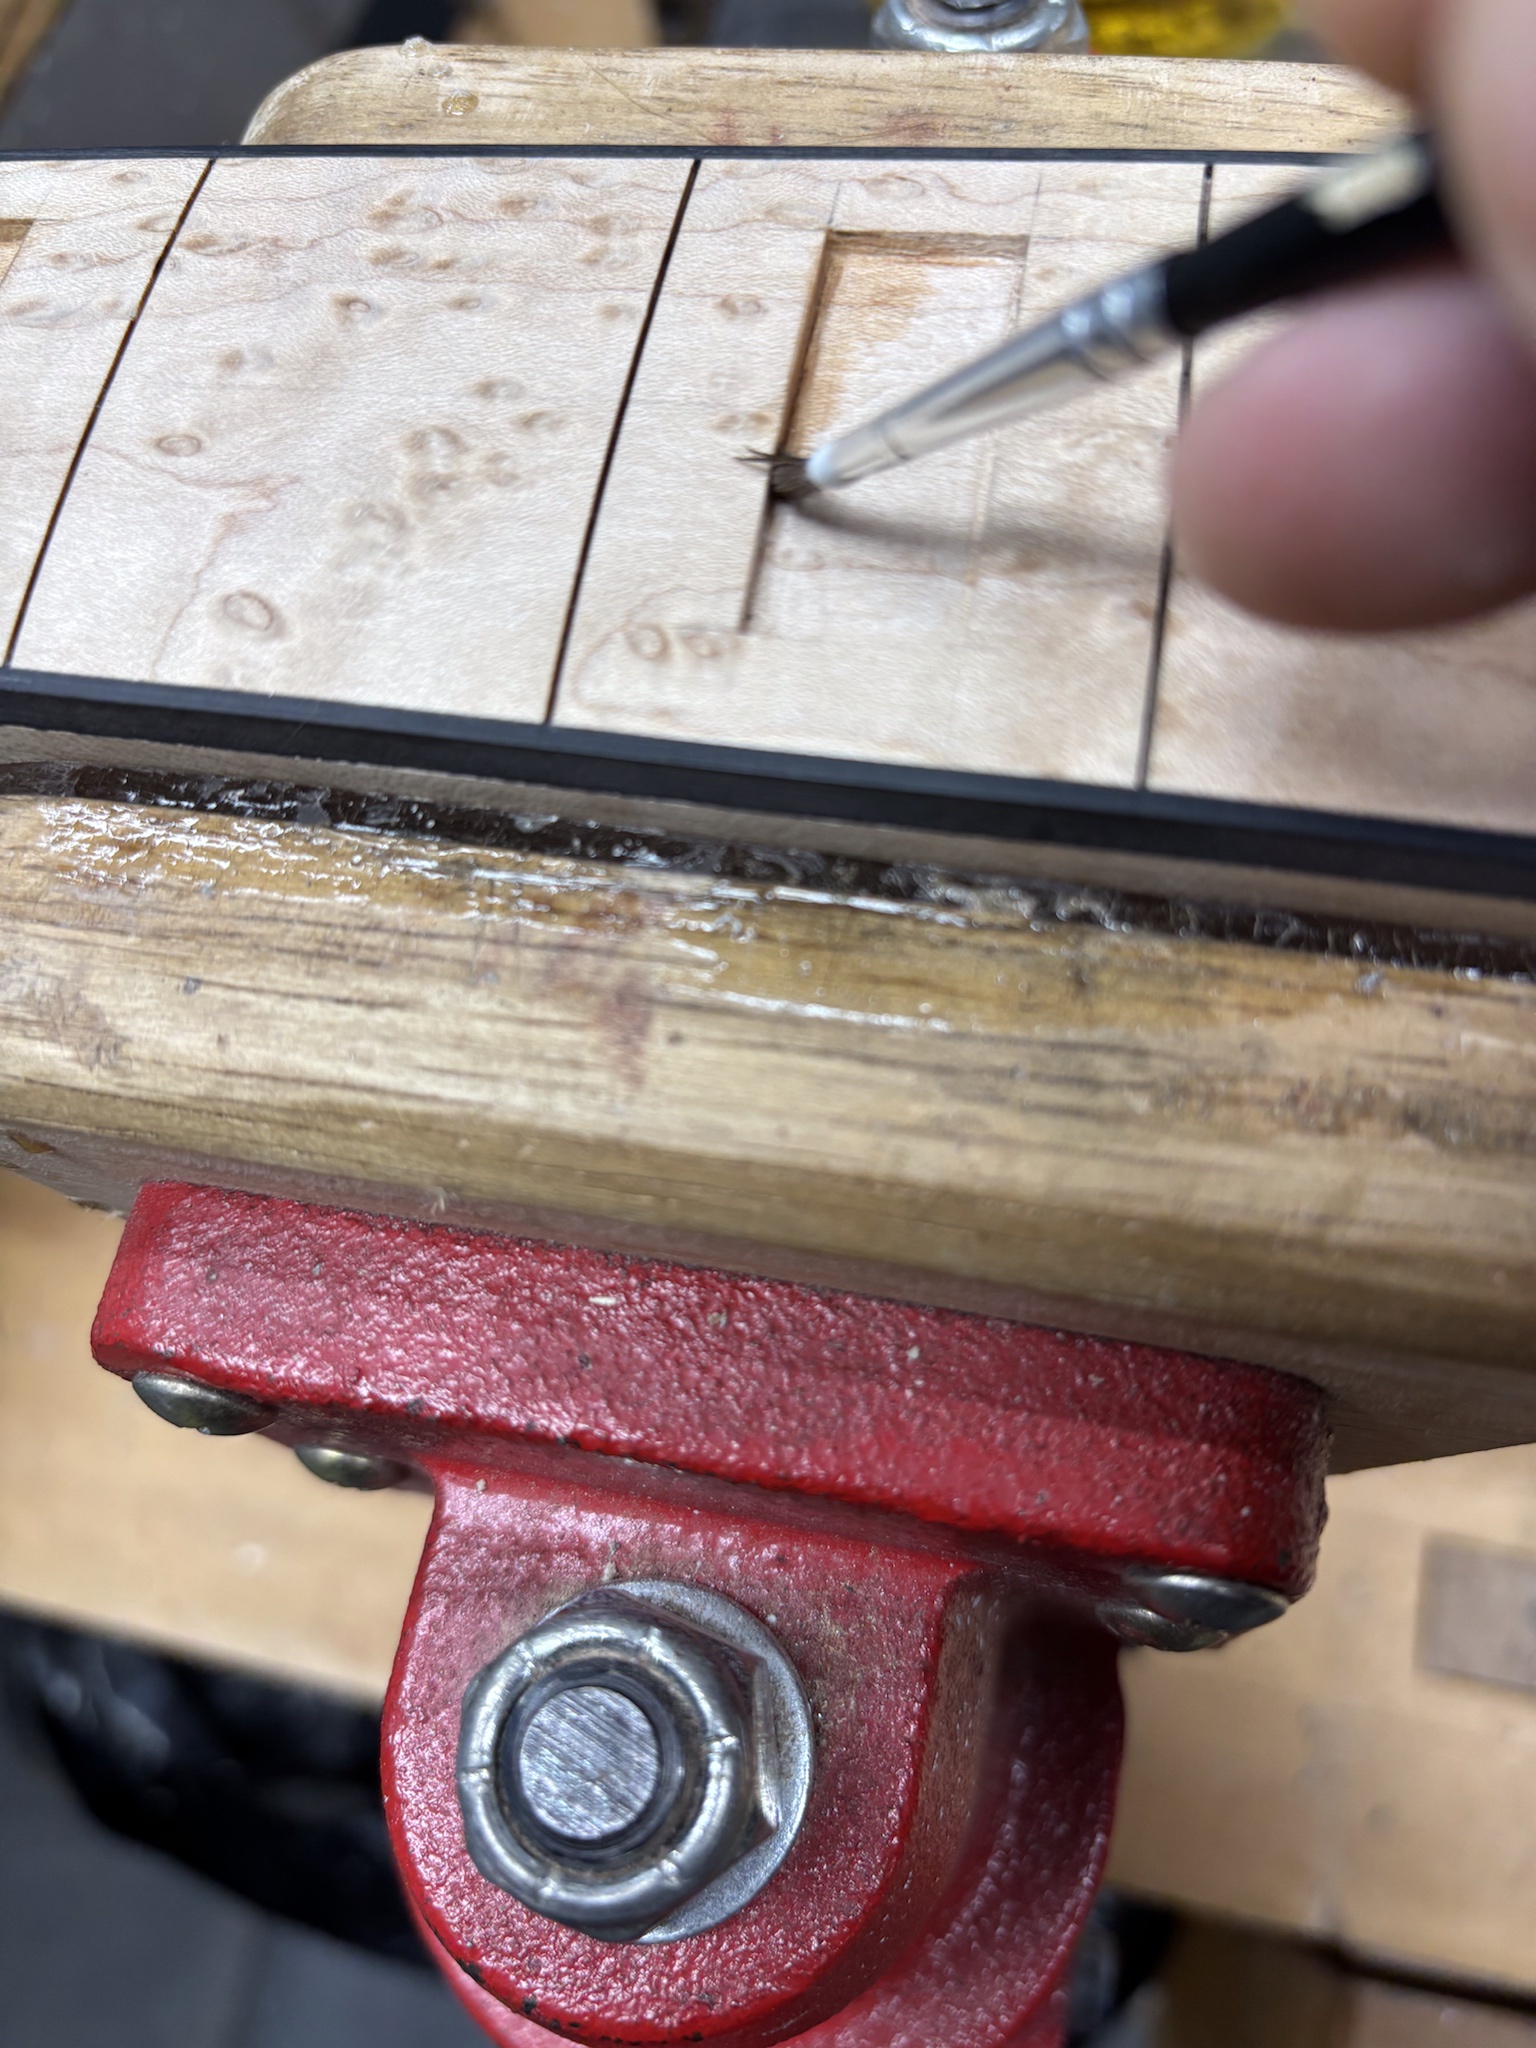
In order to try and eliminate any bleed into the end grain, I first painted on a couple coats of shellac that I had mixed up earlier.
lCU89k5.jpg


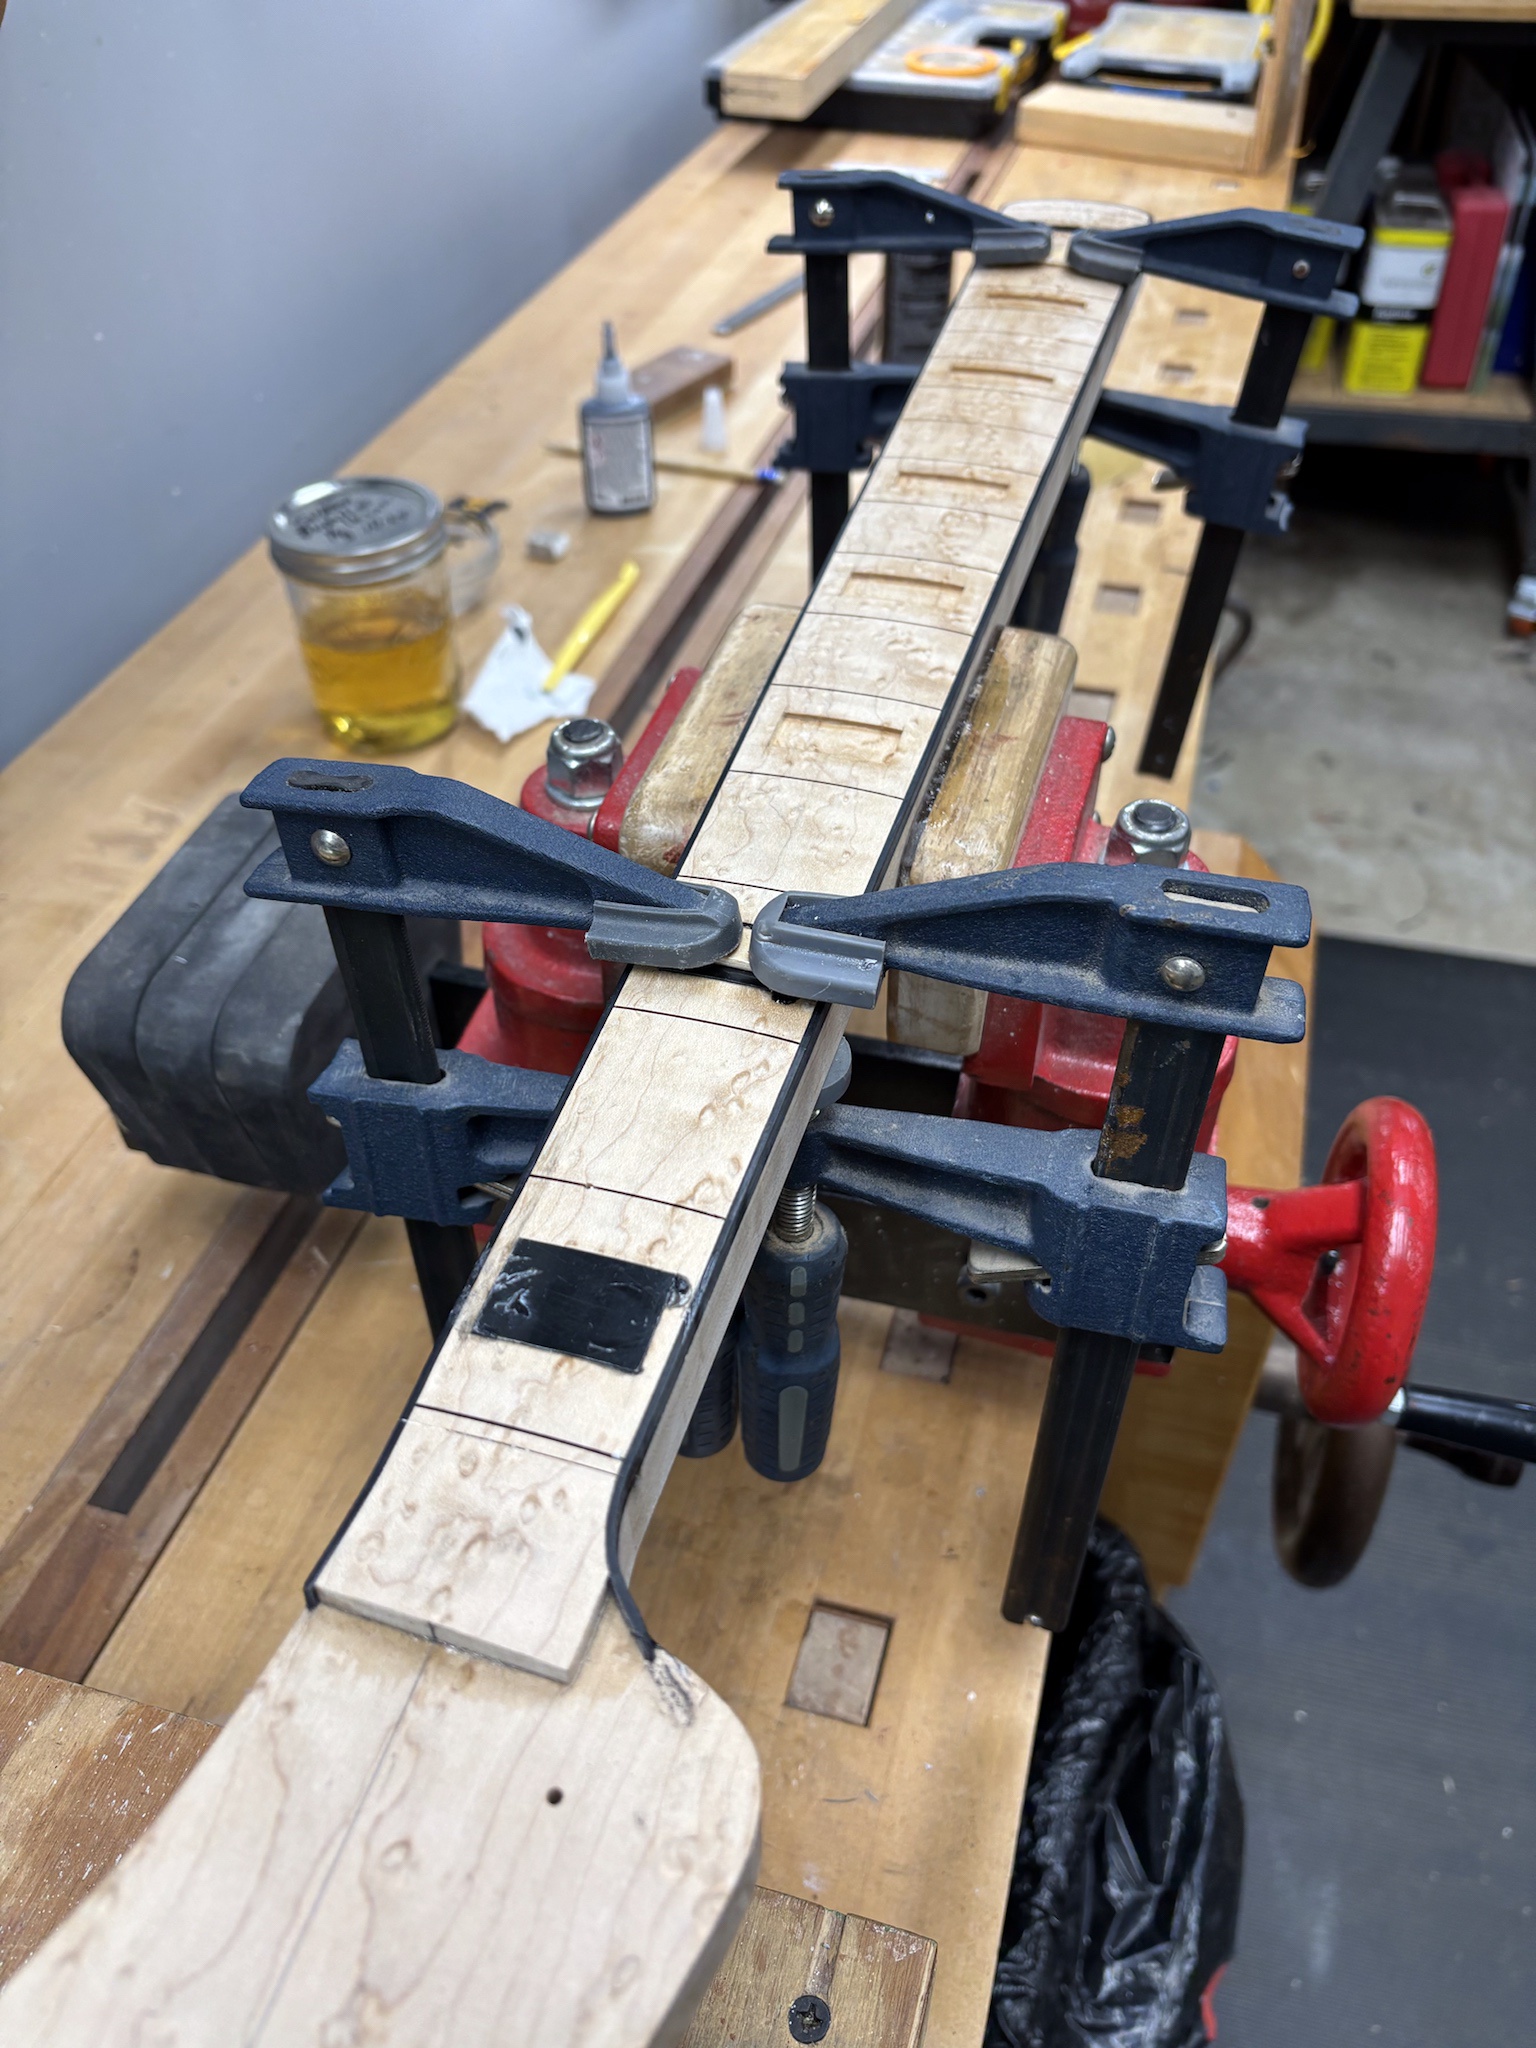
I put a small amount of black CA in the pockets, then used popsicle sticks covered in packing tape as clamping cauls.
OG6BhJ9.jpg


The technique worked very well and the squeeze out looked about right.
sLgb459.jpg


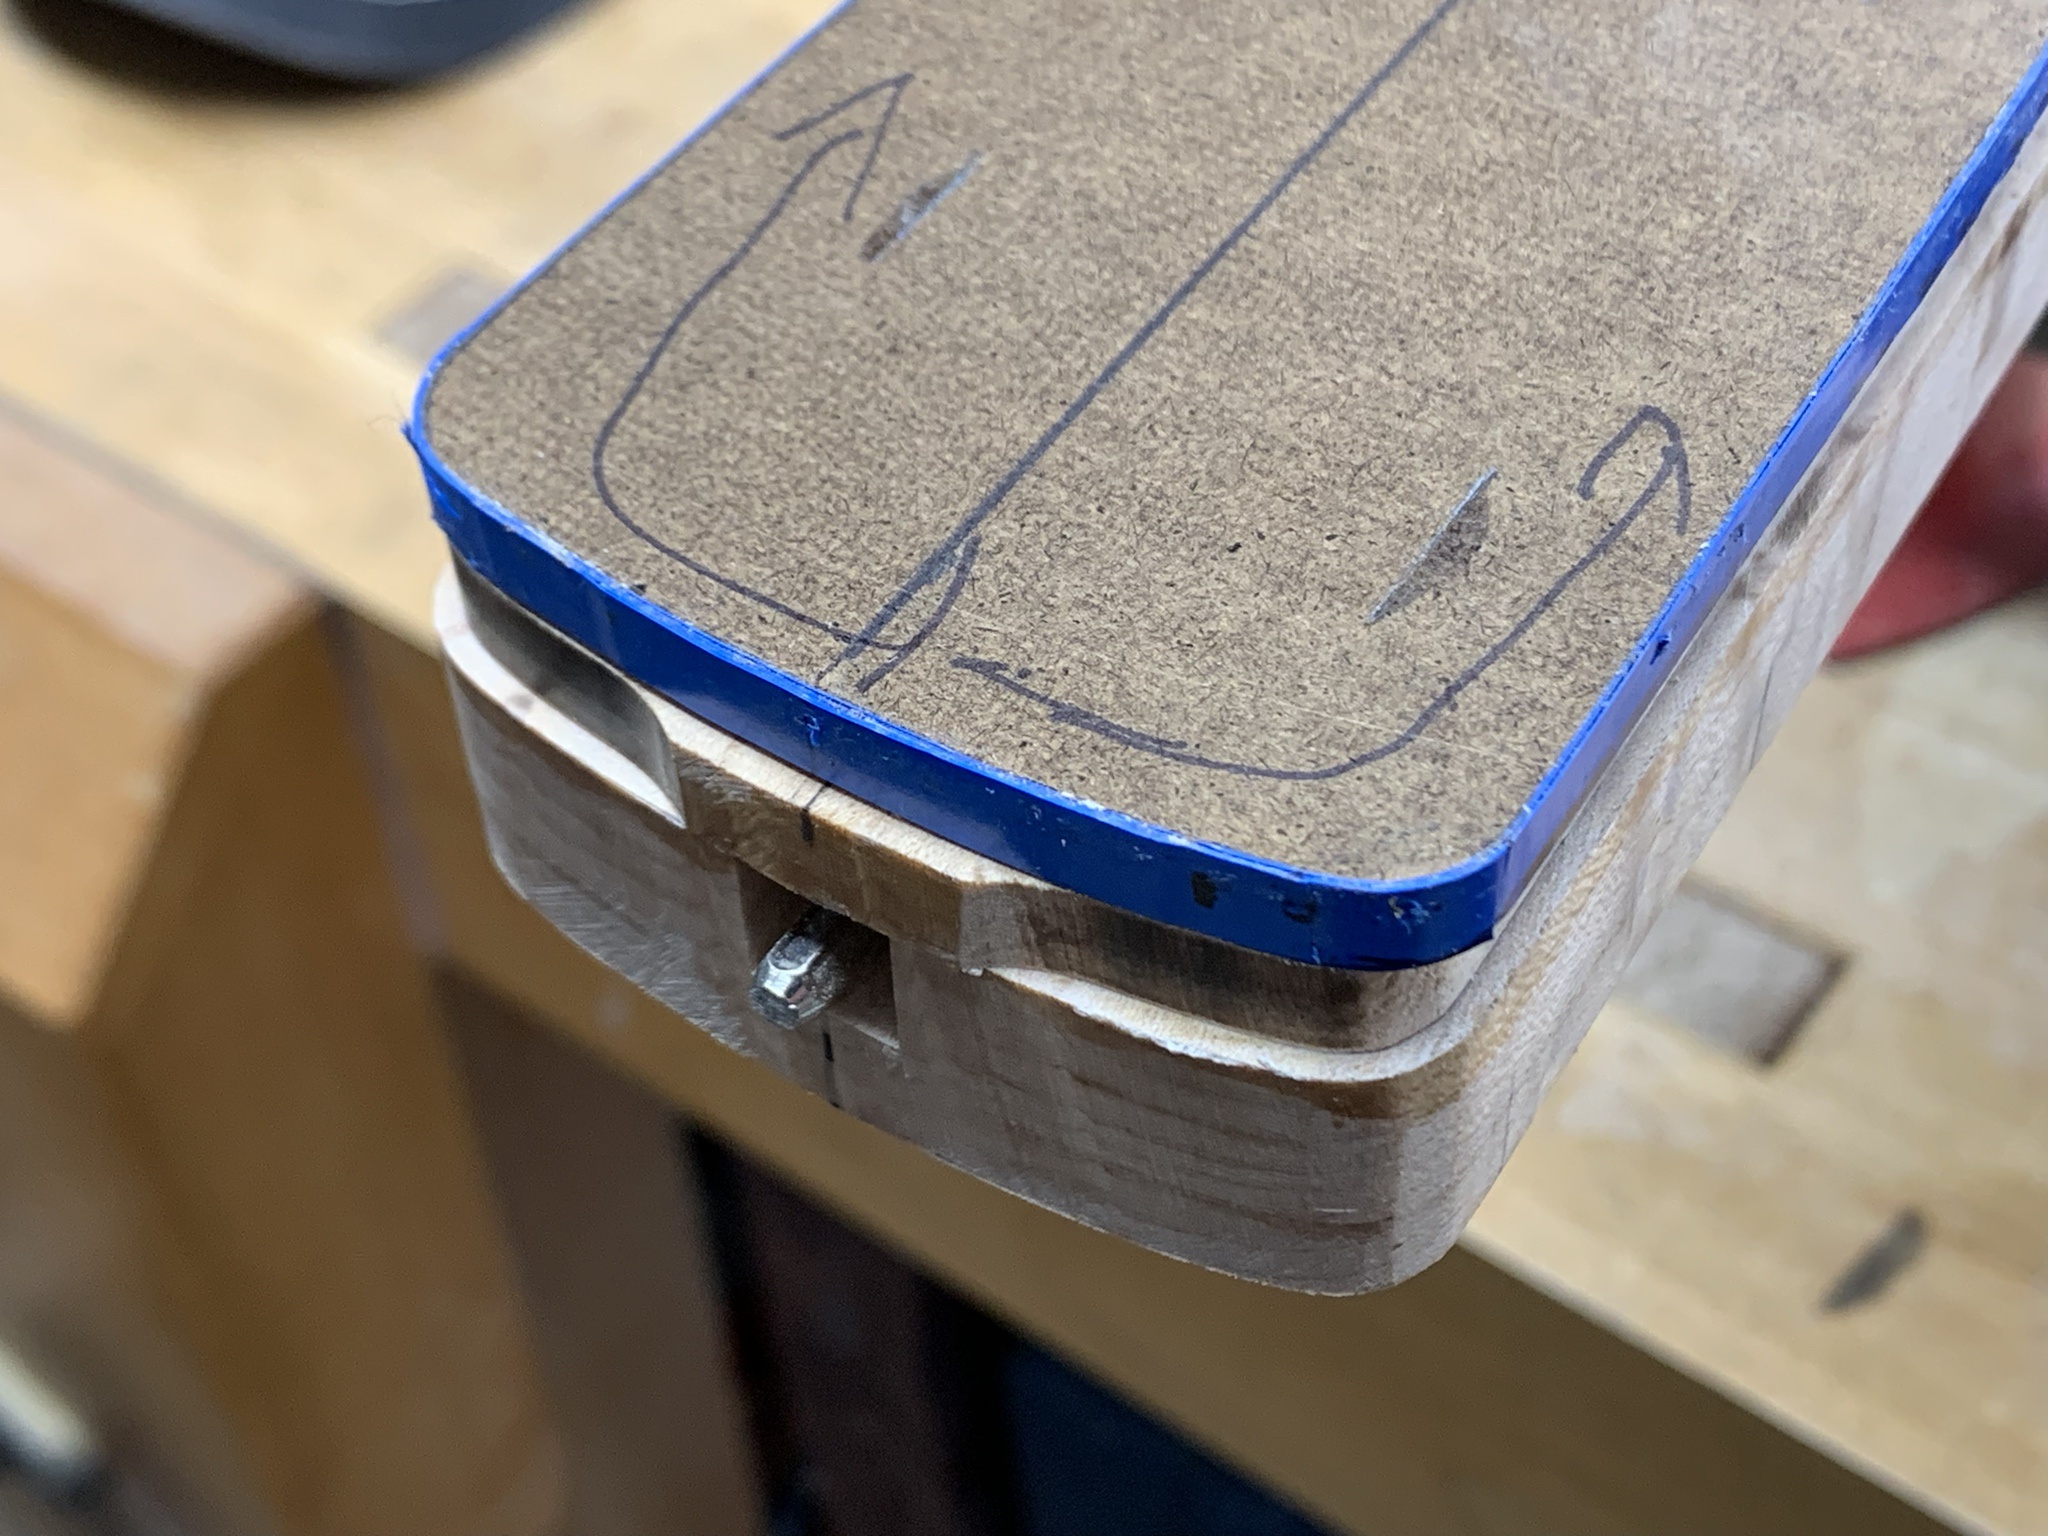
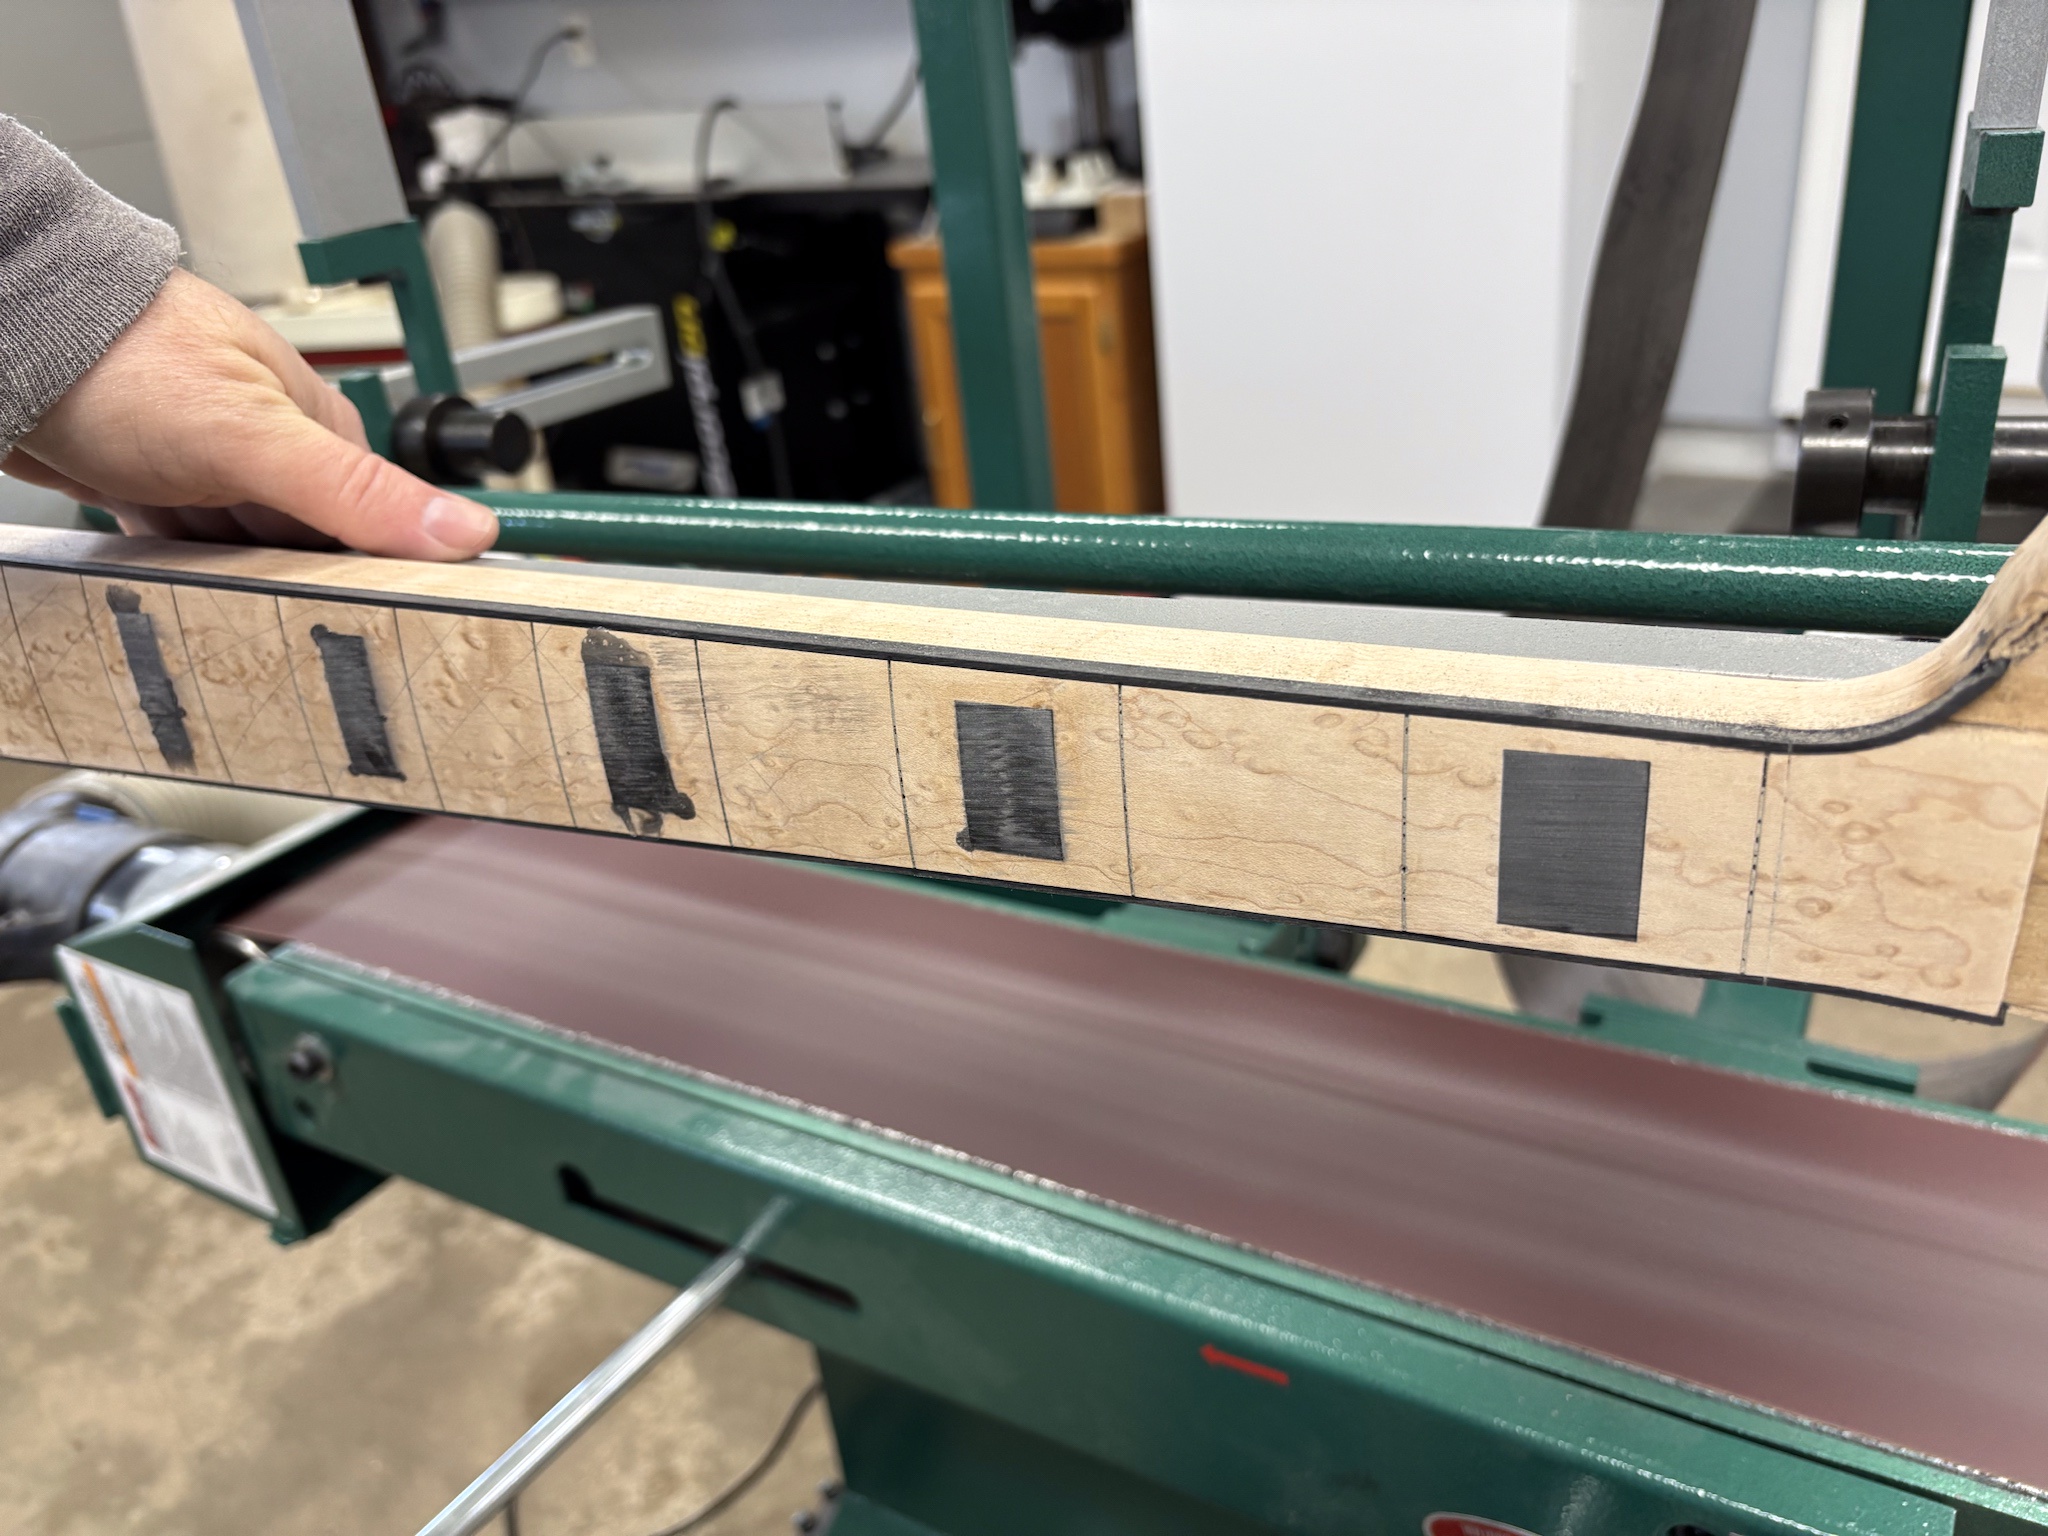
I had originally radiused this fretboard using my router table setup (this was just prior to getting this sanding jig. To clean up the excess glue and sand everything flush, I attached the neck to the jig and slowly cleaned it up. While doing this, I favored the headstock end of the neck to bring the overall thickness of the binding down to a constant height at the edge of the neck. So, I guess technically there is a very minute compound radius. :smug:
TUr7SxF.jpg


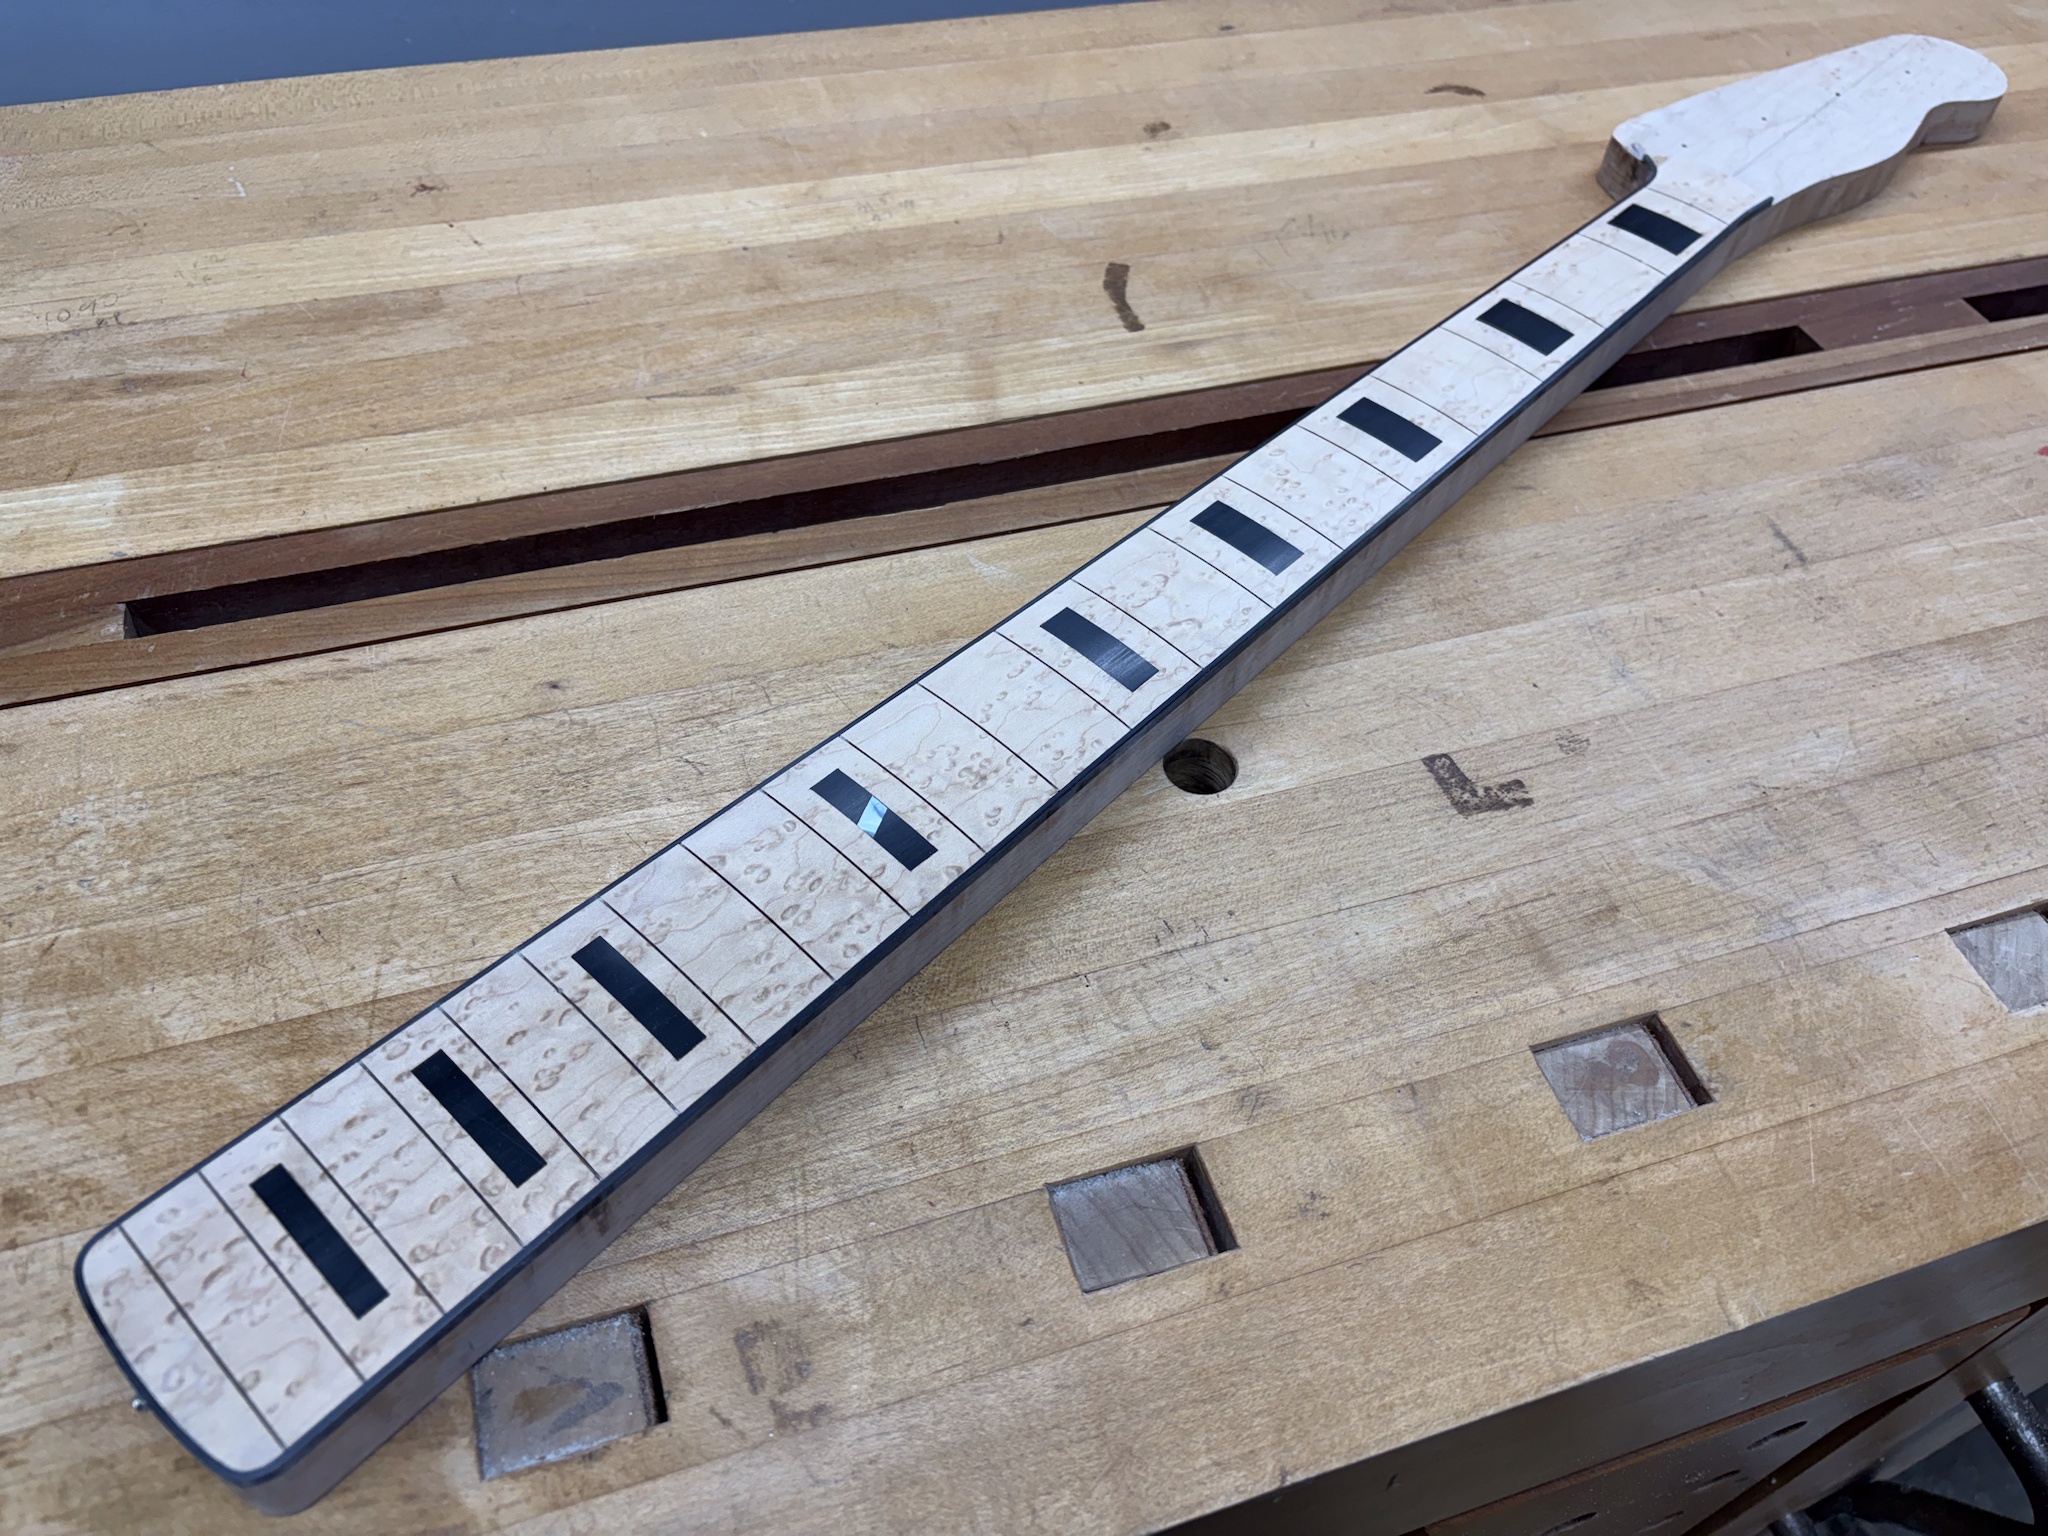
And here it is cleaned up. Looks pretty decent for my first attempt at this.
wuKIvvO.jpg


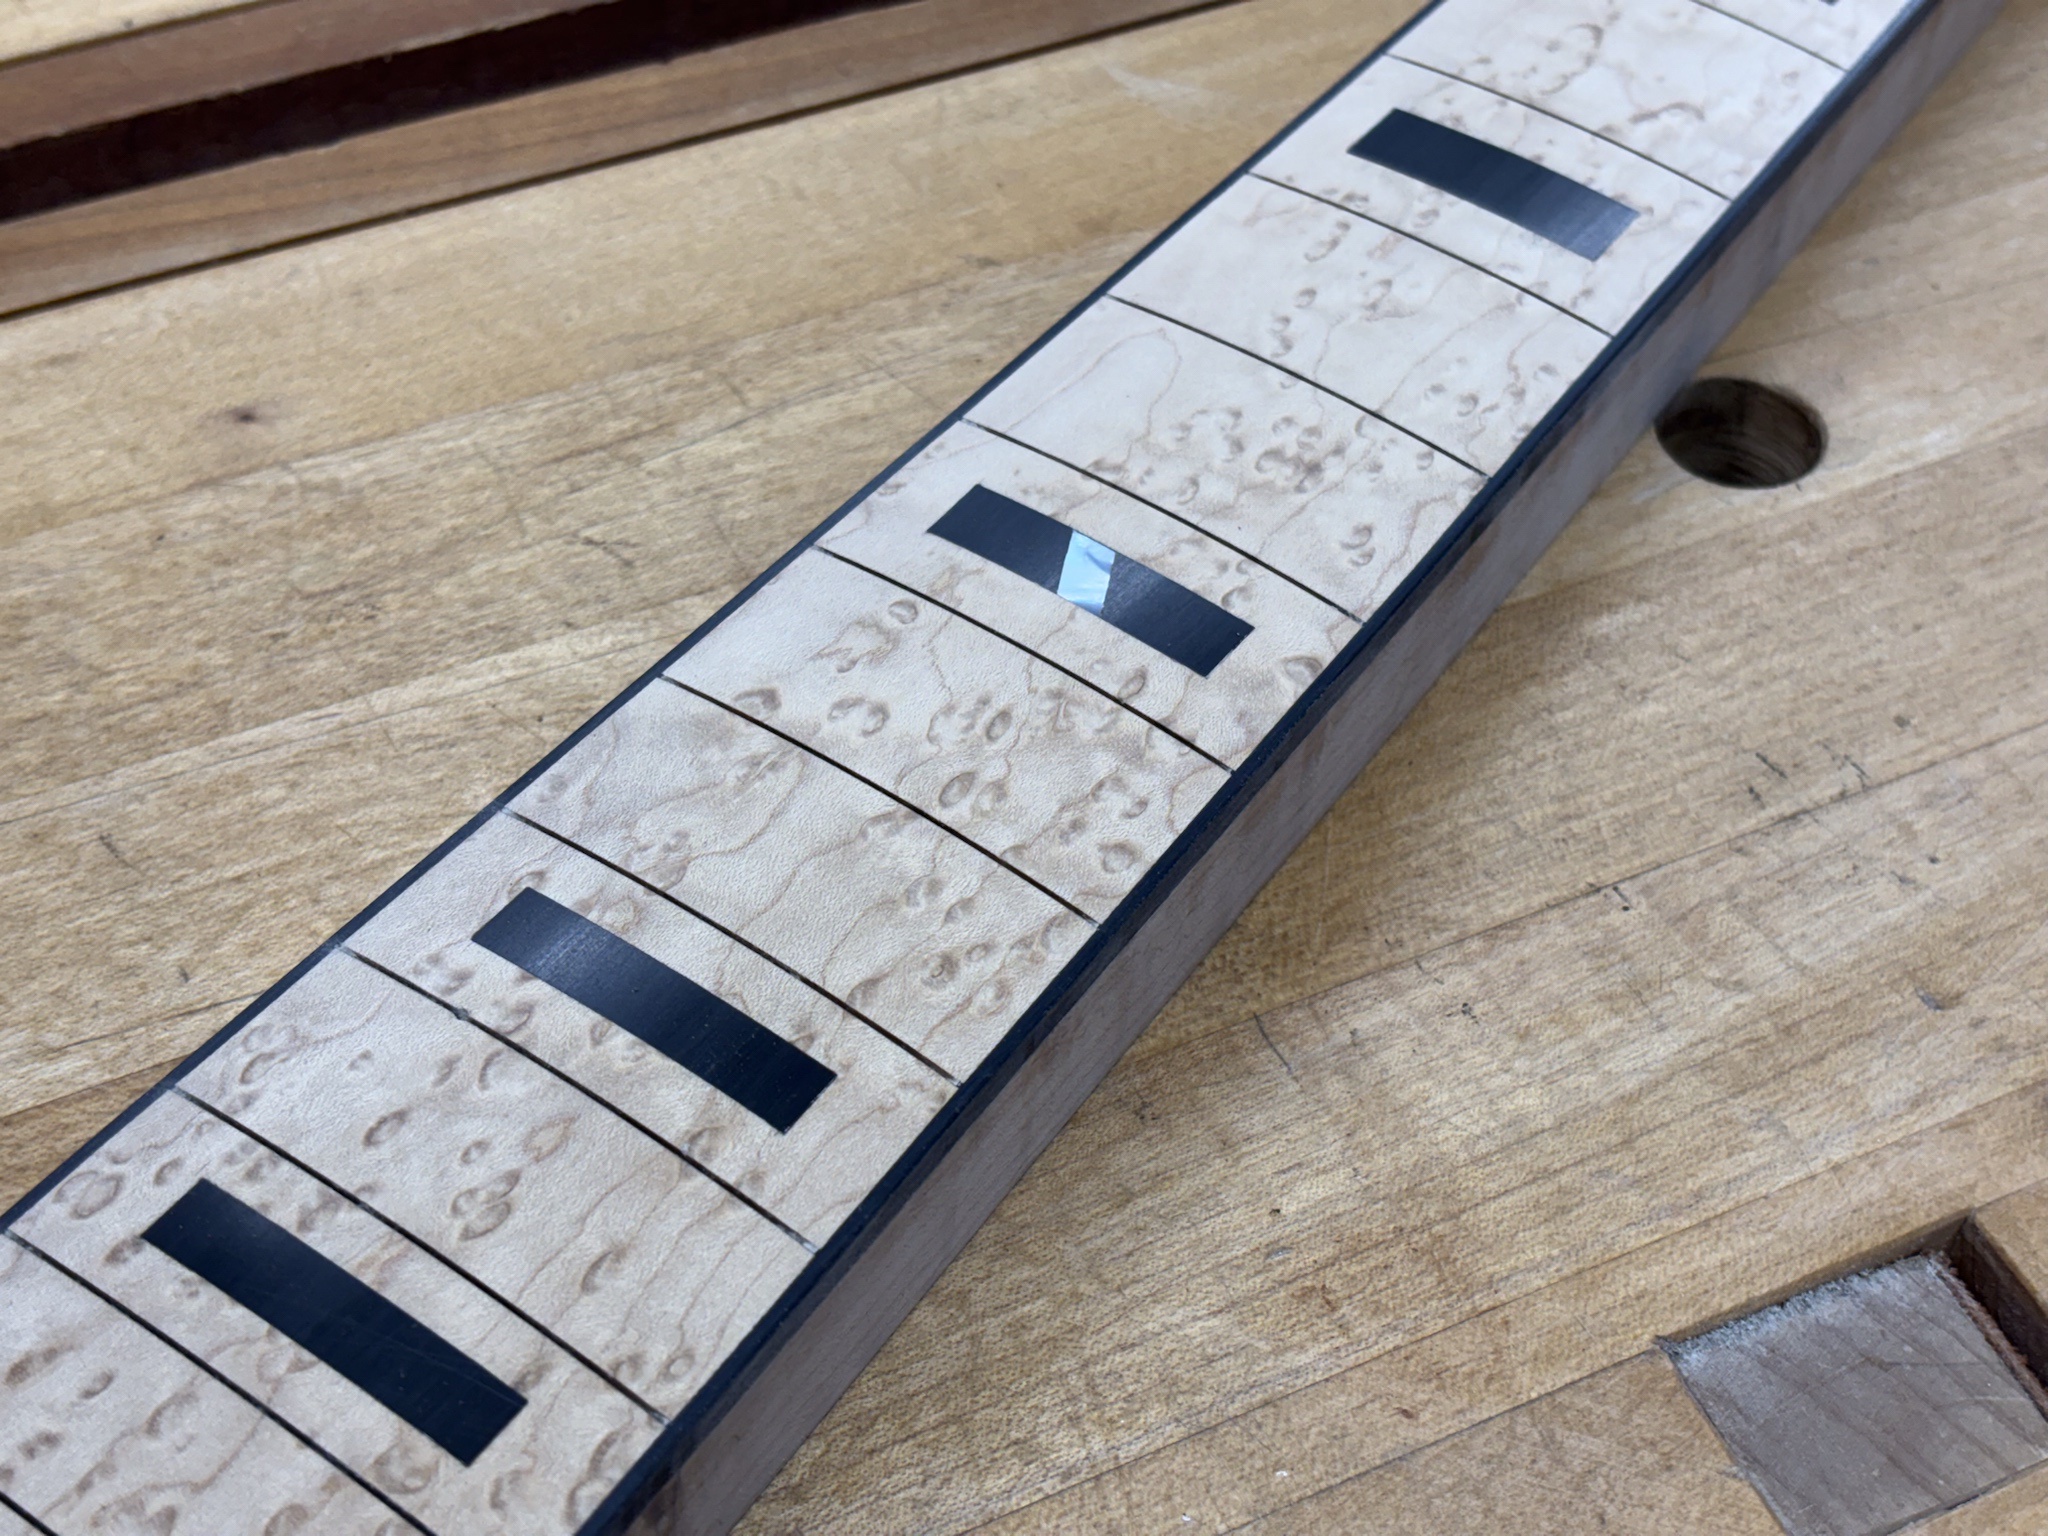
And the 12th fret marker.
ZlLD32a.jpg


Still needs a little sanding, but overall I'm pleased with the way that it turned out. Knowing now that I was able to fit these so accurately, a clear CA or epoxy would have worked fine.

That's it for now, we're all caught up. More soon. :)
 
Here's a long overdue update on this project.

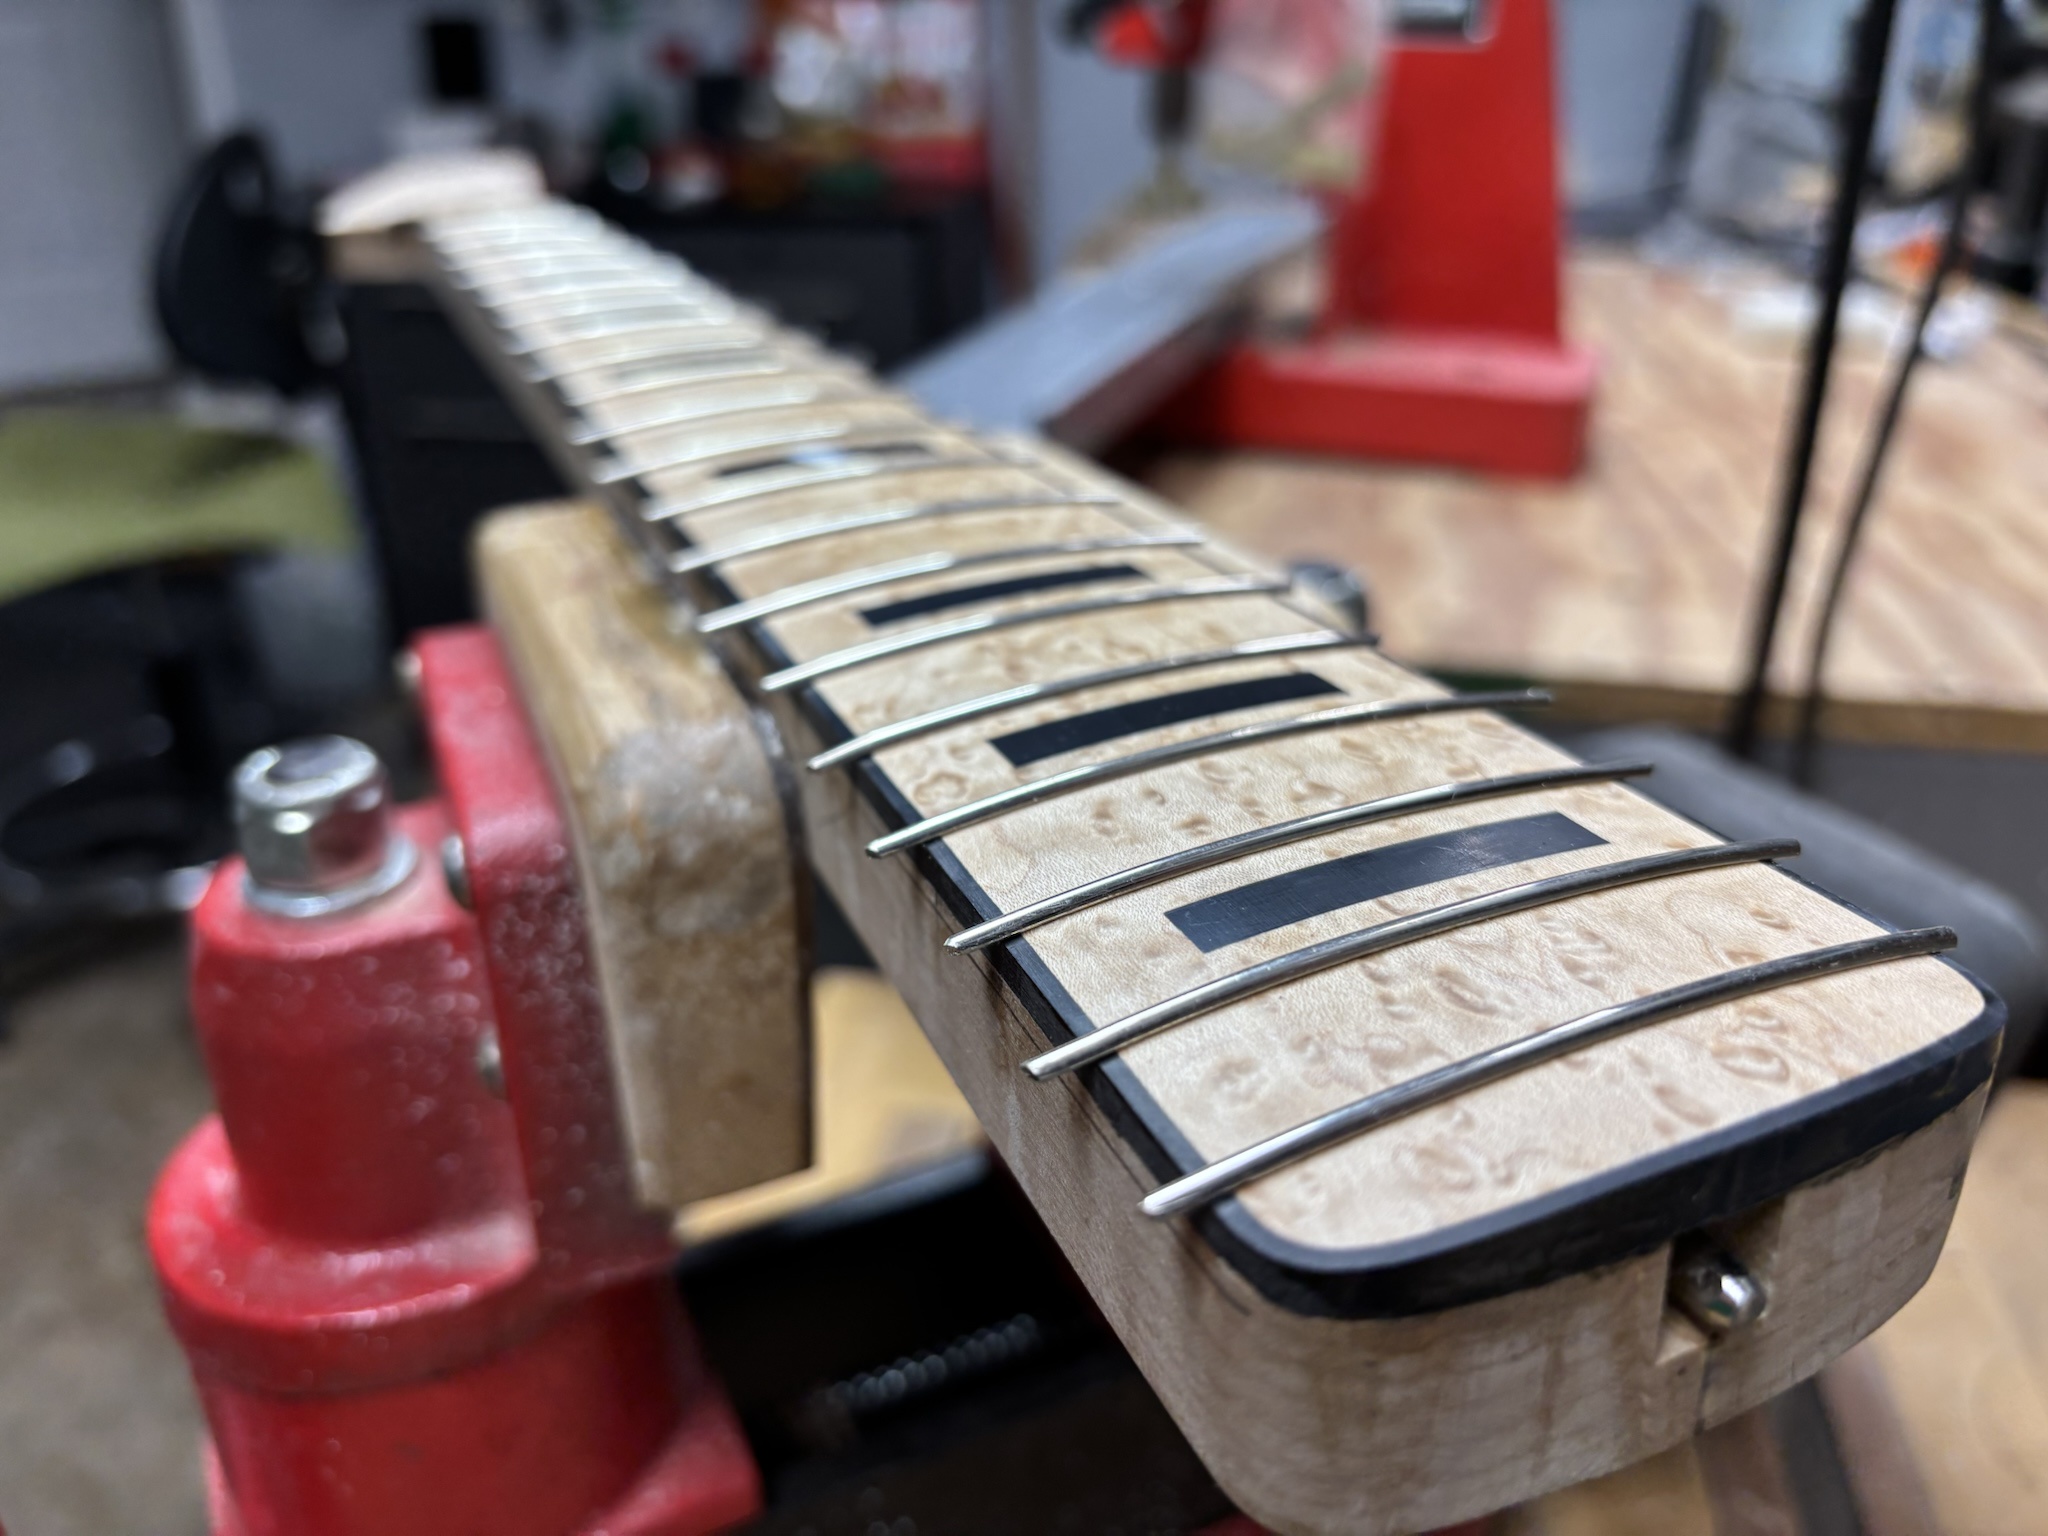
Installed Jescar nickel silver frets. Trimmed flush then beveled (not pictured, obviously)
LUnxNdE.jpg


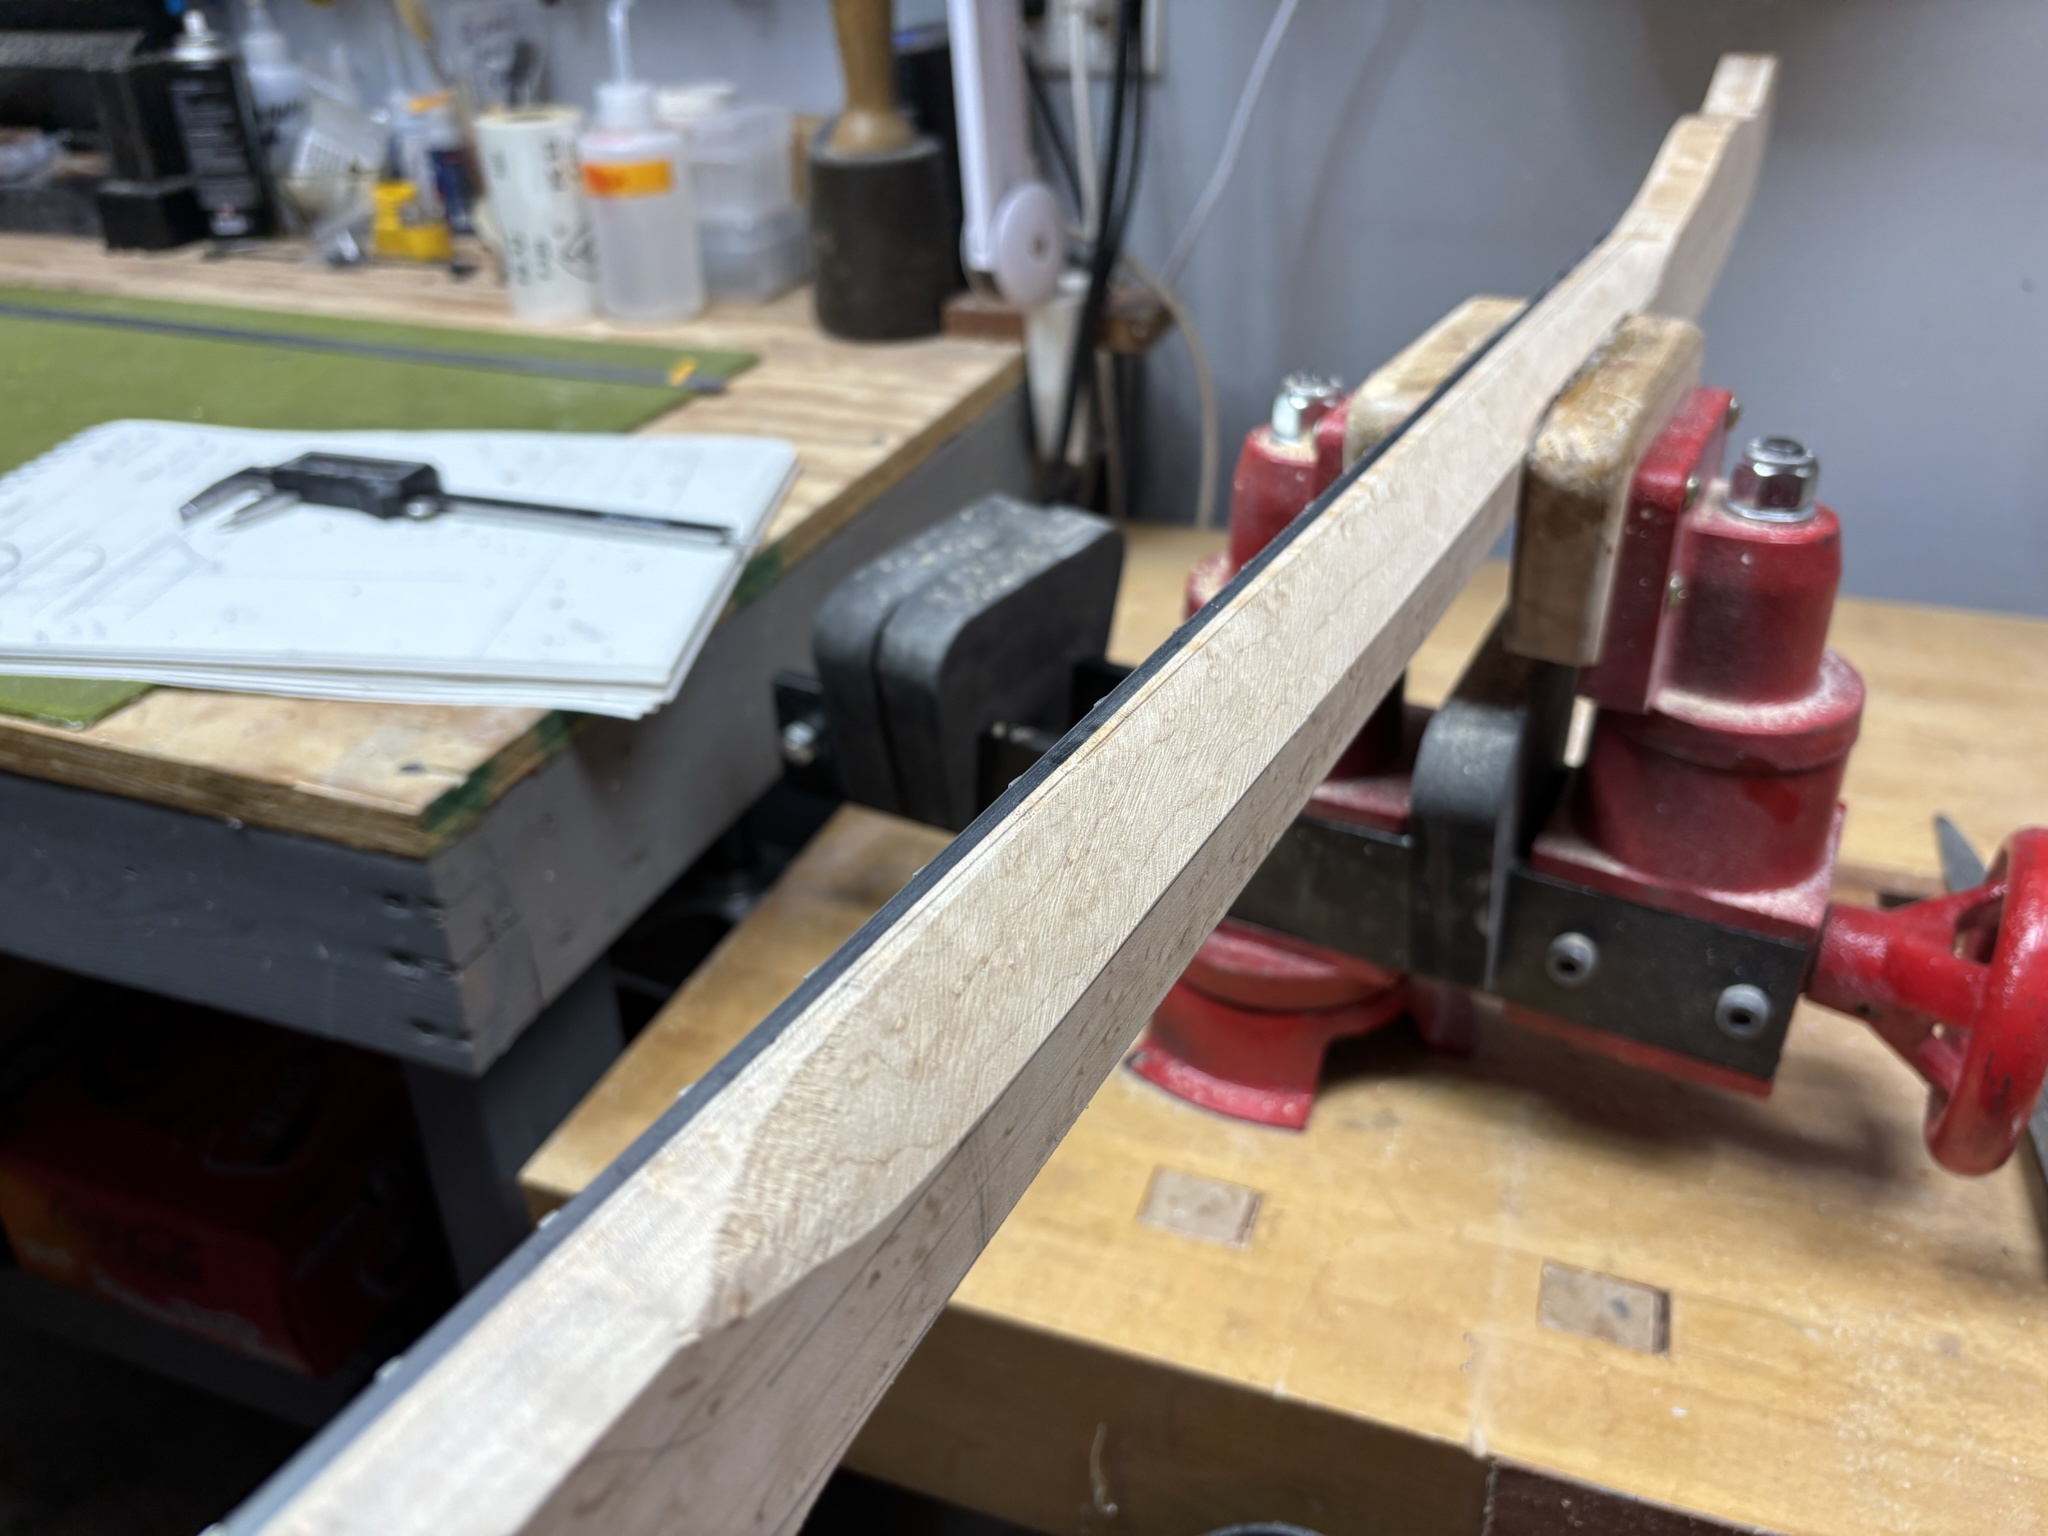
Starting the primary facet cuts for the neck carve.
Fp4dqhp.jpg


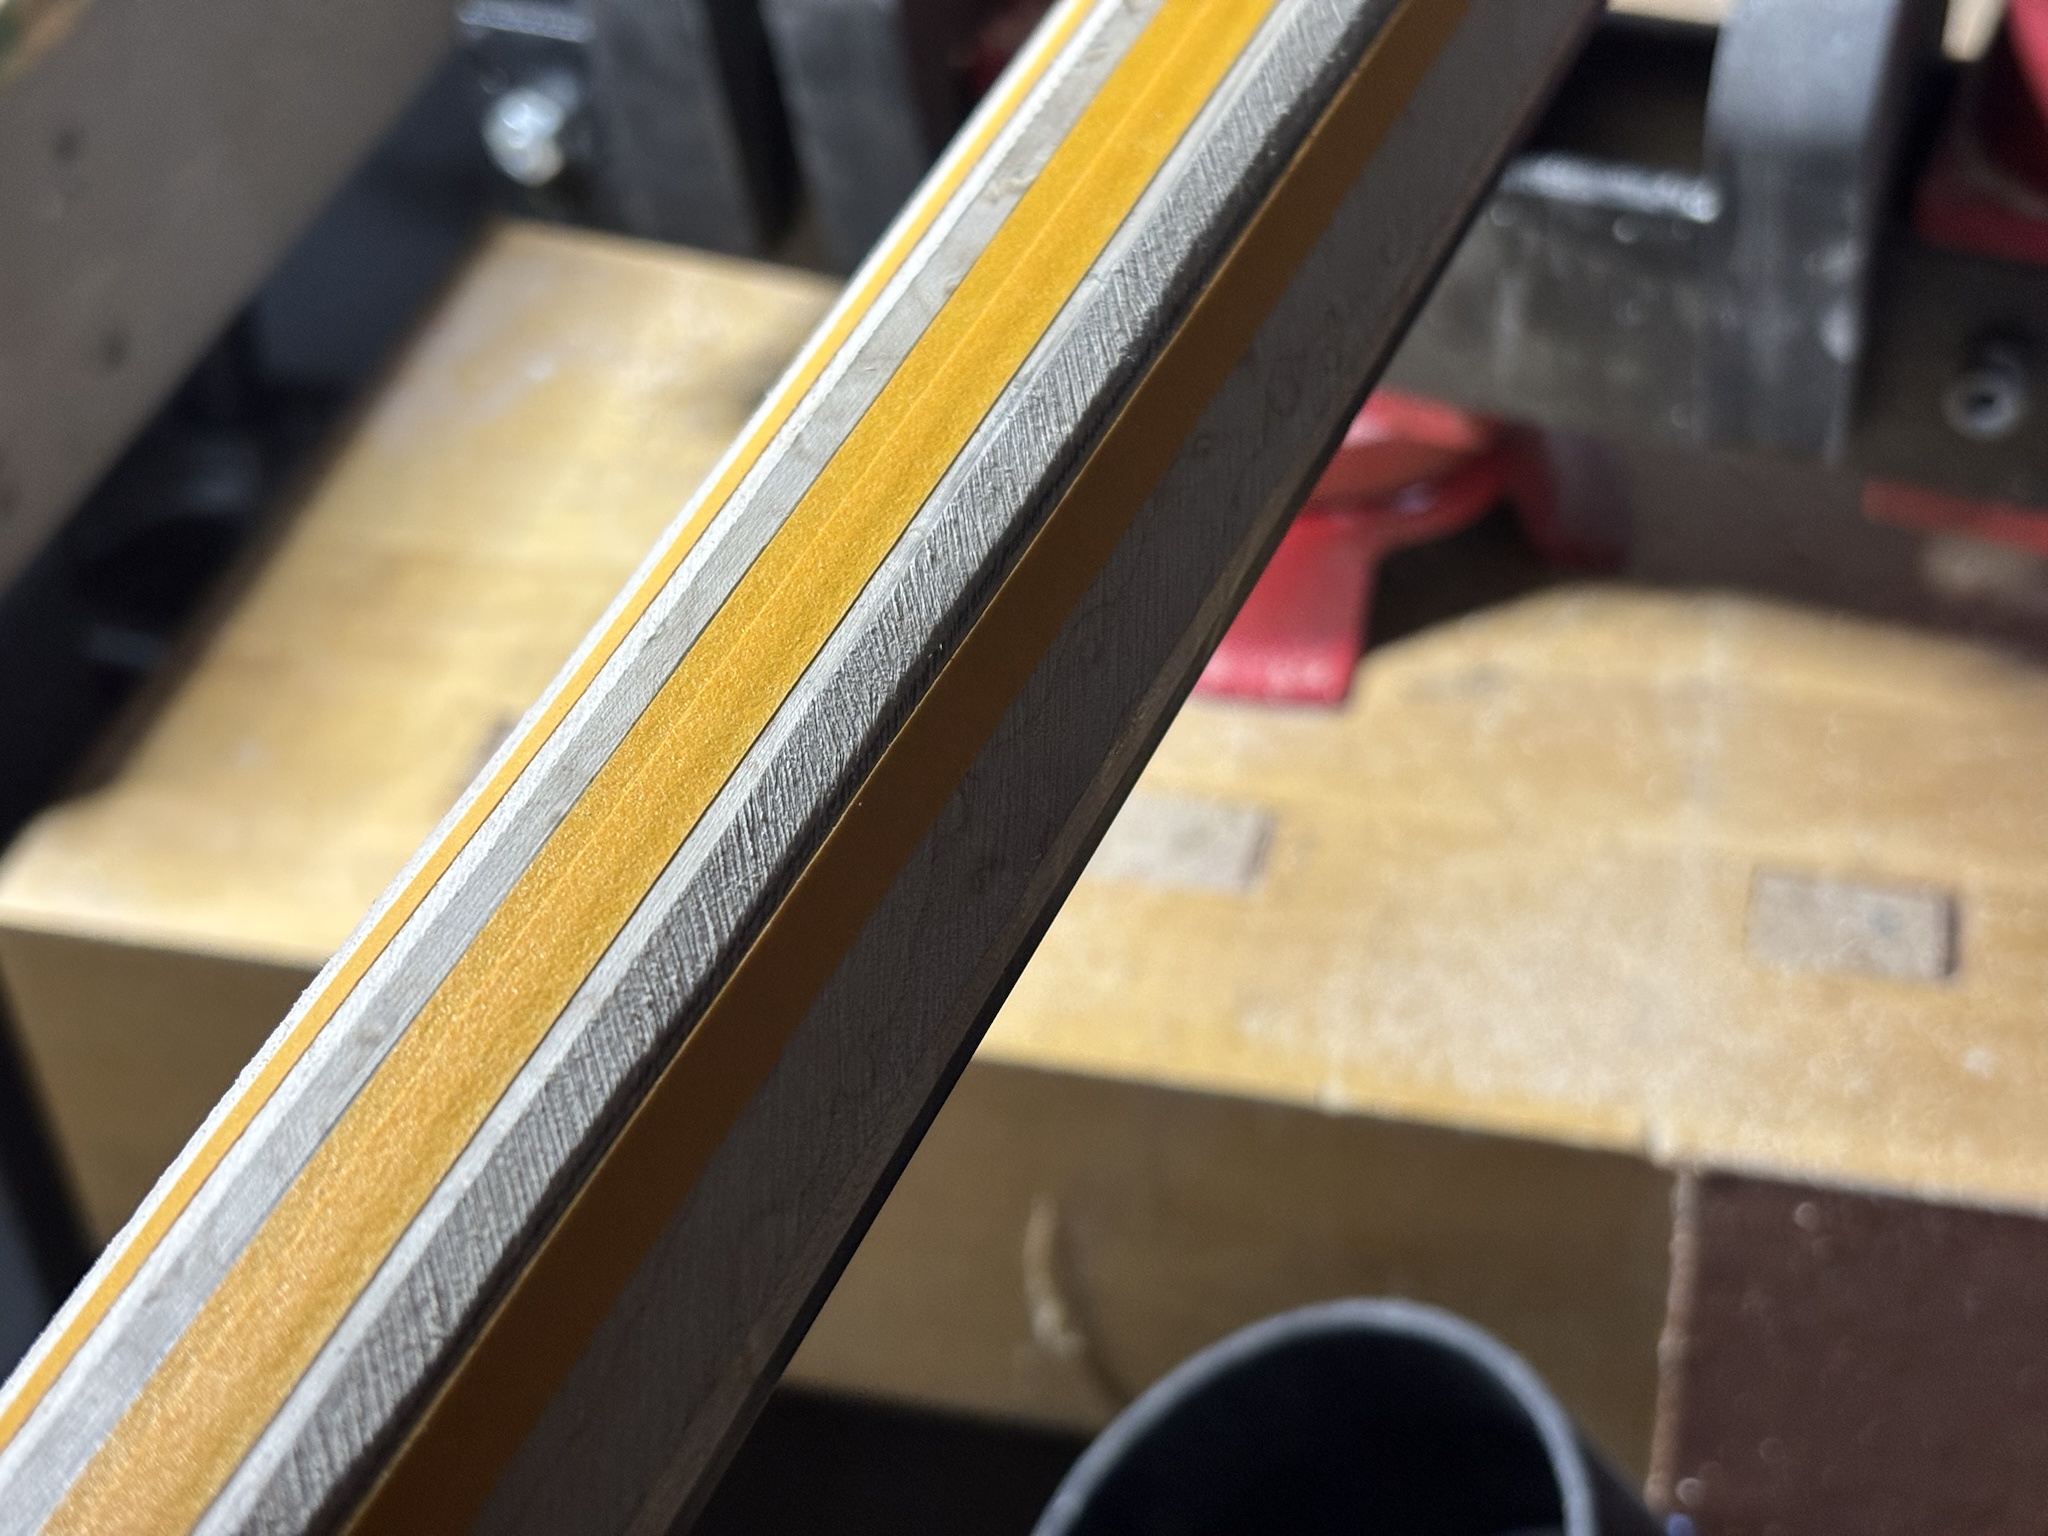
Cutting in the secondary facets. Using raking light and tape to help guide my progress here.
oVI1ZJ3.jpg


More facets added.
ktXkFtO.jpg


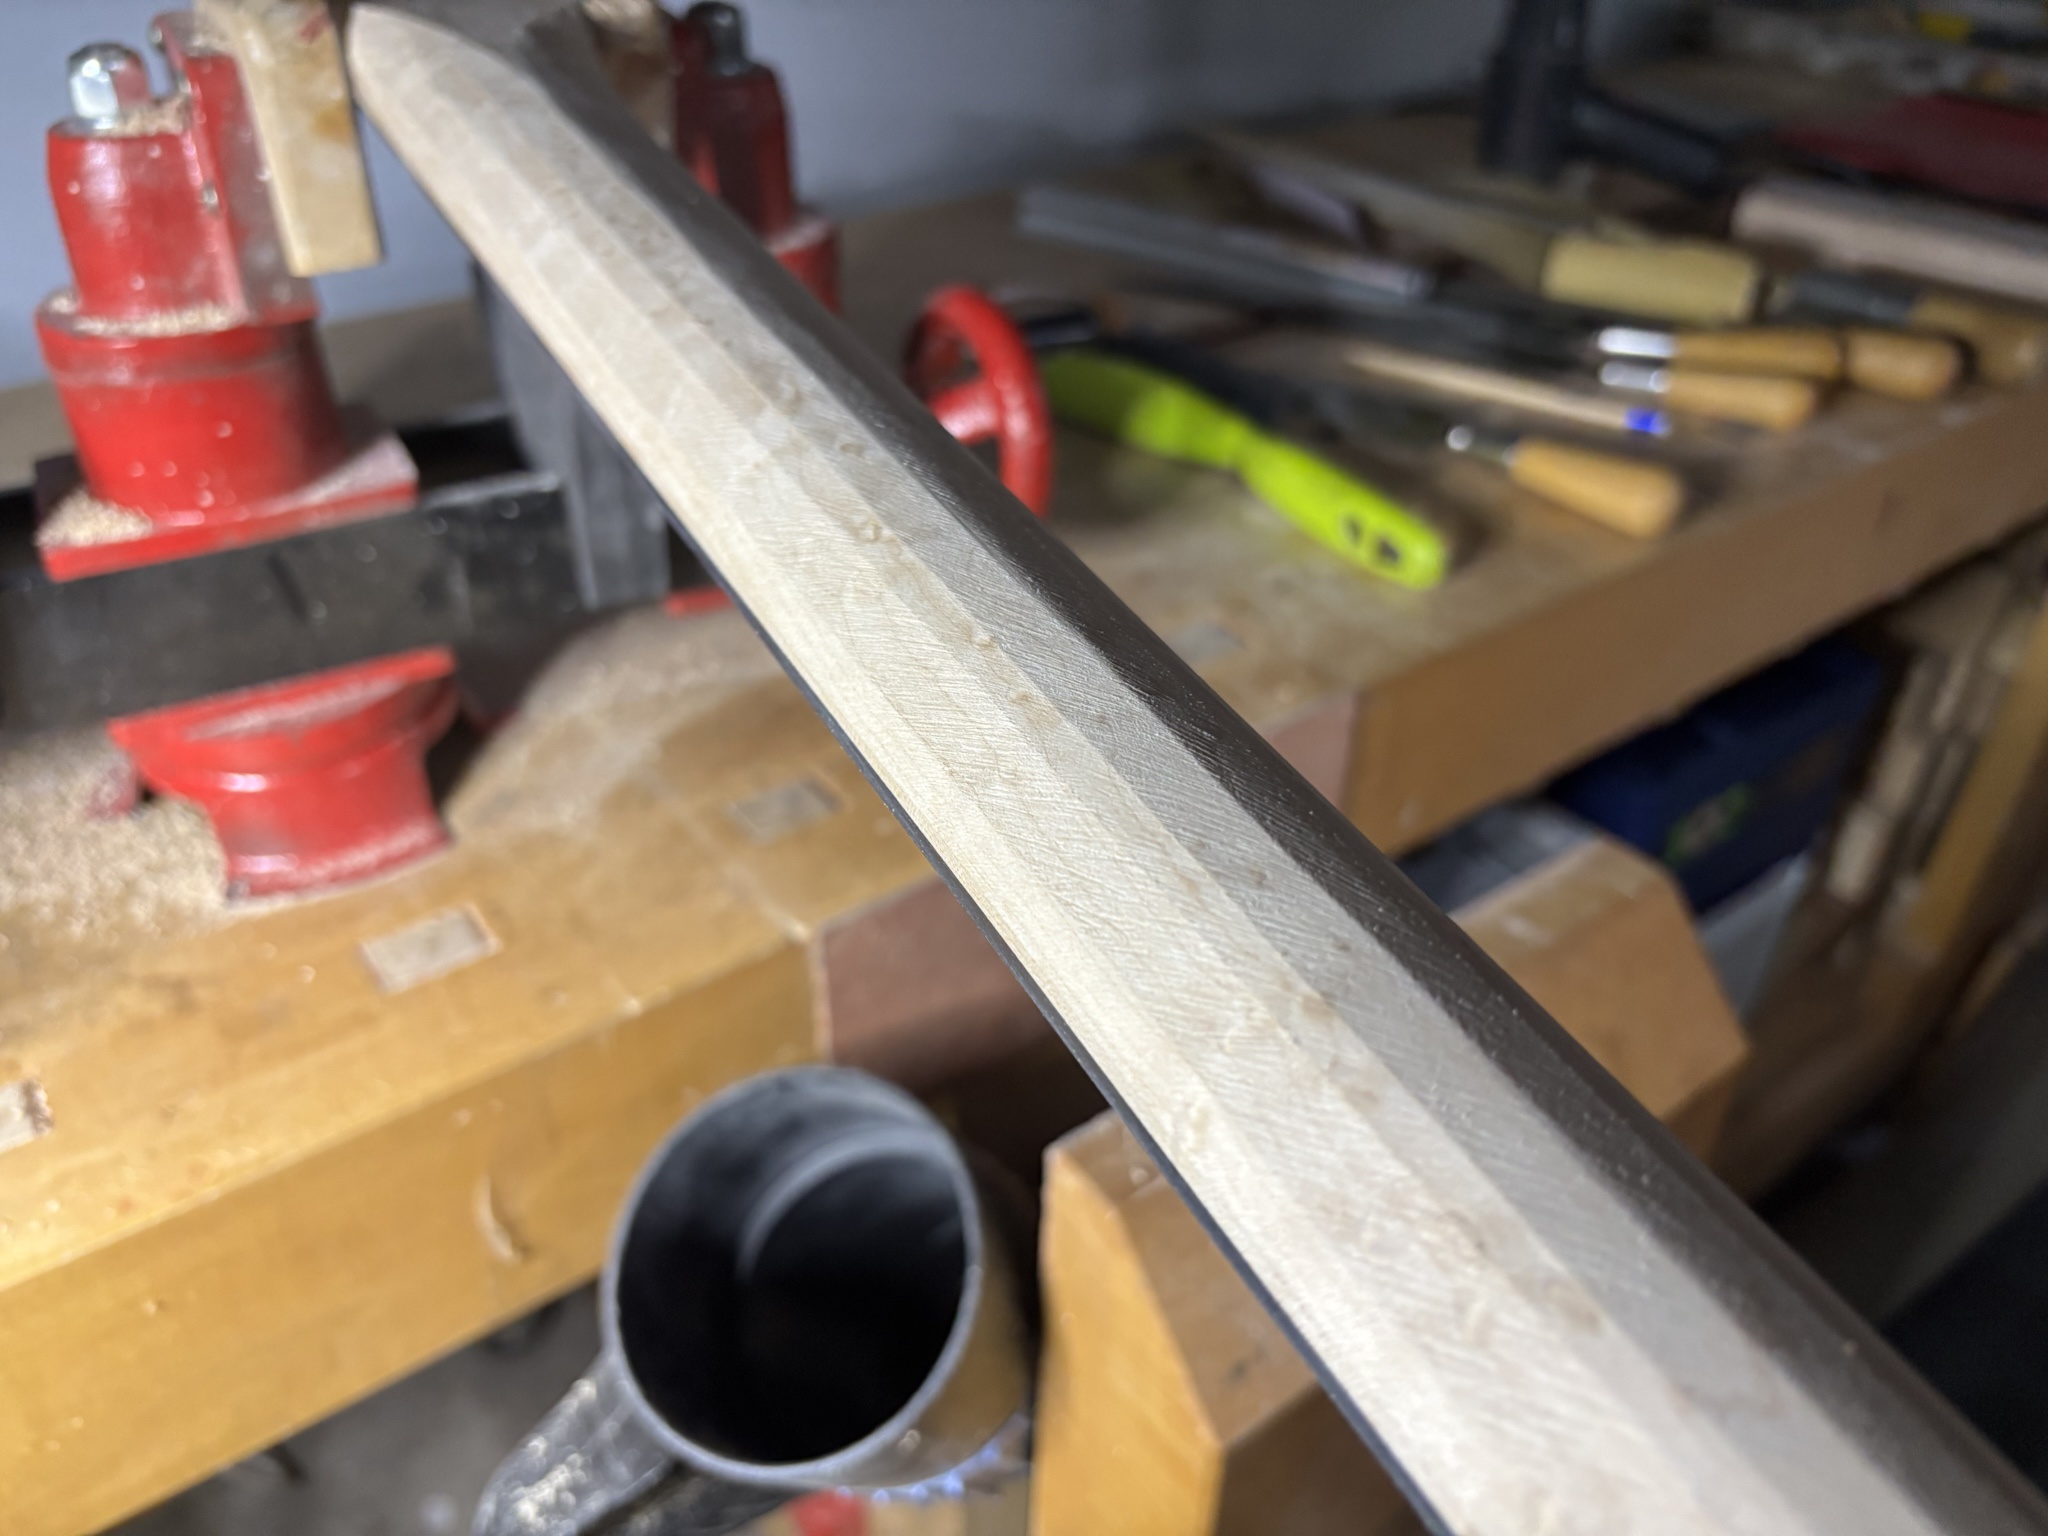
Facets blended together and the basic carve is done... but the transitions are not yet complete.
Td34vXX.jpg


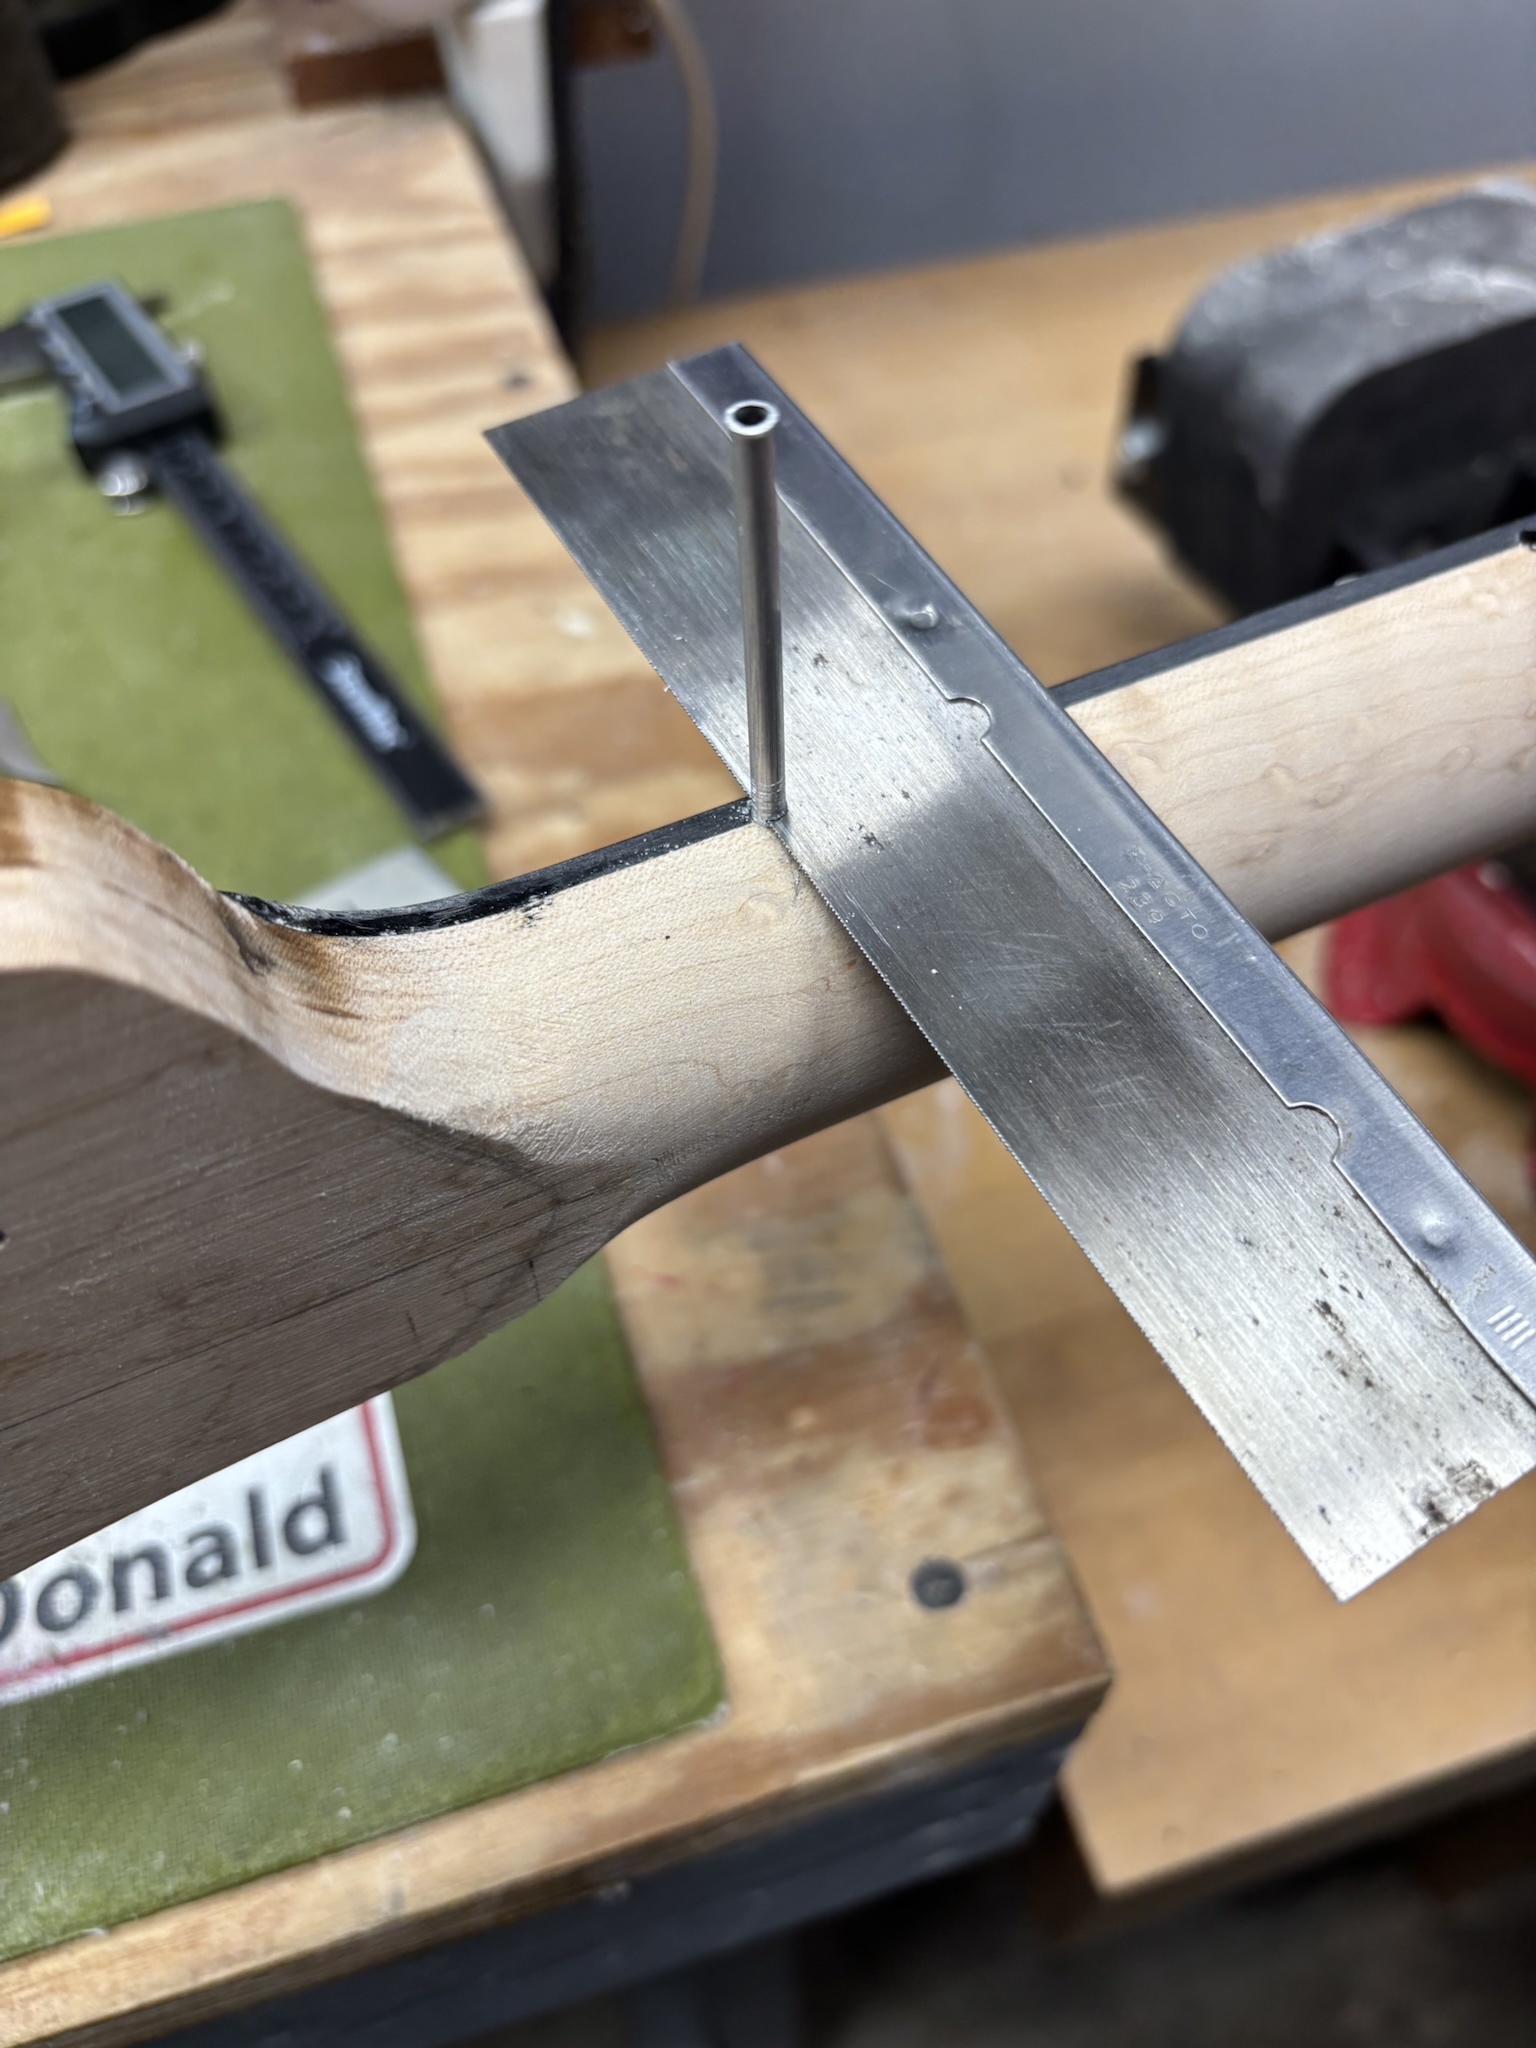
It was time for dots so I drilled for aluminum tube. Glued it in with medium CA and roughly cut off with a razor saw.
L4iSLKS.jpg


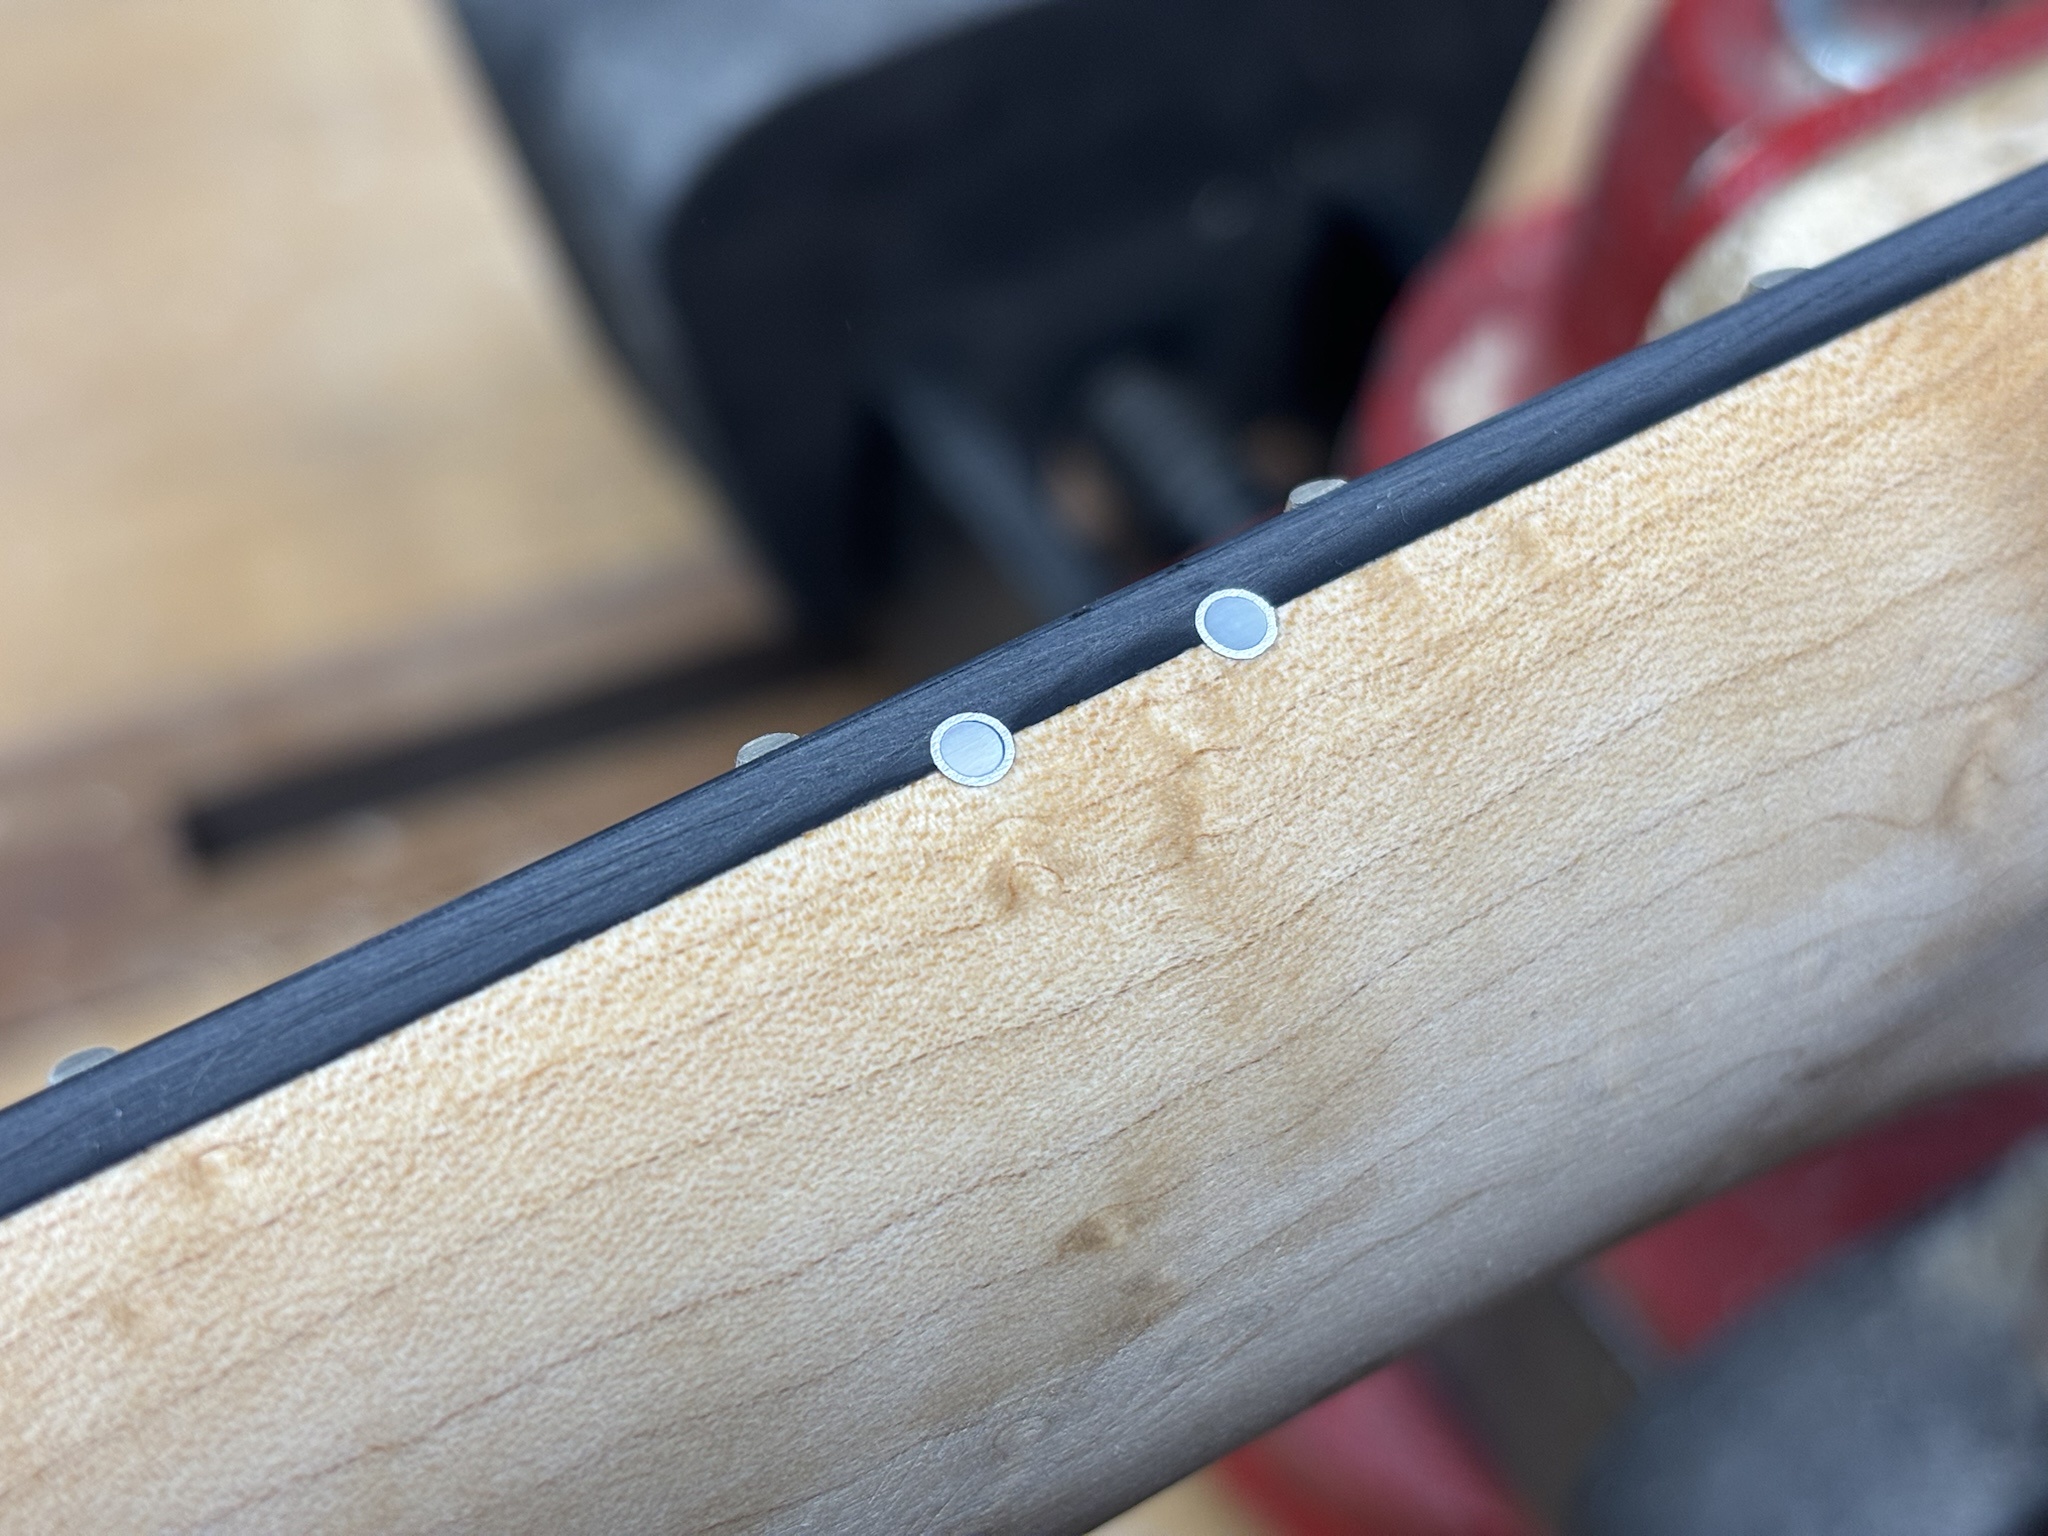
Glued a MOP dot in each, then filed and sanded flush.
IbbdIPz.jpg
 
A little more progress on the P/J project. :)

Trimmed the headstock down to near final thickness at the band saw. Fretboard transition was sanded in on the belt sander, then the entire face sanded flat (not pictured here :) )
YhCz8YK.jpg


Removed the waste from the nut slot with a small chisel and rough fitted a Tusq nut.
hImu471.jpg


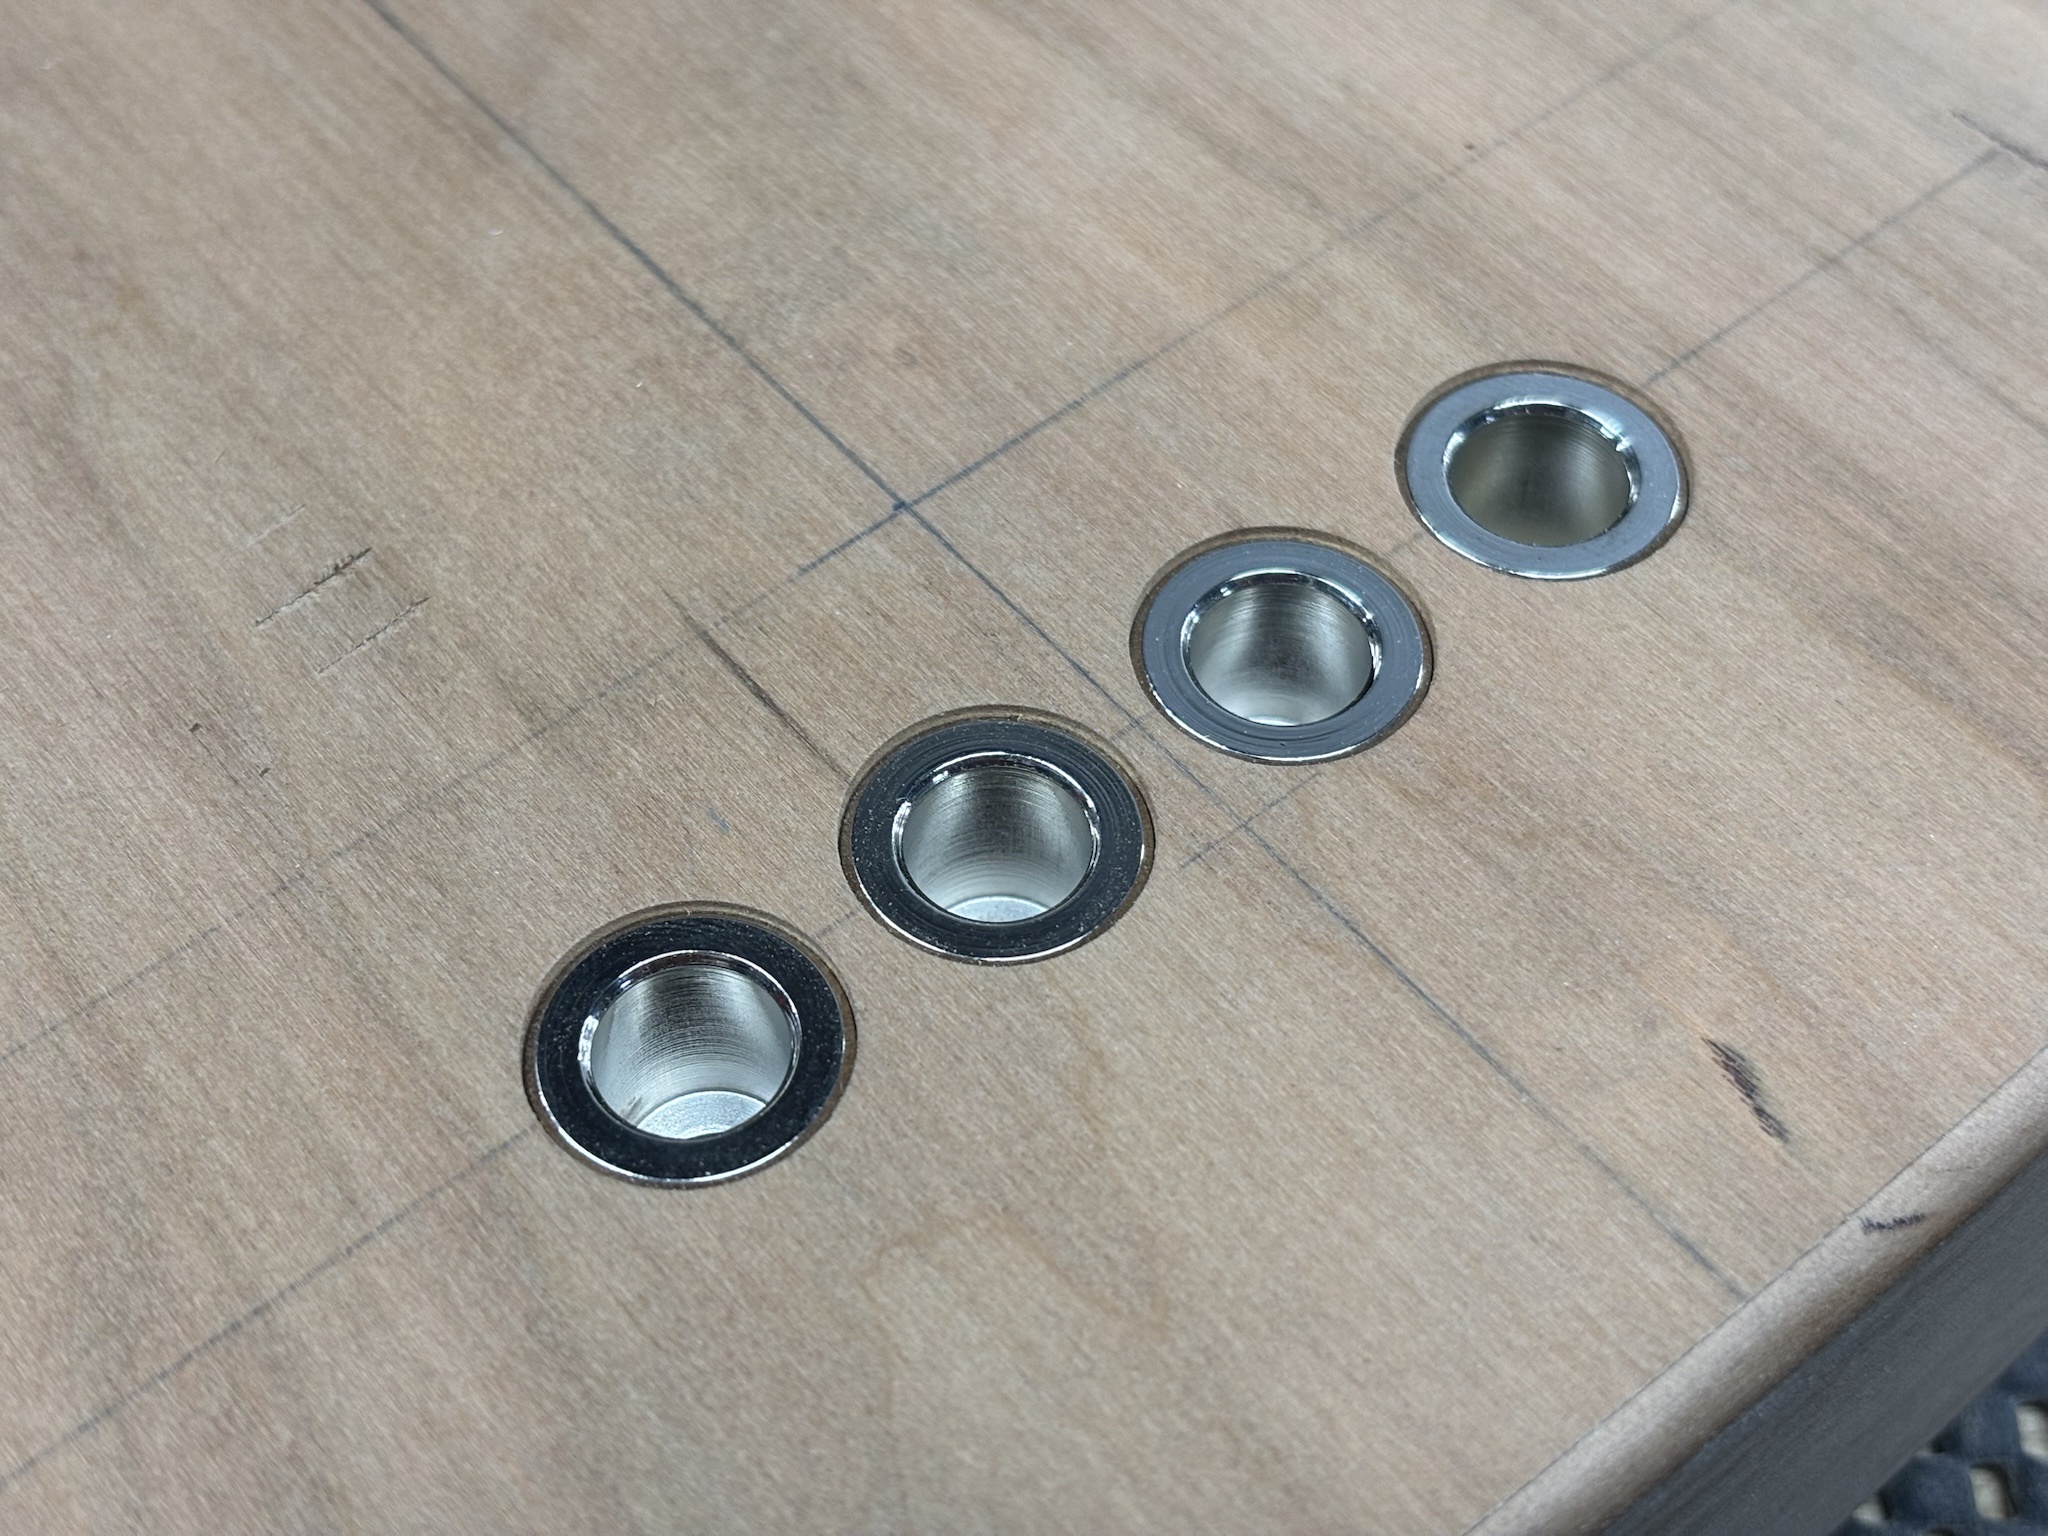
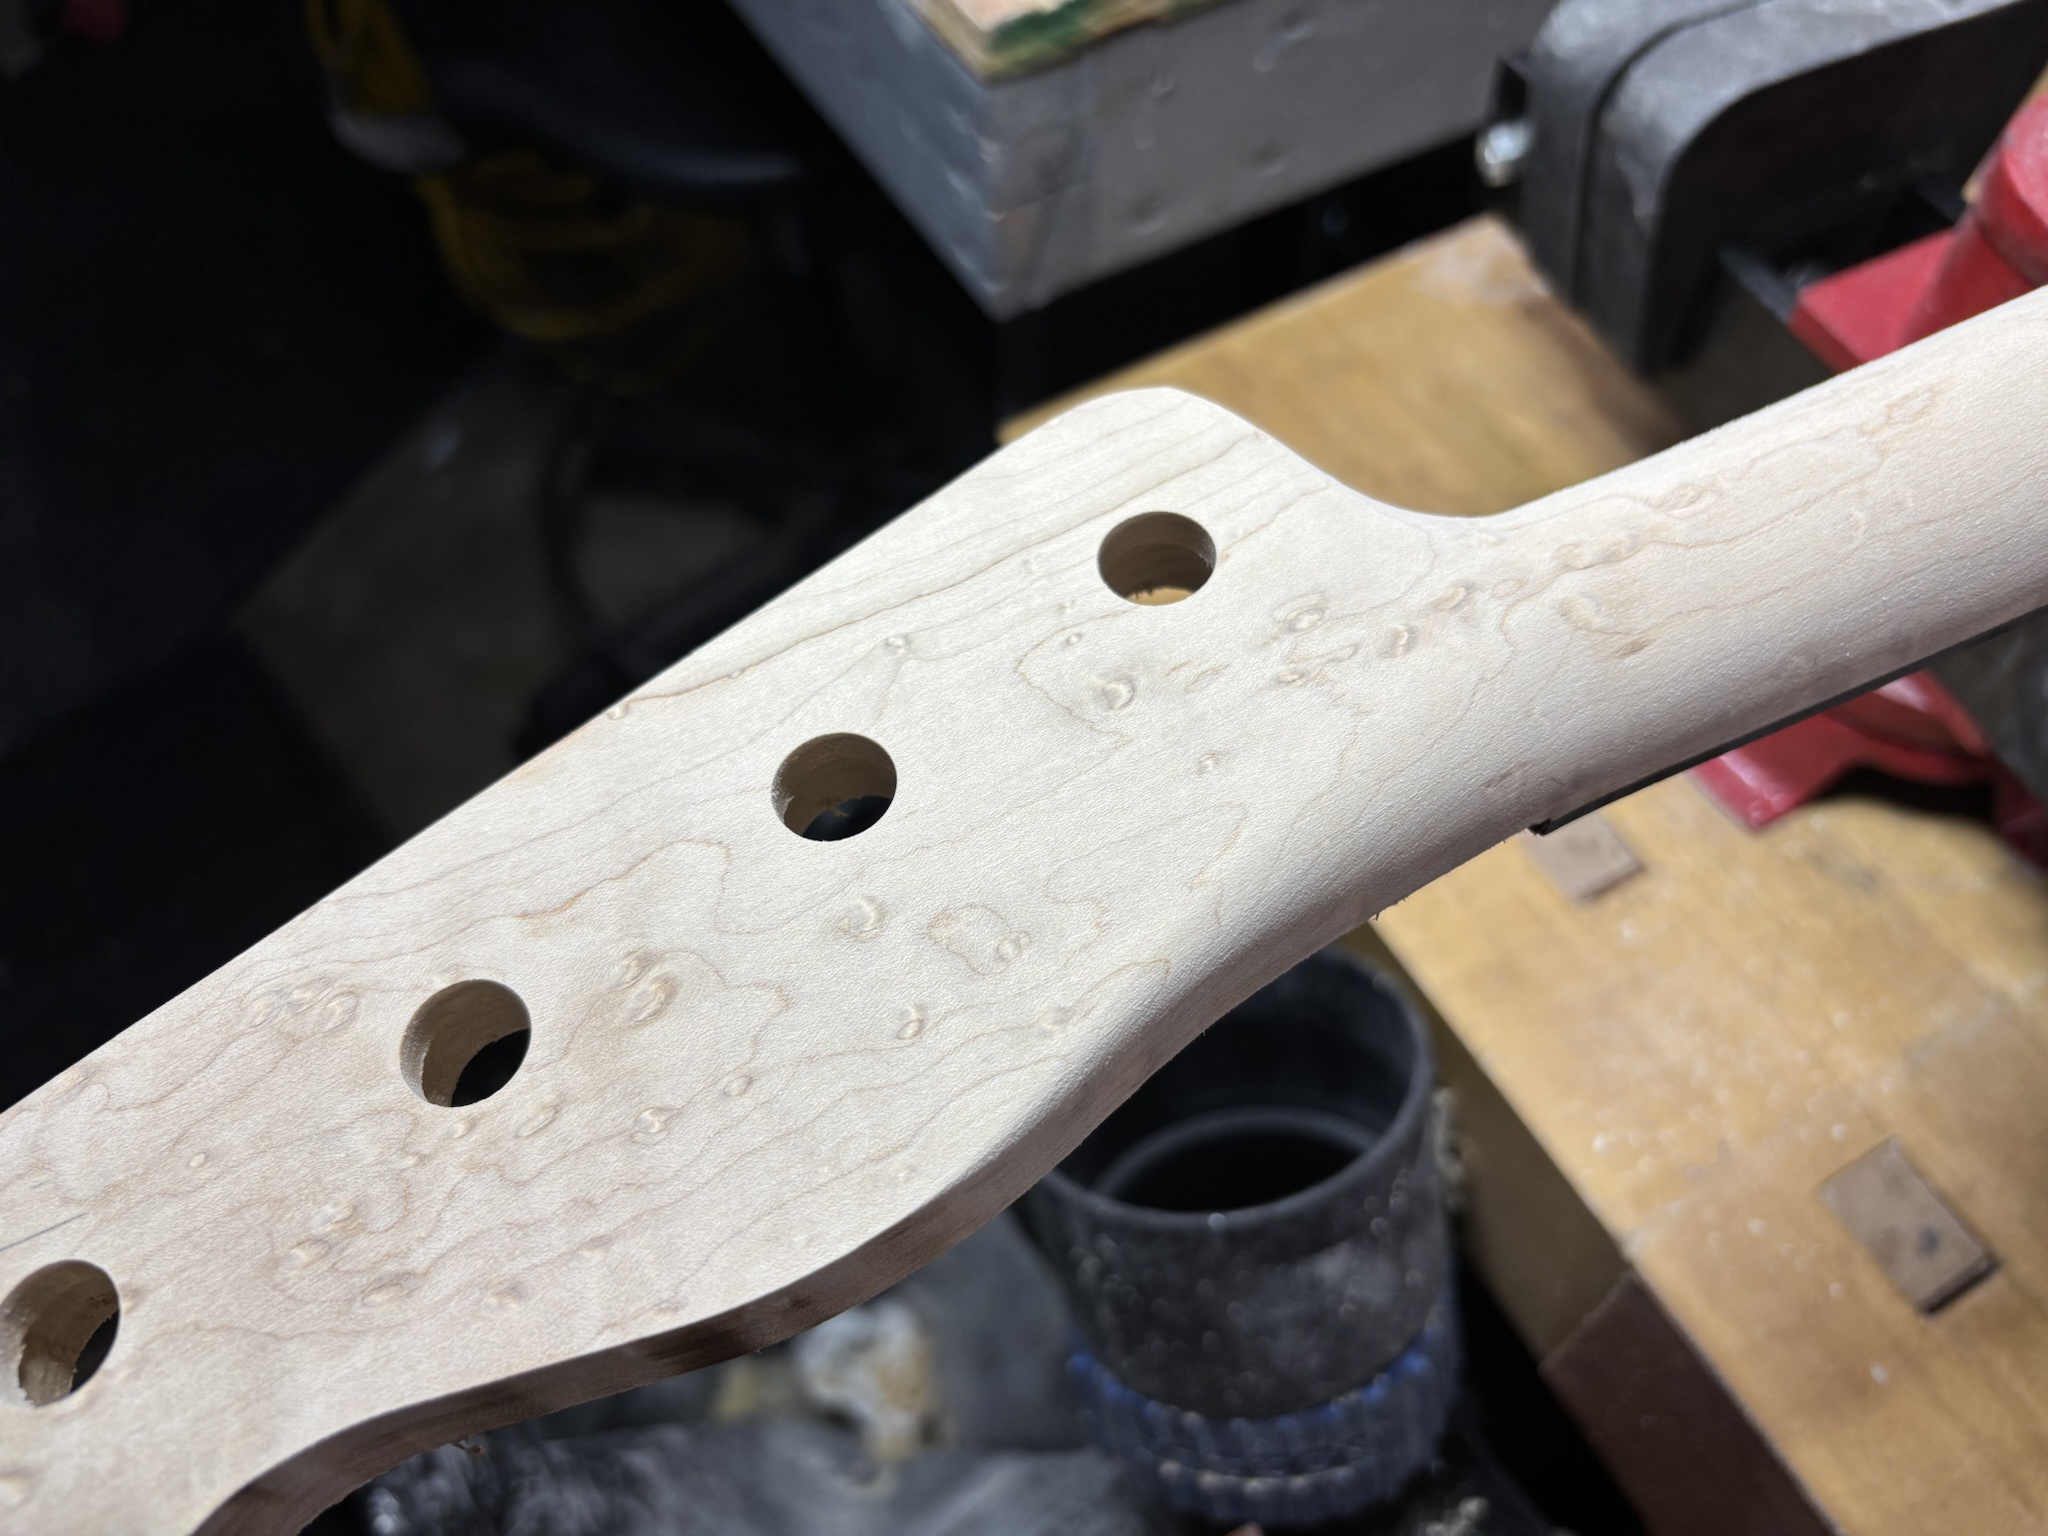
Installed the string ferrules. Looks like I have a little bench rash to take care of. :D
4mZ1tPA.jpg


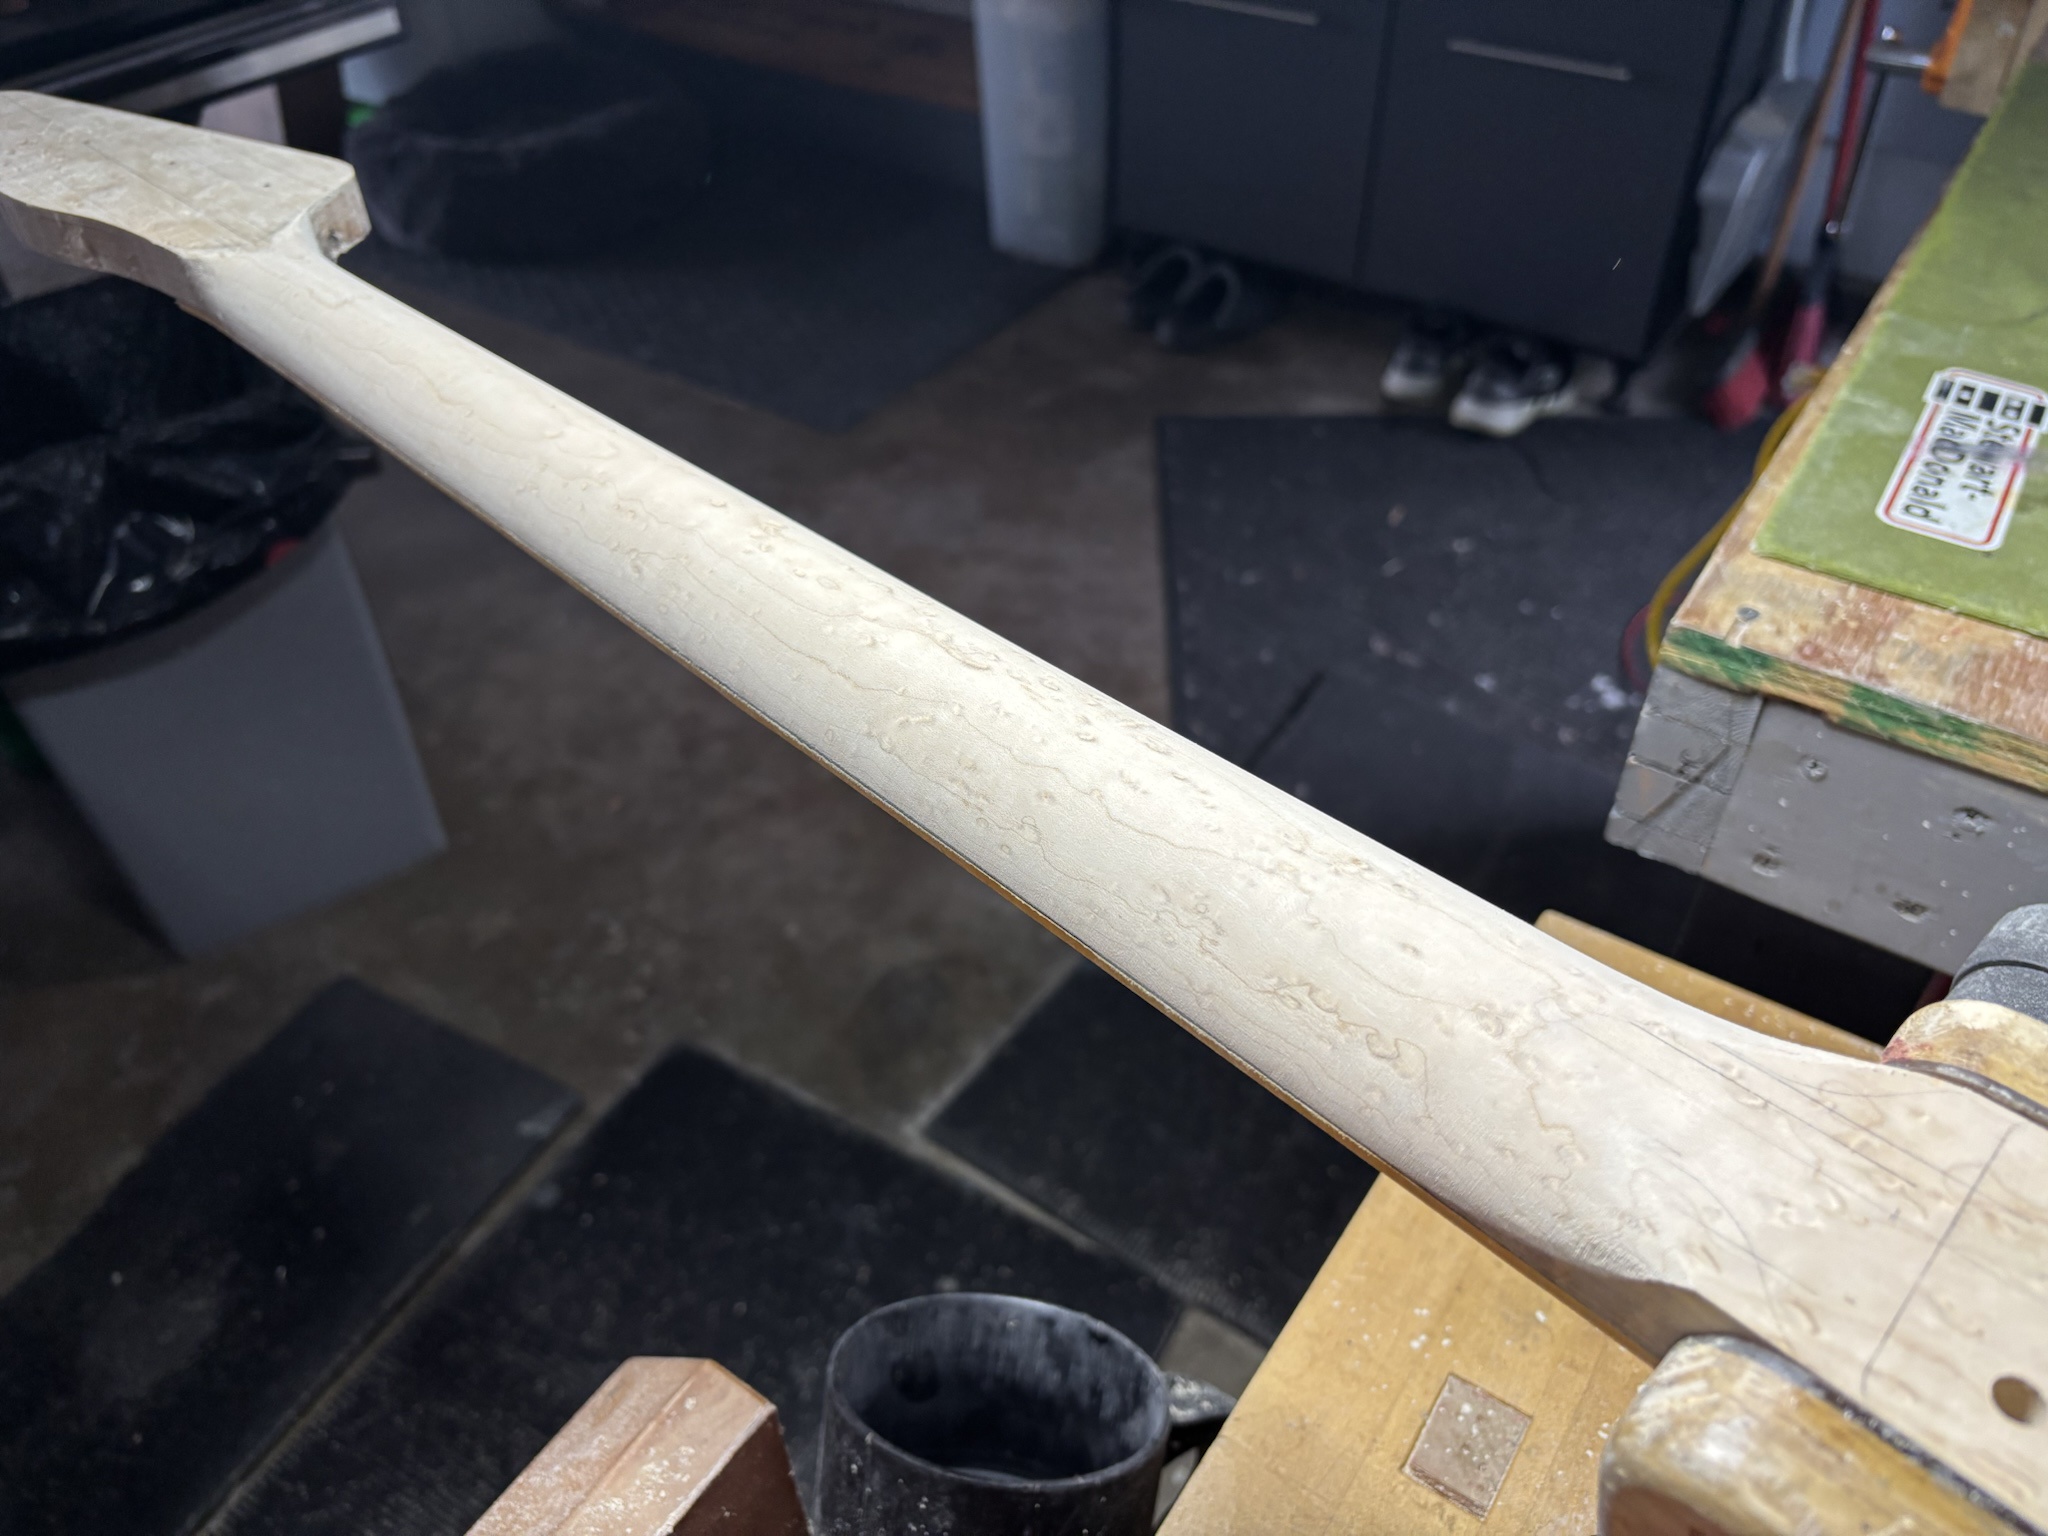
Finished up the neck heel and headstock transitions. Nice and smoove. :smug:
xB3g6G3.jpg


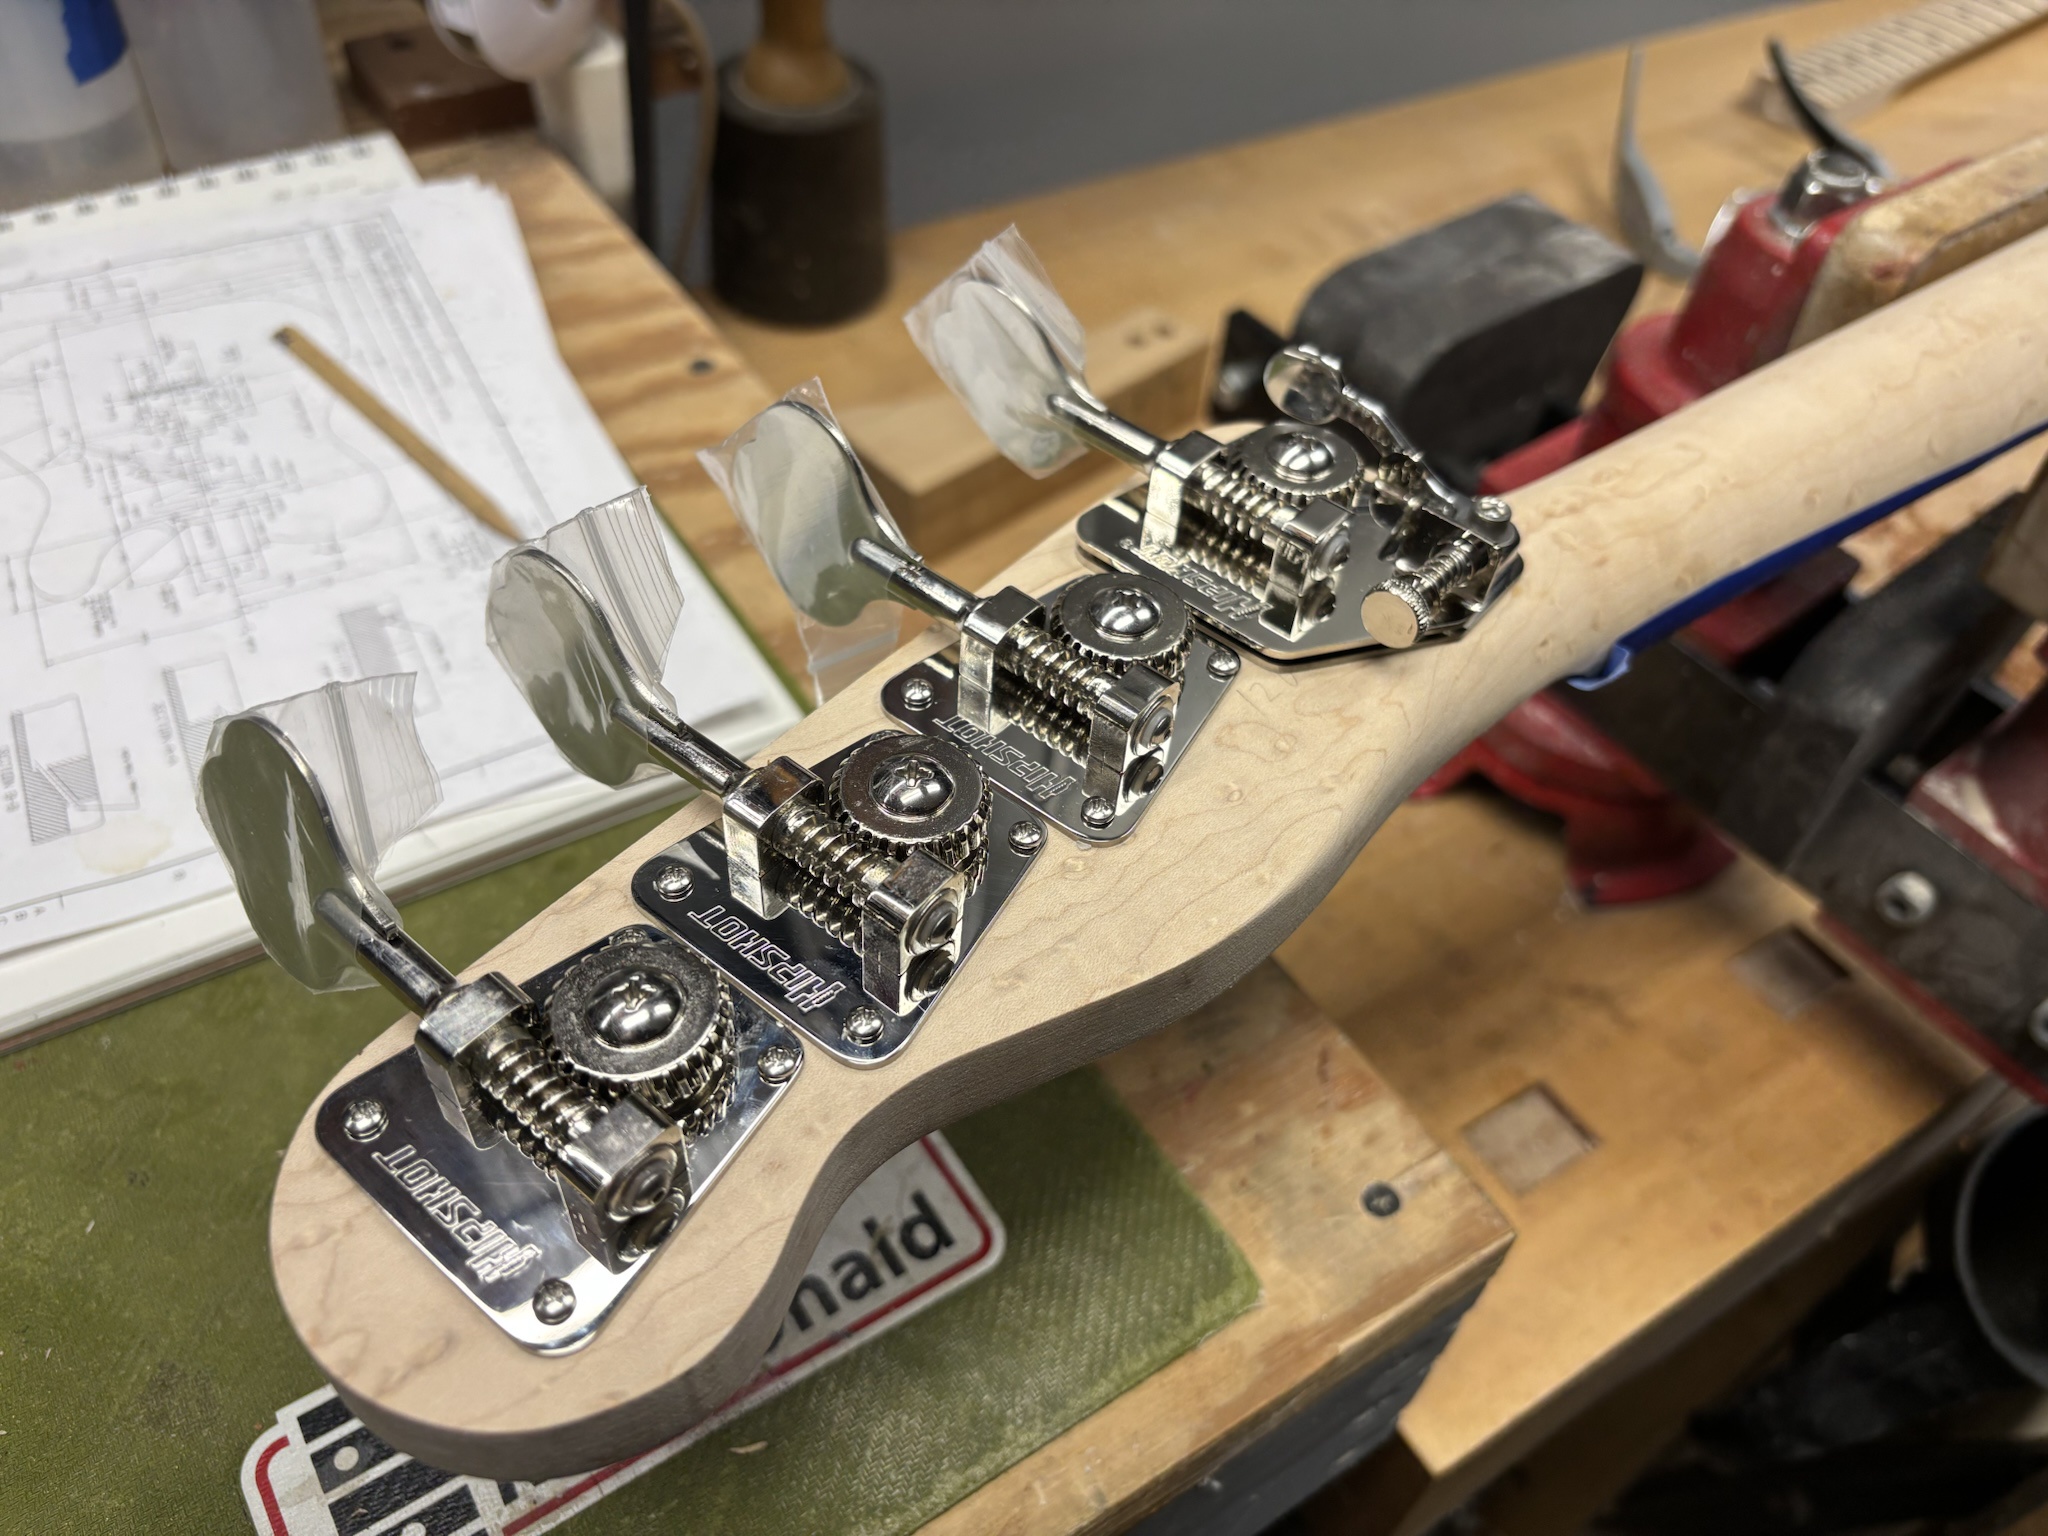
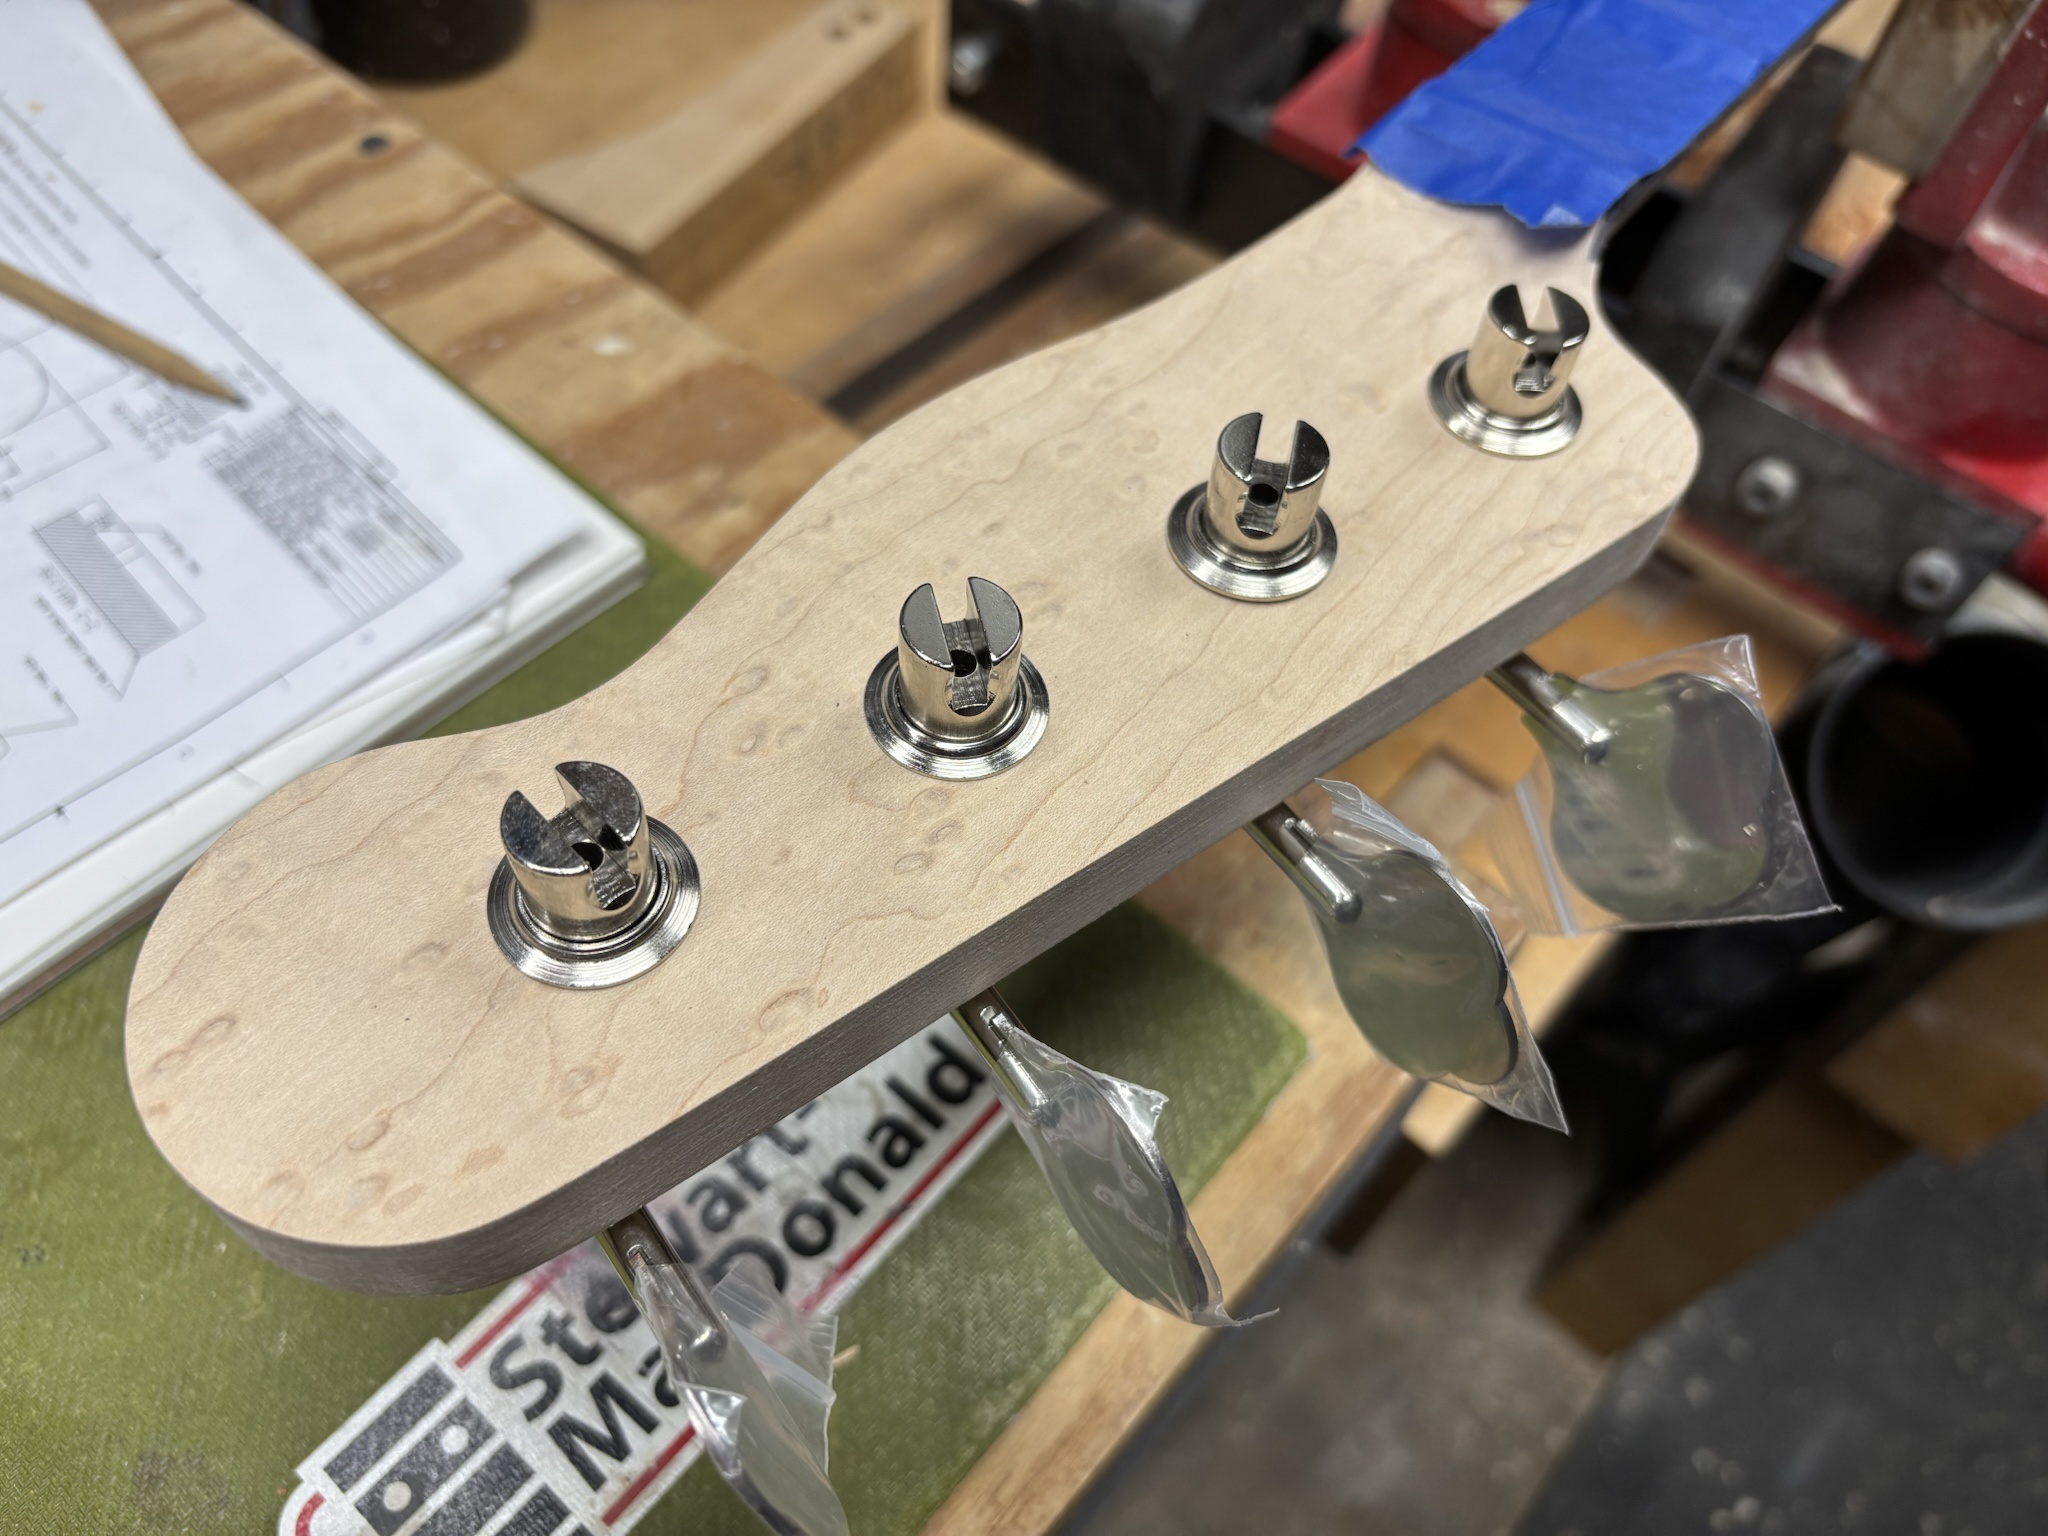
Mounted the tuning machines.
932Hre5.jpg


81Ivkzq.jpg


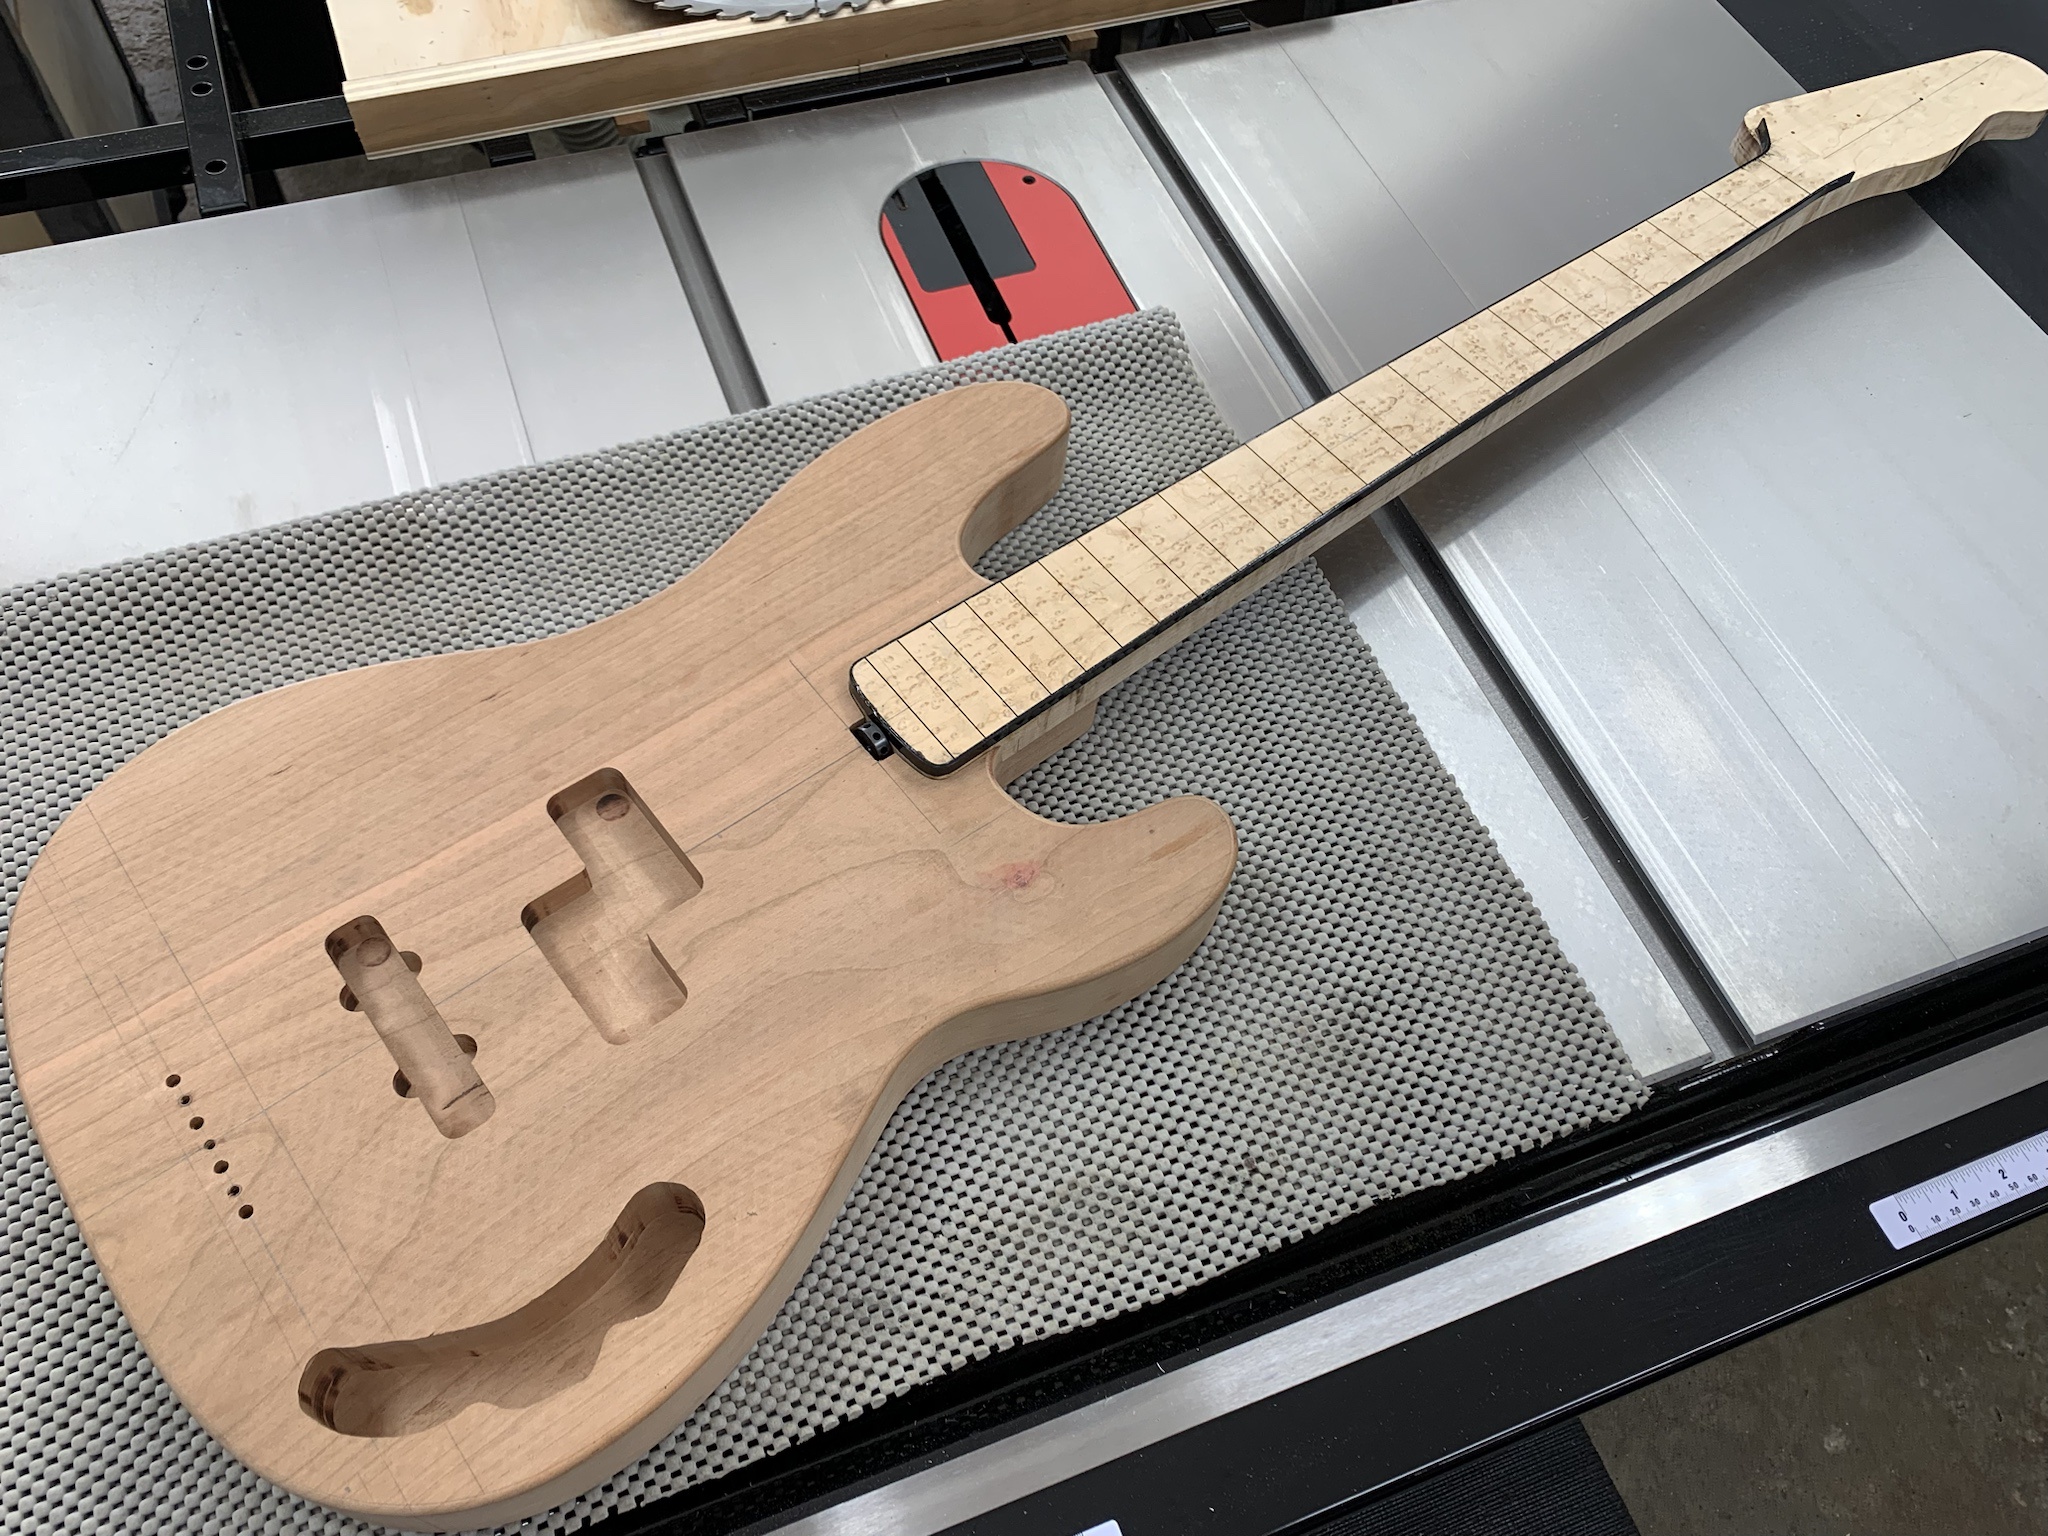
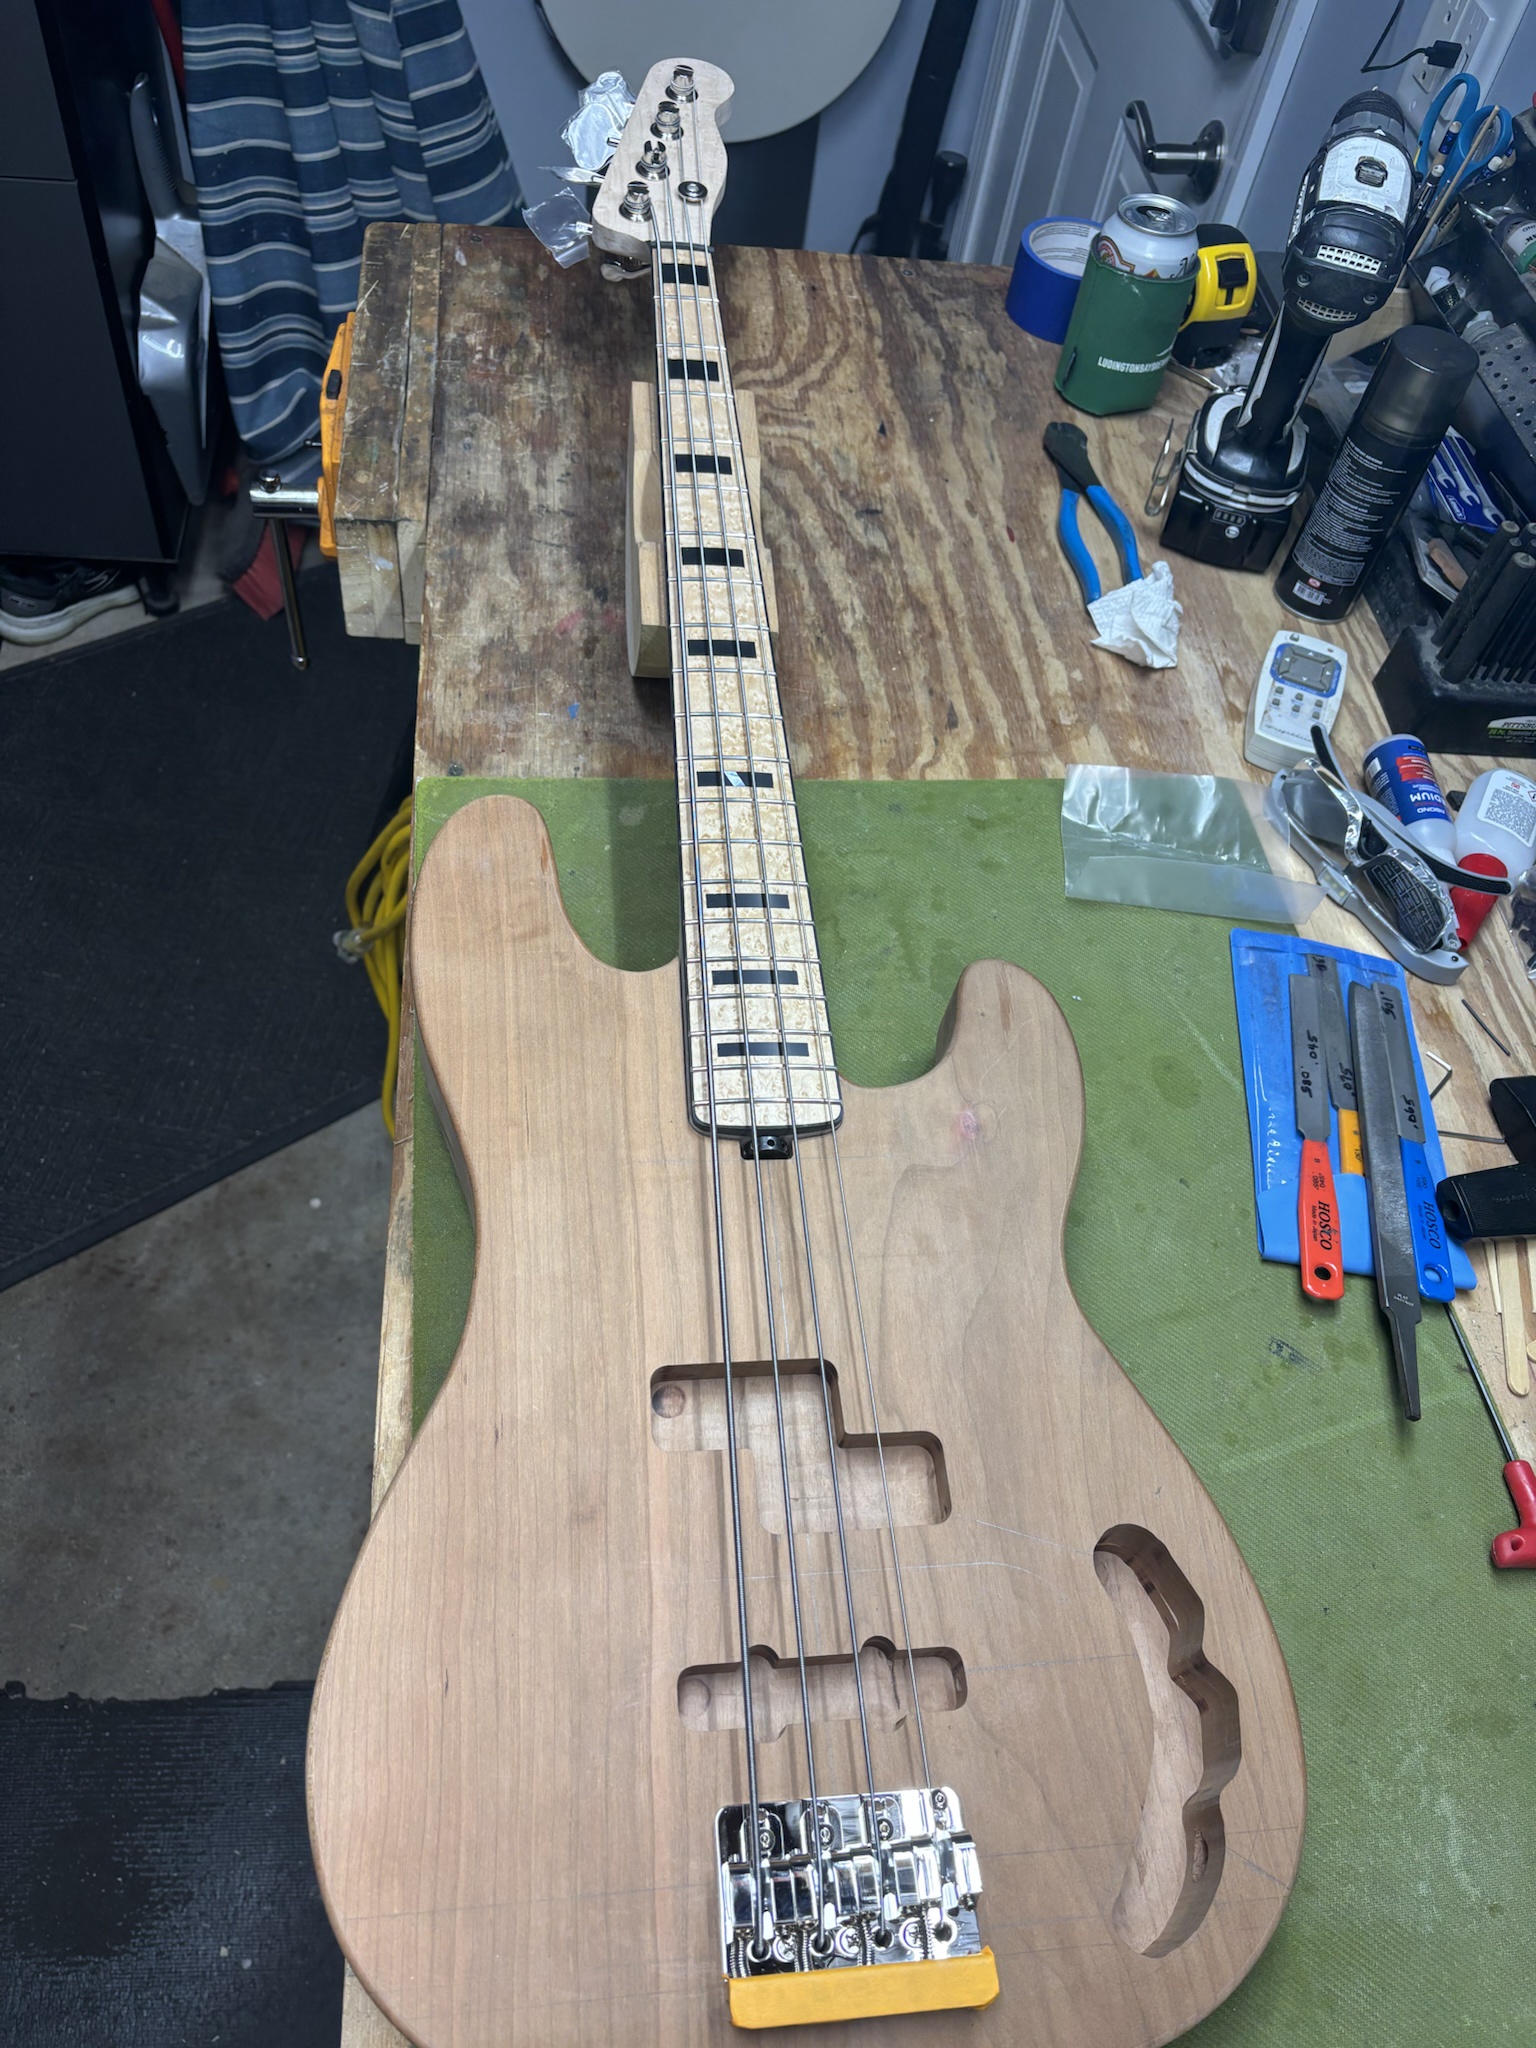
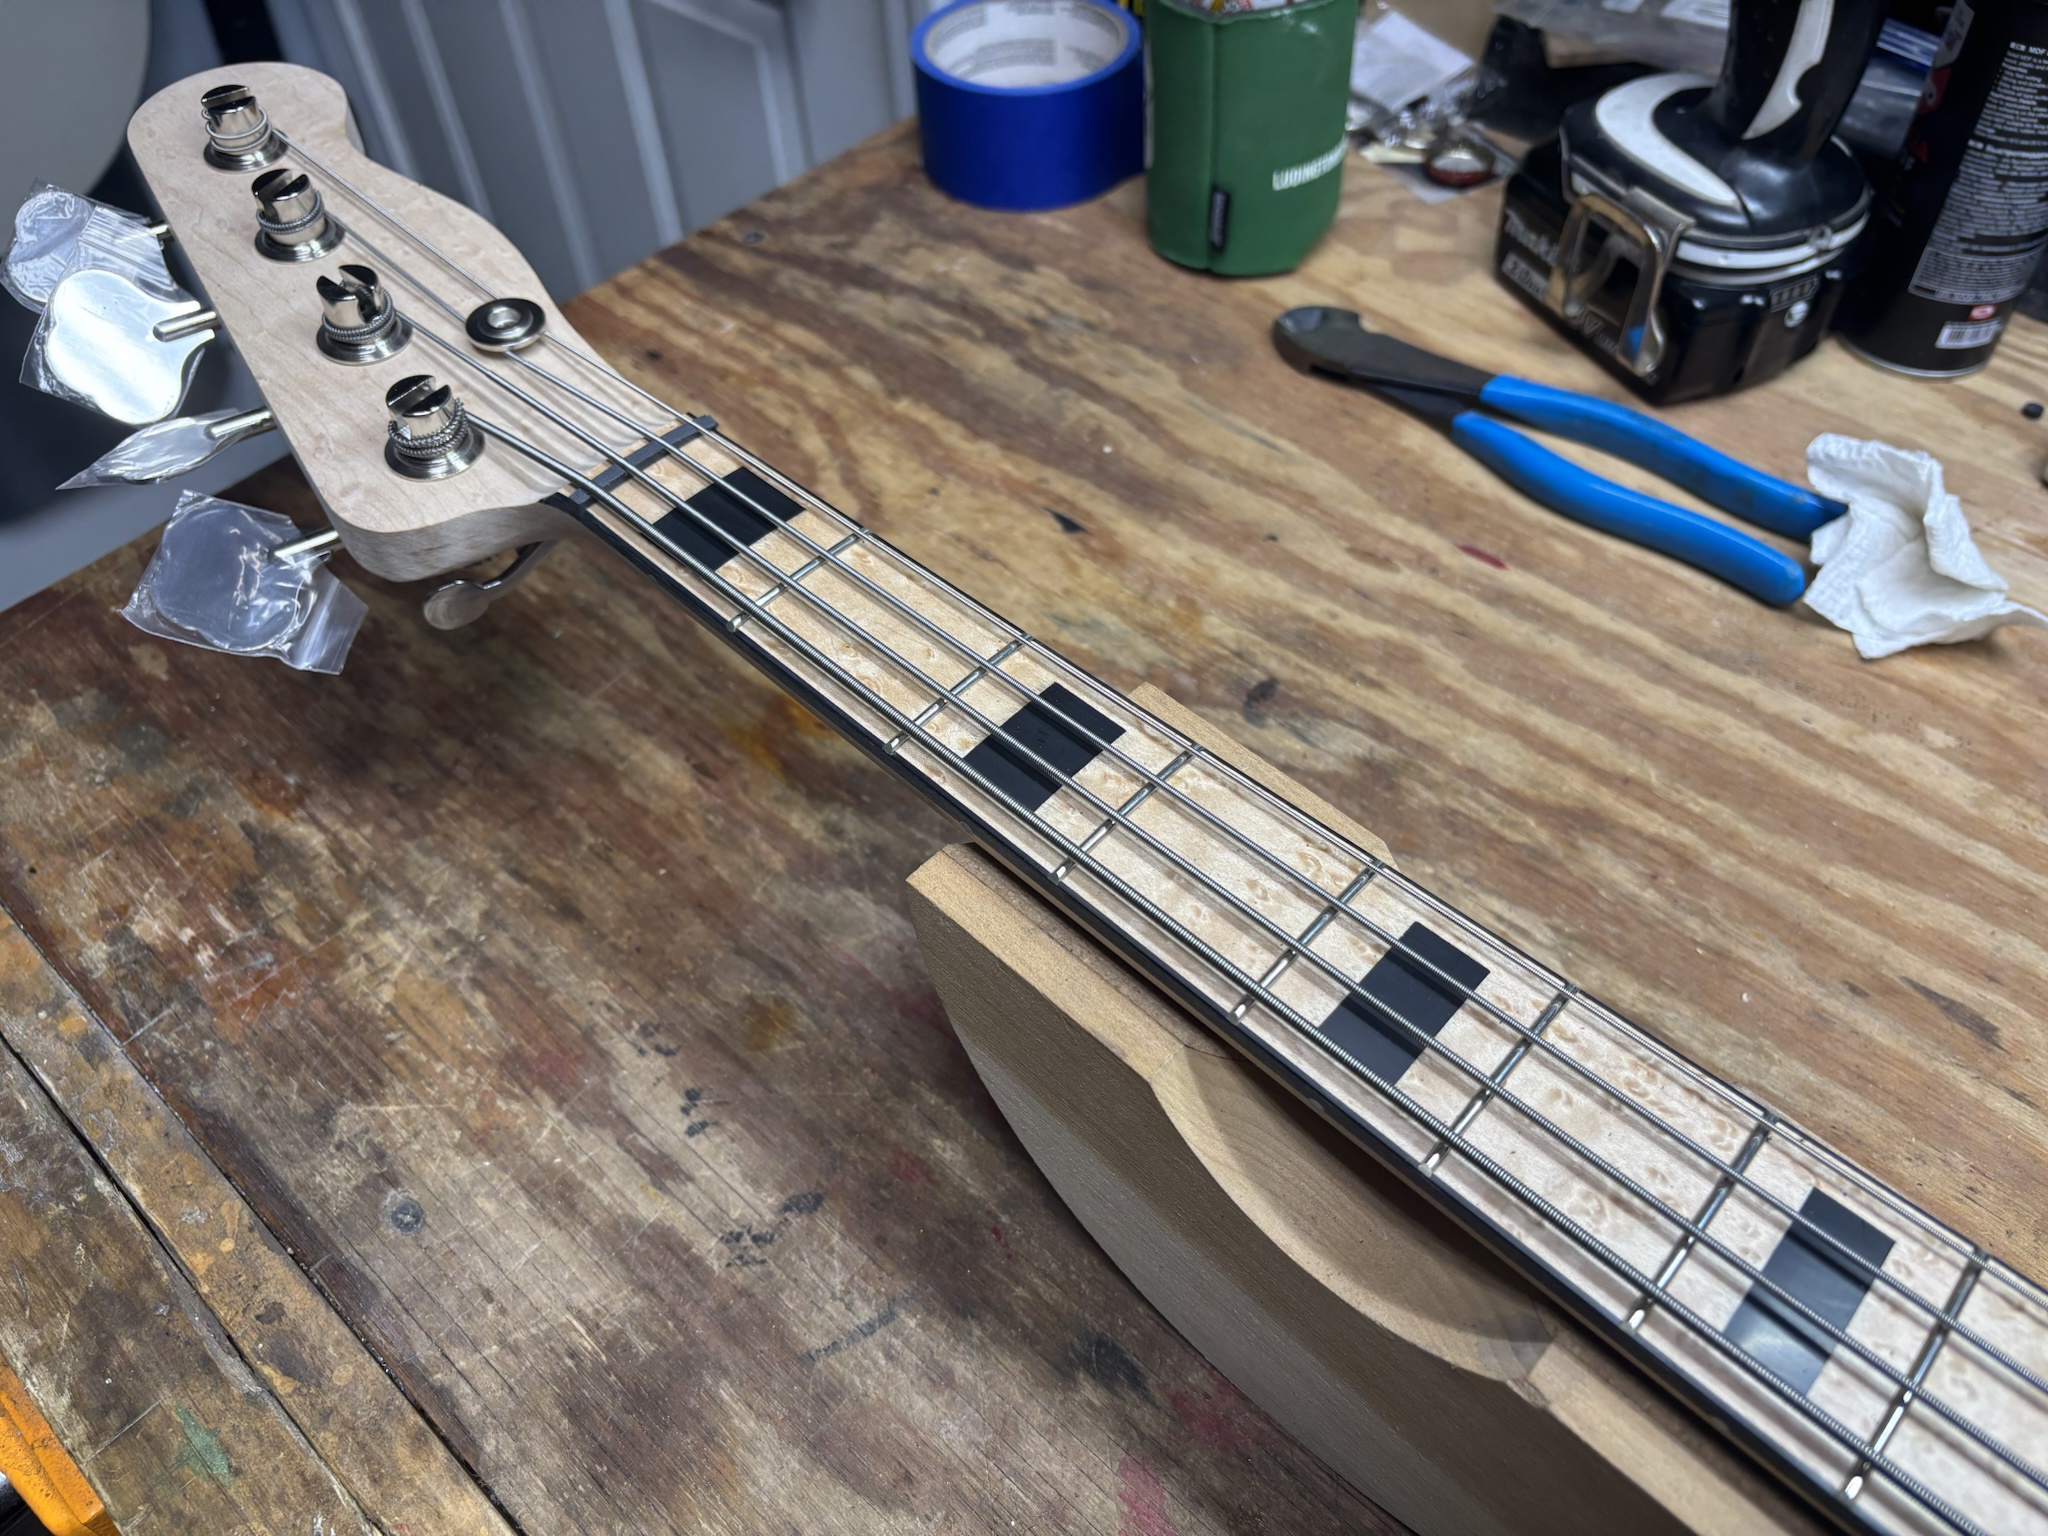
Cut the nut slots, mounted the bridge, attached the neck and strung it up for a quick and dirty setup. I always like to do a quick sanity check. I'm also going to get the pickguard made and mounted so all screw holes are in place prior to finishing.
fEoMwEk.jpg


ULUtw1t.jpg


More soon. :)
 
Time to get this thread up to date! This P/J build and the Tele build have been progressing, but at a pretty slow rate. I've essentially gotten them both to the same stage so I can shoot finish on both. Here's a little more progress on this one. :)

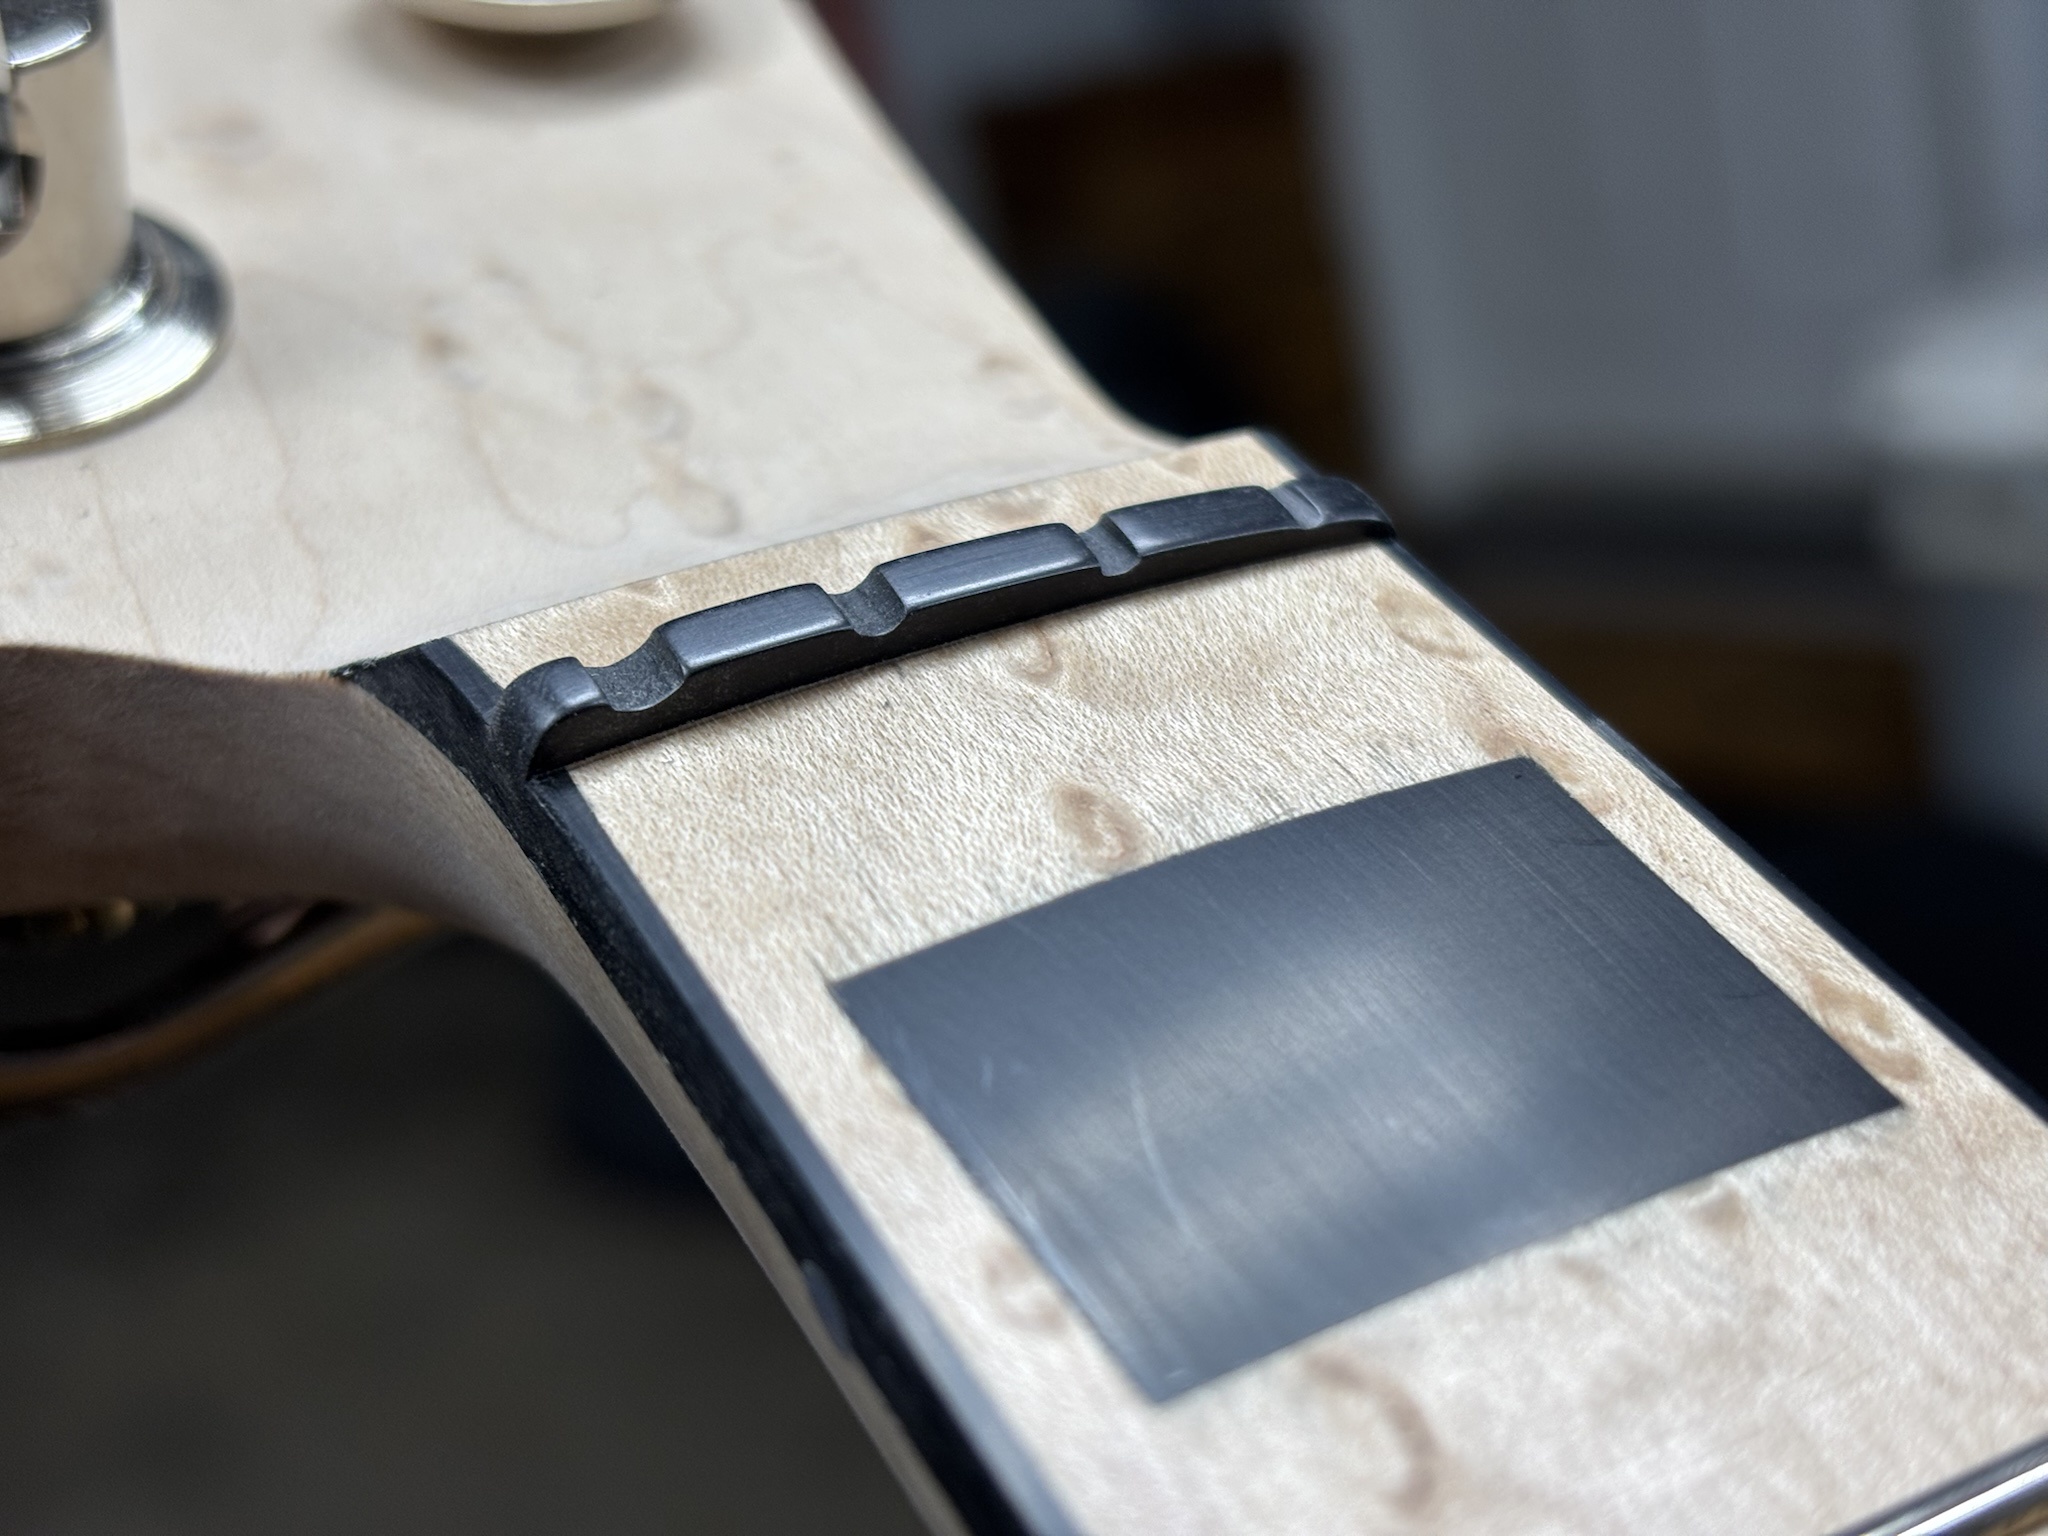
After the mock-up, I ensmoothened and refined the nut.
9KhhINm.jpg


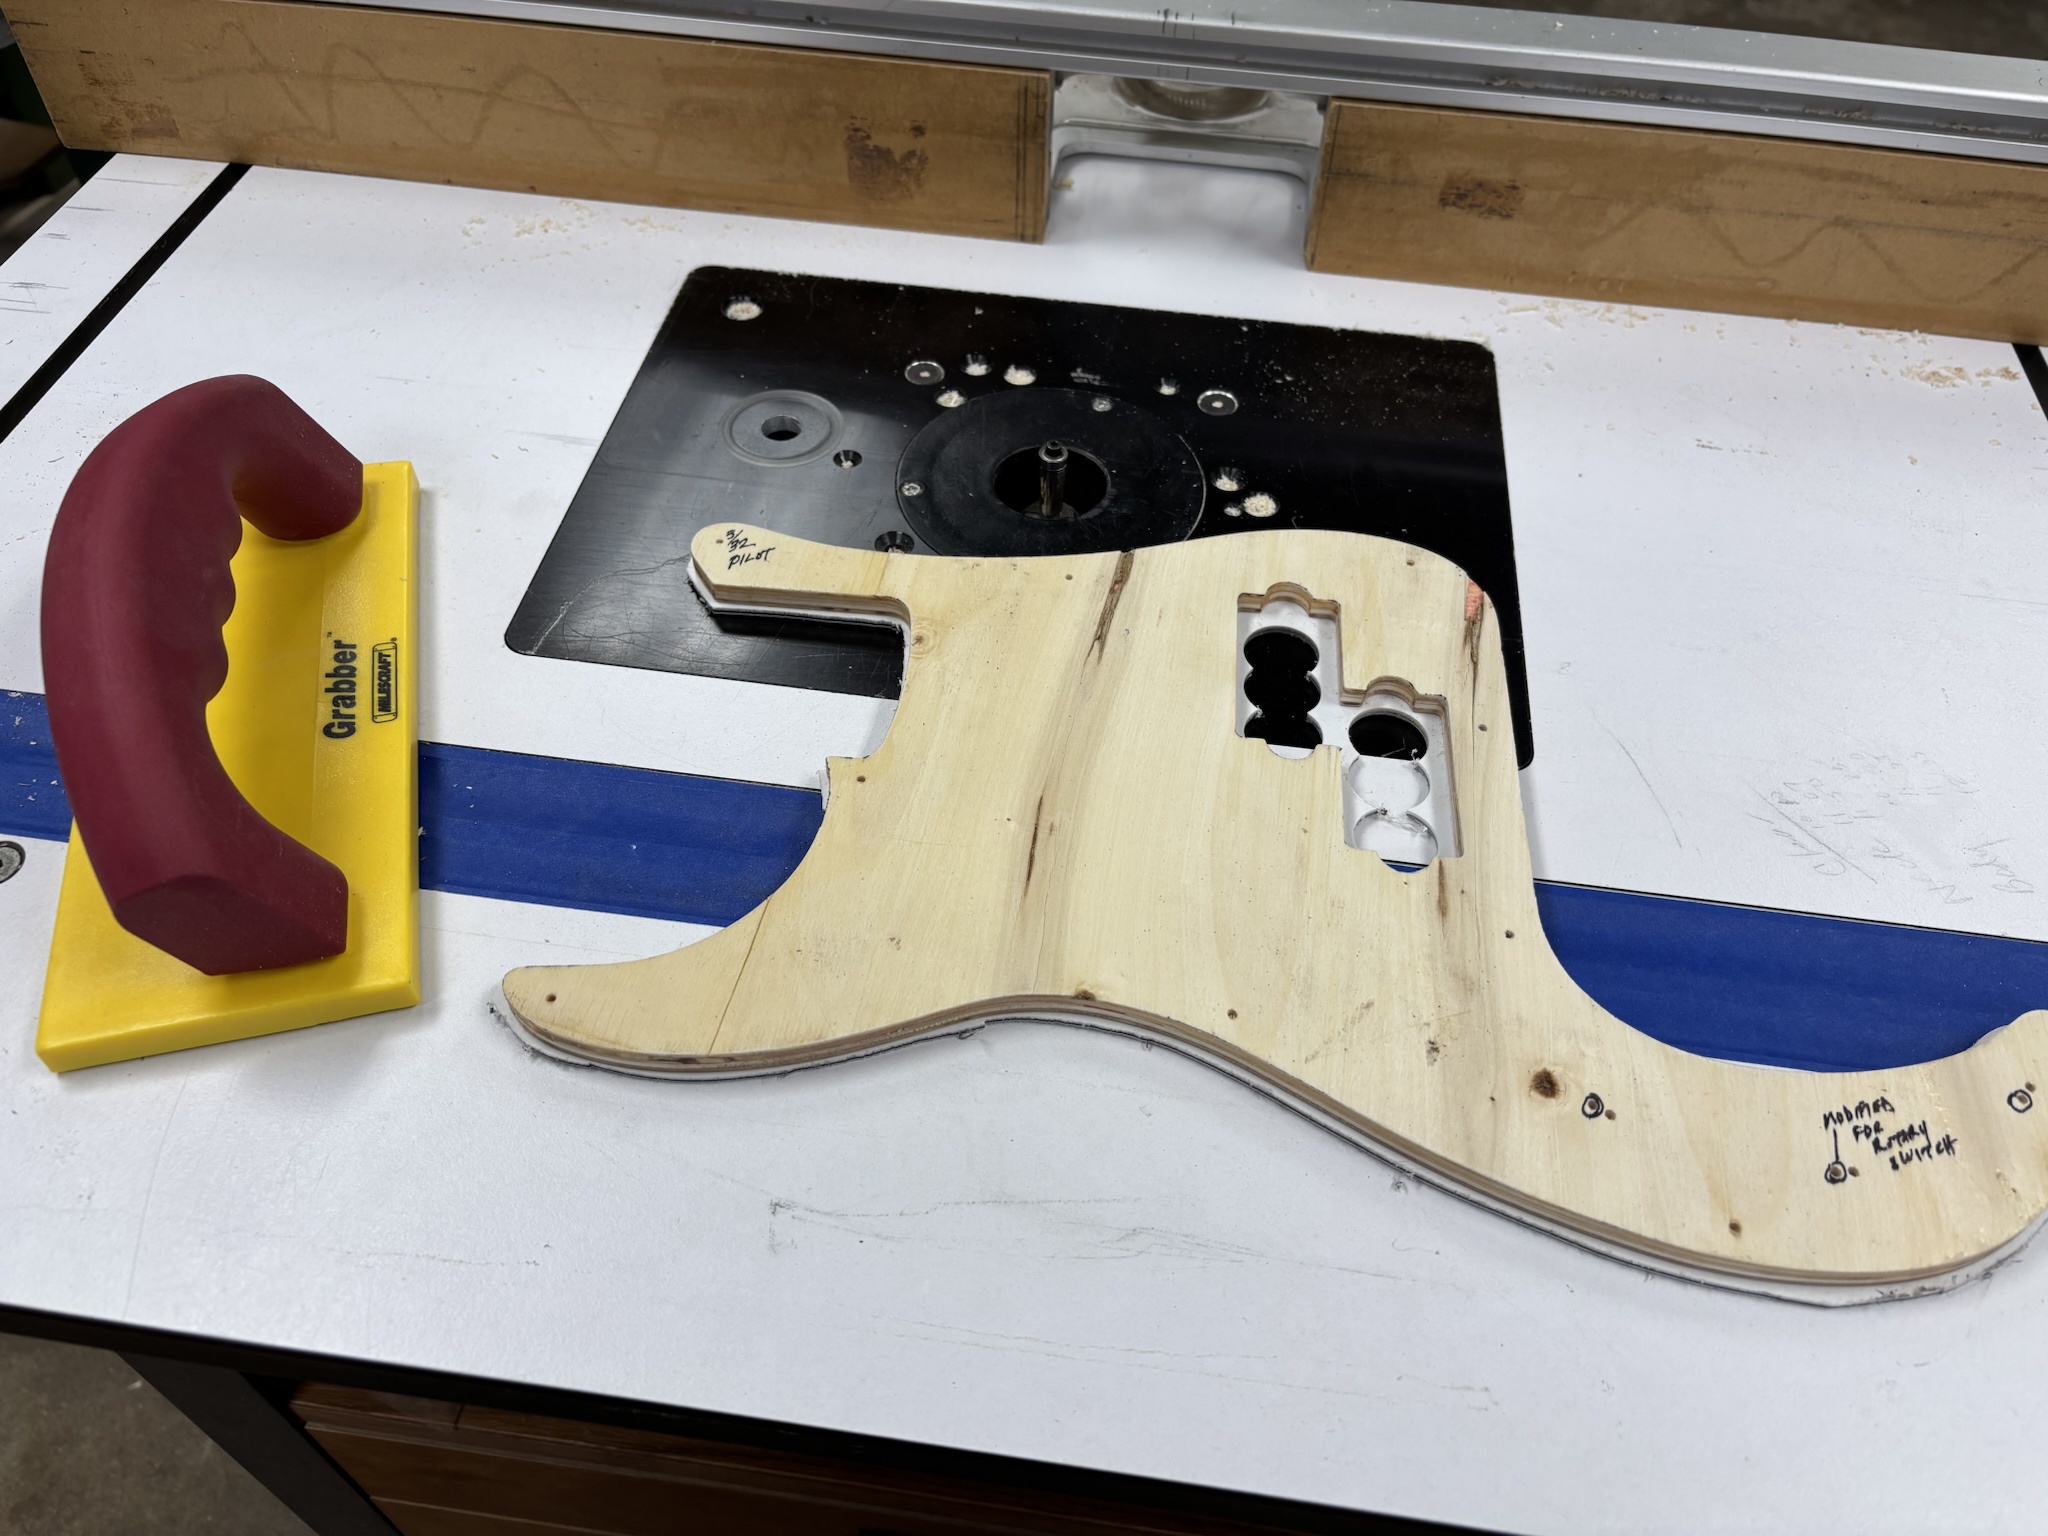
Got to work making the pickguard at the router table.
UMIskQE.jpg


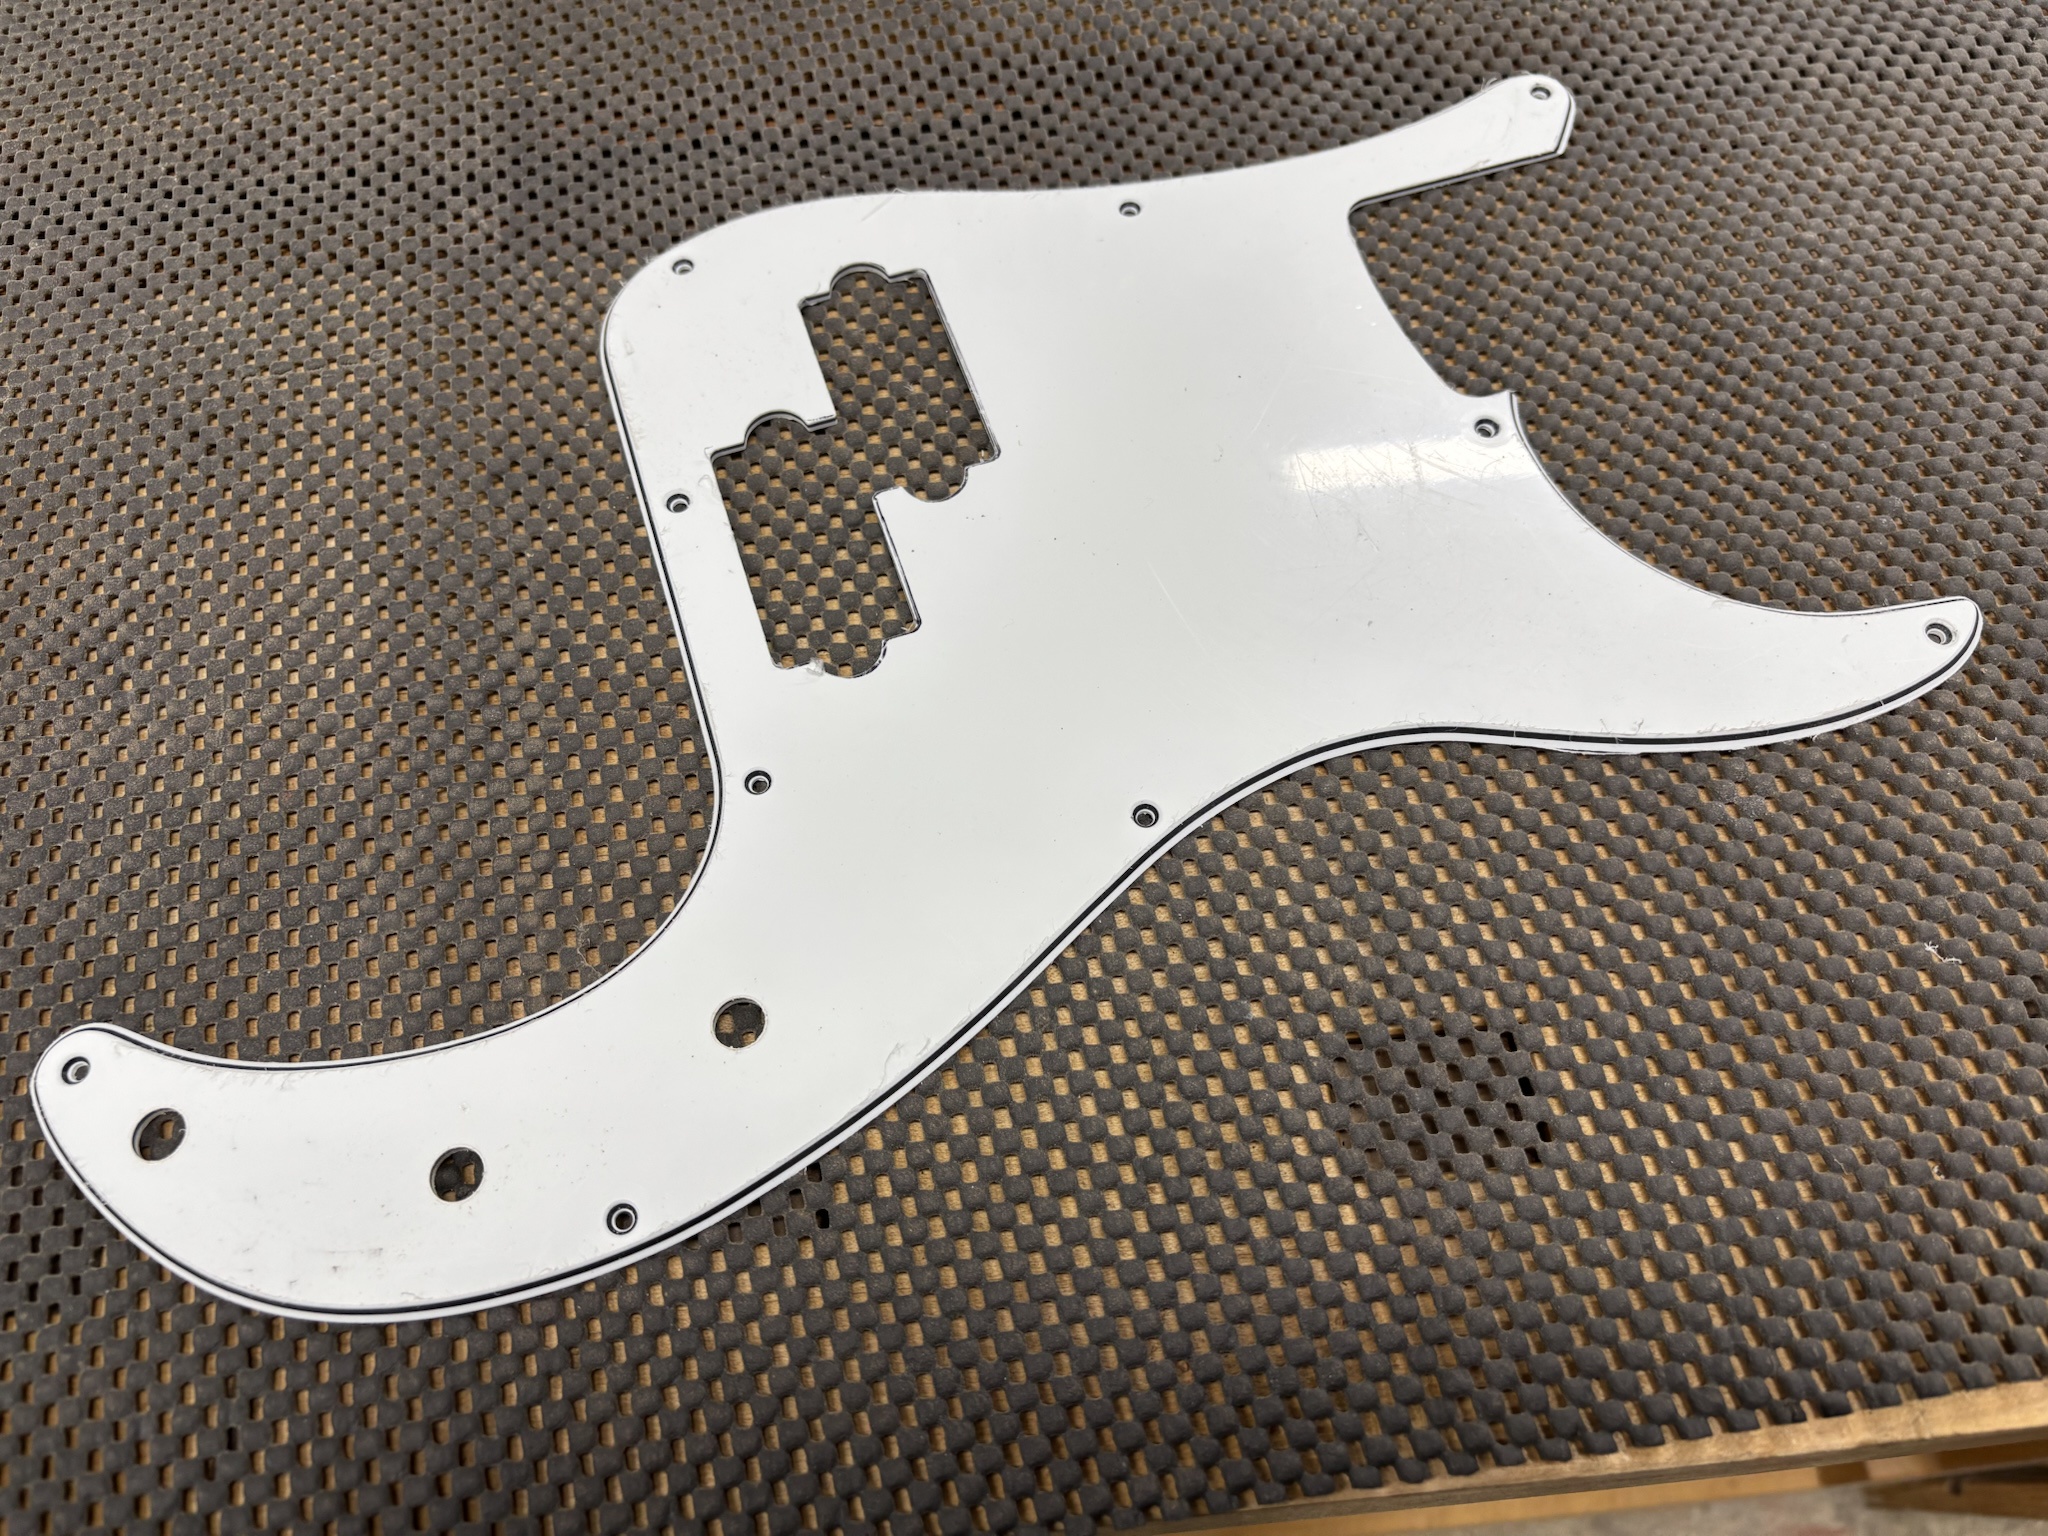
All done. The holes for the controls have been relocated slightly to accommodate the rotary switch, etc.
vzvAi1L.jpg


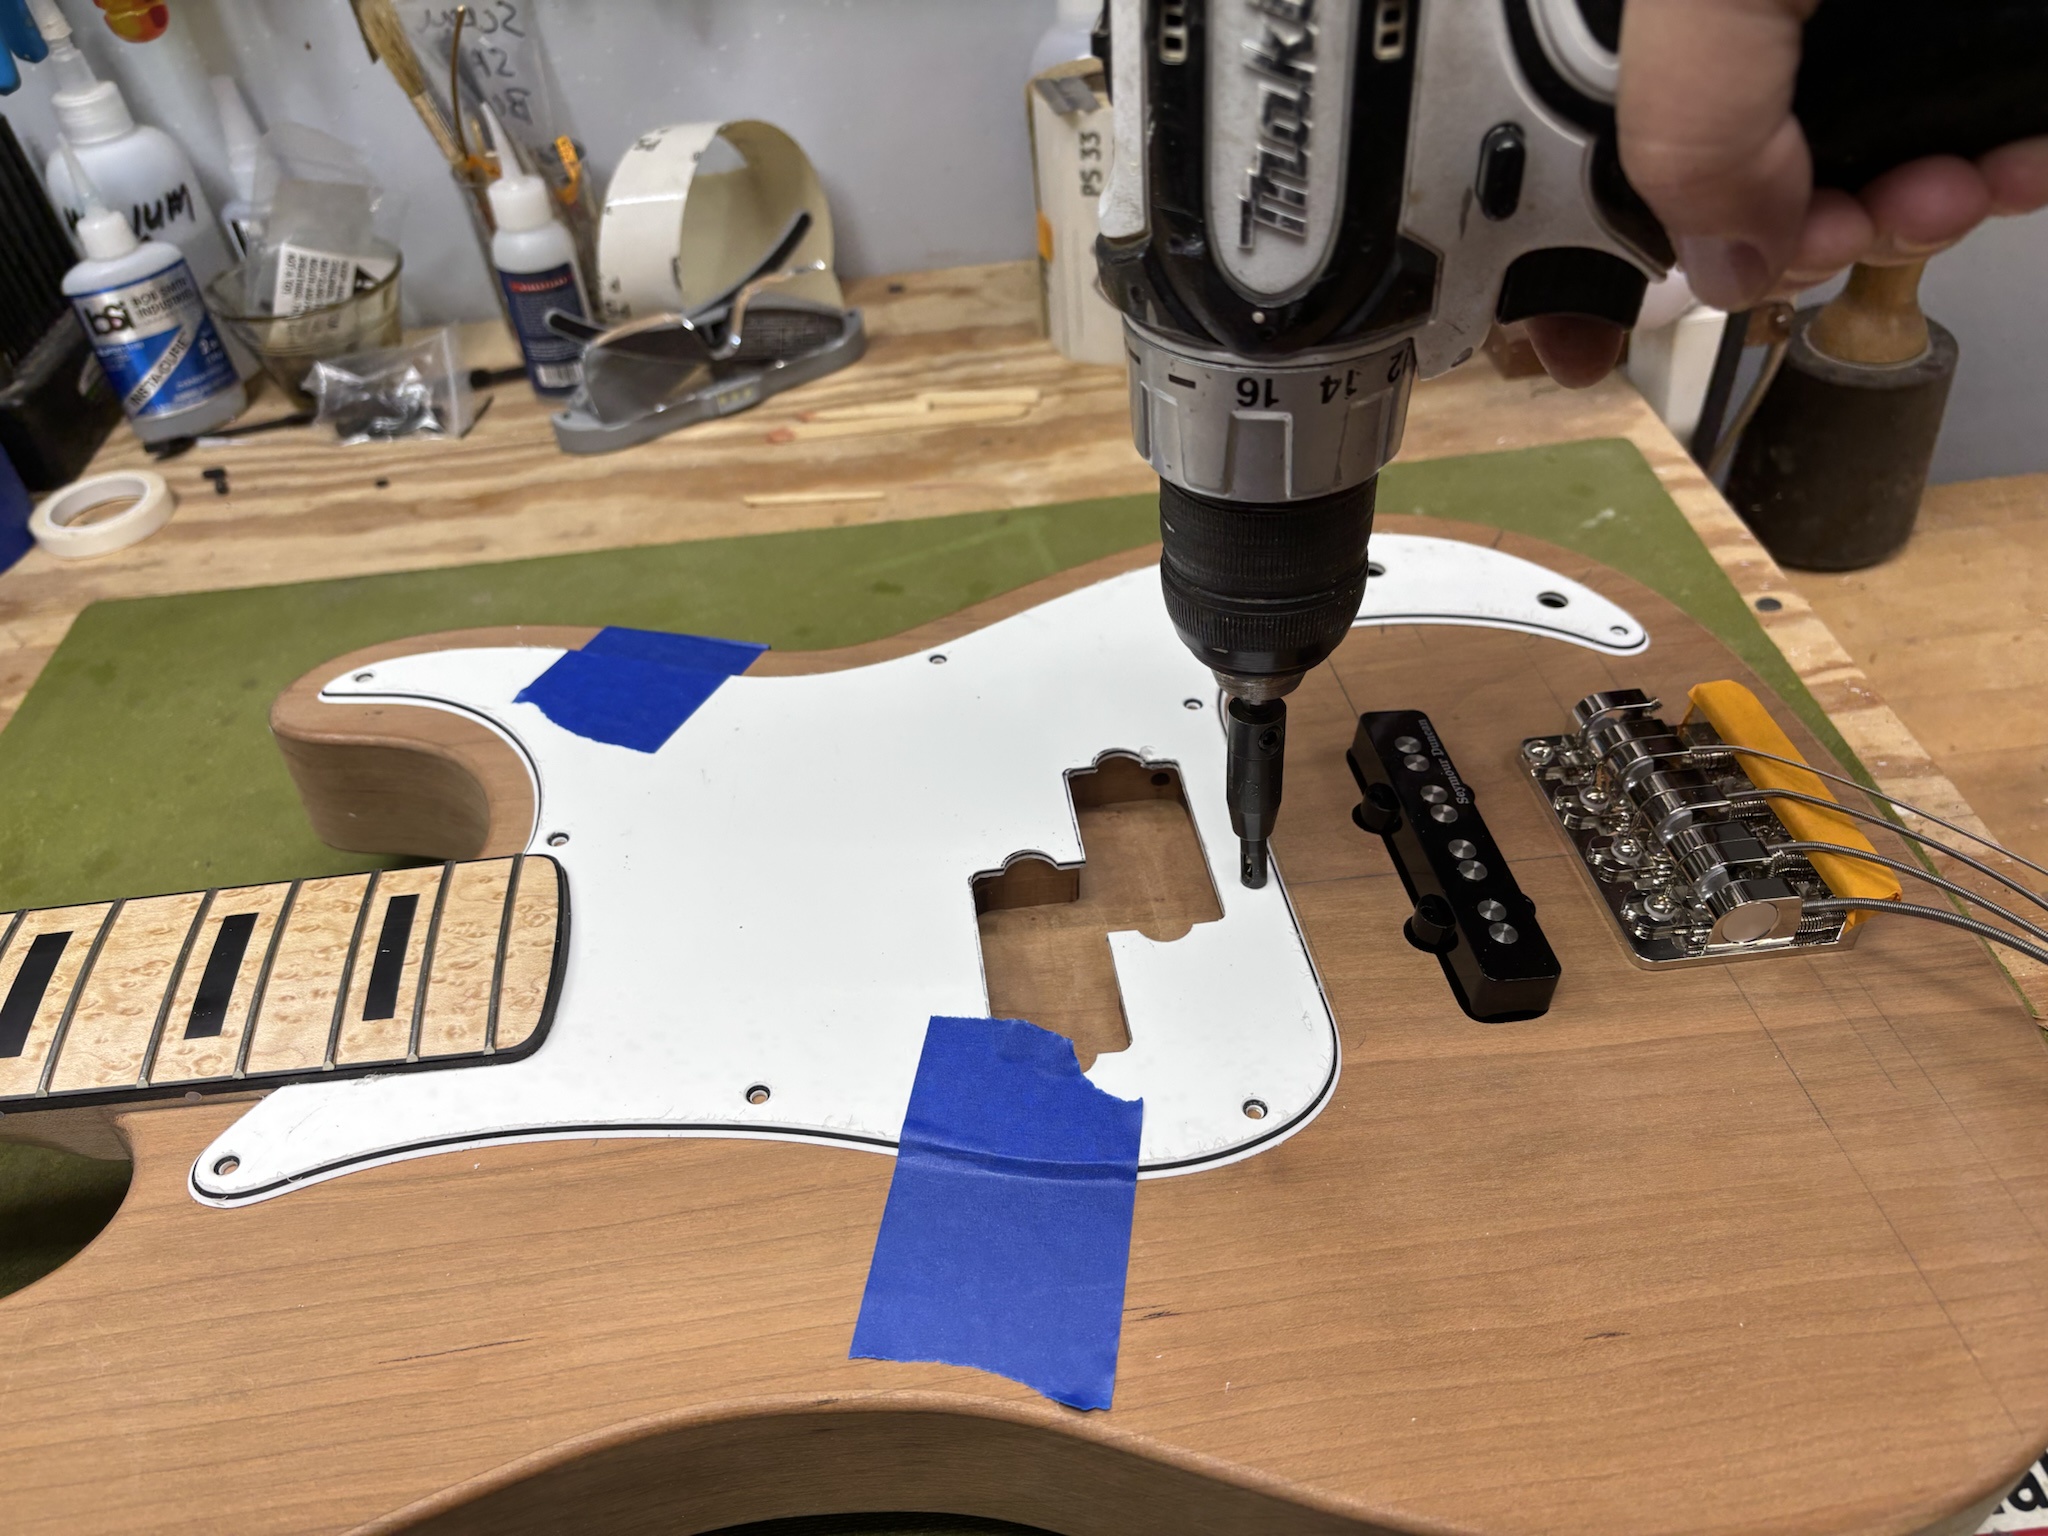
Pickguard is carefully aligned and screw holes are drilled.
8xukfOv.jpg


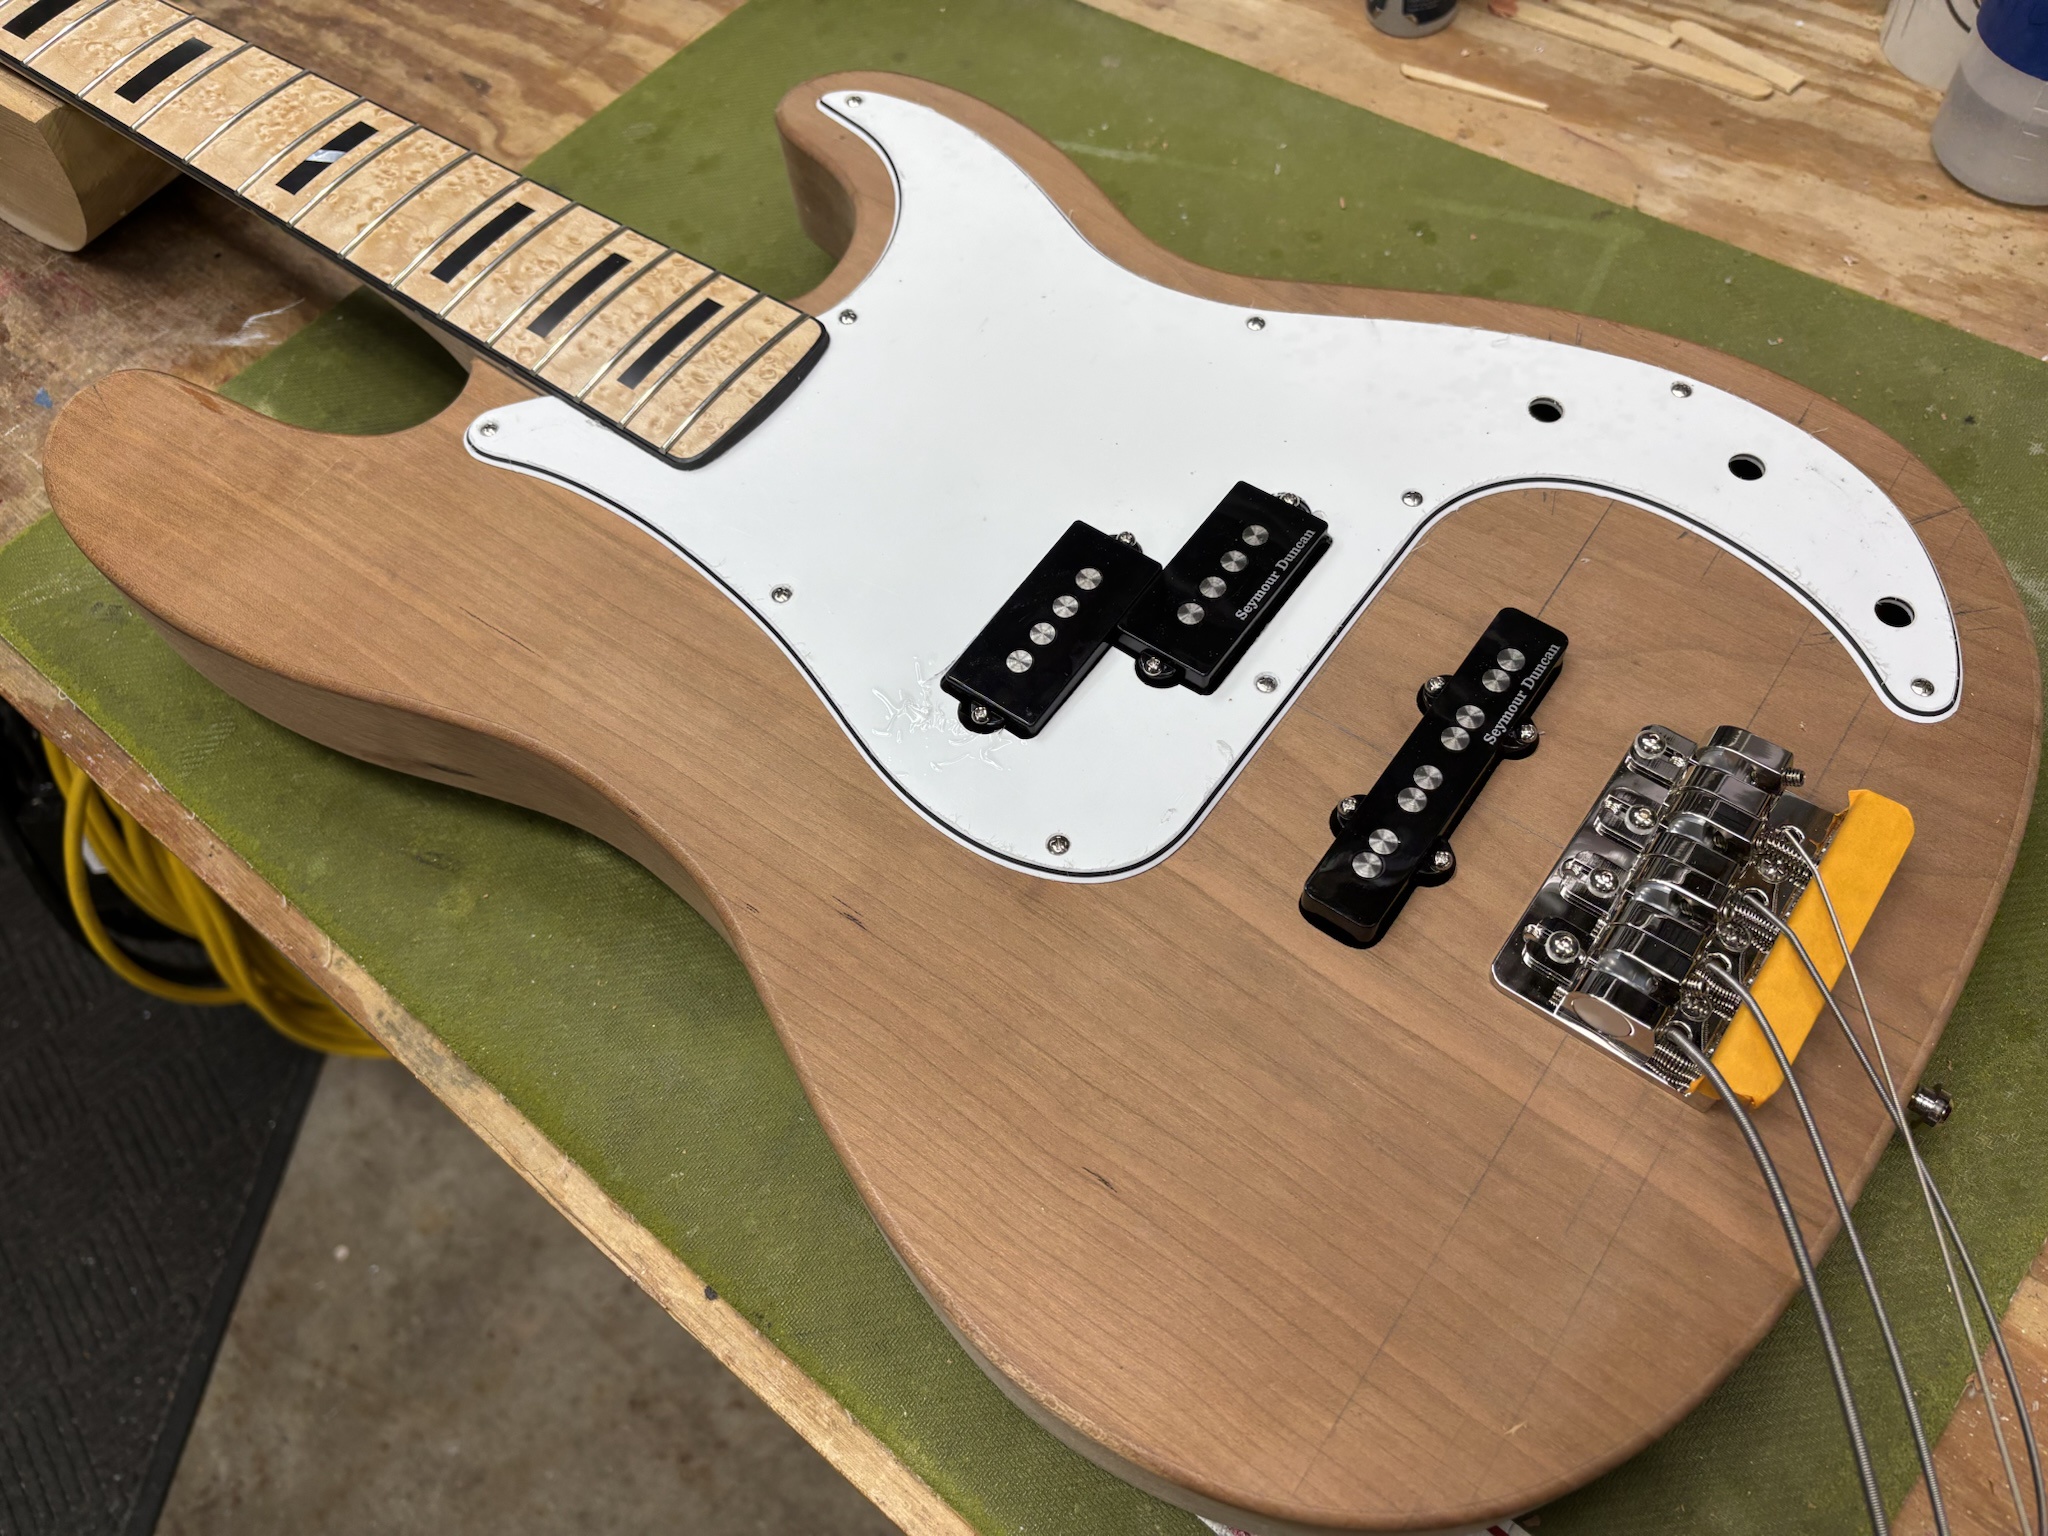
Neato.
UUWFV00.jpg


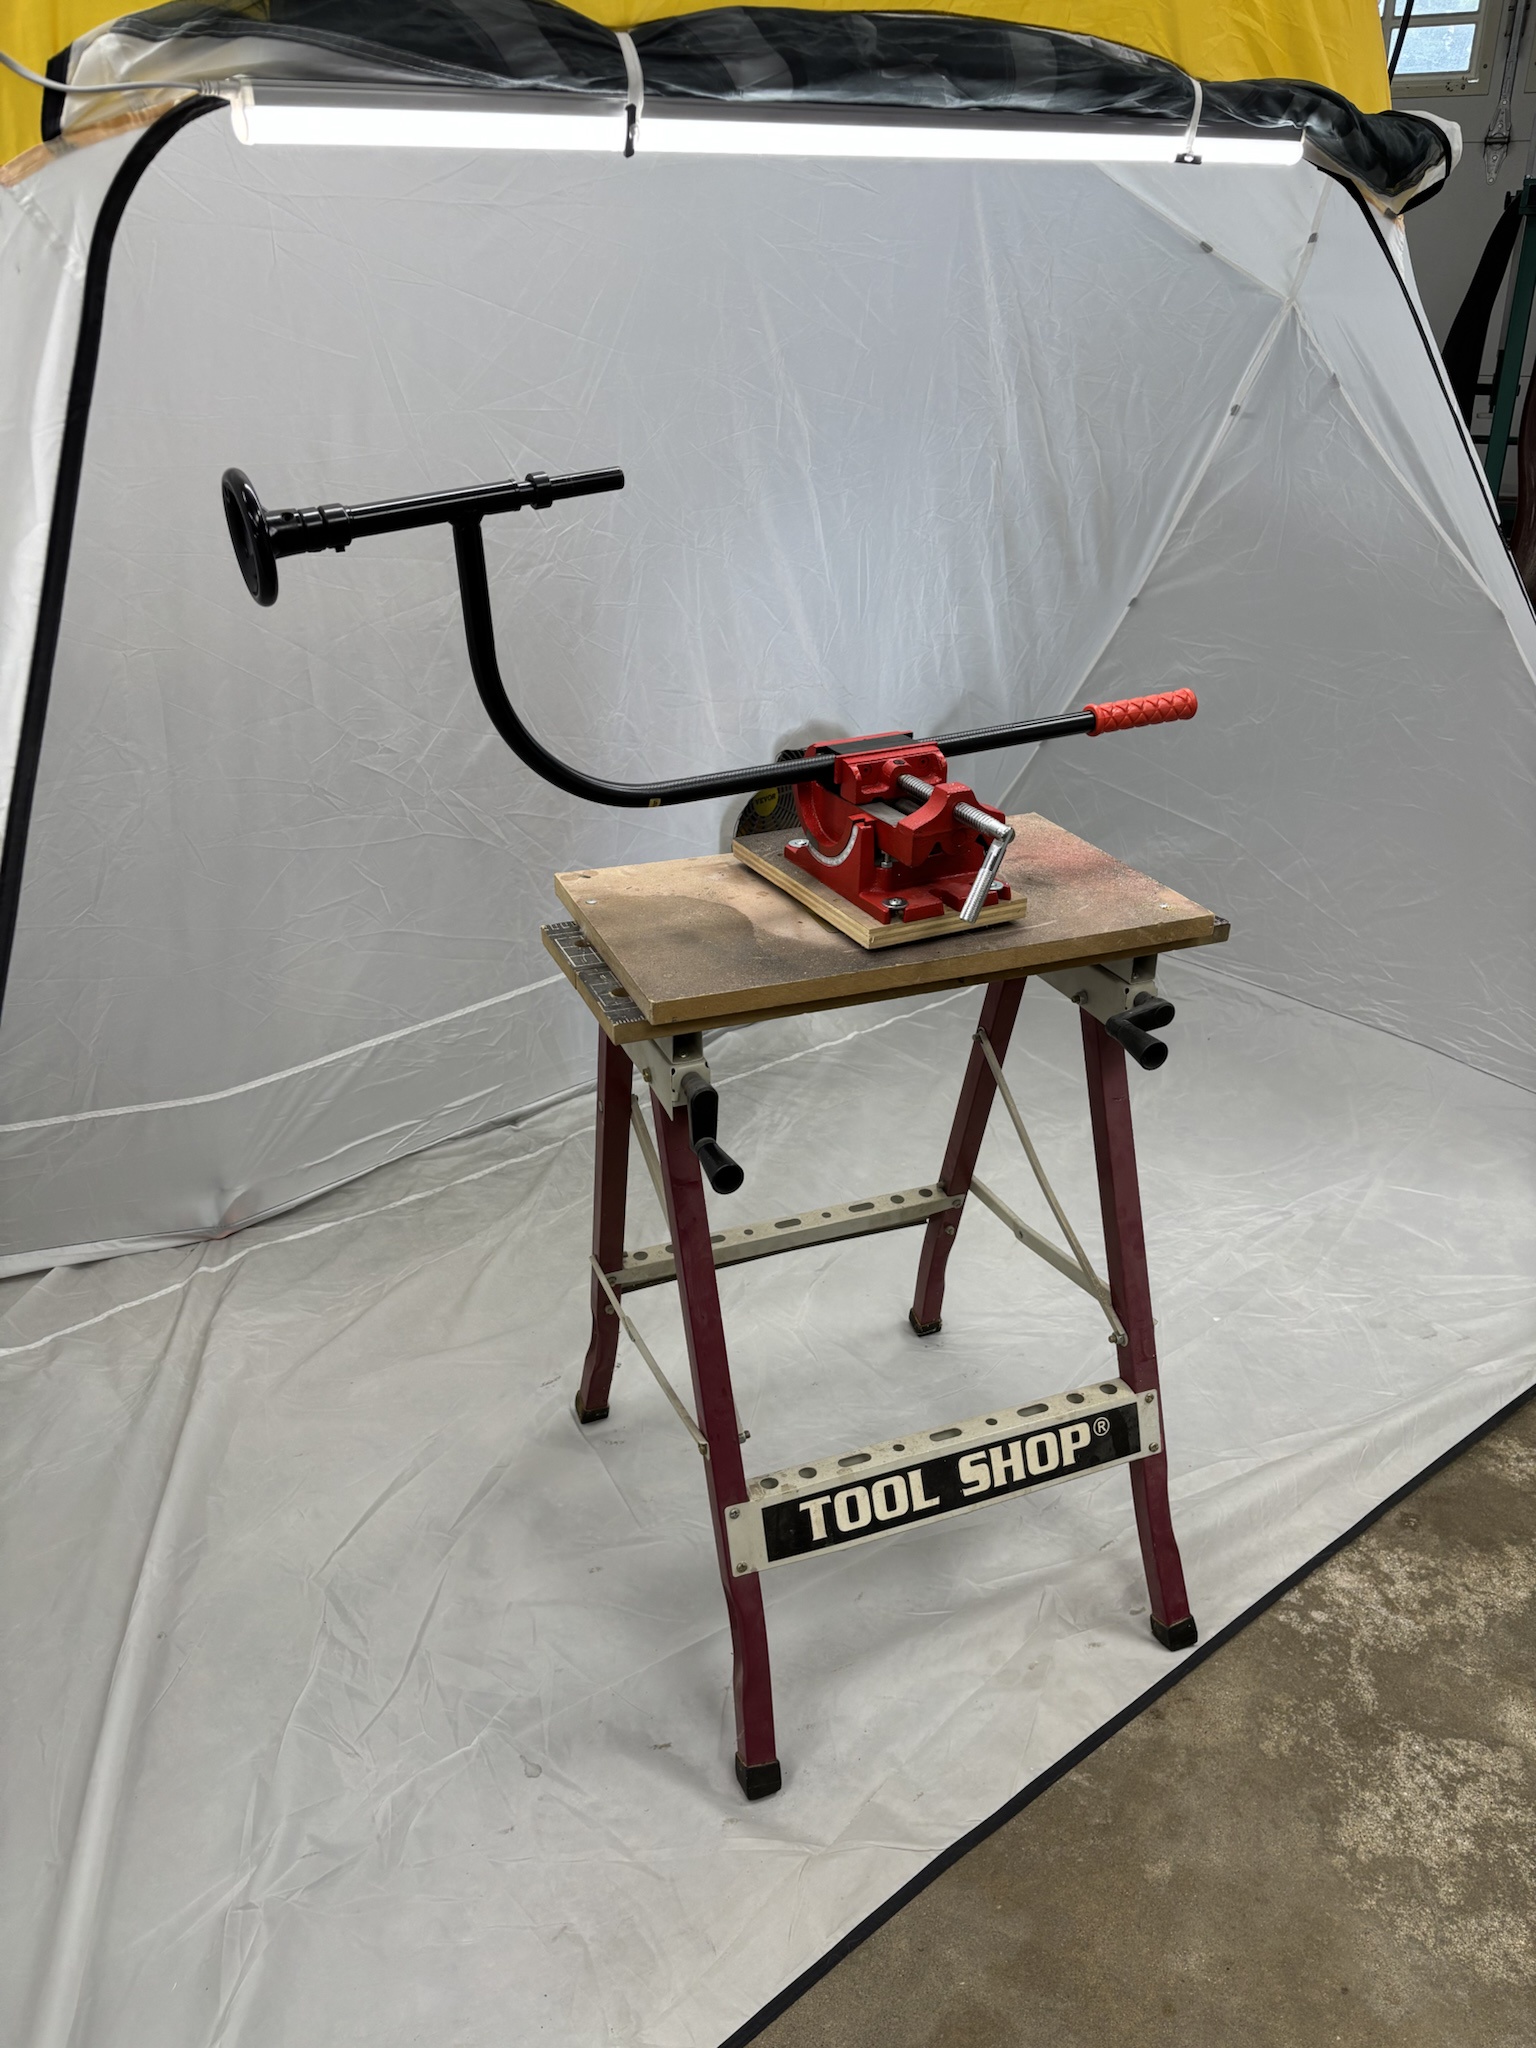
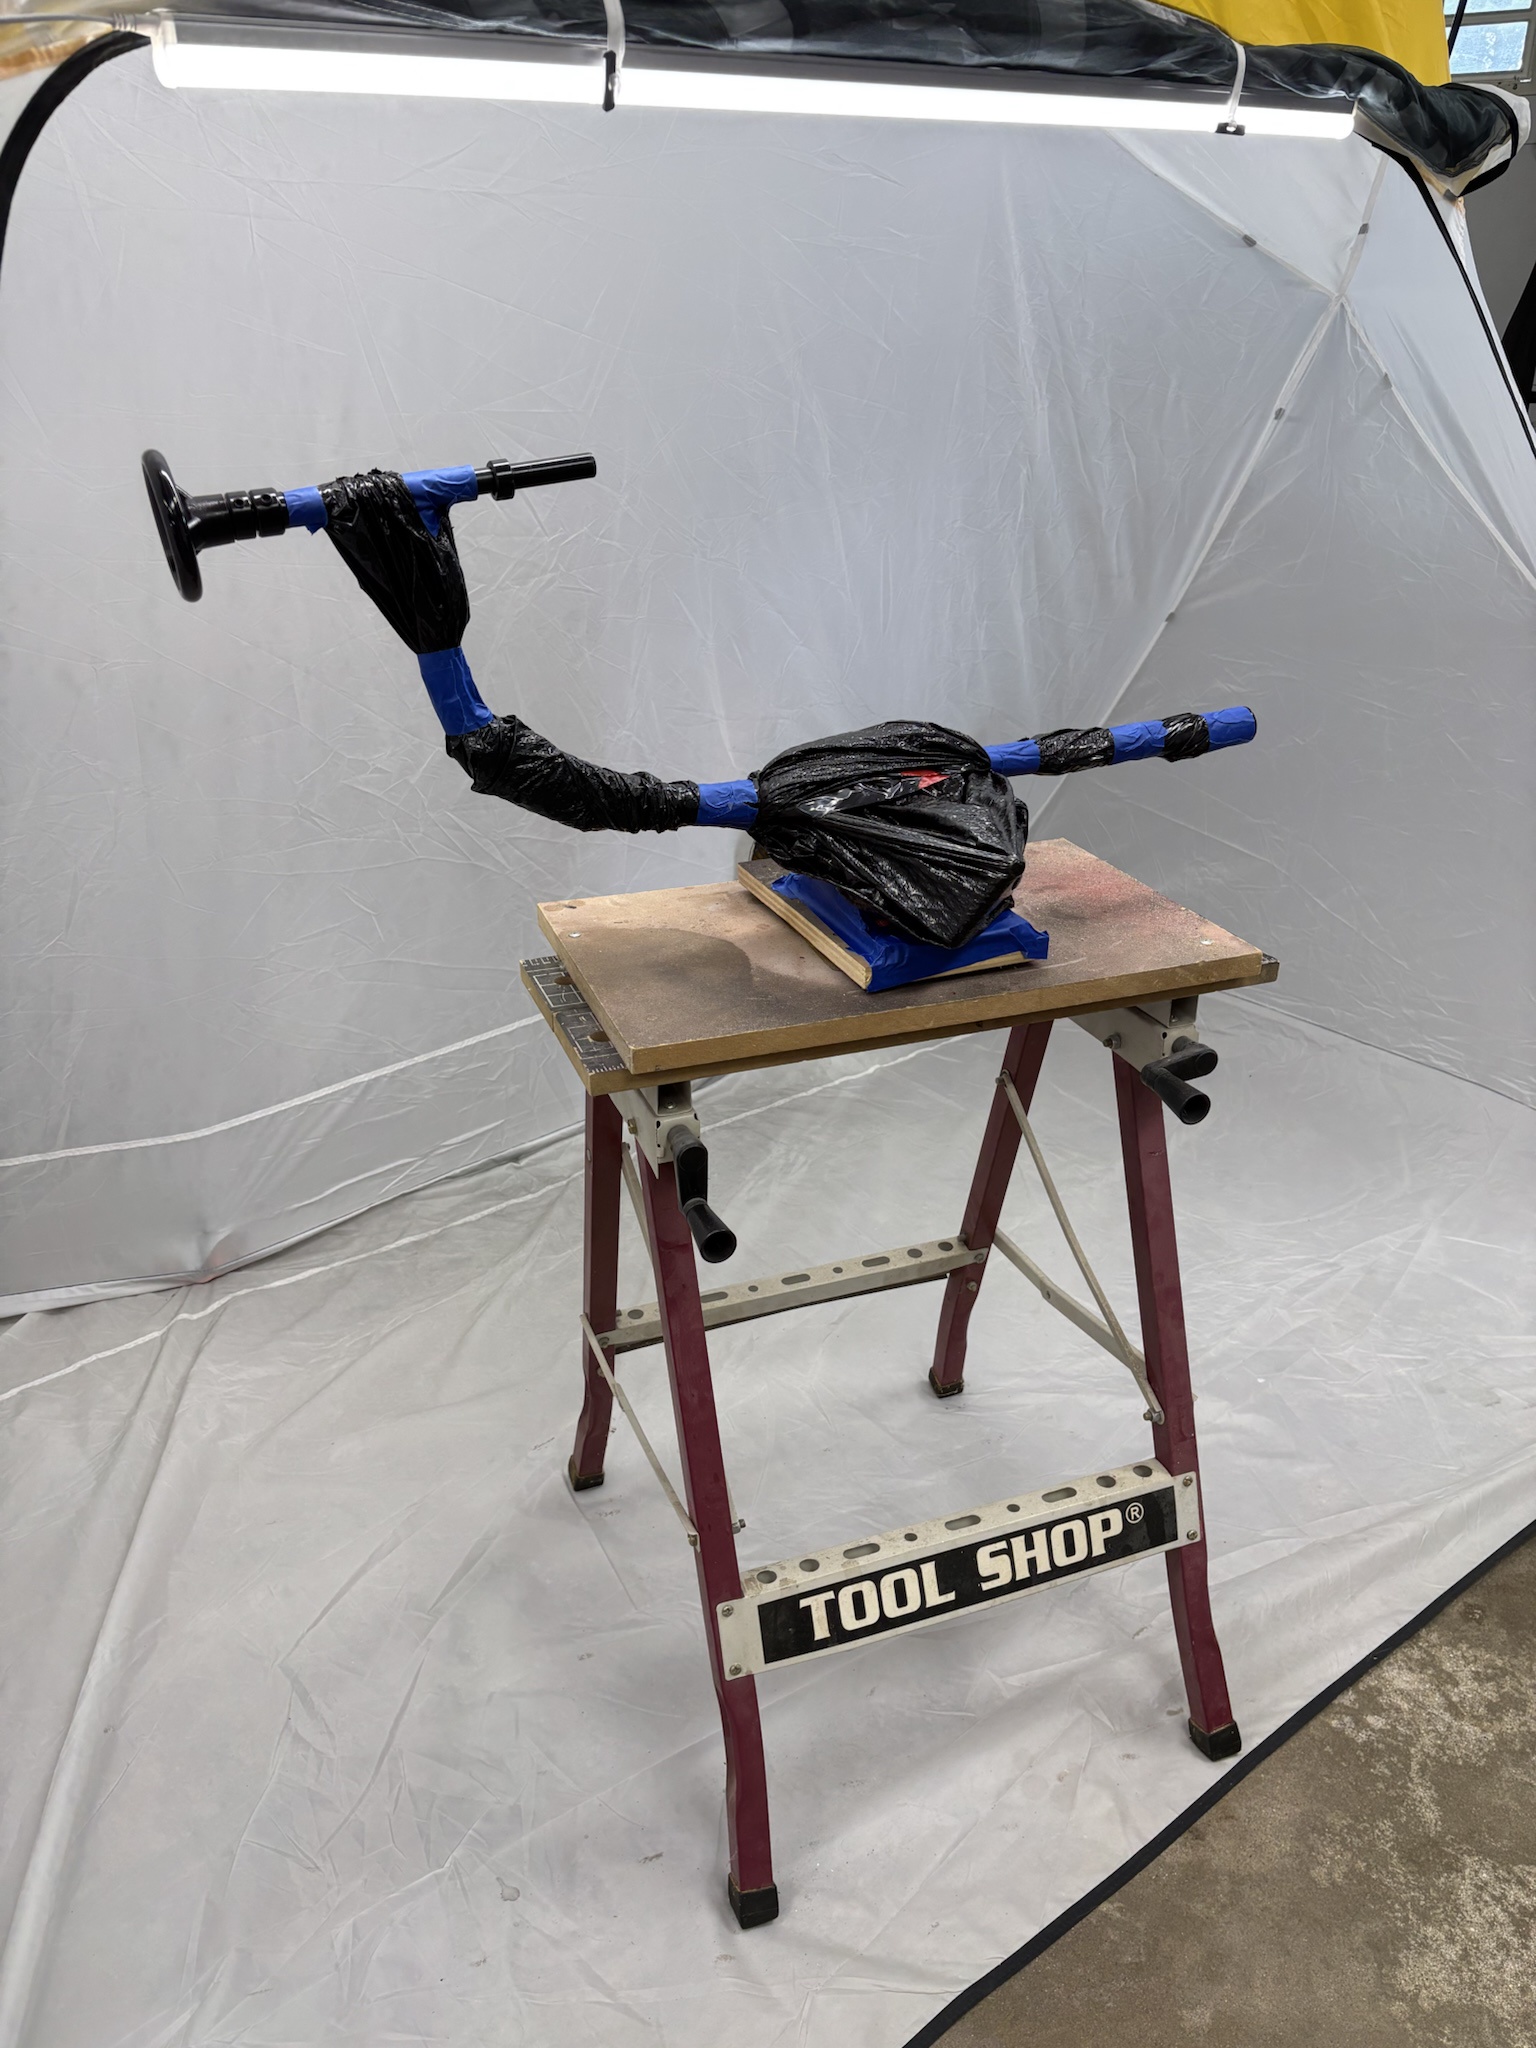
I already had a lazy Susan styled holder, but I picked up the StewMac holder a while back to make it easier to spin on the horizontal axis. The vise is mounted to the lazy Susan platform.
OmwU2QO.jpg


Covered up the non-moving bits with a trash bag to avoid the overspray.
P8rpJoB.jpg


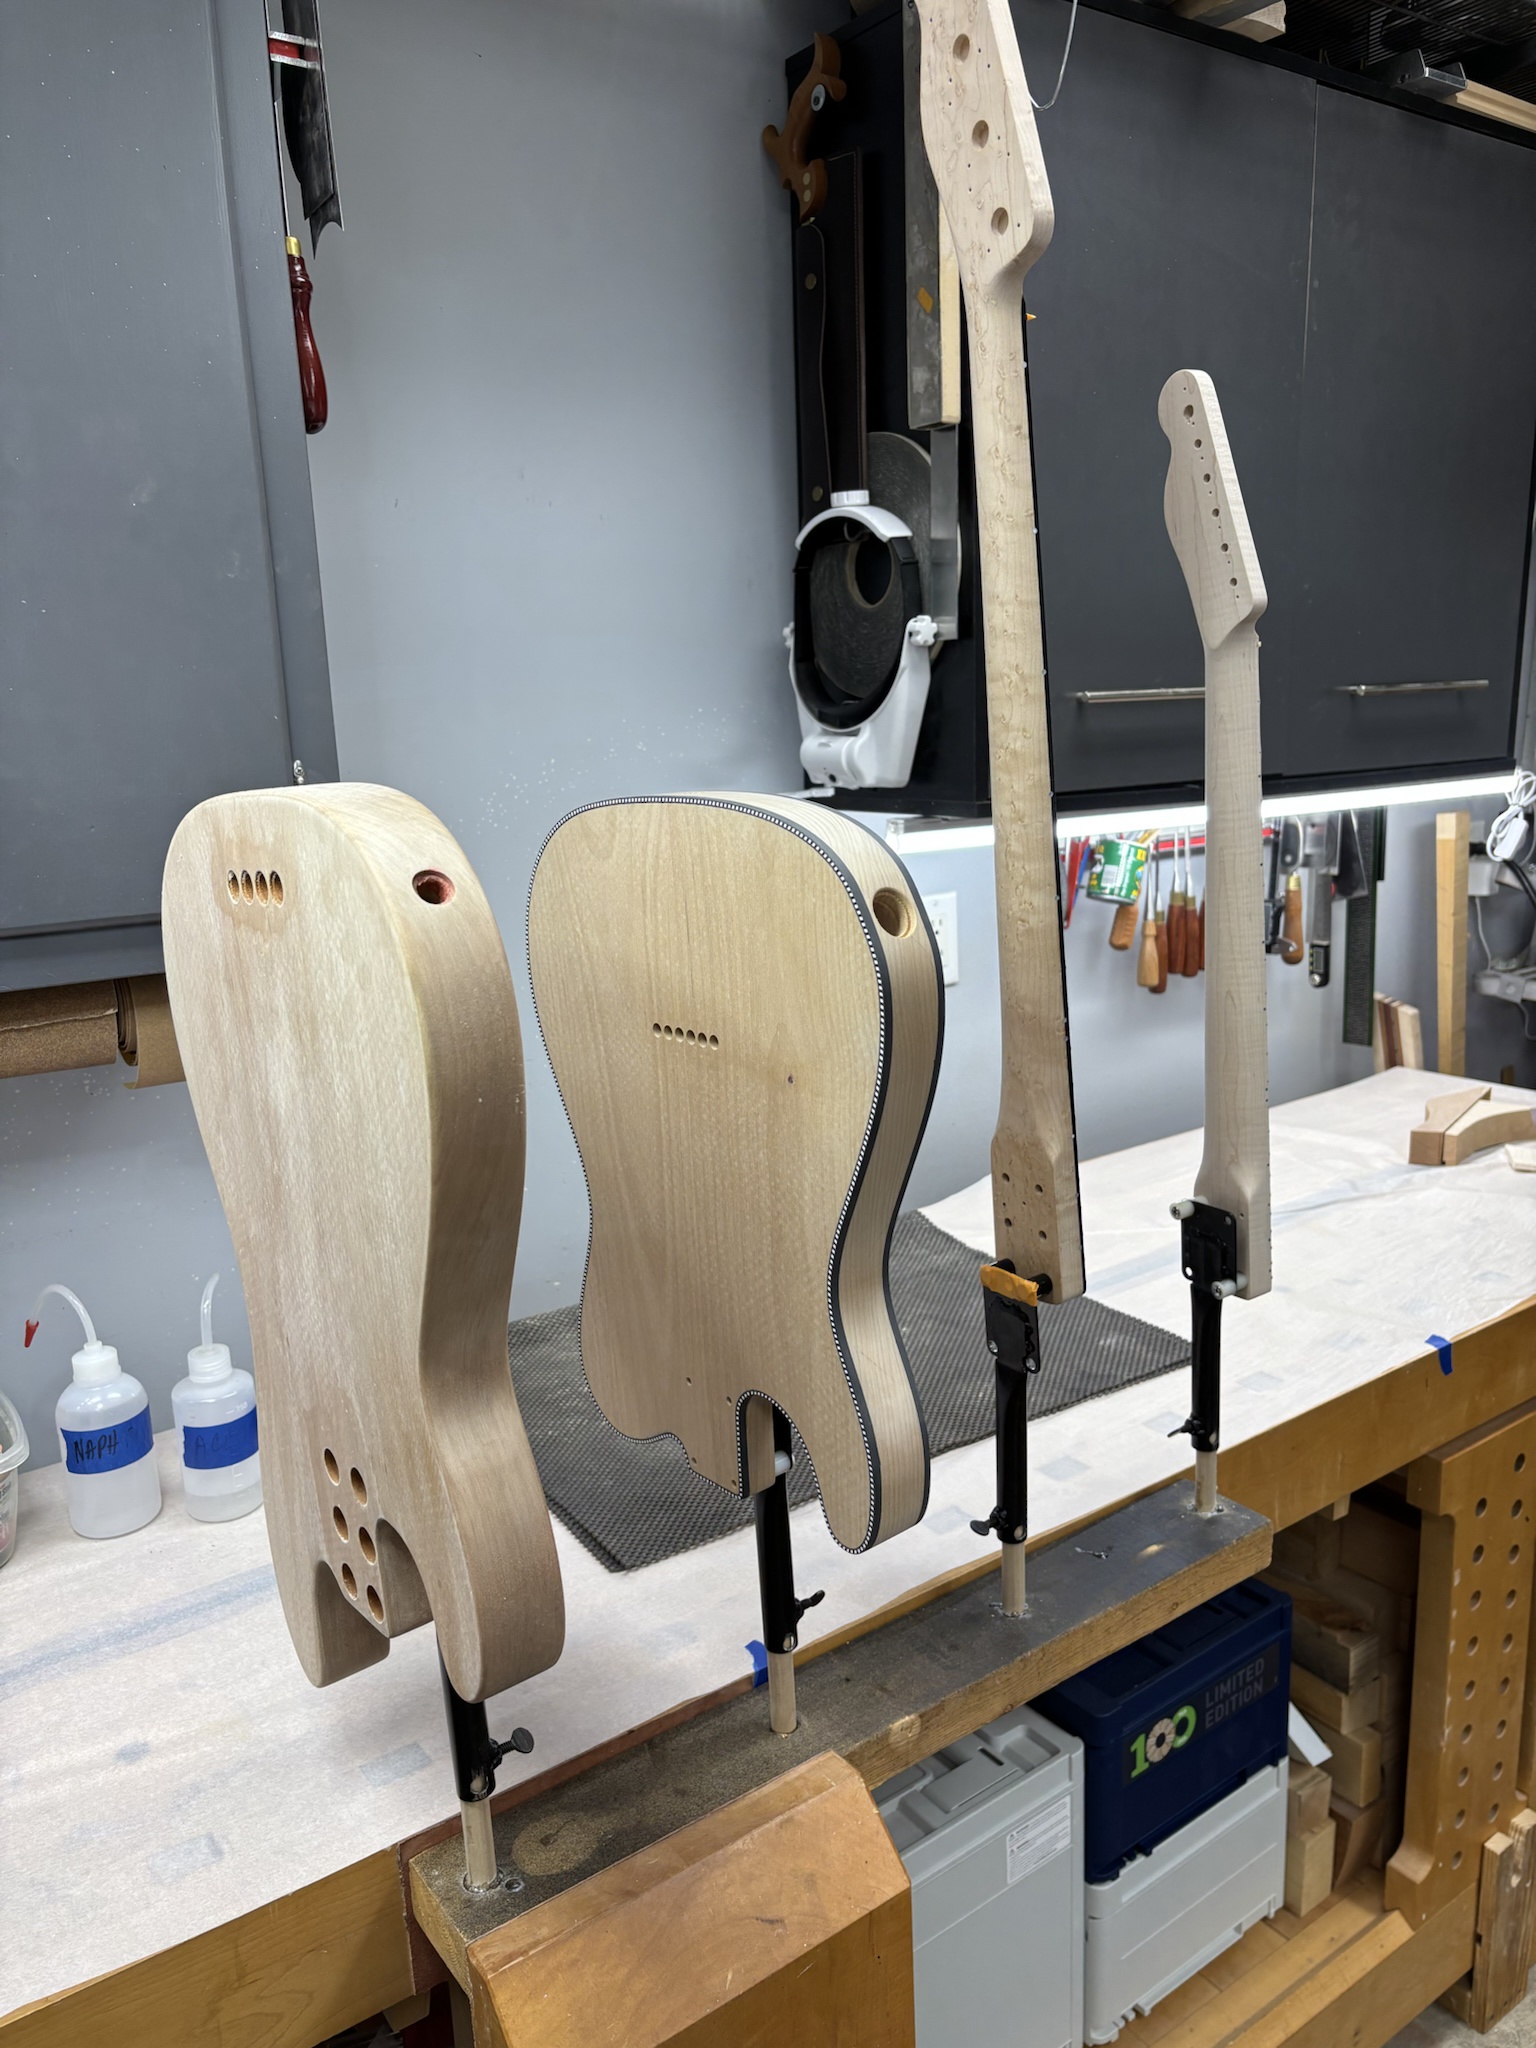
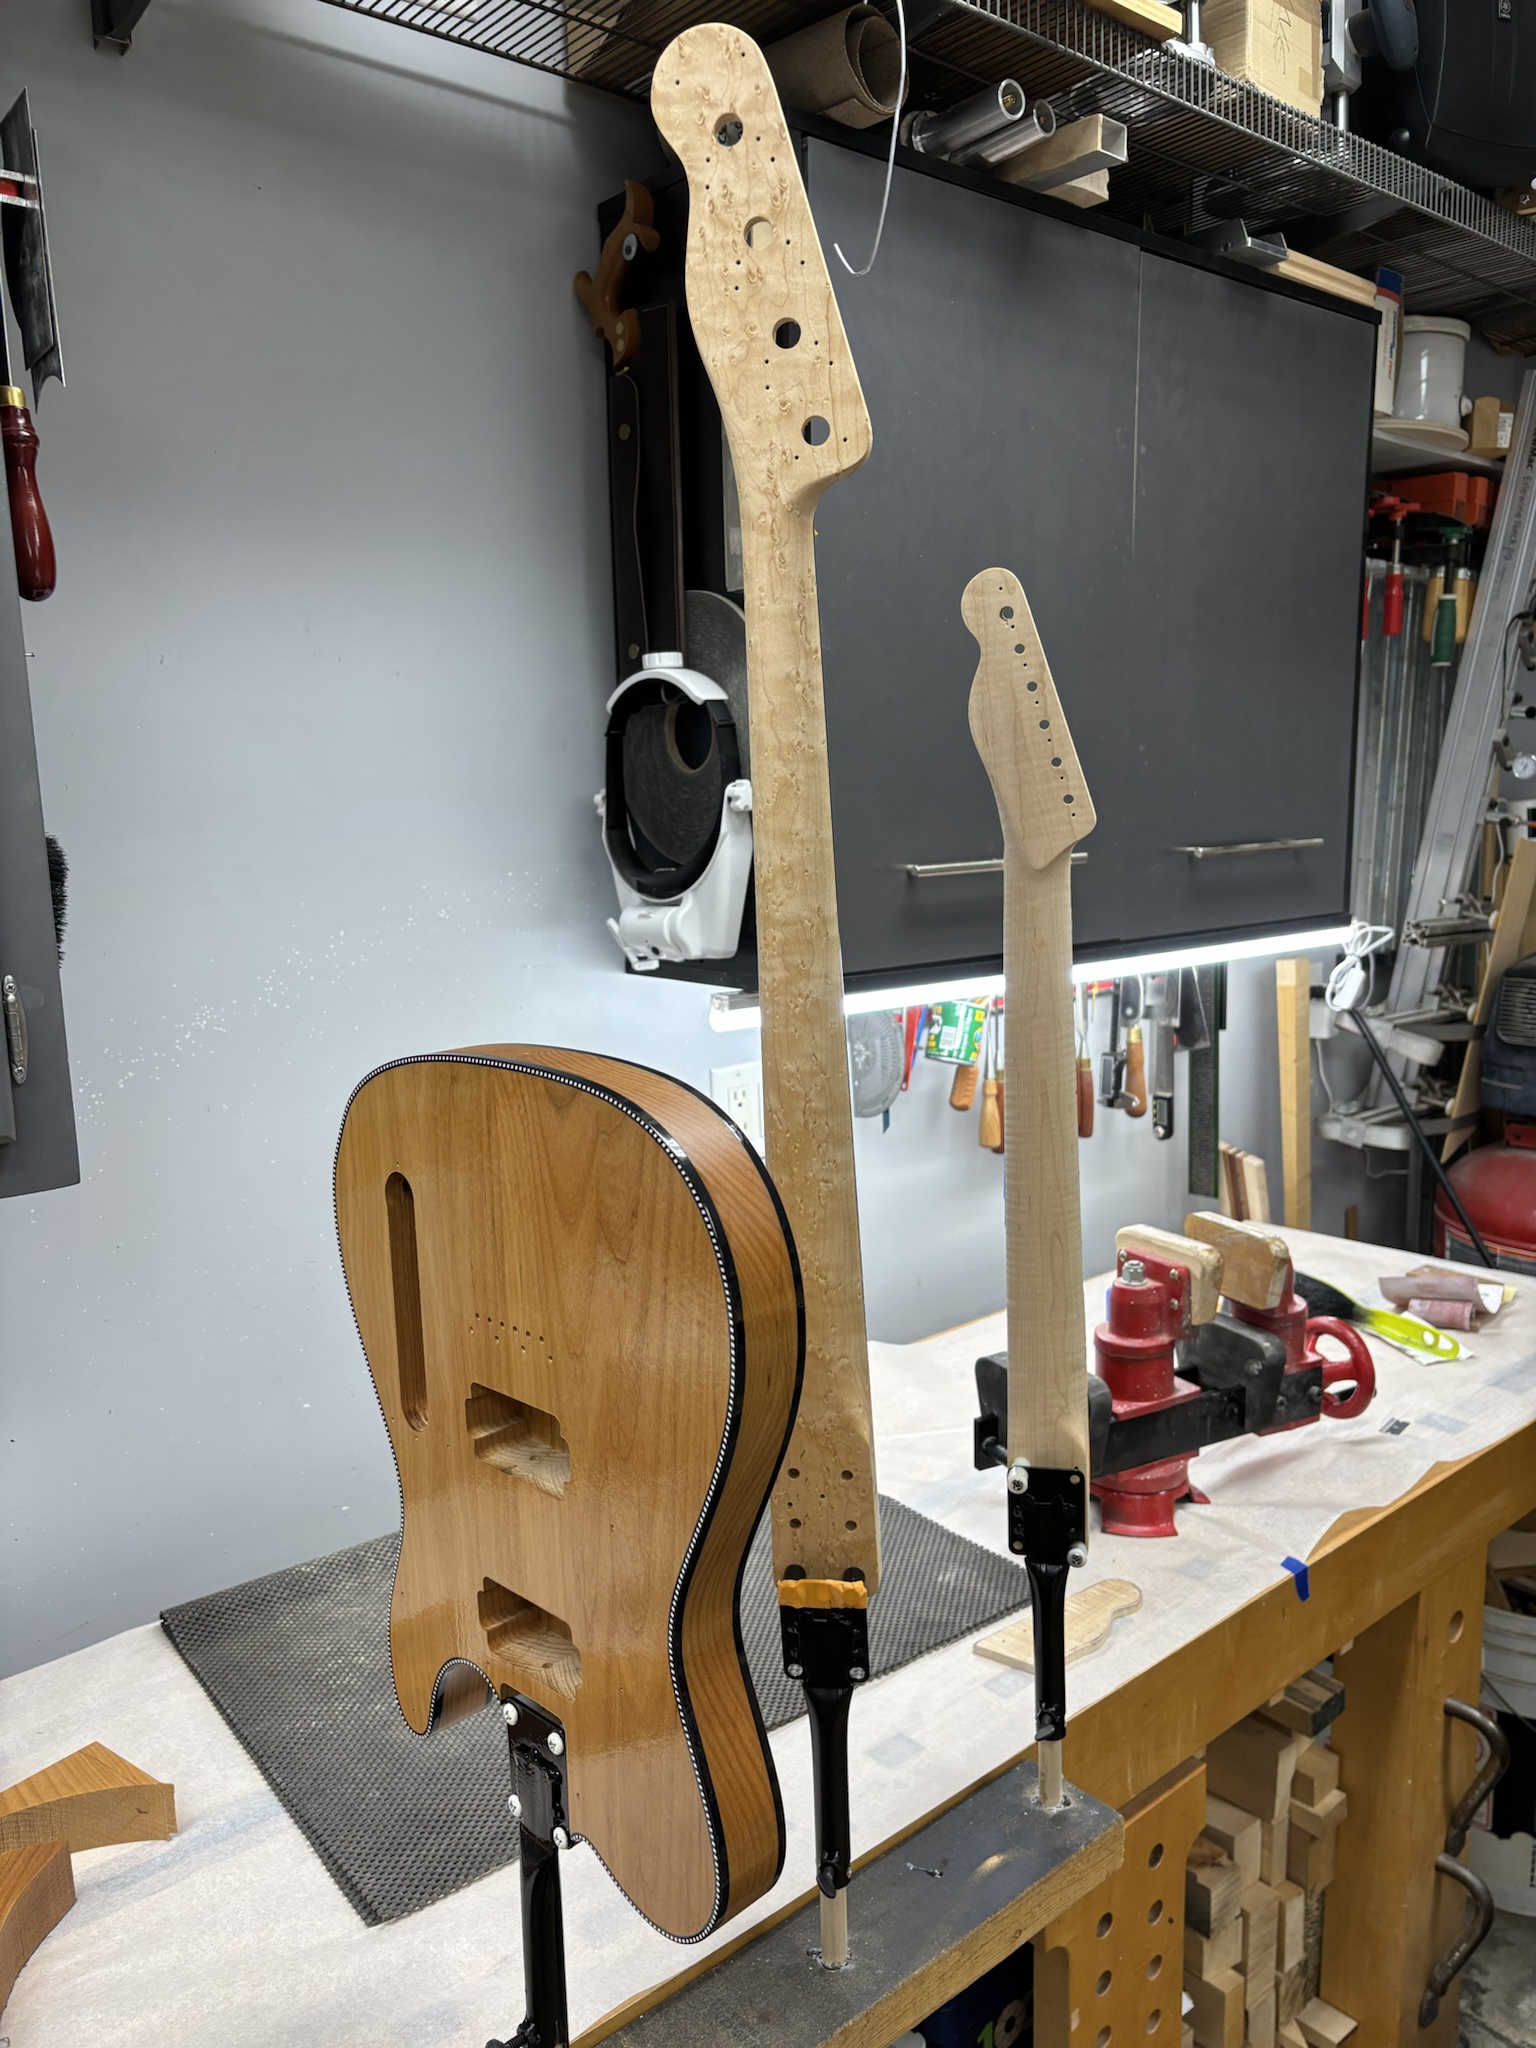
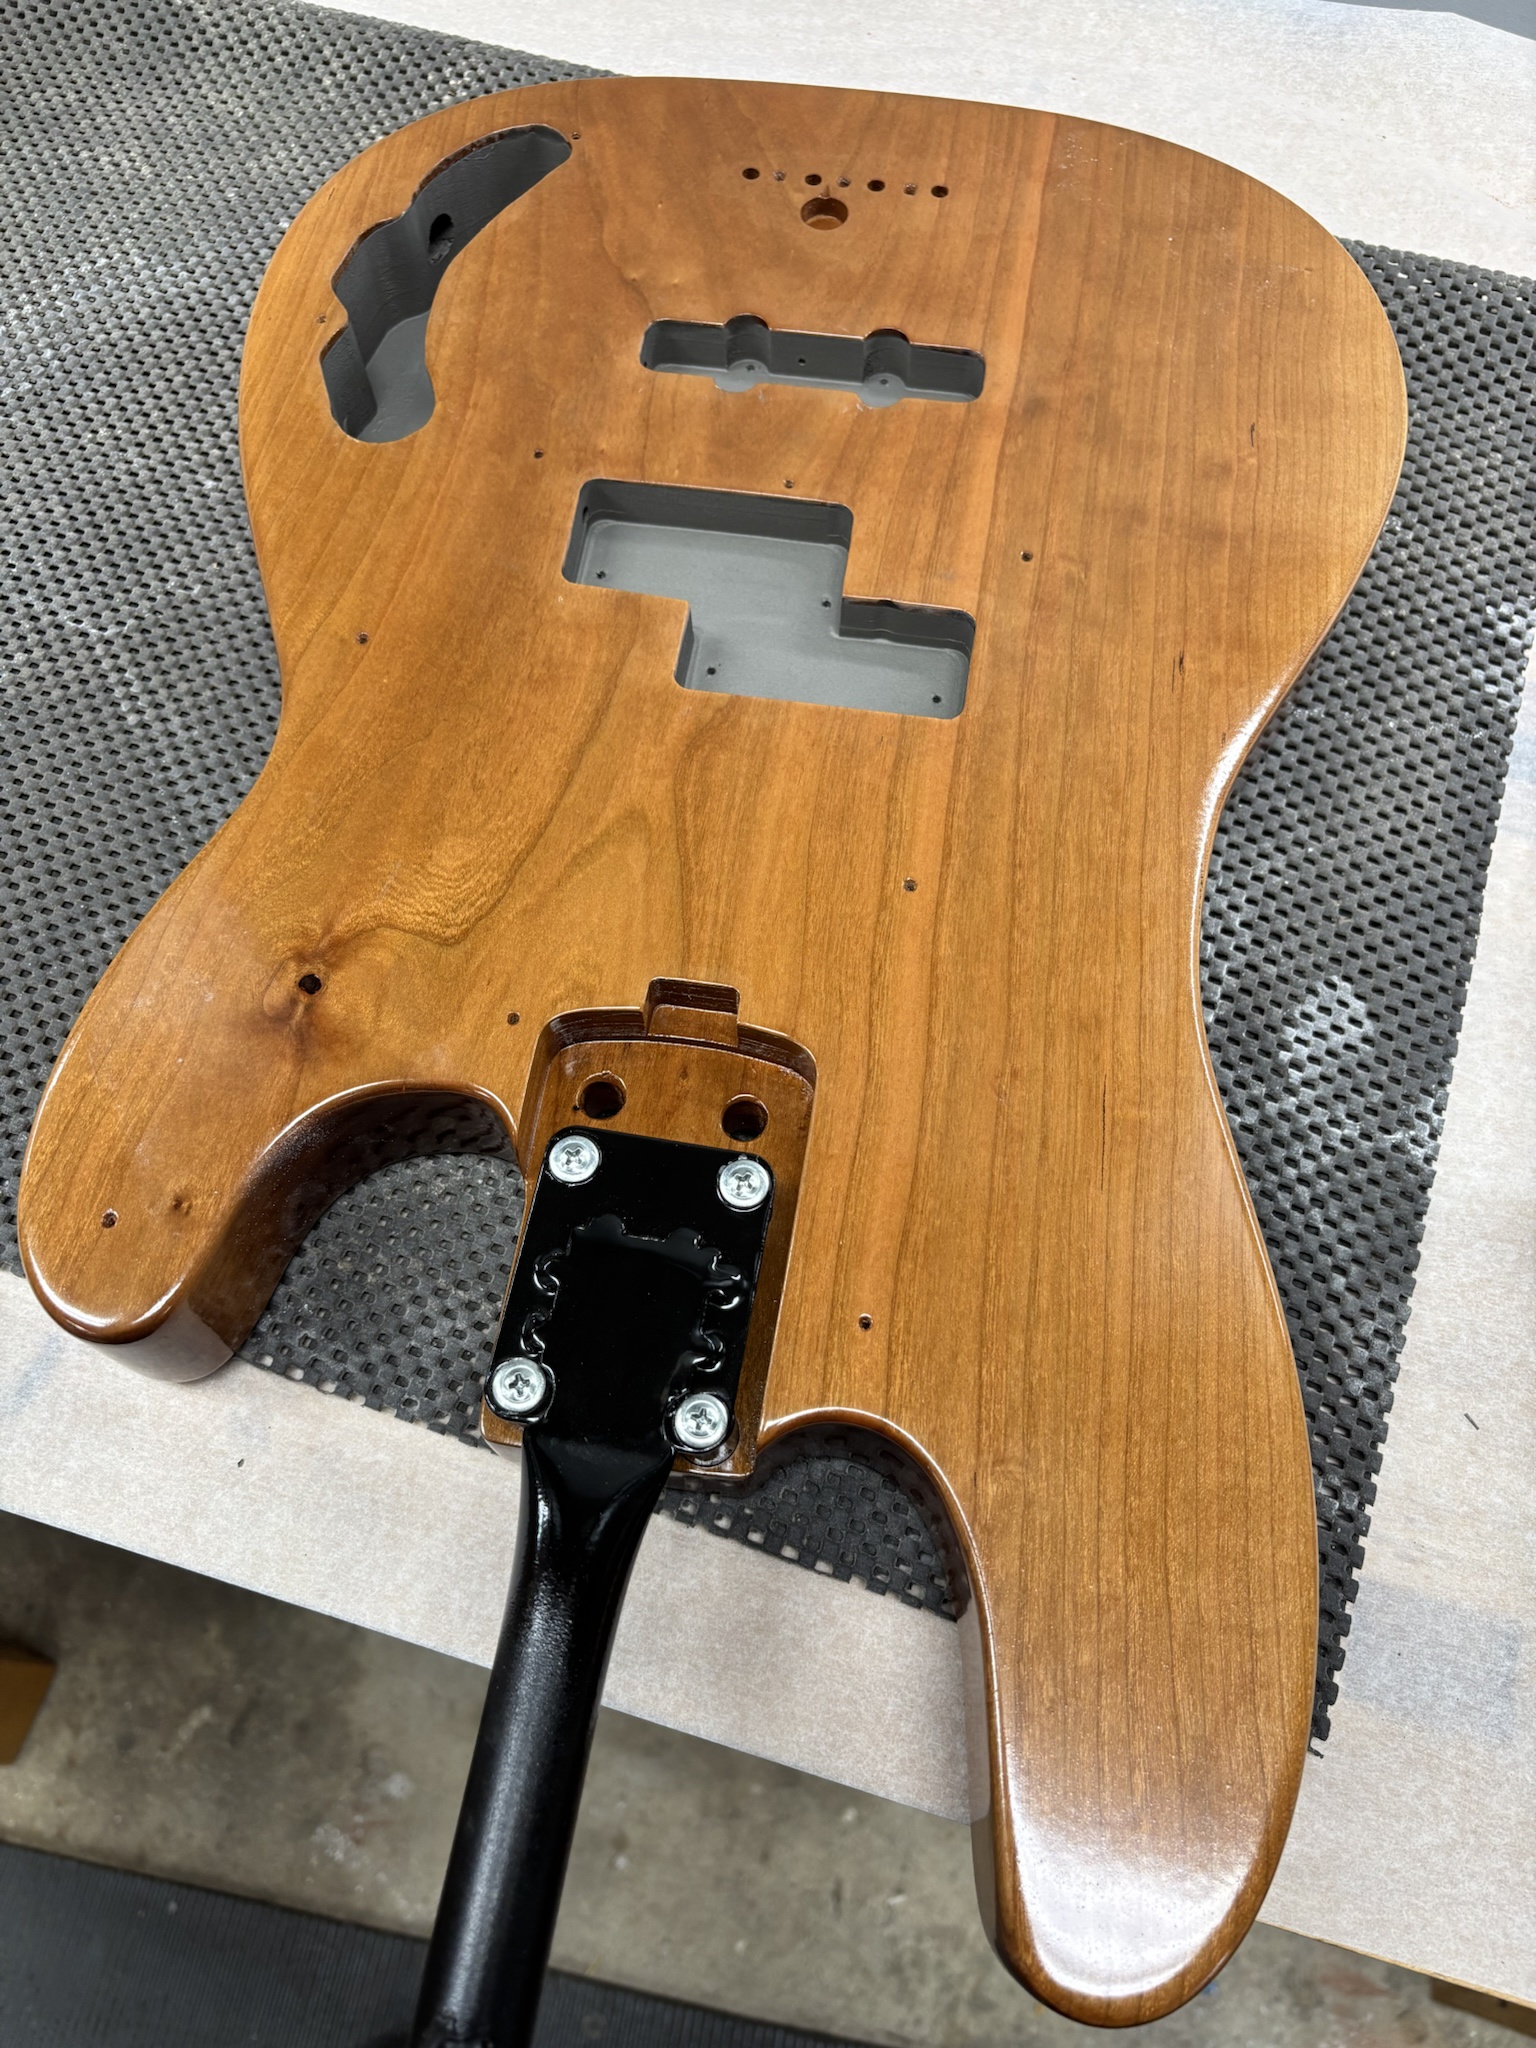
This is my brand new guitar parts holding rack 3000. Custom made from the finest pine 2x4 cutoff and pieces of scrap dowel and clamped to the bench. I used to hang my brackets from hooks, but these StewMac brackets are so short that it makes it impractical.
uIGWLih.jpg


P/J bass body after a coat of Simtec EZ sanding sealer.
Eu0ss0C.jpg


The maple neck received a couple coats of shellac for sealer. Processing the Tele project at the same time. :)
FAcsXtq.jpg


Cavities were masked and sprayed with conductive paint. Cavities were then connected using thin strips of copper tape (not pictured).
KWo6SYn.jpg


More soon.
 
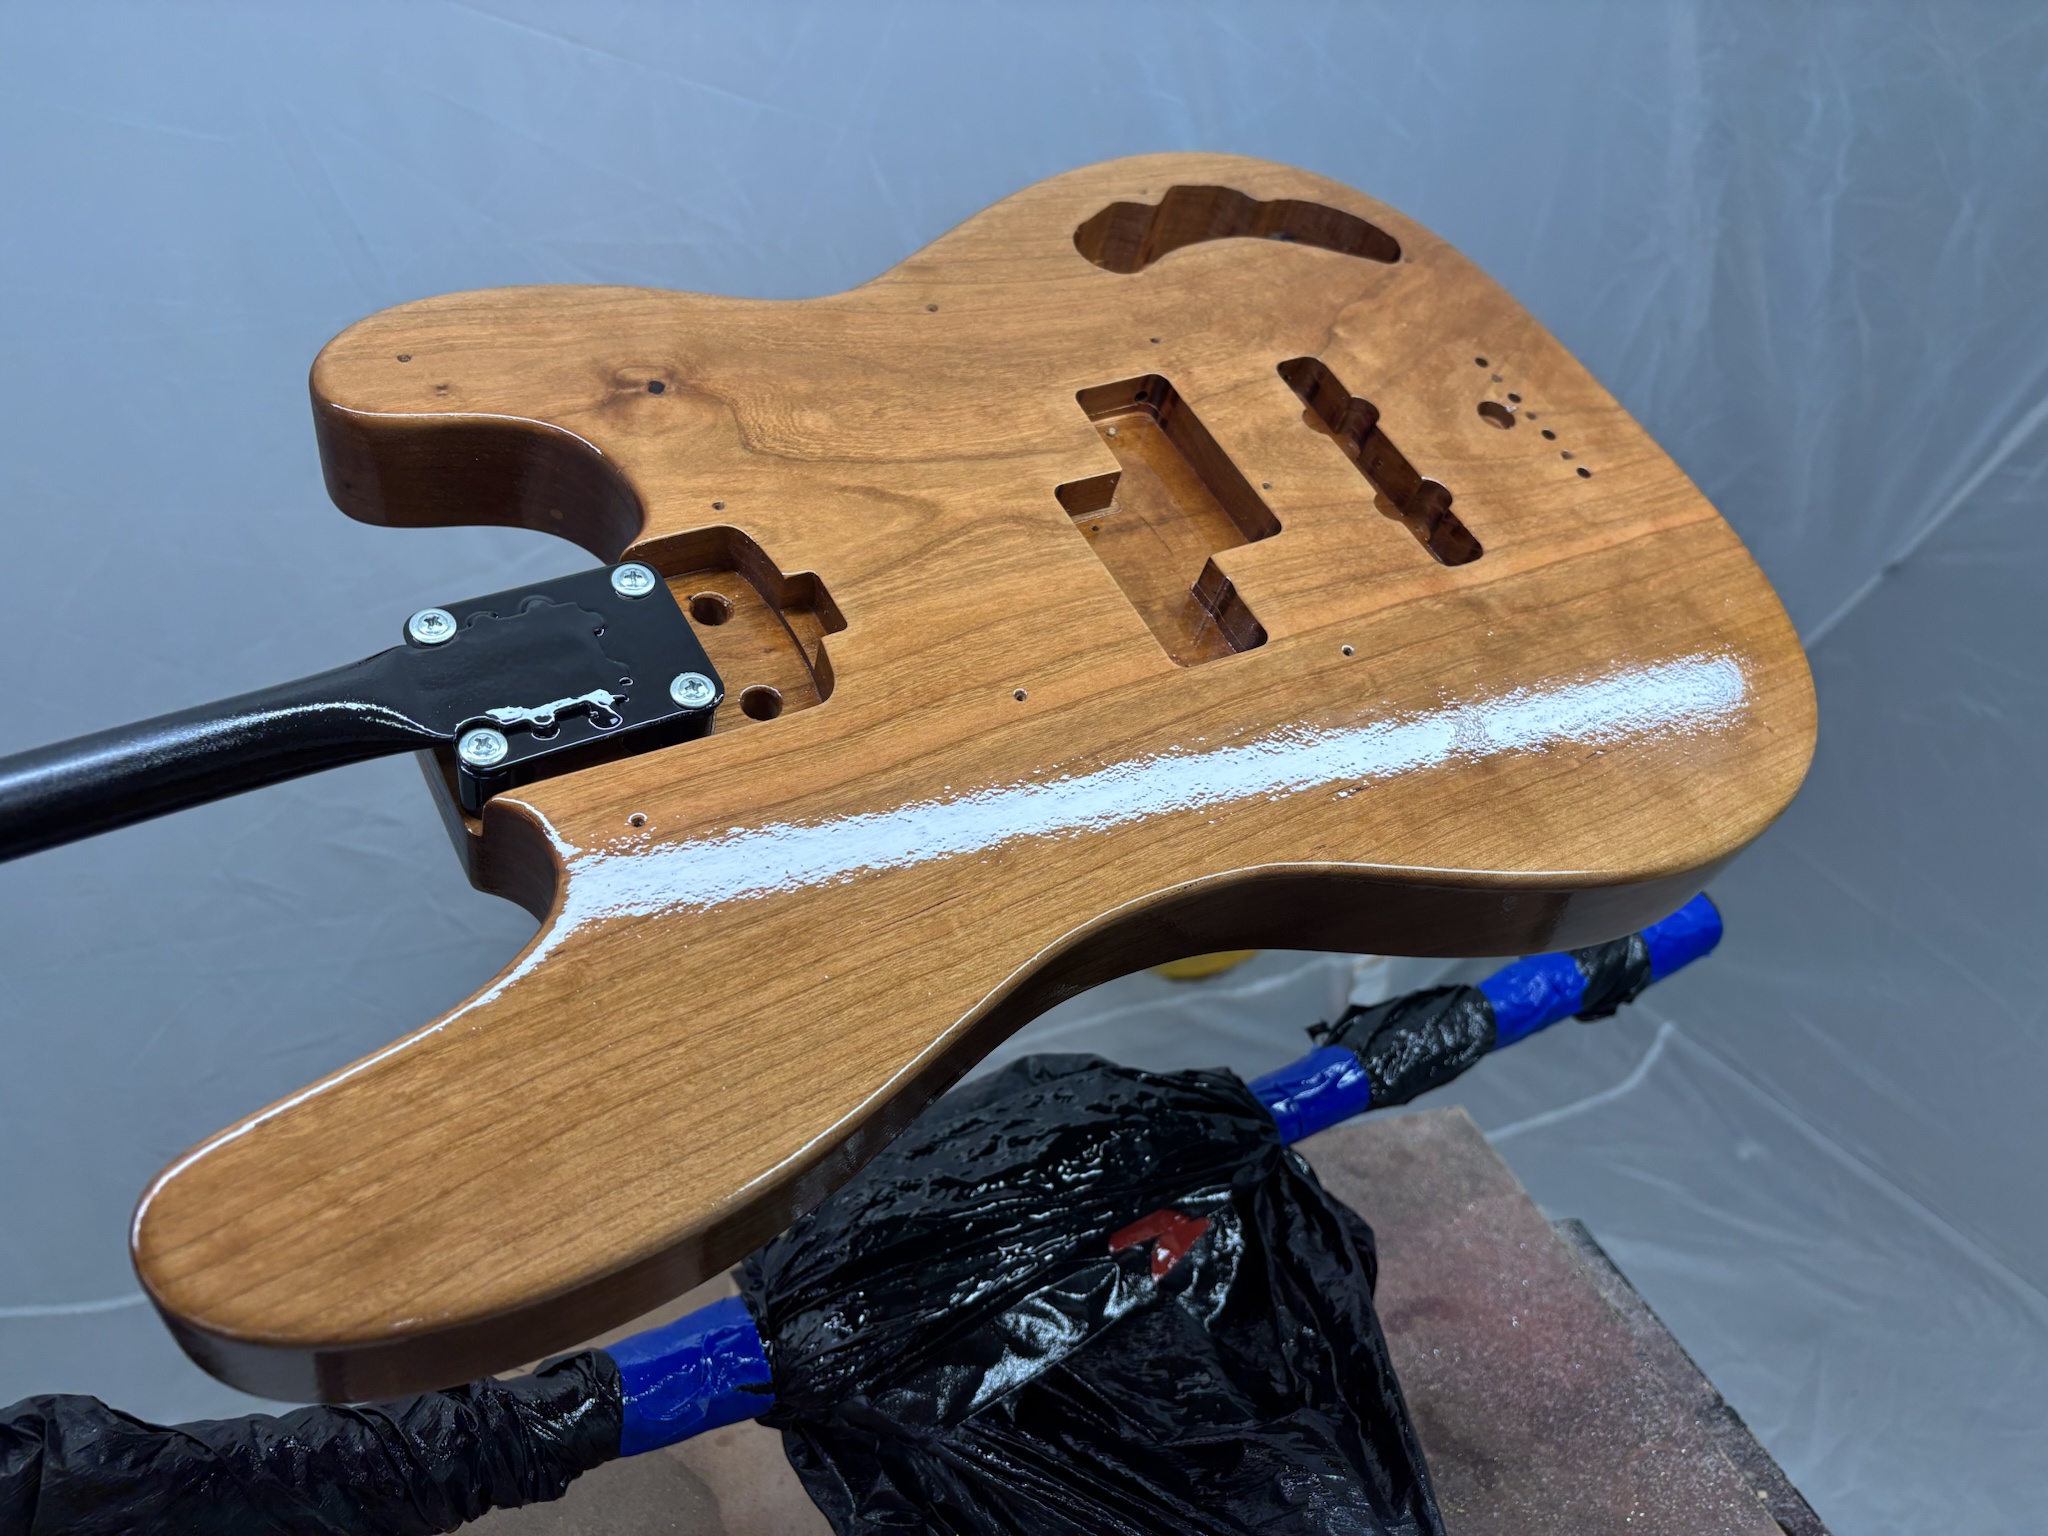
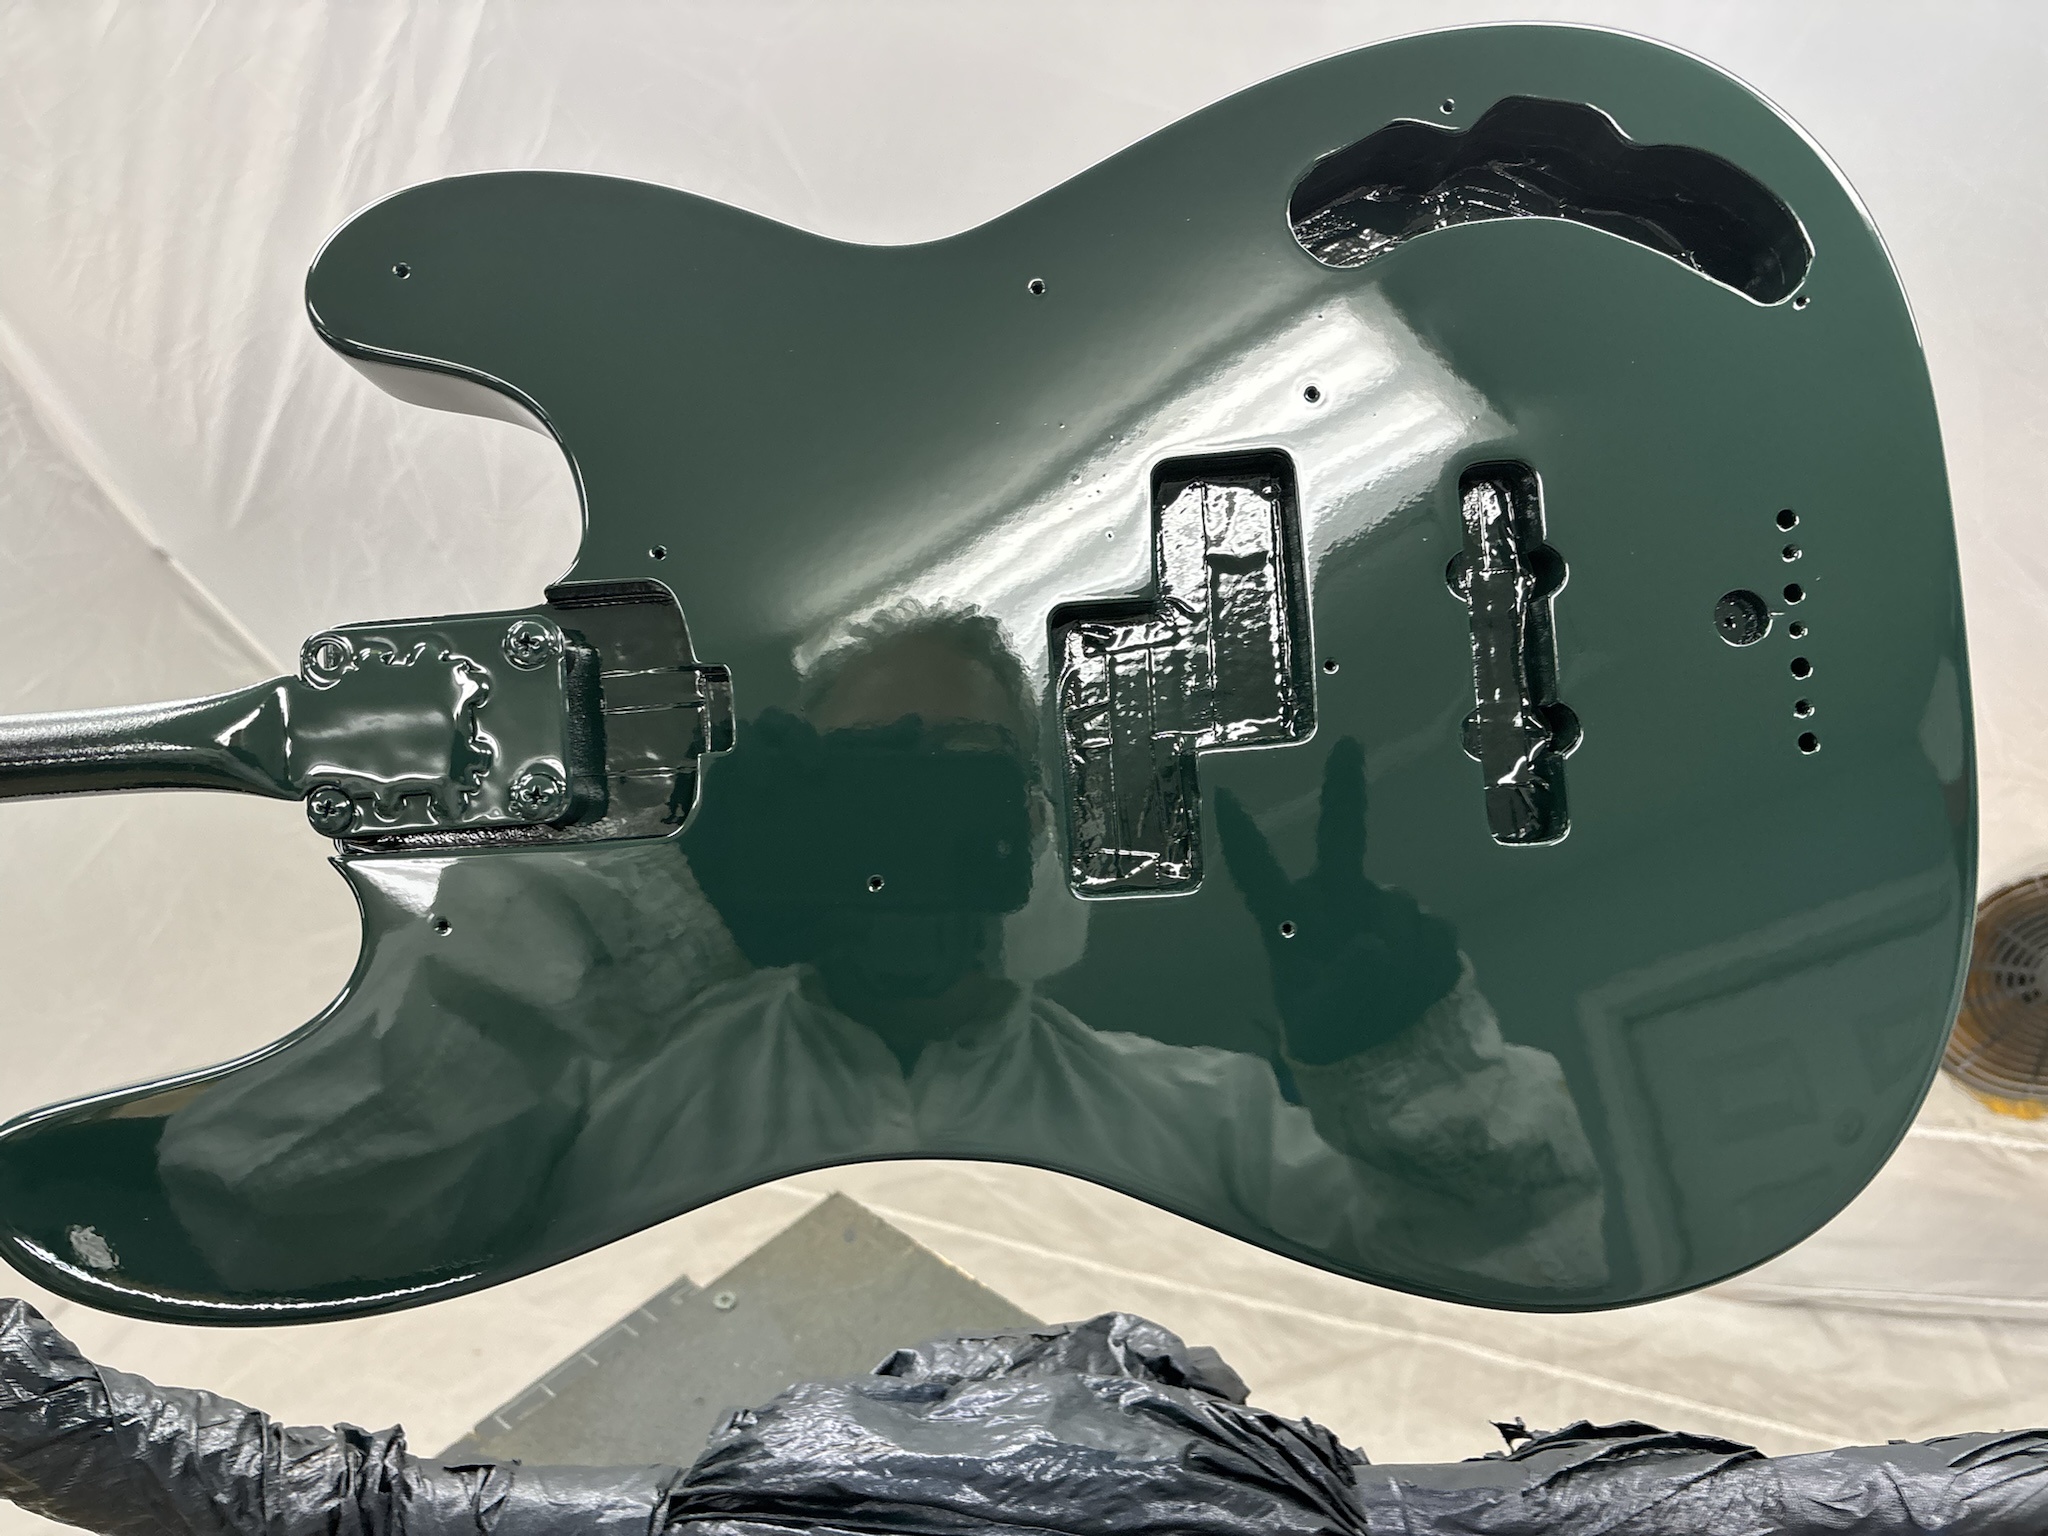
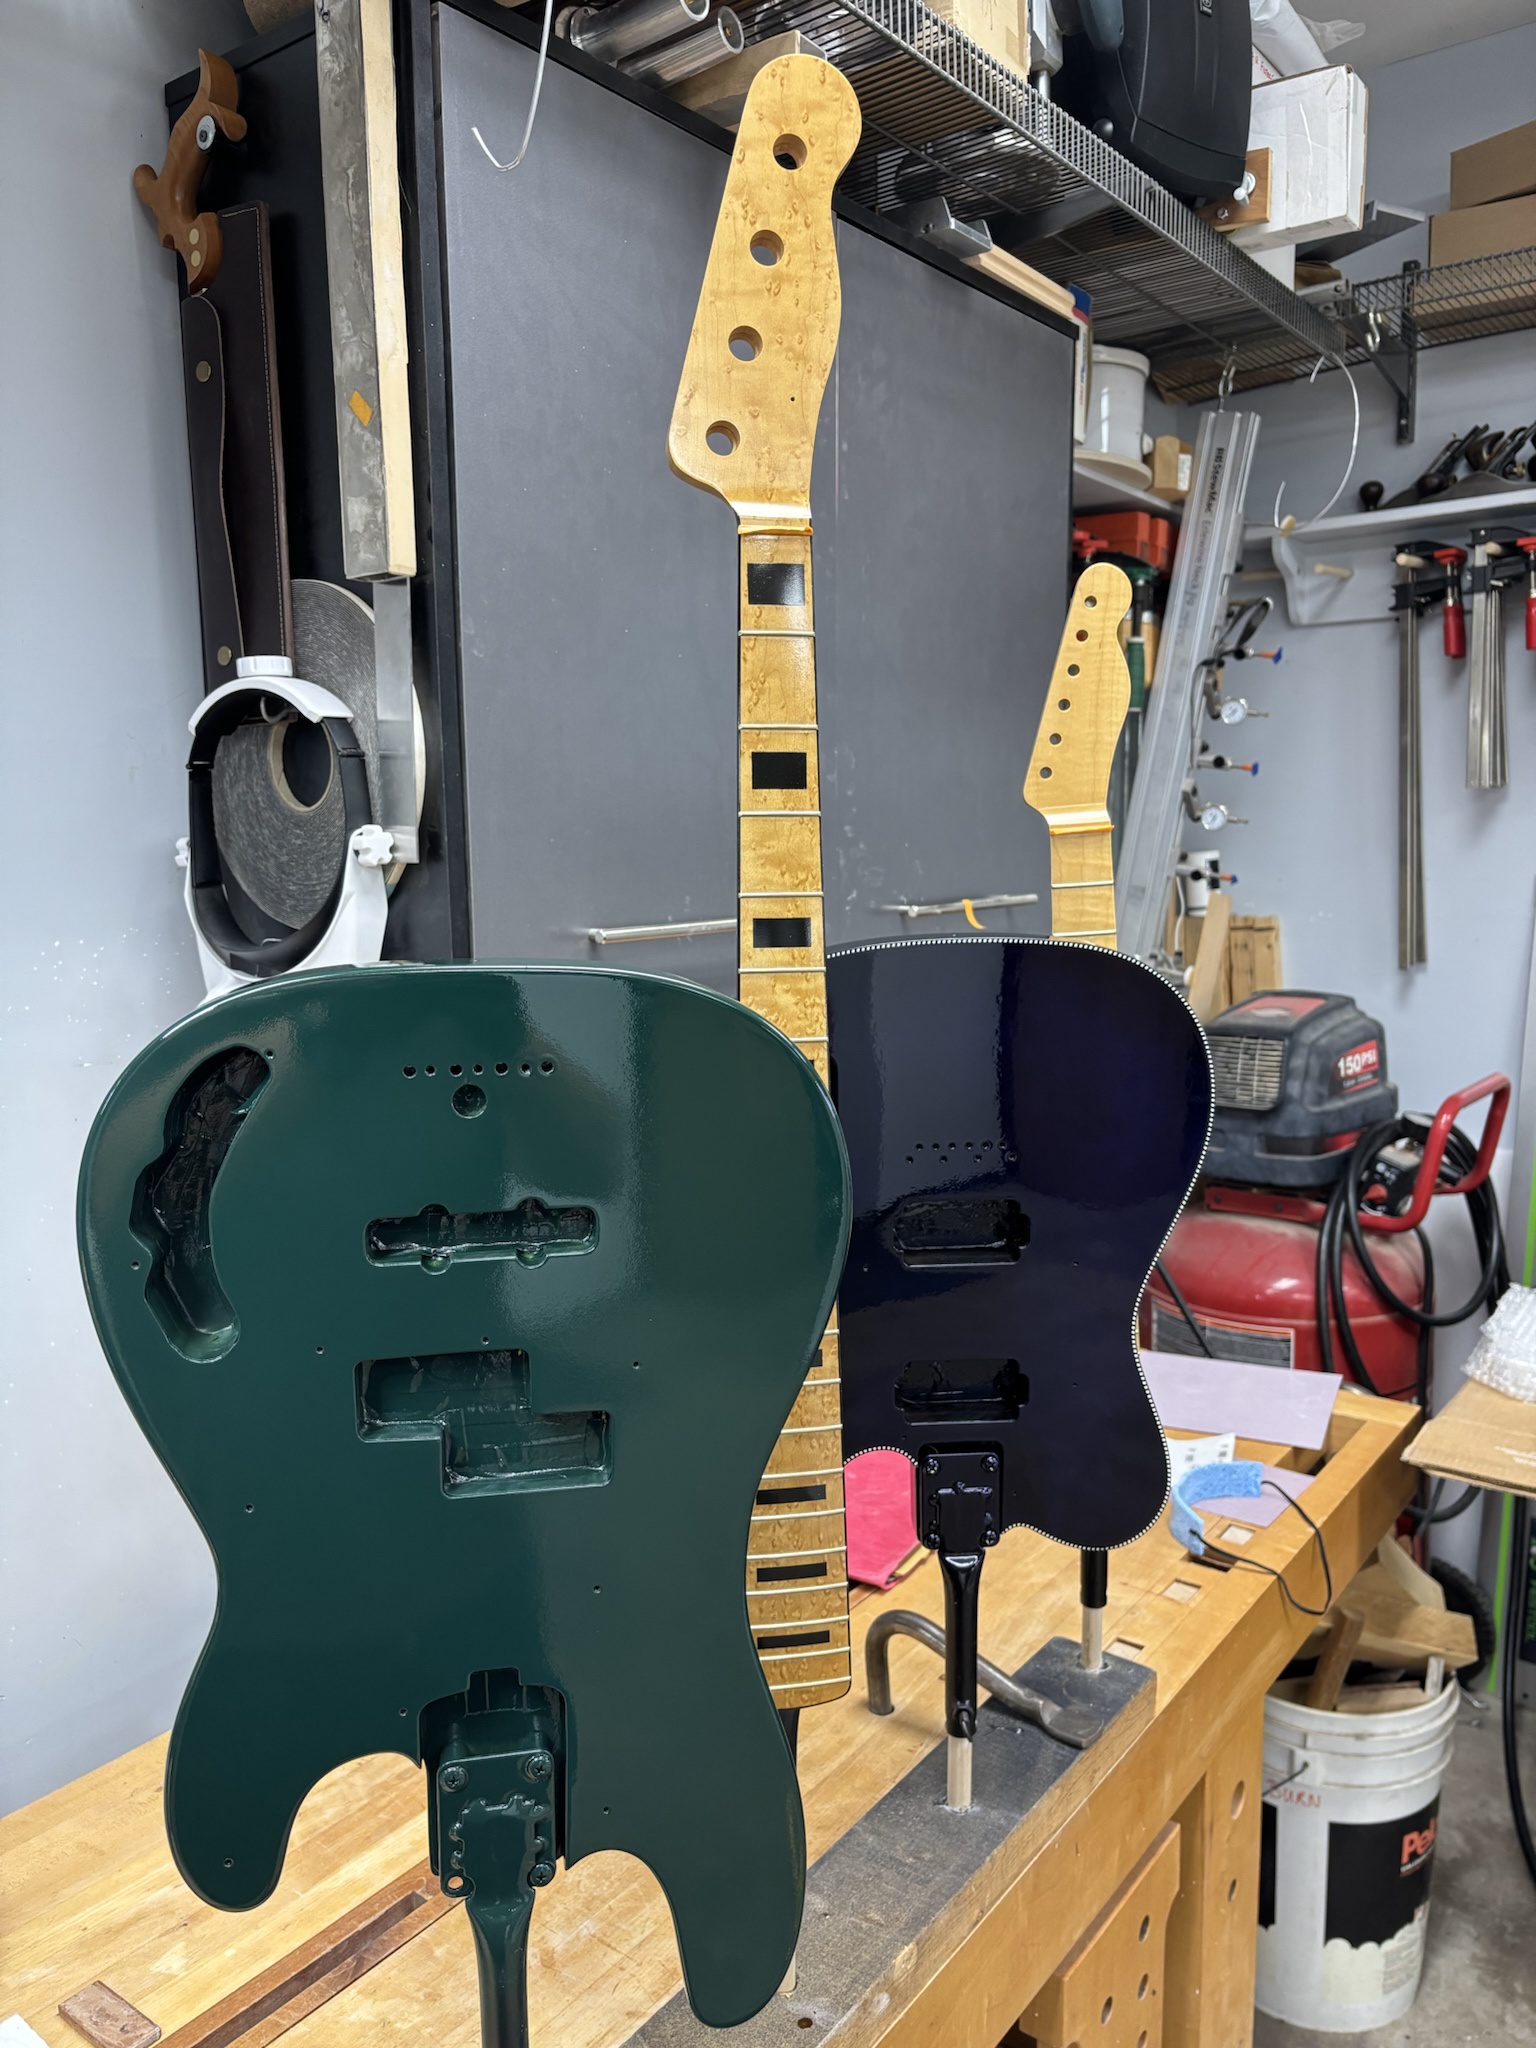
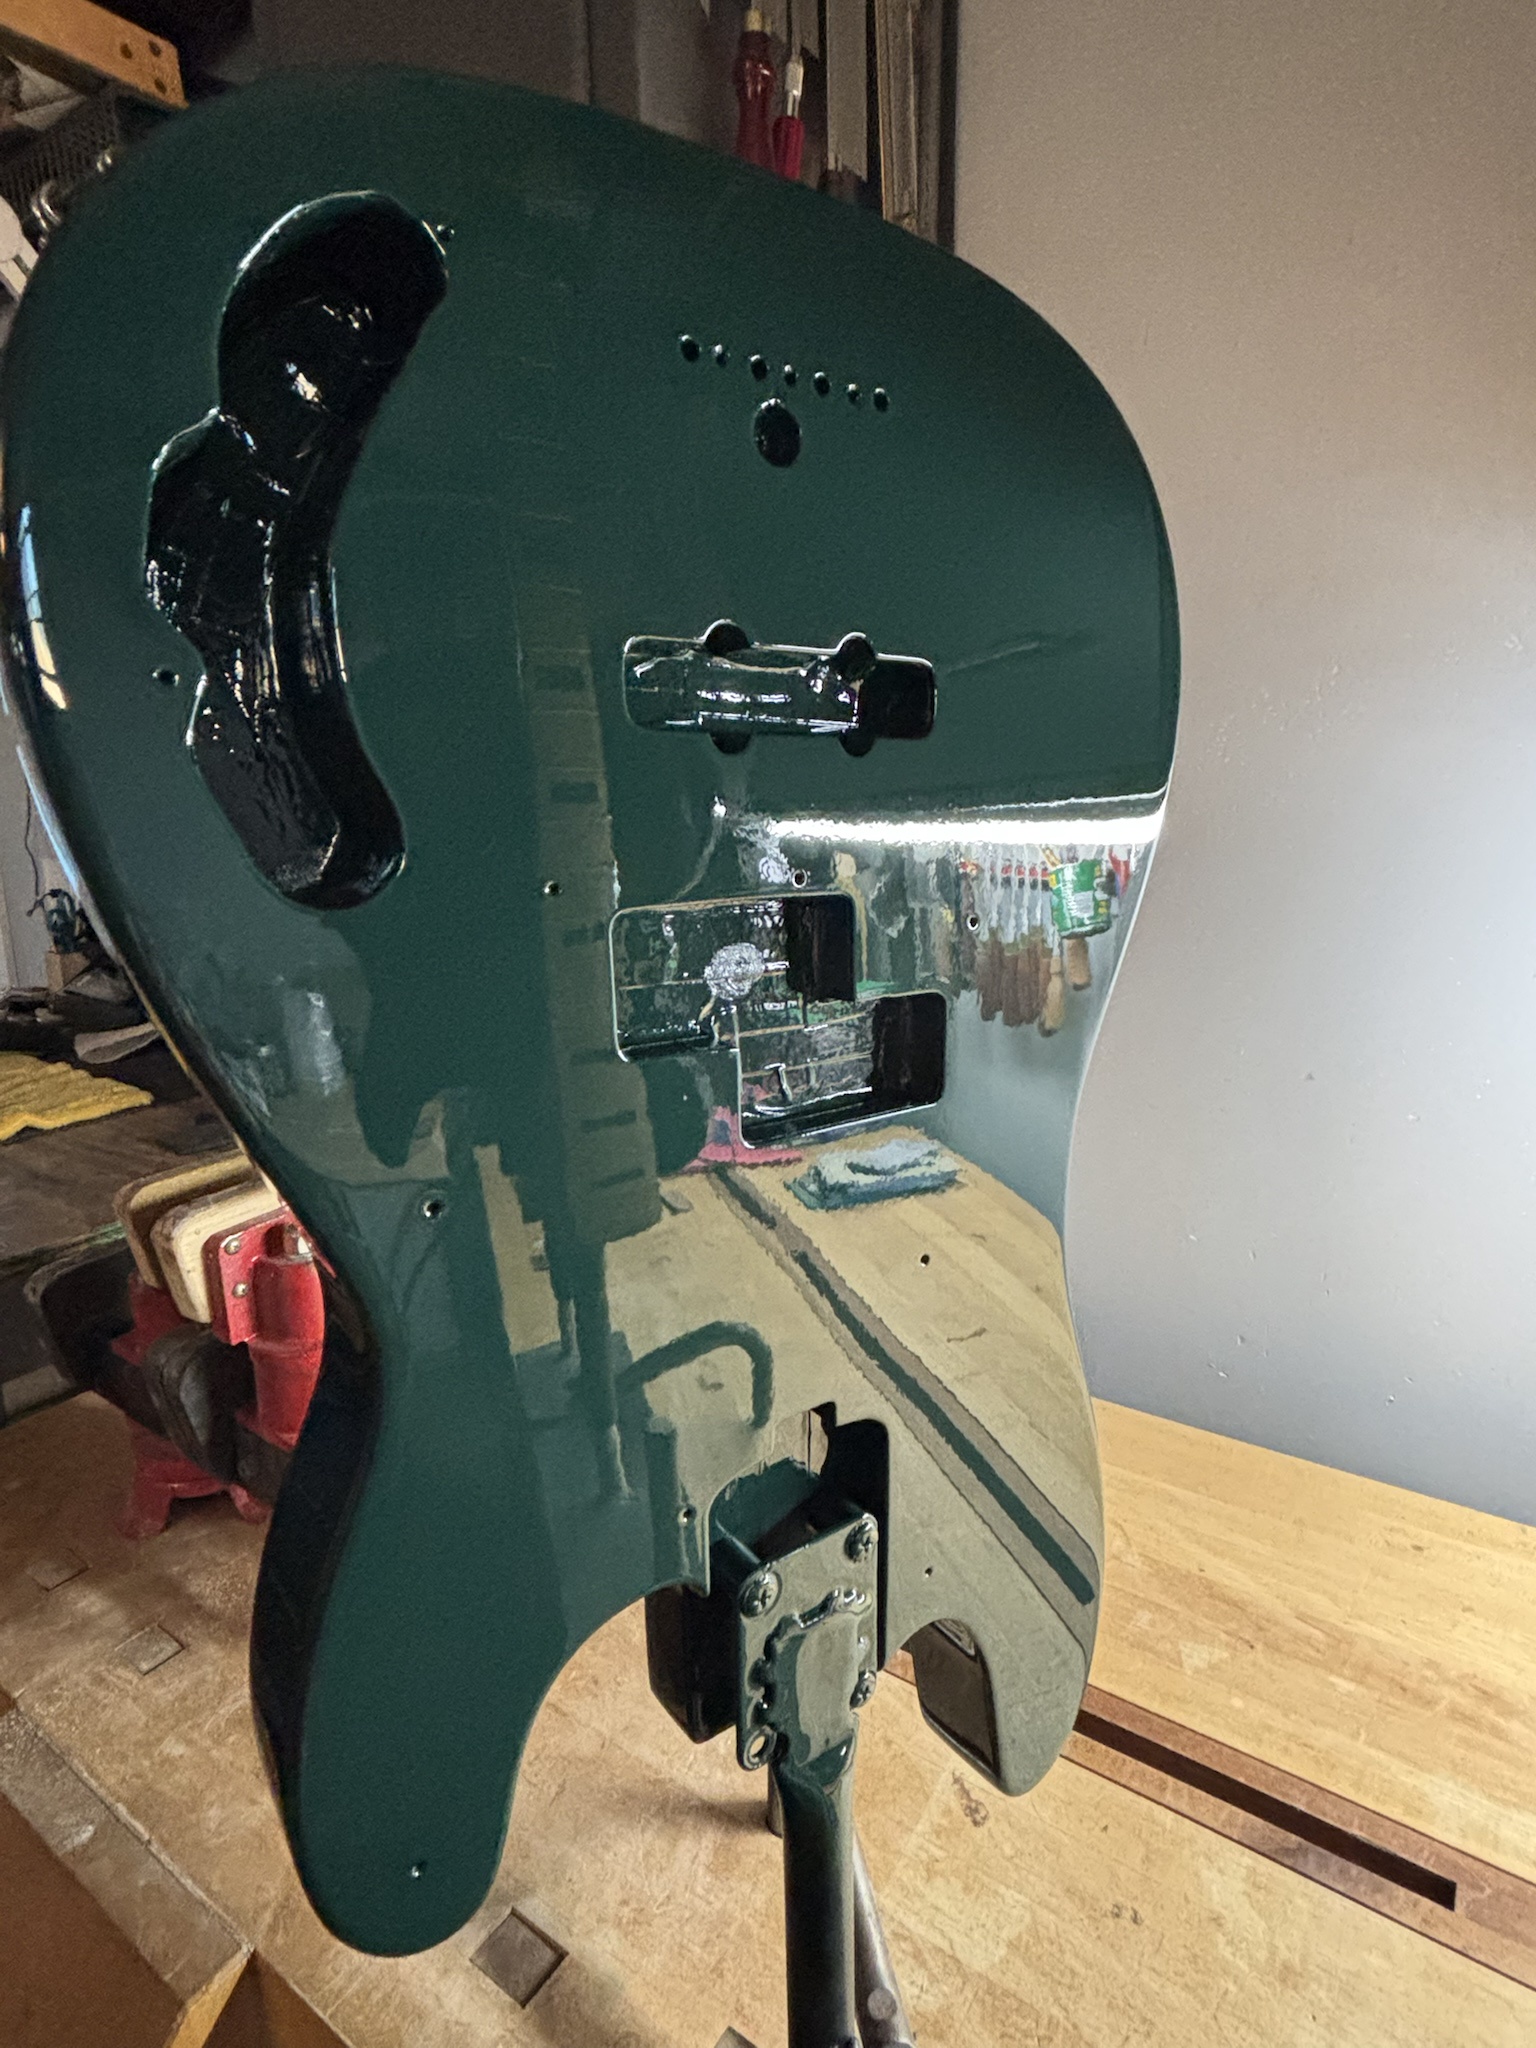
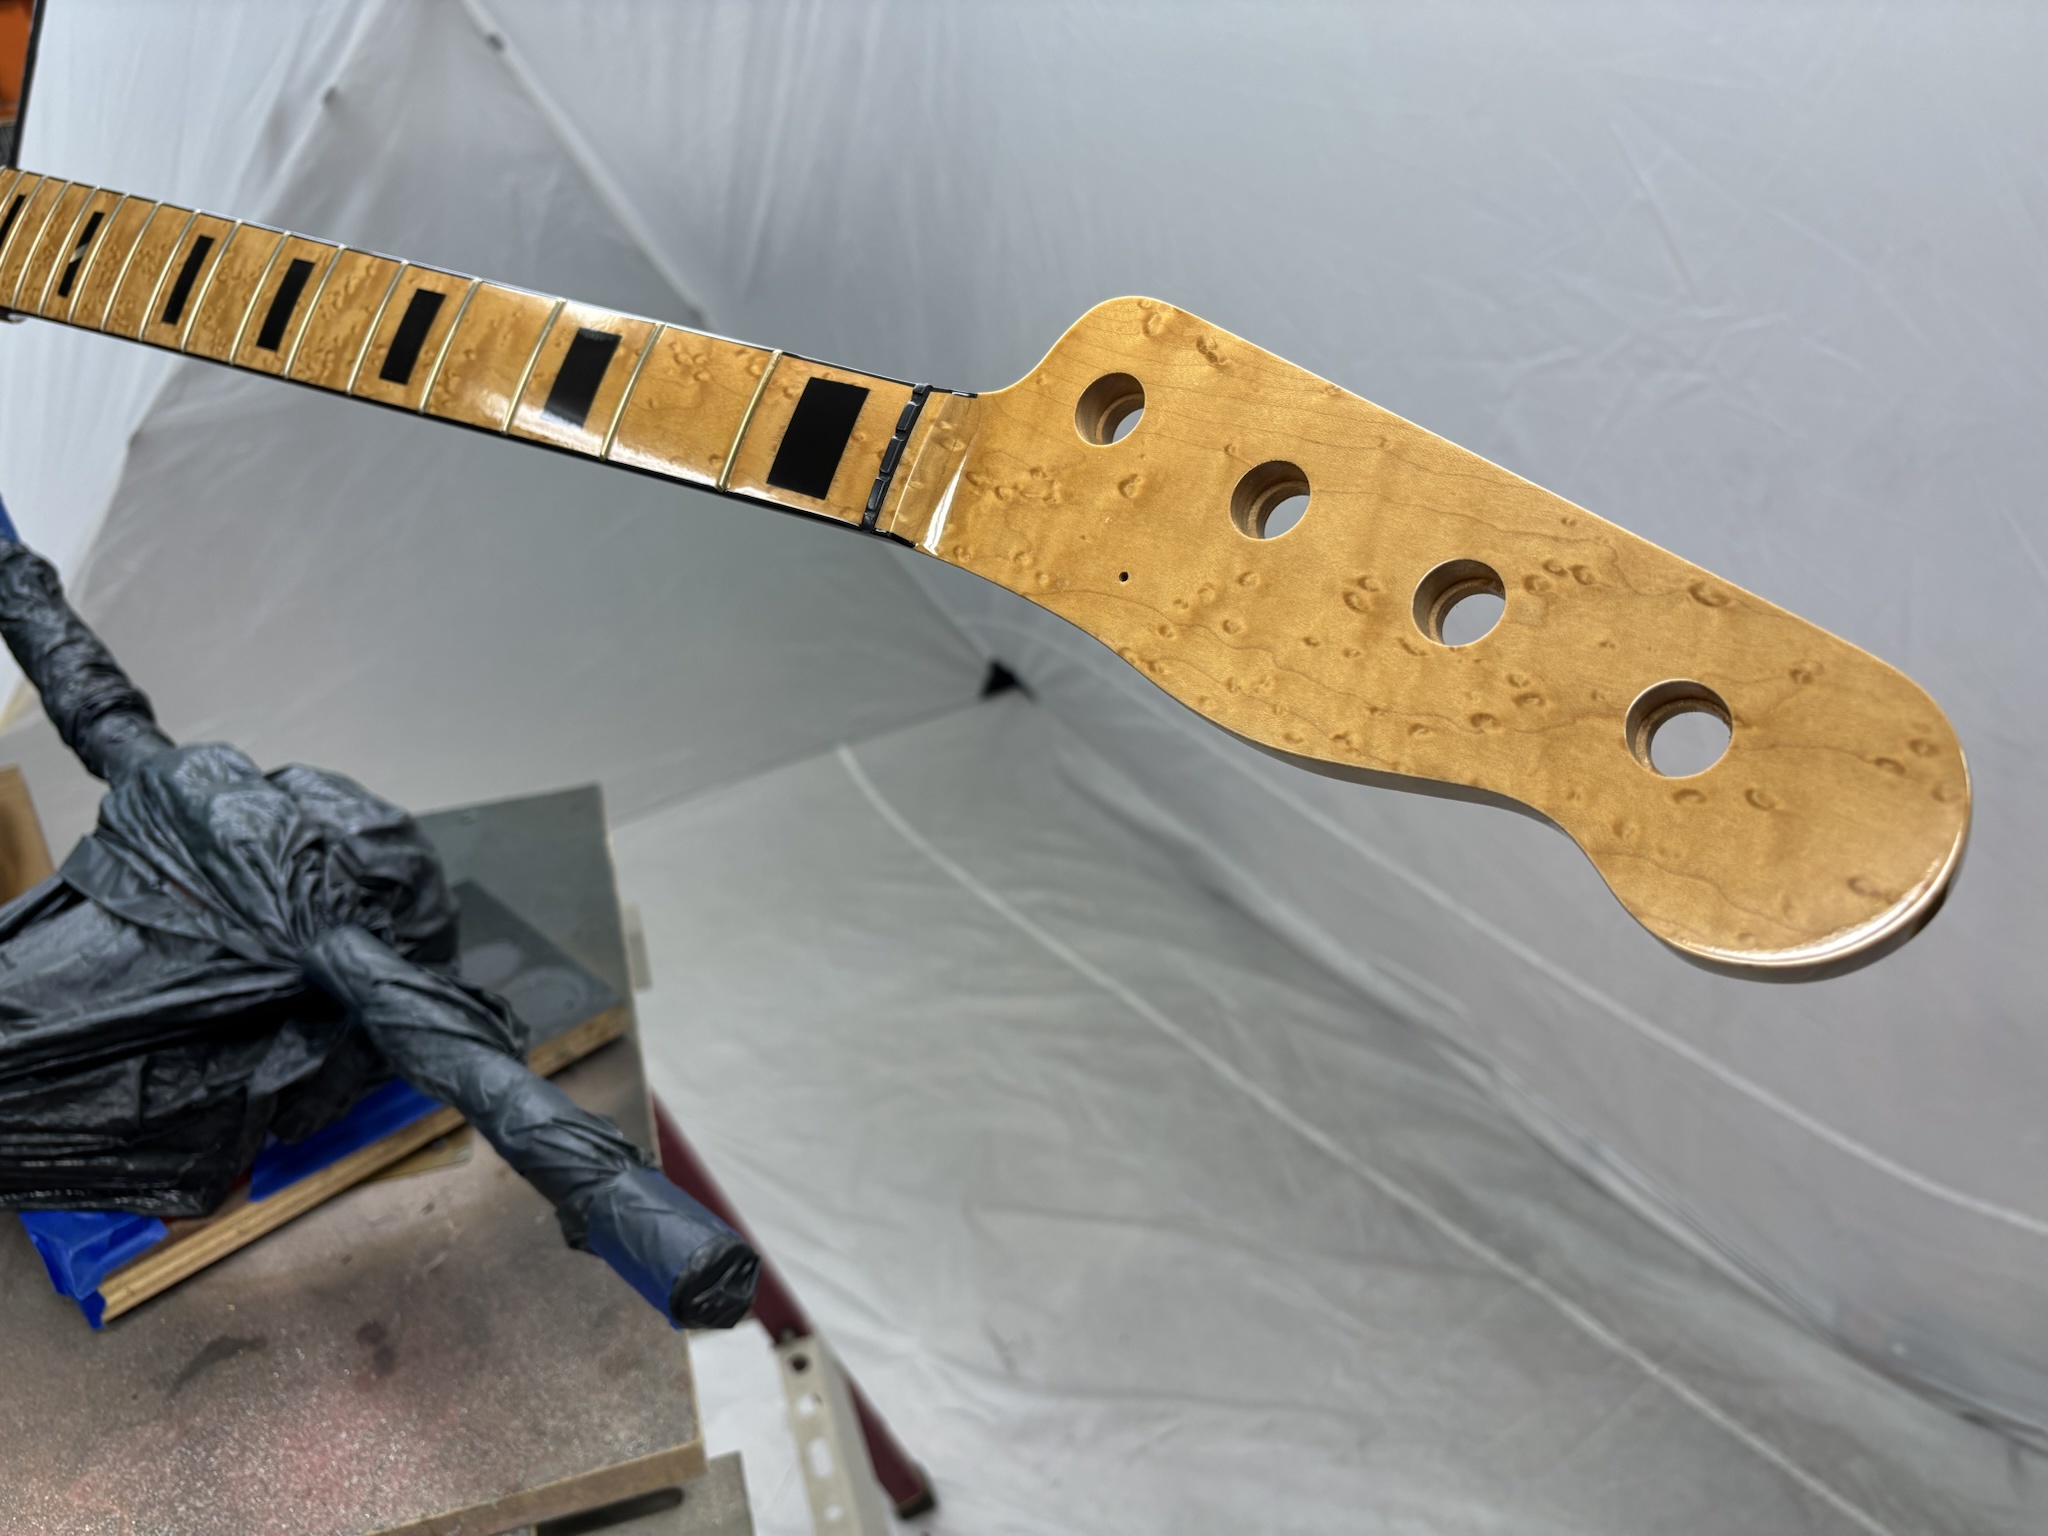
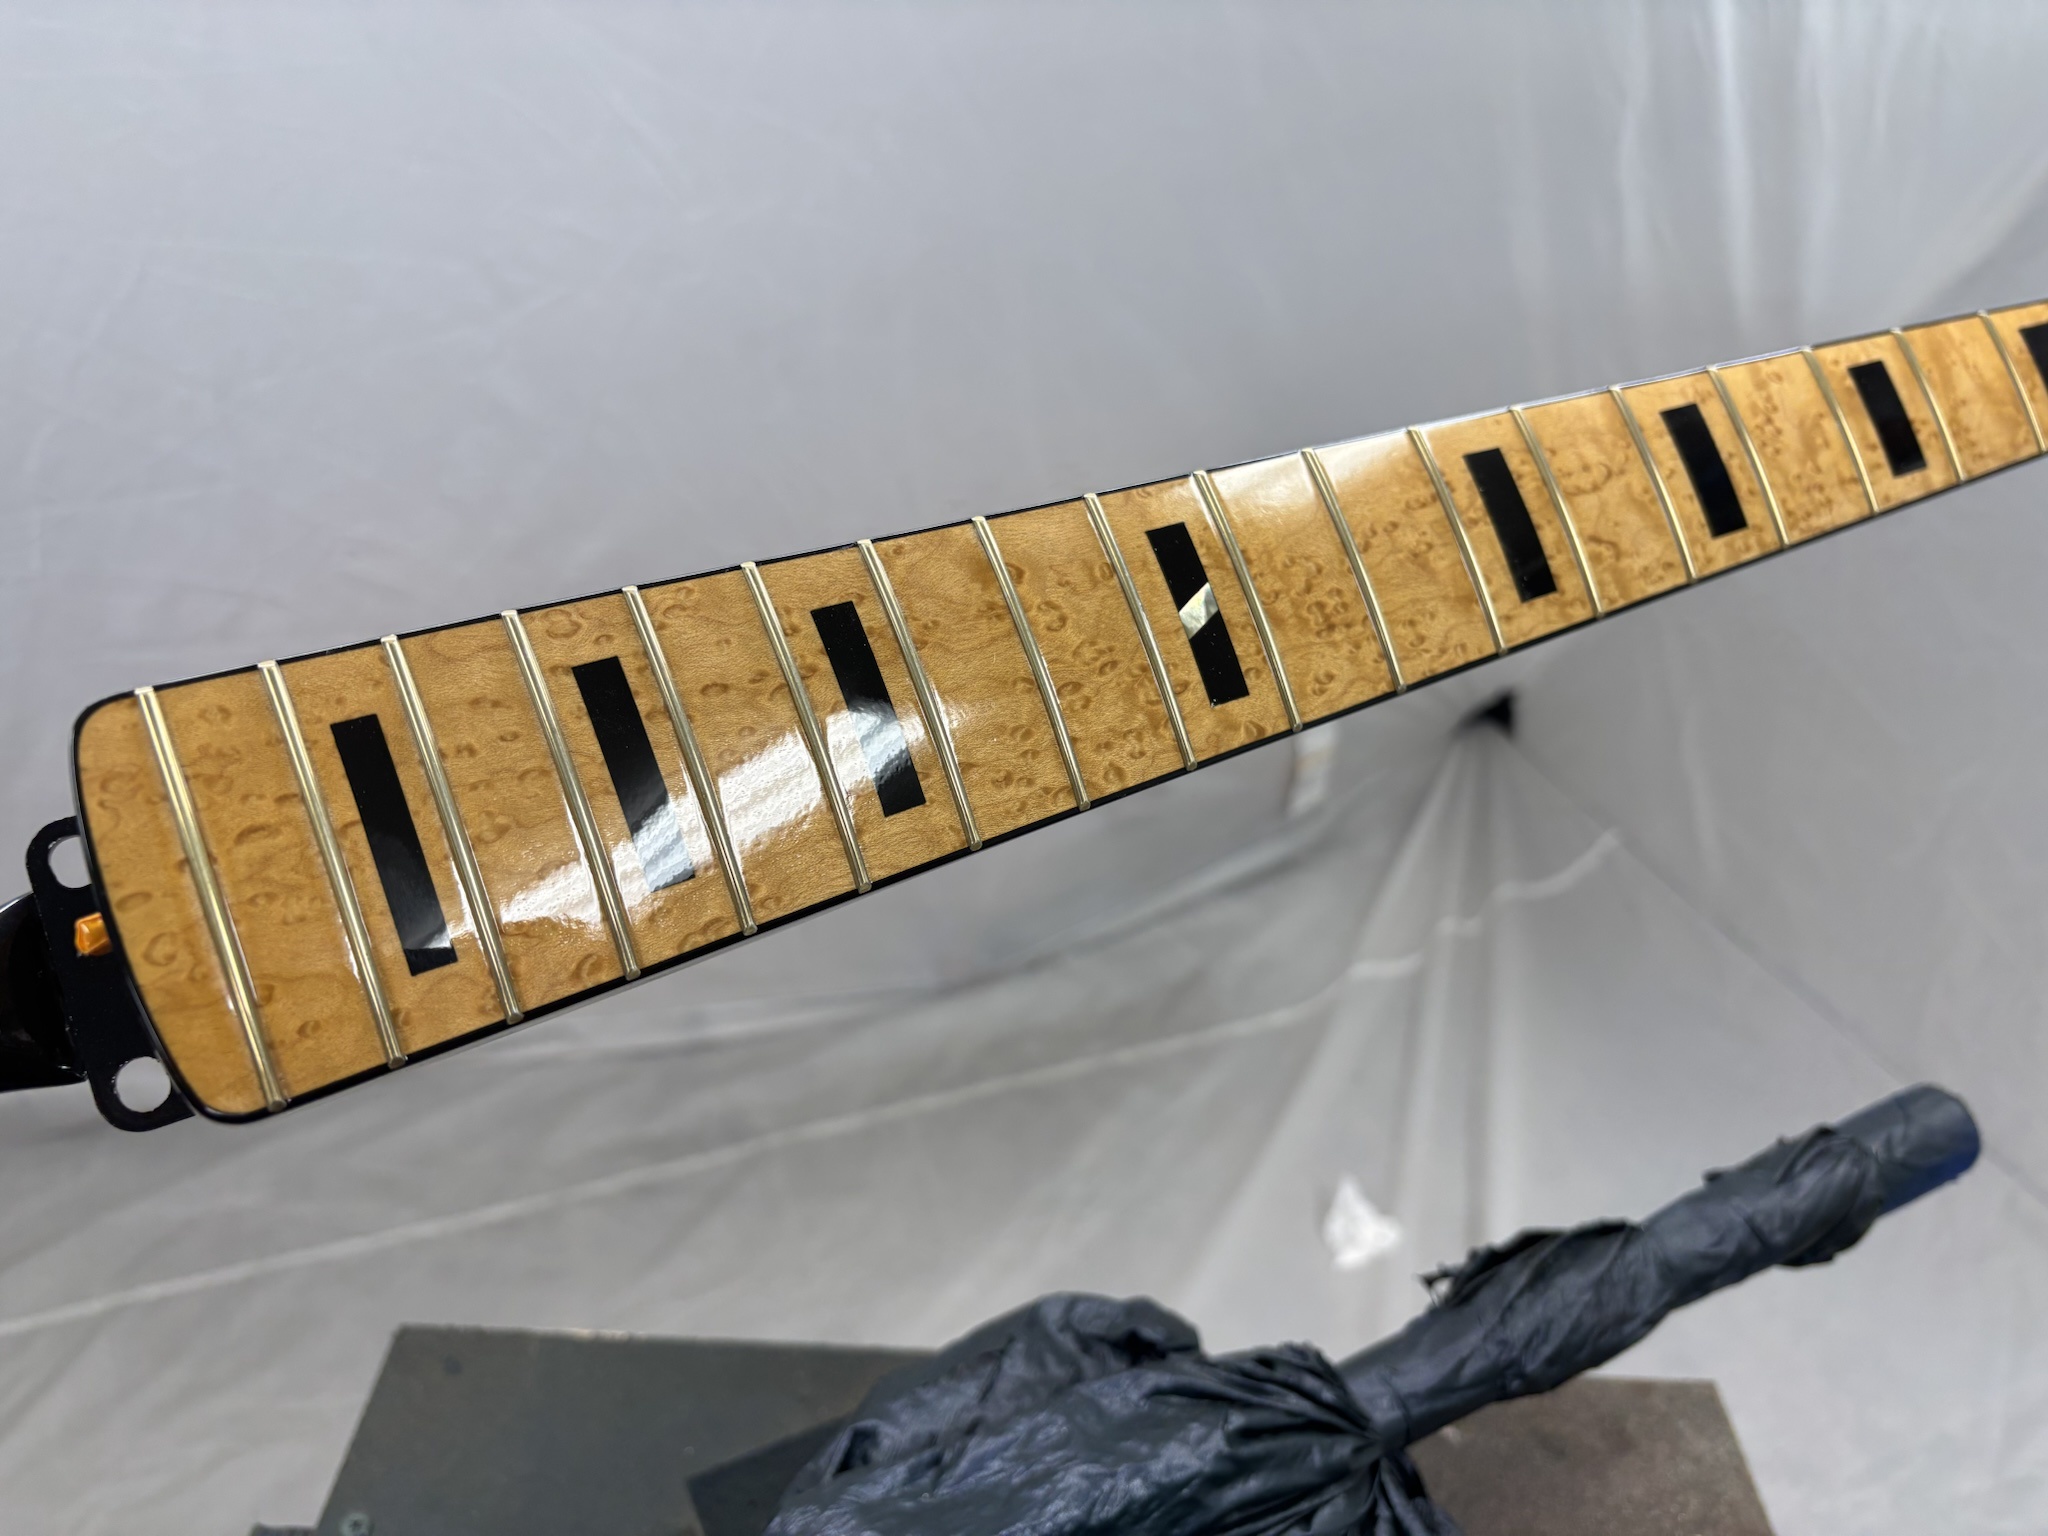
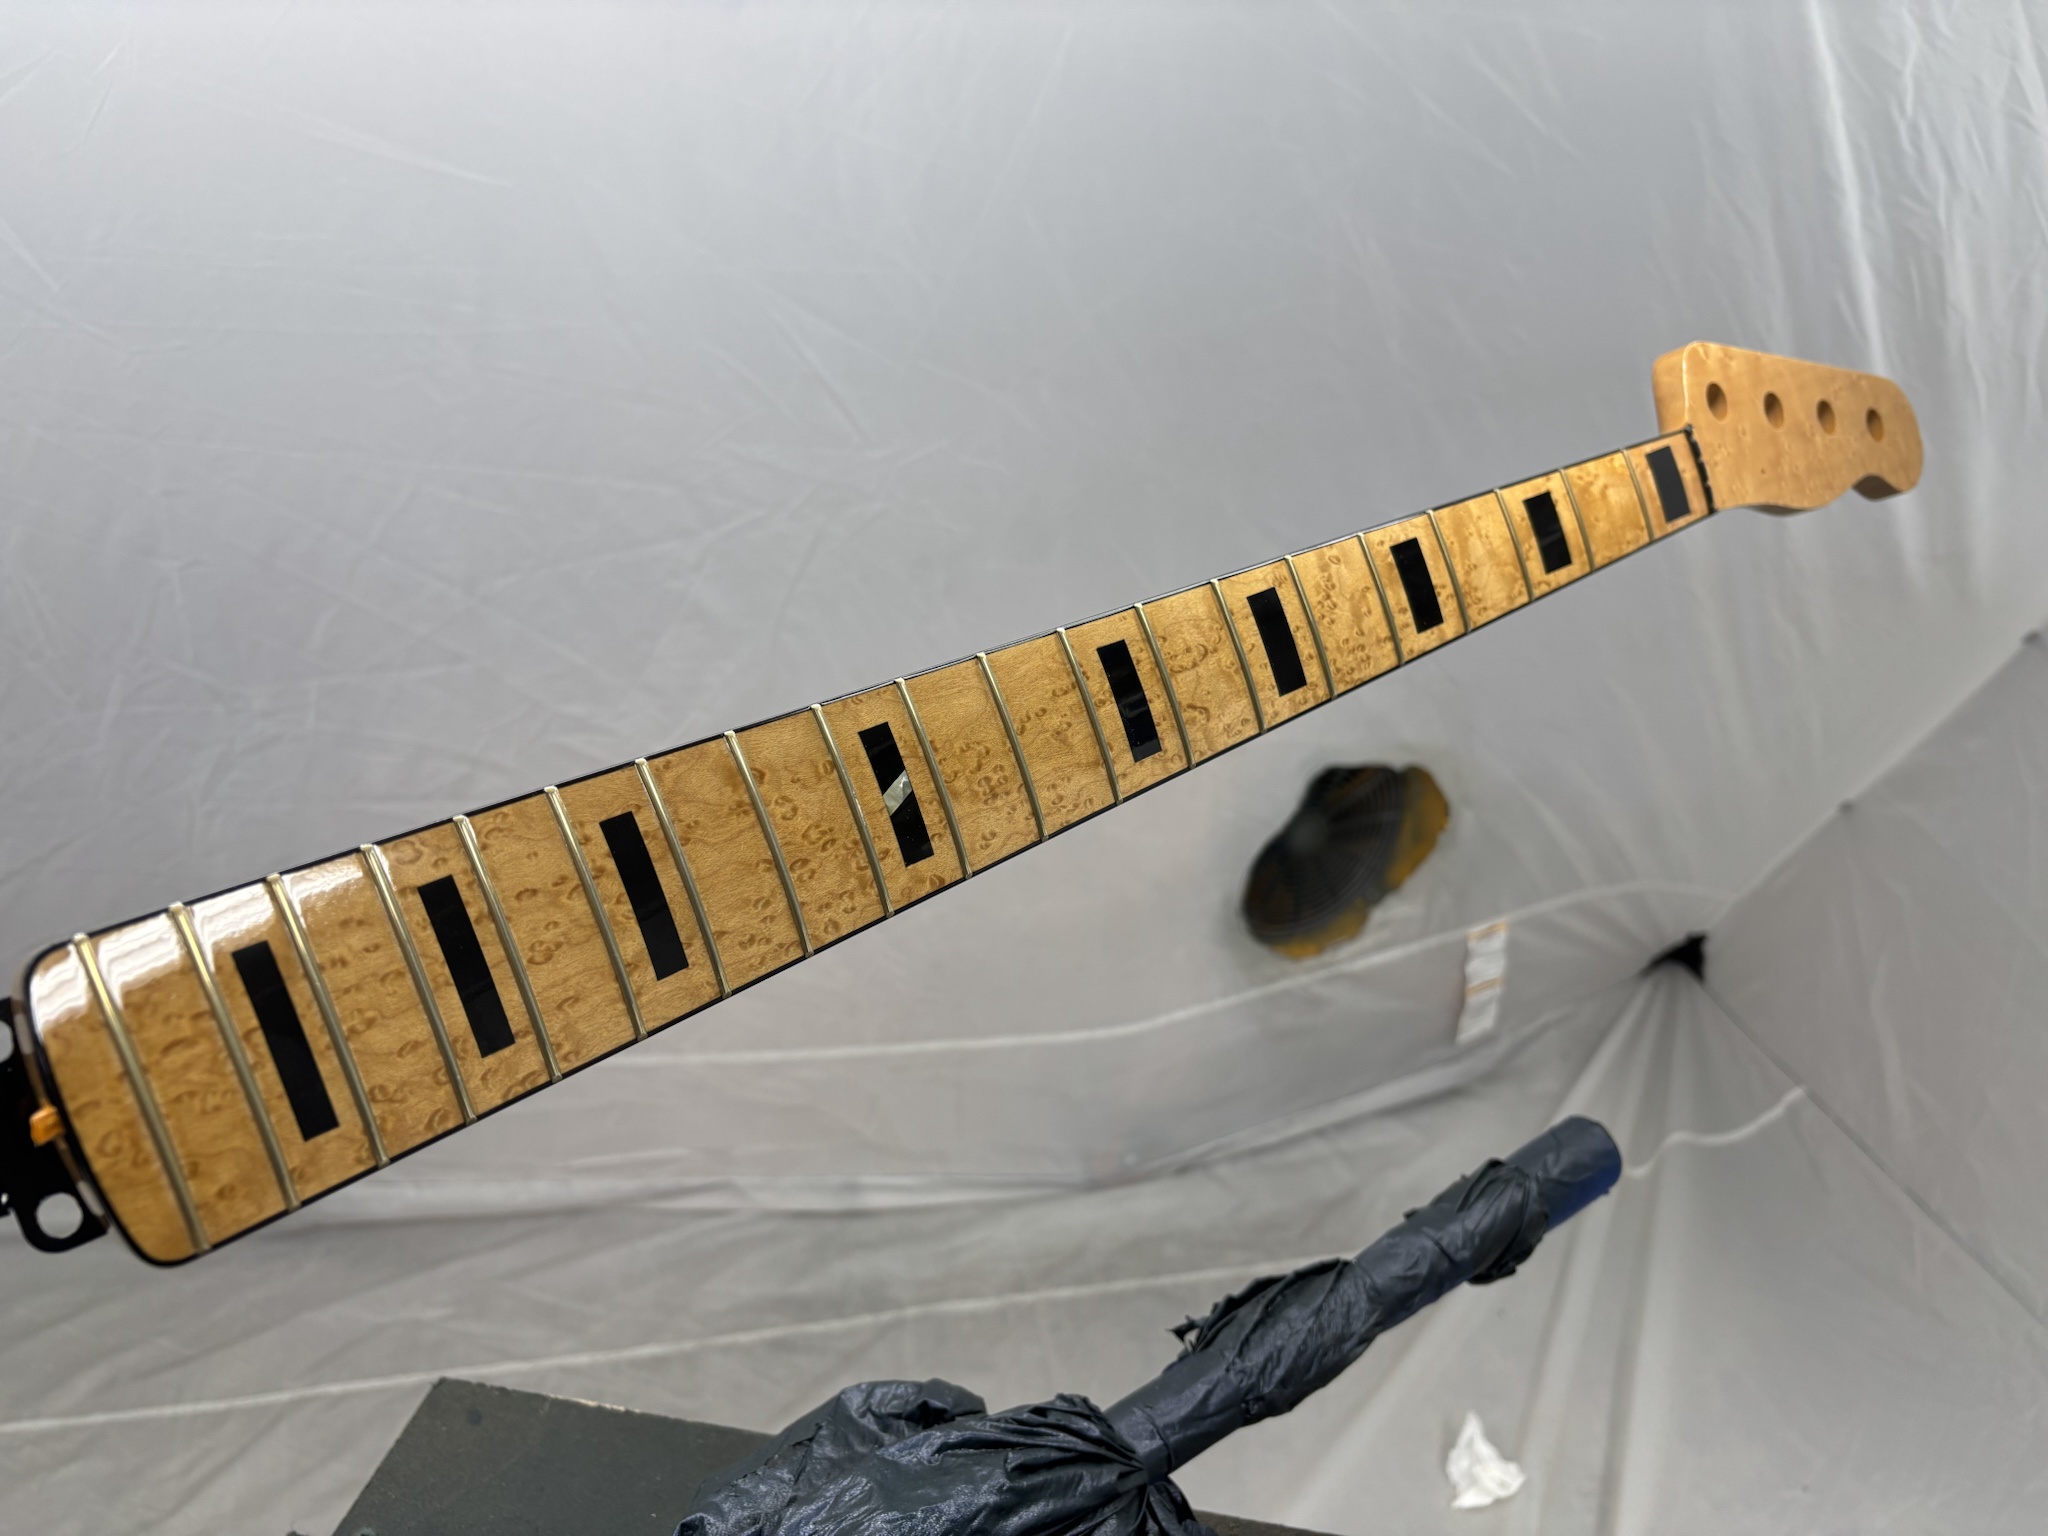
And here are some pics of the bass with some color and top coats applied. This is pretty much where things sit at the moment. I want to give everything a solid 1-2 weeks to dry completely before level sanding and polishing.

Pay no attention to the man in the reflection...
YeNNlDZ.jpg


Family photo.
mbE0aOc.jpg


oLgfBvU.jpg


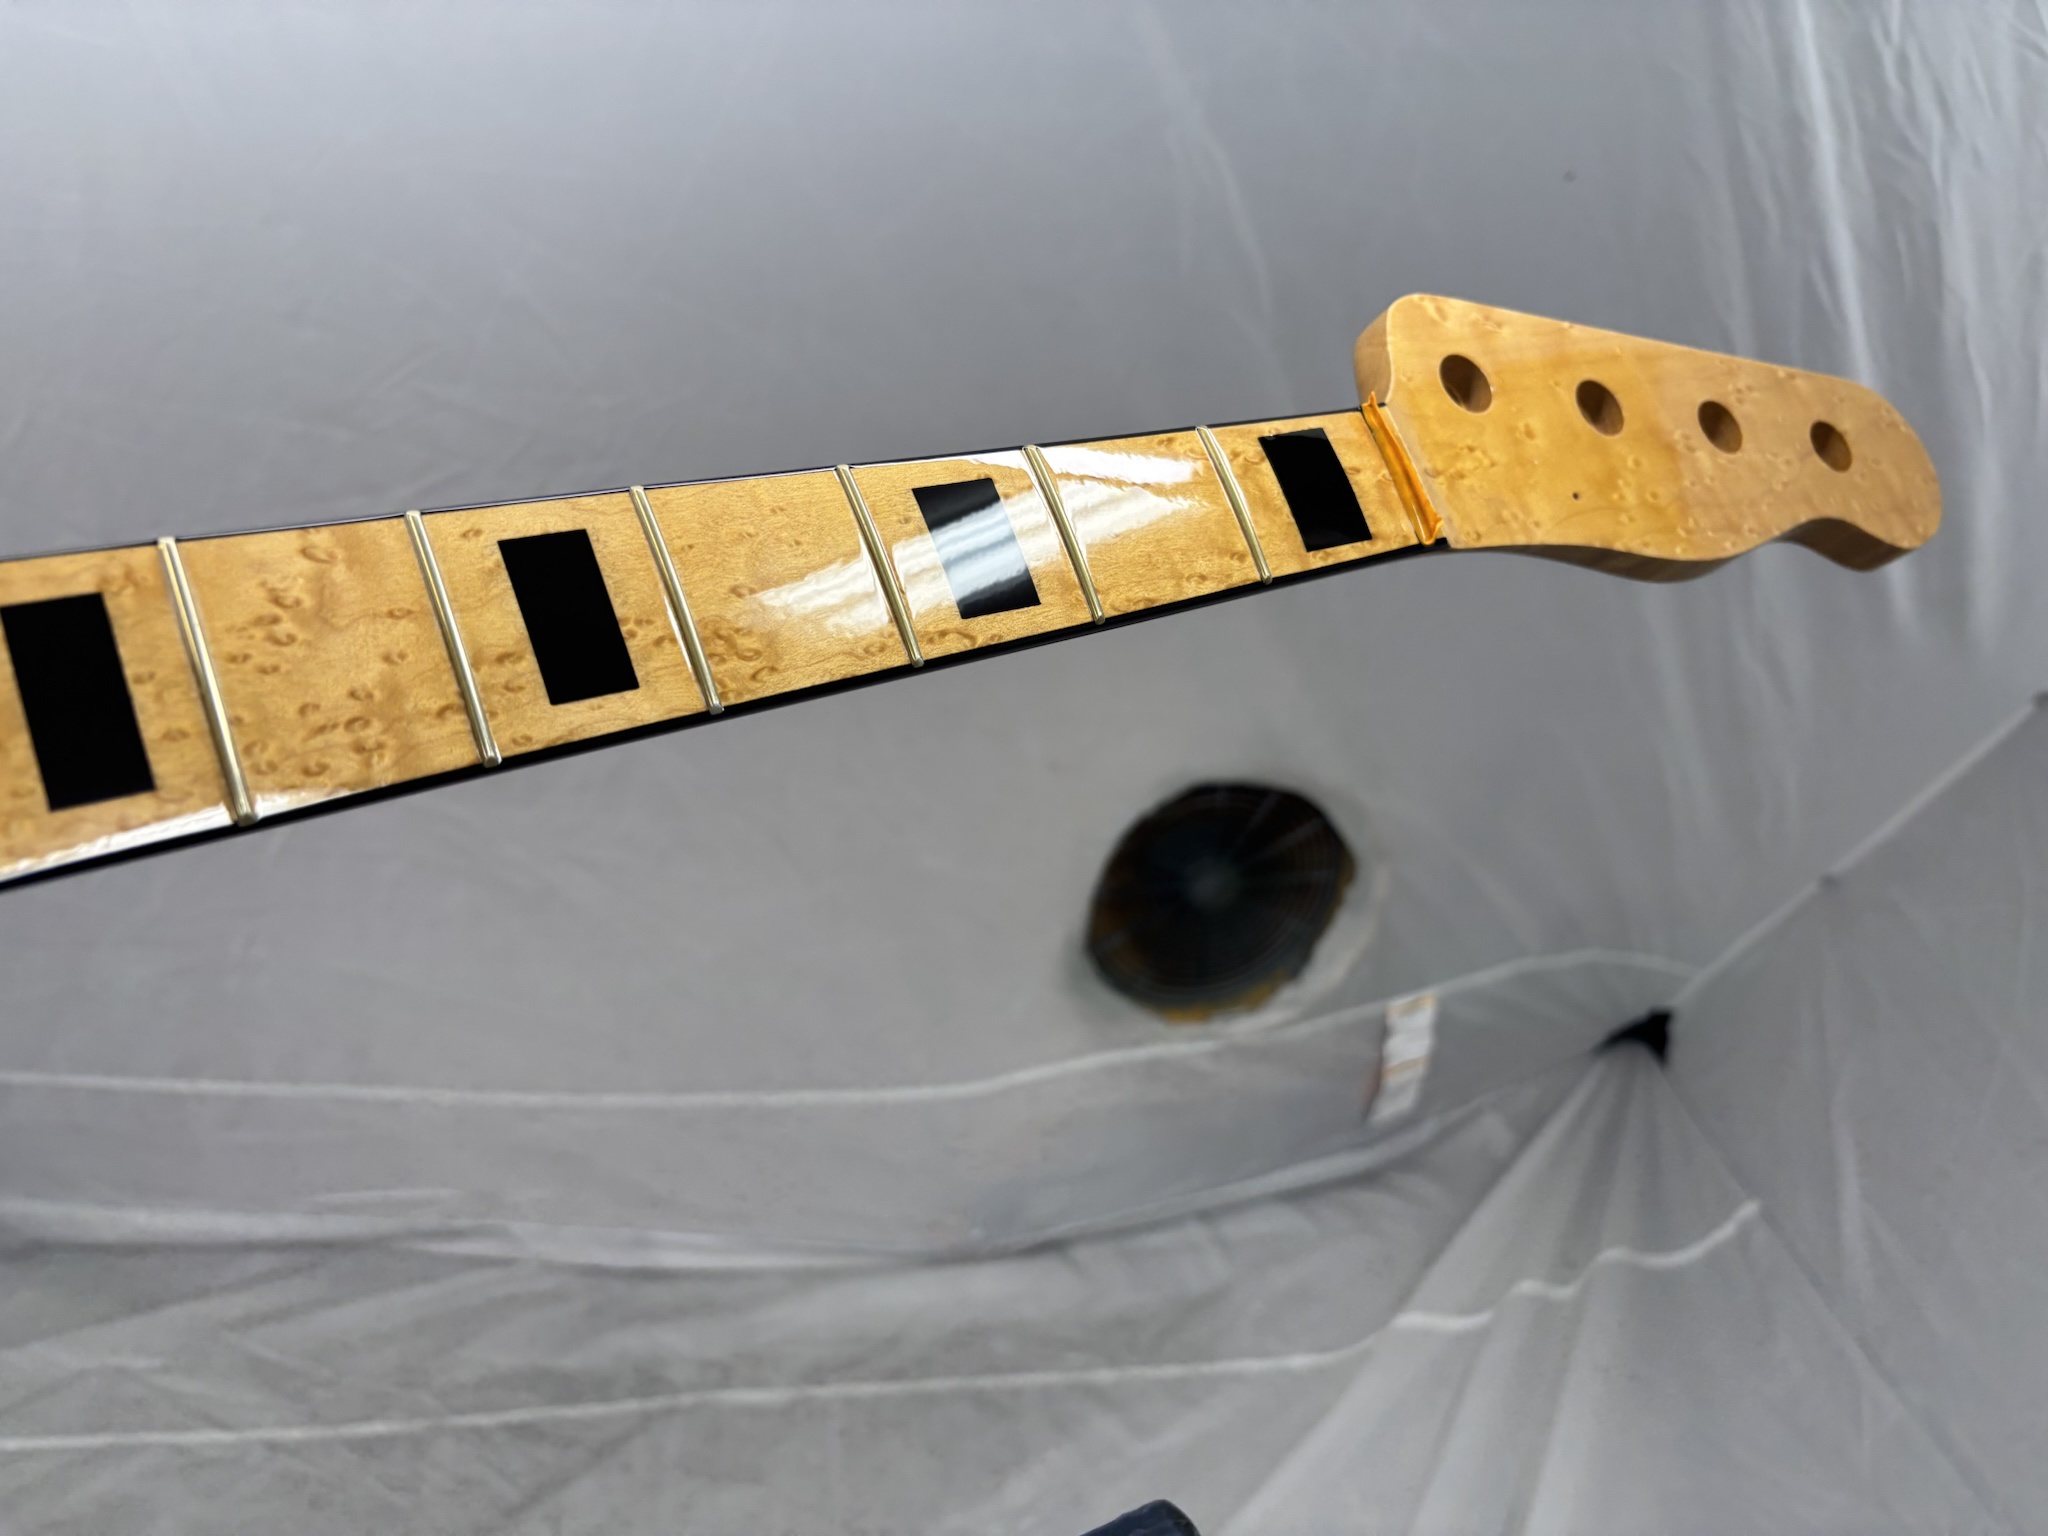
Surprisingly difficult to get good photos of the neck.
m8zEYqG.jpg


lPQbAdS.jpg


9FgaYKd.jpg


i0HuJu6.jpg


Does anyone want to see photos of the level sanding and polishing, or just finished product? I'm getting zero feedback, so not sure if these builds are worth documenting here any longer.
 
And here are some pics of the bass with some color and top coats applied. This is pretty much where things sit at the moment. I want to give everything a solid 1-2 weeks to dry completely before level sanding and polishing.

Pay no attention to the man in the reflection...
YeNNlDZ.jpg


Family photo.
mbE0aOc.jpg


oLgfBvU.jpg


Surprisingly difficult to get good photos of the neck.
m8zEYqG.jpg


lPQbAdS.jpg


9FgaYKd.jpg


i0HuJu6.jpg


Does anyone want to see photos of the level sanding and polishing, or just finished product? I'm getting zero feedback, so not sure if these builds are worth documenting here any longer.

I appreciate anything you care to post. I'm in awe of your patience and ability to craft such fine work. Whatever you want to post, I sure enjoy!! It's up to you!!

.
 
And here are some pics of the bass with some color and top coats applied. This is pretty much where things sit at the moment. I want to give everything a solid 1-2 weeks to dry completely before level sanding and polishing.

Pay no attention to the man in the reflection...
YeNNlDZ.jpg


Family photo.
mbE0aOc.jpg


oLgfBvU.jpg


Surprisingly difficult to get good photos of the neck.
m8zEYqG.jpg


lPQbAdS.jpg


9FgaYKd.jpg


i0HuJu6.jpg


Does anyone want to see photos of the level sanding and polishing, or just finished product? I'm getting zero feedback, so not sure if these builds are worth documenting here any longer.


Looking good! Is that BRG?

I've level sanded and buffed myself so I know what it looks like but if you post about it I'll definitely read and "like." I enjoy your build threads and, heck, you're the culprit who started me down the metalflake and pearl route so please keep posting.
 
Im watching 🙂

I don't need pics of the sanding, buff, and polish process. But if other folks wanna see, it's cool. You do get pretty stunning results.

I appreciate anything you care to post. I'm in awe of your patience and ability to craft such fine work. Whatever you want to post, I sure enjoy!! It's up to you!!

.

Thanks, guys. I'll pop up a few progress pics. :)
 
Looking good! Is that BRG?

I've level sanded and buffed myself so I know what it looks like but if you post about it I'll definitely read and "like." I enjoy your build threads and, heck, you're the culprit who started me down the metalflake and pearl route so please keep posting.

Yep, classic BRG. :D It looks sorta blah by itself, but I think it will really come to life with hardware and the pickguard.

I'm definitely still learning and finding my way with these finishing techniques. Love the flake and pearl every time I do one, but certainly a lot of work. What paint products are you shooting these days?
 
Yep, classic BRG. :D It looks sorta blah by itself, but I think it will really come to life with hardware and the pickguard.

I'm definitely still learning and finding my way with these finishing techniques. Love the flake and pearl every time I do one, but certainly a lot of work. What paint products are you shooting these days?


Same stuff. Createx and Varathane. I'd like to try the EM9300 that Bruce is using. Maybe I'll be able to afford some in spring. I probably won't be painting again before then. I wouldn't mind having access to a big boy spray booth and try some of the automotive stuff but I don't know anyone with. I know, you spray them in the garage but my wife has some medical issues and I'd rather not chance it. Maybe if we find a place with a separate shop someday.
 
  • Like
Reactions: Gary_M
Yes, please keep posting. I have to admit to being one of those who watch and don't post. Even though when I do post something of my own, it's disappointing if nobody comments. A comment is worth half a dozen 'likes', even if it's only "Nice job". I'm not really a fan of painted instruments, in fact I think the Tele would look great just laquered but, as the French say "Les goûts et les couleurs ne se discutent pas" (There's no accounting for taste).
 
Yes, please keep posting. I have to admit to being one of those who watch and don't post. Even though when I do post something of my own, it's disappointing if nobody comments. A comment is worth half a dozen 'likes', even if it's only "Nice job". I'm not really a fan of painted instruments, in fact I think the Tele would look great just laquered but, as the French say "Les goûts et les couleurs ne se discutent pas" (There's no accounting for taste).

You are totally correct about the comments...thanks!

.
 
  • Like
Reactions: Gary_M