• TalkBass has been independent since 1998. Add your voice.
    Create a free account to reply to discussions, view embedded media, and browse with fewer display ads.
    Join freeLog in
    Want zero display ads or expanded classifieds tools? Compare plans.

Summer Build Off 2024 - Slab body P/J

Gary_M

Chronically over-encumbered
Gold Supporting Member
Oct 19, 2013
2,228
9,738
Northern Indiana
Hey gang, I'm finally ready to jump into the fray for SBO 2024. This build is a continuation of my secondary WBO 2024 build, which can be found here:
https://www.talkbass.com/threads/winter-build-off-2024-best-bass-for-kevin.1634243/

The only progress I made at that time was flattening the body blank. Since that is still just a body blank, this will be entered as a scratch build.

Anyway, this bass is a build for my friend, Kevin. It's going to be a mash-up of sorts.

Here are the specifications as they are currently planned:
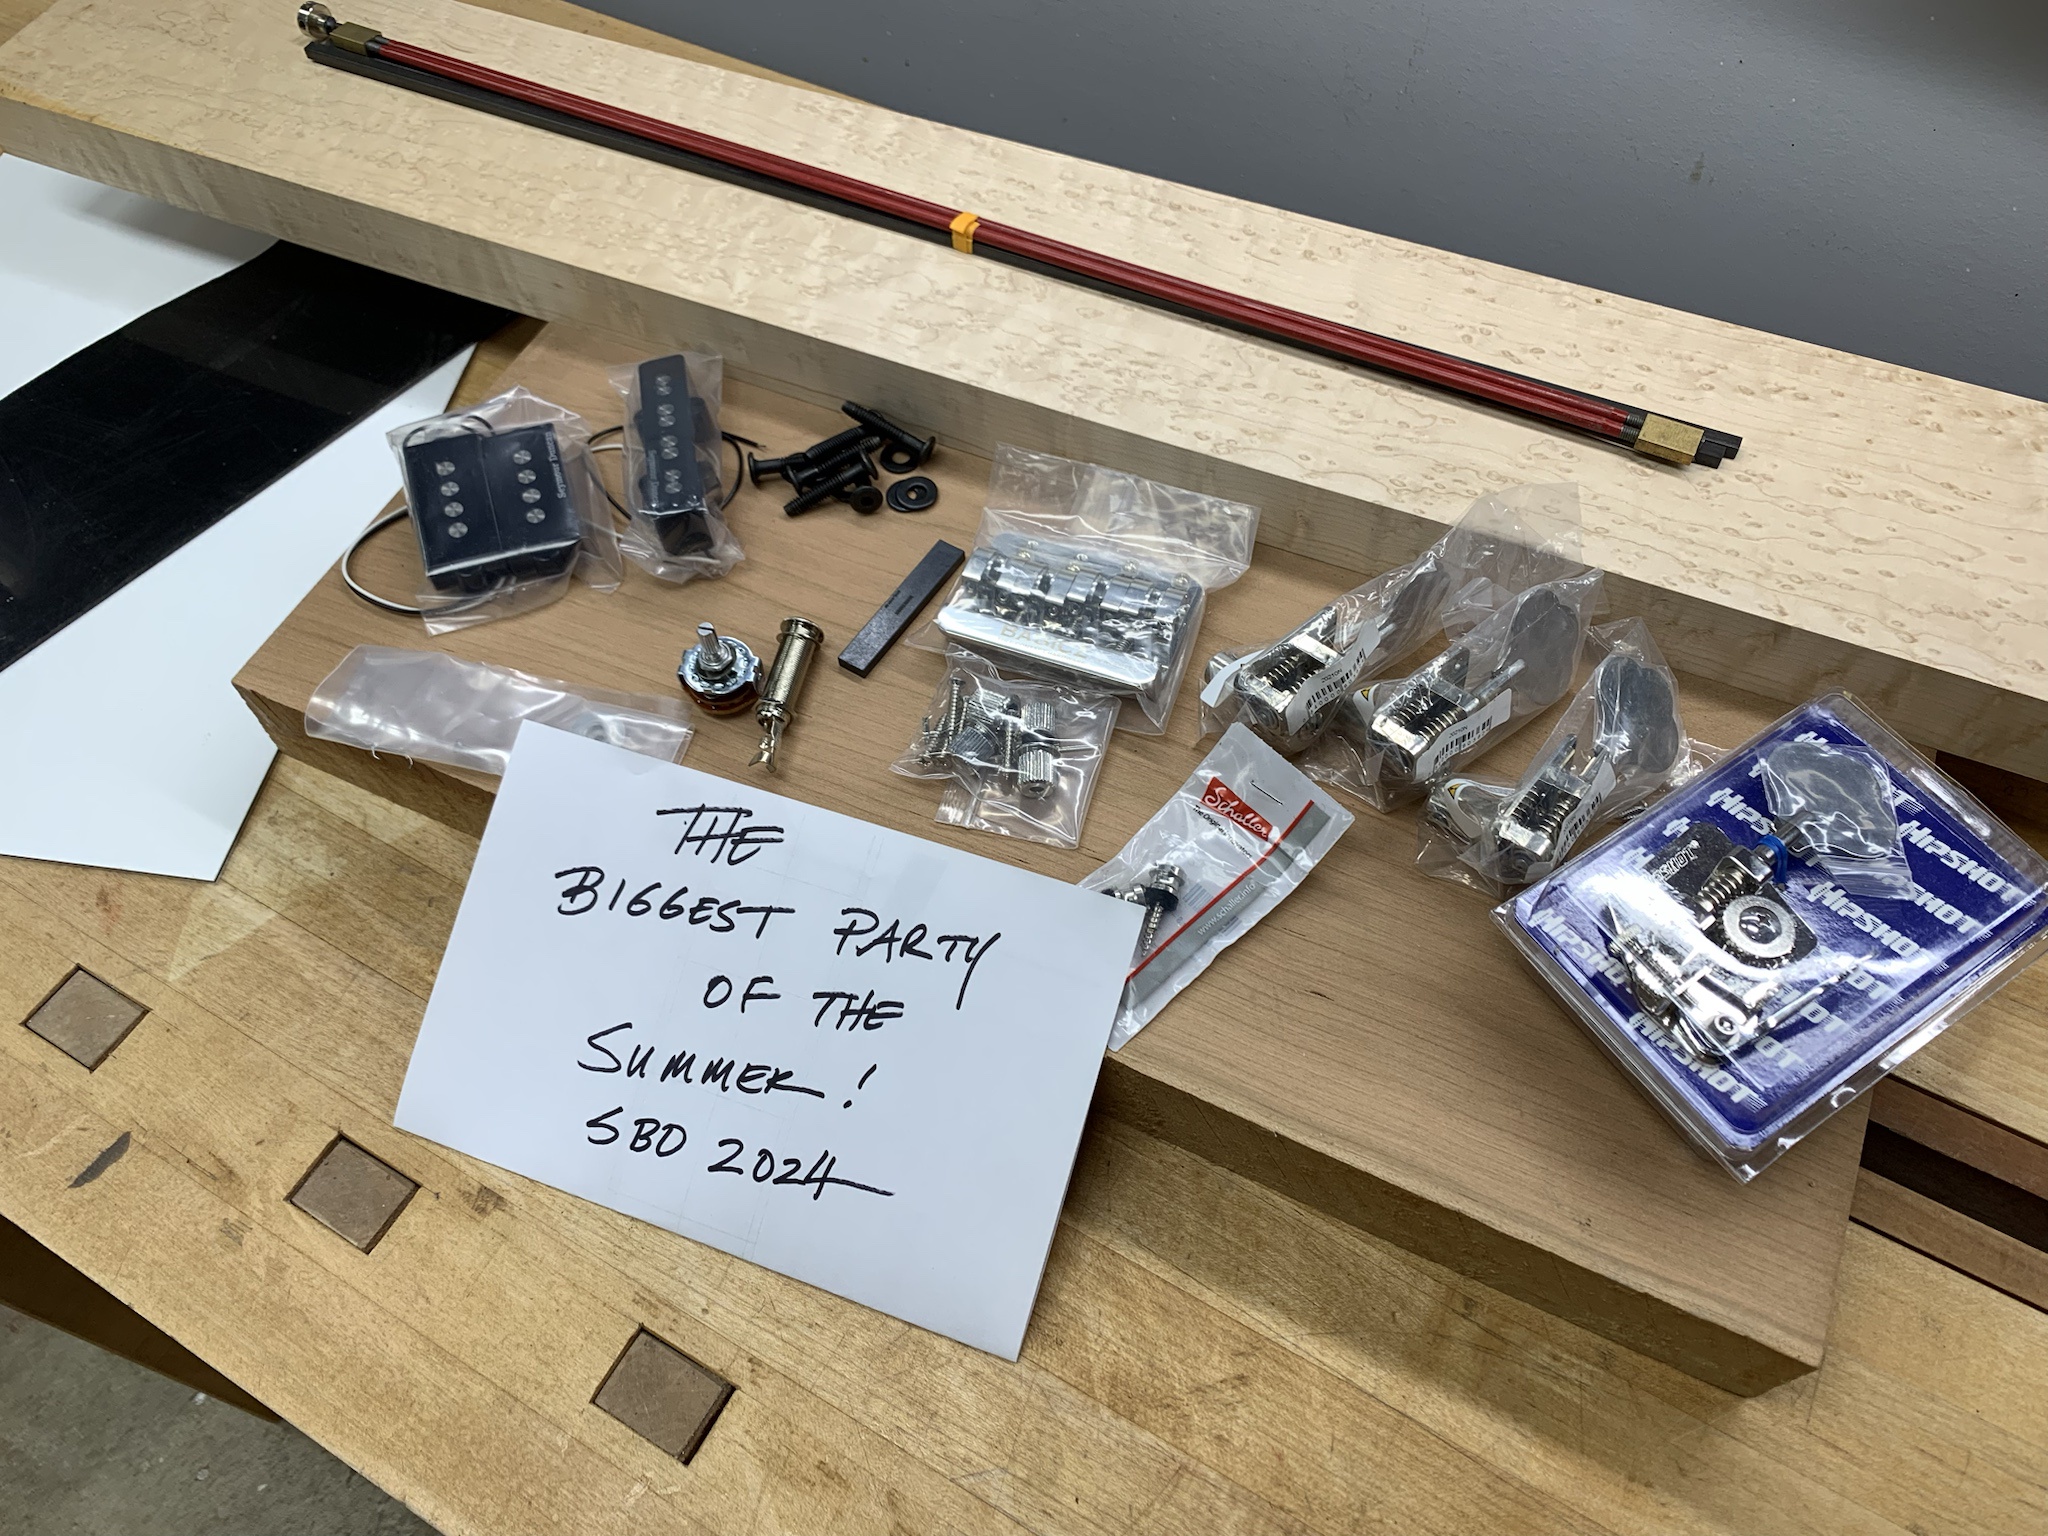
  • Slab body
    • 1 piece cherry (and yes, it's heavy)
    • Standard, modern P bass shaped pickguard in W/B/W
  • Birdseye maple neck and fretboard
    • Tele headstock
    • Bound and blocked (black)
    • CF reinforcement rods
    • Nickel clover tuners with Hipshot Xtender
    • Jazz sized neck dimensions
    • Furniture bolts and BruceBars neck attachment
  • SD Quarter Pounder P/J Set
    • 2 Volume/Tone stacked knobs (ala '62 Jazz)
    • Side mount output jack
    • 4 position rotary pickup selection switch (Neck, both, bridge, off)
  • Babicz bridge (nickel)
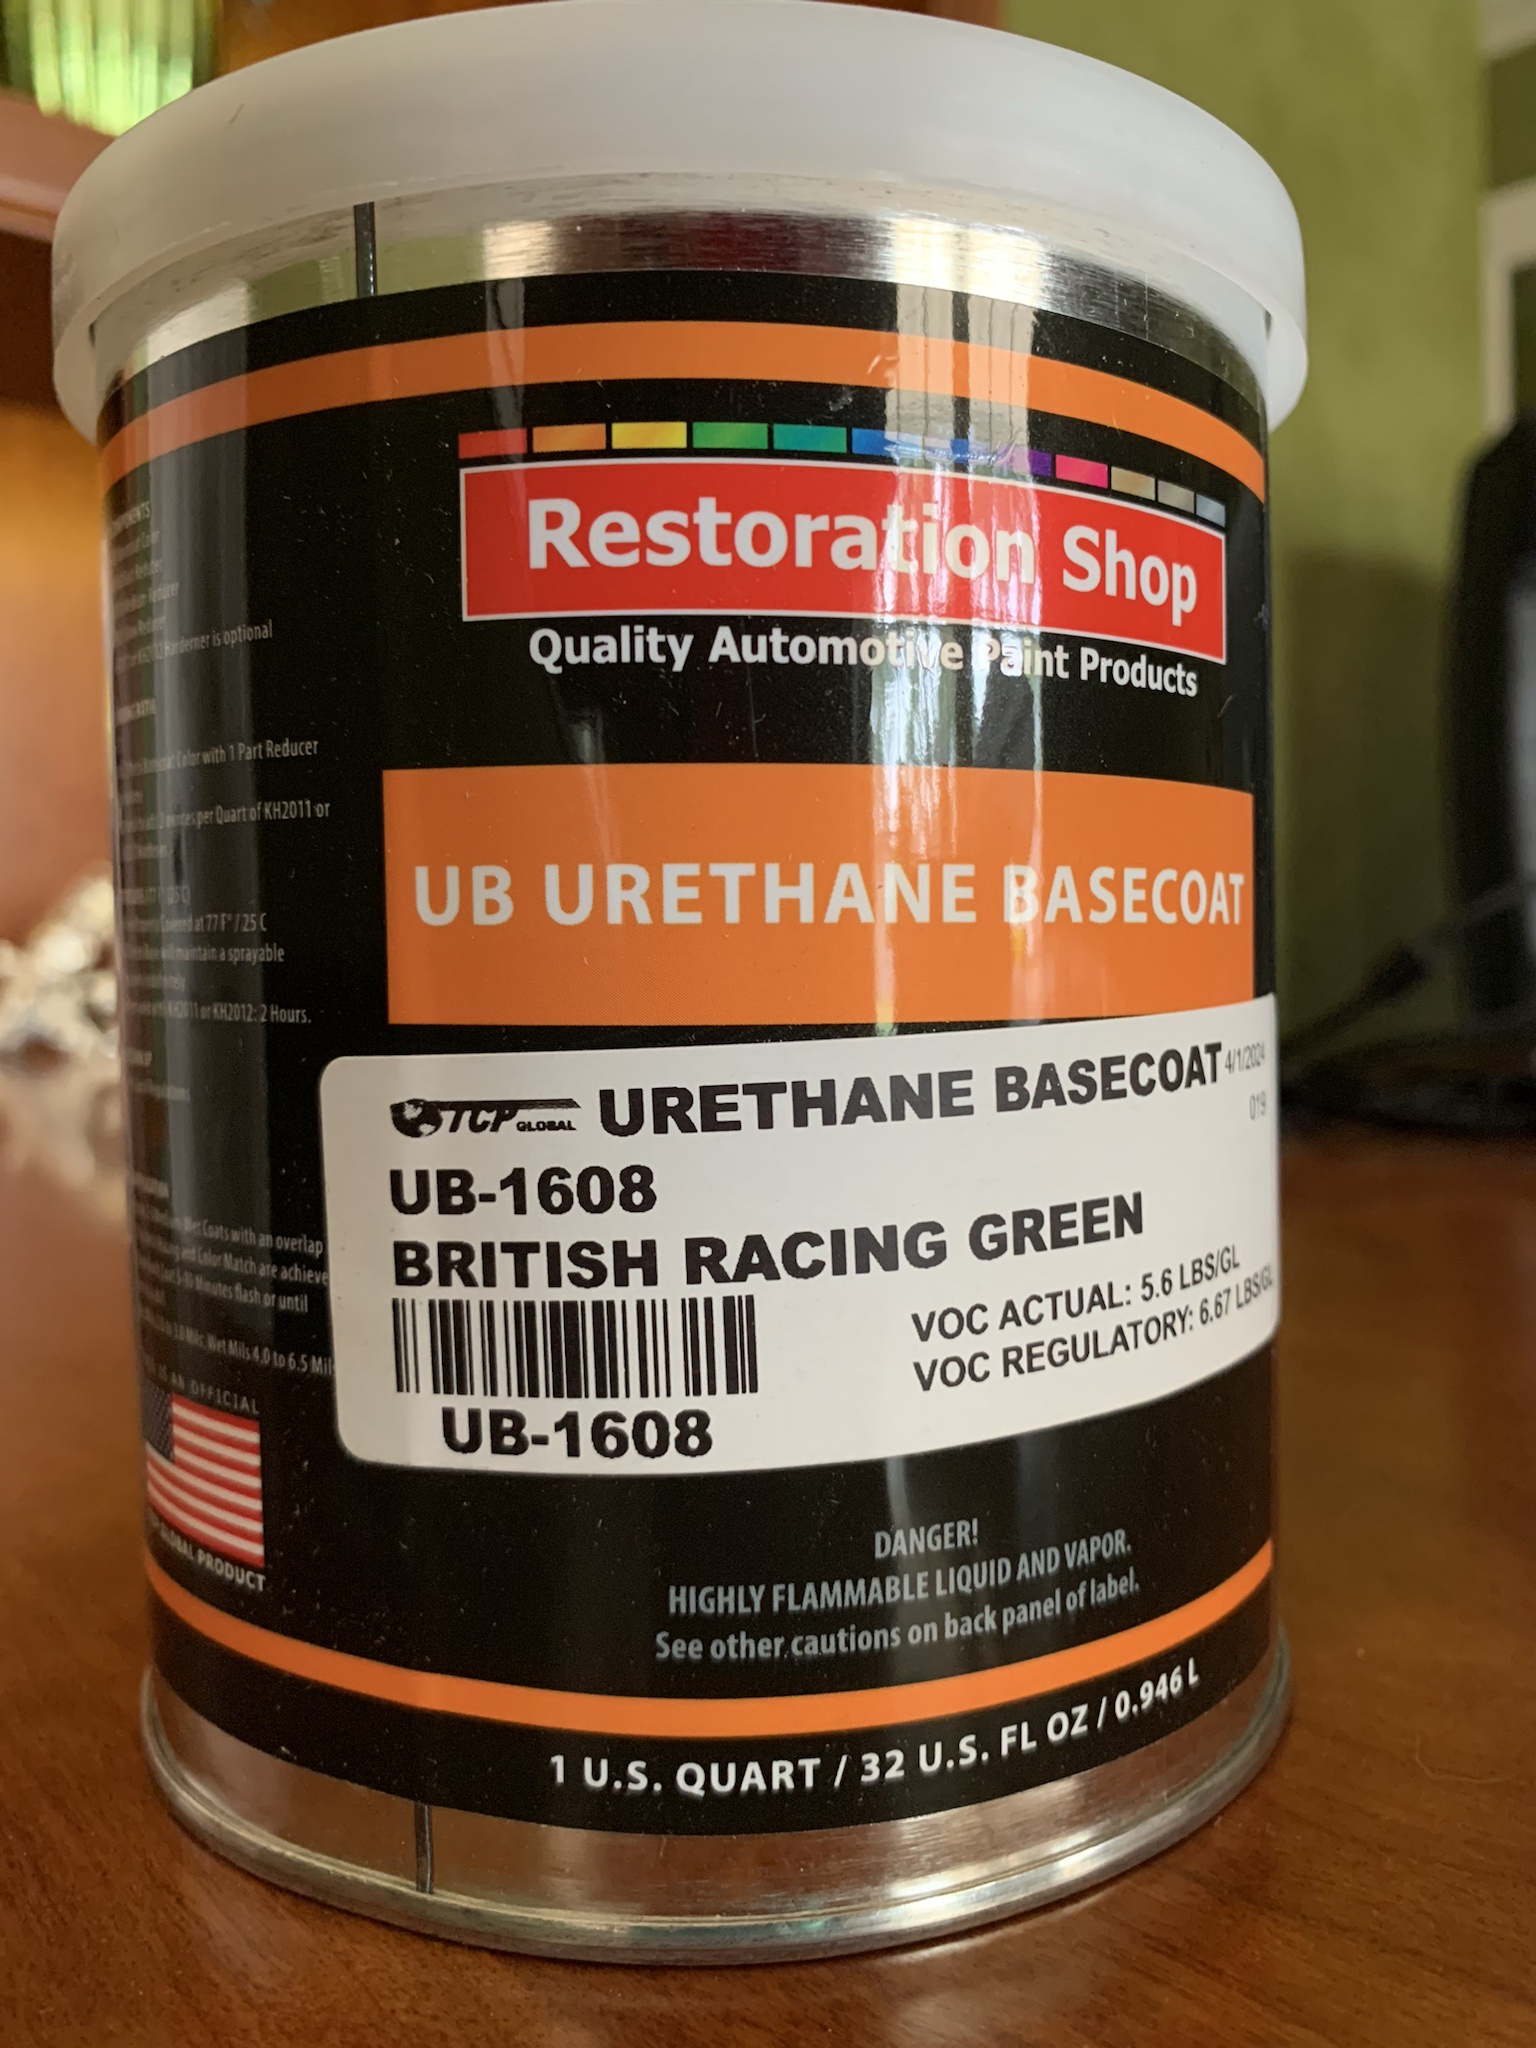
  • Body will be finished in British Racing Green (urethane)
  • Neck will be finished in clear
Pile 'o wood:
uSuudxY.jpg


I still need to order the stacked pots and knobs, but I think I have most everything else. Should be a fun build, hopefully making some sawdust very soon. :)
 
Last edited:
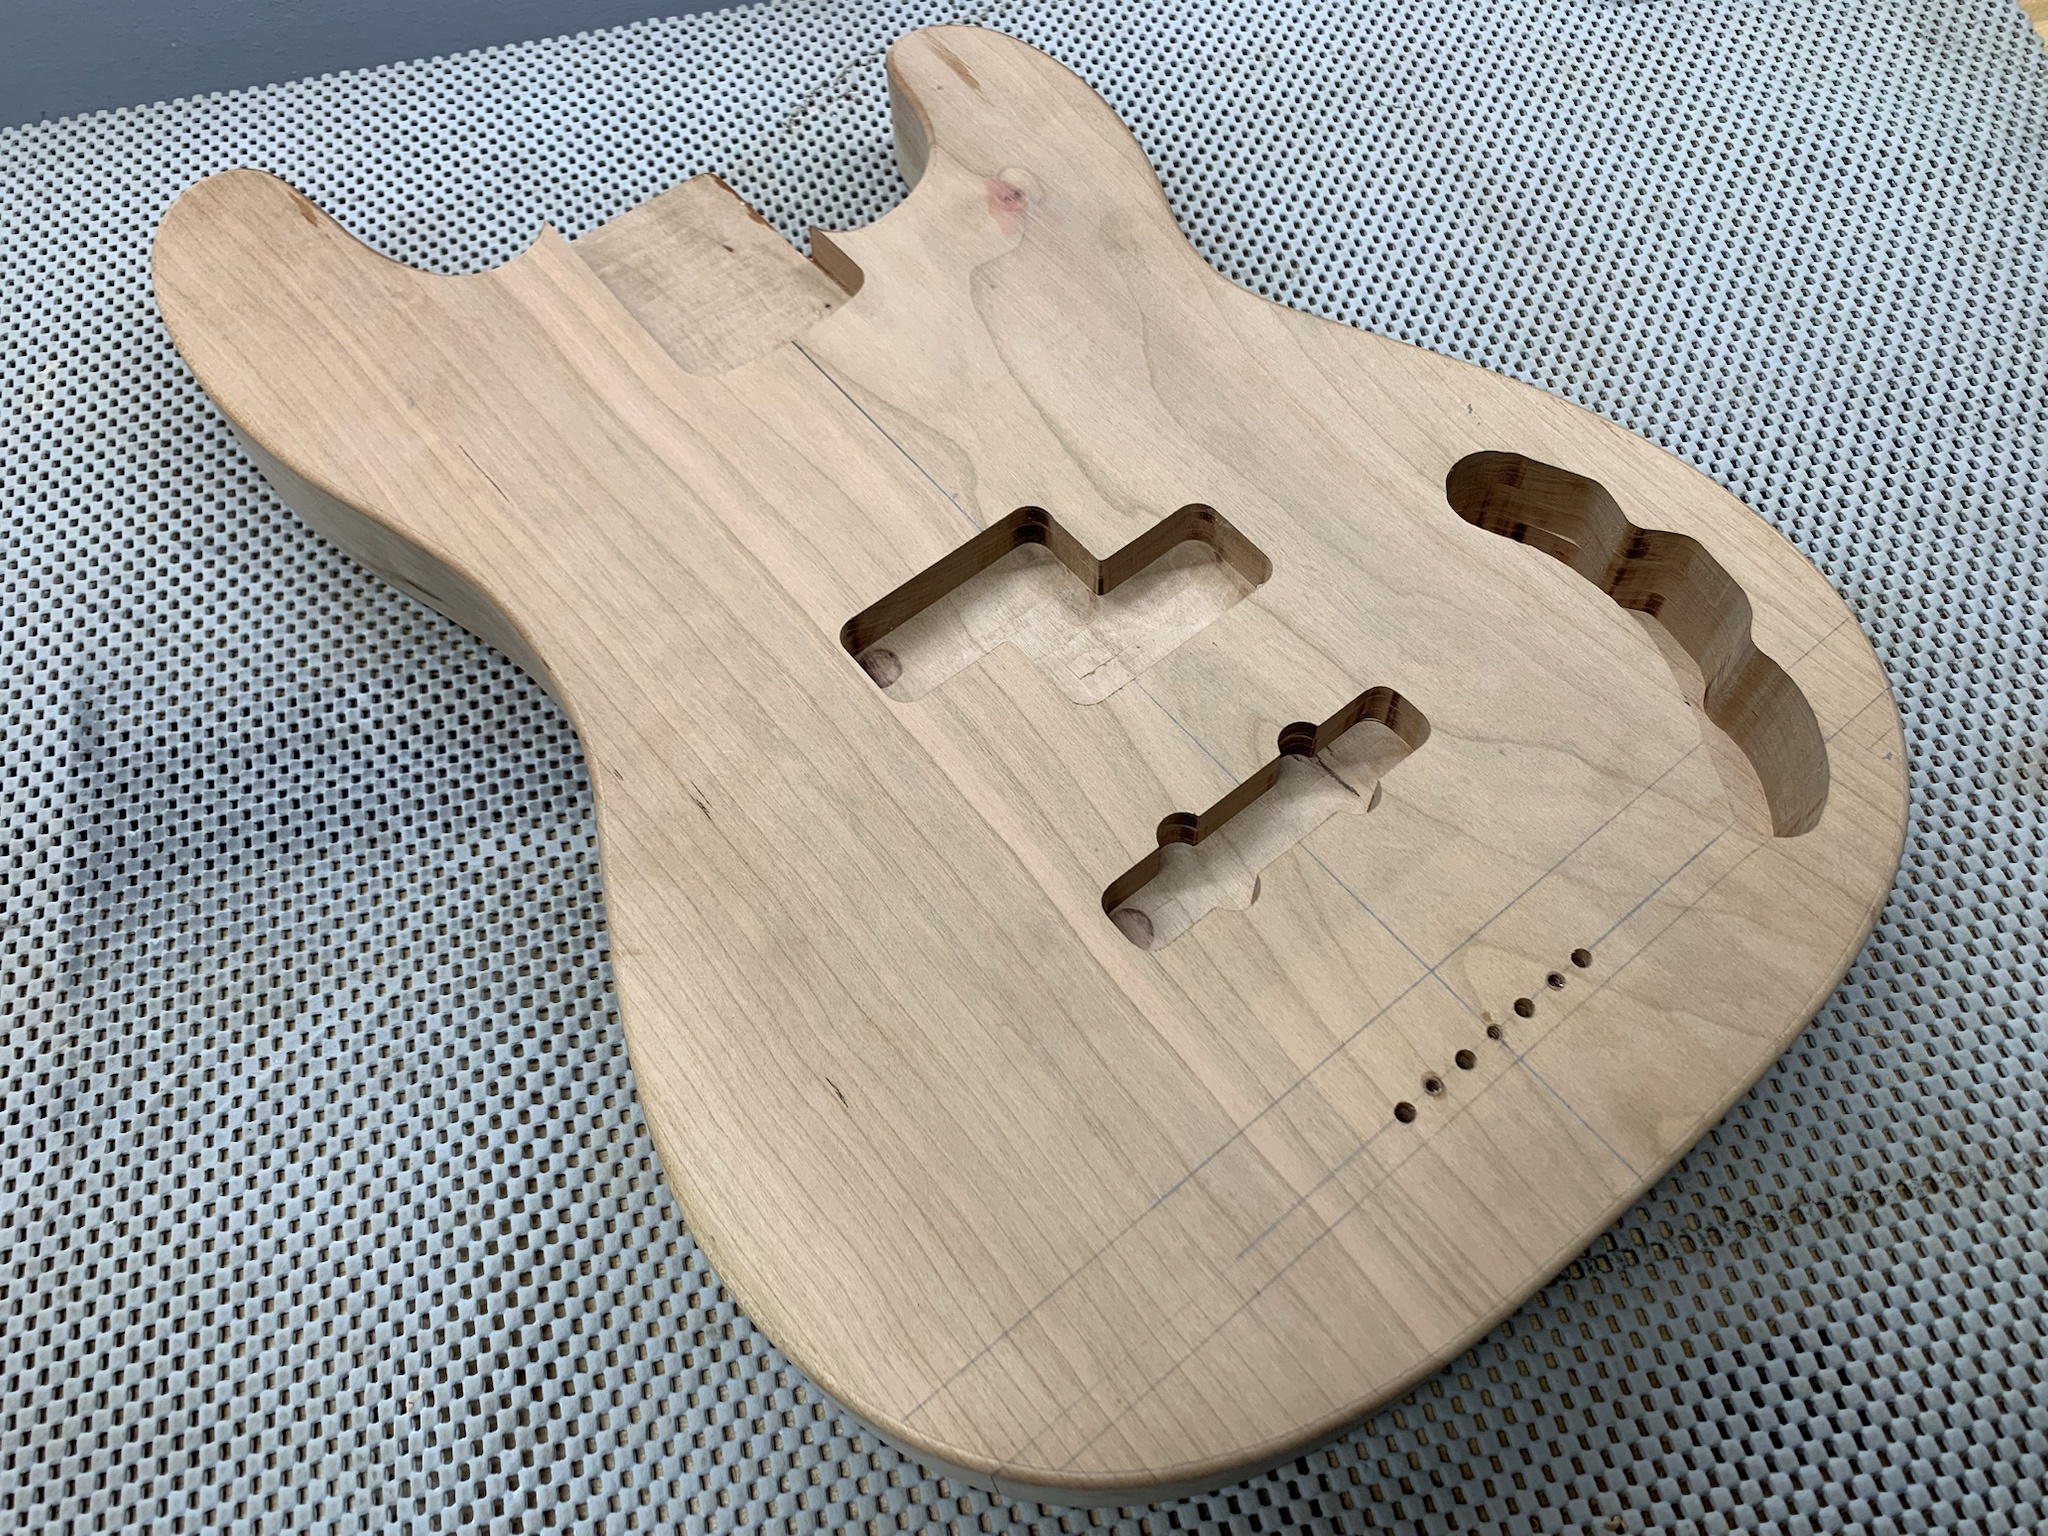
I've been able to make some progress on the body for the slab P/J project in the past week, so here are the highlights.

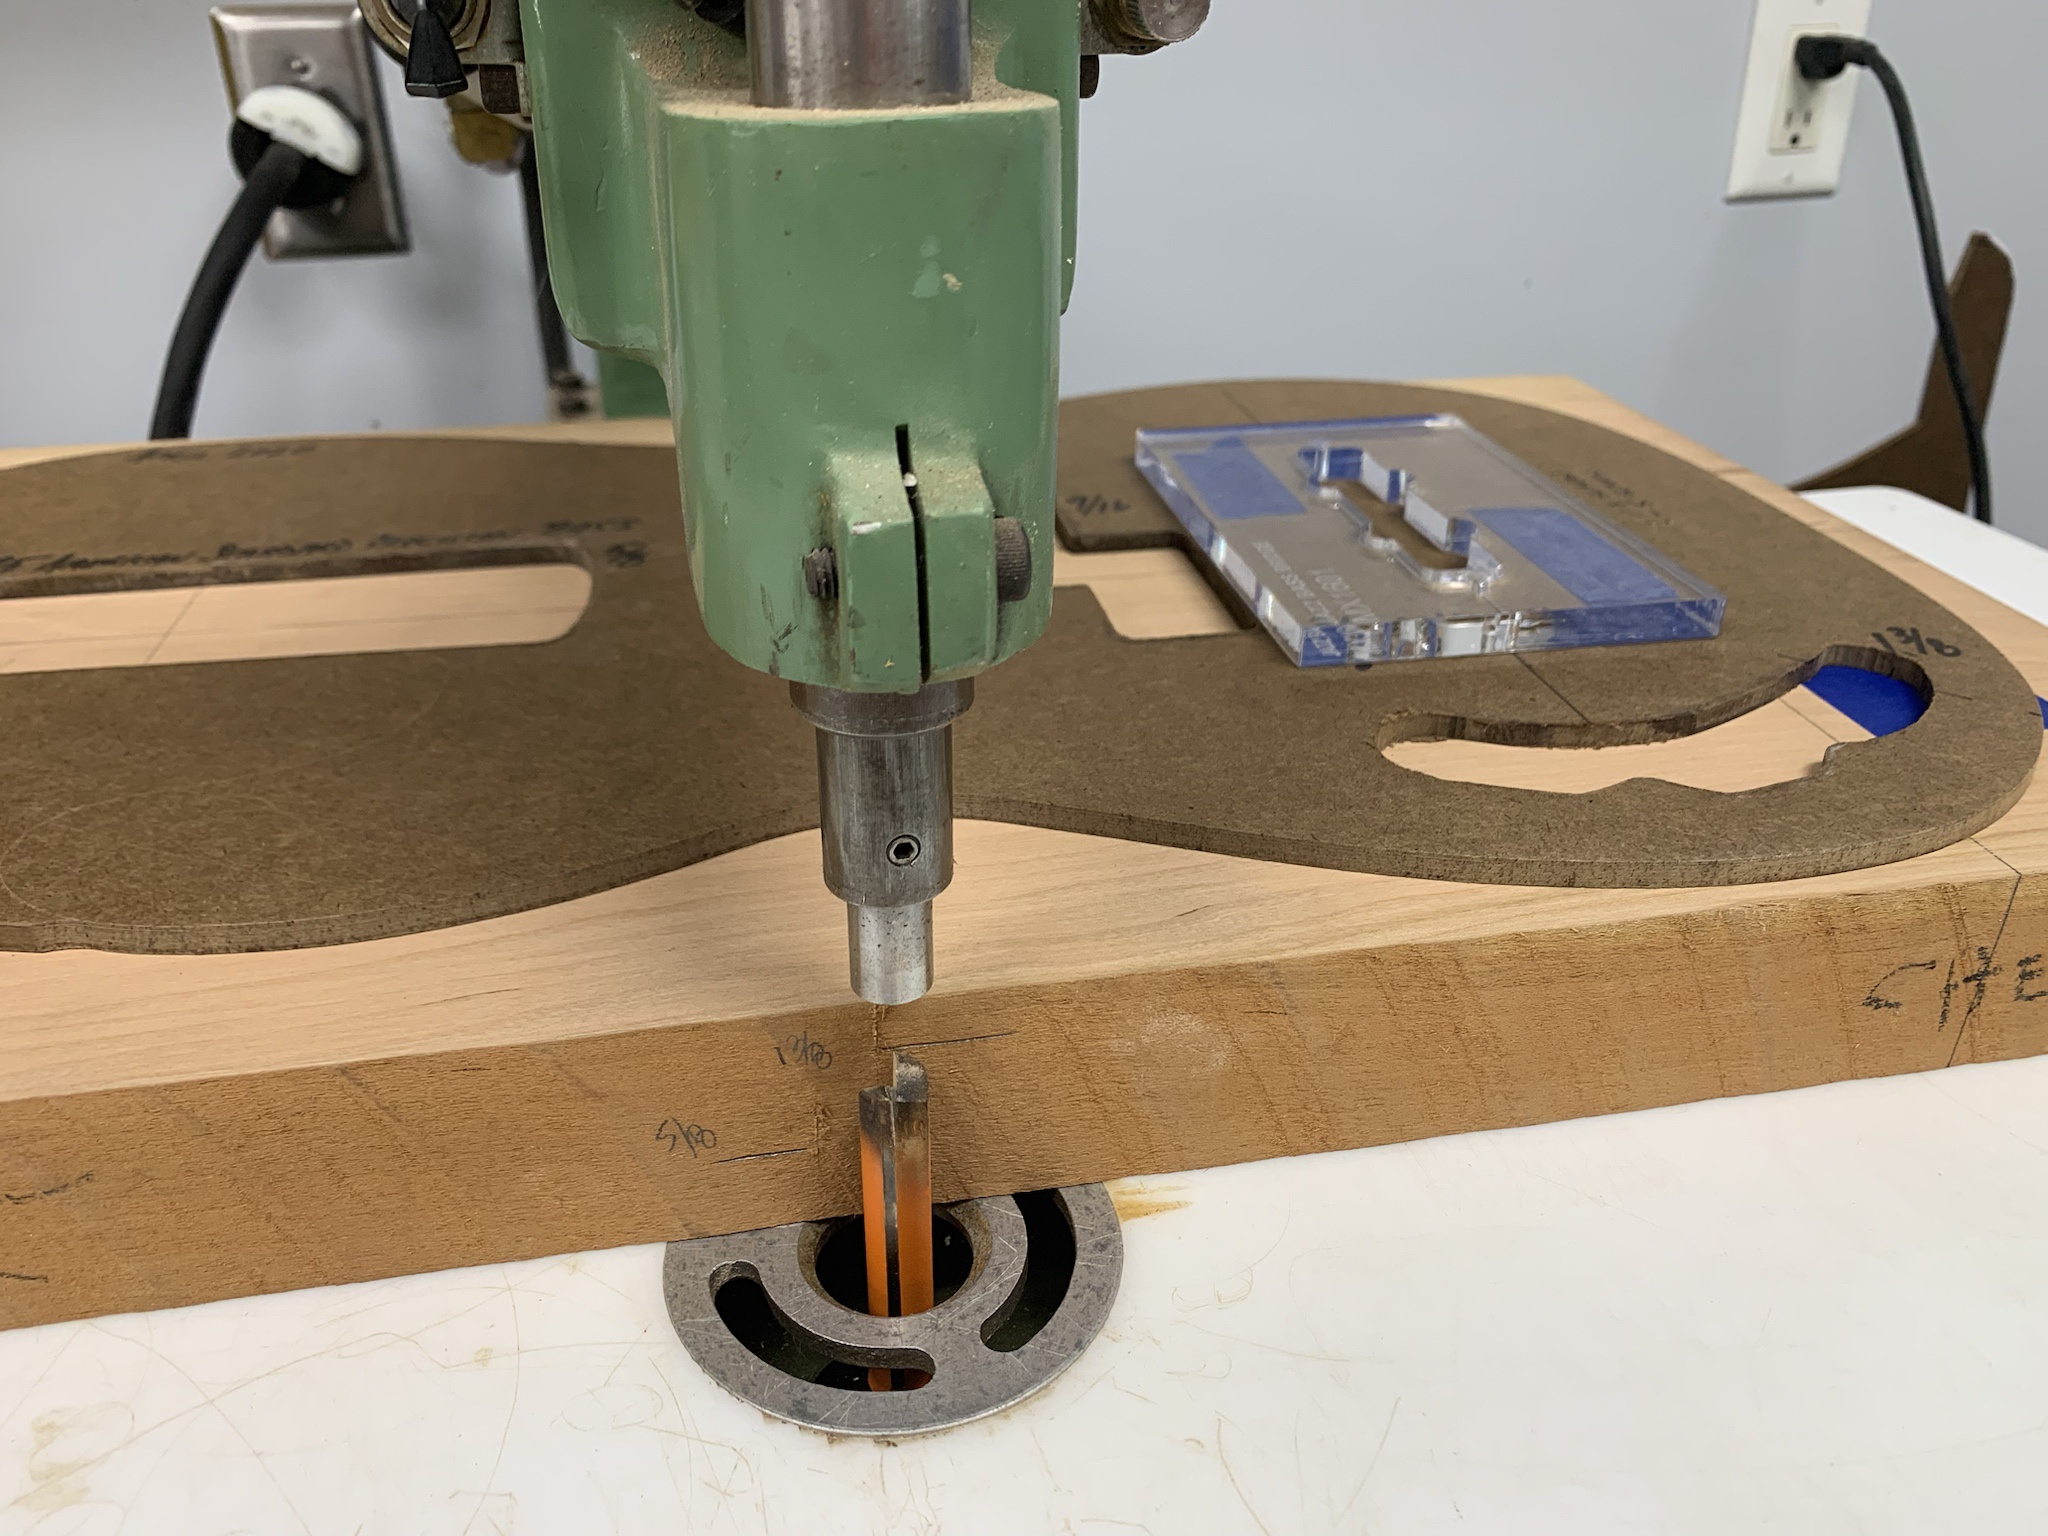
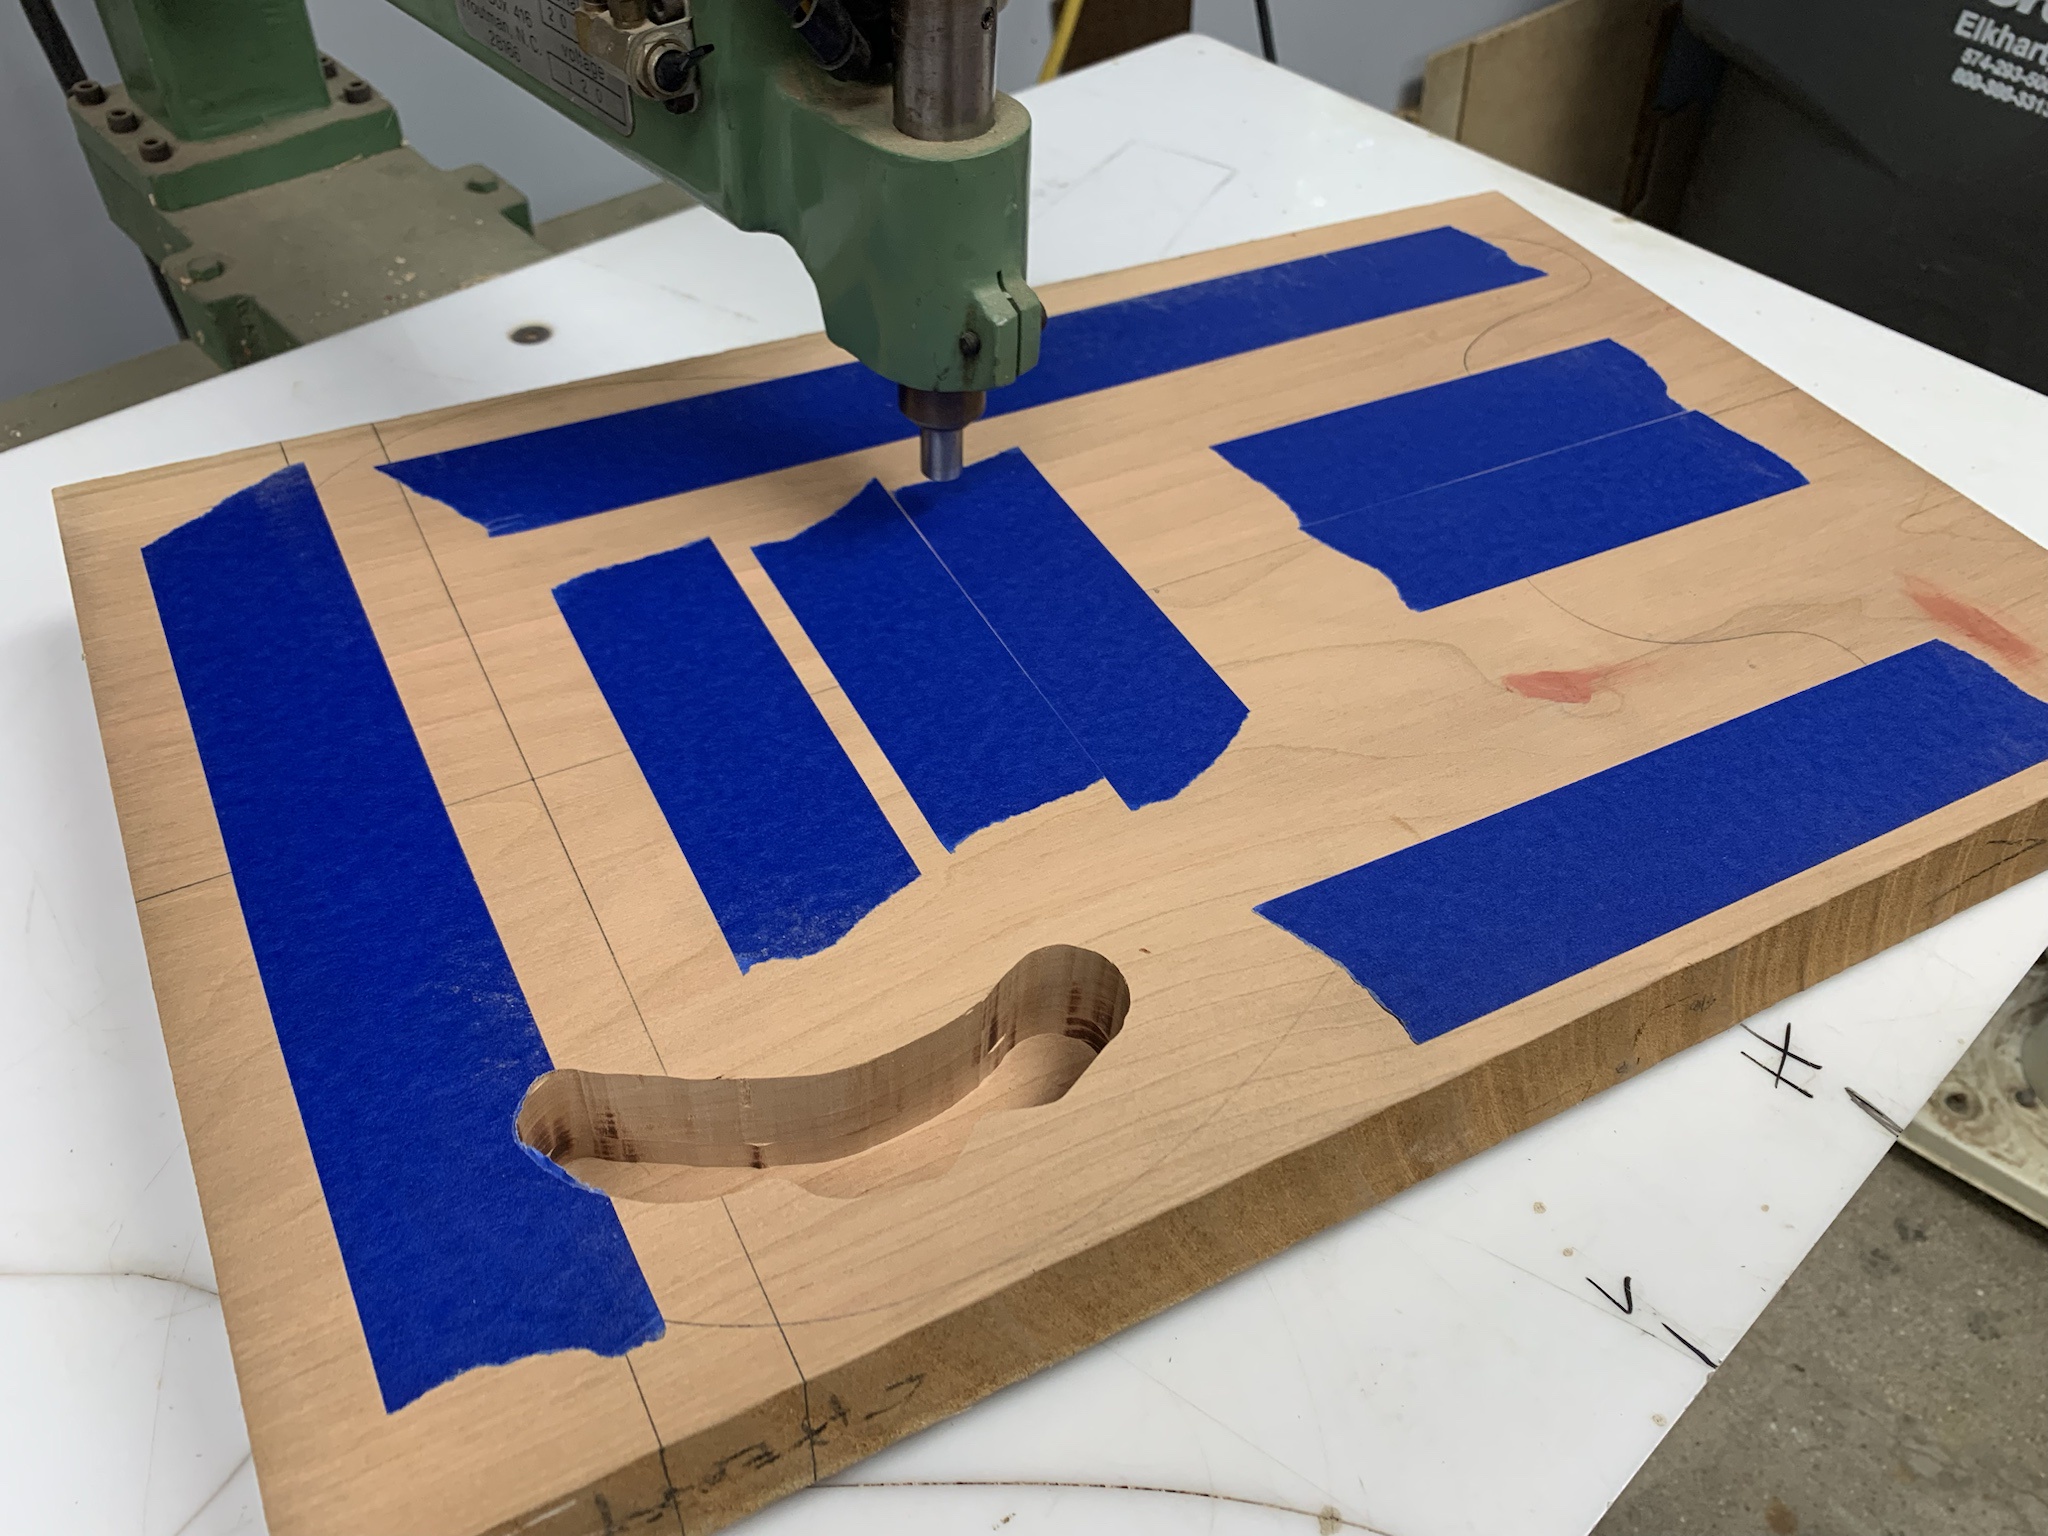
I added the bridge position Jazz pickup template to my existing P Bass template. I got the whole thing mounted to the cherry body blank and took it to the inverted pin router. Here I'm setting the max depth position for the control cavity. There are 2 other turret stops set that are roughly in thirds of this depth.

OAqCylh.jpg


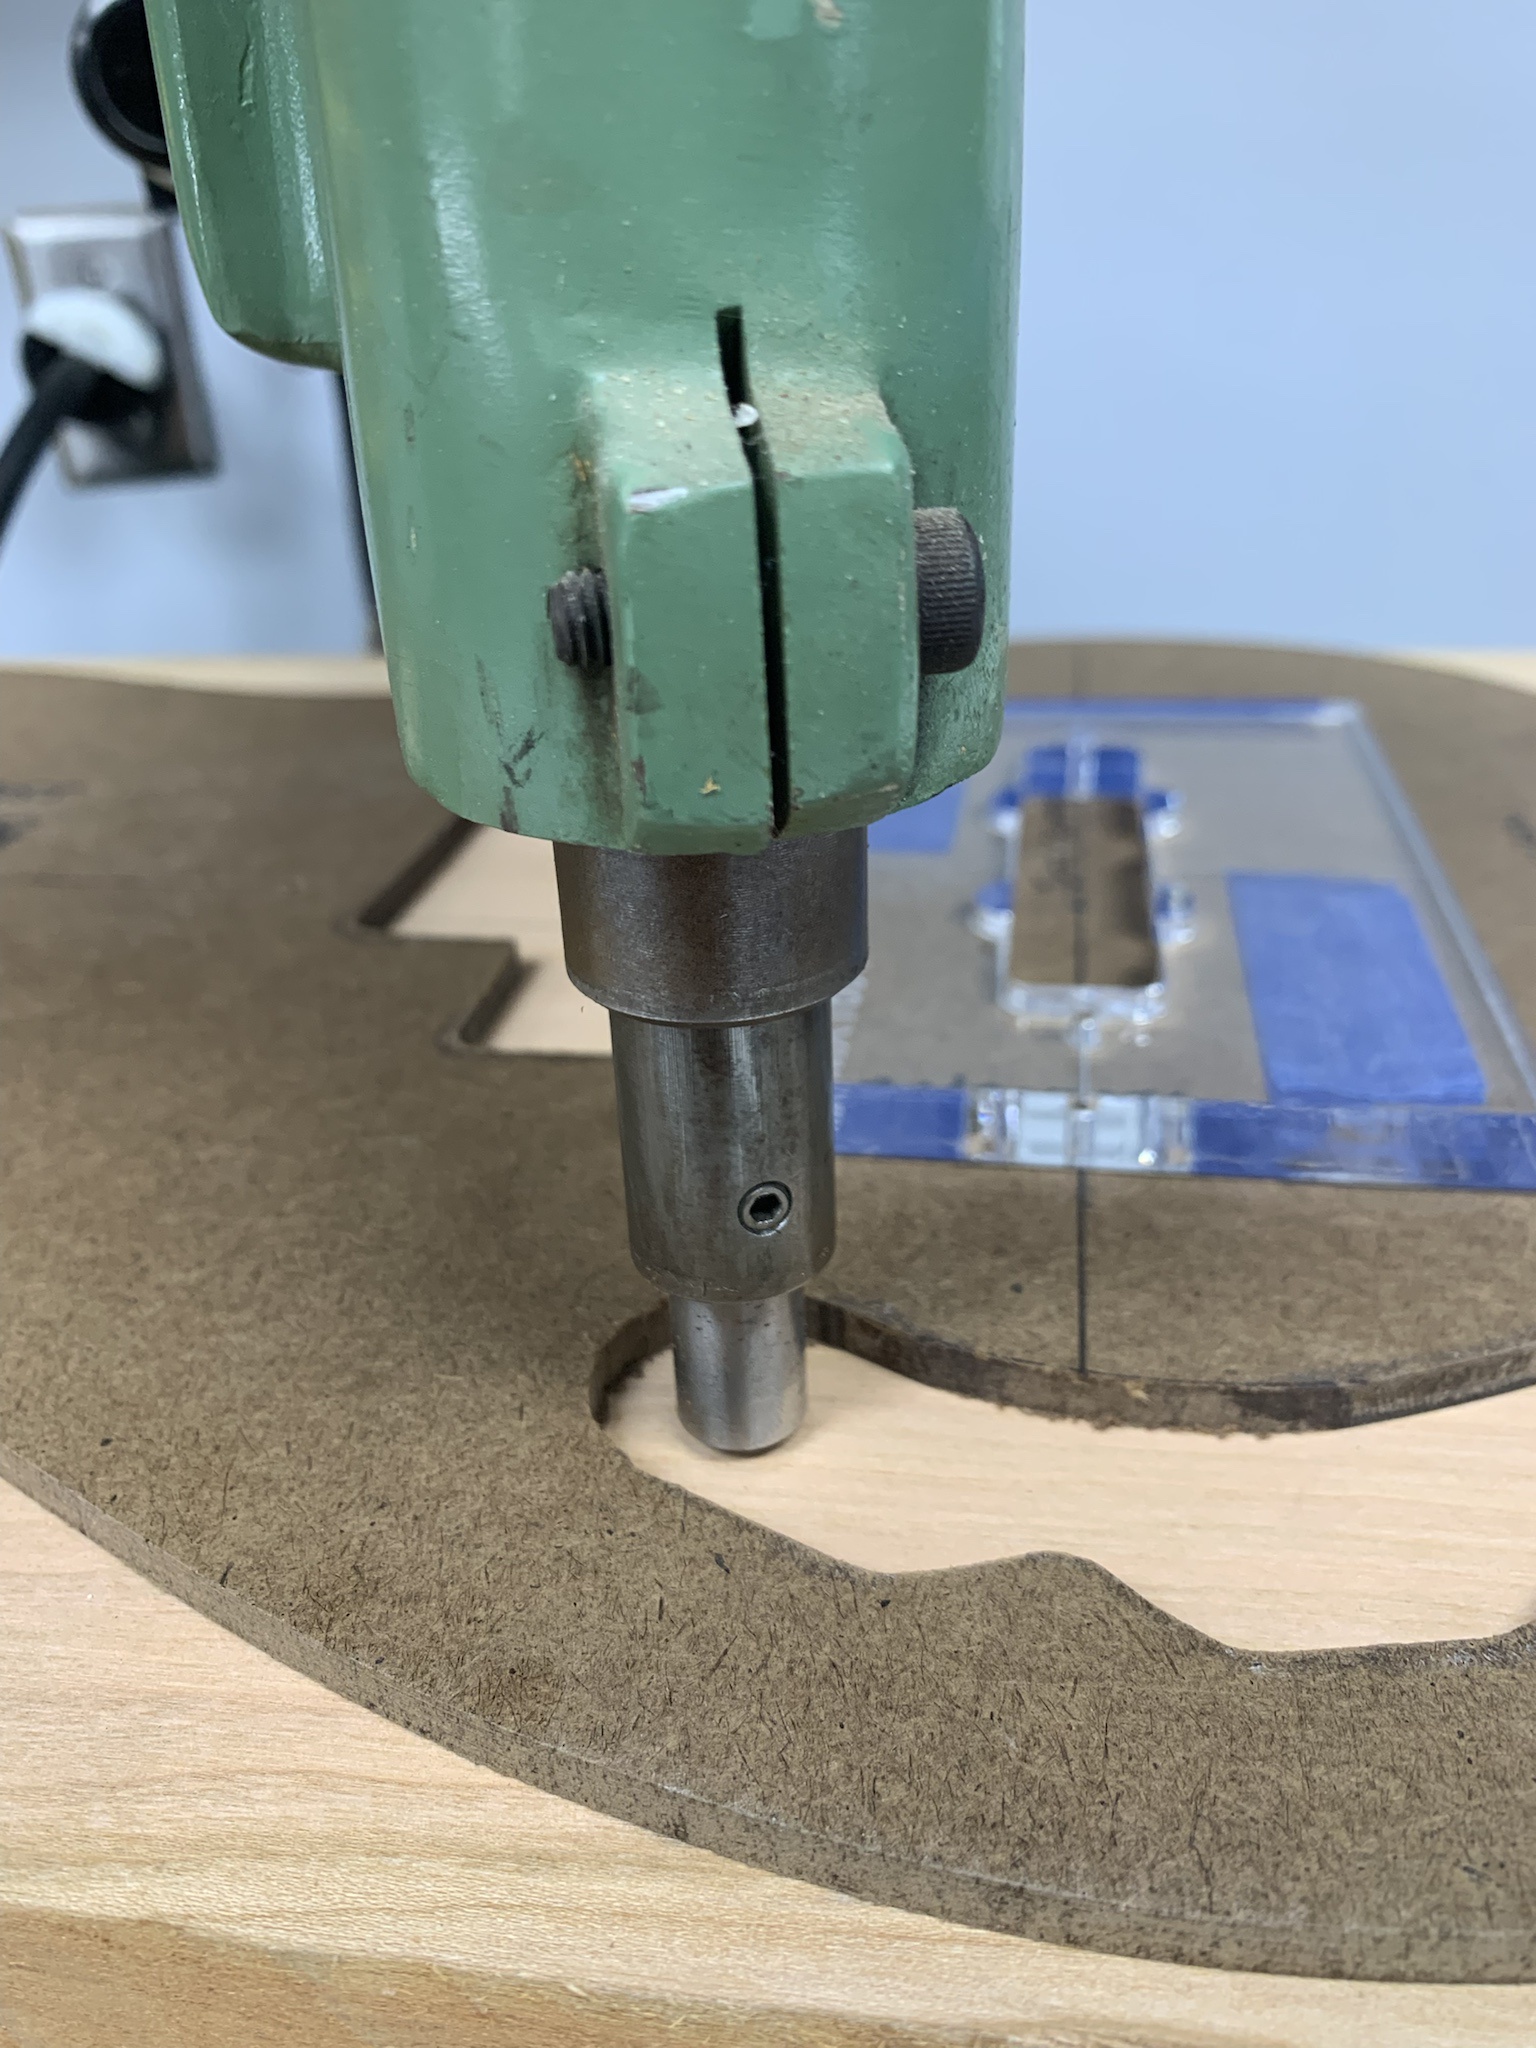
Here I'm checking the depth of the pin to be sure that it engages properly on the template. On this machine the pin is pneumatically actuated. I'm using a 1/2" pin and a 1/2" bit on all cavities, but finishing the J pickup cavity with a 3/8" bit to get into the corners of the template all the way.

EpmGANR.jpg


Control cavity is complete.

lld2dJV.jpg


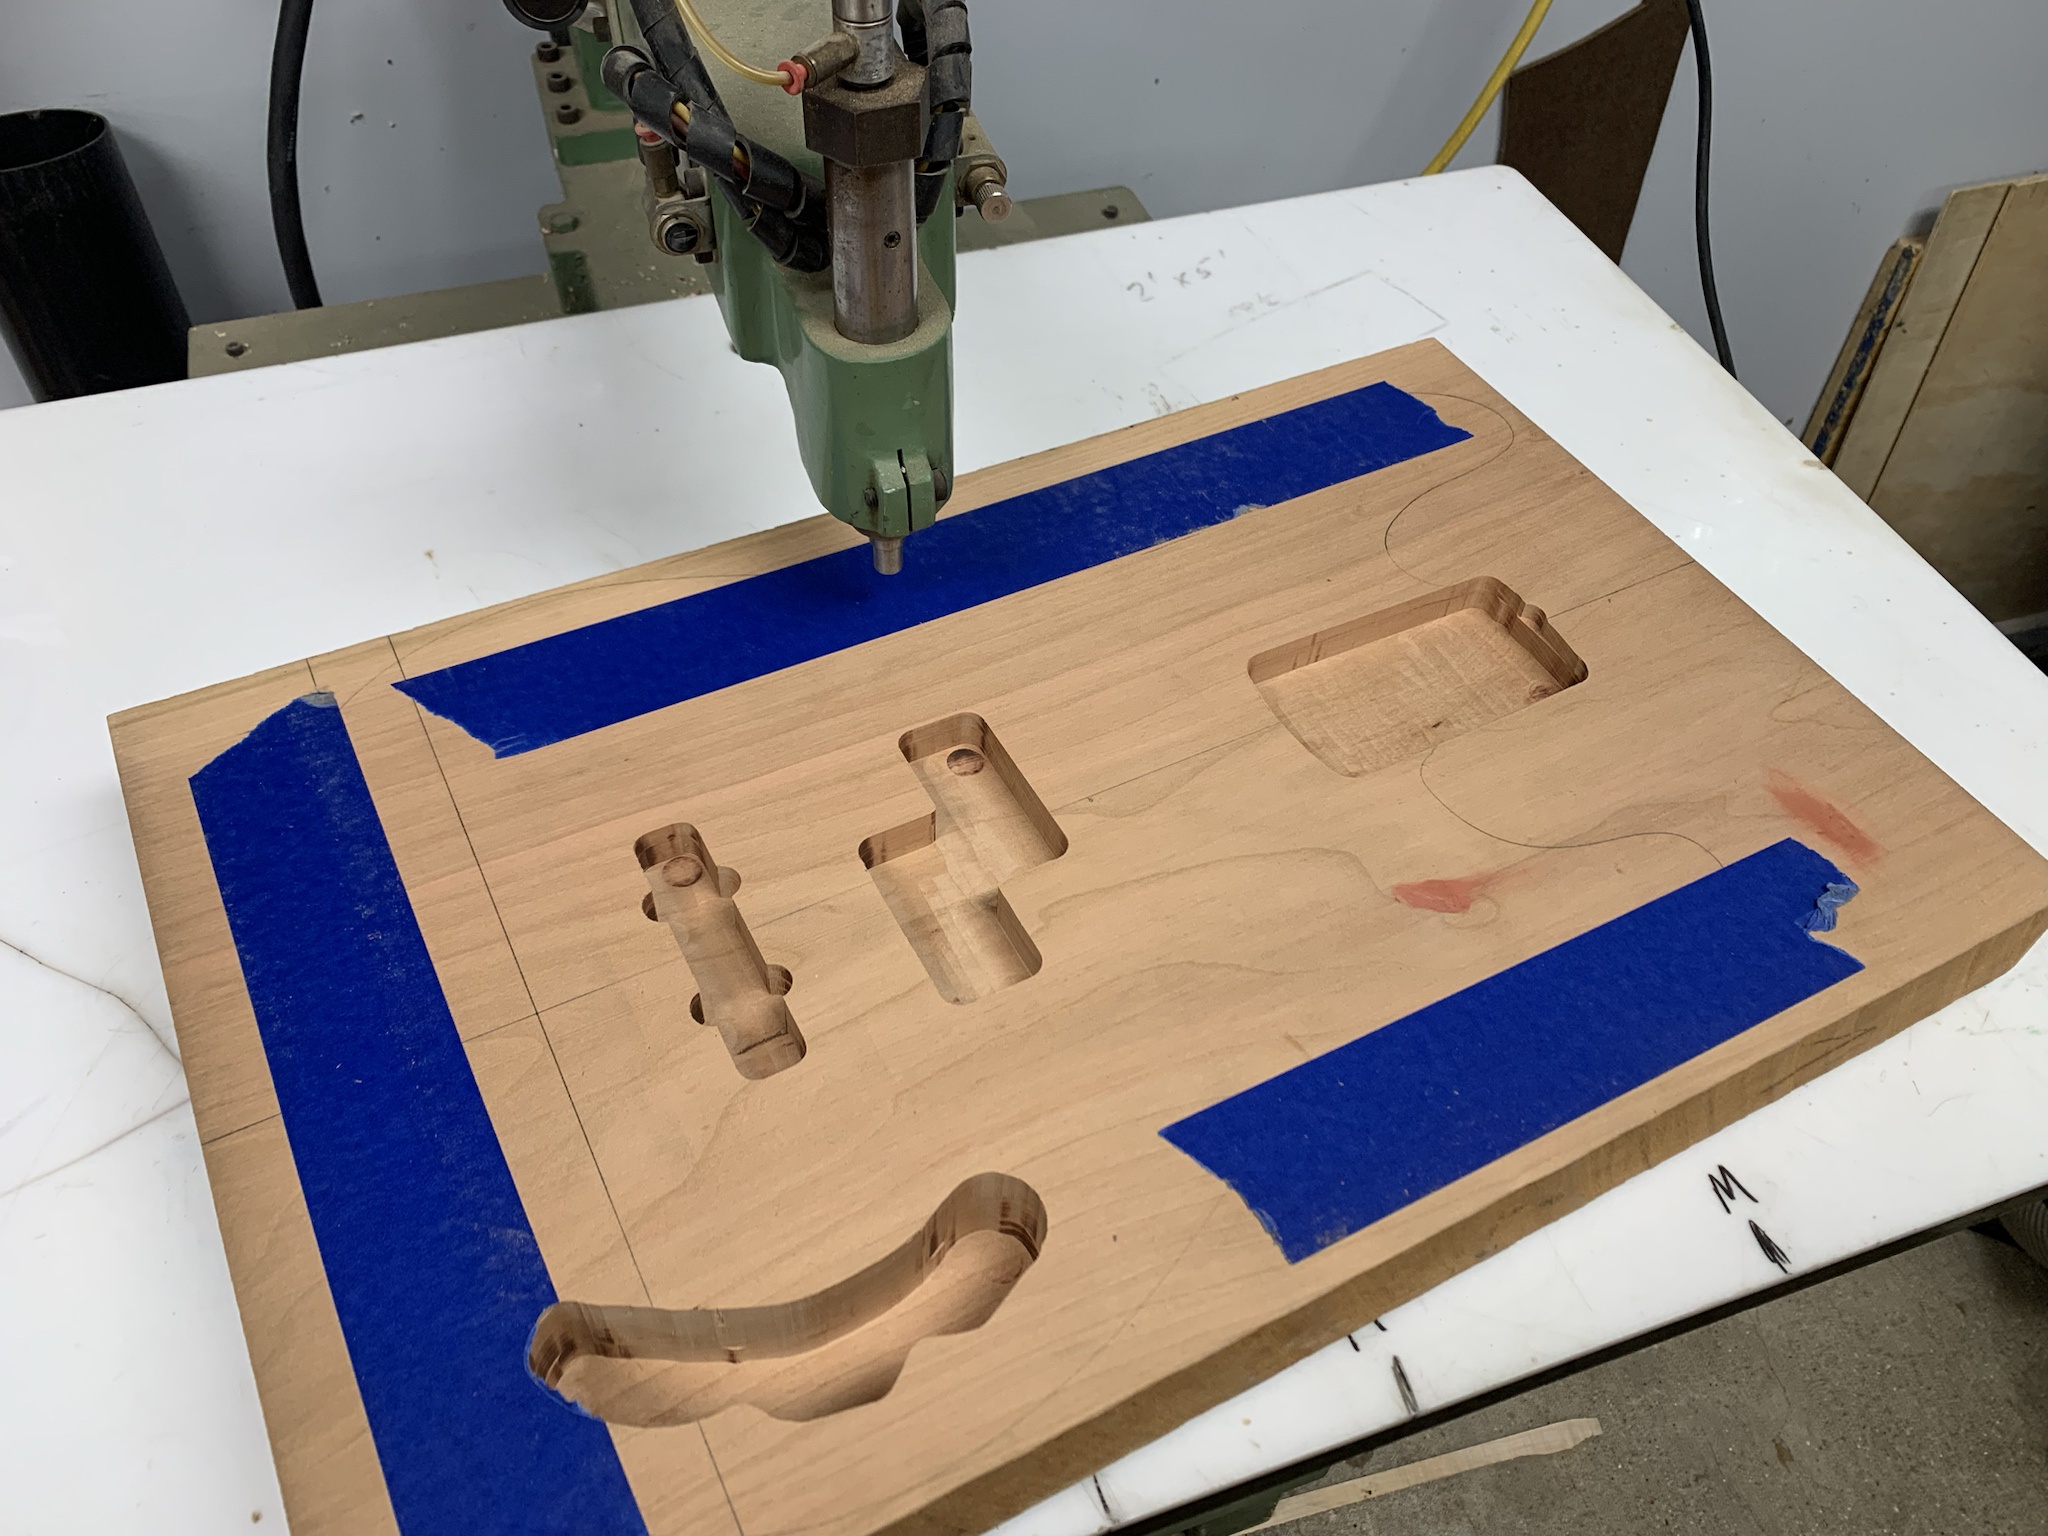
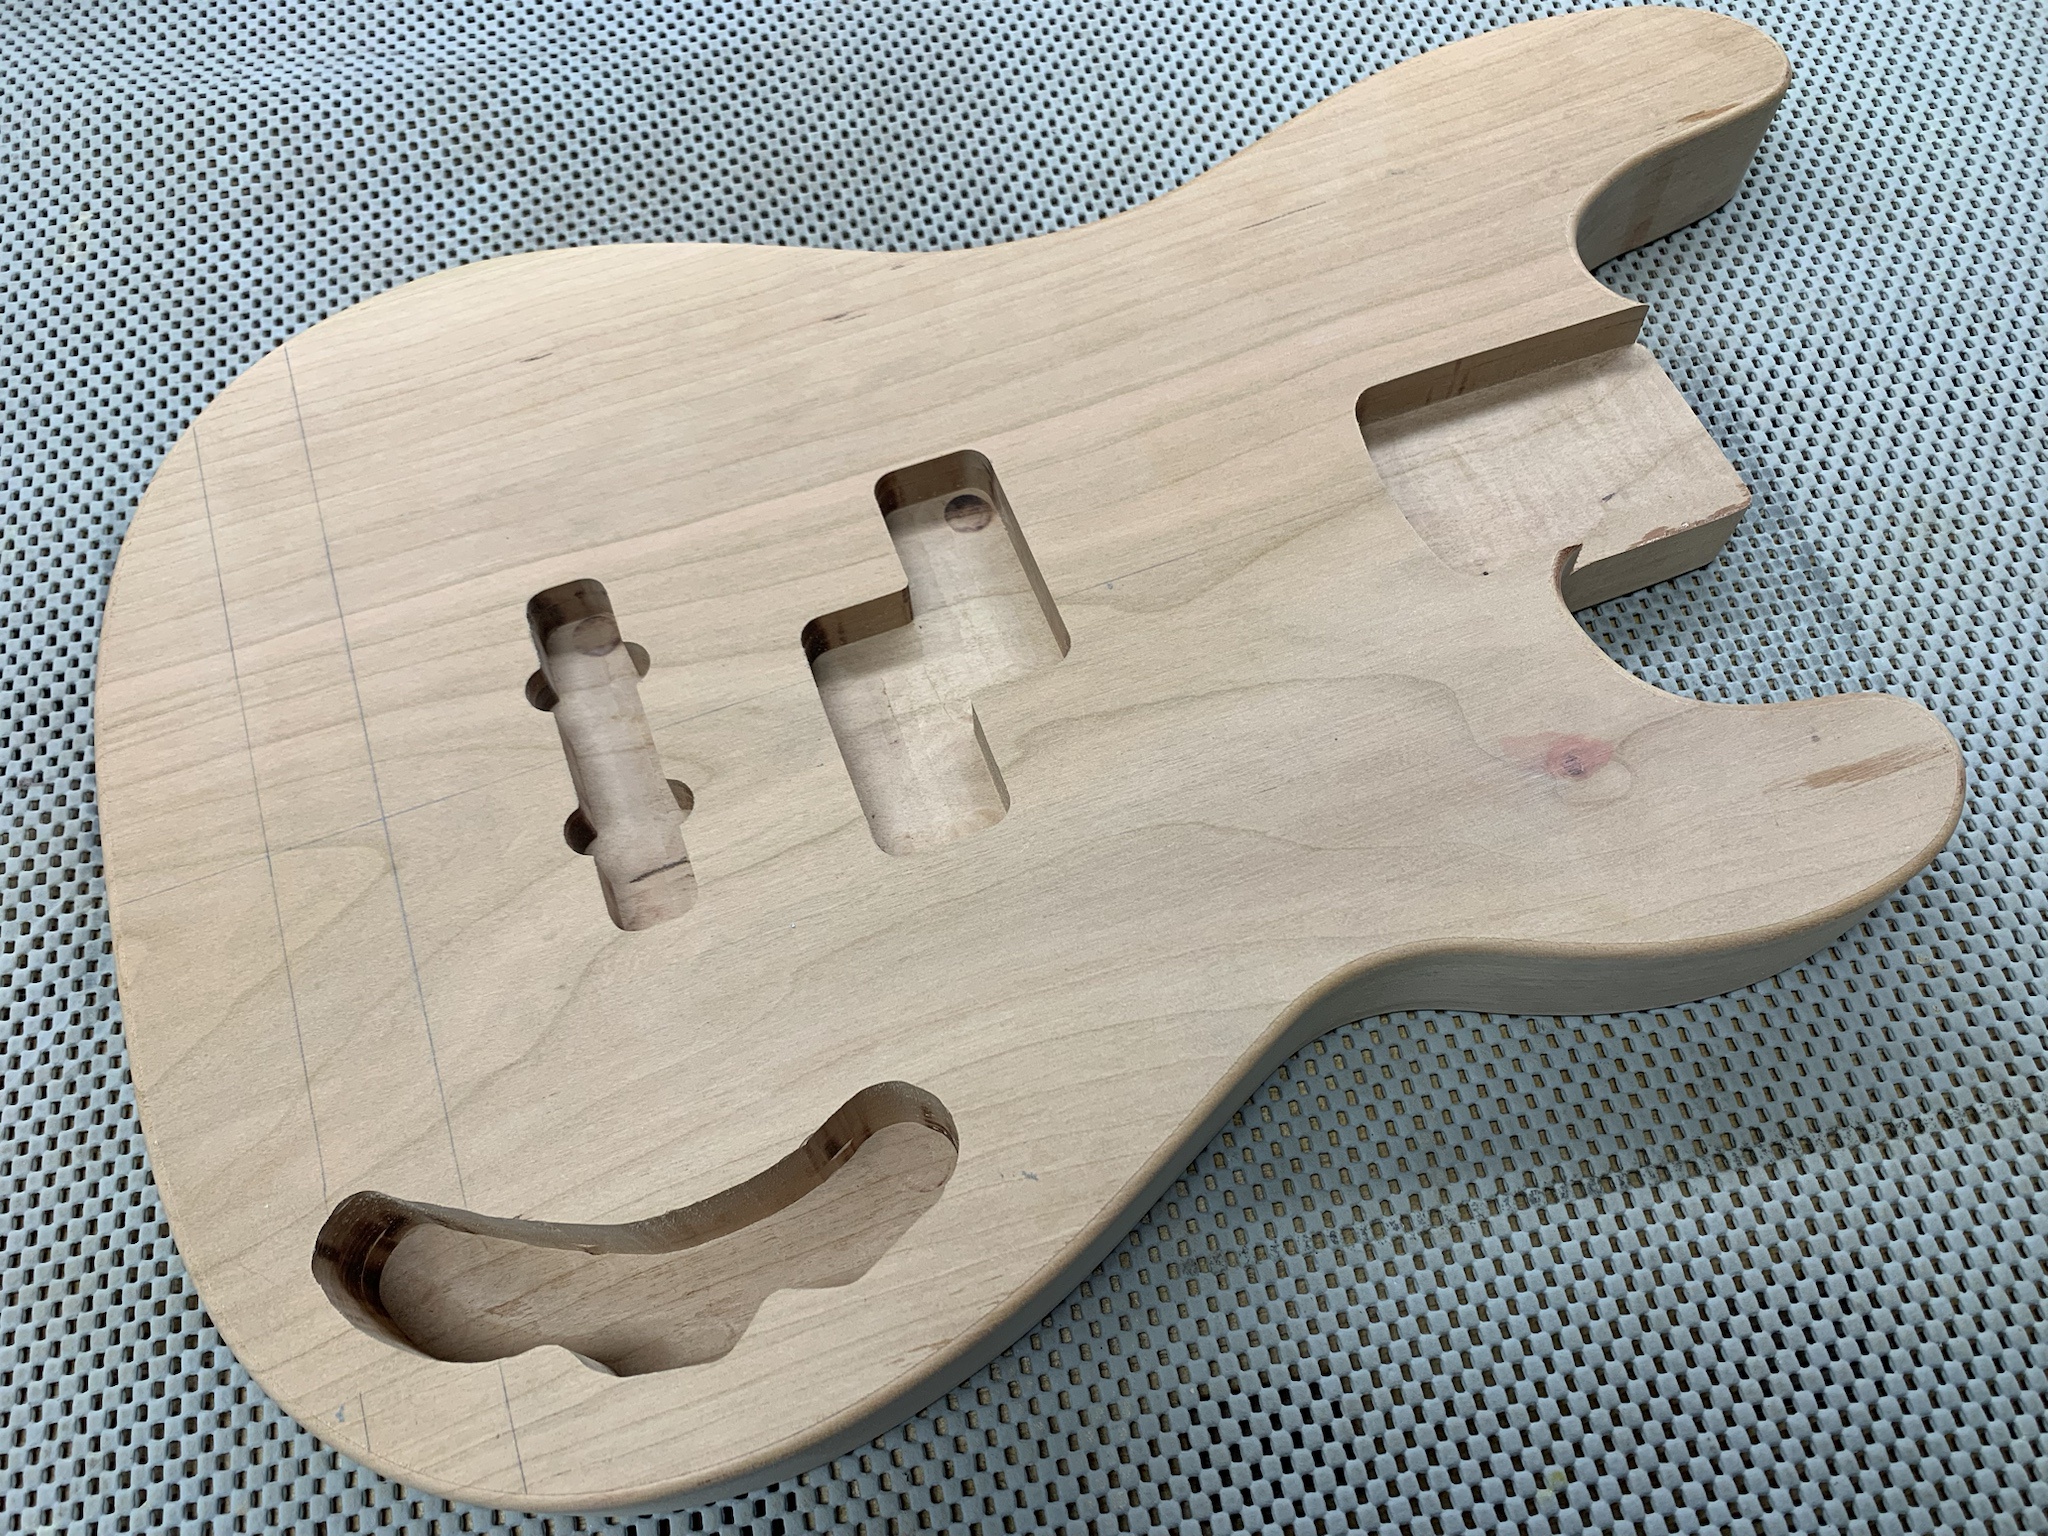
Neck pocket and pickup cavities are complete.

fFjv9WZ.jpg


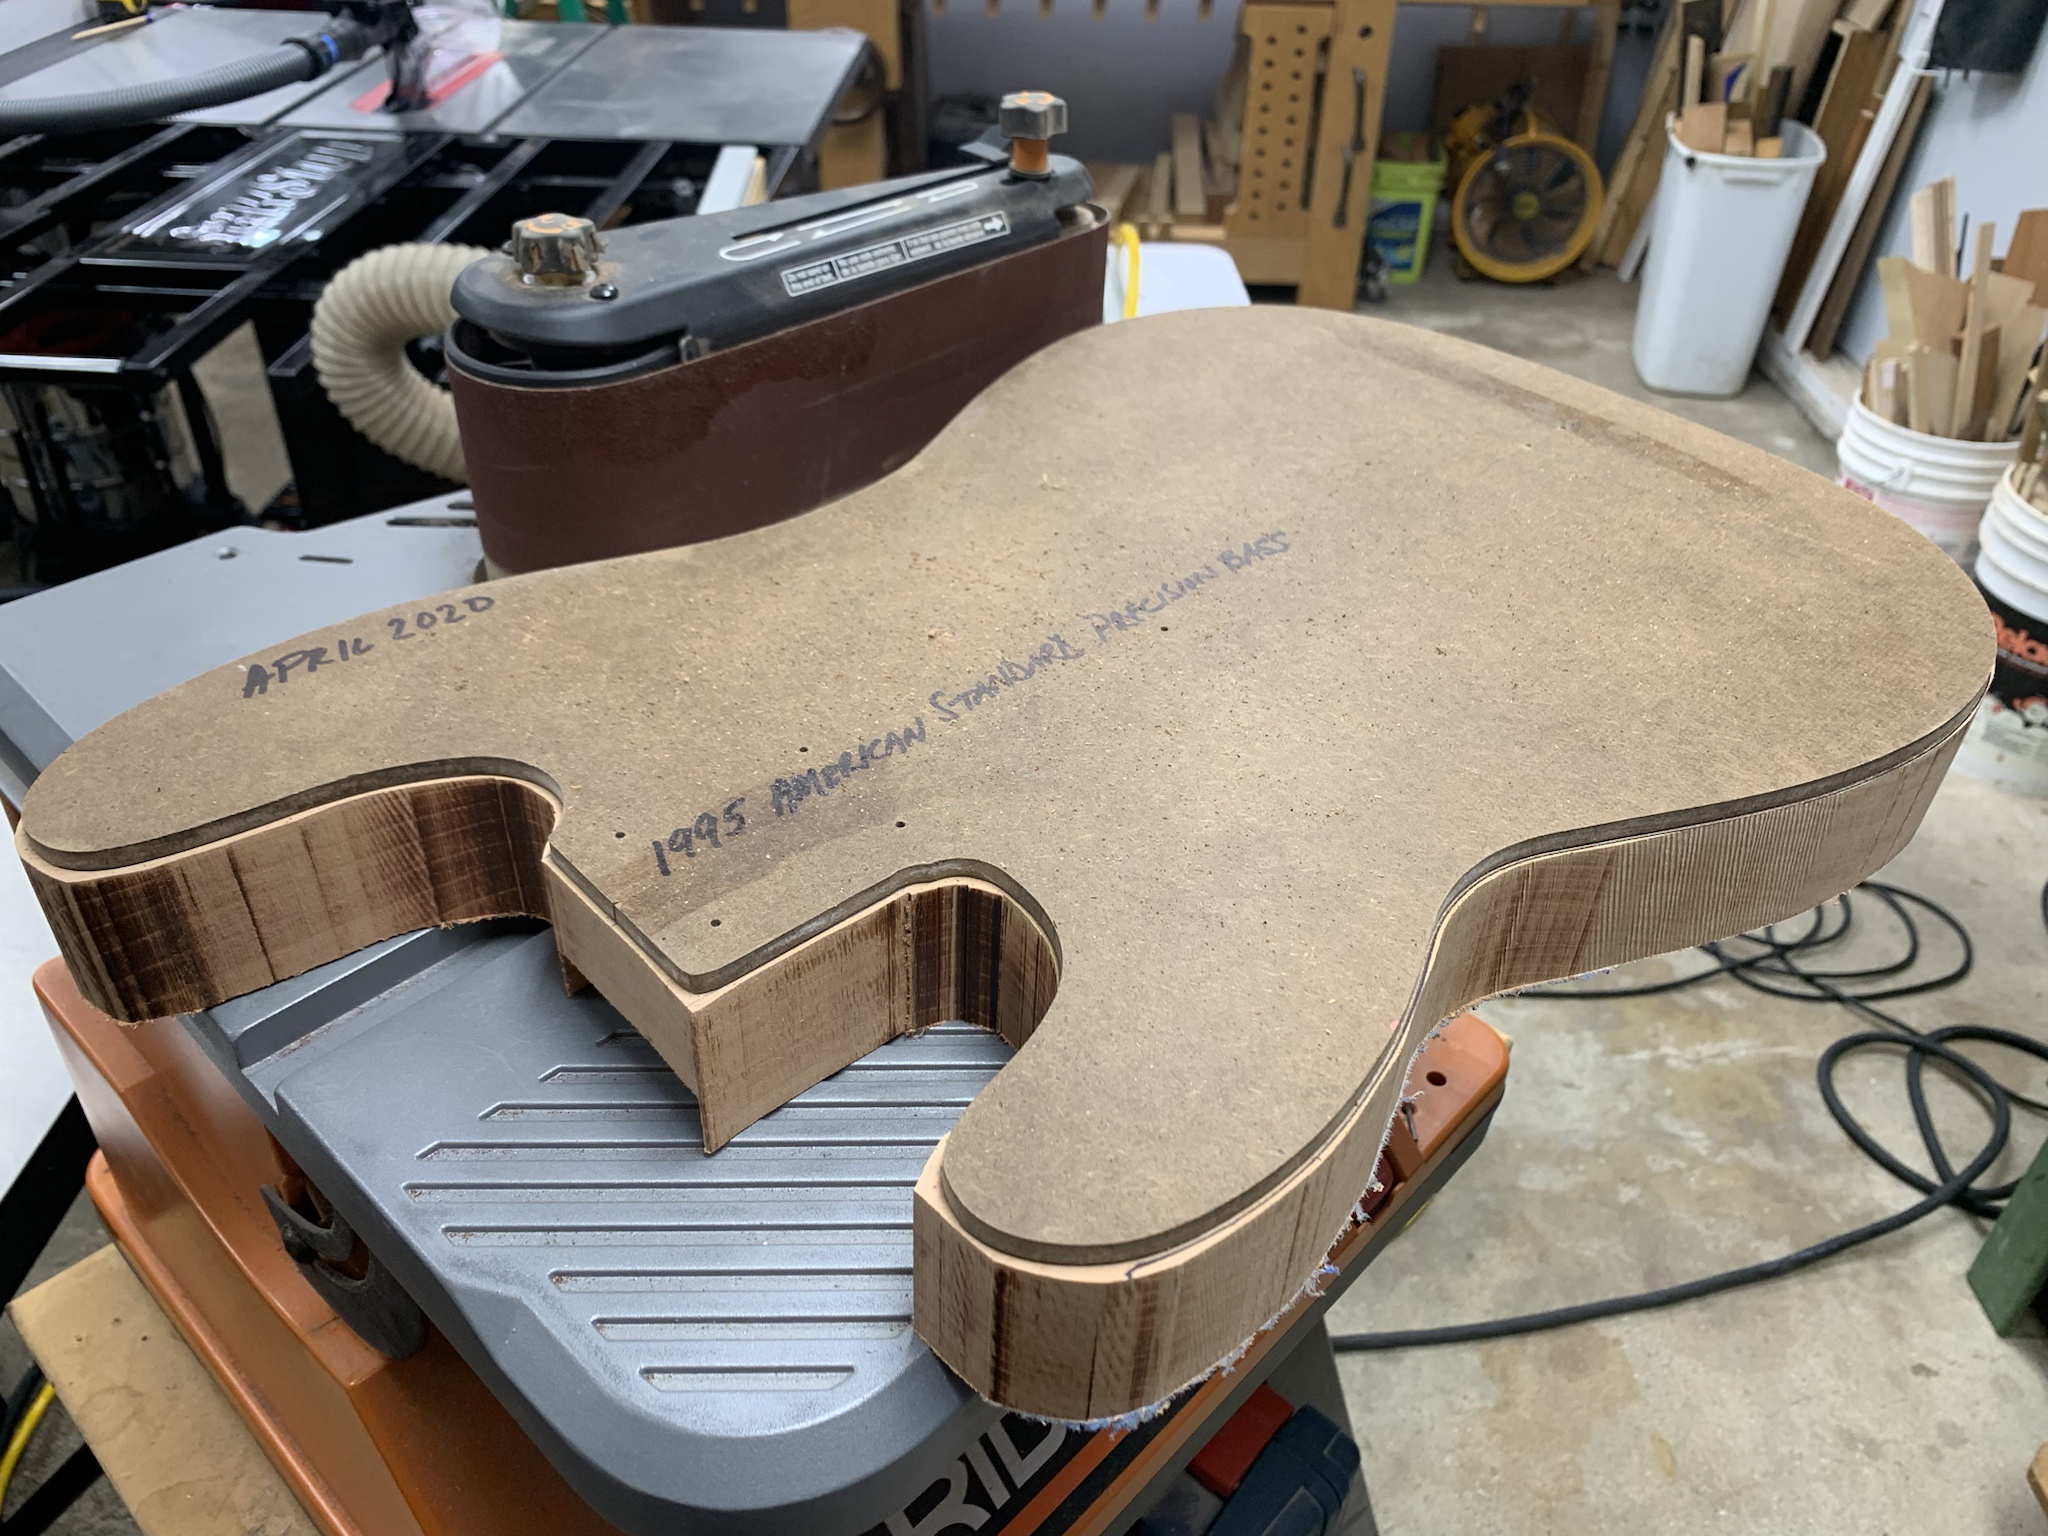
I roughly band sawed the outline, then went to the oscillating sander to get closer to the line to remove as little as possible when pattern routing the body outline.

8bJkw4l.jpg


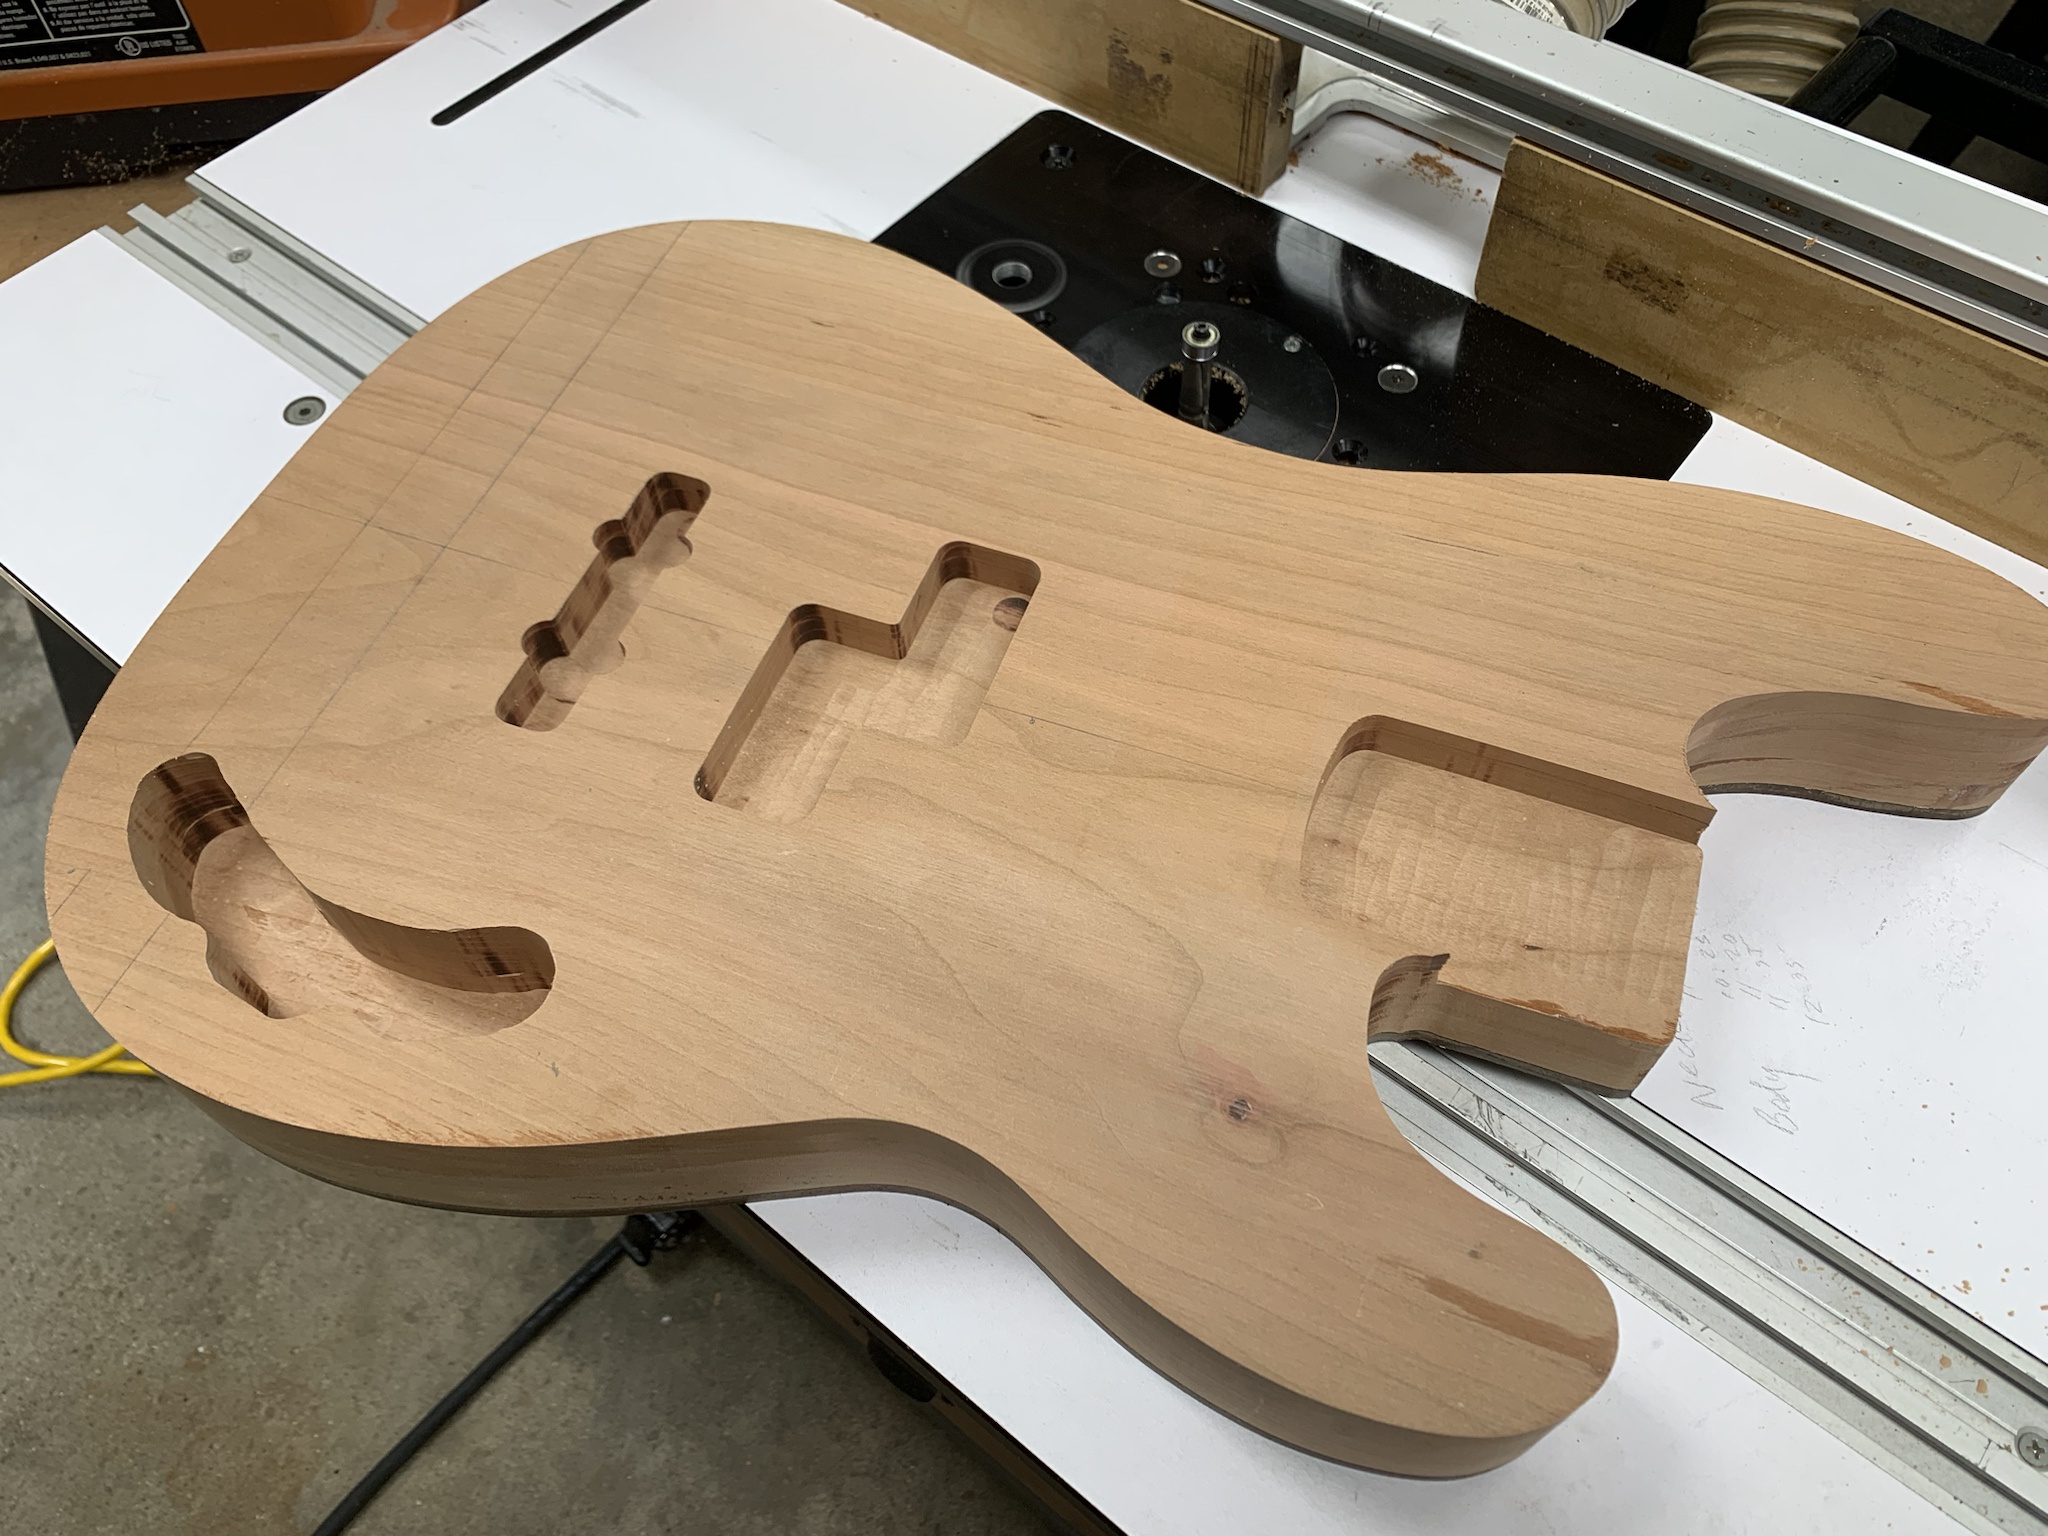
Body shape is complete.

UEsBvYJ.jpg


Here I've added a 1/8" radius roundover to the perimeter of the body.

W6I7nOY.jpg


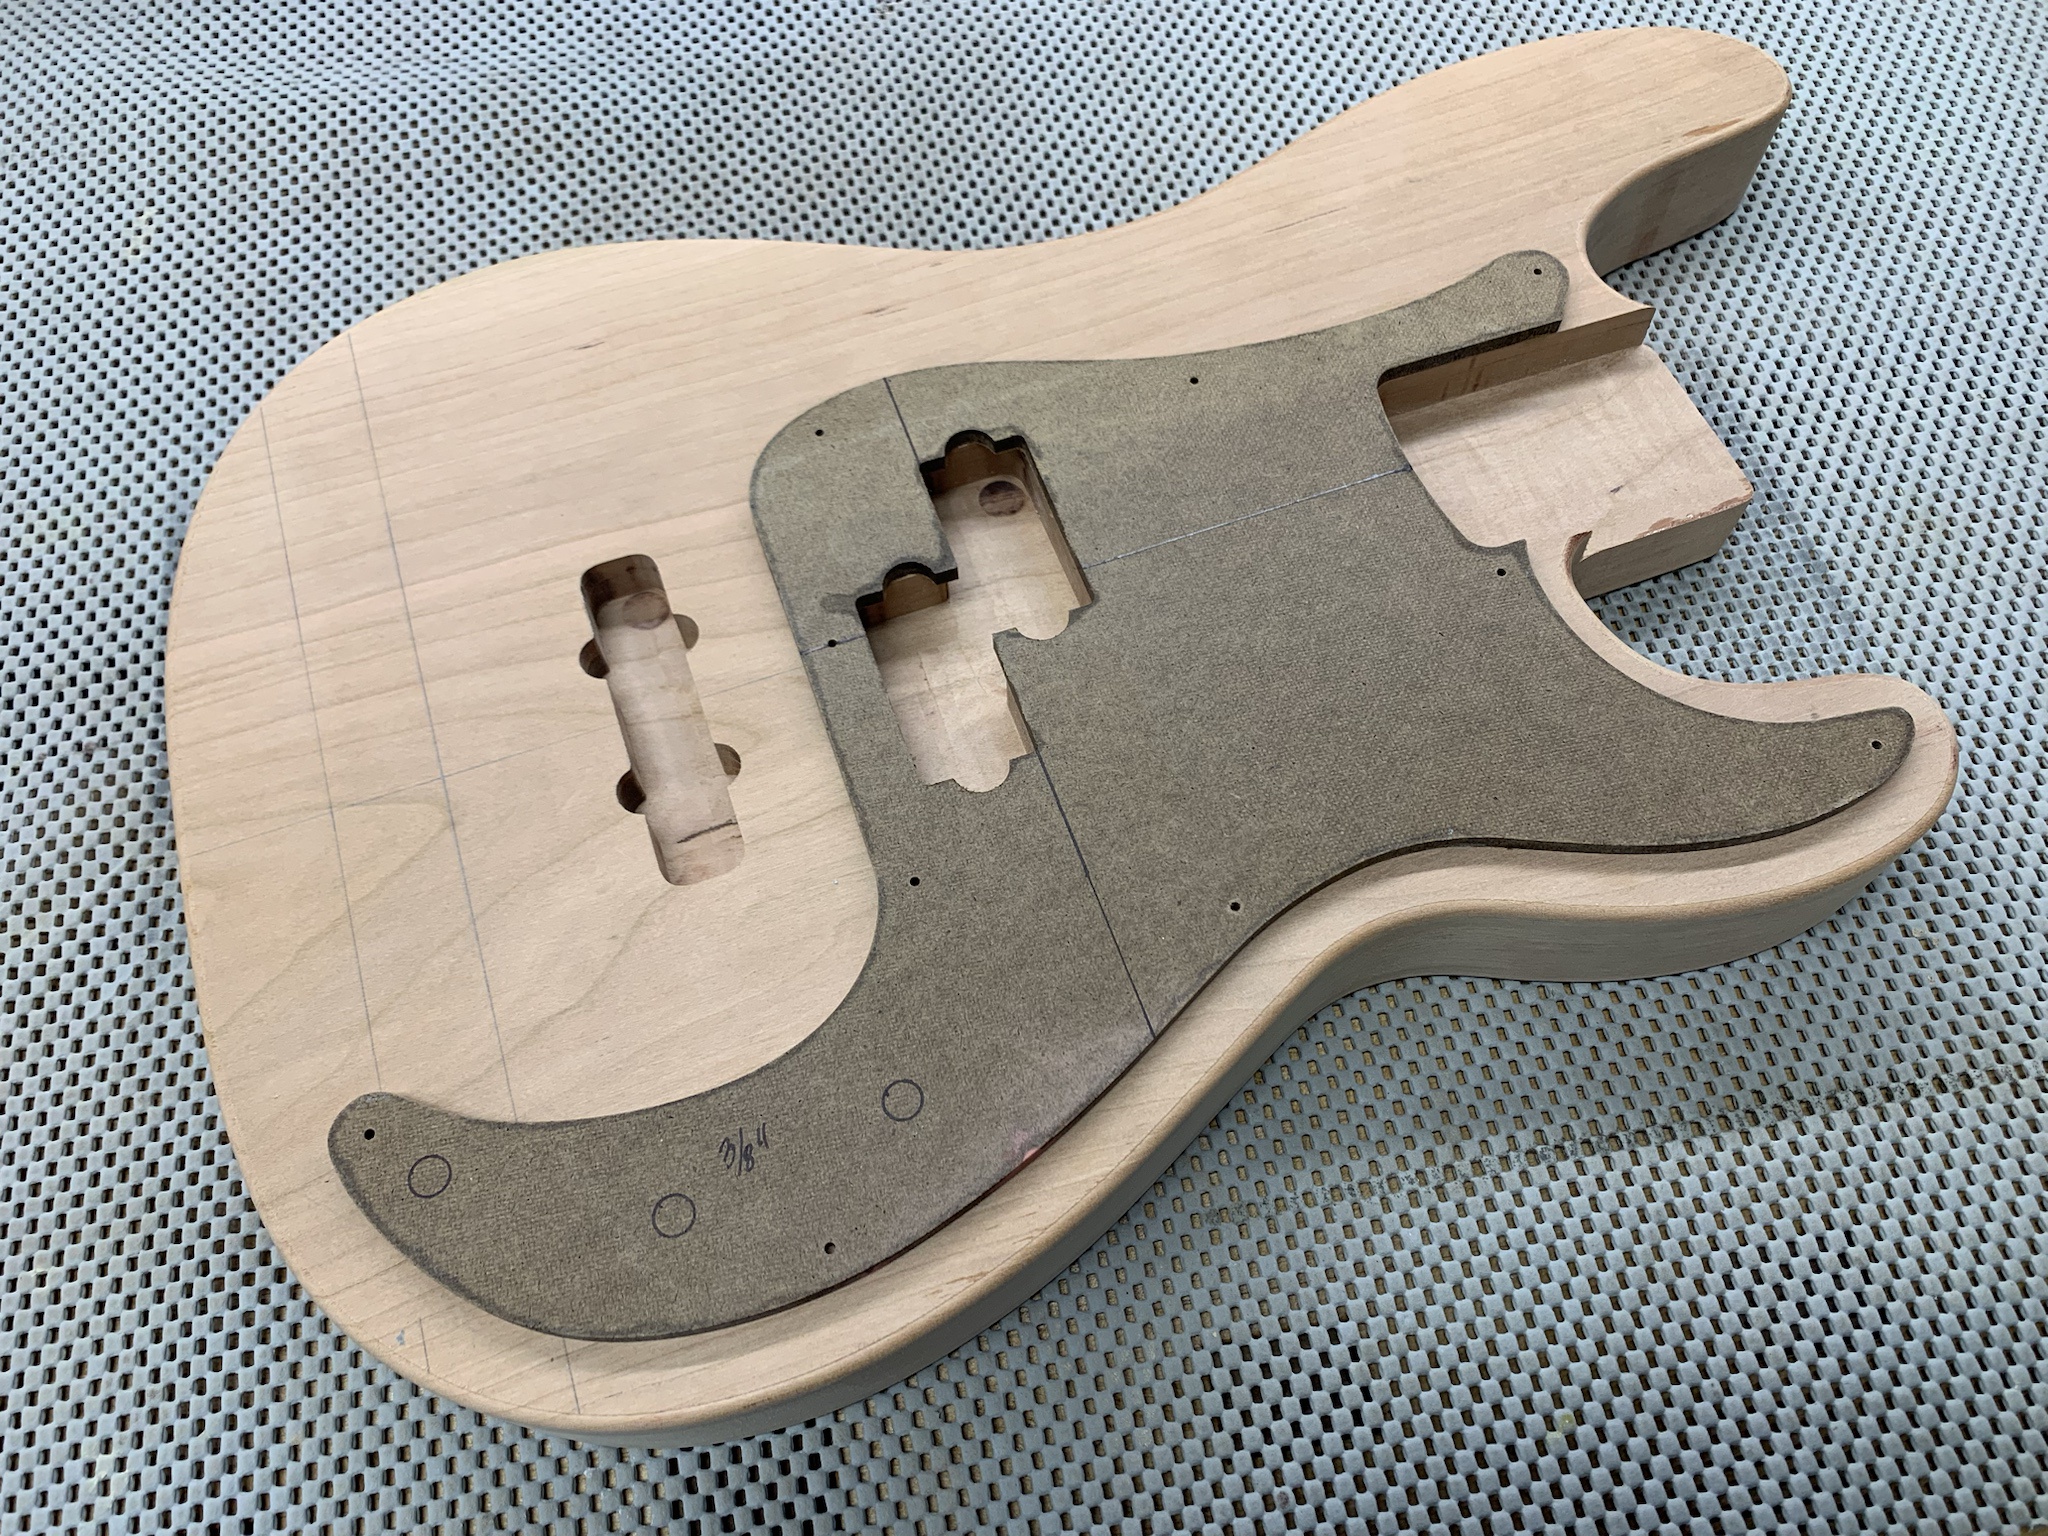
And here it is with the pickguard template in place. It's looking the business now!

Gx6iqaU.jpg


More soon. :)
 
Wow, progress has been super slow on this project. I have a ton of excuses... work has been crazy, I'm still getting accustomed to household duties as a single person (which is harder than it sounds). I've been cooking too much. Plus, I decided to upgrade a lot of my woodworking equipment; and I'm not complaining about that, but getting deliveries coordinated and things uncrated, assembled and calibrated has taken a lot of spare time.

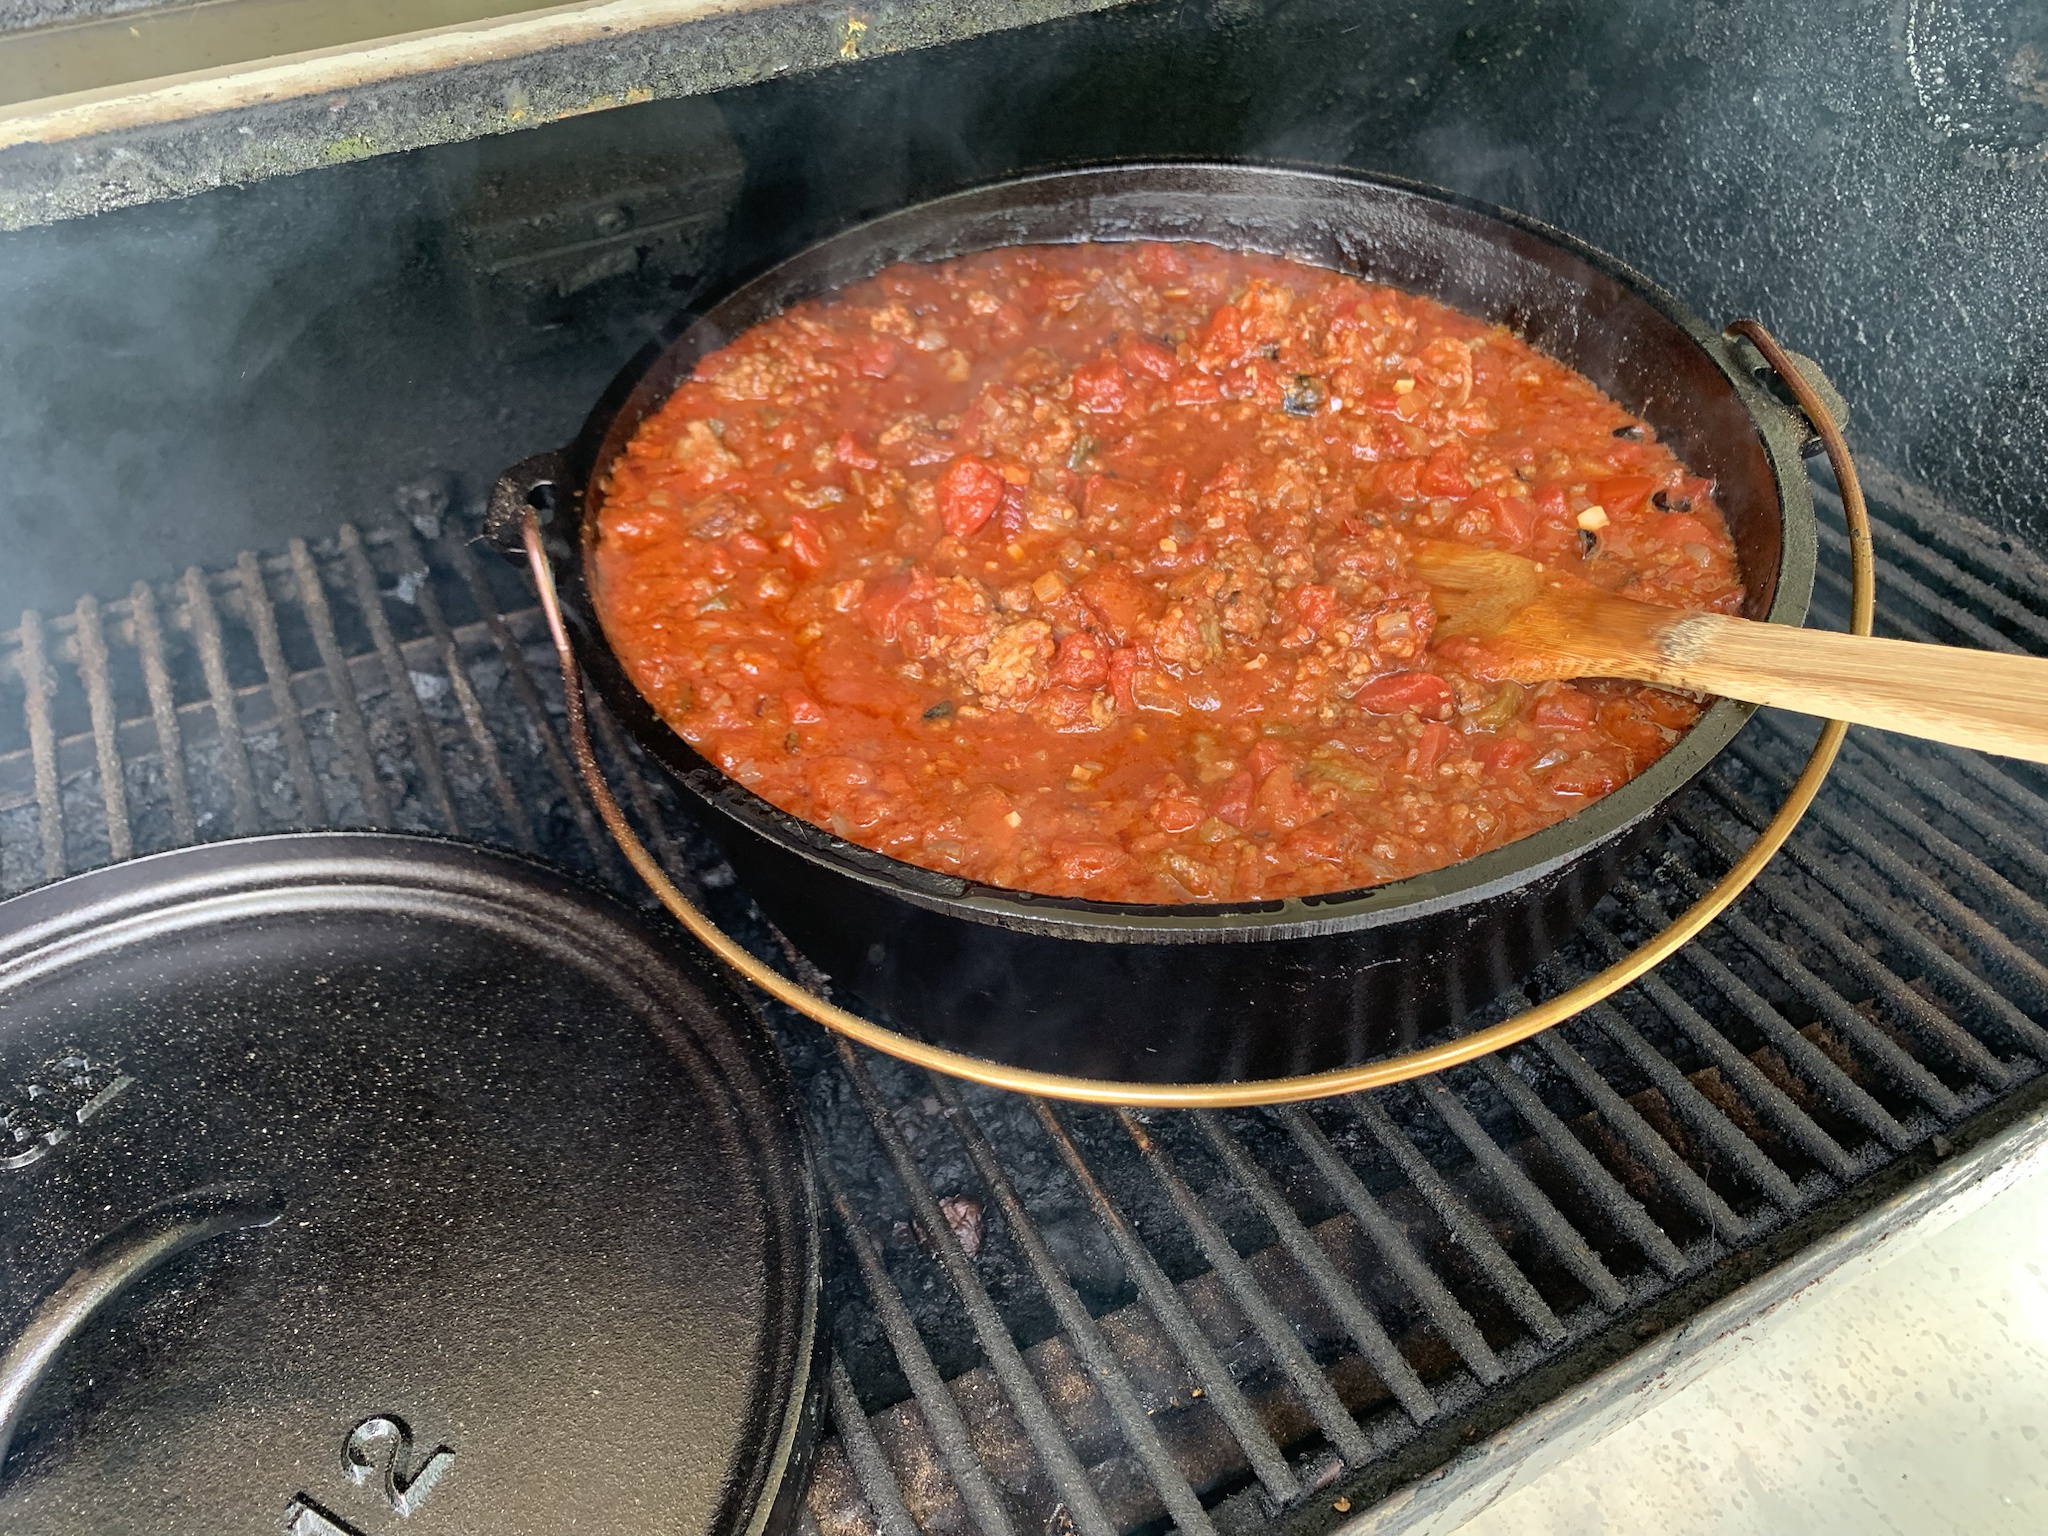
First things first. I made a killer batch of Texas red chili last week on the smoker. I just had a craving and had to do it.

MkVsr2O.jpg


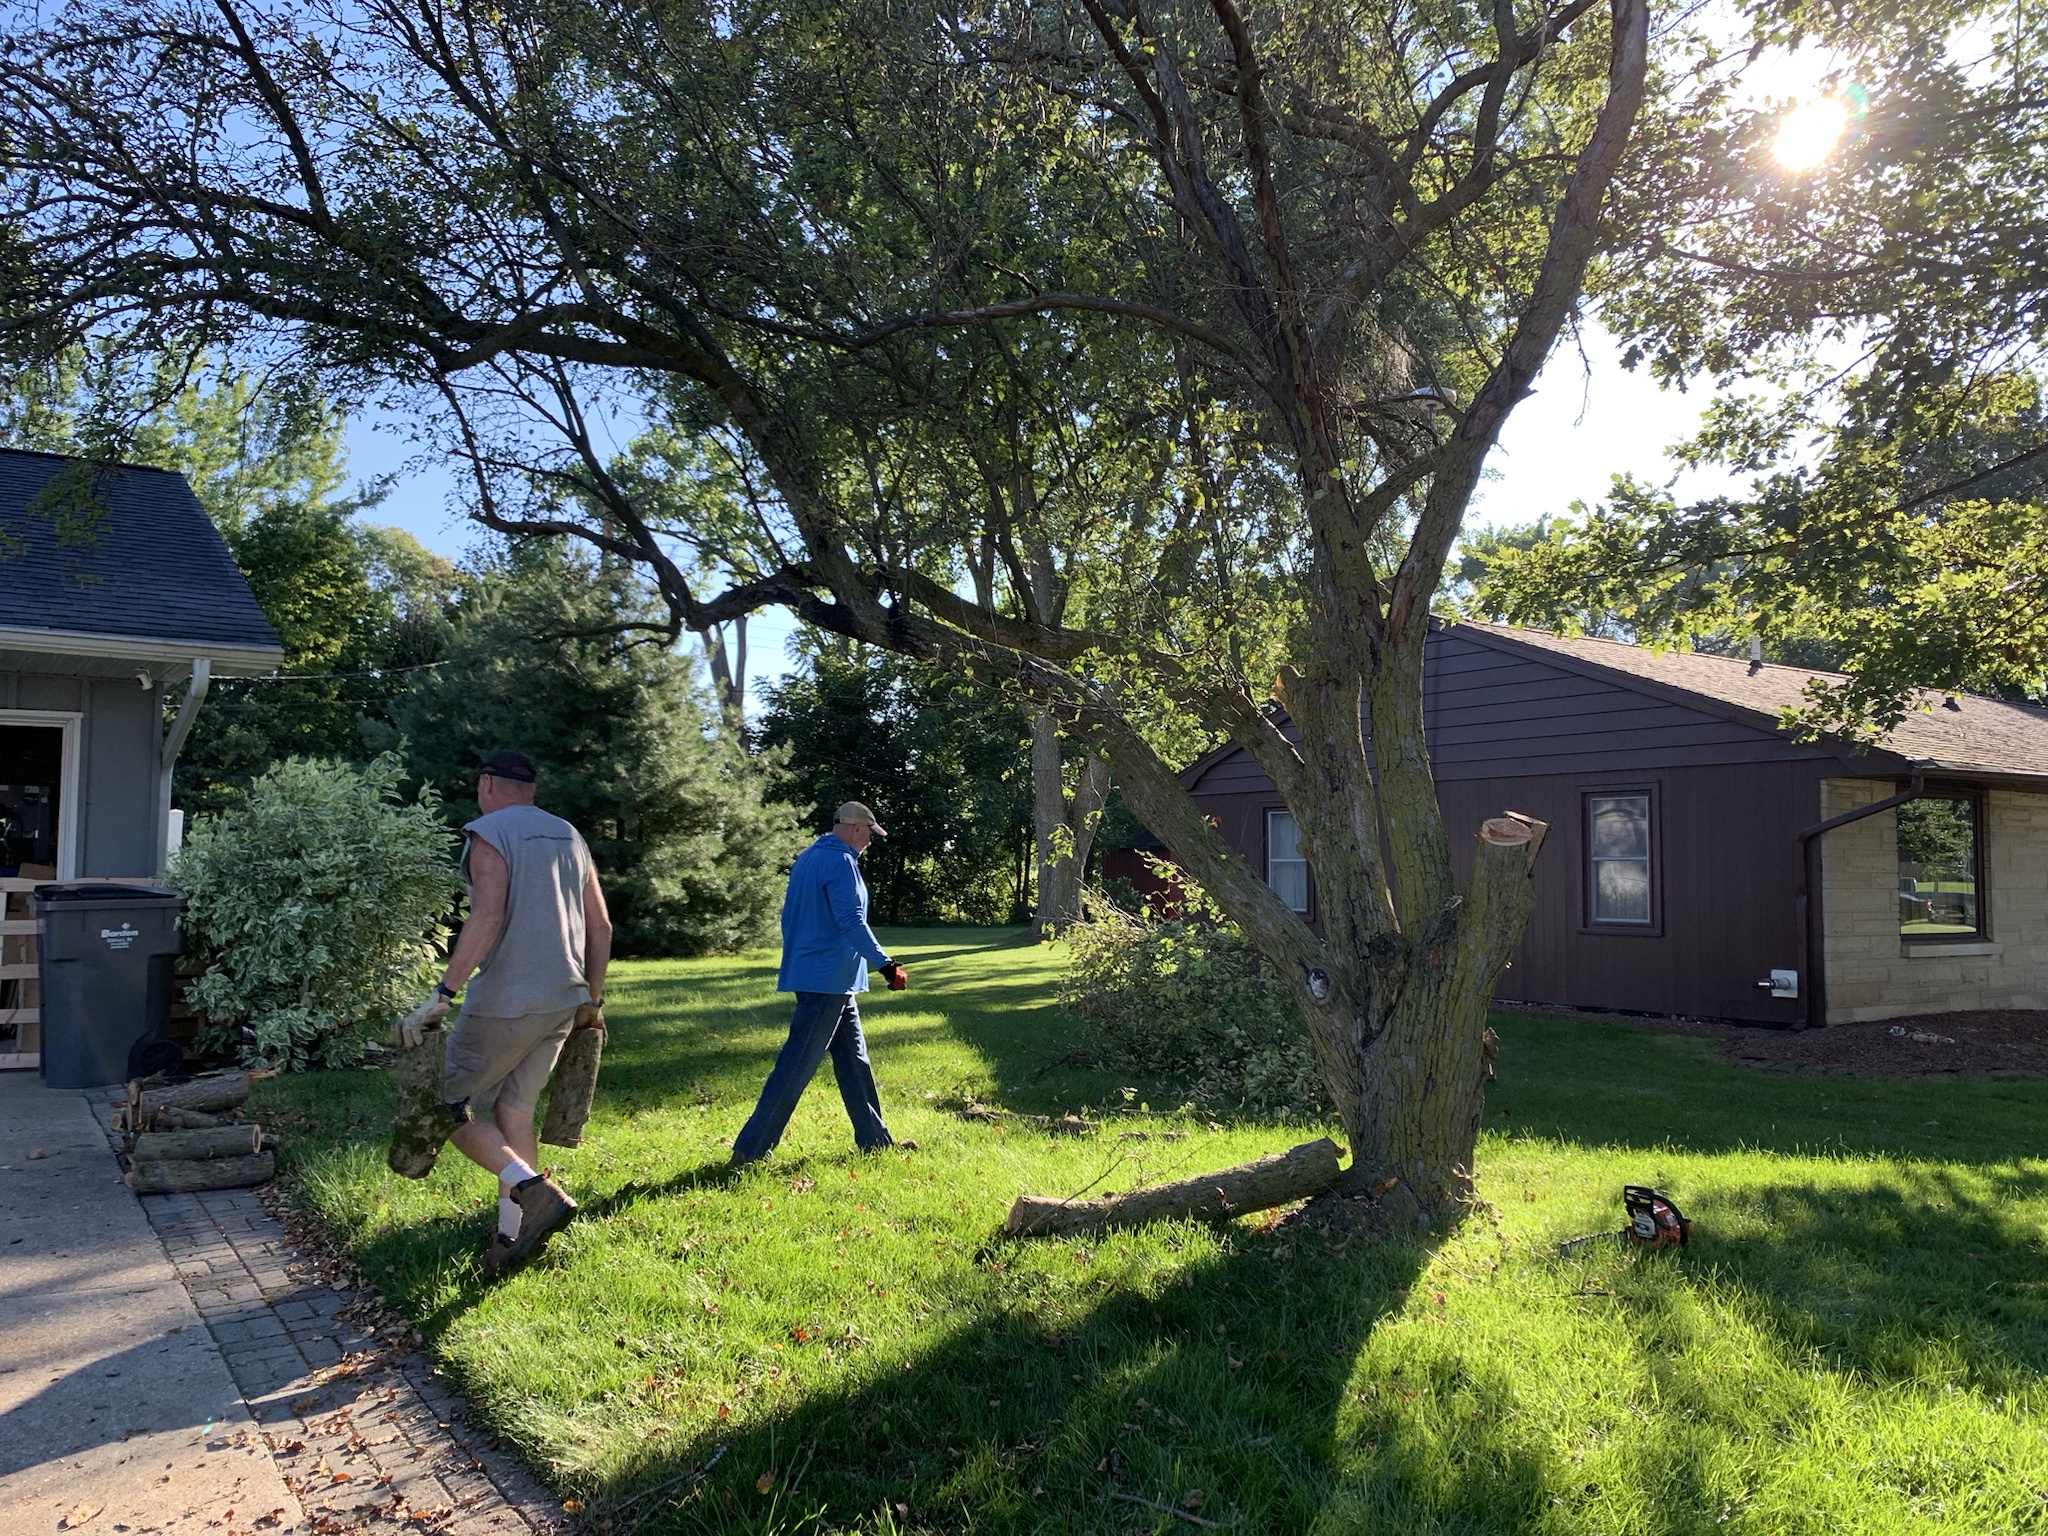
A couple of my buddies volunteered to come over and help take down the massive crab apple tree in the front yard. It was 1/2 dead and getting worse by the minute.
f80qKFc.jpg


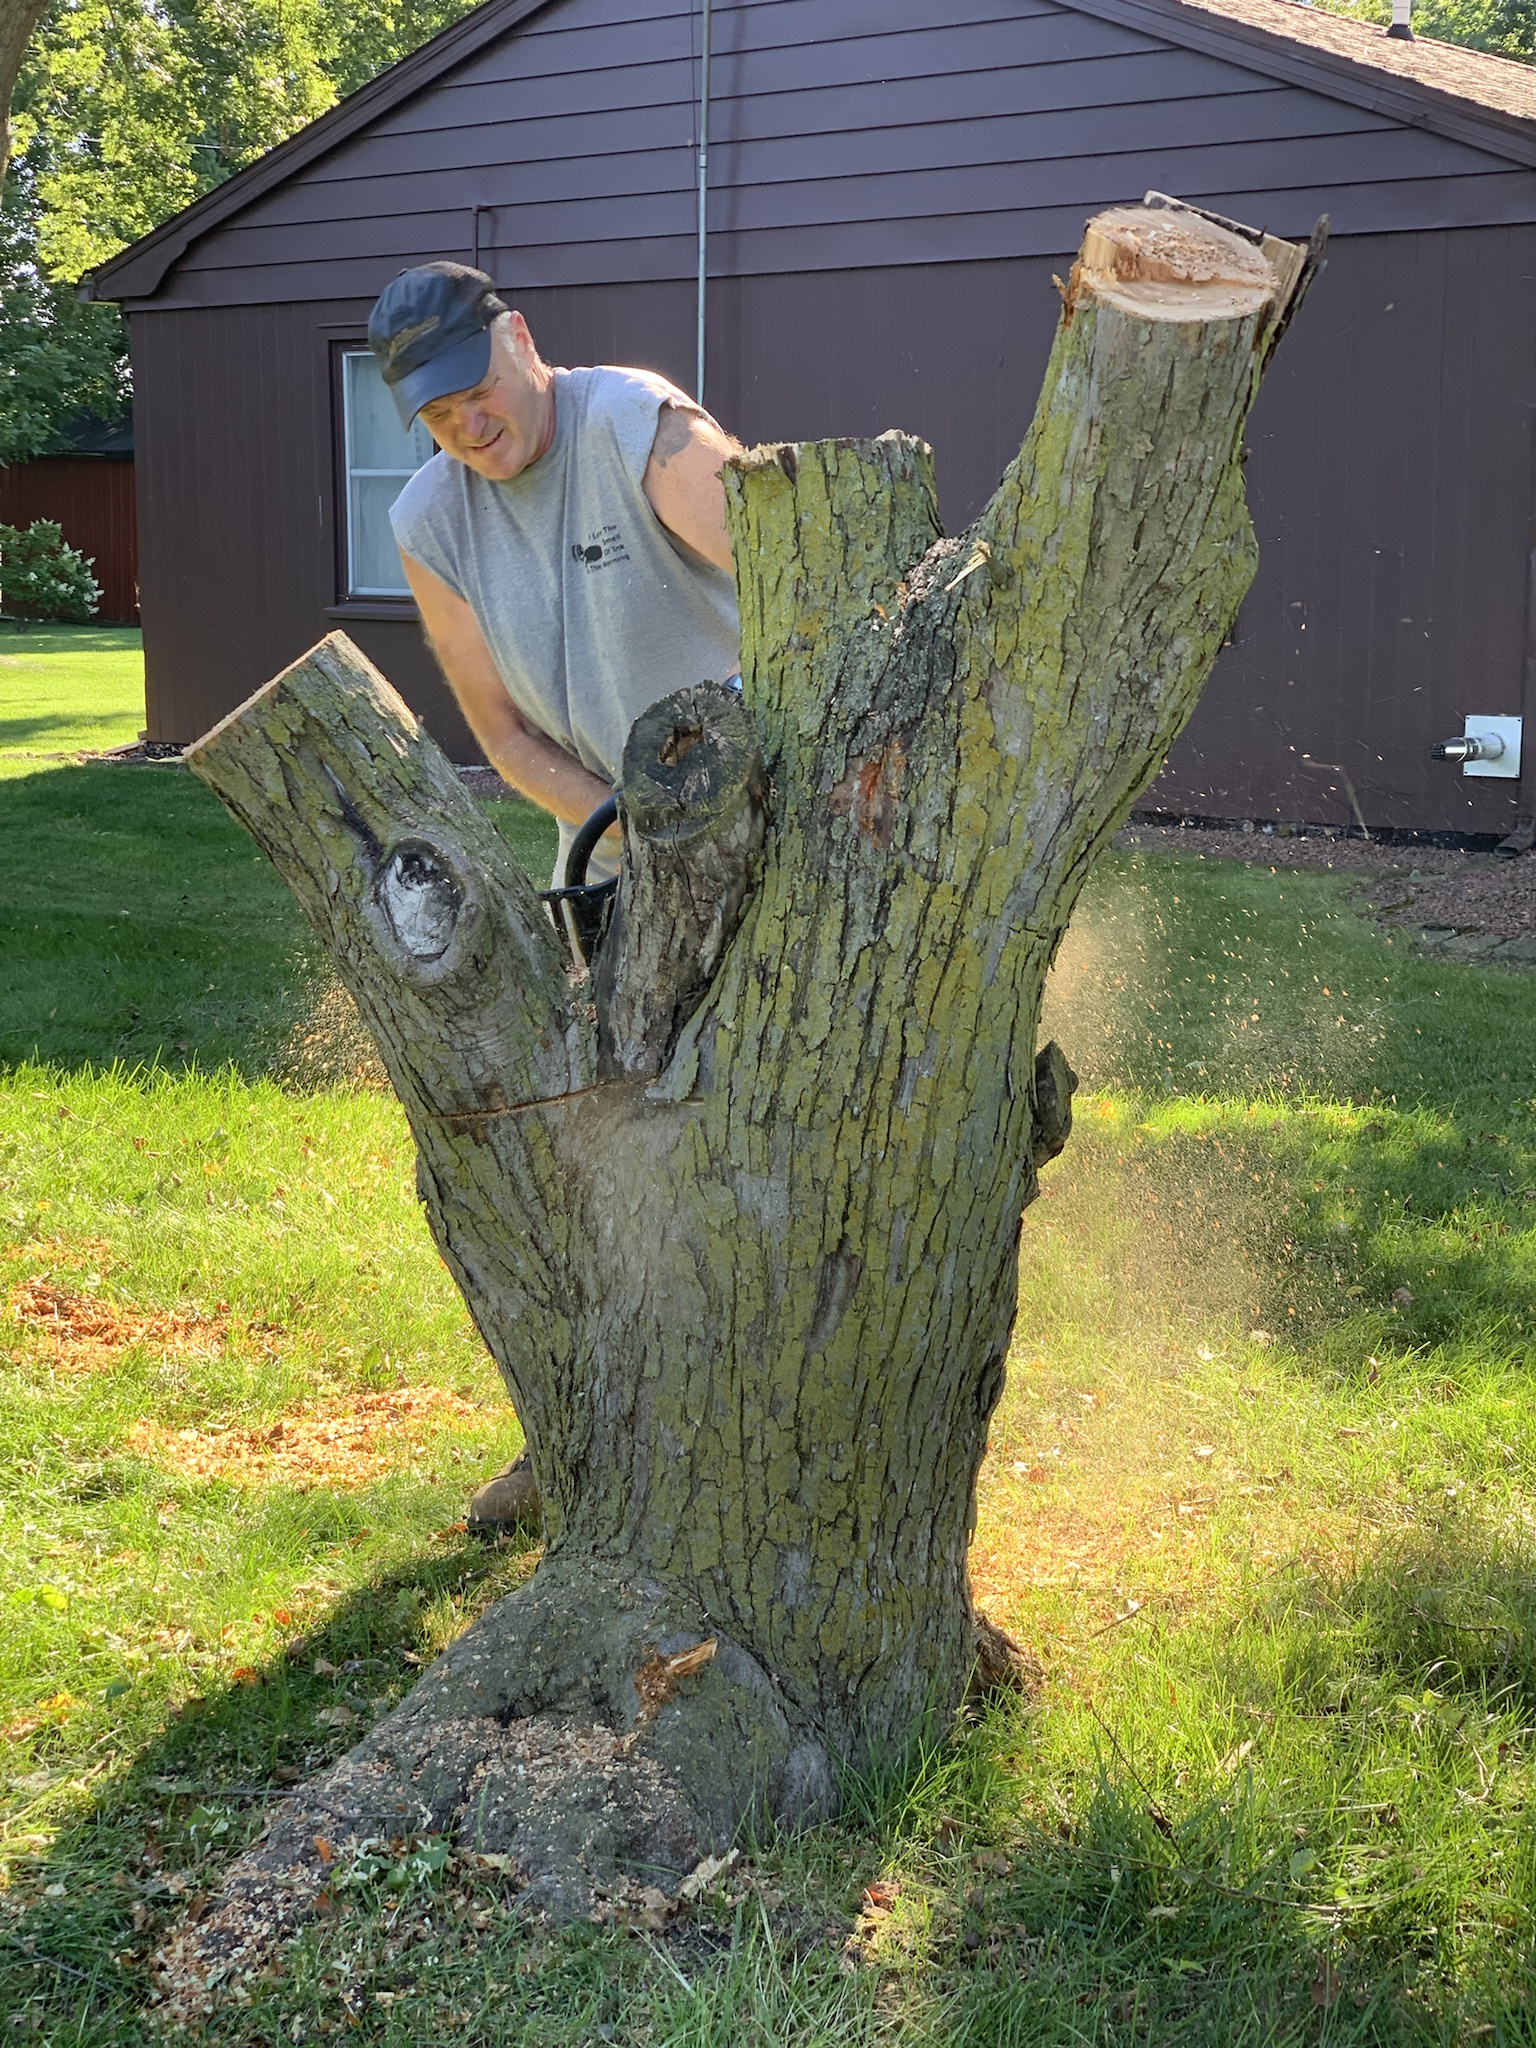
My friend, Ryan, chunking up the bottom. It was the biggest crab apple I've ever seen and I hated to take it down. It smelled glorious in the spring.

0J4UPmh.jpg


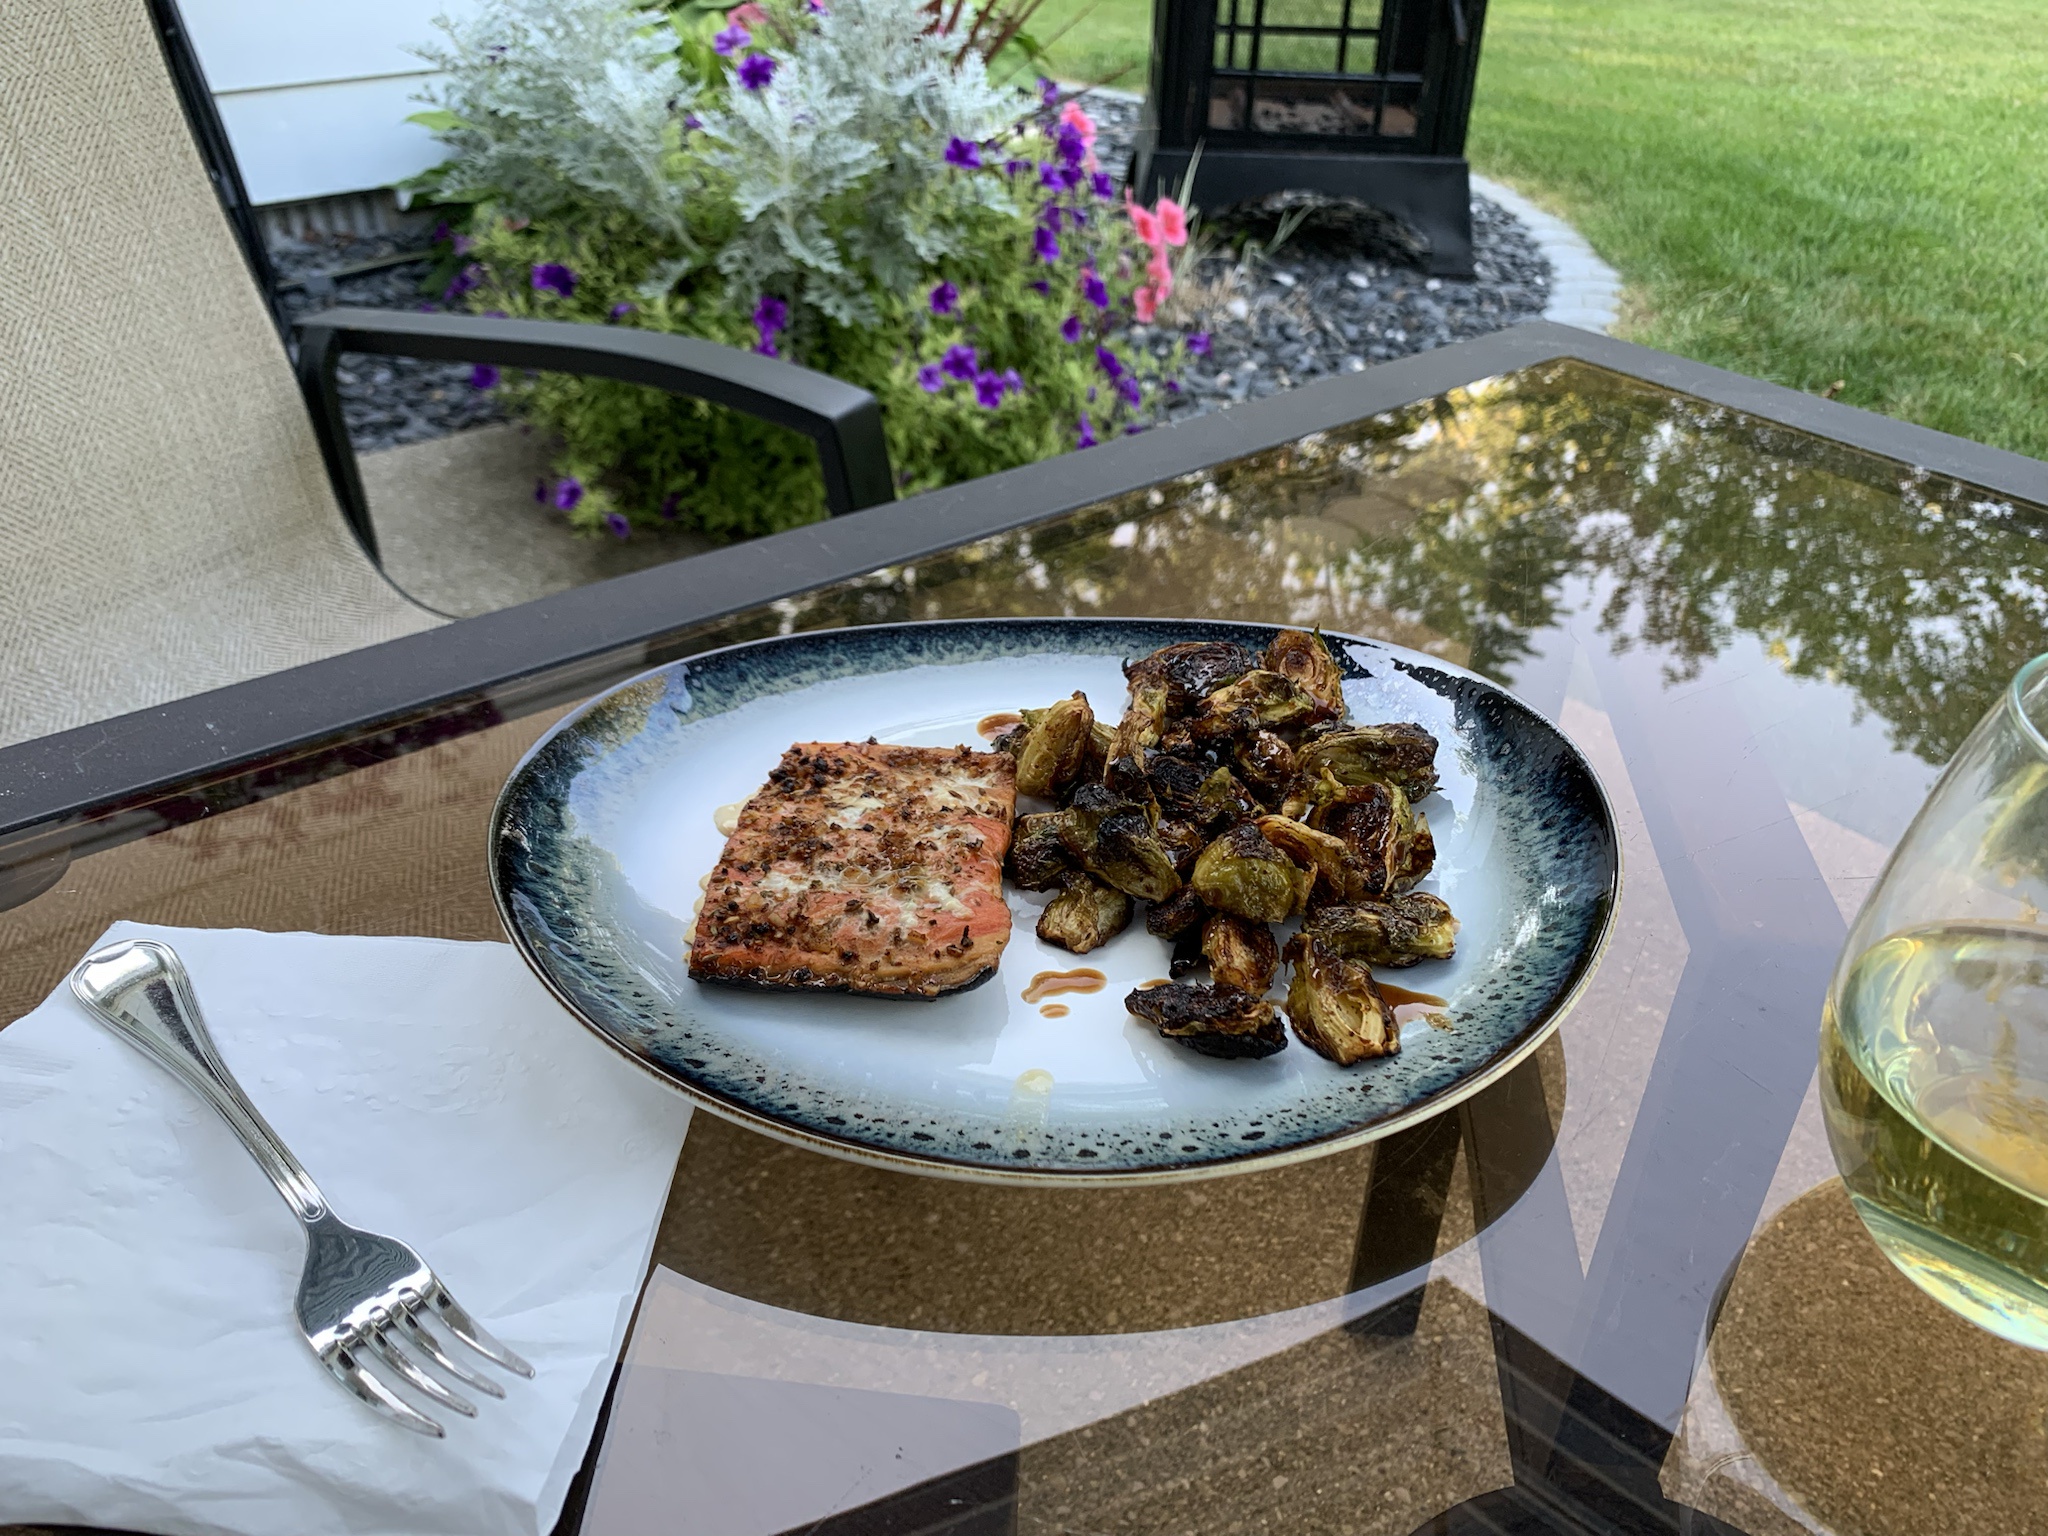
Smoked some salmon and brussels sprouts the other night.

gG7zDX5.jpg


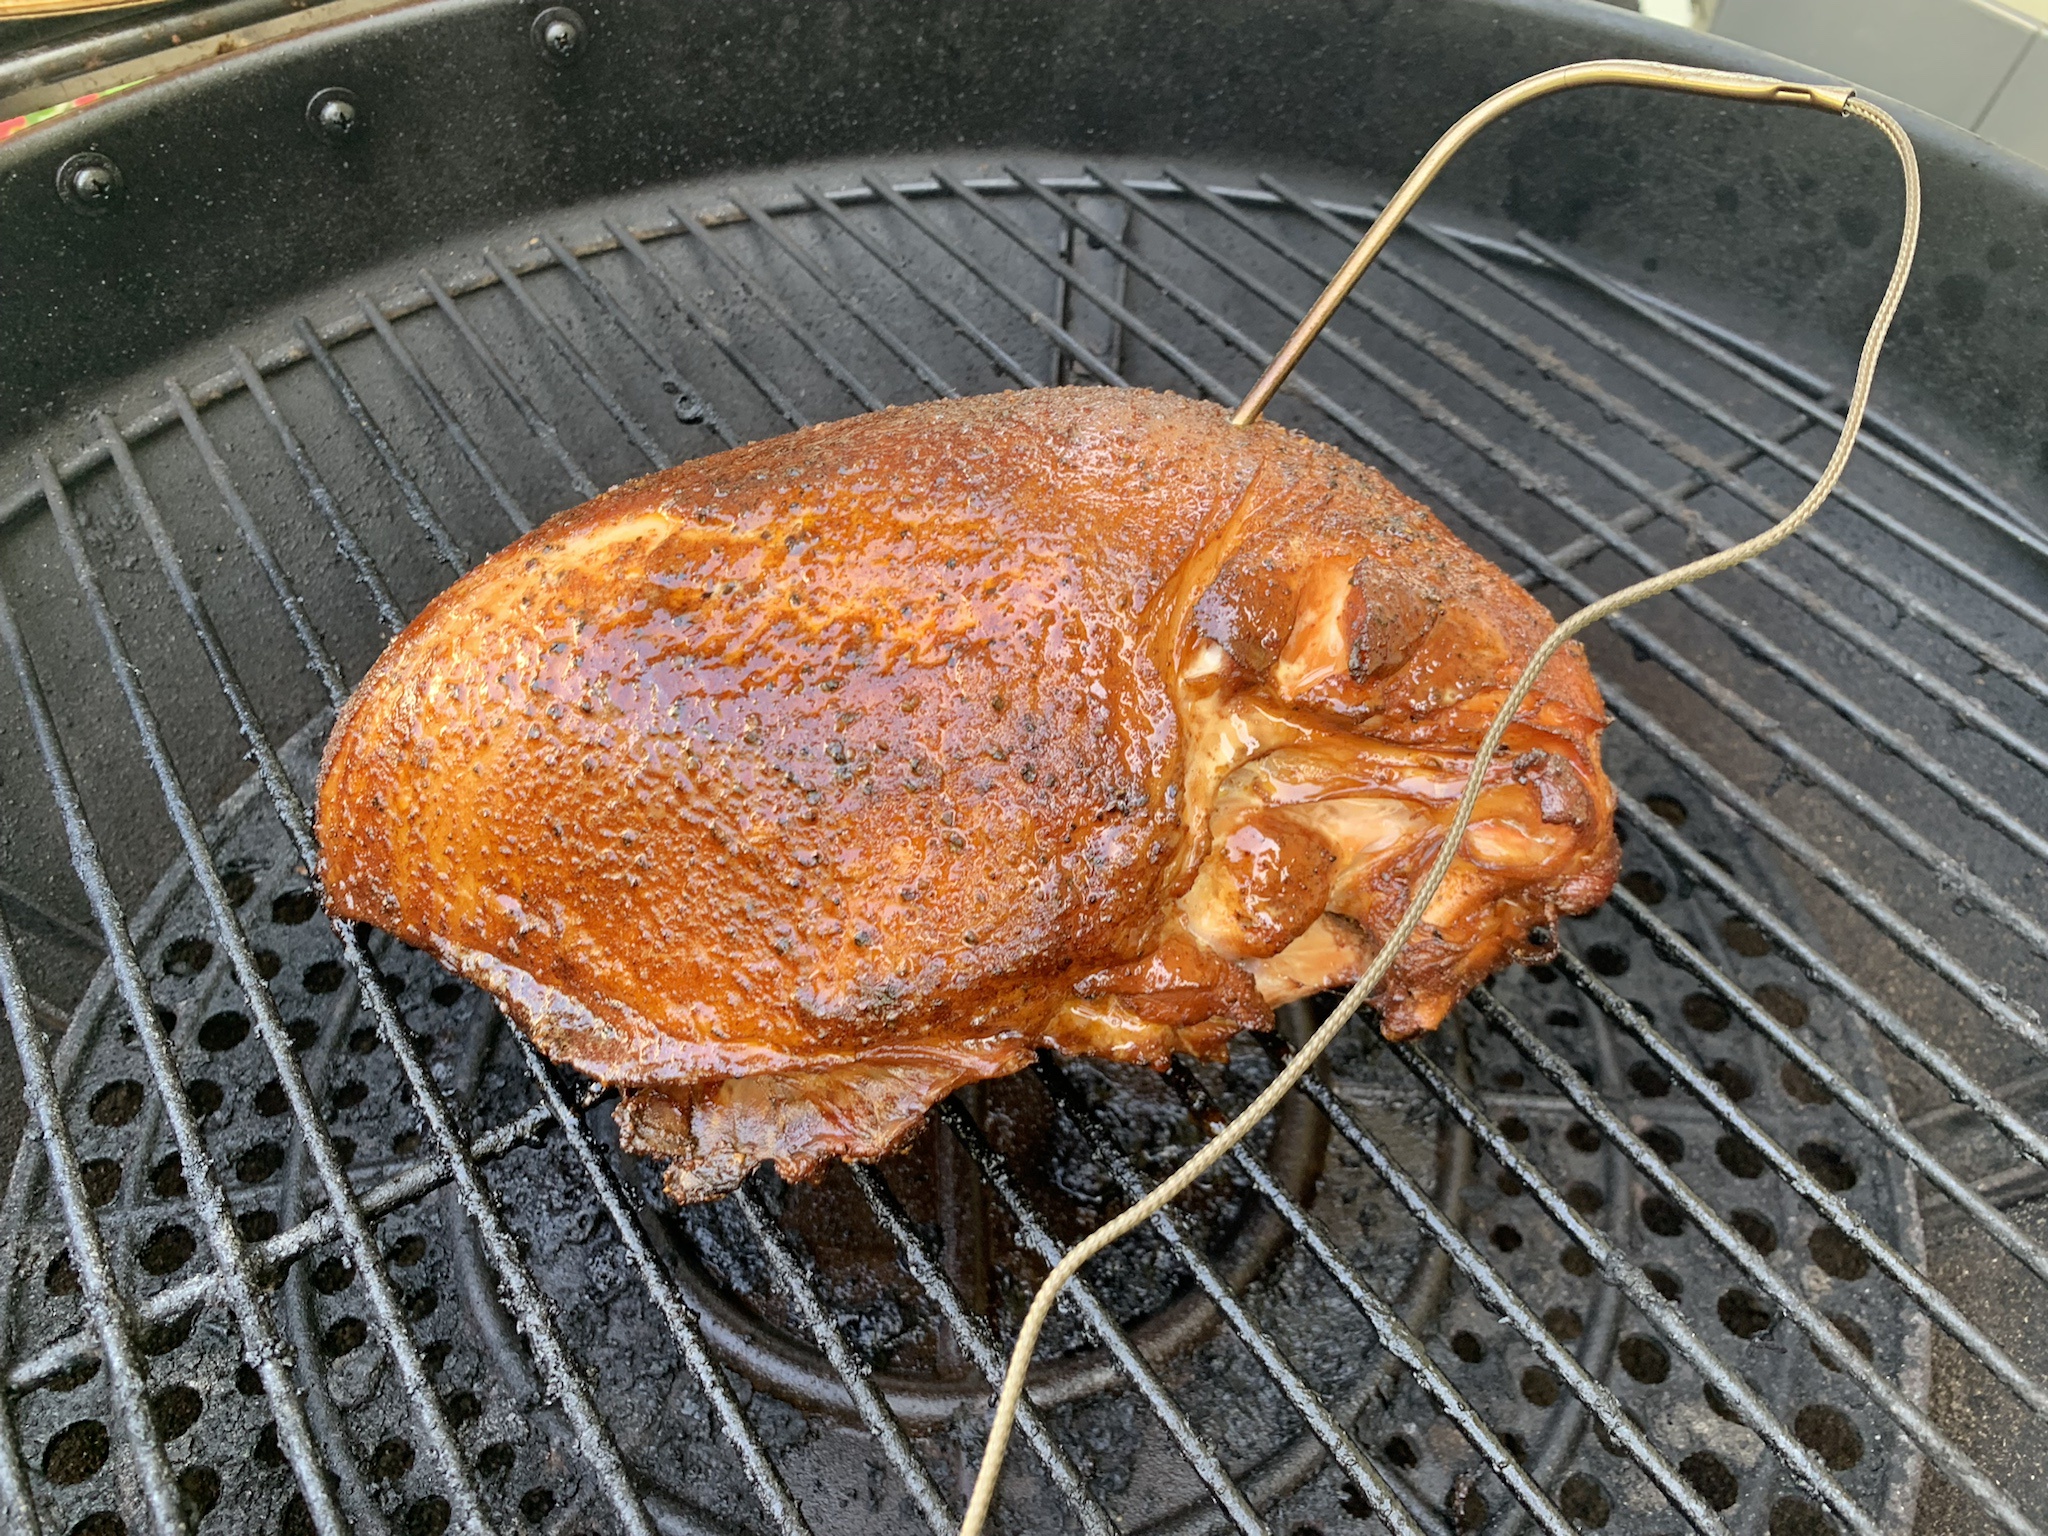
Smoked a turkey breast this afternoon. See, I told you I was cooking too much! :D

v1OuF1l.jpg


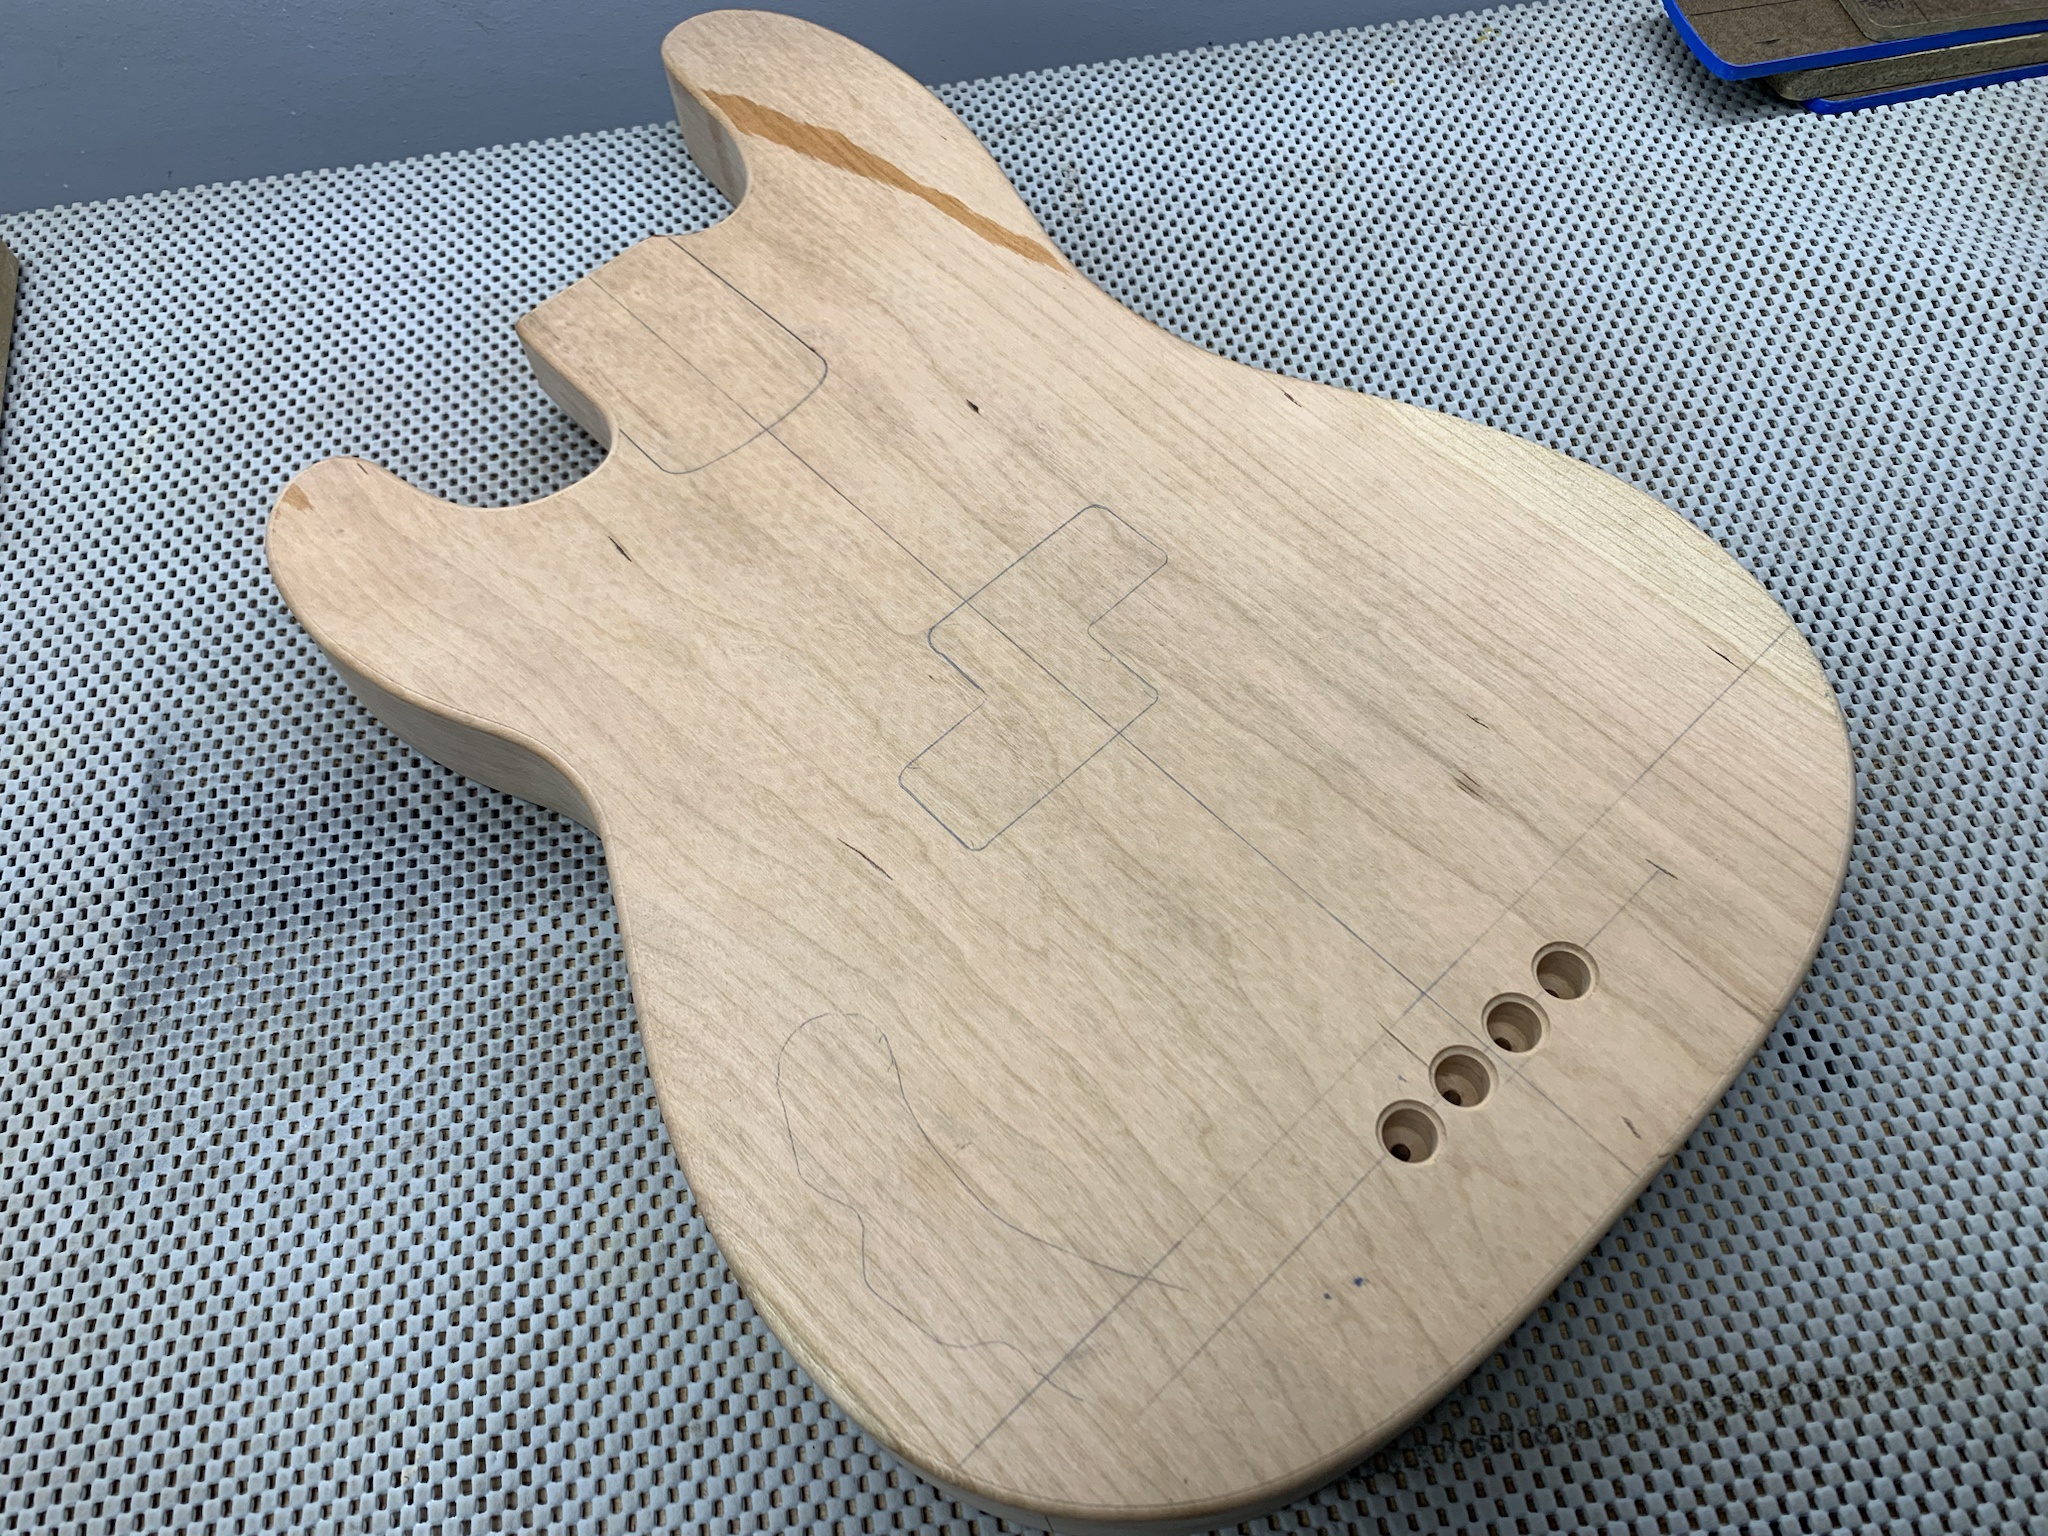
In other news, I got the bridge mounted.
OhYPsGs.jpg


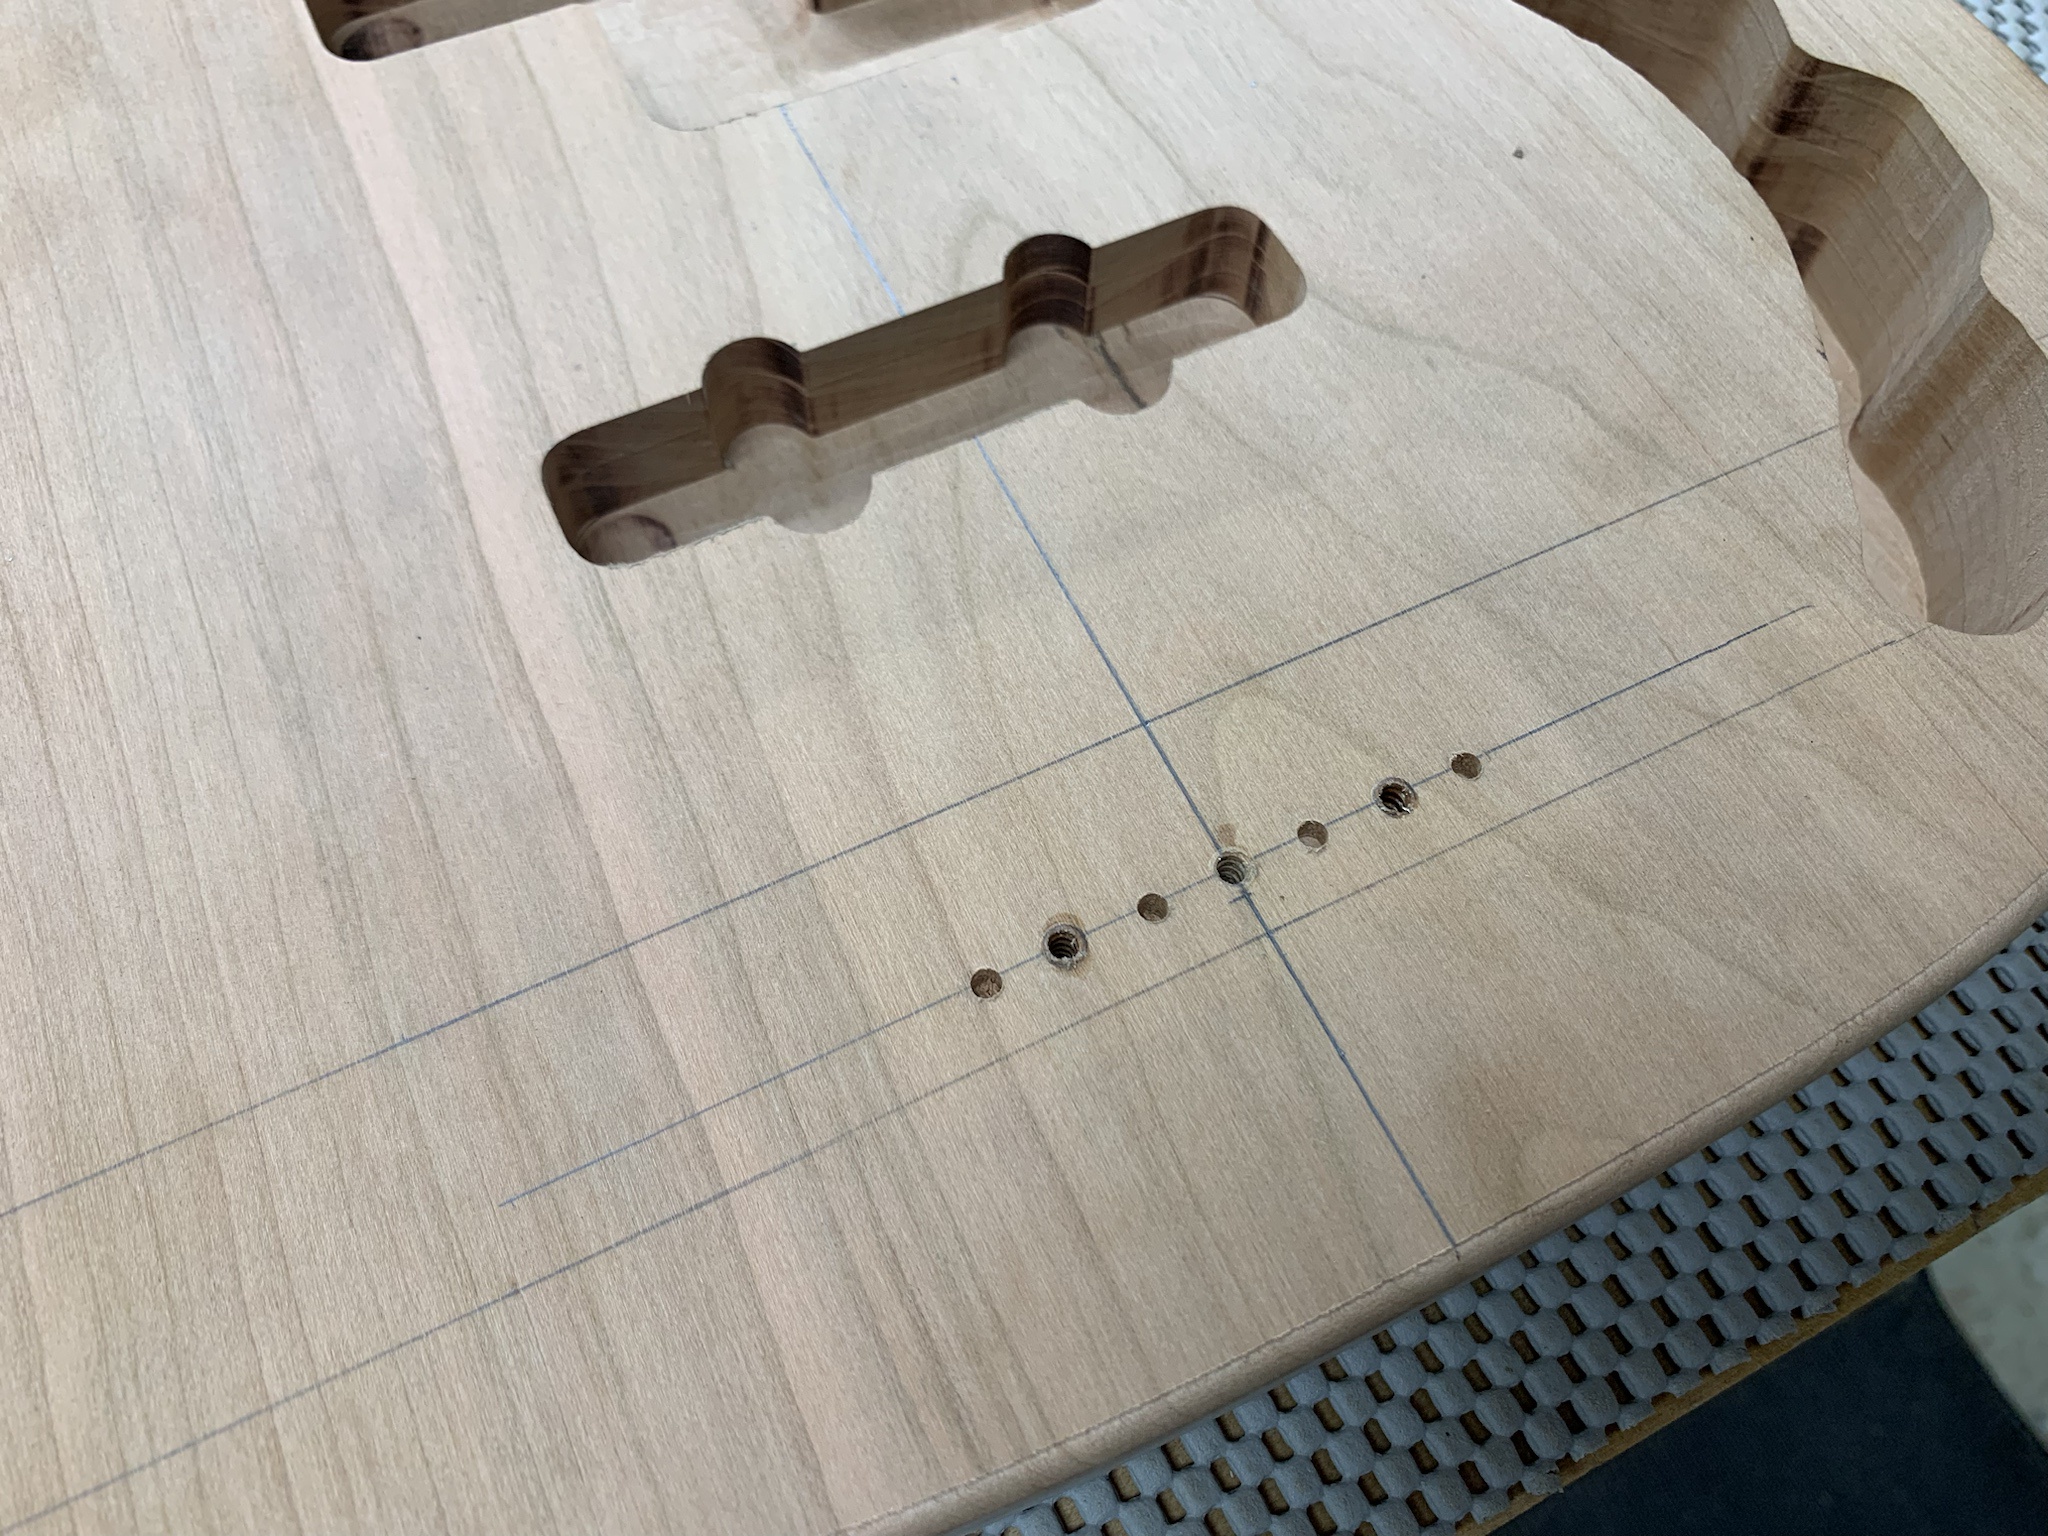
I drilled shallow 1/8" holes at the string through locations.

iNnmzkZ.jpg


Fastened down a spoil board and drilled a 1/8" hole and inserted an index pin at that location.
HHEXpEN.jpg


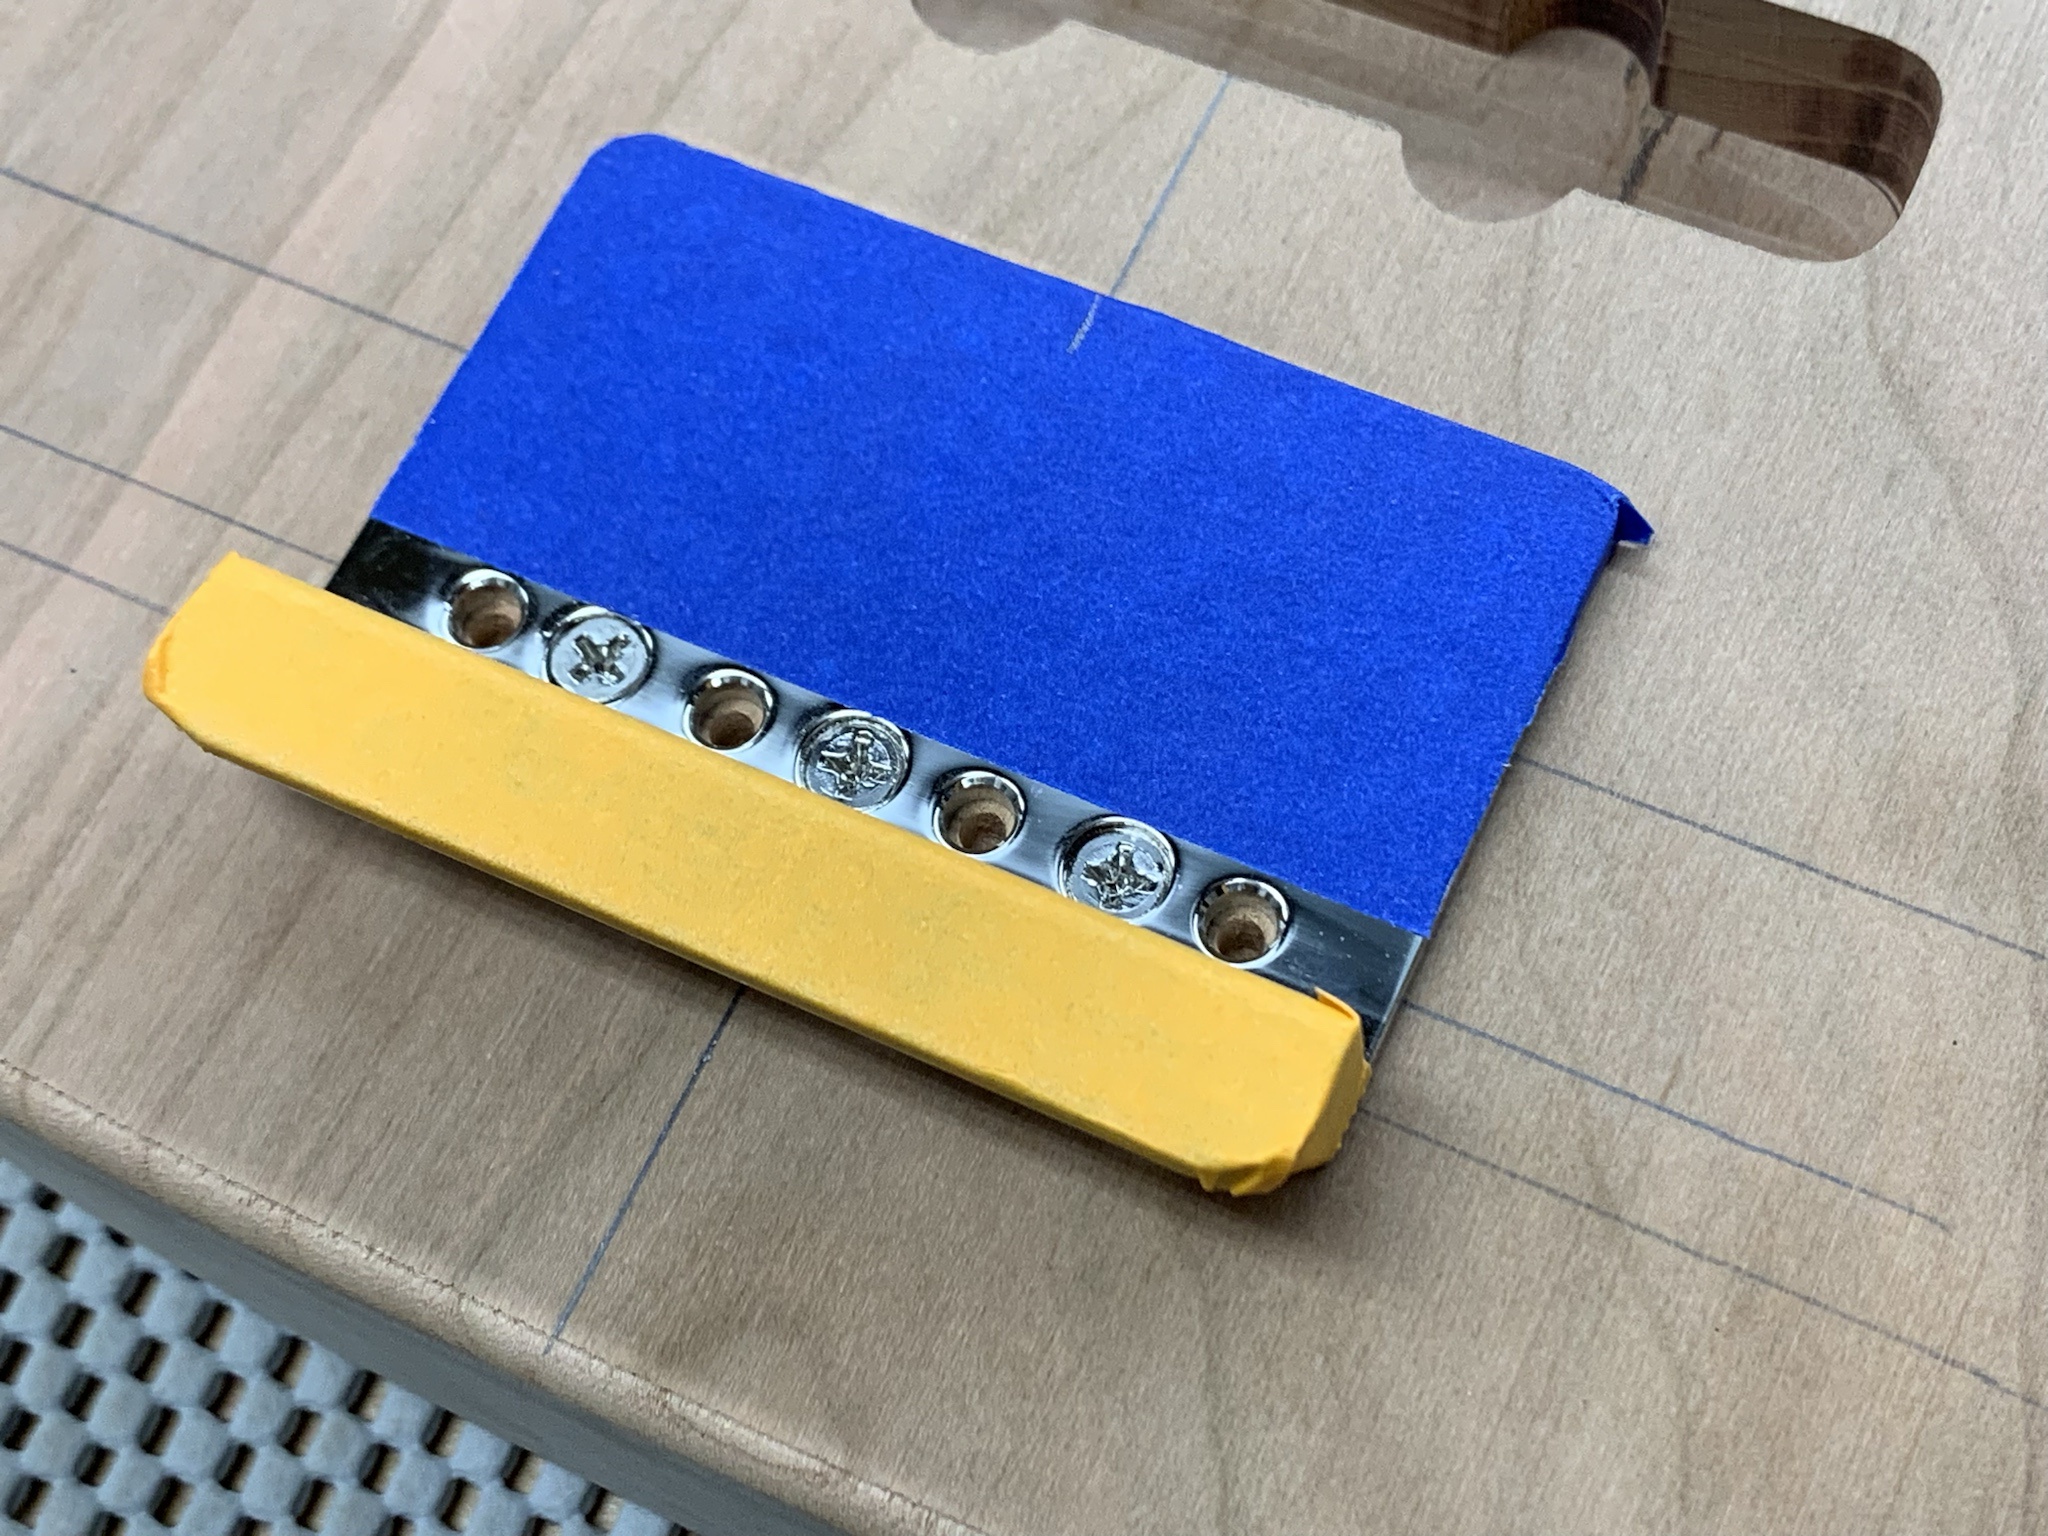
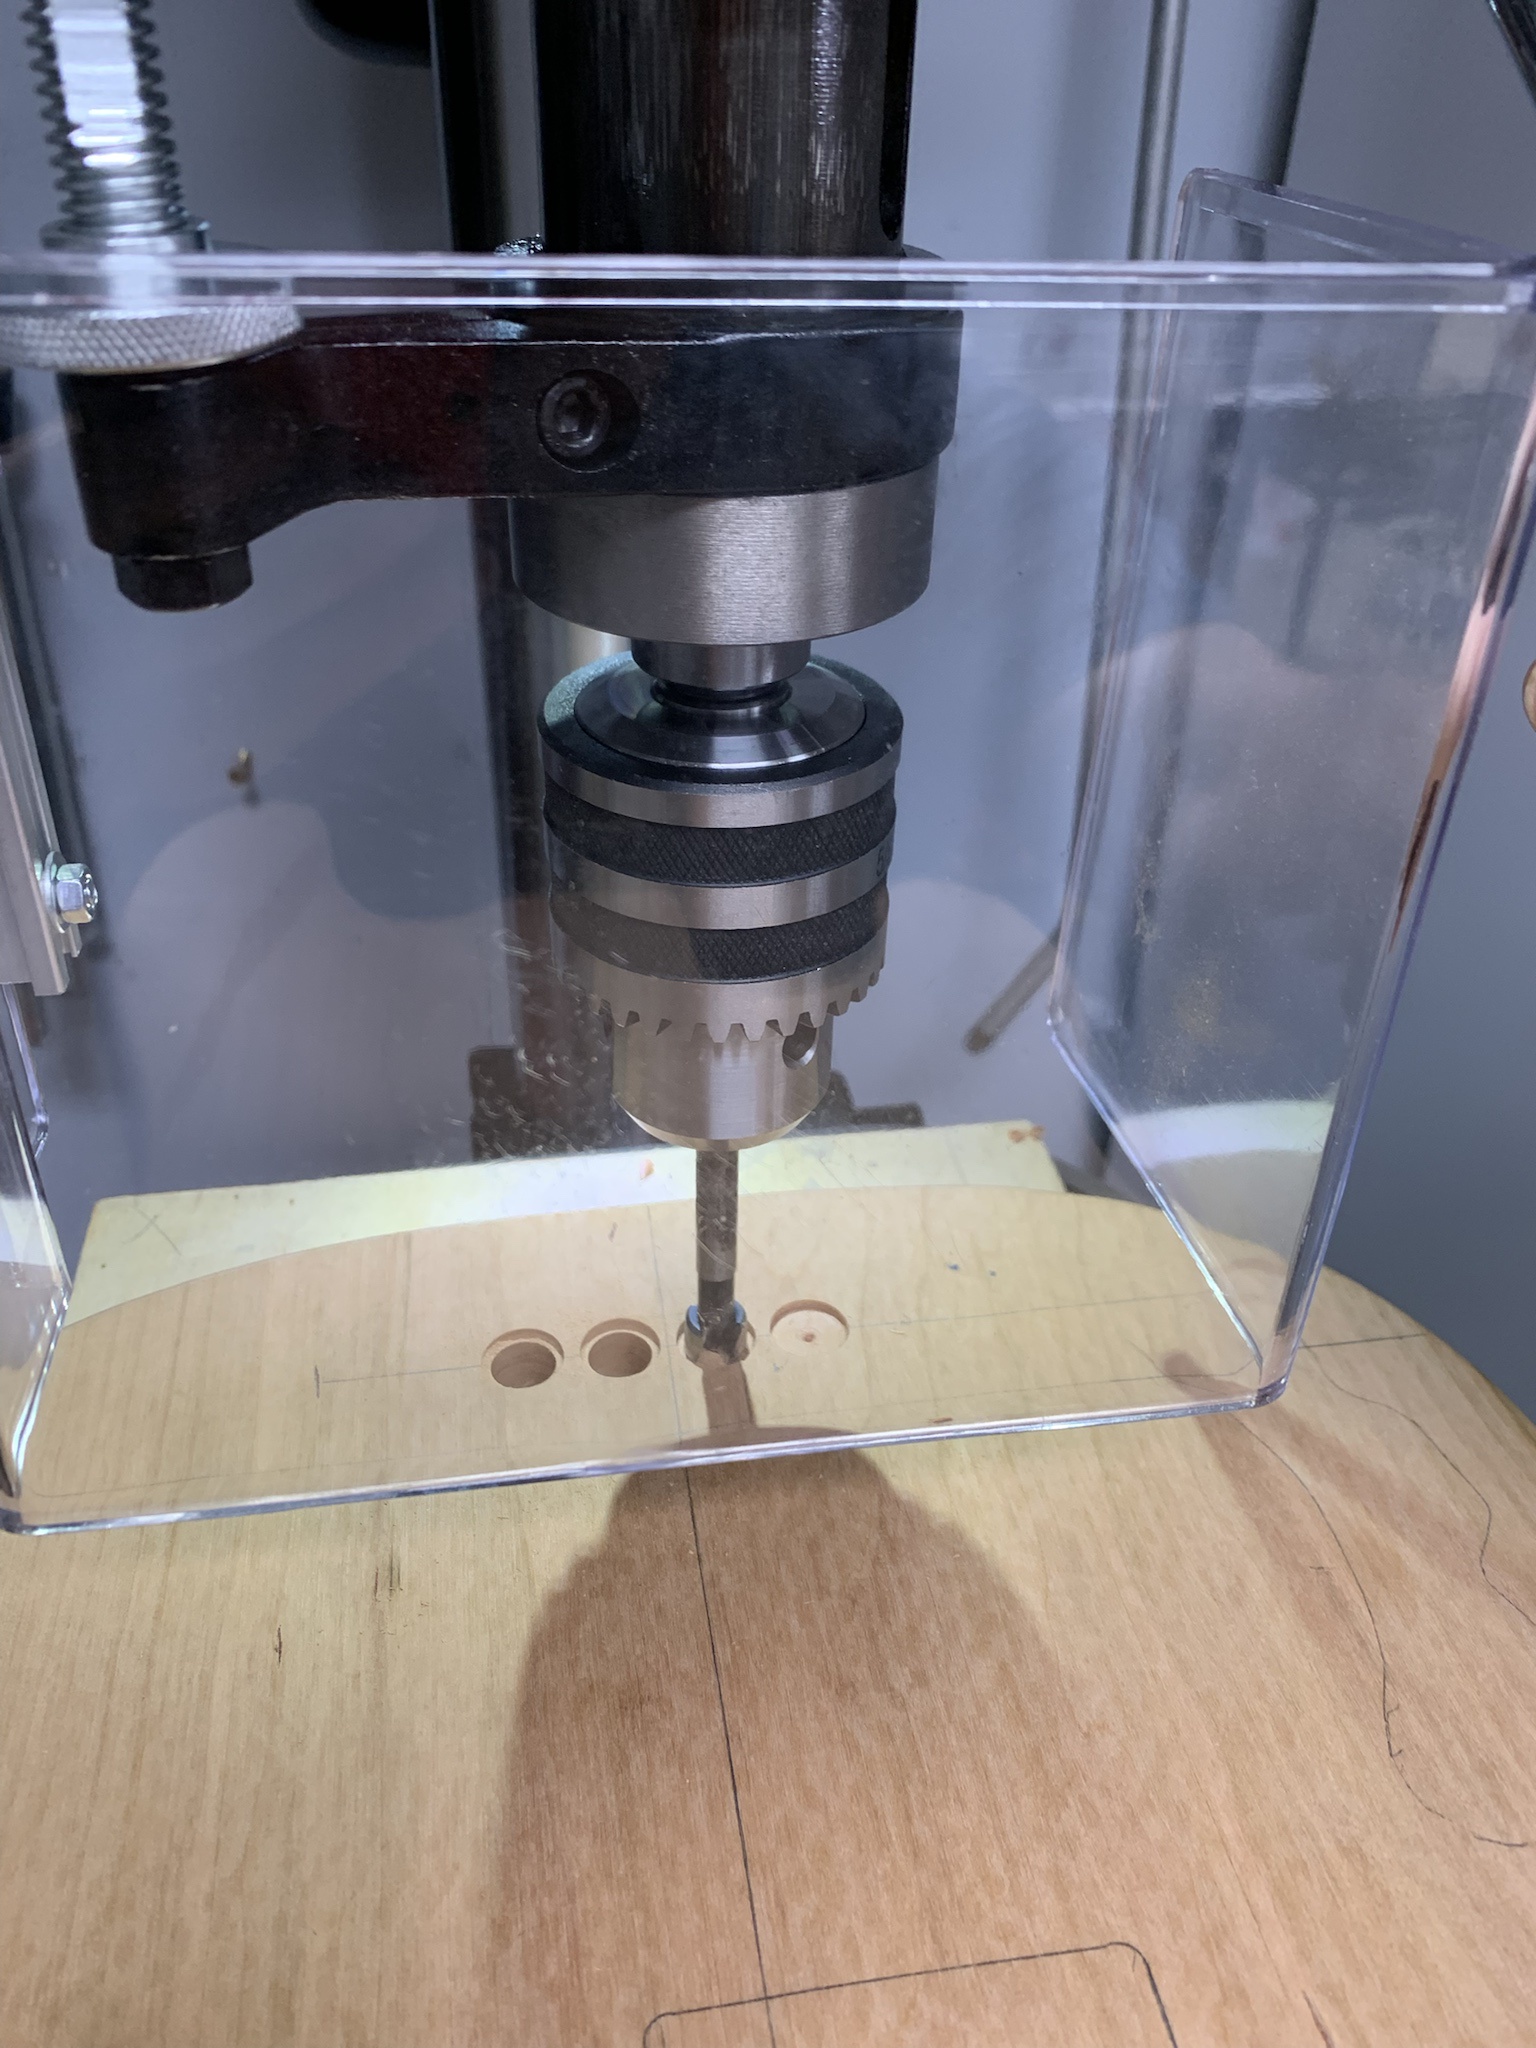
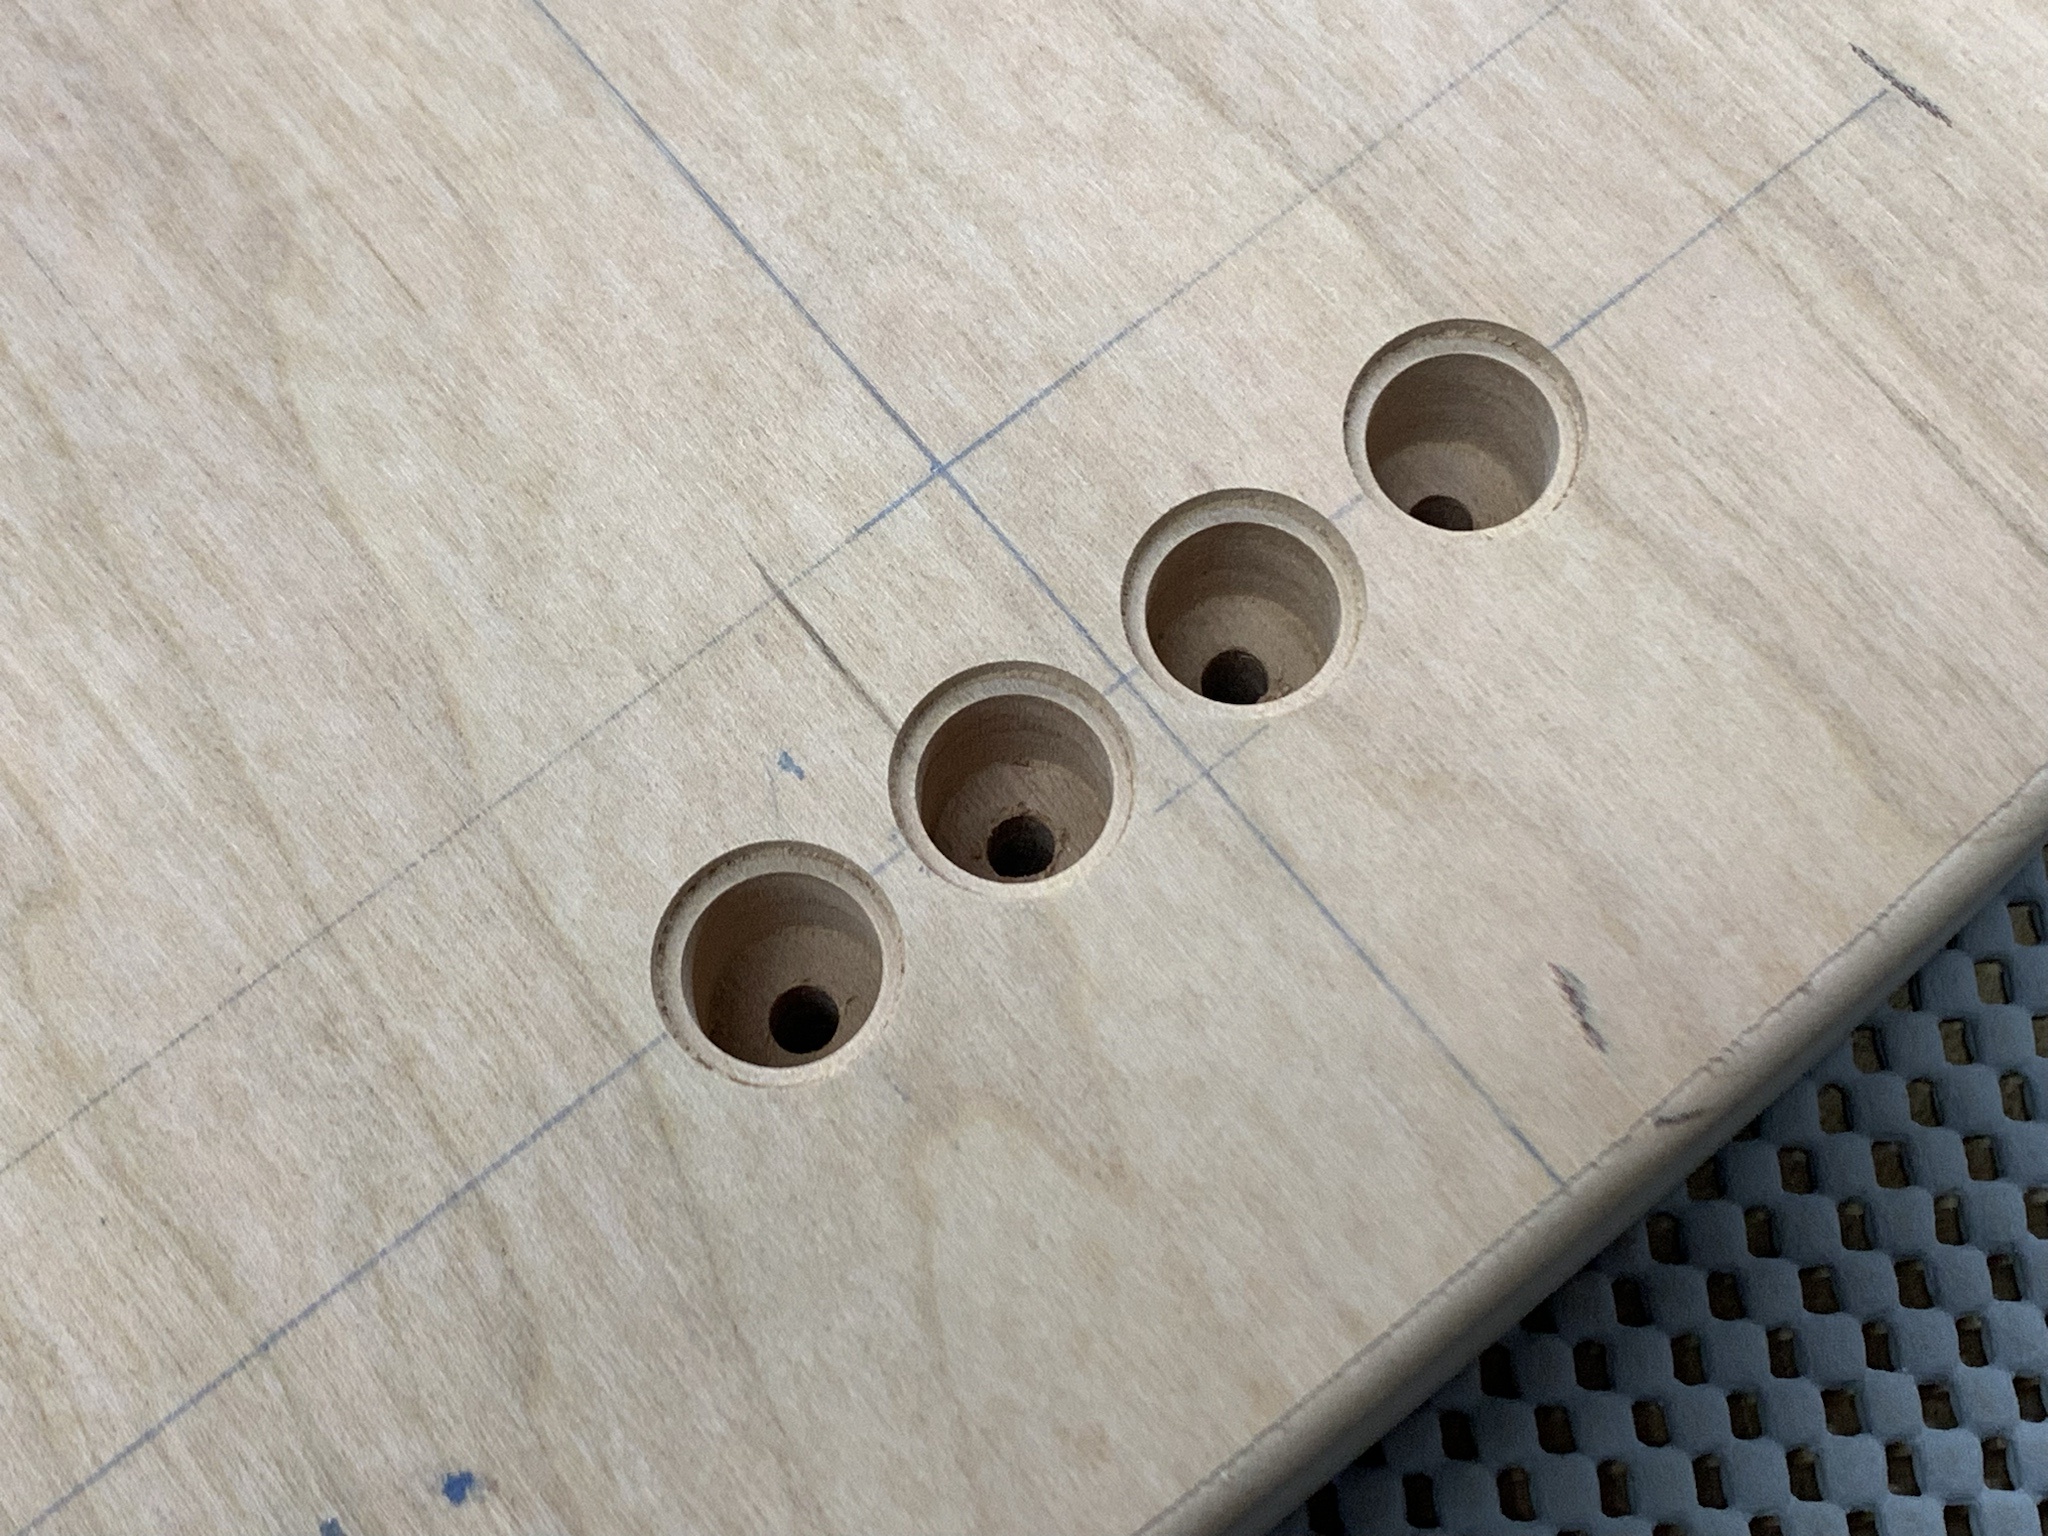
I taped off the screw holes in the body so that I couldn't make a boo-boo, then proceeded with the making of holes to accept the string ferrules. I'm going to recess these into the body.

vC8dJGe.jpg


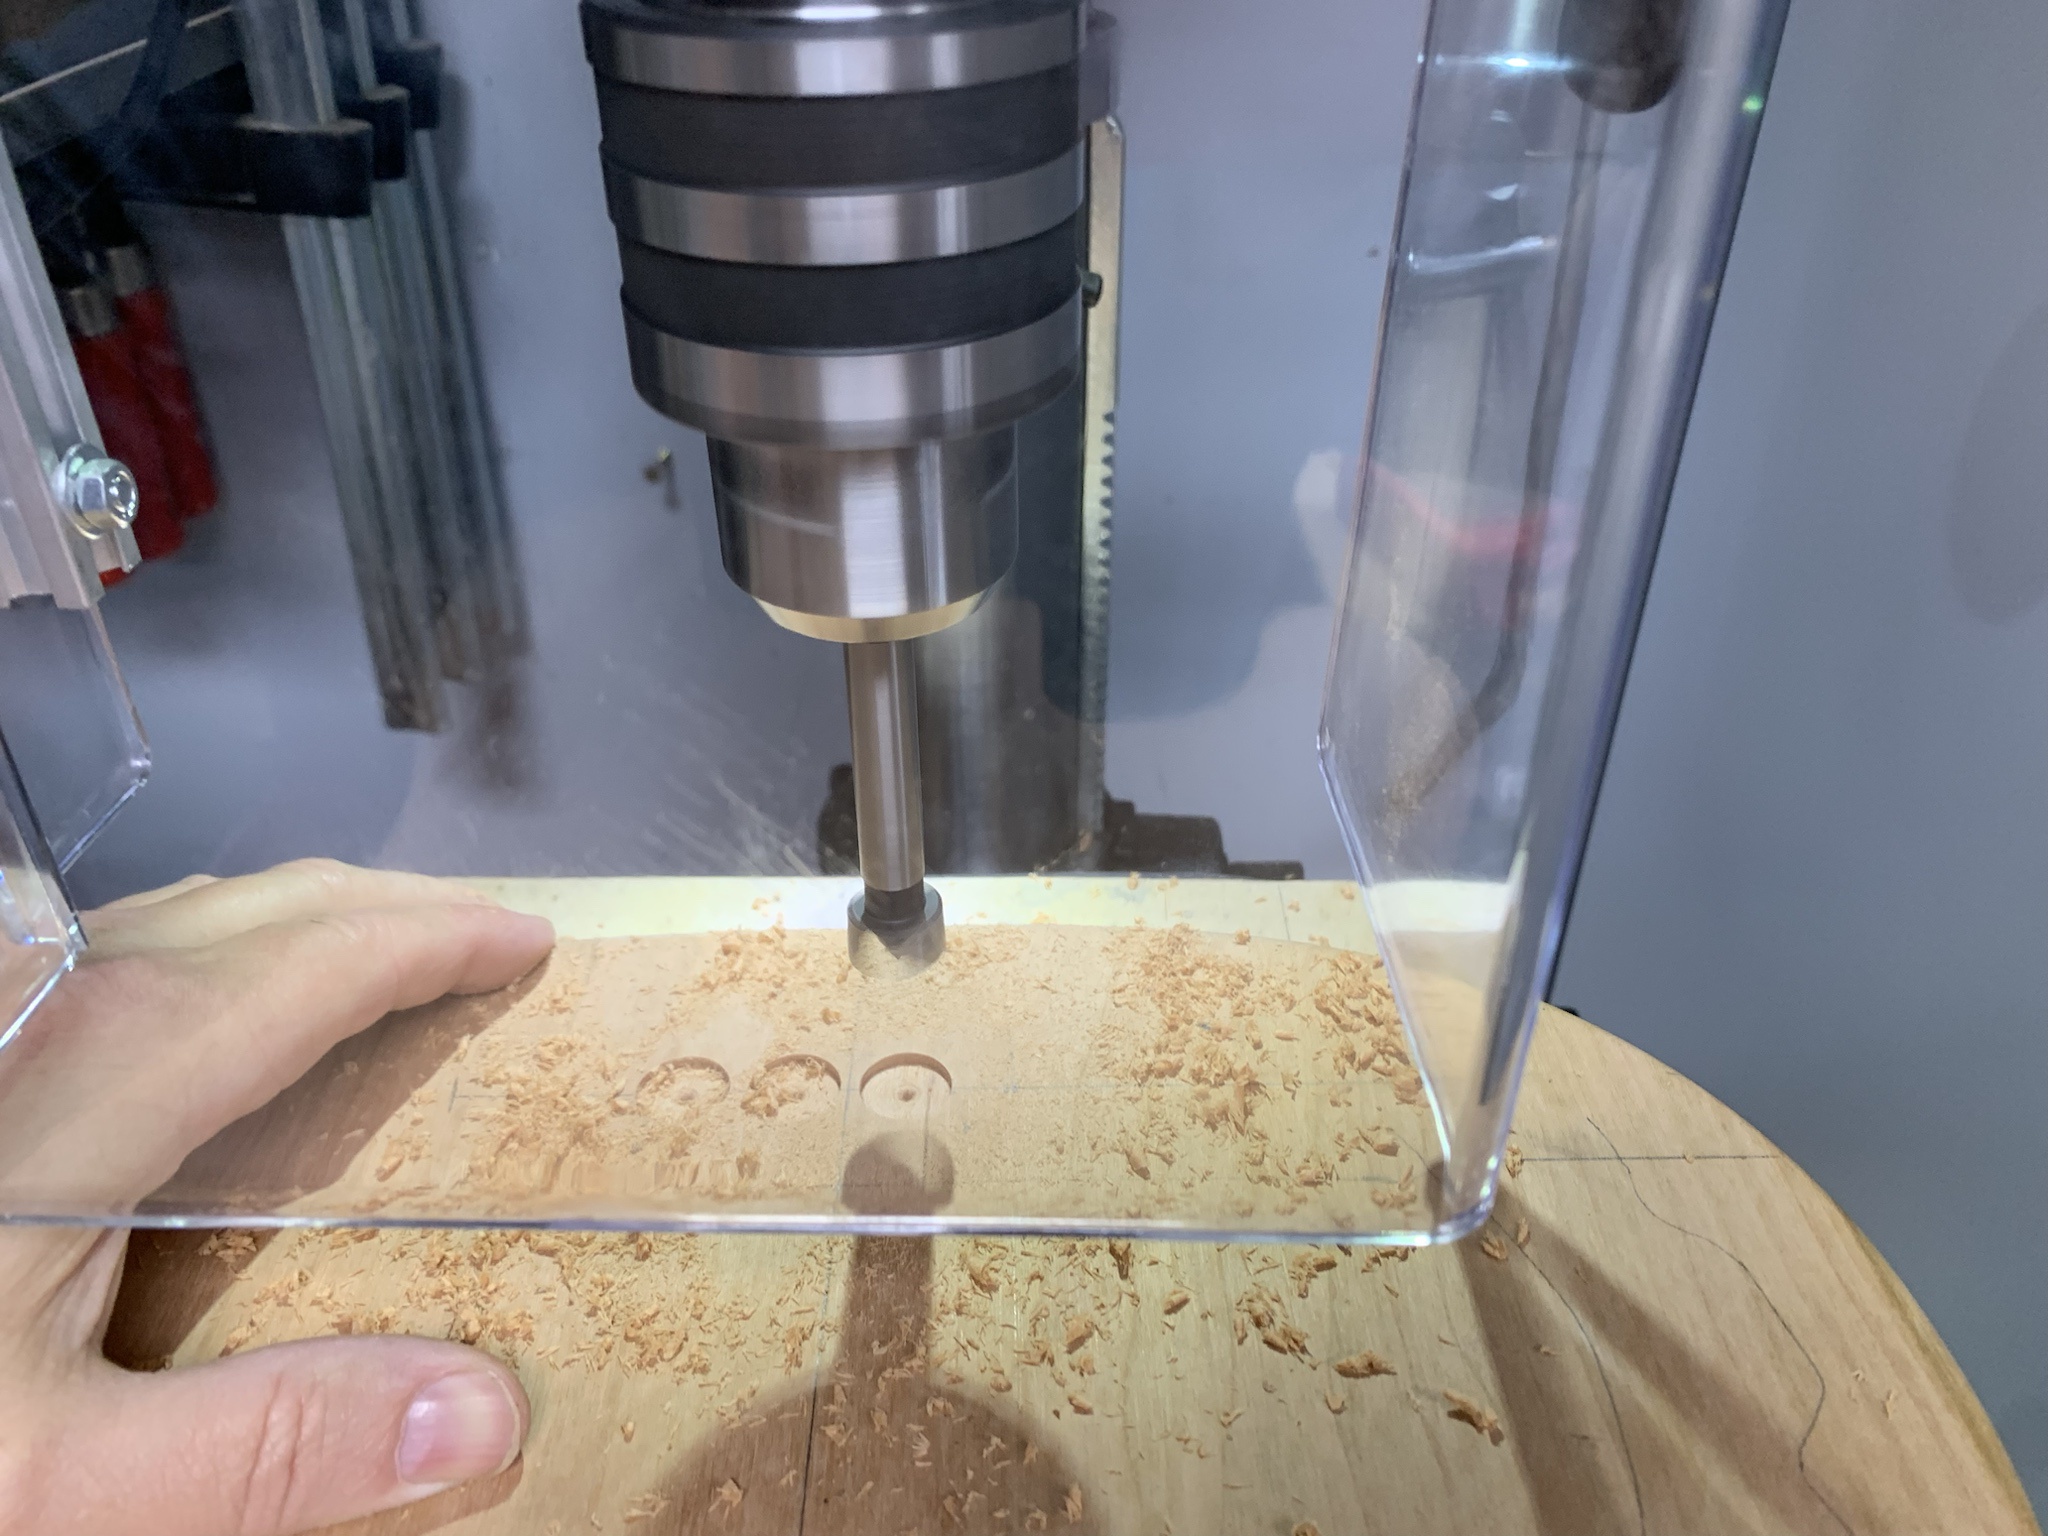
Counter boring for the ferrule cups. Yep, this is a new drill press. I have to replace that chuck, it's not great. It performs just fine, but my old one was ball bearing and worked effortlessly when changing bits.

Vrwizm6.jpg


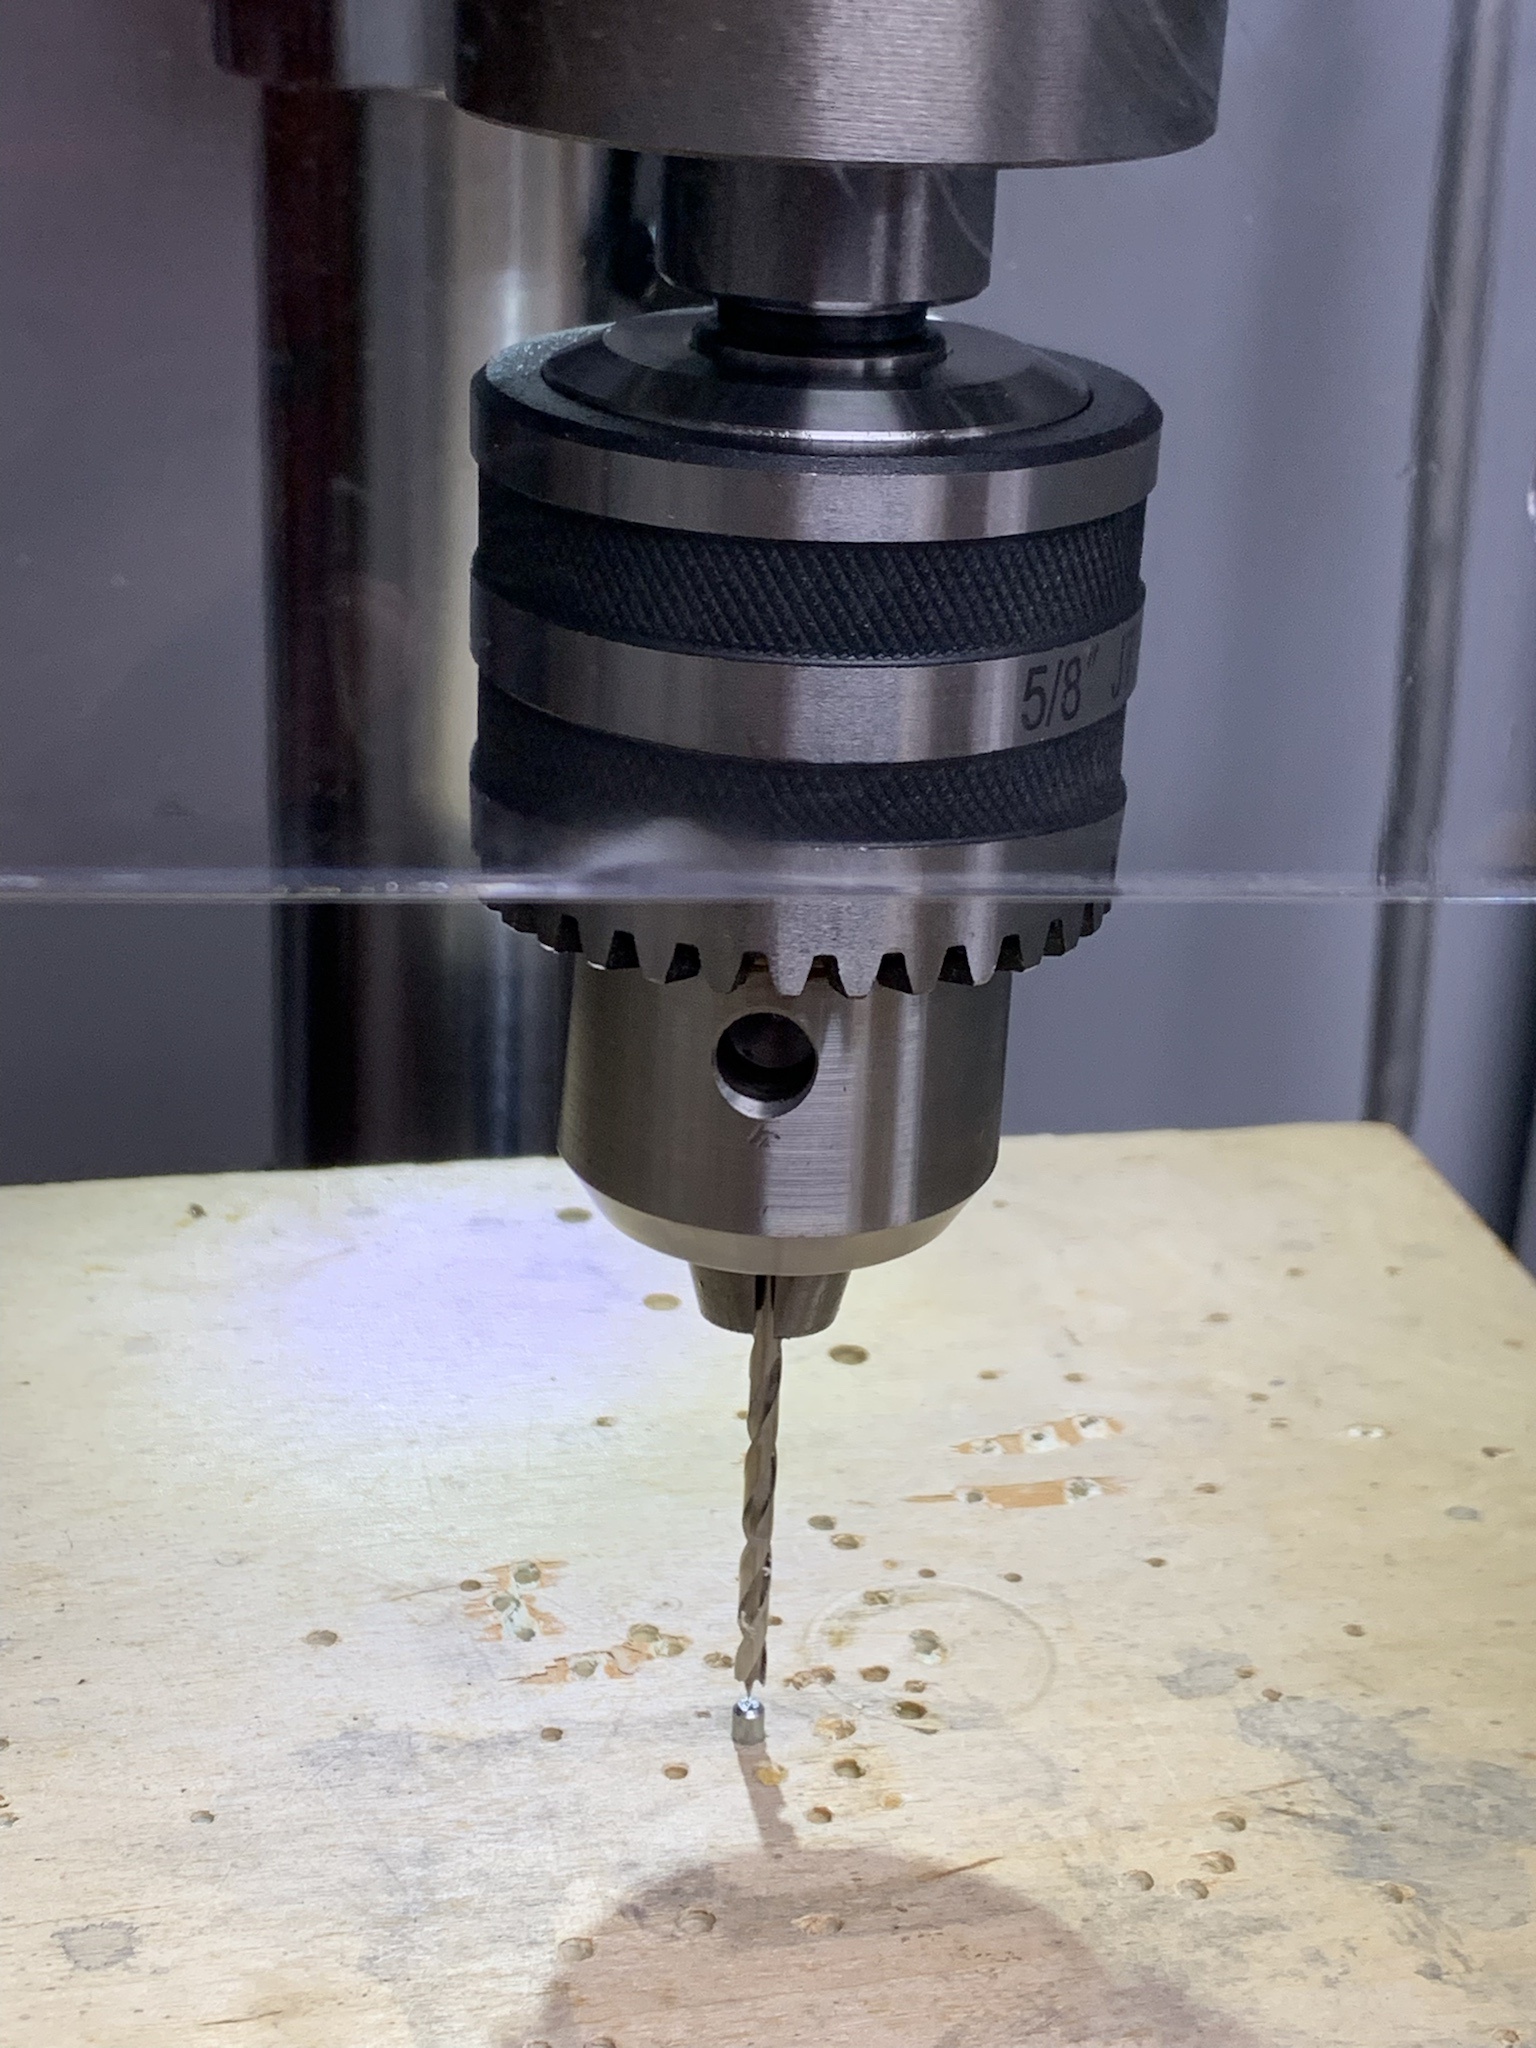
I finished up by drilling through with a 3/16" bit.

5HQ3nys.jpg


wxDo0cW.jpg


Done.

5wM8KFL.jpg


More soon! :)
 
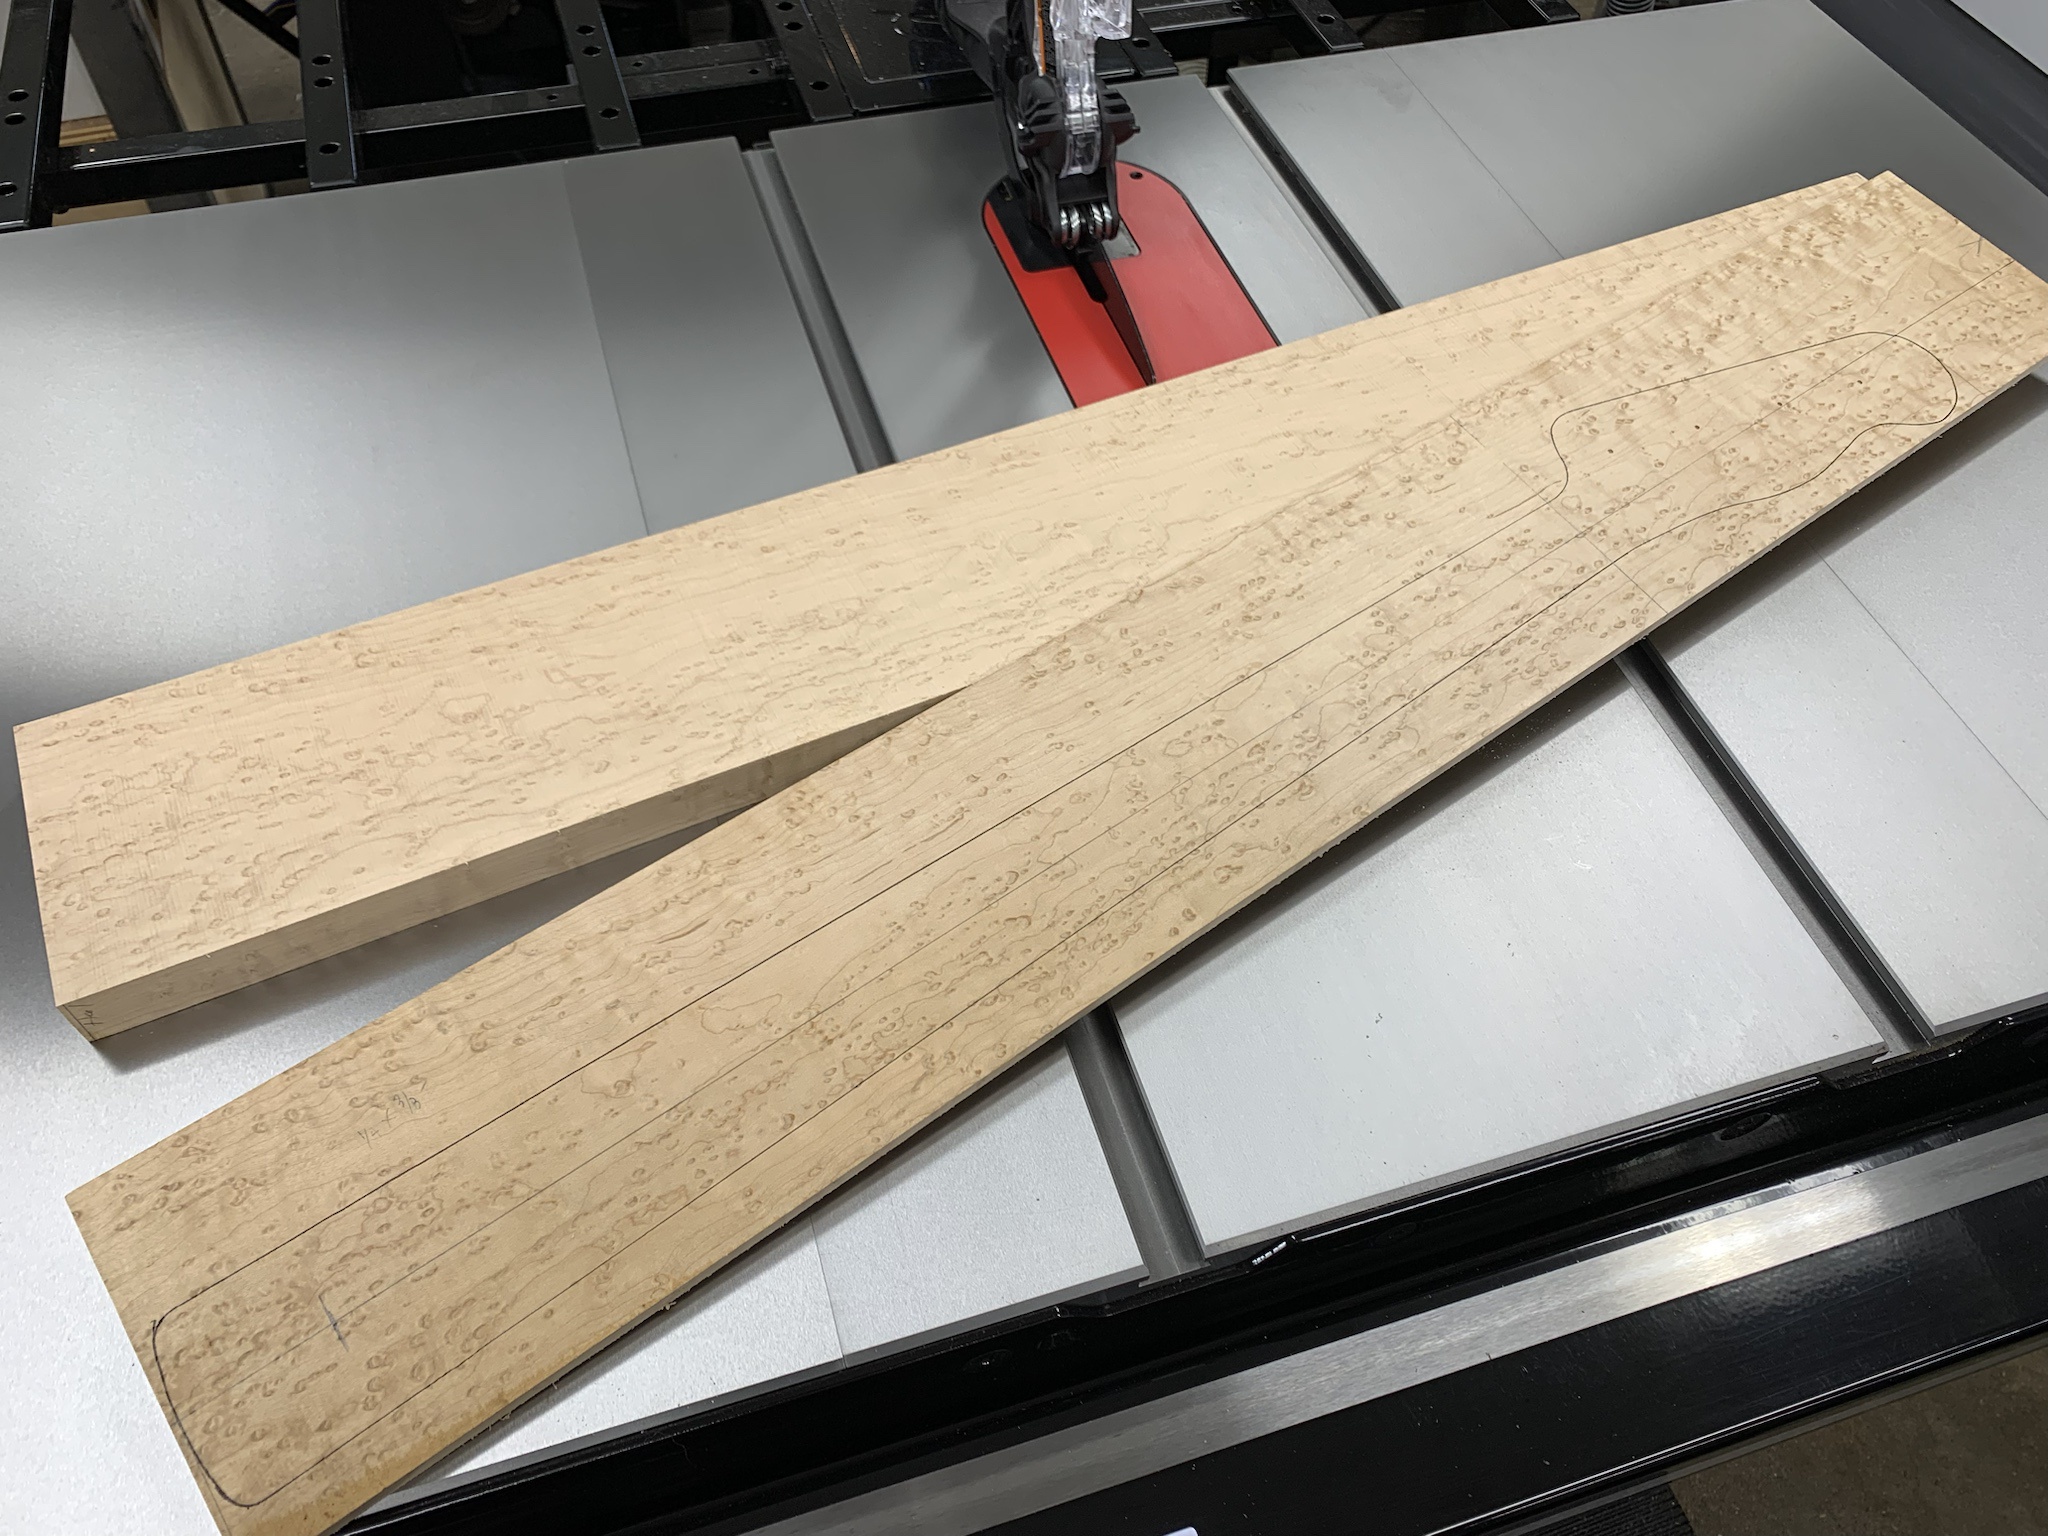
On to the neck! The plan is to make a Jazz sized neck with a Tele headstock. The entire neck will be made from a billet of birdseye maple with black block inlays and black binding.

I'm pretty apprehensive about two things... 1. is that trying to cut straight sided inlay pockets in birdseye may prove to be super difficult if some of the eyes decide to not (knot?) play nice, and 2. is that I need to be super precise with the inlay pockets and inlays themselves. I have a variety of materials to glue/fill, etc. if needed, but have to be super careful to avoid bleeding into the maple. I will be doing some tests for sure. I have some lamp black that I can mix with epoxy, some medium black CA, and can also try ebony flour and epoxy or perhaps some black slurry made from black binding scraps and acetone.


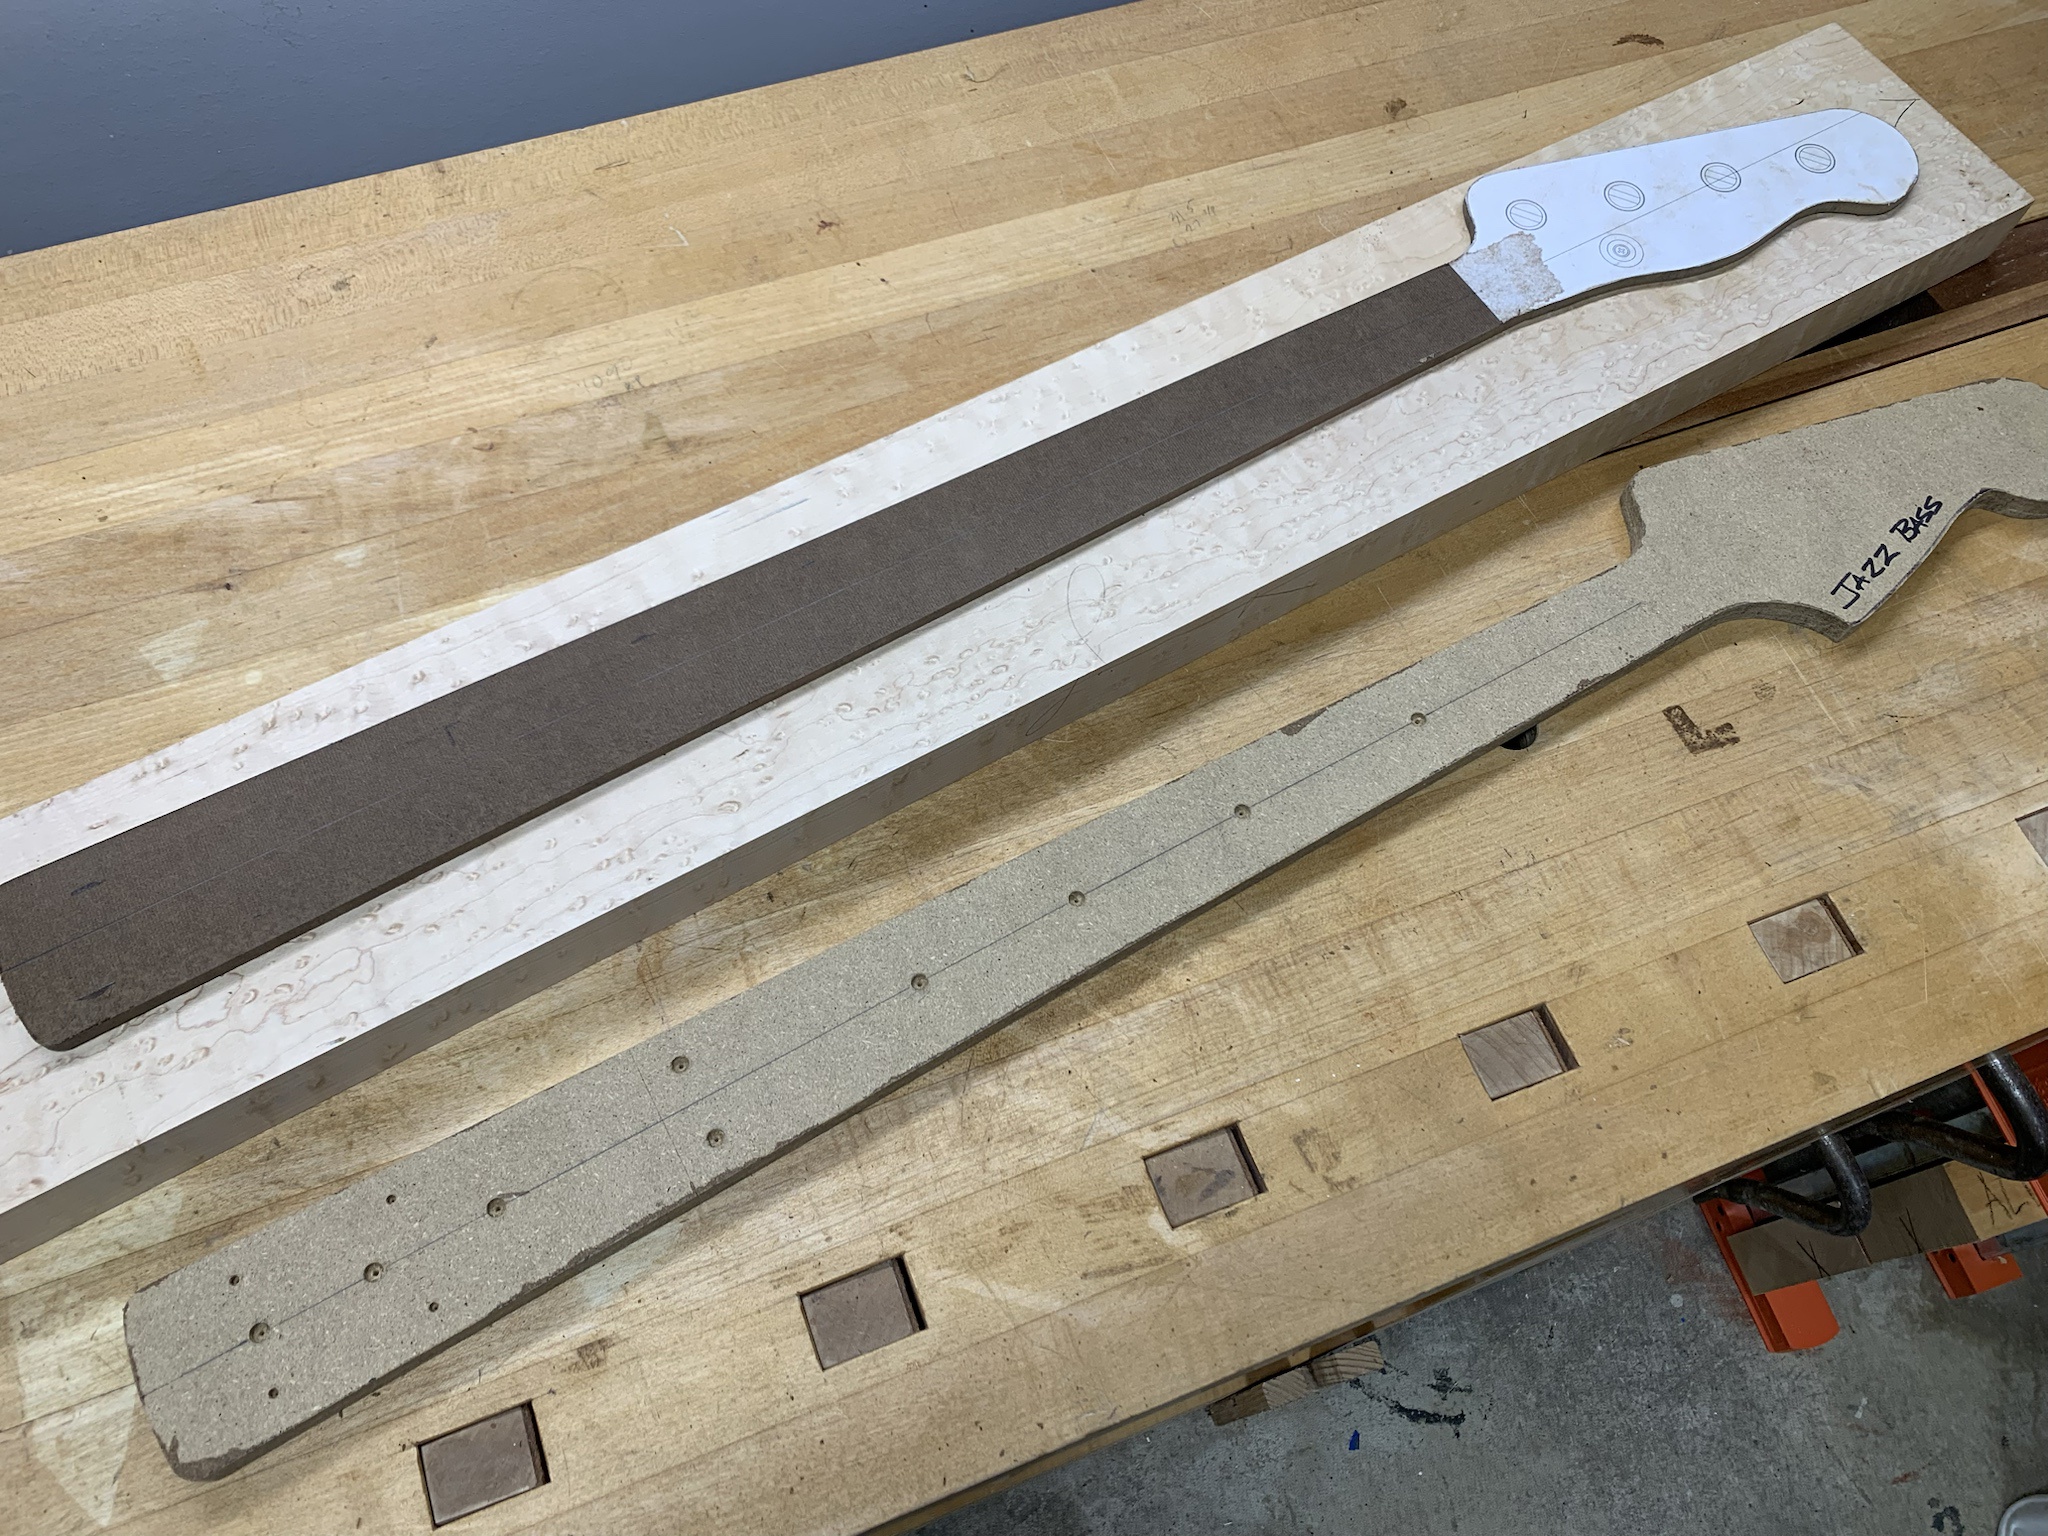
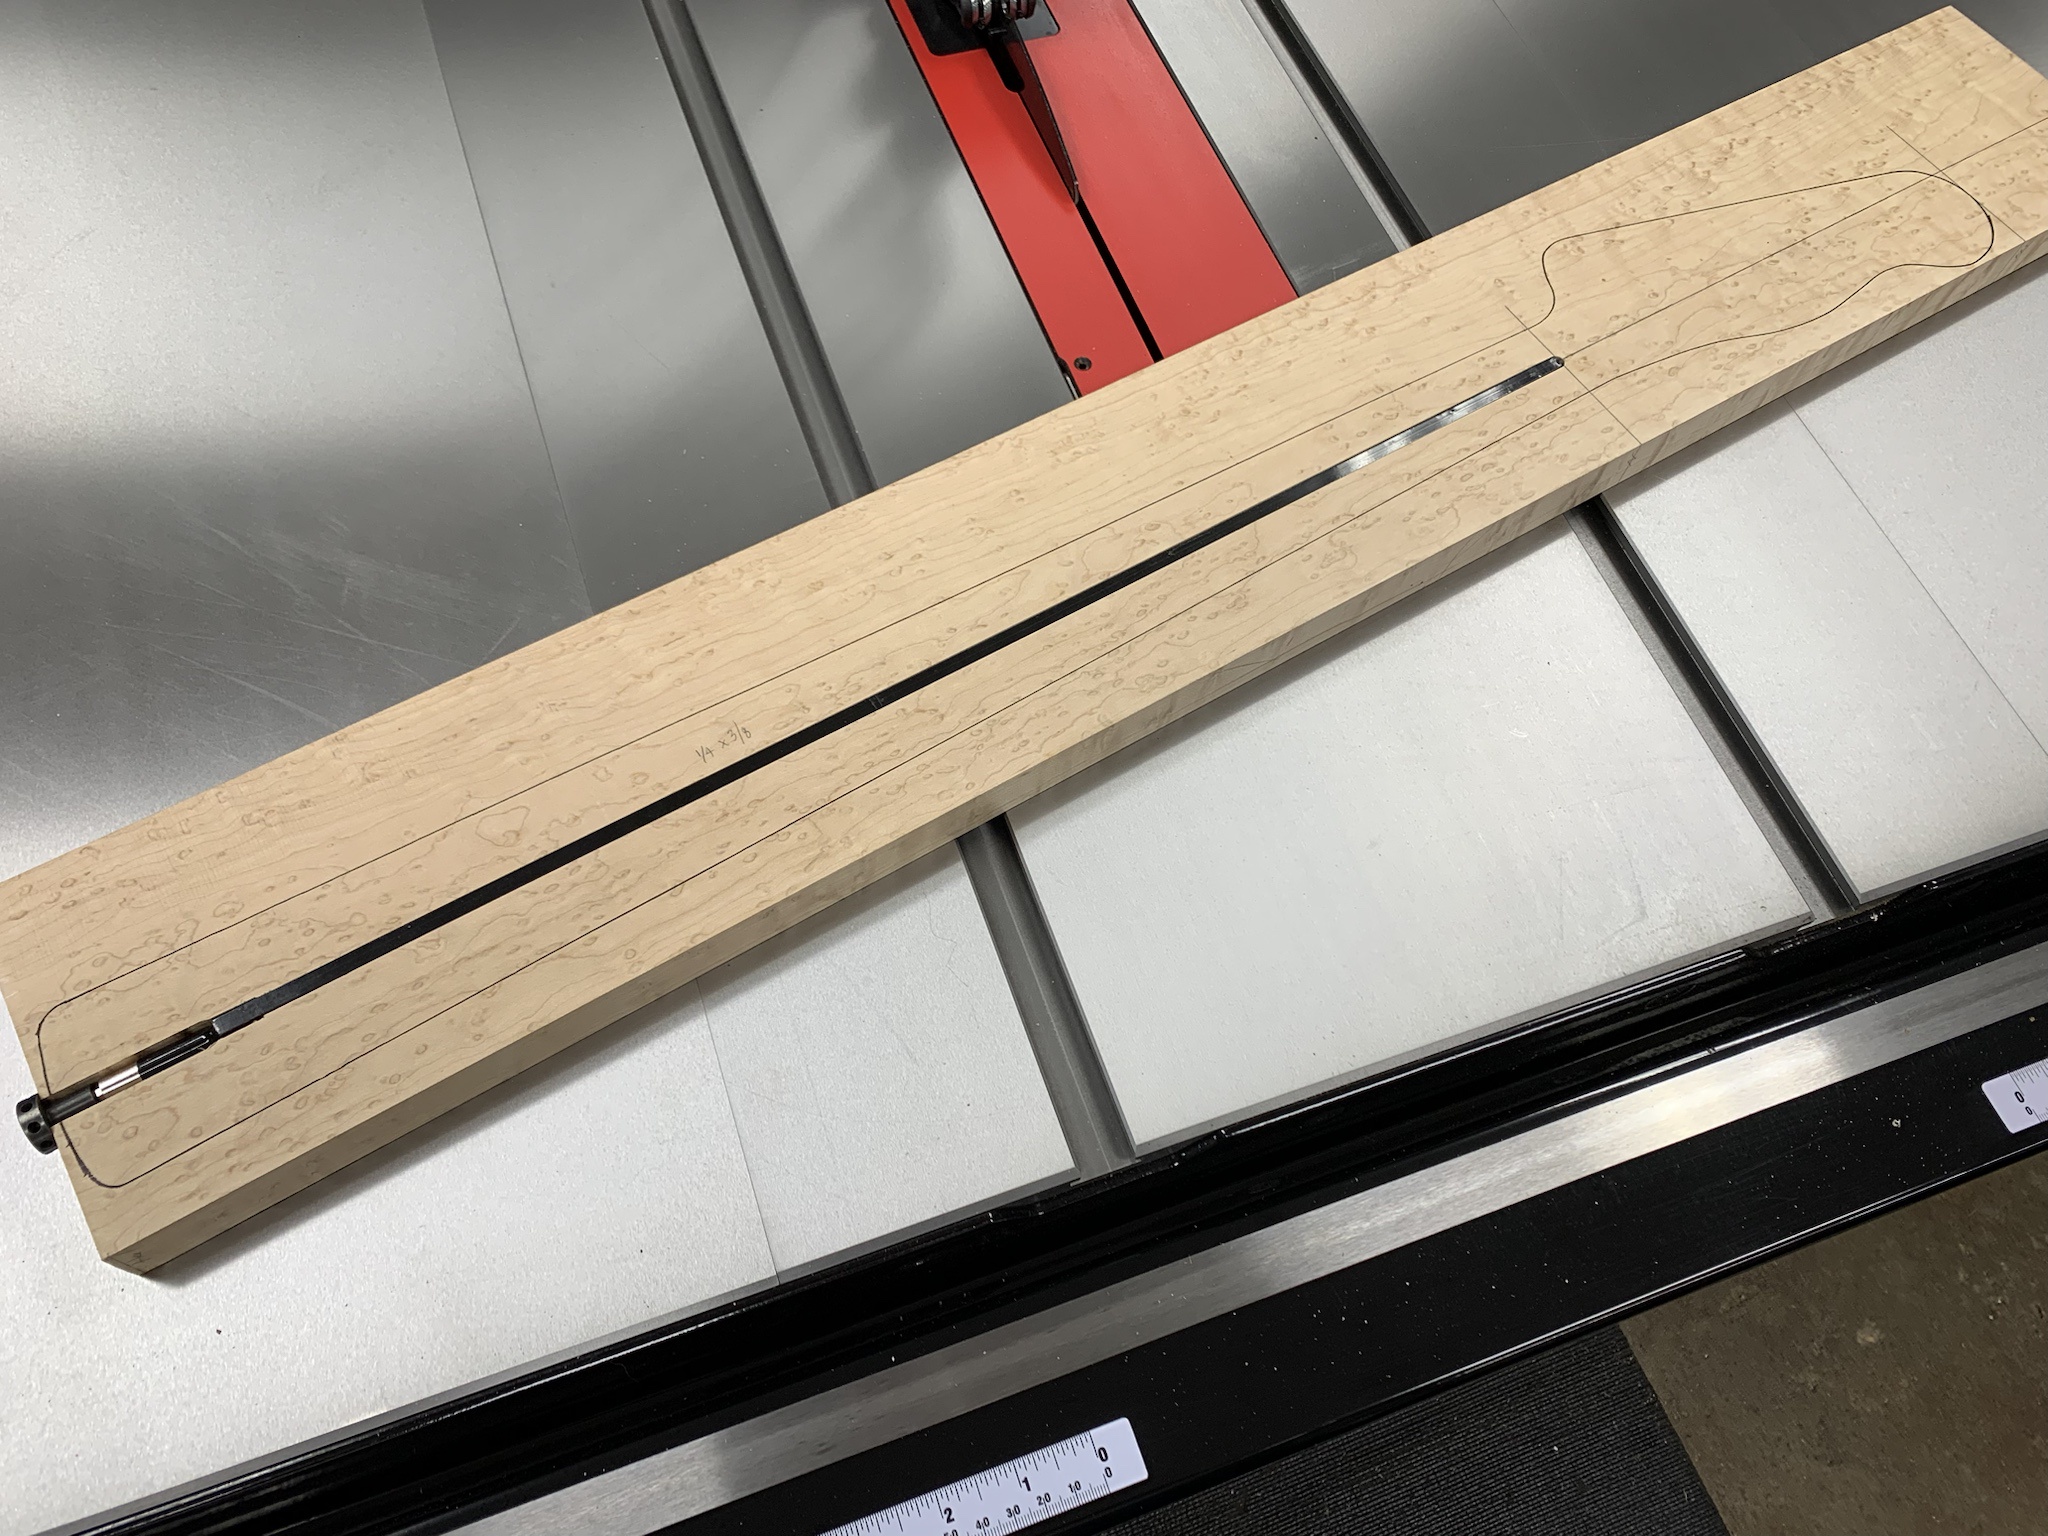
The first step was to lay out the template on the billet for good figure and grain arrangement. I transferred reference marks all around so that when I slabbed off the top for the fretboard, I could line it back up with the main neck shaft when gluing. Here I've already cut off a roughly 5/16"+ piece for the fretboard and have run both cut faces through the drum sander just enough to remove the blade marks.
ORI6b0b.jpg


On the neck billet, I re-marked the neck layout from the reference lines that I made earlier, then routed for the truss rod. I'm leaving the spoke wheel outside of the heel on this one. There will be a pocket made in the body and I small relief cut in the pickguard.
sY8EB37.jpg


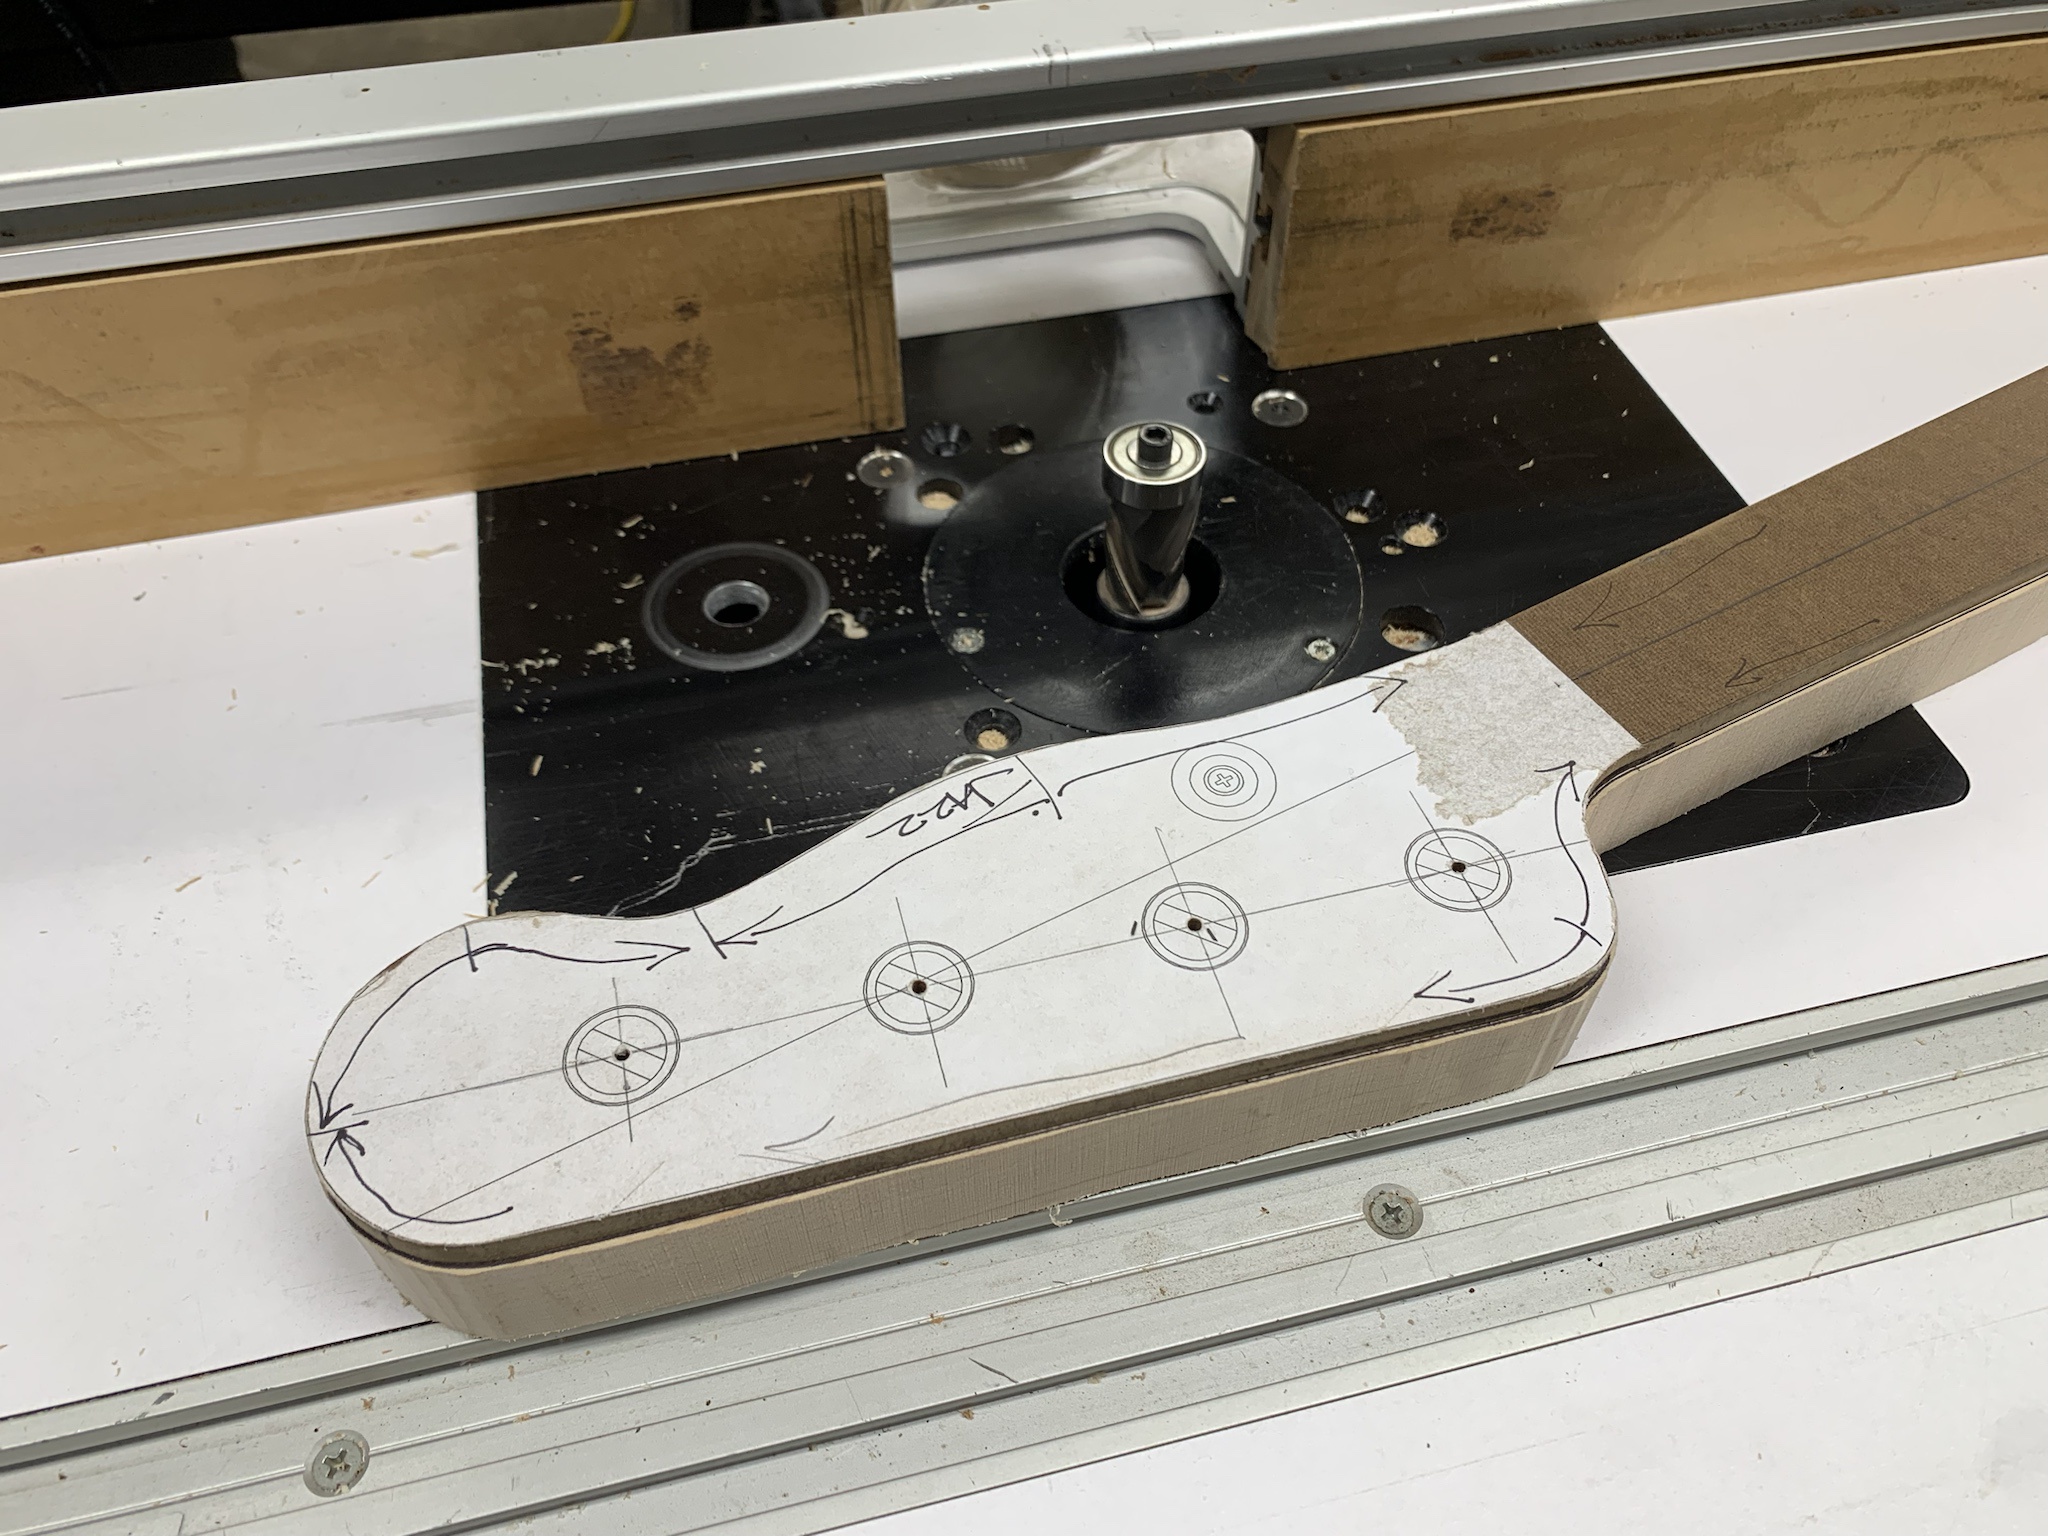
Next, I attached my neck template, then cut close to the line at the band saw. I laid out for downhill cuts and using a large compression bit with top and bottom bearings (you have to flip the entire neck over when routing downhill in the other direction), I was able to route every section going downhill. This helps to avoid tearout on difficult figured woods.
2Y74qJ8.jpg


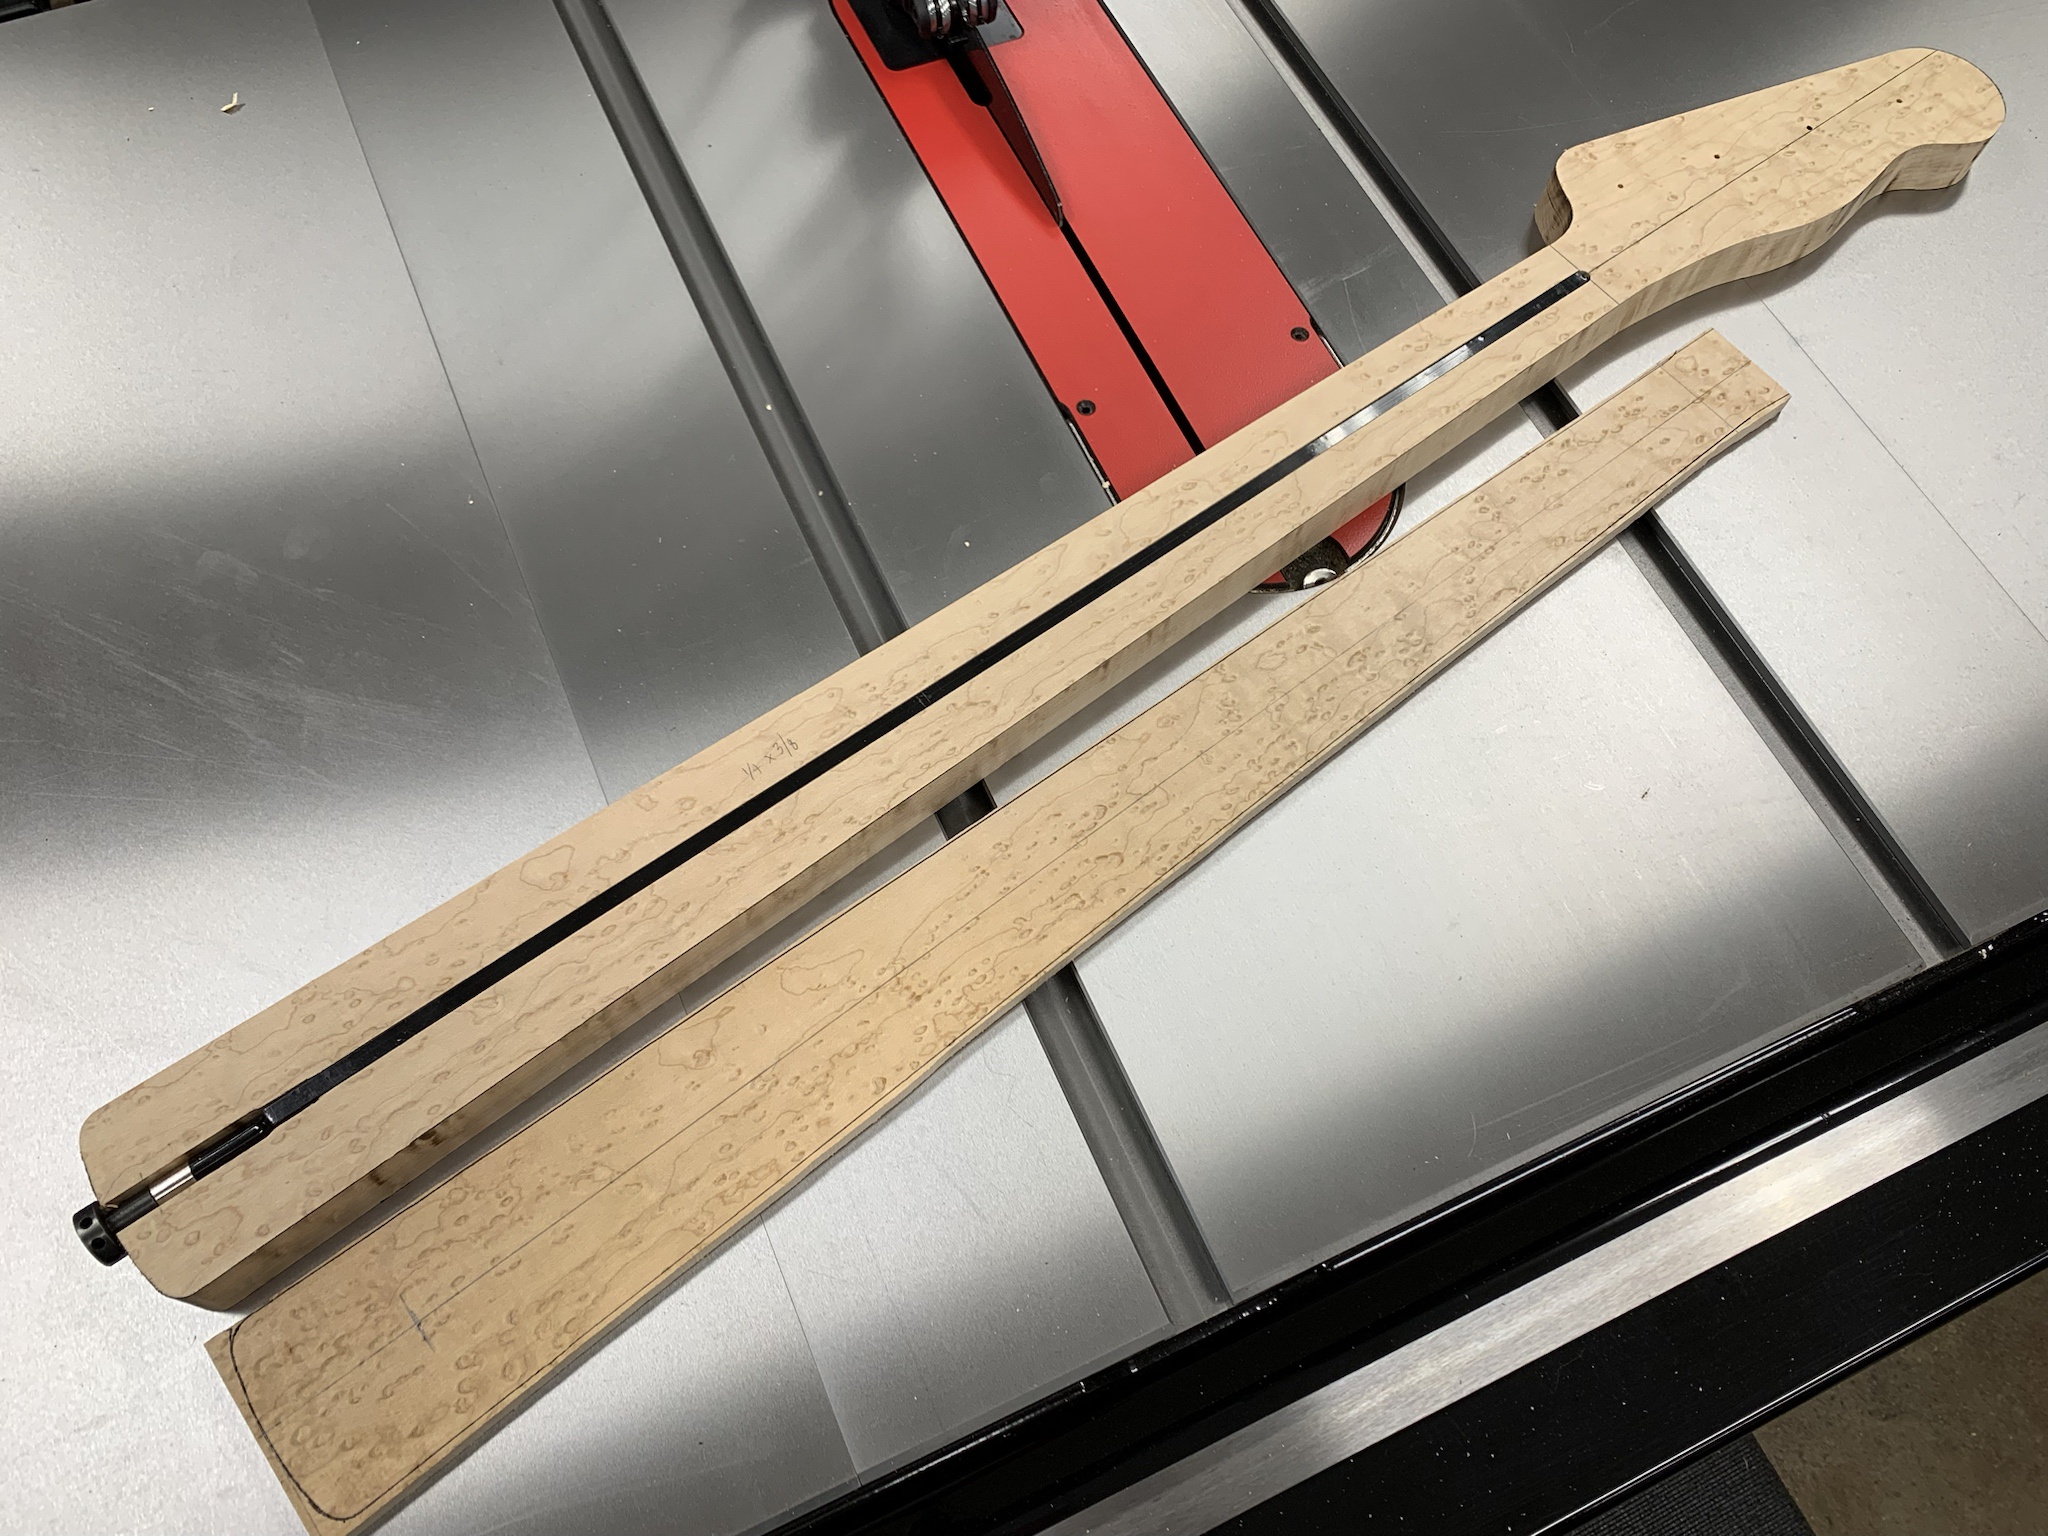
And here is the neck after template routing. I've only just rough cut the fretboard at this point. I need to do several more operations before gluing them together.
I7oRL0i.jpg


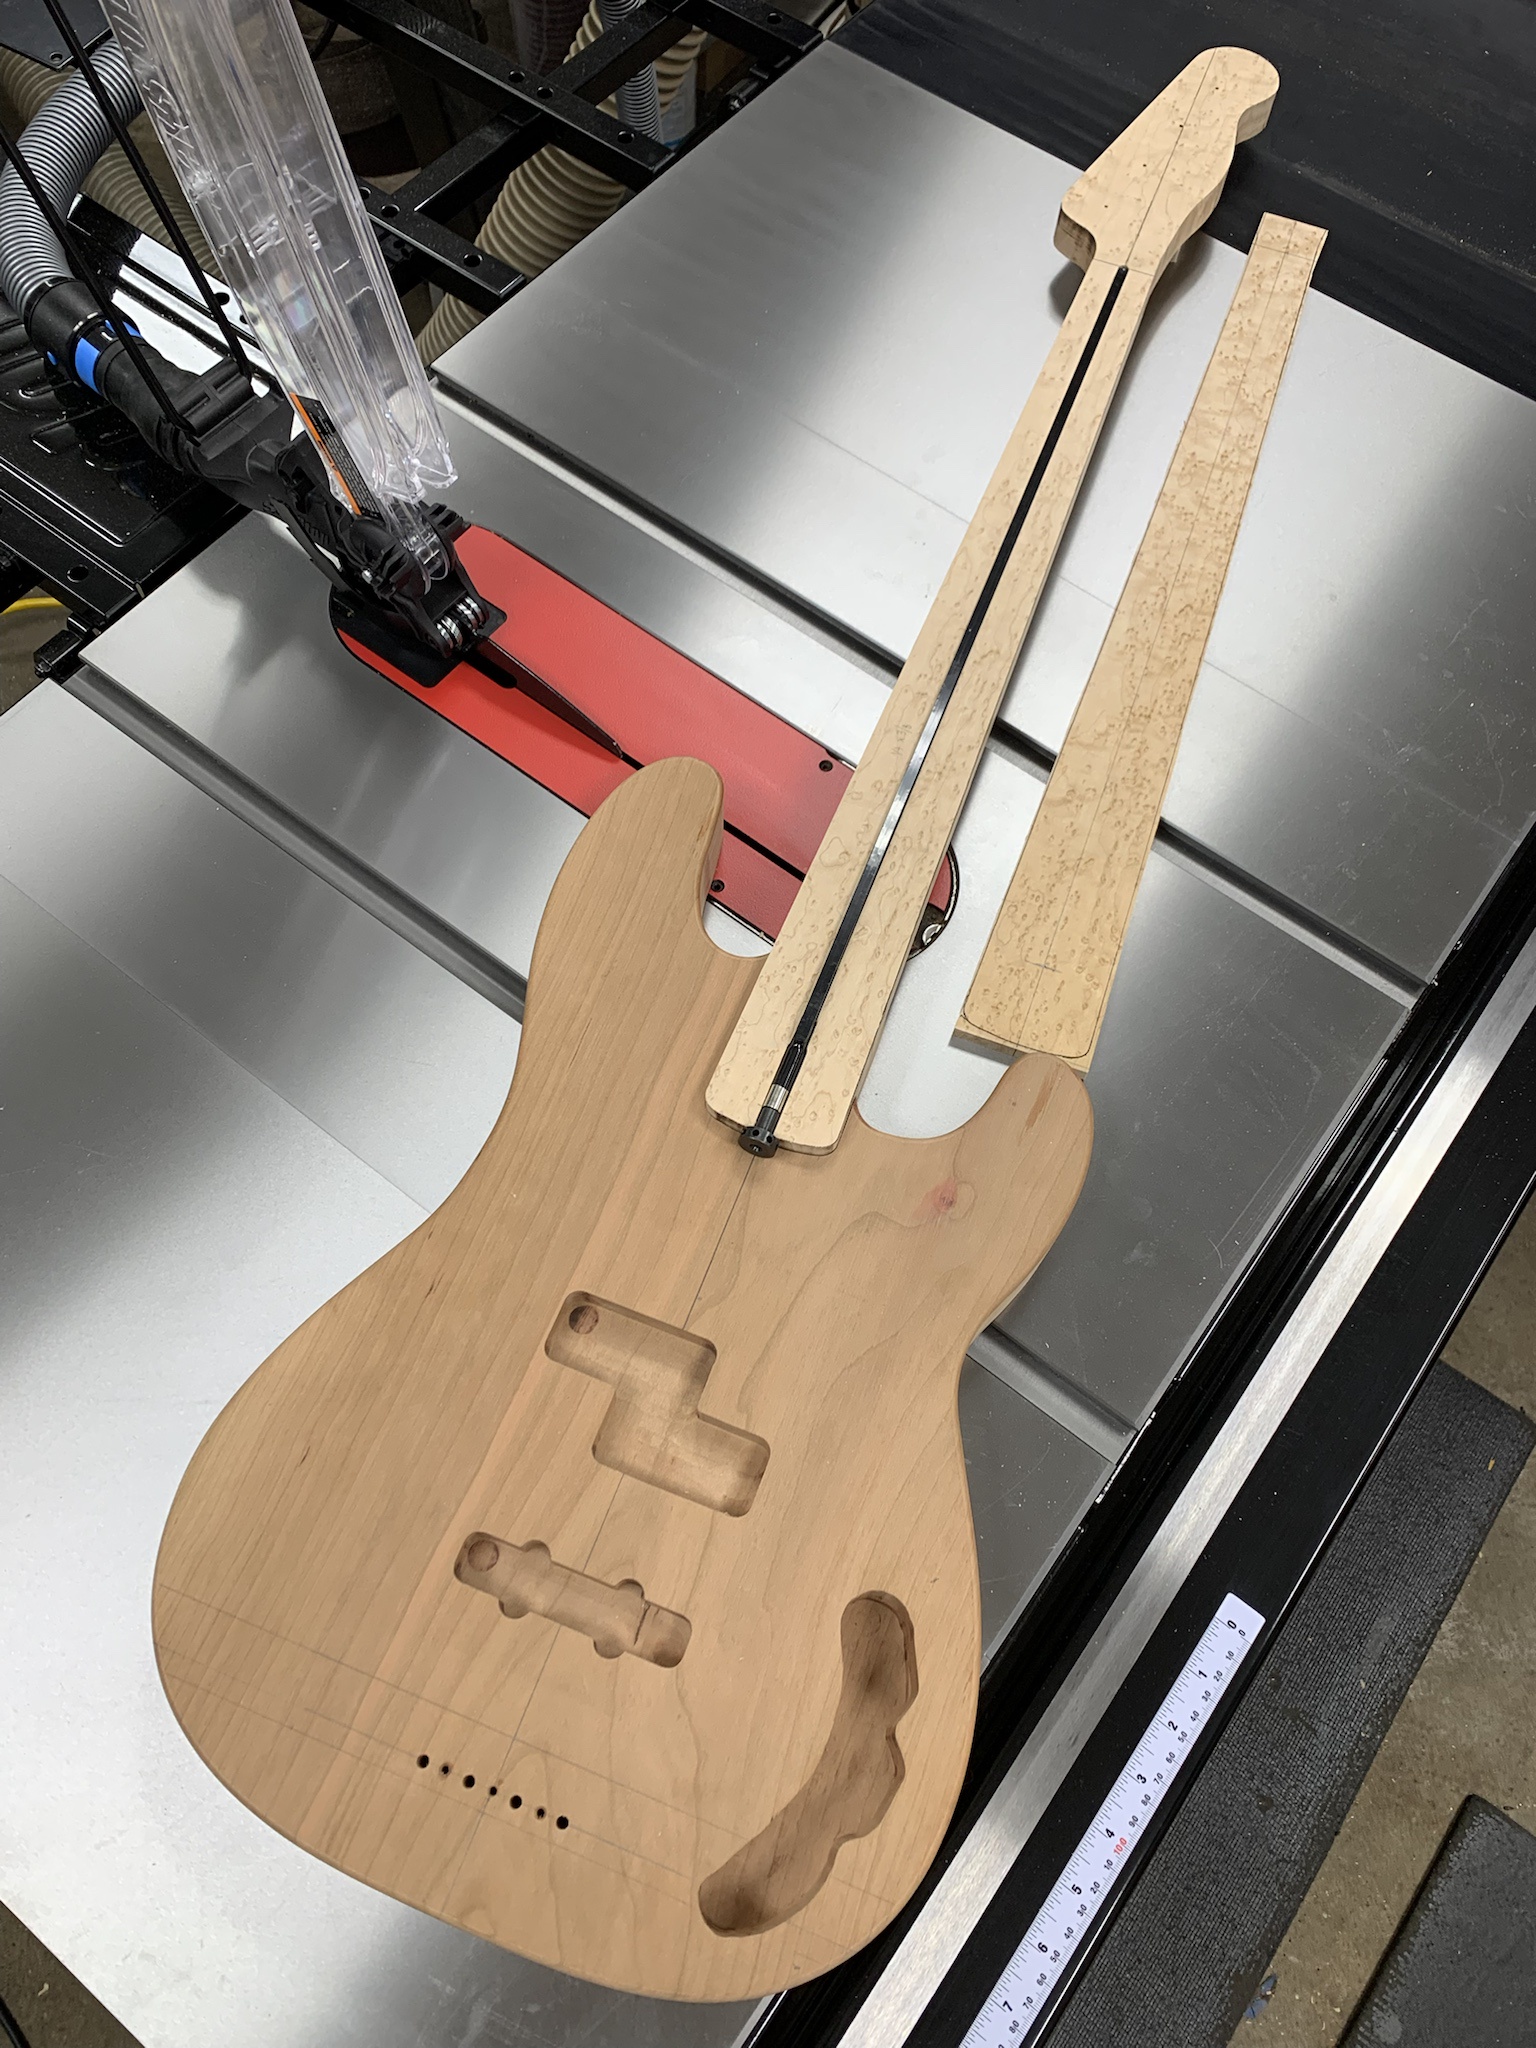
And of course a quick mockup shot. :)
uJDYKFd.jpg


More soon. :)
 
Looking great @Gary_M !
In case you aren't aware, you and I are the only entrants of the most exclusive build off - the slab P build off

View attachment 7008821

Catch you at the finish line. I'll be one spot behind you!

I'm not sure that this one will get done in time, so much going on right now! Regardless, yours looks amazing and I don't stand a chance! :)
 
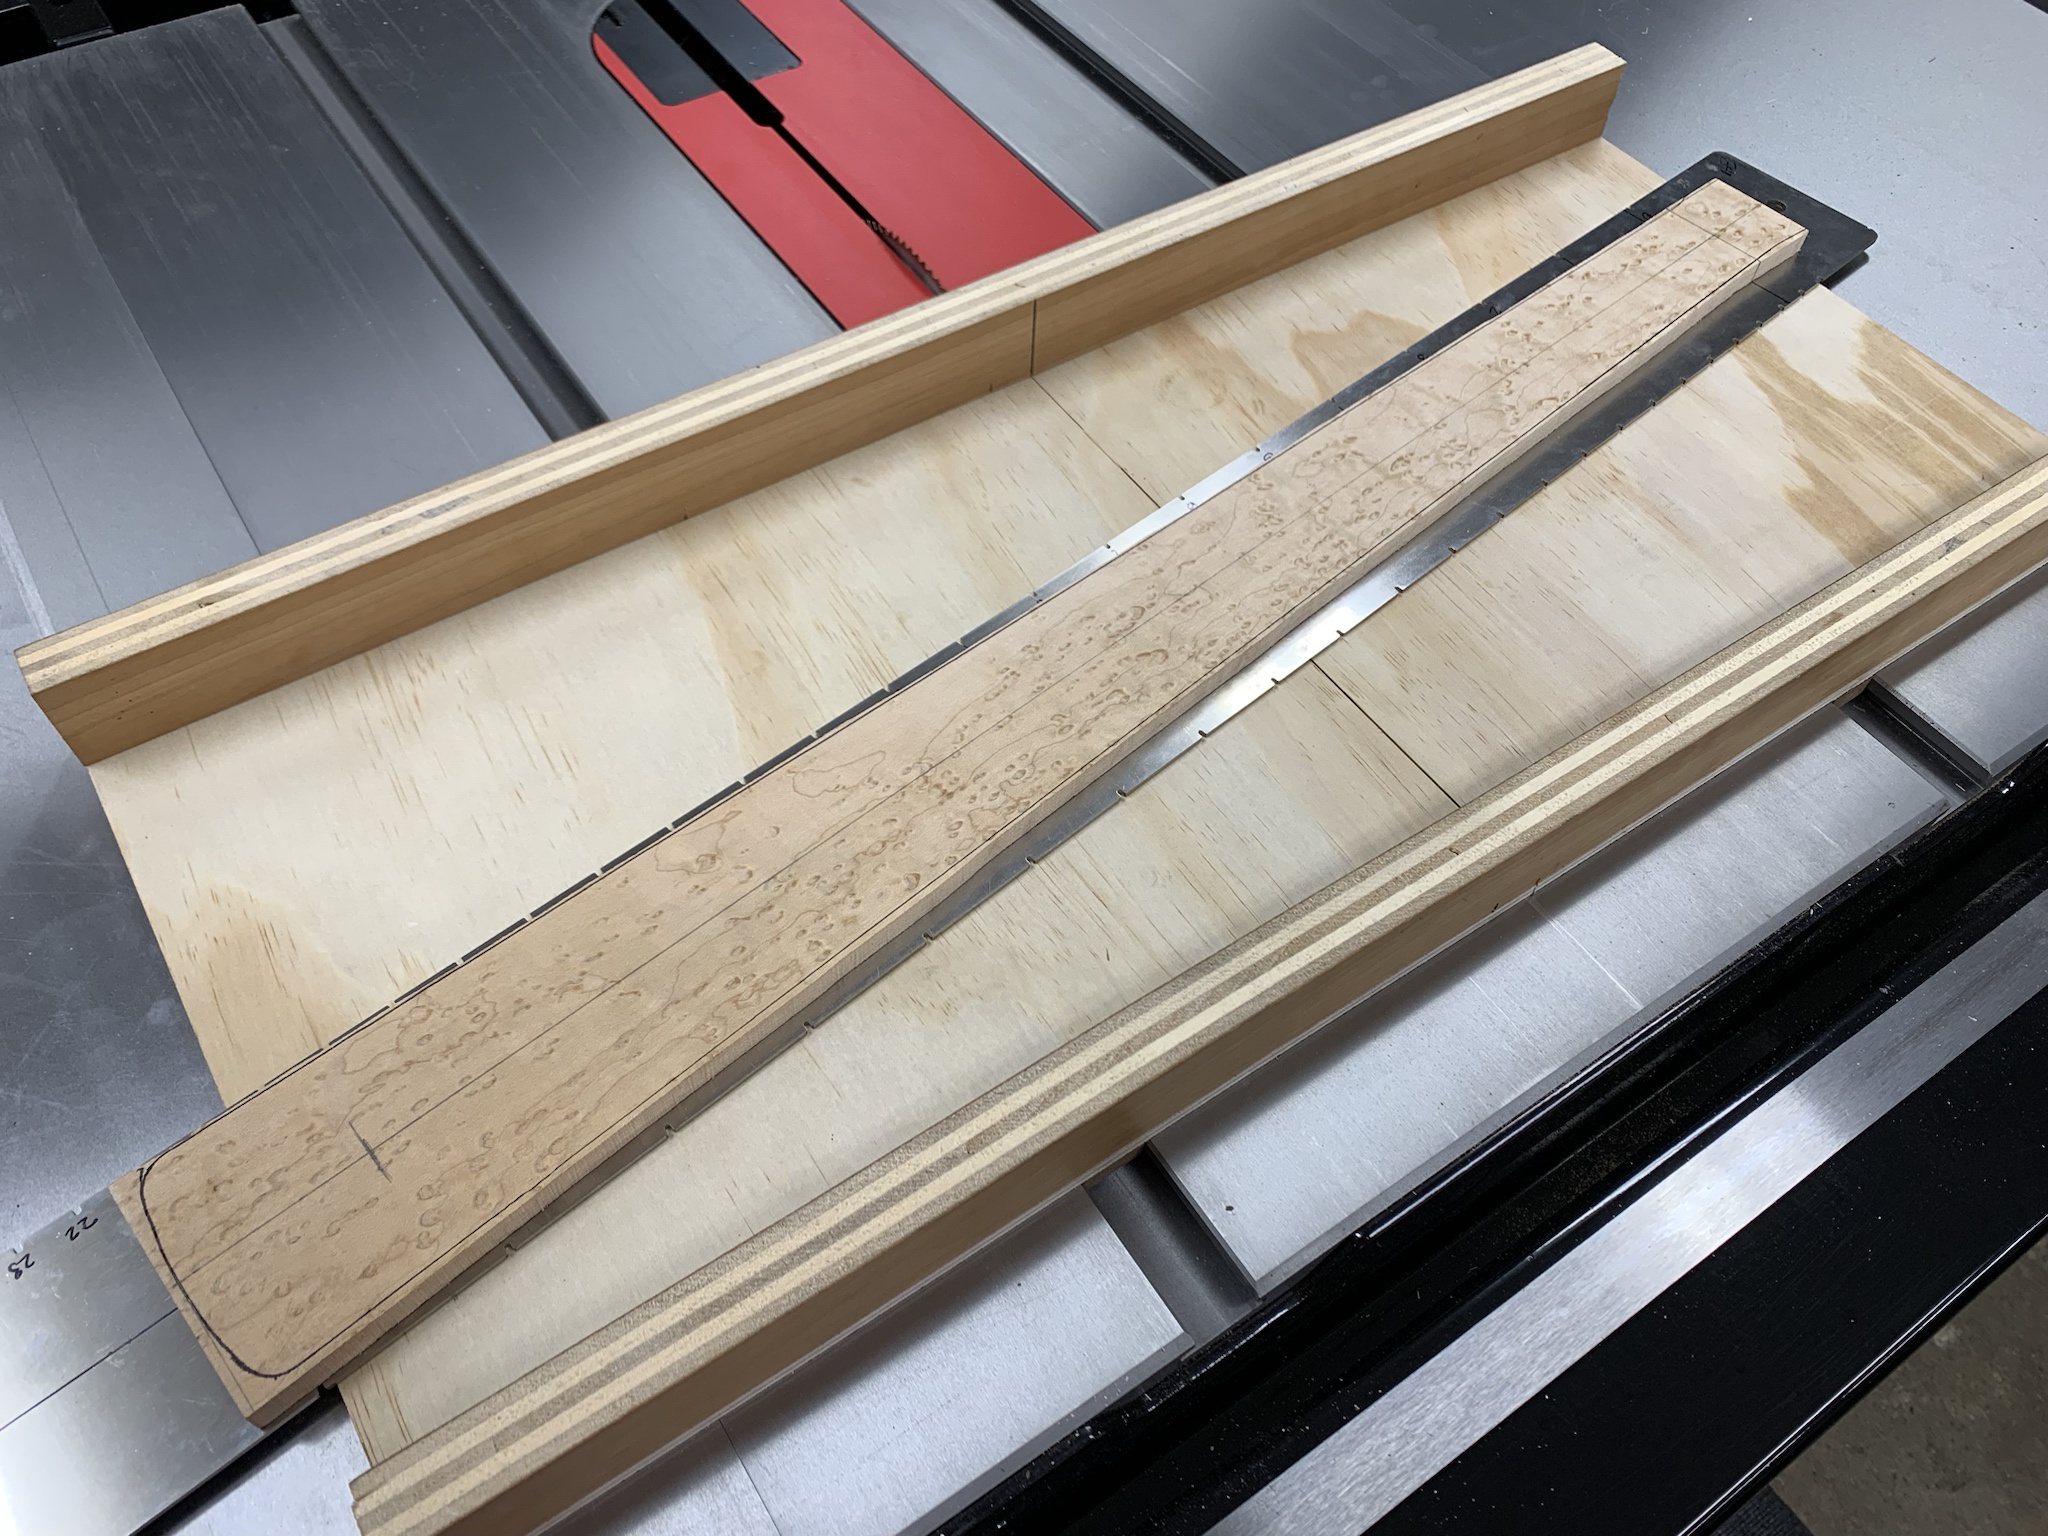
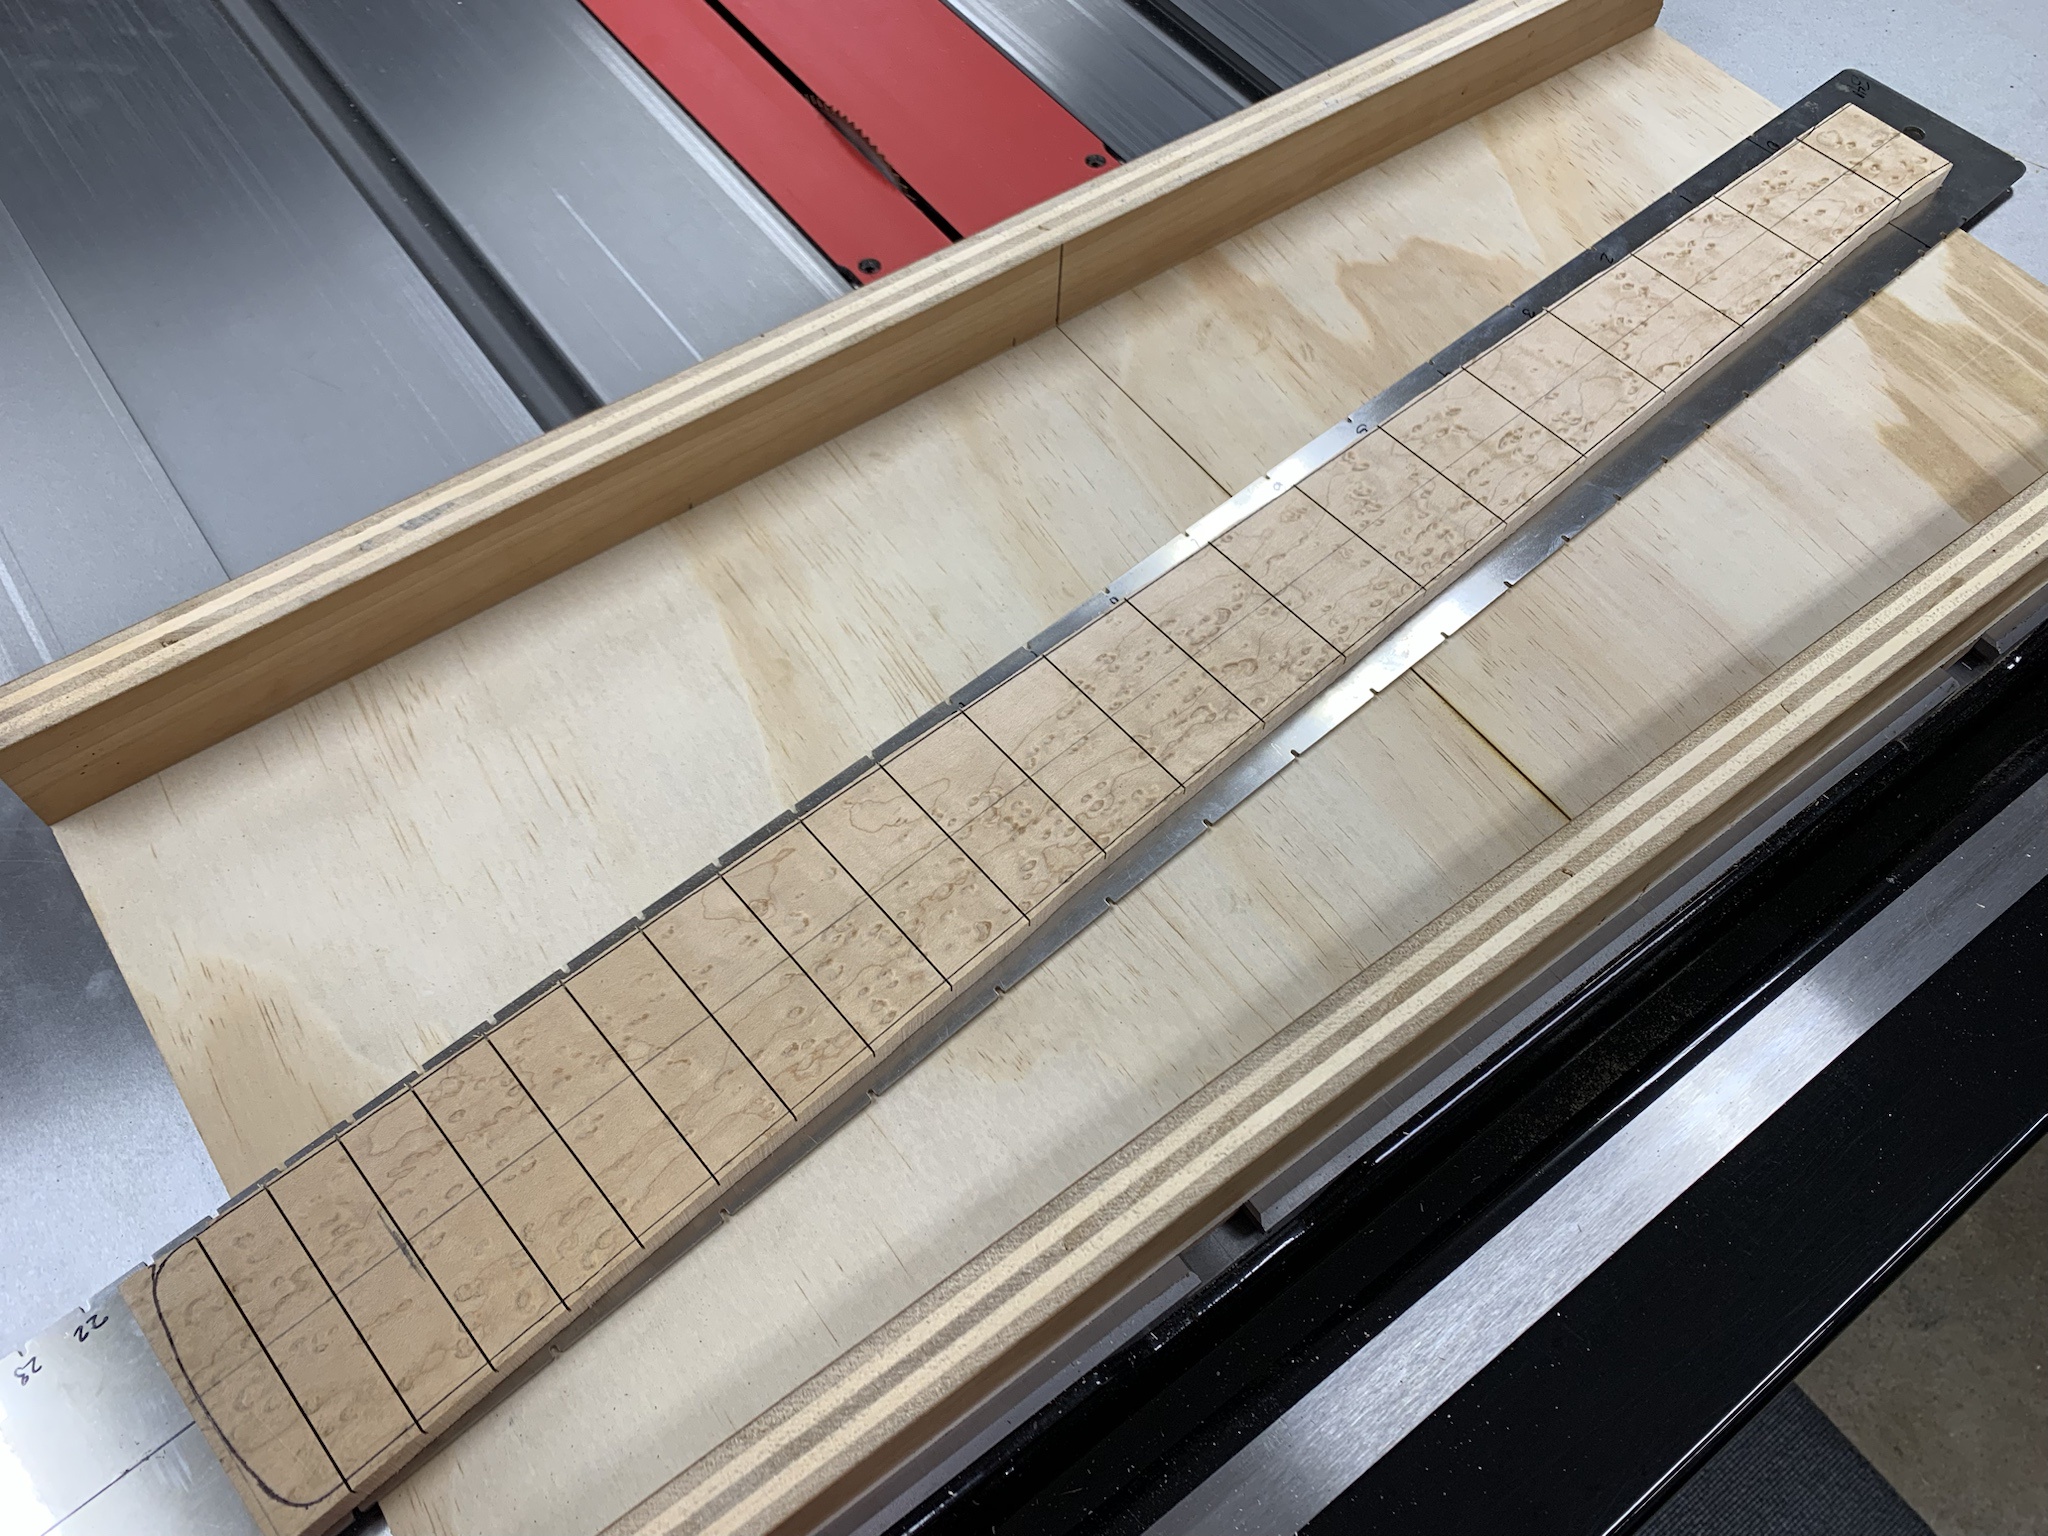
I recently replaced my janky old table saw, so I had to make a new fret slotting sled to fit the new table. Once I got that finished up, I mounted the board to the template and got the fret slots cut.

aM5UhhV.jpg


eL5FMif.jpg


More soon. :)
Curious about this: That's a SawStop, right? How does it work with the fret slotting saw? I was told by SawStop that it won't even start up in bypass mode with the fret slotting blades available from StewMac.
 
  • Like
Reactions: Max Bogosity
Curious about this: That's a SawStop, right? How does it work with the fret slotting saw? I was told by SawStop that it won't even start up in bypass mode with the fret slotting blades available from StewMac.

Yeah, it won't start with a small blade, so you have to trick it temporarily. As soon as that blade is removed, everything is put back to normal; and of course normal safety measures are followed regardless of the operation of that saw. You can do a little Googling to find the solution, I'm not sure that it would be appropriate to post that information here. :thumbsup:
 
  • Like
Reactions: Dark Horse
Yeah, it won't start with a small blade, so you have to trick it temporarily. As soon as that blade is removed, everything is put back to normal; and of course normal safety measures are followed regardless of the operation of that saw. You can do a little Googling to find the solution, I'm not sure that it would be appropriate to post that information here. :thumbsup:
Thanks for the reply.
I'm aware of how to 'trick' it, but decided it best *not* to defeat the safety system after I had a table saw incident in 2020 with a previous saw ;)
I was just checking if you had figured out a way to make it work without 'tricking' it.
Doing it by hand with a hand saw and miter box doesn't take much longer than setting up the table saw to do it so it hasn't been much of an issue for me.
 
Thanks for the reply.
I'm aware of how to 'trick' it, but decided it best *not* to defeat the safety system after I had a table saw incident in 2020 with a previous saw ;)
I was just checking if you had figured out a way to make it work without 'tricking' it.
Doing it by hand with a hand saw and miter box doesn't take much longer than setting up the table saw to do it so it hasn't been much of an issue for me.

You must be faster at sawing than I am! :D

But to be clear, the way that I am tricking the electronics does not disable the safety mechanism per se... it just allows the saw to start up; and it does so without bypass mode. There is no good way to test the effectiveness of the brake system using a small blade without purposefully triggering a blade contact (I mean, I'm sure they've done it in testing...). I think that's part of the reason they made the saw not start with a smaller blade as the braking mechanism may not fully capture the smaller diameter blade and/or the blade itself may fragment as a result, which would cause a less than desirable condition.
 
Incidentally, I'm also working on a cherry build. A little heavy, but it 'works' nicely. I can see why furniture makers like it.

First time binding a body last night. seemed to go pretty well.

View attachment 7014152

That looks great! You should put up a build thread here. I agree about the cherry, super nice to work with; but if I make another one, I'll do a little weight relief. :D
 
  • Like
Reactions: Matt Liebenau