• TalkBass has been independent since 1998. Add your voice.
    Create a free account to reply to discussions, view embedded media, and browse with fewer display ads.
    Join freeLog in
    Want zero display ads or expanded classifieds tools? Compare plans.

THE ANDROMEDA STRAIN

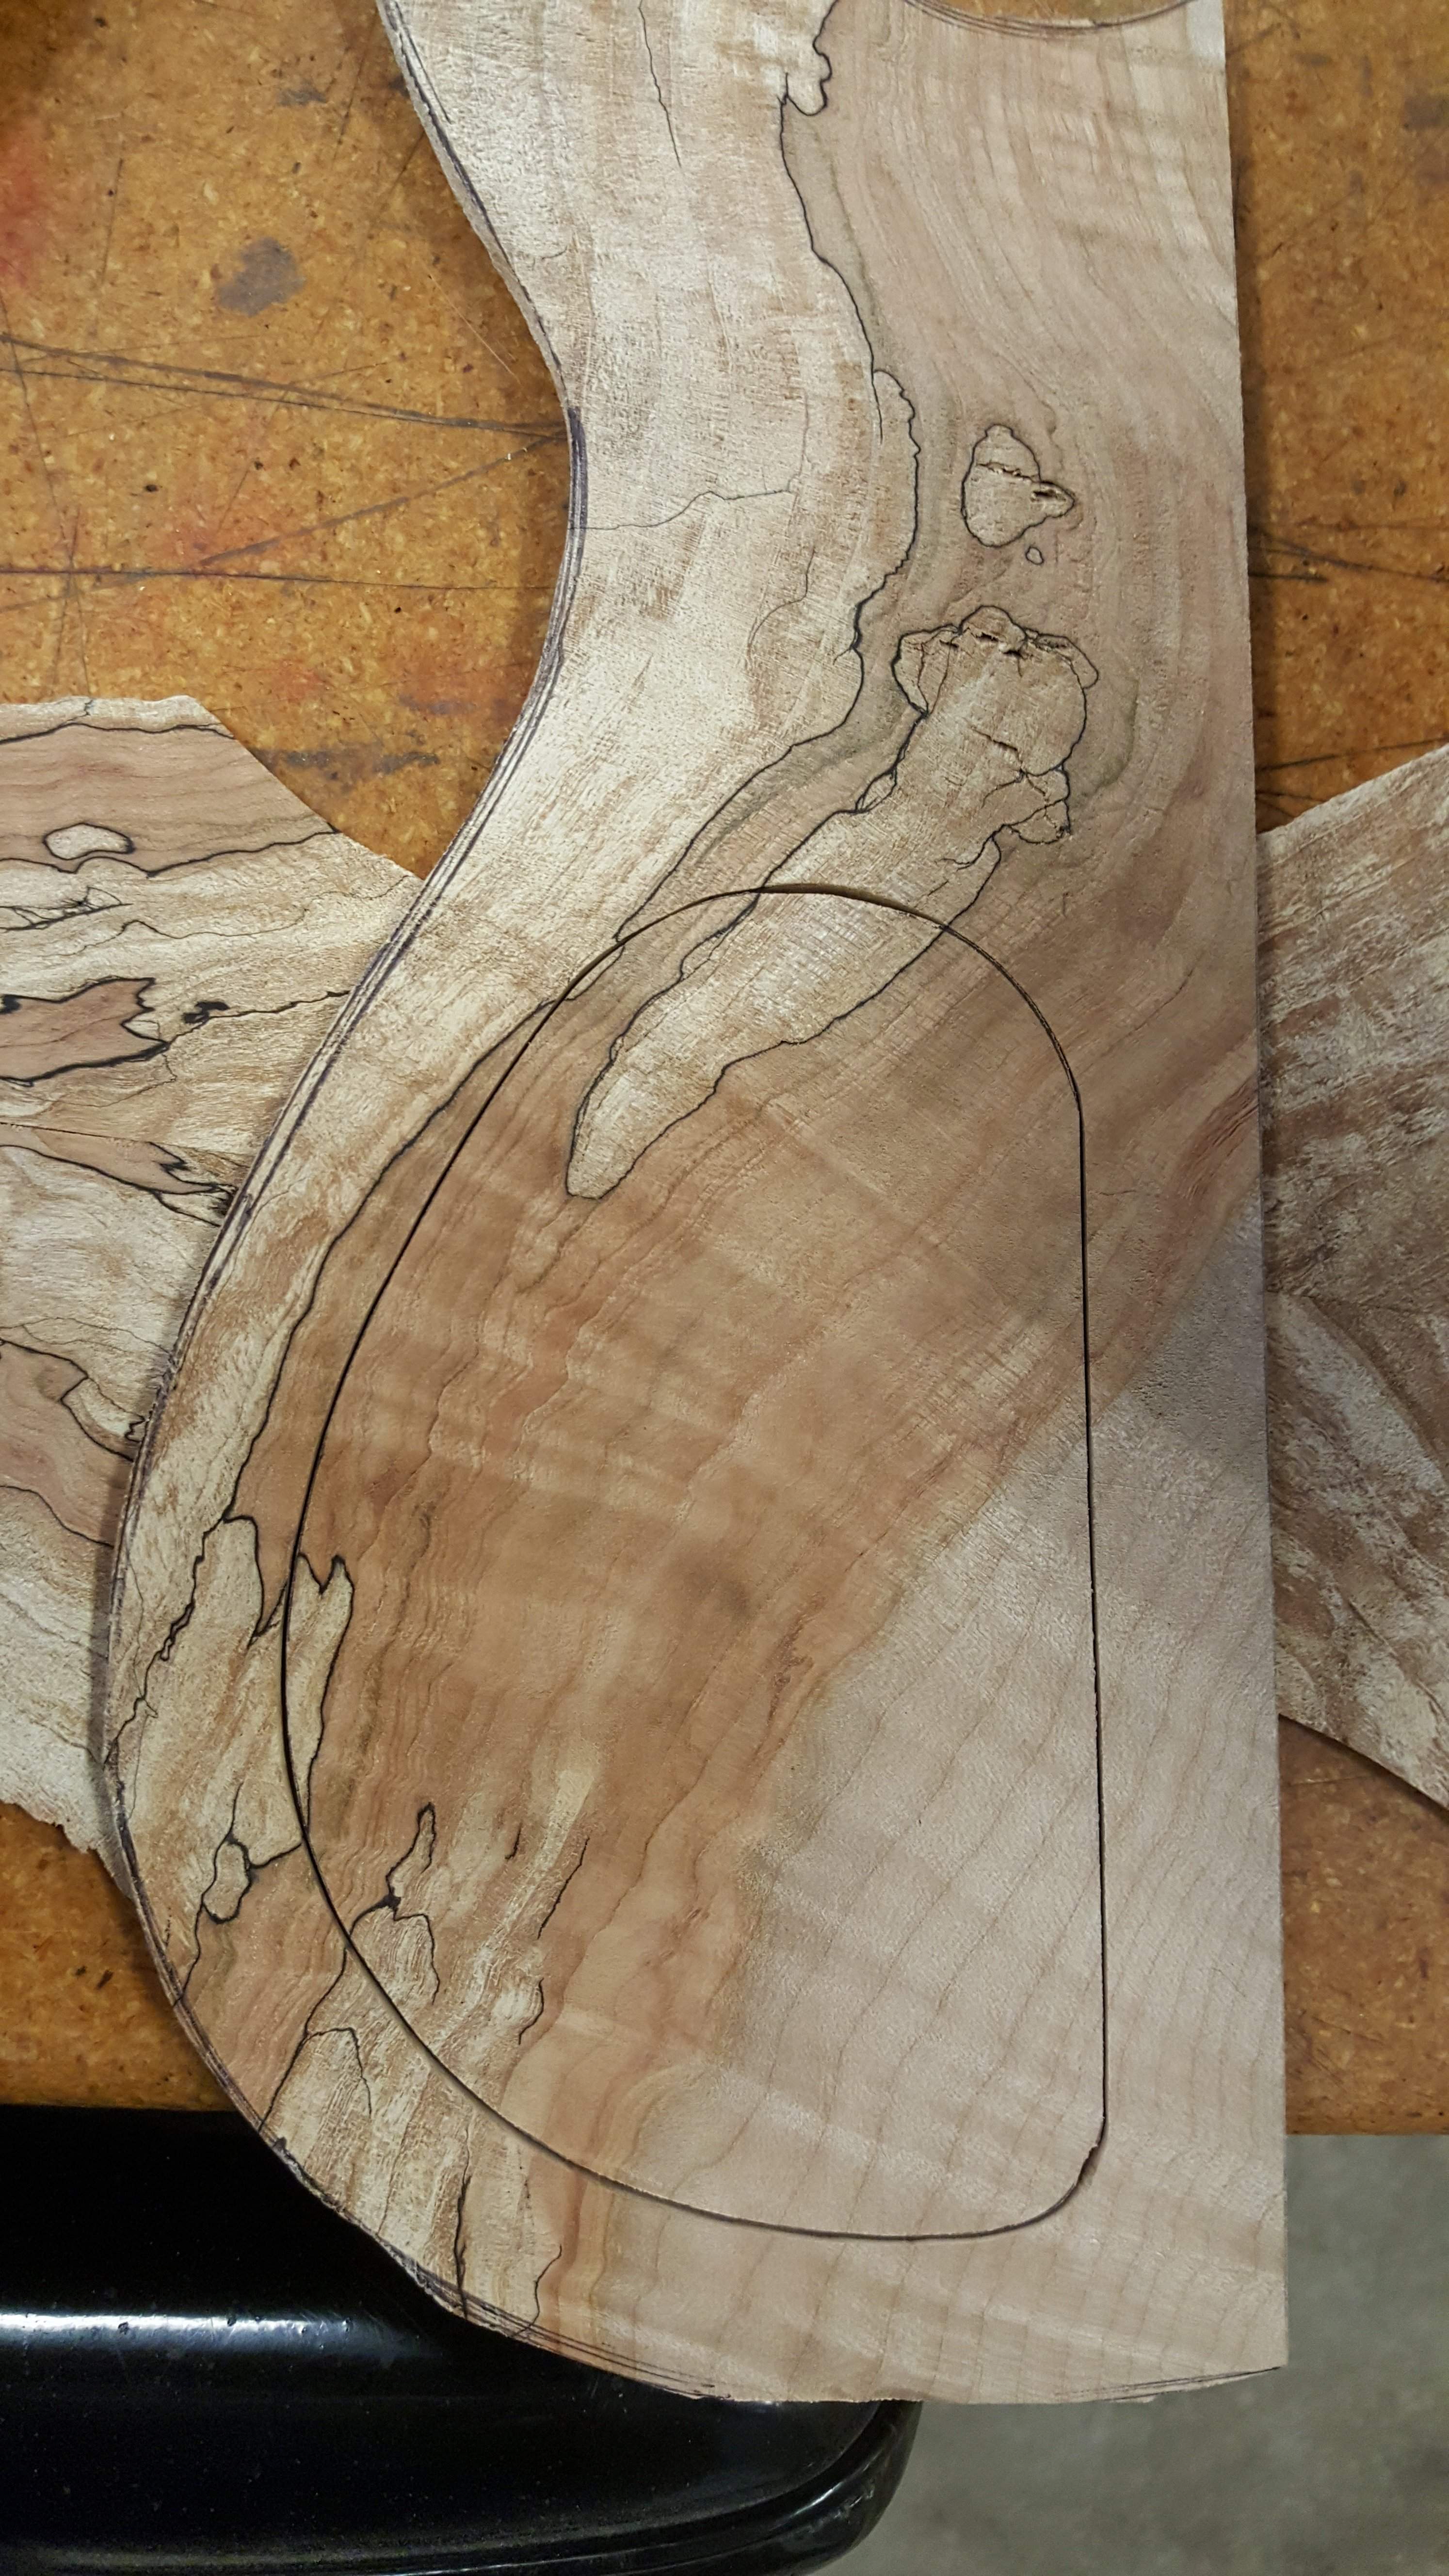
Cut out the e-cavity door...on the jig saw. Again.
... I know i said I would do it on the laser (last build)
...but honestly, to draw up the file & make sure it is aligned....etc....would have taken 5 times longer...;)
And my kerf really isn't that much wider...
Once I get finish coats on there....it will be as tight as can be....anyway...:spit:... so there.
20170117_164527.jpg
 
Now that I'm "laser certified", I can help you with that next time. Drawing up that cavity door would take a minute.

Everything looks great! I love that spalt.
Might just take you up on that...
I currently make the door shape relative to the shape of the cutout in the wing....but I could do it the other way round too...
It would be nice to have a set of files for each operation that could be made faster/better with the technology! :thumbsup:
 
  • Like
Reactions: GKon and mapleglo
Another crazy clampy pic....
20170119_132752.jpg

System 3 epoxy being used to attach spalted top & back plates because I soaked them with thin CA glue. That did a pretty good job of giving them a harder surface & permeated into the softer areas somewhat.
Point is...I don't think wood glue would have stuck to their surface after that treatment (front AND back) .
 
Prior to CA fortification & glue-up, I mixed up a batch of brown-ish dye. Nothing too drastically dark, just something that would help give the curl a bit of 3D accent shadow after I sanded most of it back off....
20170120_100851.jpg

Edge detailed...
20170122_040312.jpg


Is there anyone here who actually "likes" shaping spalted wood? You can have it!!!
What an unnecessary P I T A !!
The drastically differing hard/soft areas! Grrrr!
If I just did a simple consistent roundover route...that would be ok. But I don't, ...I route first, then sculpt the edge with 80g on my DA sander to vary the roundover size in different areas. Typically it's the most fun I have on a build.
Not with SPALTED!!
It would have to be a REALLY GORGEOUS piece of wood to get me to use anything spalted...ever again!!

Sorry for the vent.
I'm going to have to go with the slow process of using epoxy (after re-fortification with CA) to build up & fill the softer areas that wore away faster during shaping.
If anyone has any other tips for this... I'm all ears!!
Please share.
20170122_040525.jpg

Full fretboard access cutout!! :D
 
Until this build, I've never been a spalted wood fan, but I get it on this one, and the mix of different grain types is incredible on that top. As usual, a great pleasure to watch this kind of craftsmanship unfold. I'm jealous on the access to a Tech Shop, nothing like that near me. I can't complain much about the shop space I share with my brother, but he isn't around much, so it's an entirely solitary pursuit in my case.
 
Thanks Jisch...
I totally agree about using a block..
Or for that matter, as stiff a backer as possible on a sander...

But I am actually pretty stoked right now because after sleeping on it & trying a new tack this morning...
I HAVE CRACKED THE CODE.
I was thinking back to my years as a stone fabricator/ sculptor... several species of stone had the same issue with hard & soft. Similar to this, a hard backer for the abrasive was significantly important...but so too was the TYPE of abrasive ... so that lead me to ponder what was really happening here....and kinda reverse my approach

It isn't that the soft areas are being cut too easily,...but that the harder areas are not being cut easy enough! Henceforth....SHARPER ABRASIVE!
Not coarser....sharper!
When sanding stone, I would never consider using aluminum oxide abrasive. It's just too dull ...the particals are too "round". But it's cheap and is typically the industry standard for wood.
But silicon carbide abrasive, on the other hand...works well for stone because it's sharper, harder....better.
Turns out, it works wonders on the spalt too.
*Hard backer +sharper abrasive + a light touch= much flatter abrasive carved spalted wood!
Add in even more control by using CA jell as a stabilizer/filler...spread on with a bondo squeegee and immediately hardened with activator!...
And I am having fun again!!:D:hyper::thumbsup:
 
I don't work with a lot of typically spalted wood, but I do use quite a bit of driftwood, which can be pretty punky and generally has the same workability problems as spalted (soft, hard, dense, mushy). I've found that using a rasp to get the general shape and then files to get finer has worked for me. I then follow up that with cabinet scrapers. The last one I built I don't think I even used sandpaper until finish time - not sure though, I don't take great notes and usually kind of build by 'feel' more than anything... :D
 
I saw this build today with my own eyes, in person. As amazing as it looks on the screen, it's a hundred times more amazing in person. It's small - 32" scale and a reduce body size. It looks fast, like a Corvette looks as if it's going 100 miles an hour, even when it's parked. I can't wait to see it finished.

:bassist:
 
So, I typically don't go for the little "screw on" ouput jack plates.
But... the copper that I am using as accents here & there, goes so nicely with the spalted maple....
Besides, ...I made this myself.
It's a minor detail.... But I'm really kinda proud of the thing!....it's like jewelry :smug:
20170130_050424.jpg

BTW... that "shine" on the wood is not finish, it's the CA glue I'm using on the spalted for fortification.
 
Last edited: