• TalkBass has been independent since 1998. Add your voice.
    Create a free account to reply to discussions, view embedded media, and browse with fewer display ads.
    Join freeLog in
    Want zero display ads or expanded classifieds tools? Compare plans.

The plywood bass

Hi there!
I think this is my first threat I have ever started on the forum but I think it is worth posting.
Today I was cleaning my harddrive and ended up finding some old photographs of my journey to build a plywood bass. I was very interested about the "tonewood" discussion and was wondering what such a bass would sound like. After spending most of my weekends with my neighbor who happened to be quite a famous violin luthier in the area for about ten years I decided I wanted to finally build my own instrument. And as a 14 year old it ended up being quite a challenge. We didn't really have powertools so every piece of wood was hand cut, shaped and sanded. Although I put about 50+ hours into the project, I unfortunately never completed the bass and ended up giving it away to a friend.

At first I started with some sketches I made in school with the basic shapes and contours. After redrawing them from time to time I ended up with a blueprint:
IMG_20160331_232512.jpg IMG_20160402_231419.jpg
IMG_20160405_174209.jpg

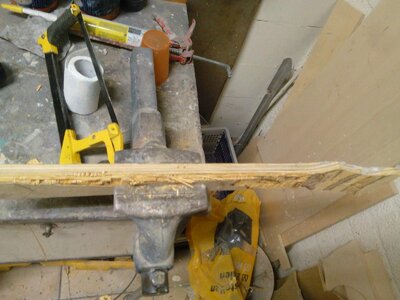
Later I scanned the pictures and put them in ms paint. I cleaned up the lines and printed everything on a few pieces of paper. Then I glued it on a piece of plywood and cut them out with a jigsaw.
IMG_20160415_190442.jpg IMG_20160424_144508.jpg IMG_20160424_144511.jpg
IMG_20160424_150335.jpg

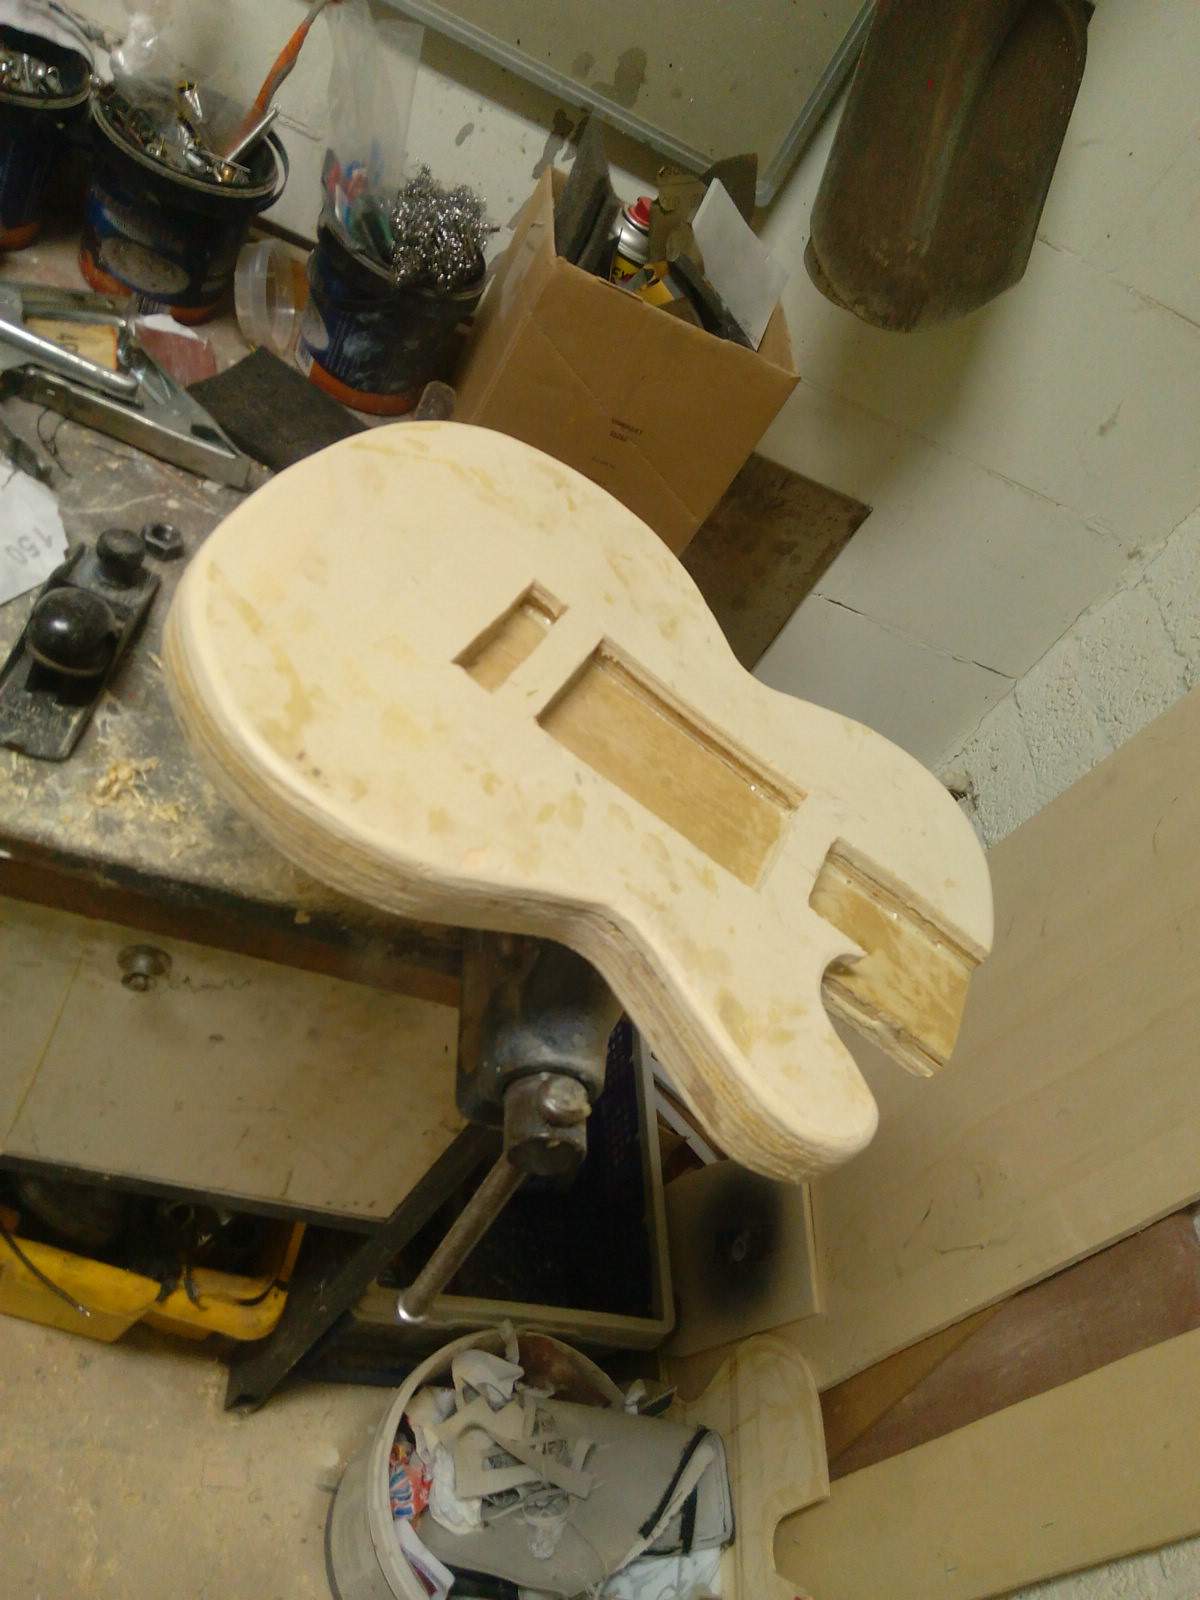
I used hard plywood for the core and some soft cheap plywood for the front and the back of the body. I thought it would make it easier to make some contours in the body. It wasn't that good of an idea because I easily made dents in the guitar and had to repeatedly apply filler to make the body perfectly smooth.
It took a really long time to file everything to the correct shape and make the edges square to the front and back of the body. A mill would have made the job a lot easier, but I could not afford one at the time and I thought I didn't really need to use powertools because the violin builder also did everything by hand.
Eventually I used filler to make the body as smooth as possible and to fill up the gaps in the plywood.
IMG_20160424_152623.jpg

It really wasn't the best filler available. It was the cheapest I could find (like every other material I used in the project). But after applying filler and sanding it down multiple times, the body was just like I wanted it to be. Though, I forgot to make the belly and arm cut so after chiseling and gouging for some time with blunt equipment, I had to start all over again.....
IMG_20160424_155218.jpg
IMG_20160424_155946.jpg

I know.... It really looked like a big mess, but after filing and sanding a few hours straight it ended up real smooth. Some more spray filler was applied and I ended up with this:
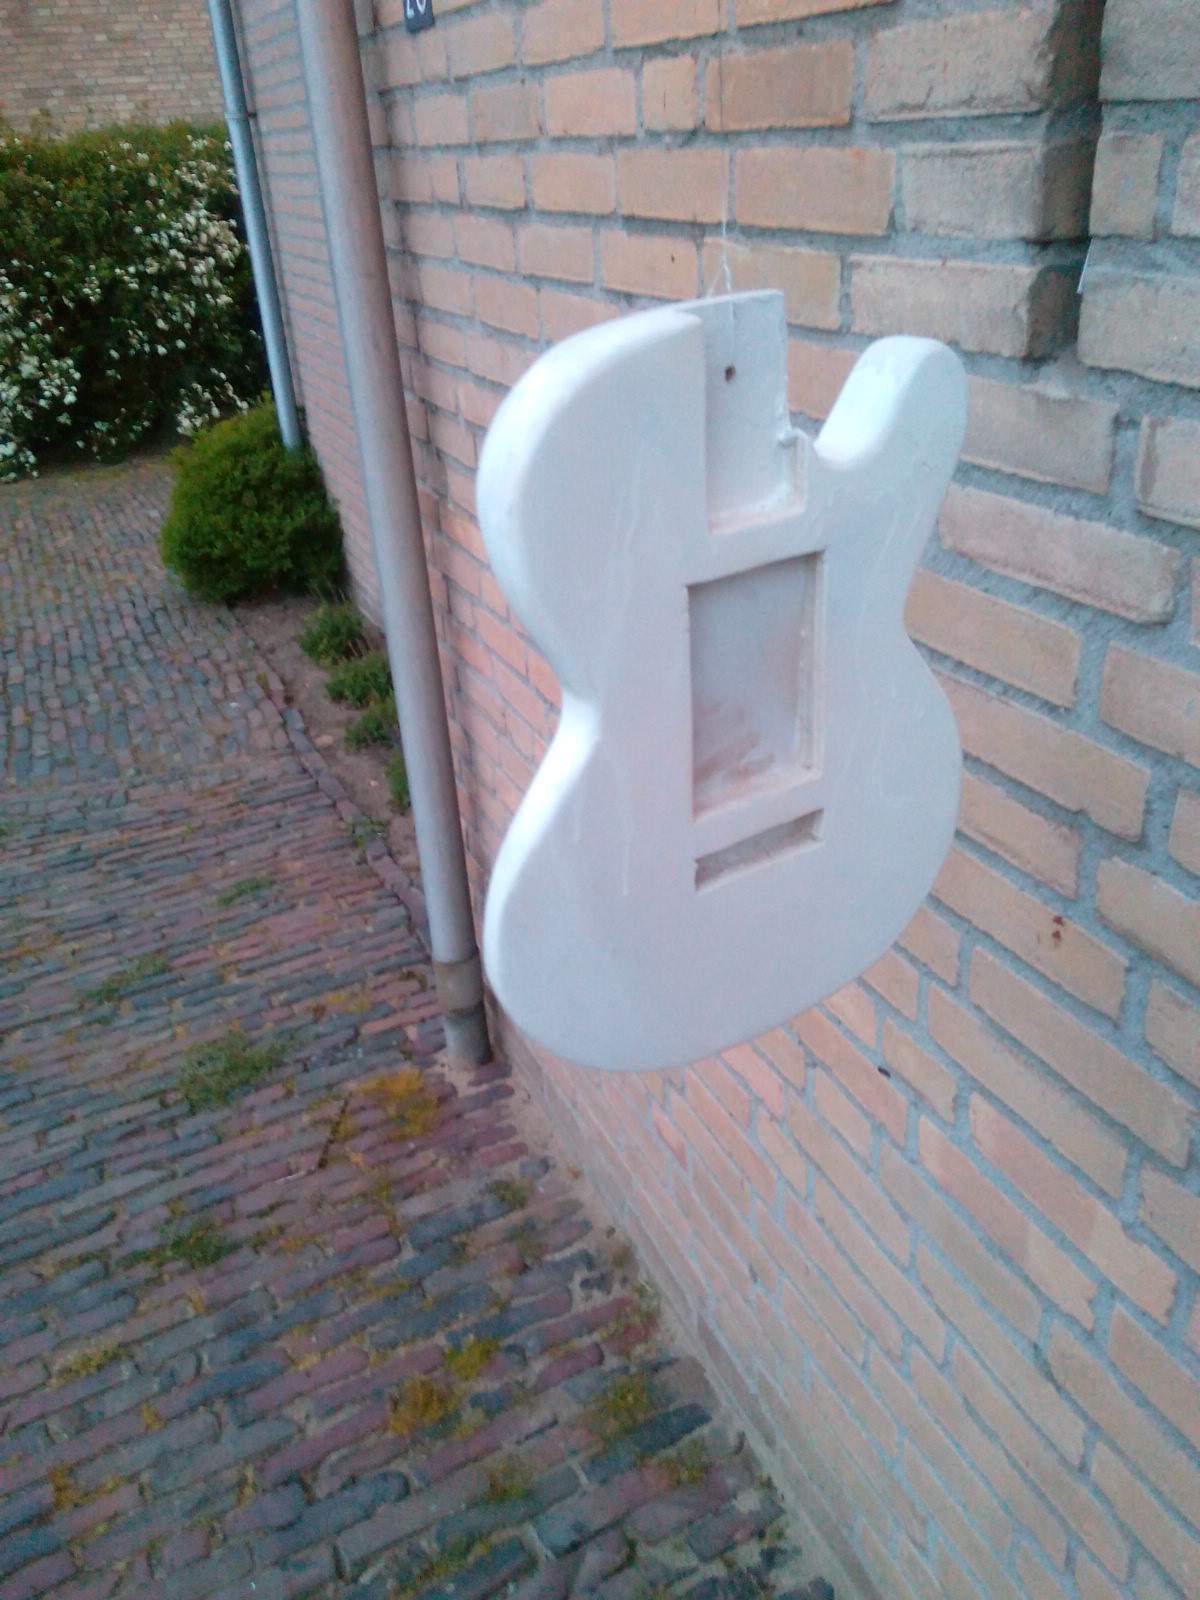
IMG_20160520_213826.jpg

It still doesn't look like much, and I ended up failing a lot of times to apply a nice even coat of spray paint, but after multiple big mistakes I got the hang of it.
IMG_20160522_195249.jpg IMG_20160522_195255.jpg
IMG_20160522_195259.jpg

IMG_20160527_215019.jpg

On this point I decided I didn't want a Jazz bass pickup anymore and I ended up with buying some P bass pickups. I never ended up using them in the project and put those in my fretless P bass (this one was meant to be a fretless one too). So I filled up the hole with a piece of meranti wood. And I forgot to make a cavity for the electronics, so I gouged it out in a hurry.
The body was nearing completion so I started designing building the hardware. The pickguard was made from some bakelite I made myself with my chemistry teacher. I didn't document that very well because we weren't allowed to make photographs during school because of privacy reasons. Making the bakelite was quite fun, the sheet was bright orange red straight after pouring, a few hours later it got a darker brown and about a week later it was safe to touch and was a beautiful deep brown color. As I didn't finish the project I gave away the blank to a guitar player. He really wanted a bakelite pickguard on his telecaster, so he was very happy when I gave him the sheet. The original design for the pickguard would eventually look kinda like a pbass.
IMG_20160527_215412.jpg

Whilst waiting for the bakelite to cure I finished filling and sanding the body and applied about 15 ground coatings. I really didn't want to screw up the paint at this point so I decided to take my time.
IMG_20160529_162447.jpg IMG_20160529_162454.jpg
IMG_20160529_193031.jpg
 

Attachments

  • IMG_20160522_195311.jpg
    IMG_20160522_195311.jpg
    79.6 KB · Views: 38
After spraying and sanding the ground coating for about two hours per coating I decided it was time to apply some color to the guitar. I ended up buying a beautiful deep blue spray paint. This ended up being the most expensive investment in the project, about 12 euros.
IMG_20160530_165152.jpg IMG_20160530_165206.jpg IMG_20160530_165221.jpg
IMG_20160530_165157.jpg
IMG_20160530_165214.jpg

After some more sanding and some varnish, the lacquer looked crisp and clean.

Then I started building the neck. The first try was also made out of plywood, but eventually it ended up to be way to weak for a bass guitar. I ended up buying an old bent neck with a broken truss rod from a 70s Japanese bass (it was free but about 5 euros shipping). I can't remember what brand, but it was old and Japanese so it had to be nicely made. The previous owner tried to remove the fretboard himself and ended up mutilating the damn thing. I decided to give it a go, but I also couldn't do it. I forced a blunt chisel between the fretboard and hammered it to pieces. It definitely wasn't a clean operation, but it did the job good enough.
IMG_20160529_162500.jpg IMG_20160531_113212.jpg IMG_20160312_221705.jpg
IMG_20160312_224604.jpg

After removing the fretboard and sanding the wood nice and flush I focused on the broken trussrod. It happened to be a single action trussrod so it wasn't rocket science to repair it. I had to make some new thread on one of the ends and chisel out one of the holes a little further and it did its job really well.
IMG_20160312_233232.jpg
IMG_20160312_235432.jpg
 

Attachments

  • IMG_20160530_160800.jpg
    IMG_20160530_160800.jpg
    126.1 KB · Views: 42
Later I had to find some fretboard material. Way back in the past my father also had to open up a bass neck to repair the trussrod in an old japanese jazz bass. He used an old meranti baseboard, and as I remember the bass played perfectly fine with that as a fretboard material. The big difference was that his bass was fretted and this one was meant to be fretless. I used the neck on another bass and it played like a charm.
IMG_20160313_141720.jpg
IMG_20160318_172519.jpg

As this was really hard wood it took me quite some time to plane it down to the right size. I messed up once but the second time the taper ended up like it should be. Later I had to plane it down about 3/4 of the way down otherwise the fretboard would be way too thick, then I sanded it.IMG_20160318_182908.jpg IMG_20160318_184647.jpg
IMG_20160318_191154.jpg

An ugly looking knot appeared while planing the fretboard, but I didn't have enough wood to make another one. I ended up gluing the fretboard down with hideglue so it wouldn't take a lot of effort to remove it to make another fretboard in the future. As this was a fretless fretboard I didn't need to saw slots for frets so that made the job a lot easier.
A flat fretboard doesn't play like a charm so of course I had to put in a radius. I ended up with an old flat piece of aluminium with sandingpaper glued to it which I bent into a big C profile. Then I put some large screws in to push the C outward and used a paper template to get the desired radius. This worked quite well and the neck performed like expected.
IMG_20160318_192038.jpg

The journey ended on this point. I ran out of money, didn't have a side job to fund the project and it just stranded. I just couldn't finish it. Eventually I ended up giving the body away to a good friend of mine and I bodged together an ugly looking stratobasster with the fretless neck which sounded and played great. A few years later I pulled out the frets of my previous bass and this one ended up in the fireplace.
IMG_20160318_230319.jpg


I hope this thread will inspire some people to just build the bass they always wanted. You don't need the top of the line tools and an unreasonably large sum of money to get you going. This project was done with mostly just blunt old handtools by a kid with a crappy telephone camera. I think I spent about 60 bucks for the whole project back then. I sure learned a lot during this project and had a lot of fun doing it. It was a very valuable experience and I think it was the best 60 bucks I have ever spent in my (still short) life.
 
I would strongly encourage the next "kids" that read this to consider learning to sharpen. There's two, if not three orders of magnitude difference between "just using" blunt old tools and sharpening them and THEN using them. If you get halfway decent at it, it may stave off the "perceived need" for many power tools, in a non-factory setting. I have been the kid who didn't know how to sharpen properly, and it was like the heavens opening when I finally figured it out.
 
I now get the hang of it, but it was quite a pain to keep them sharp enough during the process. Luckily for most of the time files, sanding paper and a whole bunch of elbow grease did the trick. I have to say that when I really took the time to learn how to sharpen them my projects really got much cleaner over time (especially inlays), but I eventually ended up restoring vintage organs and amplifiers XD
 
Every one of us Luthiers has a few projects like that in our history, way back when we were just getting interested and only had a few tools. Some poor old instrument that we extensively modified, using whatever materials we could scrounge up. Mine were back in my college days, in the late 1970's. Back in the dark ages, before computers.

My very first bass was (is) an old import semi-hollow body 335-style bass that I got from somebody for free. The body had structurally collapsed around the heel. I crudely rebuilt it with a big center spine block made from a Doug Fir 2 x 2. I think that was 1978. I never got it finished or playable. Believe it or not, I still have it, here in a stack of my old instruments in my warehouse.
 
Mtmb..That's a great storyline, what a shame you never got to finish it...making Bakelite from scratch is an interesting idea, if I'd had teachers like that at school, maybe I'd have payed more attention!
Many of those old guitars and basses were a robust plywood, and tbh I can't see any reason not to use it in a build provided its a good tough stable one..obviously you'd get horror and hatred from most 'experts'..!!!
 
Mtmb..That's a great storyline, what a shame you never got to finish it...making Bakelite from scratch is an interesting idea, if I'd had teachers like that at school, maybe I'd have payed more attention!
Many of those old guitars and basses were a robust plywood, and tbh I can't see any reason not to use it in a build provided its a good tough stable one..obviously you'd get horror and hatred from most 'experts'..!!!

Making the bakelite was quite an interesting procedure and is something I definitely want to do in the future. Unfortunately we dont have any access to a proper certified fumehood anymore to work with the toxic substances.

I still haven't played on a plywood bass so far. I still am very interested what it will sound like though. I guess as it is a very solid material it will have a lot of sustain and it would sound very bright.
 
Last edited:
As long as it's a stable and dense plywood I can't see a problem, I've got an old plywood strat body that was indistinguishable in sound from a solid body when it was assembled and played, most if those old MIJ copies were ply.
I had a (ply body) Hondo P bass too that was excellent after a little set up work.
 
  • Like
Reactions: MTMB
This looks a bit like some of my early instrument builds. I built a couple of them in my dorm room in college - not exactly a haven for power tools; I did everything with hand tools - even a hand crank drill.

Yes, you can build stuff with way fewer tools than Stew Mac would have you believe. If you do eventually decide to get some better tools, you will at least have an idea which ones are the most helpful if you start with all simple hand tools.
 
After removing the fretboard and sanding the wood nice and flush I focused on the broken trussrod. It happened to be a single action trussrod so it wasn't rocket science to repair it. I had to make some new thread on one of the ends and chisel out one of the holes a little further and it did its job really well.View attachment 2985355

Not sure if you are aware, but a fingerboard is quite easily removed using a cloths-iron heating it until the glue softens and then using a putty knife to separate it from the neck. Way less work and a clean separation.
 
Not sure if you are aware, but a fingerboard is quite easily removed using a cloths-iron heating it until the glue softens and then using a putty knife to separate it from the neck. Way less work and a clean separation.

I tried and practiced it on a violin and an old acoustic guitar with success. Somehow this fingerboard just didn't come loose. It took me about three hours of trying to realize it didn't work and move on with a more destructive approach...
 
Later I had to find some fretboard material. Way back in the past my father also had to open up a bass neck to repair the trussrod in an old japanese jazz bass. He used an old meranti baseboard, and as I remember the bass played perfectly fine with that as a fretboard material. The big difference was that his bass was fretted and this one was meant to be fretless. I used the neck on another bass and it played like a charm.
View attachment 2985373 View attachment 2985374
As this was really hard wood it took me quite some time to plane it down to the right size. I messed up once but the second time the taper ended up like it should be. Later I had to plane it down about 3/4 of the way down otherwise the fretboard would be way too thick, then I sanded it.View attachment 2985378 View attachment 2985379 View attachment 2985381
An ugly looking knot appeared while planing the fretboard, but I didn't have enough wood to make another one. I ended up gluing the fretboard down with hideglue so it wouldn't take a lot of effort to remove it to make another fretboard in the future. As this was a fretless fretboard I didn't need to saw slots for frets so that made the job a lot easier.
A flat fretboard doesn't play like a charm so of course I had to put in a radius. I ended up with an old flat piece of aluminium with sandingpaper glued to it which I bent into a big C profile. Then I put some large screws in to push the C outward and used a paper template to get the desired radius. This worked quite well and the neck performed like expected.
View attachment 2985389
The journey ended on this point. I ran out of money, didn't have a side job to fund the project and it just stranded. I just couldn't finish it. Eventually I ended up giving the body away to a good friend of mine and I bodged together an ugly looking stratobasster with the fretless neck which sounded and played great. A few years later I pulled out the frets of my previous bass and this one ended up in the fireplace. View attachment 2985392

I hope this thread will inspire some people to just build the bass they always wanted. You don't need the top of the line tools and an unreasonably large sum of money to get you going. This project was done with mostly just blunt old handtools by a kid with a crappy telephone camera. I think I spent about 60 bucks for the whole project back then. I sure learned a lot during this project and had a lot of fun doing it. It was a very valuable experience and I think it was the best 60 bucks I have ever spent in my (still short) life.
How's it sound?
 
Really, a great job of woodworking! And sooo much effort for a plywood bass! OUCH!

As far as practical? 50+ hours working at McDonalds? About $500 to $600 here in the USA. A brand new Fender Squire Jazz Bass or Ibanez Bass, $199.

Even cheaper prices for used basses on Craigs List.

As an old man to a young man..............time is valuable and irreplaceable! Use it wisely!
 
  • Like
Reactions: Pug the Pig
Really, a great job of woodworking! And sooo much effort for a plywood bass! OUCH!

As far as practical? 50+ hours working at McDonalds? About $500 to $600 here in the USA. A brand new Fender Squire Jazz Bass or Ibanez Bass, $199.

Even cheaper prices for used basses on Craigs List.

As an old man to a young man..............time is valuable and irreplaceable! Use it wisely!

Hahaha thanks :D
Although, it wasn't just building a non functional bass, I gained quite a lot of experience in woodworking and painting during this project. That's valuable too ya know ;)
And to be honest, minimum wage for a 14 year old is about 3 euros an hour....
 
  • Like
Reactions: bassdude51