

Enjoy the benefits of a premium membership!
Upgrade Account
-
TalkBass has been independent since 1998. Add your voice.
Create a free account to reply to discussions, view embedded media, and browse with fewer display ads.
Join free Log in
Want zero display ads or expanded classifieds tools? Compare plans.
You are using an out of date browser. It may not display this or other websites correctly.
You should upgrade or use an alternative browser.
You should upgrade or use an alternative browser.
The Rickenbarner - my first fully scratch-build!
- Thread starter RaniBrandt
- Start date
More options
Who Replied?
So mapleglo (big fan, by the way), did you have any trouble with the depth of your double-dual-action rods?
I will withhold my comments and suggestions until everyone is done cheering and jeering.
- Cheers to Ronald P. Brandt for building a bass that will be stunning, and interesting
- Jeers to Ronald P. Brandt for building this bass, and not planning to ship it to my house for free
- Cheers to Ronald P. Brandt for understanding the difference between Shinola, and something else
- Jeers to Ronald P. Brandt for spending too much time somewhere other than the garage
- Cheers to whoever parked in my spot today. When that semi went over the barricade and crushed your car, I immediately regretted the nasty note I taped to your windshield
- Jeers to the makers of Cheer detergent
- Cheers to the makers of Jeer beer
- Jeers to mosquitoes. Why are they so annoying?
- Jeers to wood tics. They are less fun than ever
- Cheers to really good dinners, left socks, Armadillos and Bacon Ranch anything
- Jeers to loud parties I wasn't invited to
- Jeers to jeering. It's poor sportsmanship, people.
- Cheers to cheering, but could you keep it down? I have to get up early
That was awesome. Exactly what I was hoping for!
So mapleglo (big fan, by the way), did you have any trouble with the depth of your double-dual-action rods?
I'll be testing it over the next few days.

The fingerboard on a Ric is pretty unusual, 3/8" thick vs a more typical 1/4" or 5/16", so they get a lot of neck strength out of the FB. The stock Ric bridge is pretty tall, so the highpoint of FB has to be around 1/2" above the body. Gibson solves this with neck angle, Ric does it by raising the 3/8" FB about 1/8" above the body on the neck beam right to the end of the FB. If you are using a different bridge, you may have to adjust FB height above body. I had a hard time finding a 3/8" thick bubinga FB blank, got it from Gilmer Wood.

Woodcraft currently has a bunch of 3/8" thick thin-stock. I picked up a nice piece of maple I intend to use for an FB. They also have 3/8" thick bubinga.The fingerboard on a Ric is pretty unusual, 3/8" thick vs a more typical 1/4" or 5/16", so they get a lot of neck strength out of the FB. The stock Ric bridge is pretty tall, so the highpoint of FB has to be around 1/2" above the body. Gibson solves this with neck angle, Ric does it by raising the 3/8" FB about 1/8" above the body on the neck beam right to the end of the FB. If you are using a different bridge, you may have to adjust FB height above body. I had a hard time finding a 3/8" thick bubinga FB blank, got it from Gilmer Wood.
Good to know, guys. I have a 1x4 piece I was planning on trying to cut down myself, but if that proves a disaster, I'll go shopping for one of these options.
Now, back to the show...
After the glue set overnight, I got the body wings planed this morning.
Now, this may look like just a random pile of wood, but this is actually a very sophisticated clamping system, requiring random 1/2" thick wedges of various sizes and angles, and three actual clamps:

And the flip side:
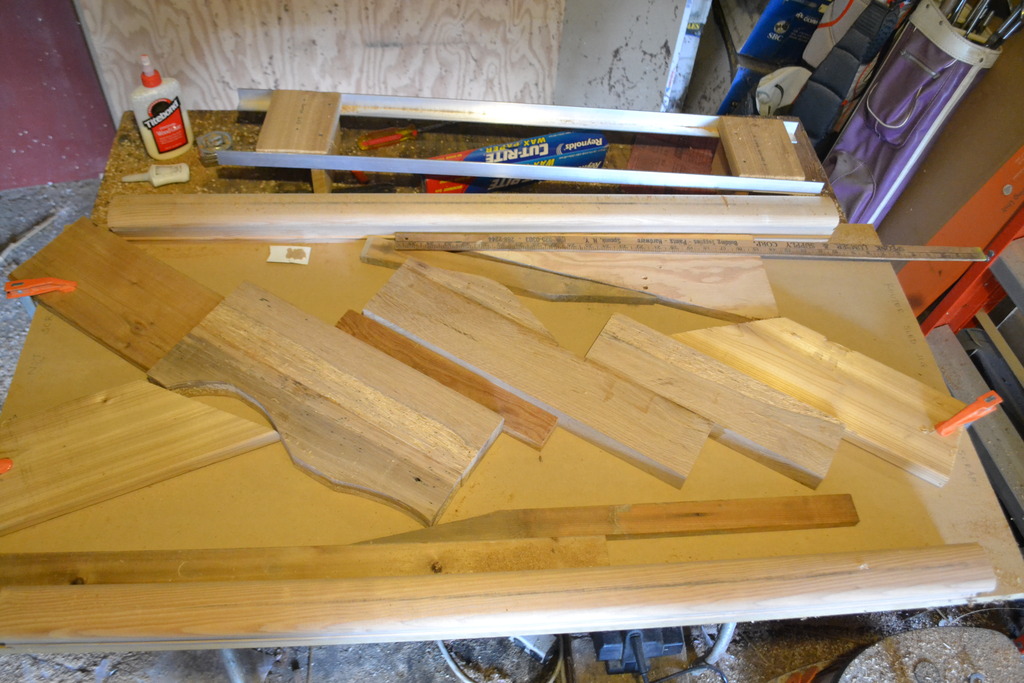
And here are the results:
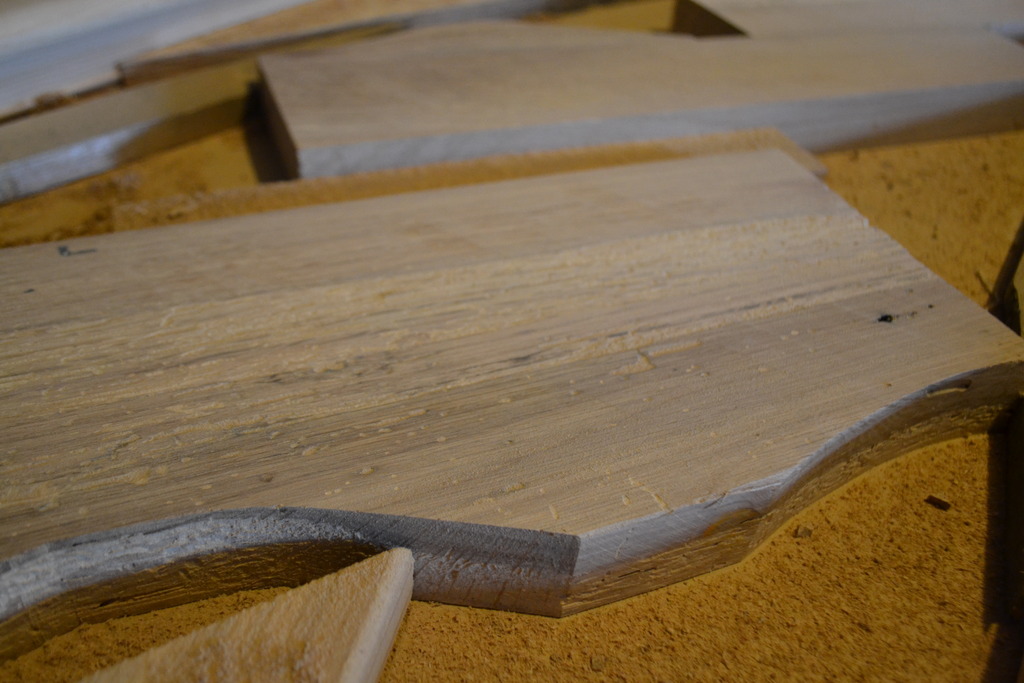
Once both blanks were (slowly) planed down to about 1 5/16" (a hair over final thickness), I laid out the plans on top to remember what I'm working toward:

Next up: Adventures in truss rod channel routing! Will he do one or two rods? Stay tuned!
Now, back to the show...
After the glue set overnight, I got the body wings planed this morning.
Now, this may look like just a random pile of wood, but this is actually a very sophisticated clamping system, requiring random 1/2" thick wedges of various sizes and angles, and three actual clamps:
And the flip side:
And here are the results:
Once both blanks were (slowly) planed down to about 1 5/16" (a hair over final thickness), I laid out the plans on top to remember what I'm working toward:
Next up: Adventures in truss rod channel routing! Will he do one or two rods? Stay tuned!


The best thing about the hand planer is that it only cost ten bucks! And yeah, that table saw was the first major tool I got after moving into a proper house. It's really a great saw.
In other news, I got something cool in my mailbox today...

These are marbled brown water buffalo horn nut blanks. I got the idea from someone else's TDPRI Challenge build, and I thought it would be a nice match for this bass, over a plain white or black nut. The toughest thing will be picking which one of these will become the nut for this bass, but the best thing is that I will have a few chances to get it cut just right.
You might want to check for which one is the hardest, I seem to recall that some colors mean they're softer that the rest.
Also, here's a thread about using it: Invalid Link Removed
Good to know, AltGrendel! I'll do some bending trials, and some drop-tests to see which one "sings" the most. On the other hand, I doubt my ears would tell any difference the nut might make to the sound on an electric bass. On an acoustic guitar, I could see that being more of an issue. I'll probably still try one regardless, as I can always swap it out later.
Just trying to avoid a *** moment when you find dust on the fretboard after tuning up those stainless steel Rotosound 66's on it. 
This was the job that I was worried most about, but I was able to rig up a quickie sled for the truss rod rout, and it came out (more or less) perfectly! As you can see, I went with just one. I think with the laminates, the dual-action rod, and the soft-V profile, I should be good to go.
Here's the truss rod in its new home:

And the adjustment nut close up:

I also got around to resawing the maple 1x4" into a fretboard blank. As you can see in the next photo, the adjustment nut sits just a little proud, so I'm going to have to either deepen the channel on that end, or extend the cove about a quarter-inch or so and fill in with a small plug on the other end.

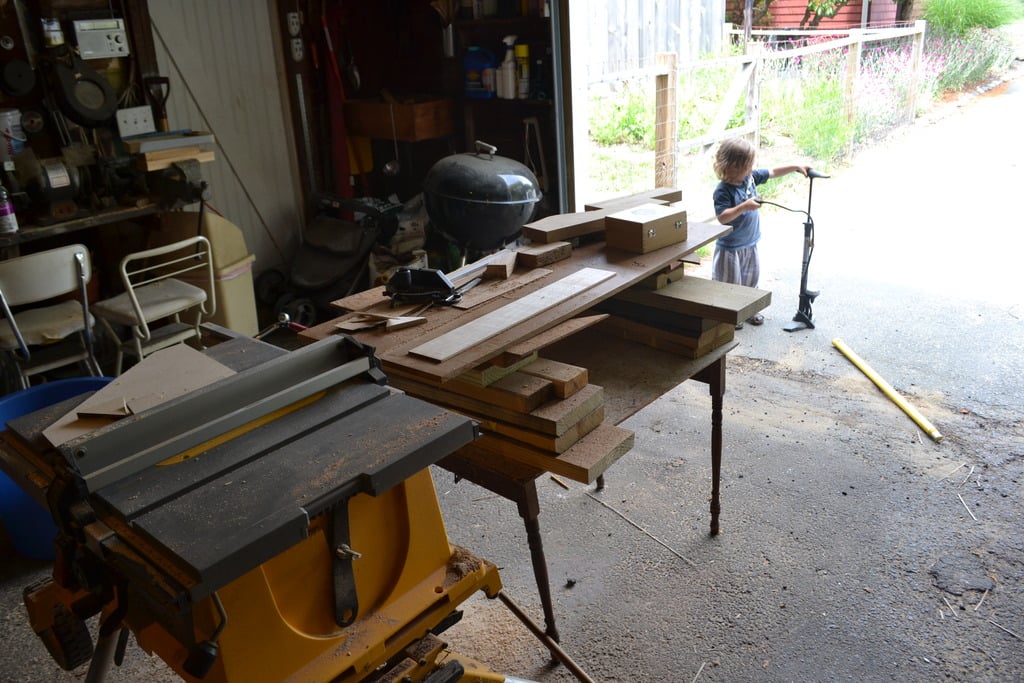
And just for fun, here are a couple of photos to demonstrate how much of a shop-slob I am. No cleanup 'til the build is over!

Here's the truss rod in its new home:
And the adjustment nut close up:
I also got around to resawing the maple 1x4" into a fretboard blank. As you can see in the next photo, the adjustment nut sits just a little proud, so I'm going to have to either deepen the channel on that end, or extend the cove about a quarter-inch or so and fill in with a small plug on the other end.
And just for fun, here are a couple of photos to demonstrate how much of a shop-slob I am. No cleanup 'til the build is over!

Forgive me if this has been discussed as I have not read the whole thread but why install the truss rod with the flat side down?
I hadn't noticed that, but you are right, I think the flat side goes up to contact bottom of fingerboard?Forgive me if this has been discussed as I have not read the whole thread but why install the truss rod with the flat side down?
No worries, I just assumed the flat side went up, seen it that way on other builds. The adjustment nut hangs lower than the rod slot by about 1/32", so you might have to deepen the adjustment slot in your headstock. Turn it over and see how it fits.
Yeah, I did, and I'm going to have to deepen the pocket just a little. Thanks for catching that one, everybody!
Yeah, I did, and I'm going to have to deepen the pocket just a little. Thanks for catching that one, everybody!
Glad that helped. Would not have been fun to figure it out during setup...
After an afternoon viewing of Mad Max: Fury Road (soooo good!), last night I jigsawed the body blanks close. Then this morning I ROSSed the edge, and now it's starting to look like something:

looks great Don. I used dowels to register body wings to neck beam, works great to keep things lined up during pup route.


