I haven't posted much recently, but there wasn't any single thing that was earth-shattering. Figuring, planning, ordering. So this is a catch-up post, covering a variety of things.
(My photobucket upload plug-in doesn't work any more with the latest OSX upgrade, so I'm using the PB upload page, which won't allow me to choose resolution. So, I'll apologize right here if pics come up either tiny or huge. Let me know.)
As I said a few posts ago, I've figured out the headstock design. And actually, compared to that notebook pic, it has been revised a bit.
With the layer design done, I was able to finish planning the layer material requirements and cuts.
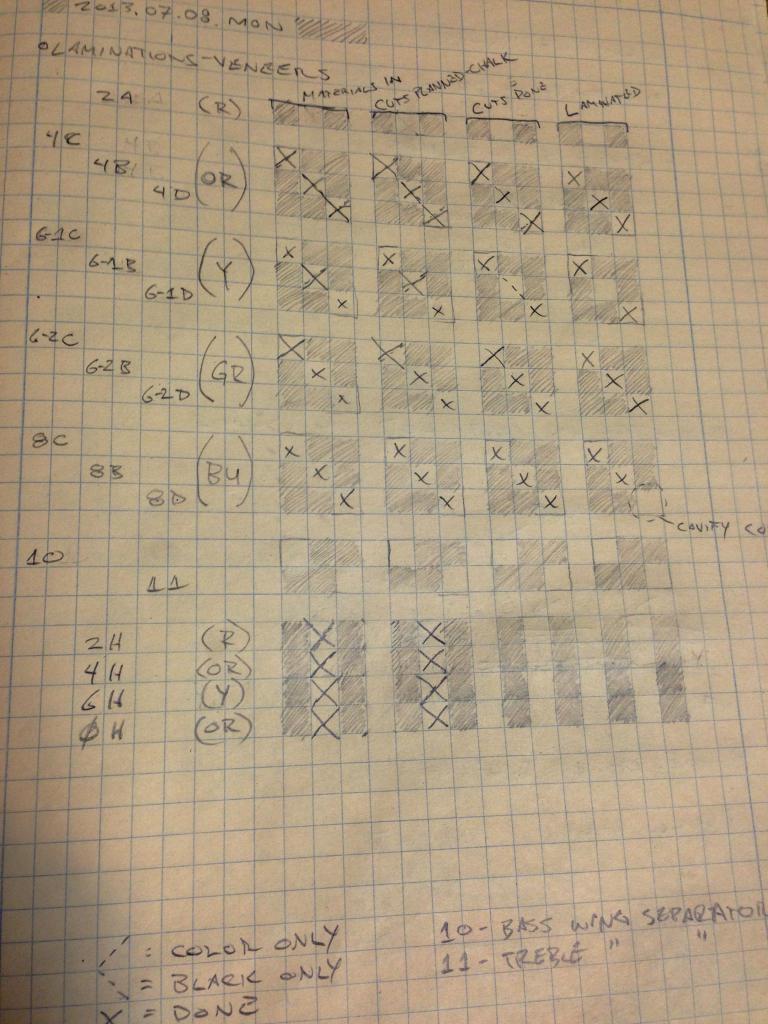
Also in this timeframe, I figured that some of the piecing of veneers I had planned for the neck was going to be difficult or impossible to line up properly. Part of this realization was after flowcharting out some of the steps that will be necessary to do this thing.
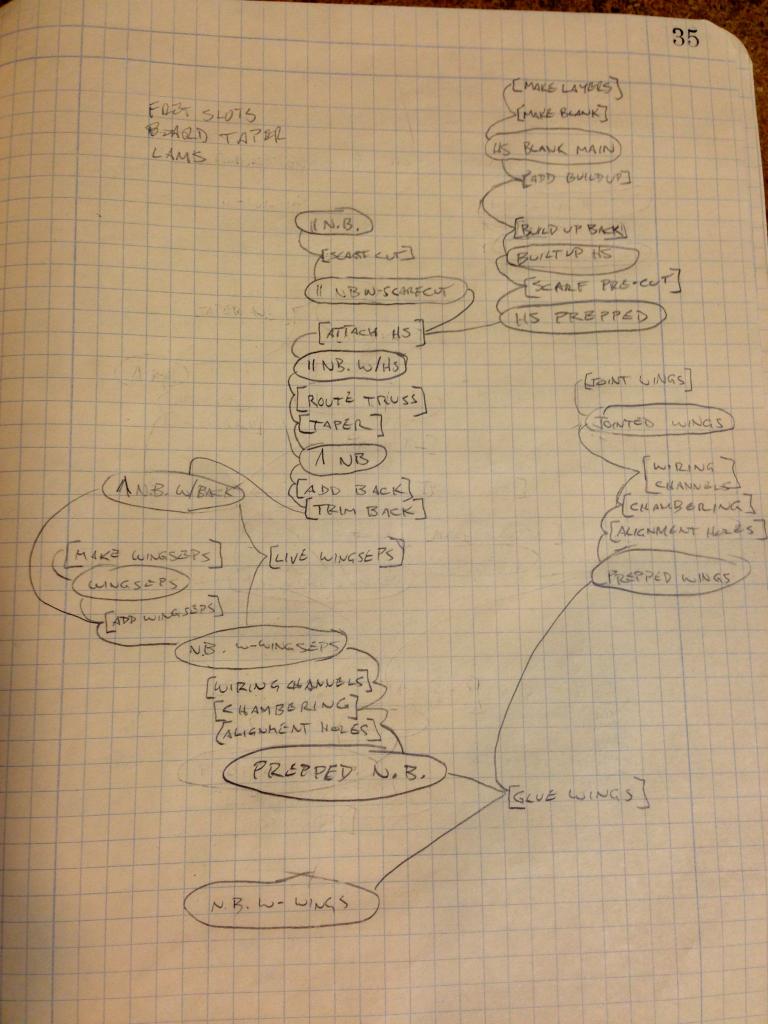
I found out that the veneer supplier has some large sheets available, so along with ordering to fill the new needs, I also reshuffled my cut plans, and ordered two large pieces, to make some formerly pieced parts into single parts. I will have leftovers now, so I guess I'll have to figure a project to use them on.
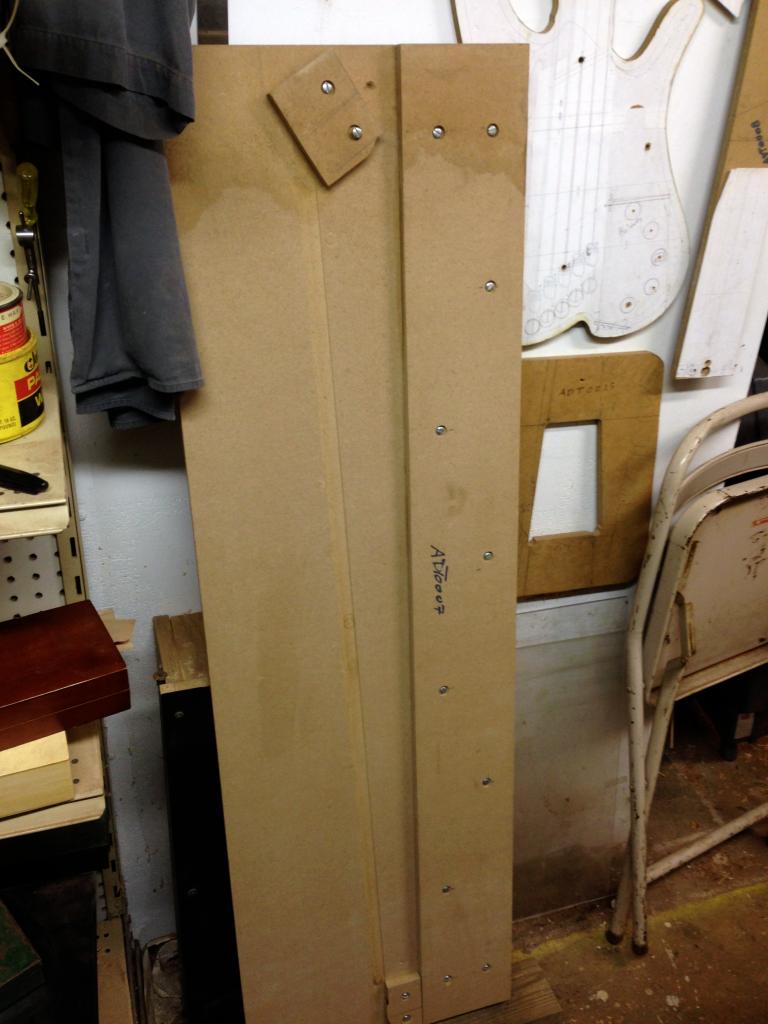
I got my neck beam trimming jig out of storage, and assessed the damage from Sandy. One end got wet, with some swelling of the MDF and a bit of mildew. I cleaned it up, and it may be usable as is. But I also may figure a way to use the router table instead. I didn't have that for the last bass.
Back to the headstock -- I planned out the usage of the boards, which up until now were left over-length and over-thickness.

The wenge required resawing. This would be the most demanding resaw yet for me, as far as limited room for error. Here's the cut.

It turned out fine.
Then the three main pieces needed to be brought down to final thickness. I decided to use the oscillating sander to do that, since the pieces are too thin for the thickness planer. First I jointed up a 4x4ish block, to use as a fence,
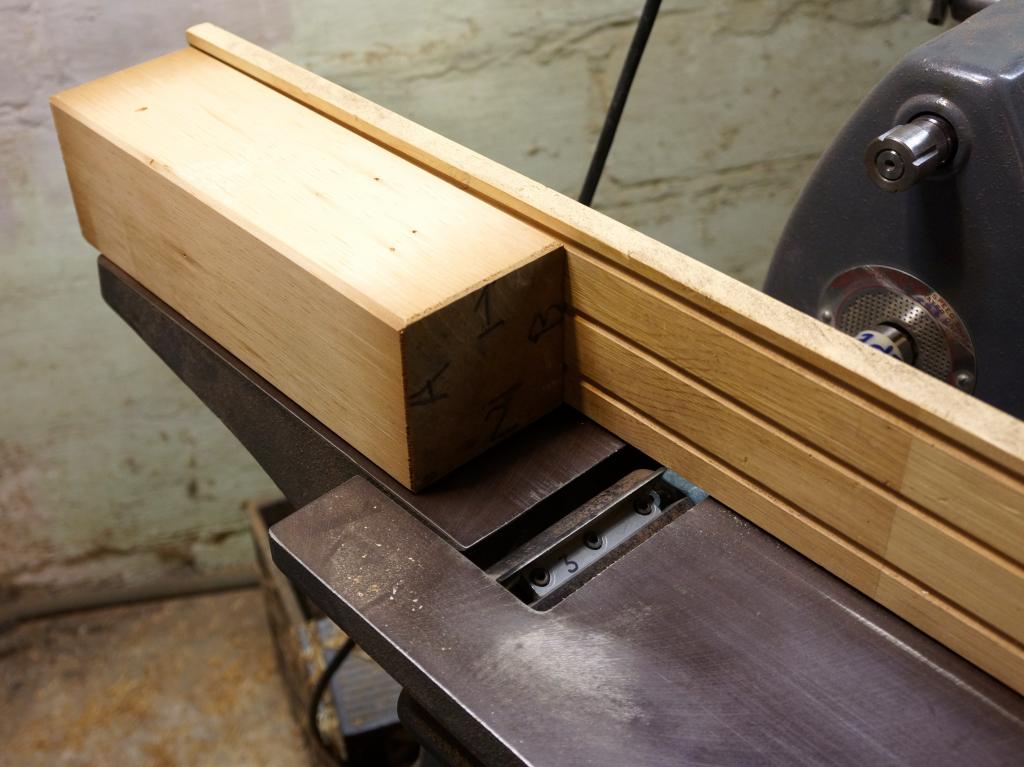
then drilled a hole through it and set it up on the sander table. The workpiece gets fed from what is normally the back of the sander.

I had intended for the wenge to be .060", but when I got it down to .100 one of the pieces started to cup, so I reassessed the design, and brought them both to .090 . The cup combined with the oscillation and the workpiece being wider than the belt caused some difficulty, but I worked it out.
Small curiosity -- the 4x4 was decades old, but was still so sticky-resiny after removing the outer 1/8" that it gummed up the bed and rollers of the thickness planer (which had to be cleaned up with acetone), and grabbed up wenge dust onto the block during the sanding.

Here are all the pieces of the headstock, ready for glue-up.
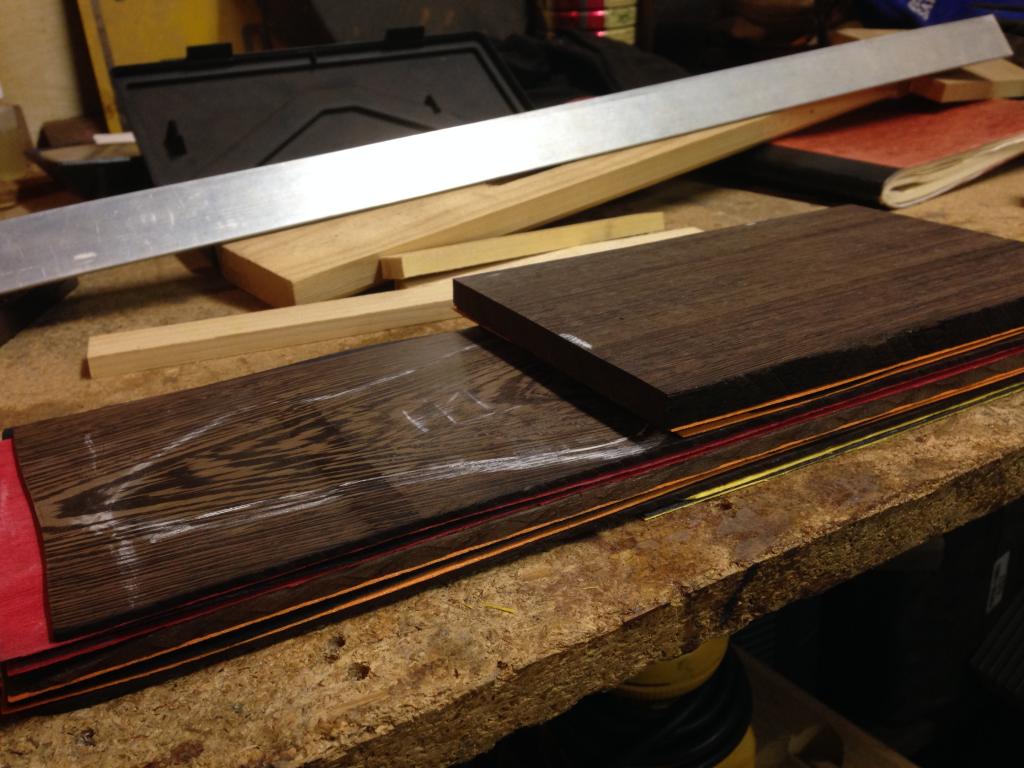
Only sixteen pieces! That's four glue-ups.
In the end I should do a tally of how many individual pieces of wood went into the bass.
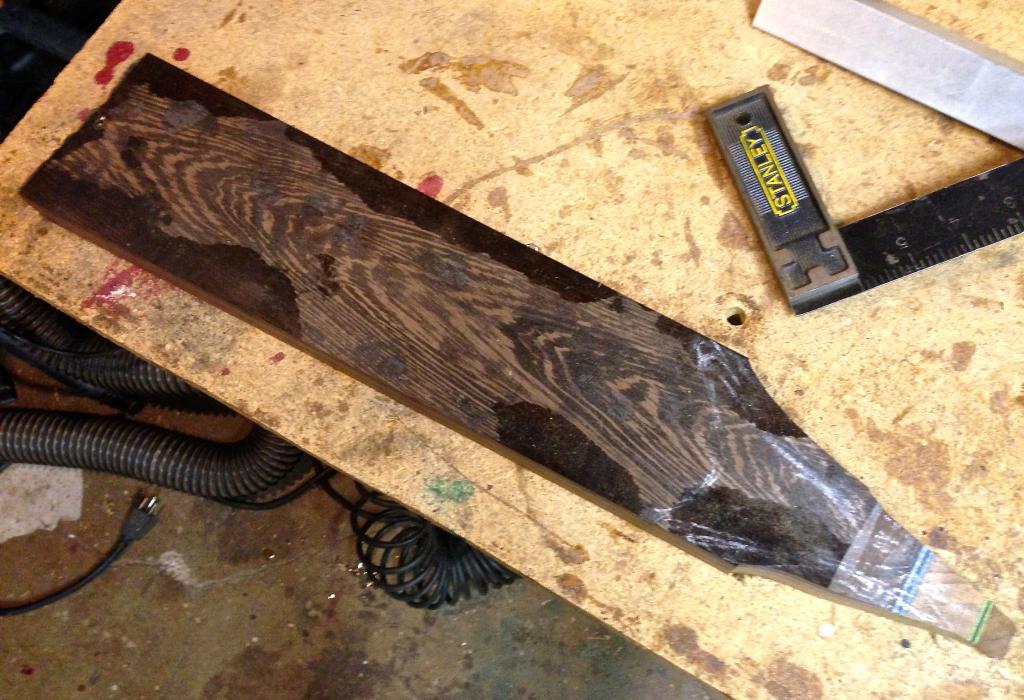
Also, I did a bit of trimming of the block that will be glued behind the neck beam. The "tone block, " I guess. :roll eyes:
Finally, here are a few recent beers.
This one was very good. It was a while ago so I can't go into detail, but I liked it enough to buy again.
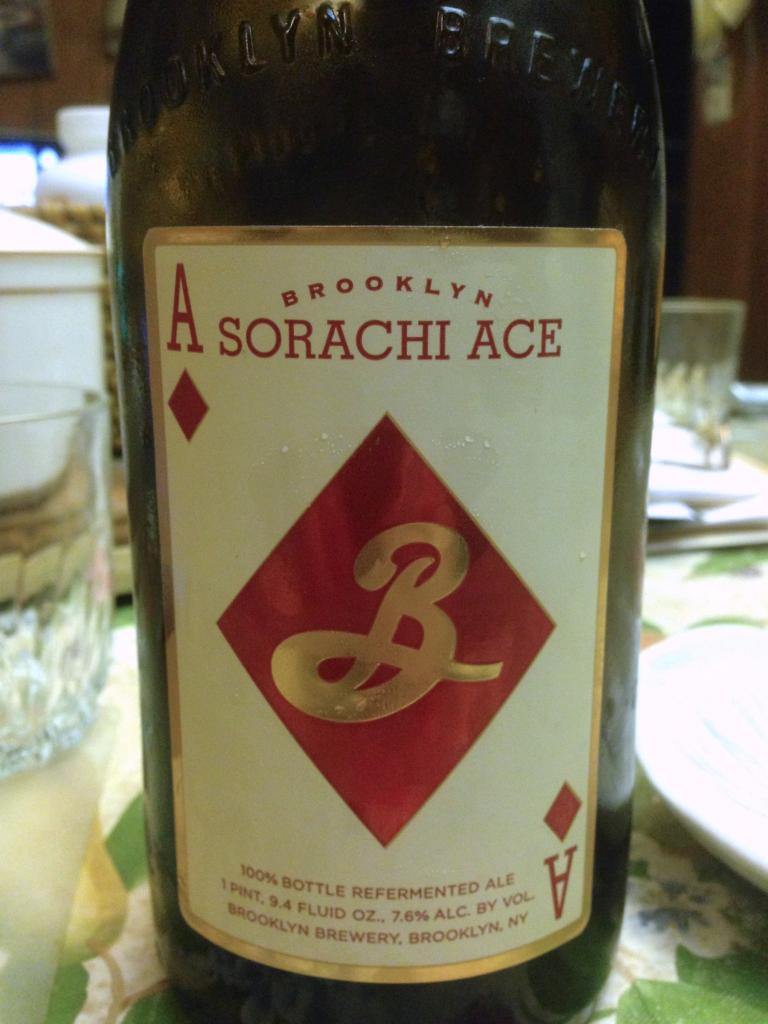
This one, despite the name and style of labeling, is a Polish beer. It was not expensive, but was a decent drink.

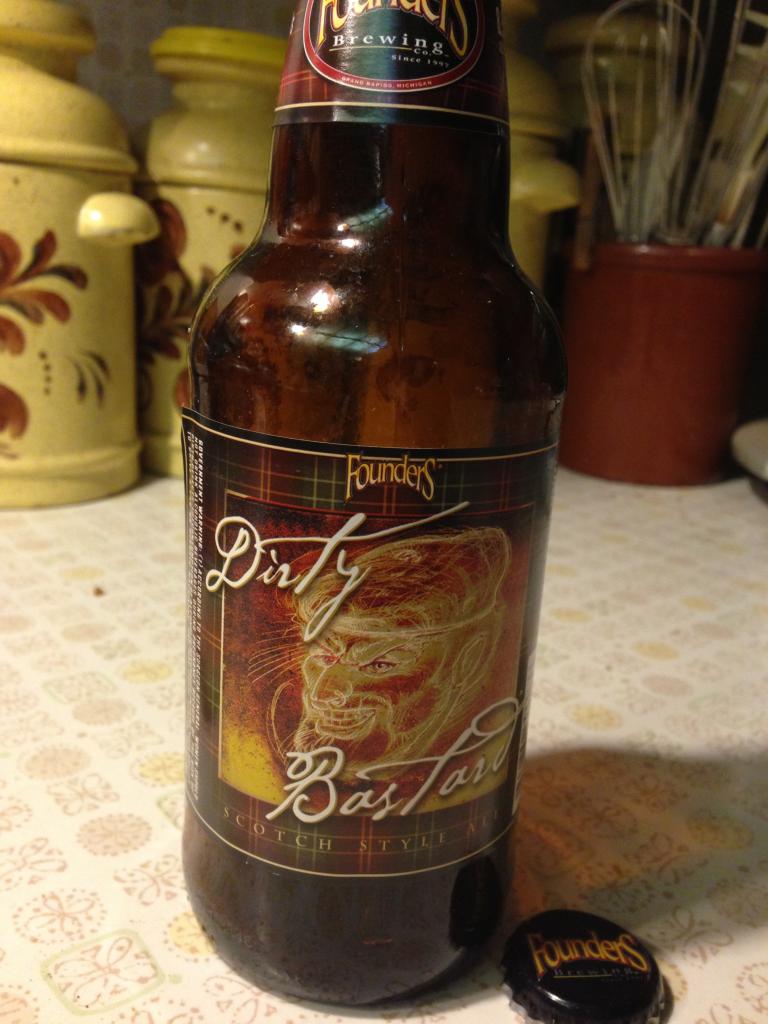
This one is a great scotch ale. Rich, full, sweet, tastes great as it warms up. Highly recommended.
(My photobucket upload plug-in doesn't work any more with the latest OSX upgrade, so I'm using the PB upload page, which won't allow me to choose resolution. So, I'll apologize right here if pics come up either tiny or huge. Let me know.)
As I said a few posts ago, I've figured out the headstock design. And actually, compared to that notebook pic, it has been revised a bit.
With the layer design done, I was able to finish planning the layer material requirements and cuts.
Also in this timeframe, I figured that some of the piecing of veneers I had planned for the neck was going to be difficult or impossible to line up properly. Part of this realization was after flowcharting out some of the steps that will be necessary to do this thing.
I found out that the veneer supplier has some large sheets available, so along with ordering to fill the new needs, I also reshuffled my cut plans, and ordered two large pieces, to make some formerly pieced parts into single parts. I will have leftovers now, so I guess I'll have to figure a project to use them on.
I got my neck beam trimming jig out of storage, and assessed the damage from Sandy. One end got wet, with some swelling of the MDF and a bit of mildew. I cleaned it up, and it may be usable as is. But I also may figure a way to use the router table instead. I didn't have that for the last bass.
Back to the headstock -- I planned out the usage of the boards, which up until now were left over-length and over-thickness.
The wenge required resawing. This would be the most demanding resaw yet for me, as far as limited room for error. Here's the cut.
It turned out fine.
Then the three main pieces needed to be brought down to final thickness. I decided to use the oscillating sander to do that, since the pieces are too thin for the thickness planer. First I jointed up a 4x4ish block, to use as a fence,
then drilled a hole through it and set it up on the sander table. The workpiece gets fed from what is normally the back of the sander.
I had intended for the wenge to be .060", but when I got it down to .100 one of the pieces started to cup, so I reassessed the design, and brought them both to .090 . The cup combined with the oscillation and the workpiece being wider than the belt caused some difficulty, but I worked it out.
Small curiosity -- the 4x4 was decades old, but was still so sticky-resiny after removing the outer 1/8" that it gummed up the bed and rollers of the thickness planer (which had to be cleaned up with acetone), and grabbed up wenge dust onto the block during the sanding.
Here are all the pieces of the headstock, ready for glue-up.
Only sixteen pieces! That's four glue-ups.
In the end I should do a tally of how many individual pieces of wood went into the bass.
Also, I did a bit of trimming of the block that will be glued behind the neck beam. The "tone block, " I guess. :roll eyes:
Finally, here are a few recent beers.
This one was very good. It was a while ago so I can't go into detail, but I liked it enough to buy again.
This one, despite the name and style of labeling, is a Polish beer. It was not expensive, but was a decent drink.
This one is a great scotch ale. Rich, full, sweet, tastes great as it warms up. Highly recommended.