• TalkBass has been independent since 1998. Add your voice.
    Create a free account to reply to discussions, view embedded media, and browse with fewer display ads.
    Join freeLog in
    Want zero display ads or expanded classifieds tools? Compare plans.

Violin bass

Scoops

Why do we use base 10 when we only have 8 fingers
Supporting Member
Oct 22, 2013
4,177
11,676
Sugar Creek, Wisc
Time to start another build

Specs
Strings: 4
Body Style: Violin
Body construction: Solid
Body Wood: Flamed Maple
Neck: Flamed Ebony
FB: Matching flamed ebony
Scale: 33"
Bridge: Hipshot Supertone
Tuners: Hipshot Ultra Lites
Pups: Gibson Thunderbird
Pickguard: No
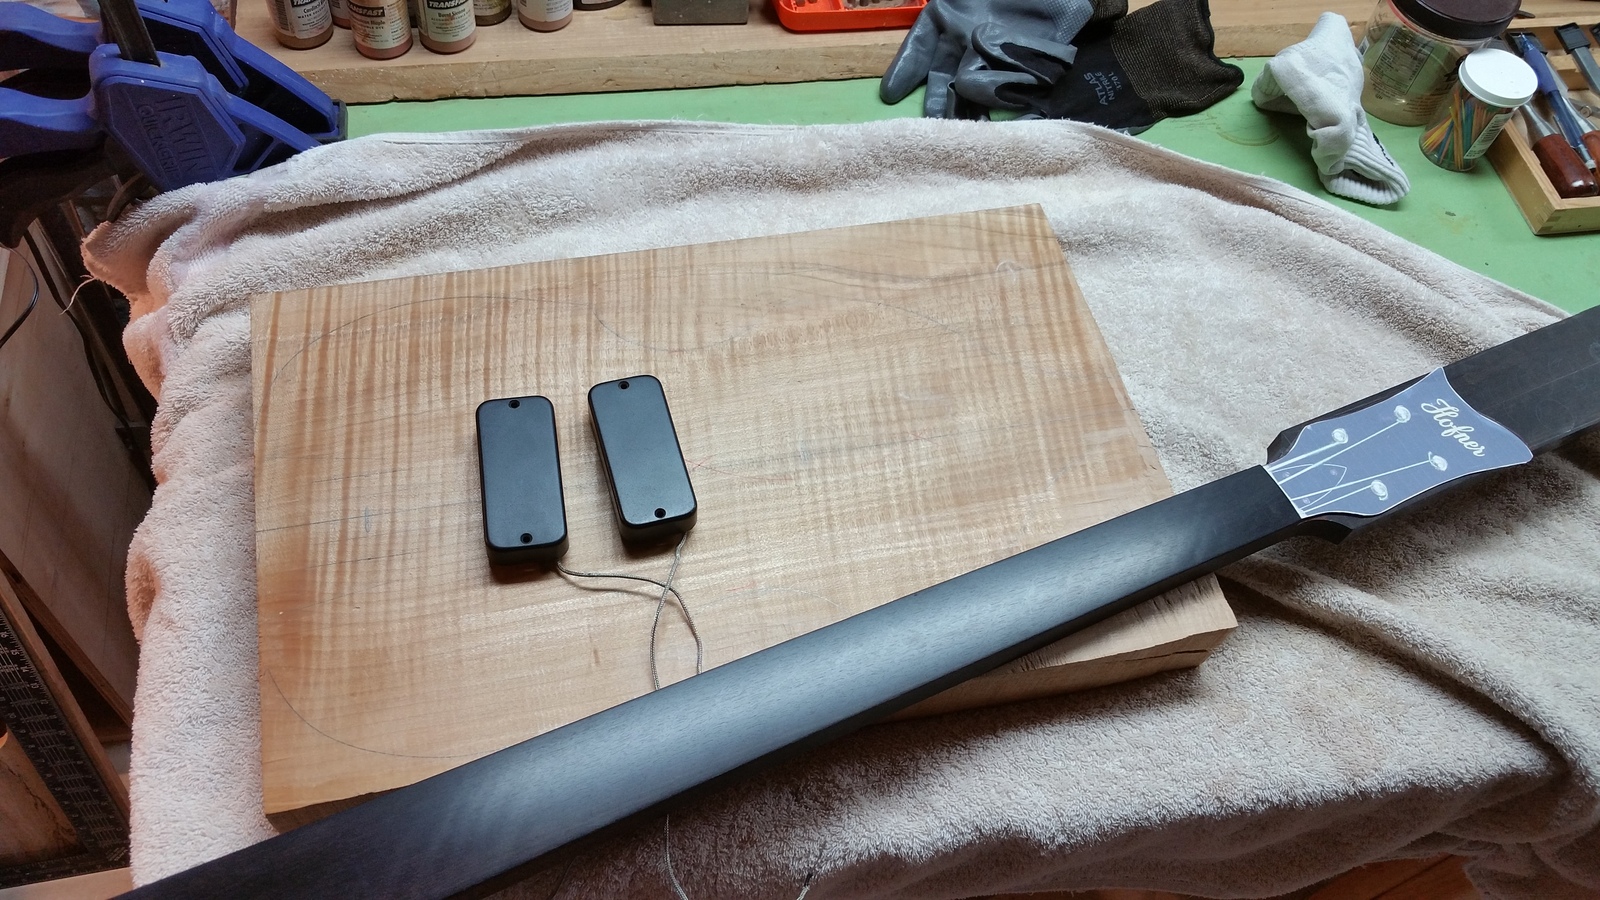

V1.jpg
 
This project kind of started over a year. What I'm getting at is, I originally cut this neck for a different bass. I accidentally cut it too narrow at the heal. So I put it aside, and looked for things that might go well with it. I finally have this collection of parts that I think will make for a nice bass.

I'm currently waiting for the bridge. It's a 3 point mount version of the Hipshot Supertone. This bass will highlight features of both Gibson and Hofner stylizations. I plan on putting the neck in on a 4 degree tilt. But I don't know If I'll be able to do this until I actually get the bridge and see how tall it is. So I still need to do a little math. Also plan to give it a violin type carved top. Probably a 5 strip binding. Not quite sure of the color yet either. I've been wanting to do a Tiger eye, so that may be where it ends up.

Stay tuned
 
I received the Hipshot bridge yesterday. Unfortunately, it didn't have the threaded inserts. Can't do too much fab work without those right now.

What I did manage to do was sit down and figure out the angle I want to put the neck on. I was originally thinking 4 degrees, but it looks like the math turns out closer to 2 degrees.
I'll start cutting the wood tomorrow.
 
I've done a little work on this

There will be some changes to the specs.
I didn't put the neck in on an angle. I put it in straight, without pitch. When I got the hipshot bridge, it was way thicker than I thought it was going to be, so I'm redesigning on the fly. I've decided to sink the neck low and make this a low rider. I will also countersink the bridge into the body, and sculpt the carving of the top around to accommodate the bridge.

Also got the headstock cut, and the radius on the FB recut. When I originally put the radii down, it was with power tools, a straight edge, and a 10" radius block. Since, I have made a radius jig. the neck is much better now.

My tests on getting a tiger eye finish didn't go so well. The stain took more to the horizontal features than it did to the vertical "flame".

V2.jpg
 
Are you using the Stewmac binding cutters or something else? Id be sweating bullets trying not to chip out that gorgeous top! I'm curious to see how you glue up multiple layer binds, one layer at a time, or all at once?

(Edit) Yes, I will be using stewmac binding cutter (end Edit) Also,my tests for carving the top has indicated that I will be doing it for a while. I'll be using my little Ibex planer. It works, but this is a real hard piece of maple. More worried about wearing out my fingers than chips in the wood. I will be gluing up the binding using the all at once method.

This will indeed be interesting.
 
  • Like
Reactions: Gilmourisgod
Update.

Have a little free time so I thought I'd carve some wood

I used a binding cutter from stewmac to cut 2 ledges. The lower of the 2 ledges will be where the binding will get glued in. The bottom of the upper edge will be the lowest potion of the carve top. I've been using chisels and little Ibex planners to do the work. This is going to take a while.

V5.jpg
 
That's a great idea, establishing a perfect cut to line with the binding bit. That is going to be sweet.

Thanks Gilly.

This is one of the more addictive projects that I have worked on. I've never done a carved top quite like this, and as I remove wood it starts to come to life. The more it comes to life, the more I want to work on it......and so on. As a side note, I did so much carving with the little Ibex planer, that I got a blister on one of my fingers, so I have to give up the carving for a few days until it heals. Also, it's hard to capture the actual carving in the pics here.

Here's where I'm at. I have one side roughly carved out. I'm not exactly sure where the pups will go. The bridge pup will probably go where it's at. The neck pup might move closer to the neck. Still doing some research on Tbird pup placements.

Also, you'd think I'd learn from past experience. I am countersinking the control knobs. So I go to drill the hole out for the pot shaft. DOH! I don't know why I always do that first. It's been countless times I've done this. (Mental note to self: drill out countersink first) Maybe I'll learn.

Oh well.....onward

Thanks for watching

V6.jpg