
• TalkBass has been independent since 1998. Add your voice.
    Create a free account to reply to discussions, view embedded media, and browse with fewer display ads.
    Join freeLog in
    Want zero display ads or expanded classifieds tools? Compare plans.

WBO - Burst five headless fanned fret

I have limited time, so this may be a sparse thread. The chance I get it done in time for the finish line is probably pretty low, but since I was starting a bass anyway, I figured I'd jump in. It's probably good that I have a finish date as motivation.

I don't have a great story about why I'm a nerd. However, I think anyone who I talk to for more than a few minutes would come to that conclusion. My job is technical and nerdy. I also have this ability to bring up incredibly minute detail during a conversation that somehow manages to create an awkward silence. It's a nerd skill.

The scratch design in CAD looks something like this, I'll use contrasting woods on the top and do one of the "ergonomic" body styles:
Screen Shot 2023-01-05 at 8.22.03 AM (1).png


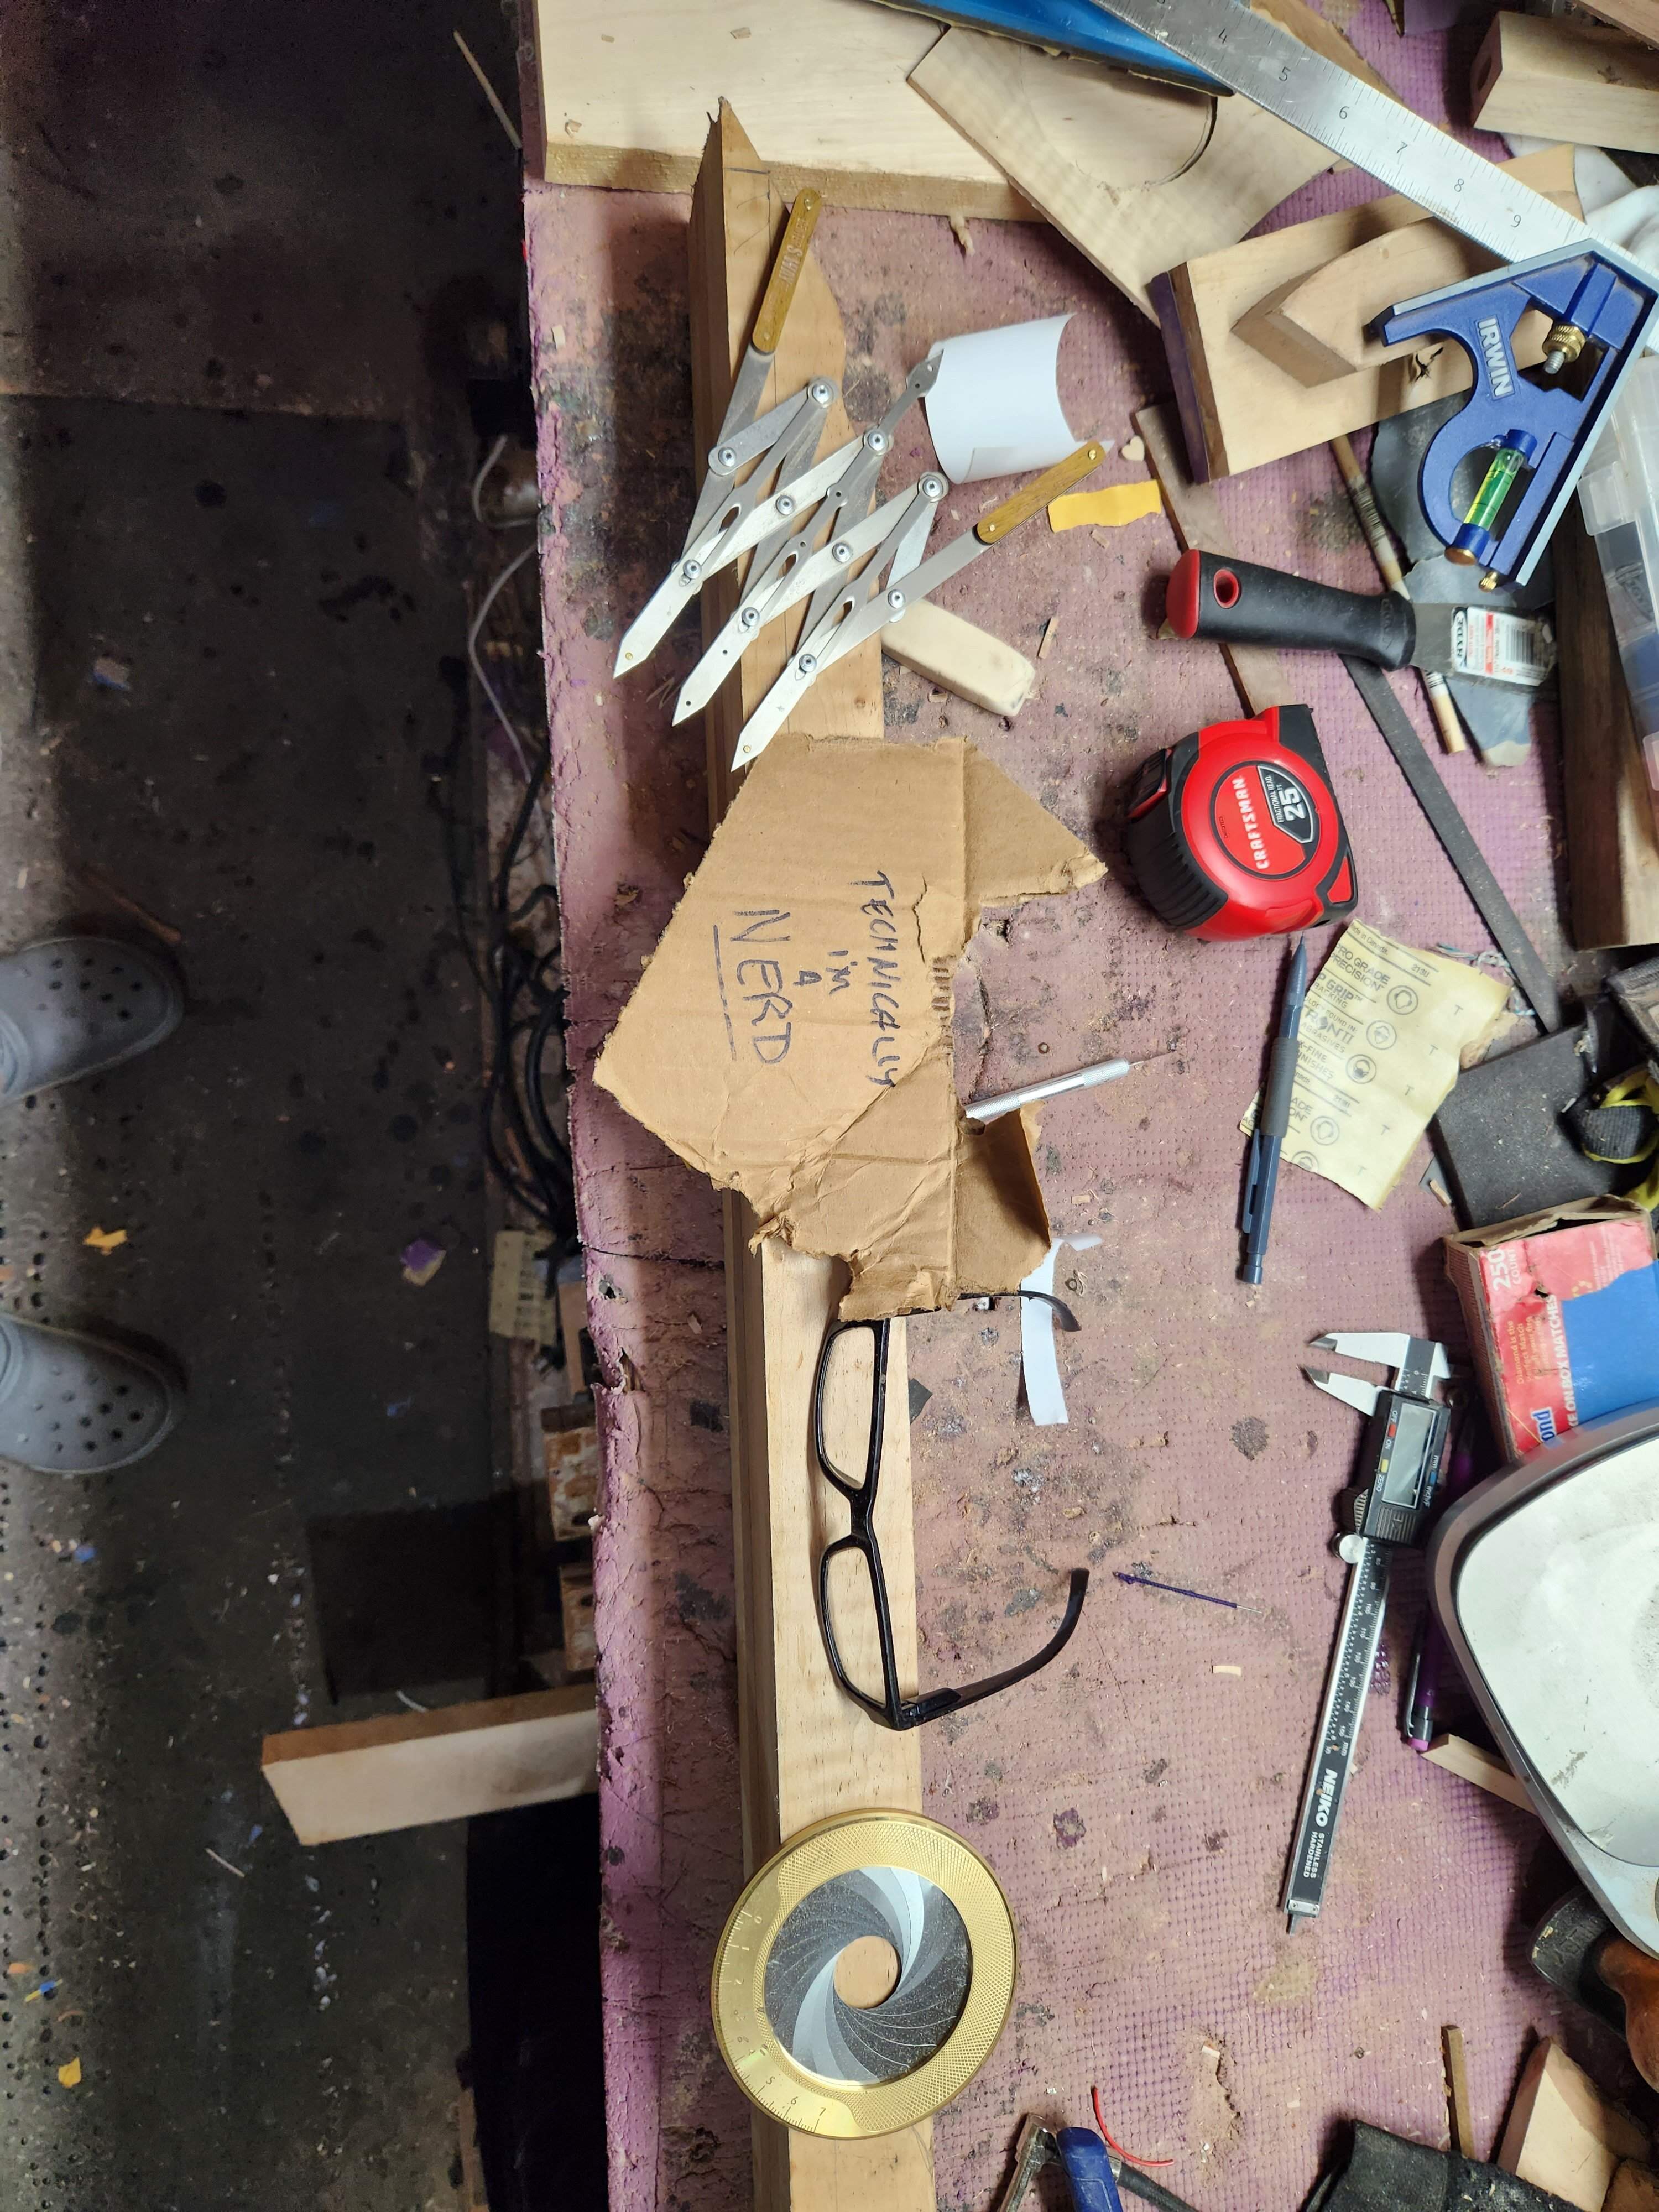
I'm using an old neck blank that I had from another build (I don't remember which one, I'll have to look through the basses I have here and old threads to see if I can figure it out). I haven't pulled any wood other than this neck blank, so my "pile" is small. I'm going to consider this a scratch build, I'm up to discussions if someone disagrees (crocs for impact).
20230105_080031.jpg


The rest of the details I do know at this point: five string, fanned frets, headless using Nova headless system (already ordered).
 
I ran the truss rod this morning.
20230106_081743.jpg

It looks like I didn't accommodate for the little jog down in the length, I'll fill in the extra spot on the end there. I skimmed off the intersections between the sections with a chisel and the truss rod slid in perfectly. So much cleaner than when I do the truss rod on the router table and manually do the adjuster end.
20230106_083152.jpg

Now I could/should make this a bolt on, but I really like through necks better. This blank wasn't long enough for a neck through. What I'm about to show is a bit, uh, suspect, I would never do this on a commission (well maybe if it works here), but this is my bass, I'm going to test out that "glue is stronger than wood" thing. Based on a neck I had to tear apart a few months ago, I can unequivocally say that glue is stronger than wood, but this will be a good test. I'm going to take a piece of the neck blank I cut this from and glue it onto the back end of the neck blank to make a through neck blank. I would also say that by the time you cut out the pickups, etc there's not much left of a neck blank inside the body anyway. I may put a piece of contrasting wood in between the two pieces.

I hesitate posting this given how messy my shop is right now, I need to take a minute and clean up, yeesh.
20230106_084227.jpg

Before I get that glued up I'm going to cut the taper into the top piece.
 
Now I could/should make this a bolt on, but I really like through necks better. This blank wasn't long enough for a neck through. What I'm about to show is a bit, uh, suspect, I would never do this on a commission (well maybe if it works here), but this is my bass, I'm going to test out that "glue is stronger than wood" thing. Based on a neck I had to tear apart a few months ago, I can unequivocally say that glue is stronger than wood, but this will be a good test. I'm going to take a piece of the neck blank I cut this from and glue it onto the back end of the neck blank to make a through neck blank. I would also say that by the time you cut out the pickups, etc there's not much left of a neck blank inside the body anyway. I may put a piece of contrasting wood in between the two pieces.
If I understand what you're proposing, the result will be pretty similar to a Les Paul-style glued neck joint, just achieved through a different order of operations.
 
I would also say that by the time you cut out the pickups, etc there's not much left of a neck blank inside the body anyway
If you keep the overlap as you laid it out in the picture, then that should be more than strong enough. Although there's a certain elegance to neck through-design, it is not really stronger than a set neck with the tenon extending to the neck pickup cavity. From that point forward it has to be supported by the body anyways.
 
  • Like
Reactions: Jisch
Not much time (constant theme in my life right now), but I got the neck pieces glued together. I considered putting some kind of contrasting wood in between the two, but after looking at it decided I'd just glue the pieces together (and I still haven't cleaned the shop!).

I found a nice piece of spalted maple in my attic, I cut a piece off and bookmatched it. I need to draw out how this spiral thing will look and figure out if this is going to work.
20230109_084514.jpg

I also found this piece of something, I got it from a guy who used to work at Ovation guitars. It's very heavy and looks a little like sapele, but it's really red (redder than the pic looks), not the typical brownish-pink, it's got some nice chatoyance. I think this would look cool as the spiral inlay. I'll try the layout then figure out if I will use this as the inlay material.
20230109_084523.jpg
 
I decided that the spalted maple was too busy for the swirl inlays, so I'm going with this somewhat more boring piece of lightly quilted maple. I think that other wood is bubinga, which will be used for the swirl inlays. I may make the swirl smaller, not sure. The left side here is oxidized, it will lighten up after sanding.
20230116_090633.jpg

I'm working on the fretboard CAD now, but will probably wait to run it until I get the top done and have a better understanding of the wood colors involved.
 
I learned something about my CNC - in using it as a printer (above), I was kind of surprised how limited in Y axis it was, due to the way the ways are set up it hits the end of the travel with about 4" of space on the back side of the waste board. The outward limit, however, it about 3" over the front of the waste board. So it has plenty of travel, it's just centered differently than I realized.

I worked on the design more, after thinking it through the rib thing just isn't going to work out. I would have to leave the neck blank solid underneath the swirl and it wouldn't be what I was looking for. I'm back to doing the swirl as an inlay. I adjusted the swirl design to better fit the instrument. I will do a new version now that I have a better idea of how to squish the swirl to make it fit - I can see some areas that need adjustment.

While this will be relatively easy for cutting out the inlay cavities on the top, I am not sure how I will cut out each individual inlay from the bubinga (or whatever wood I choose). The easy way to do it would be to make a second top and just cut run the CNC to cut the inlays, I really want each inlay to be made out of a solid piece of wood though. It would be tedious, but I could just cut each one individually (i.e. stop the machine in between), I'd have to carefully measure where each piece of wood would be placed. I could just fill the cavities with epoxy, I may end up doing that.

Also if it wasn't clear, the shape here is approximate, I finalize once I get the top done.
Screen Shot 2023-01-17 at 8.36.30 AM.png


I planed down the top, I need the top to be just about a half inch thick, this is closer to .38, so I'll have to add some more material to the back of it.
20230117_082748.jpg
 
This will likely just add confusion to the whole thing, but this is the "master" CAD drawing so far. Now that I look at it, I should draw out the whole instrument (neck included), but I think this will get me to the next step of cutting out the holes for the inlays. I mostly wanted to make sure the center of the spiral landed on a pickup so I can use a bigger bit. Per a friend's suggestion I'll likely just cut the outline with the CNC then use a router bit to clean out the center of each cut out.
Screen Shot 2023-01-18 at 8.22.30 AM.png

Then I took the spiral cutouts and started aligning them to save some material. As I started to do this I realized that I need to pay attention to grain direction. I need to think about that for a minute before actioning this.
Screen Shot 2023-01-18 at 8.22.10 AM.png



