• TalkBass has been independent since 1998. Add your voice.
    Create a free account to reply to discussions, view embedded media, and browse with fewer display ads.
    Join freeLog in
    Want zero display ads or expanded classifieds tools? Compare plans.

Winter Build Off 2018 - 54 P bass inspired 5 String

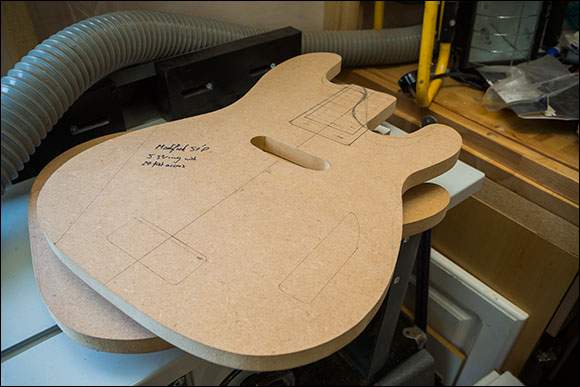
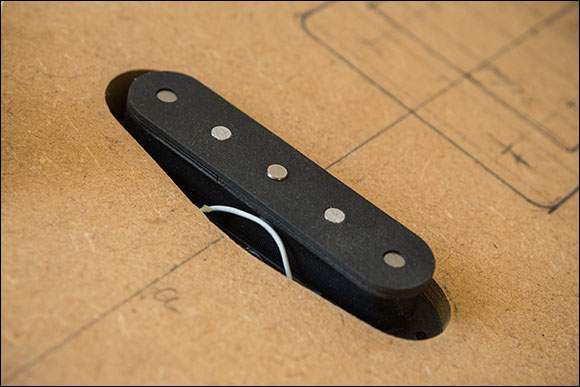
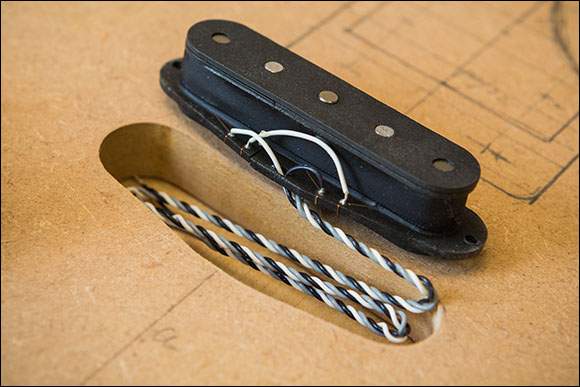
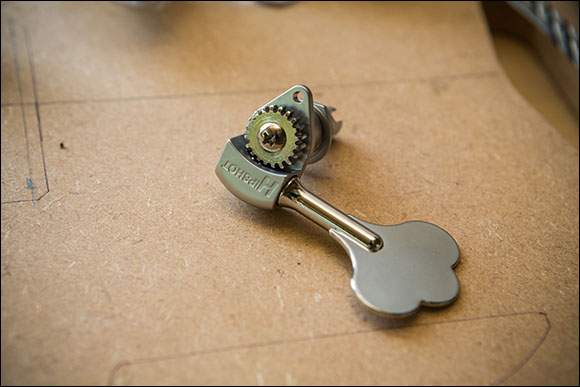
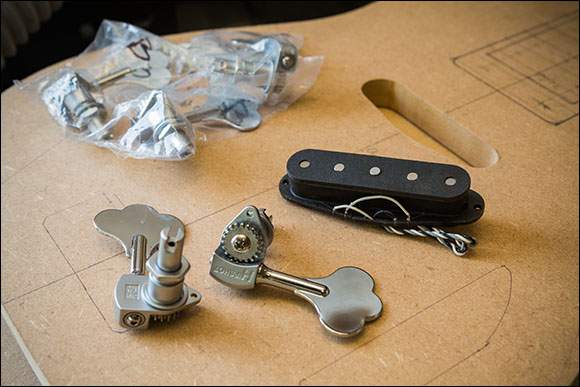
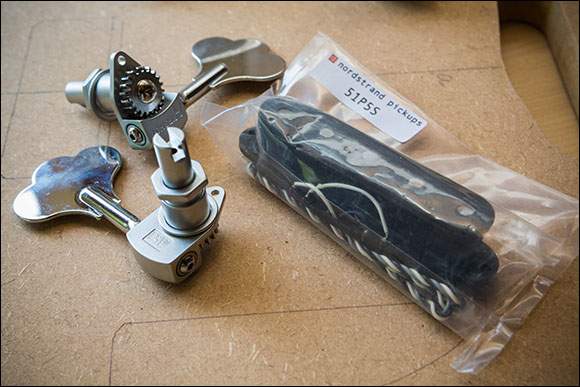
I also routed out the pickup hole in the MDF body template. The new pickup looks very retro and old fashioned. I think this is the only bass I've made that's got pole pieces. The tuners are Hipshot ultralite Clovers in Chrome...it kind of needs to be for this bass.
_W5A2387.jpg

_W5A2373.jpg

_W5A2380.jpg

_W5A2381.jpg

_W5A2382.jpg

_W5A2374.jpg
 
Today I glued up the neck laminates. It's a gooey sticky job and the glue goes every where! I cut up a few plastic carrier bags to catch the copious amounts of excess glue and protect my work surfaces.
I use a little panel pin nail at each end to dig in and stop the laminates from moving under the glue when clamped. This nail is hammered in about 3mm and then chopped off with about the same protuding. When I clamp up the laminates during the dry run, the nail makes a mark and I re-align this when I've glued to two surfaces. It's a little slower to align but the laminates don't move at all and it makes it far easier to glue a wide multi laminate neck all at once. The G clamps have a rotational pressure, so they try to turn each laminate. The nails stop all that and it makes the clamping a lot easier.

With the gluing...too much is just enough and it's good too see it oozing out all over the place. It's also good to see air bubbles forming in the ooze too. Strips of thin MDF were used to protect the neck lumber from clamp marks / dents.

_W5A2395.jpg

_W5A2397.jpg

_W5A2399.jpg

_W5A2400.jpg

_W5A2402.jpg
 
Three days? What kind of glue did you use?

I'm using Titebond. I've always given my neck laminates 3 days to dry out. It's a large glued surface and the moisture needs to even out before I start to thickness the blank. The drips and runs are still soft and yellow. Once then have all cured and gone clear then I know that the glue inside the laminates is certainly cured too.
Looking at the blank this morning, I probably could machine it later this afternoon. But an extra day wont hurt it.
 
Last edited:
Today I glued the 2 piece body blank together. Lots of Titebond and a pair of sash clamps. Again, I used a pair of panel pins to stop slippage. I needed to put a bit of weight on too. So it was a good time to go through some of my body laminates and tops stock. This is about 20% of my current stock...I sort of keep seeing nice pieces on ebay and picking them up quicker than I can make basses out of them.

_W5A2425.jpg

_W5A2431.jpg

_W5A2427.jpg
 
Clamps off and time to remove the excess glue. I did this with a random orbital sander loaded with 60 grit.
Then I started the slow and sweaty exercise of levelling and flattening the joined blank. The two pieces were kiln dried and had been passed through a good thicknesser, far better than mine. Even with a good thicknesser, there are little ripples across it and a bit of snipe at each end. Also, thicknessers don't level and there's a slight curve to the top that needs flattening.
If I had the space and money I would get a posh level sander...but I don't so I have to do this the old / hard way. Hand planing.
I started with a no 5 plane but it just dug in and caused tear outs. It didn't seem to matter how shallow I put the blade. Scraping seemed to work, so I tried a low angle block plane and this seemed to work the best as long as I was gentle and used a steep drift angle to my cut. A few hours later, a lot of shavings and the top was done. It's the first time I've used Alder, it's not an easy wood to come by here in the UK. Weight wise it seems half way between maple and Ash. In fact it's my best description of if. Grain, looks and how it machines and works is half way between maple and ash.

_W5A2446.jpg

_W5A2436.jpg

_W5A2435.jpg

_W5A2434.jpg
 

Attachments

  • _W5A2450.jpg
    _W5A2450.jpg
    38.1 KB · Views: 25
  • _W5A2433.jpg
    _W5A2433.jpg
    32.4 KB · Views: 22
very interesting design. sort of music man meets 54 p. love it.
The headstock is certainly influenced by Leo's creations and in his ball park. Music man do a 3+1 for their 4 string offering but their 5's are 4+1. G&L were the first Leo designed 3+2 headstock, but I also wanted to retain the tele / 54p headstock shape. So it's an homage to Fender, MusicMan and G&L...whilst trying to keep it in the 54P ball park.
 
Then I used 2 different follower router bits in my router table so I could make the required depth of cut. I did 4 passes of depth and only had one (quite large) tear out. Easily fixed and something for me to think about over the weekend. Then I split the template from the body...no easy task. Then I rounded the edges over with a 1/4" radius bit (not the final 1/2 radius I like to use) and a finished my evening off with a bit of 60 grit sanding.
_W5A2617.jpg

_W5A2621.jpg

_W5A2623.jpg

_W5A2625.jpg
 
Looks like that tear out is kinda sorta roughly where an output jack might live with a bit of wrangling?....
I could do, this body is going to be a painted anyhow, which is why I chose alder. So I can repair it fairly easily. I could be cheeky and fill it with car body filler...but I'd still know even if it wasn't seen. So I'll route it out, chisel it back and fill it with a left over piece from the blank. Then I just need to dress it back into shape again.
I've been in a rush all day and I could kick myself for trying to do too much today. I should have taken the task a lot slower and with less rush. I tend to find that my successes are in the slow space and not in the fast space.