• TalkBass has been independent since 1998. Add your voice.
    Create a free account to reply to discussions, view embedded media, and browse with fewer display ads.
    Join freeLog in
    Want zero display ads or expanded classifieds tools? Compare plans.

Winter Build Off 2022 - The Crook

I have thought about building a guitar without metal fasteners as well; it is hard to conceive a neck joint that won't be effected by seasonal wood movement.
I've been working on a tapered sliding dovetailed mortise and tenon joint that can be done with a simple router jig, because you have nailed problem numero-uno. I'm hopeful that the tapering of the dovetail tenon will allow for keeping it tight throughout seasonal variations, and only have some extra intonation setting as a consequence.

It's called a "neck-thru". ;) :smug:
Yes yes yes, those are well and good, but I'm referring to a glueless tapered sliding double dovetailed mortise and tenon joint. :bookworm: Why do something straightforward when you can needlessly overcomplicate something for arguably no gains? :cigar:
 
I've been working on a tapered sliding dovetailed mortise and tenon joint that can be done with a simple router jig, because you have nailed problem numero-uno. I'm hopeful that the tapering of the dovetail tenon will allow for keeping it tight throughout seasonal variations, and only have some extra intonation setting as a consequence.

Yes yes yes, those are well and good, but I'm referring to a glueless tapered sliding double dovetailed mortise and tenon joint. :bookworm: Why do something straightforward when you can needlessly overcomplicate something for arguably no gains? :cigar:

So, I guess I'm thinking along the same lines. My thought, FWIW, was to have the tenon long enough to mount the bridge, but have the string anchors on the body, thus the string tension pulls the neck tenon into the tapered dove-tail. Not sure if this would work, but theoretically it would keep scale length constant, so no adjusting the intonation.

Initially I looked at the shamisen for inspiration, but they appear to have a neck made of interlocking parts. Not sure that would work with a bass.
 
  • Like
Reactions: Beej
So,are we talking just no metal fasteners, or no glue anywhere either?
Or is this strictly the neck/body join were talking about?
I like the clean look of no fasteners sometimes, though I also like great globs of chrome all over the place sometimes too, so it's not a one size fits all approach. I've been able to create workarounds for almost every visible fastener on a bass and will do something soon that maximizes this approach. I still want to have a removable neck so as an engineering challenge I'm trying to come up with a way to make a stable enough neck joint that will hold itself in place under string tension, but can be opened up again. There's no real gain to this compared to a neck through or set neck and in fact probably losses, but it's been fun.

I've got a method to hide headless hardware inside the body with only tuning knobs visible and termination points for the strings inside the headstock with hidden locking screws, so the last unavoidably visible bits will be in the strap pins and any hardware attaching the neck. No point to any of this, which is clear evidence of obsessiveness. :D
 
I like the clean look of no fasteners sometimes, though I also like great globs of chrome all over the place sometimes too, so it's not a one size fits all approach. I've been able to create workarounds for almost every visible fastener on a bass and will do something soon that maximizes this approach. I still want to have a removable neck so as an engineering challenge I'm trying to come up with a way to make a stable enough neck joint that will hold itself in place under string tension, but can be opened up again. There's no real gain to this compared to a neck through or set neck and in fact probably losses, but it's been fun.

I've got a method to hide headless hardware inside the body with only tuning knobs visible and termination points for the strings inside the headstock with hidden locking screws, so the last unavoidably visible bits will be in the strap pins and any hardware attaching the neck. No point to any of this, which is clear evidence of obsessiveness. :D
As you probably know I've been doing a screw reduction on my six string. So far the only screws are for the bridge. The tuners have anti-rotation pins hidden so just the hex nut shows. The controls are side mounted with magnets as is the truss rod cover. I use recessed strap locks as well. I have ideas for screwless bridges but not for this one. This in neck through but I have an idea to mount a neck without screws for a future build.
 

Attachments

  • IMG_7186.JPG
    IMG_7186.JPG
    479.4 KB · Views: 57
  • IMG_7509.JPG
    IMG_7509.JPG
    730.2 KB · Views: 64
  • IMG_4687.JPG
    IMG_4687.JPG
    473.4 KB · Views: 64
As you probably know I've been doing a screw reduction on my six string. So far the only screws are for the bridge. The tuners have anti-rotation pins hidden so just the hex nut shows. The controls are side mounted with magnets as is the truss rod cover. I use recessed strap locks as well. I have ideas for screwless bridges but not for this one. This in neck through but I have an idea to mount a neck without screws for a future build.
'Zactly. :thumbsup:
 
I once built a resonator guitar kit that had screws running down through the fretboard, then the screw heads were hidden under dot inlays. That was just to keep the fingerboard stuck down flush with the top, but I suppose you could use the same idea to attach the neck.

You could also do something like the bolt-on necks on Taylor acoustic guitars, where the fasteners go in through the sound hole. For an electric instrument you might get them through the pickup cavity.
 
  • Like
Reactions: Reedt2000 and Beej
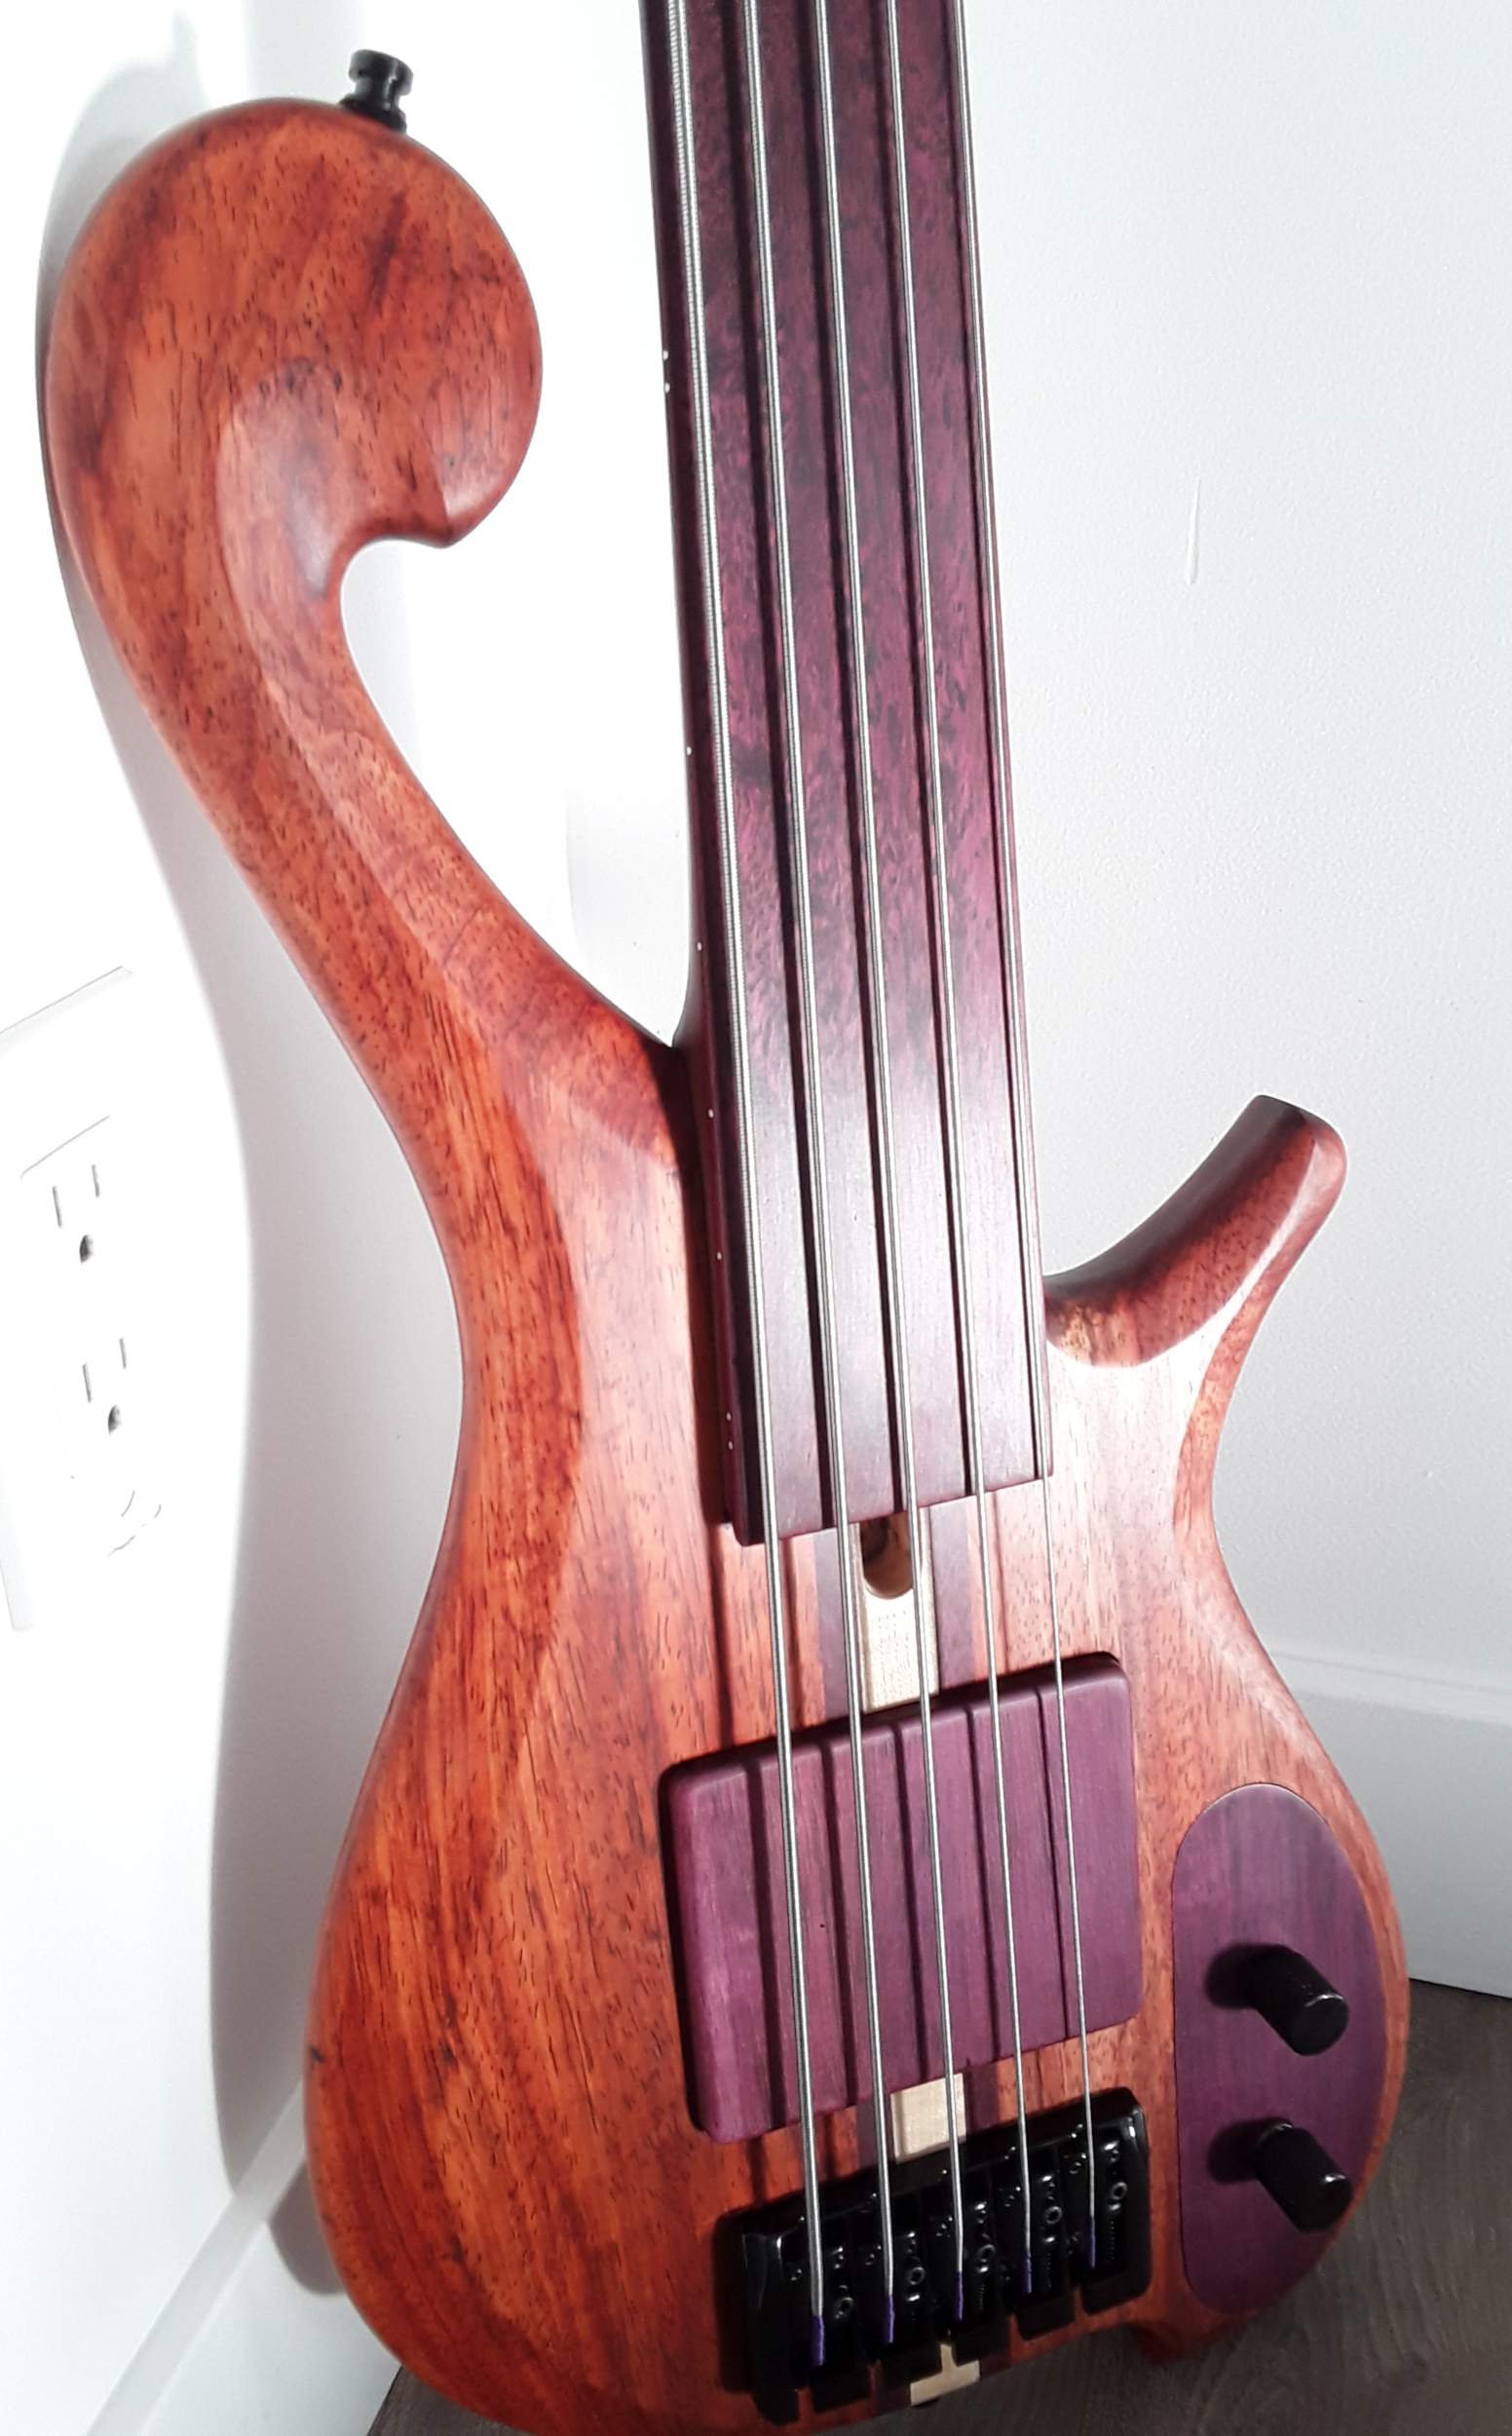
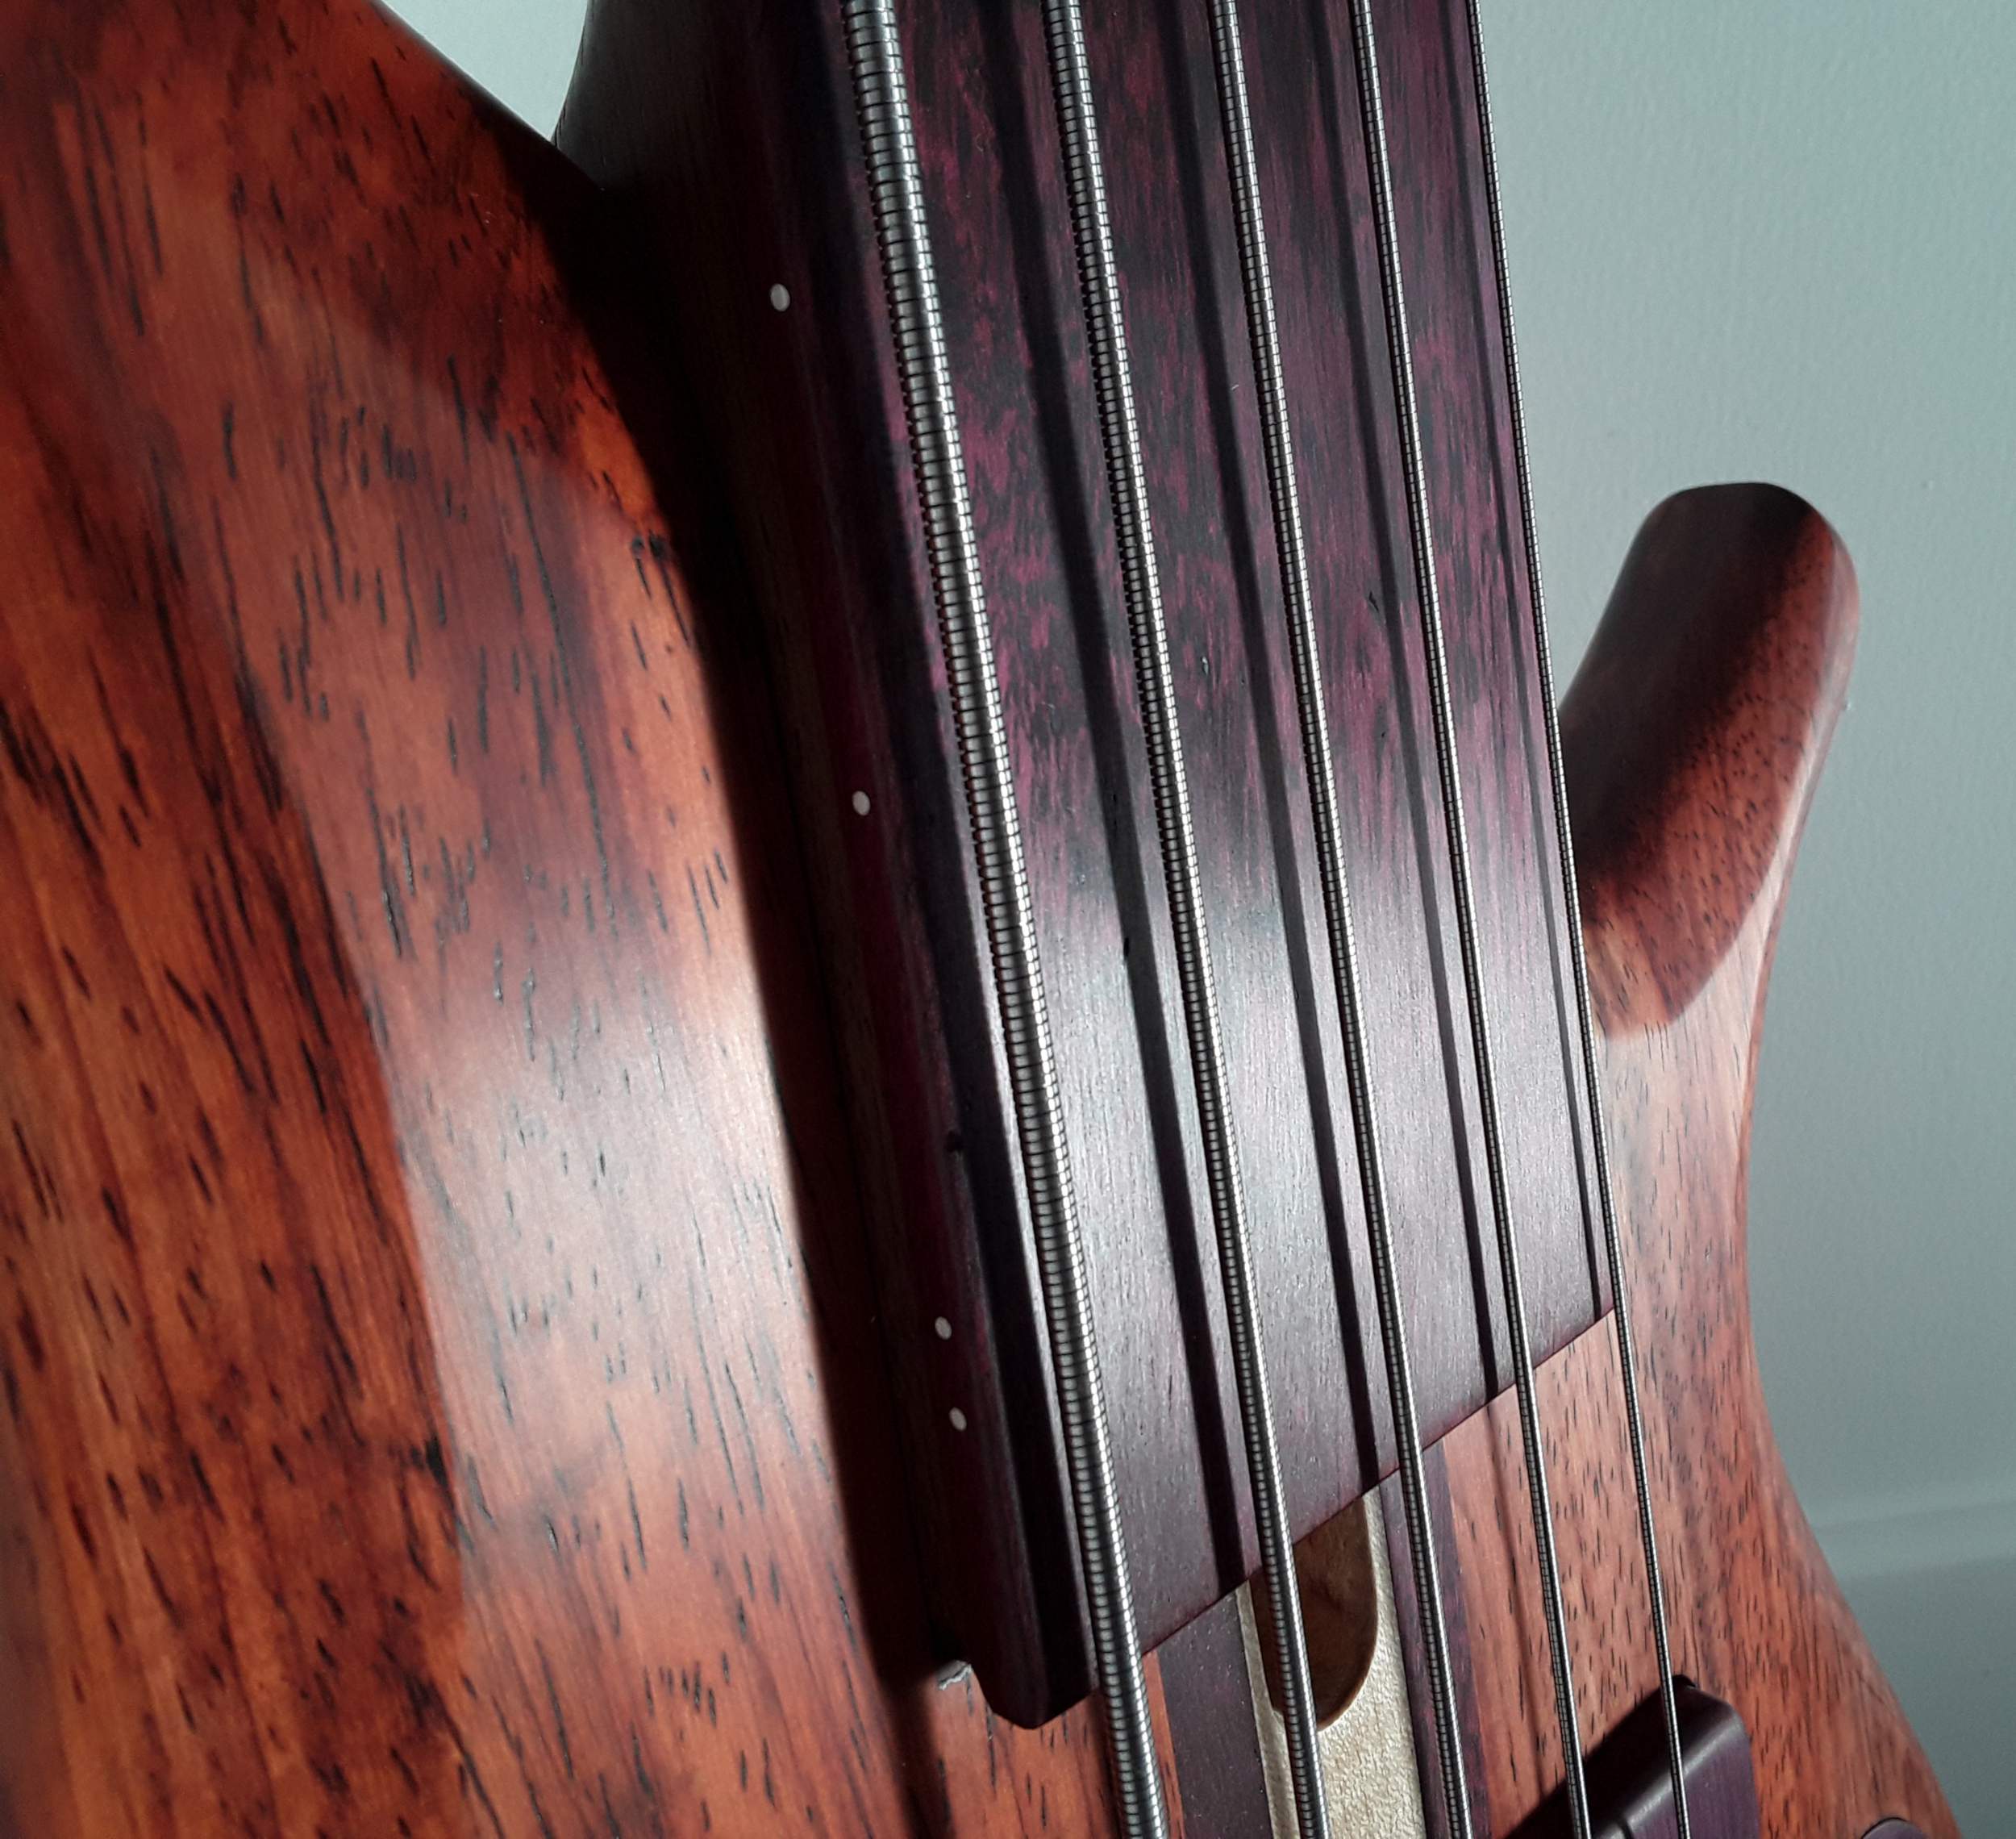
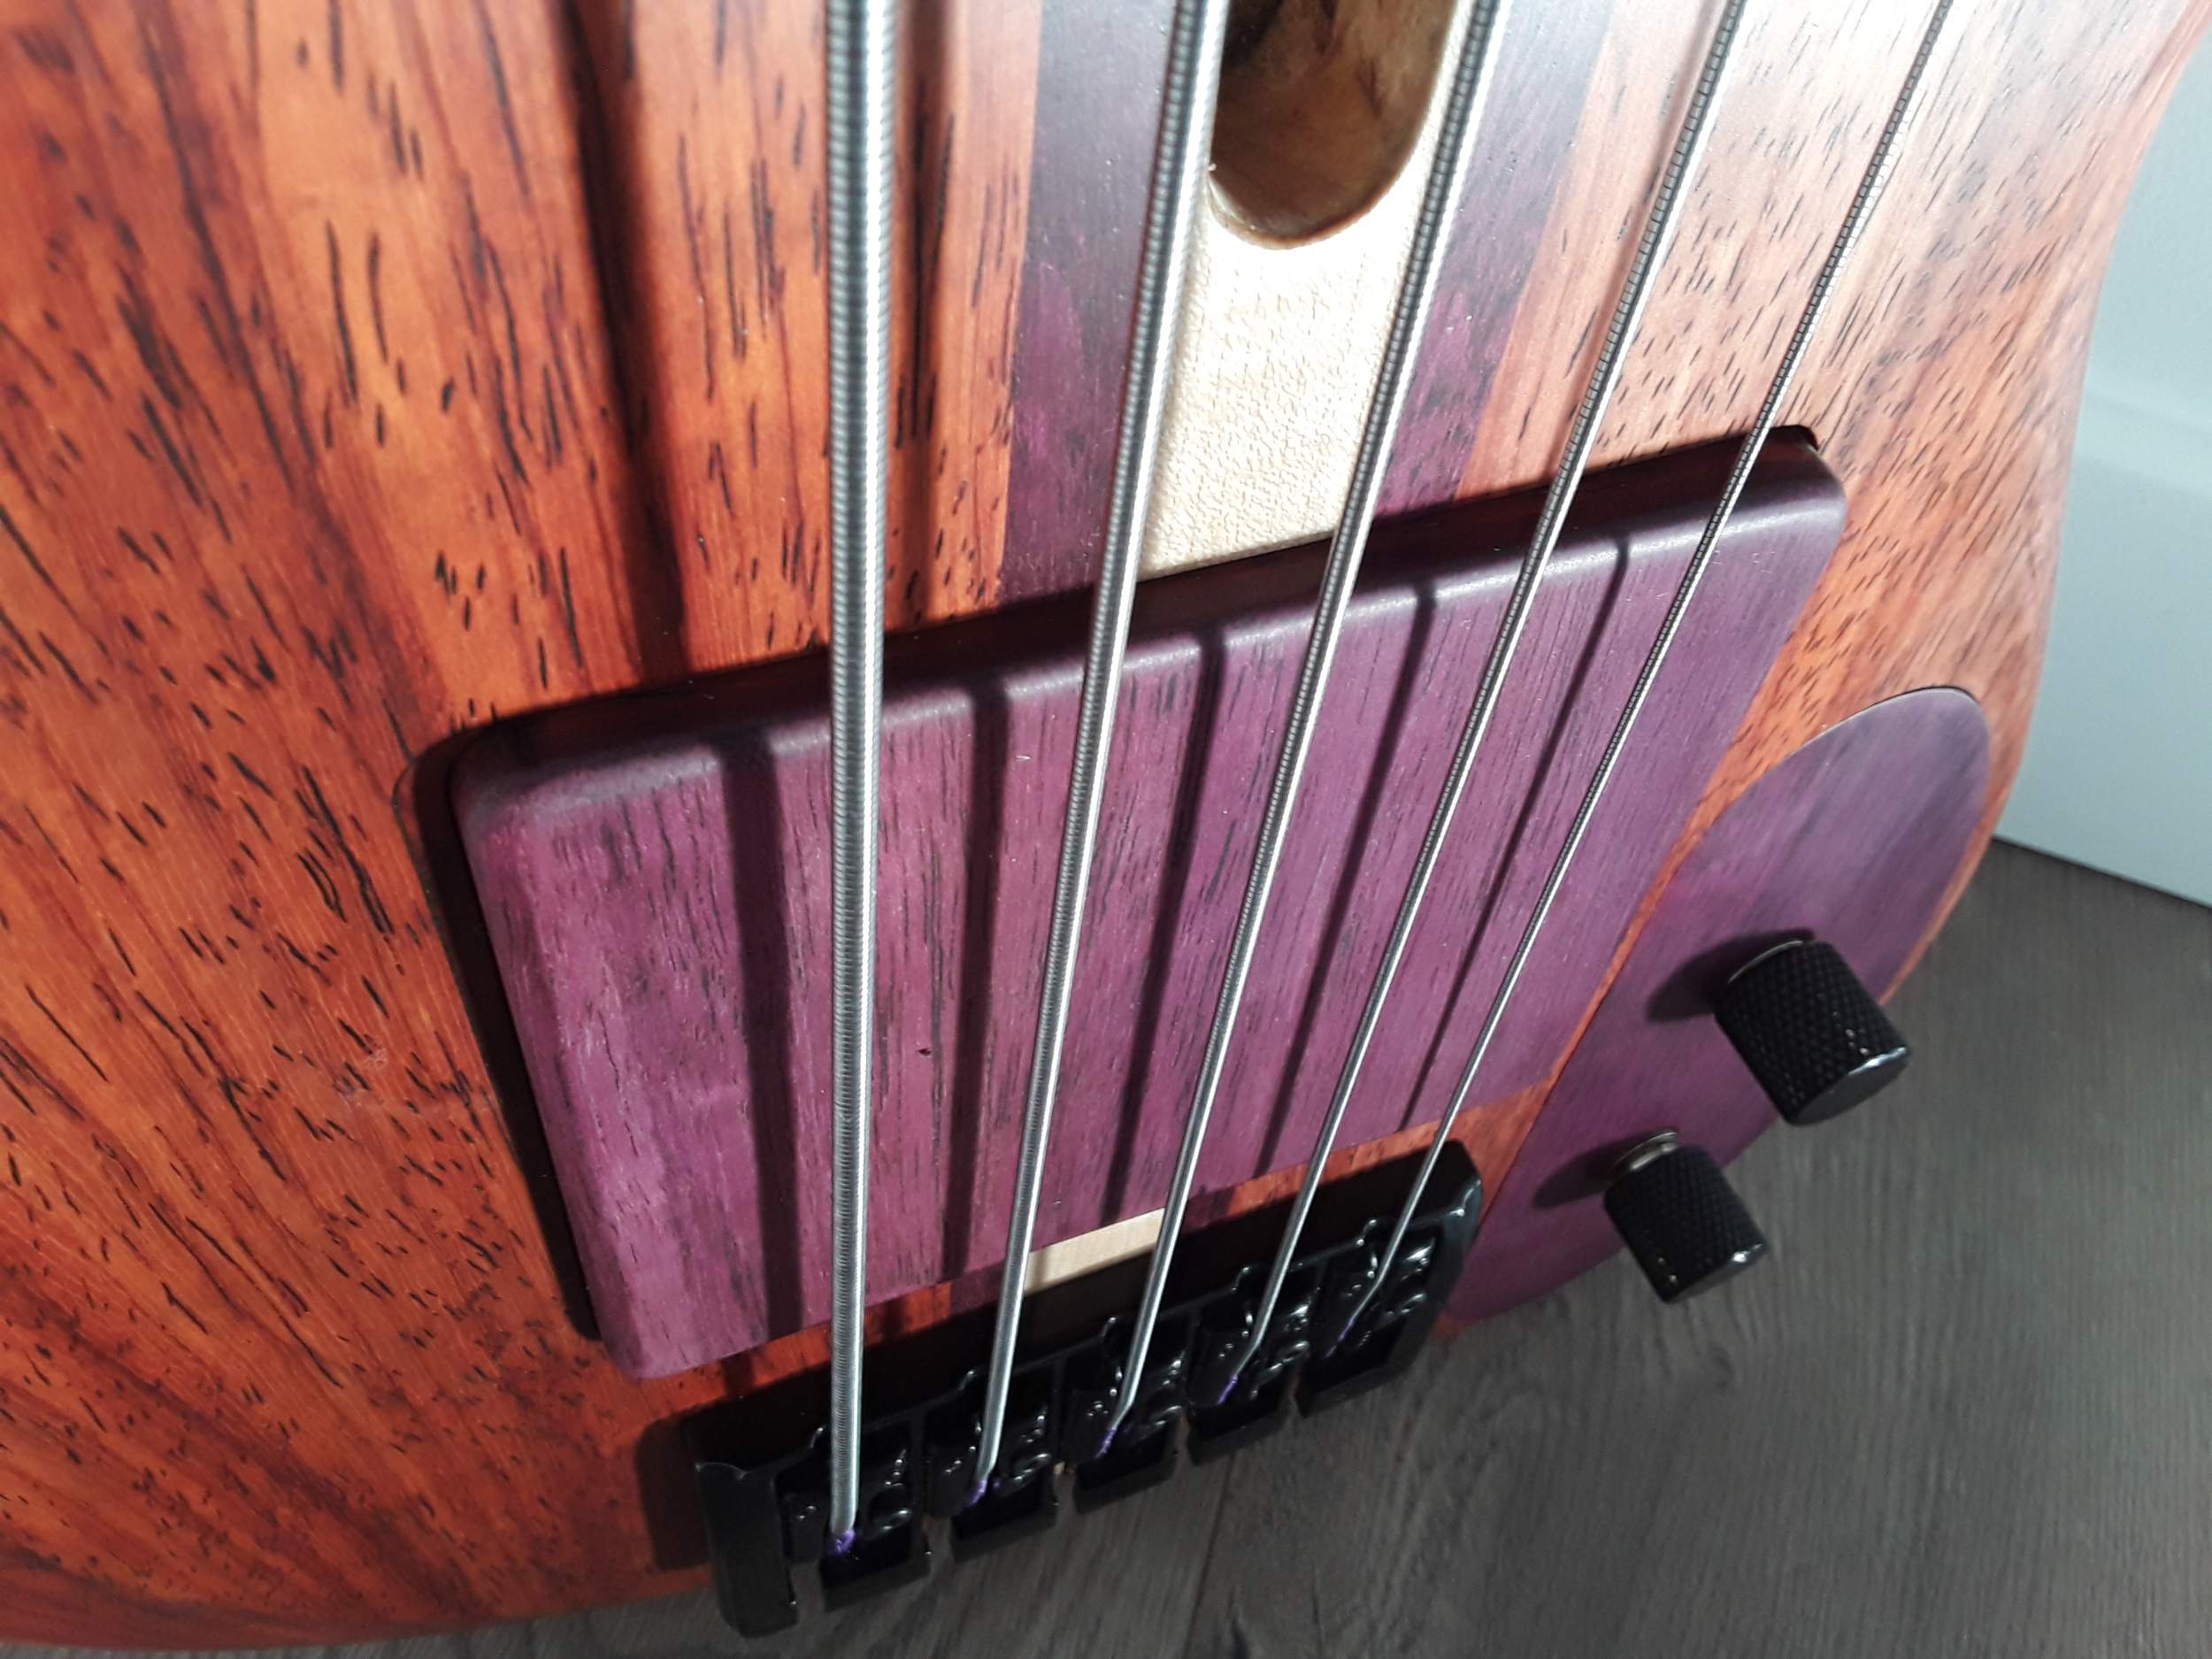
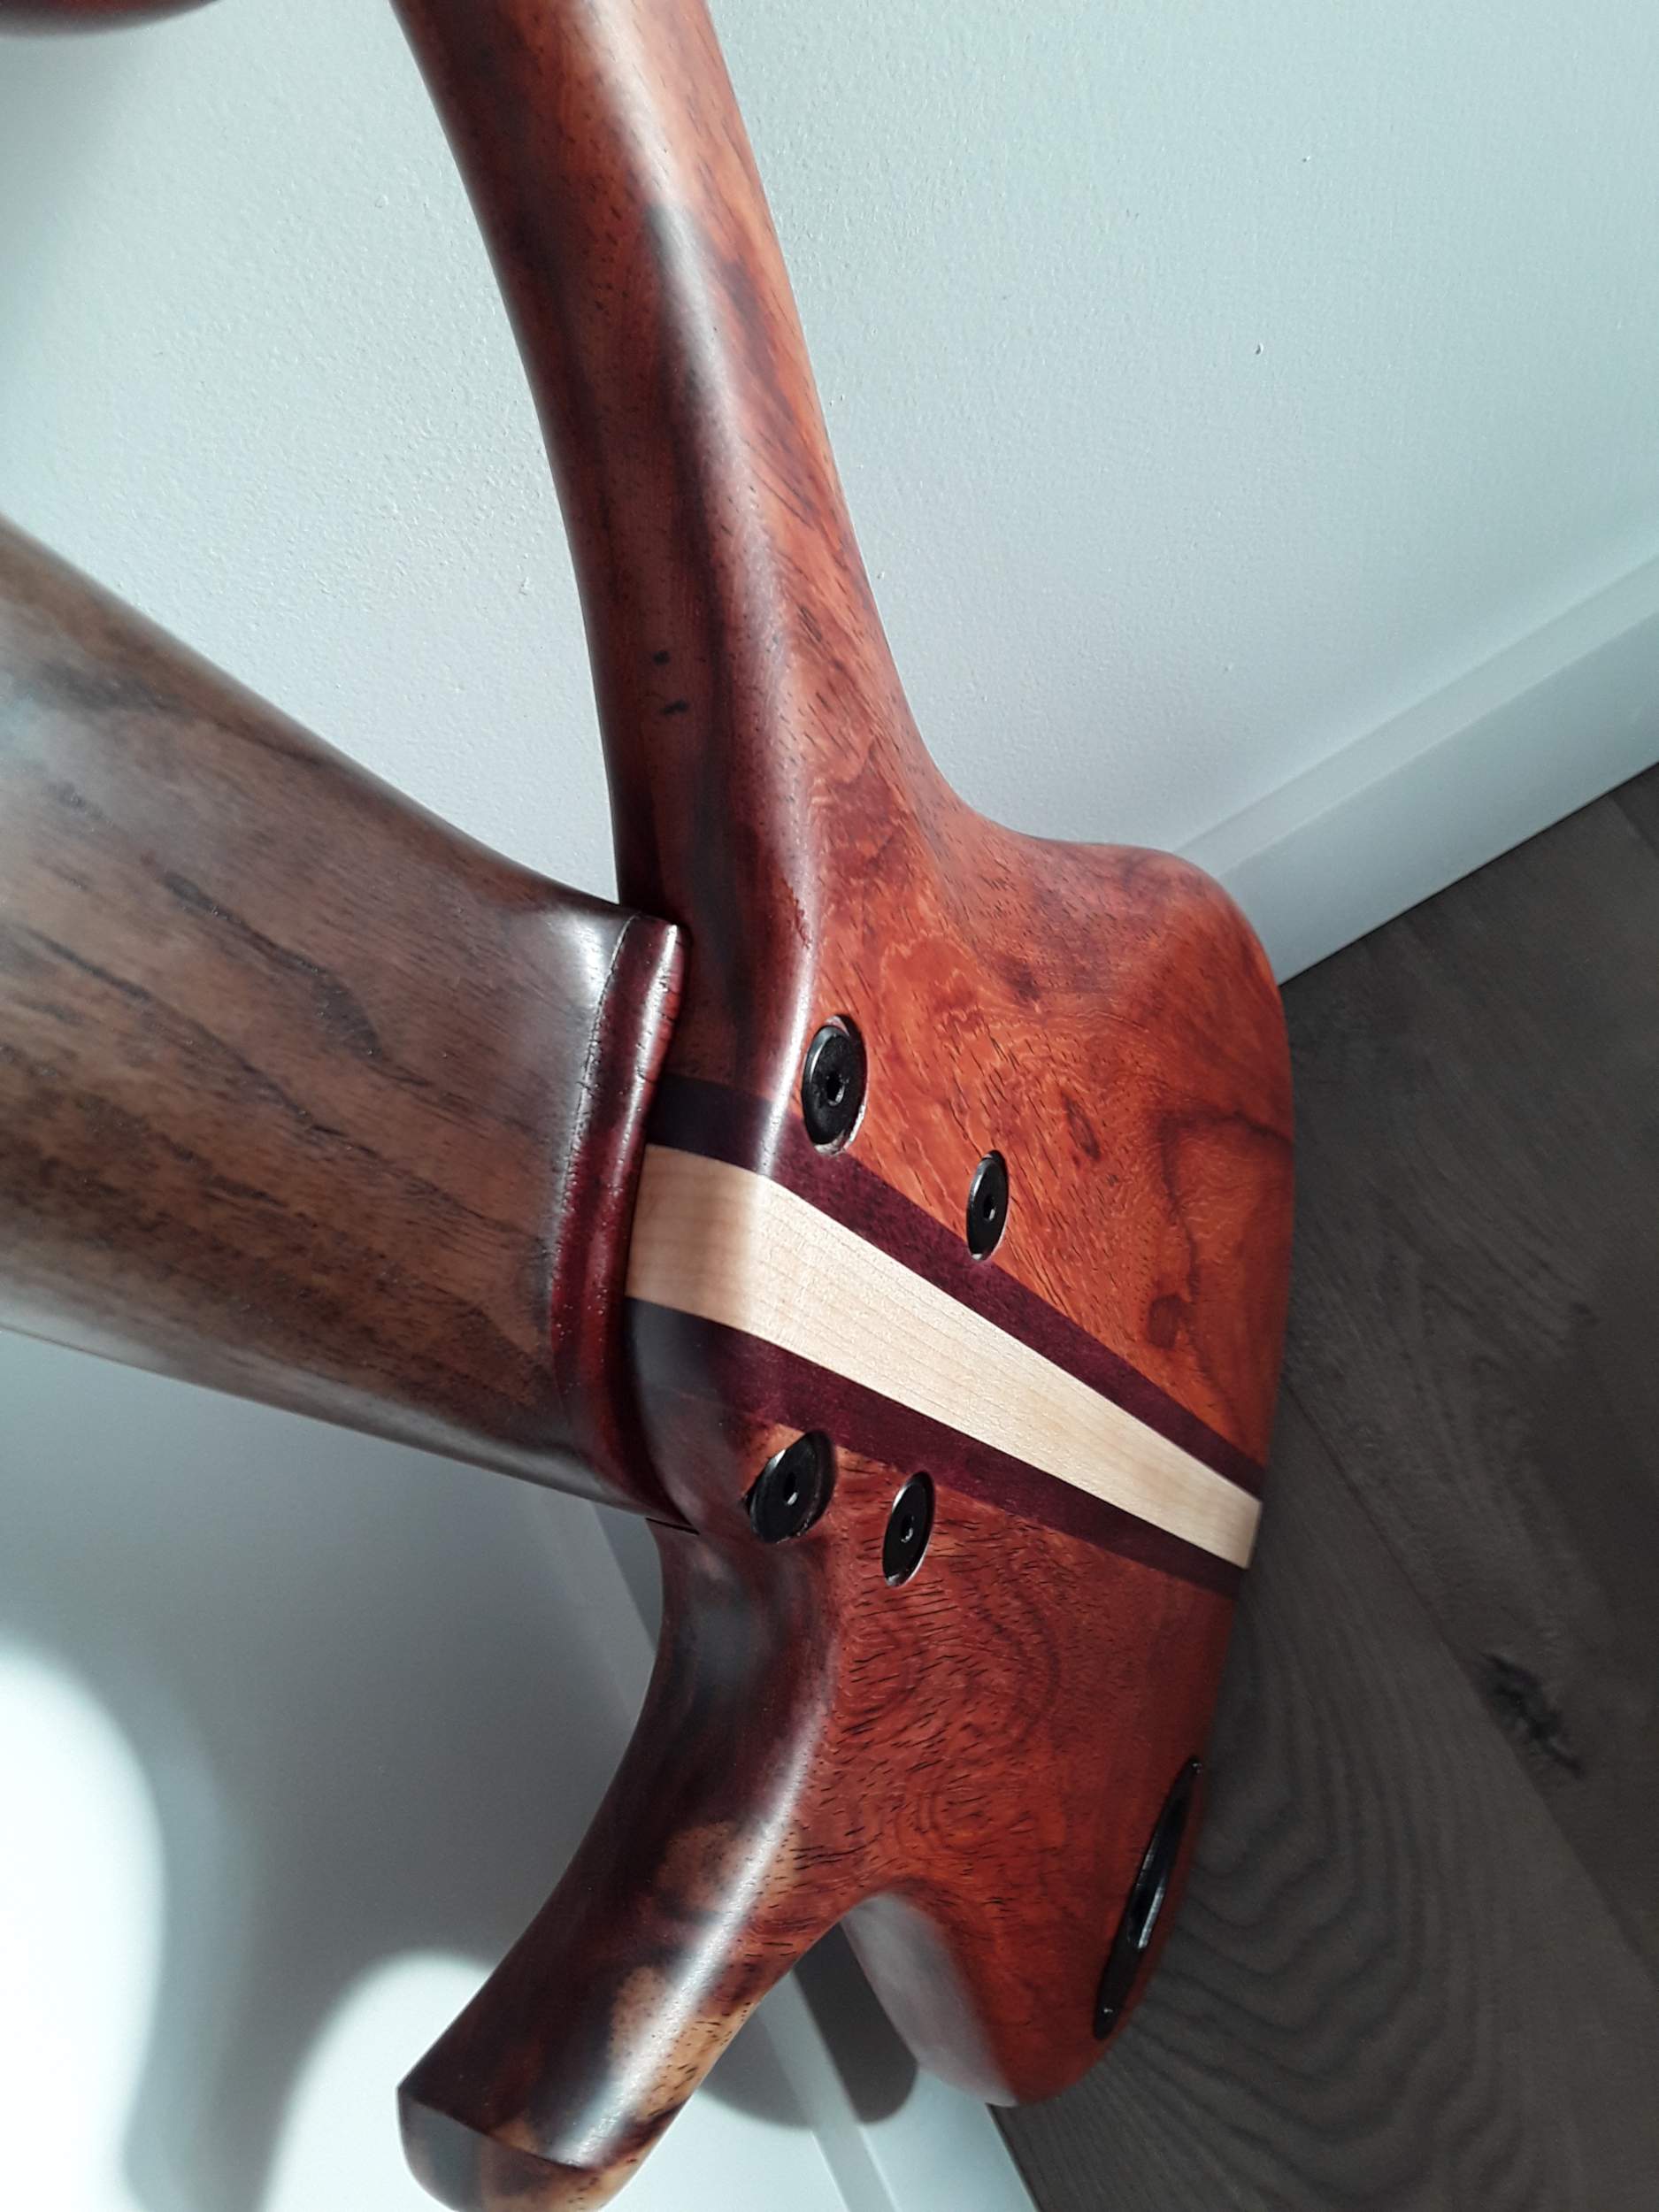
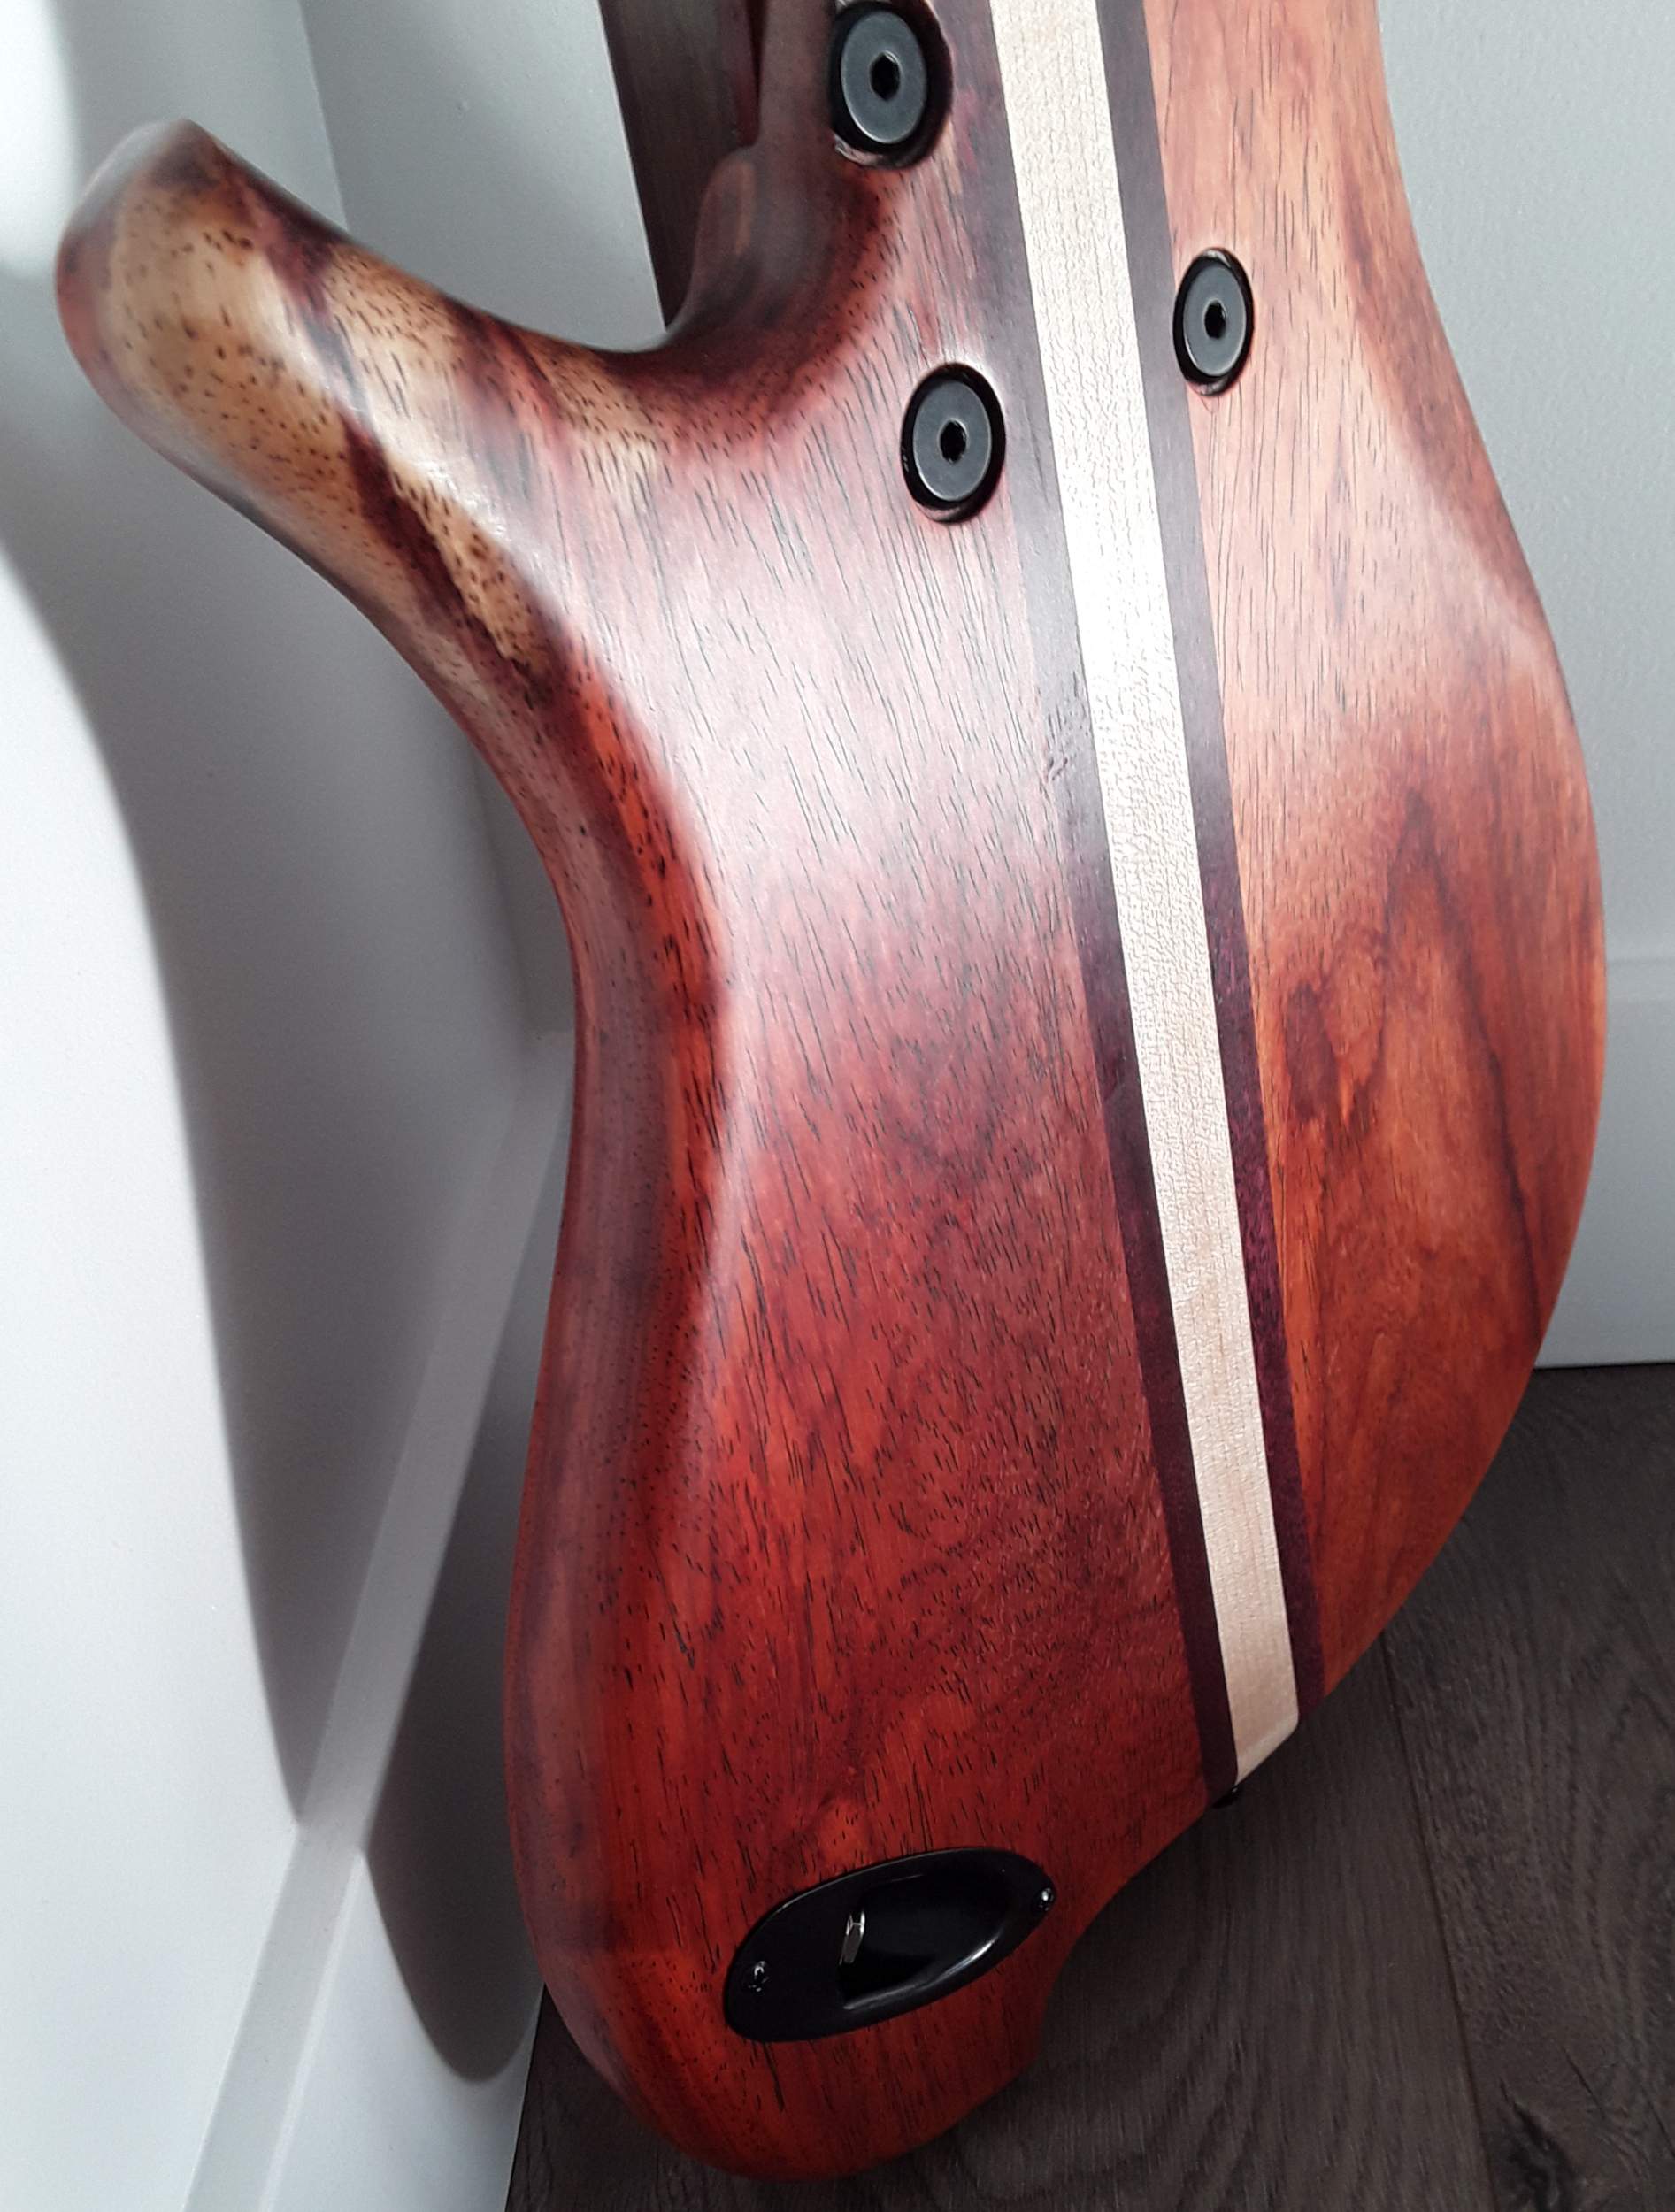
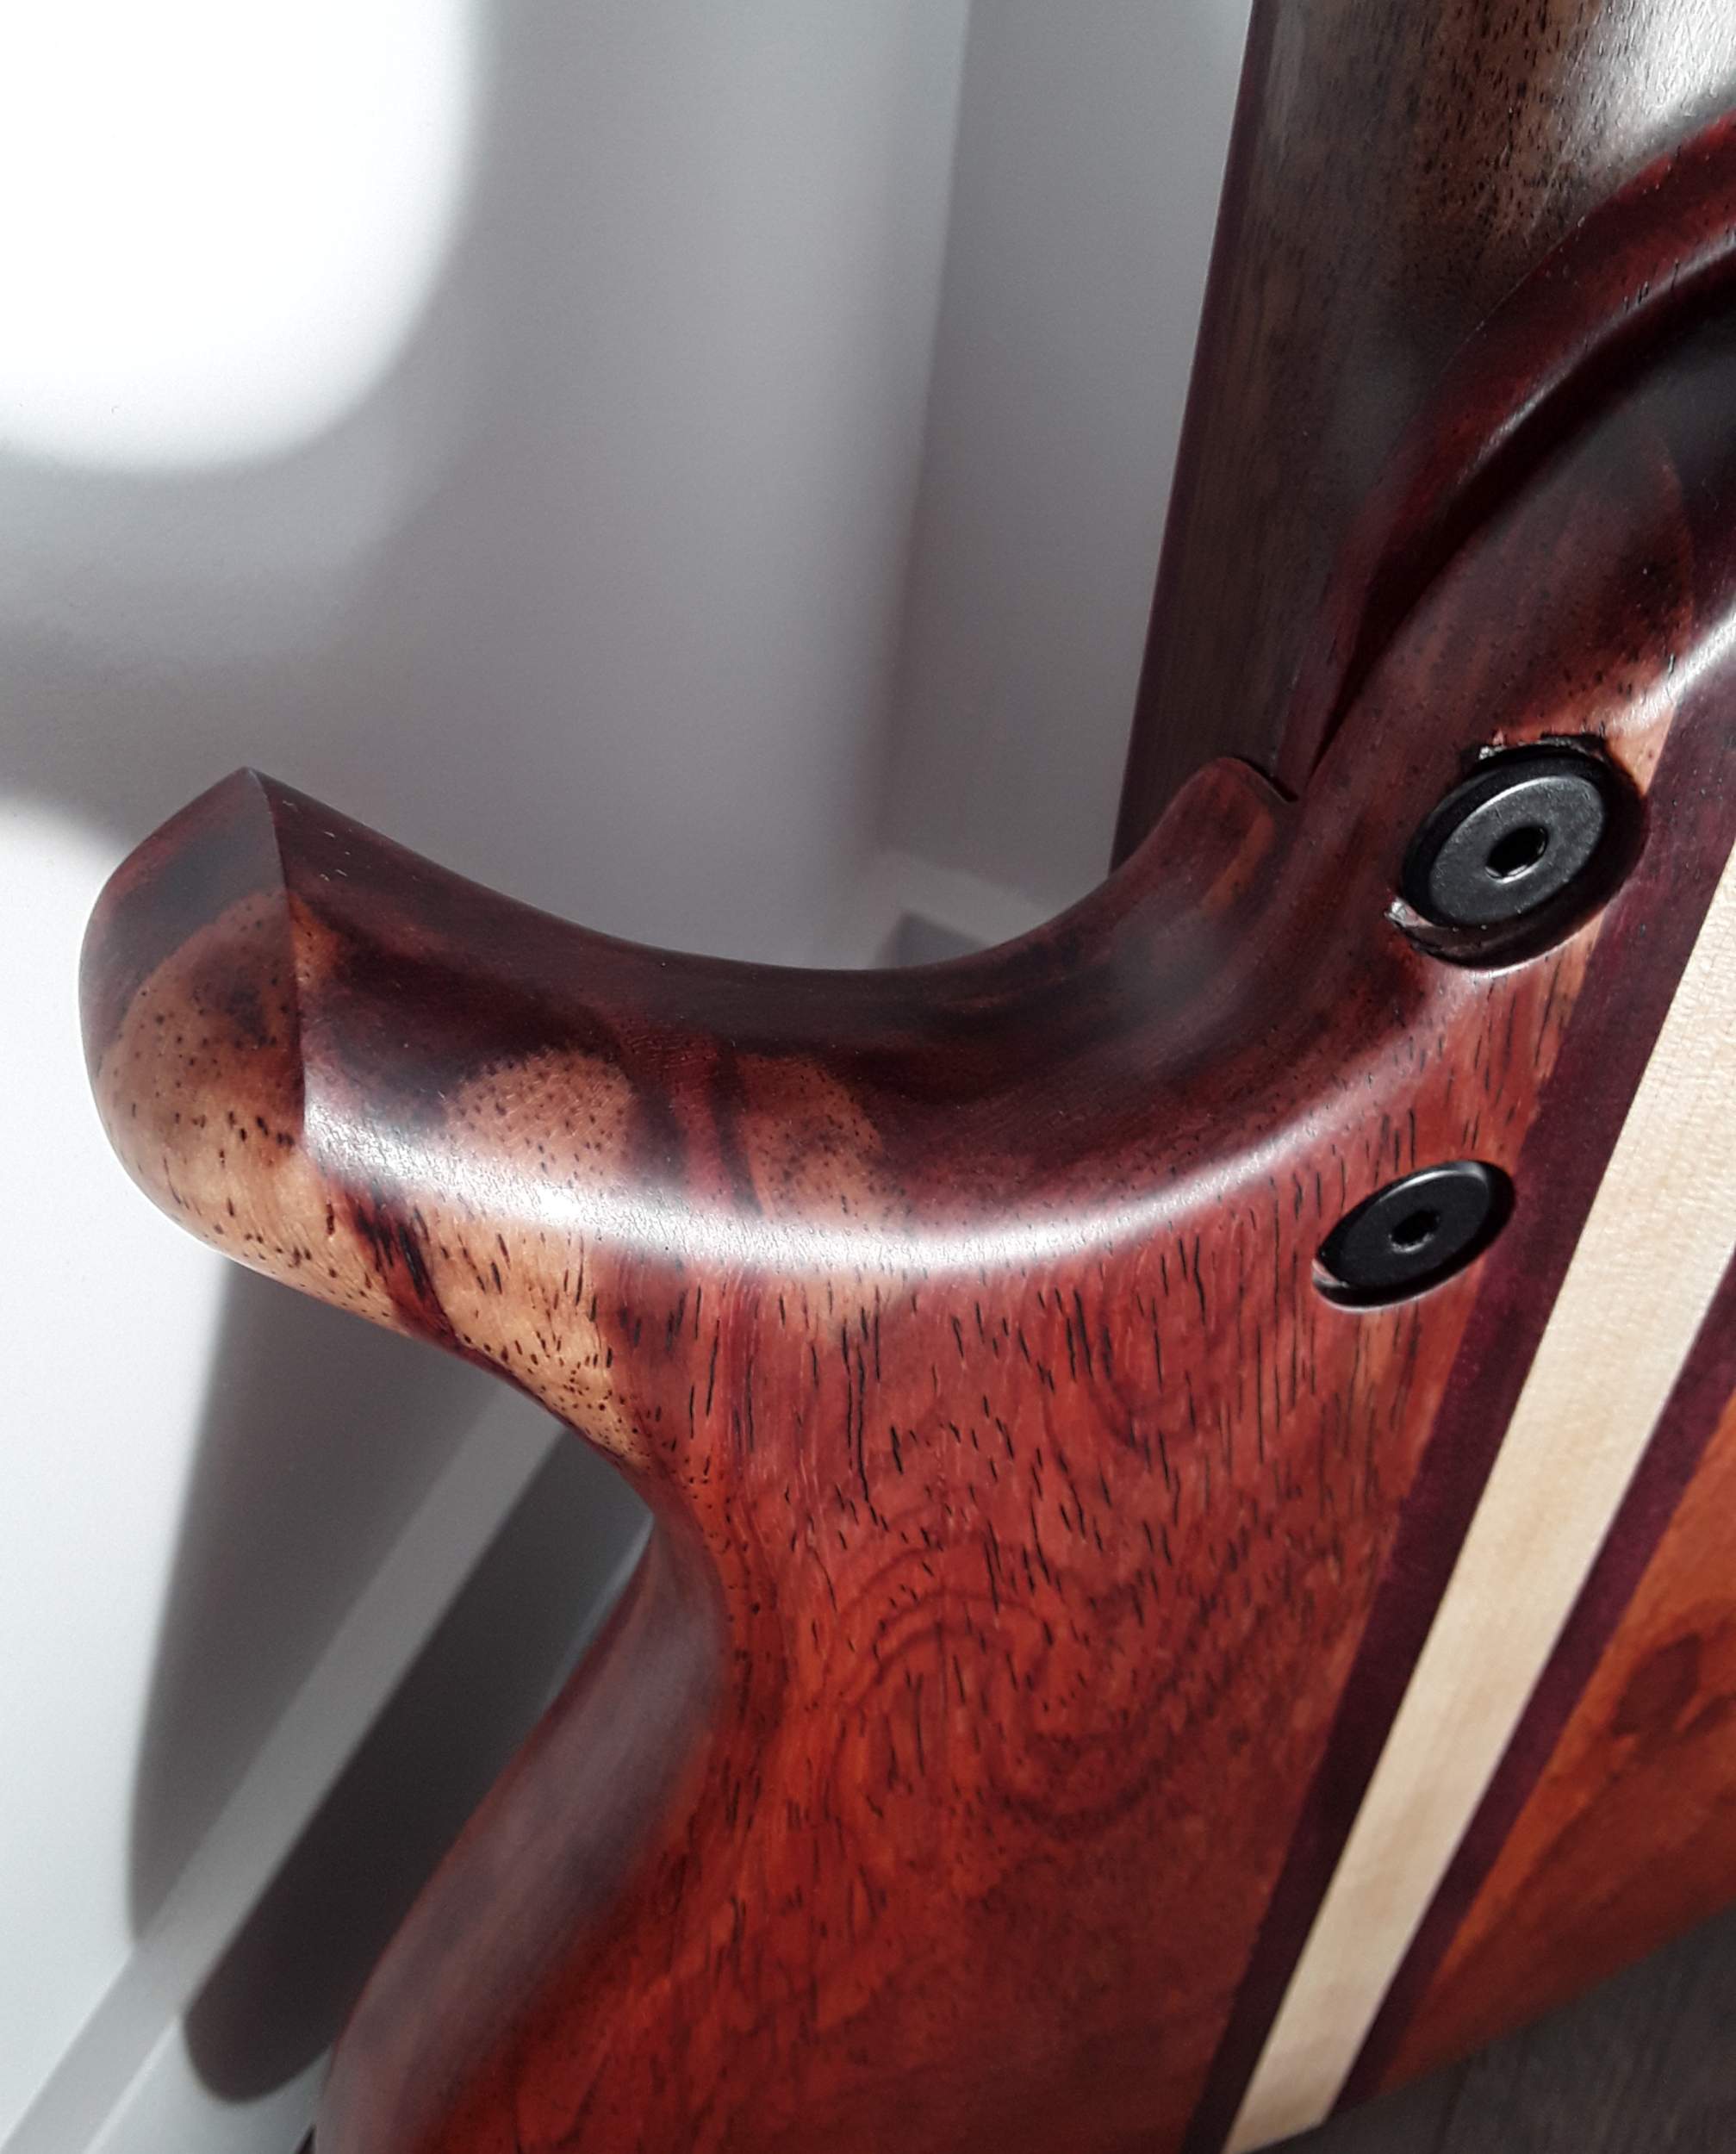
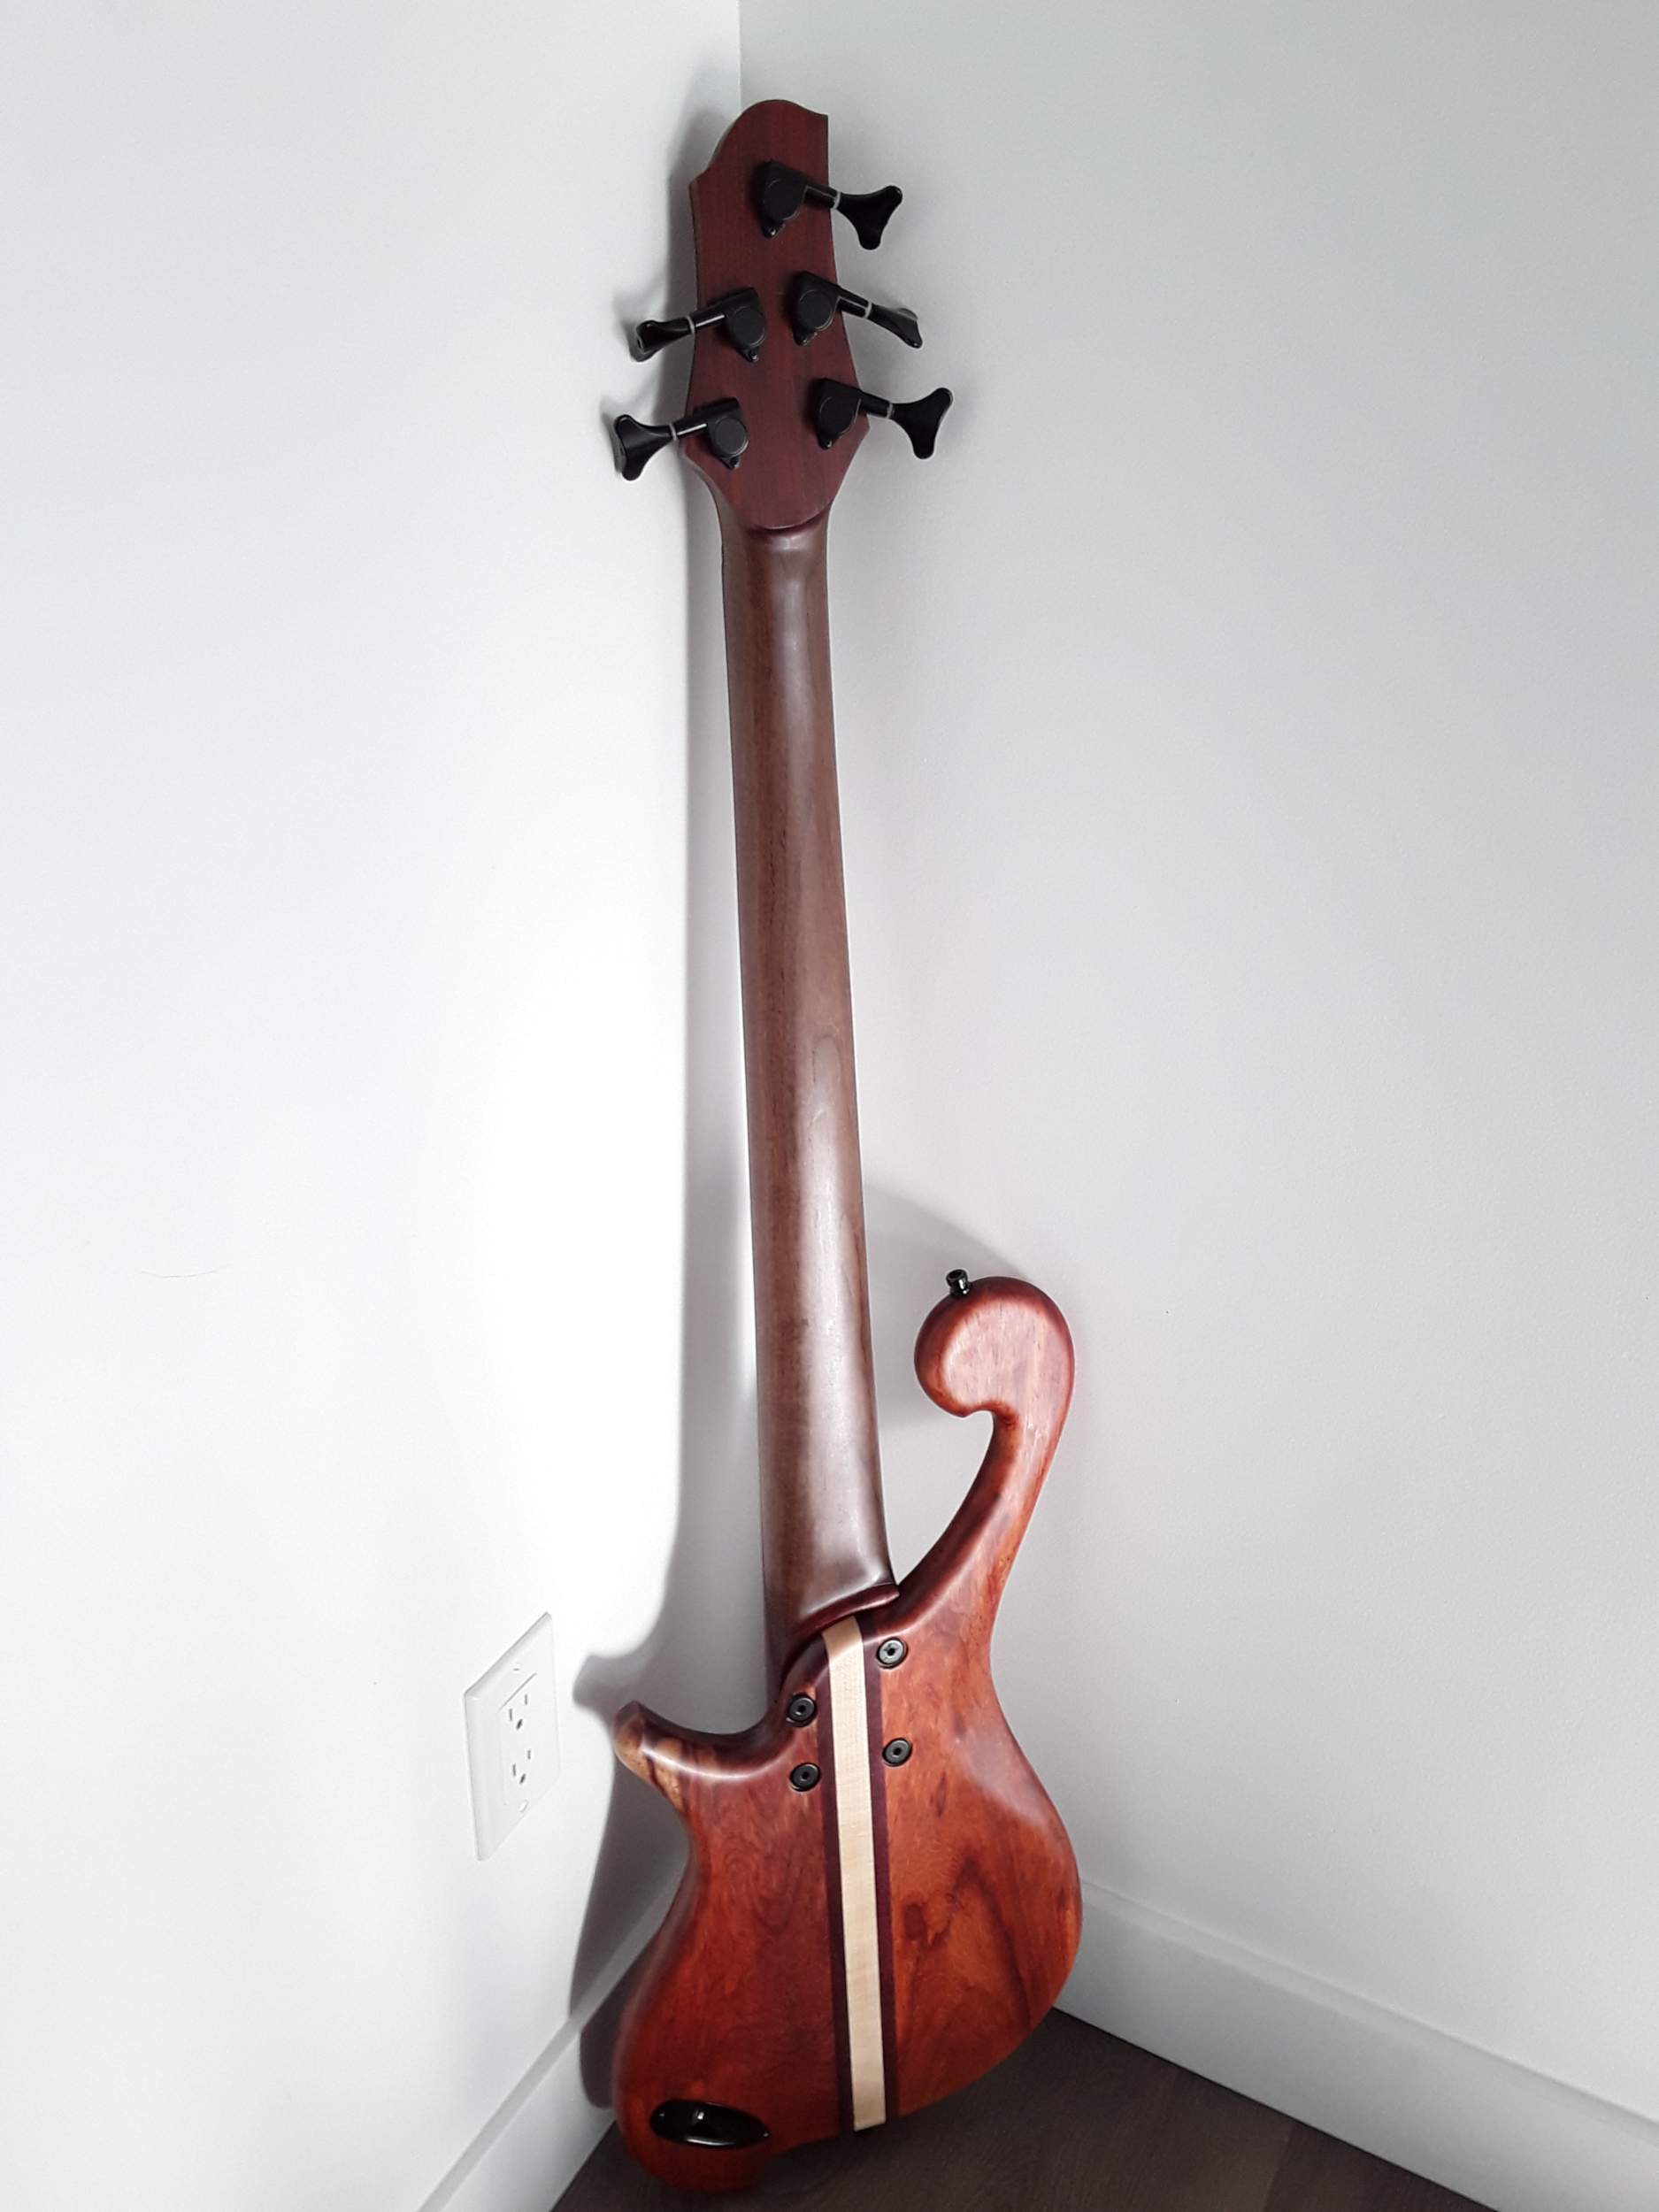
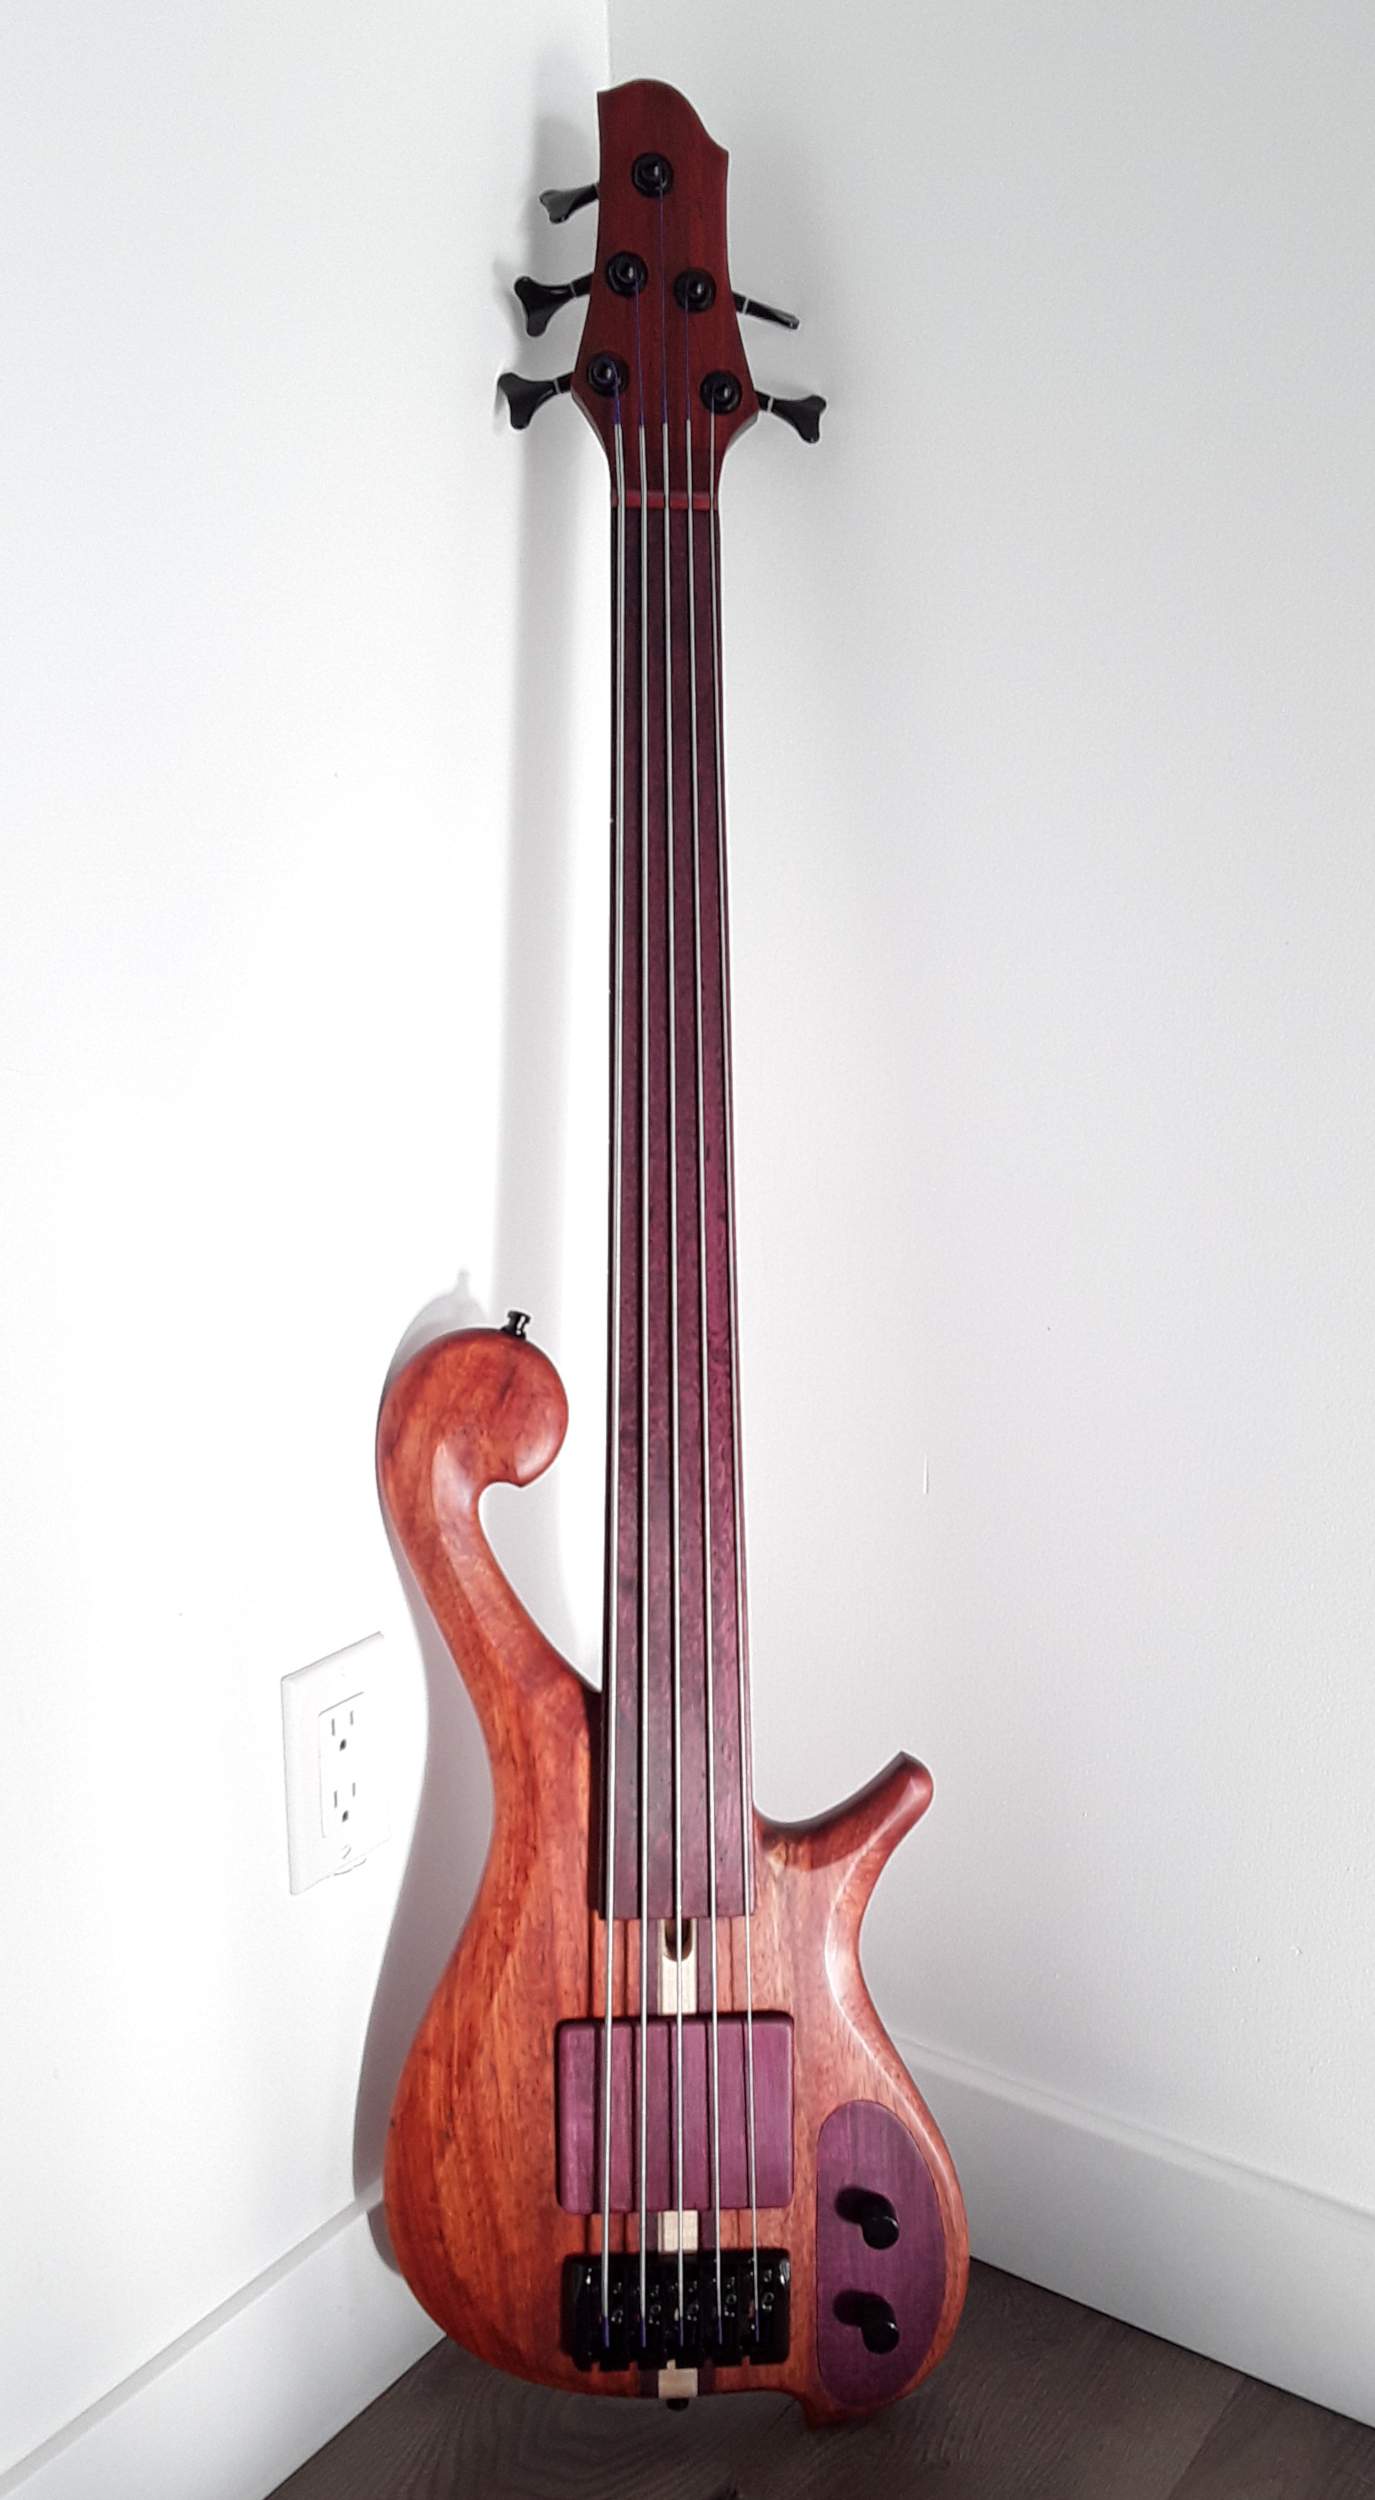
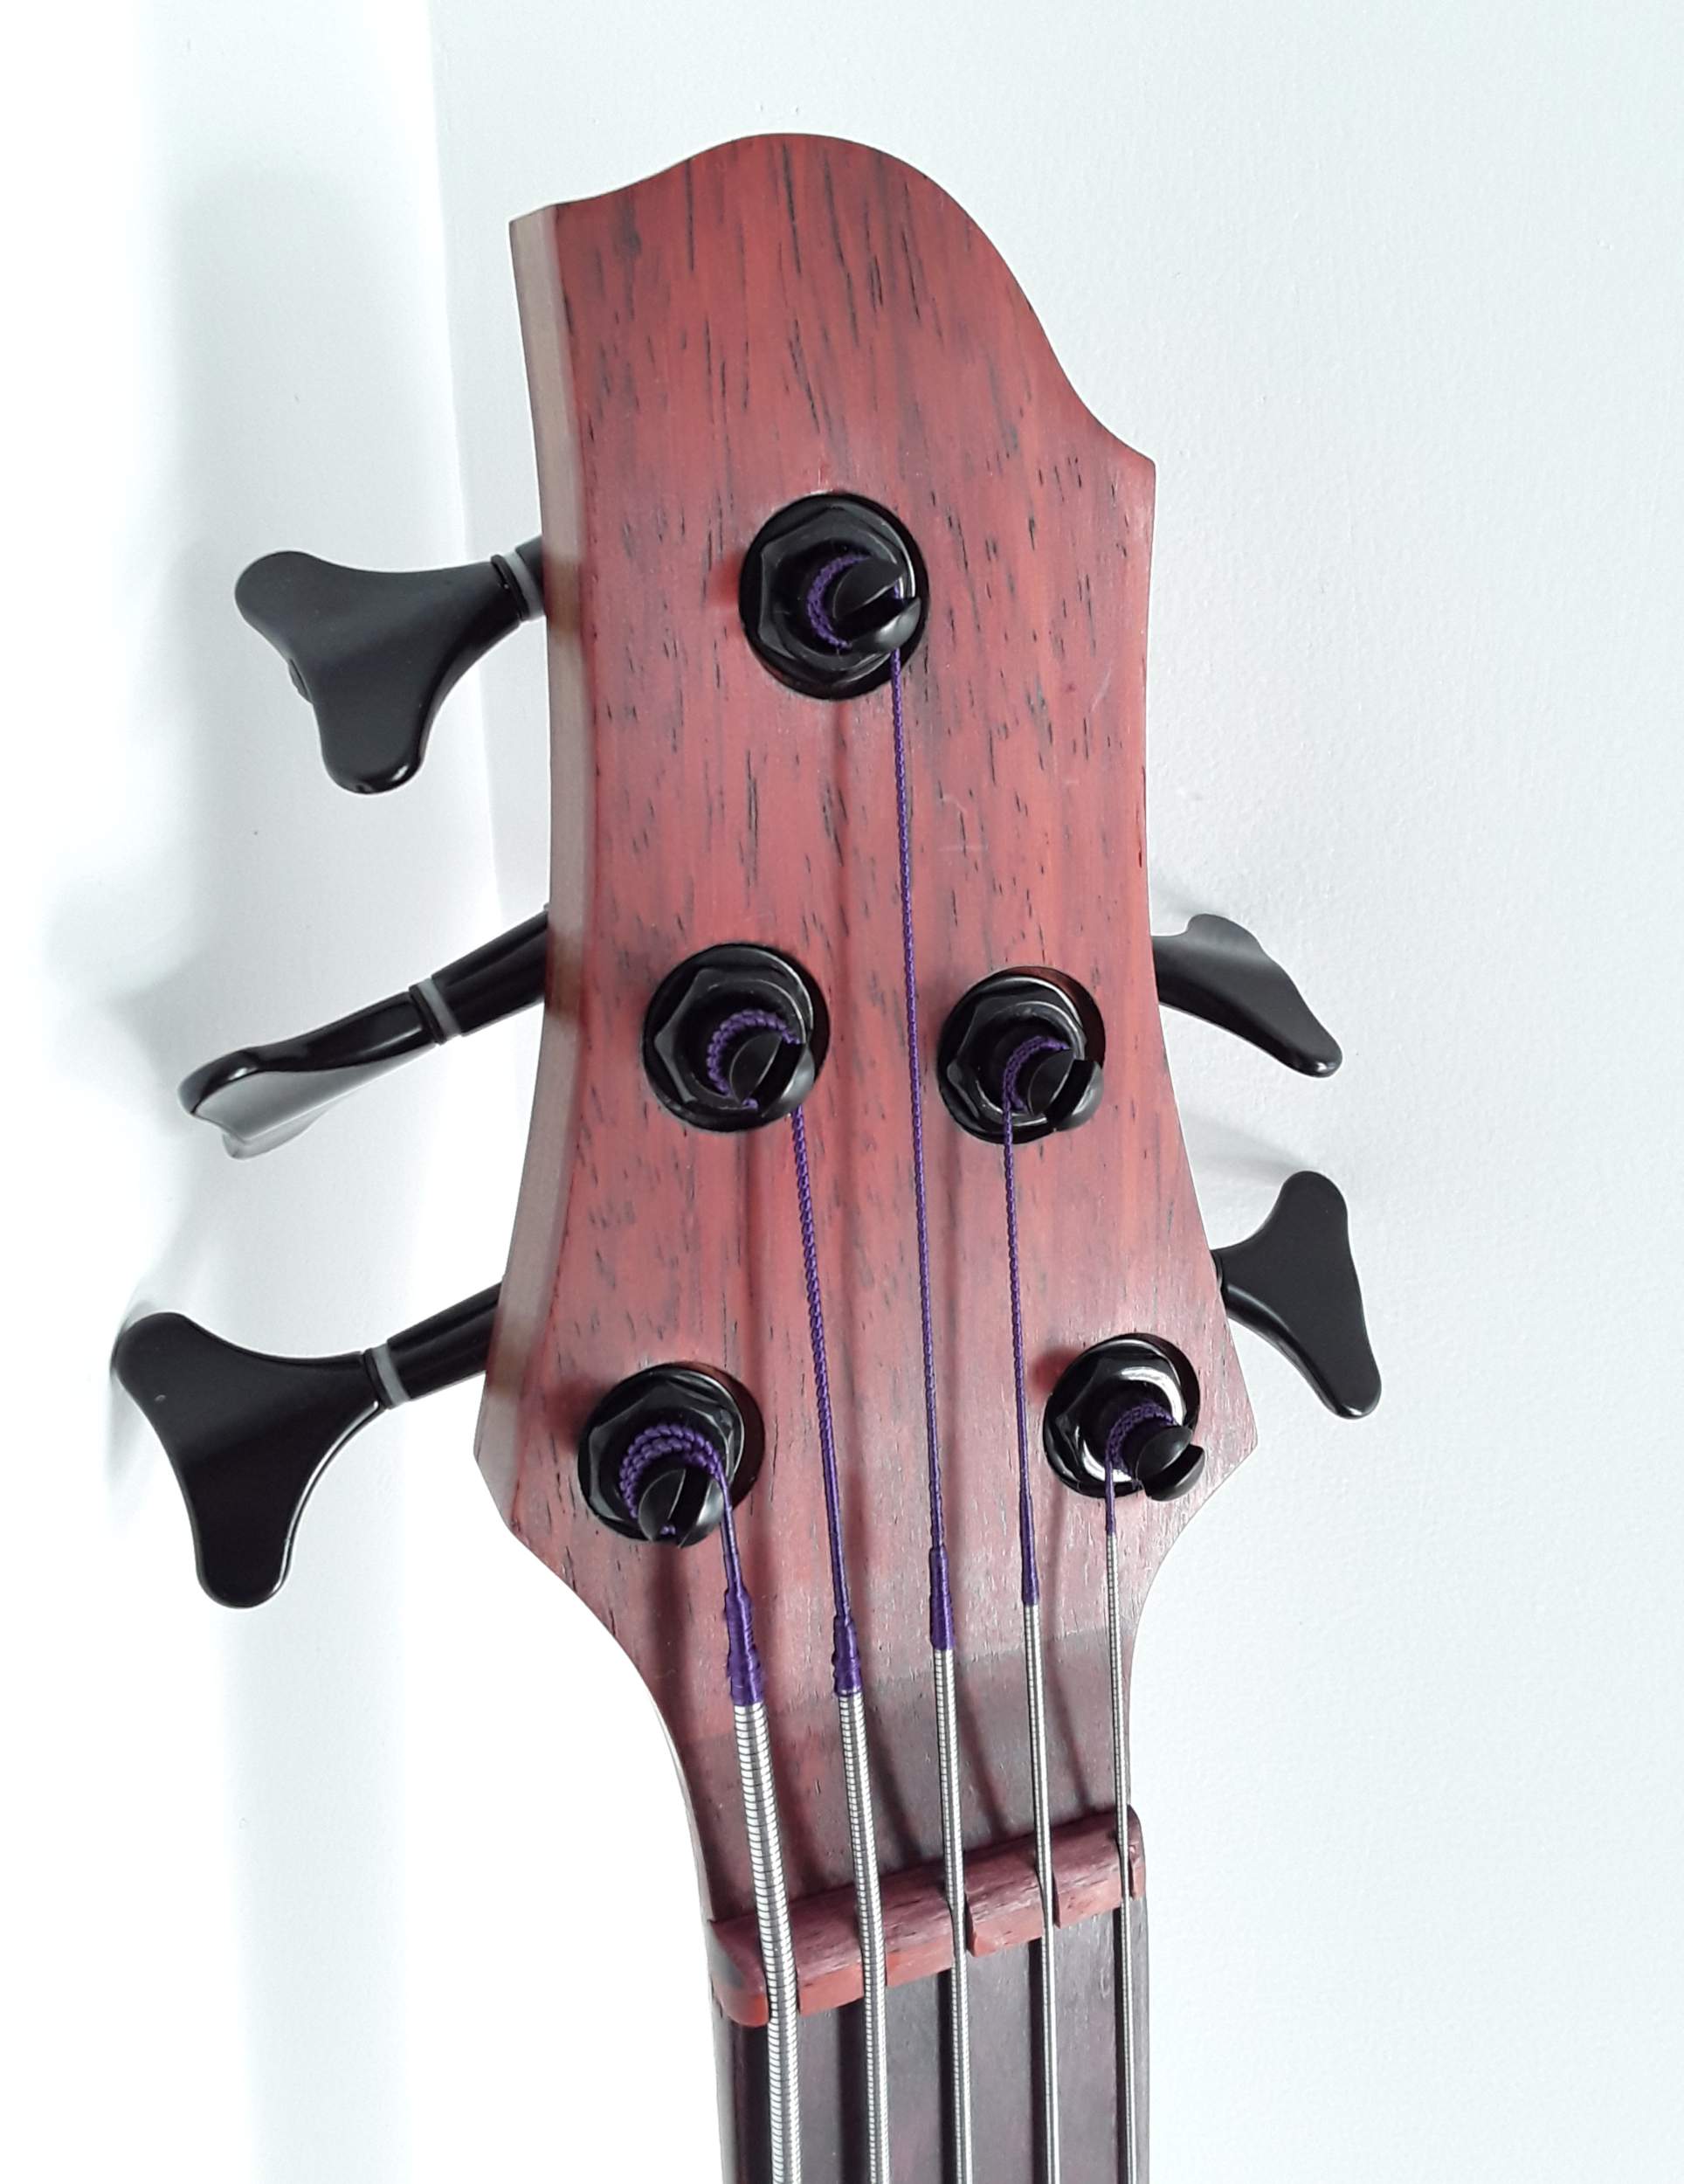
Okay so last night I started to assemble things to ensure everything still fit together. When I test strung it up in the white a while back, I used a set of roundwounds I keep for just such a purpose. This time, I figured I'd string it up with the new flats I bought for it. When I opened the package of Slinkys, I'll be danged it they didn't have purple silks. :D As soon as I saw those, I had to finish putting everything together. So I did. Then I played it for around an hour and this is honestly the most playable out-of-the-box instrument I've ever completed. It needed almost nothing, just a little intonation. This morning I took some sunlit room pics, though I need to take some better ones somehow. :) This is not my submission post, but that's coming shortly.
 
I remember you did a black grain filler, but what was the clear finish coat you used again?
I used Lepage Wood Filler tinted with mixol and then another application of 2 part cold-cure epoxy. After that sanded to 320 and then three coats of Osmo Polyx Clear Gloss oil. Between the coats of Osmo I smoothed it with a white scotchbrite pad. The final coat is hand buffed with a microfiber cloth. On my tests I got it to a pretty nice gloss by buffing it, but I ended up liking the slightly more satin finish it takes unbuffed. It just seemed to suit the woods and design better than a gloss. :)
 
This also just made me think of a PSA. Some epoxies leave a considerable greasy/hazy film on top when they dry, known as amine blush. I have tested quite a few and have landed on a couple that leave very little blush when cured in a warm environment. I have found this blush to be much worse when epoxy cures in a moist or cool environment, and this 2 part epoxy is really bad for it. The best way to remove it is scrubbing it off with soap and water, but of course on a wood instrument this could be 'bad' (see ghostbusters definition of bad). It's also removable with some solvents, but it's advisable to test what you have.

If you don't remove the blush and just sand it off, it can gum up your abrasives and in a worst case scenario, even leave grooves in your workpiece while you sand it off. You can also get a poor bond or pronounced witness lines with more layers of epoxy applied over top. I've found that if I've put on a single thin coat of epoxy as a grain fill, it's best to scrape it back rather than sand. The super smooth, stable, nonshrinking surface is worth the trouble IMHO. :thumbsup:
 
Okay so last night I started to assemble things to ensure everything still fit together. When I test strung it up in the white a while back, I used a set of roundwounds I keep for just such a purpose. This time, I figured I'd string it up with the new flats I bought for it. When I opened the package of Slinkys, I'll be danged it they didn't have purple silks. :D As soon as I saw those, I had to finish putting everything together. So I did. Then I played it for around an hour and this is honestly the most playable out-of-the-box instrument I've ever completed. It needed almost nothing, just a little intonation. This morning I took some sunlit room pics, though I need to take some better ones somehow. :) This is not my submission post, but that's coming shortly.

That bass looks freaking amazing, Beej. Congrats on a gorgeous build!

Having said that, I've been squirming for weeks waiting to post this... and hoping that I don't get the ban hammer for a political post. :laugh:
64823658.jpg