• TalkBass has been independent since 1998. Add your voice.
    Create a free account to reply to discussions, view embedded media, and browse with fewer display ads.
    Join freeLog in
    Want zero display ads or expanded classifieds tools? Compare plans.

Winter Build Off 2025 - Double Bucker Tele

Gary_M

Chronically over-encumbered
Gold Supporting Member
Oct 19, 2013
2,228
9,737
Northern Indiana
This is my entry for the Winter Build Off 2025. This will be a non-bass build. In fact, this is actually a continuation of my second Summer 2024 build off entry:

Summer Build Off 2024 - A Tele for Joey

I'm still trying to get my feet back under me after a very bumpy year, so I hope you'll all allow me a little leeway with this entry. The only progress that had been made was that the body blank was glued up and roughly processed. Plus, there is no "partial" build in the non-bass category.

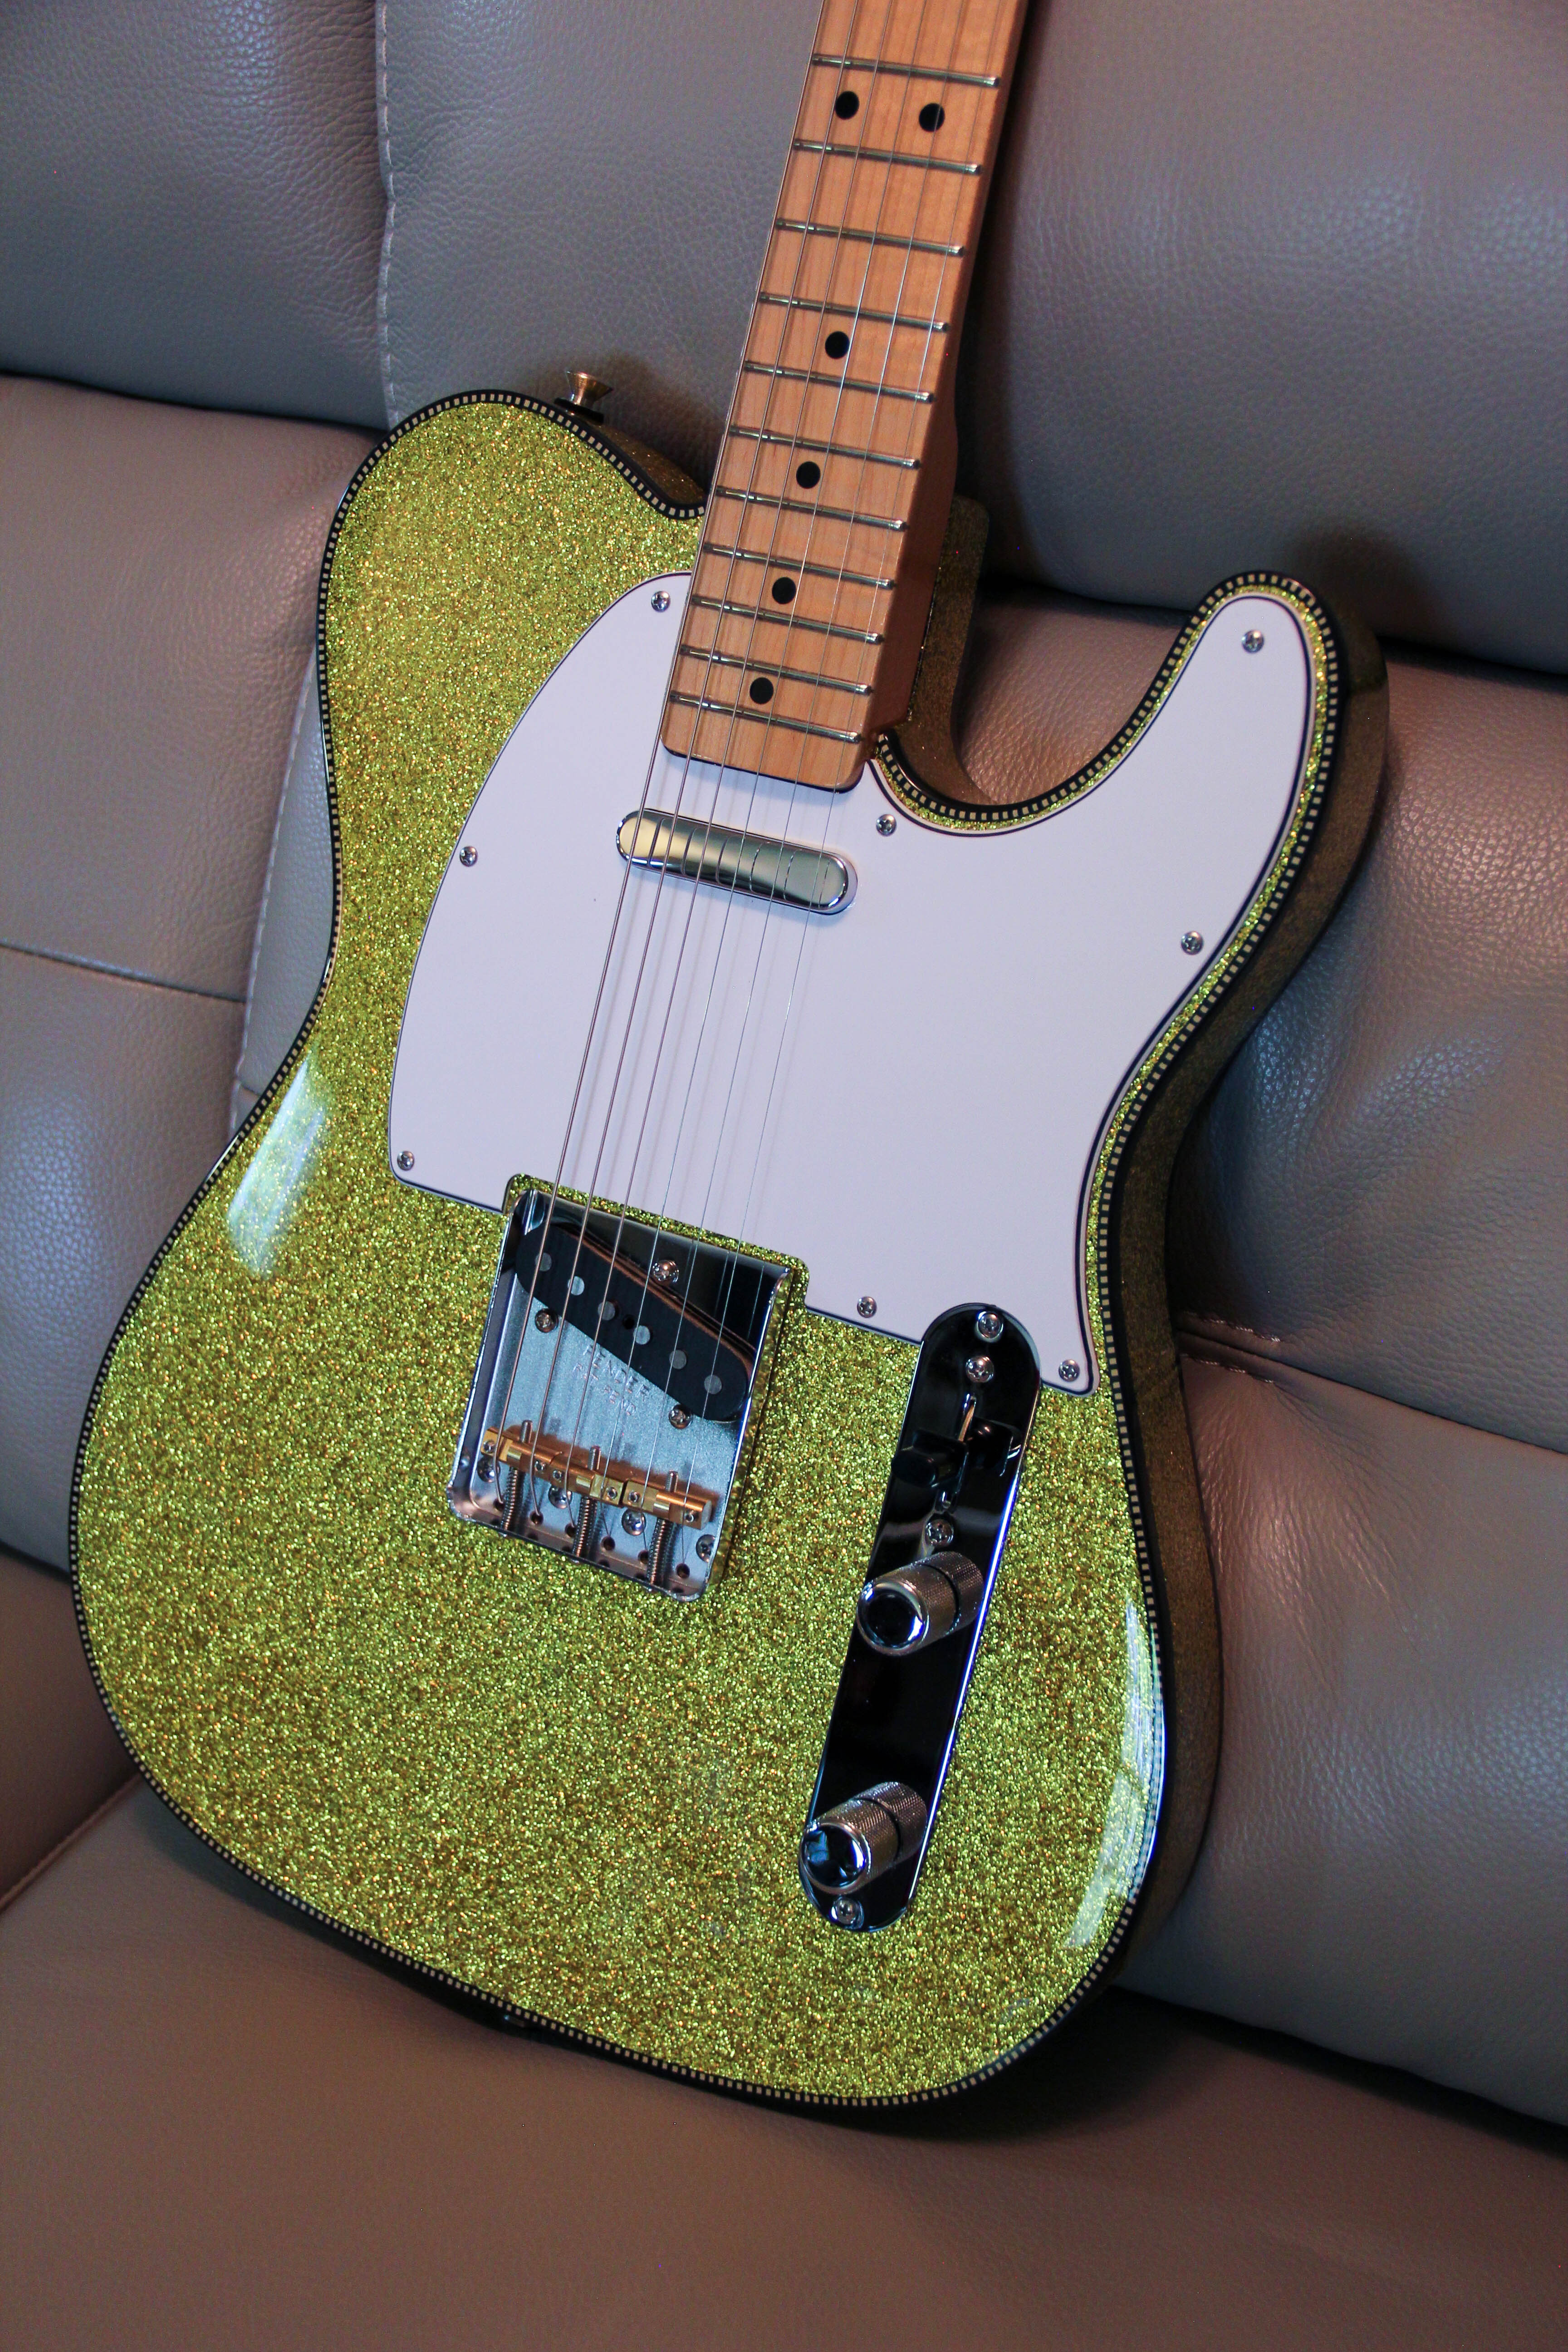
Anyway, the build is very loosely adhering to the theme in that it will have double humbuckers, PLUS.... it will pretty much be a fraternal twin to the Tele that I built for myself a couple years back. Yeah, I know, it's a stretch. :D

7NGrs2t.jpg


Essentially it will be built to the same specs with the following changes:
  • Double humbuckers
  • Black pickguard
  • Purple (we think) finish
  • Spoke wheel truss rod
Body is alder and will be double-bound with checkerboard binding, maple neck, etc.

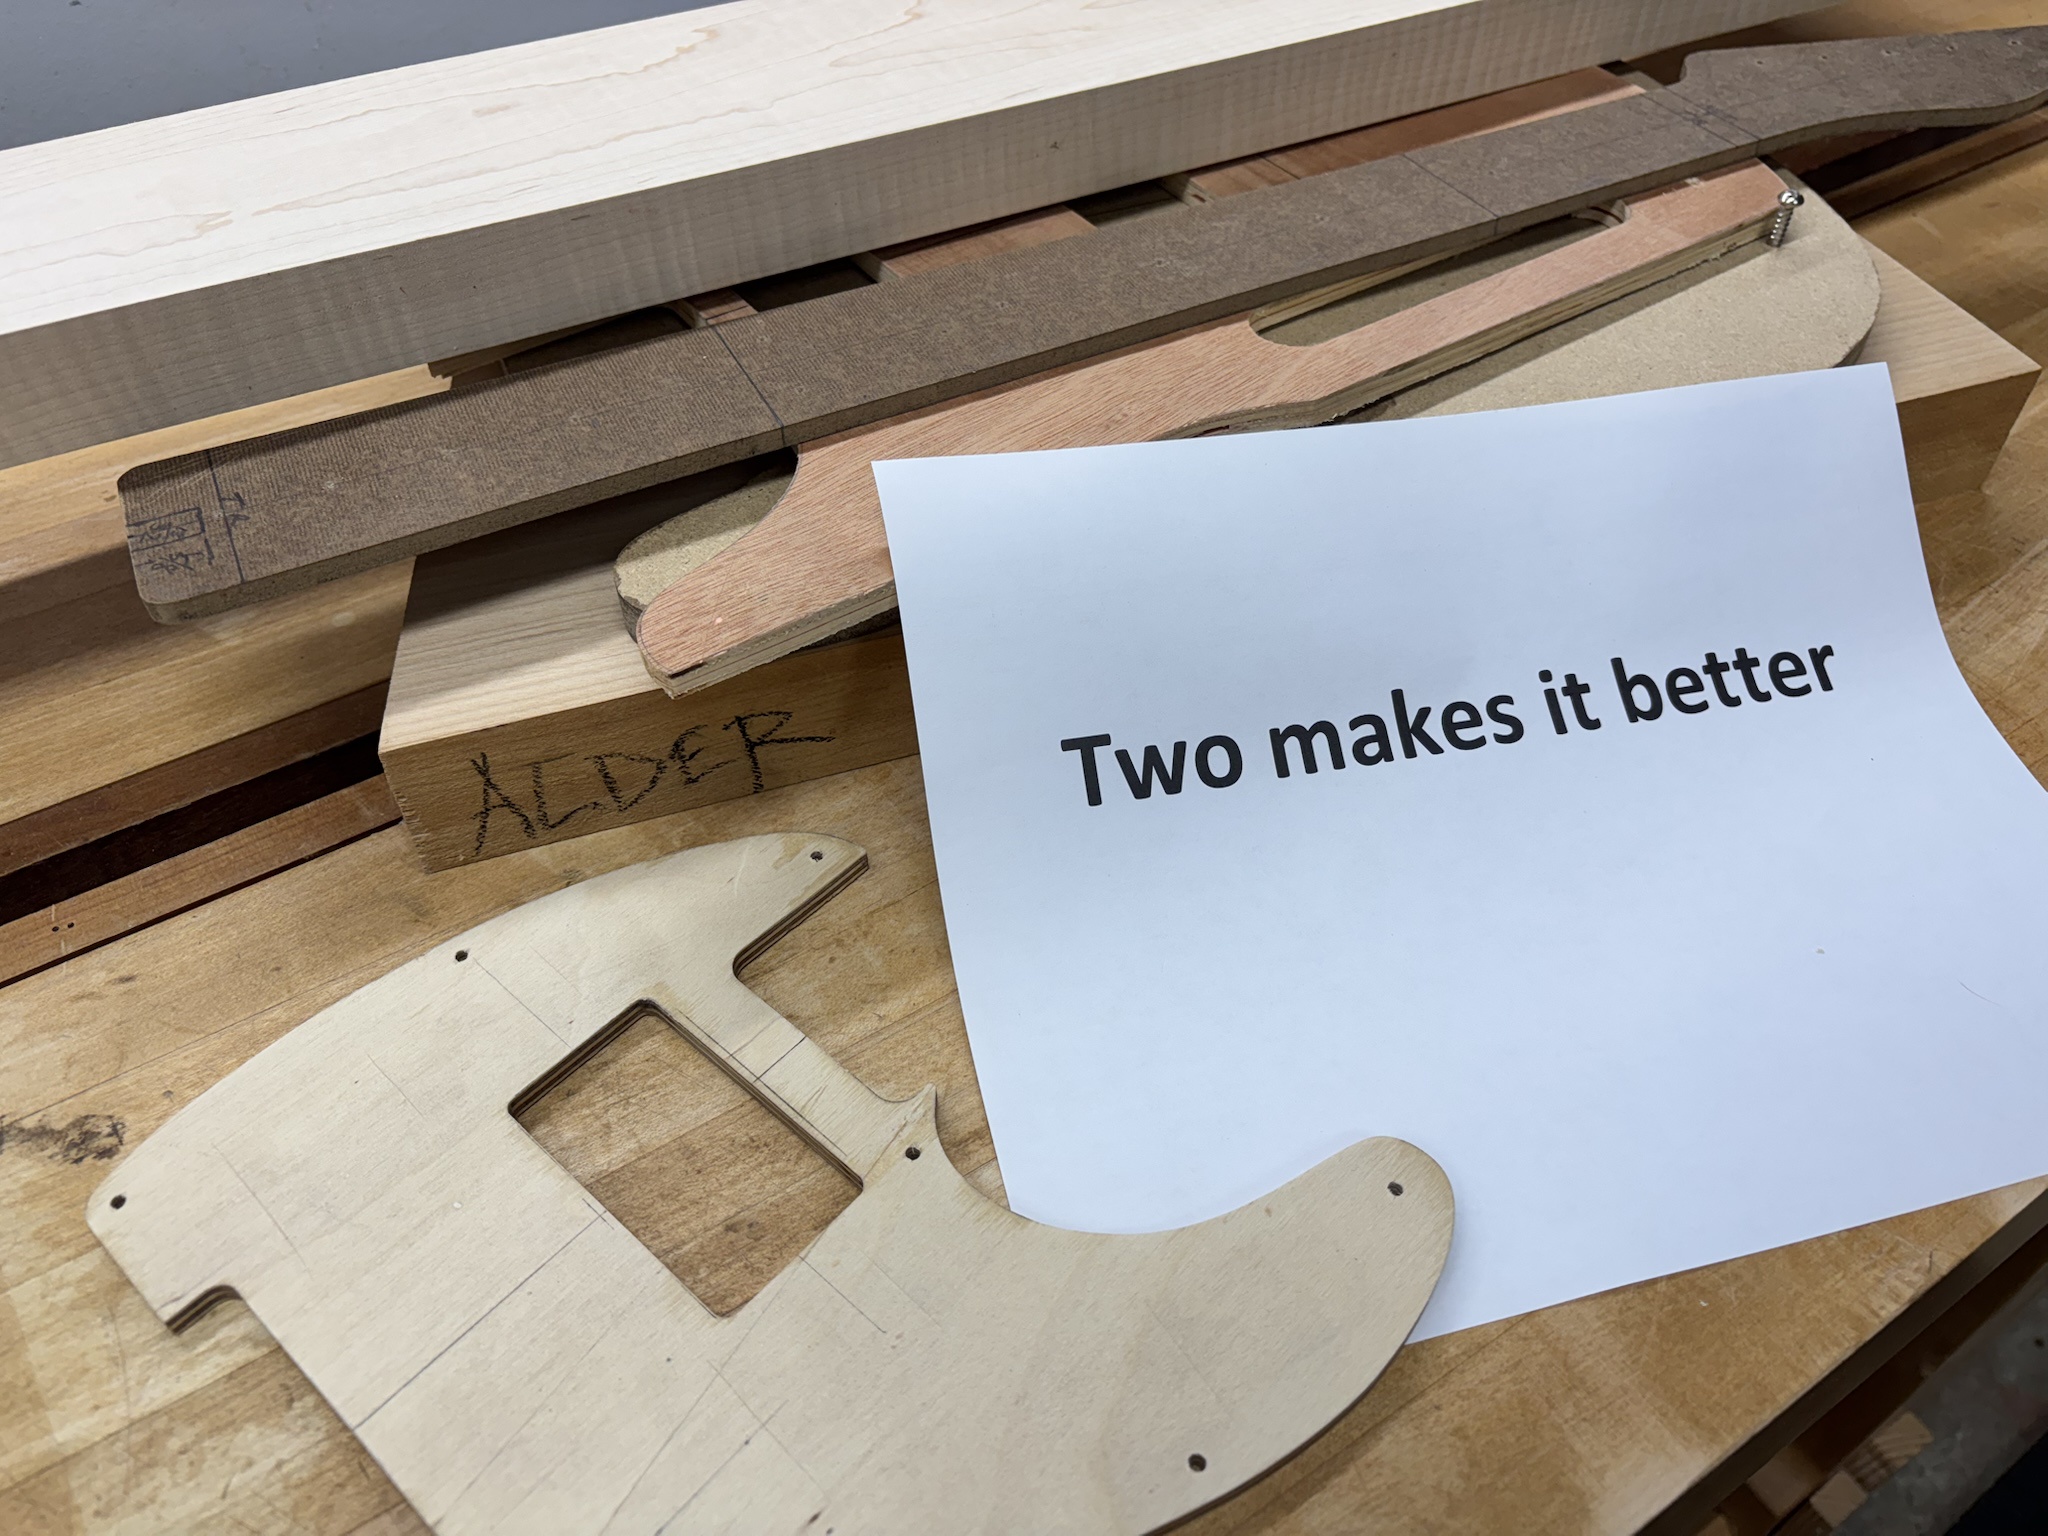
Here is the new pile o' wood picture. Glued up body blank is on the bottom.
3KDREfH.jpg
 
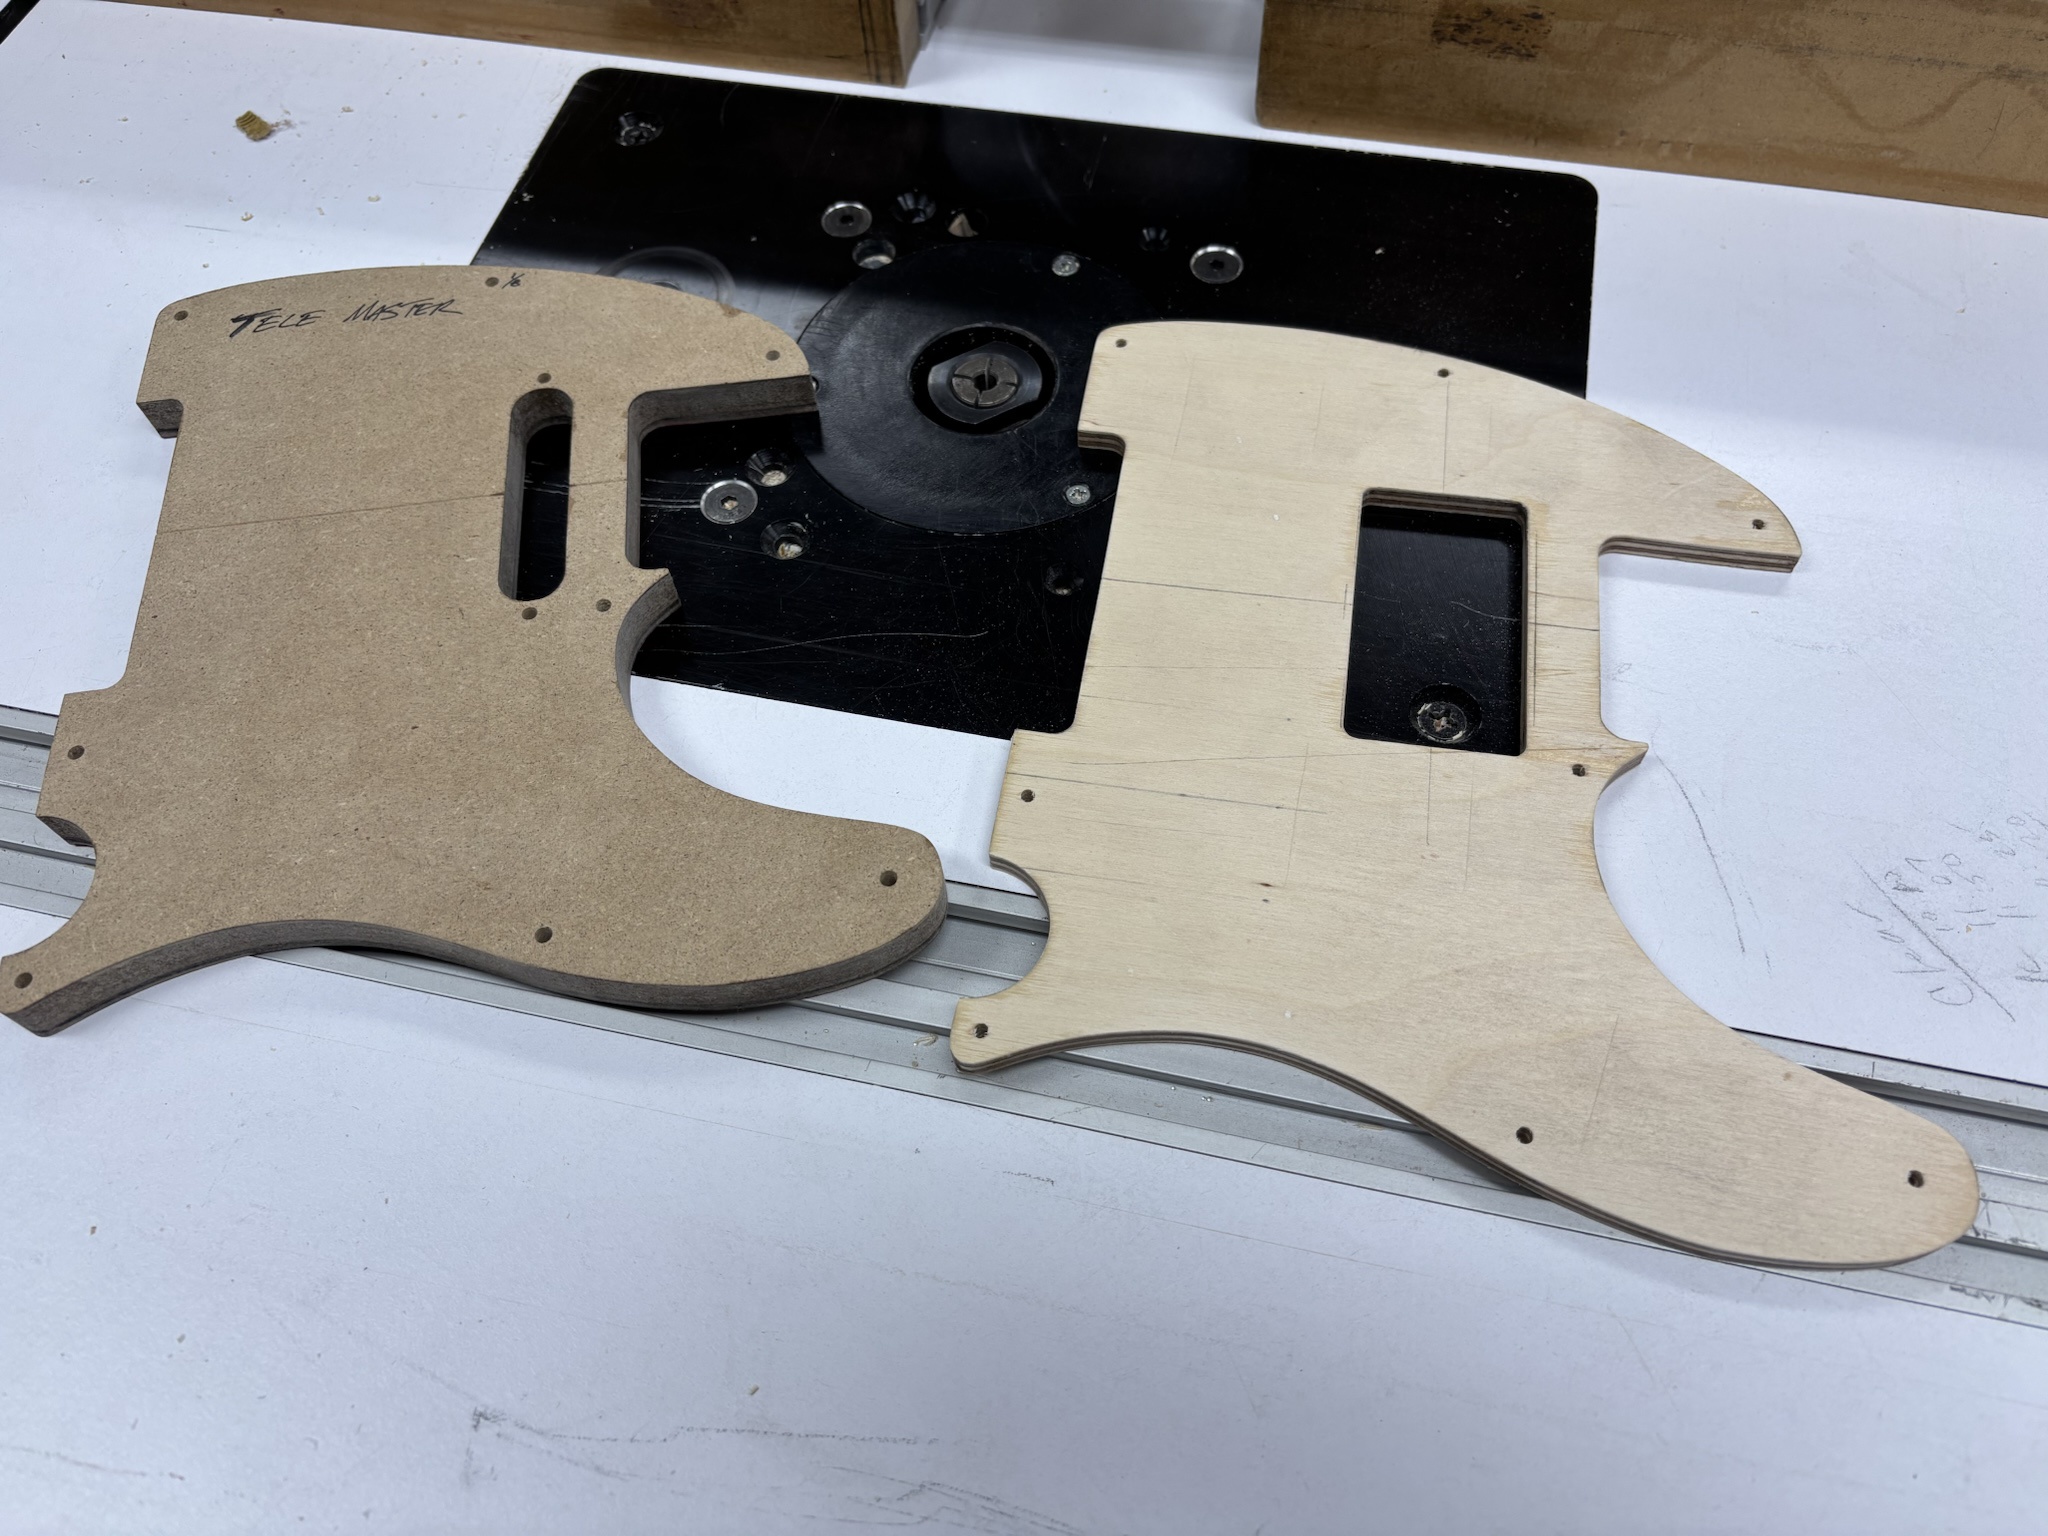
Earlier today, I made a new pickguard template to accommodate the neck humbucker. (that's what got me thinking about going ahead and putting this in the build off and why it is in the pile o' parts picture. :D )

994XNWn.jpg


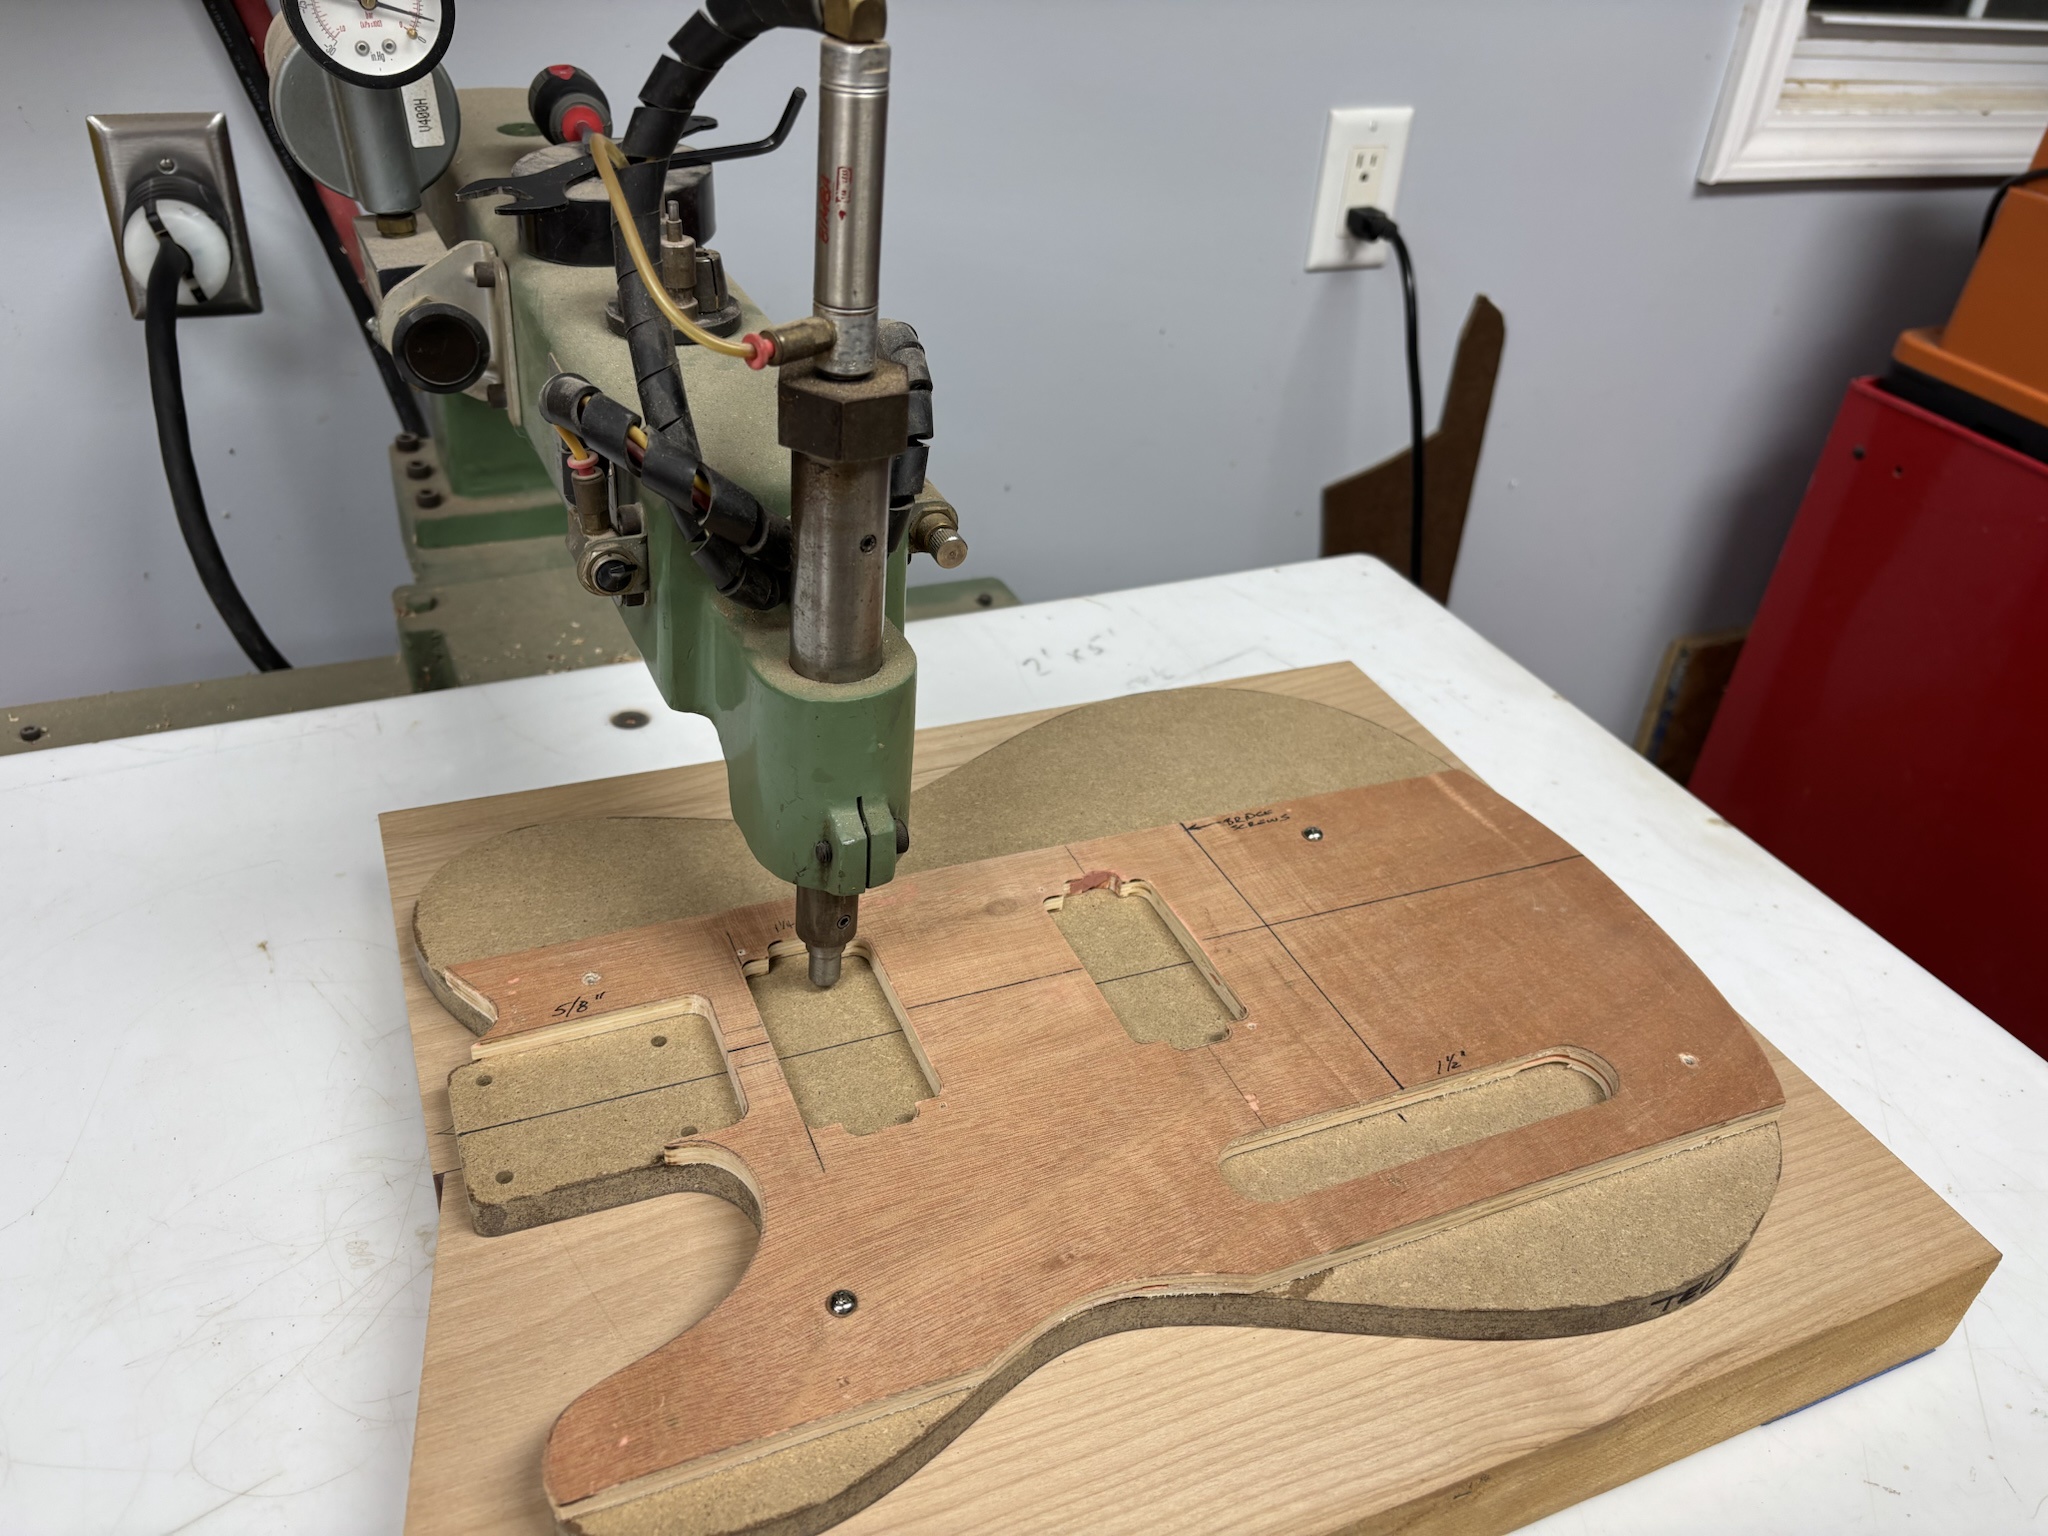
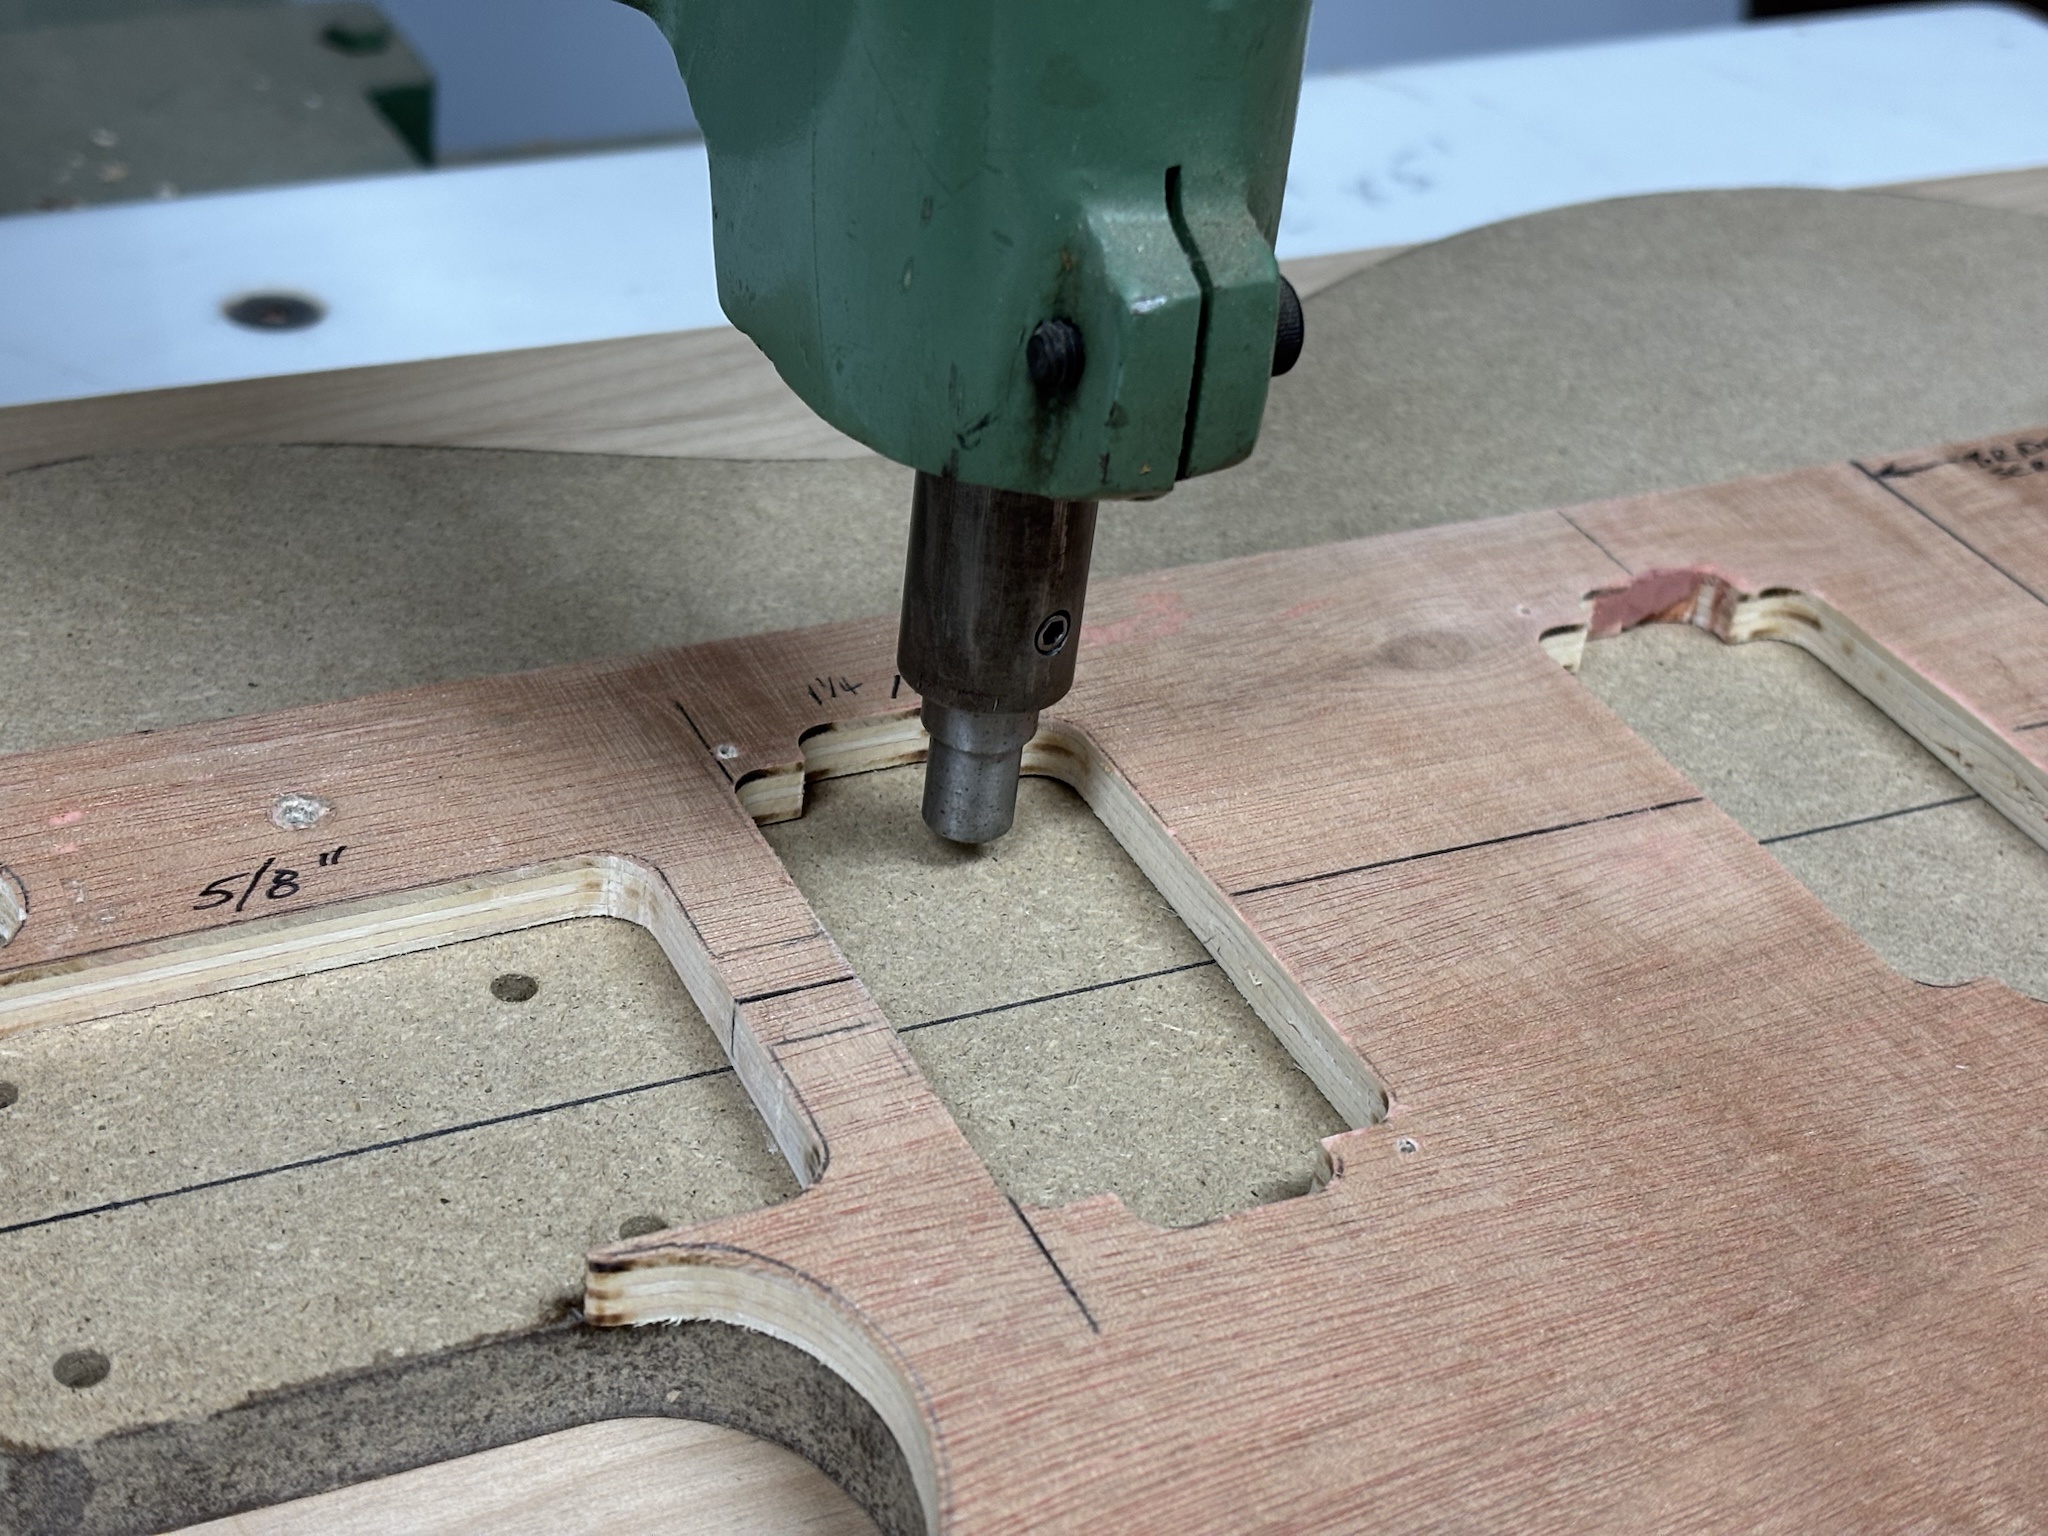
Next, I marked a centerline on my body blank and attached my template stack to the back side for use on the inverted pin router.
tDKnzqH.jpg


Inverted pin routers aren't very common, but they do allow for some cool techniques, such as nested, or stacked templates which can be changed out for various options, such as pickup configurations.

An inverted pin router has ducted dust collection and sucks the workpiece down to the table while extracting the chips as you go. This is great for internal routes... not so great for perimeter routing, so I do that operation on the regular router table. Mine has a pneumatically operated pin that drops into position and it also raises the bit to one of 3 adjustable depths, which are controlled by a turret and lever system.
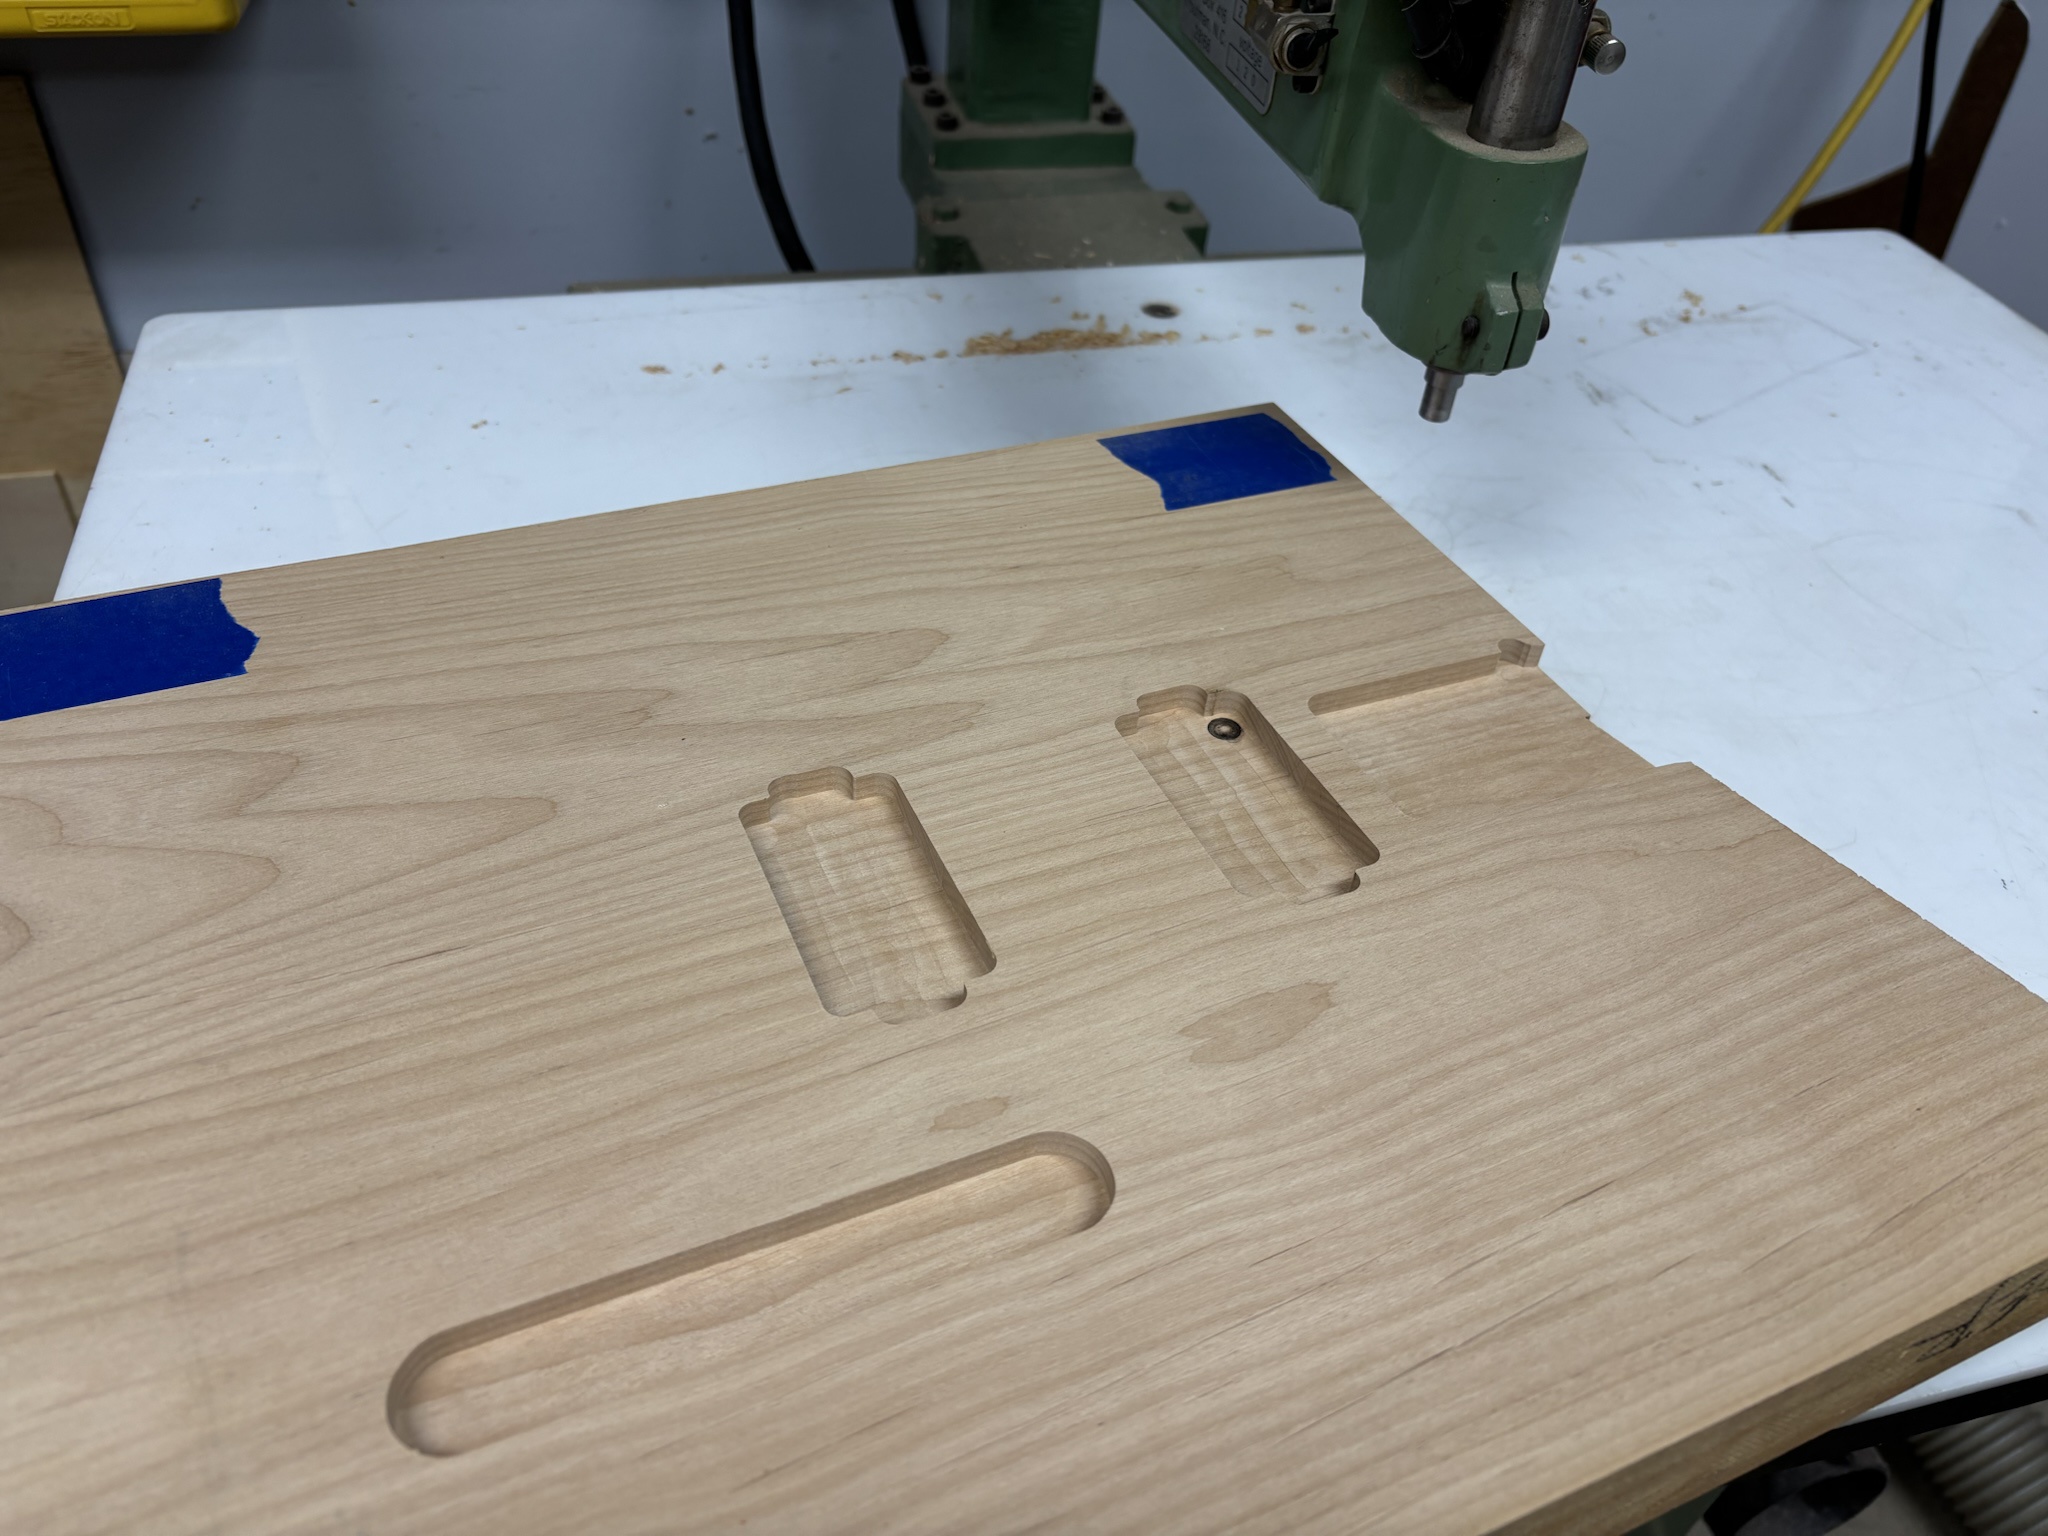
Fp3Fu5m.jpg


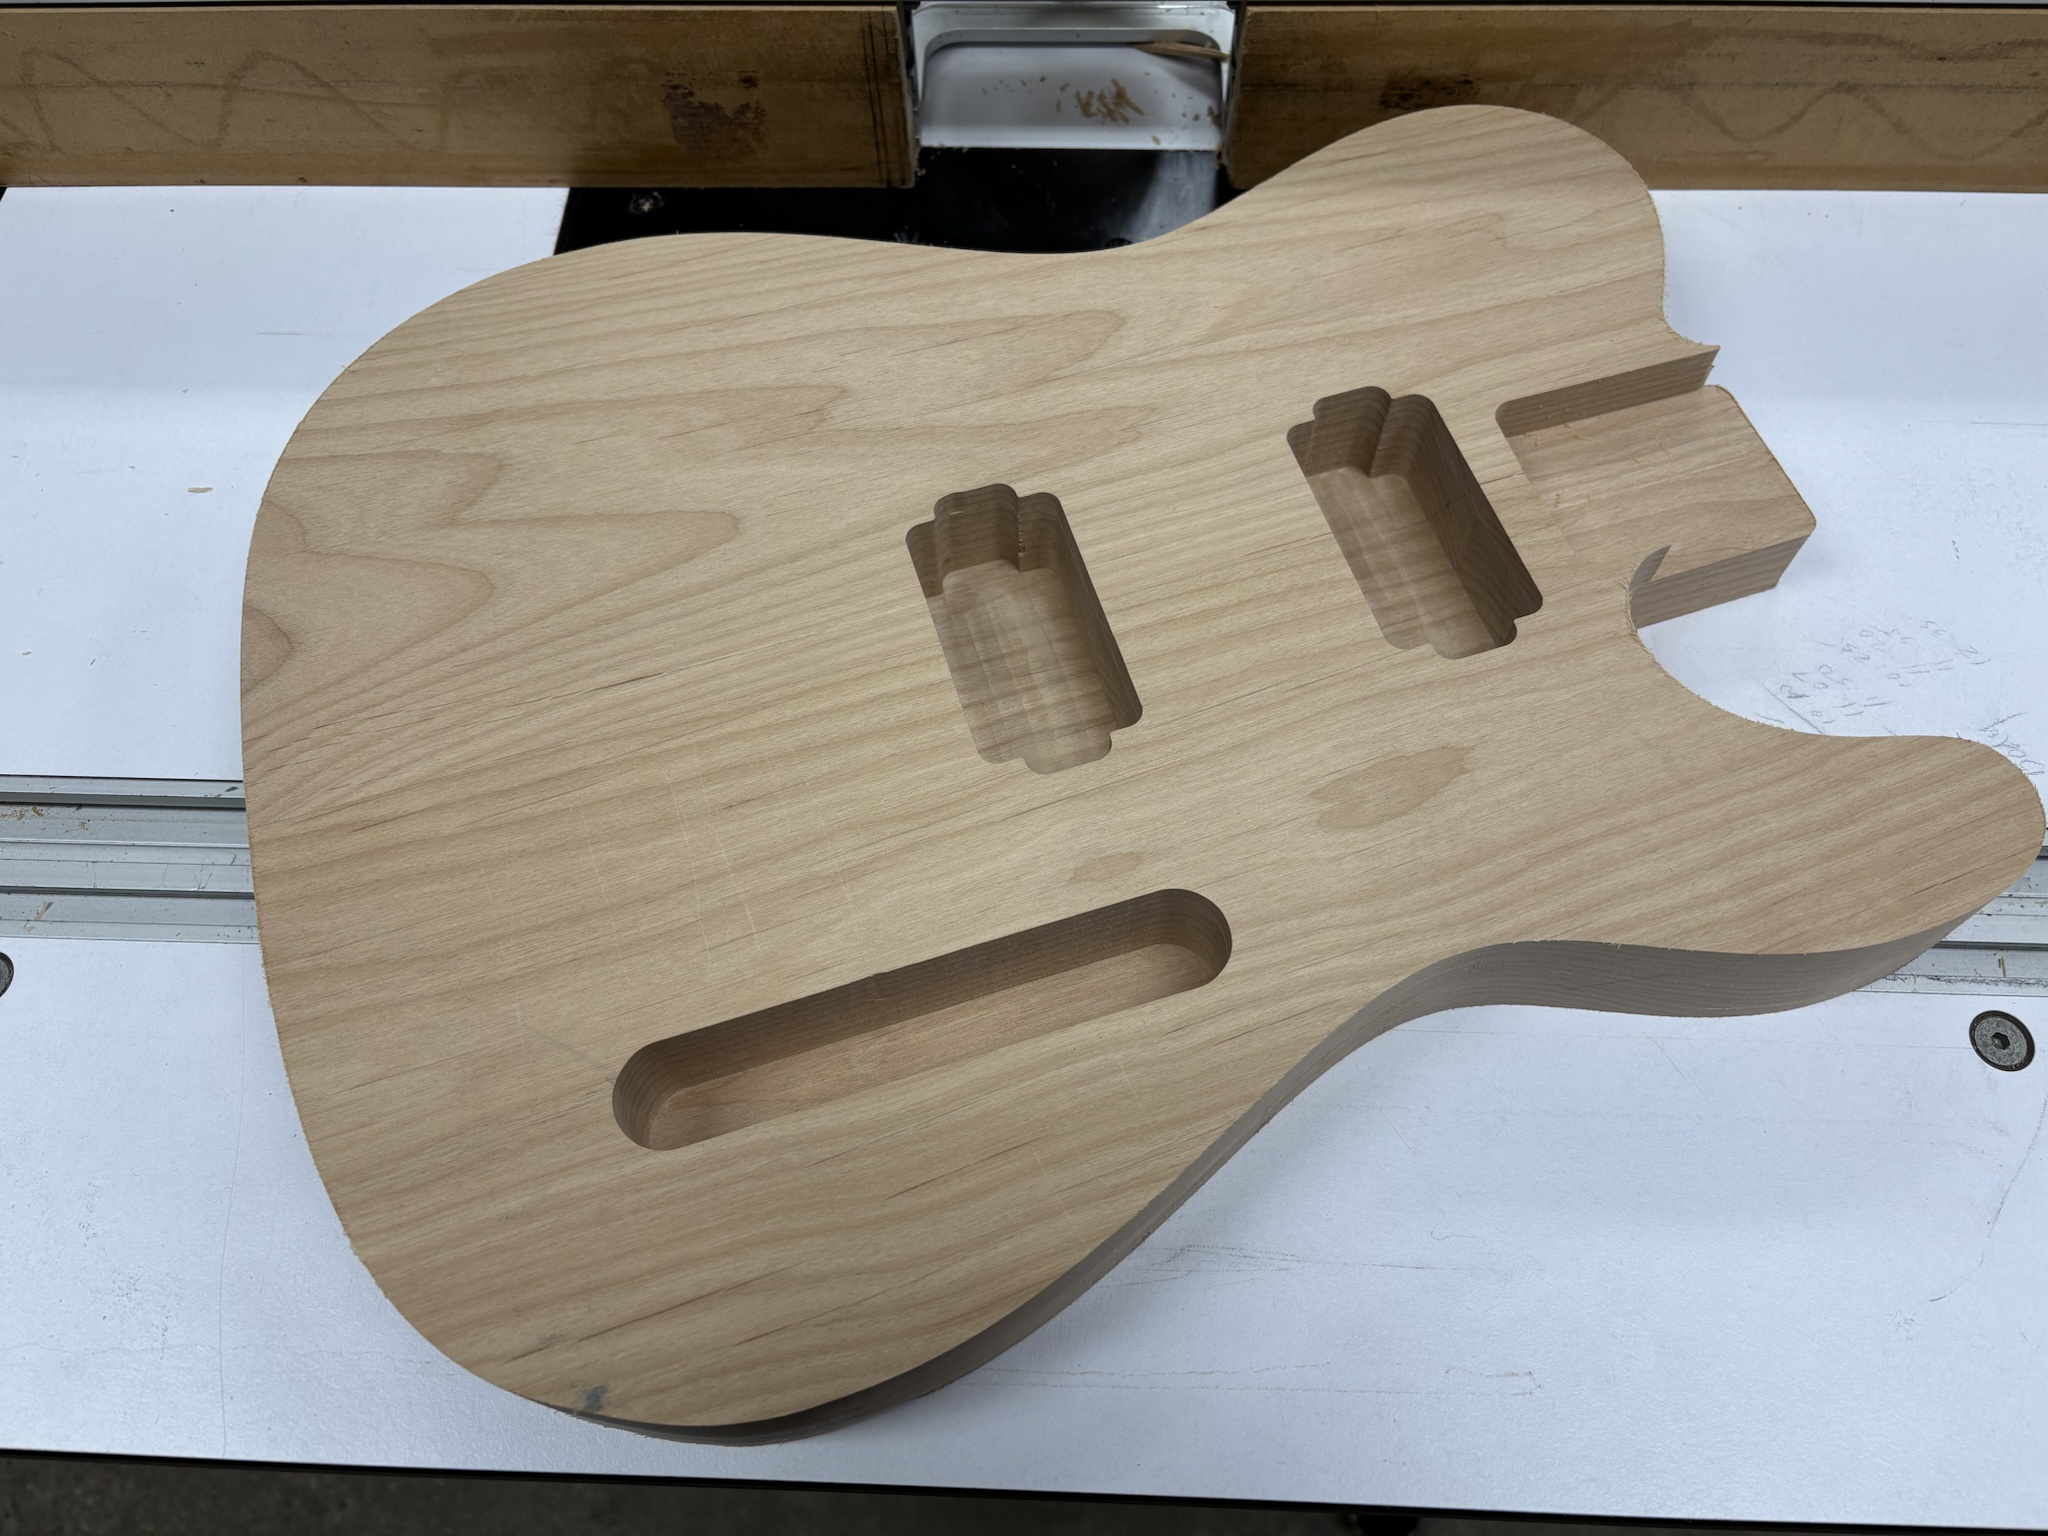
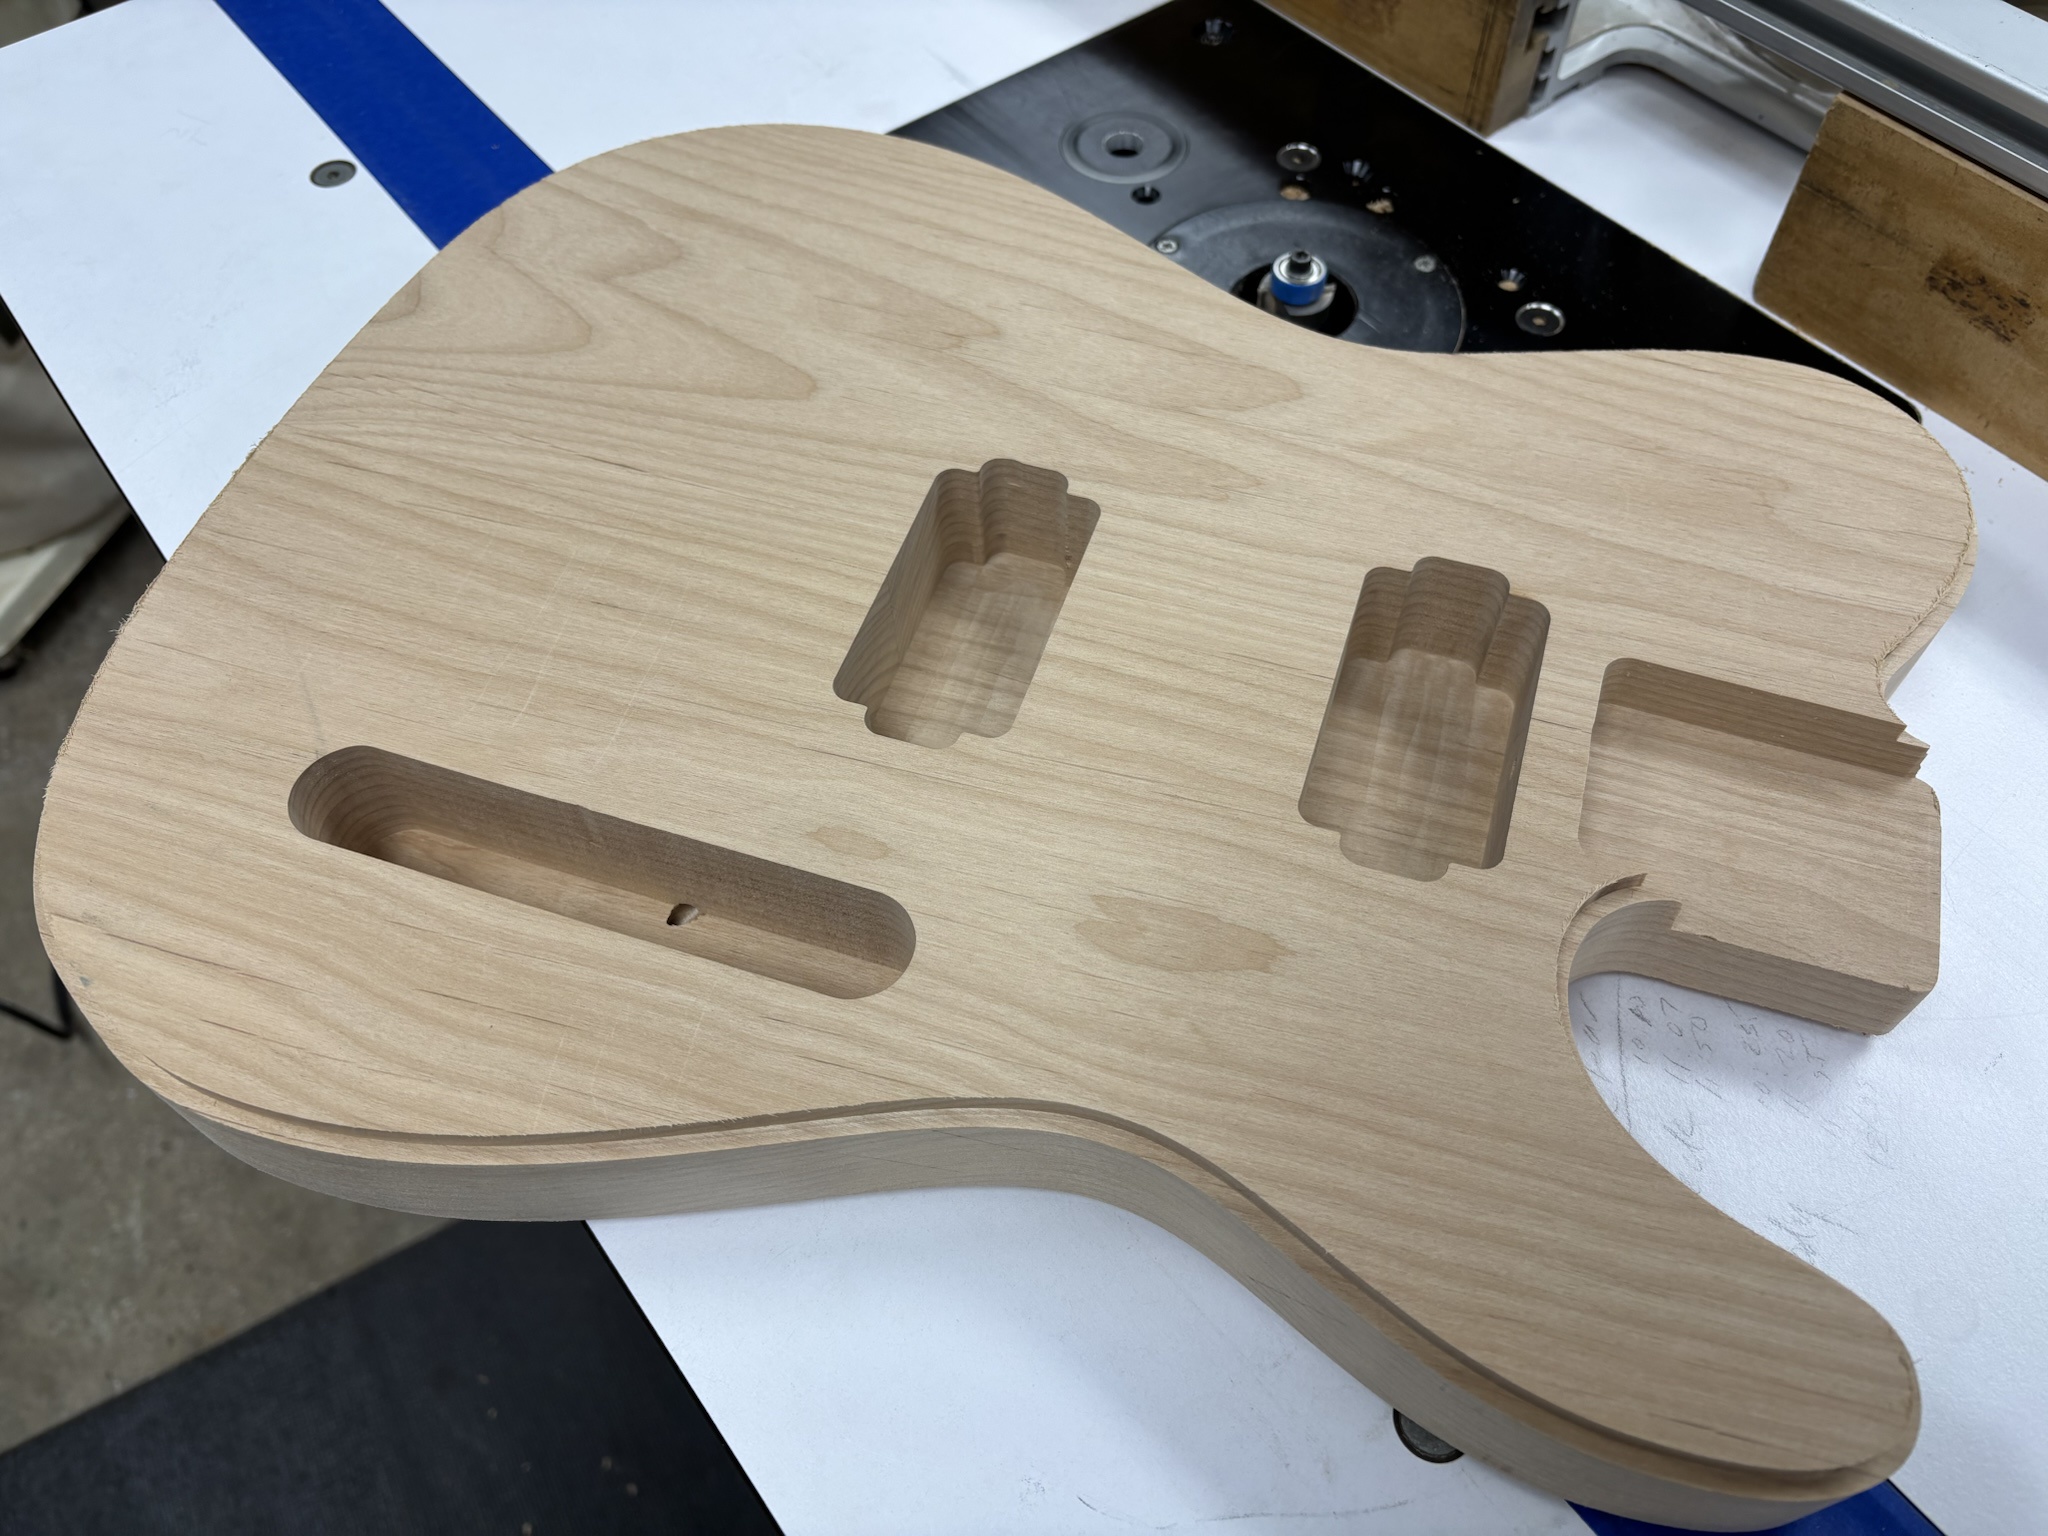
This is after the first pass. I'm using a carbide downcut endmill to keep things clean and avoid splintering.
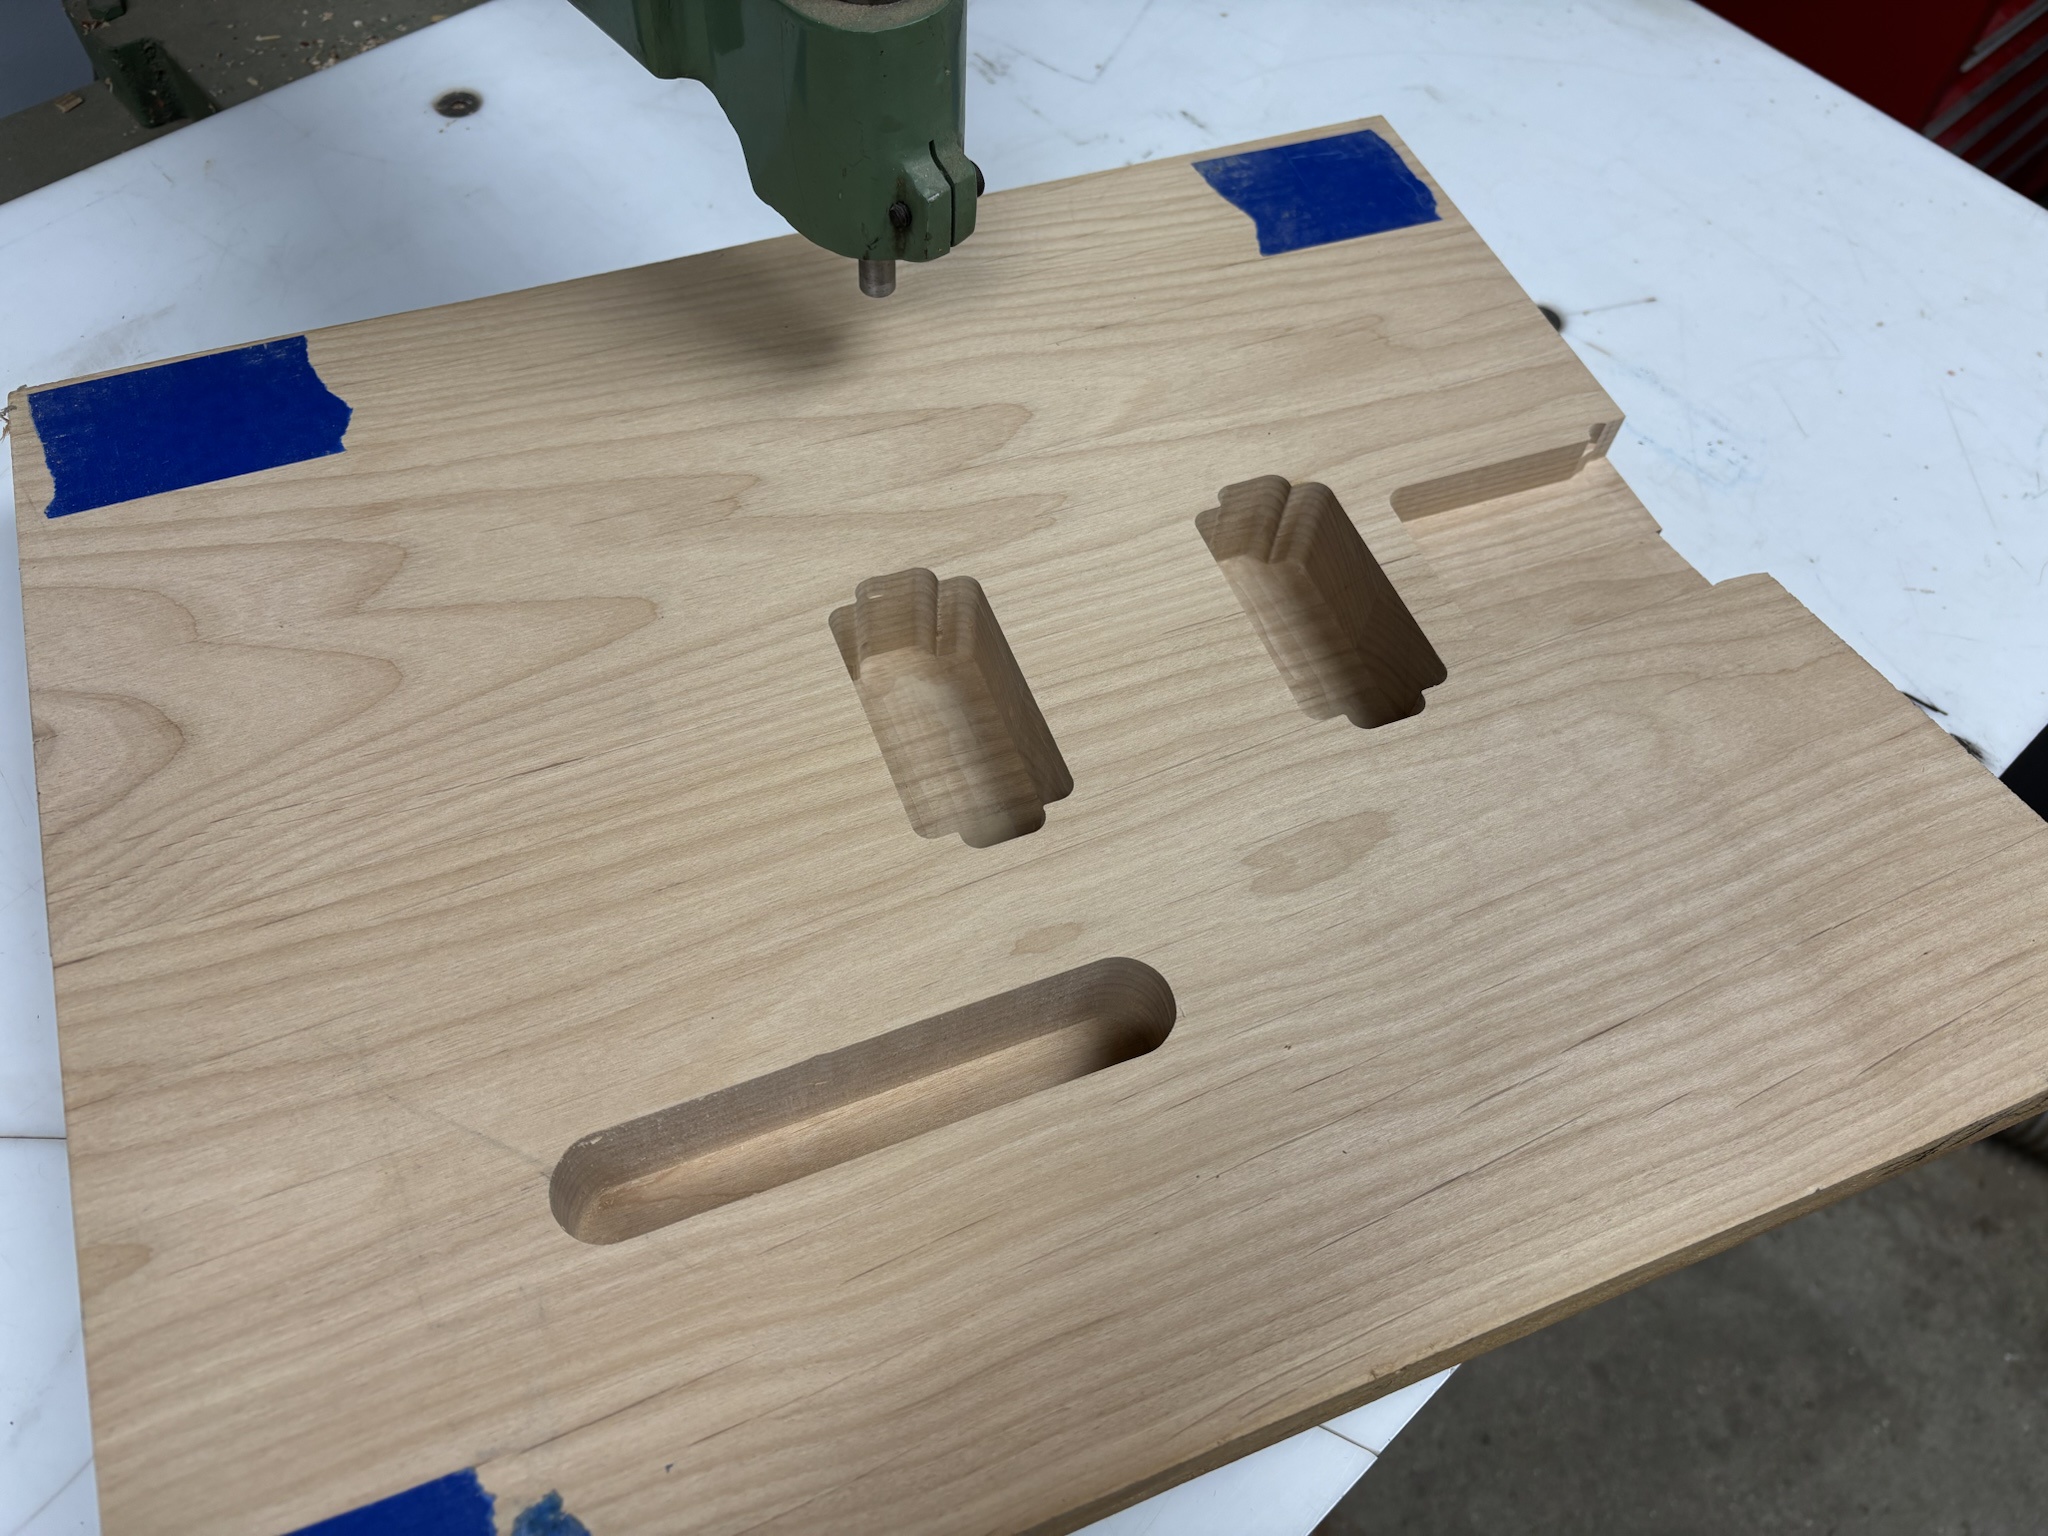
yiBIqP1.jpg


This is full depth.
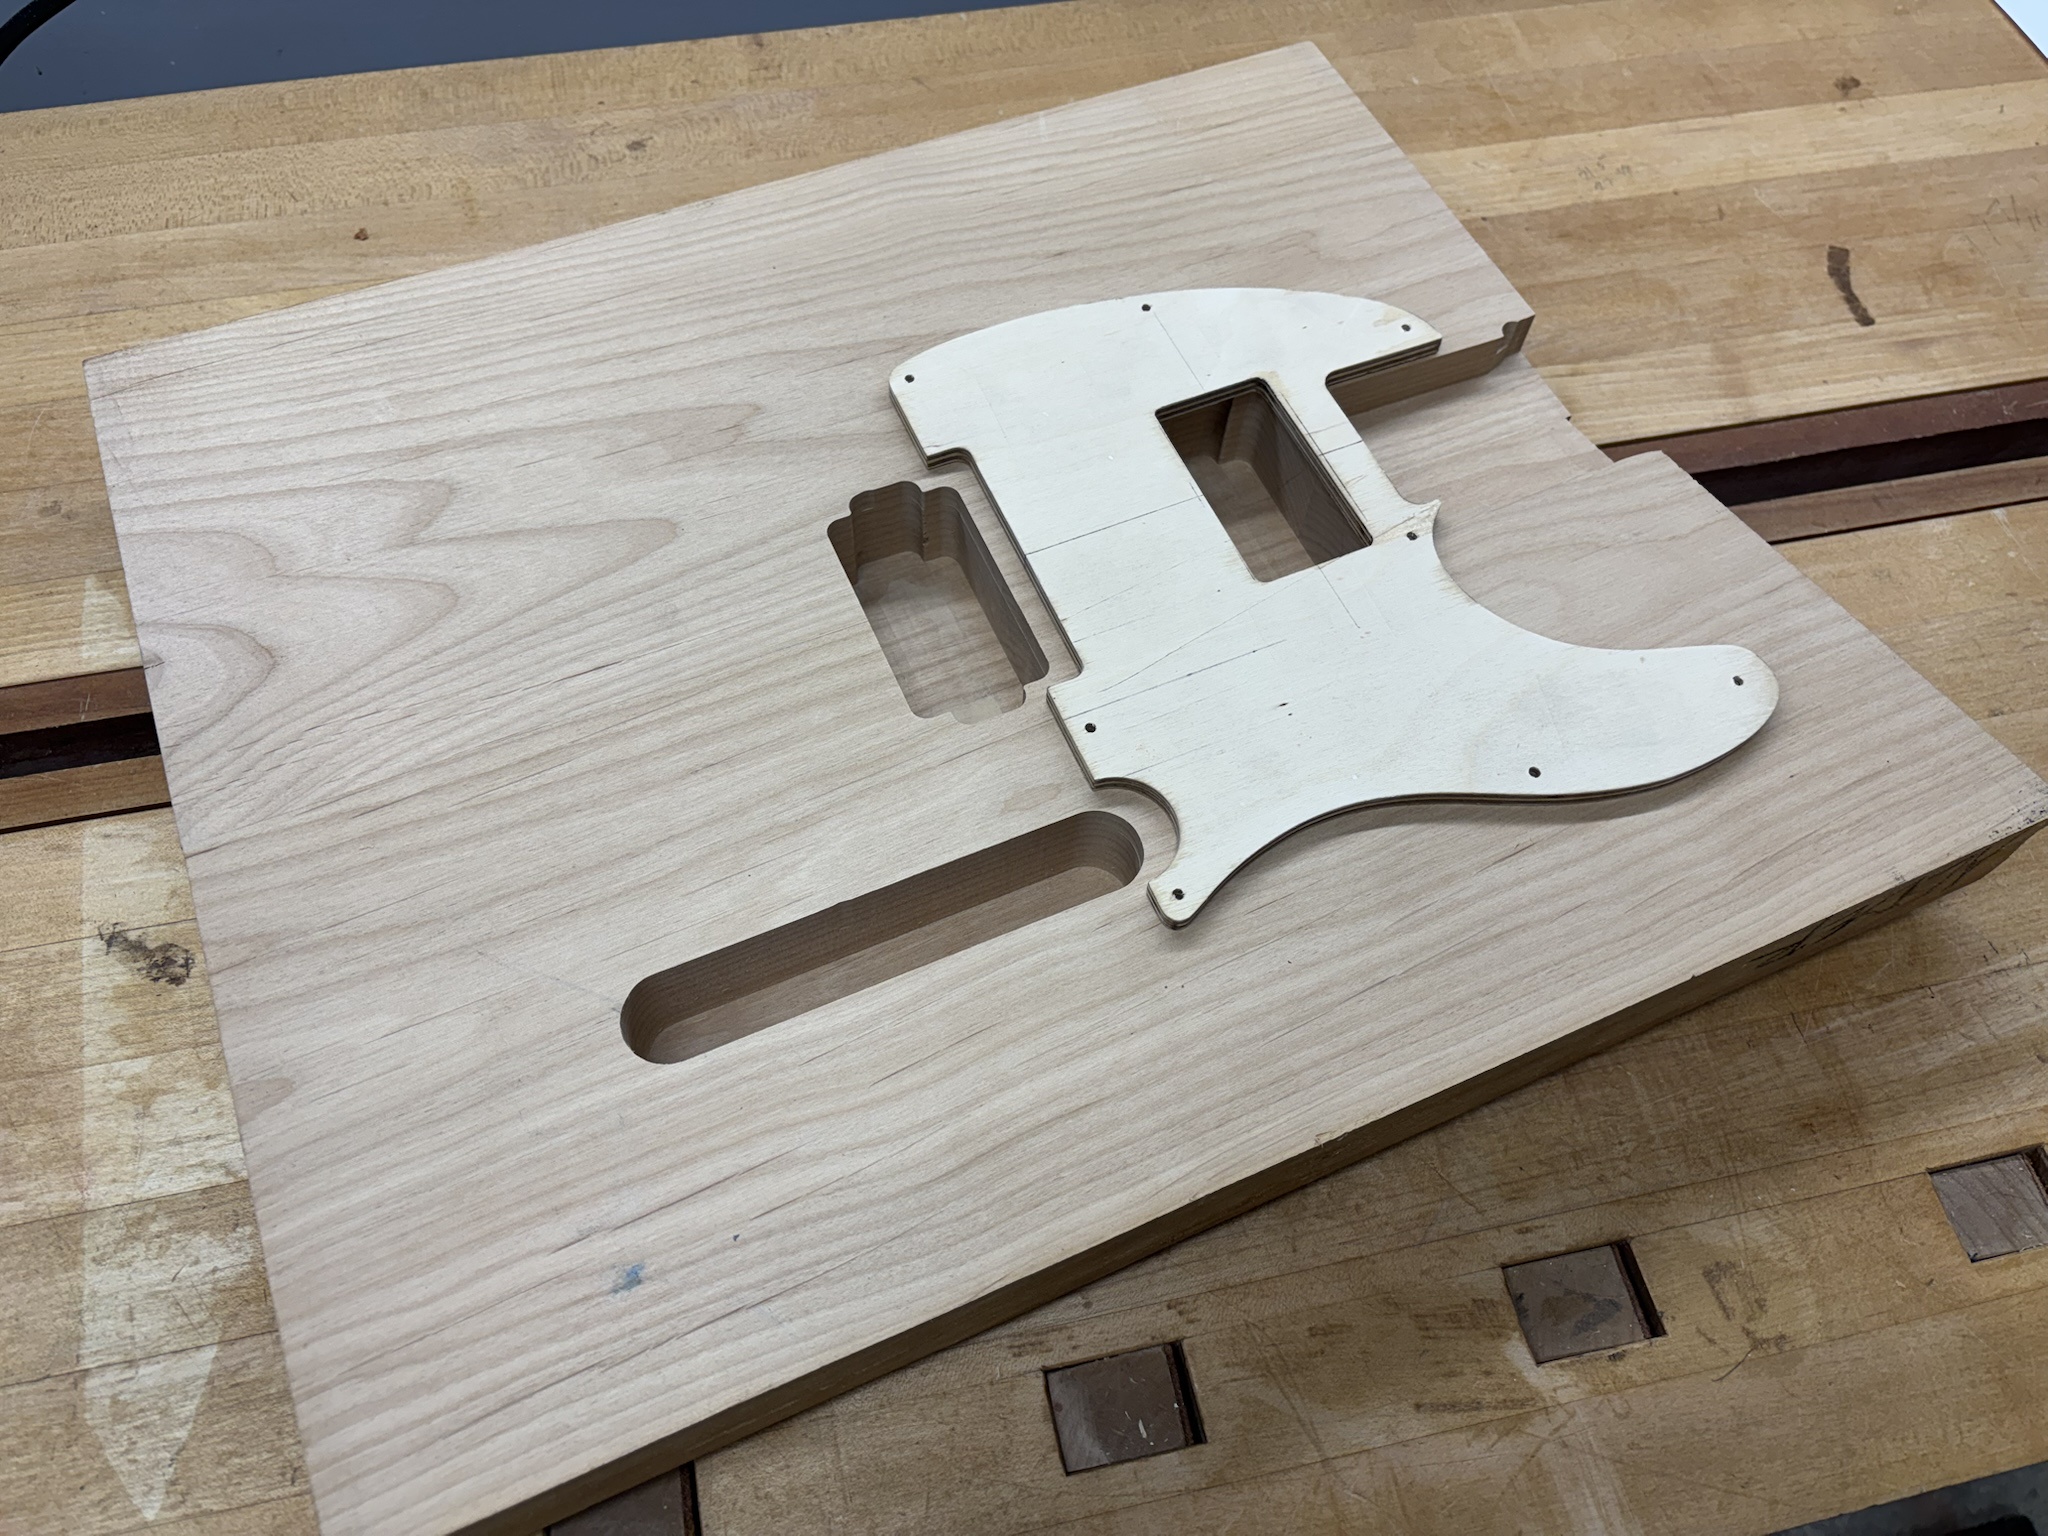
gDGoYGs.jpg


With the pickguard template in place as a visual aid. :D
jdE26GF.jpg


More soon. :)
 
Nice. The step by step pictures are great and I’m looking forward to another crazy paint job!
Thanks! At this point, the finish choice is a purple interference pearl (Didspade) over a black base coat. The photo below shows it over black and white base coats.

1735570310768.png


Of course, it won't likely look as dramatic on a flat surface, like a Telecaster, so I need to shoot a sample board to keep our expectations in check. :D

It will likely appear mostly black, which will probably be just fine, but it isn't really my call. Fingers crossed, because the backup alternative is a full blown purple flake finish, which is cool, but from experience... a royal pain.
 
Thanks! At this point, the finish choice is a purple interference pearl (Didspade) over a black base coat. The photo below shows it over black and white base coats.

View attachment 7111600

Of course, it won't likely look as dramatic on a flat surface, like a Telecaster, so I need to shoot a sample board to keep our expectations in check. :D

It will likely appear mostly black, which will probably be just fine, but it isn't really my call. Fingers crossed, because the backup alternative is a full blown purple flake finish, which is cool, but from experience... a royal pain.


Yep, you never completely get the flake cleaned up in the garage, or at least not after 6 months. :roflmao: Making sure the purple shows sound like an excellent reason for some superfluous contours. Also, superfluous contours could be a good band name. Gratuitous contours maybe?
 
Only the best build Tele's! :p
Heck yeah!
Yep, you never completely get the flake cleaned up in the garage, or at least not after 6 months. :roflmao: Making sure the purple shows sound like an excellent reason for some superfluous contours. Also, superfluous contours could be a good band name. Gratuitous contours maybe?
Ain’t that the truth? I still find the occasional stray speck of flake in the house from that batch a few years ago!
 
It's been a while since I've updated this thread. I've managed to make a little progress recently.

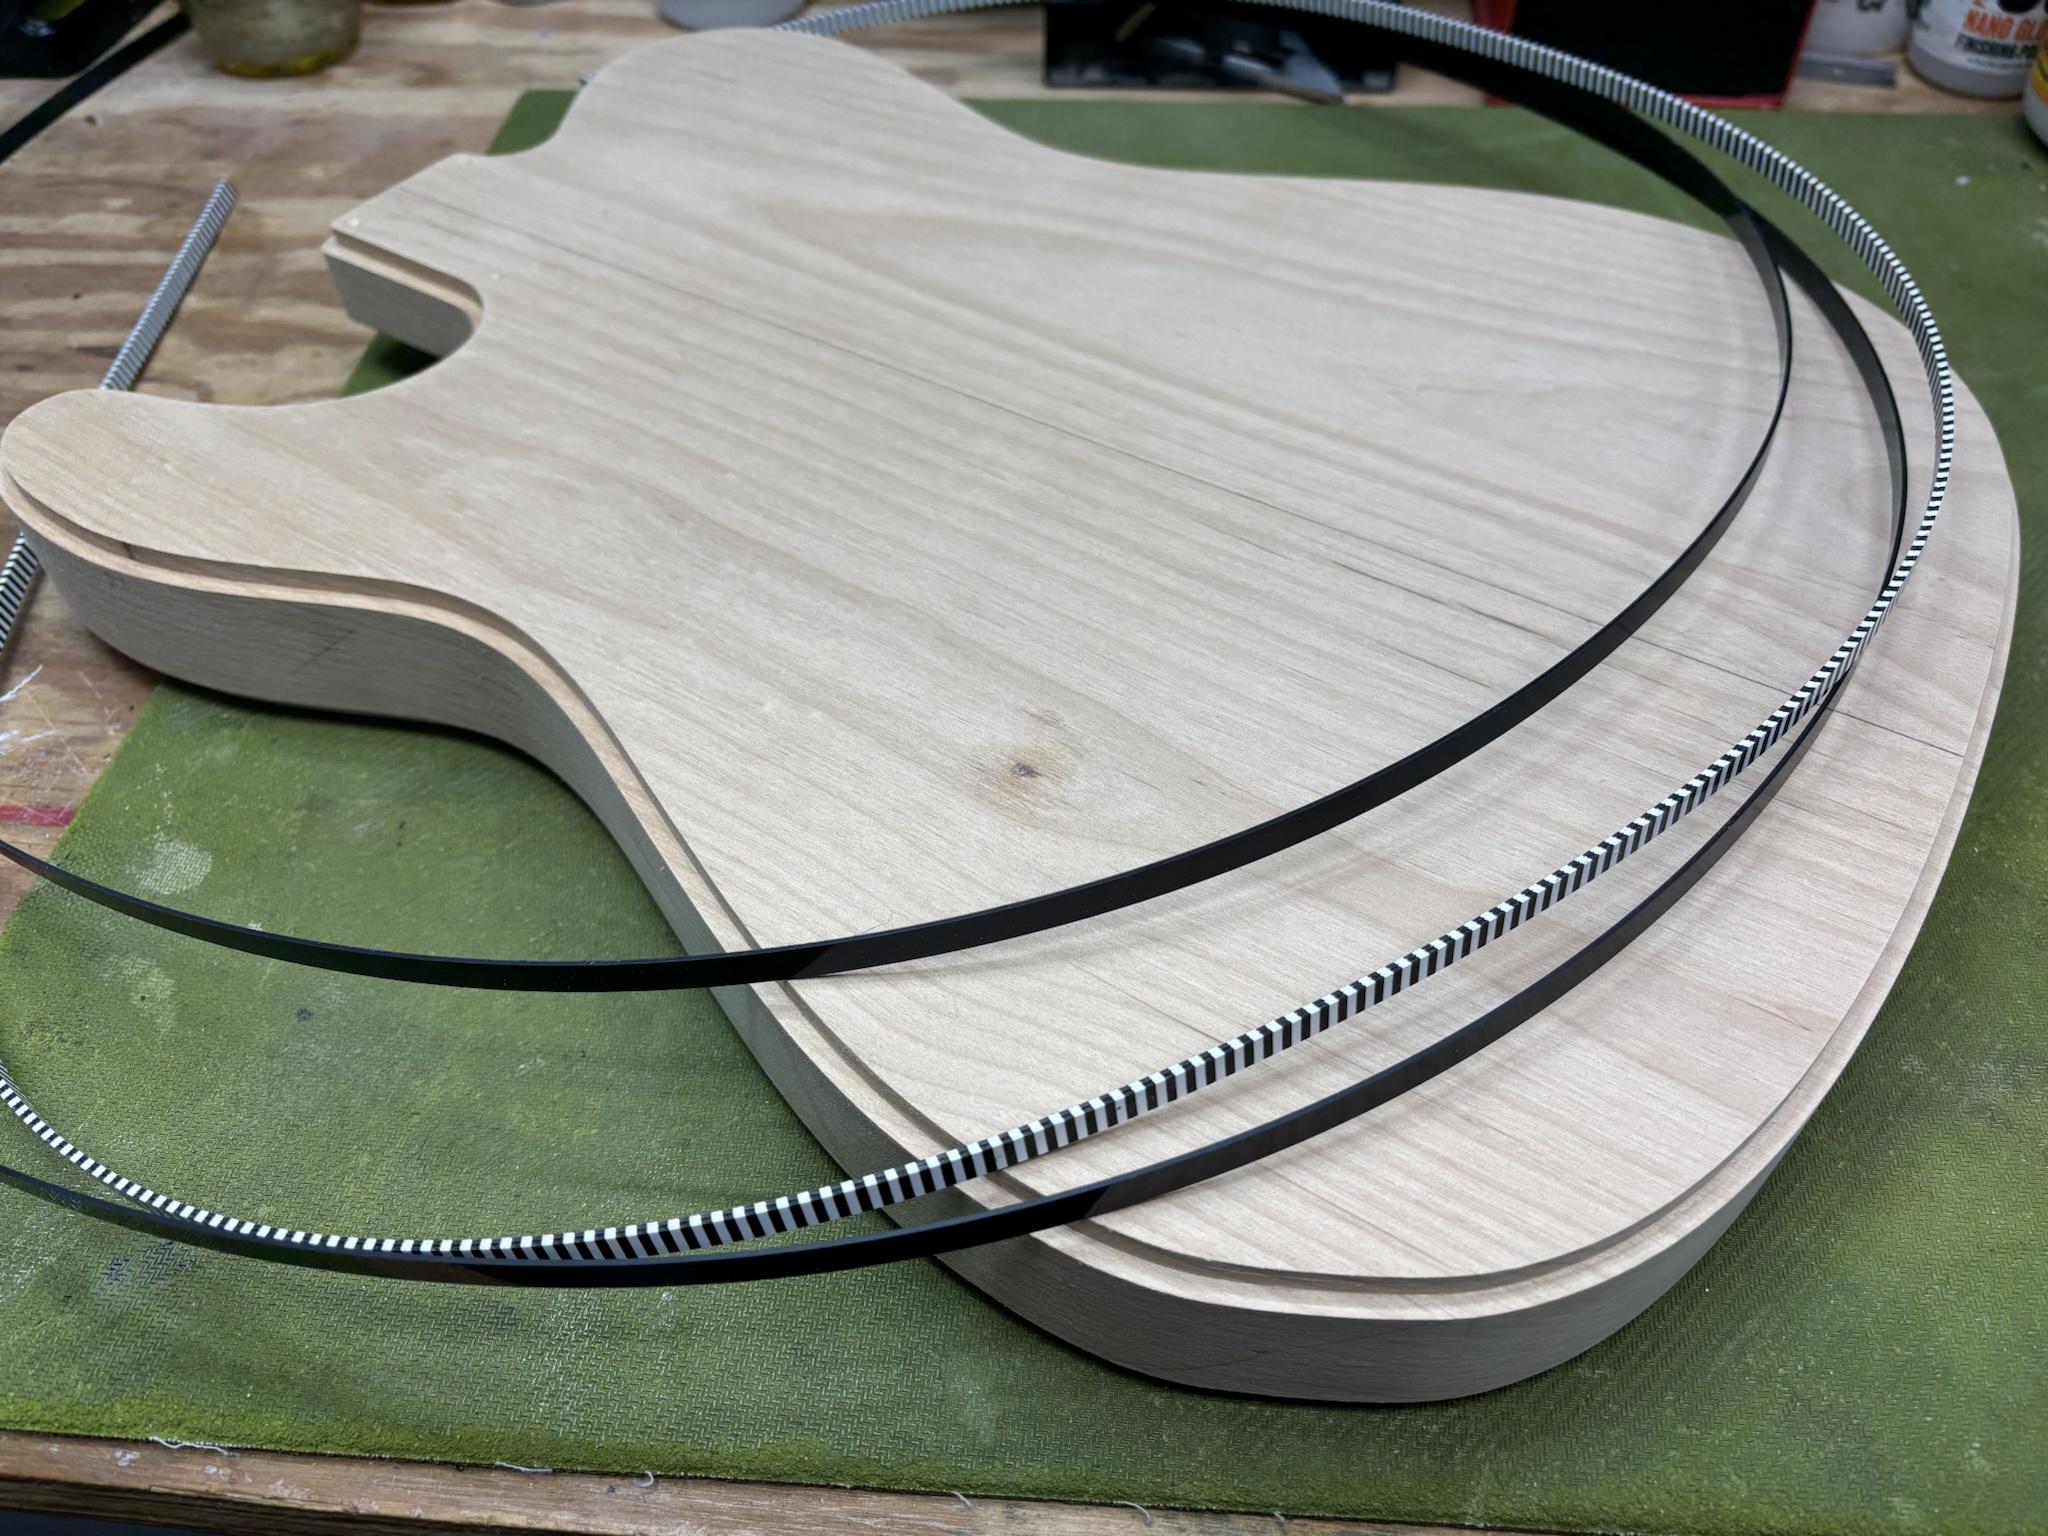
Routed for the binding. This one will be double bound, so both front and back were routed.
O3R5e4N.jpg


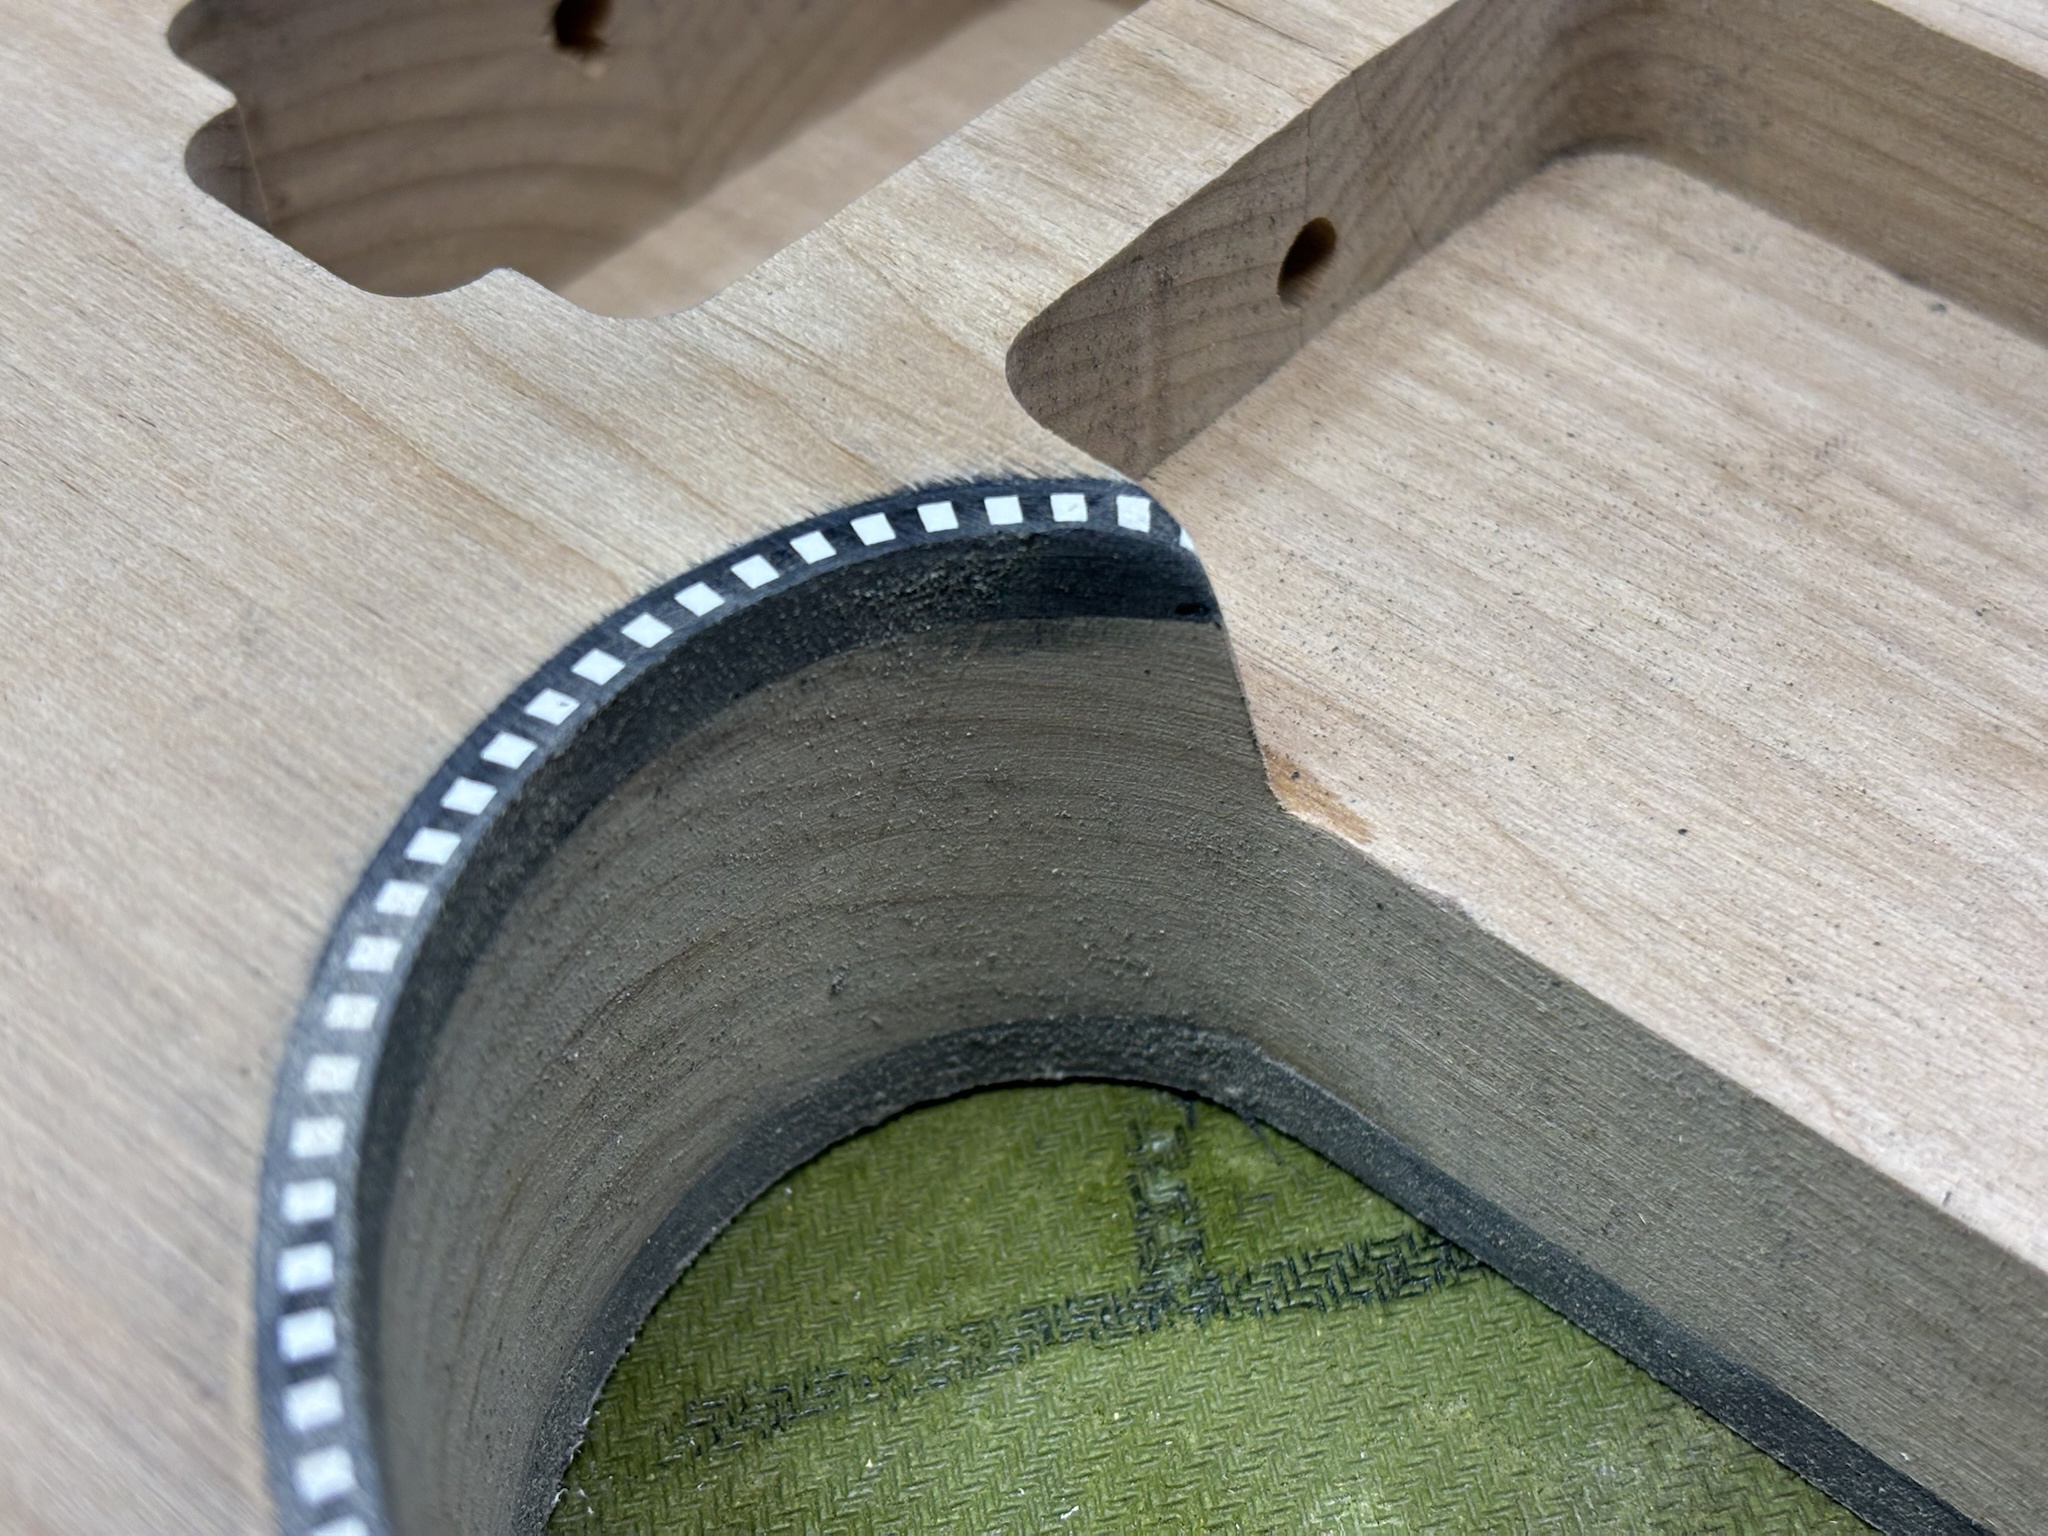
I'm using black and white celluloid checkerboard binding sammiched between 2 pieces of .040" black ABS binding.
TErAs5l.jpg


Here it is part way through the first 2 layers. The black and white stuff is very short, so I have to steal a small chunk from another piece to finish out the perimeter. Acetone was used to weld the bindings to the body and to each other.
xD6ujON.jpg


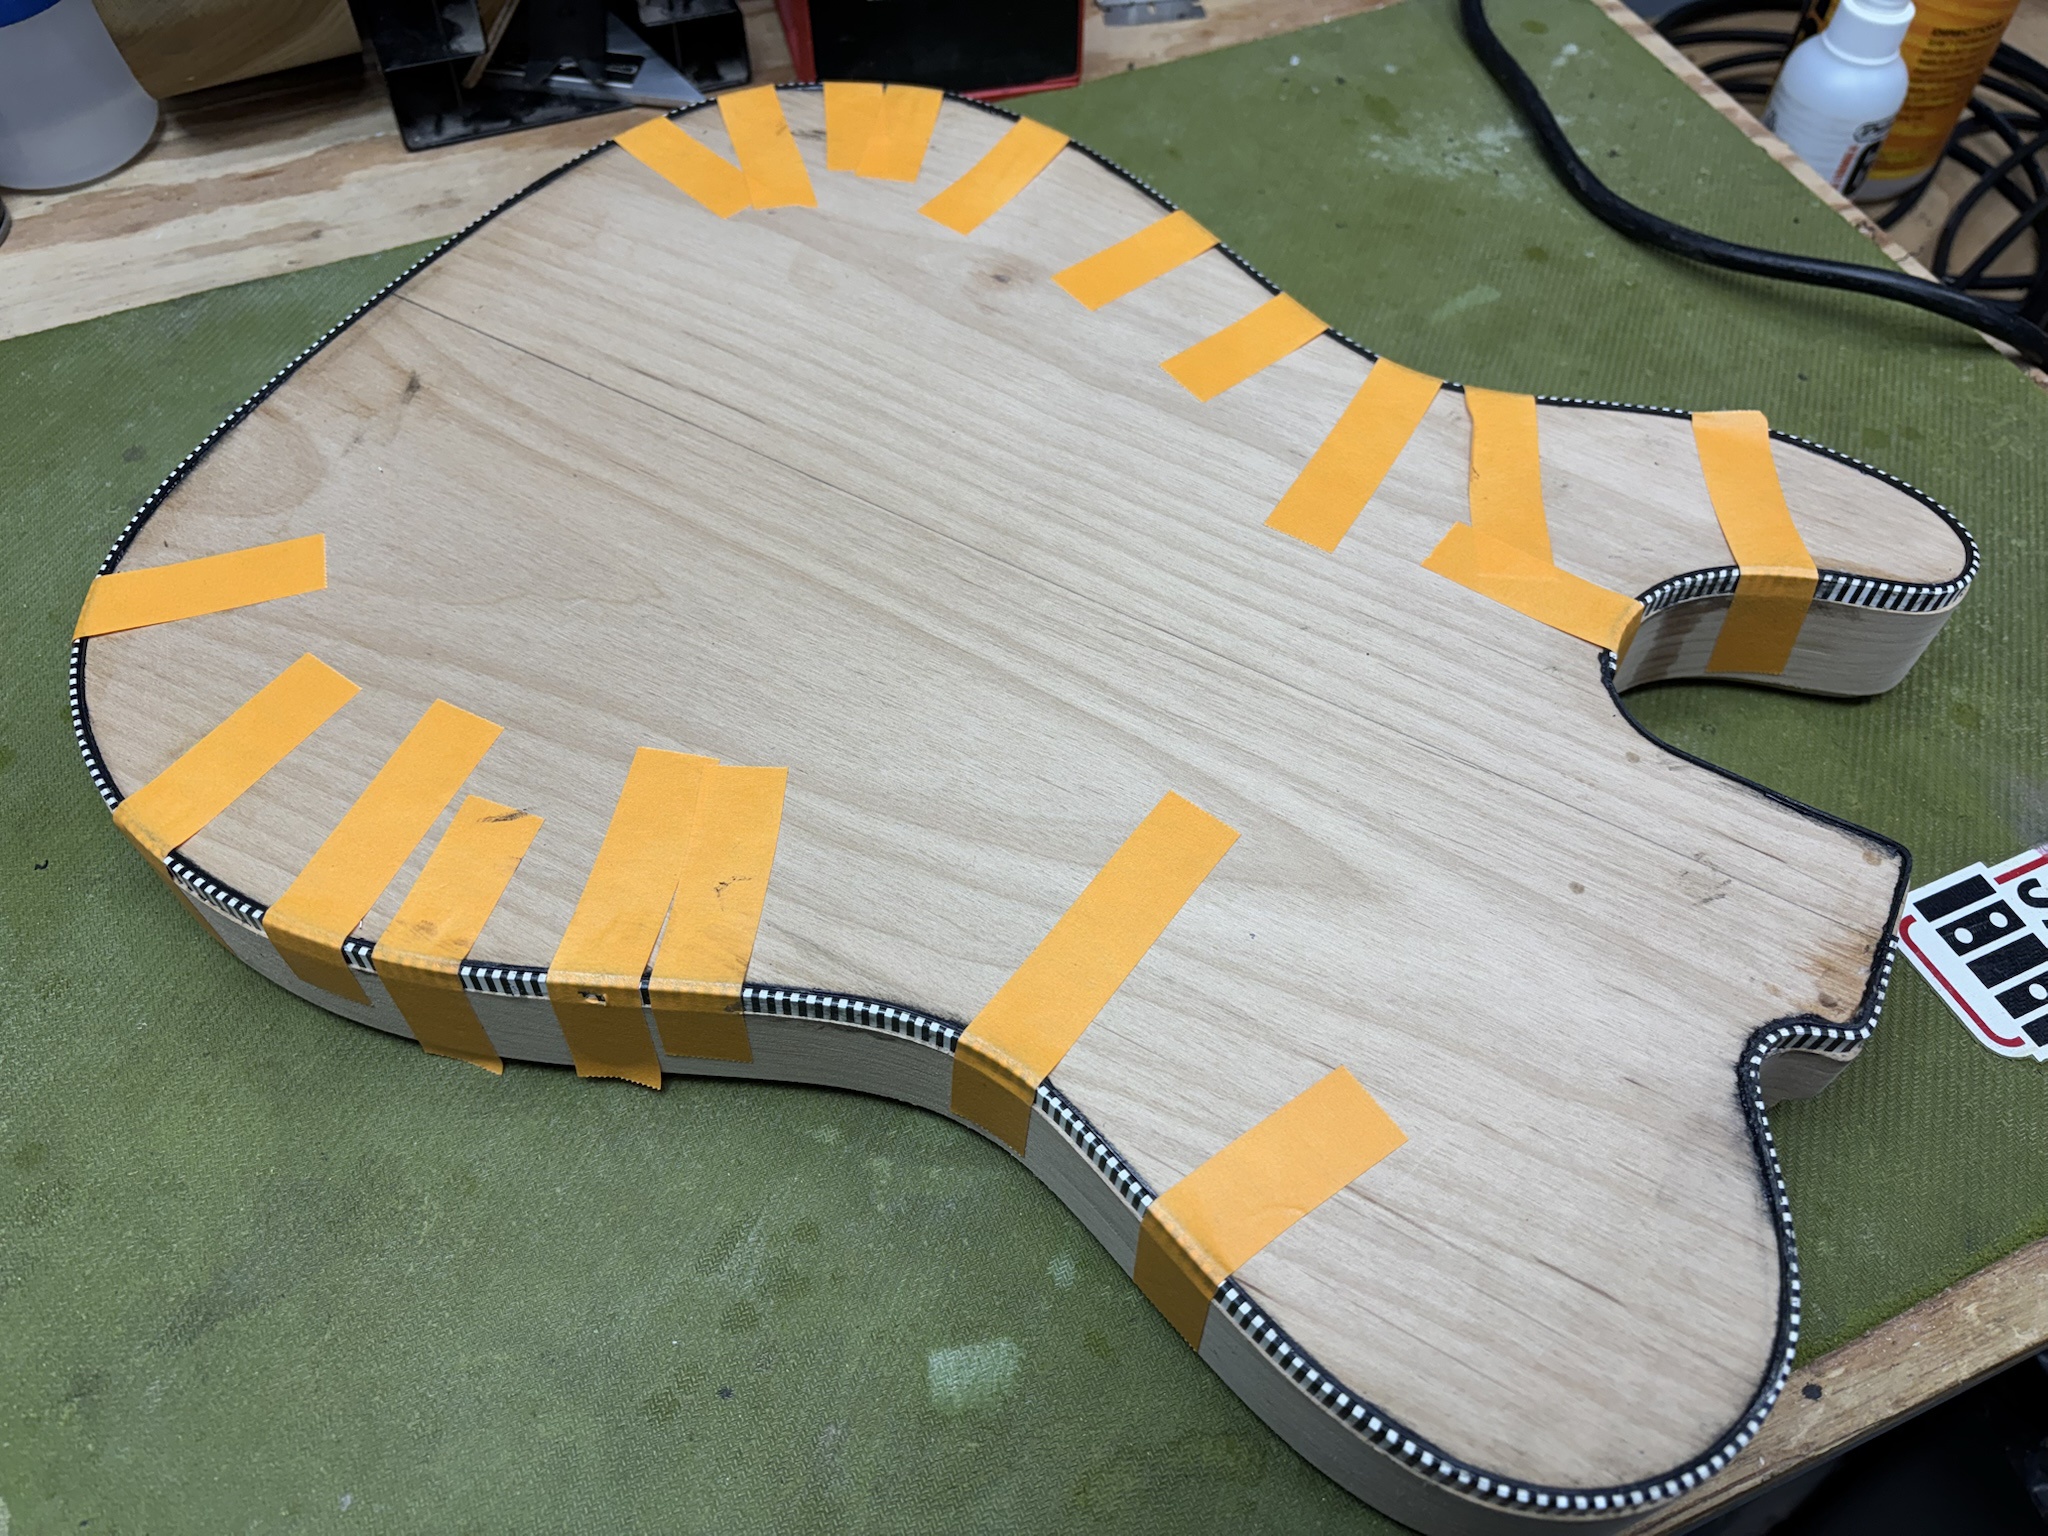
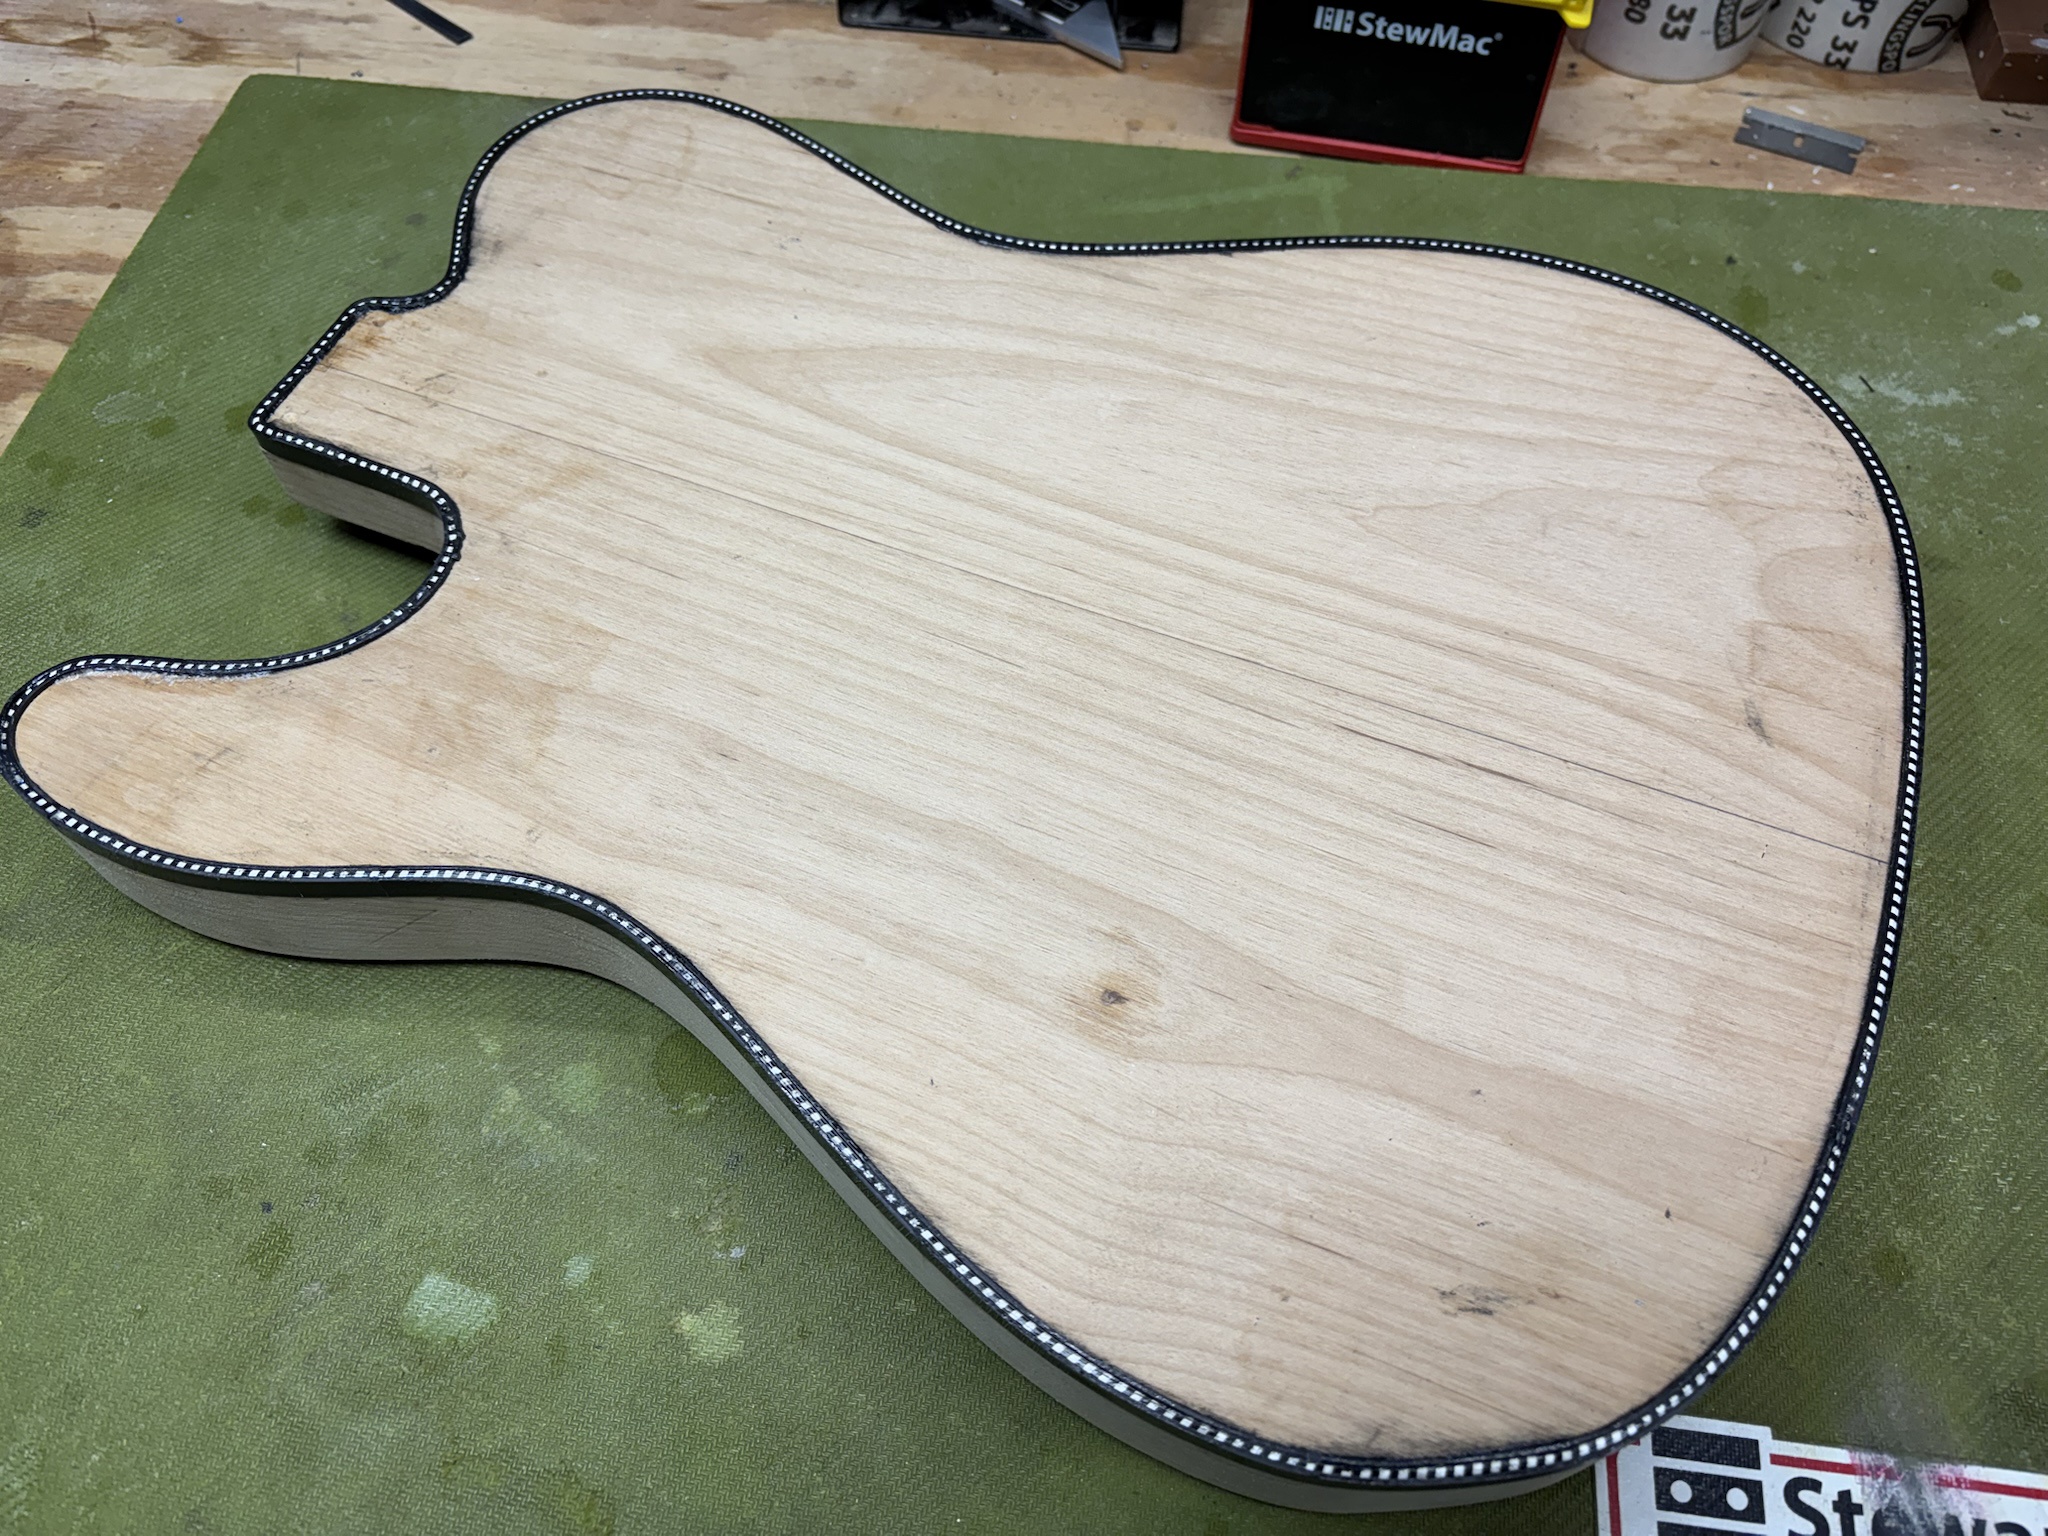
All three layers applied to the back.
31q9zyR.jpg


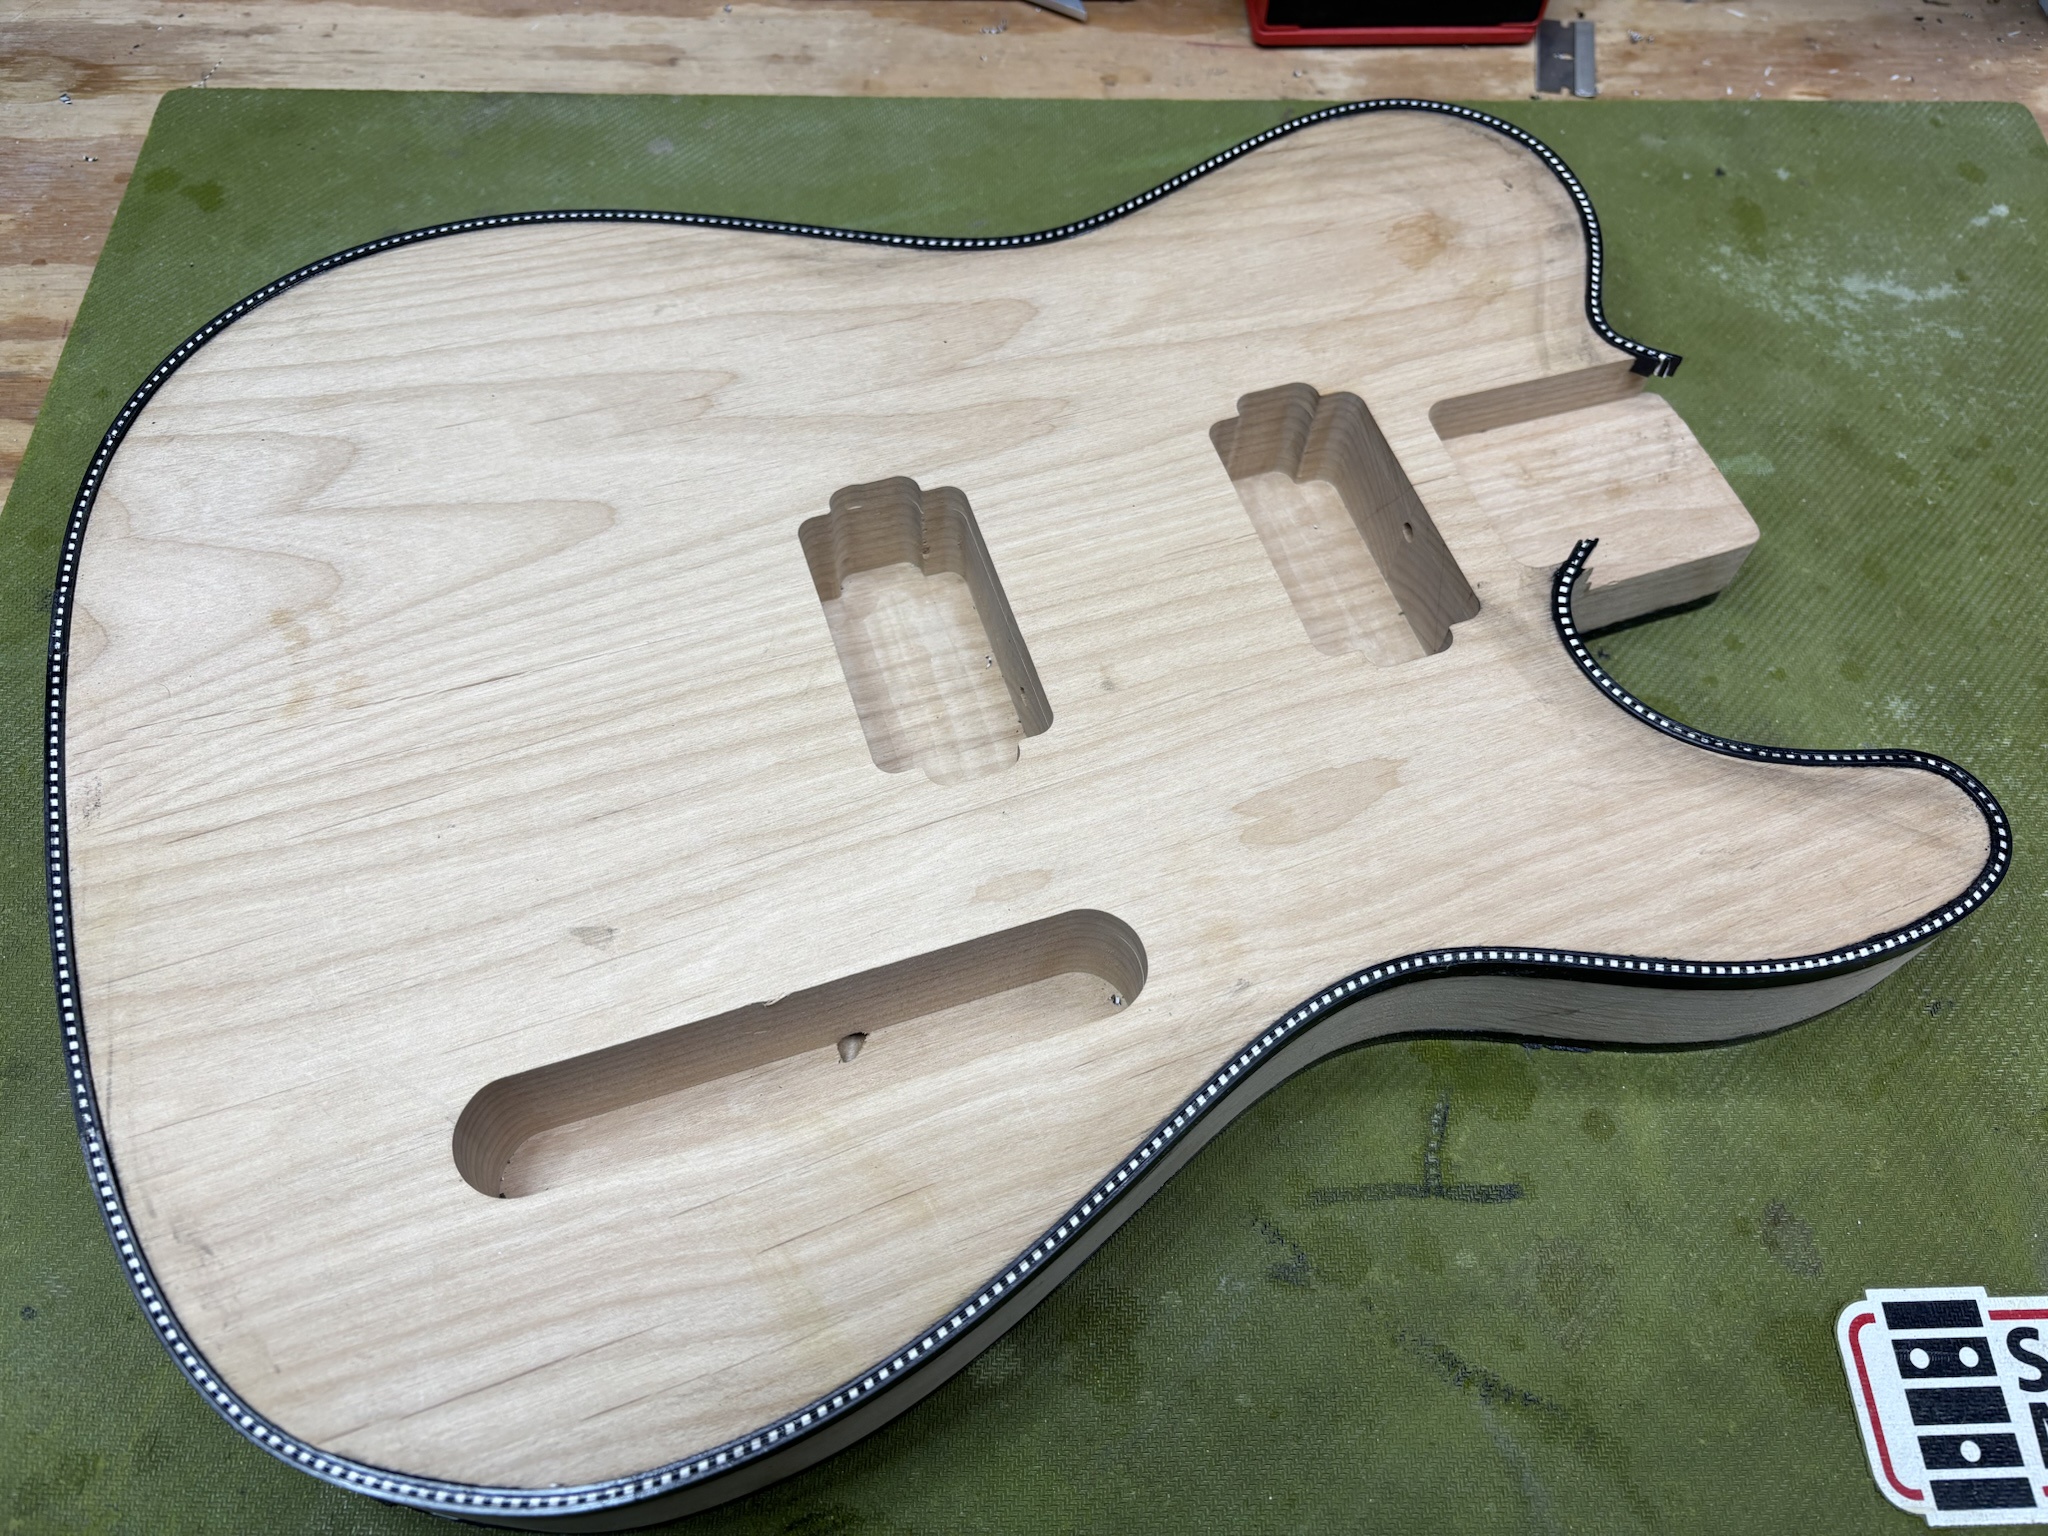
And the binding applied to the front.
wpRkM8P.jpg


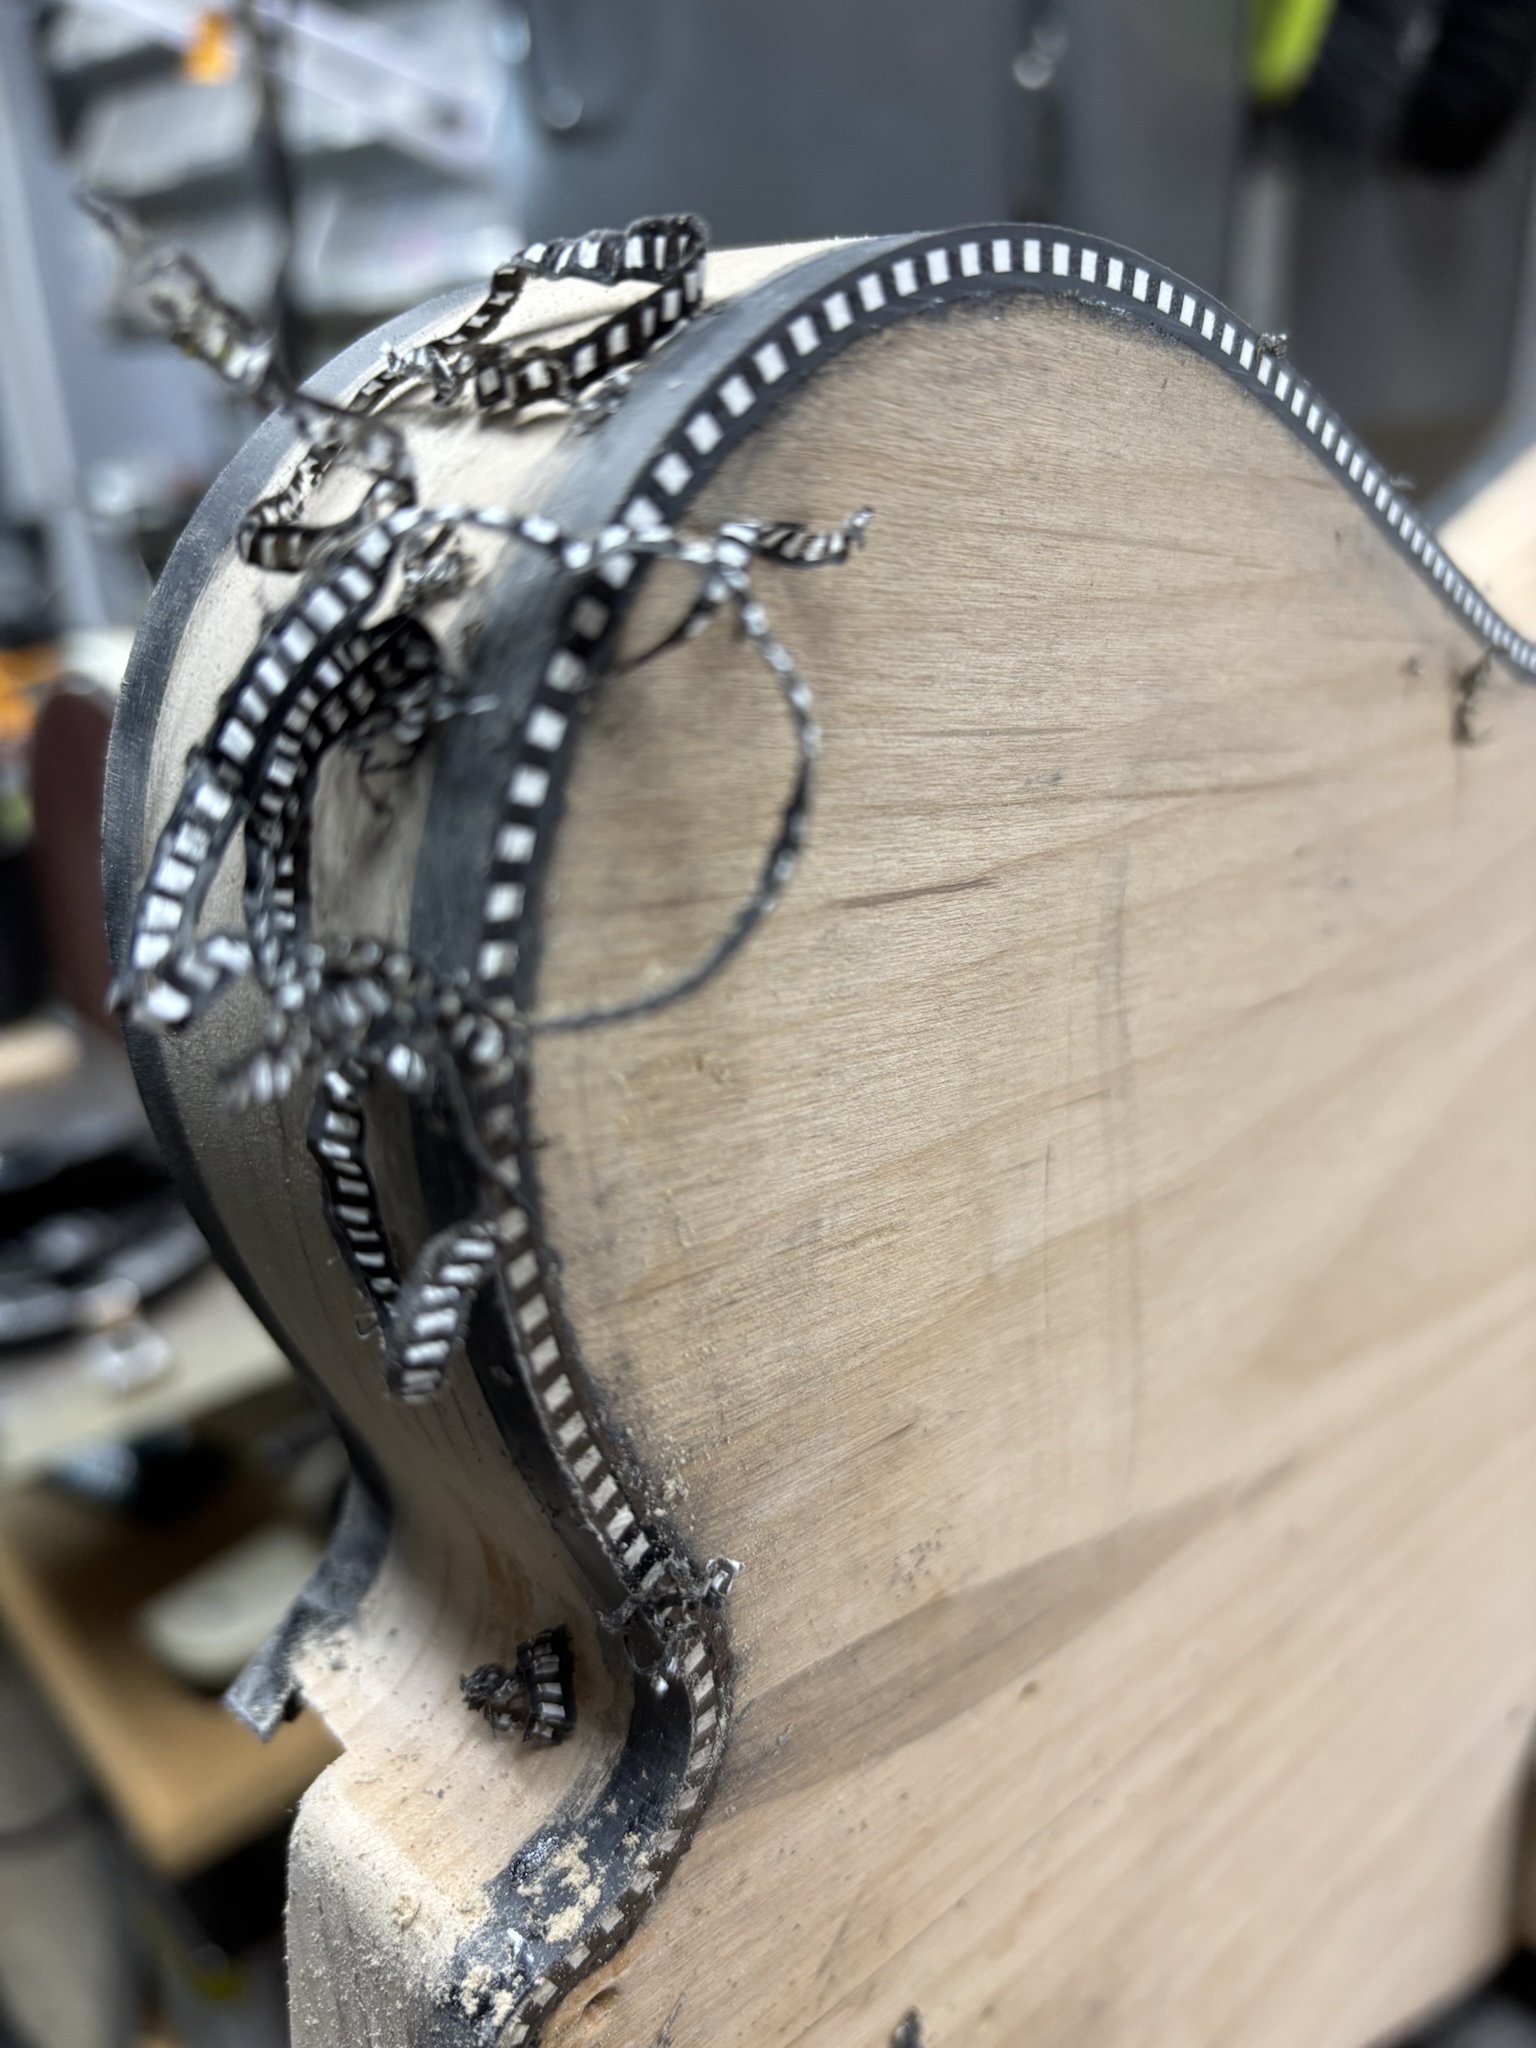
Much scraping ensued.
6X1jQTF.jpg


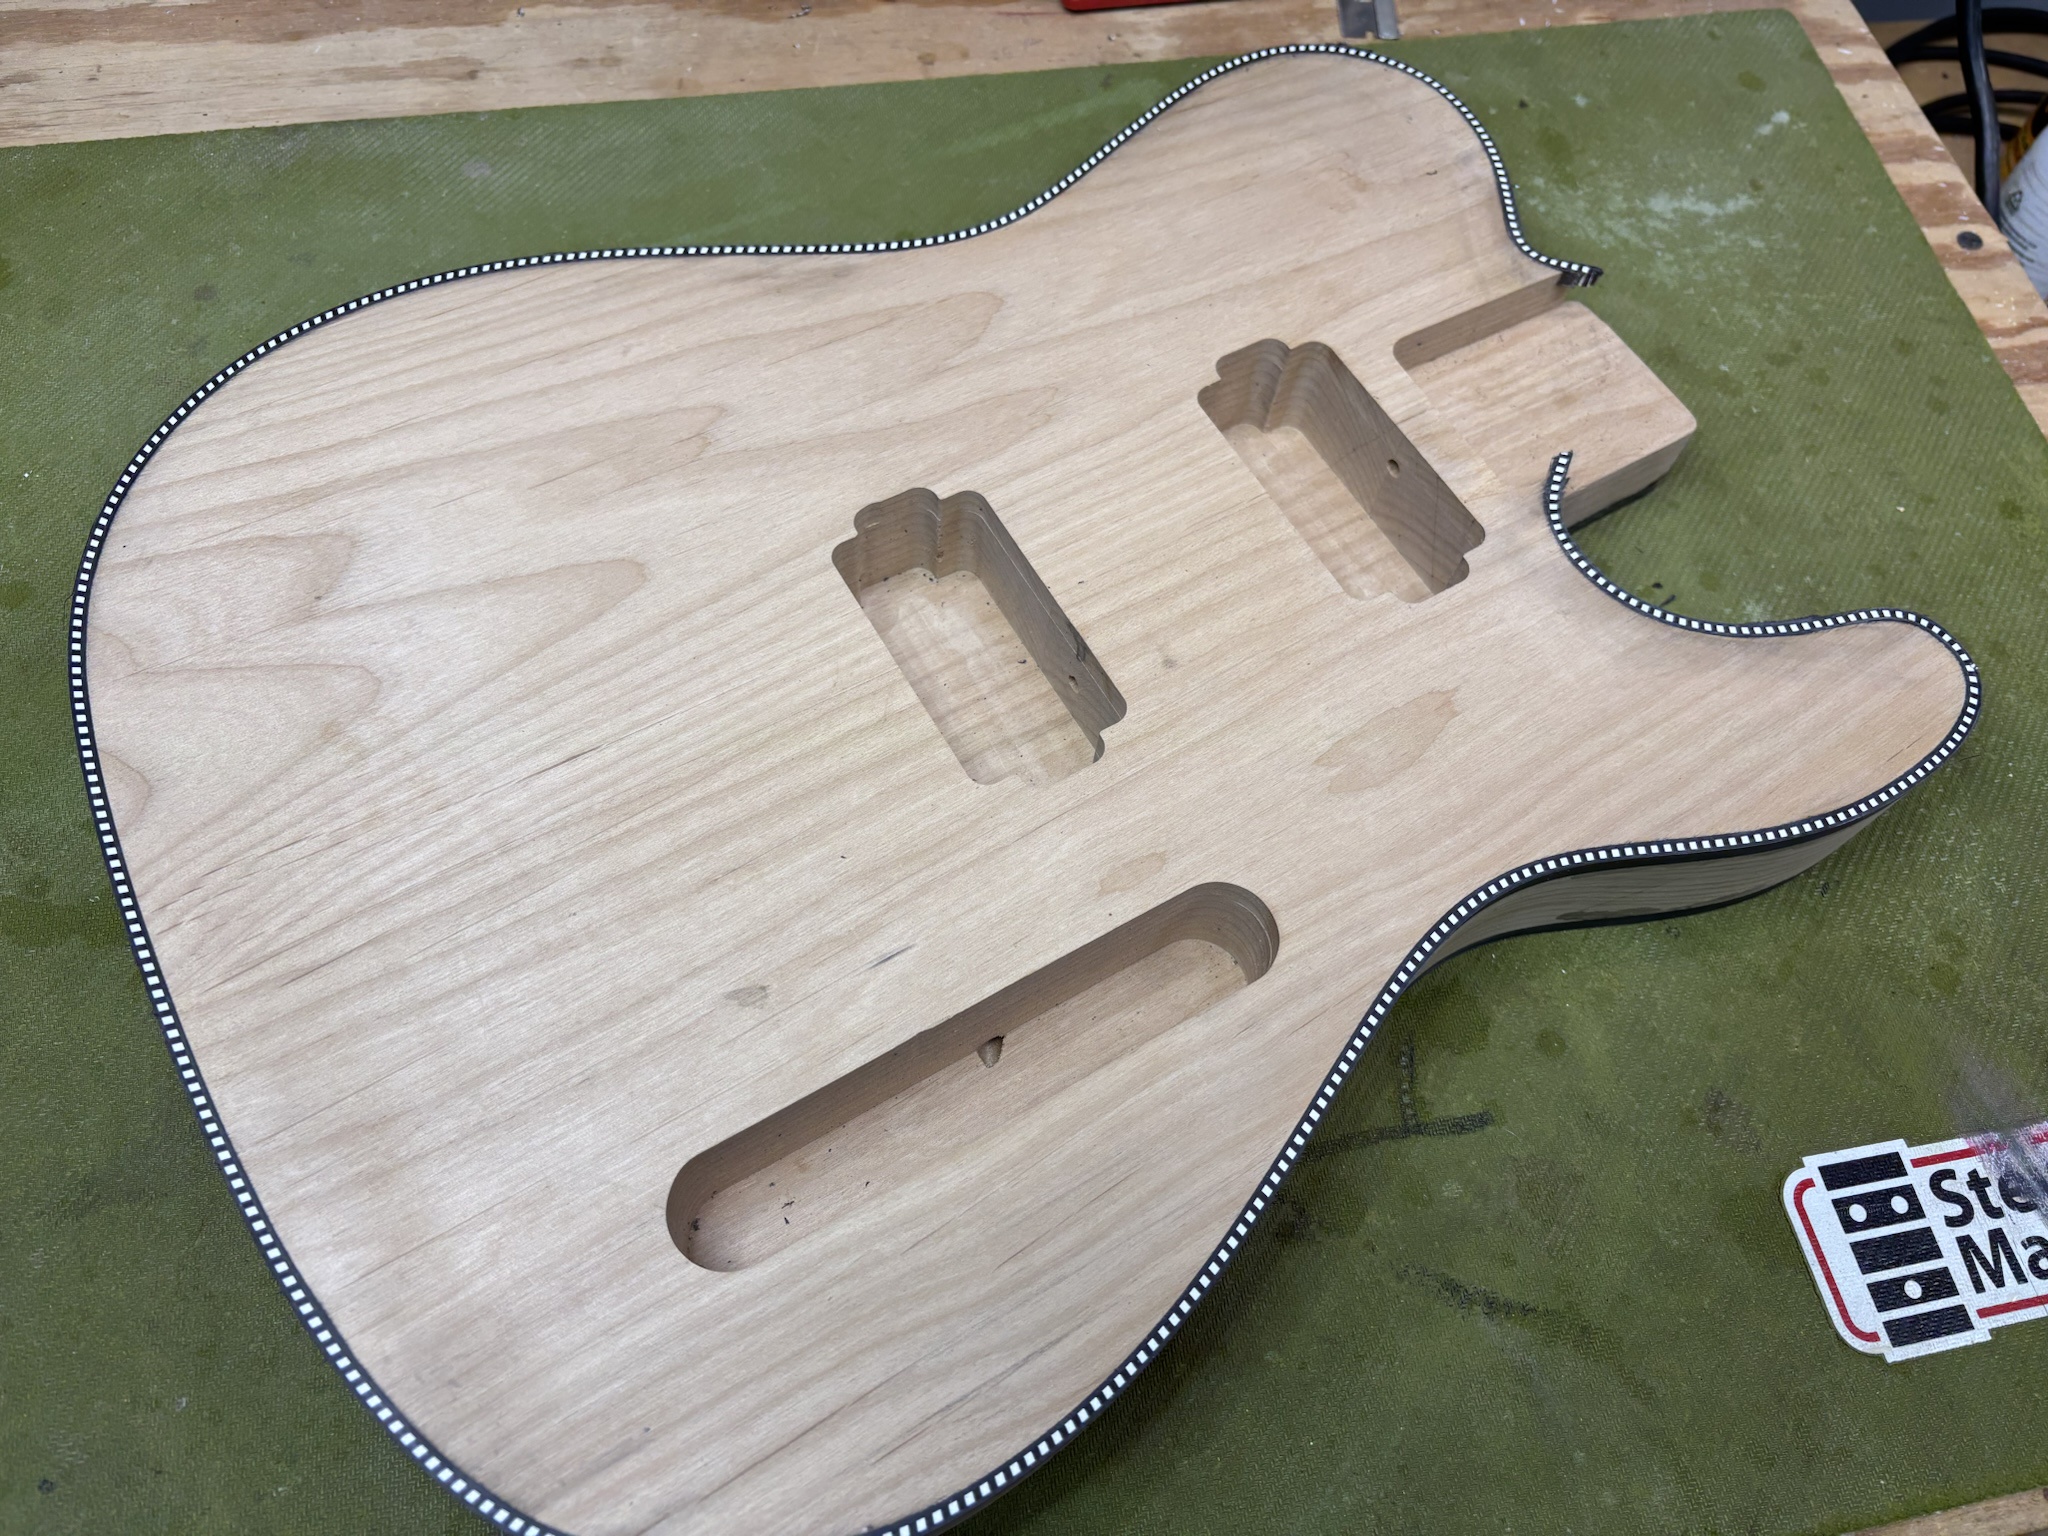
Bindings are now roughly scraped flush. Still need to trim flush in the neck pocket and look it over for touch ups.
5e966bM.jpg


I really need to get busy on the neck if I'm going to get this done in time!

More soon. :)
 
It's been a while since I've updated this thread. I've managed to make a little progress recently.

Routed for the binding. This one will be double bound, so both front and back were routed.
O3R5e4N.jpg


I'm using black and white celluloid checkerboard binding sammiched between 2 pieces of .040" black ABS binding.
TErAs5l.jpg


Here it is part way through the first 2 layers. The black and white stuff is very short, so I have to steal a small chunk from another piece to finish out the perimeter. Acetone was used to weld the bindings to the body and to each other.
xD6ujON.jpg


All three layers applied to the back.
31q9zyR.jpg


And the binding applied to the front.
wpRkM8P.jpg


Much scraping ensued.
6X1jQTF.jpg


Bindings are now roughly scraped flush. Still need to trim flush in the neck pocket and look it over for touch ups.
5e966bM.jpg


I really need to get busy on the neck if I'm going to get this done in time!

More soon. :)
That's looking sweet. Do you tape the bindings on in a stack and then apply the acetone? Or do you need to apply it to each layer as you go?
 
  • Like
Reactions: Gary_M
That's looking sweet. Do you tape the bindings on in a stack and then apply the acetone? Or do you need to apply it to each layer as you go?
I do them one layer at a time. There are areas (especially around the neck end of the body) where I have to apply heat to make them conform to the curves of the body. Having 3 layers to deal with all at once would make it super tricky. The checkboard binding is super stiff.
 
I've been able to make a little more progress this weekend. Here are the highlights. :)

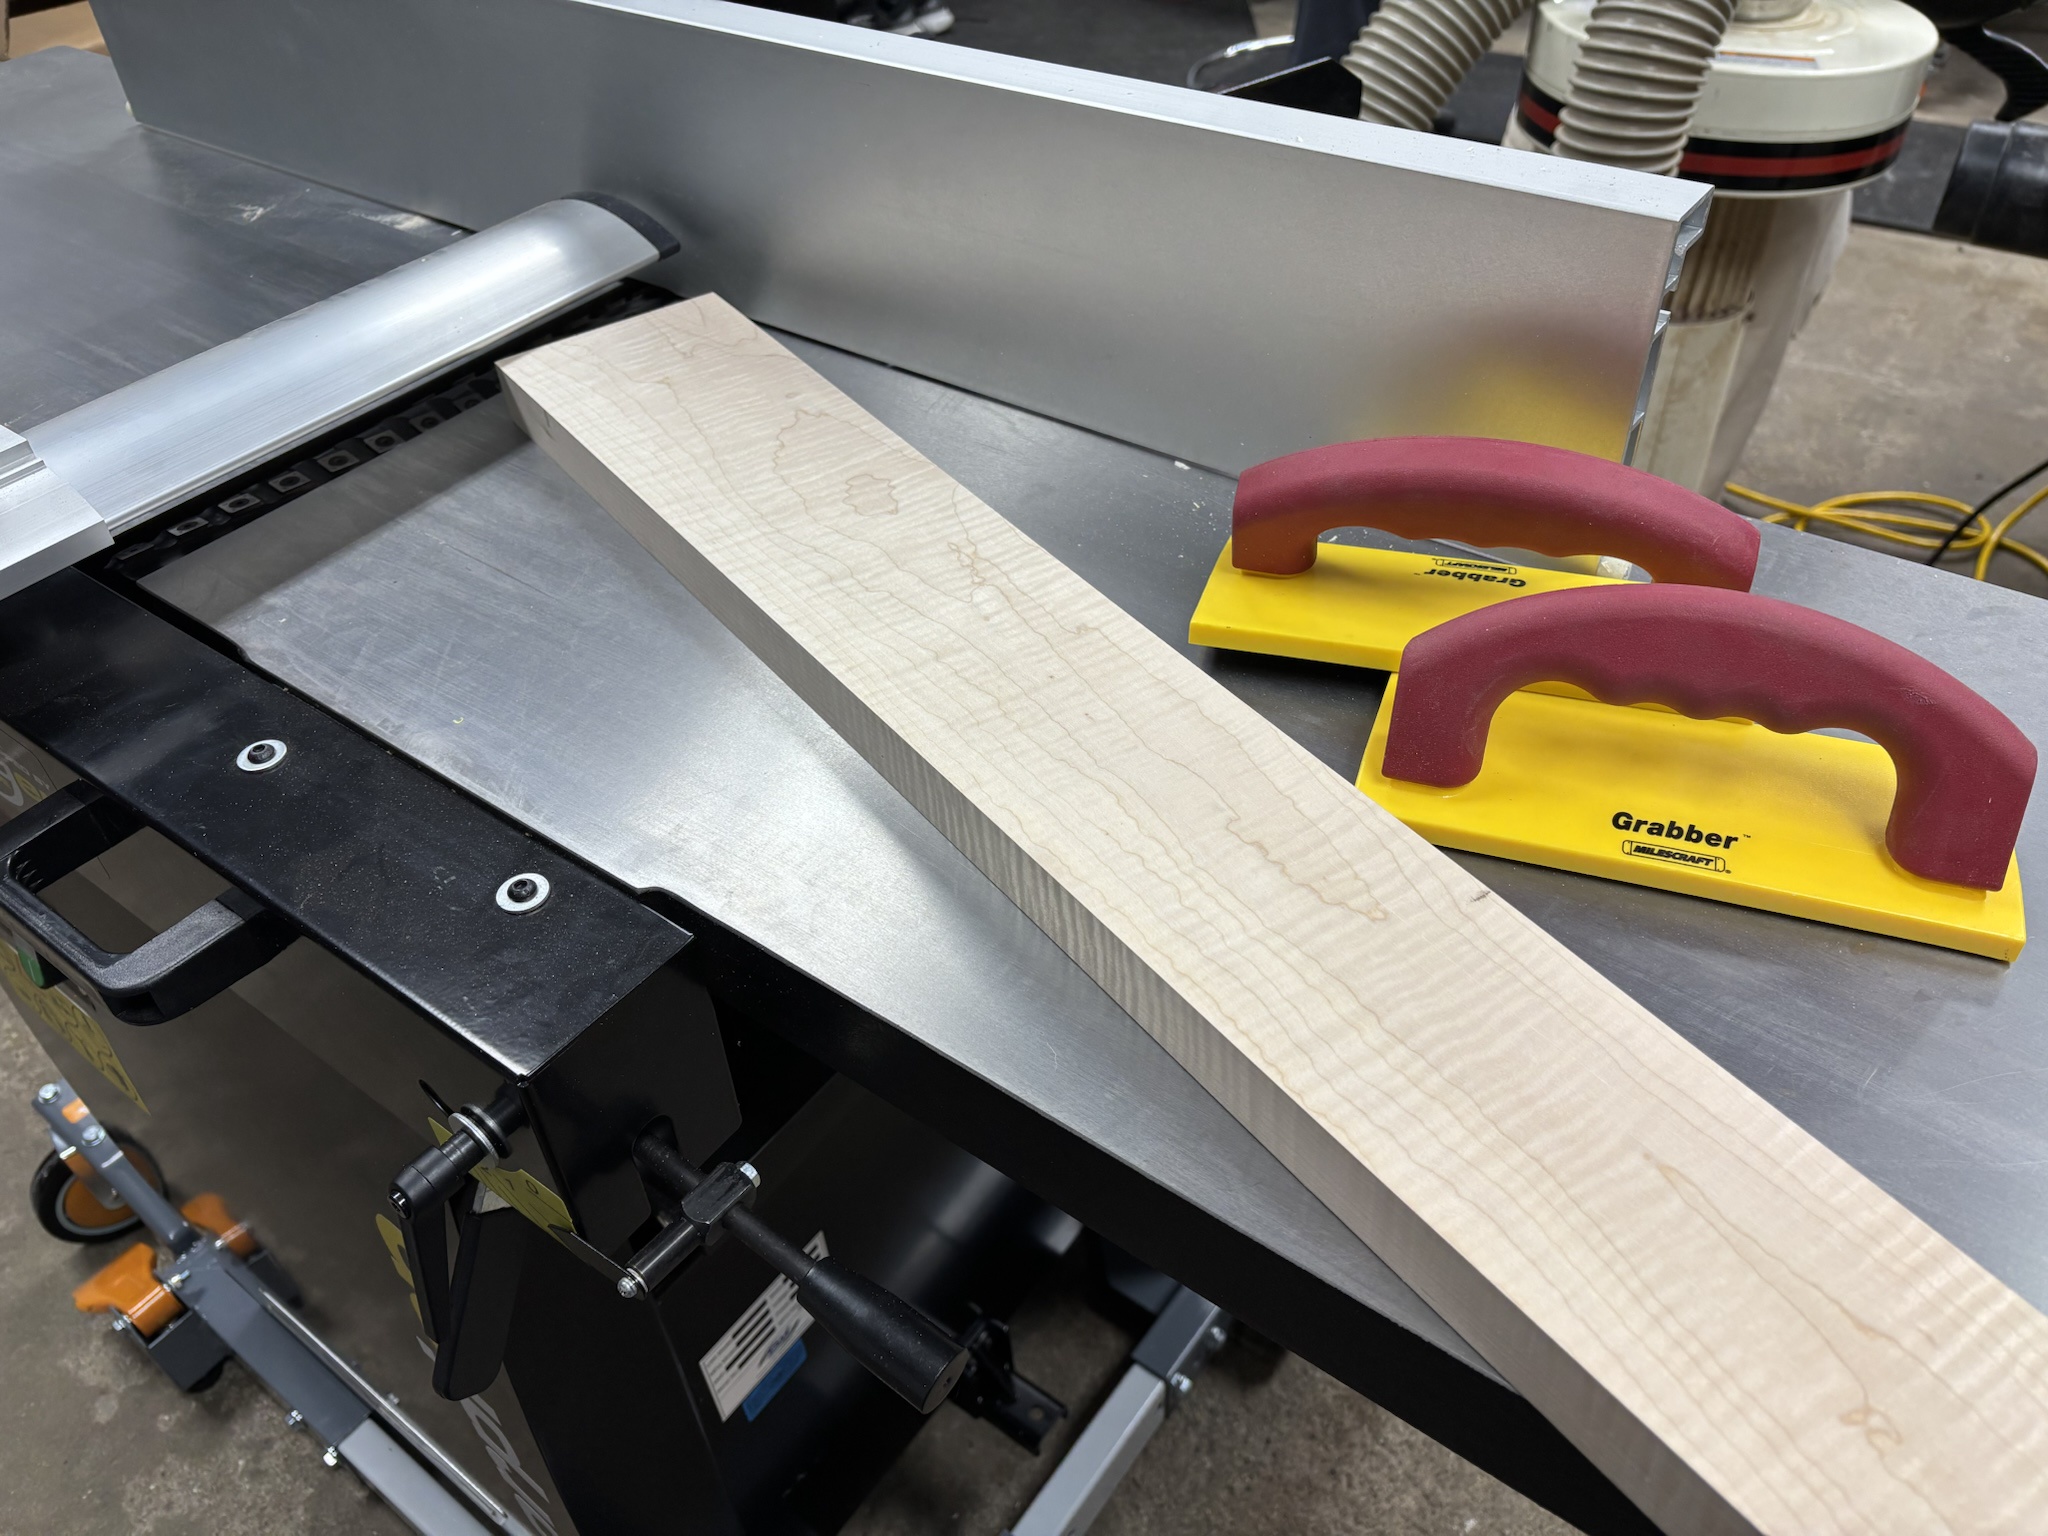
The time has come to start working on the neck. It will be made from this piece of curly hard maple, which is just over 1.25" thick. I plan to slice off the fretboard, process the main neck shaft for the truss rod, etc.; then reattach the fretboard... hopefully matching the original location. Yes, there will likely be a seam, but that's fine. I could add binding, but Joey didn't want a bound board... and I'm not jigged up to route and install a Fender style truss rod from the rear. Anyway, I've glued maple boards to maple necks before and it looked just fine. The segmented head did a fantastic job on this figured maple with zero tearout.

5bAt1kb.jpg


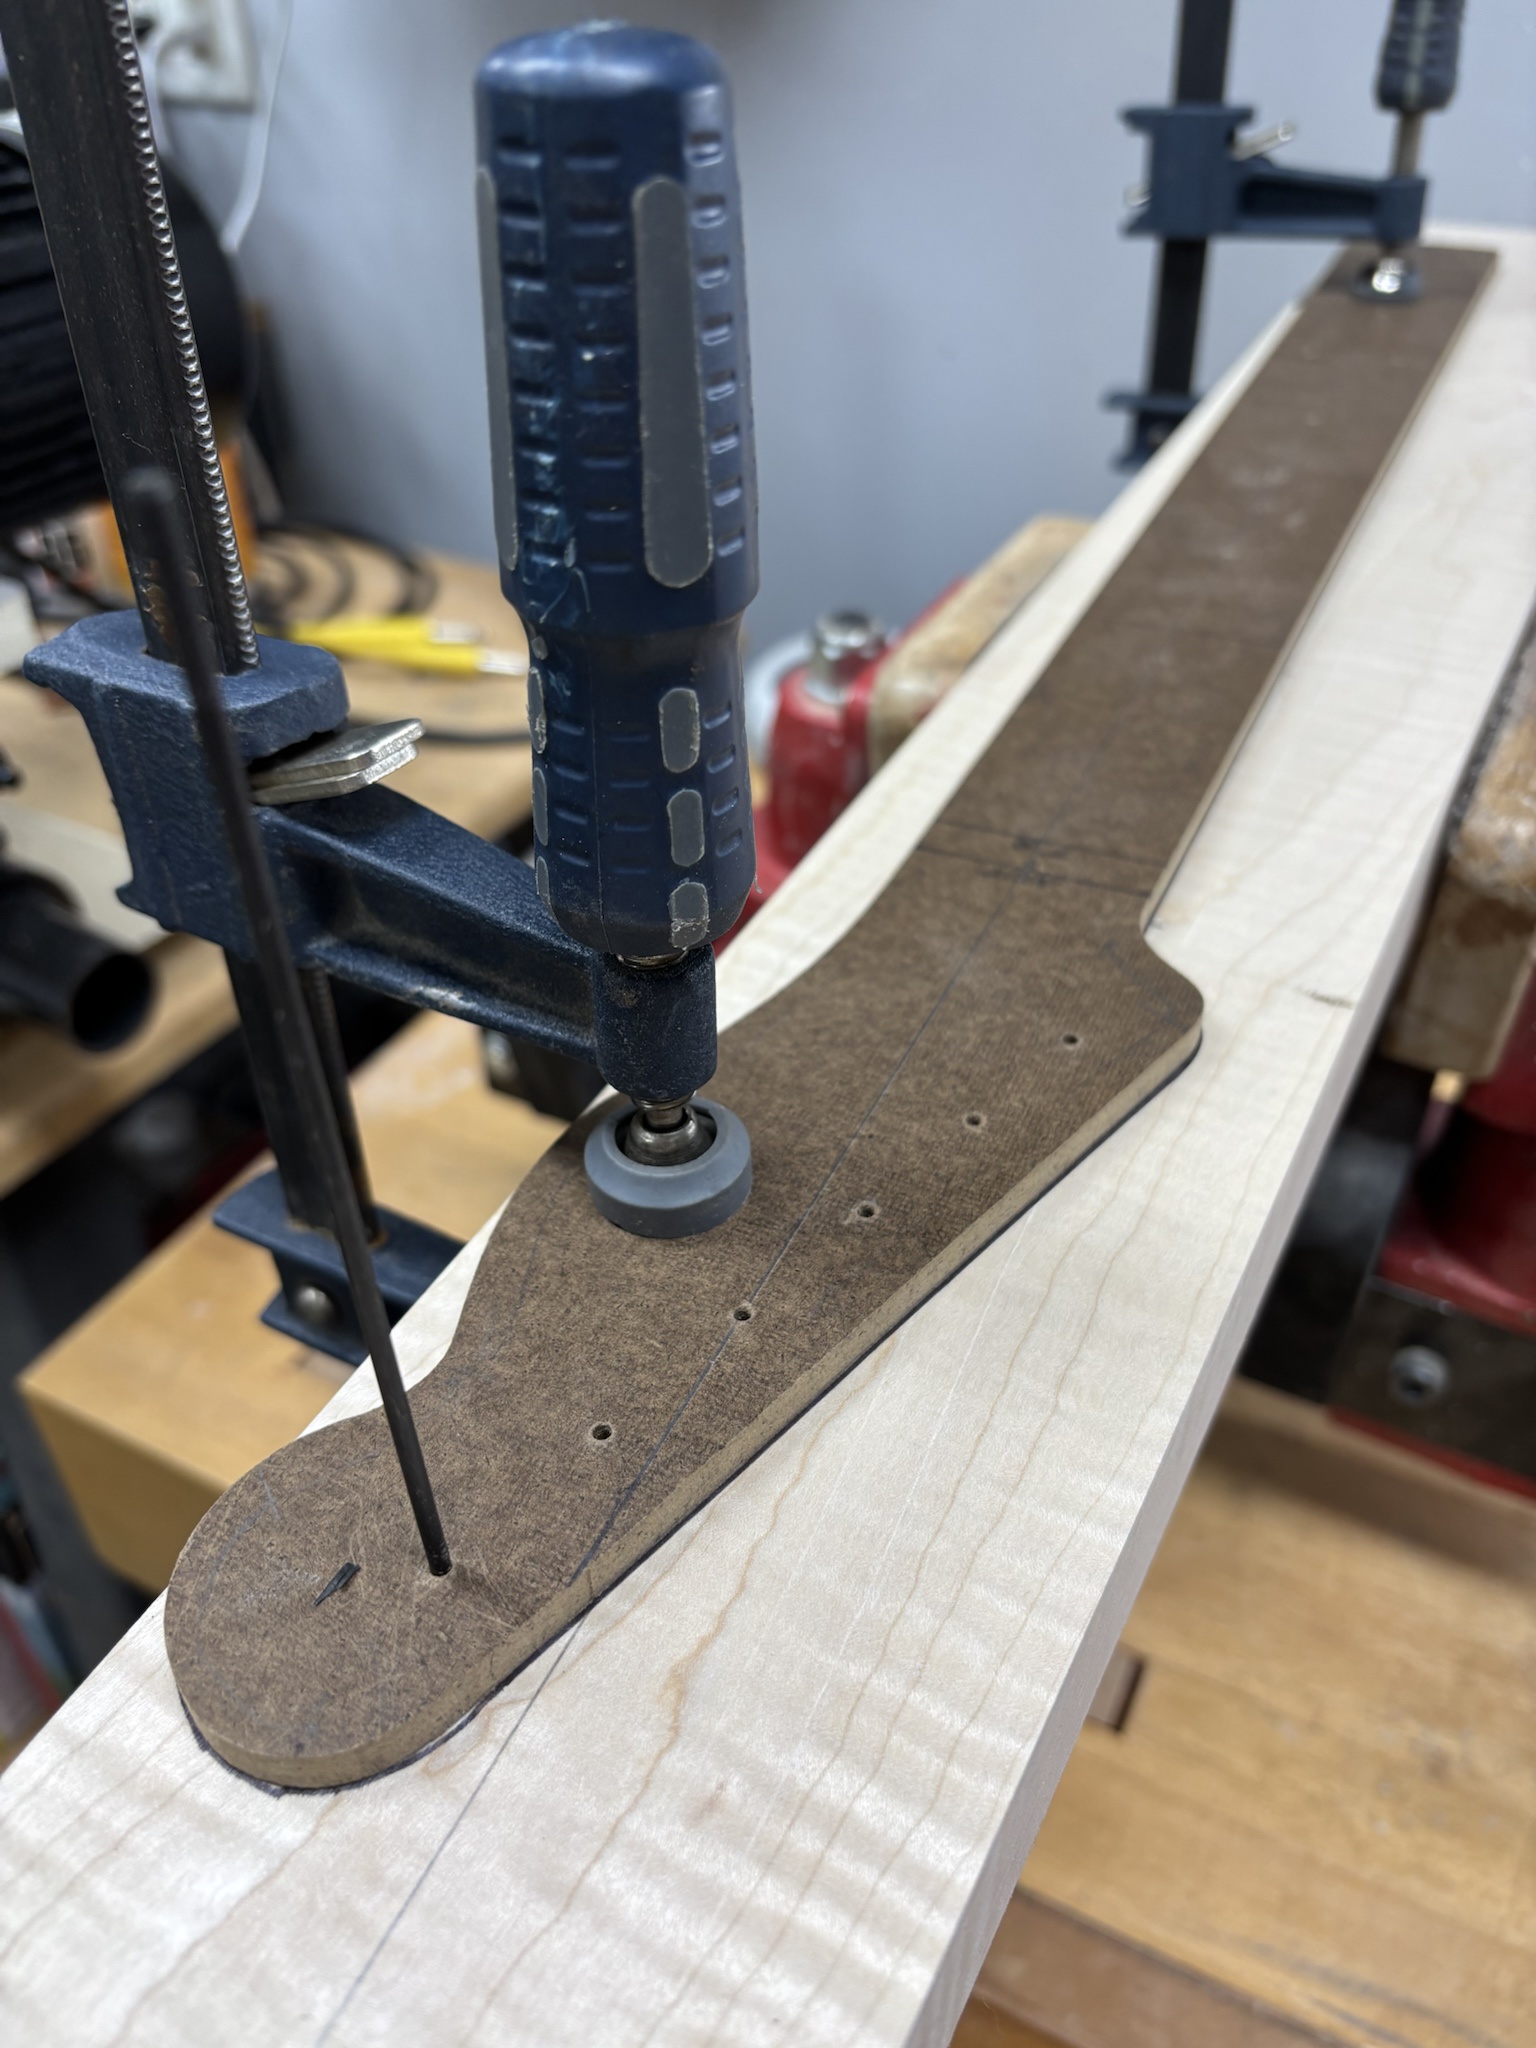
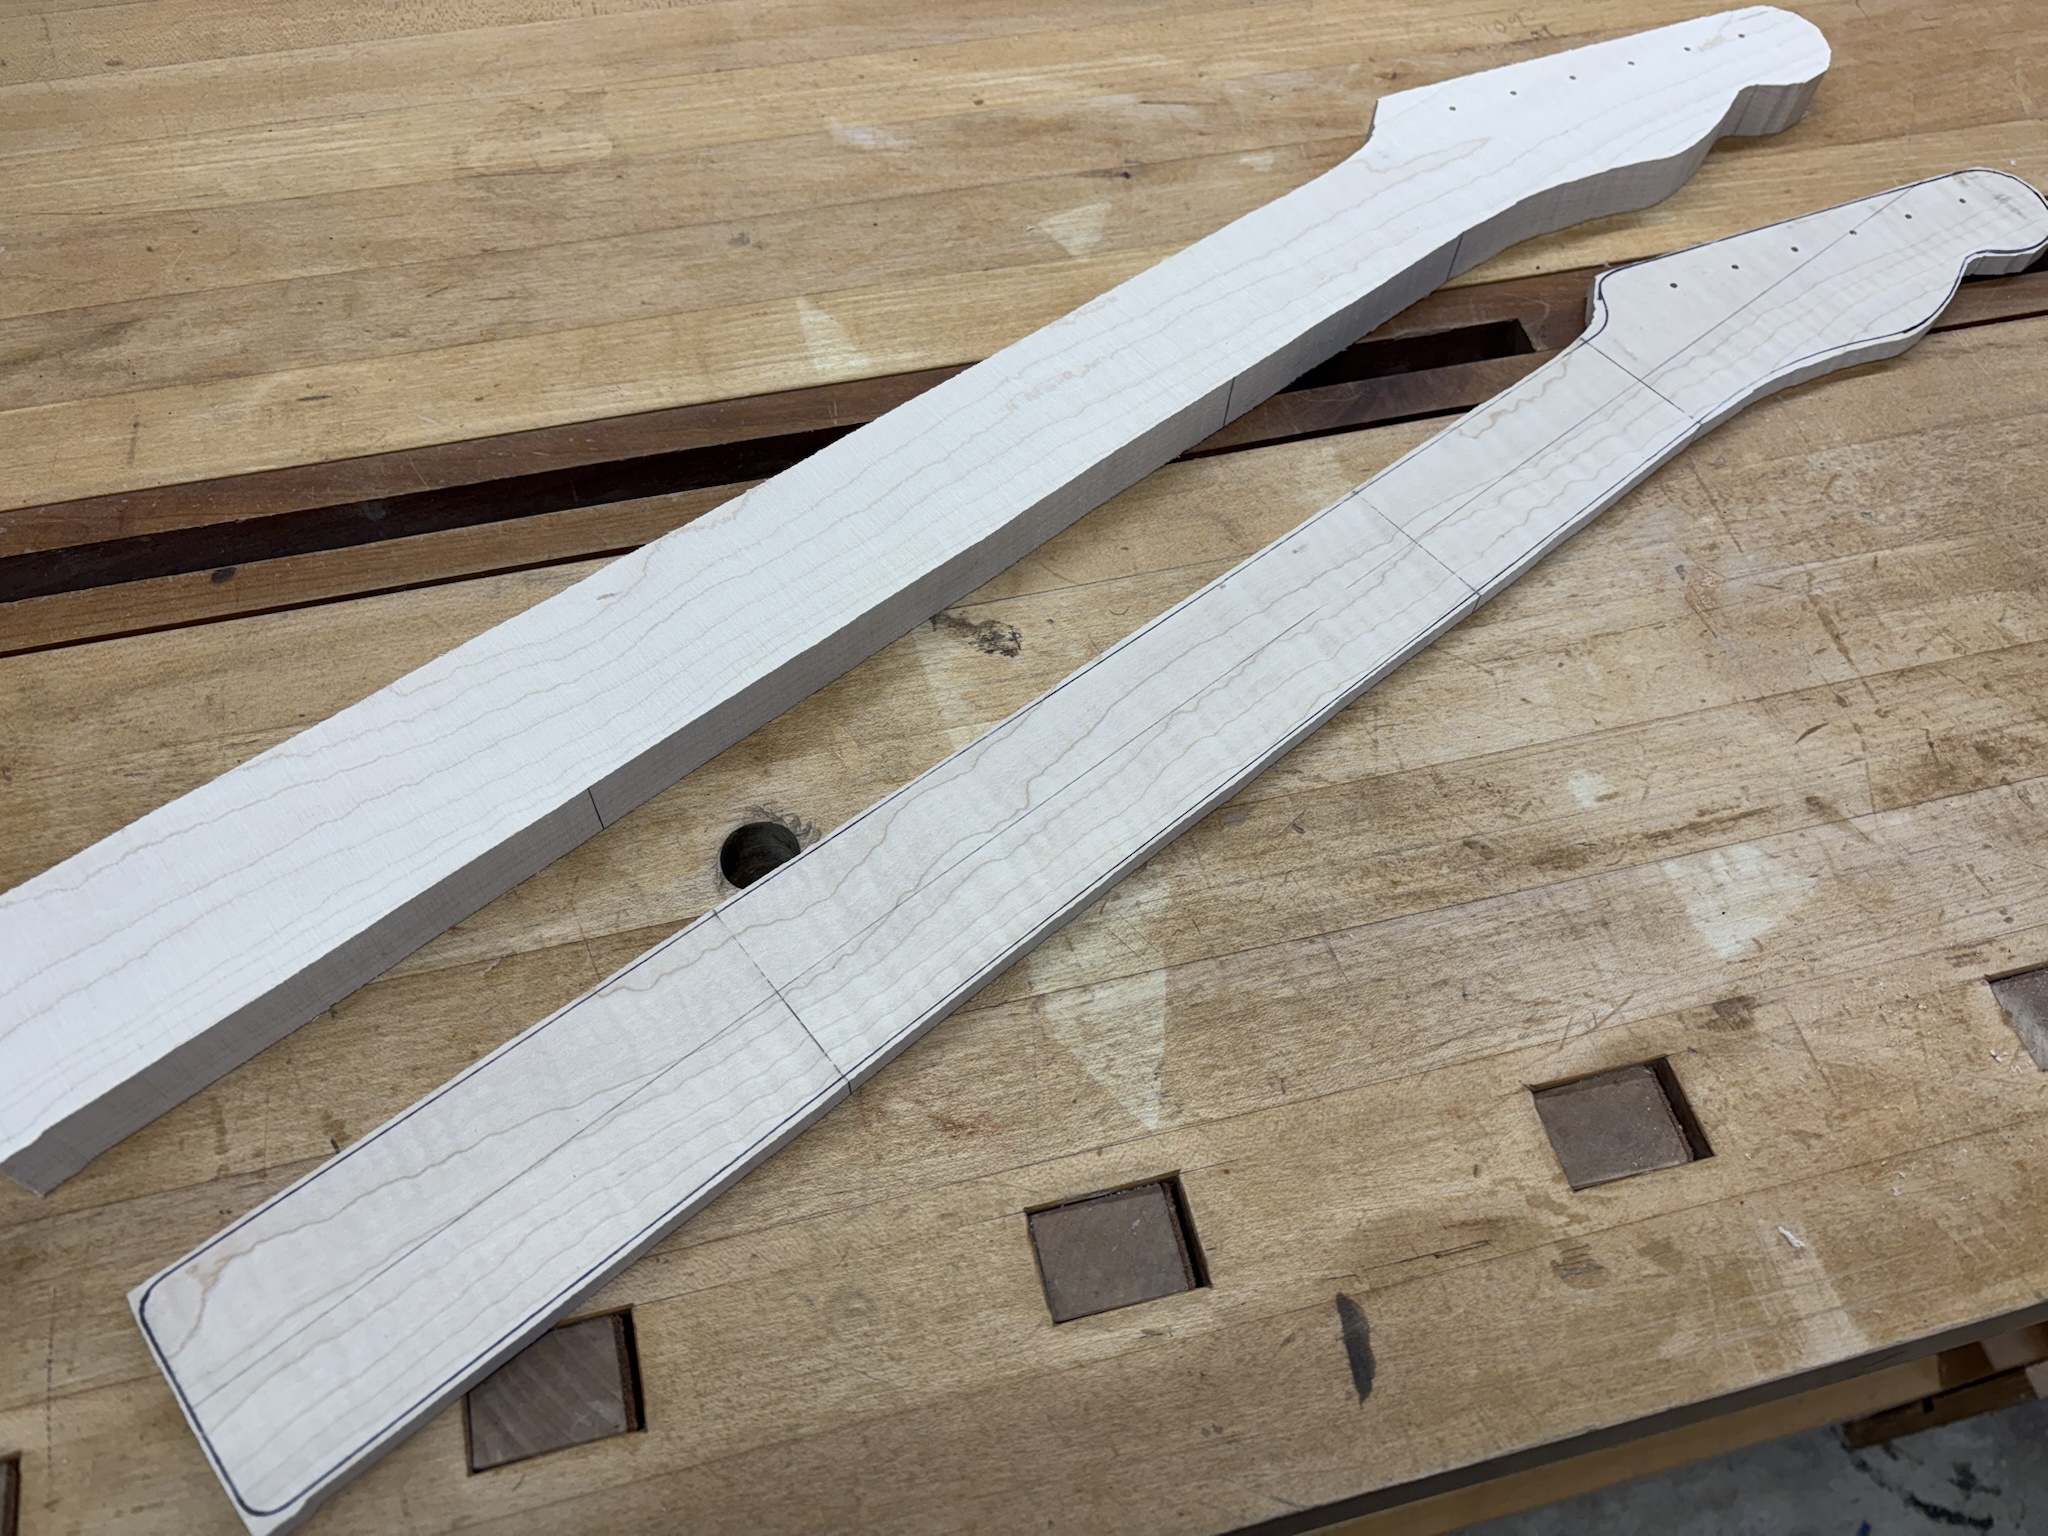
Next, I positioned the template exactly where I wanted it with relation to the wood grain. This is not parallel to either edge of the board, so I'll have to get creative when routing the truss rod slot. I also add reference marks for the nut, the tuner locations and a couple of frets. This will help later to align the fretboard.
jTayuN5.jpg


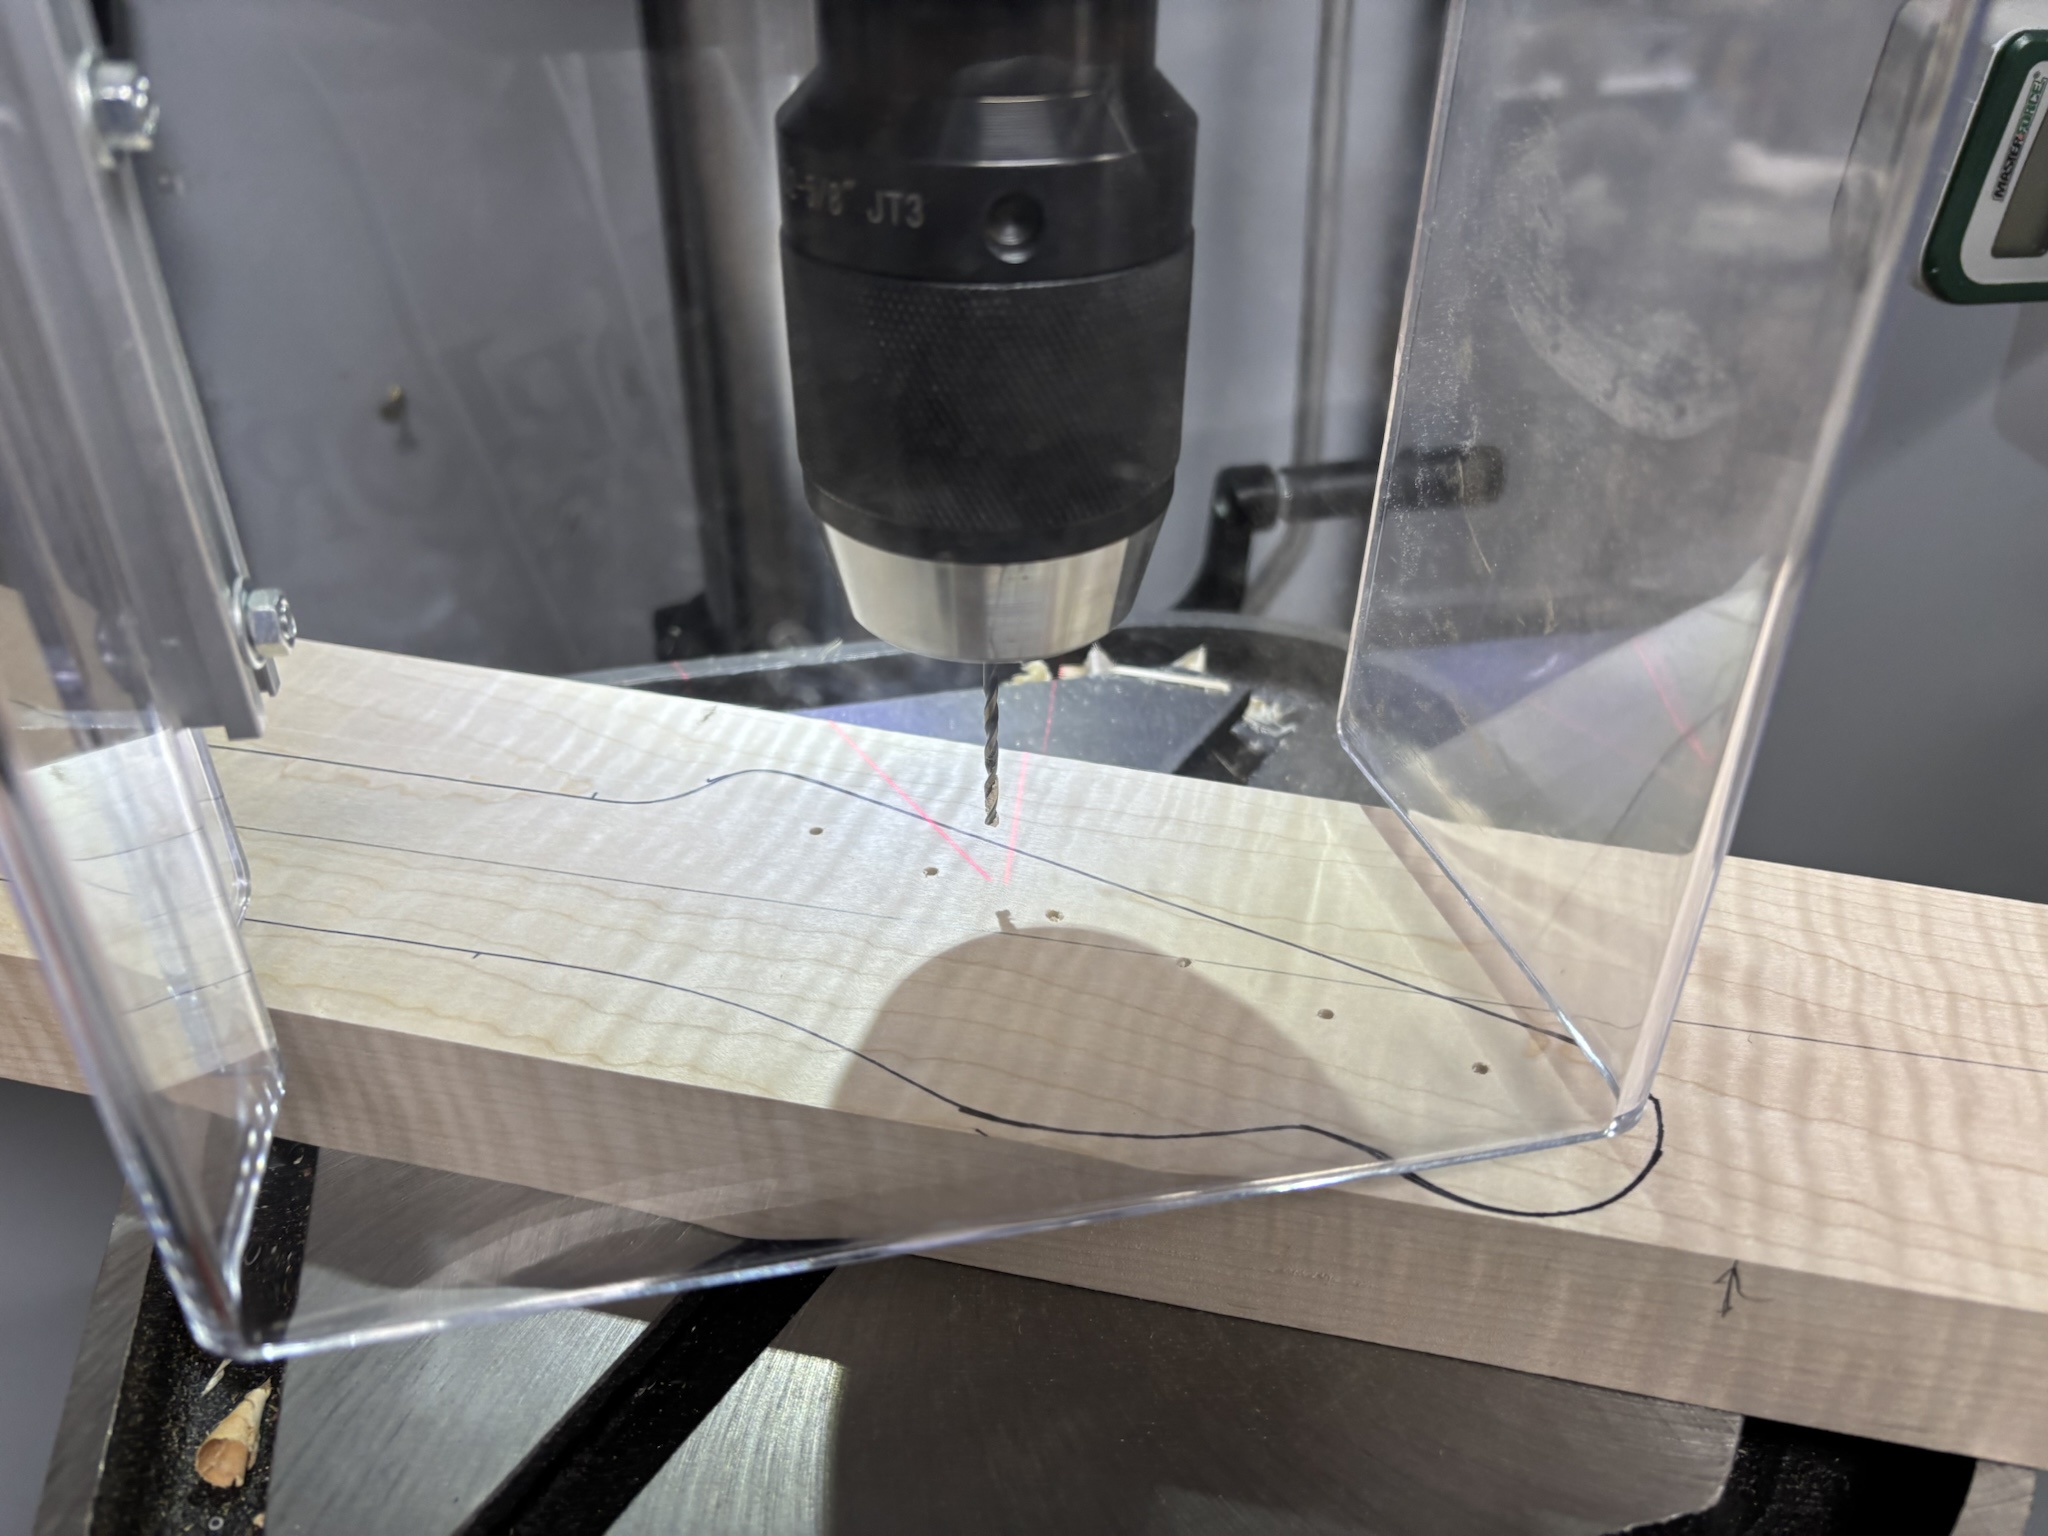
I drilled pilot holes at the tuner locations. I only went about 1/2" deep here. It's just so the marking will show through on the headstock face when the fretboard is cut off. Drilling all the way through to full depth with a bit that small could result in crooked holes, so final drilling will wait for now.
DgENMFz.jpg


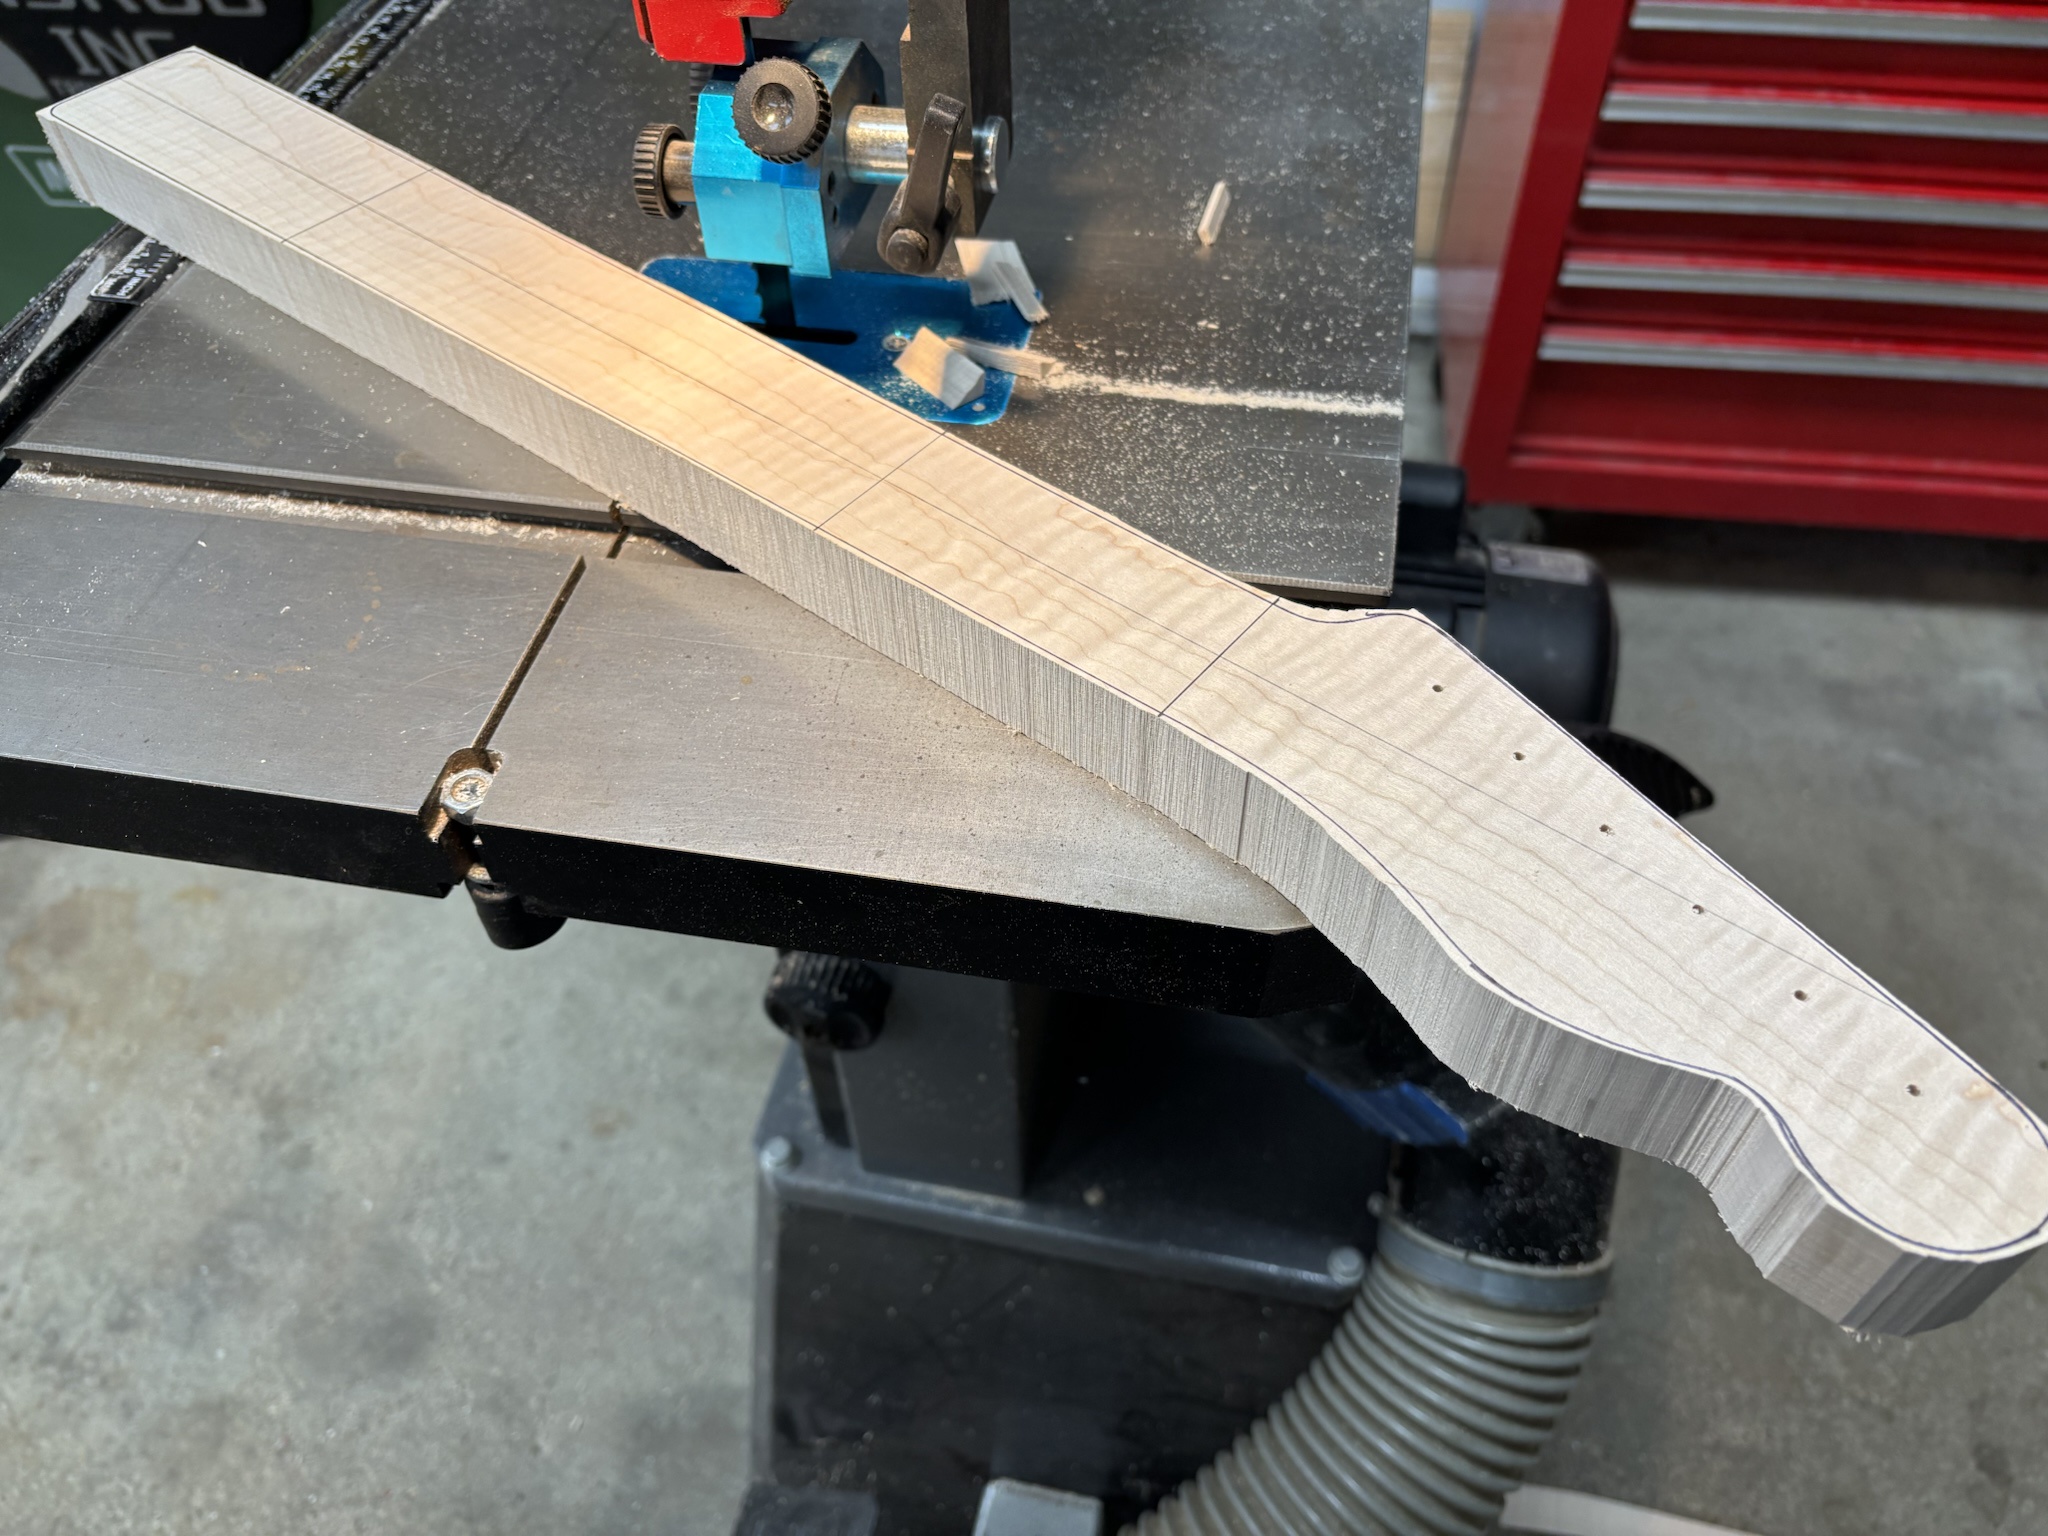
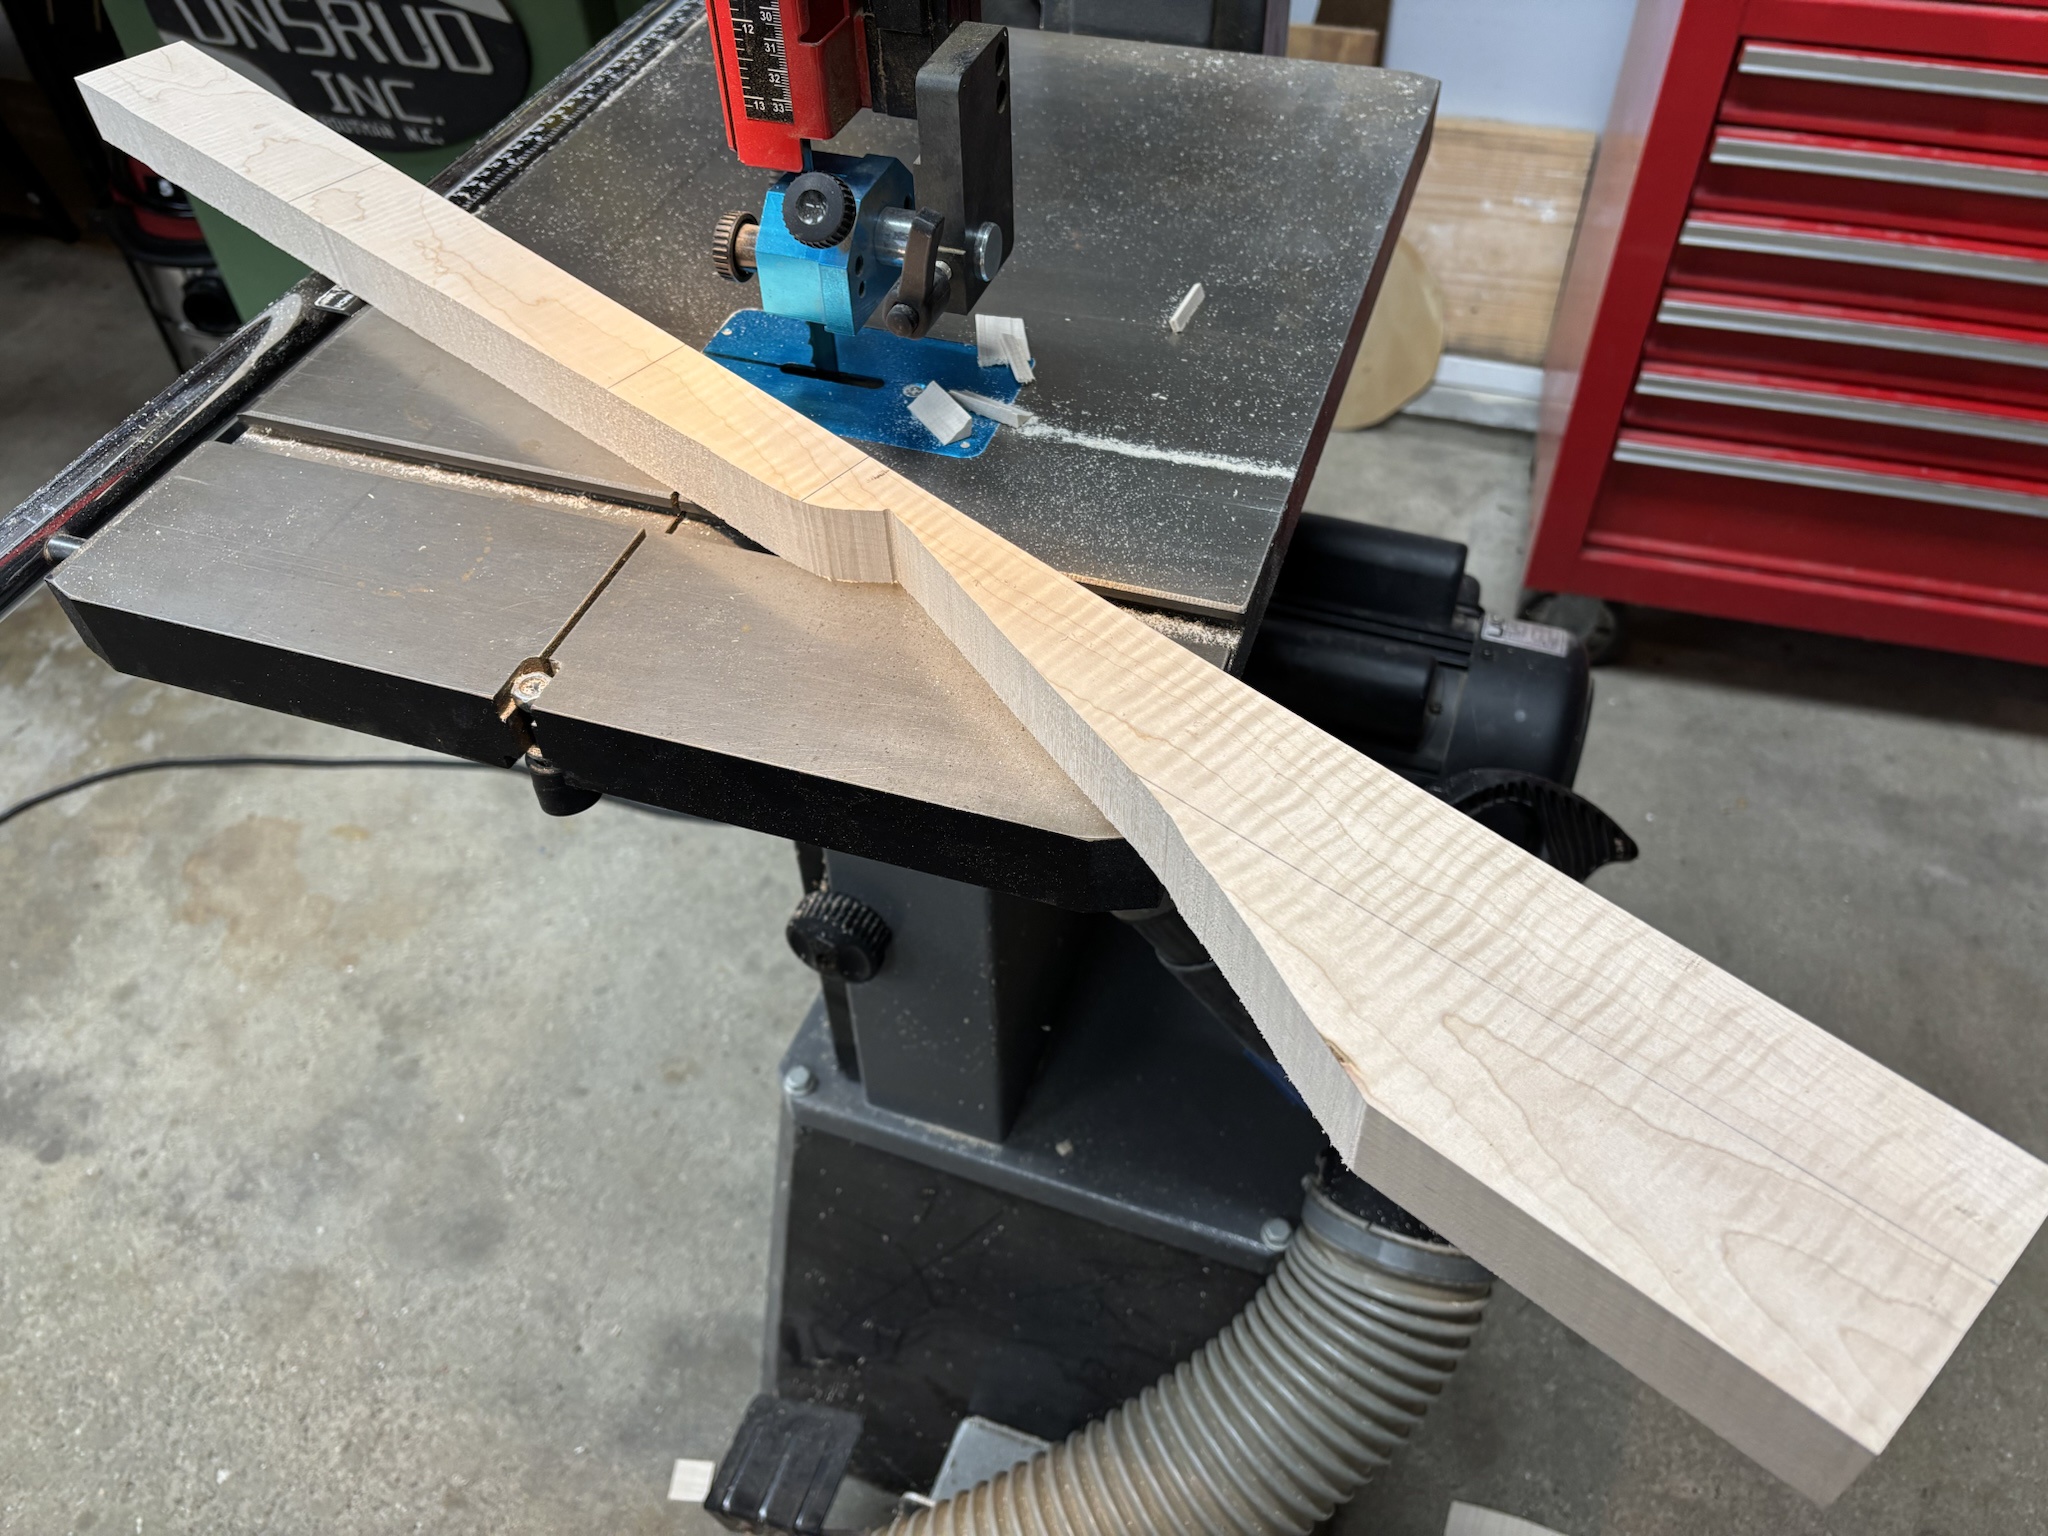
I roughly cut out the neck outline at the band saw. I tried to save as much of the original board as possible for later use.
YOj1ifl.jpg


And here is the nice offcut of the curly maple board. Really glad I was able to keep the full length, should be super useful for, um... something. This piece will be moved around the garage roughly 243 times over the next 5 years before it eventually ends up in the burn pile. :D
vyeK65X.jpg


Transferred the reference marks to the back of the neck so that they survive the fretboardectomy, which will be coming up later.
mDZruST.jpg


I also flush trimmed and shaped the neck pocket/binding transitions.
tmk1Sps.jpg


More soon. :)
 
Last edited:
So you tape the first layer on and then wick the acetone in?
Just a little bit at a time. I center up the binding to be sure that it will reach the other end of the body (around the horns), then I start at the butt end of the body. I put a piece of tape about 2" out from the centerline and wick in just a little bit of acetone (so that is roughly a 4" section). I rub it down and hold it for about 10 seconds. Then I move to one side or the other and hold the binding and try to determine where it lays with very little effort, but does not yet gap. In a gentle curve, like the lower bouts, you can go a good distance. I put another piece of tape there, then wick in a little more acetone. I work from the start point, out to the newly taped spot, without getting too much acetone at the end where it was freshly taped. I hold that in place move a few more inches... yada, yada, yada. :D

Thicker bindings sometime require heat in the waist areas to let them lay nice and flat, and I also tend to attach thicker binding in shorter stretches. Hope that helps.
 
I've been able to make a little more progress this weekend. Here are the highlights. :)

The time has come to start working on the neck. It will be made from this piece of curly hard maple, which is just over 1.25" thick. I plan to slice off the fretboard, process the main neck shaft for the truss rod, etc.; then reattach the fretboard... hopefully matching the original location. Yes, there will likely be a seam, but that's fine. I could add binding, but Joey didn't want a bound board... and I'm not jigged up to route and install a Fender style truss rod from the rear. Anyway, I've glued maple boards to maple necks before and it looked just fine. The segmented head did a fantastic job on this figured maple with zero tearout.

5bAt1kb.jpg


Next, I positioned the template exactly where I wanted it with relation to the wood grain. This is not parallel to either edge of the board, so I'll have to get creative when routing the truss rod slot. I also add reference marks for the nut, the tuner locations and a couple of frets. This will help later to align the fretboard.
jTayuN5.jpg


I drilled pilot holes at the tuner locations. I only went about 1/2" deep here. It's just so the marking will show through on the headstock face when the fretboard is cut off. Drilling all the way through to full depth with a bit that small could result in crooked holes, so final drilling will wait for now.
DgENMFz.jpg


I roughly cut out the neck outline at the band saw. I tried to save as much of the original board as possible for later use.
YOj1ifl.jpg


And here is the nice offcut of the curly maple board. Really glad I was able to keep the full length, should be super useful for, um... something. This piece will be moved around the garage roughly 243 times over the next 5 years before it eventually ends up in the burn pile. :D
vyeK65X.jpg


Transferred the reference marks to the back of the neck so that they survive the fretboardectomy, which will be coming up later.
mDZruST.jpg


I also flush trimmed and shaped the neck pocket/binding transitions.
tmk1Sps.jpg


More soon. :)


Make some matching knobs out of the extra maple?
 
  • Like
Reactions: Gary_M
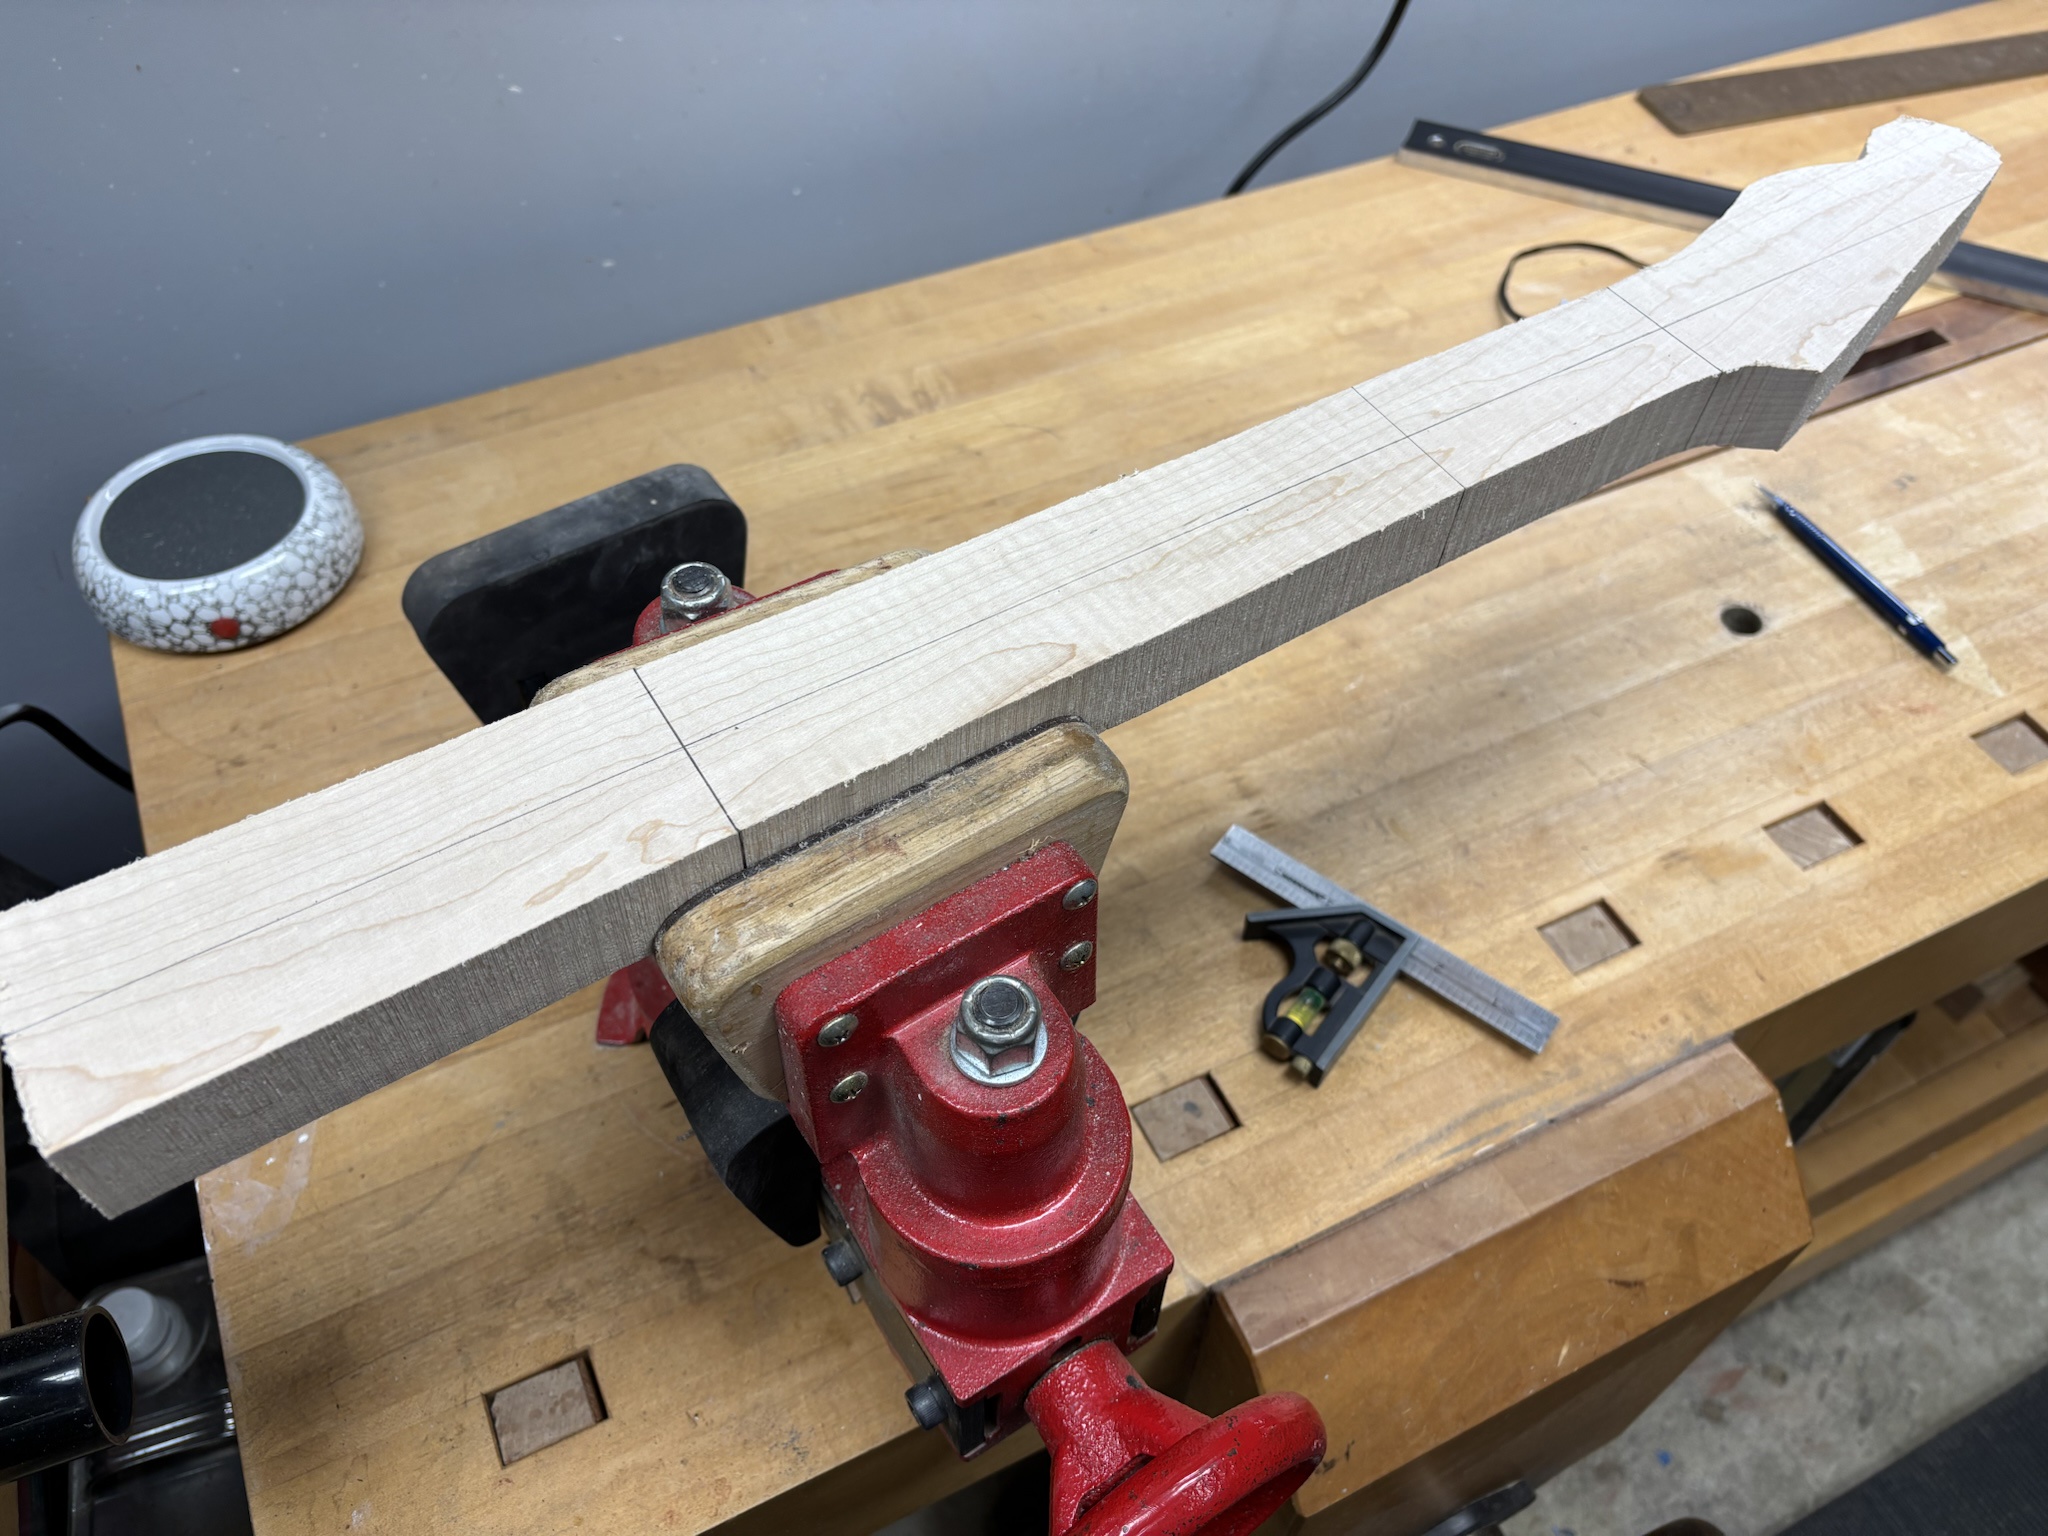
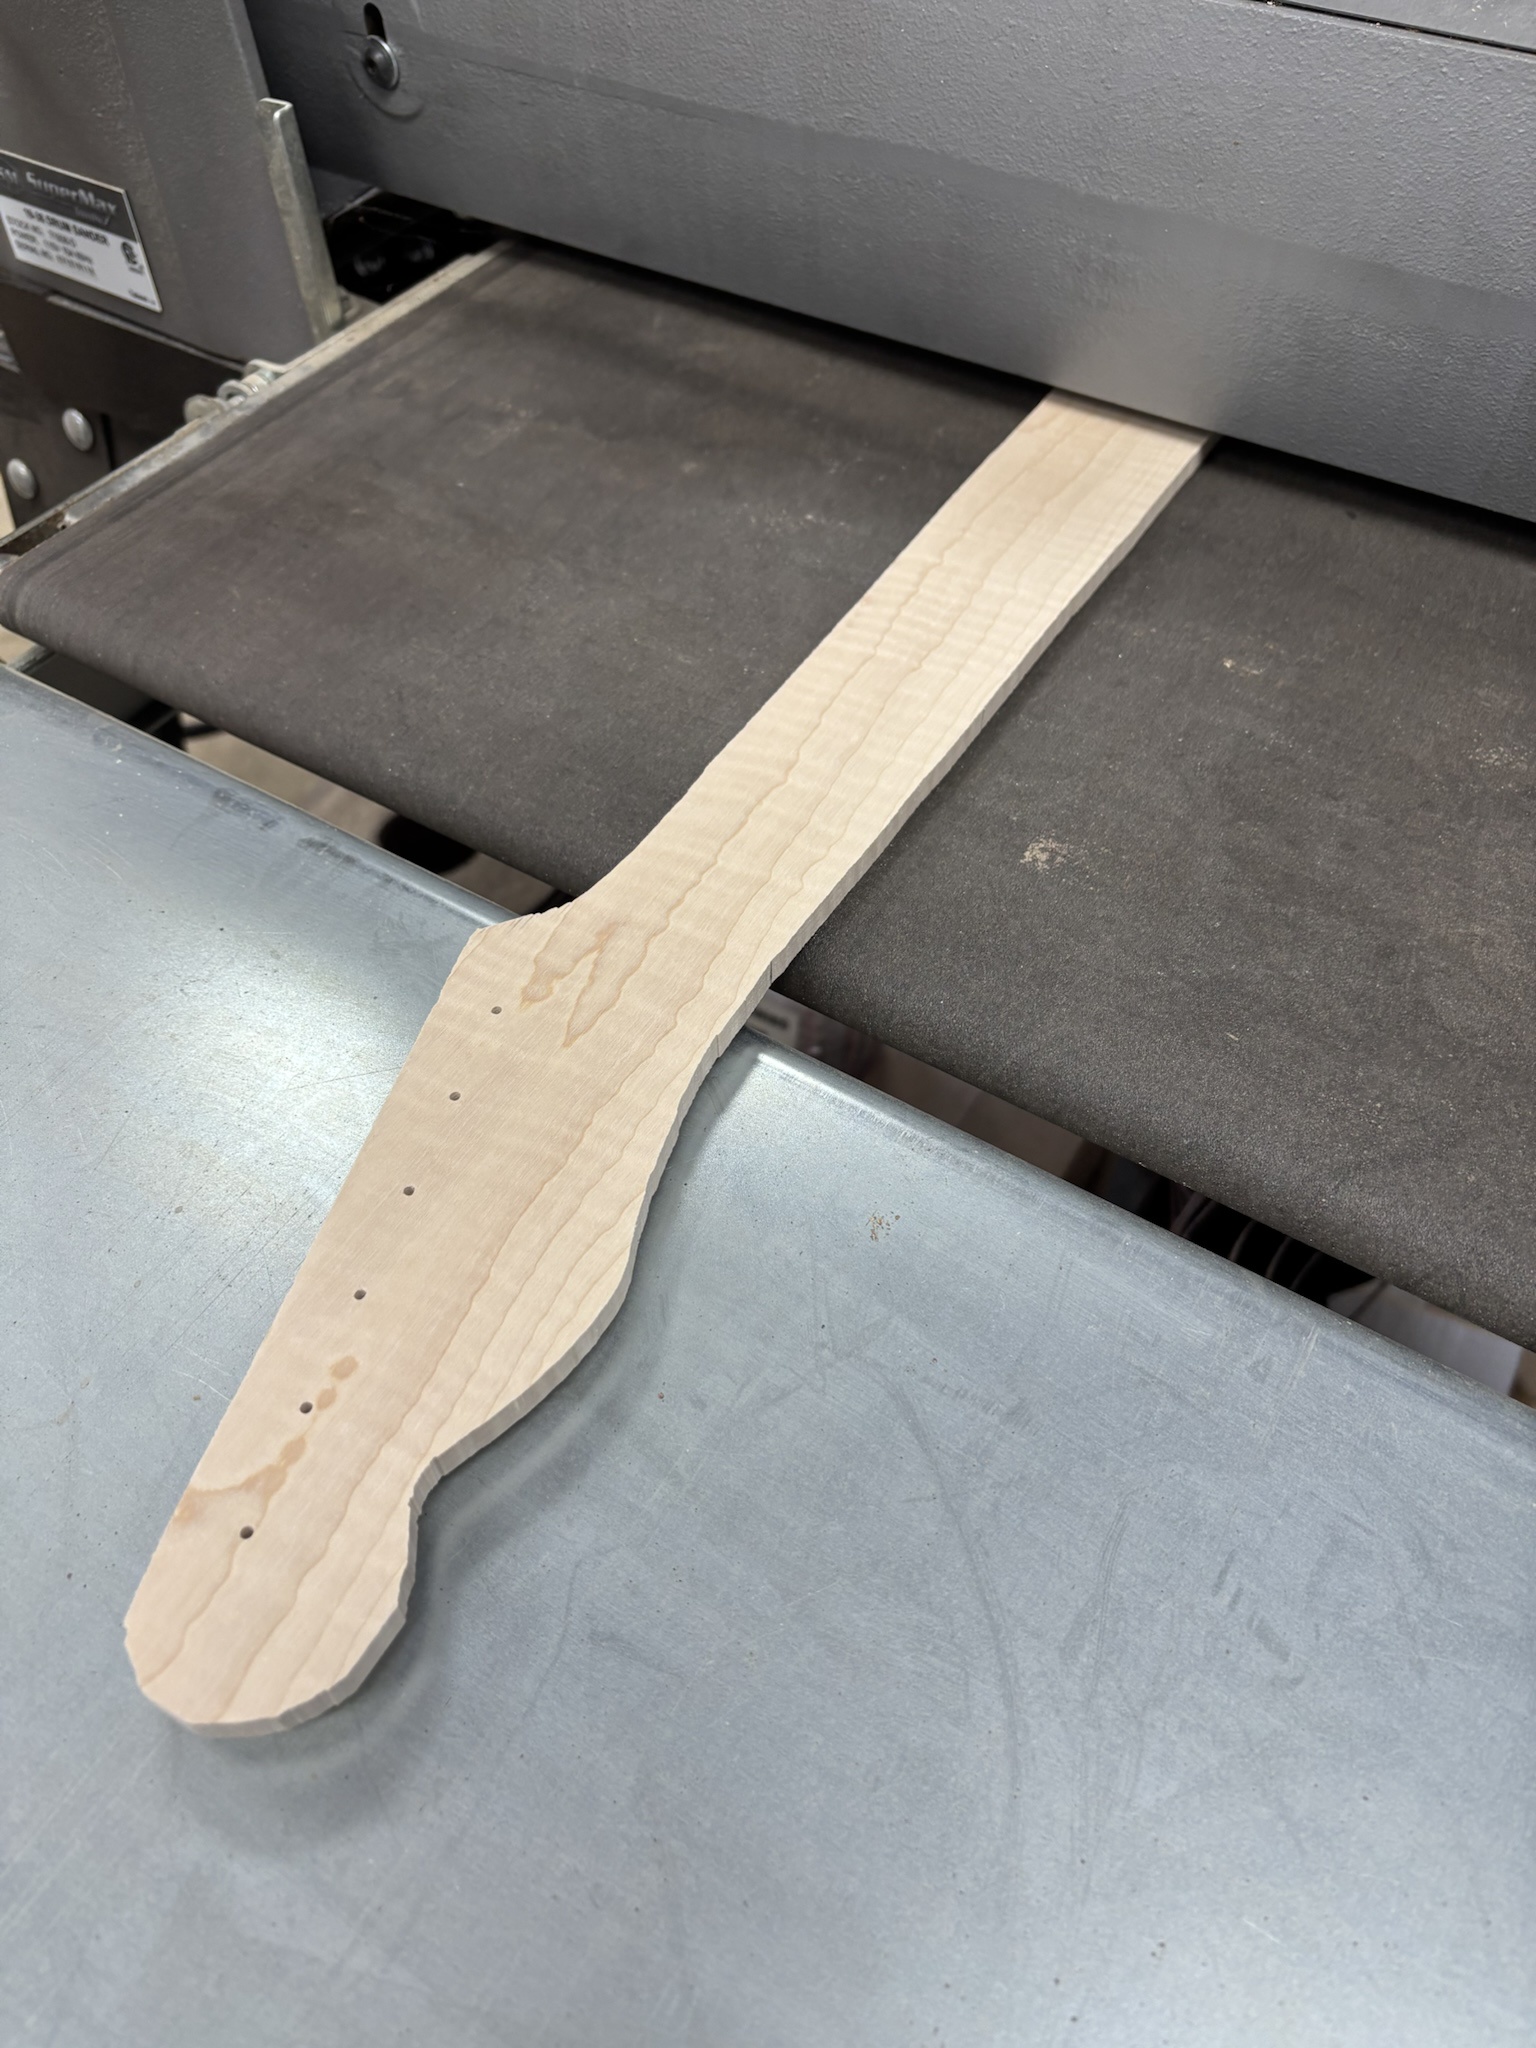
After I verified that the neck had not moved after jointing and cutting it to shape, I went to the band saw and sliced off what will become the fretboard. I left it plenty thick, of course.

TavszNT.jpg


Cleaned up the bandsaw cut sides on the drum sander.
QKdCdTN.jpg


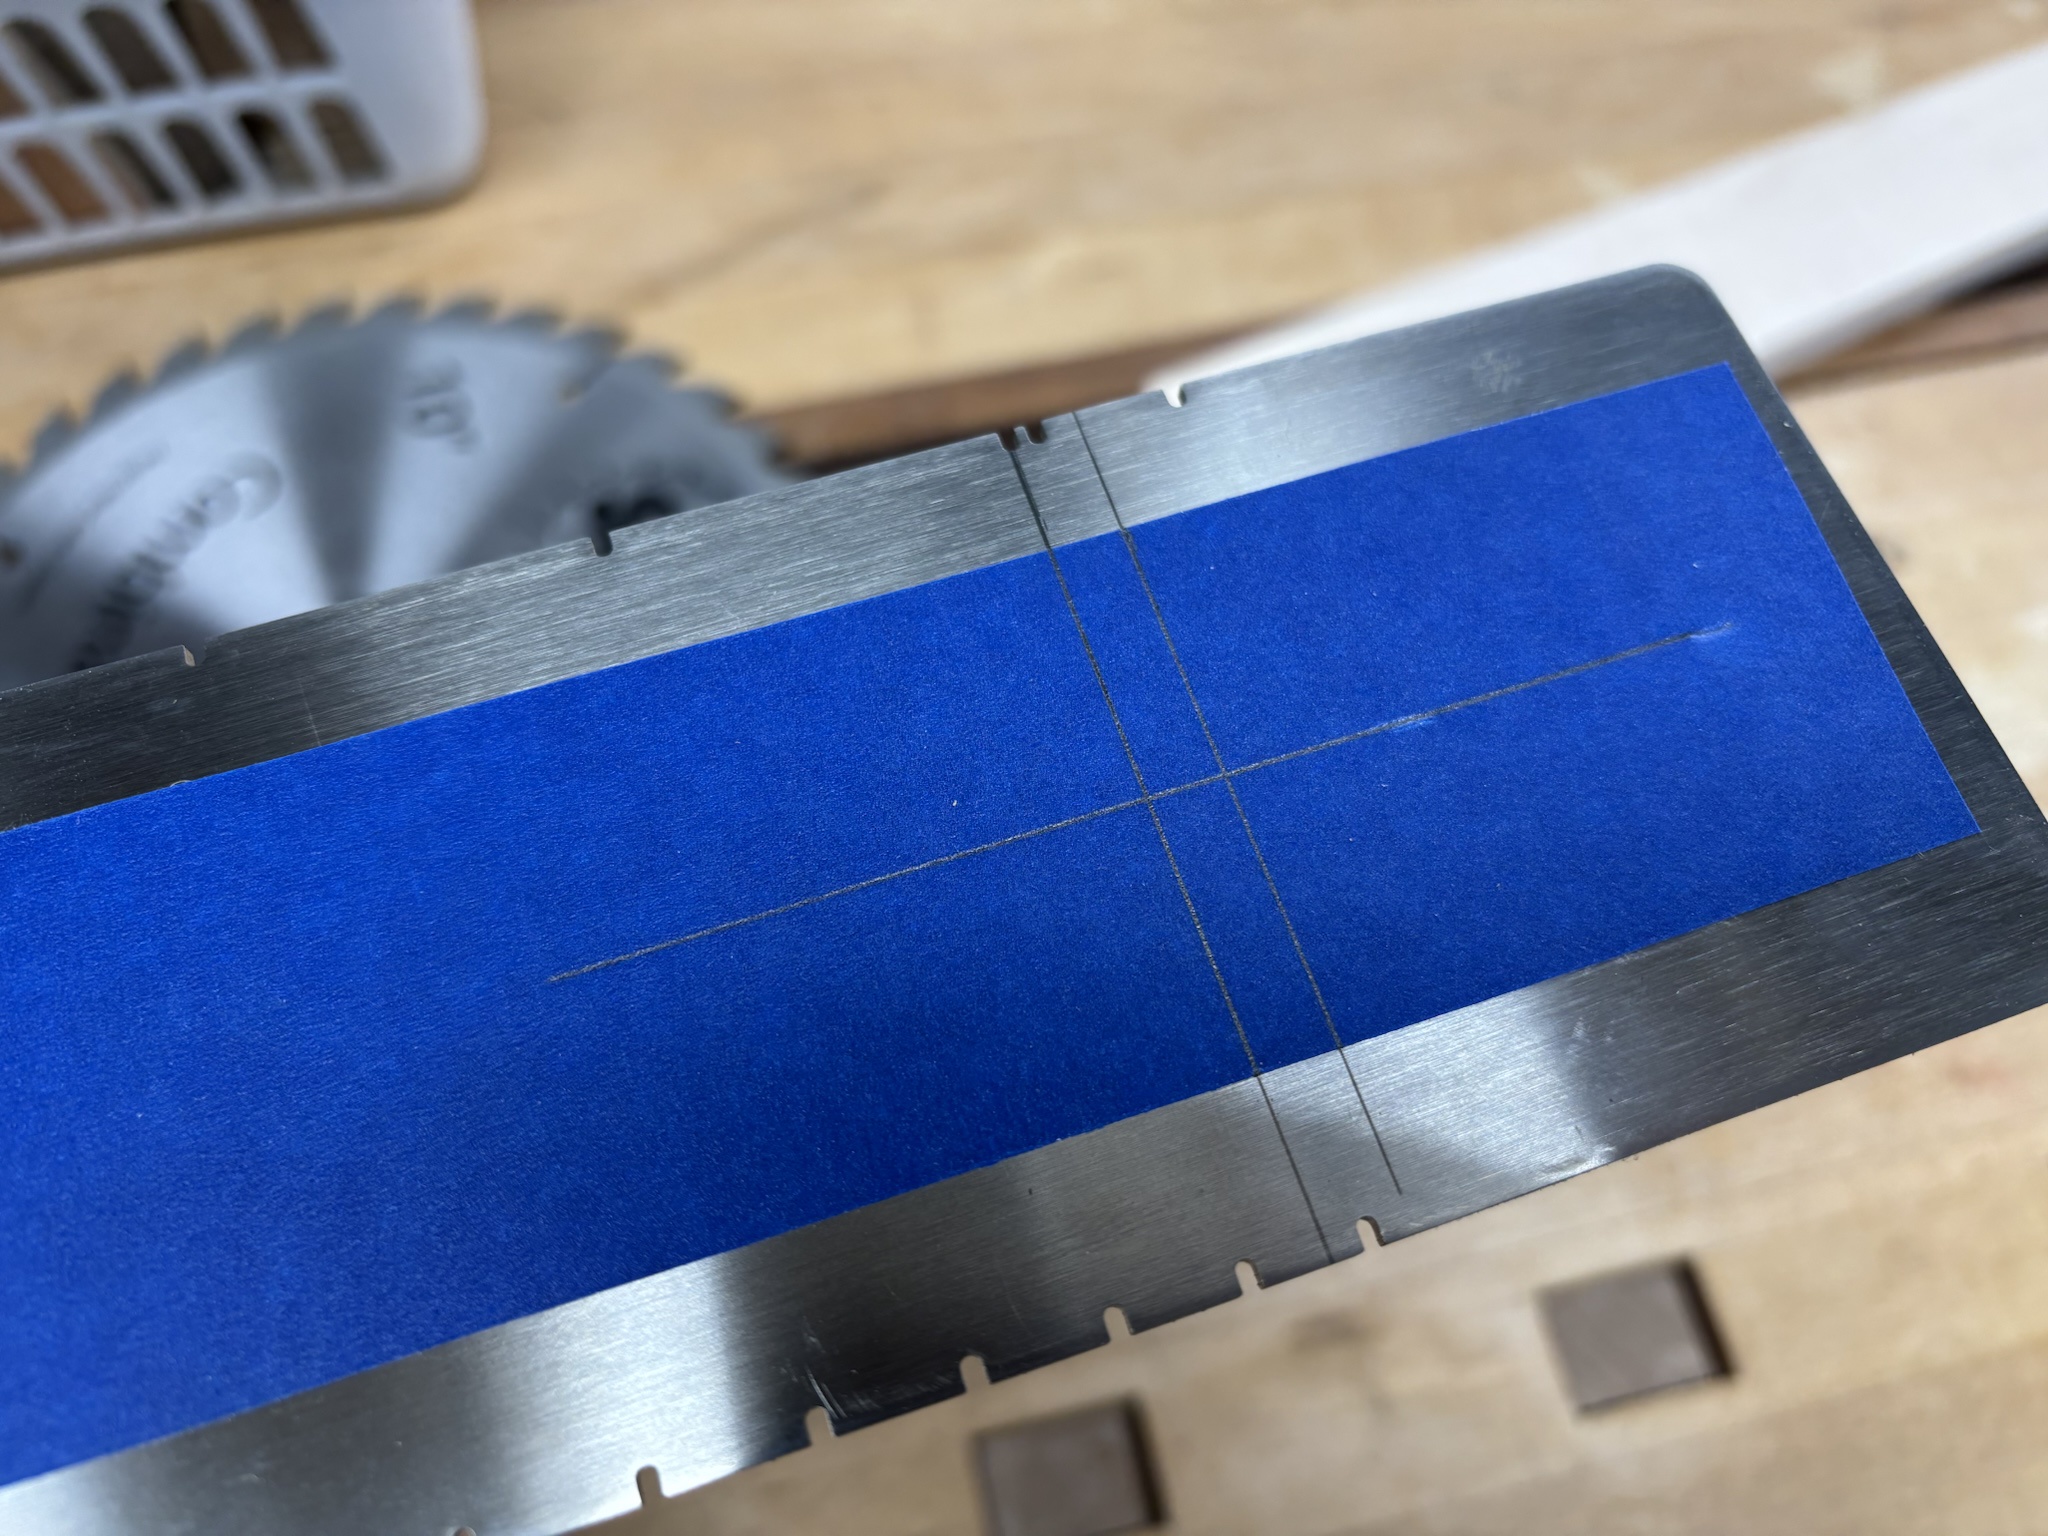
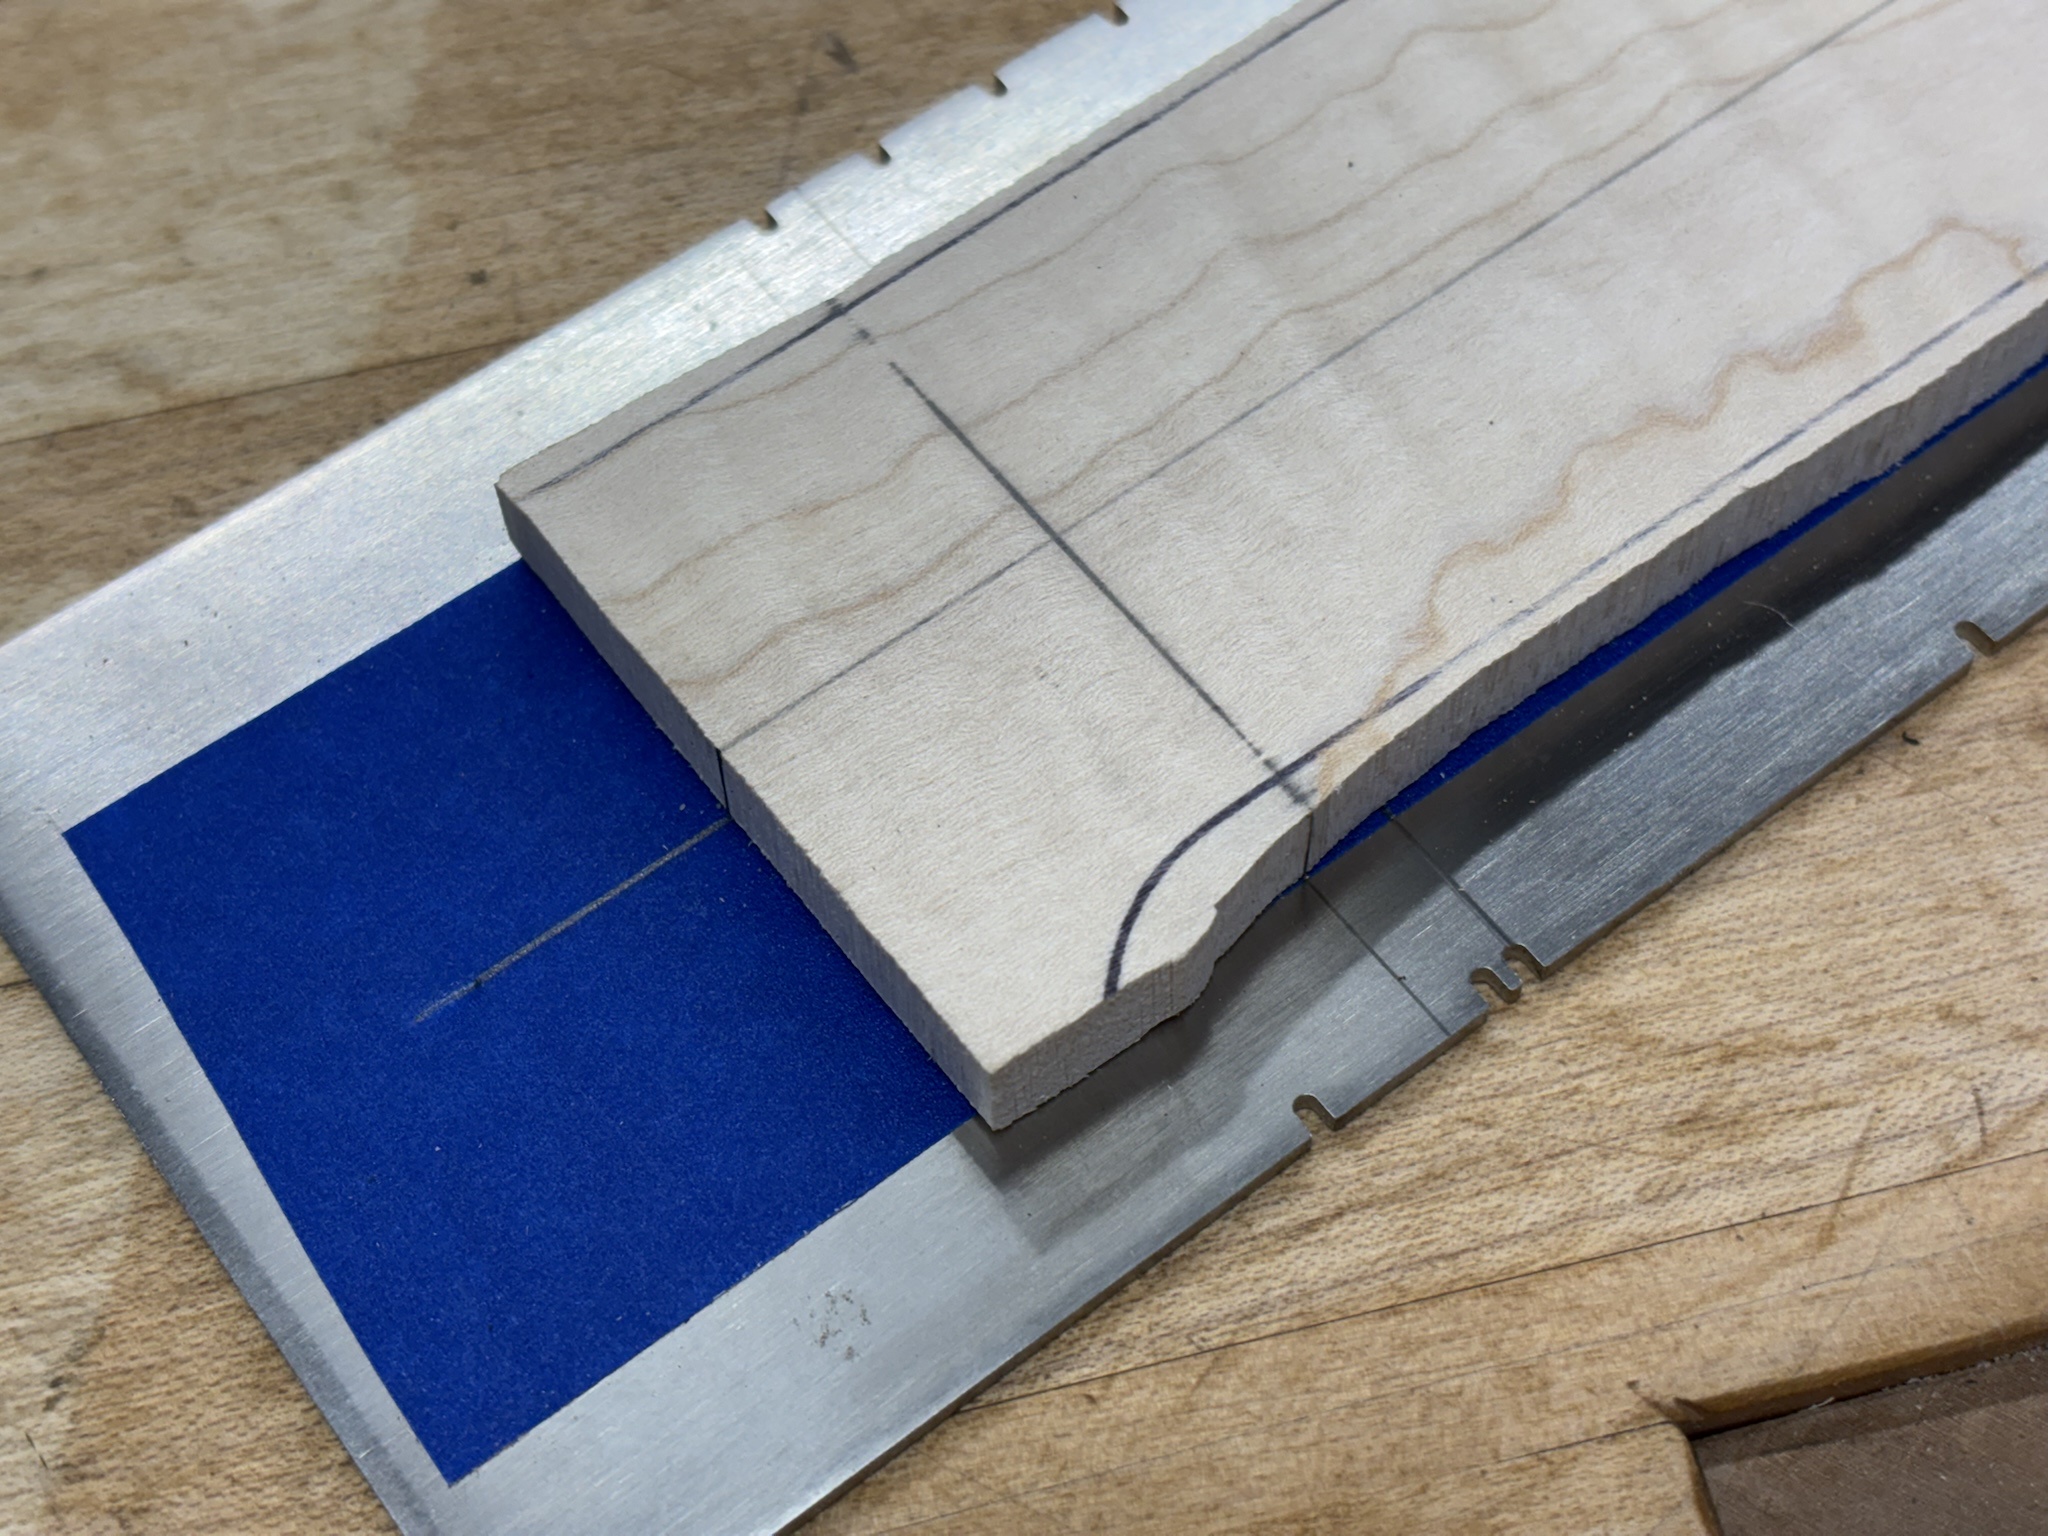
Next, I marked the offset of my fret slotting sled in relation to the nut location, so that I can align my fretboard accurately.
puiKOn0.jpg


Bingo.
Vamgfip.jpg


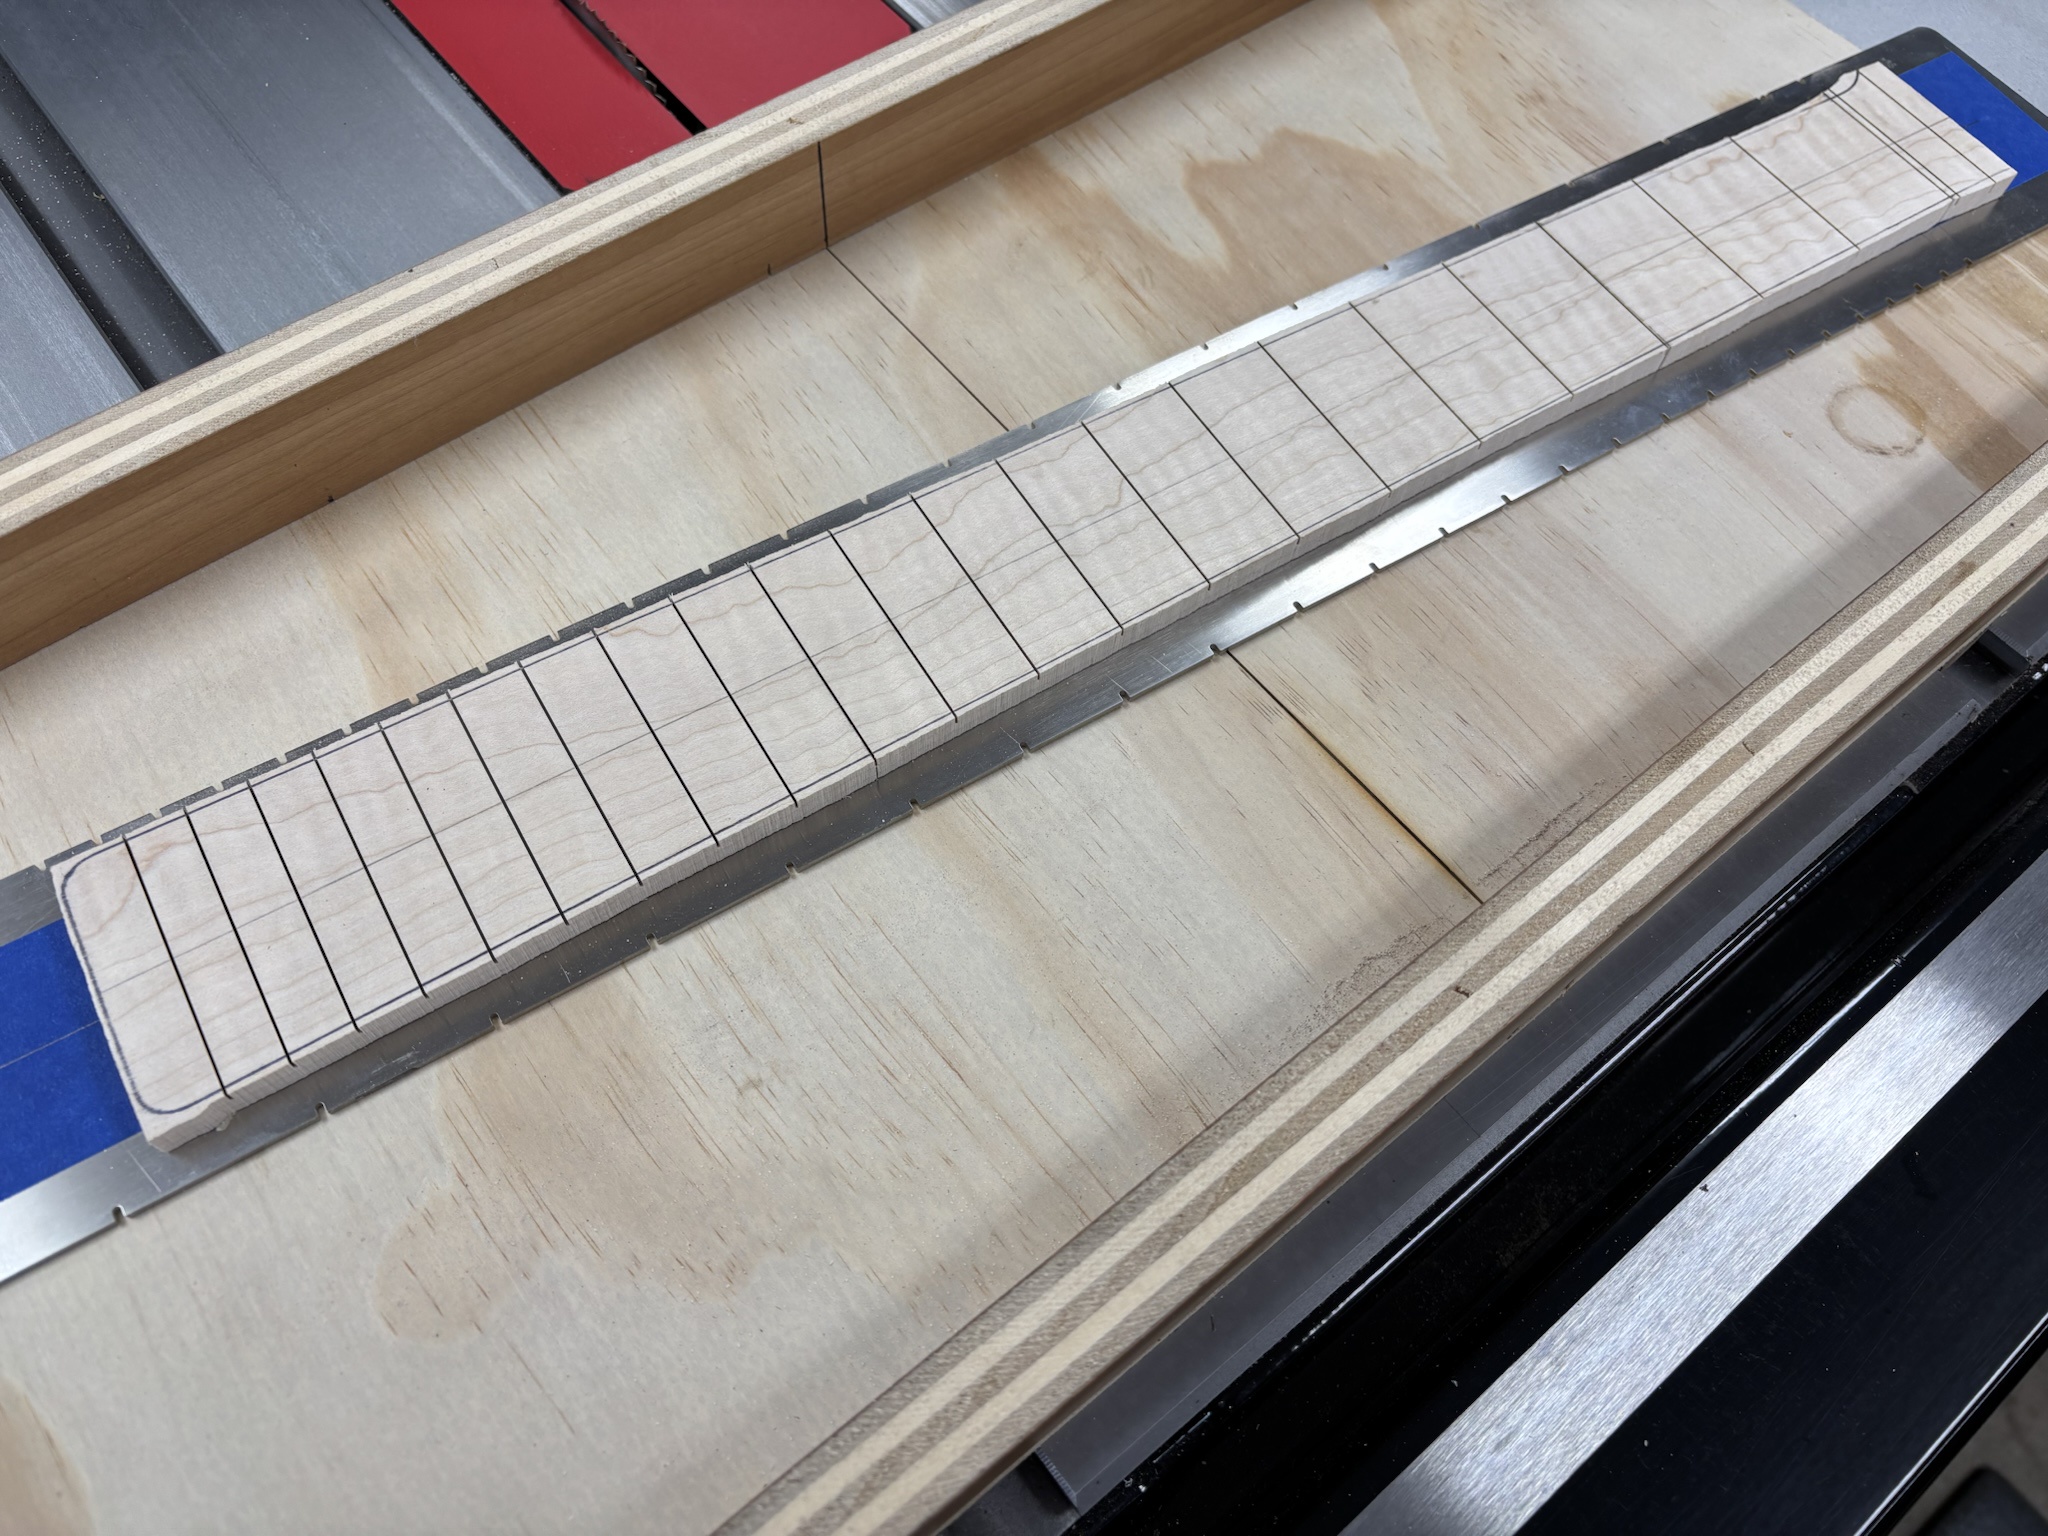
A few minutes at the table saw, and it is slotted. :)
jz0uREu.jpg


More soon. :)
 
Not a lot of actual progress to report, but making preparations for putting the radius on the fretboard. Technically, I could move forward with getting the truss rod slot cut, but I've been itching to finish the setup and test the fretboard radius fixture that I have for my edge sander.

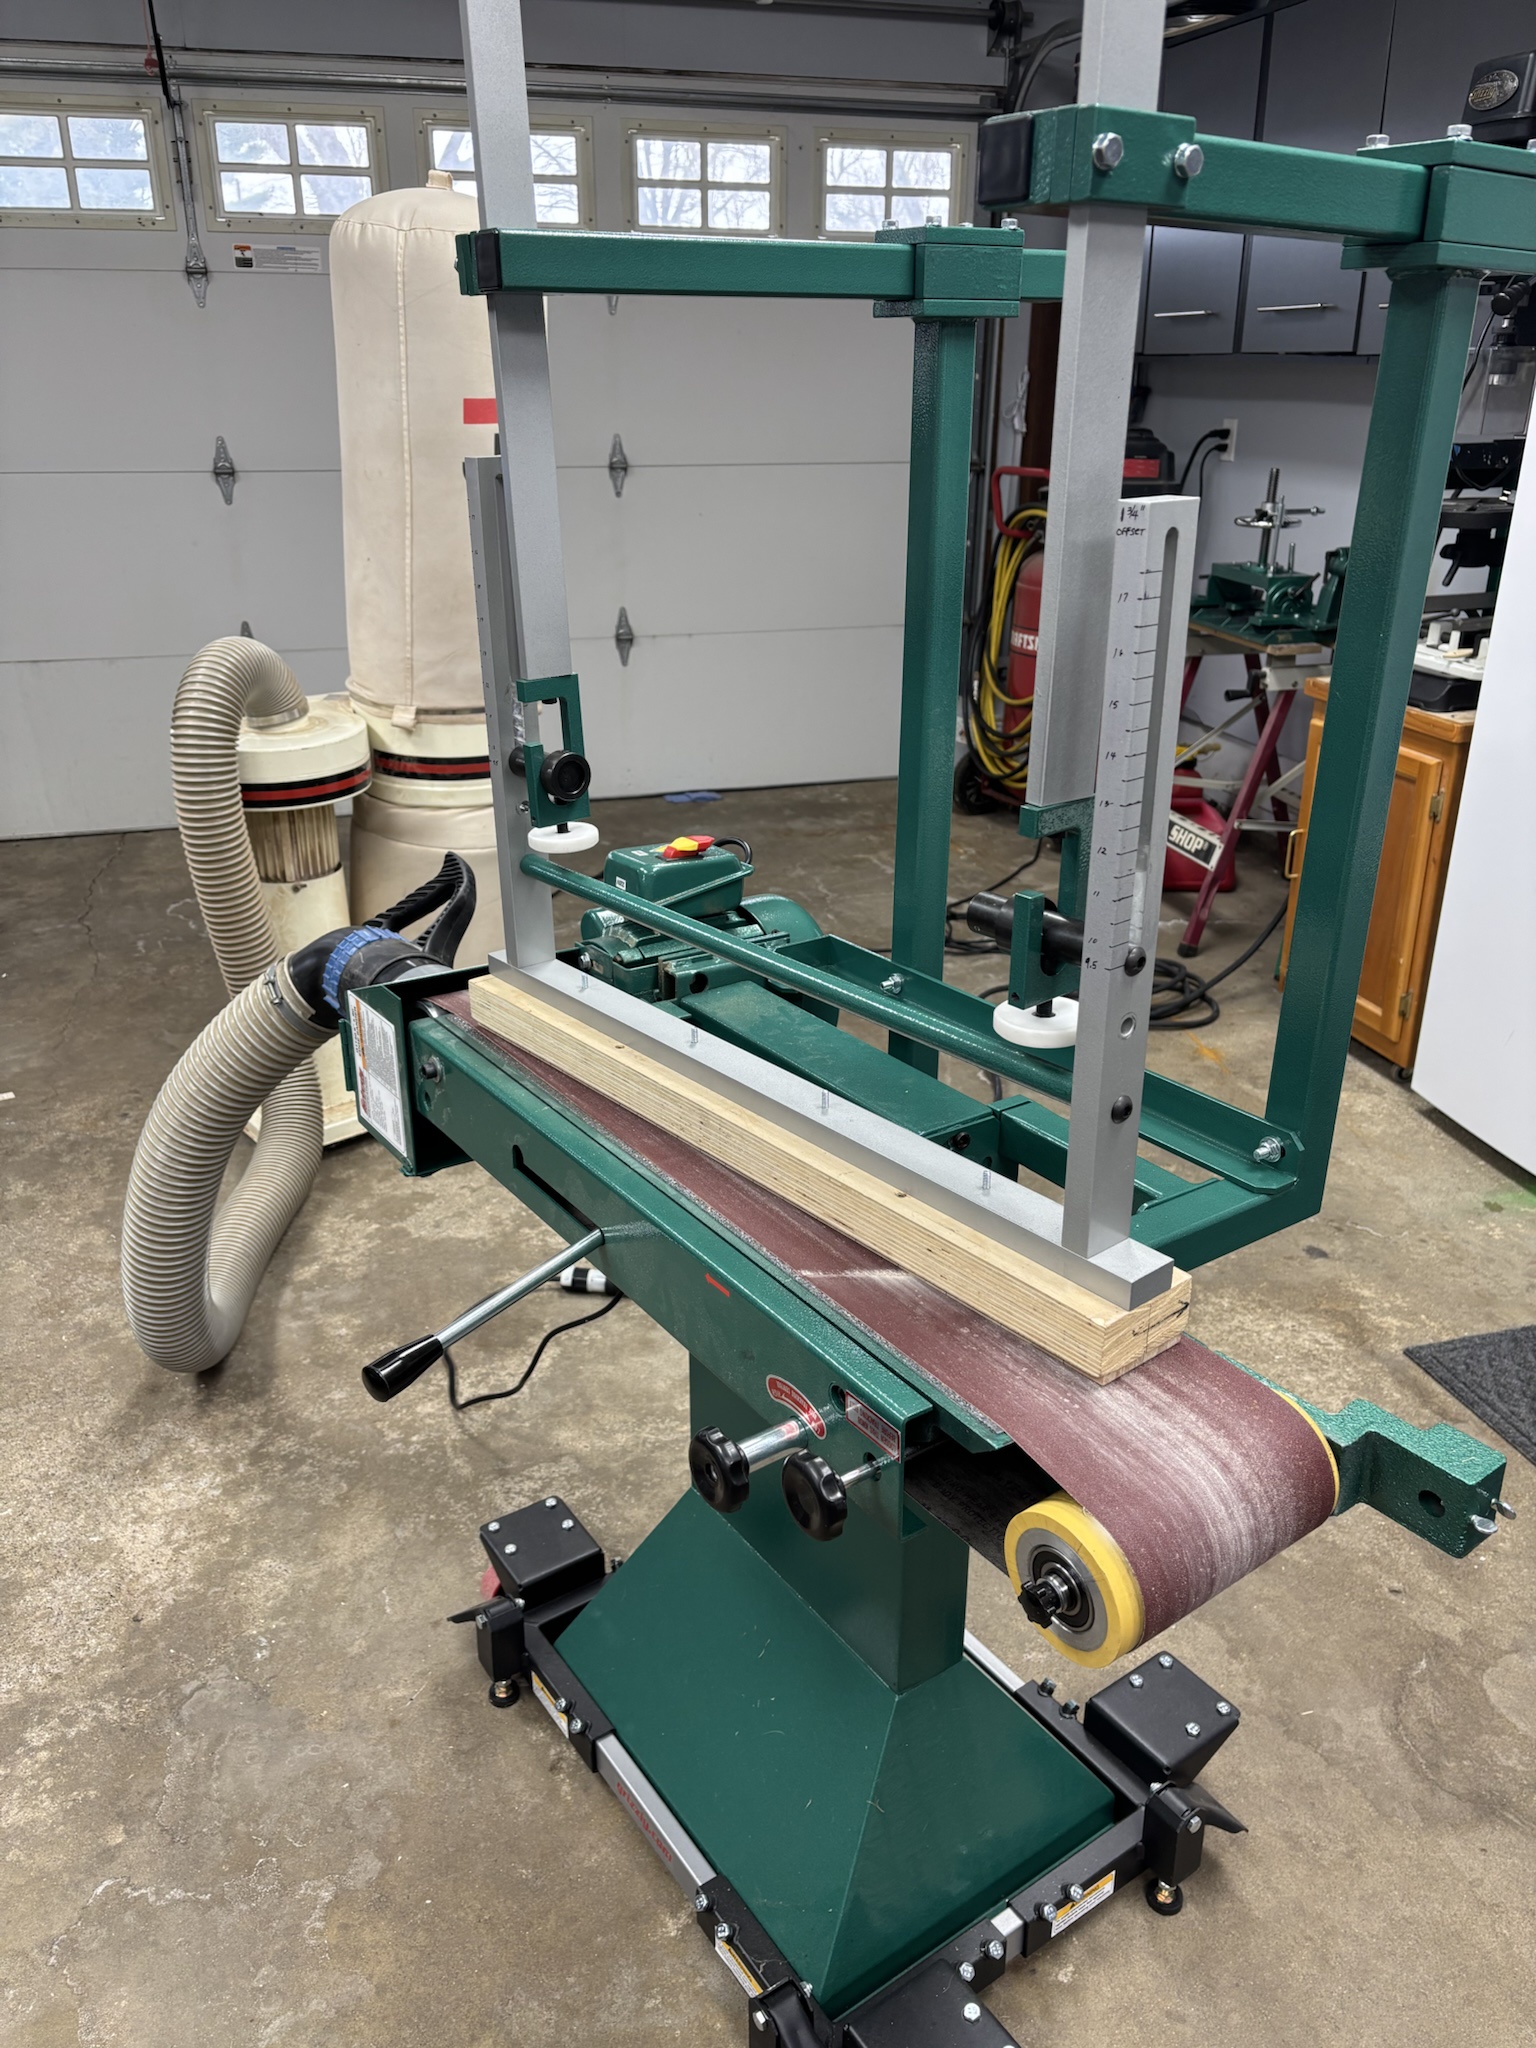
There are a number of ways to use this setup, but most commonly, a platen (maybe not the right term) is attached to the bottom of the swingarm, then the fretboard is attached to the platen while keeping the centerline aligned. The other method is to attach the fretboard to the neck, then attach the entire neck to the swingarm. I plan to use both methods, depending on the scenario. In this case, I'm going to use the platen for testing, then most likely use the neck method to actually run the board.

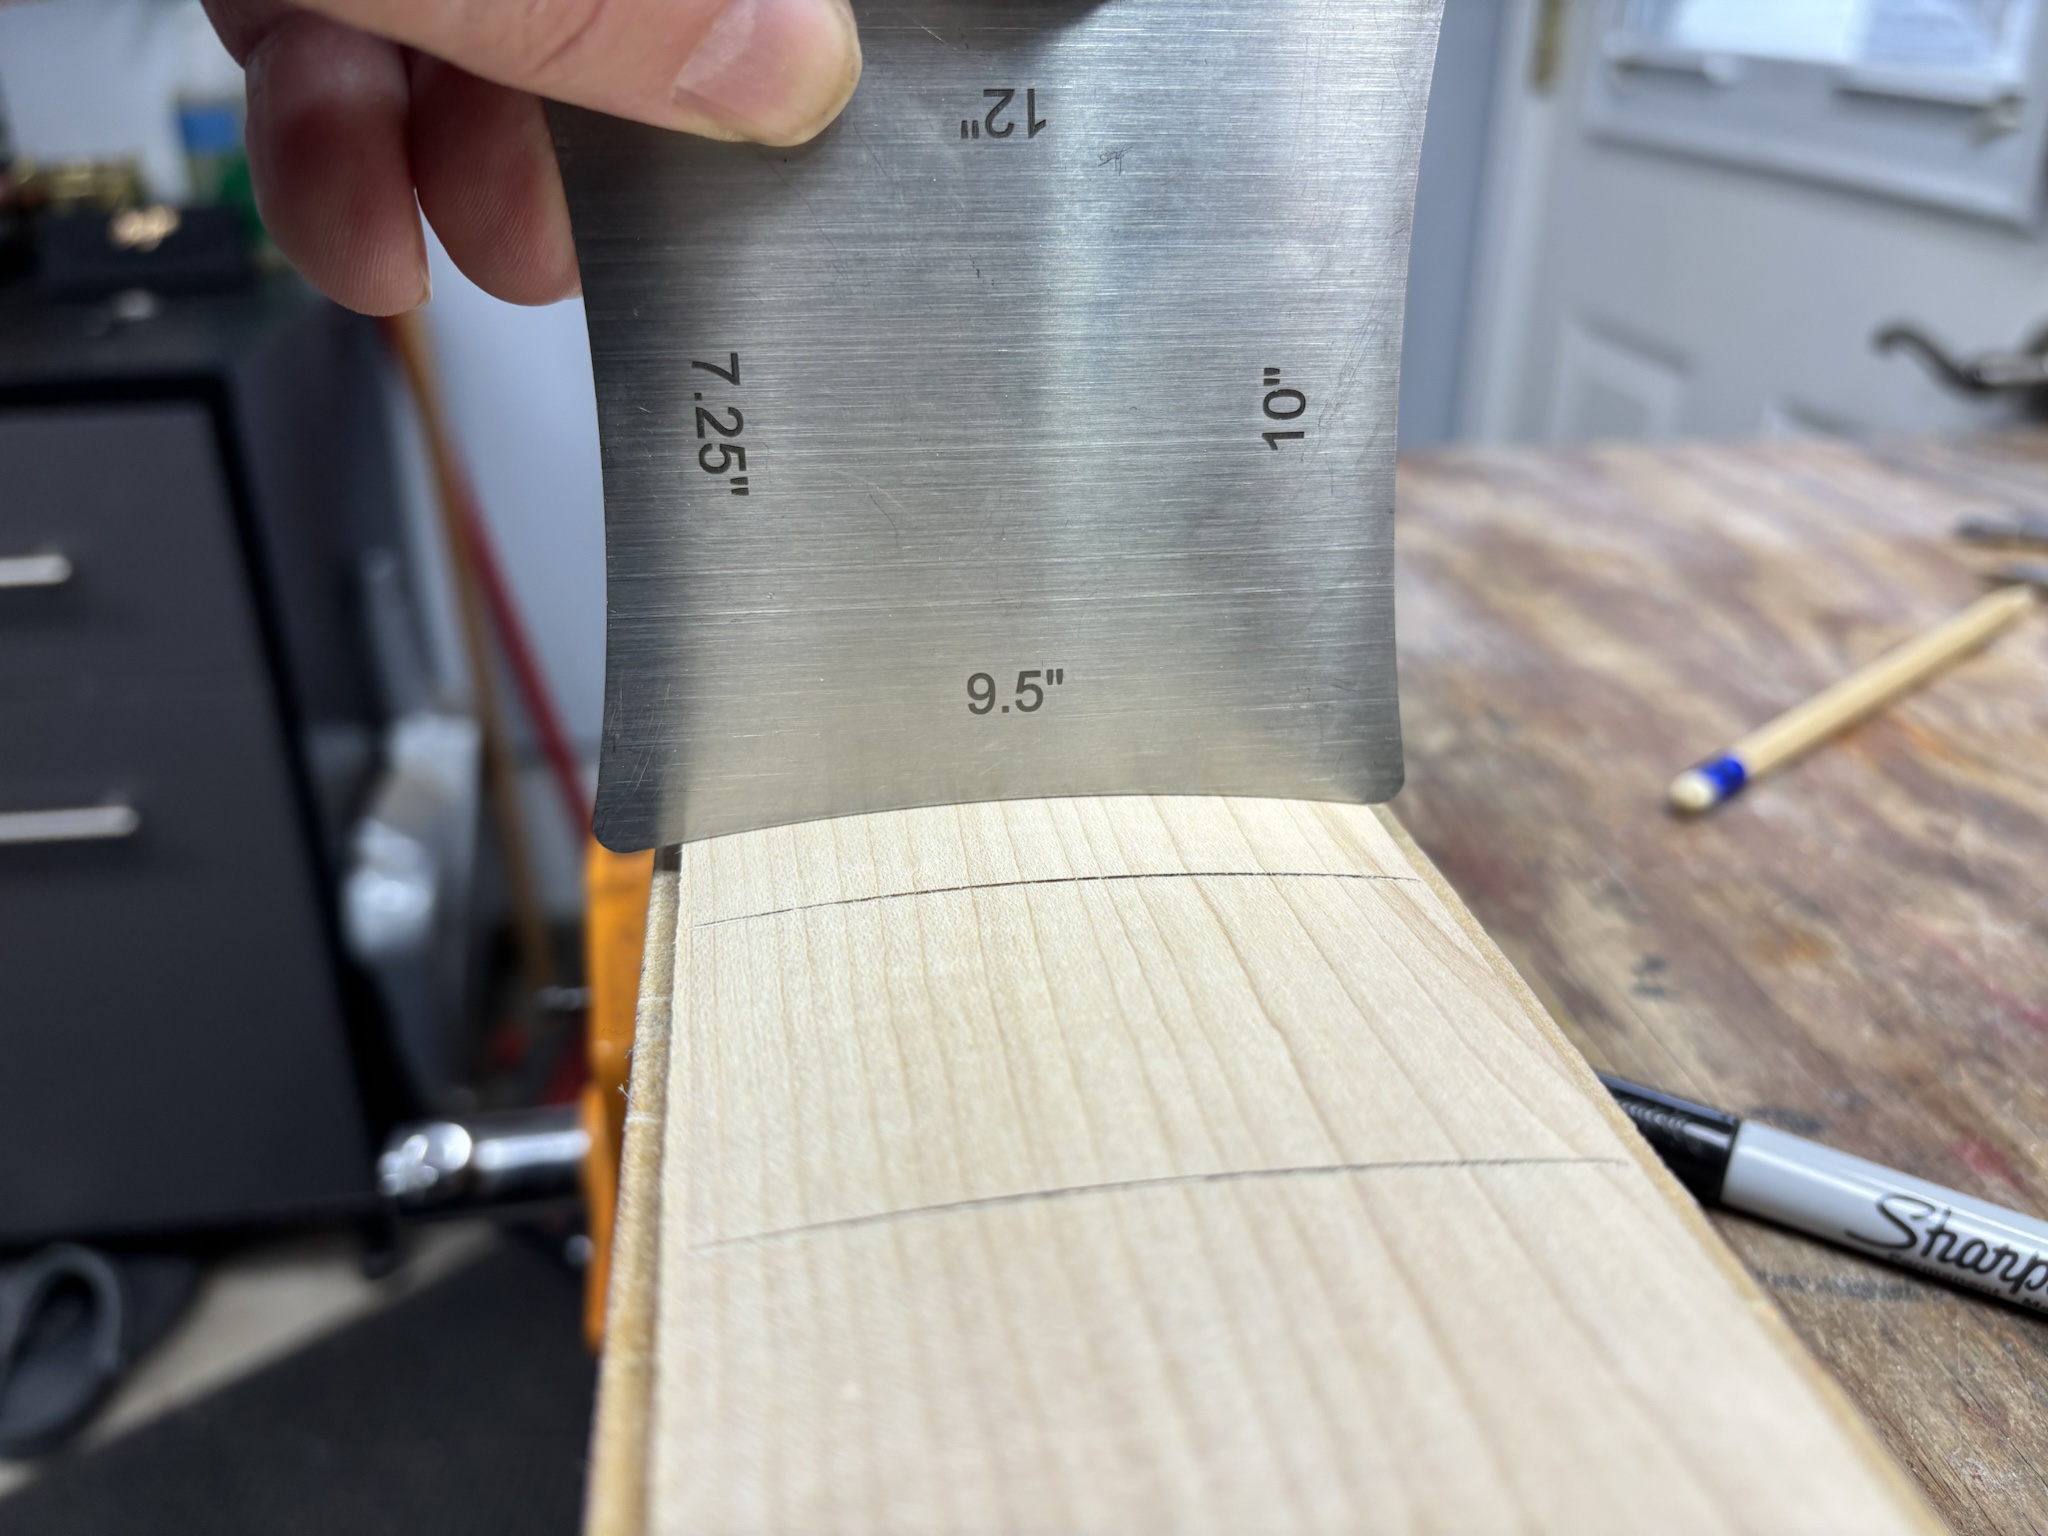
Anyway, right after slotting the fretboard for the Tele, I slotted a 34" scale fretboard in maple to use for this test. I'll use a 9.5" radius for both of them. Since my platen is thicker than the neck, I'll have to move the pivot points accordingly, but this will be a good first run.

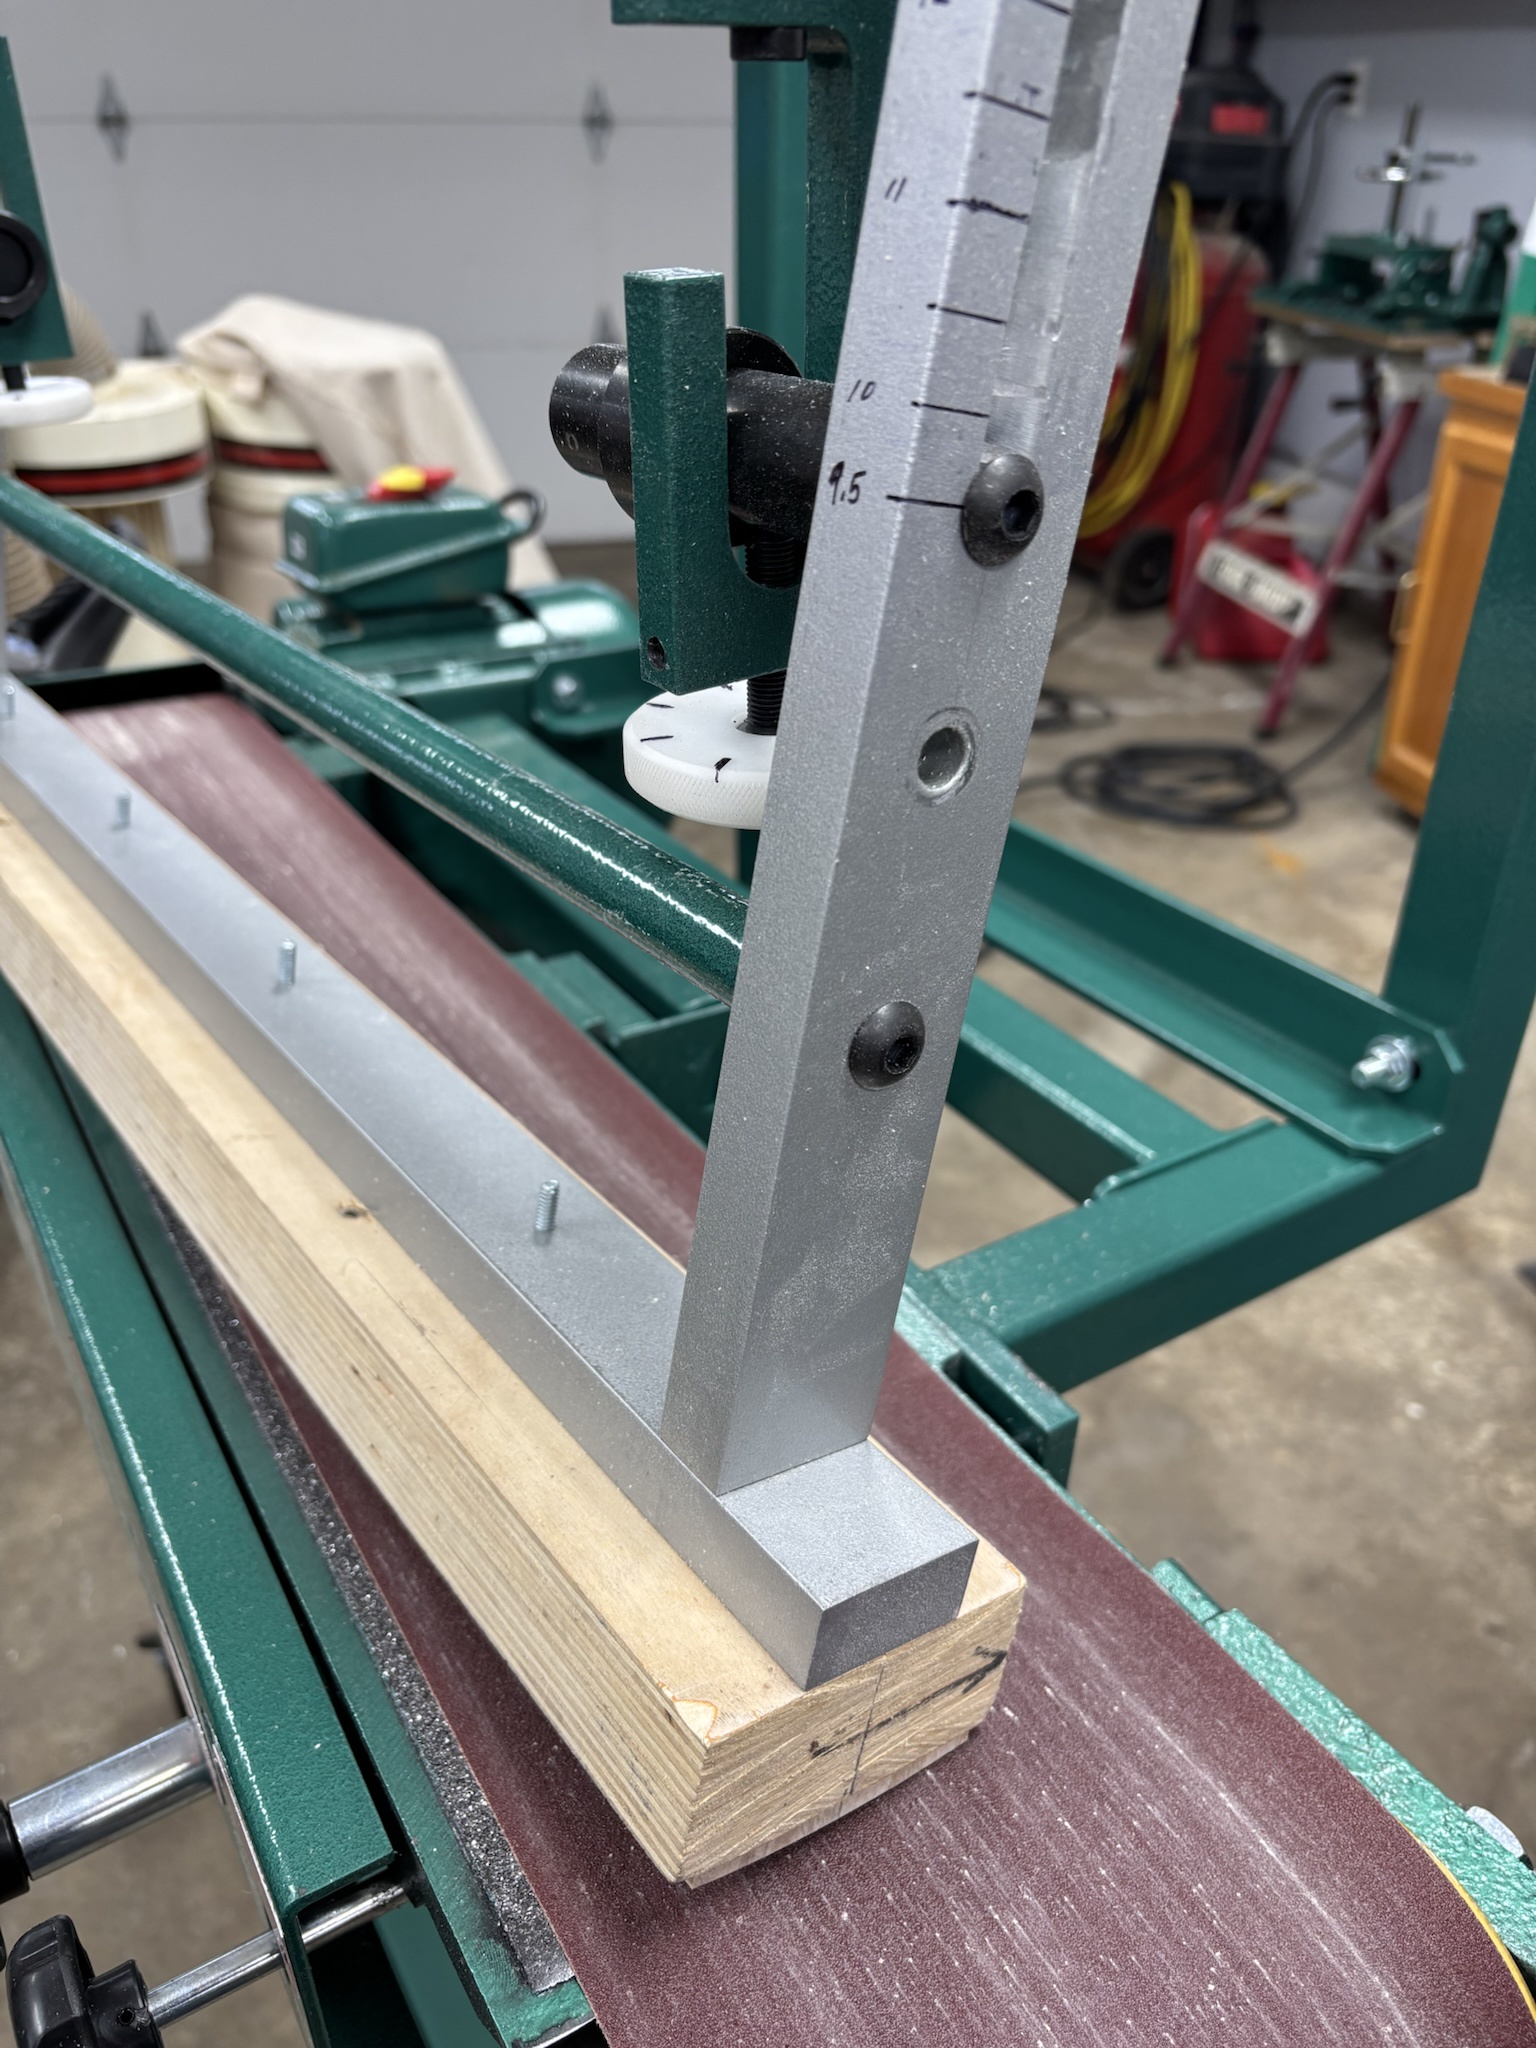
If you're not familiar with the setup, this fixture is available from Grizzly and it adds a couple of adjustable overhead arms and a swingarm with adjustable pivot points to their 8 x 80" edge sander. Here I have the platen and fretboard already attached. The platen is attached with recessed machine screws and the fretboard is attached with thin film double sided tape. This is so there is no compression or movement from thicker types of double sided tape. I have the height adjusted so the board is just above, but not touching the sander. This will sand the outside edges of the board without touching the center.

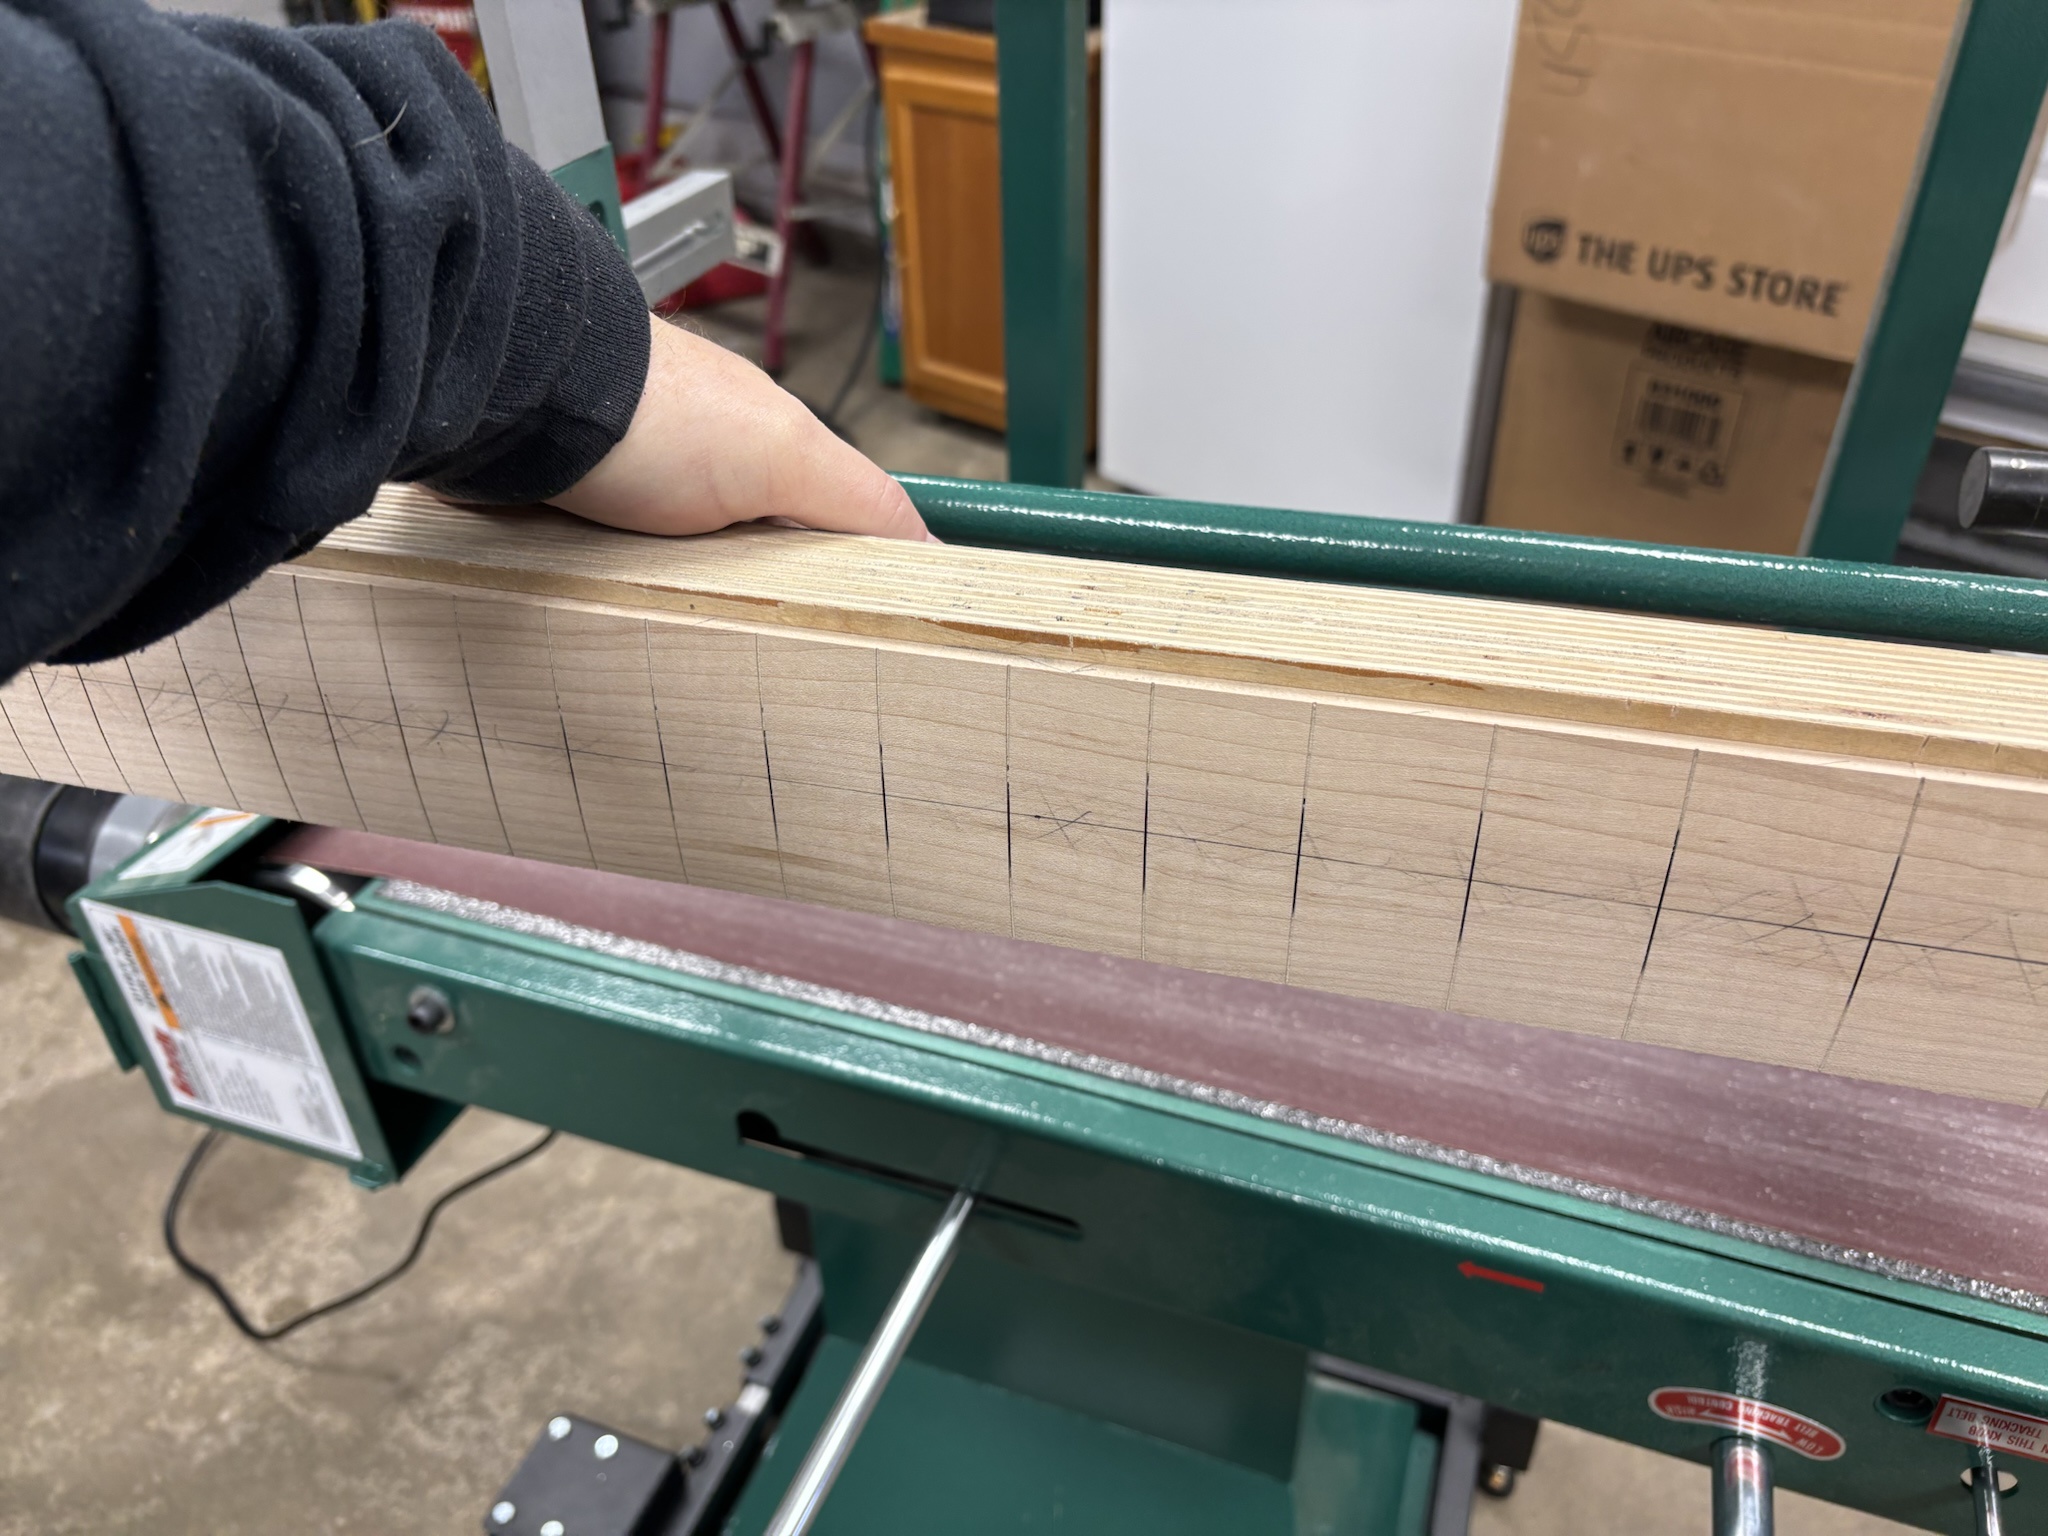
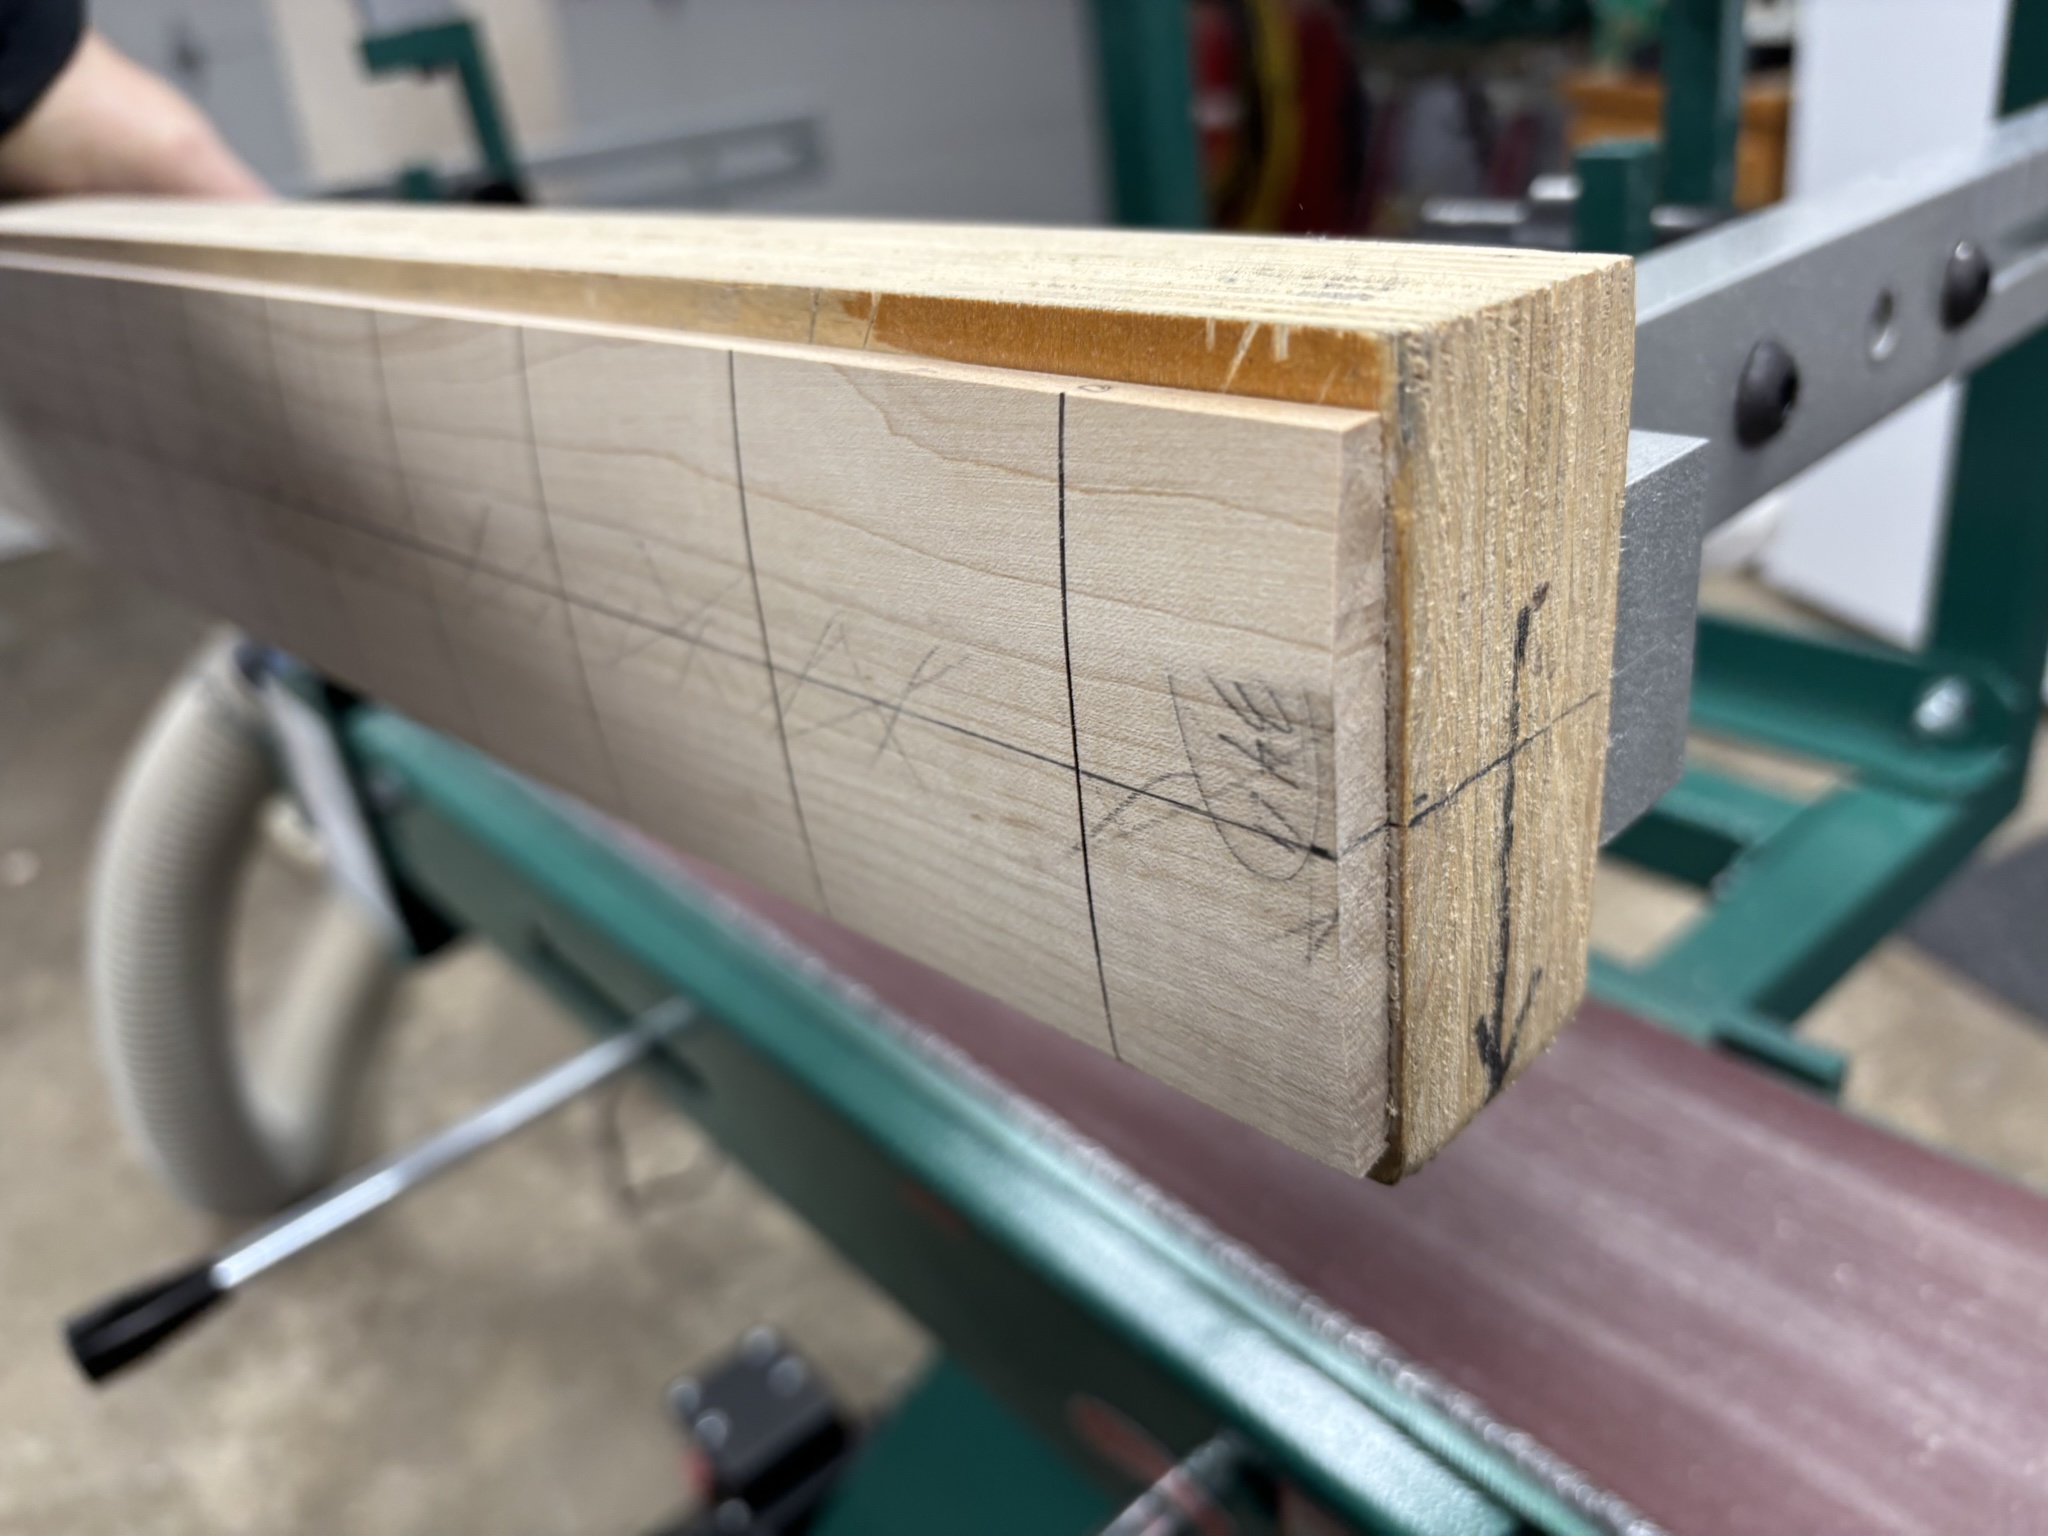
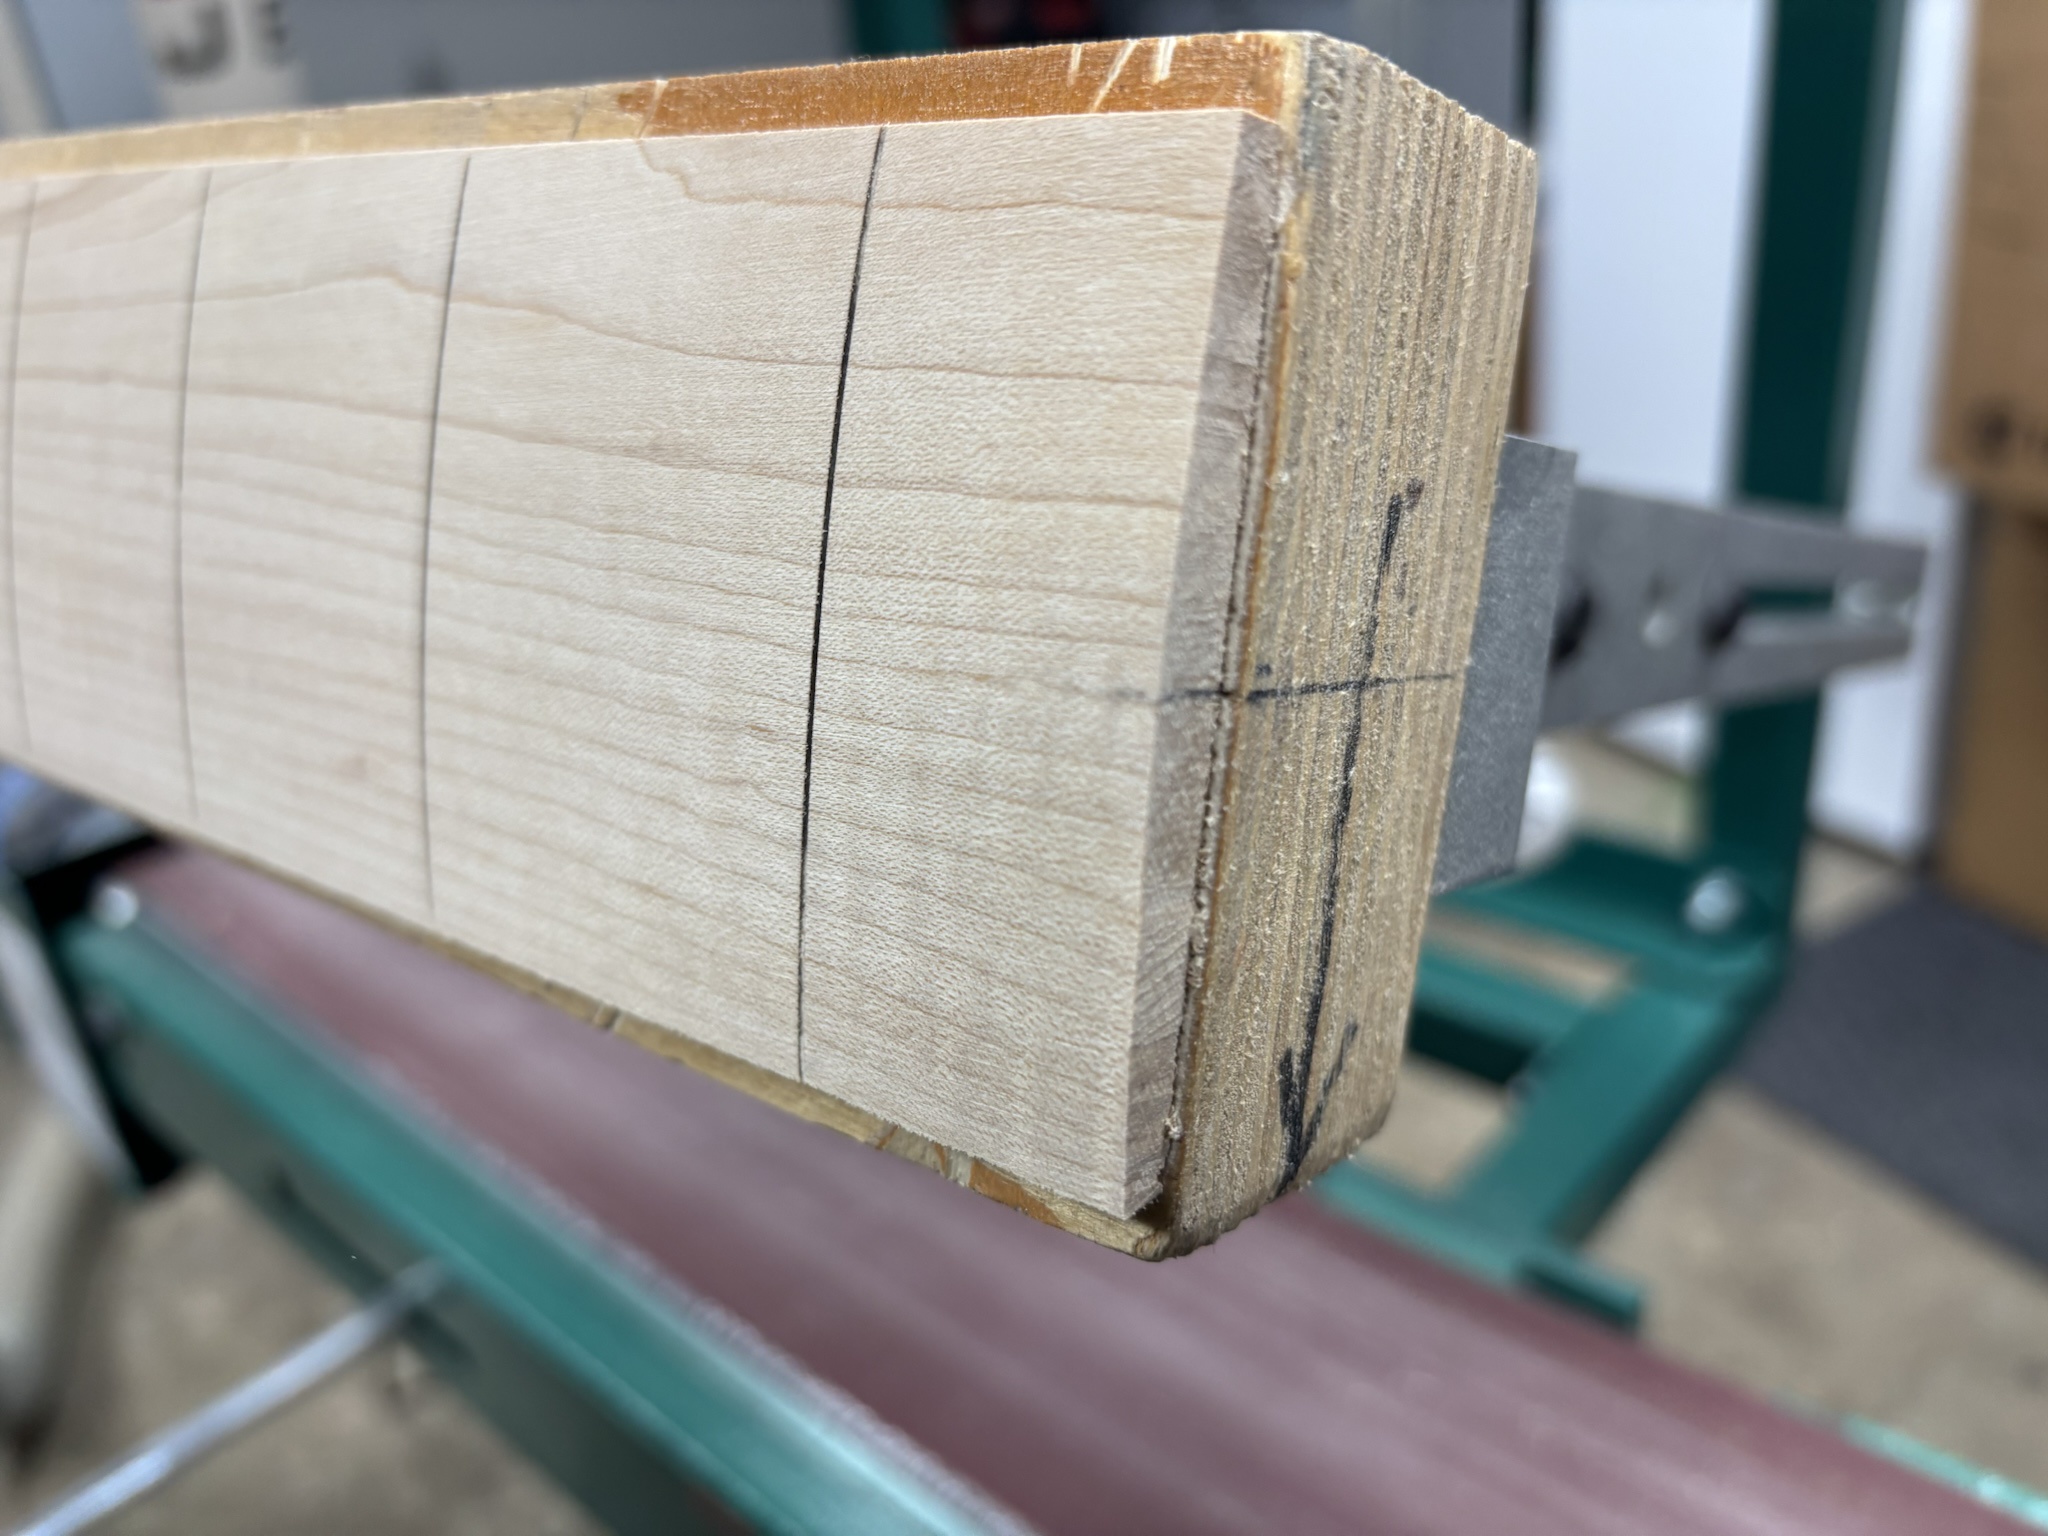
I have a centerline and pencil marking the board to make it easier to see my progress. The belt is 100 grit.
hN6yYIp.jpg


After a few swings back and forth and checking that I'm level end to end (there are adjustment screws under the hooks that I move for this). Good progress.
iAZaNkR.jpg


dR8TJVy.jpg


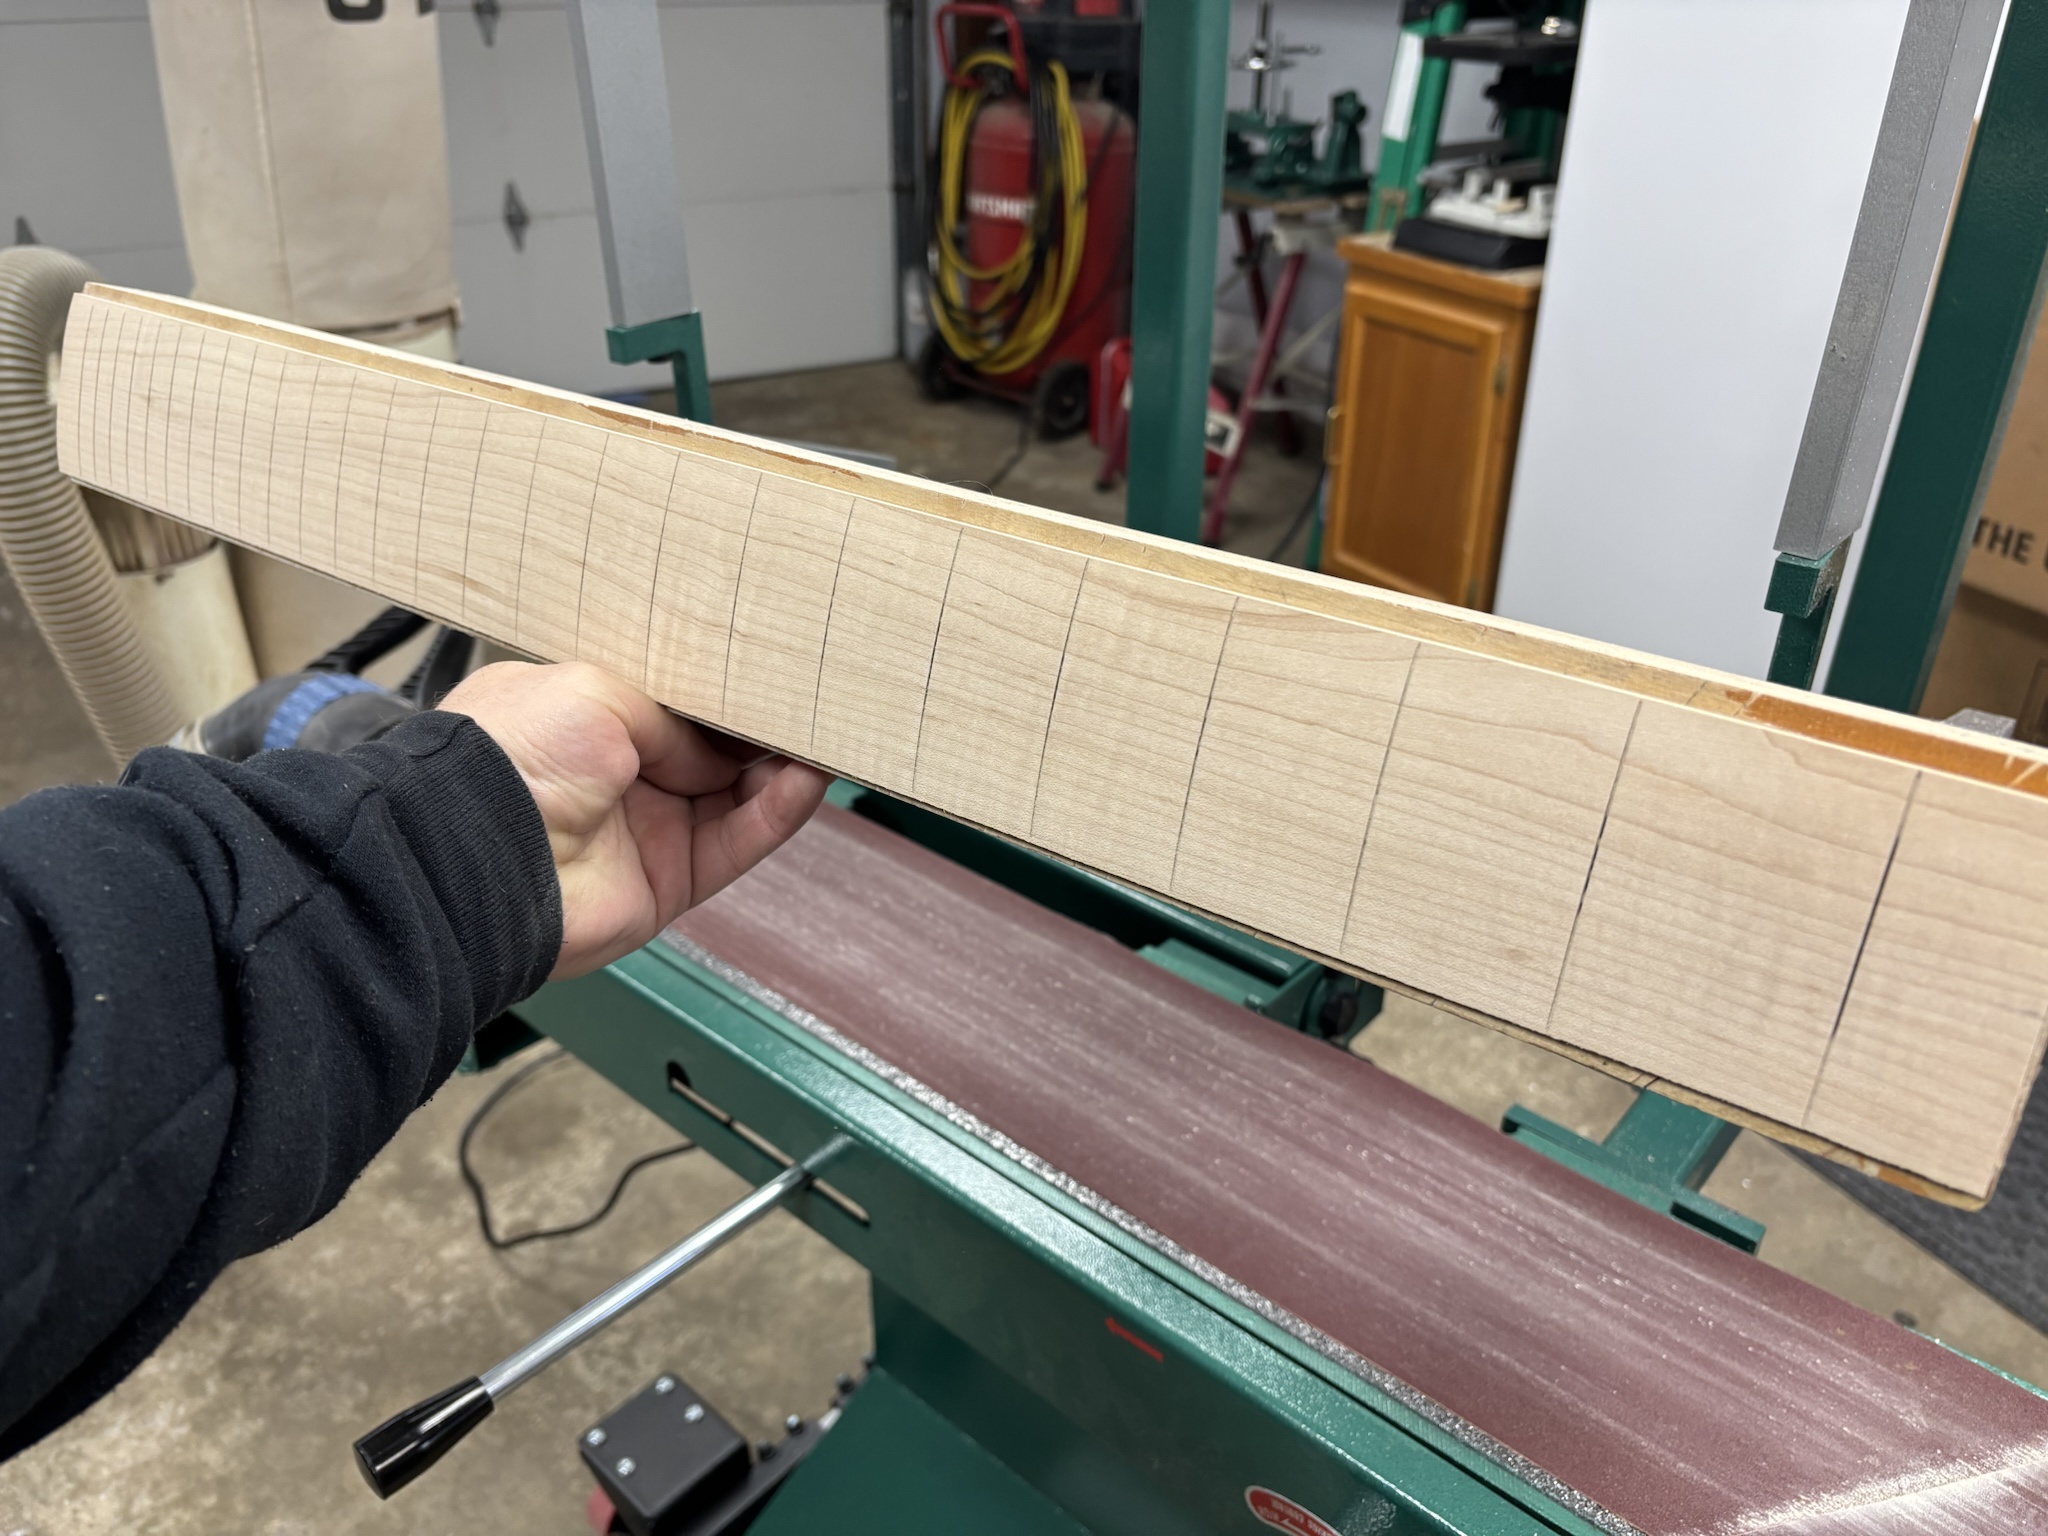
I then gradually lower the fine tune adjustment screws until I'm kissing the center.
NYNJ1M7.jpg


jA77FYp.jpg


It is very accurate!
hqlLjLY.jpg


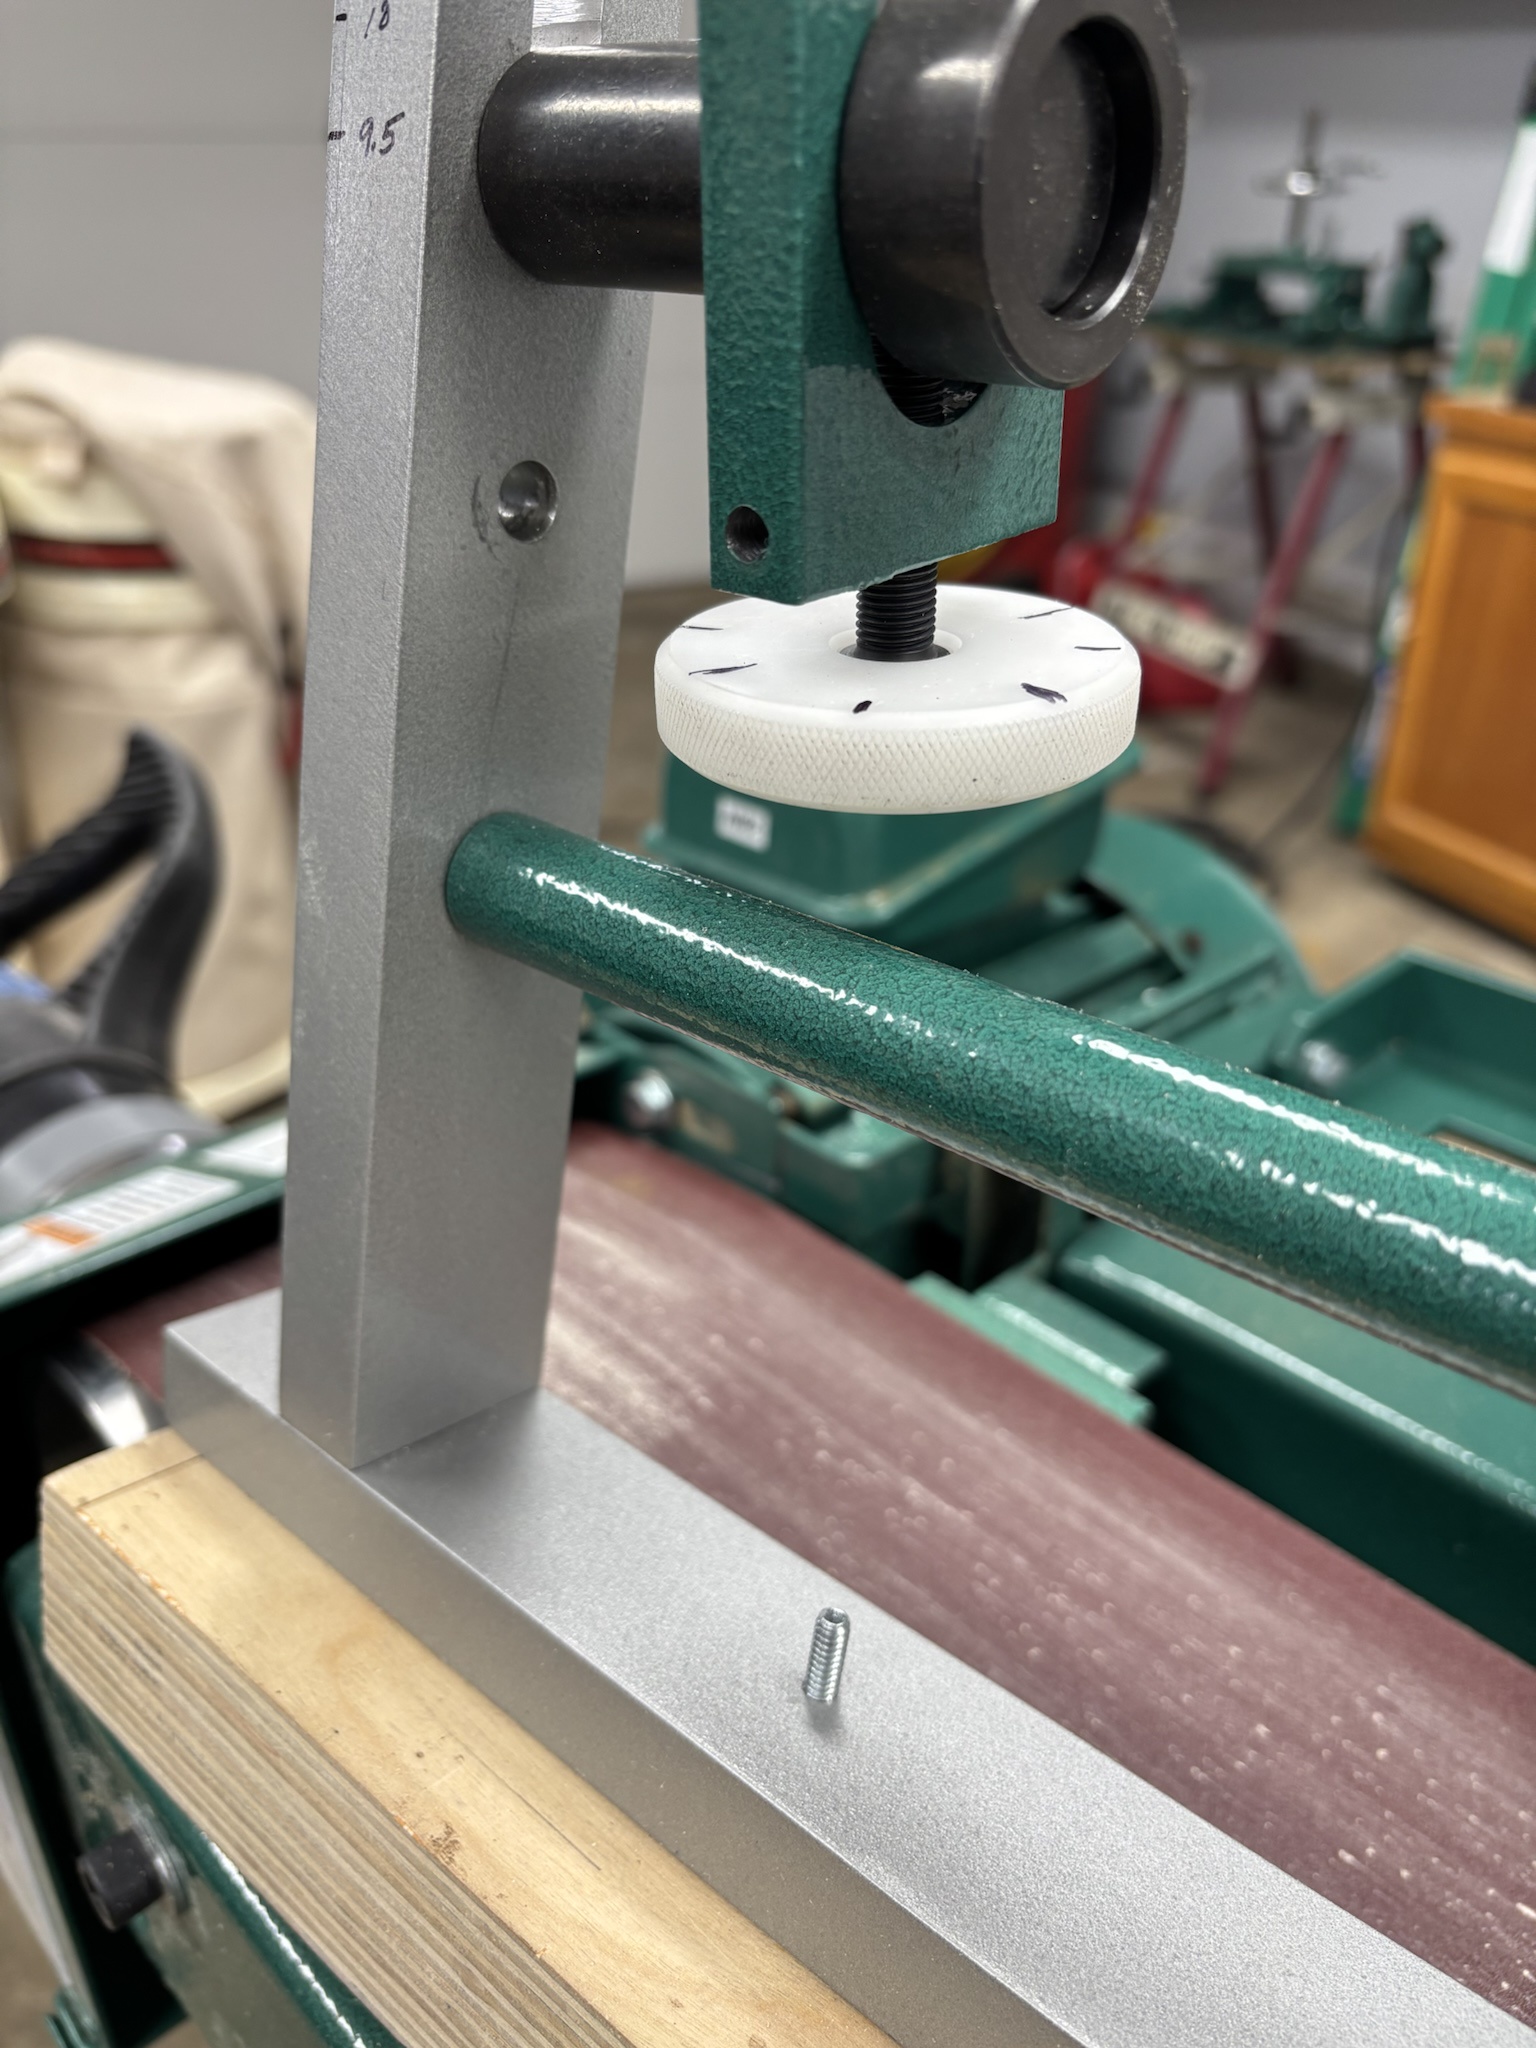
So, a few notes during the first use. The fine adjust knobs need to be moved regularly AND evenly during the process. So, partway through the operation I stopped and made some marks on the knobs. This helped immensely to know how far I was moving.
eOwLAP9.jpg


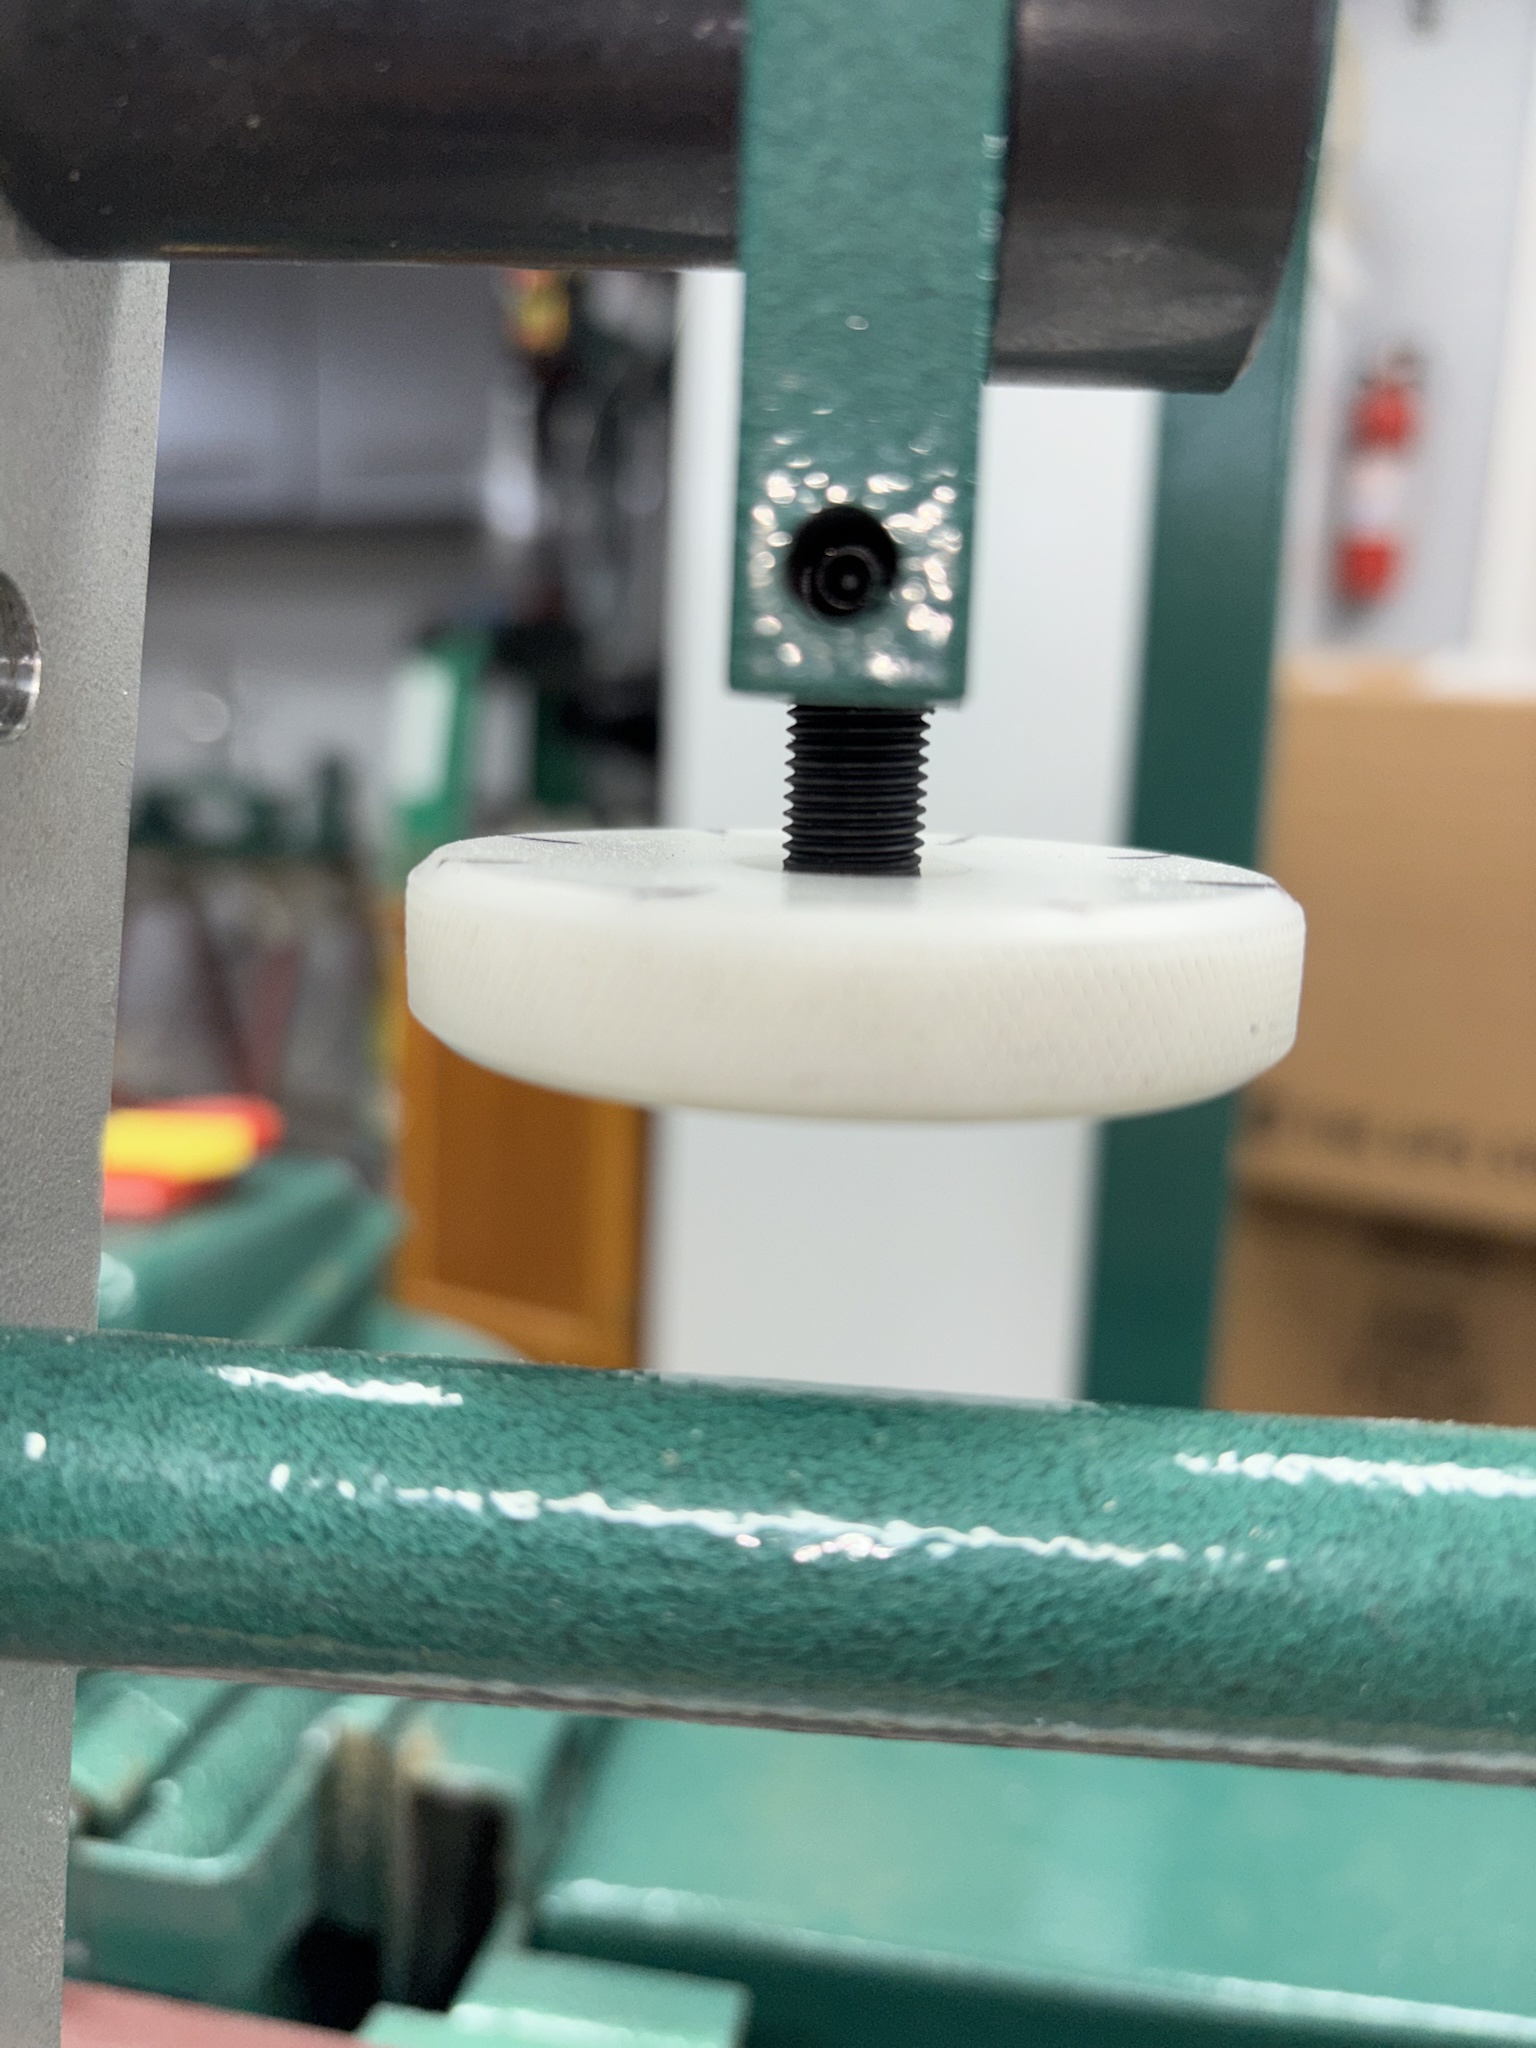
Secondly, the knobs were sometimes turning on their own while the machine was running. Yikes! Only after I was finished did I notice that there are some set screws that can be snugged up to help. Problem is, they are steel set screws against a steel bolt... So, I'm going to find some nylon tipped set screws and replace these soon.
B7Oyuzo.jpg


The slots that are milled in the swingarm will only allow around a 10" radius if the fretboard is attached directly to the swingarm. I extended this slot to allow for the use of a thick platen and also marked the arms. I can mark the opposite side for a 1" offset, which would be appropriate for a neck with Fender specs.
1JQNfVZ.jpg


That's it for today. I wheeled all of the tools to one side of the garage, brought the snow blower up from the shed and moved the car into the garage in preparation for our first potentially meaningful snowfall this year. So, there won't likely be much progress in the next few days.
 
Last edited: