• TalkBass has been independent since 1998. Add your voice.
    Create a free account to reply to discussions, view embedded media, and browse with fewer display ads.
    Join freeLog in
    Want zero display ads or expanded classifieds tools? Compare plans.

Winter Build Off 2025 - Double Bucker Tele

And what would that give you? A conical fretboard profile instead of a cylindrical one?

The radius is determined by the distance from the outside face of the fretboard to the center of the pivot point. The scale that I marked on the swingarm takes into account the thickness of the current platen plus the thickness of the fretboard. If I change the overall thickness by instead using a fretboard attached to a neck, that changes the overall thickness of the offset (requiring different measurements).

So, to make things easier for myself, I will mark that scale on the back side of the swingarm. Since those will be my two most used setups, it will be easy to adjust at a glance.

This jig will do a compound radius. you just have to set one end differently from the other; then level it out as in a normal setup. Hope that all made sense! :thumbsup:
 
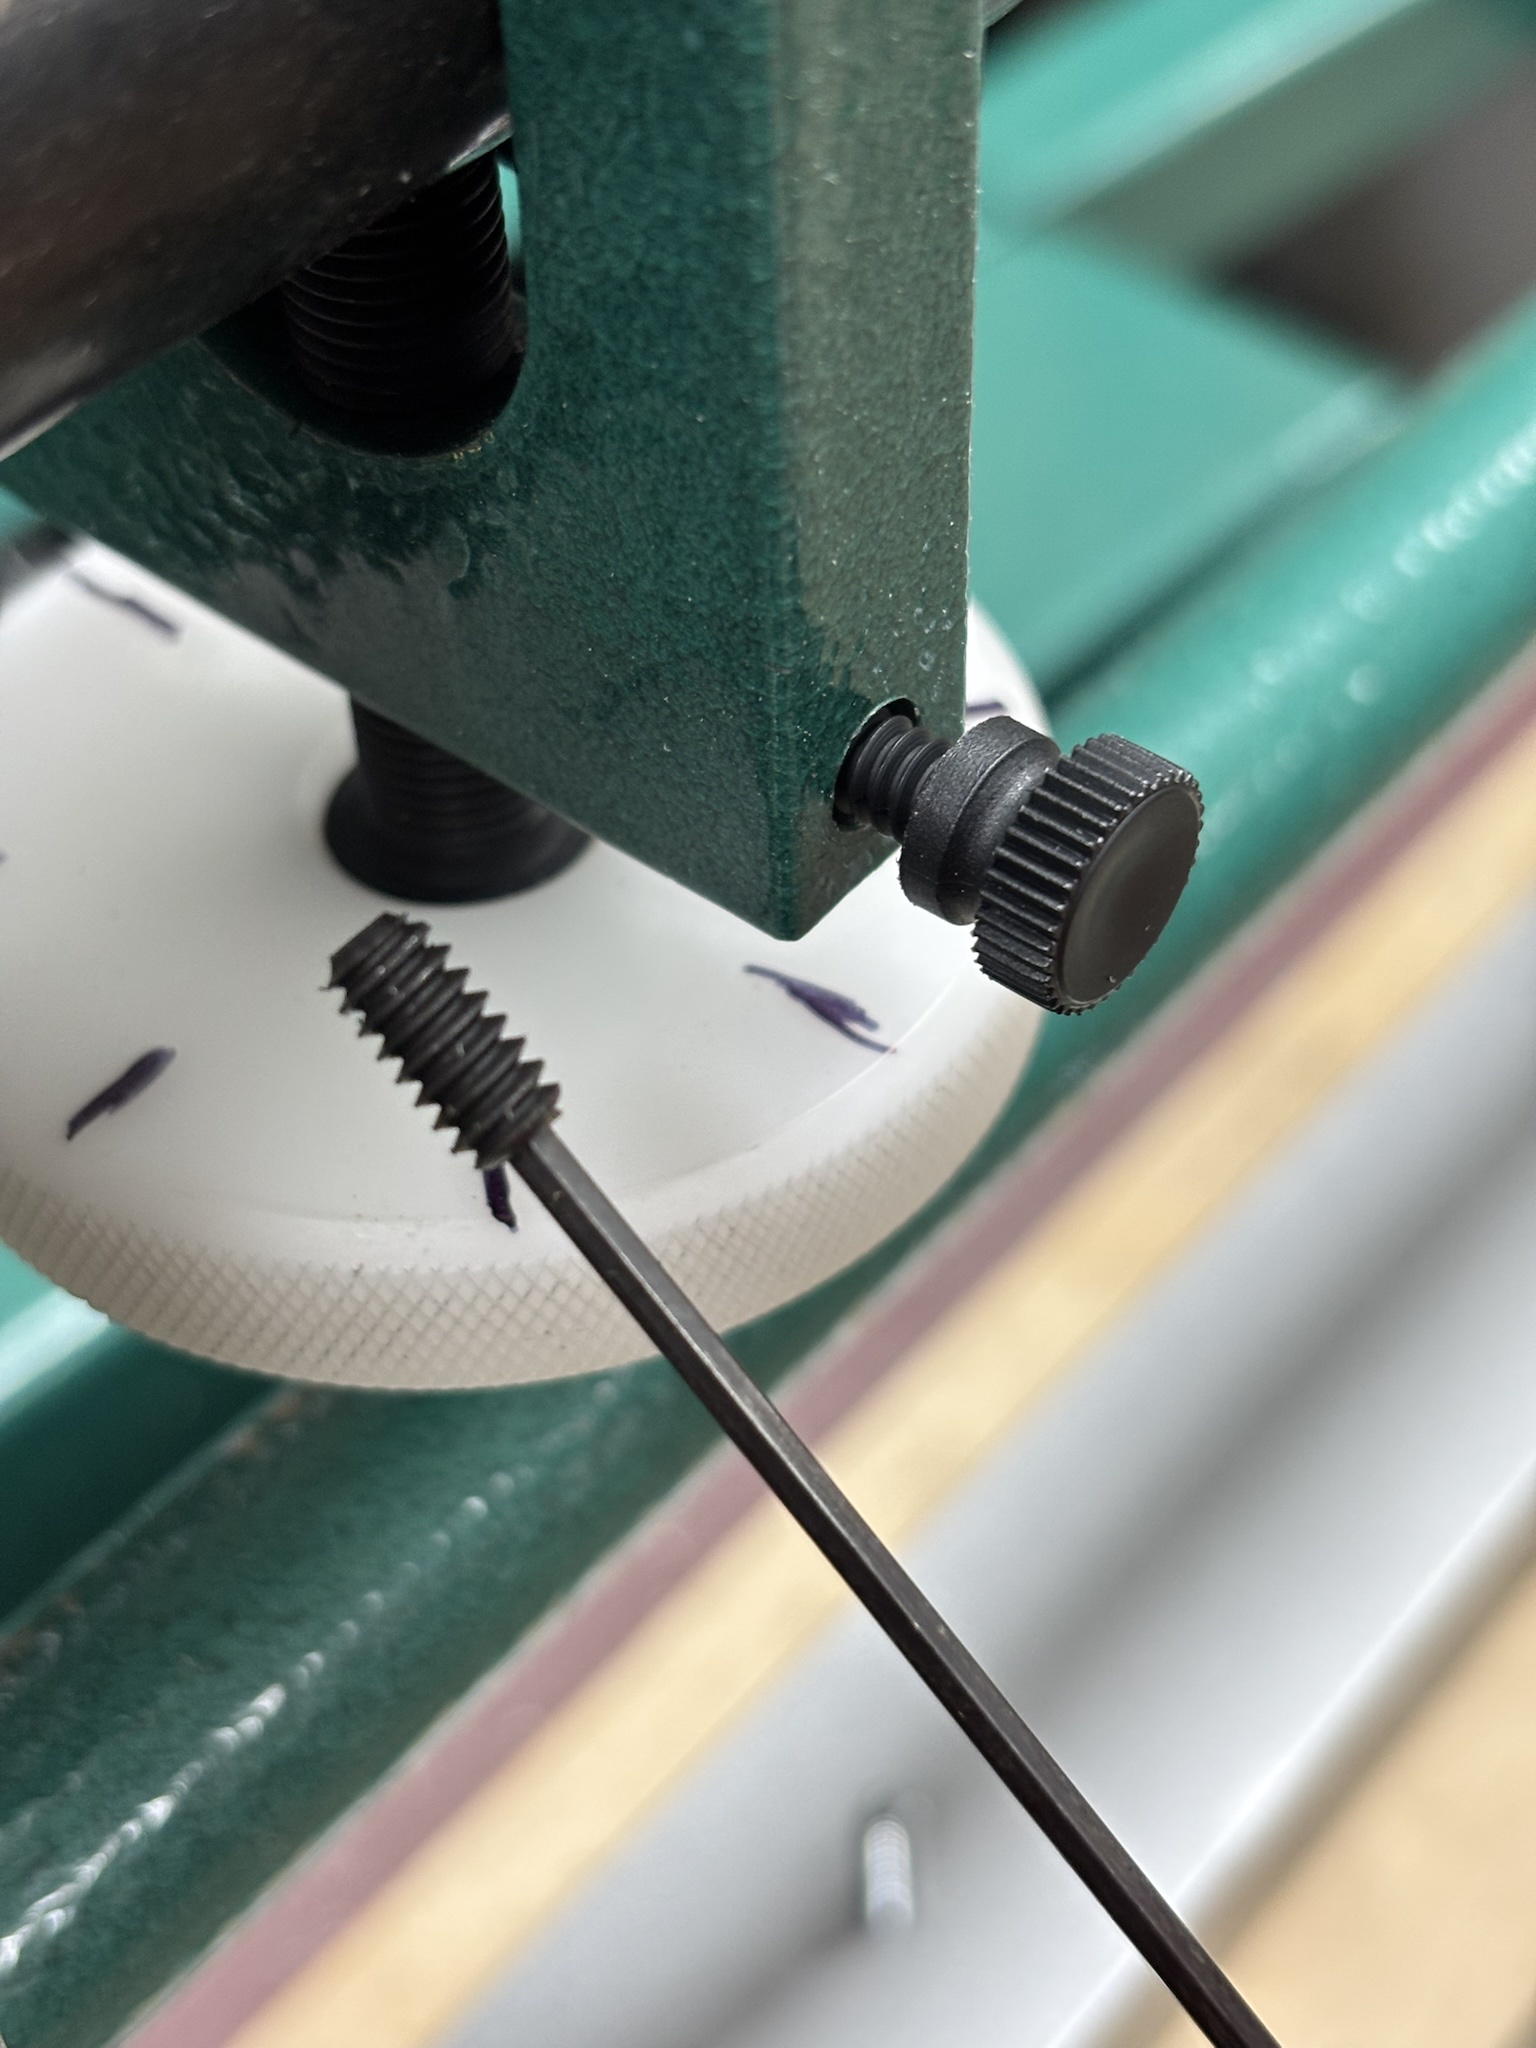
So, I'm going to find some nylon tipped set screws and replace these soon.
If the set-screw hole is deep enough, you can clip a bit of (thick-ish) copper wire (or brass/aluminum/bronze rod, etc.) and have it between the setscrew and the other steel screw. Not as fancy as a brass or nylon tipped setscrew, but you only really need those if the hole is so short/shallow that you can't get a slug of some softer material in front of the setscrew inside the hole.

Scraps of weed-trimmer line (old strings from upright folks that use those type strings?) could also work in the nylon-ish direction.
 
Last edited:
If the set-screw hole is deep enough, you can clip a bit of (thick-ish) copper wire (or brass/aluminum/bronze rod, etc.) and have it between the setscrew and the other steel screw. Not as fancy as a brass or nylon tipped setscrew, but you only really need those if the hole is so short/shallow that you can't get a slug of some softer material in front of the setscrew inside the hole.

Scraps of weed-trimmer line (old strings from upright folks that use those type strings?) could also work in the nylon-ish direction.
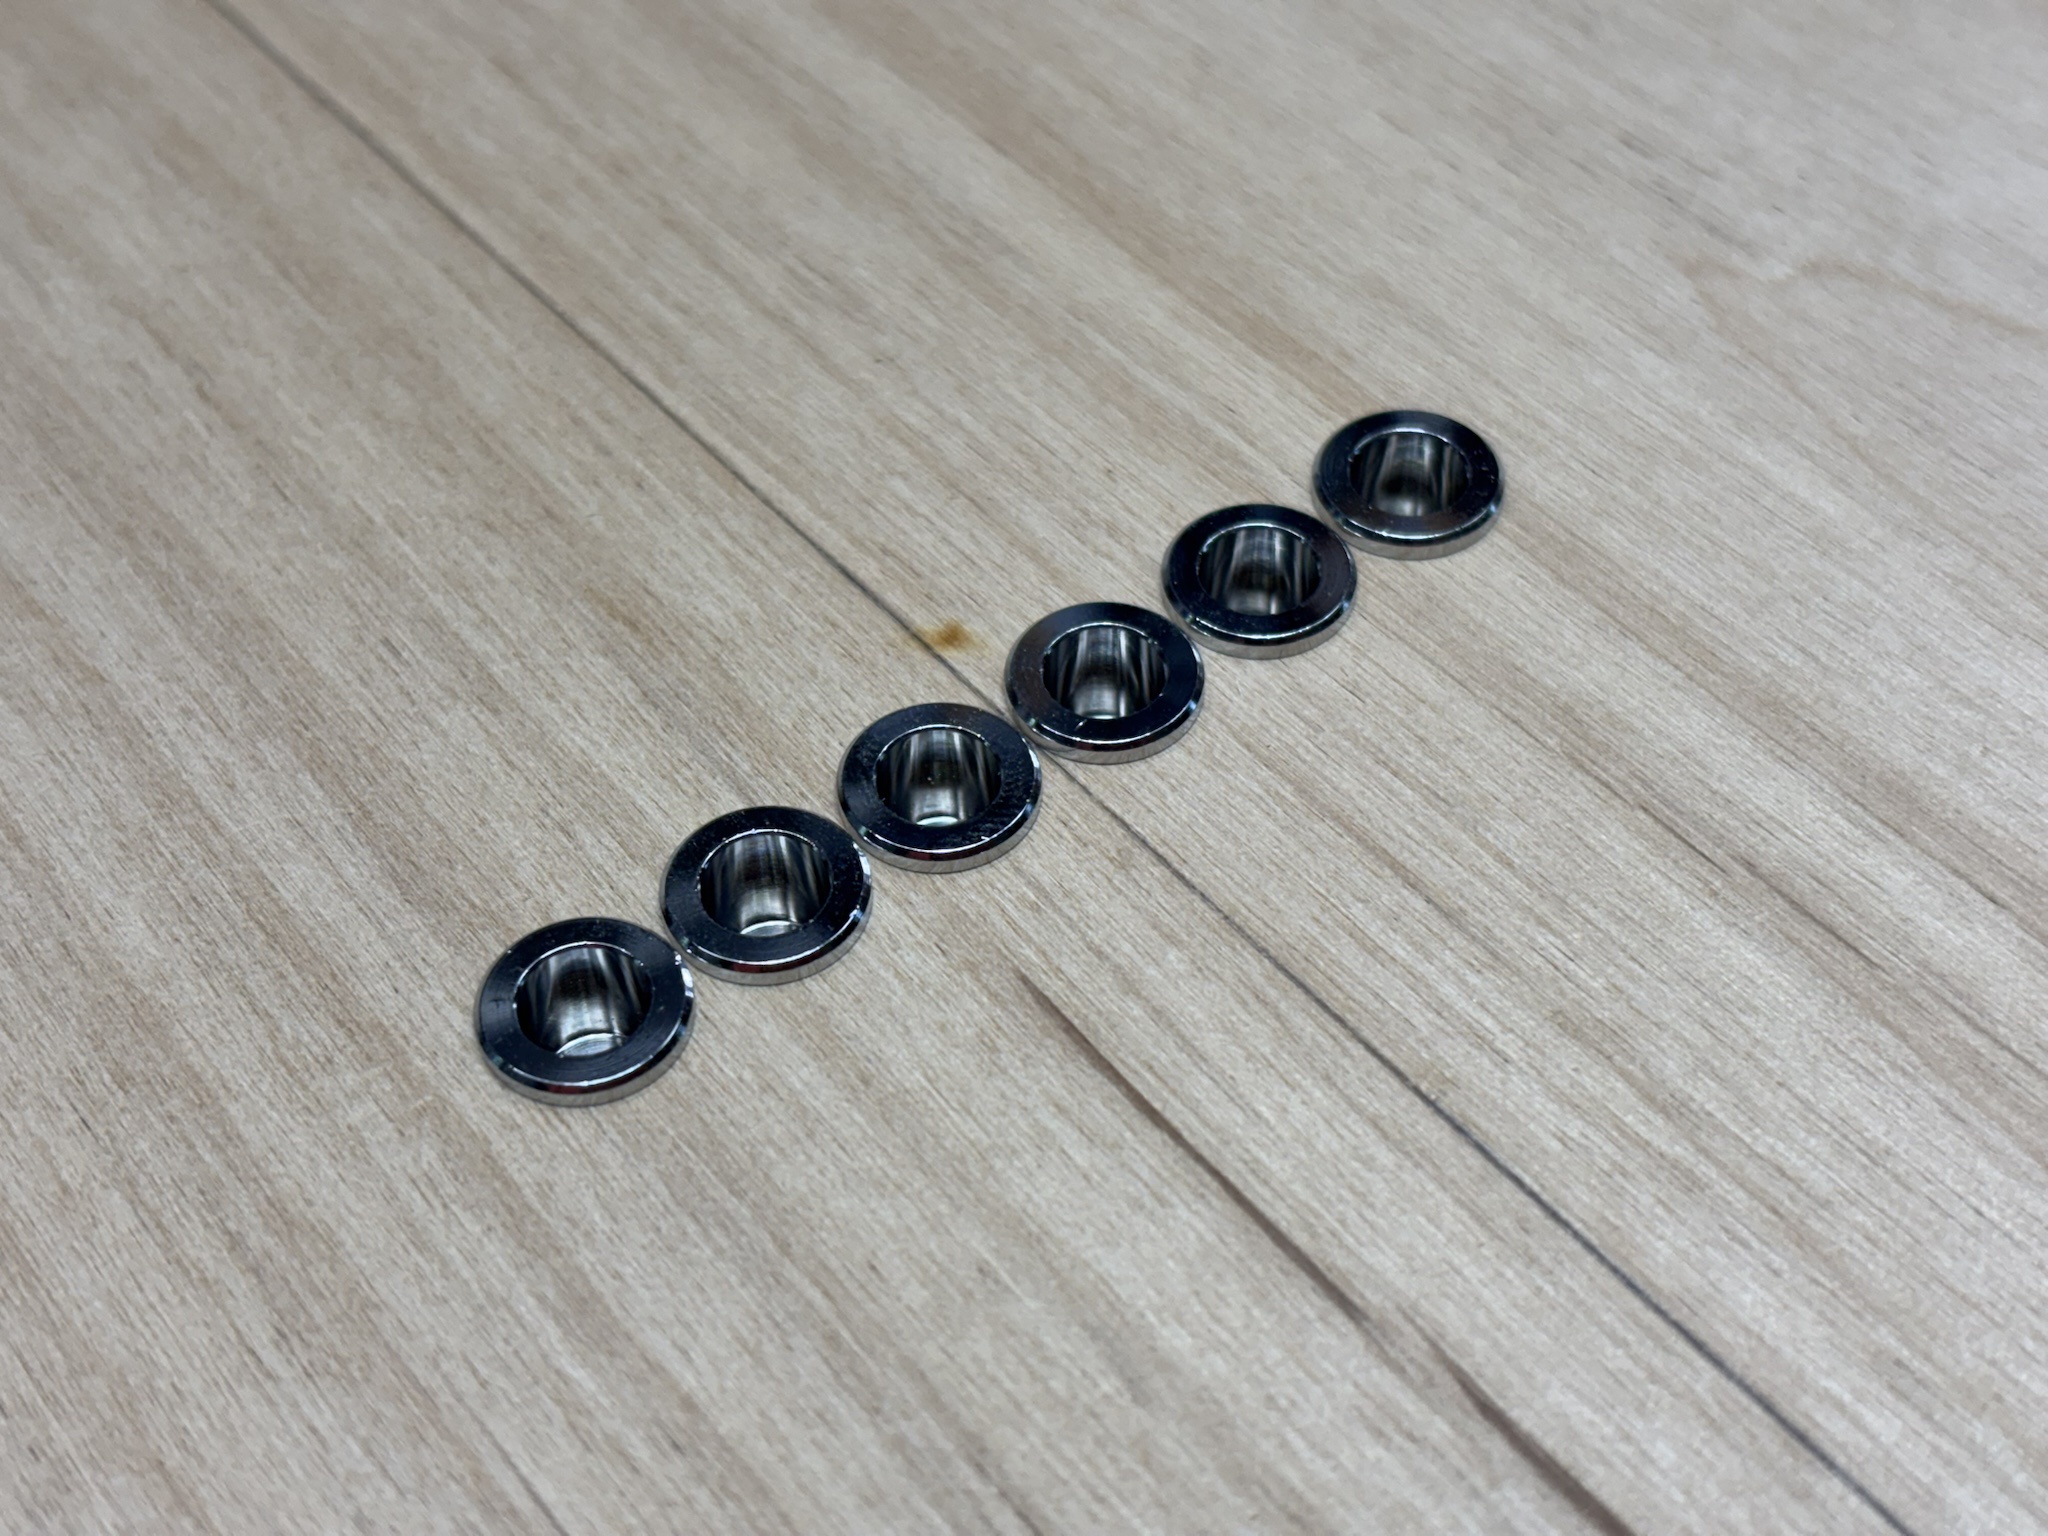
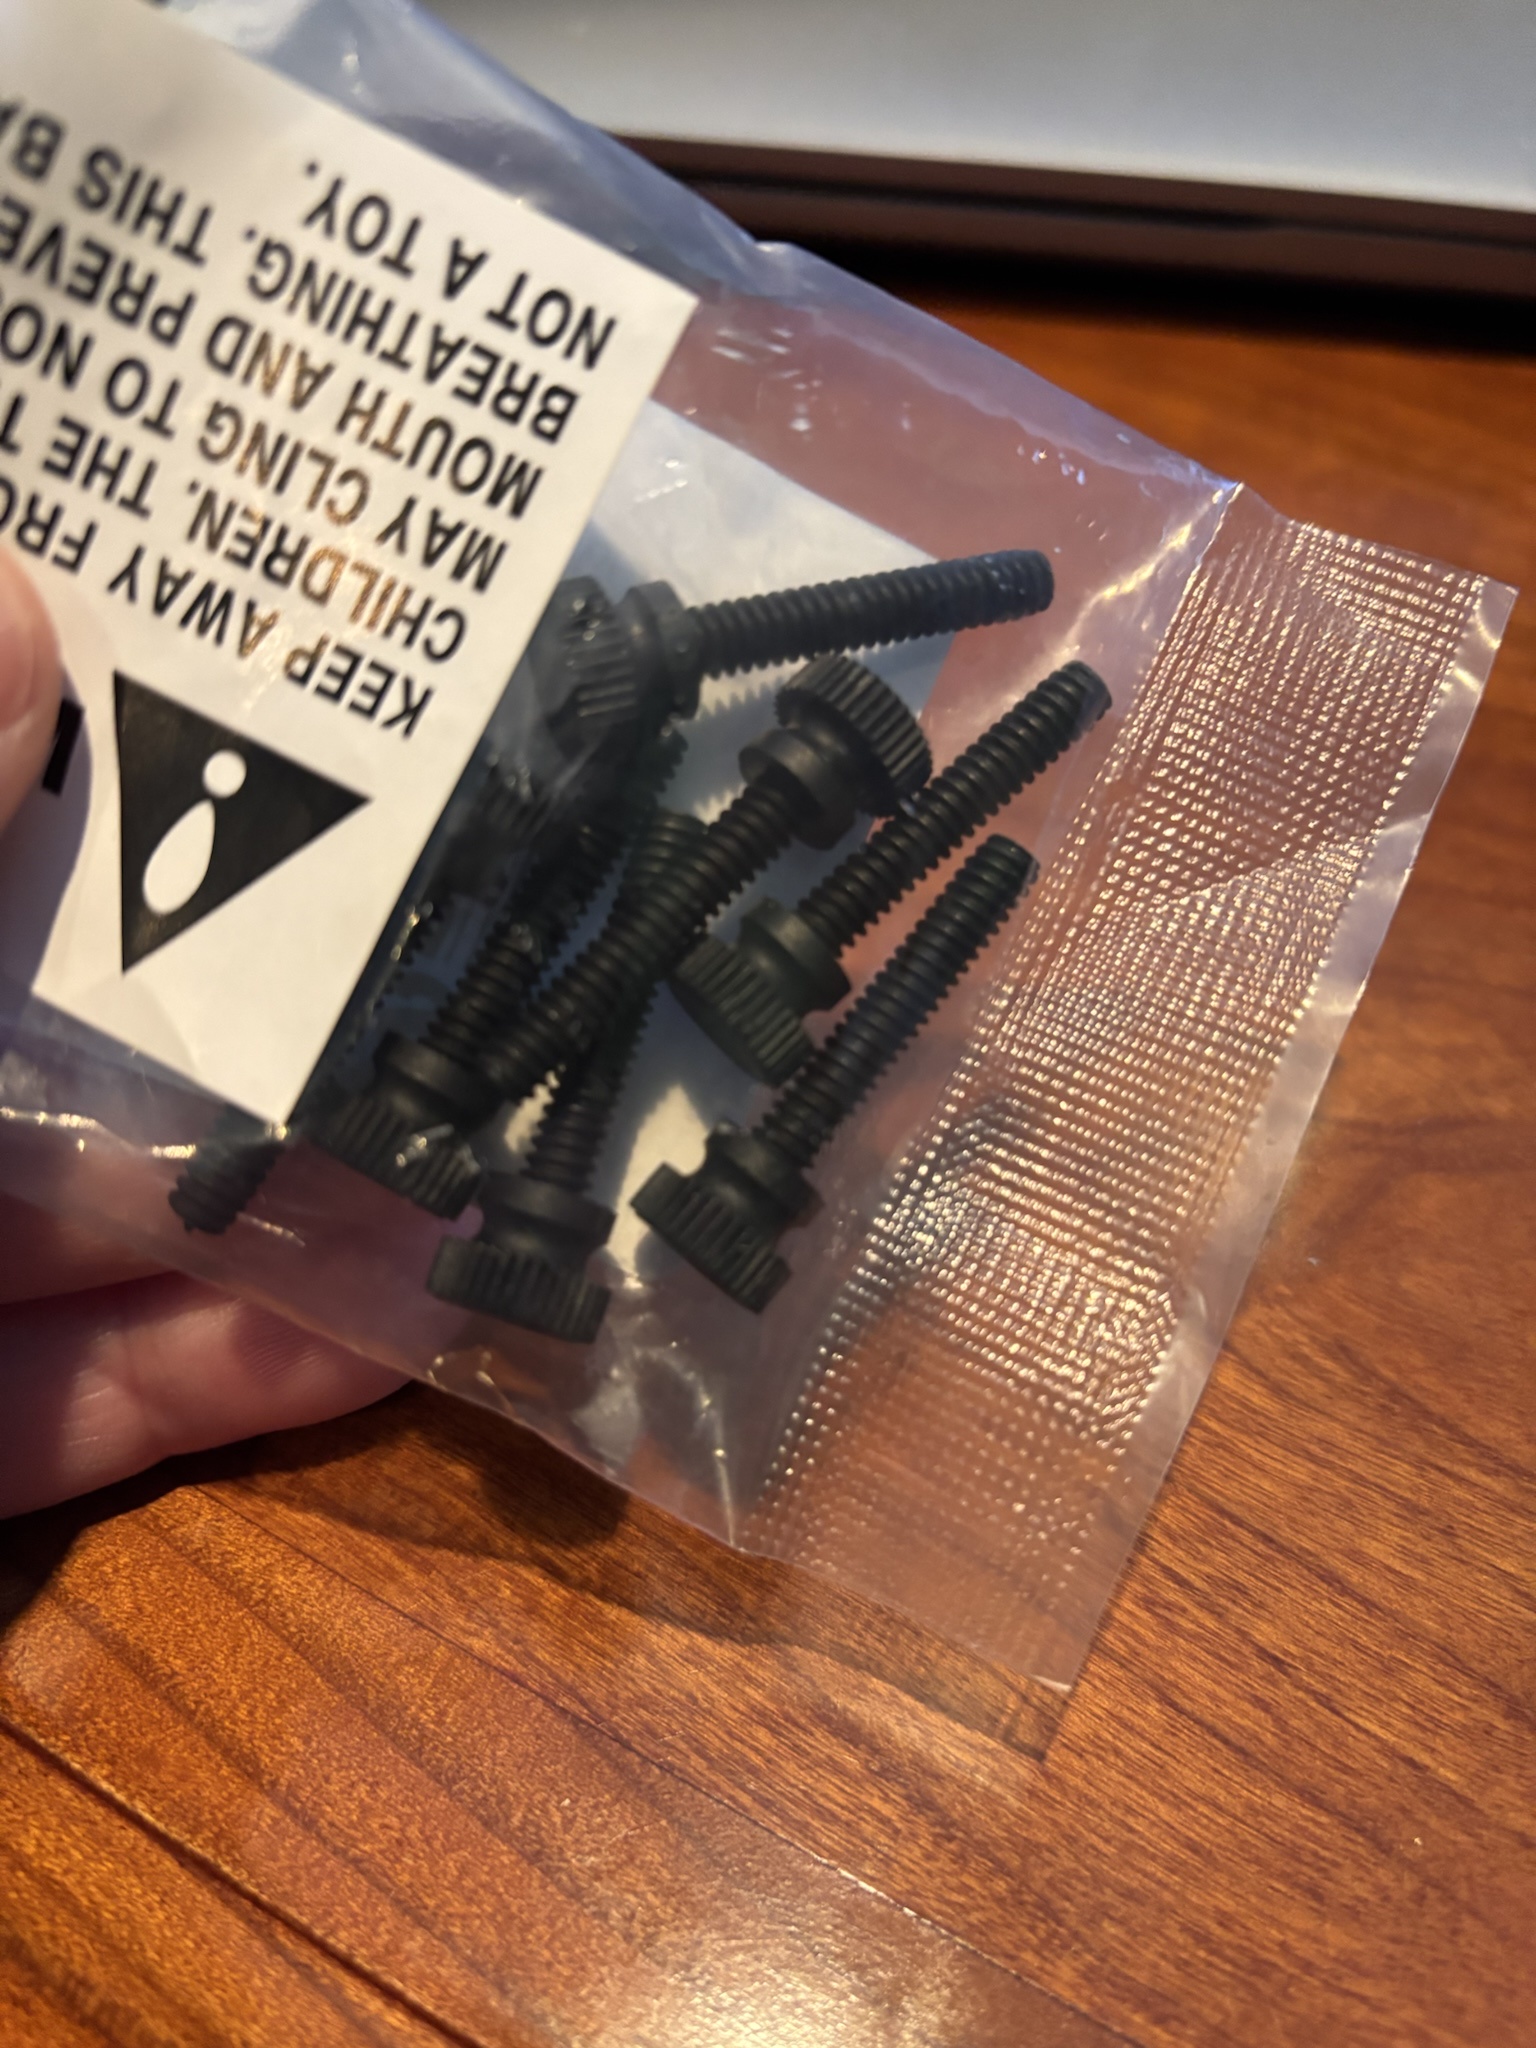
That's a great idea. I was able to locate some actual nylon thumbscrews (instead of set screws), which is what I would prefer since this is something that I'll be adjusting often.

5SuhIbB.jpg


There are several more key bolts in positions where things need to be adjusted that I'll be replacing with star knob/bolt dealy-wackers as well. :D
 
That's a great idea. I was able to locate some actual nylon thumbscrews (instead of set screws), which is what I would prefer since this is something that I'll be adjusting often.

5SuhIbB.jpg


There are several more key bolts in positions where things need to be adjusted that I'll be replacing with star knob/bolt dealy-wackers as well. :D


Well whatever you do, for crap’s sake be careful with that bag! The label makes it seem pretty deadly! :roflmao: :rollno:
 
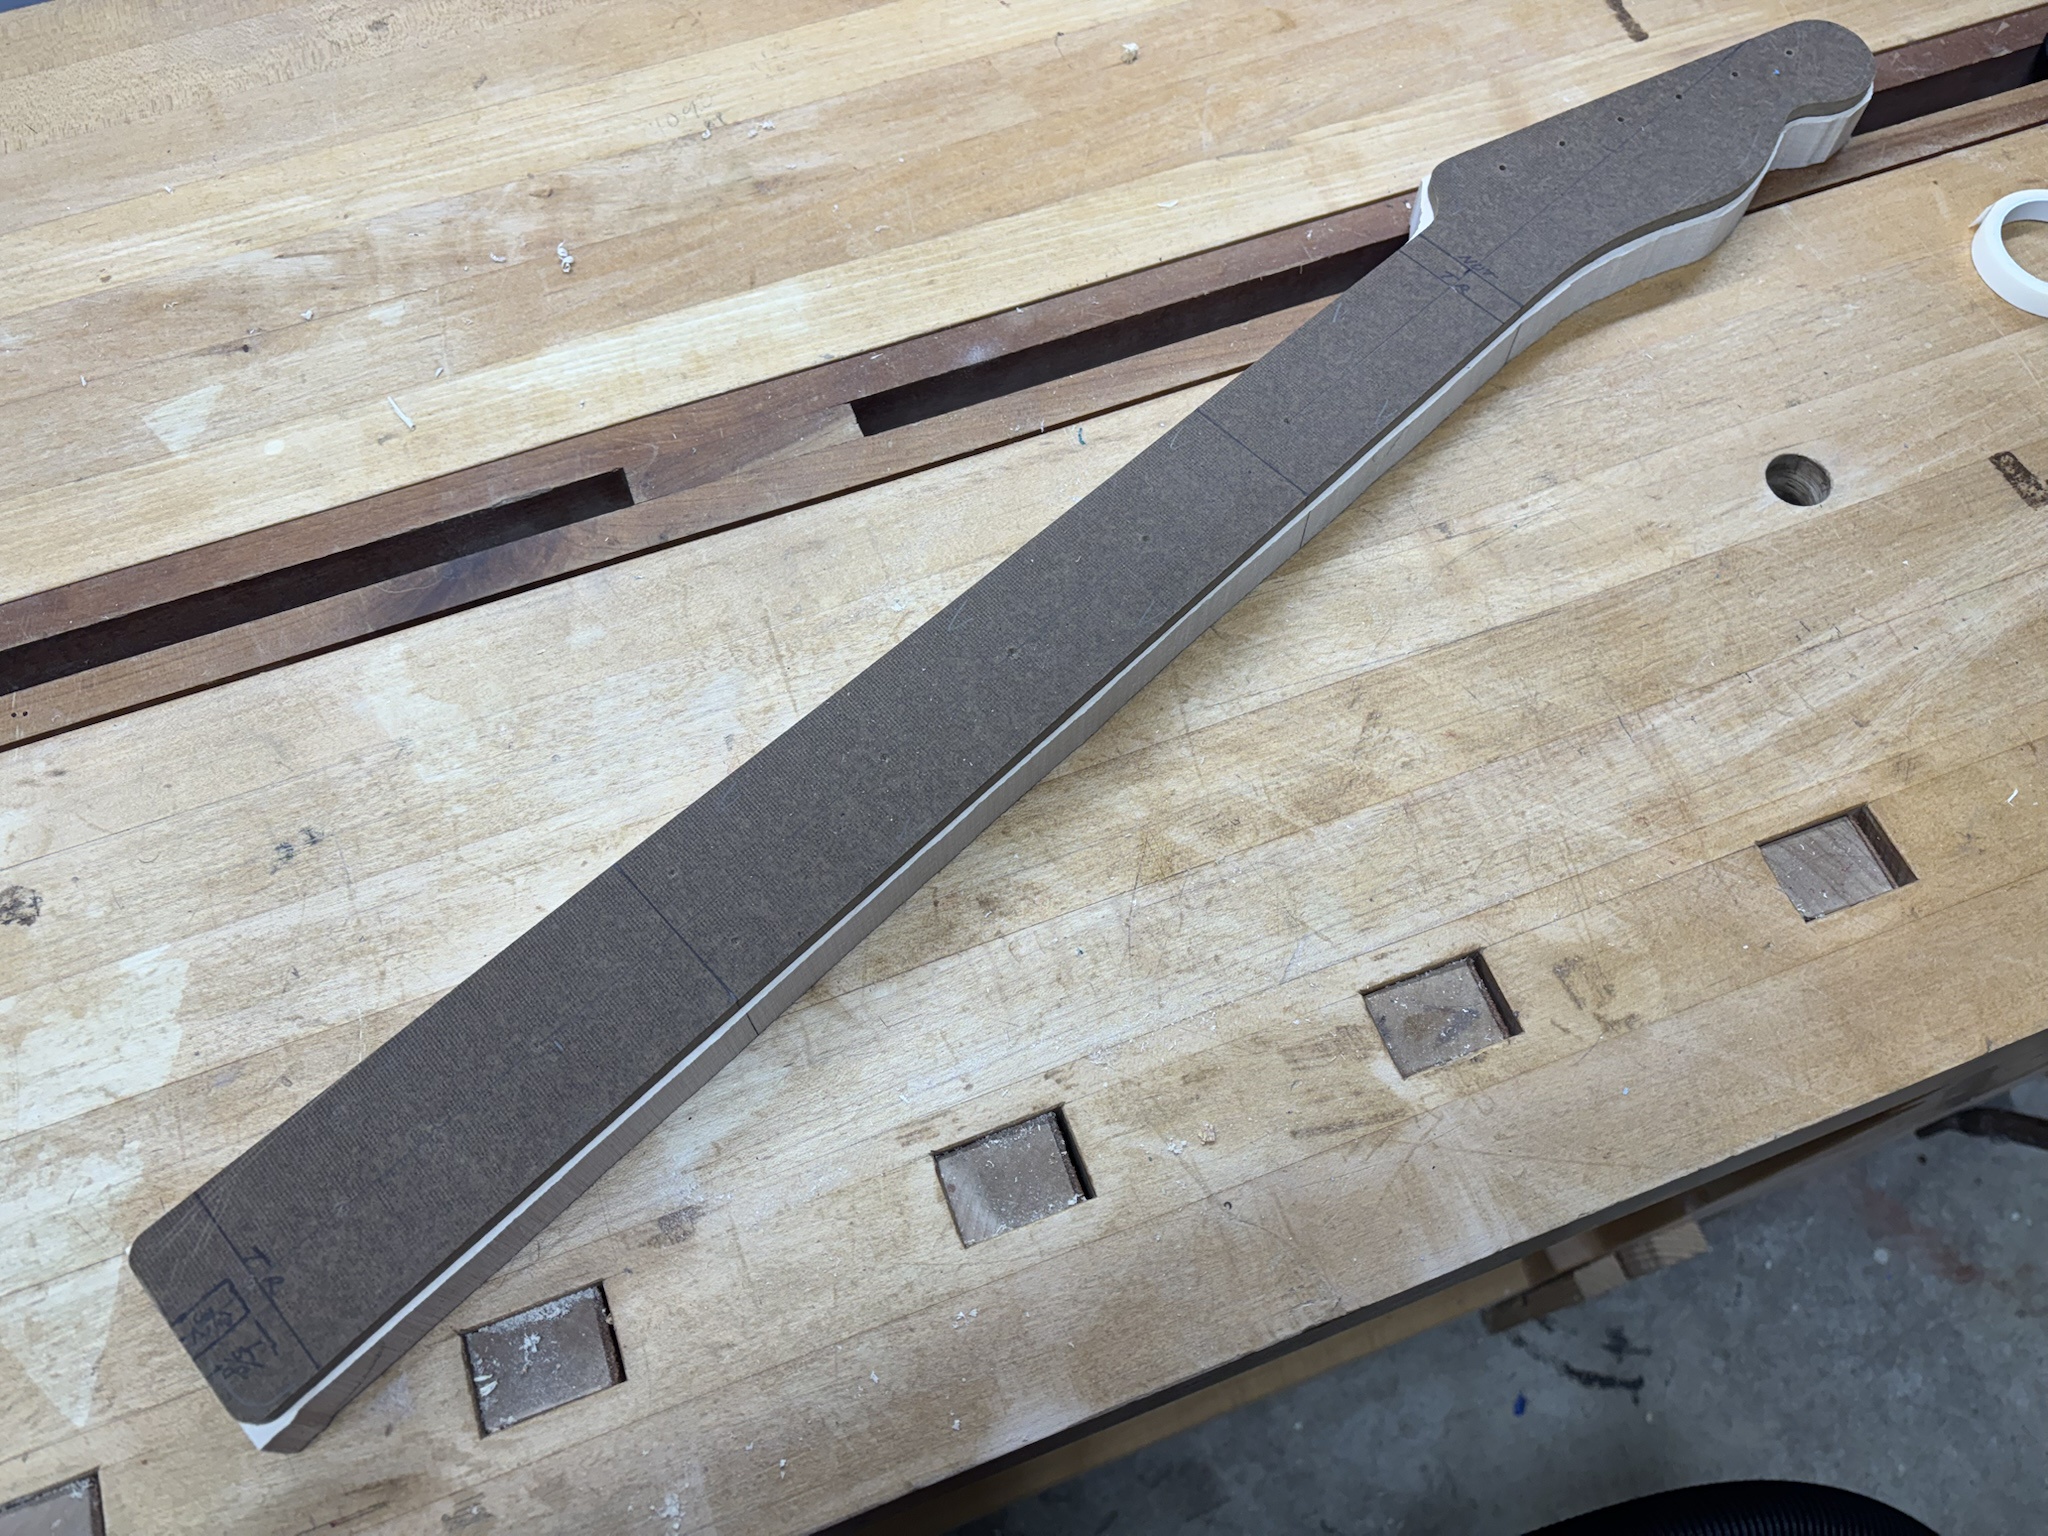
I got some work done on the neck last night. I attached the neck template using double sided tape . I used a pin through one of the tuner holes in the template and the centerline at the heel end for alignment.

Q5audl5.jpg


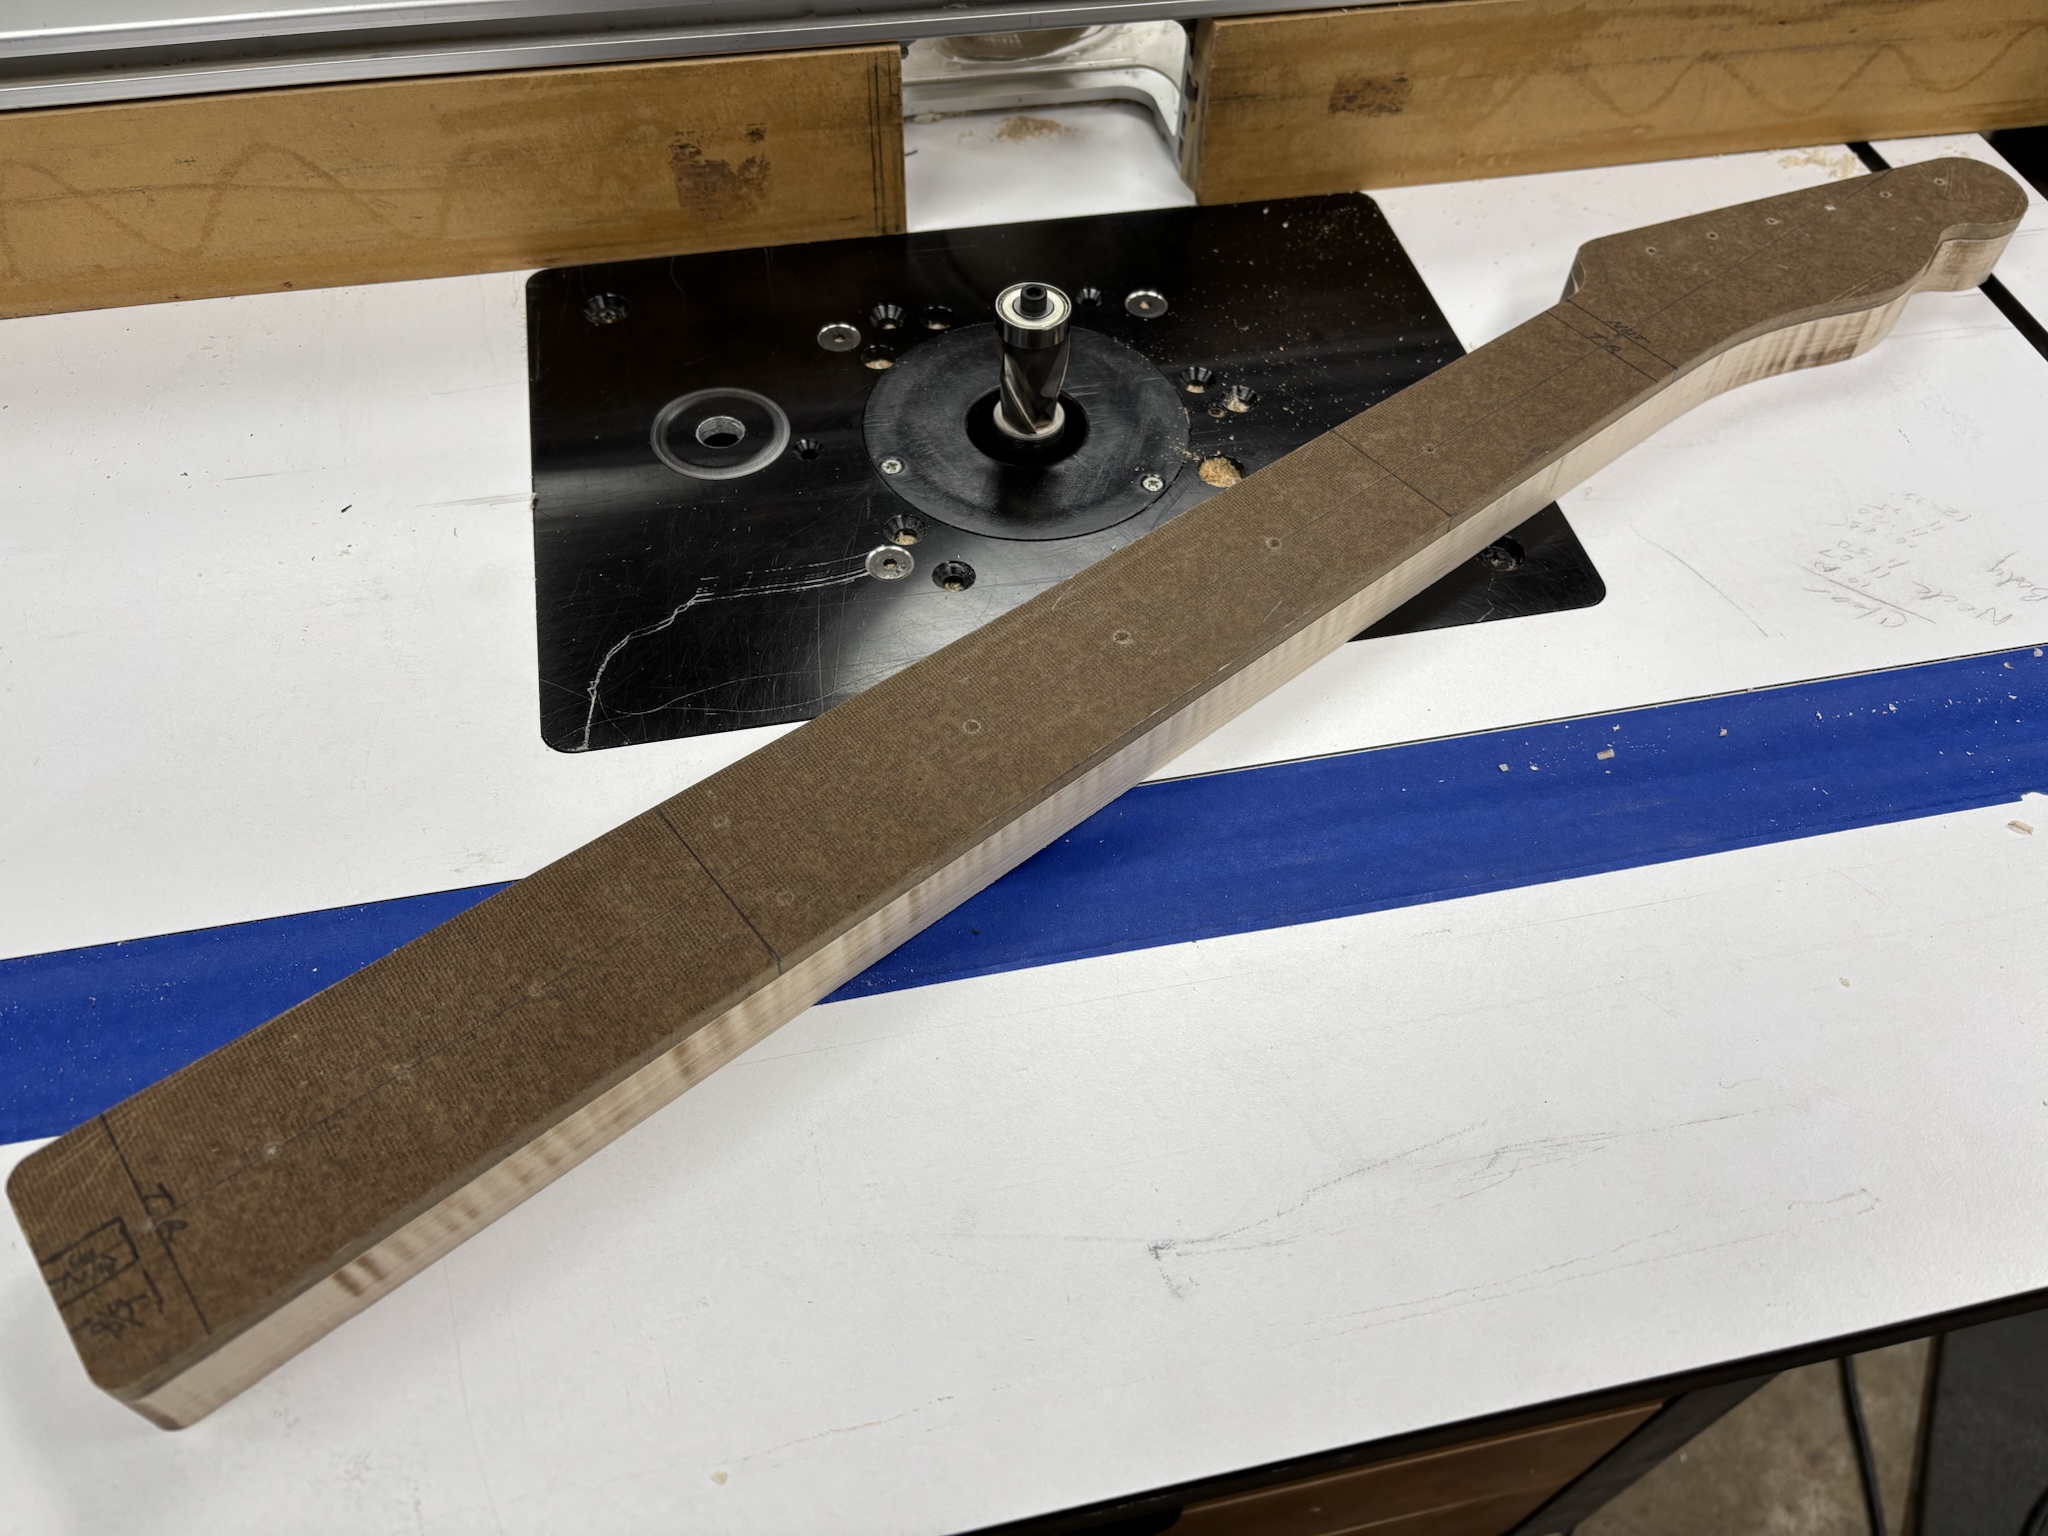
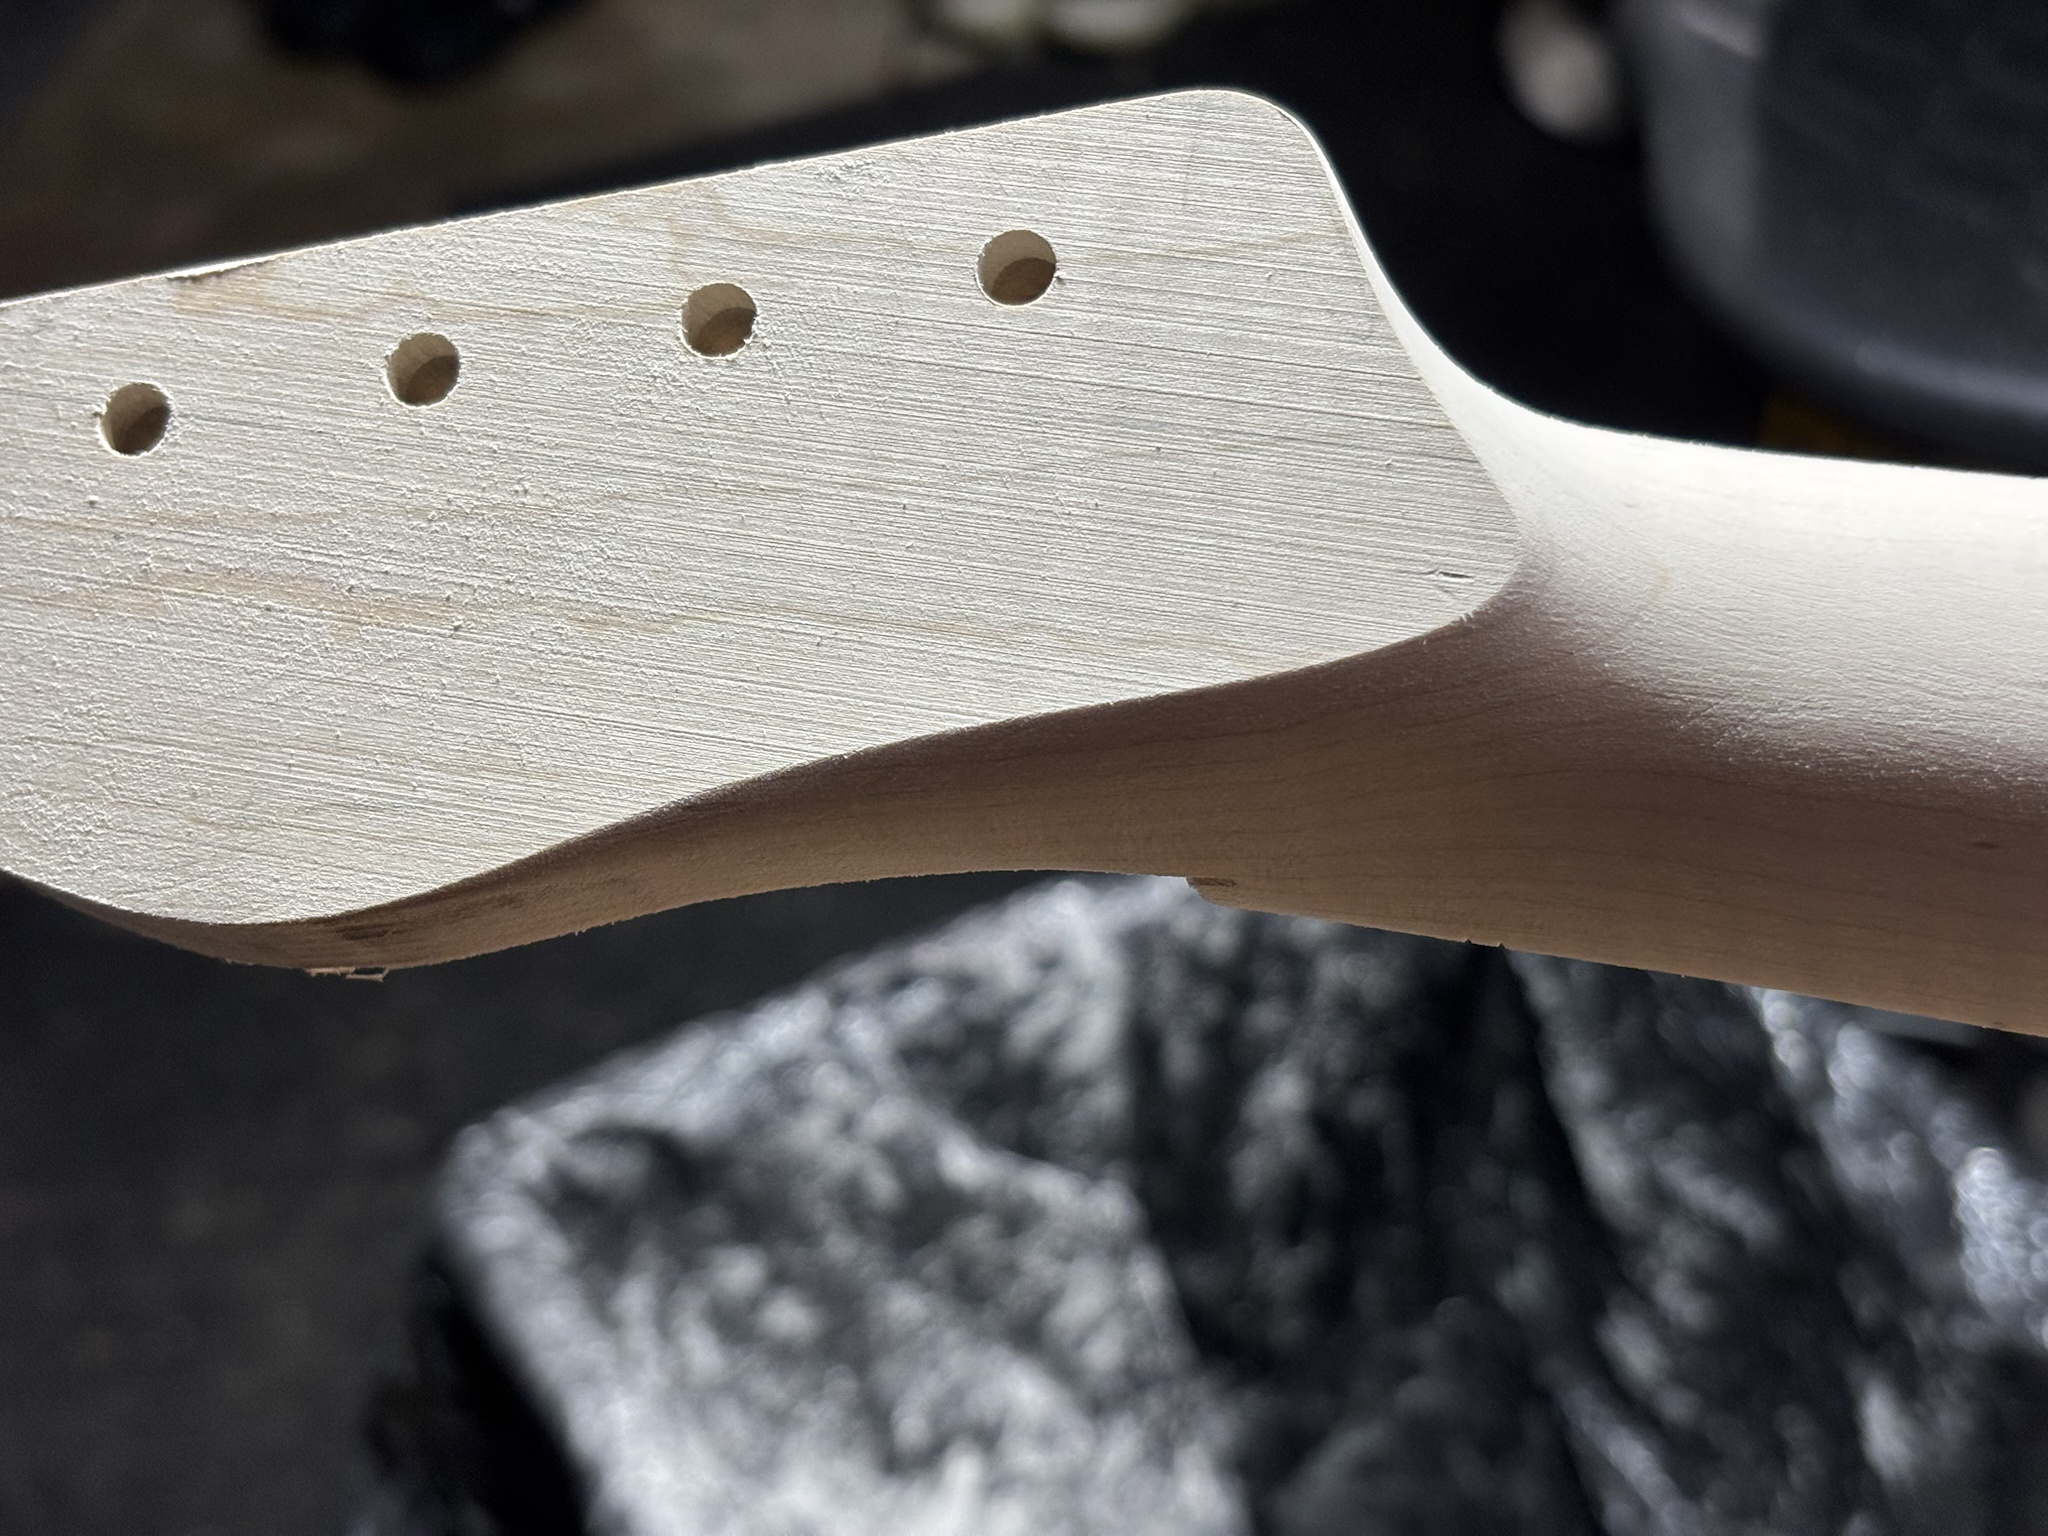
After first removing excess material on various sanders, I moved to the router table. I used a double bearing spiral compression bit. I started with the template on the top side and routed all of the downhill portions, then flipped the neck over (template on the bottom), raised the bit, and routed all the remaining downhill parts.
5TzdXa6.jpg


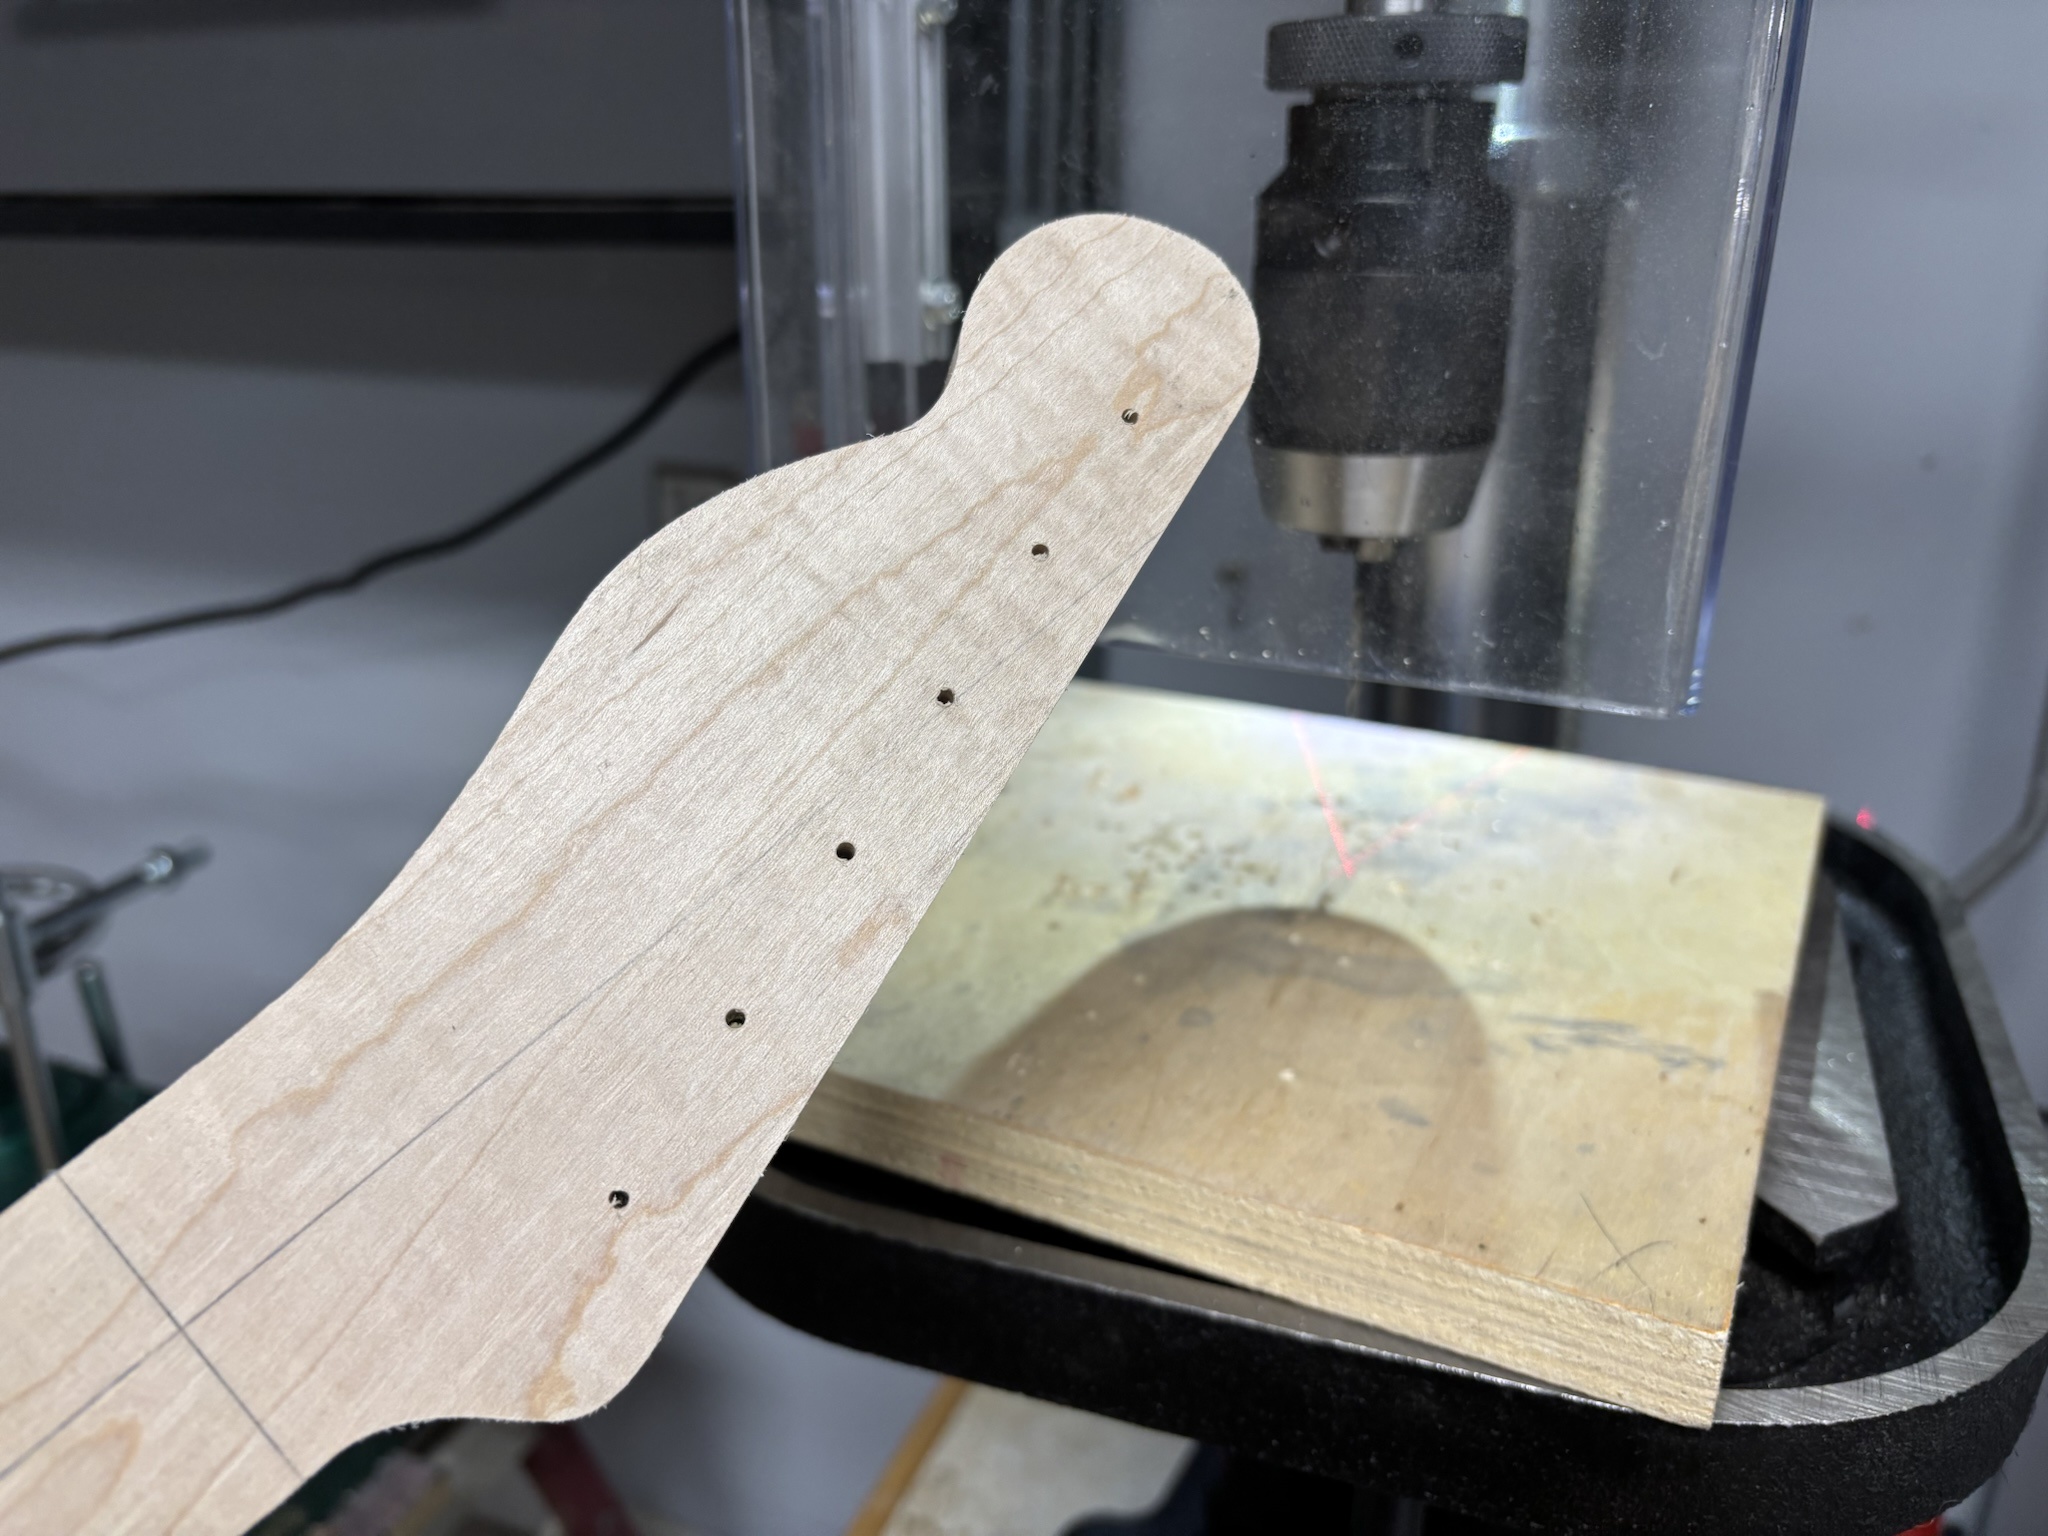
With the template still attached, I went to the drill press and completed drilling the tuner pilot holes all the way through the neck blank.
4qgqTn0.jpg


The neck blank came out very nicely with no tearout on the figured maple. Next up will be laying out and routing for the truss rod, drilling for fretboard alignment pins and gluing on the fretboard.
sbDCjyB.jpg


More soon.
 
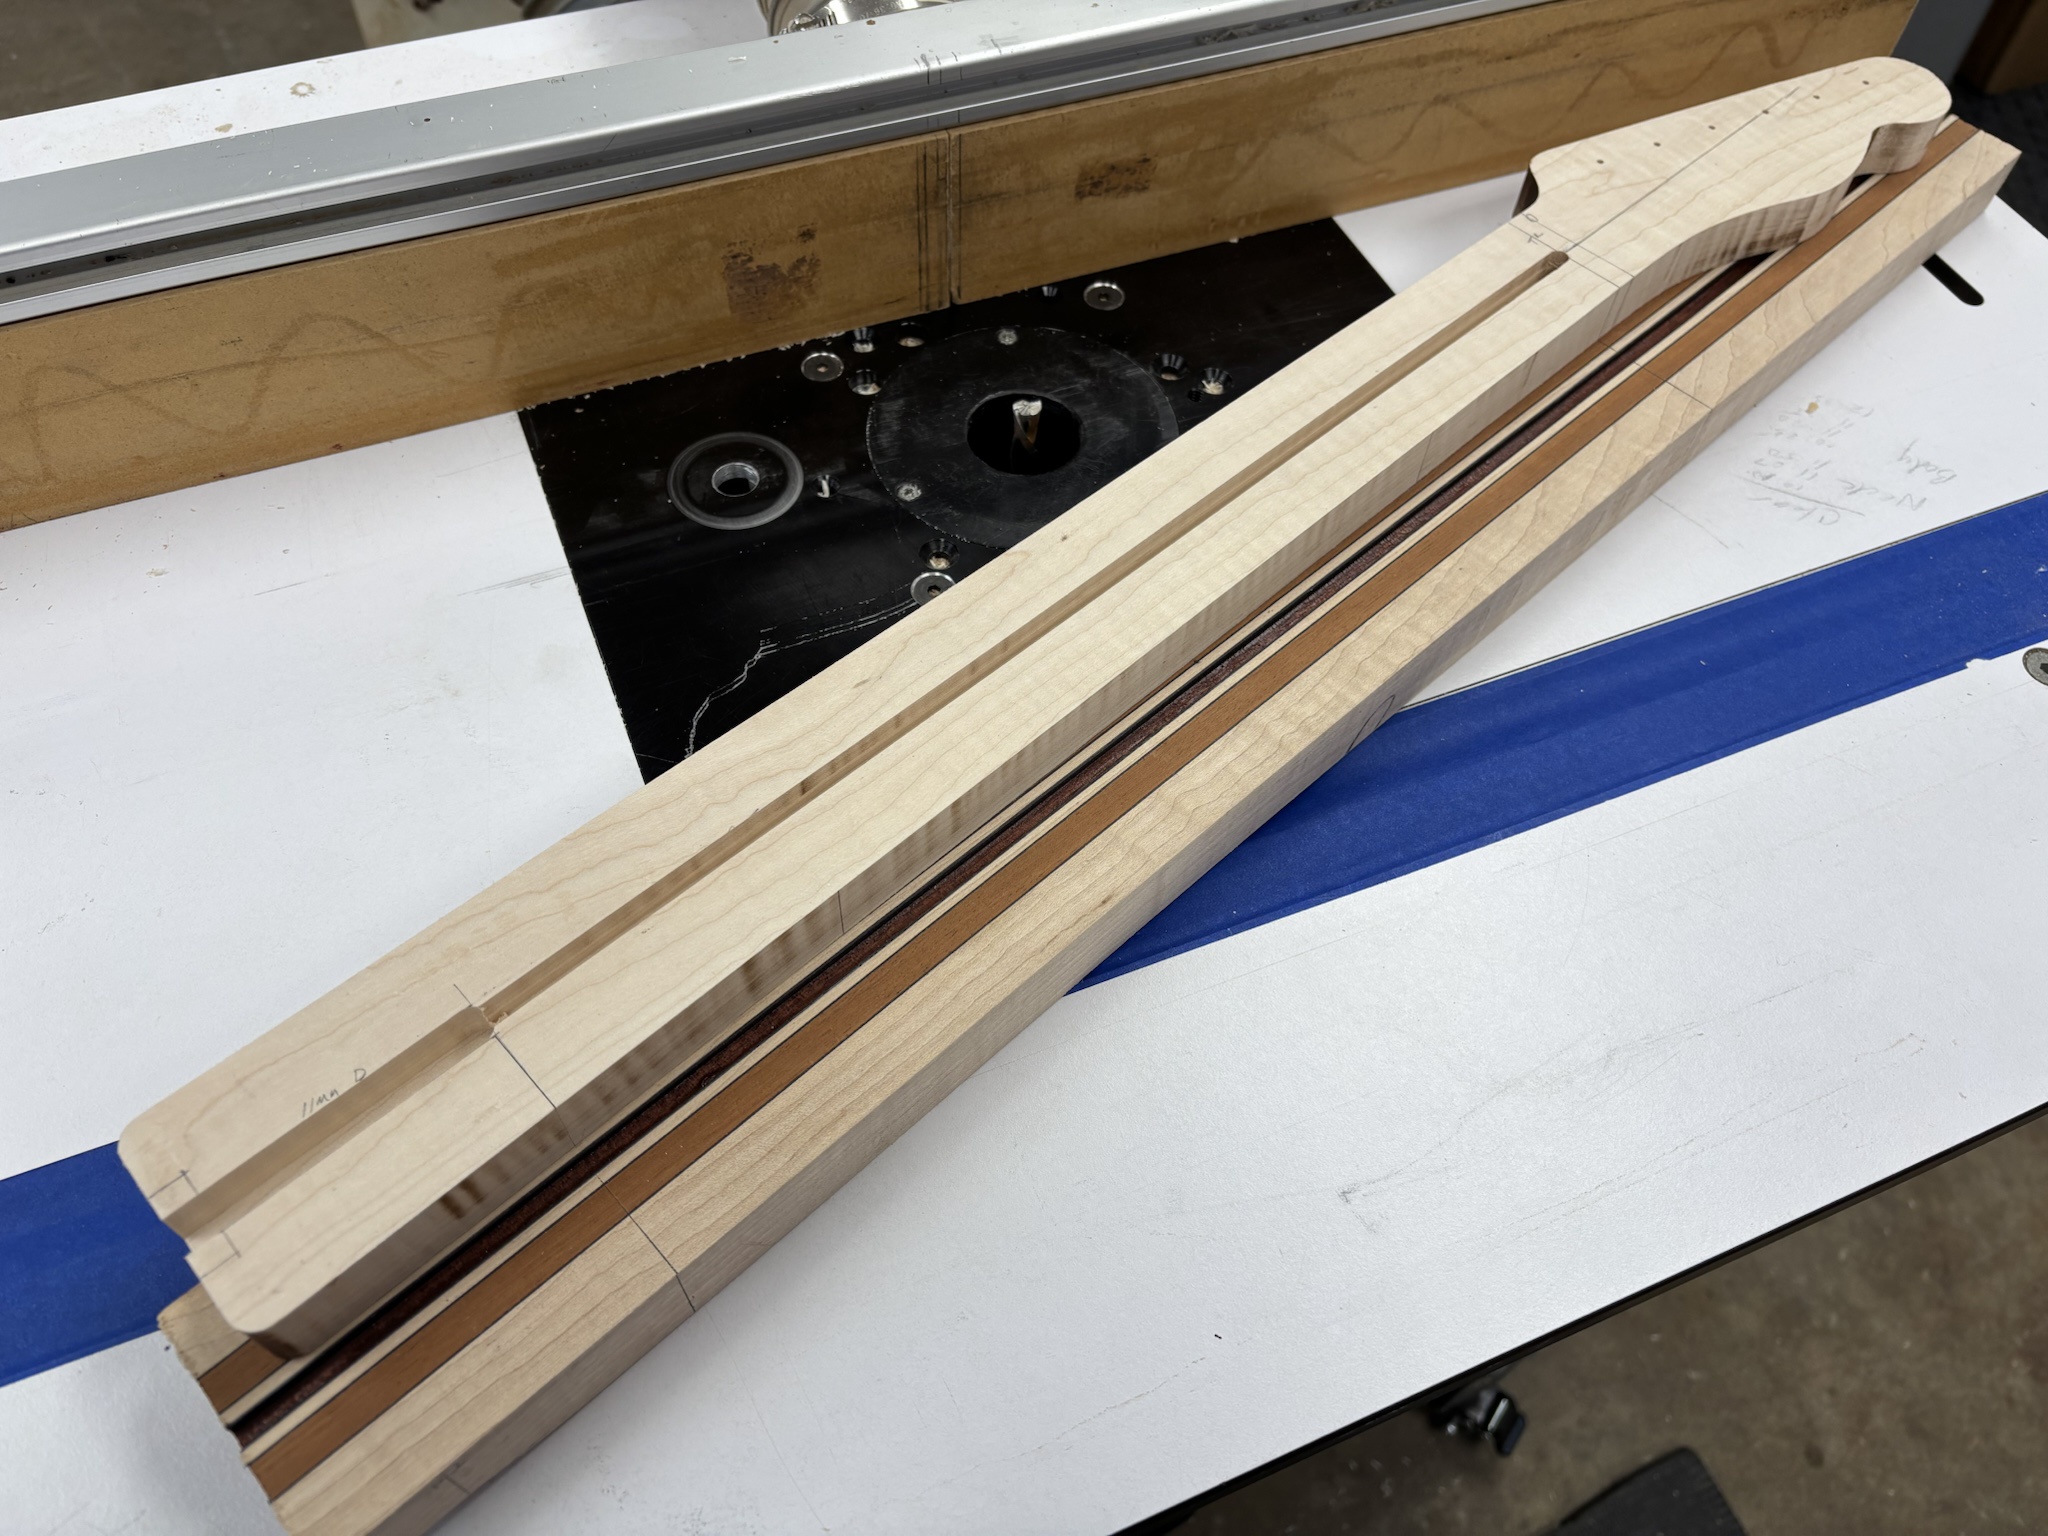
I made a little progress on the Tele neck this week. Normally I route the truss rod channel prior to cutting out the neck (and while I still have a parallel edge), but this time the neck was laid out at an angle relative to the edge of the board and there wasn't enough material to cut a parallel edge. So, I used double stick tape to attach this laminated neck beam cutoff to the Tele neck, keeping aligned on the center line of course. I used a 6mm bit for the primary channel and a 3/8" spiral bit for the nut end where the truss rod is a bit wider.
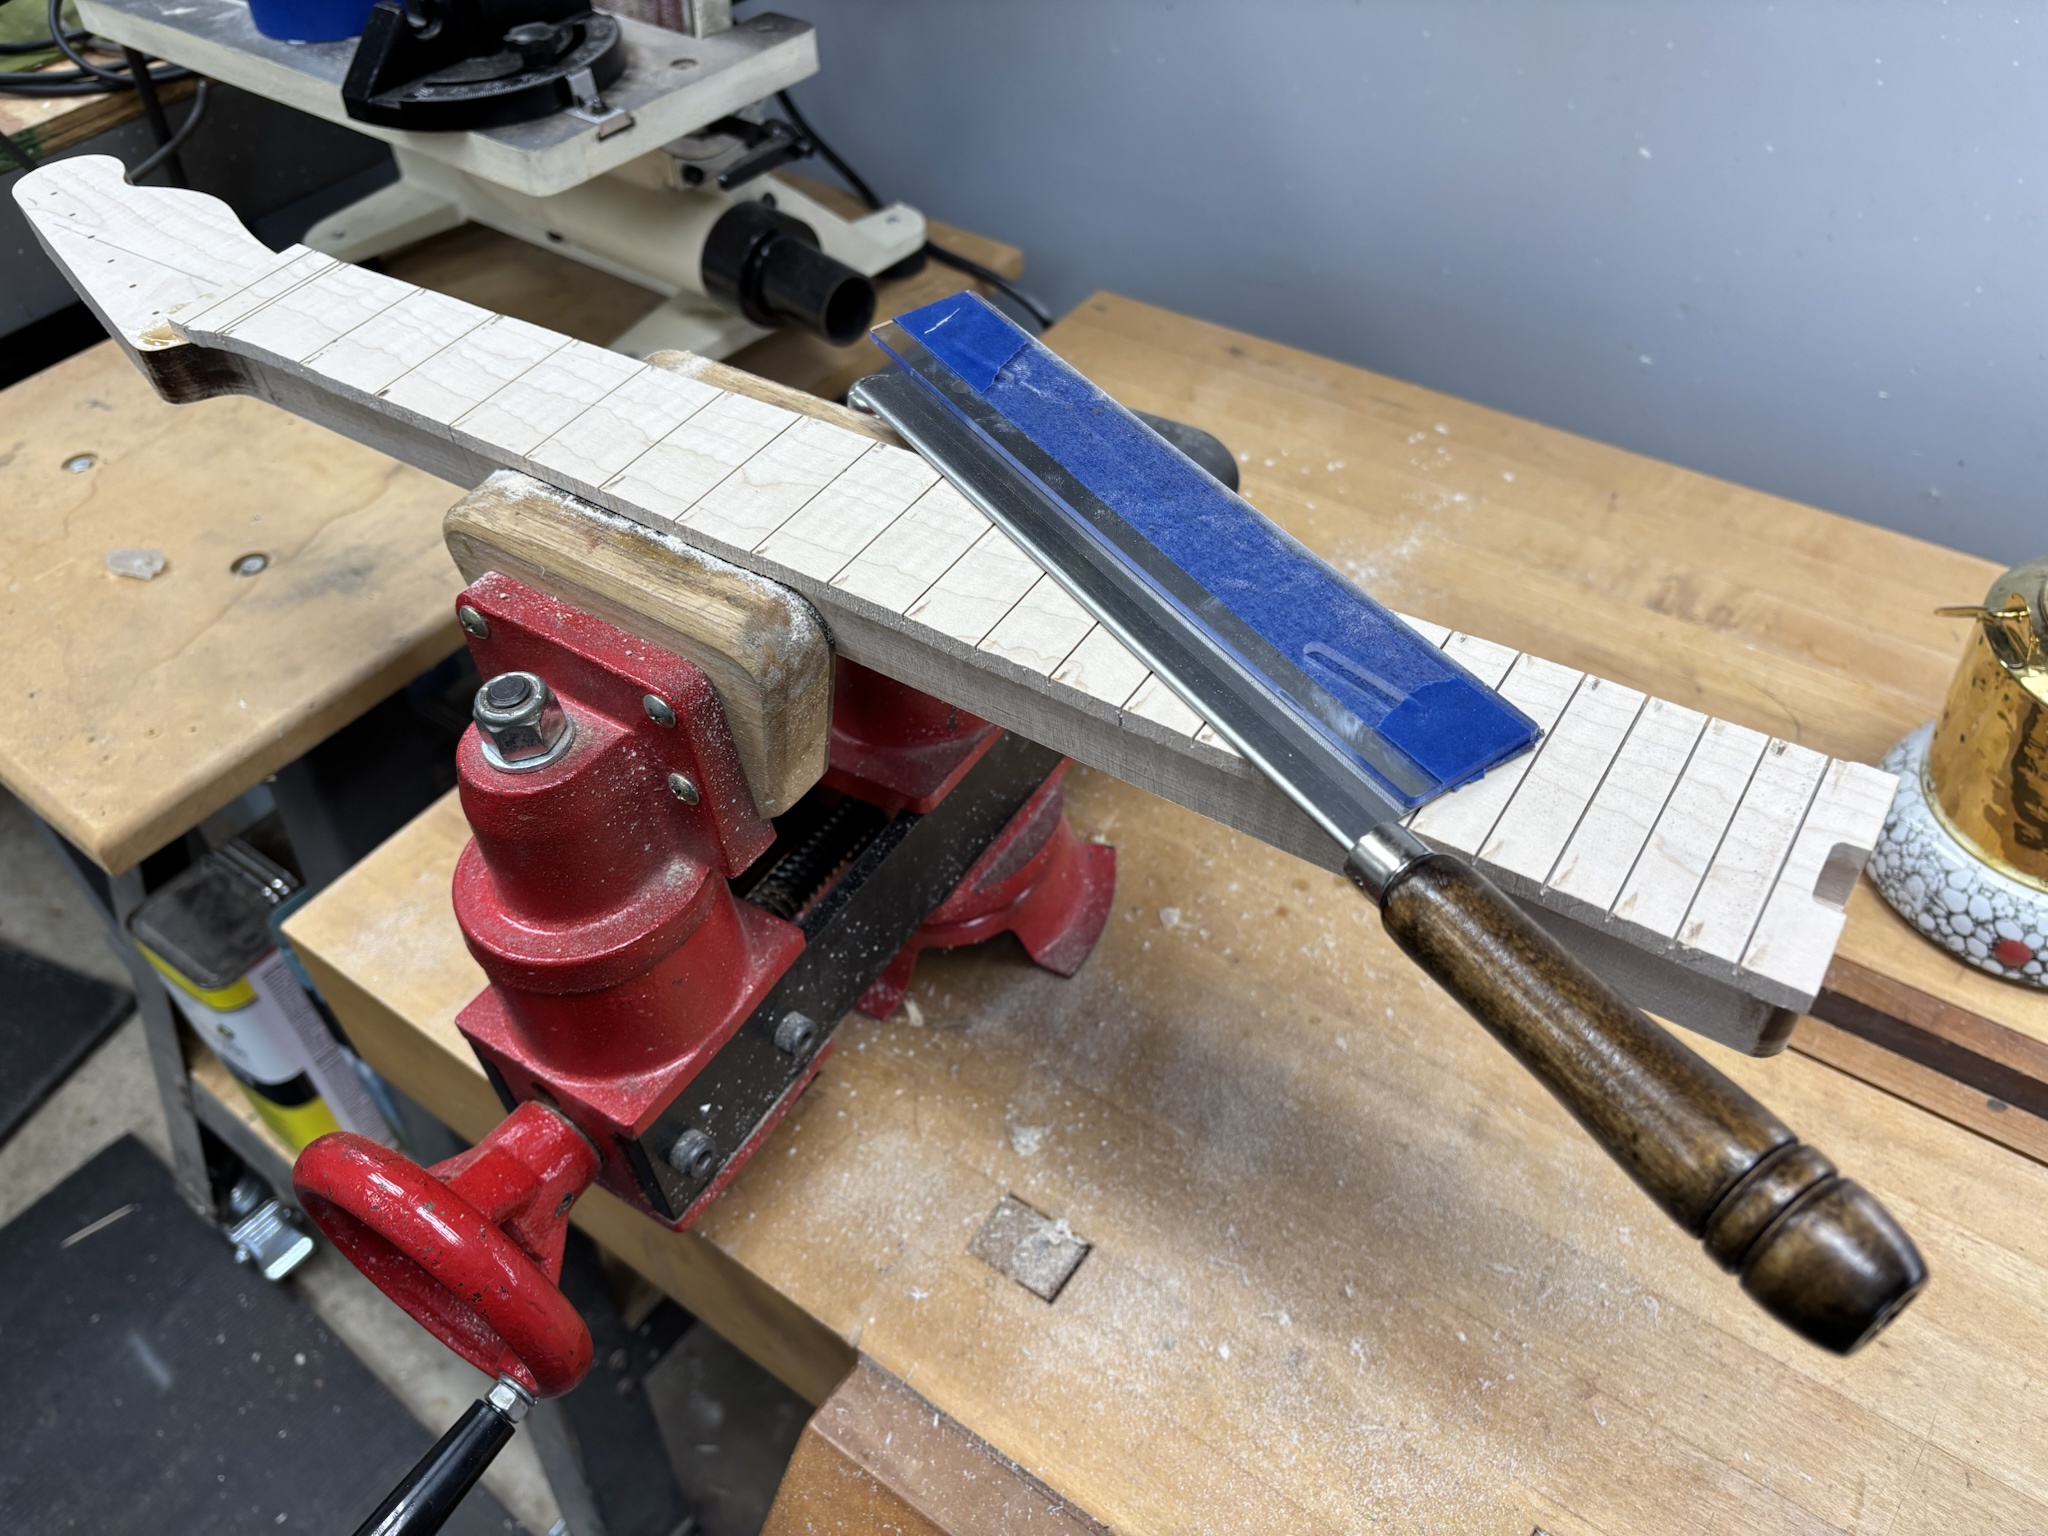
KXa7Sag.jpg


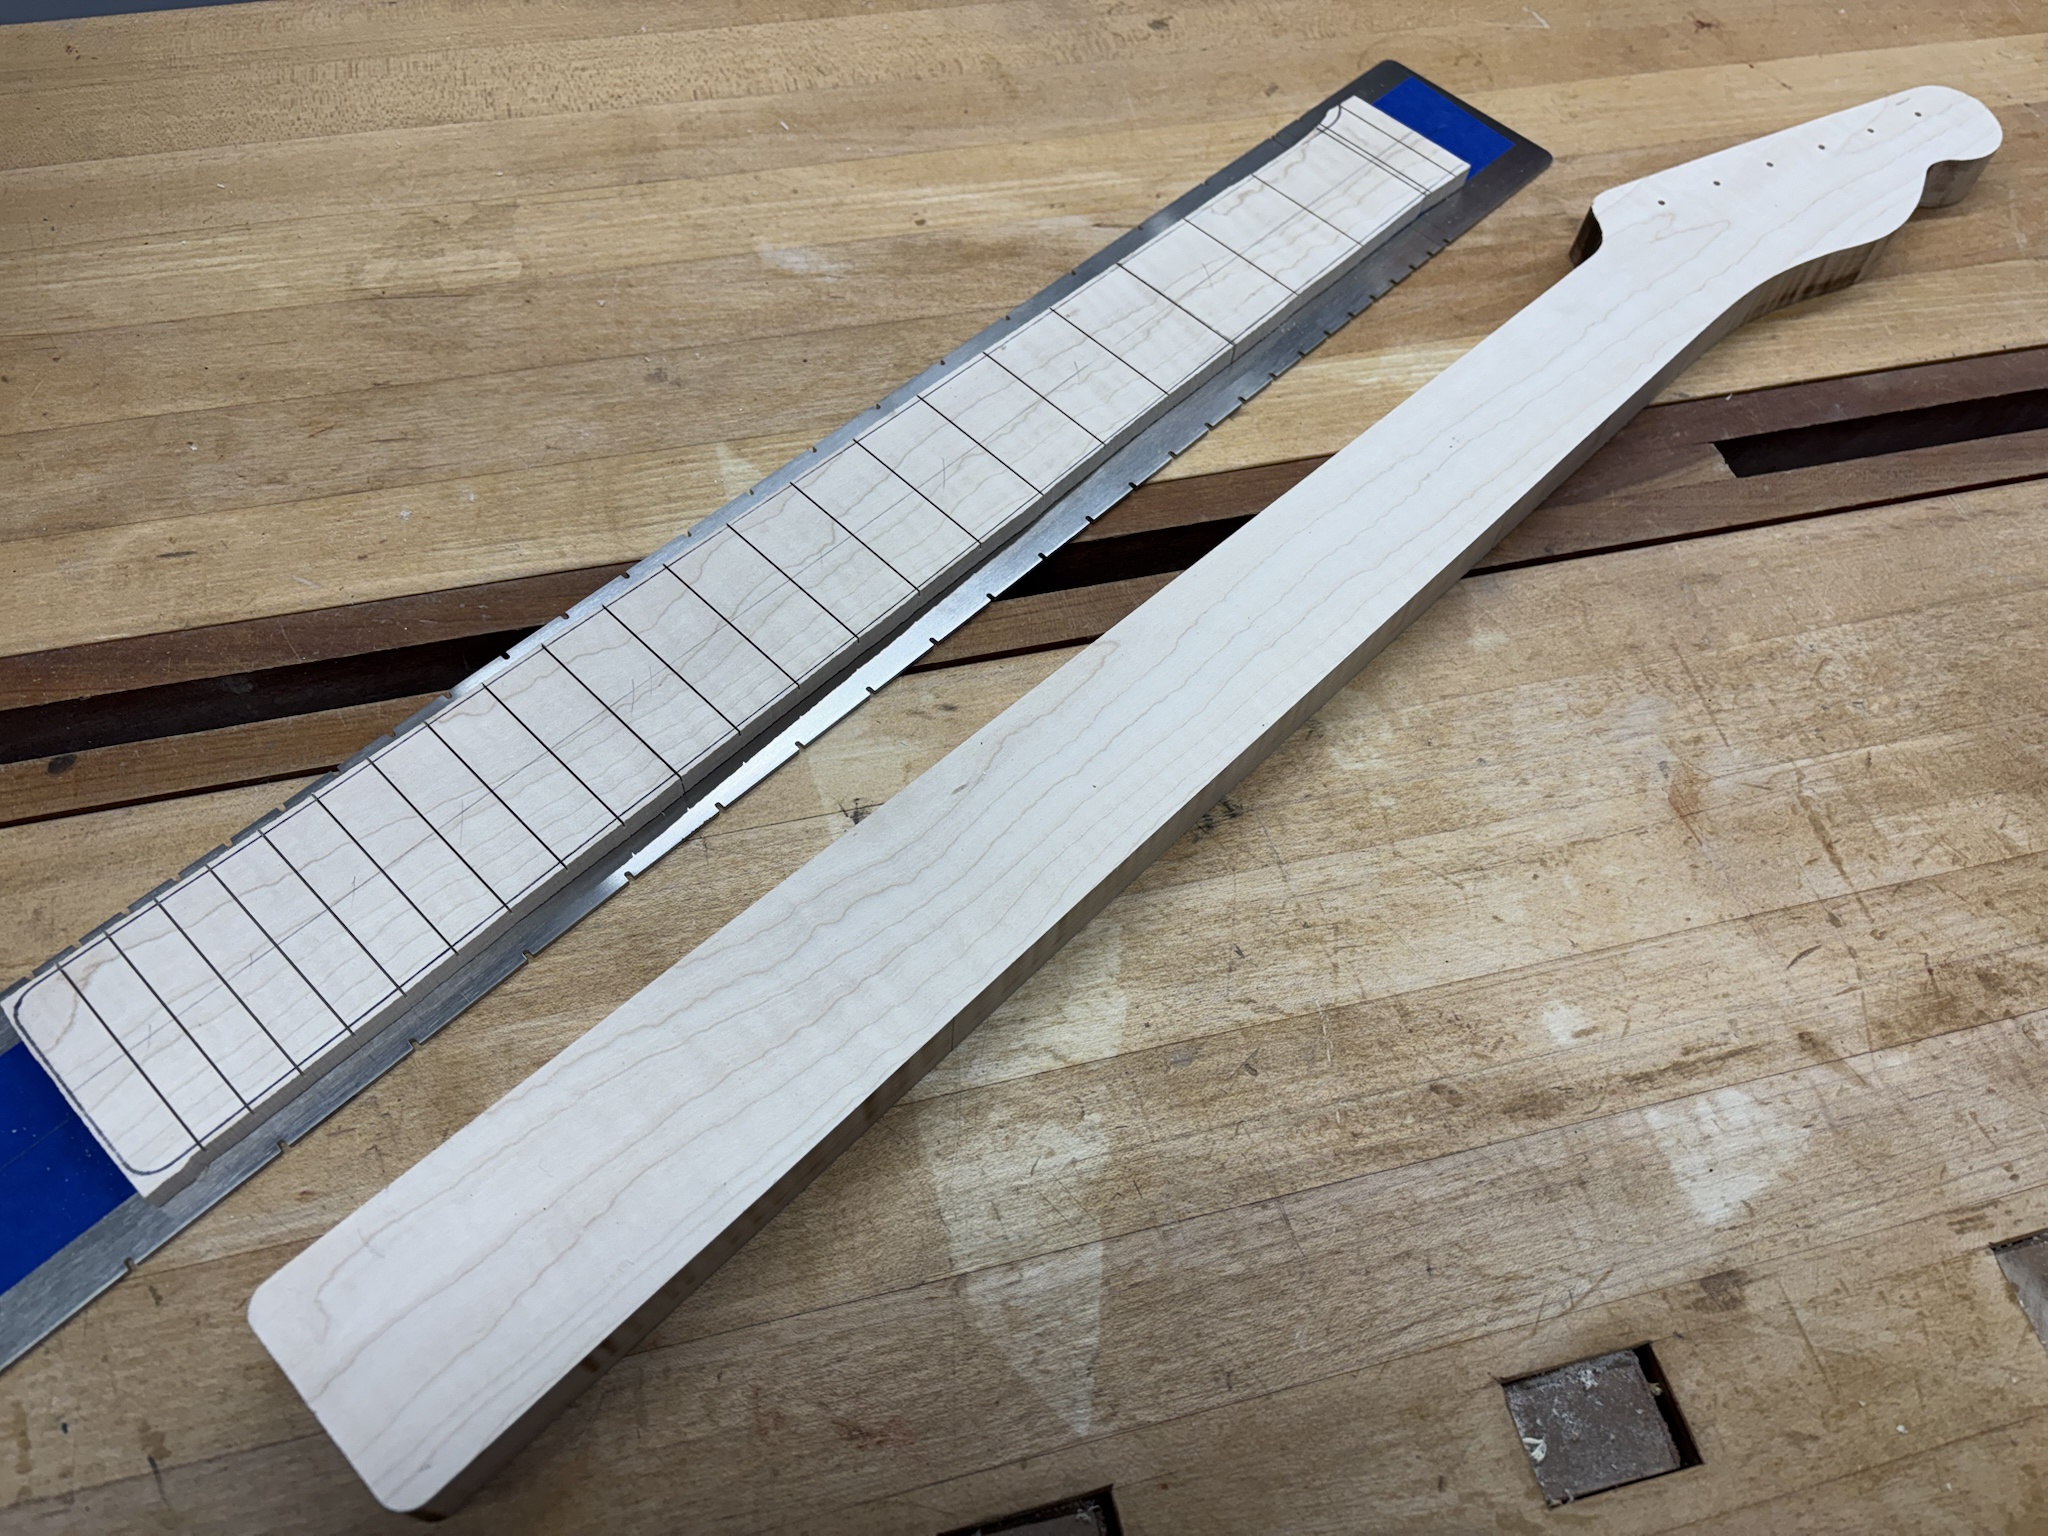
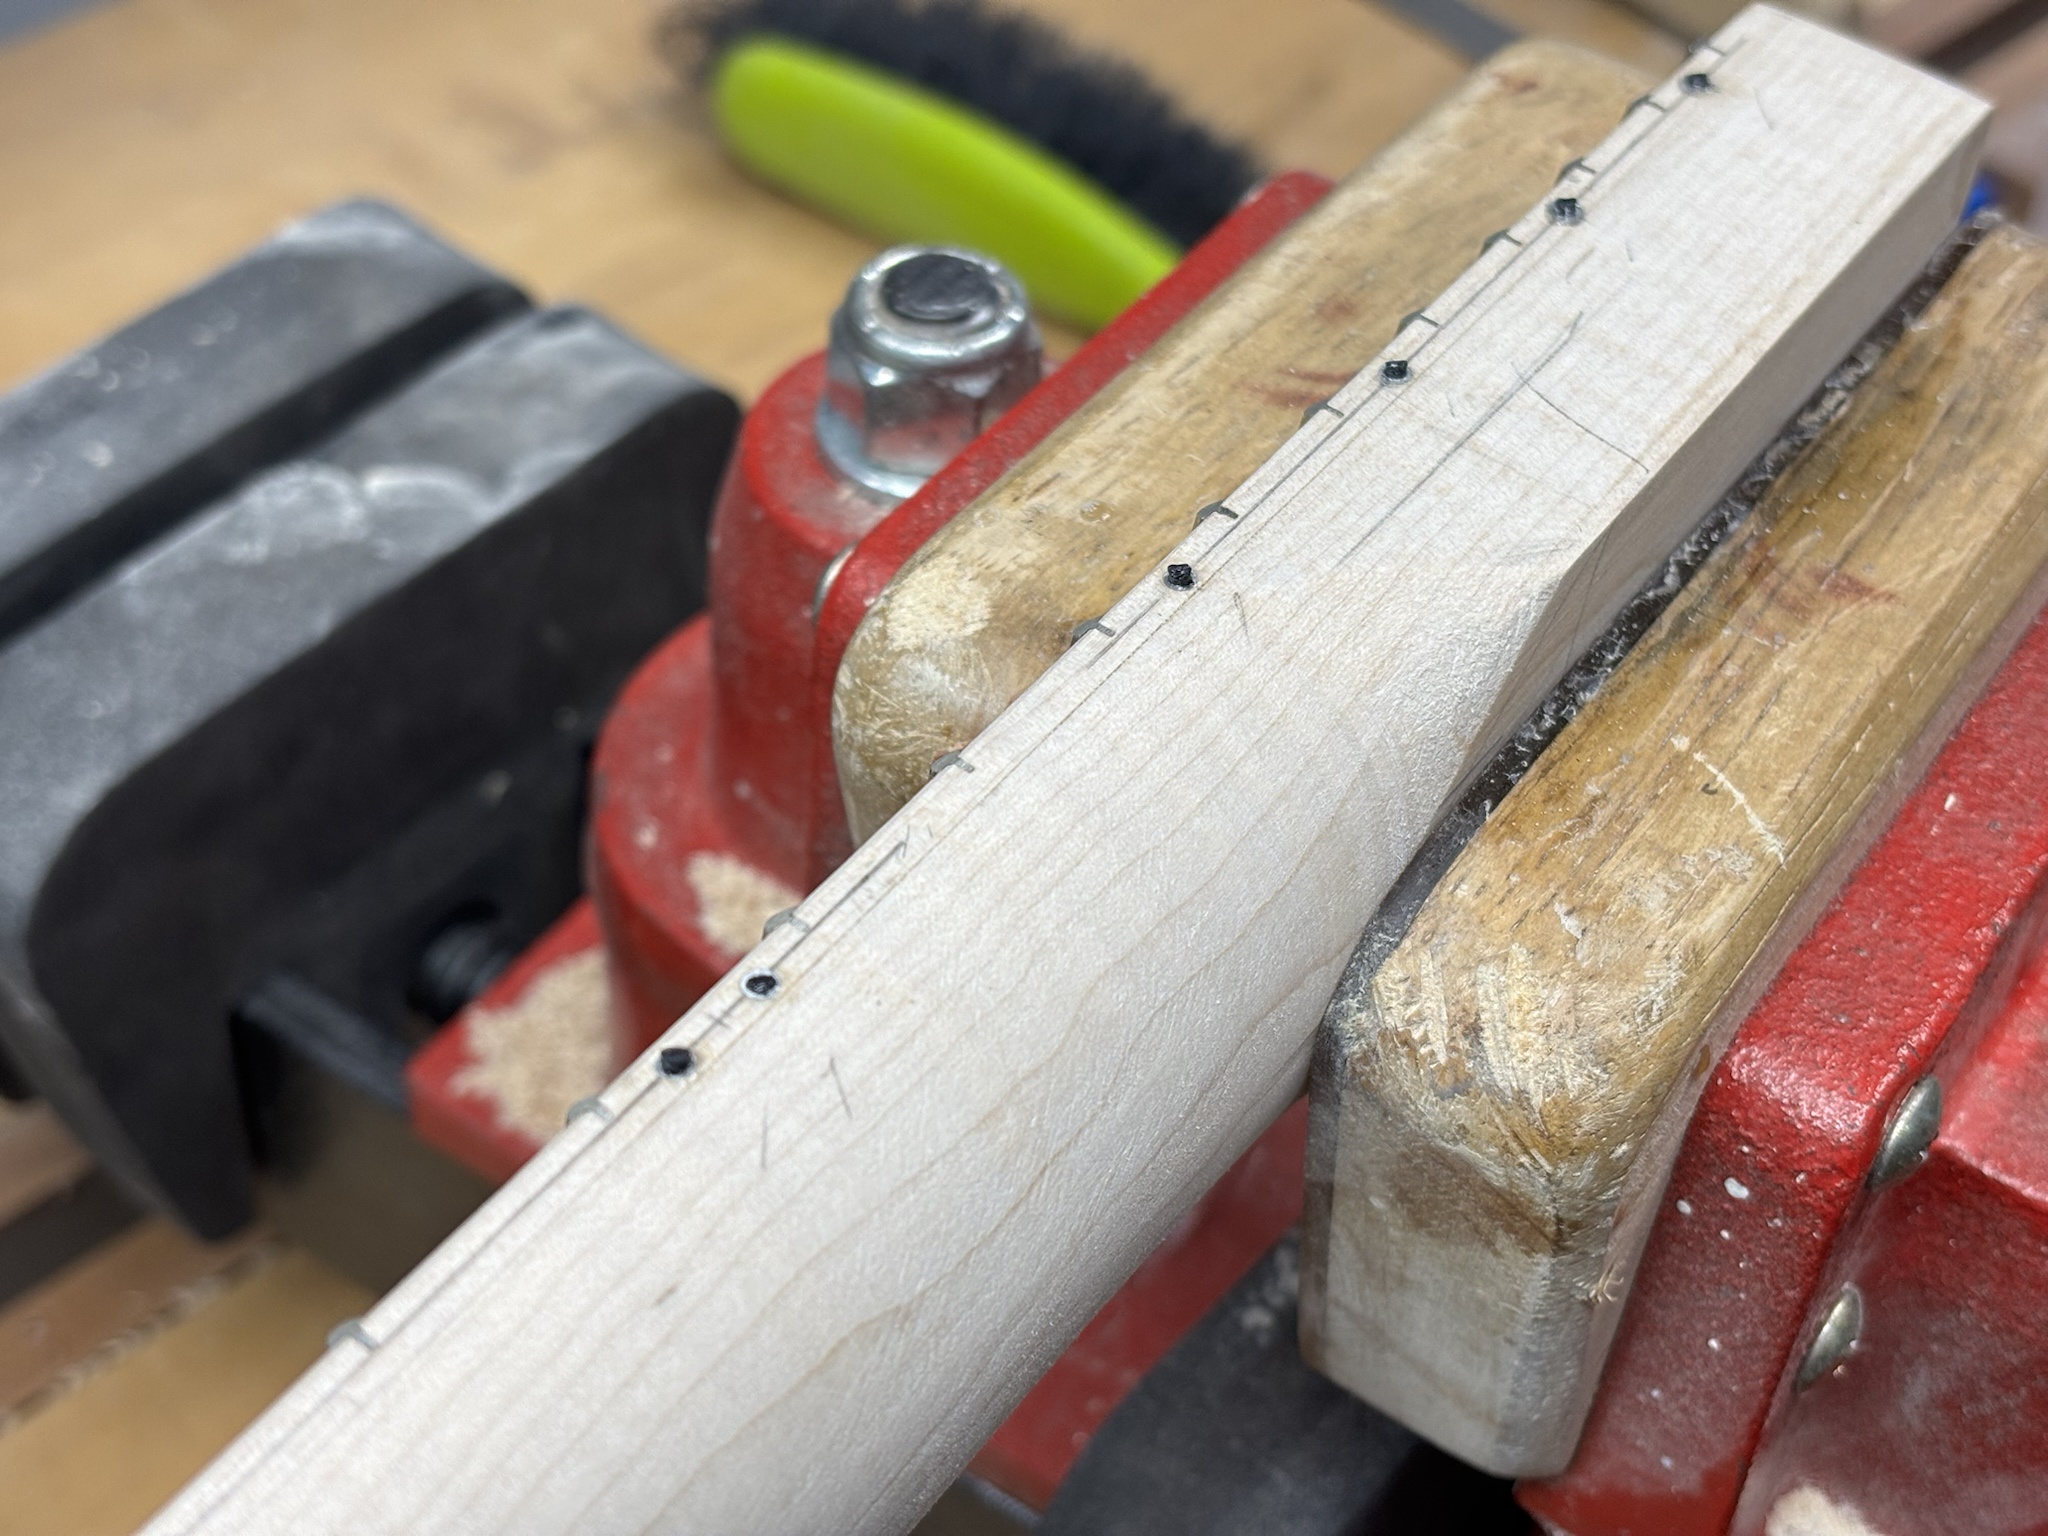
I aligned the fretboard on the centerline and also with the reference marks that I made along the side of the neck.
SUxZCGU.jpg


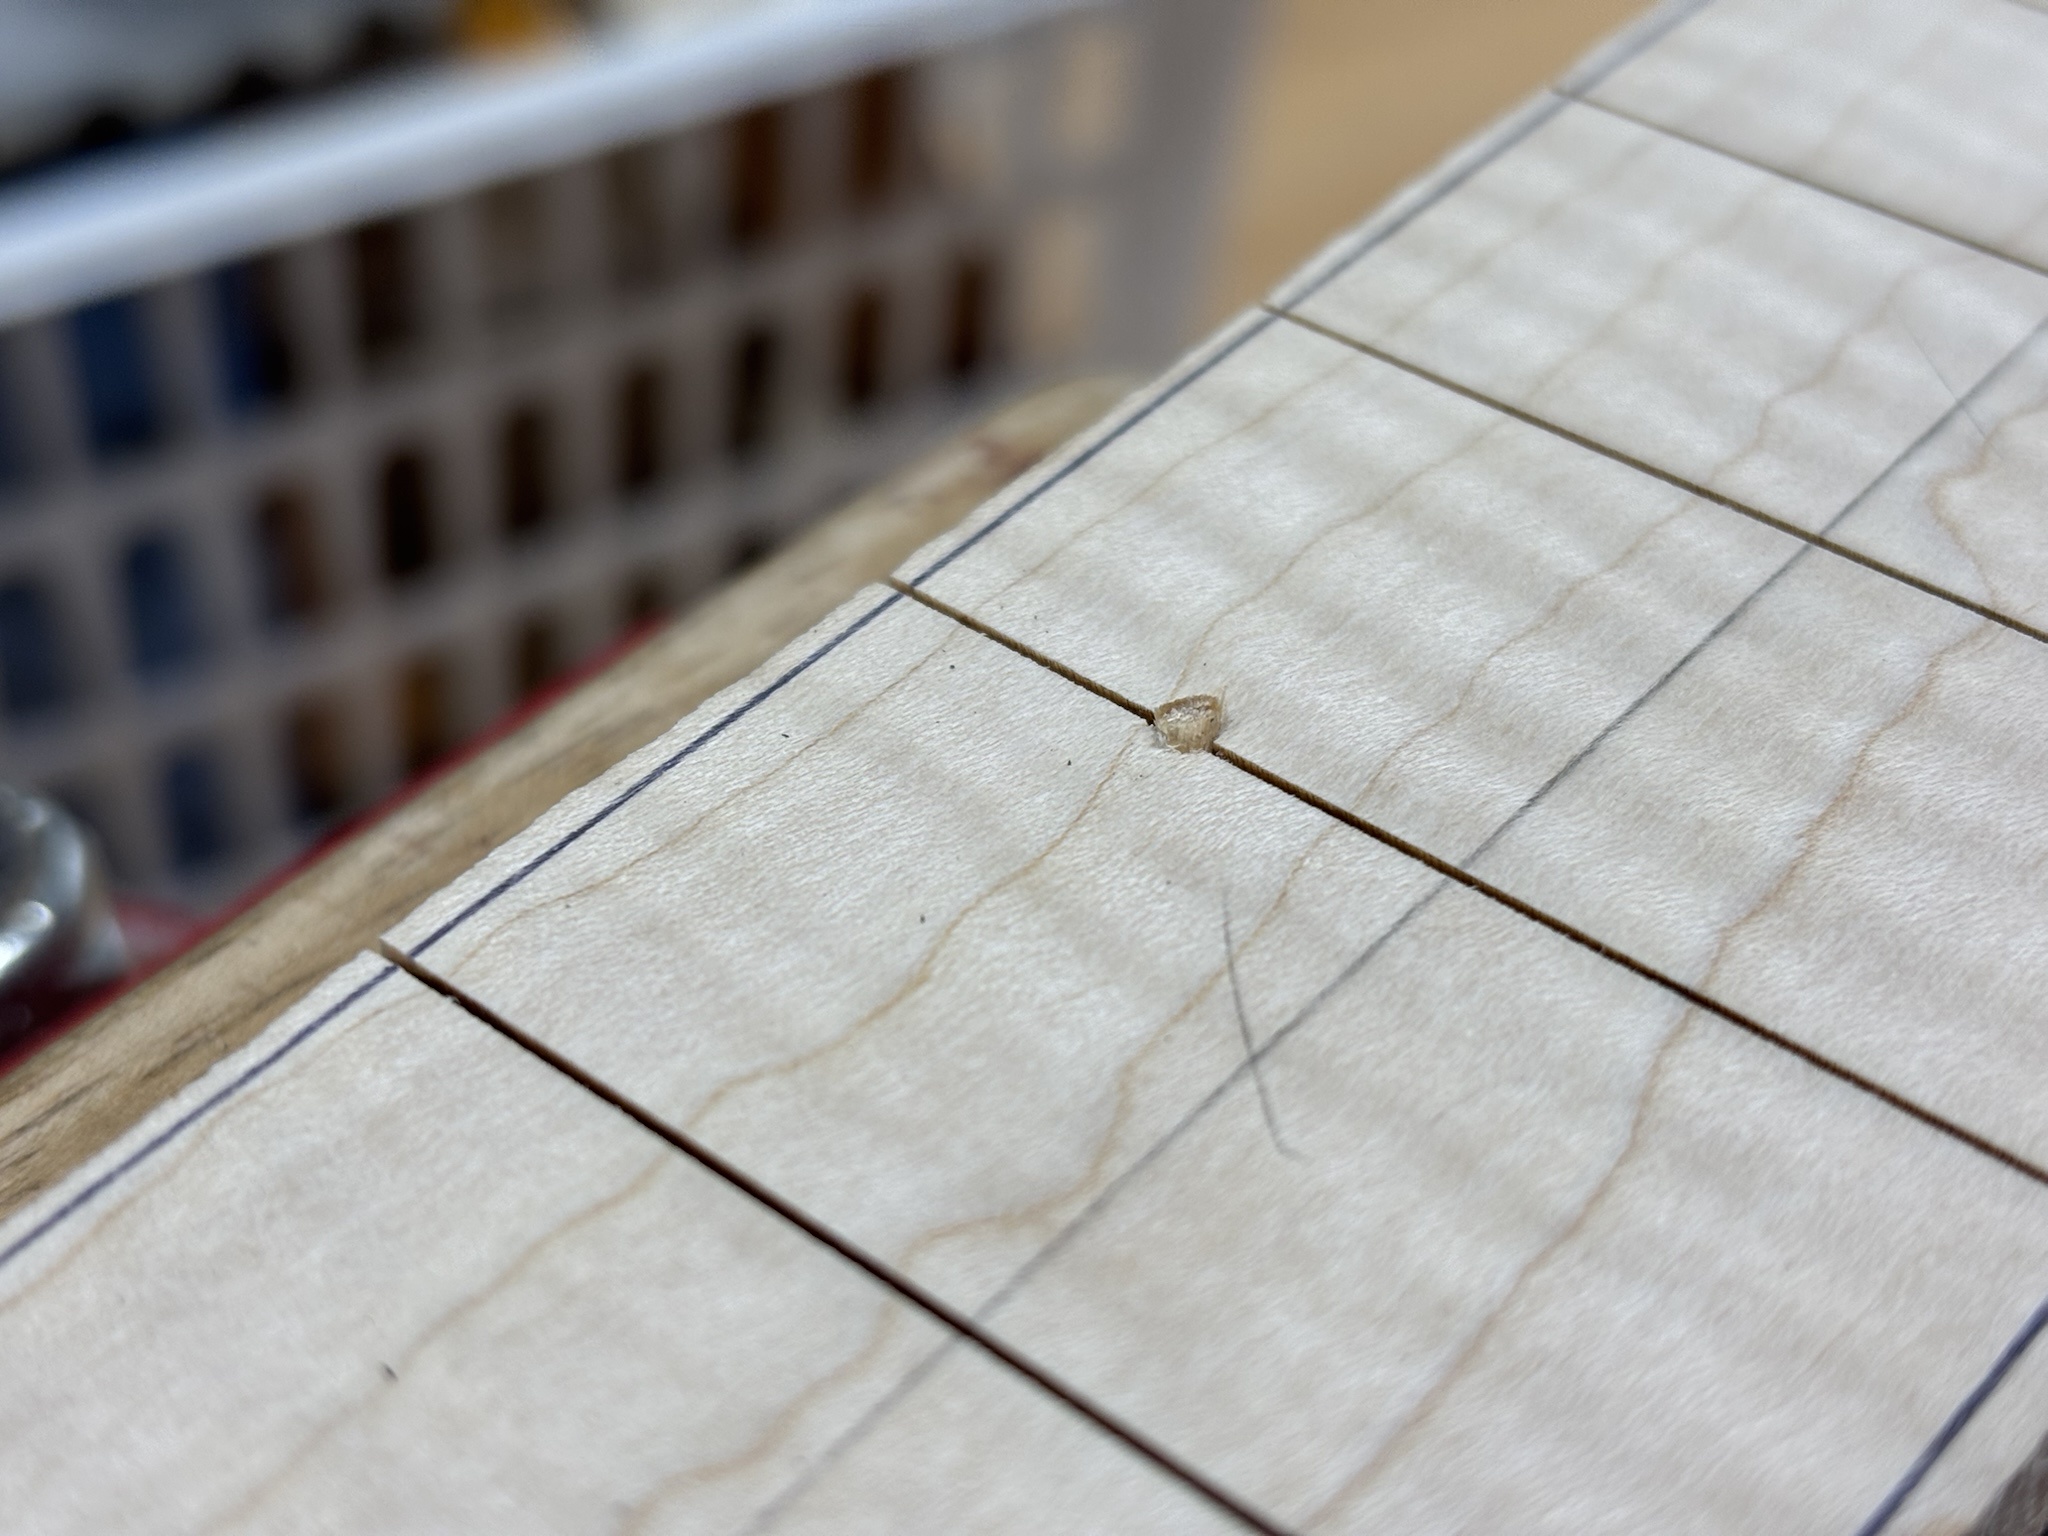
I drilled for locating pins on 3 fret slots using cut off toothpicks for pins. This really locks the board in solidly.
5jxd3HQ.jpg


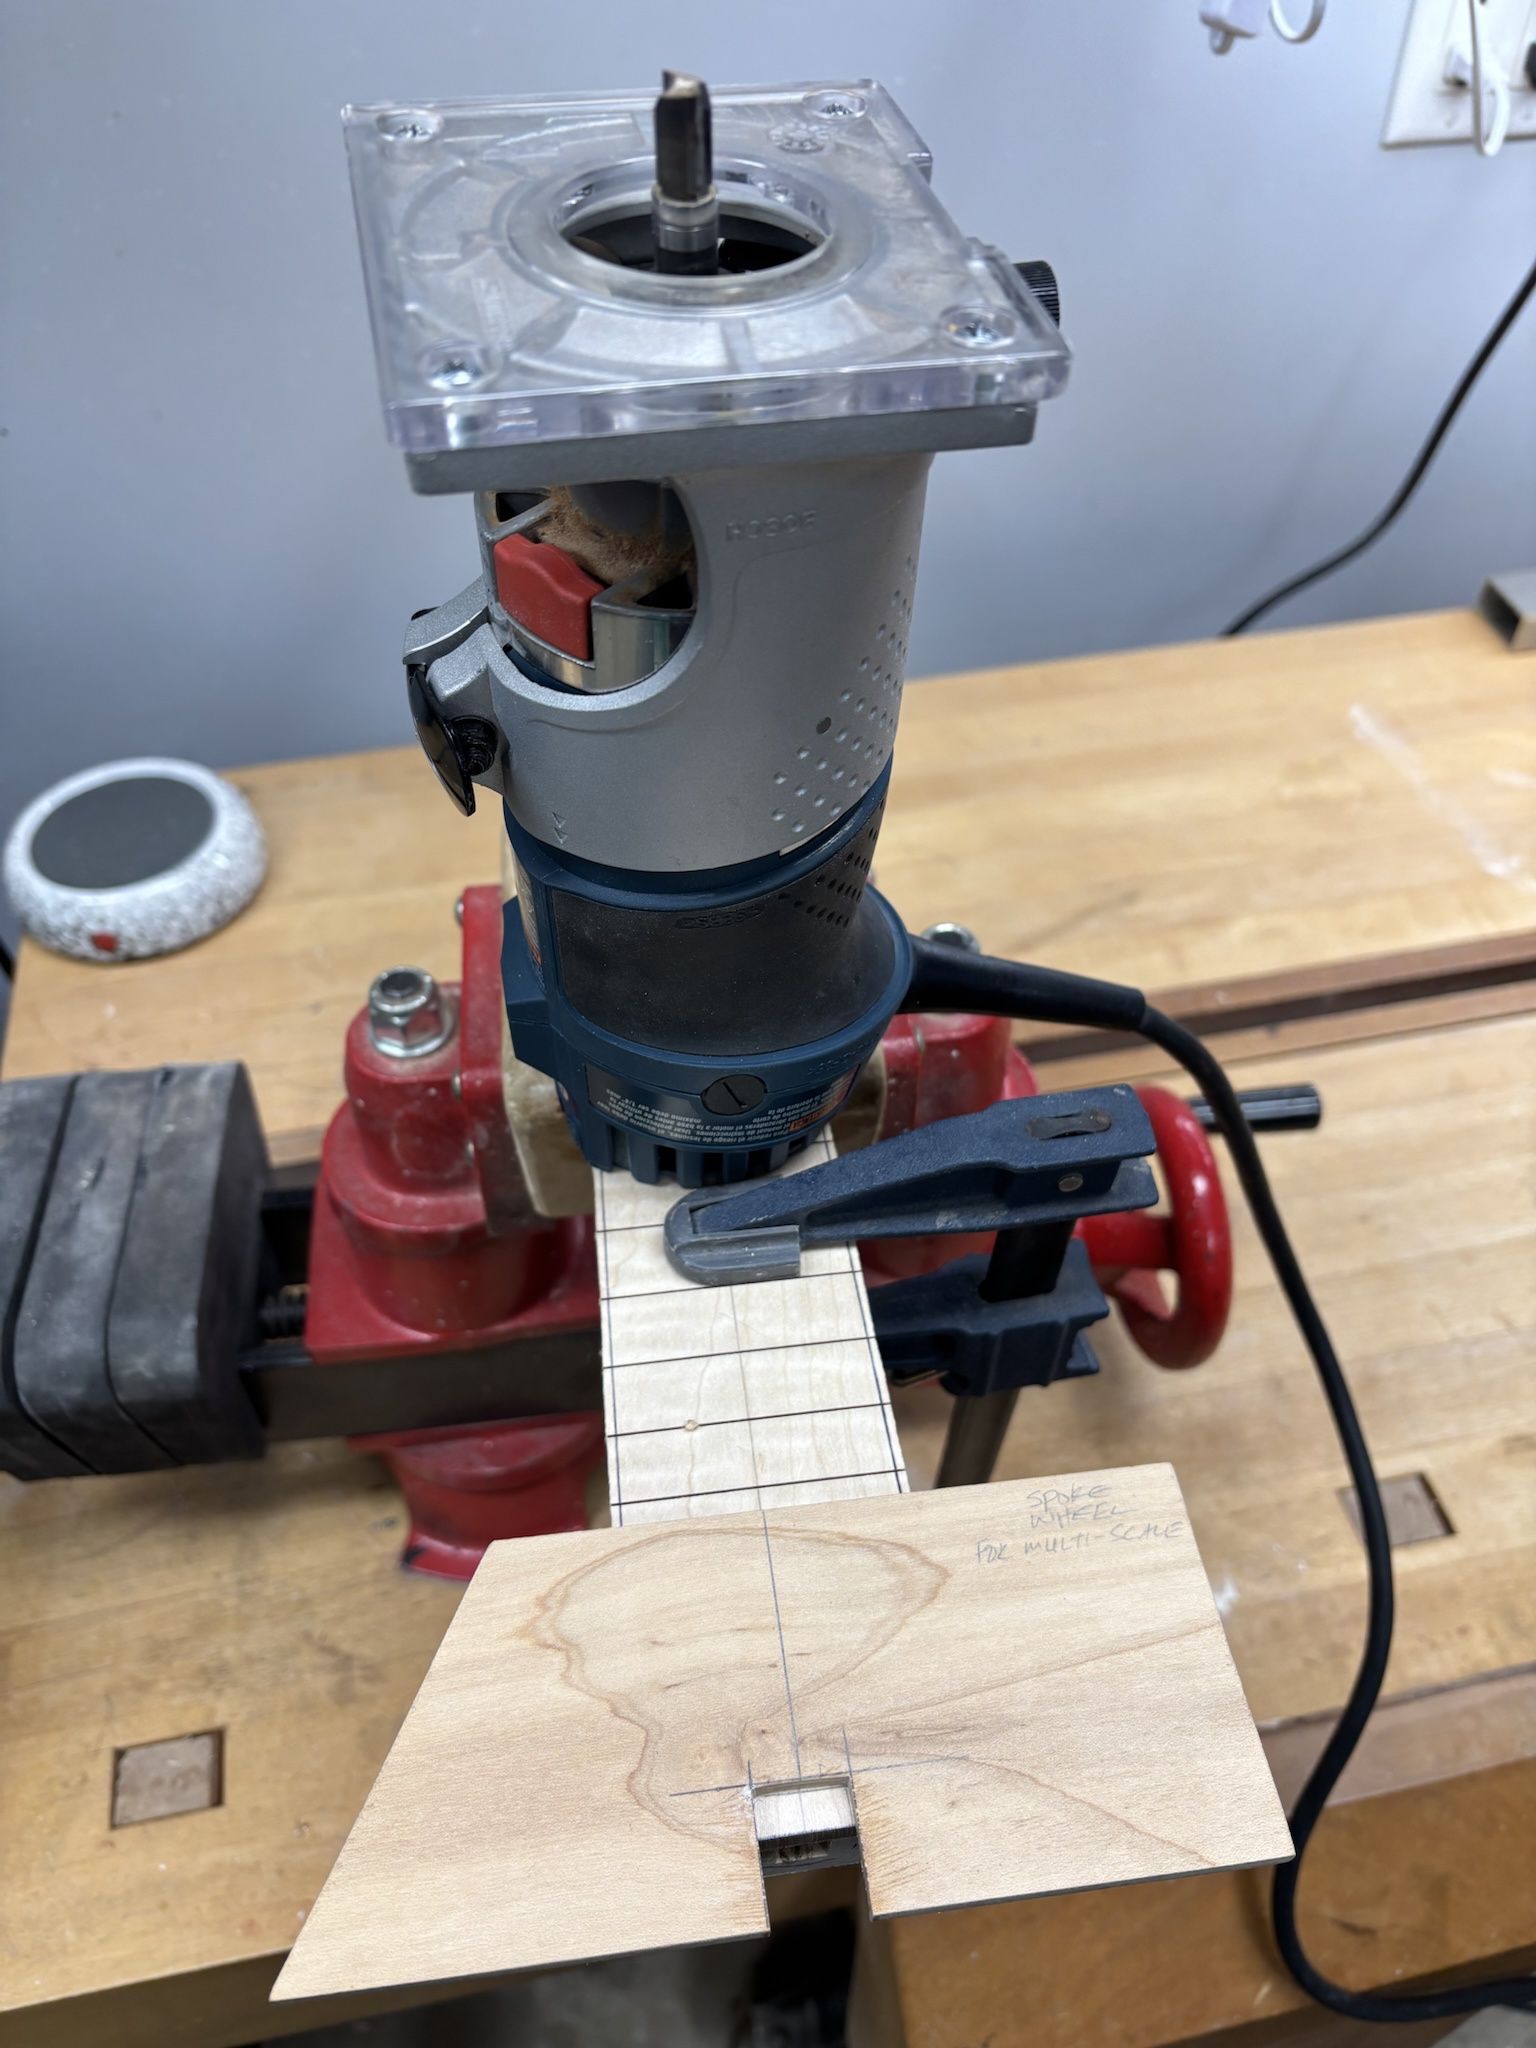
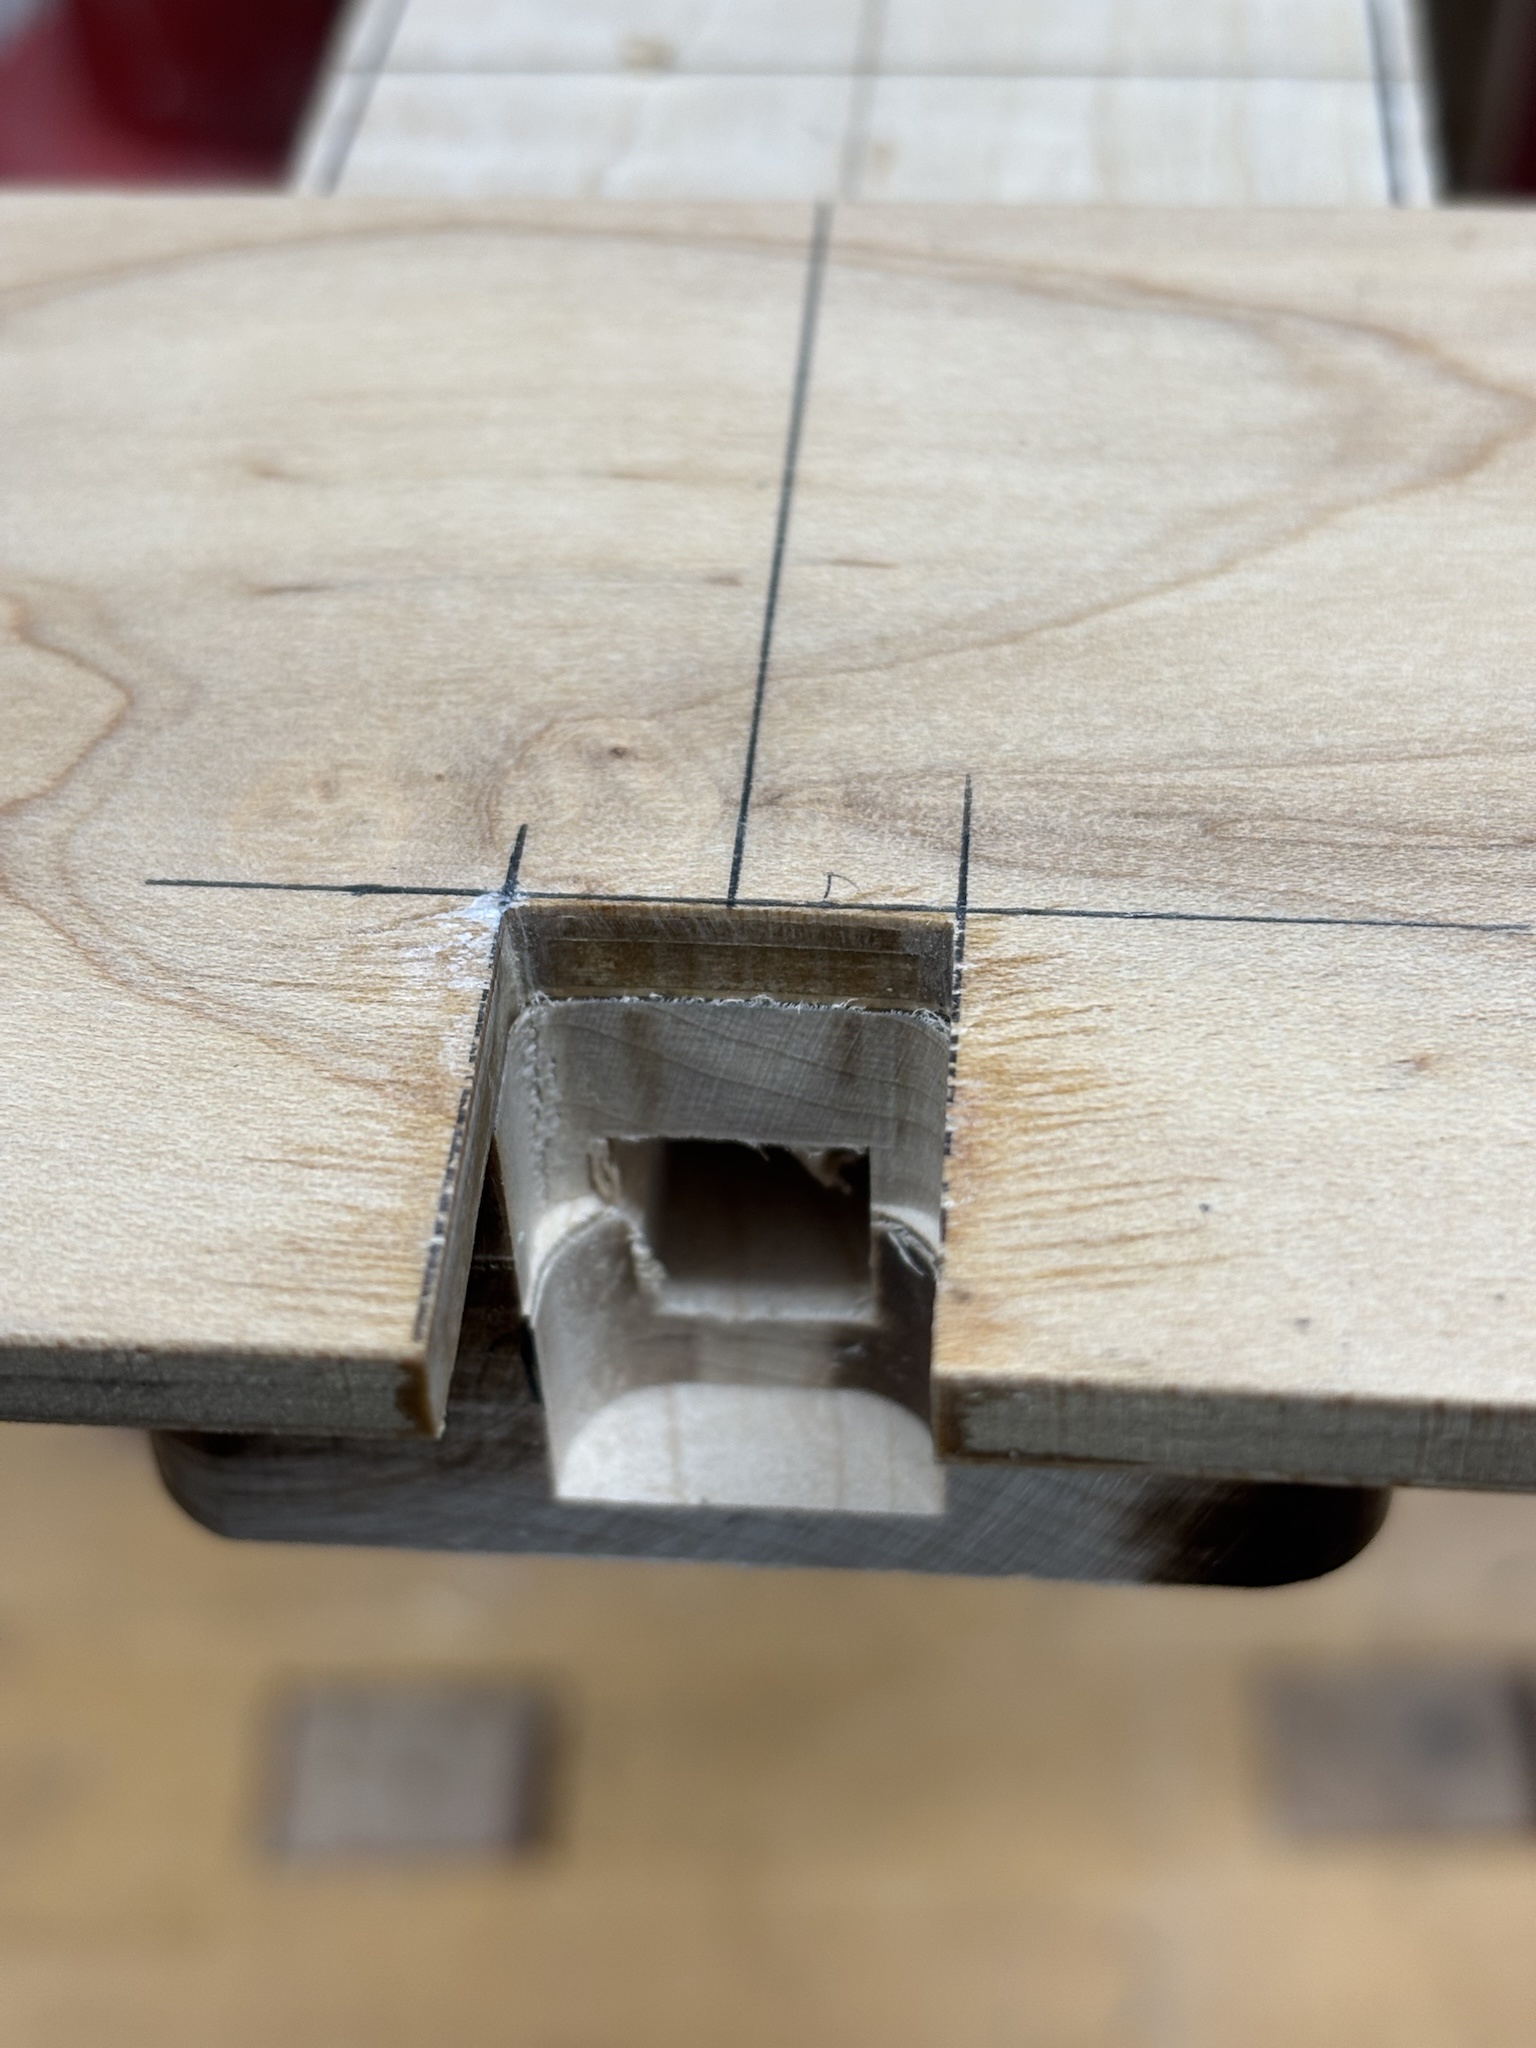
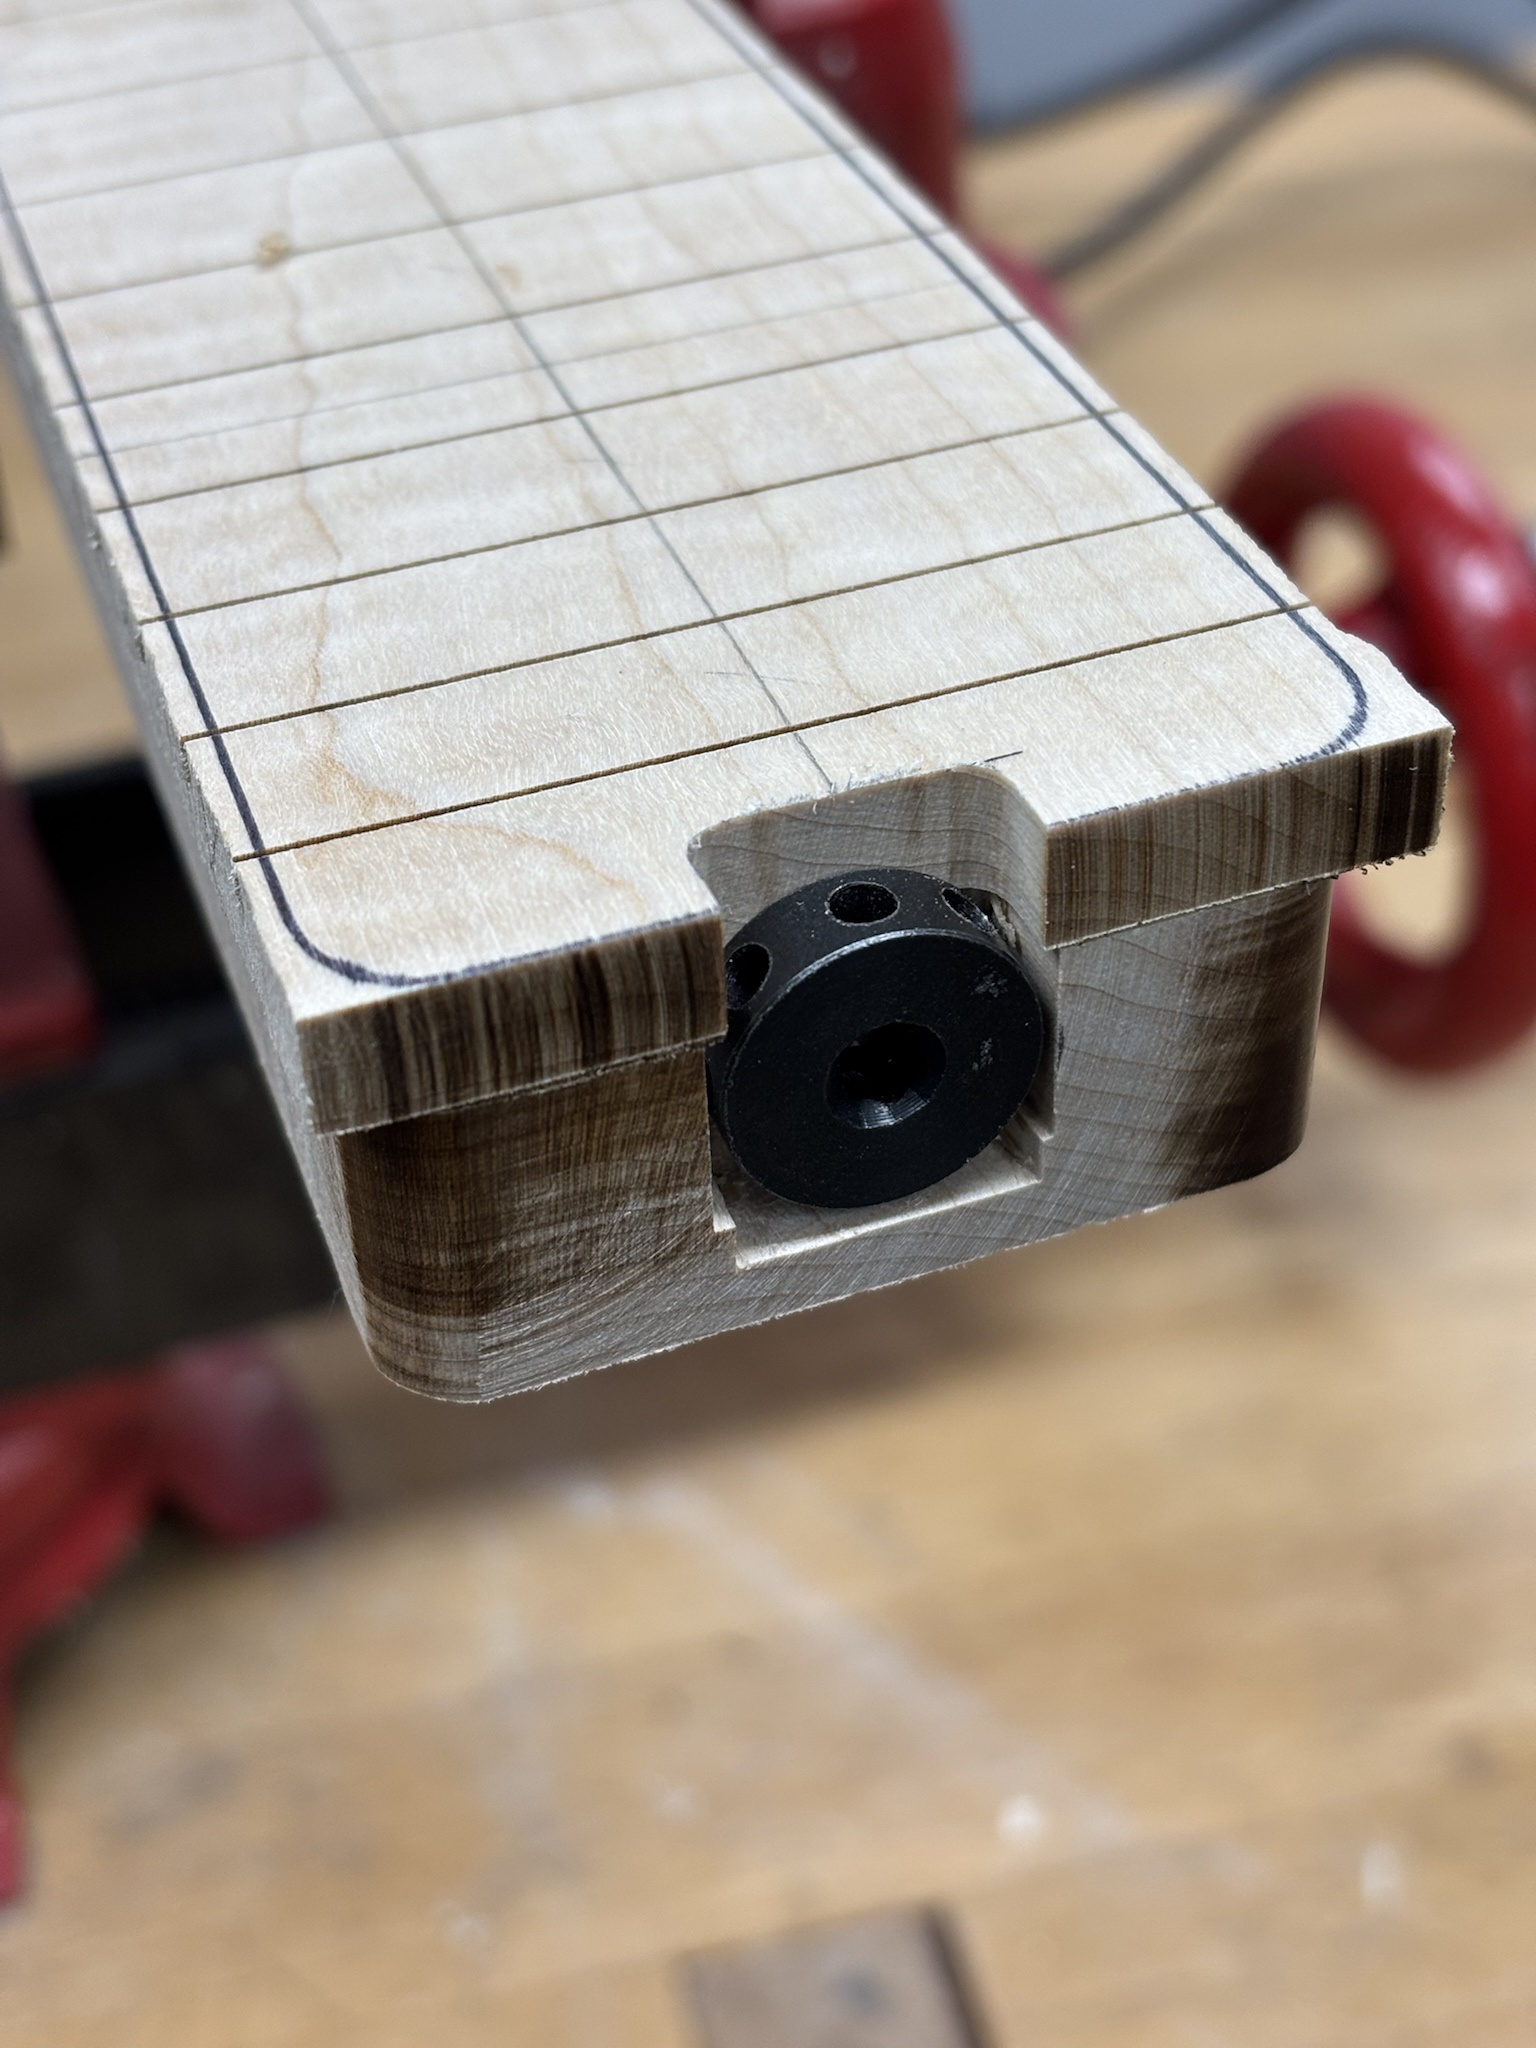
Moving to the heel, I used a trim router and a 3/8" bit to rough out the spoke wheel opening.
KTvcPj6.jpg


The rough opening is chased with a 3/16" pattern bit to sharpen up the corners. This will get cleaned up with files after the fretboard has been radiused.
BehyuQB.jpg


Test fit.
CSe3Cif.jpg


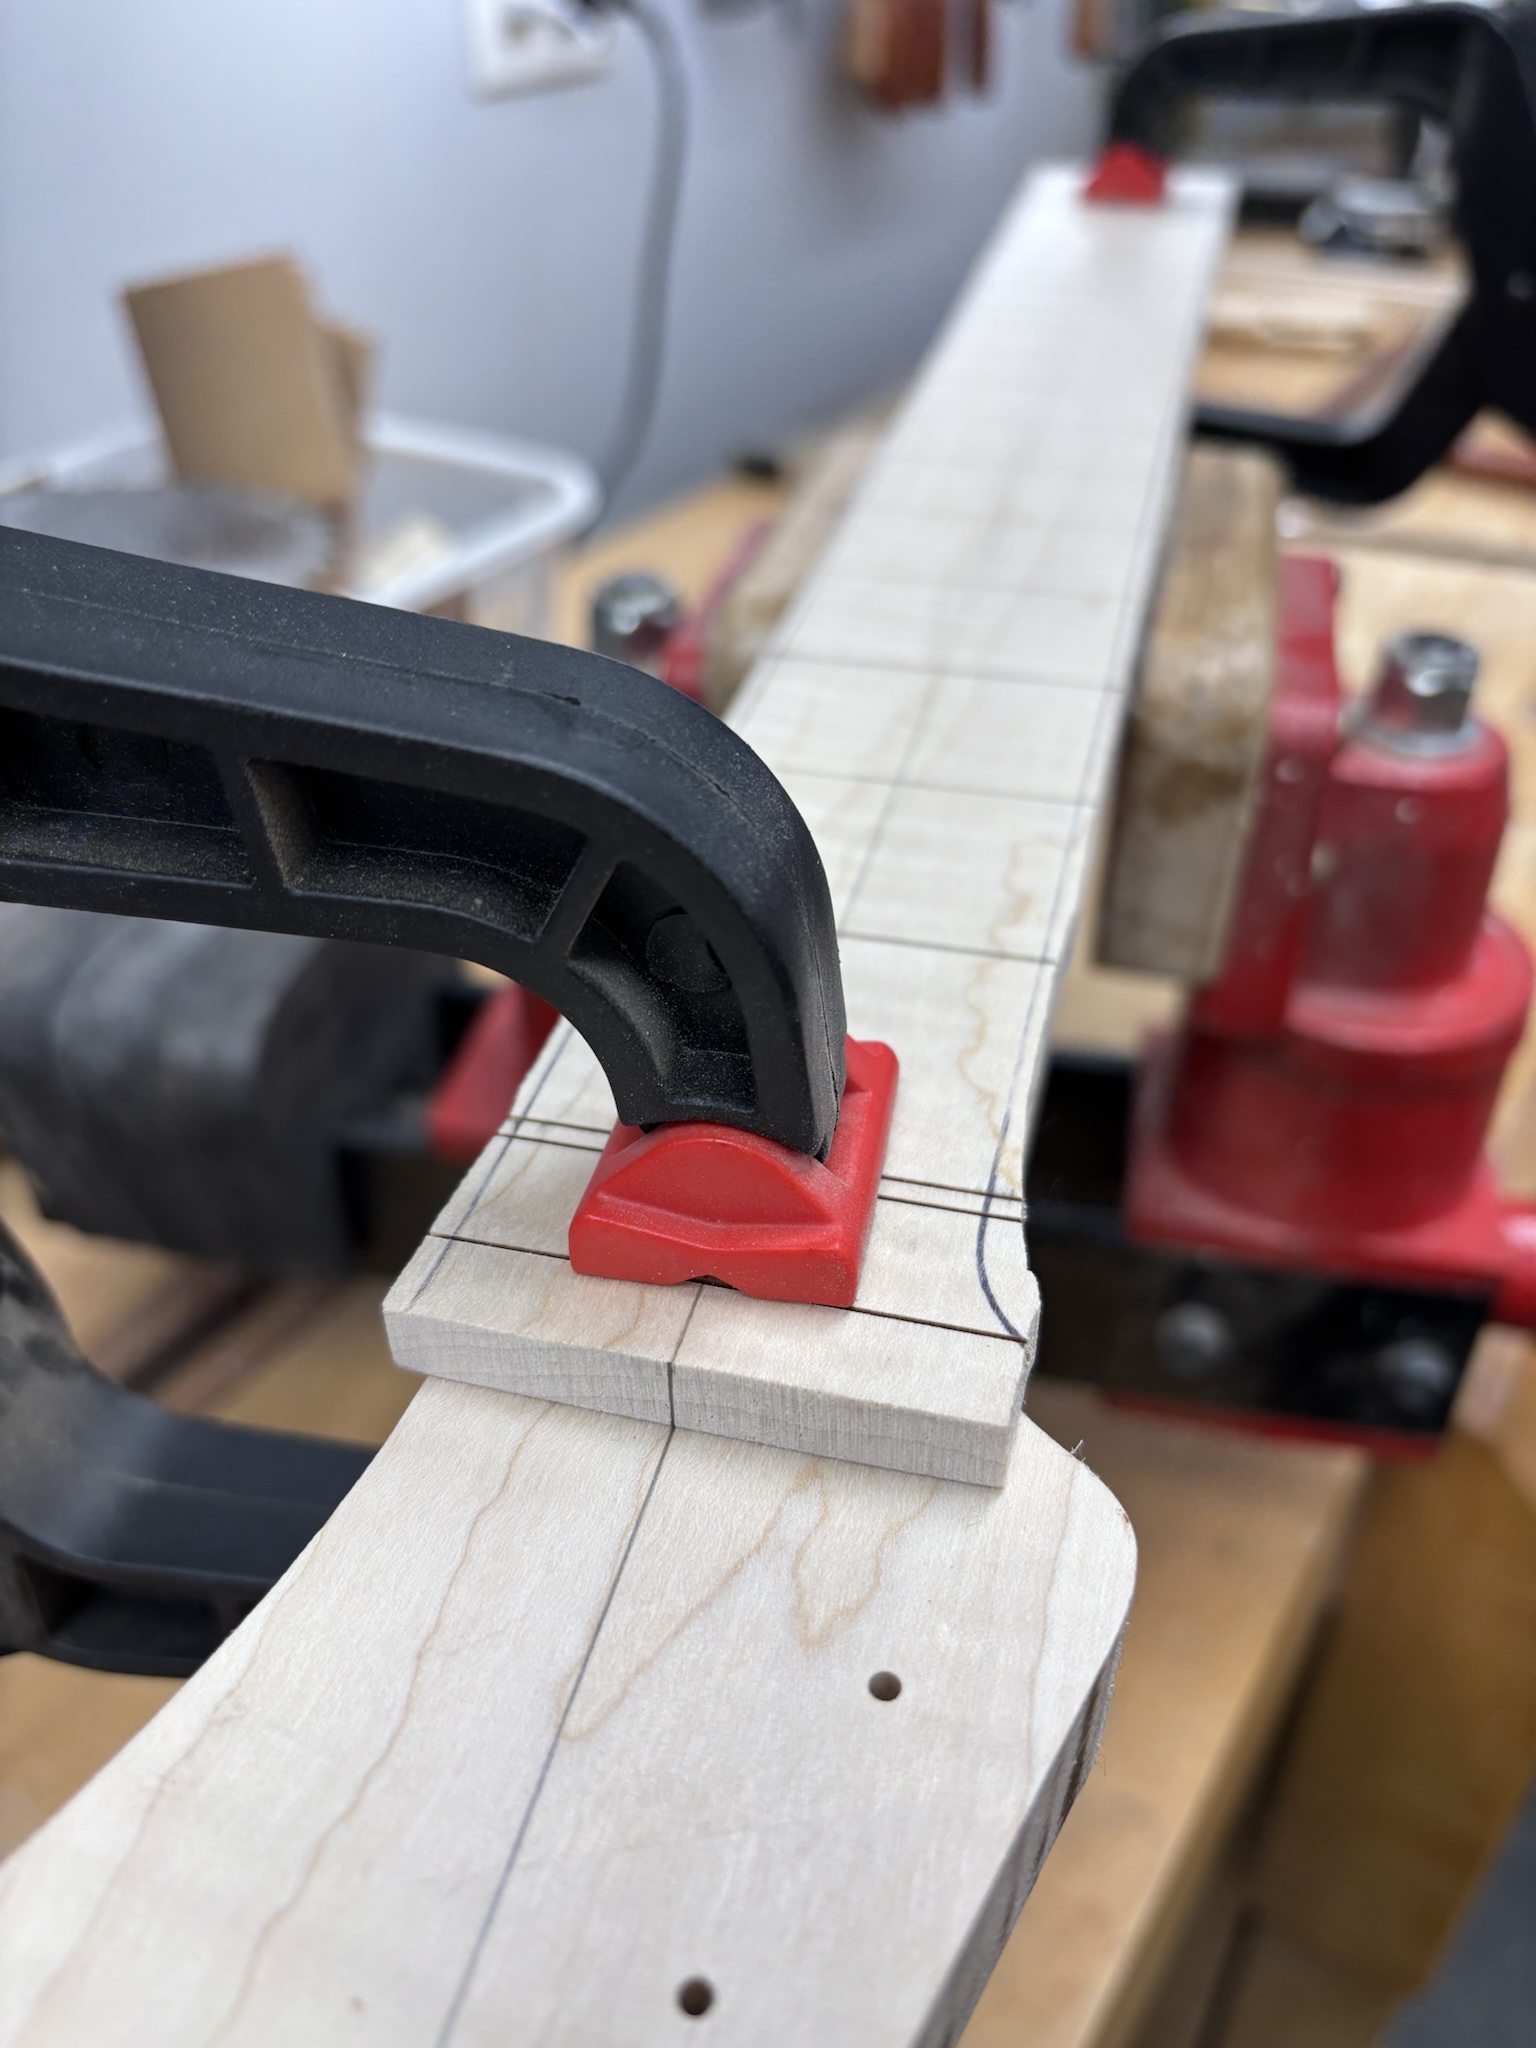
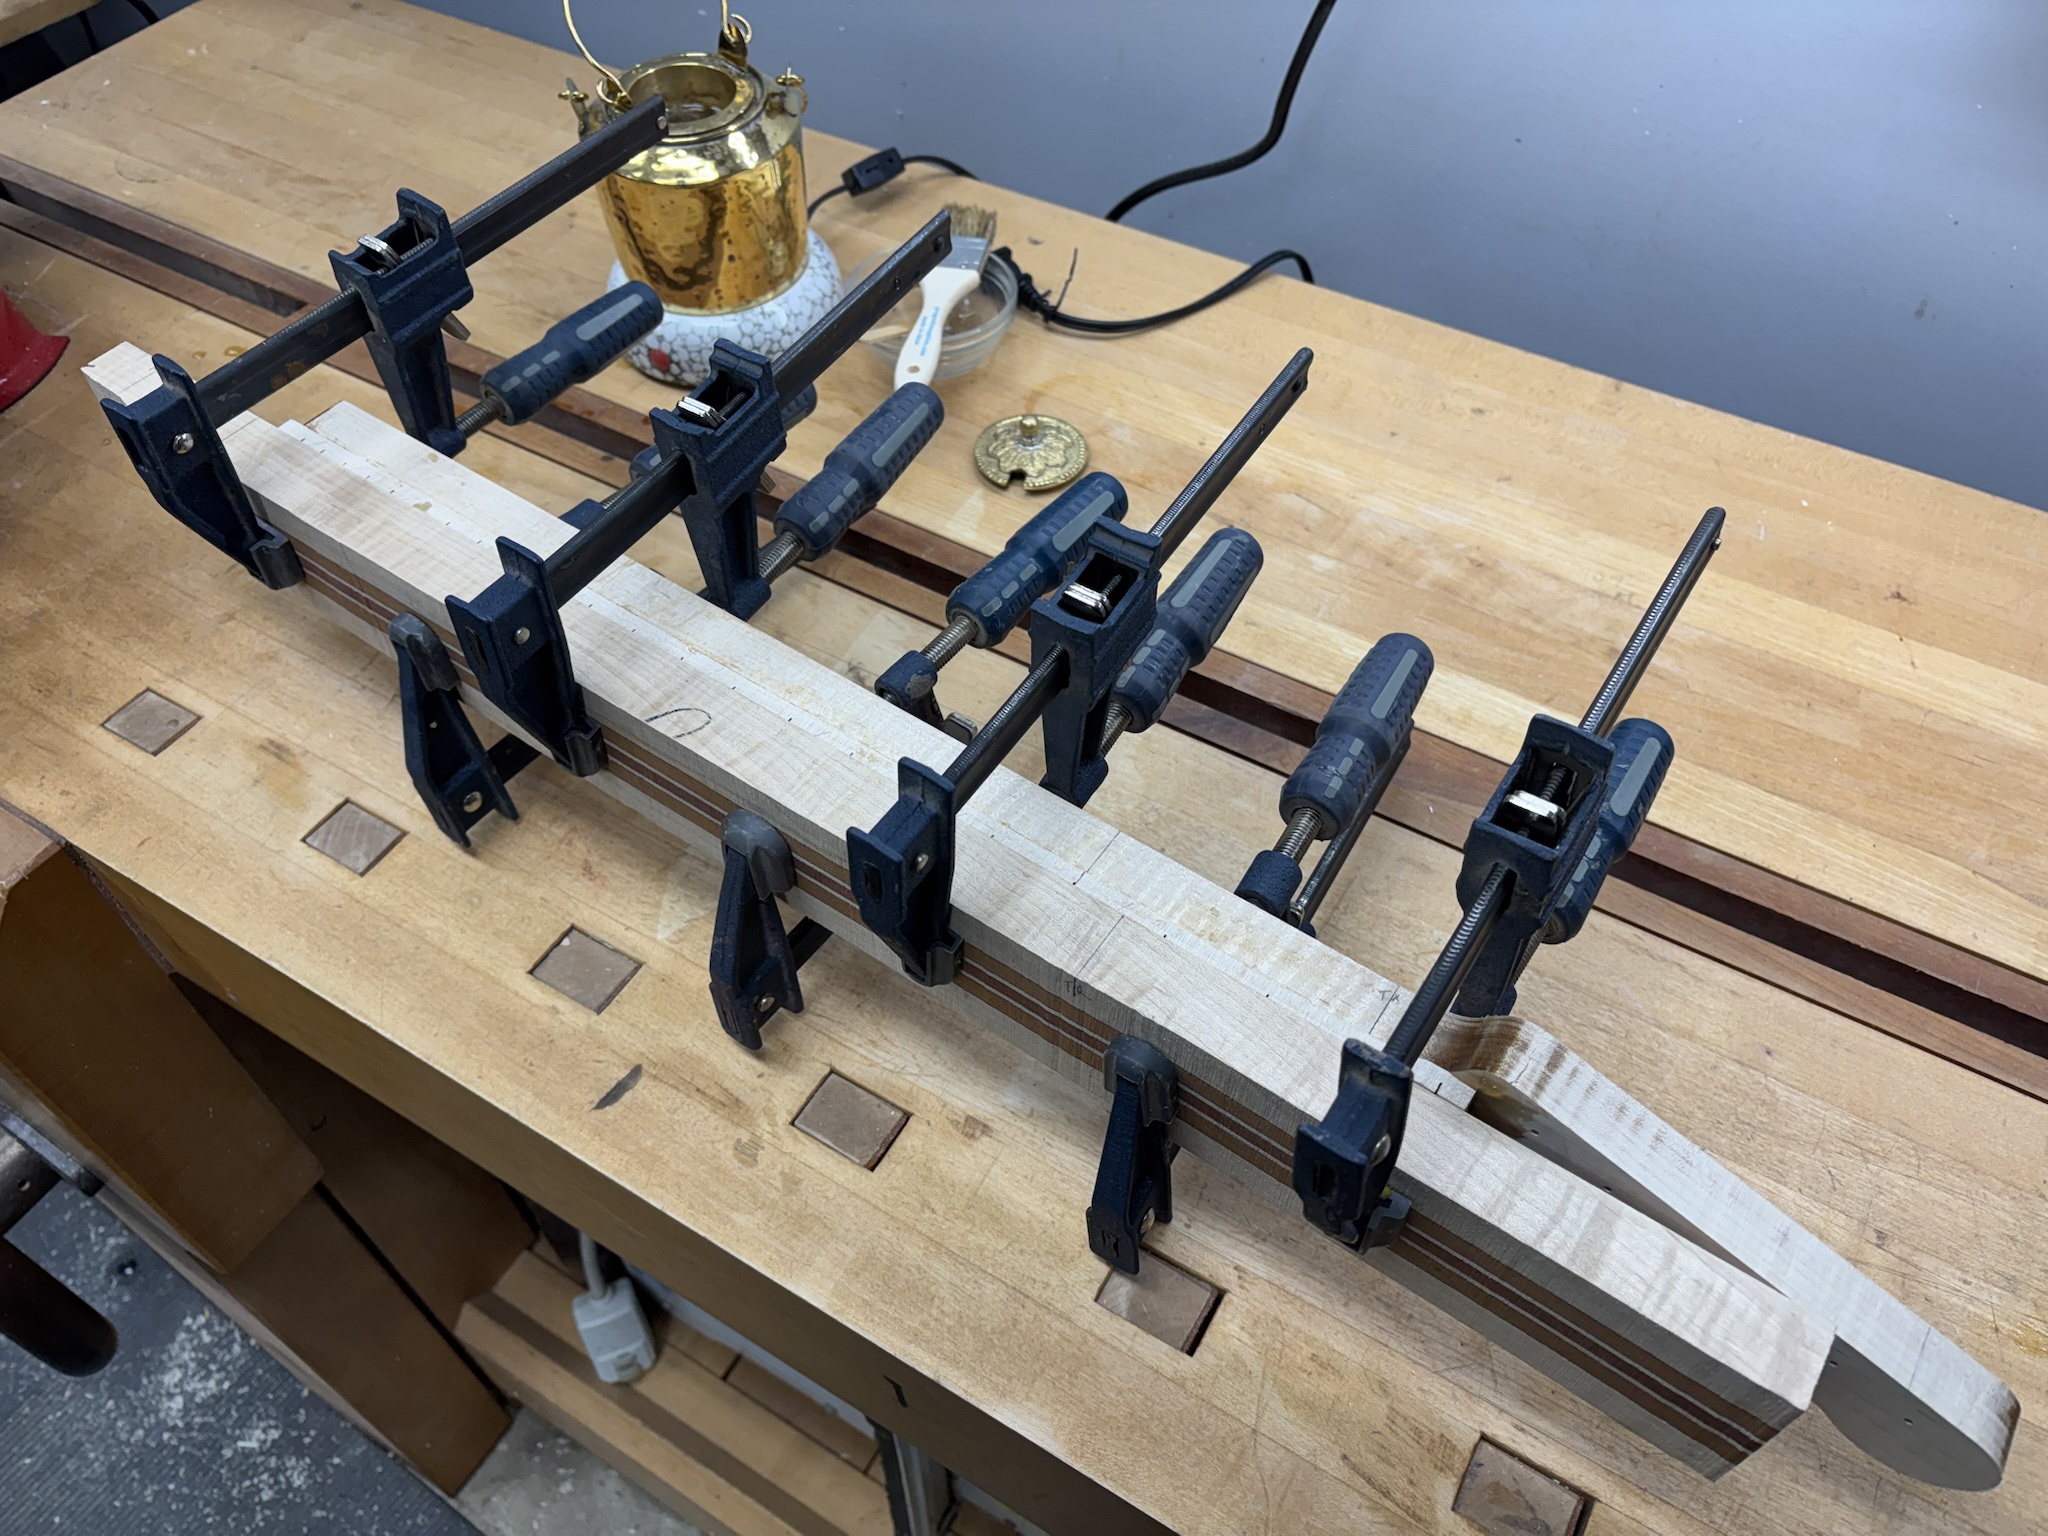
Fretboard is glued on using hot hide glue and clamped using the same laminated neck beam cutoff as a caul.
t7iMs5k.jpg


More soon. :)
 
A little more progress on the neck...

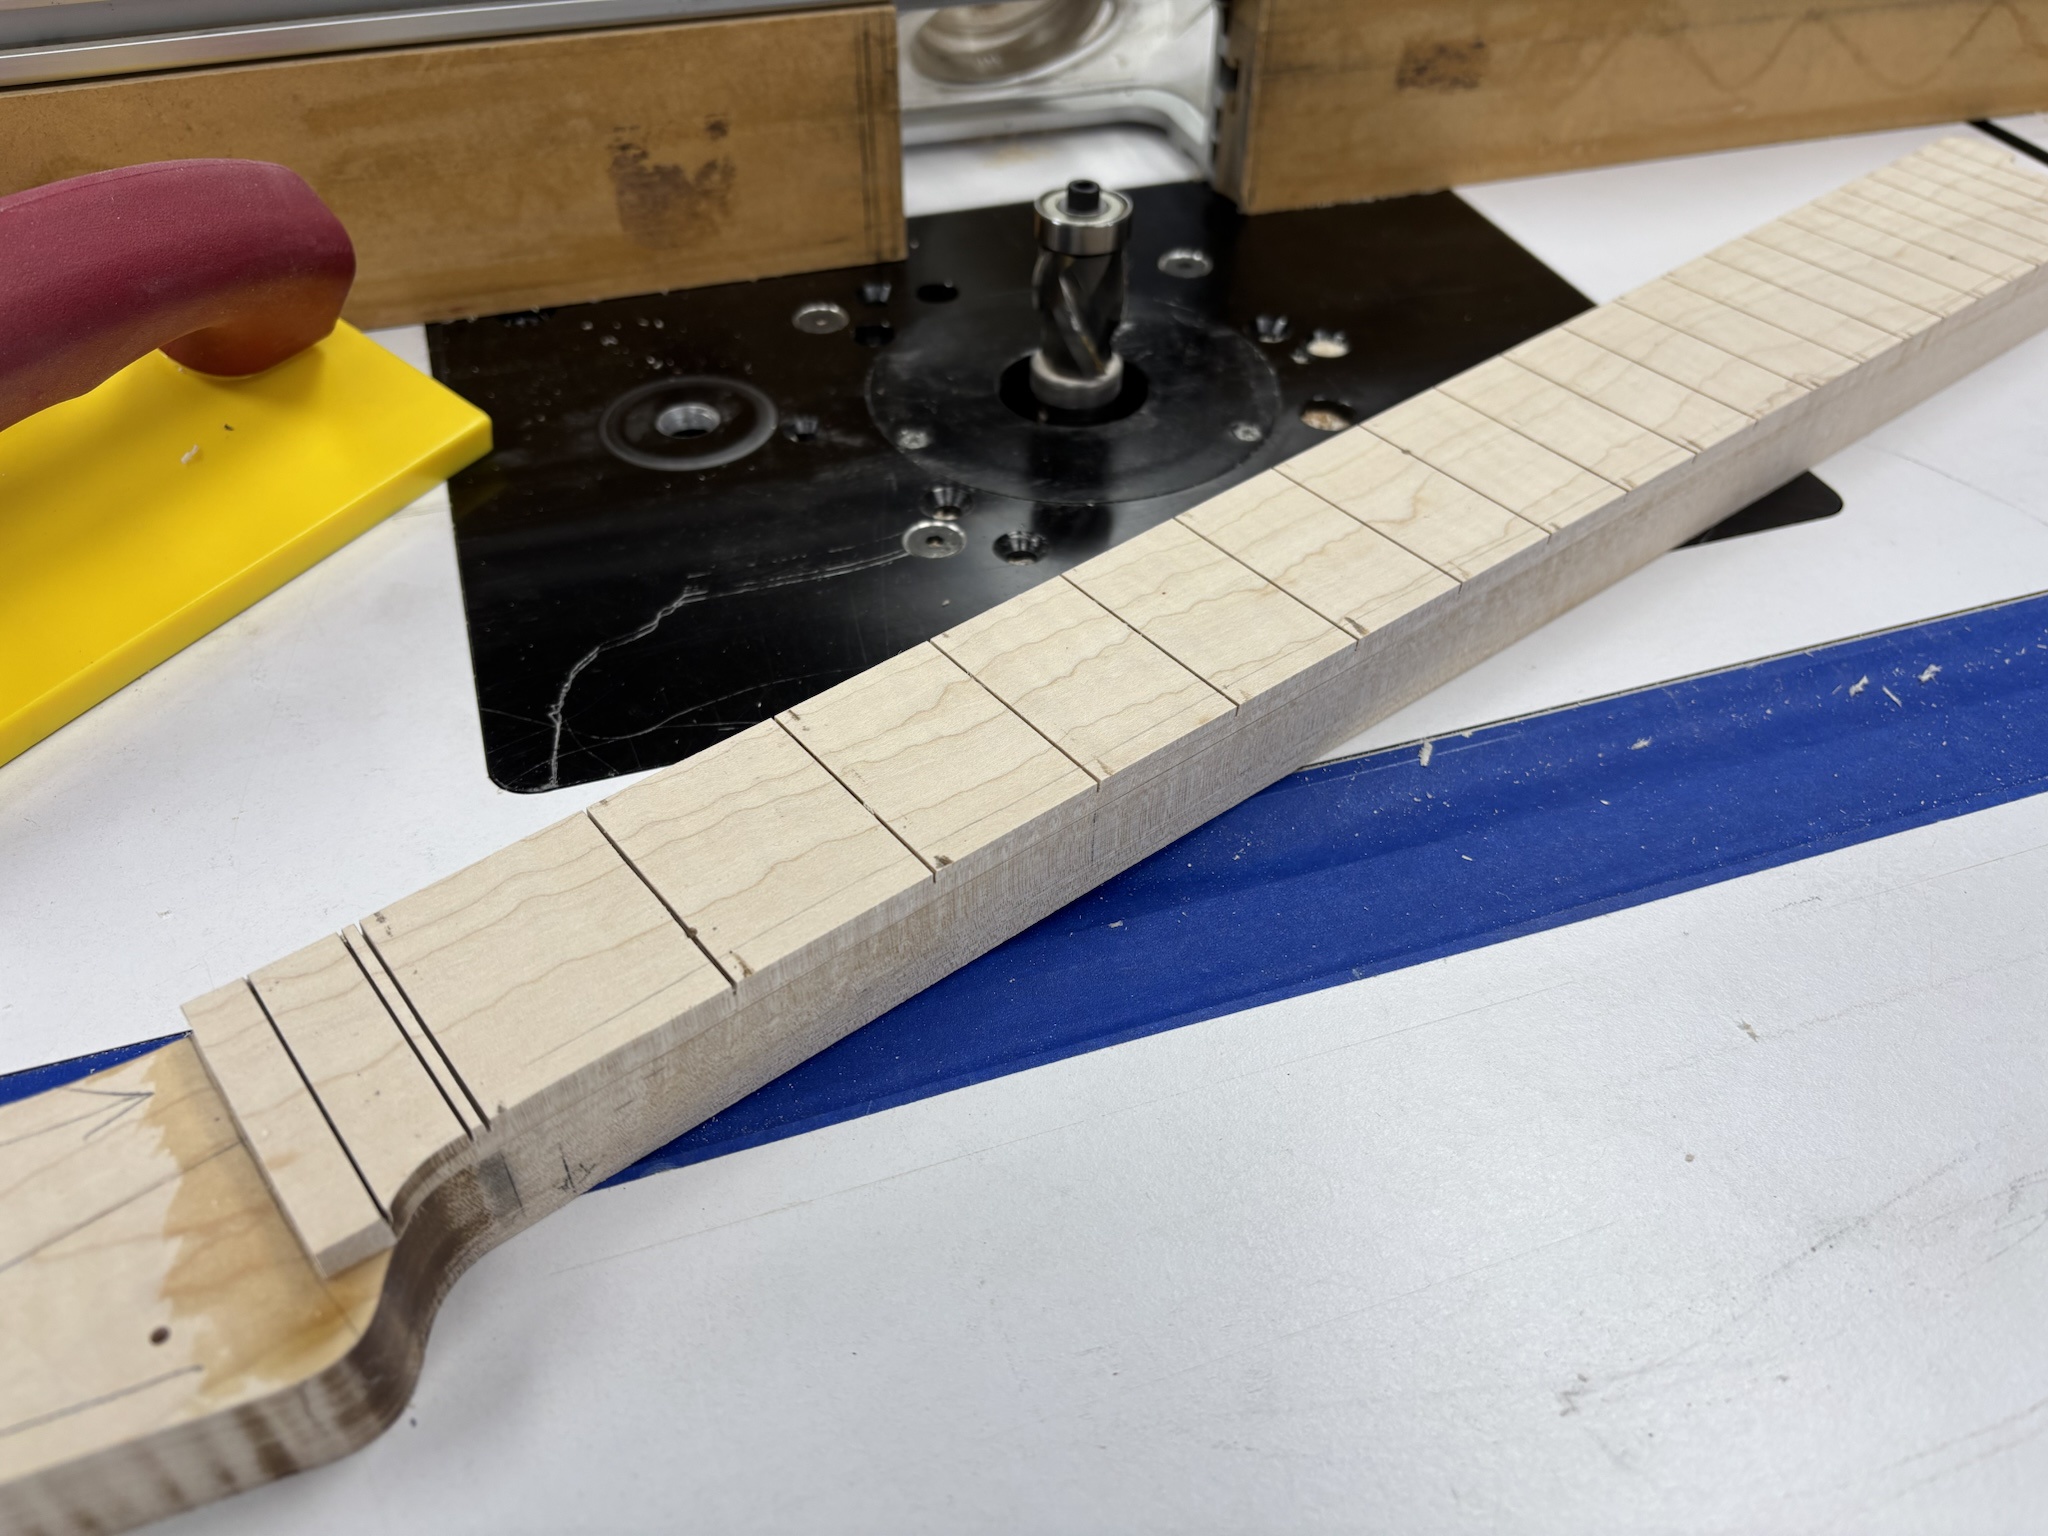
I ran the neck through the drum sander to bring the fretboard thickness to 1/4". Following that, I deepened the fret slots so that I wouldn't lose them too much when put the radius on the board.
qpd5uar.jpg


I flush trimmed the fretboard to the neck at the router table.
C9IVGo2.jpg


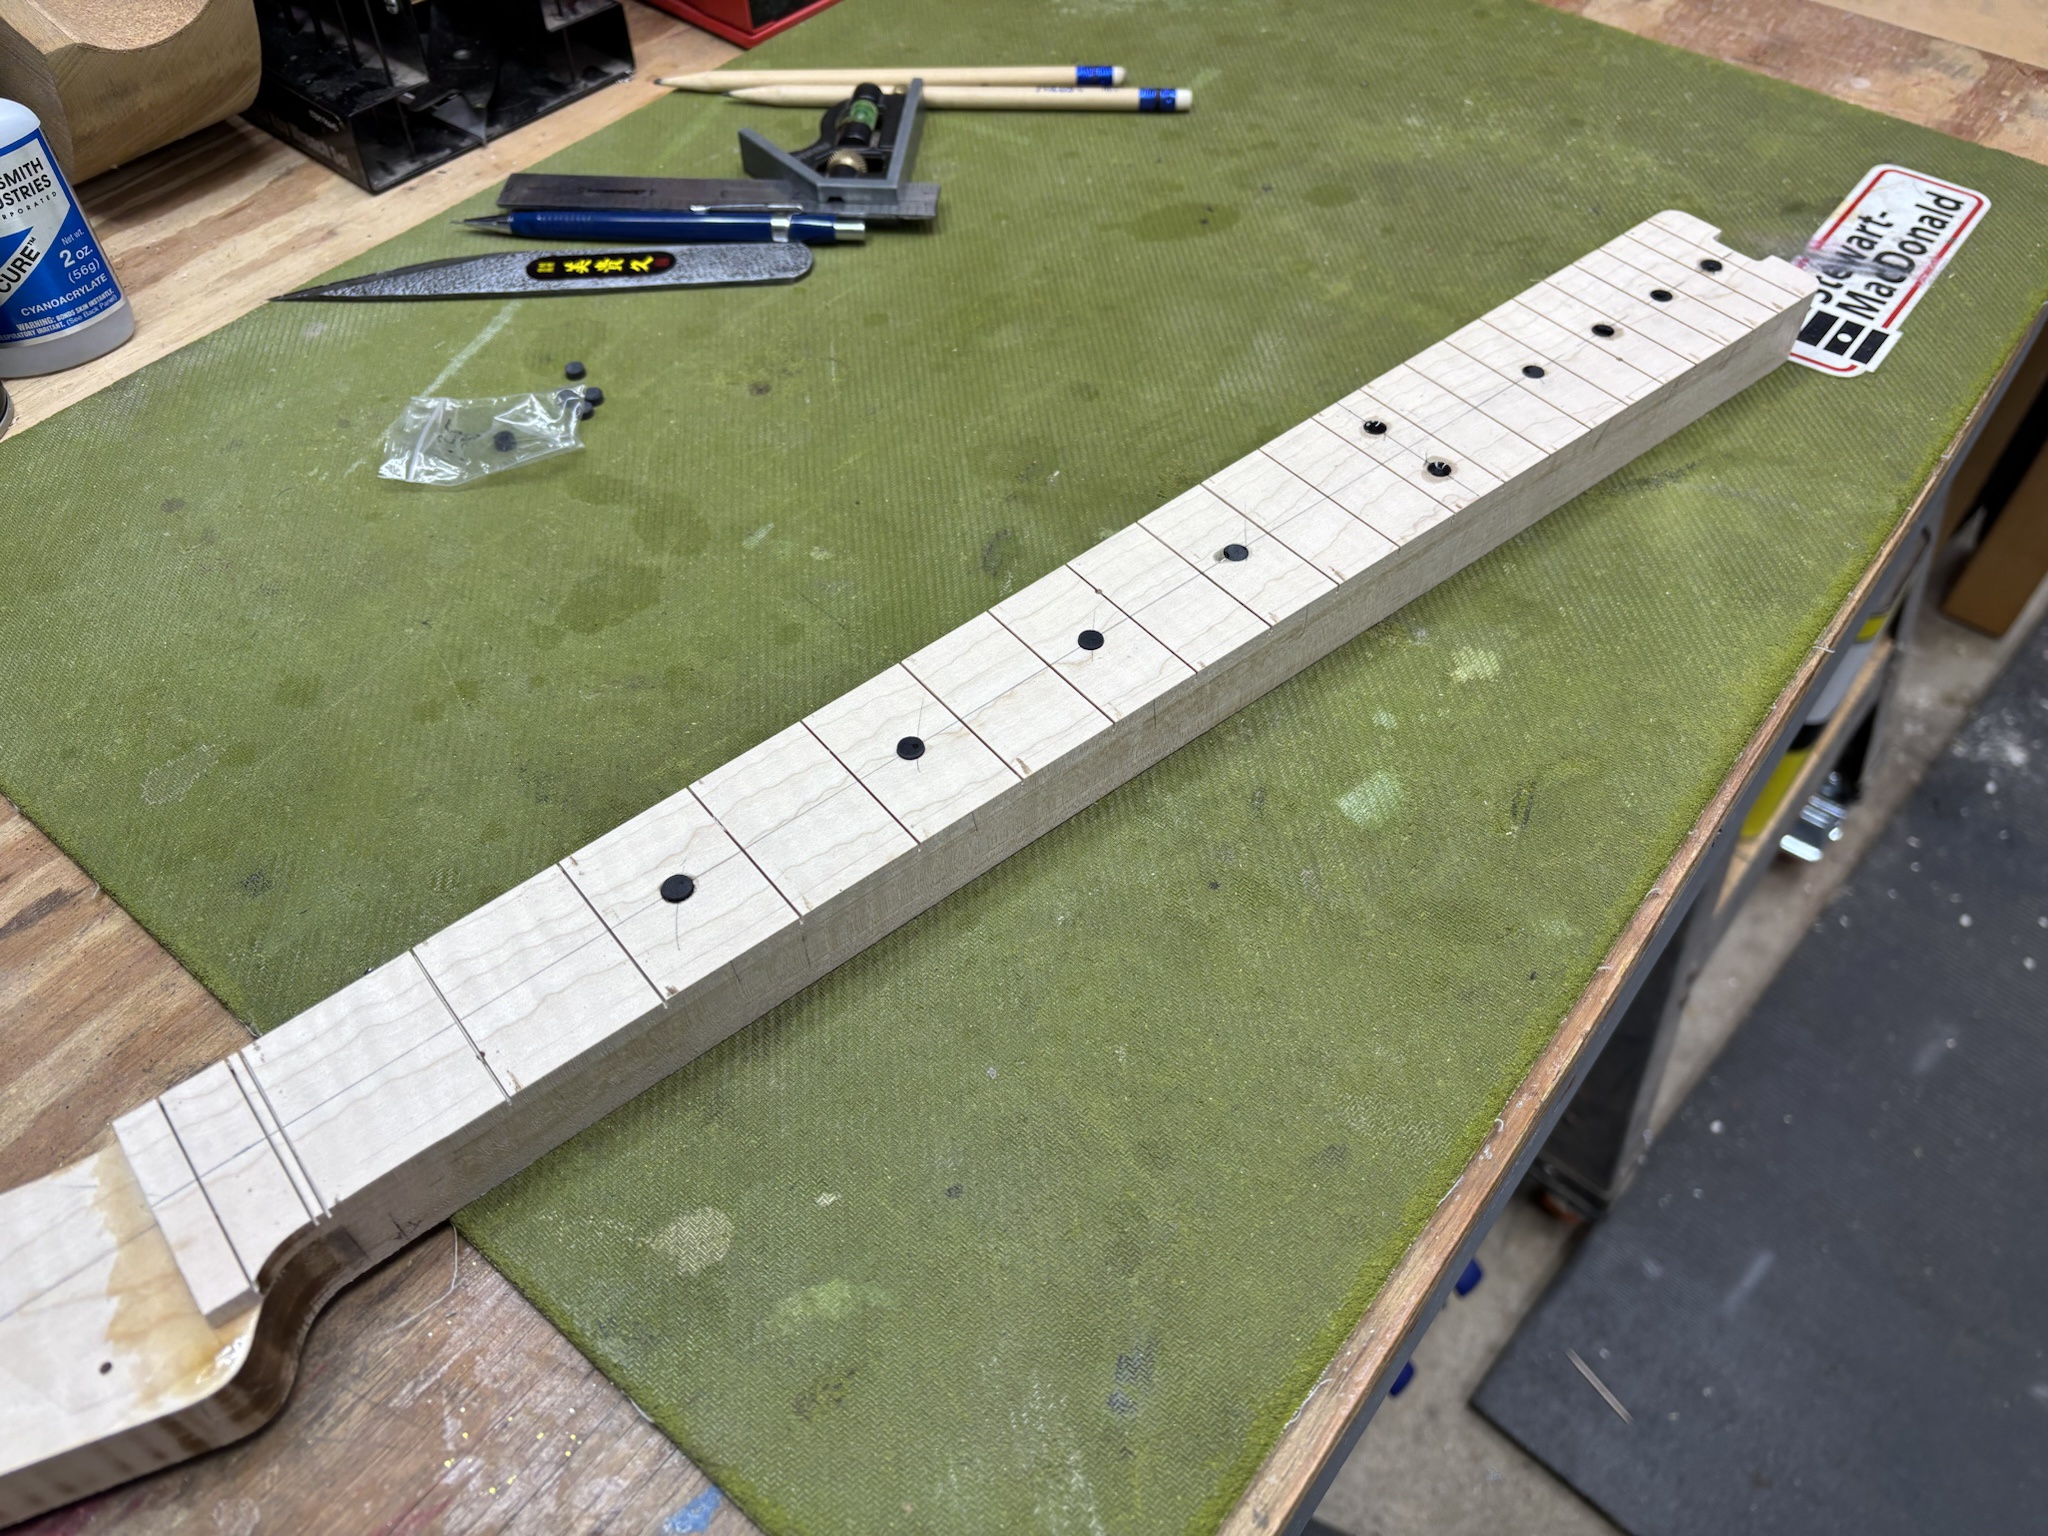
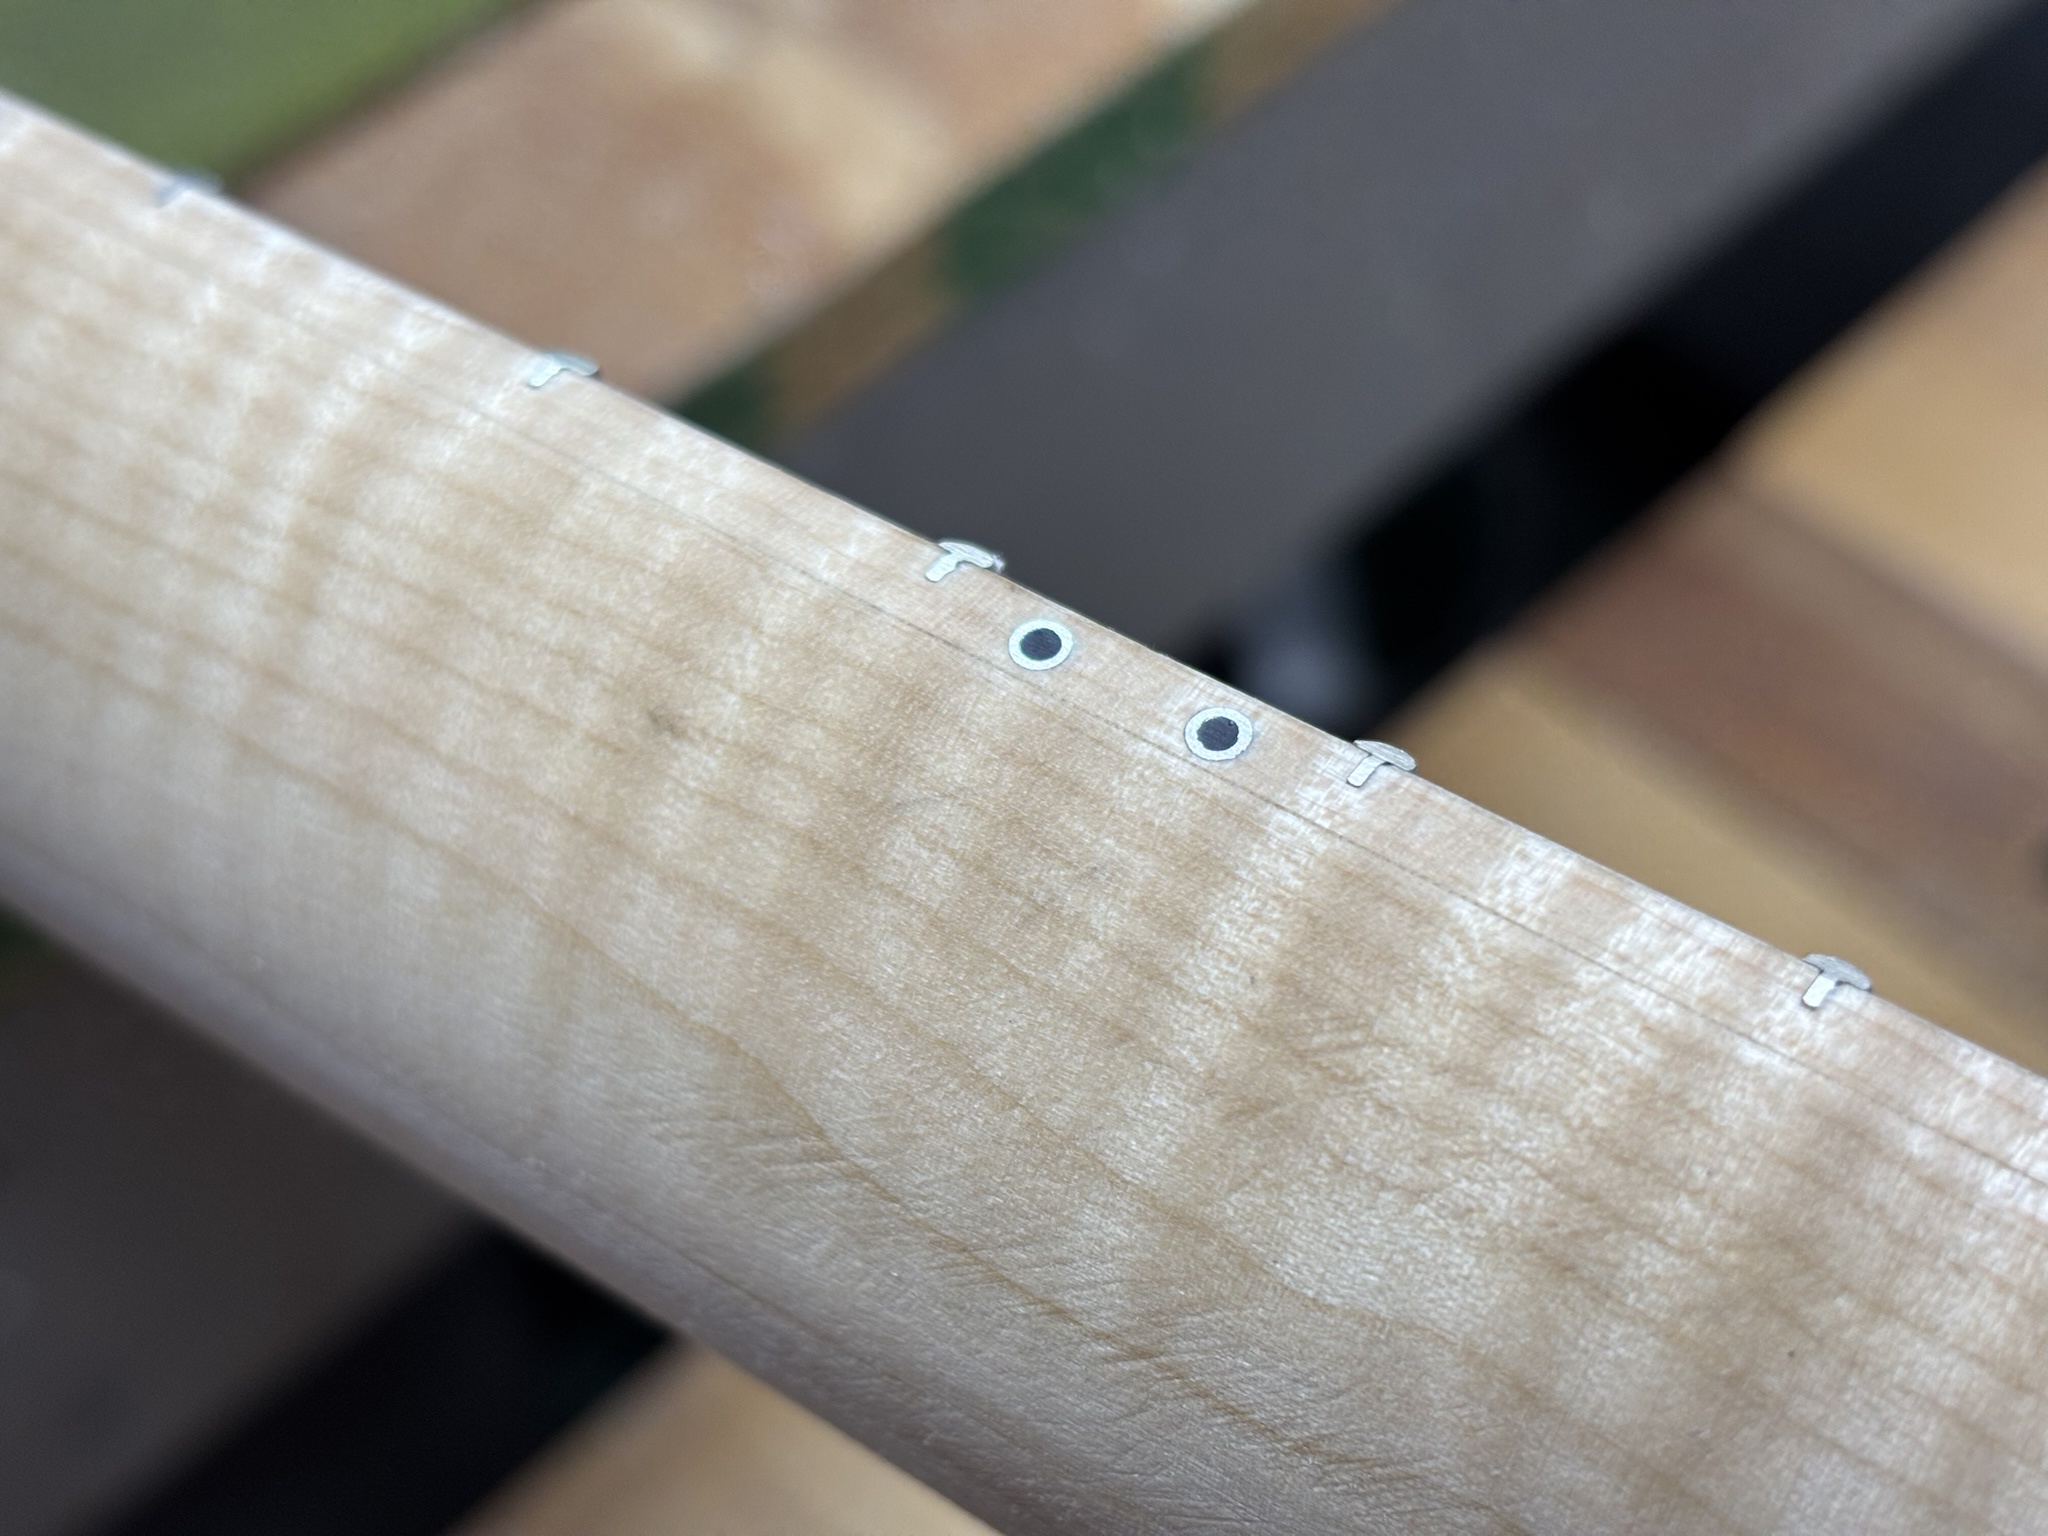
Next, I installed the fretboard dots.
8CeD0Ar.jpg


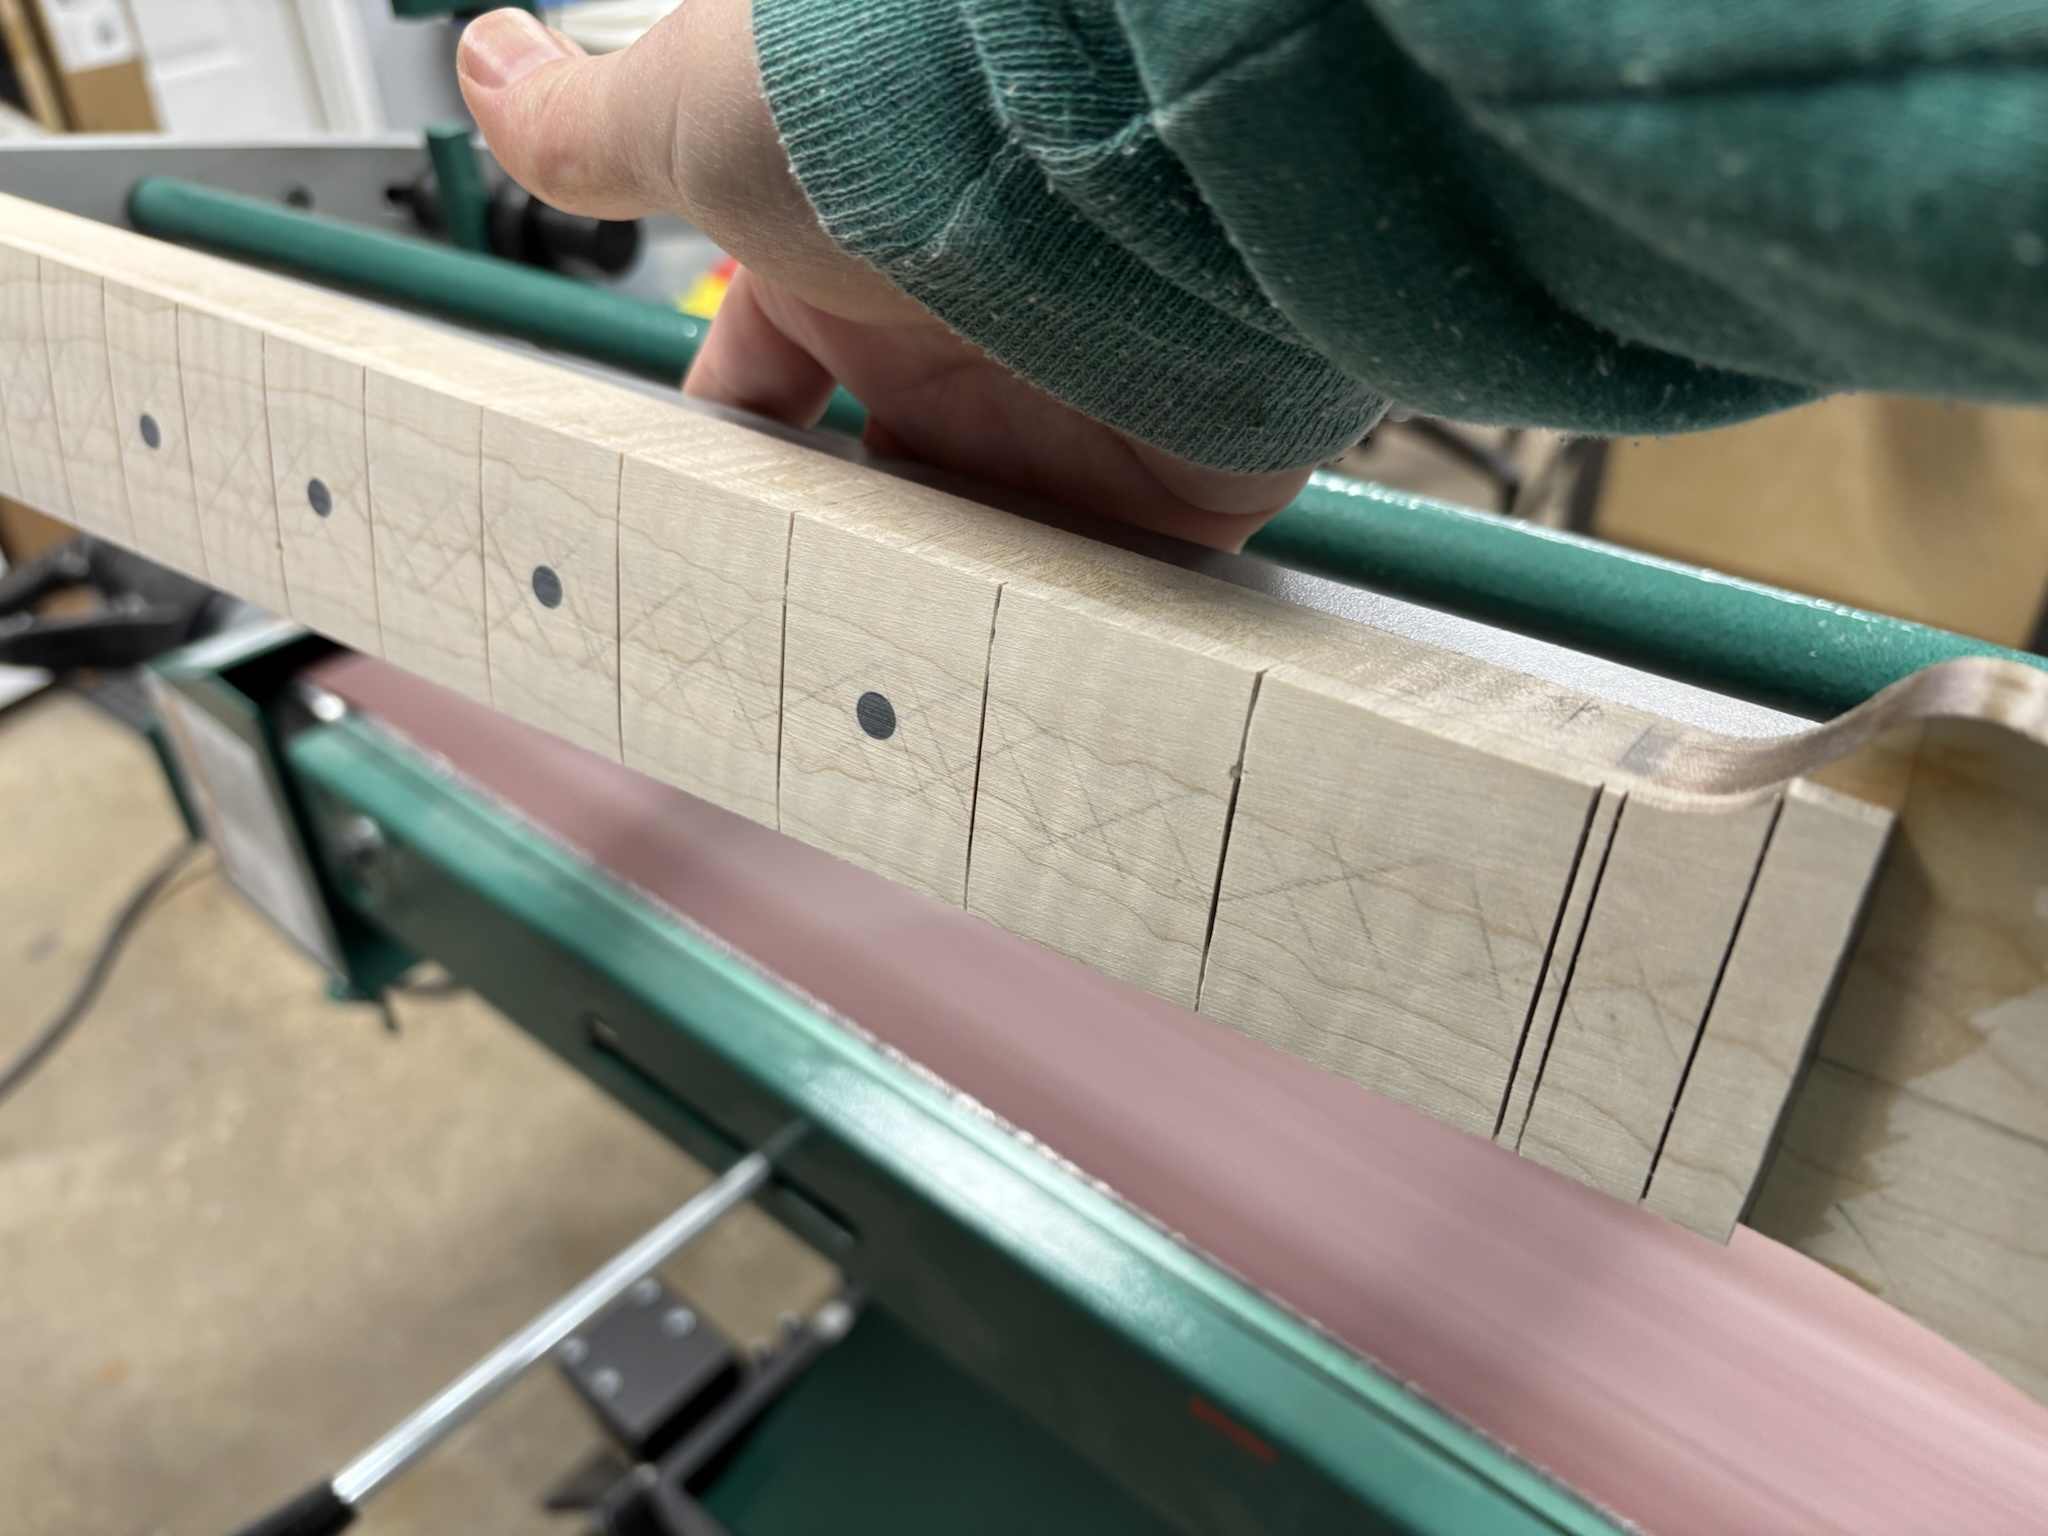
I mounted the neck assembly on the fretboard radius jig and sanded a 9.5" radius. Partway through the process in this photo.
VPZqtLX.jpg


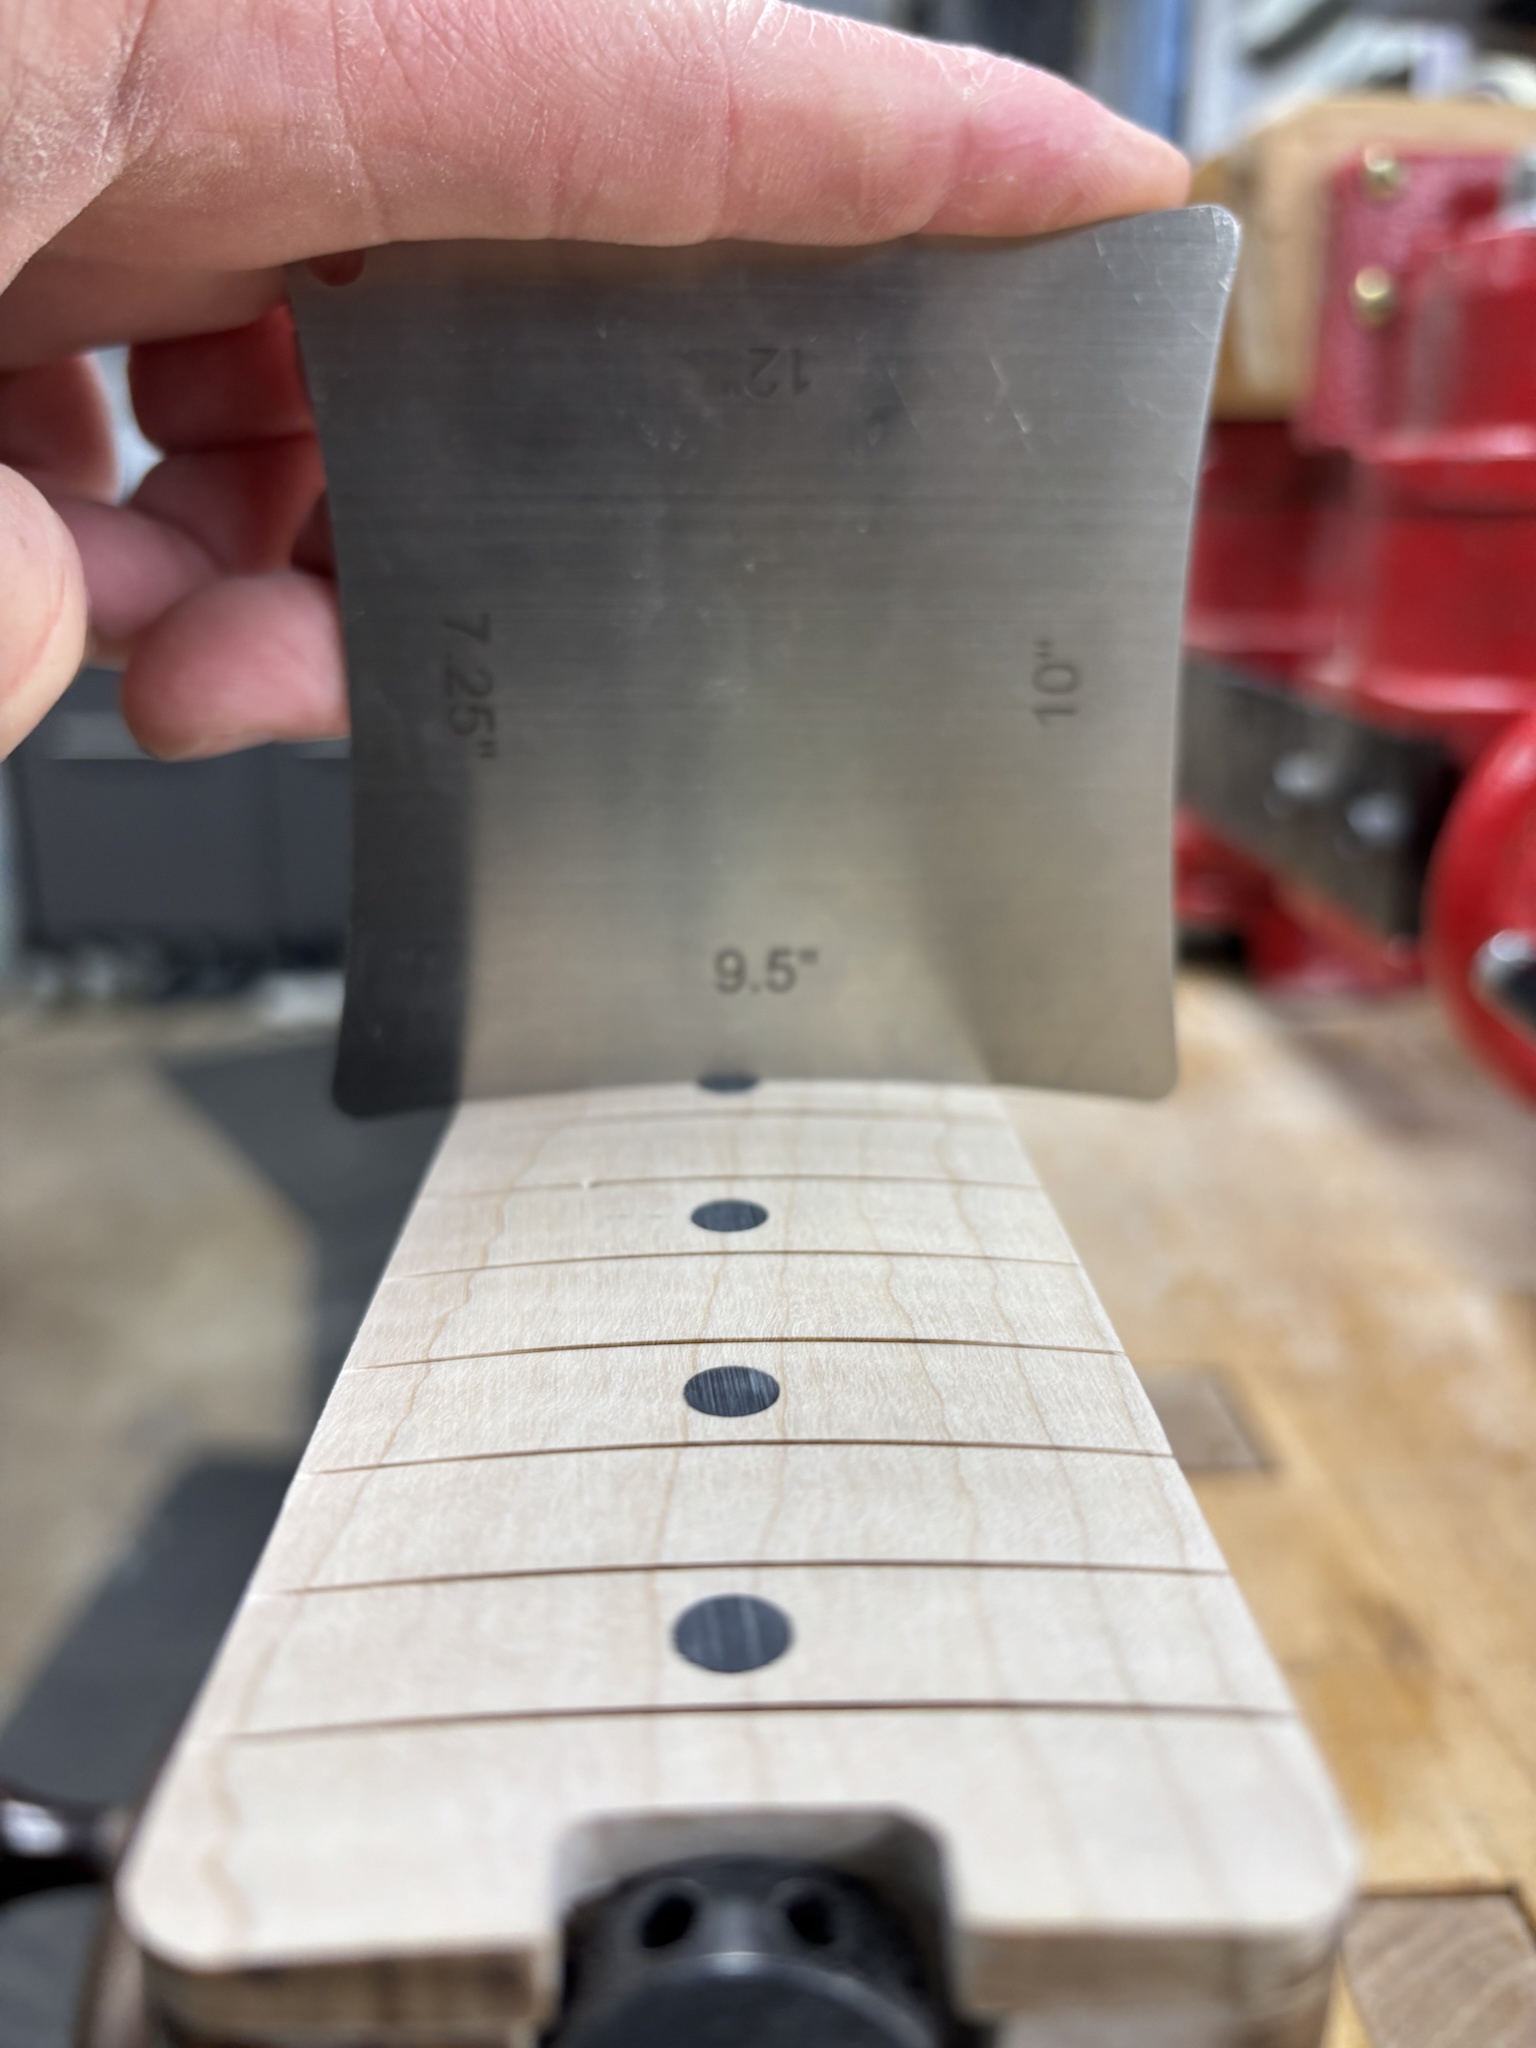
And here it is after radius sanding.
KeZynqr.jpg


More soon. :)
 
This build has been progressing slowly in the background. I'll make a few quick posts to get it caught up to the present state. I'm trying desperately to get this build and the P/J build for my other friend finished by the end of September. These have dragged on too long!

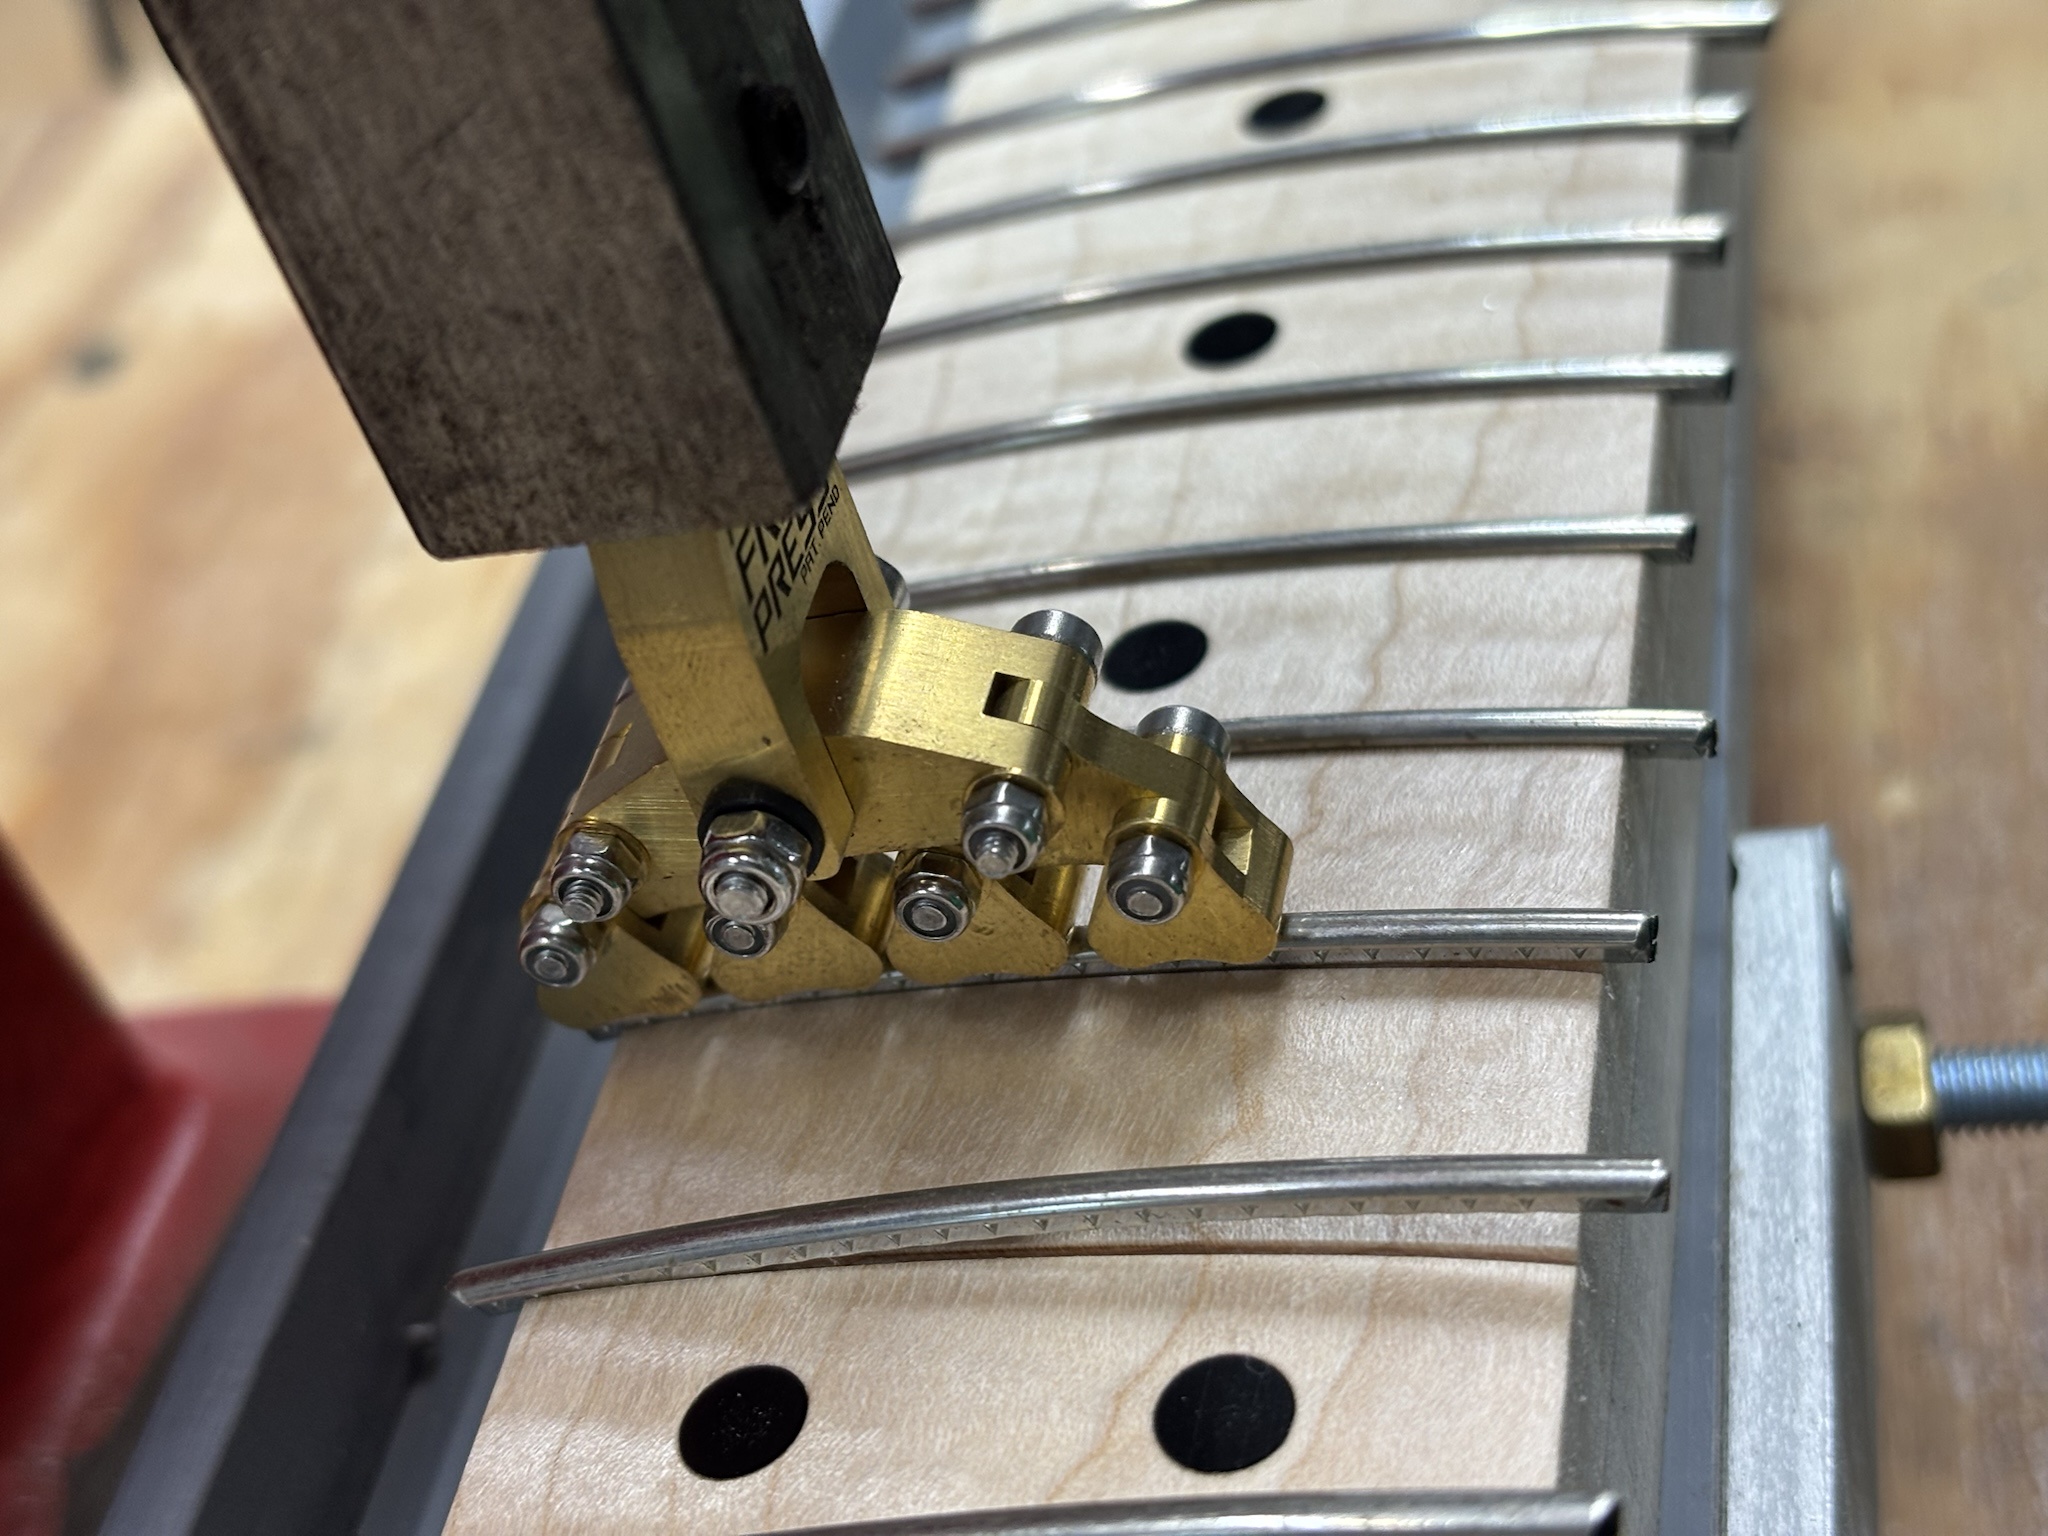
Installed nickel silver frets with the fractal fret press that I bought forever ago... works pretty good. I like that you can add good additional pressure to the ends of the frets.
UxSTg7e.jpg


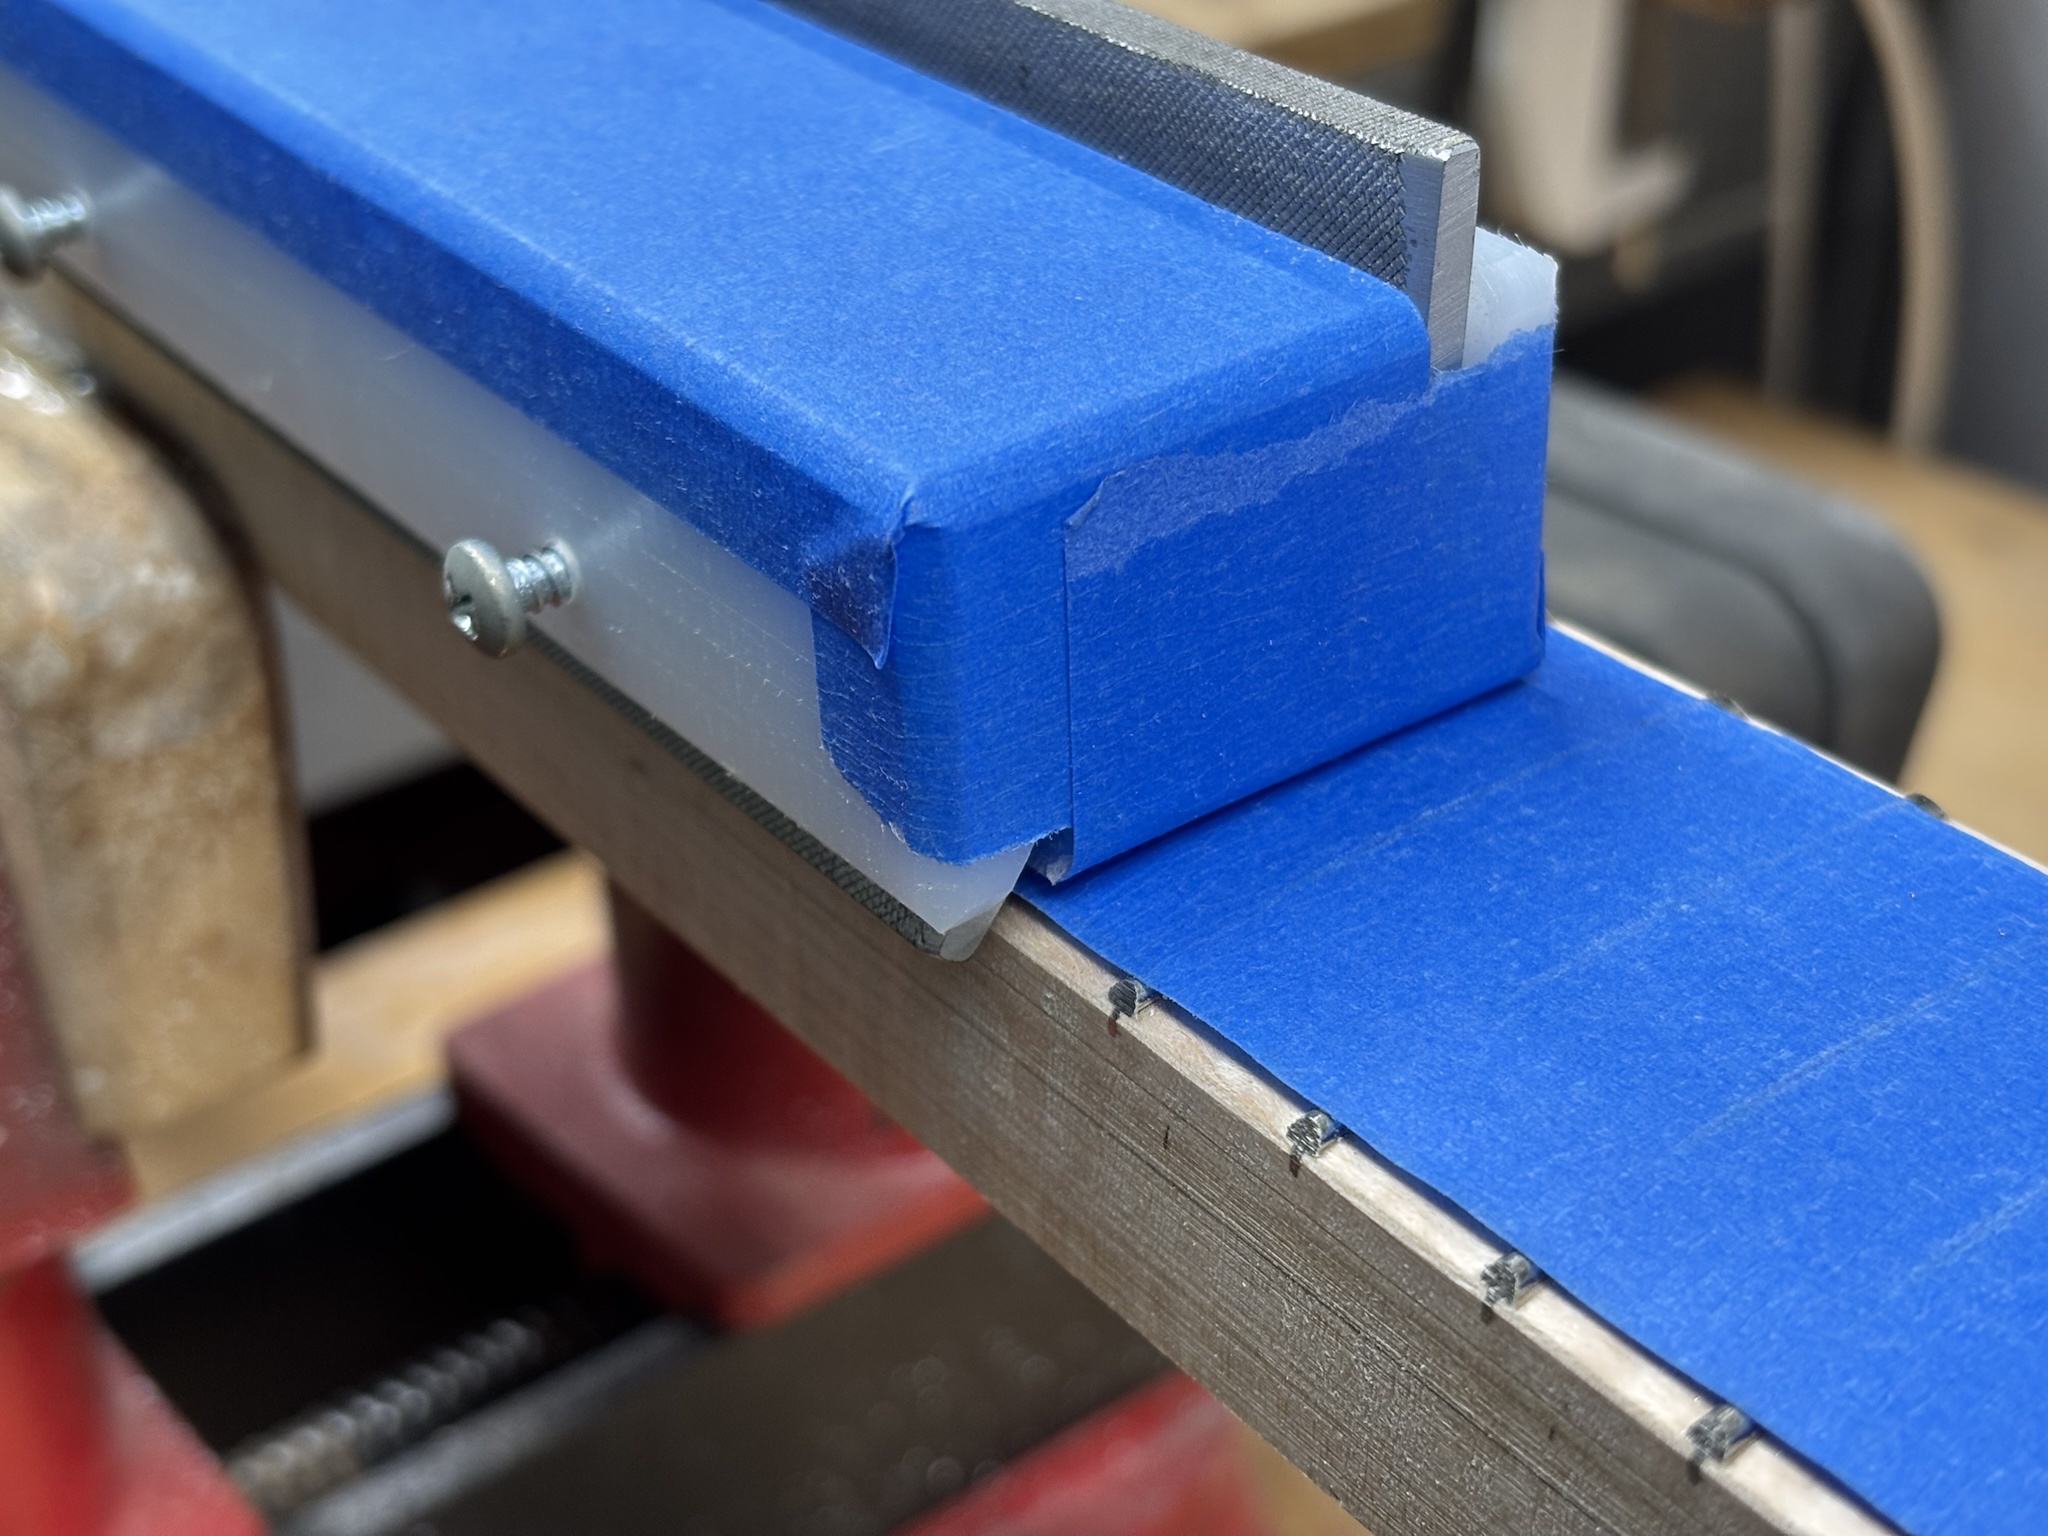
Beveling the fret ends. Judicious use of tape to avoid scoring the frets with swarf.
VYAjldE.jpg


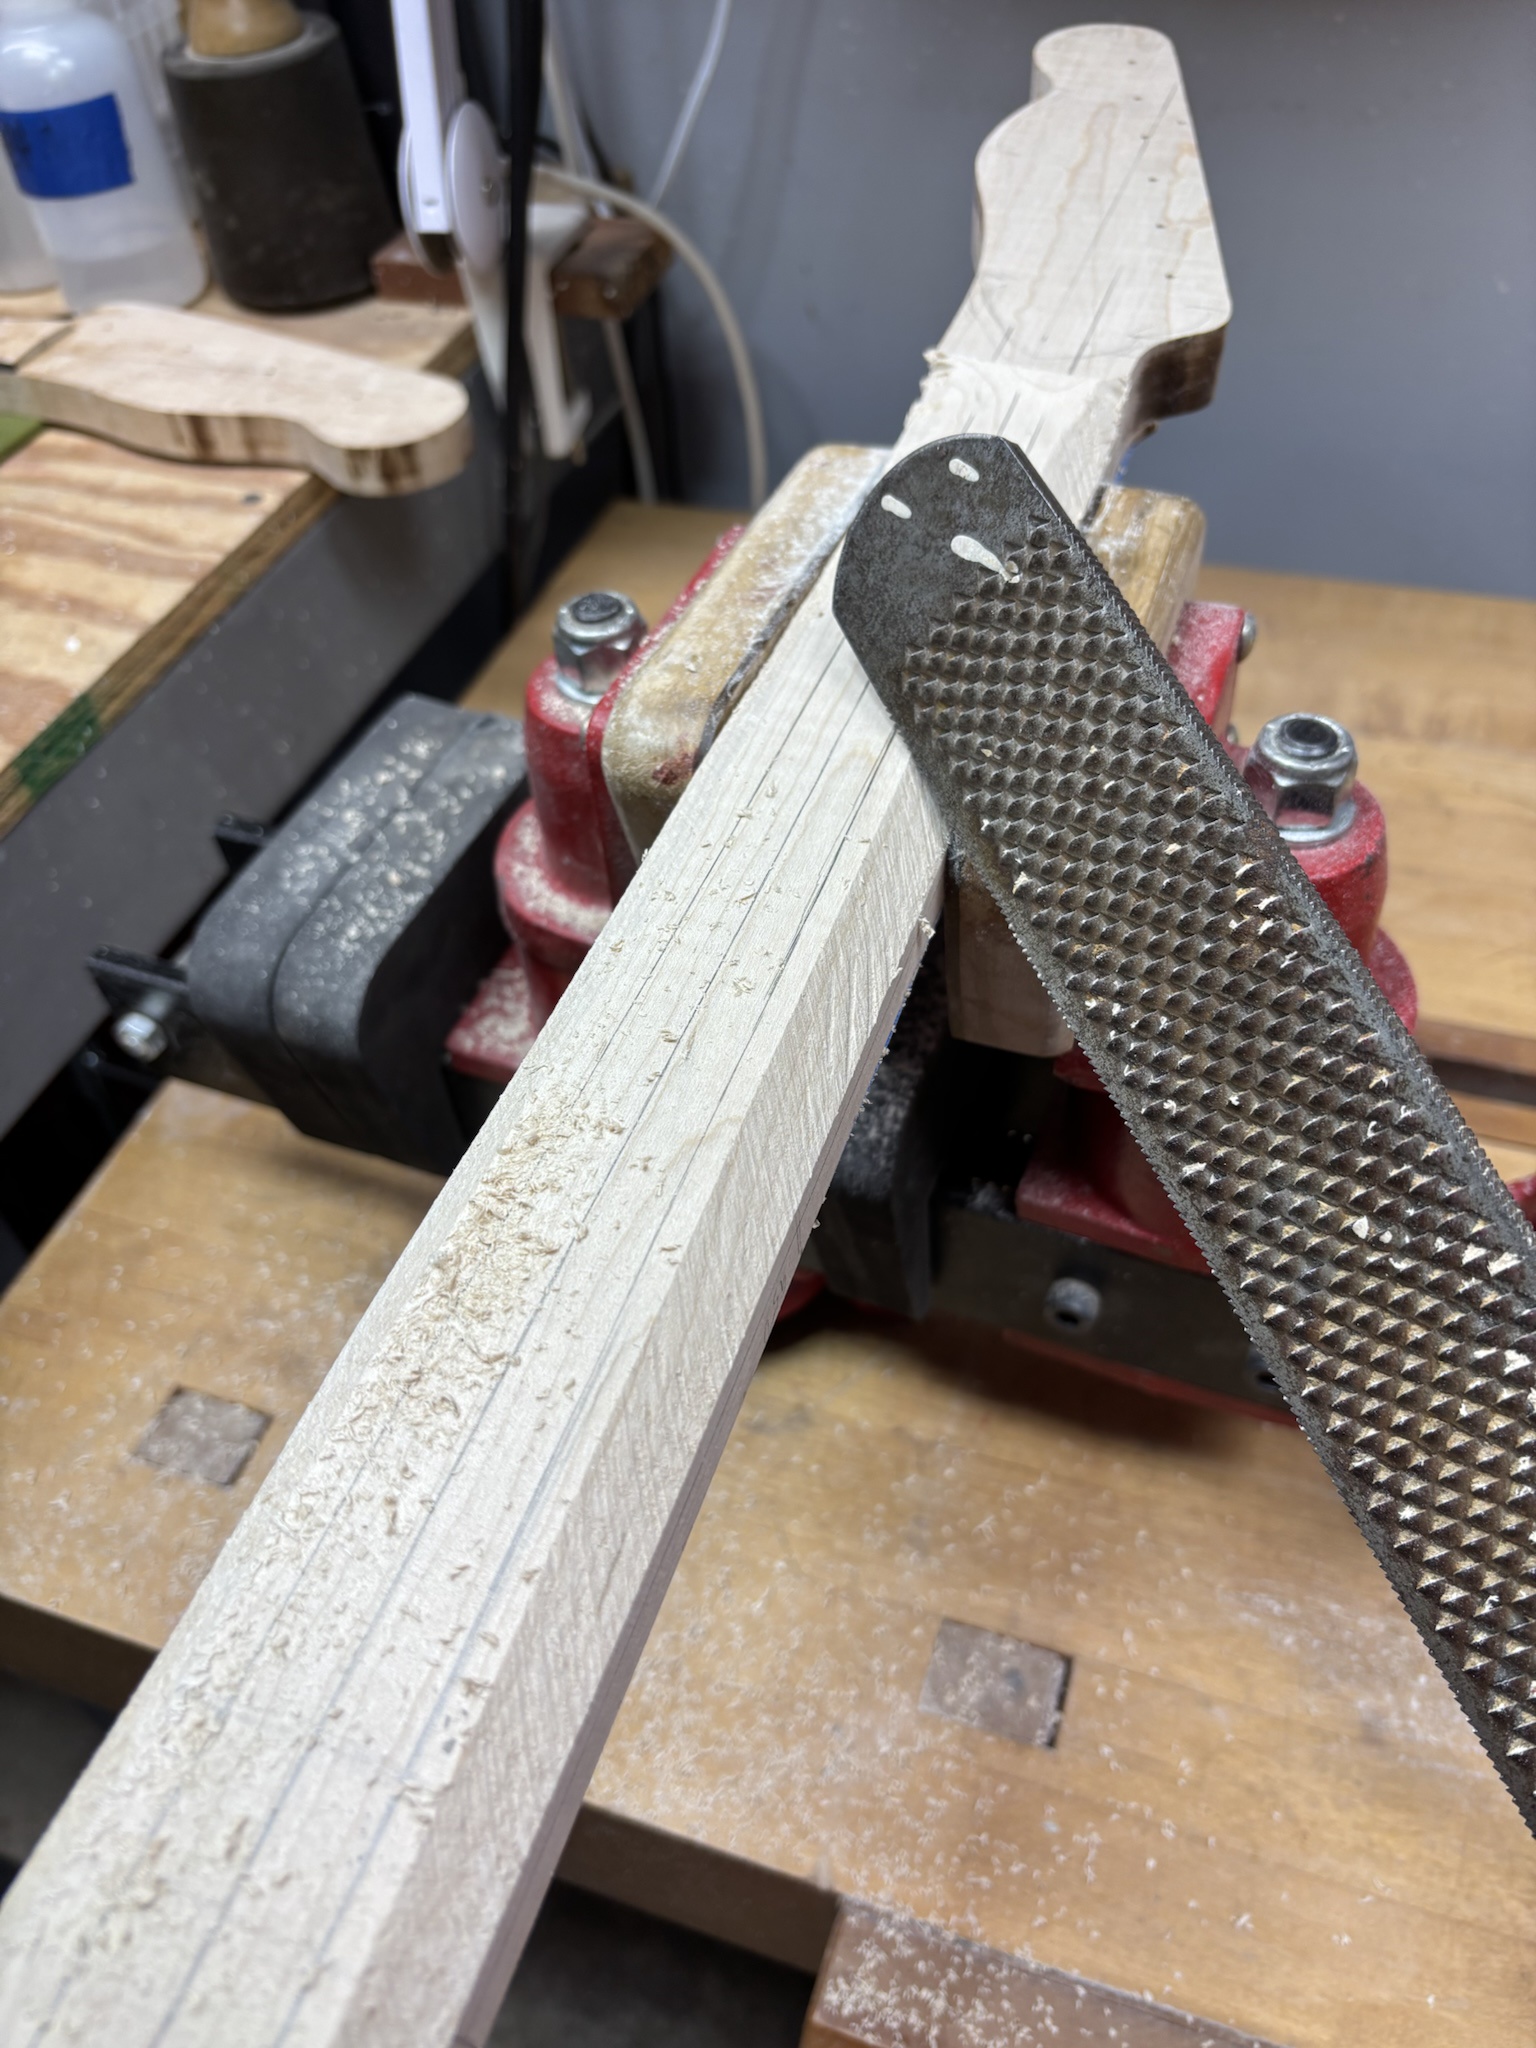
Neck was marked out for a slim C profile and began knocking out the initial facets with a farrier's rasp.
KFrV9Vl.jpg


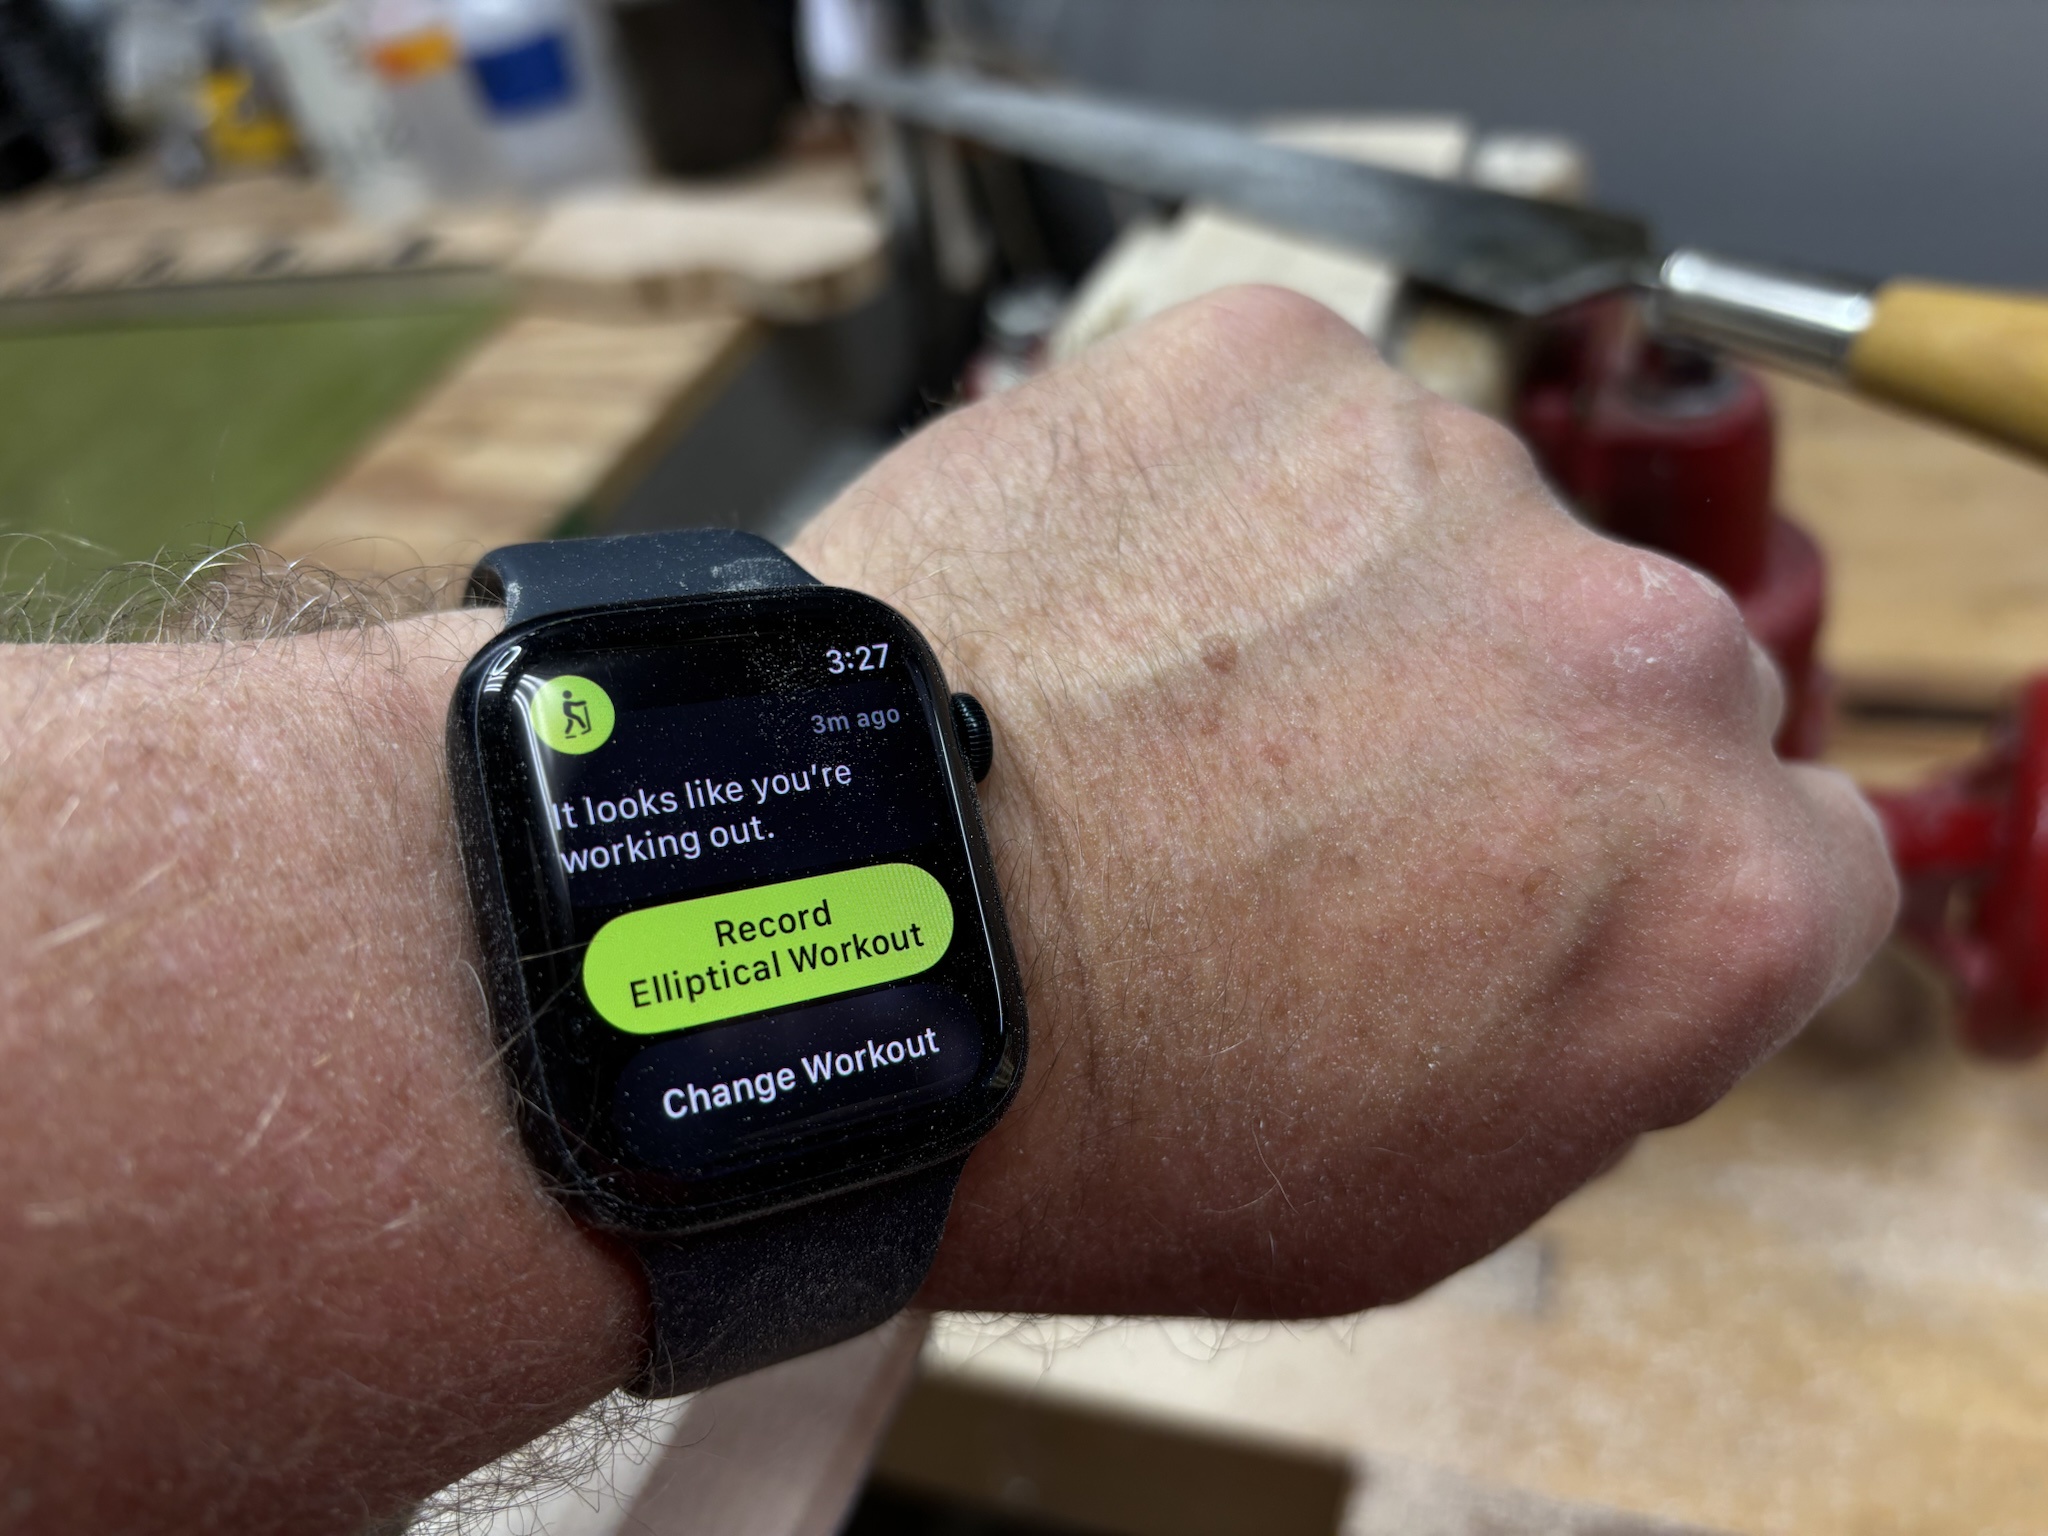
Whoa! Calm down now. :D
bWgrMjq.jpg


Side markers were drilled and installed. Aluminum tube with black ABS infill.
SFbIB6v.jpg


Sanded flush. You can really see the continuous grain match of the fretboard and neck here. Rasp marks not sanded out yet. :D
CQrPpM8.jpg


Headstock transition was carved and ensmoothened.
gNmPbcL.jpg


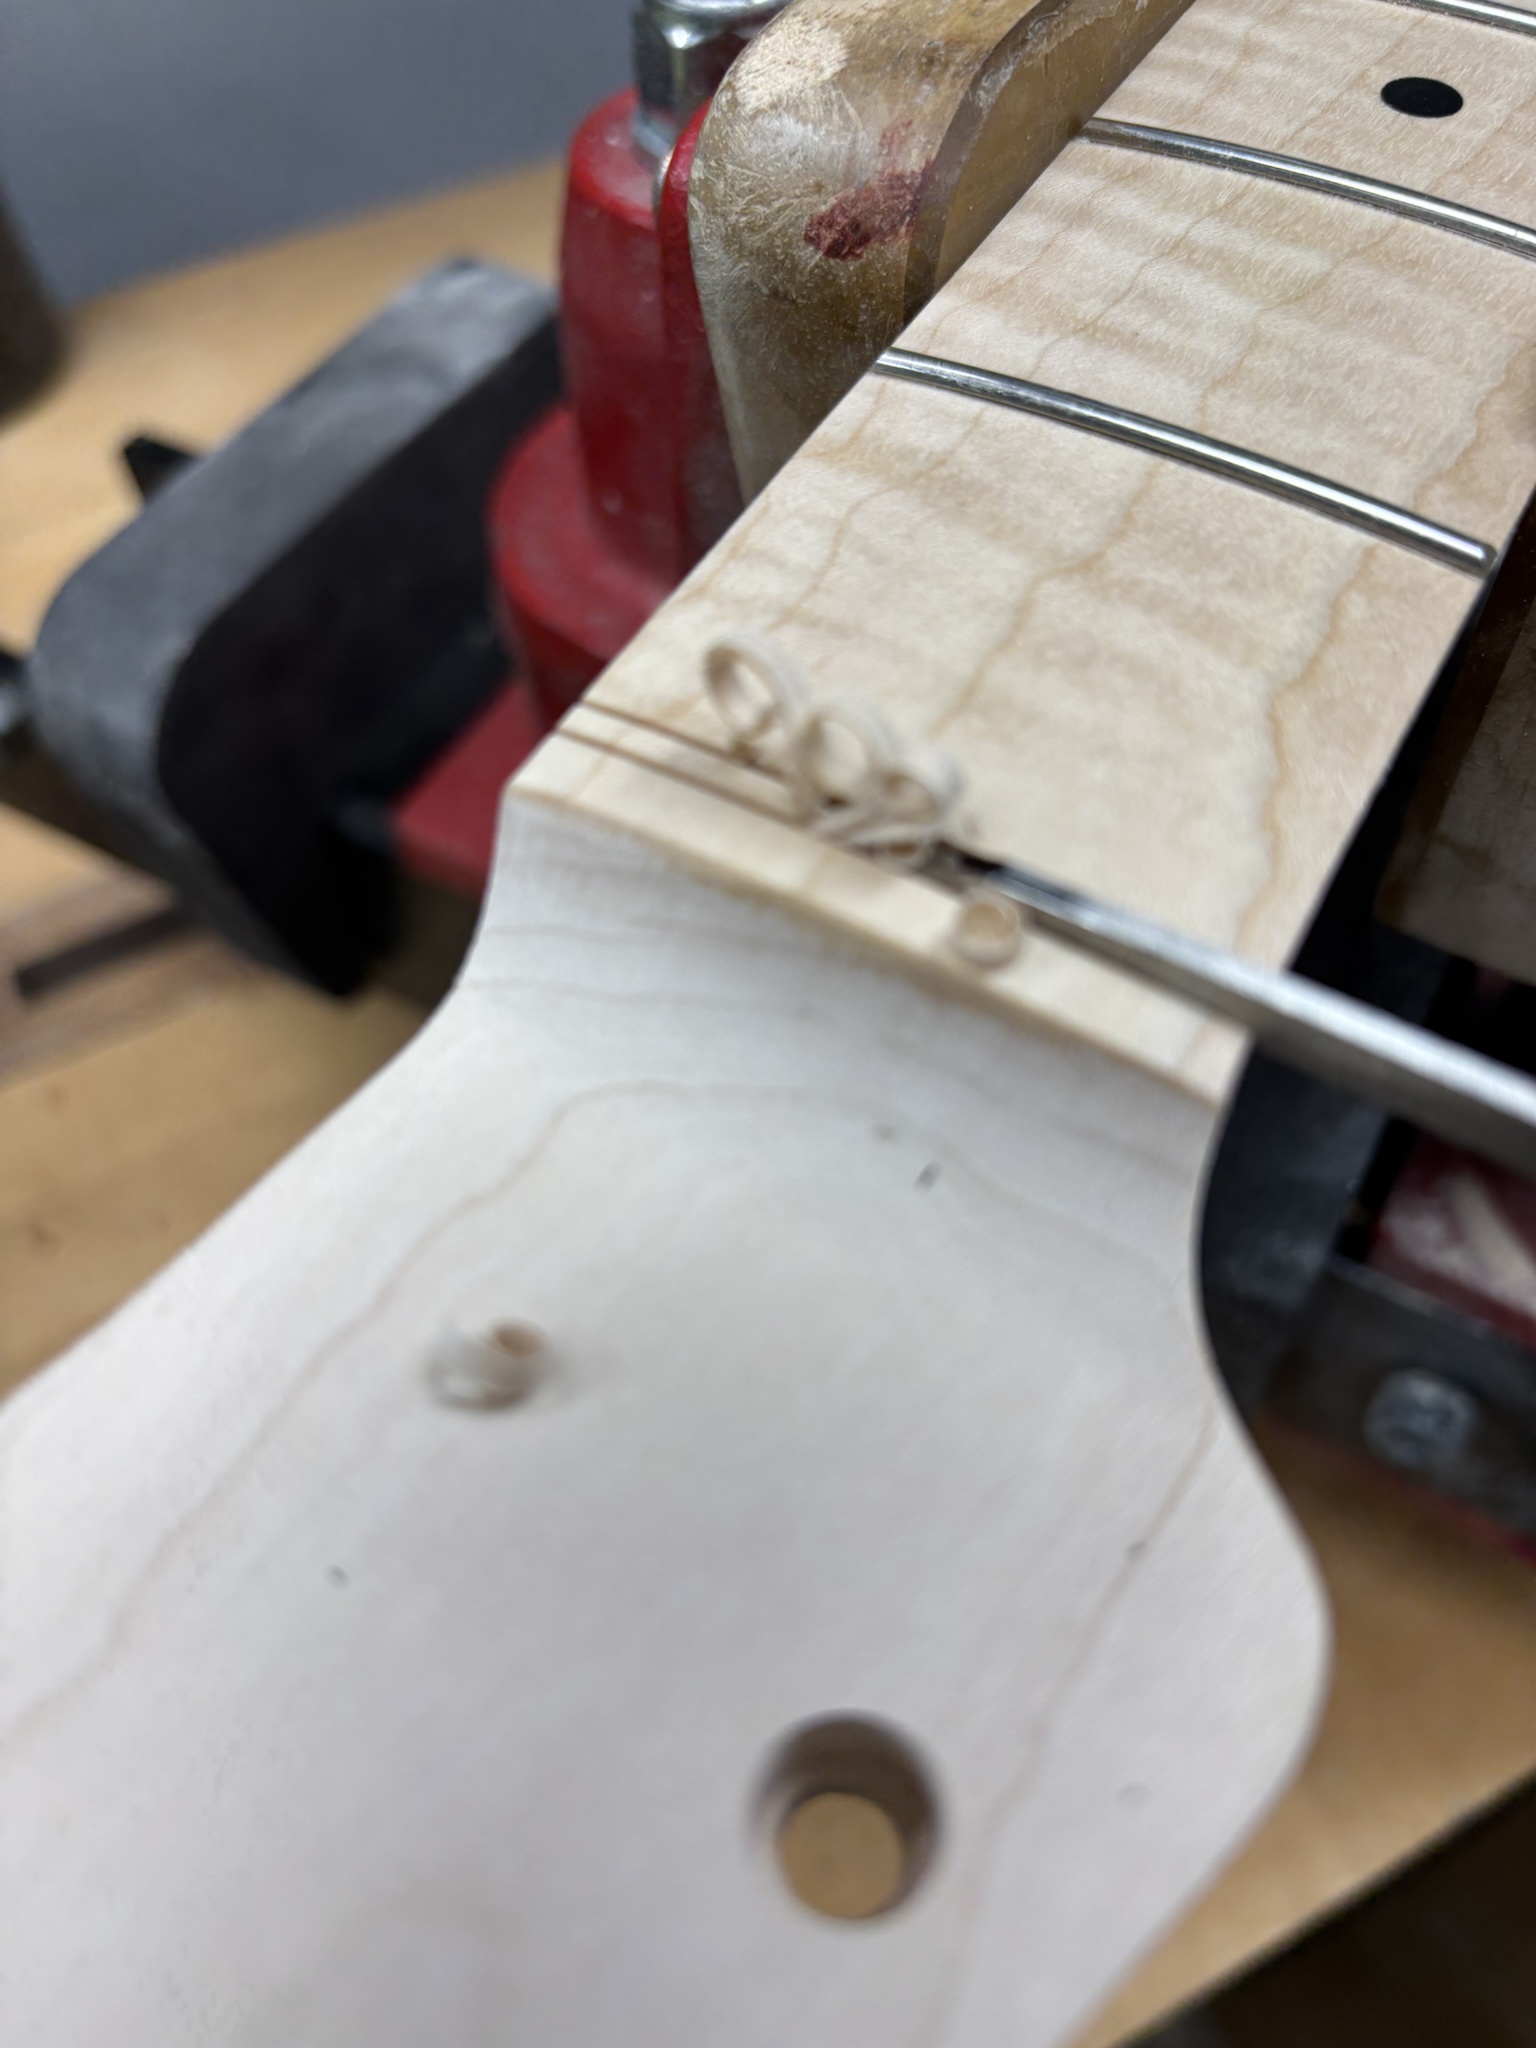
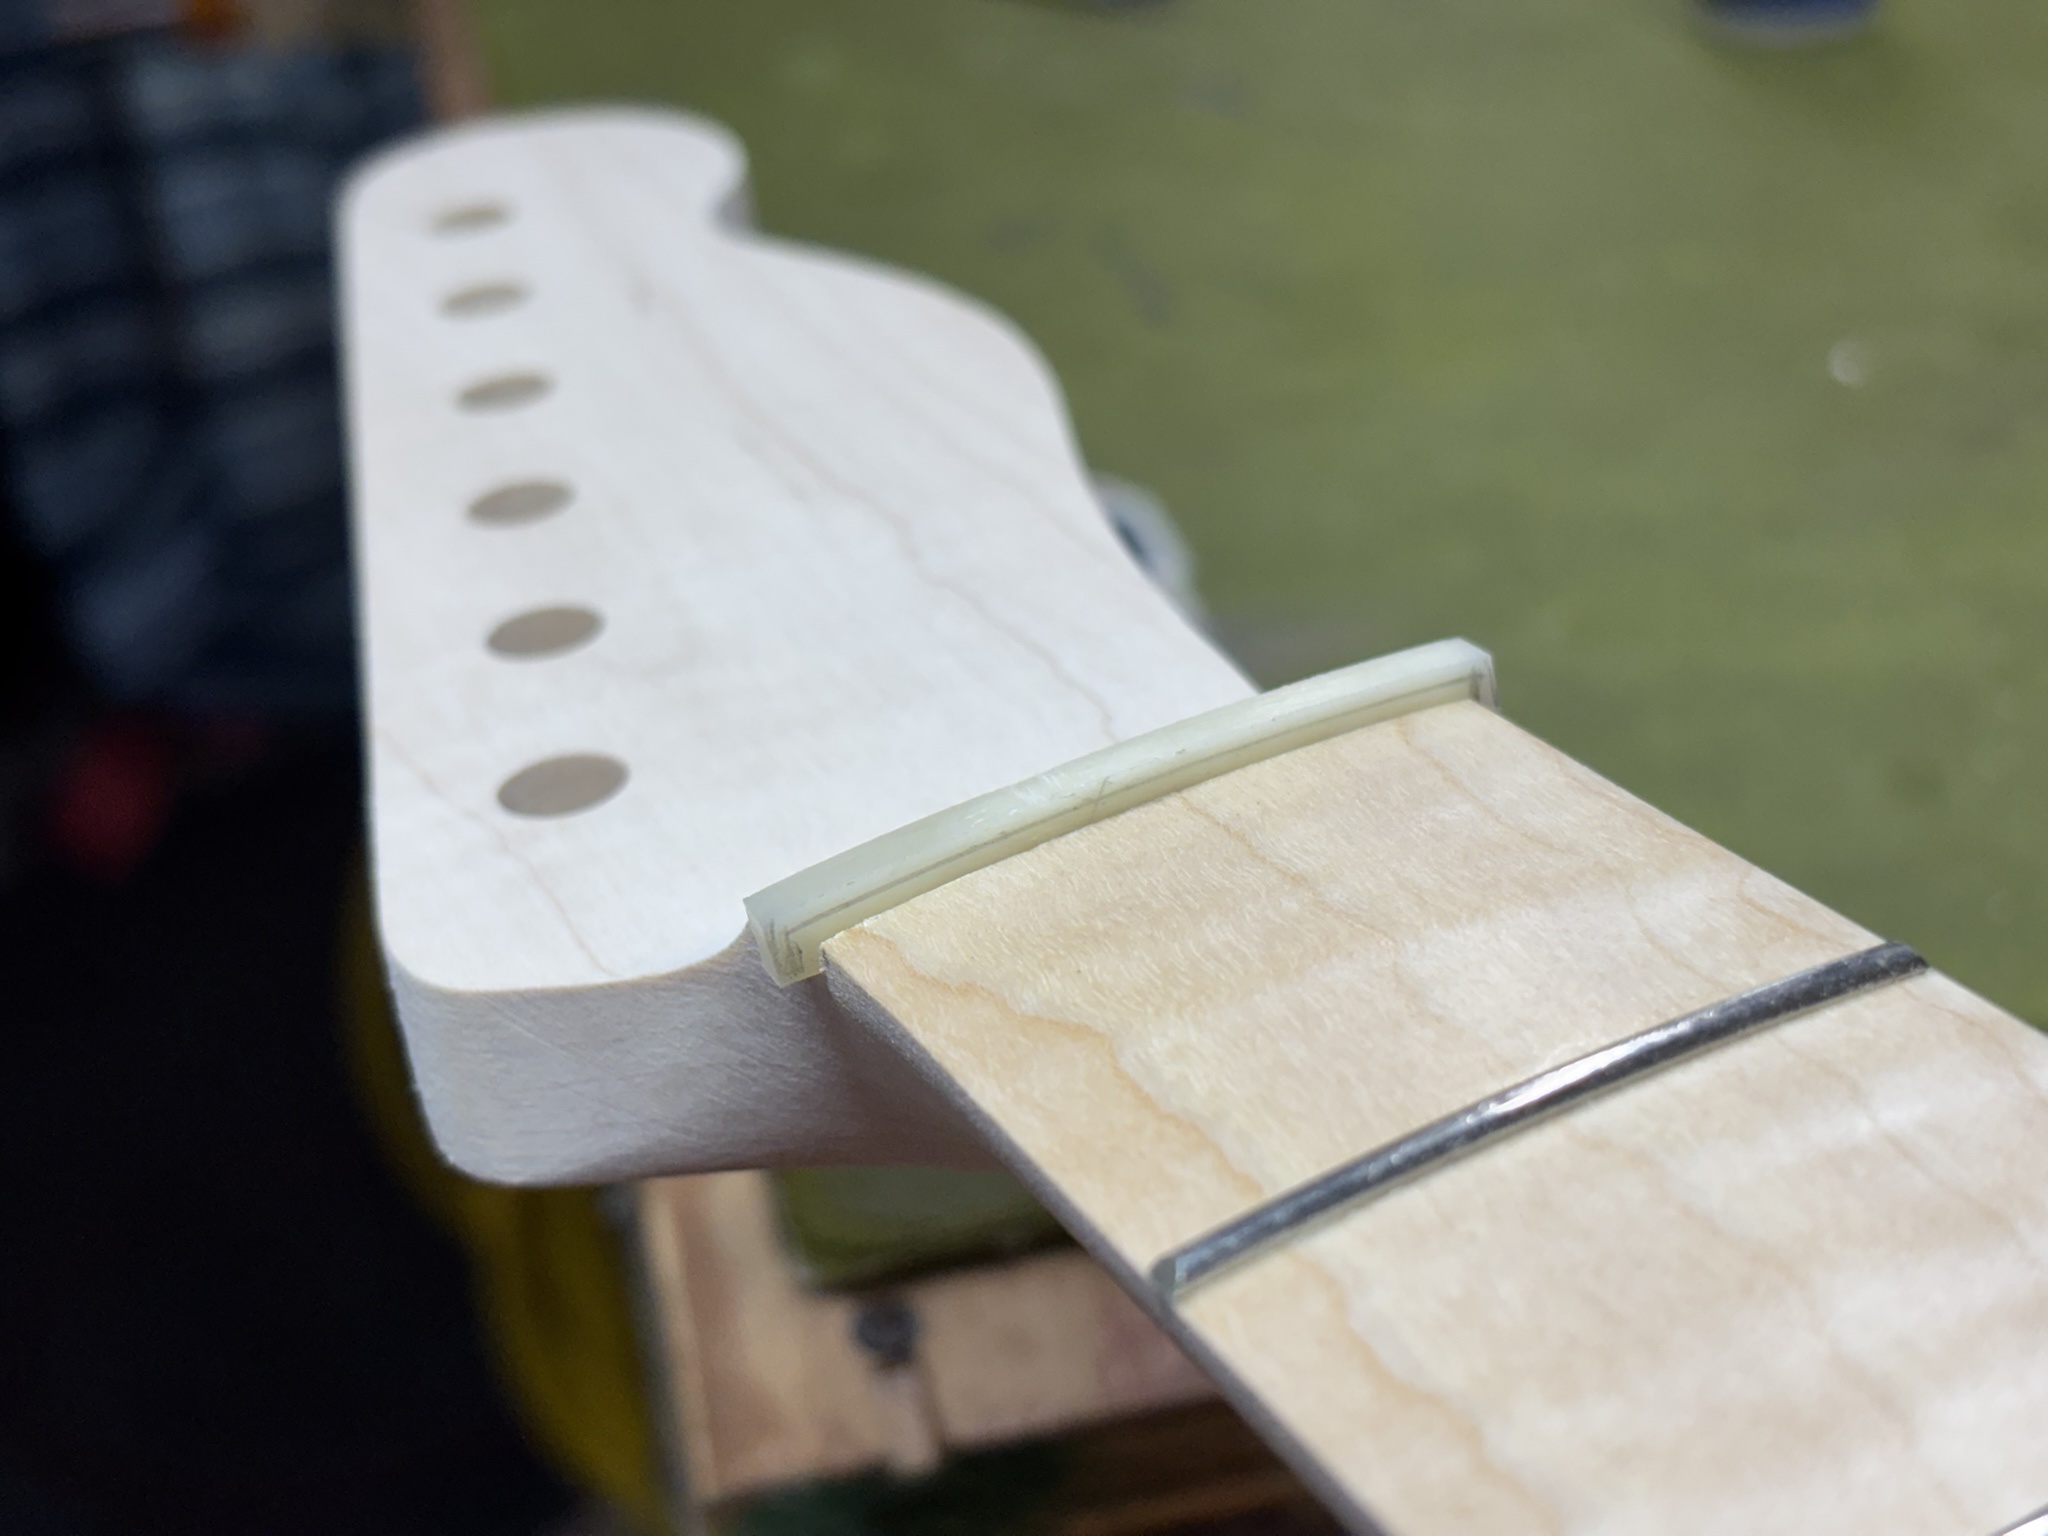
Blurry photo of clearing the nut slot waste with a small chisel.
5of1Cjg.jpg


Bone nut was sized for a snug fit and roughly cut down to size.
pdF1QEu.jpg


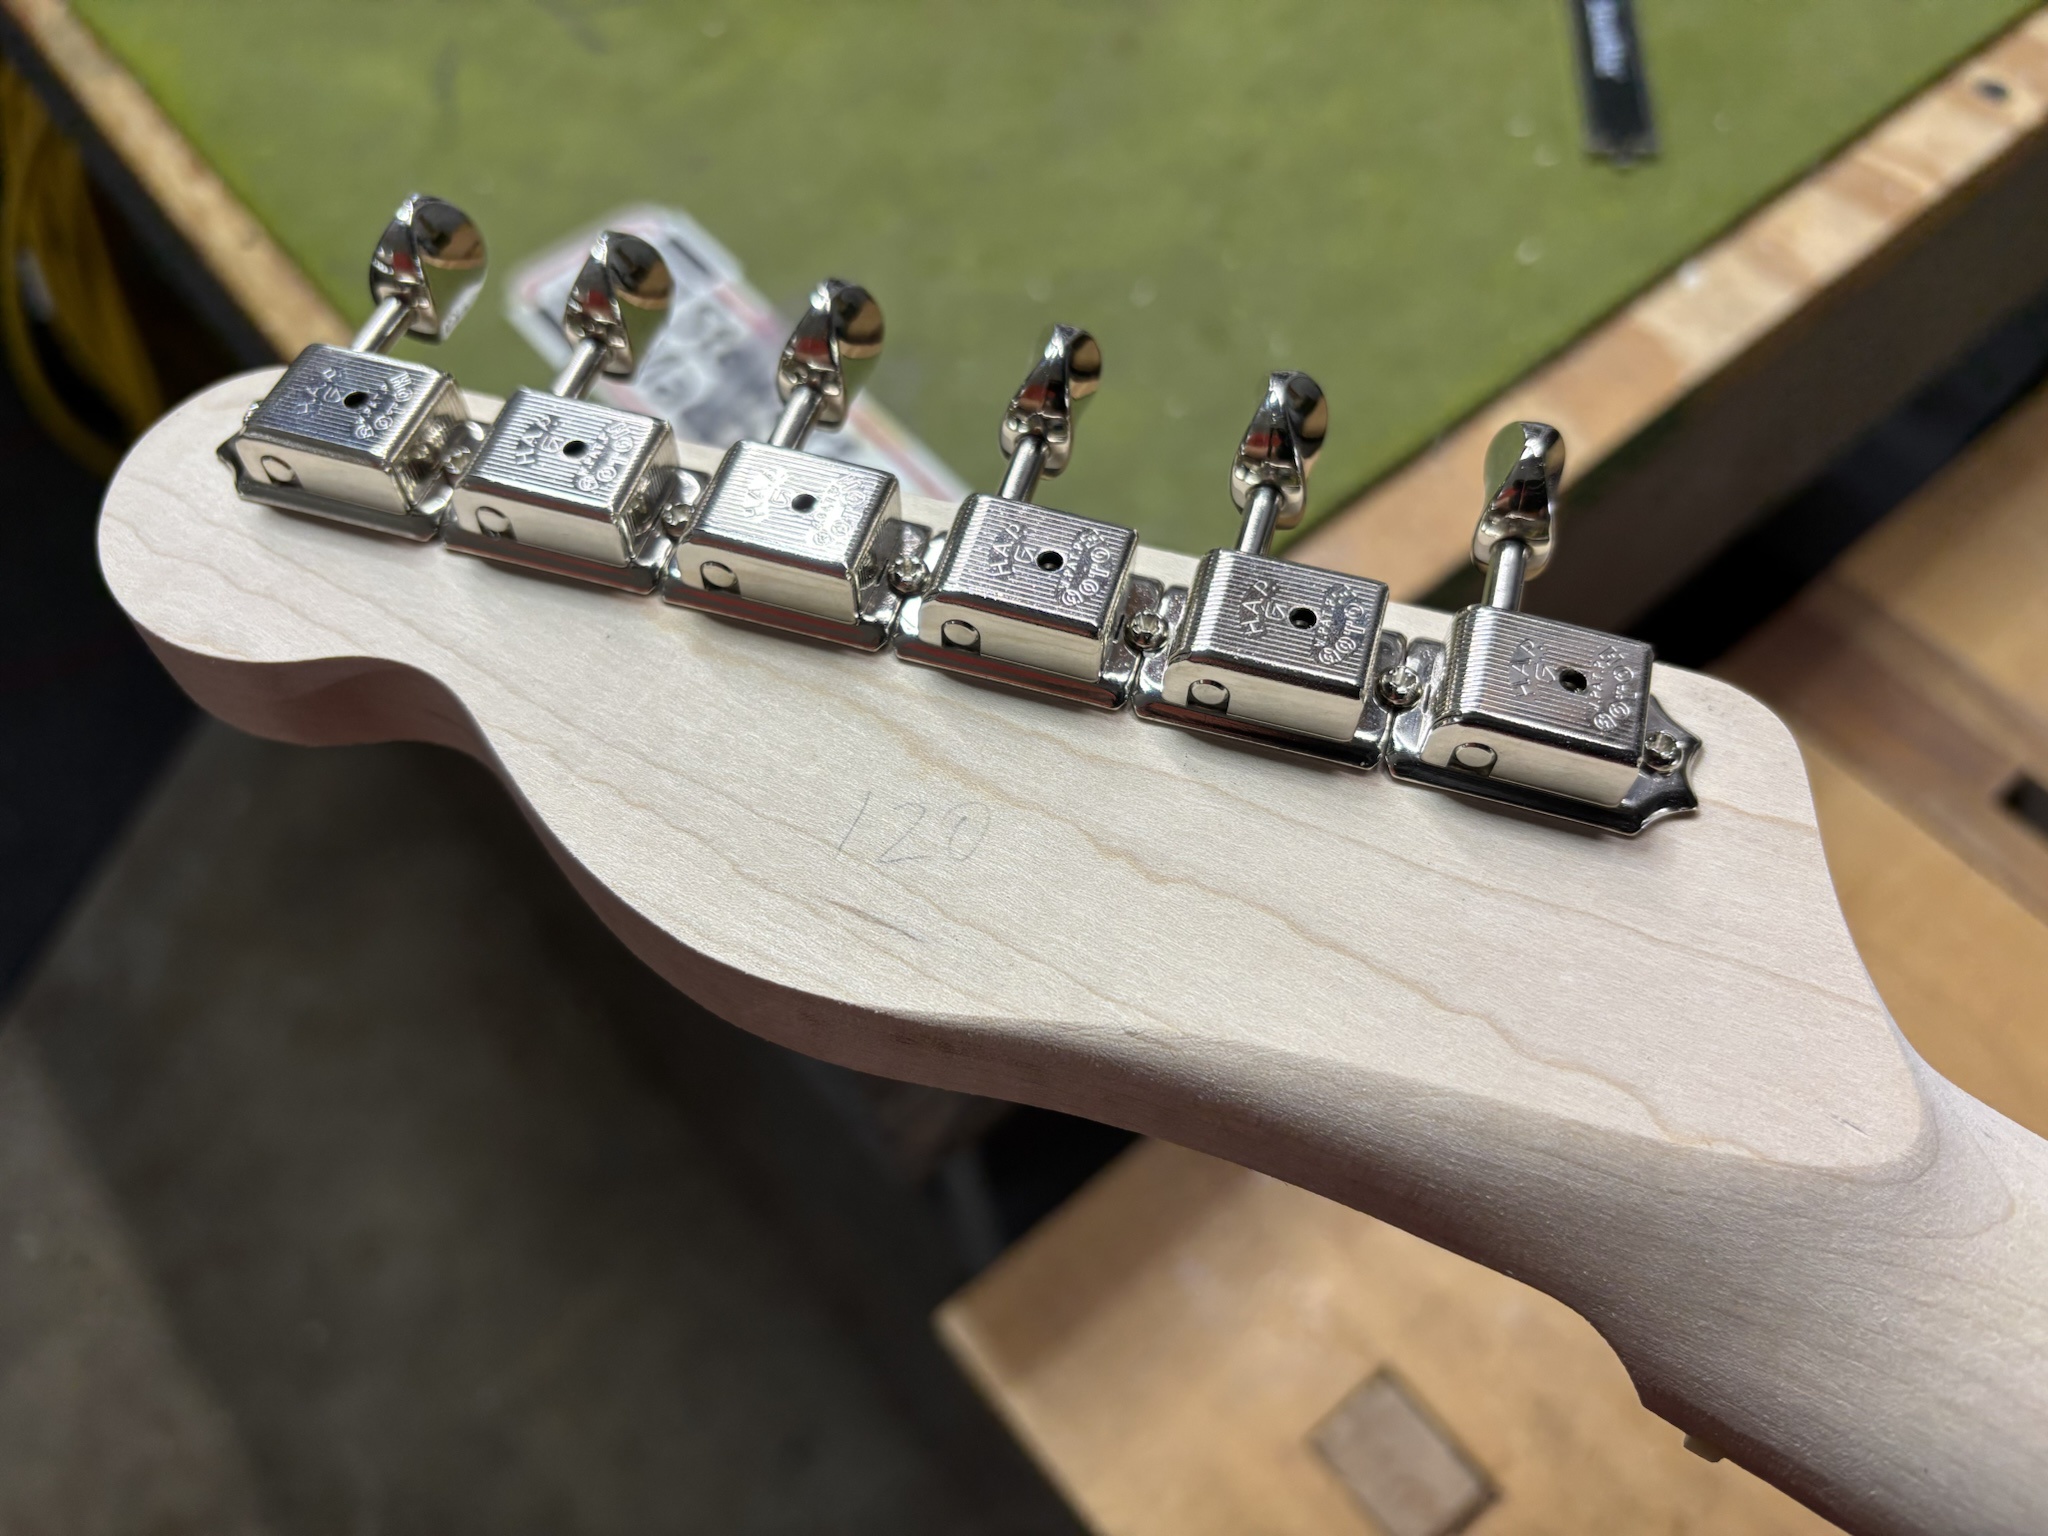
Tuners aligned and fitted.
ILoF4q8.jpg


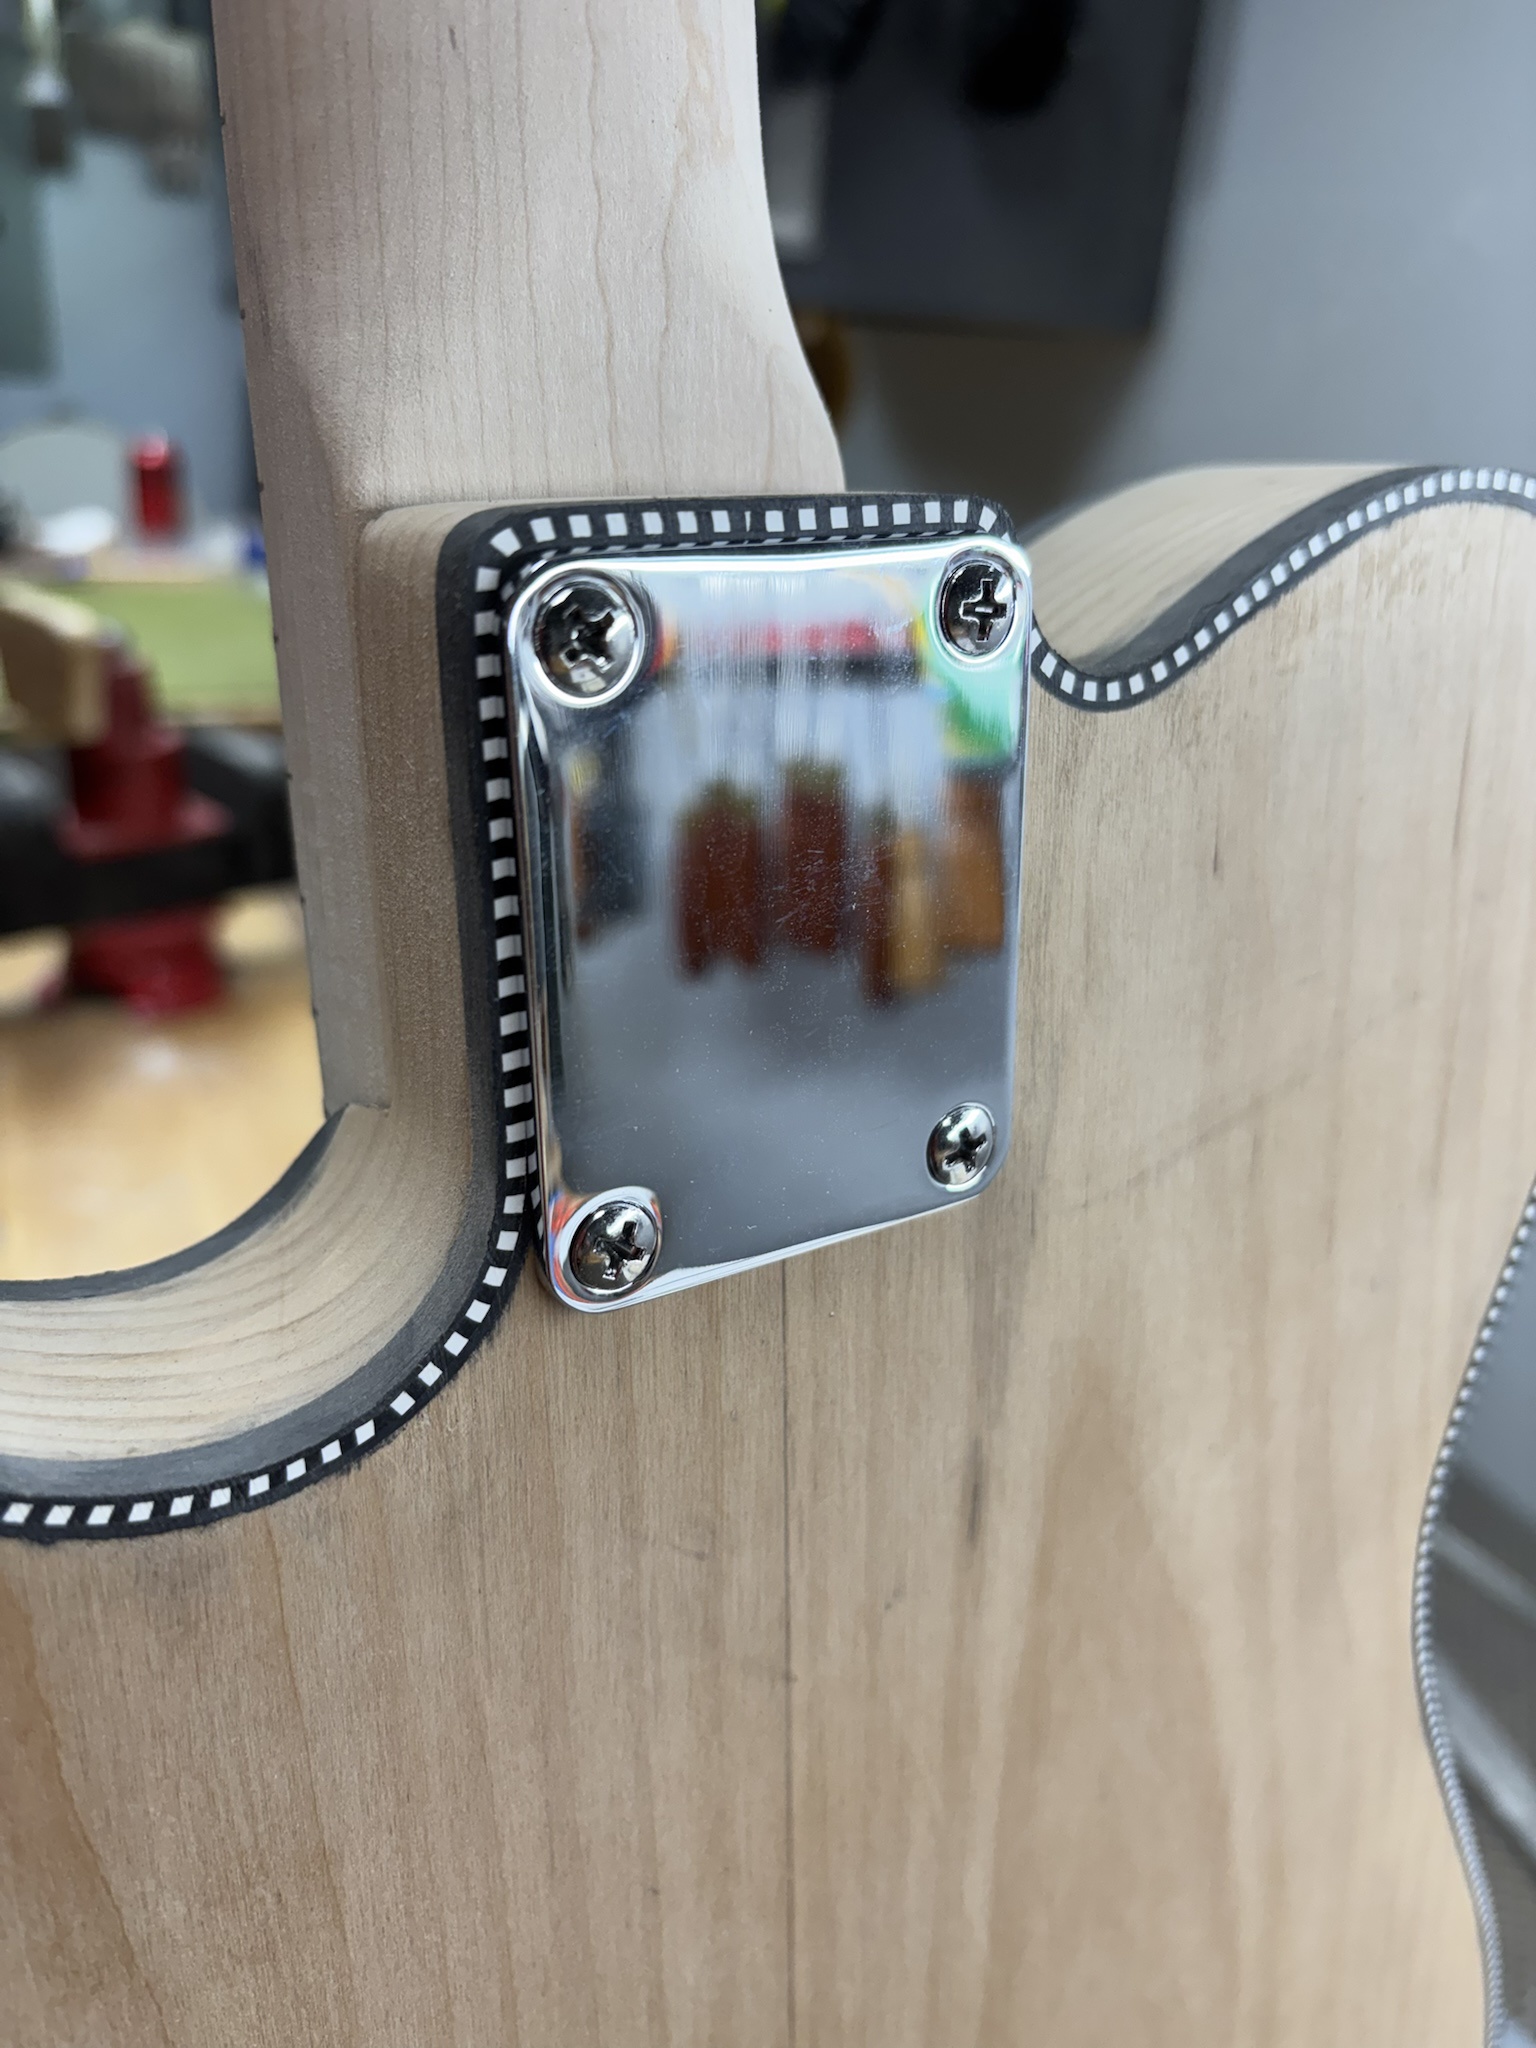
Always a good feeling to bolt the neck to the body for the first time. :thumbsup:
svMJcH9.jpg


Up next, bridge installation. :)
 
Build a bridge out of 'er! :smug:

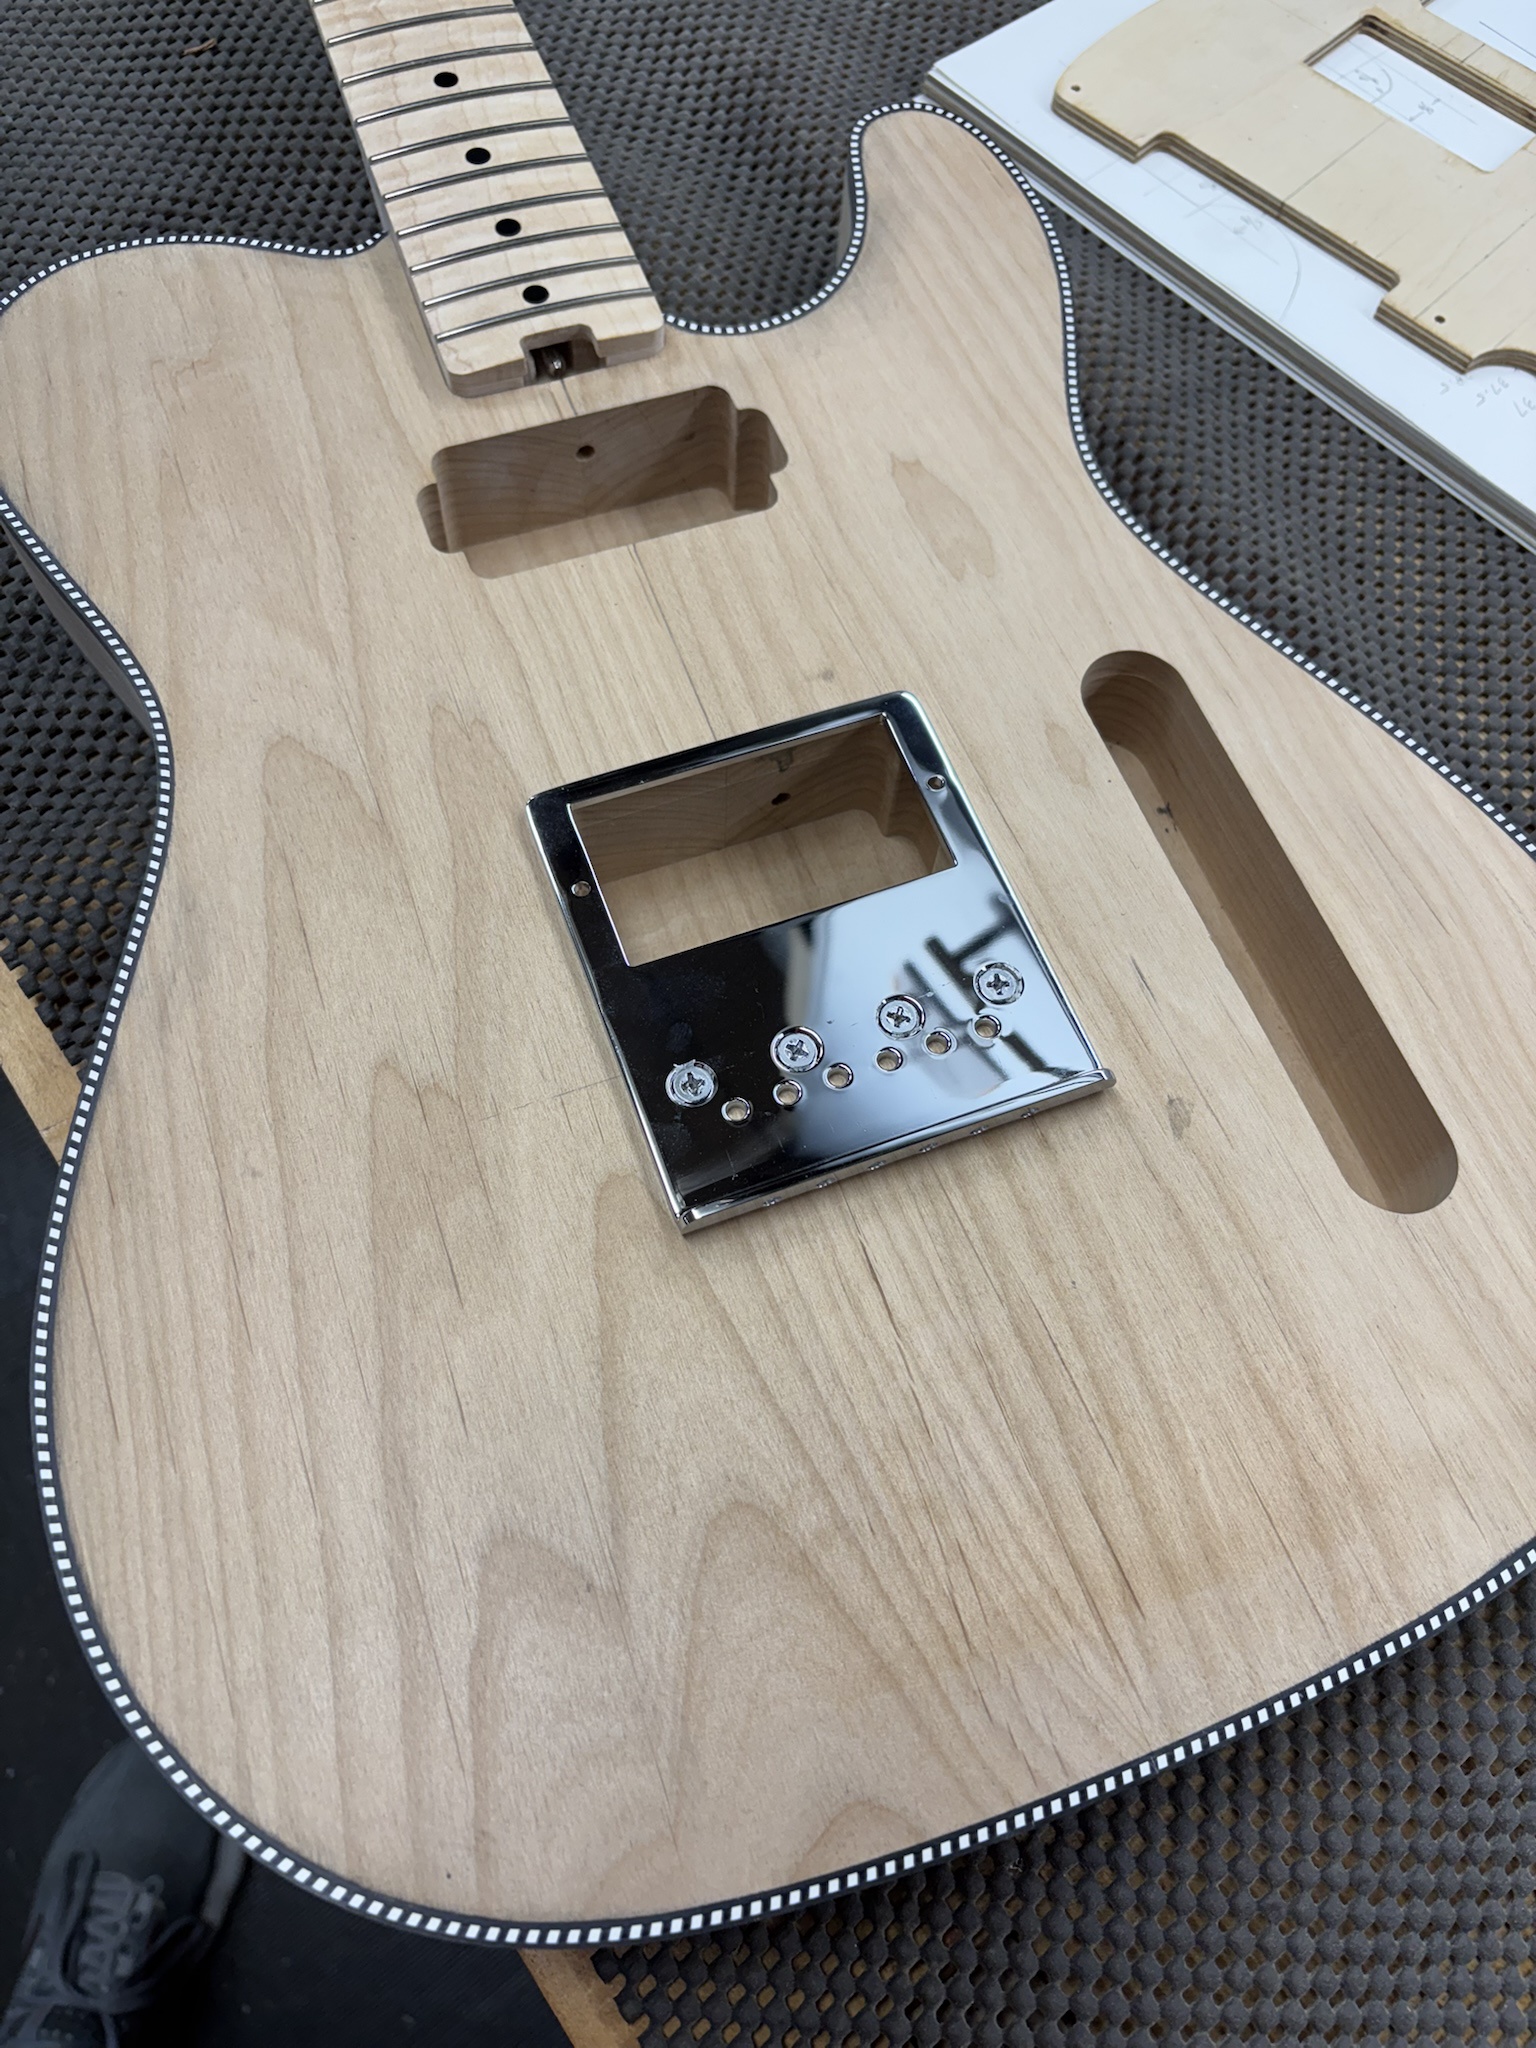
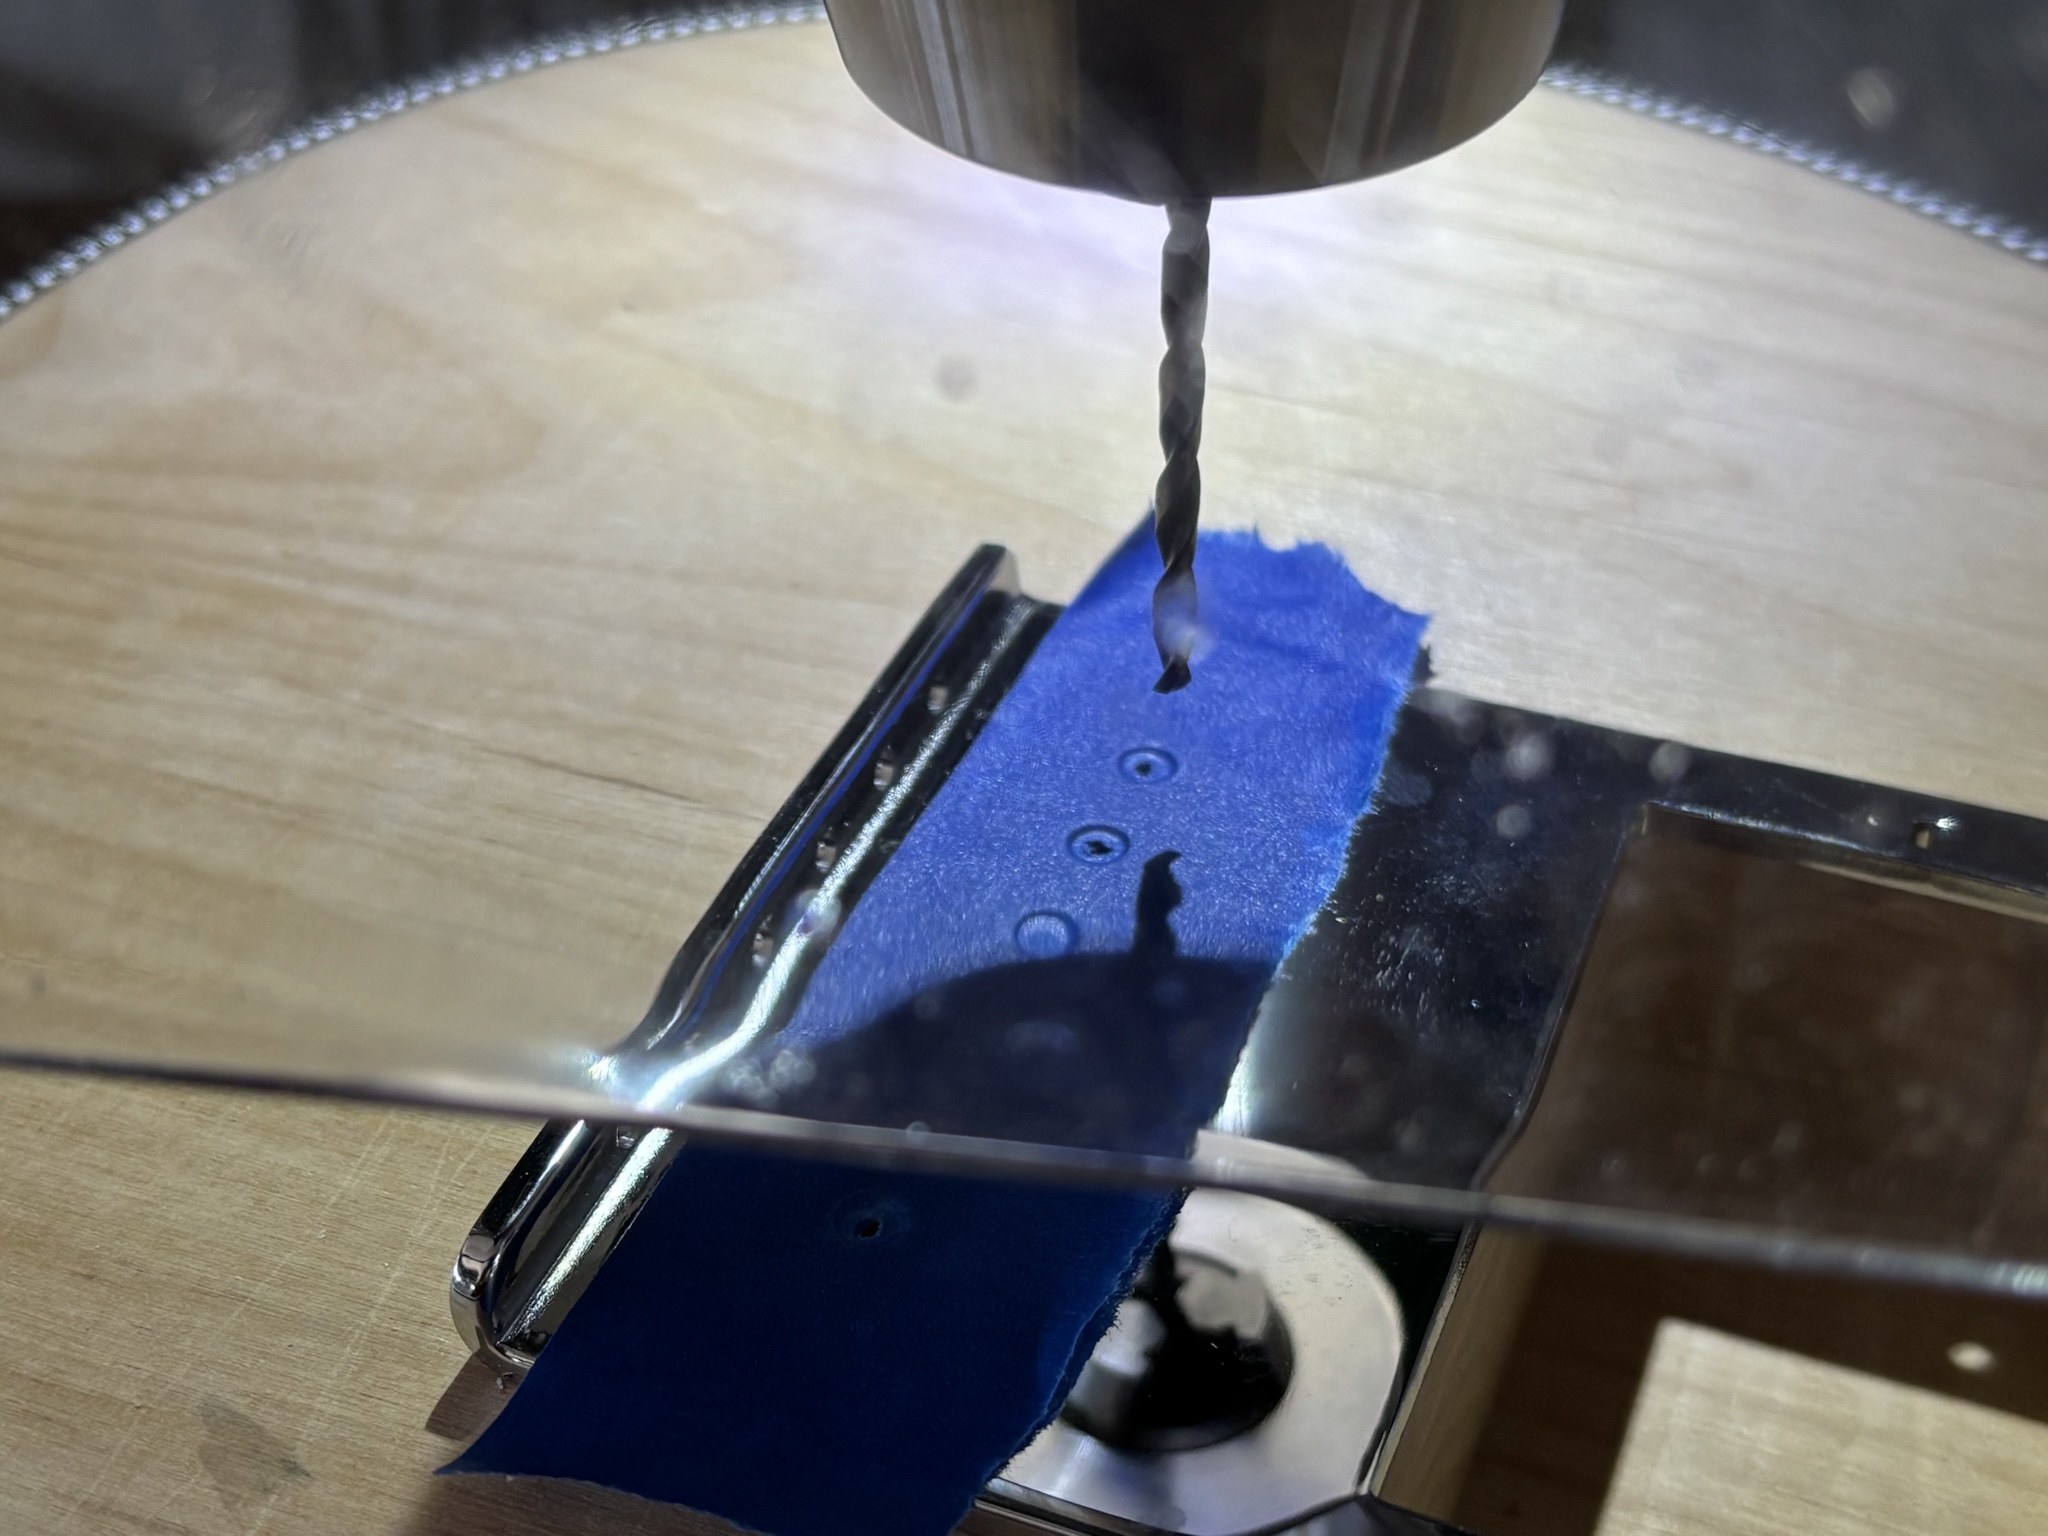
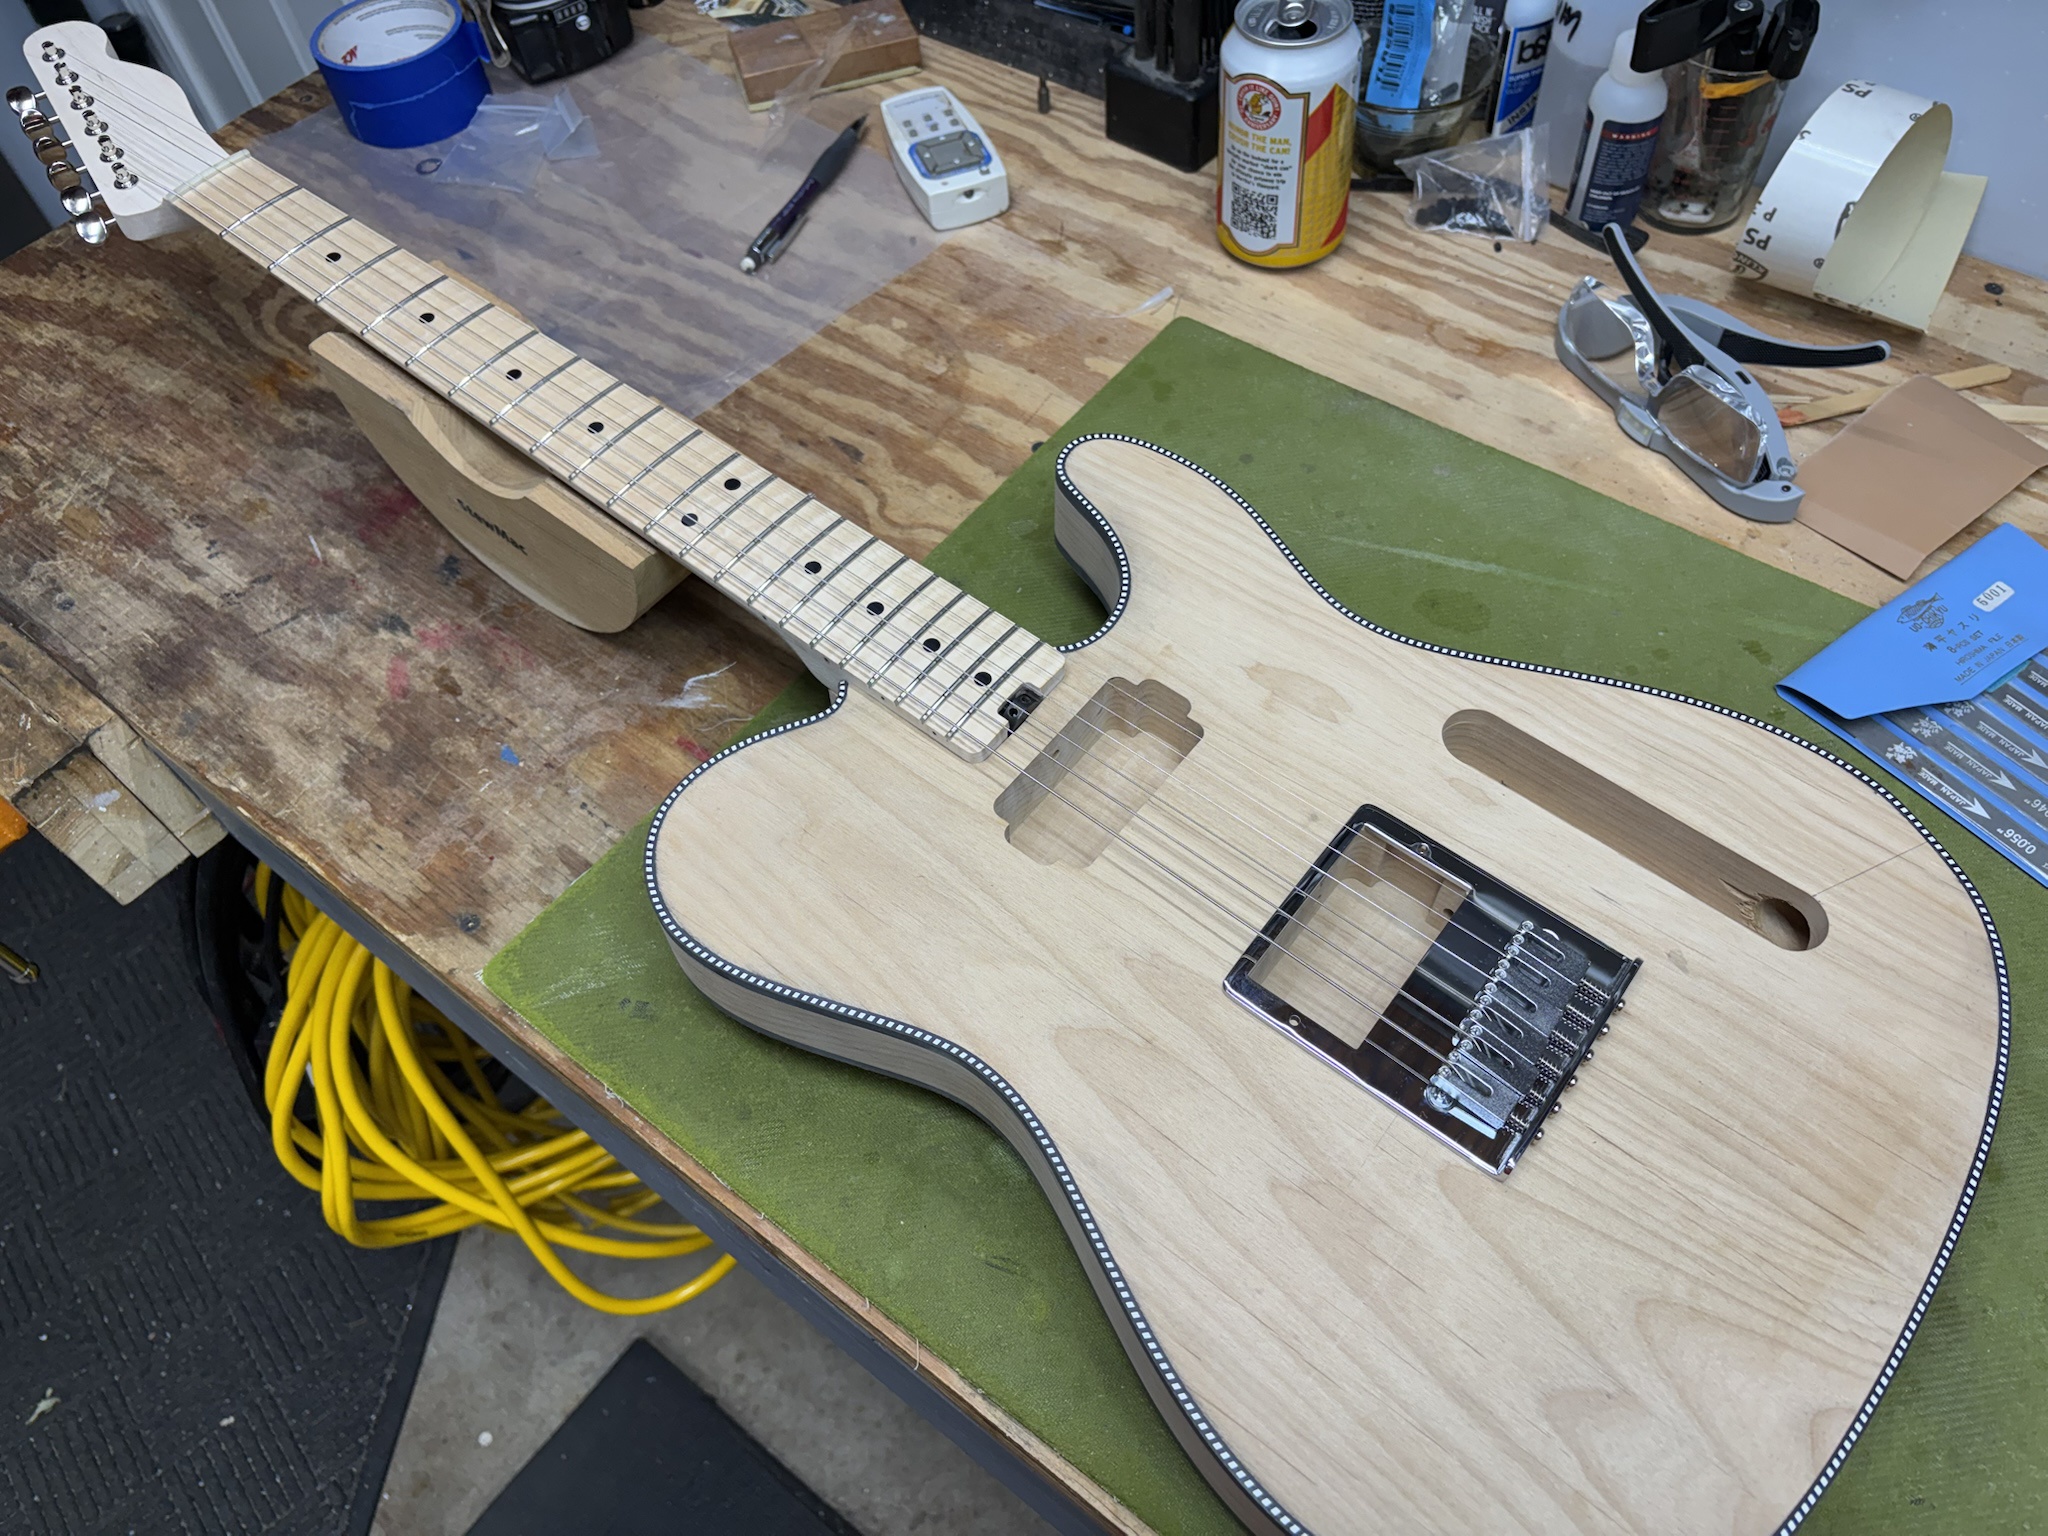
After careful measurements, the bridge was marked and mounted. I'll be running the strings through the body in typical Tele fashion, so I'll be using the bridge itself as a template for the through holes.
CKNb6Tf.jpg


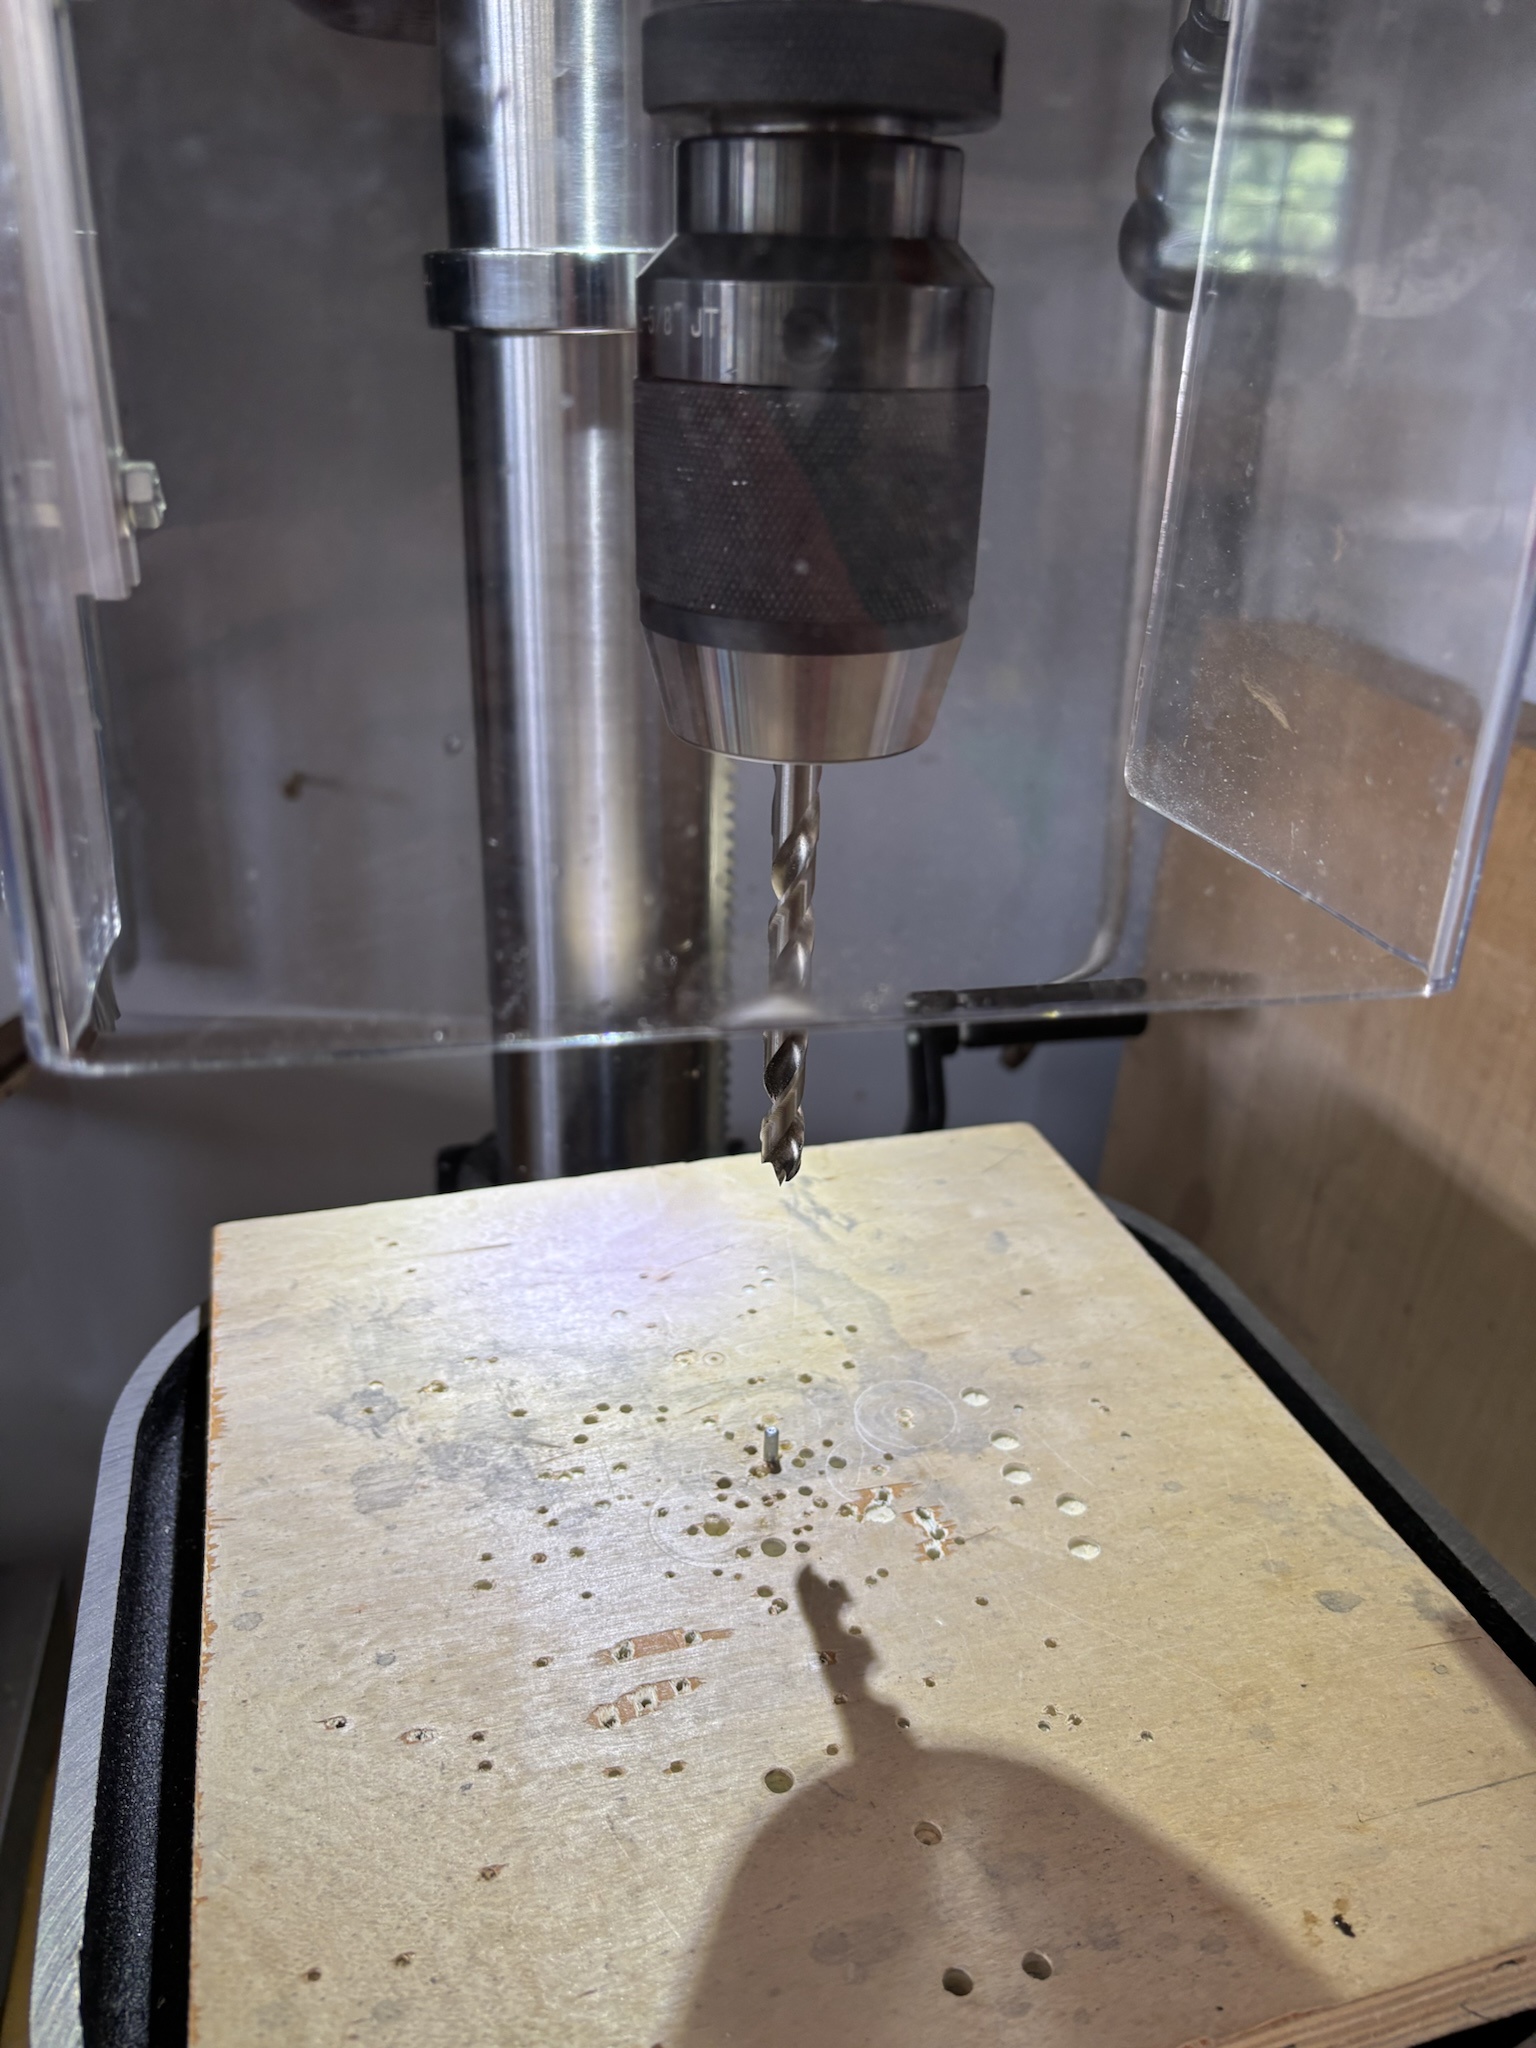
At the drill press, I drilled 1" deep holes with a 1/8" bit (I think, it's been a while), using the bridge itself for alignment.
G3gIP9j.jpg


I mounted a wood spoil board, then drilled a 1/8" hole and inserted a steel pin. I swapped out the bit for the correct ferrule hole size (without moving anything).
ToHPFqm.jpg


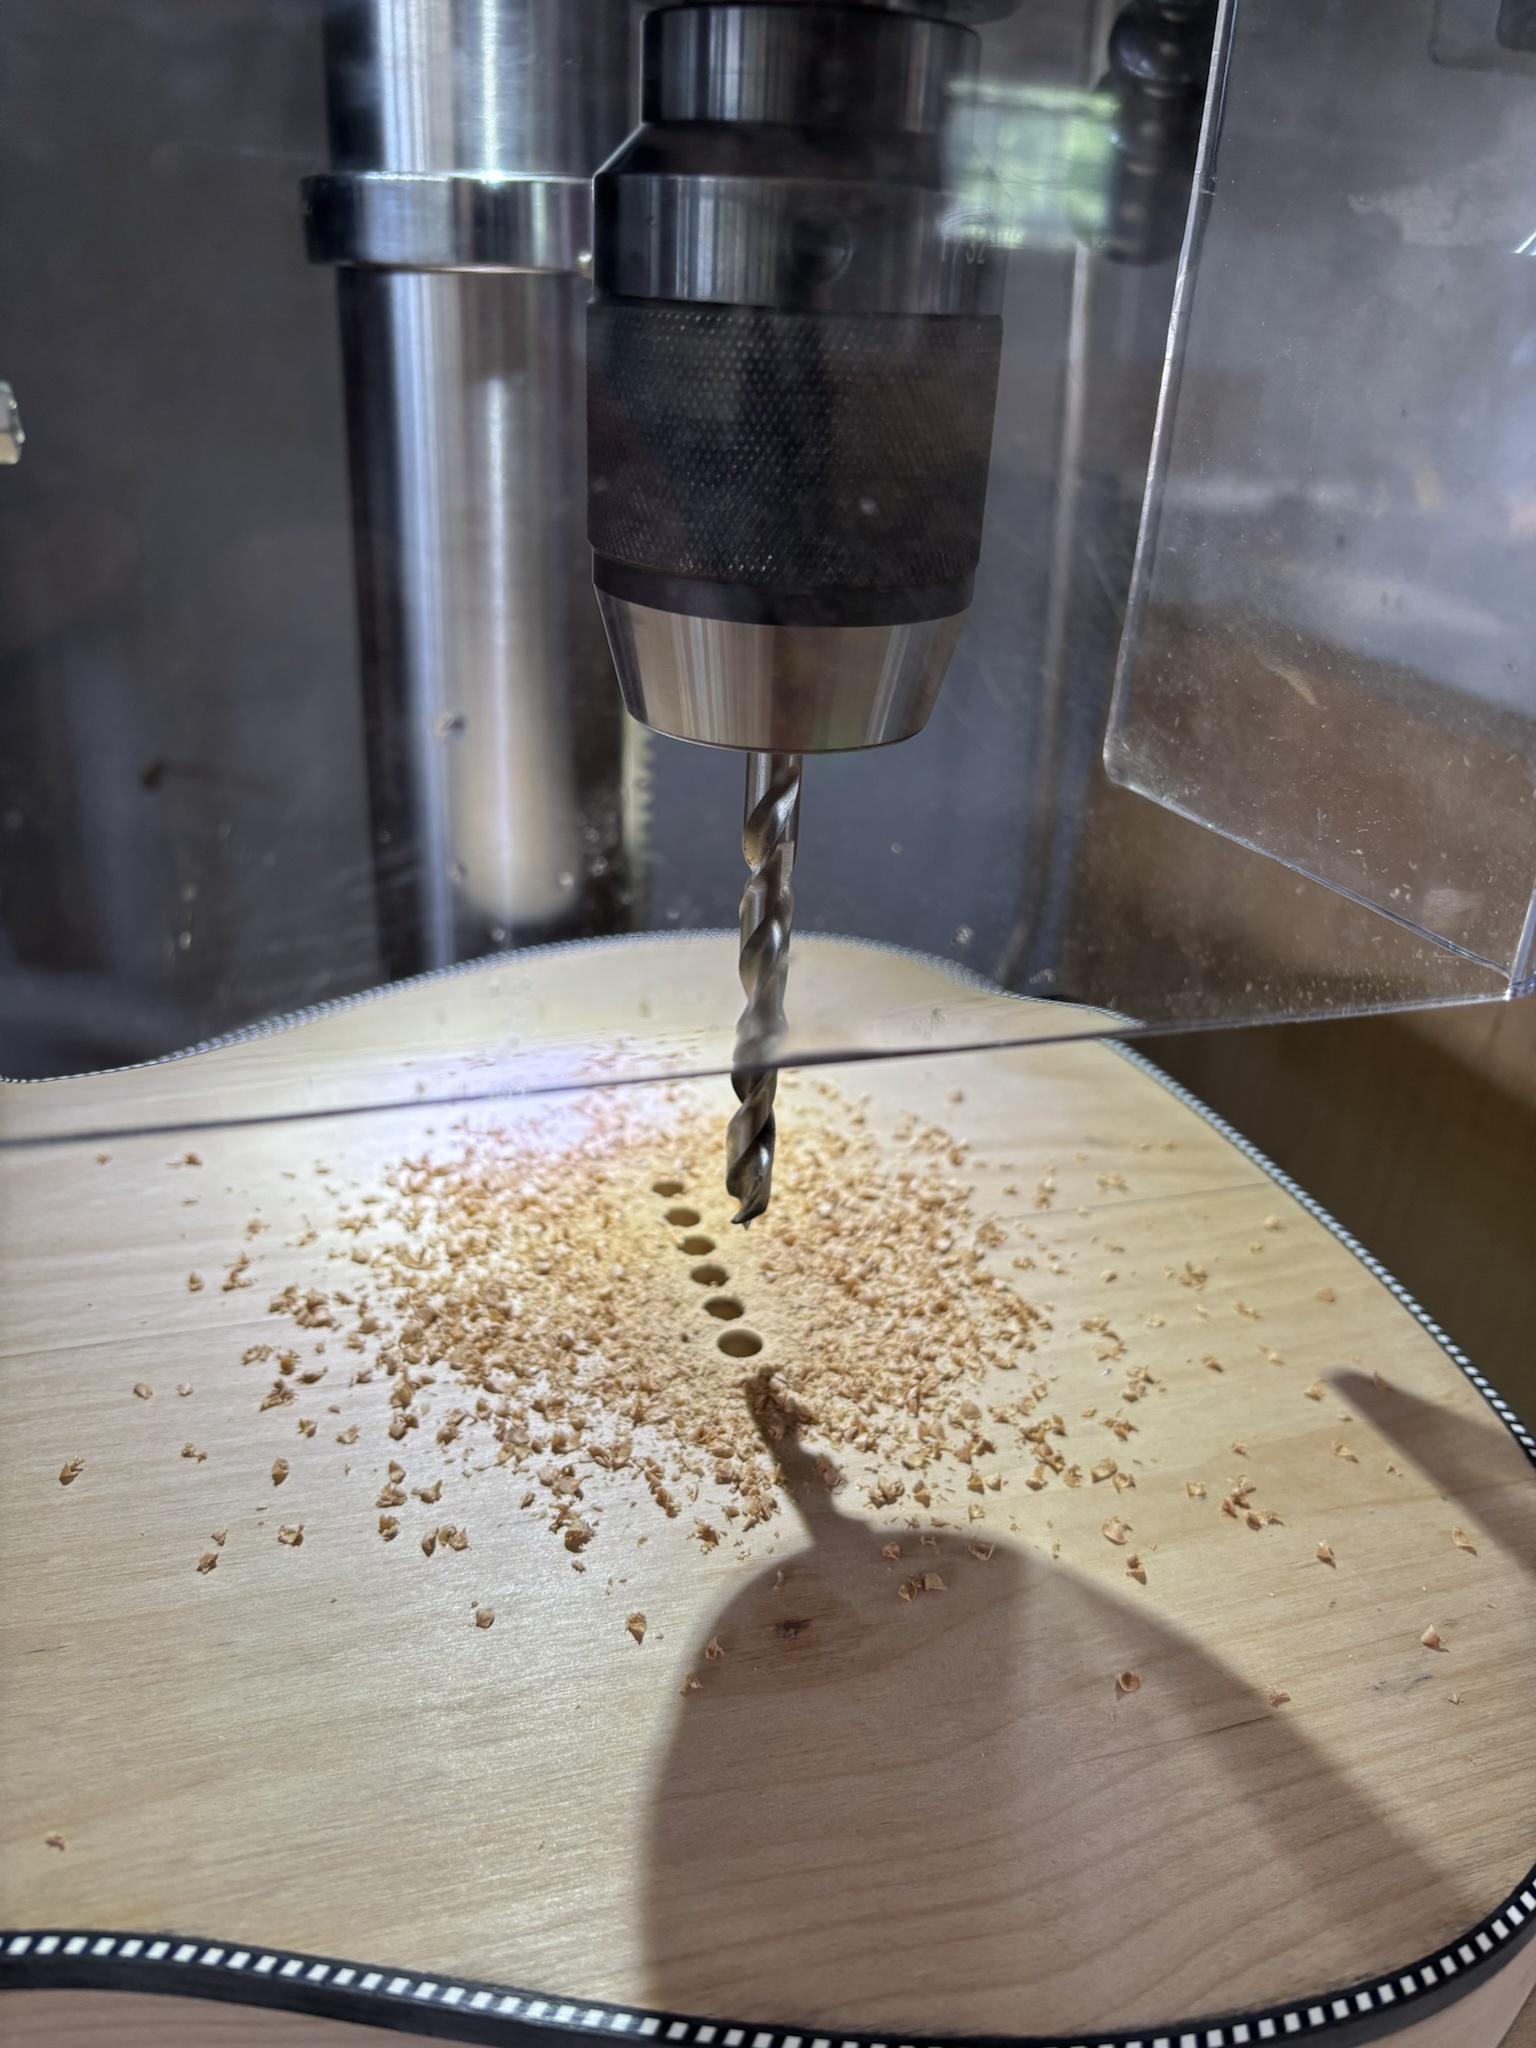
The bridge is removed and the body is flipped over. The steel pin indexes in the holes on the top of the body and ferrule holes are drilled into the back in perfect alignment.
FFhXebl.jpg


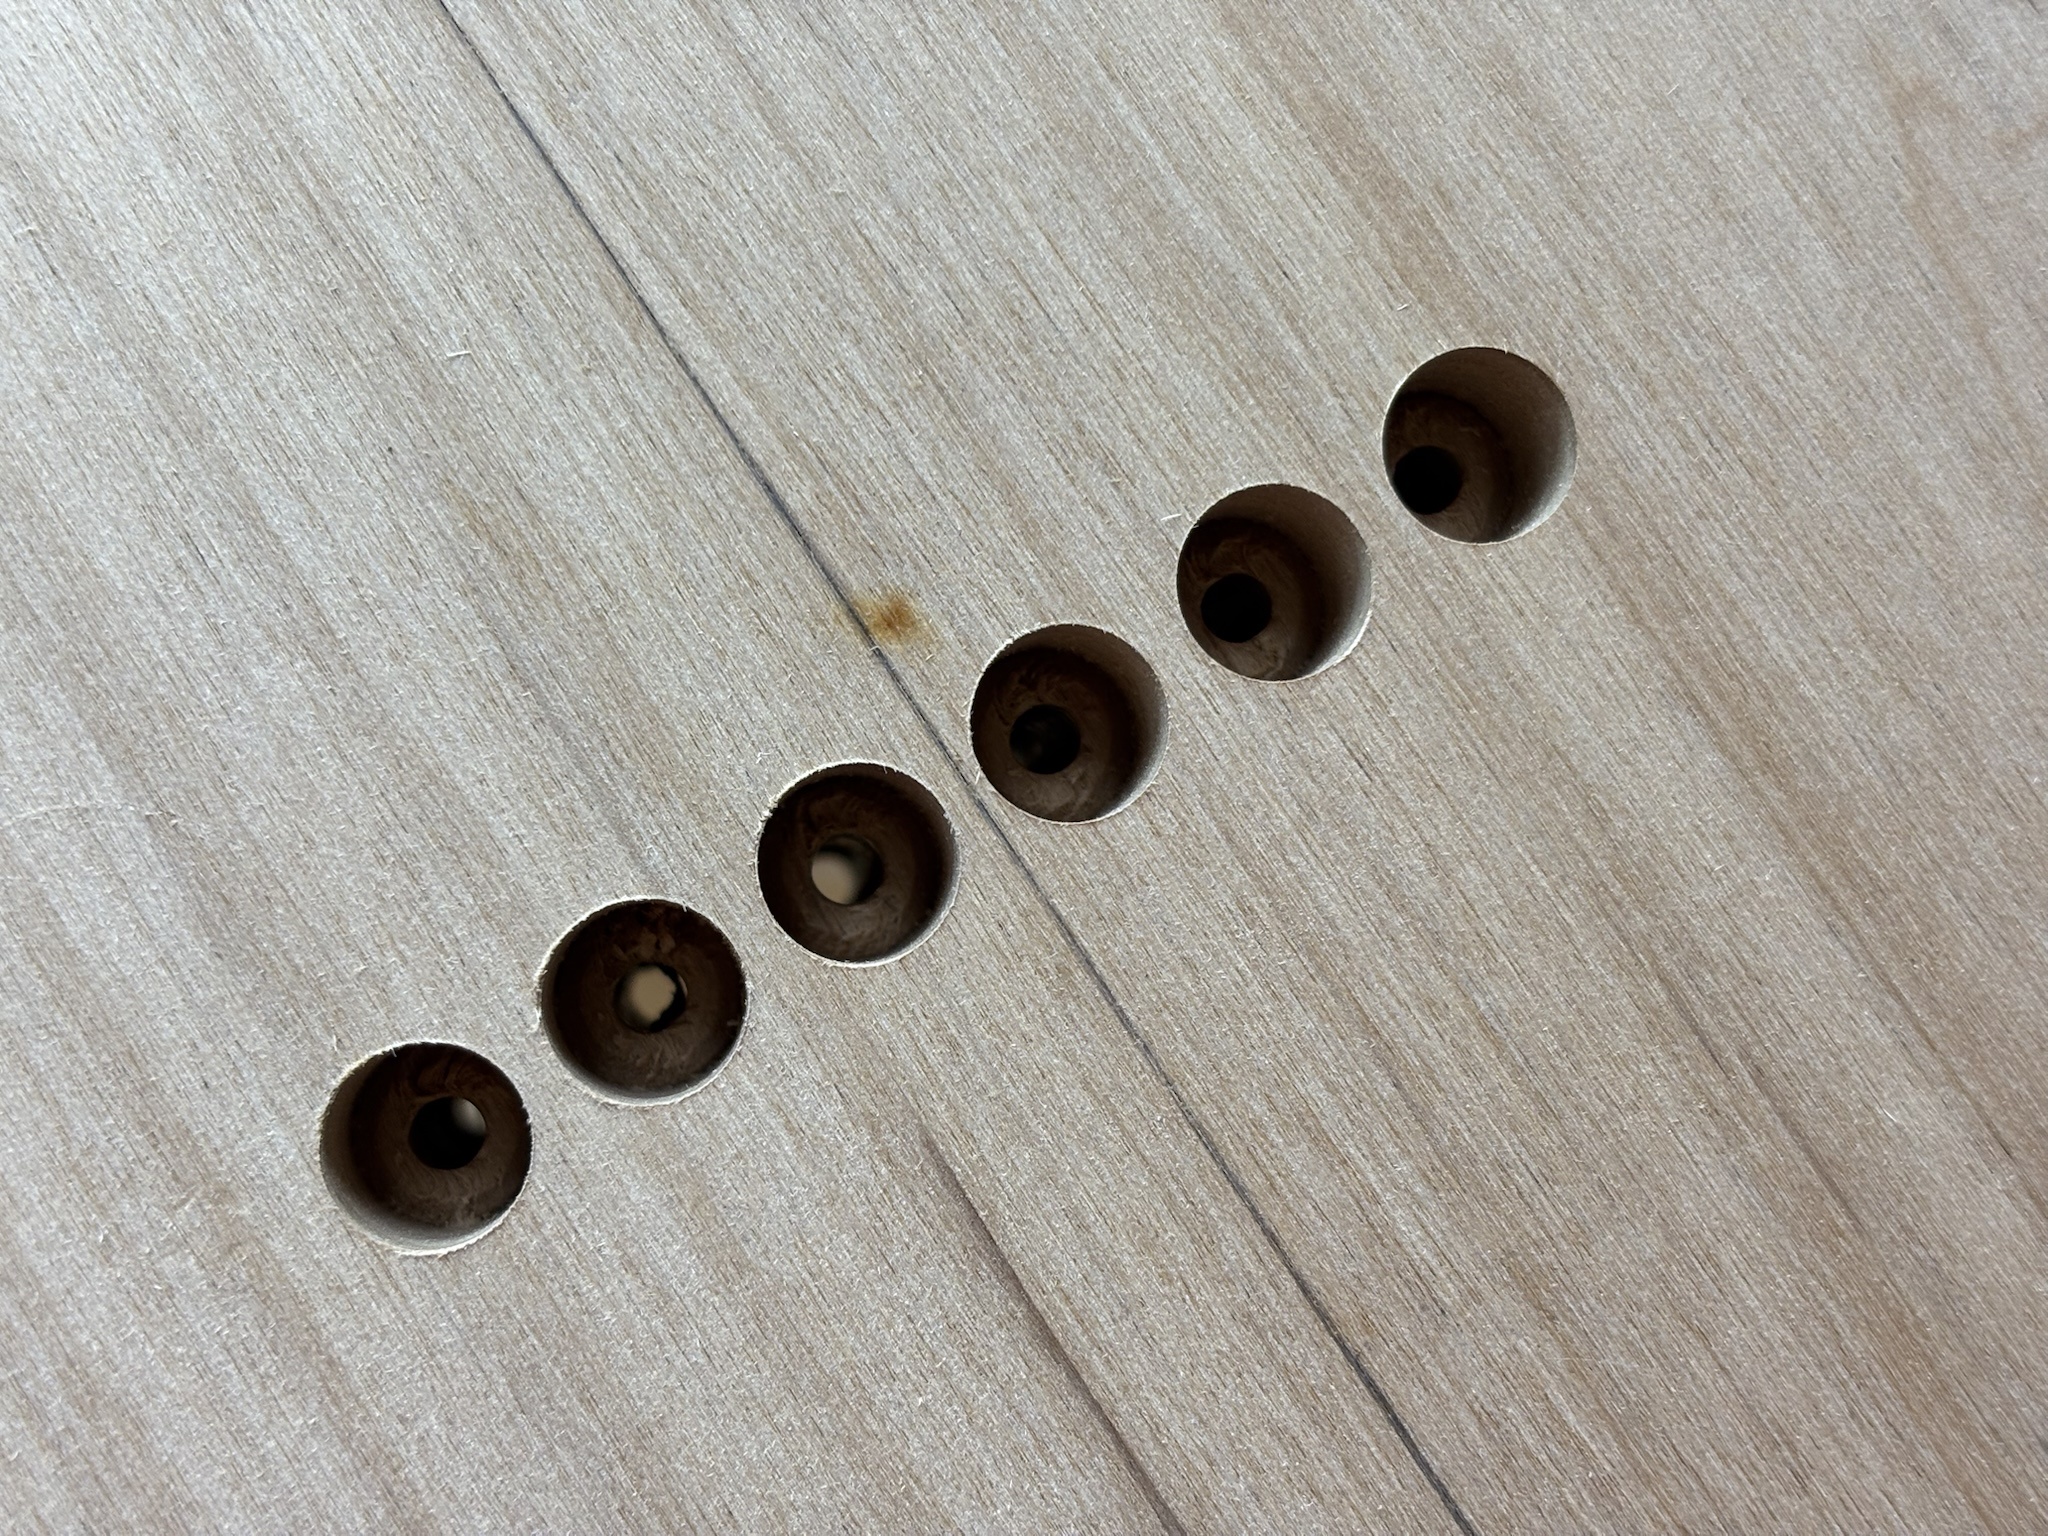
Then, without moving anything, the 1/8" bit is put back in and run through the ferrule holes to connect with the first 1/8" holes... while avoiding hitting the steel pin.

Voila.
7J6Yc2n.jpg


Ferrules installed.
sQkPKMo.jpg


Saddles installed and strung up for a quick test.
PsLcdsq.jpg
 
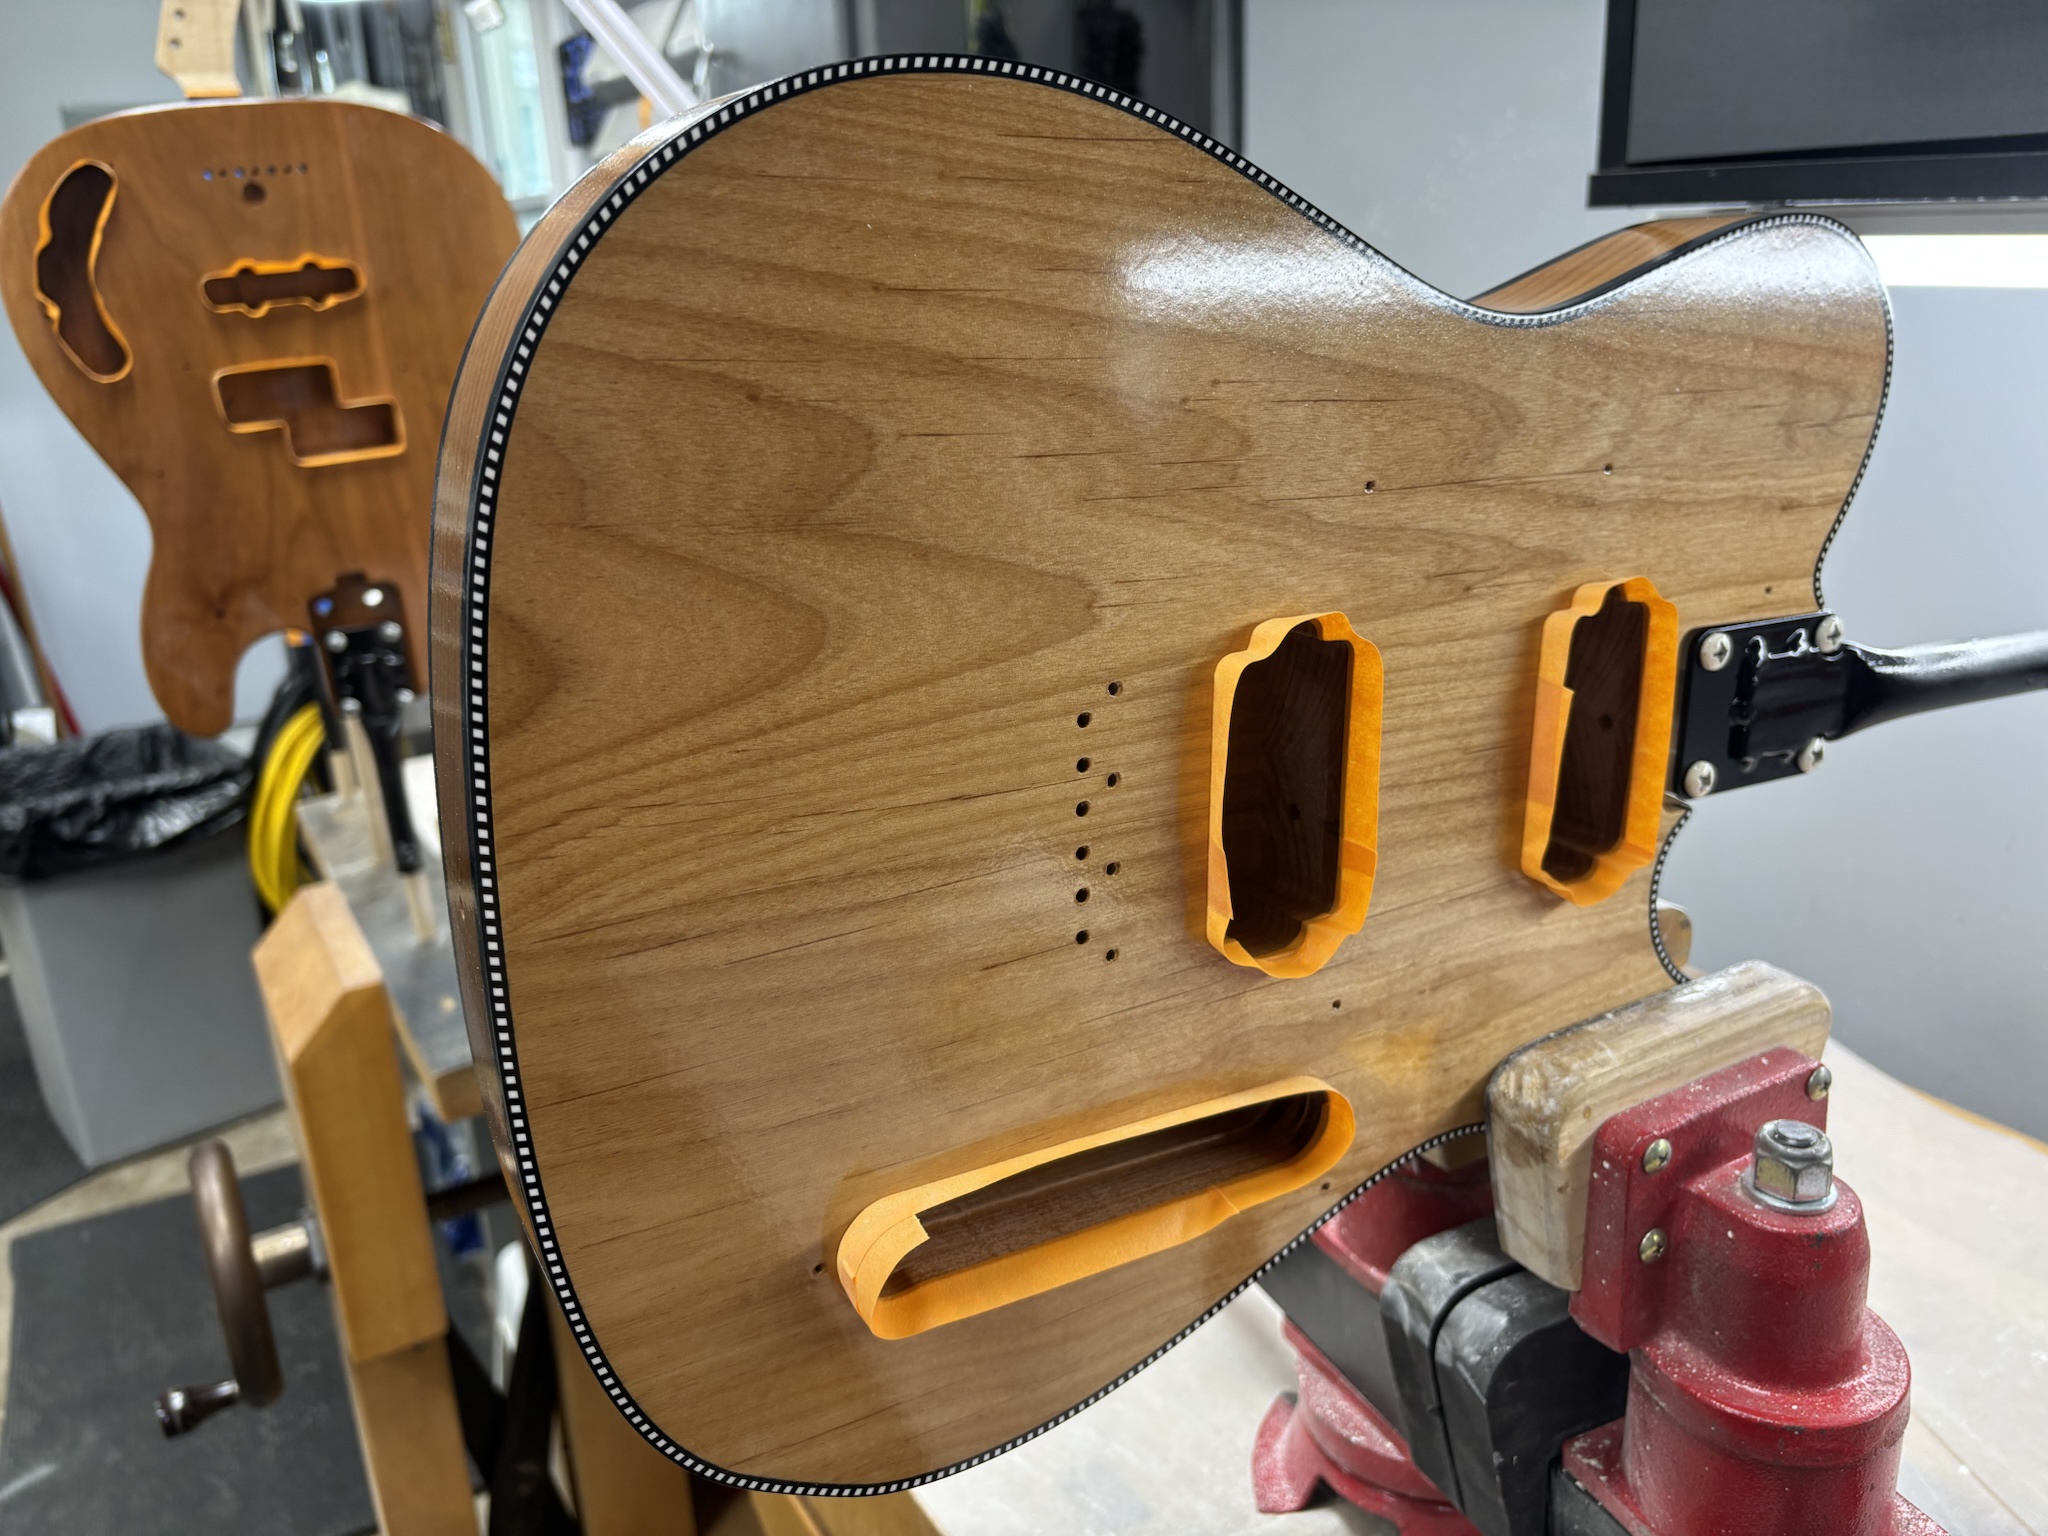
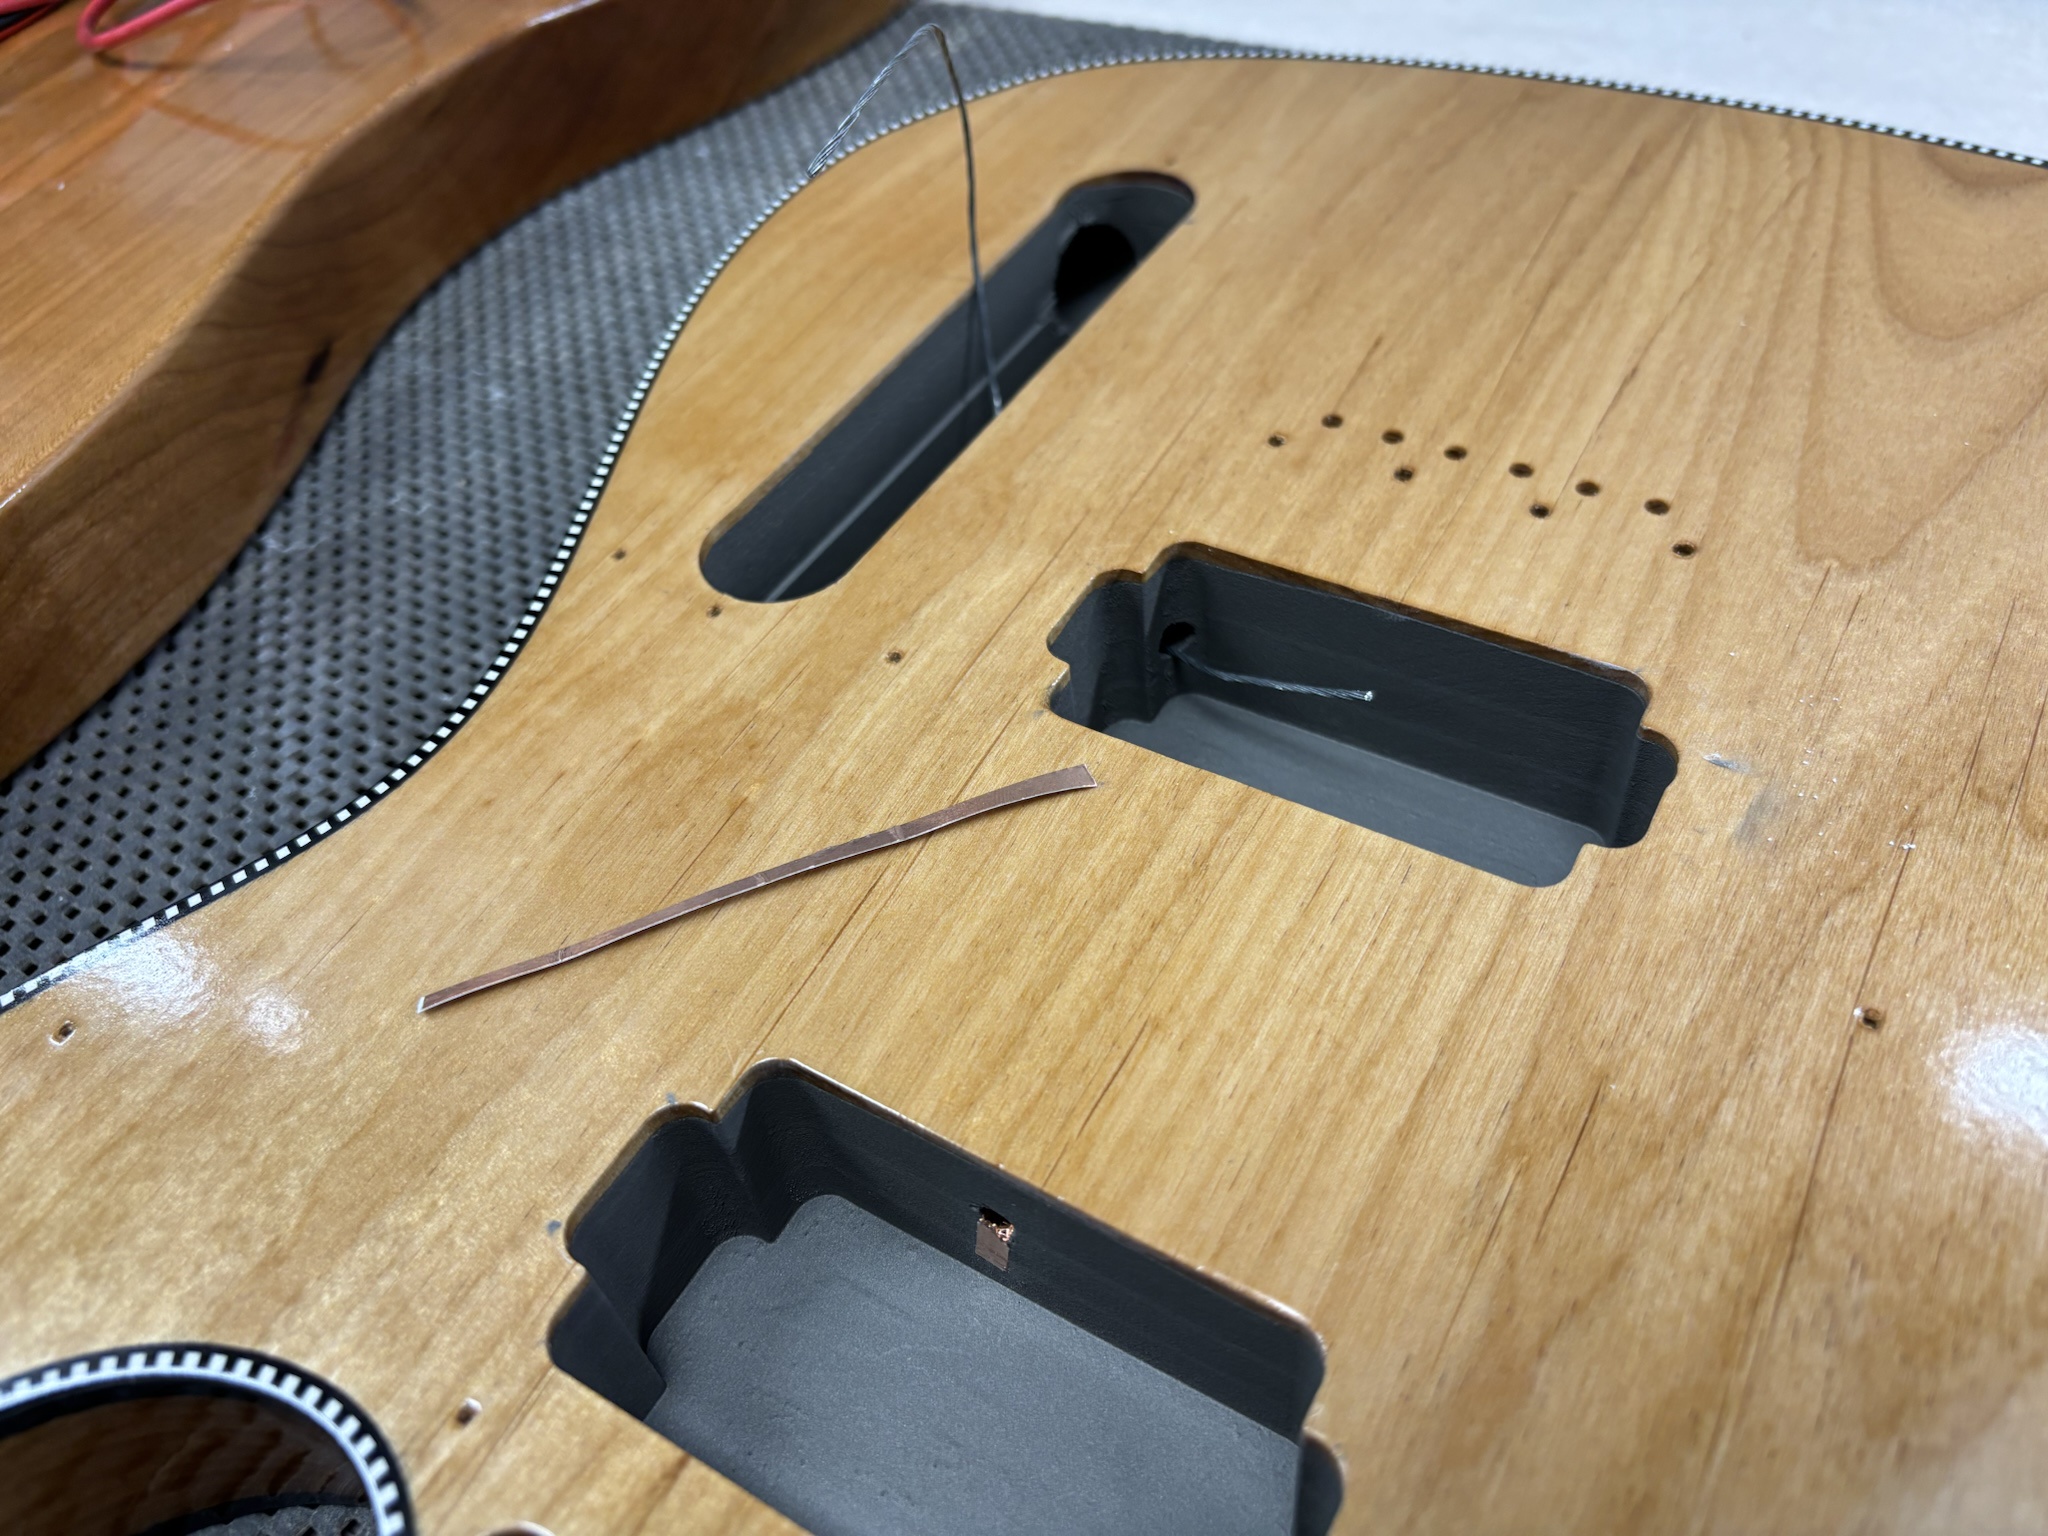
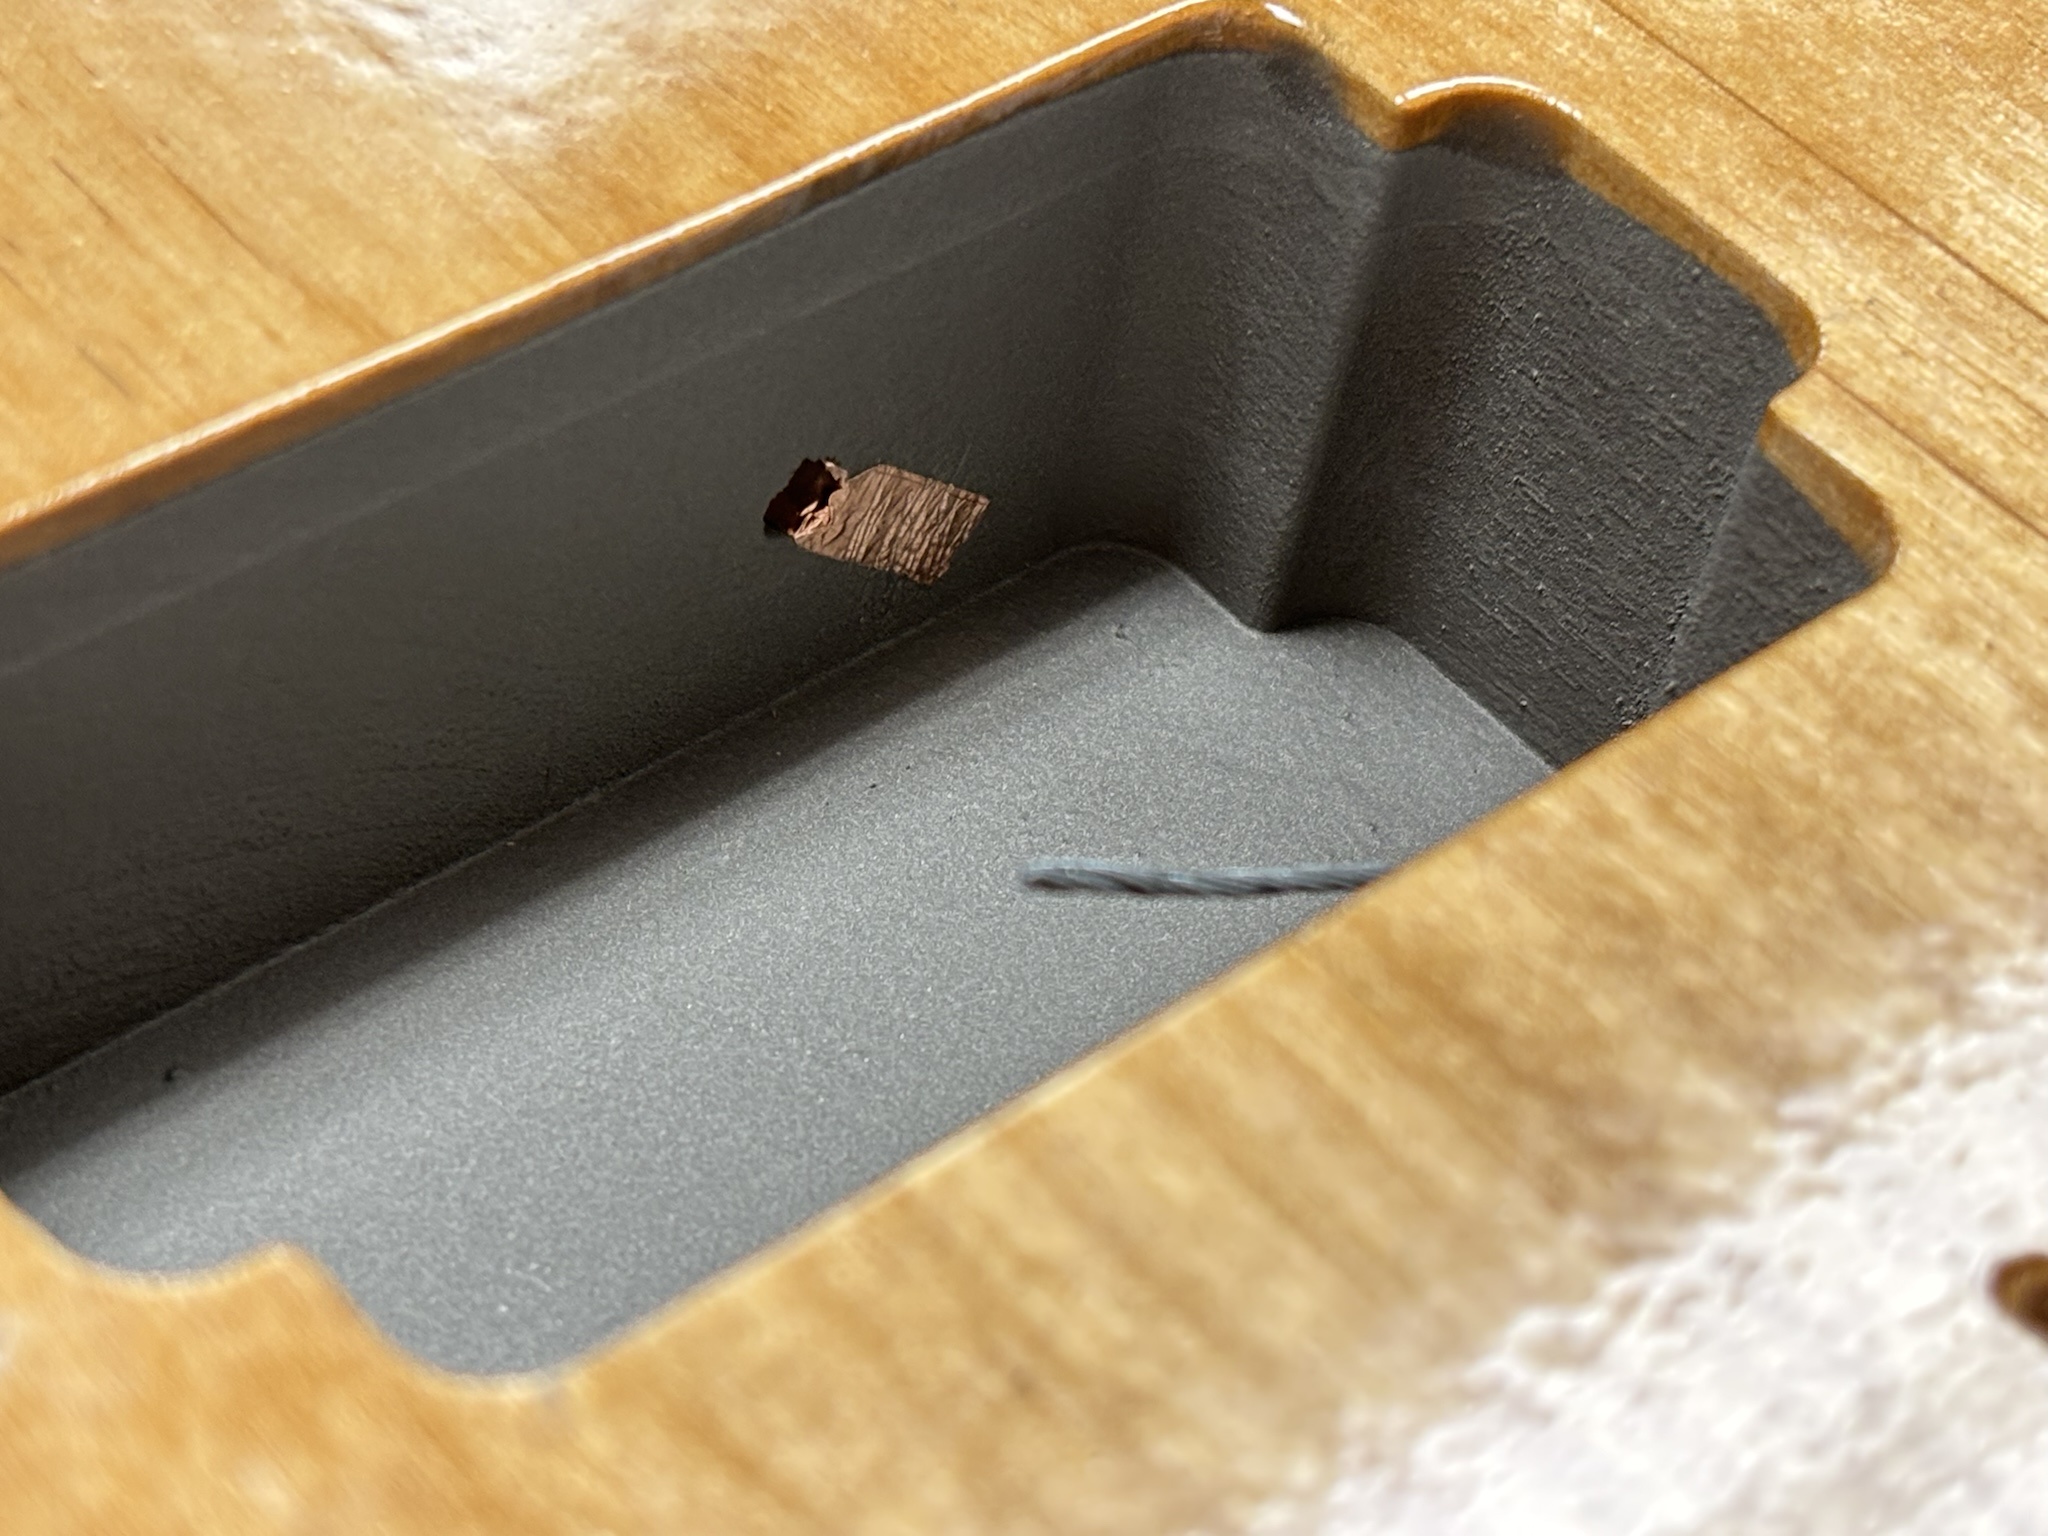
Next, I shot the body with a couple coats of Simtec sanding sealer, allowing each coat to cure overnight and level sanding between coats. I carefully masked around all cavities to prep for shooting shielding paint.
GV0EVep.jpg


vZ5ACda.jpg


After pulling the masking and allowing the paint to dry, I connected all cavities using thin strips of copper tape and ensuring that there was continuity between all.
ZIr2bI6.jpg


qYRsPOP.jpg


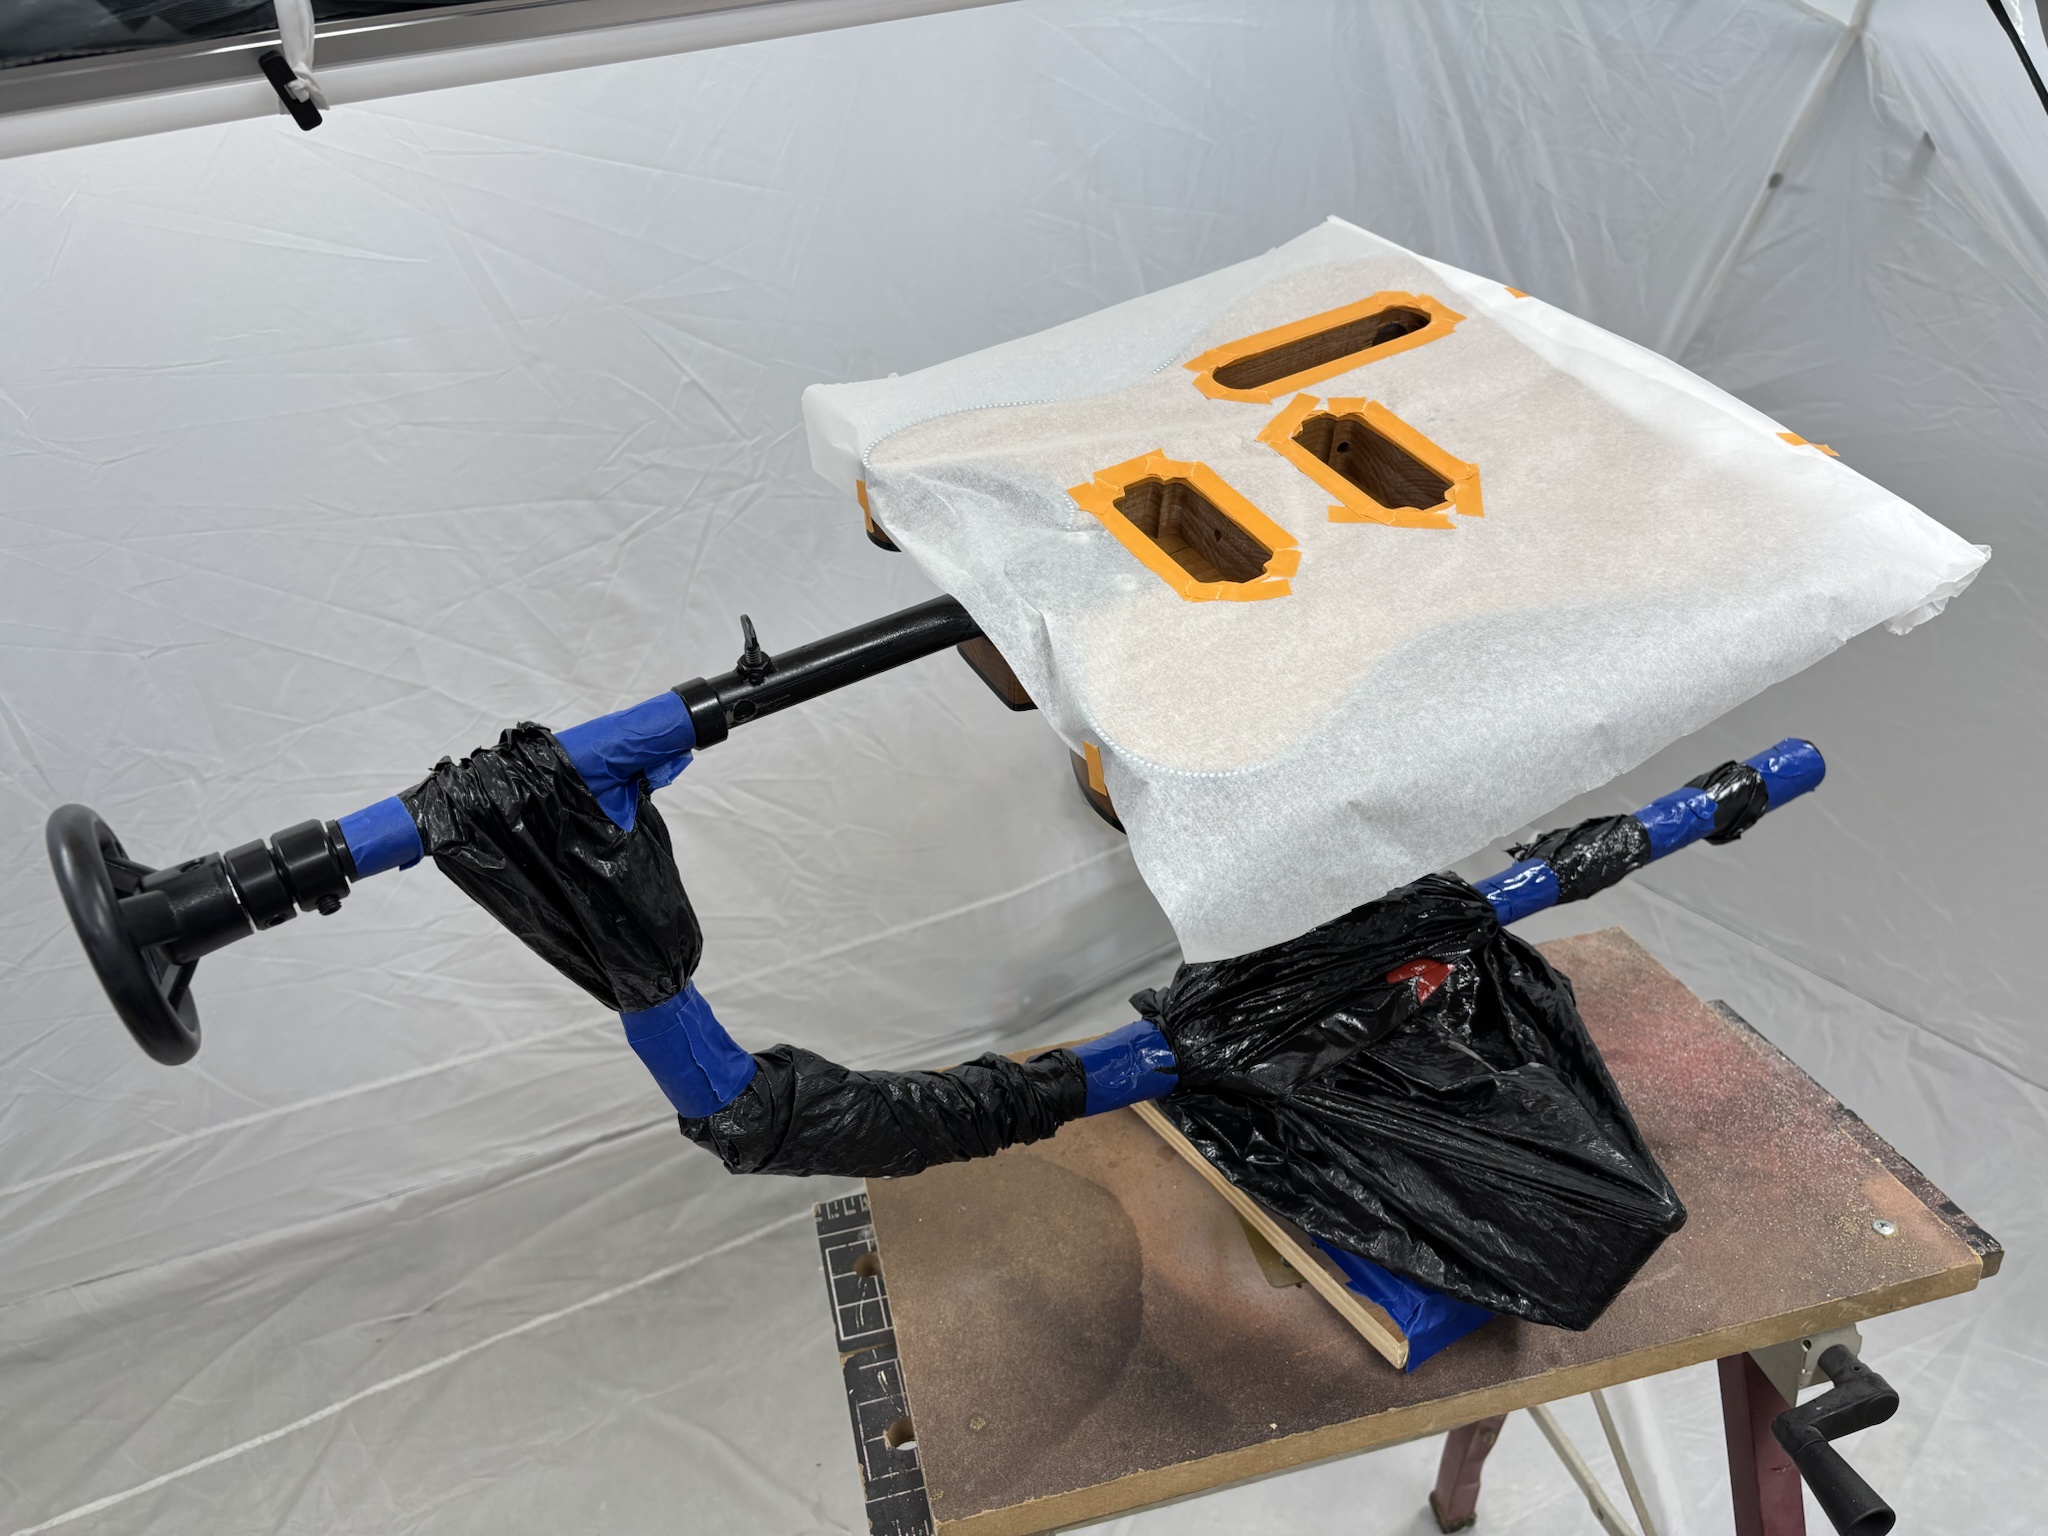
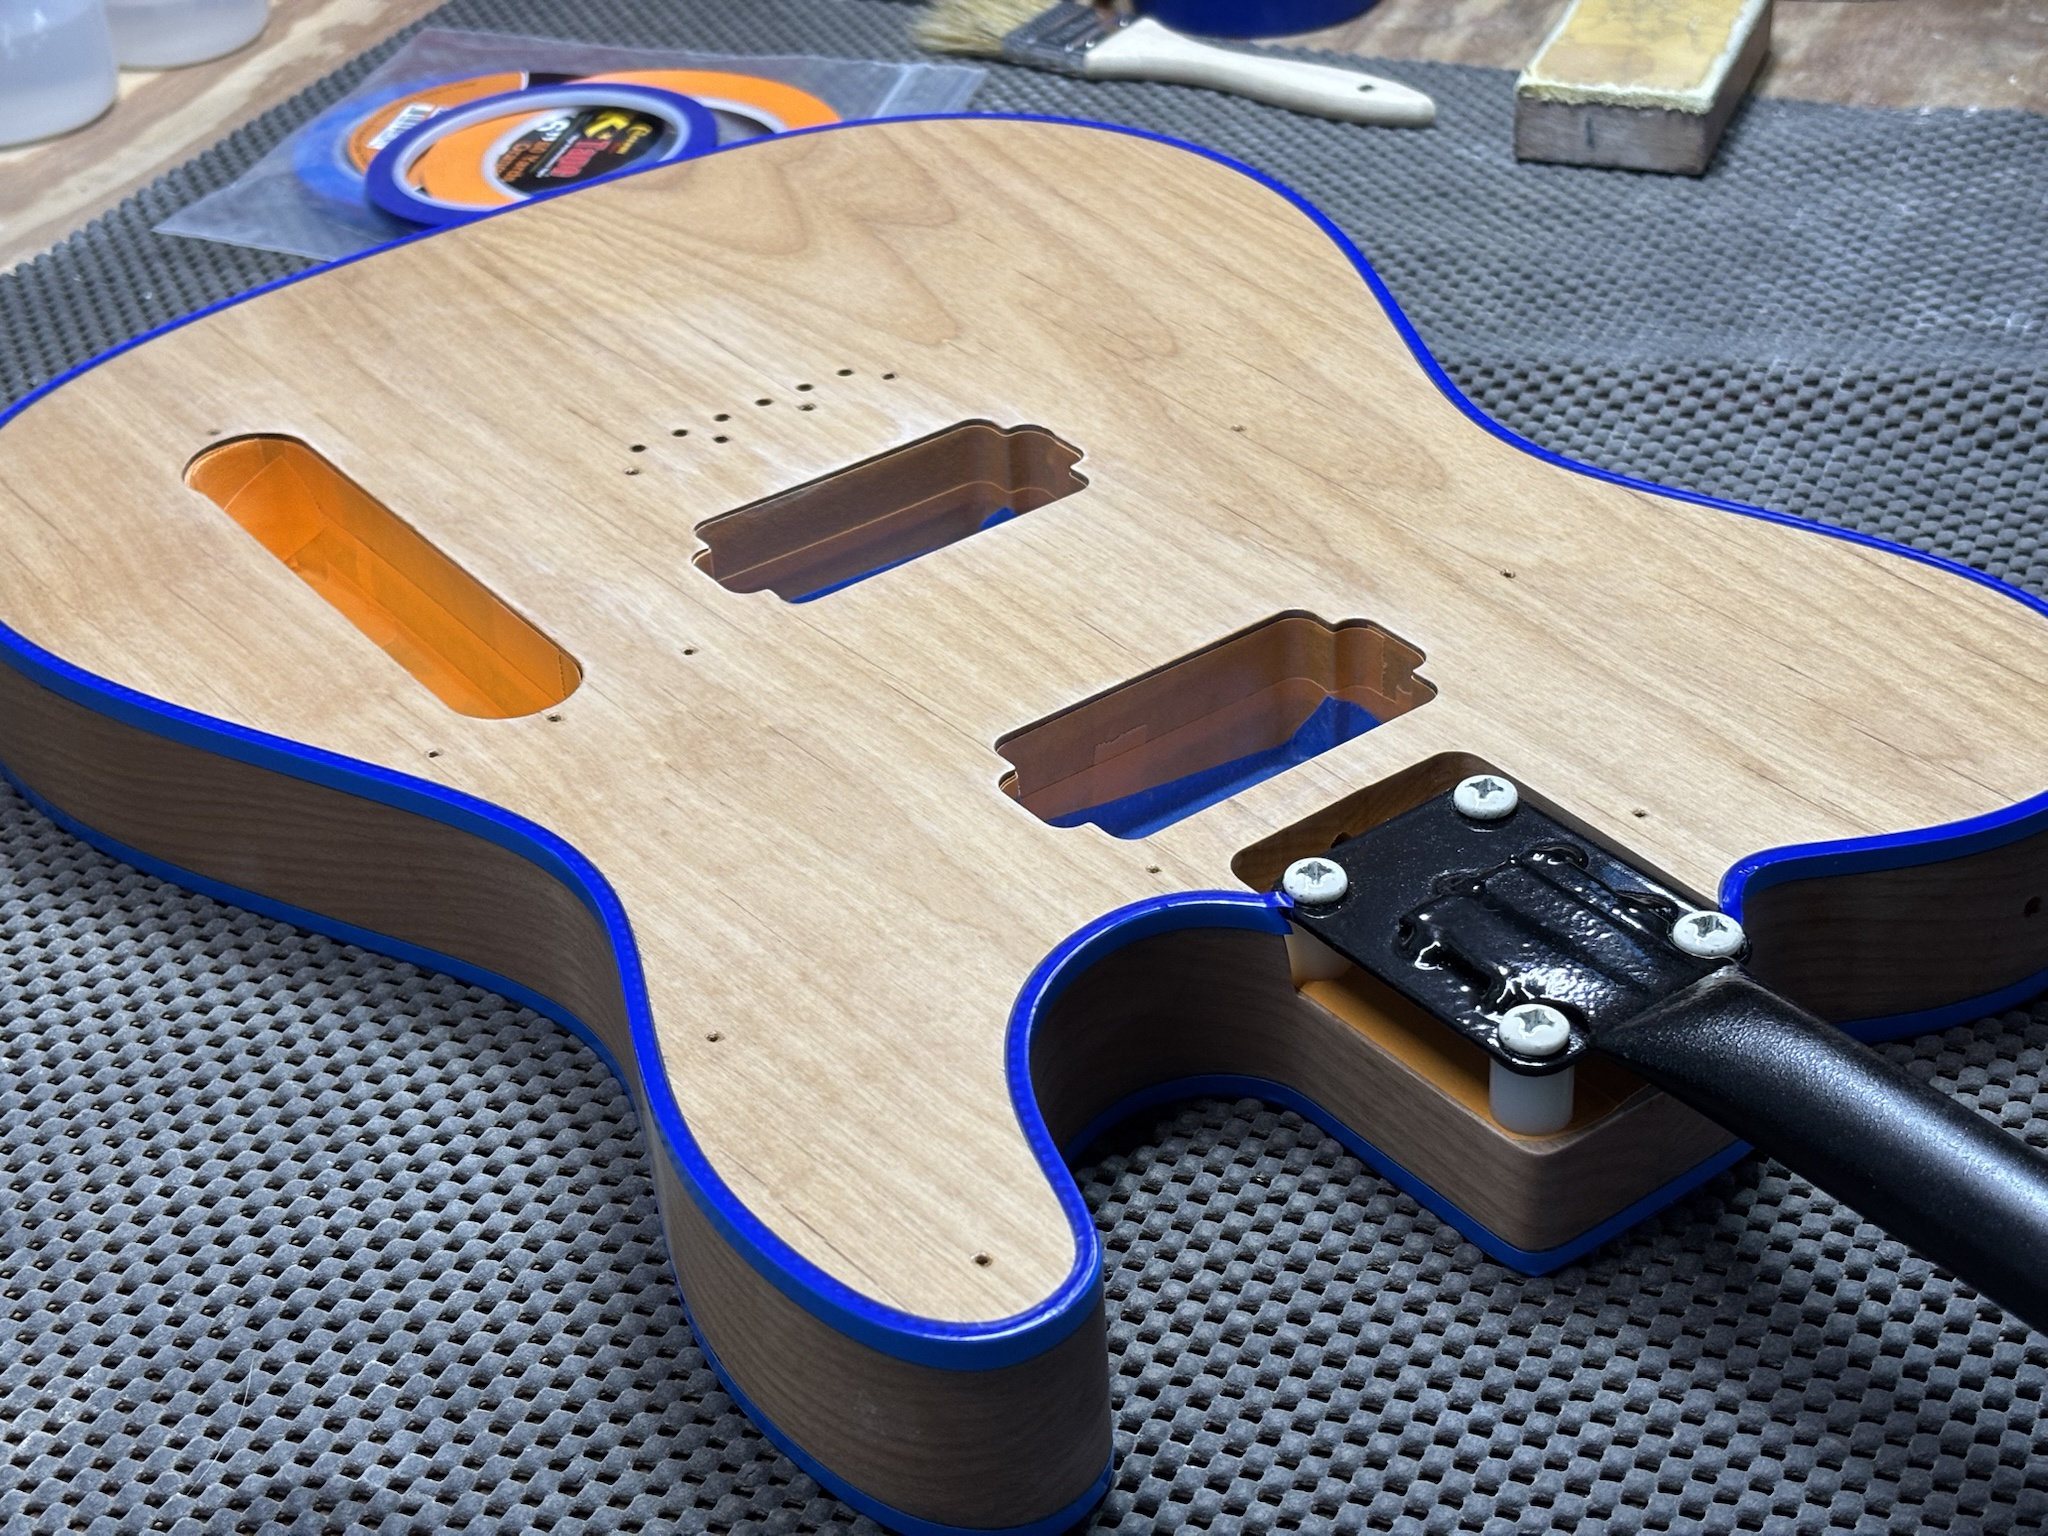
I then masked over the shielding paint and did a final level sand of the sealer, then moved on to masking the binding.
2f9Bcaw.jpg


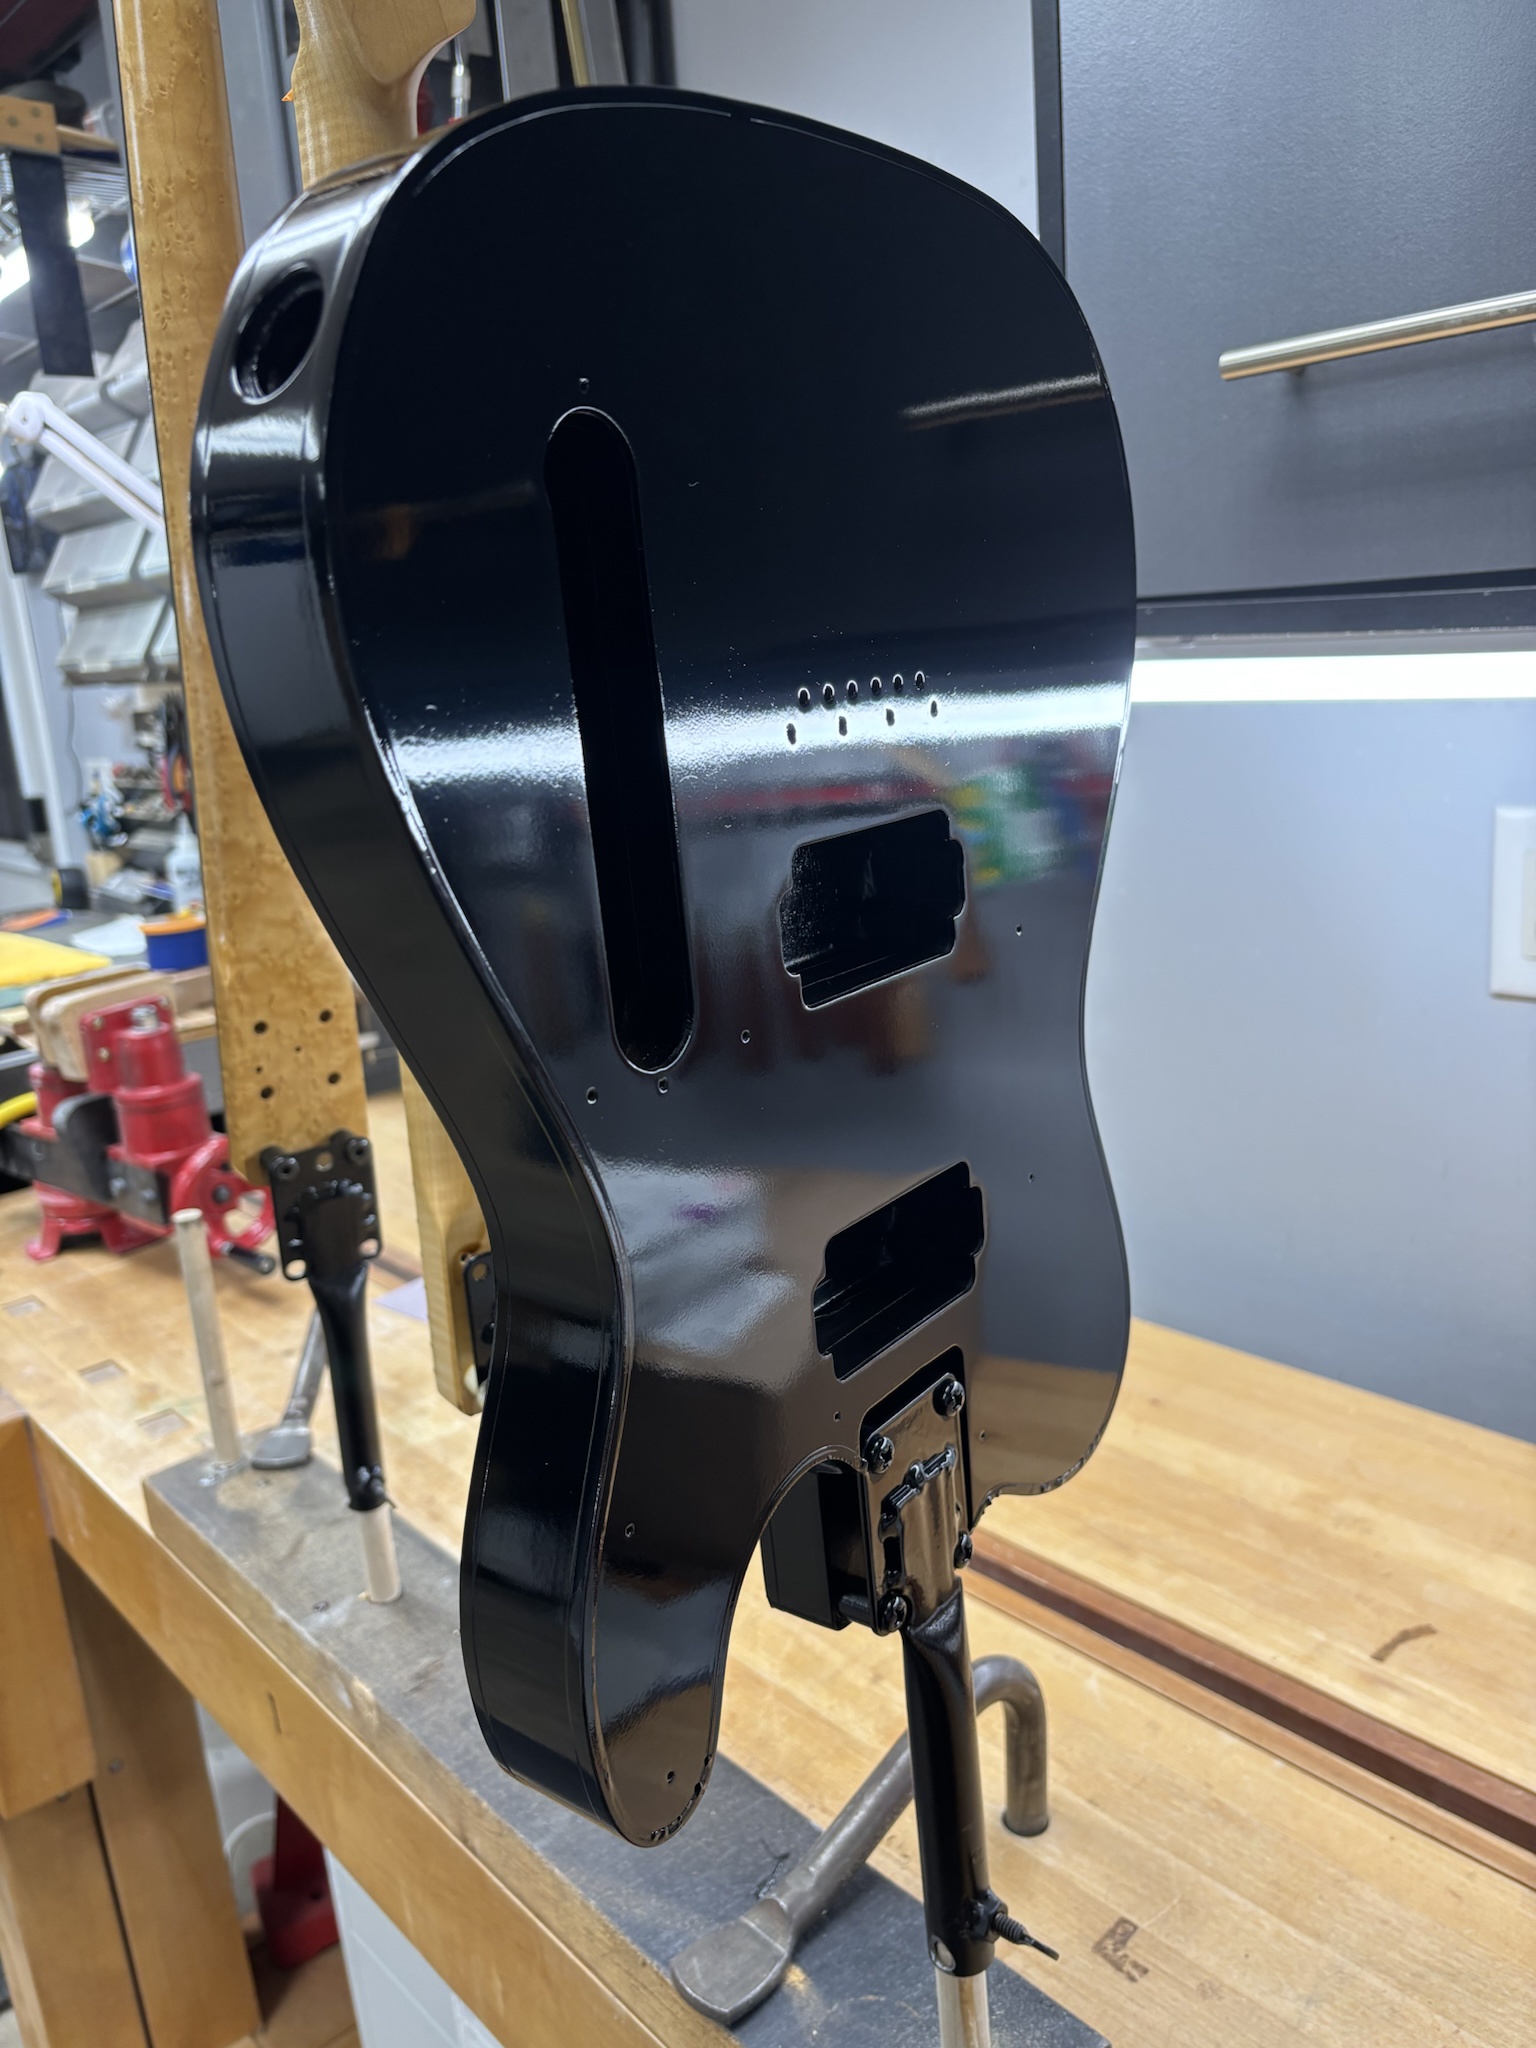
A couple coats of black were applied as a base coat. Yeah, I know this is a bad pic. :D
Tq9h0r0.jpg


More soon. :)
 
This post will get things pretty much caught up to real time.

I didn't really get good progress pictures of the neck, but here is an overview of the process. I sprayed a couple of sealer coats of ultra blonde shellac. I followed that by two thin coats of intercoat urethane (essentially clear base coat) which were tinted with bit of brown to warm up the maple a bit. Two coats of clear top coat completed the finish on the neck.

Now to finish up the body. :)

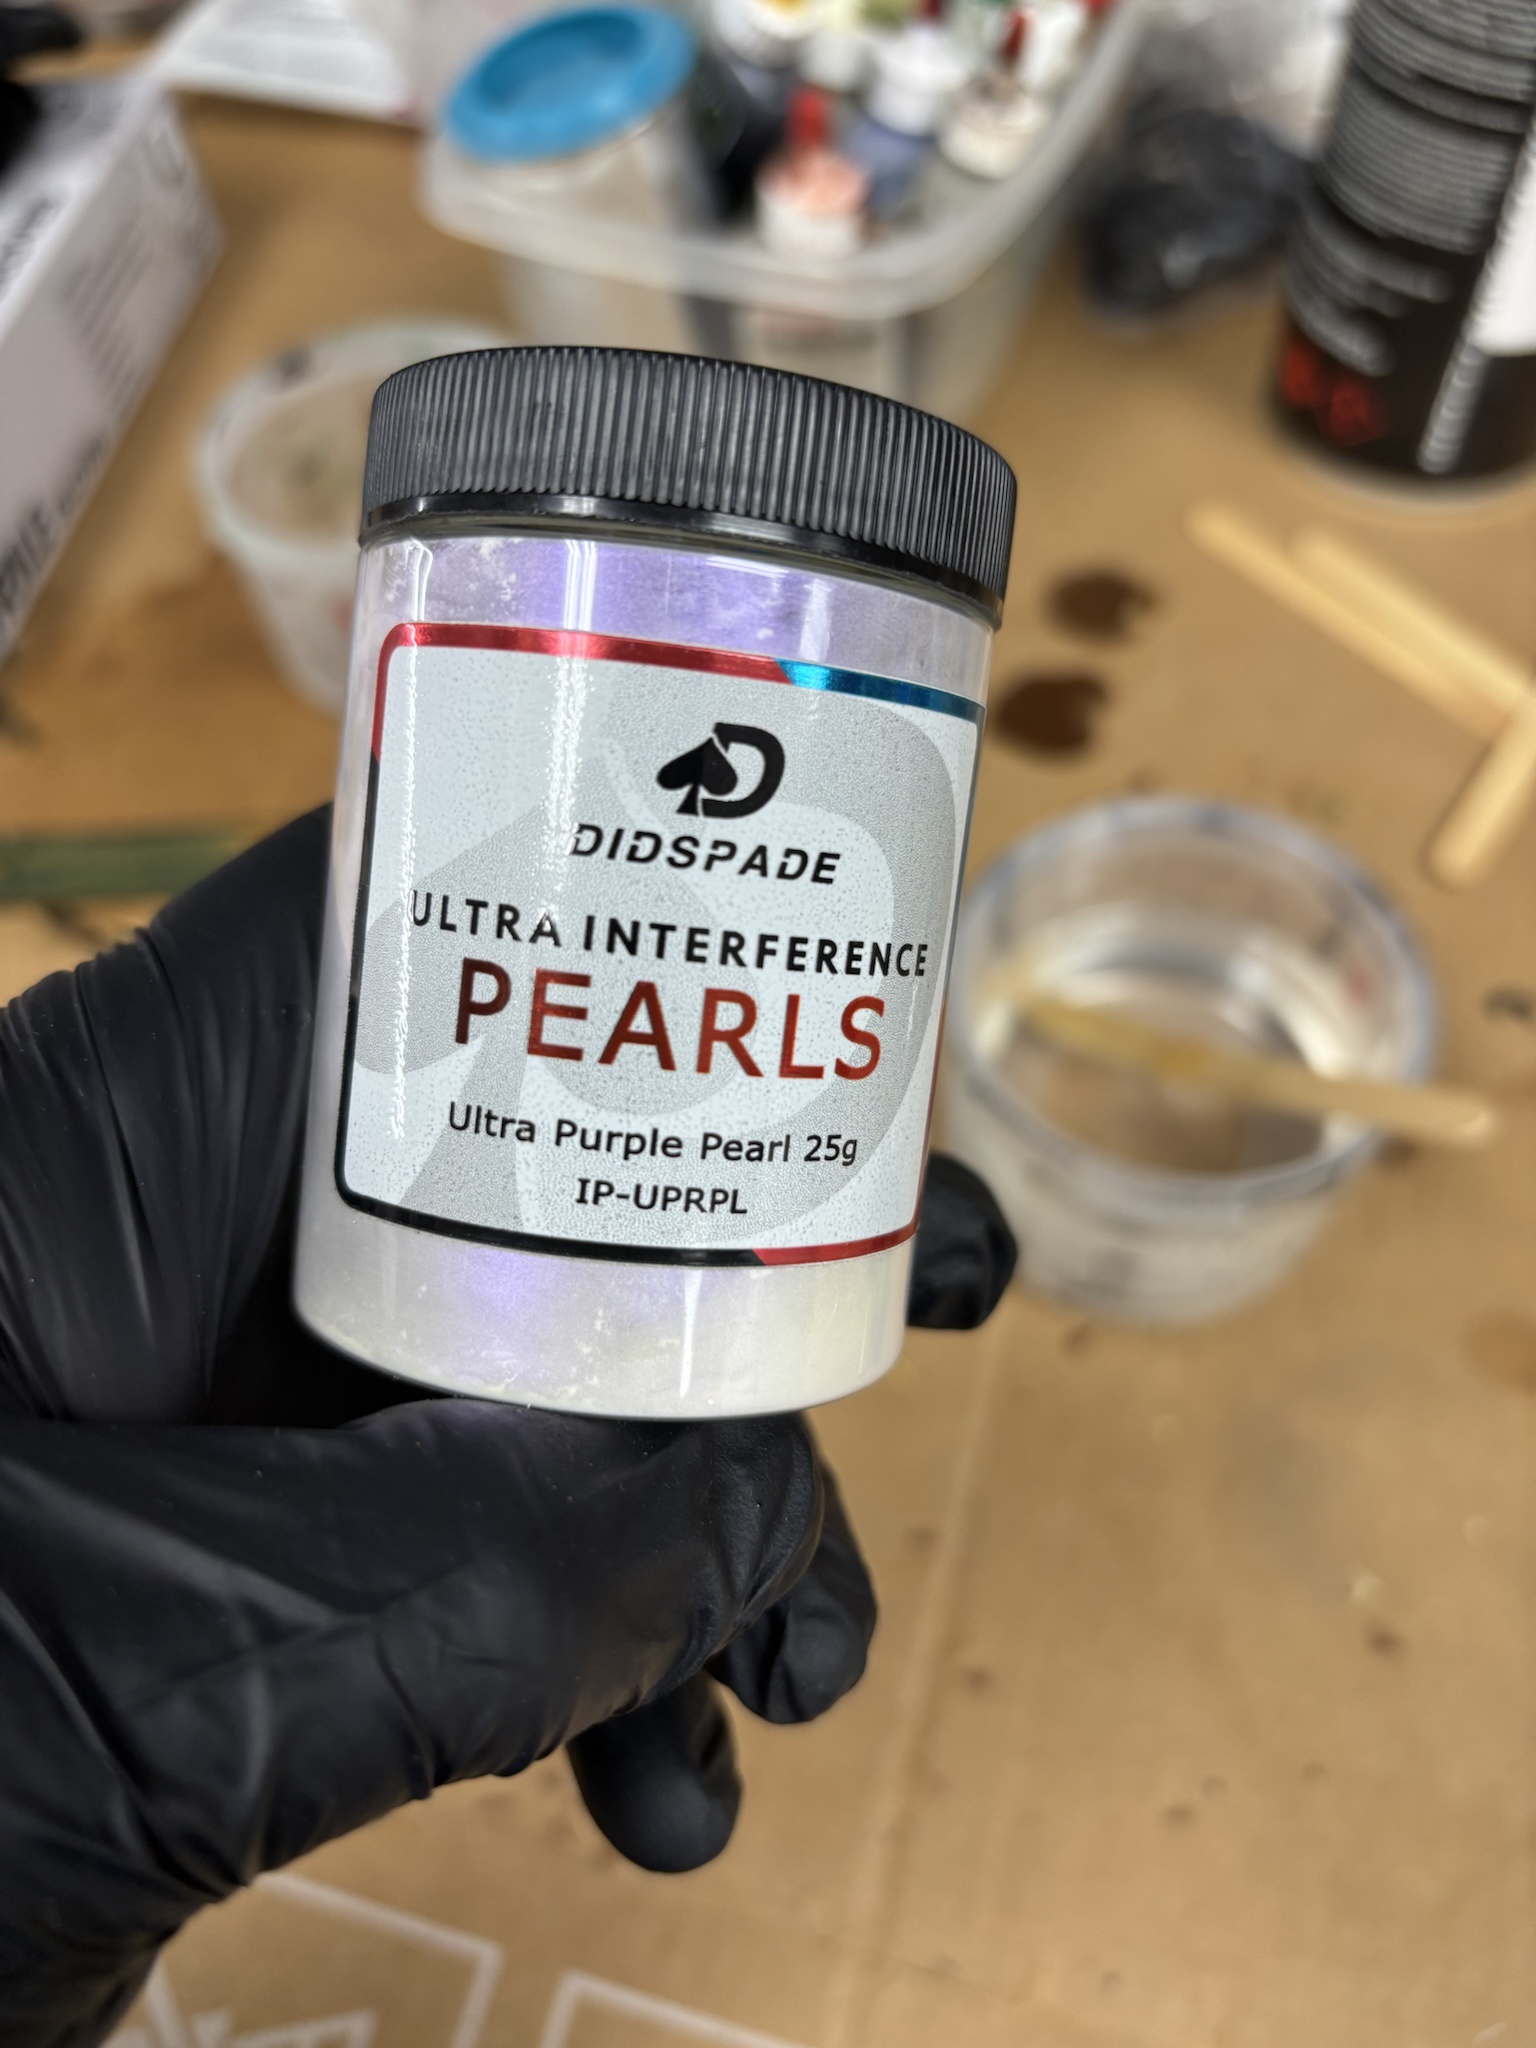
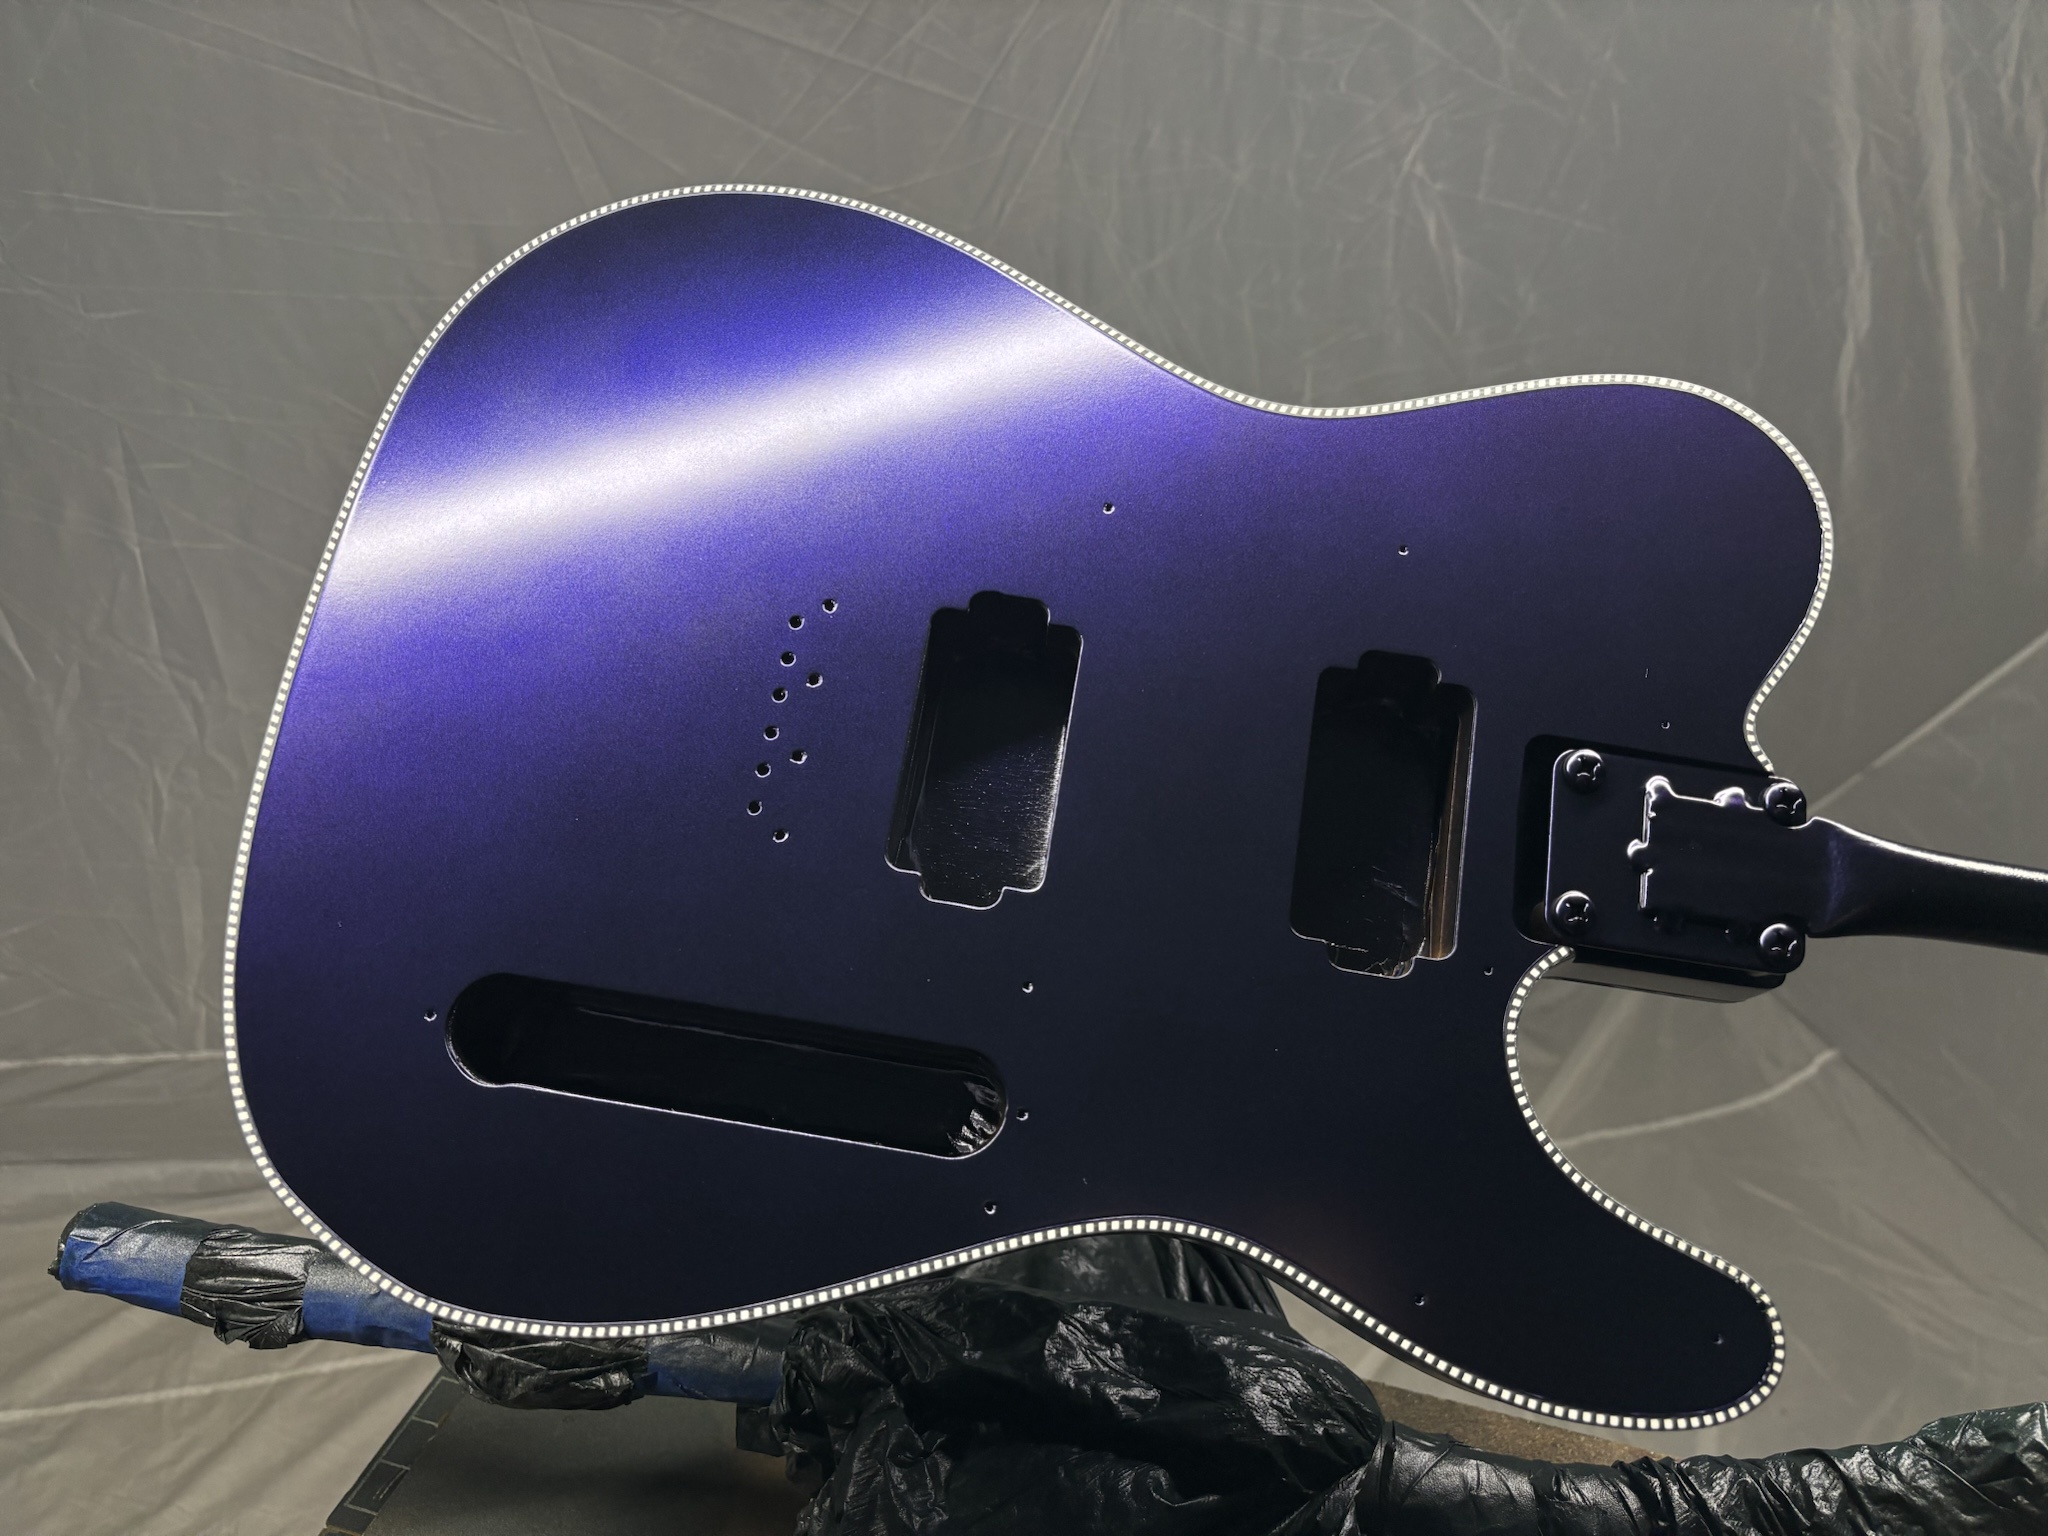
A couple of dashes of ultra purple pearl into some intercoat.
nrsgViM.jpg


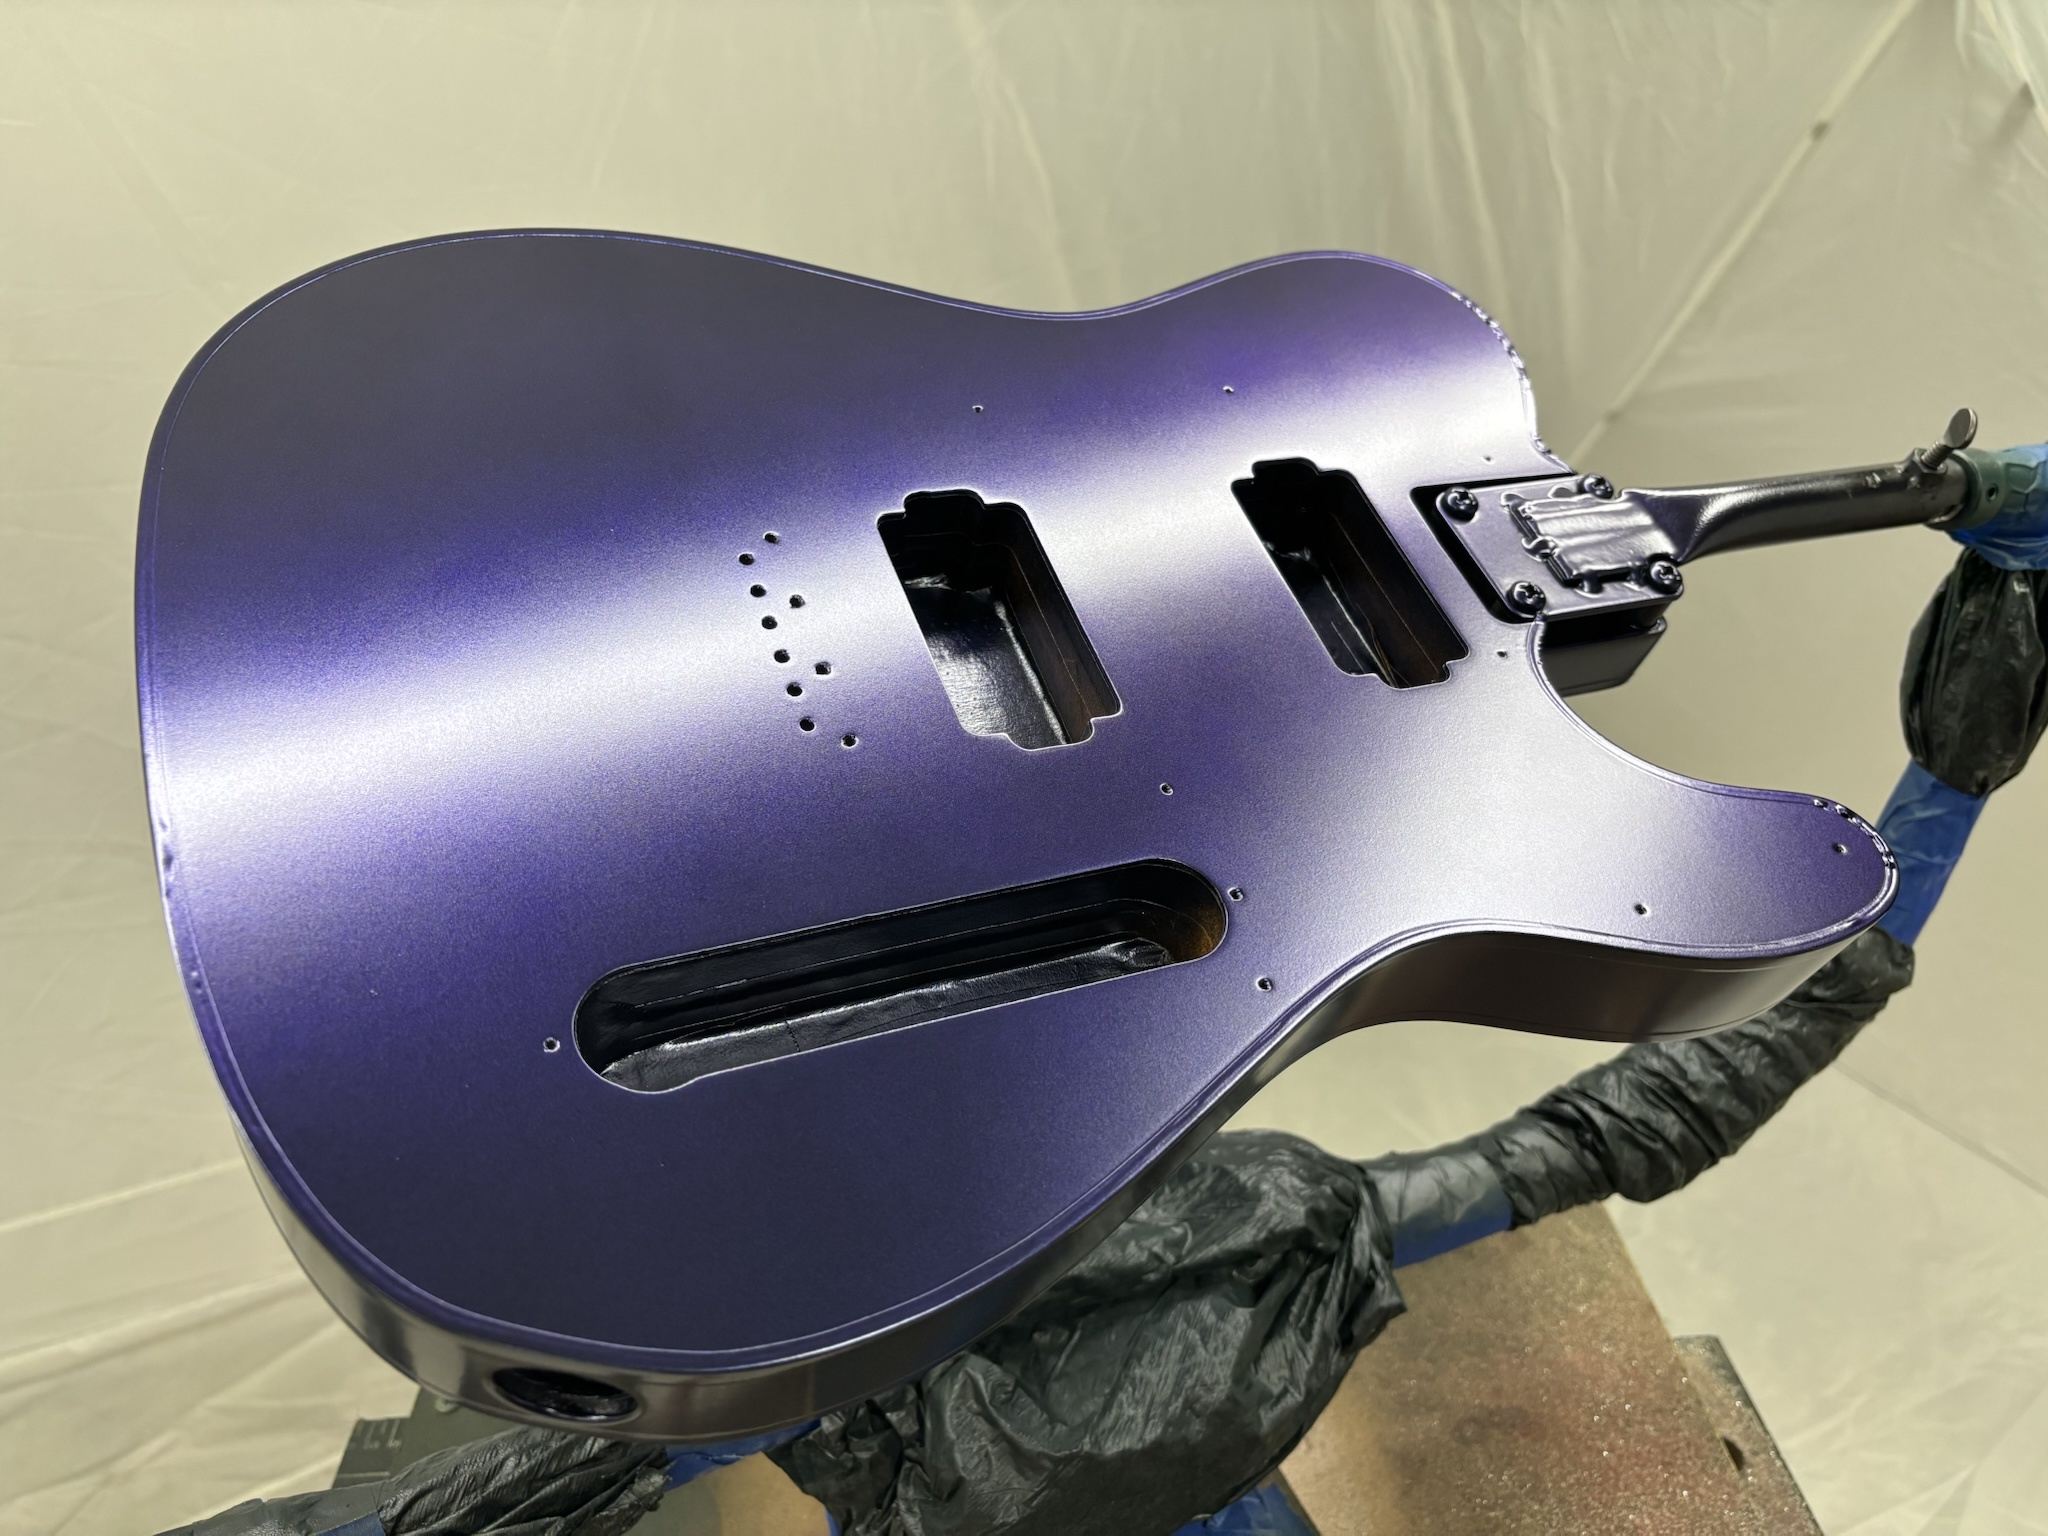
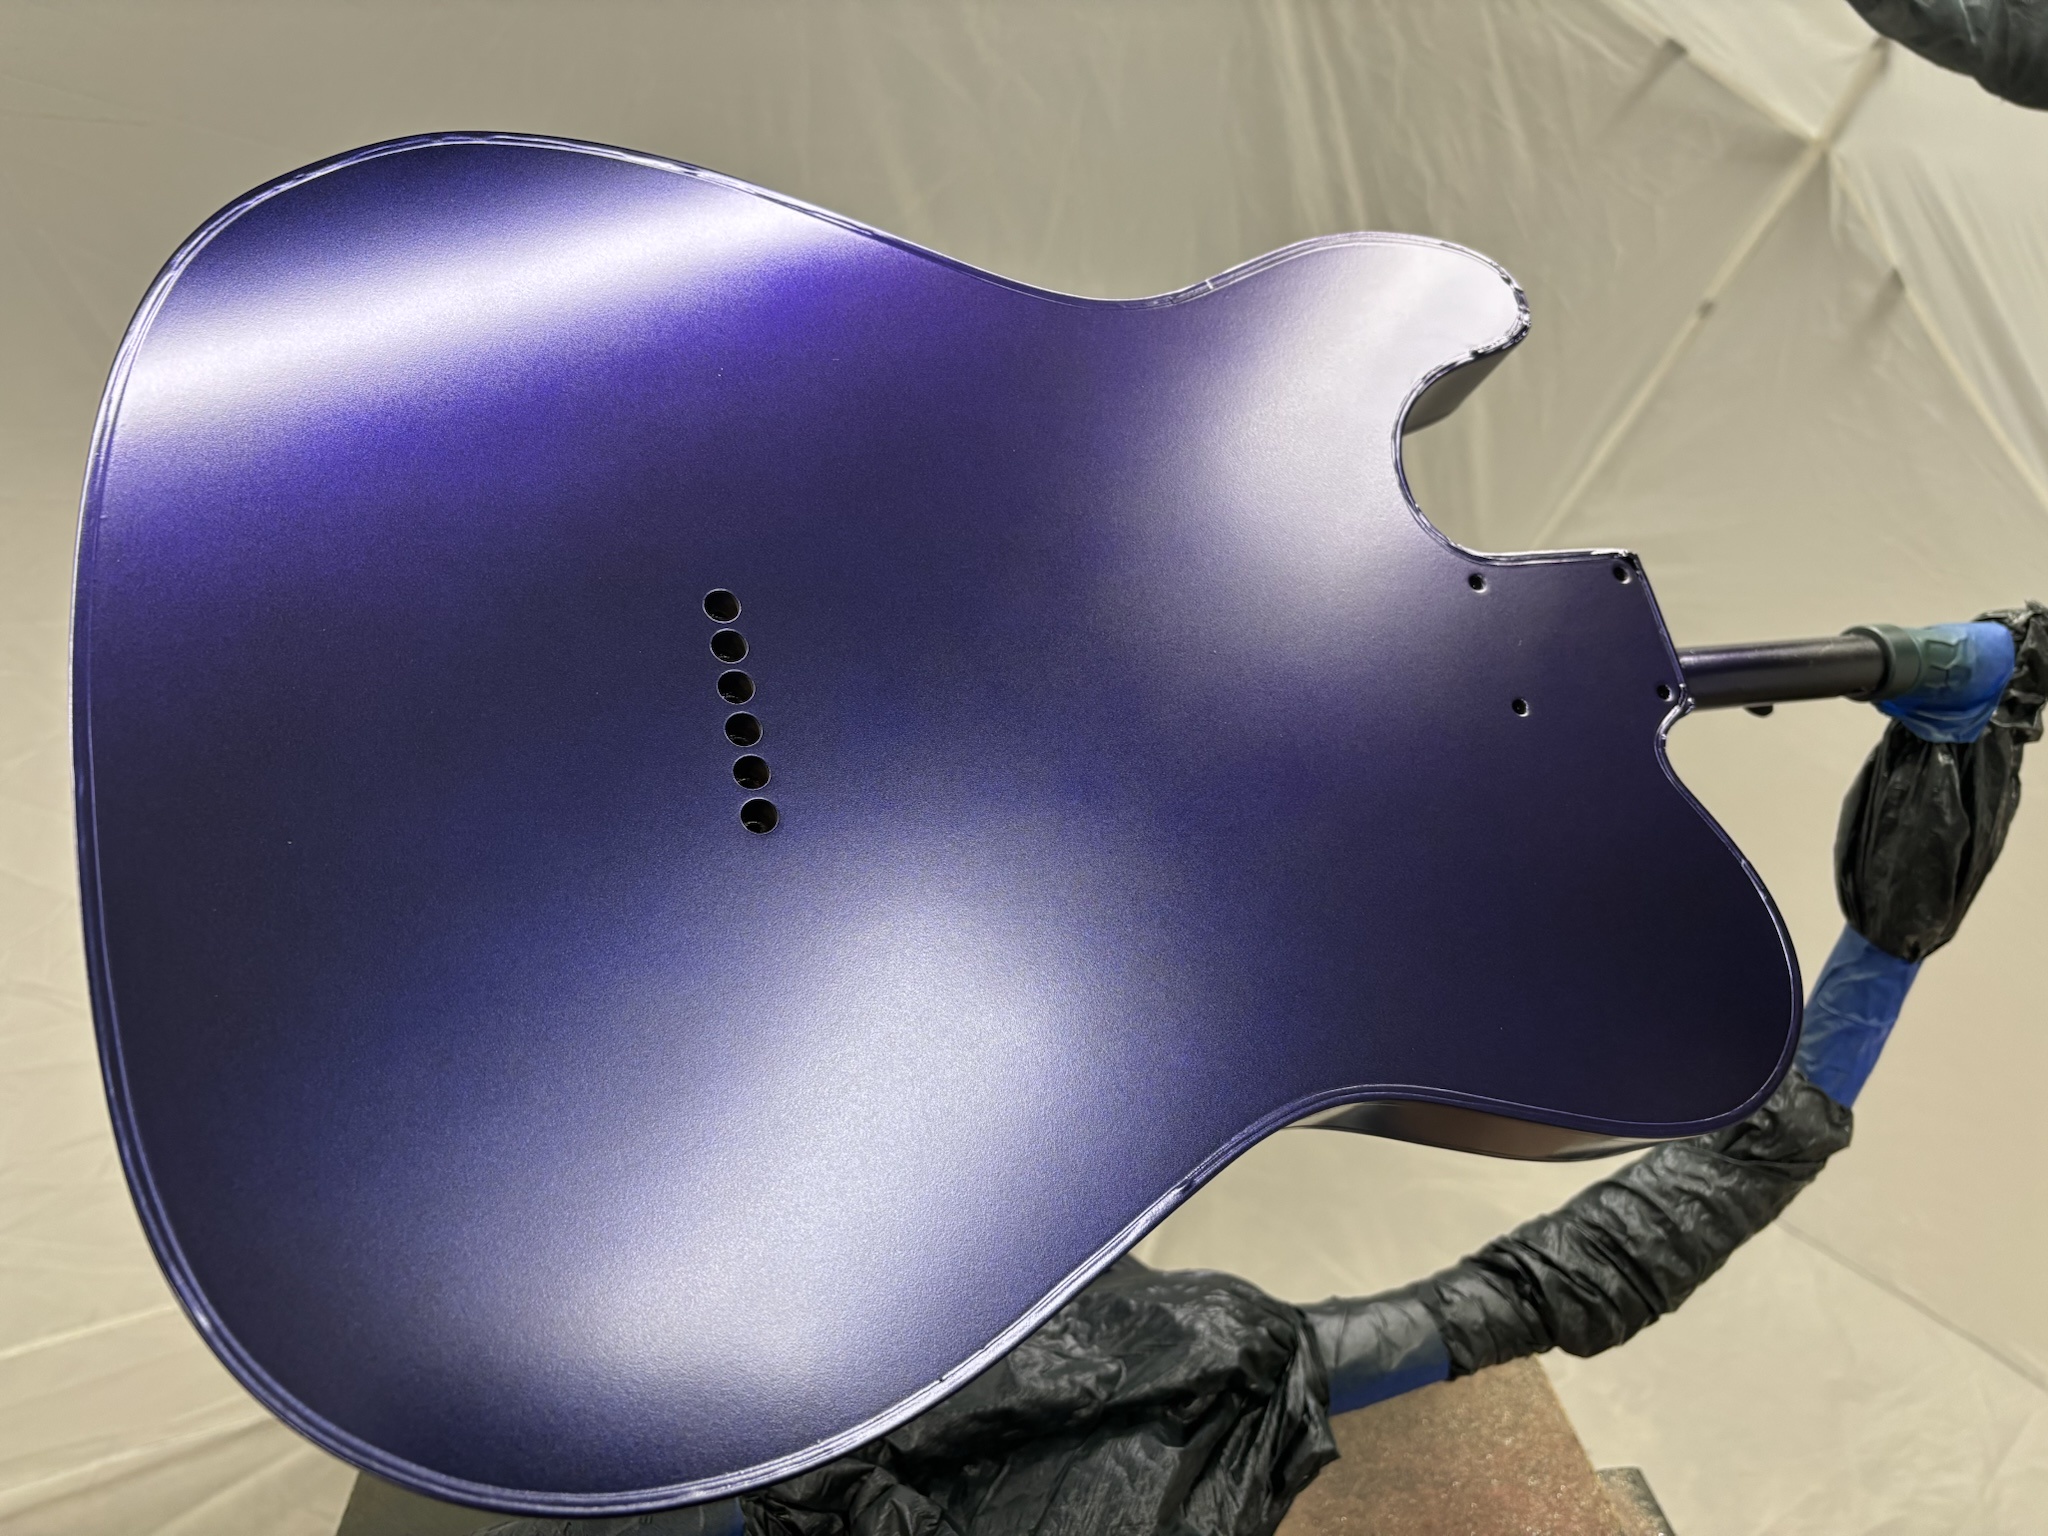
A few light, misty passes over the black and this is the result.
ZuzakZK.jpg


EO72sOn.jpg


Pulled the tape off the binding and letting it sit overnight before cleaning up the binding and shooting top coat.
CsWqAhw.jpg


mzyfkPu.jpg


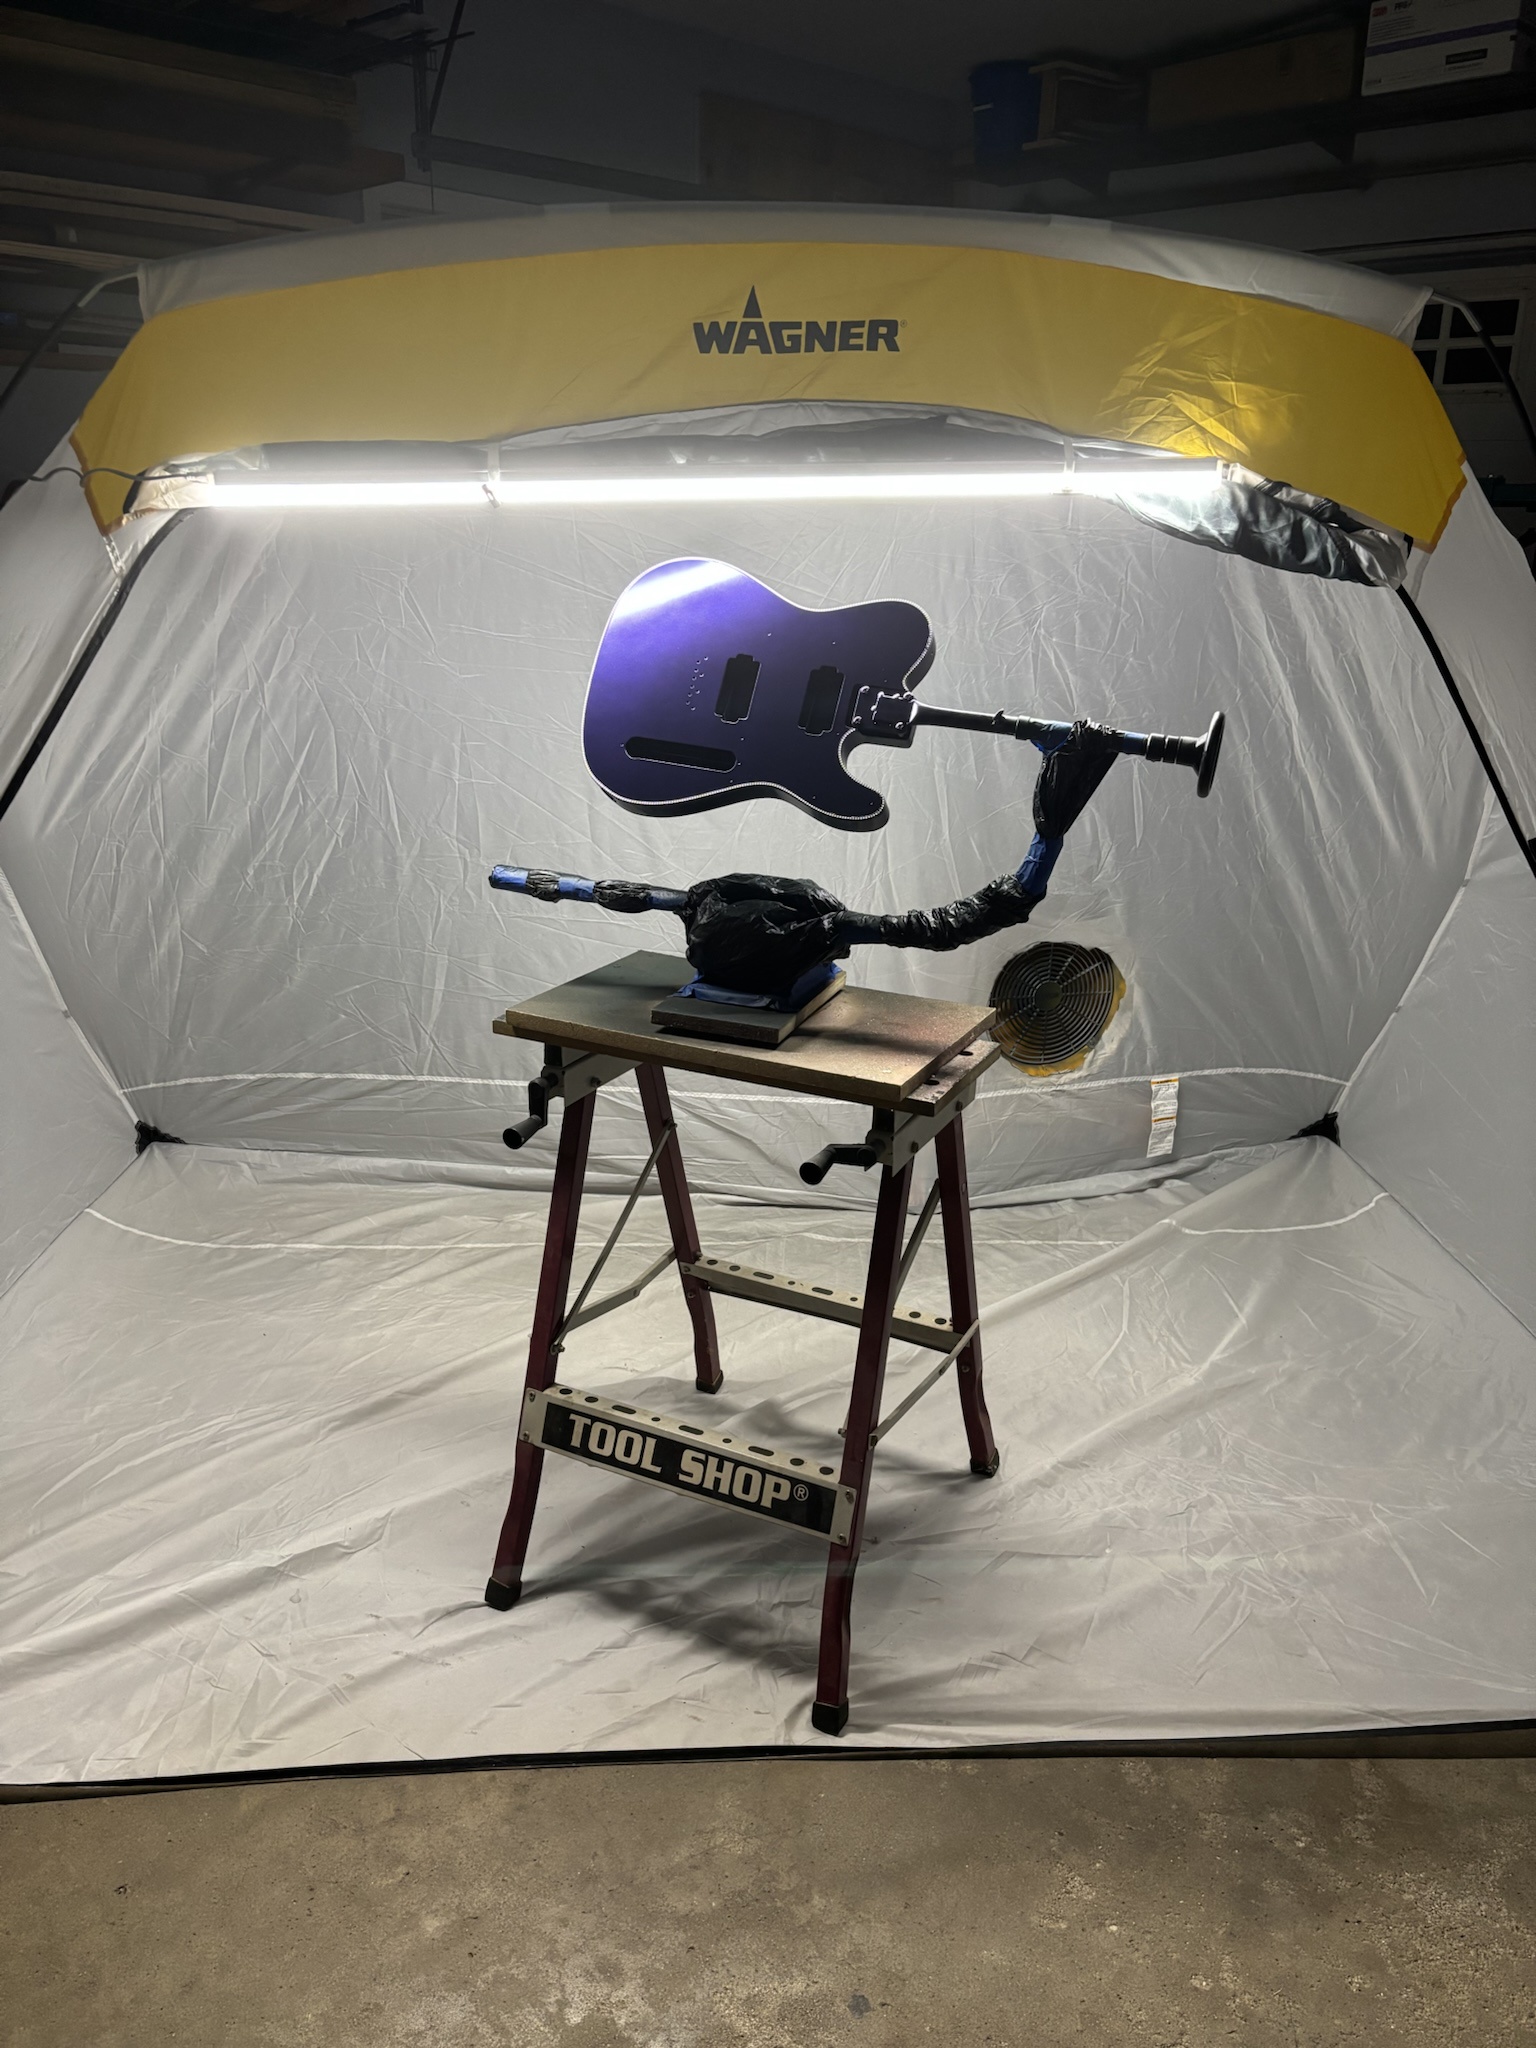
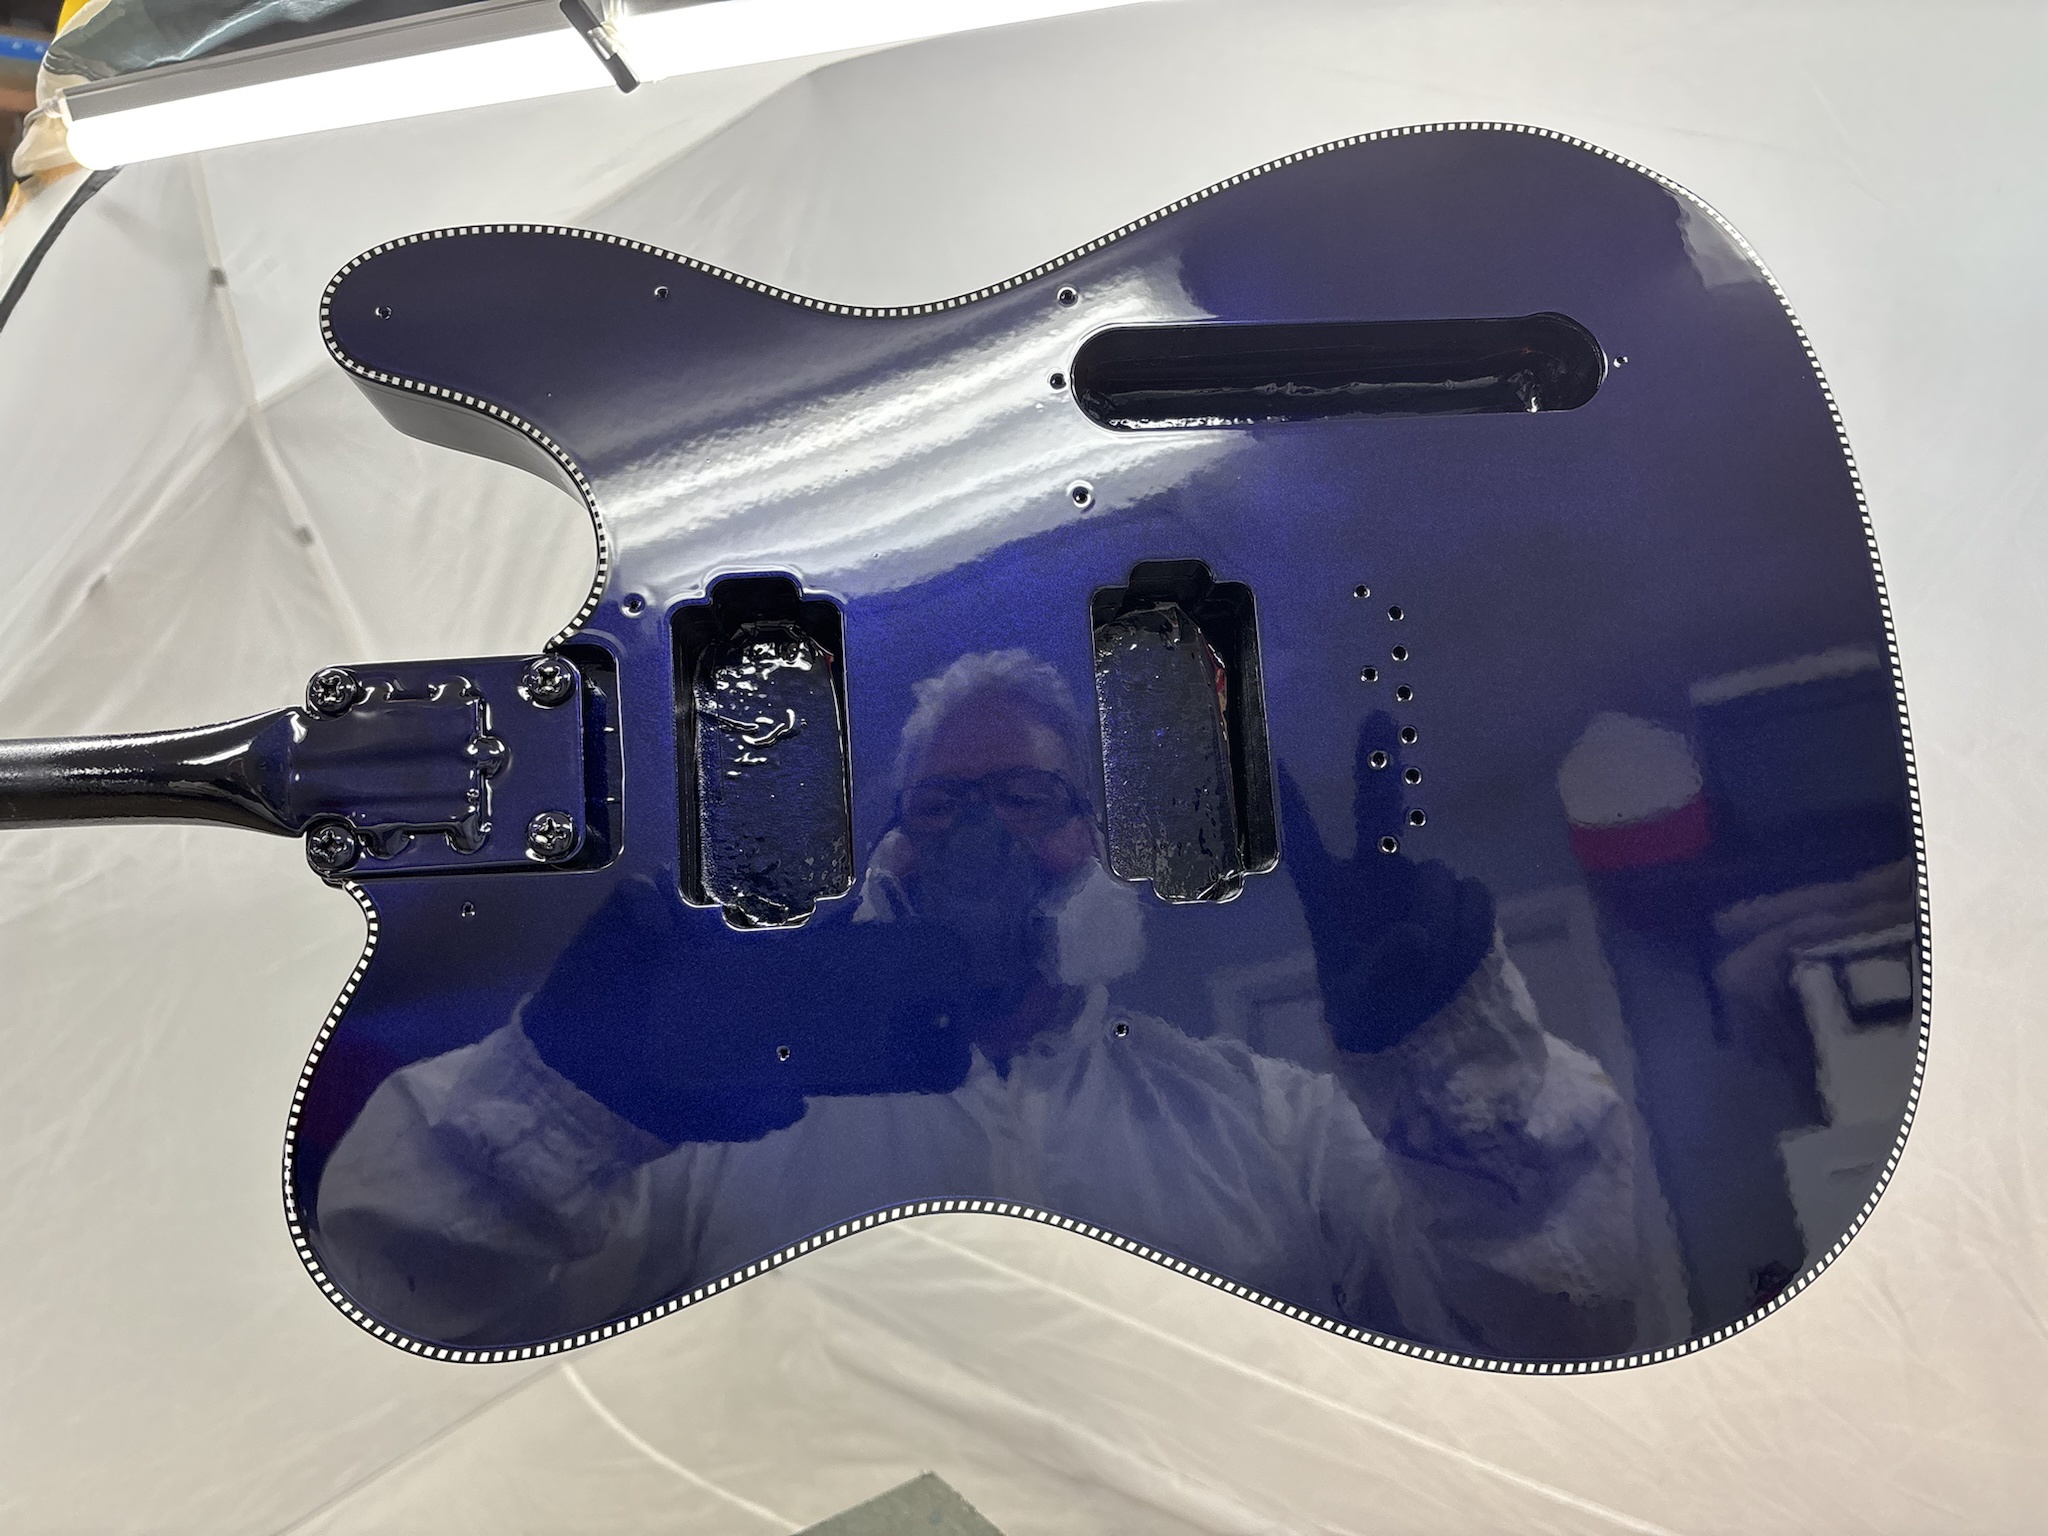
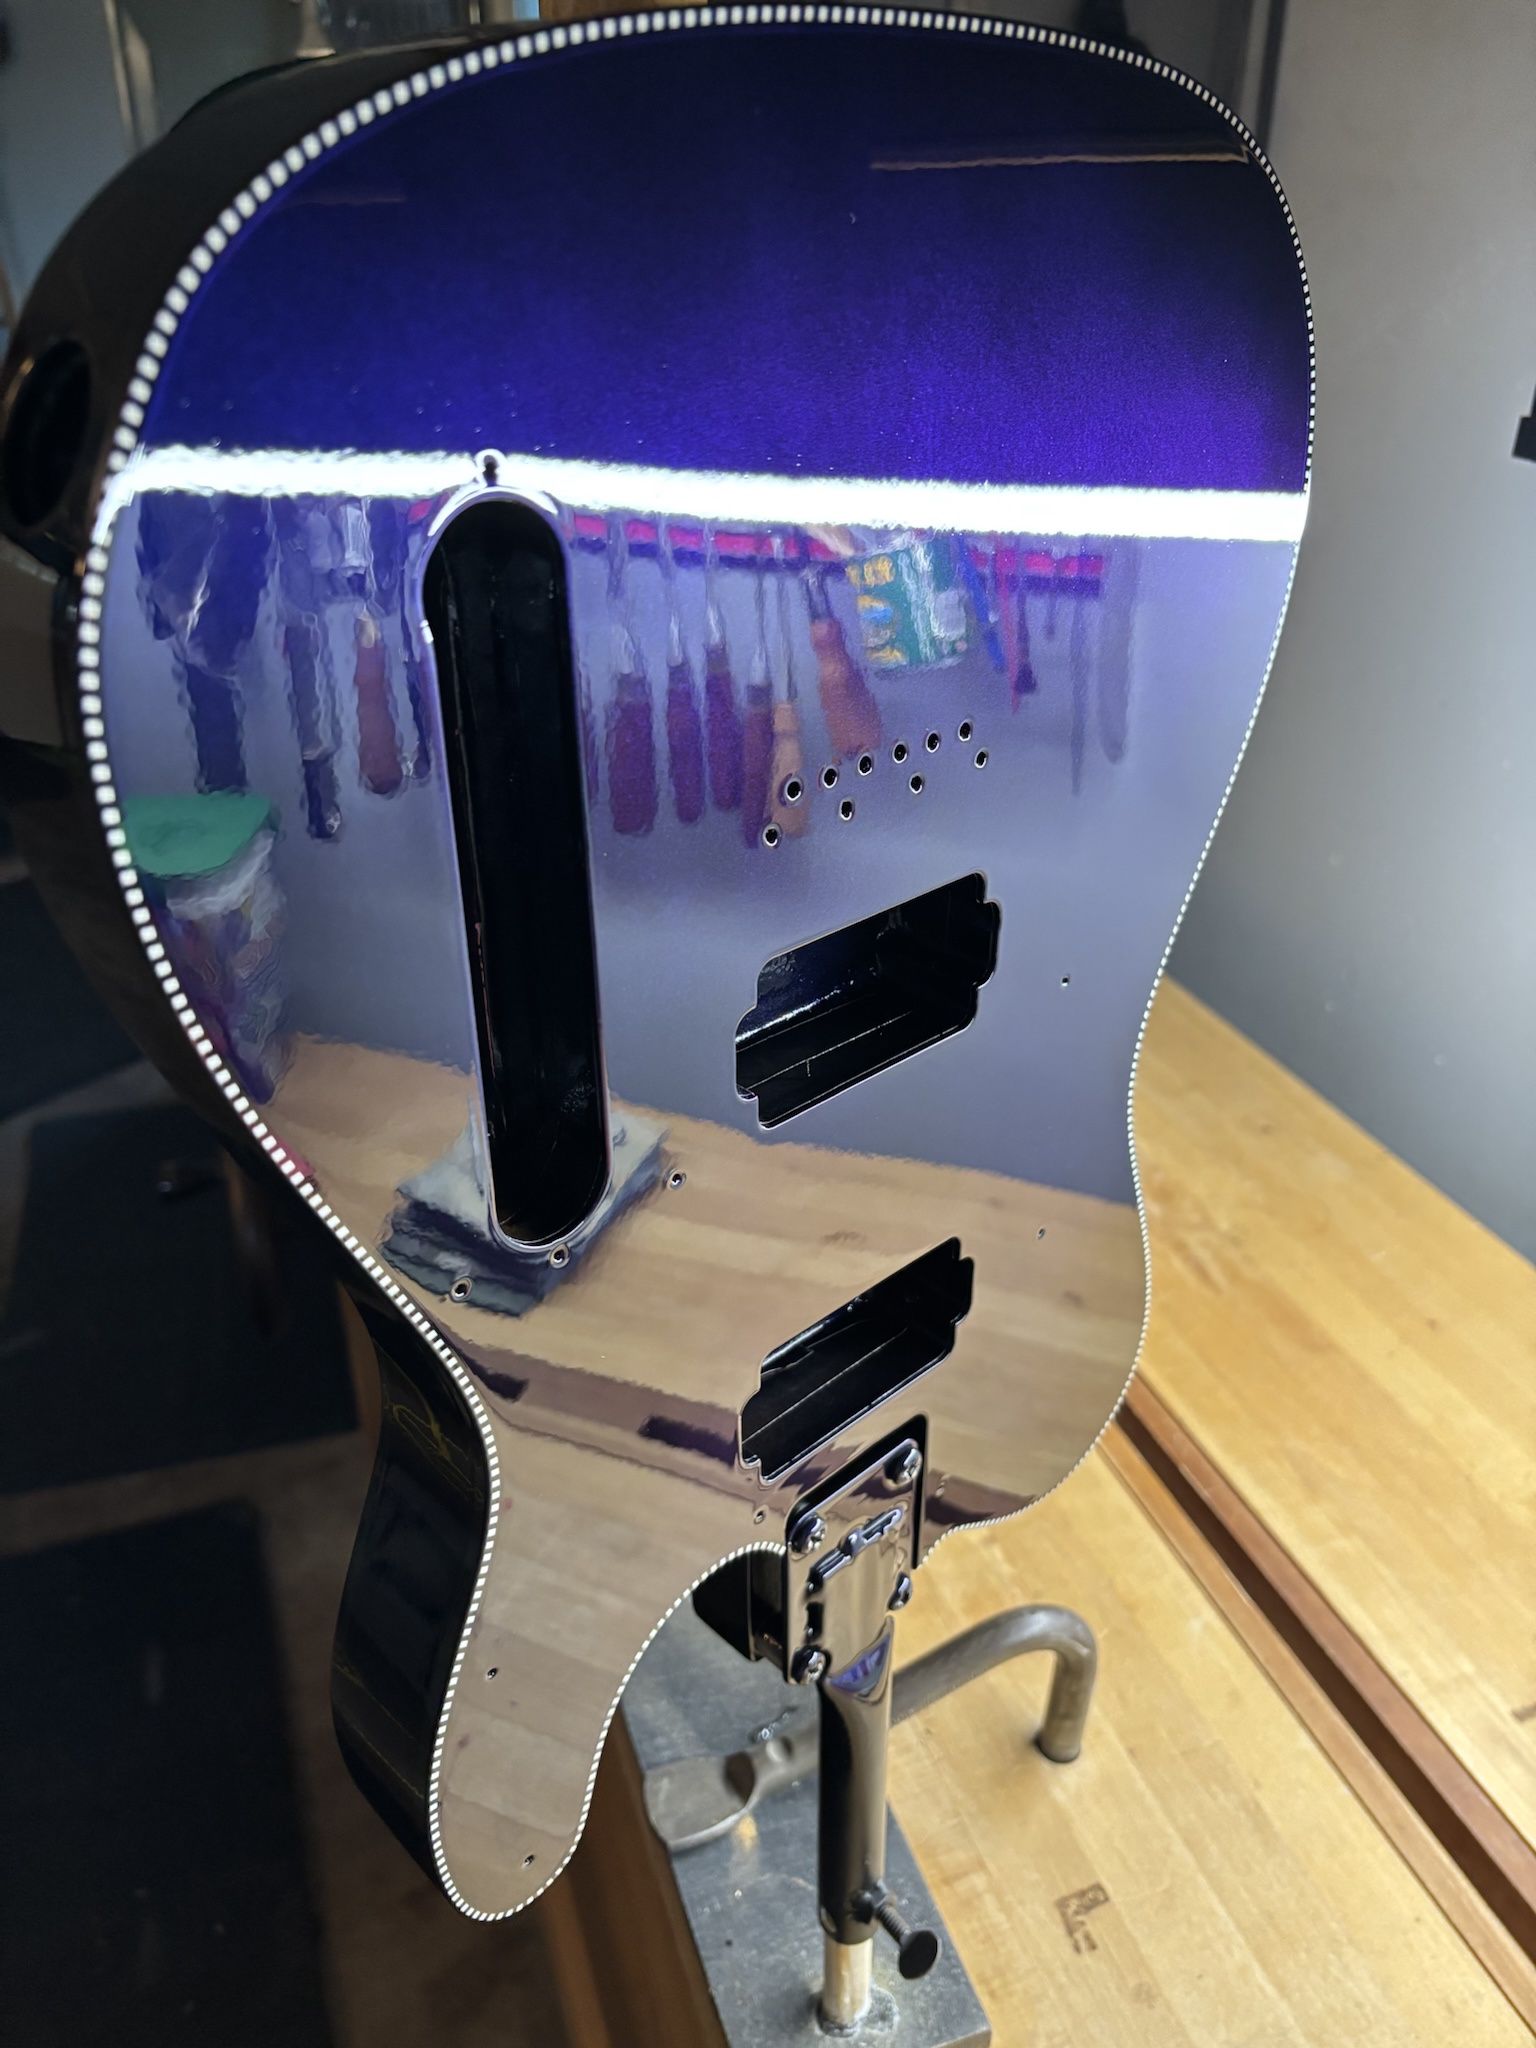
Top coat being applied (3 coats total).
04vfH3z.jpg


5OHs0LQ.jpg


Can't wait to see this thing polished out! :thumbsup: