- Jul 1, 2005
- 514
- 1,594
- Disclosures
- Builder, m7bassworks.com
A few days ago I posted a picture of some knobs I made in my build thread Build #2 & #3 - A modern single cut with a twist . A few folks asked for more details on how it was done, so I though I would post it in it's own thread.
There are probably a ton of ways to do this, but here is how I did it.
Step 1: cut squares from raw stock
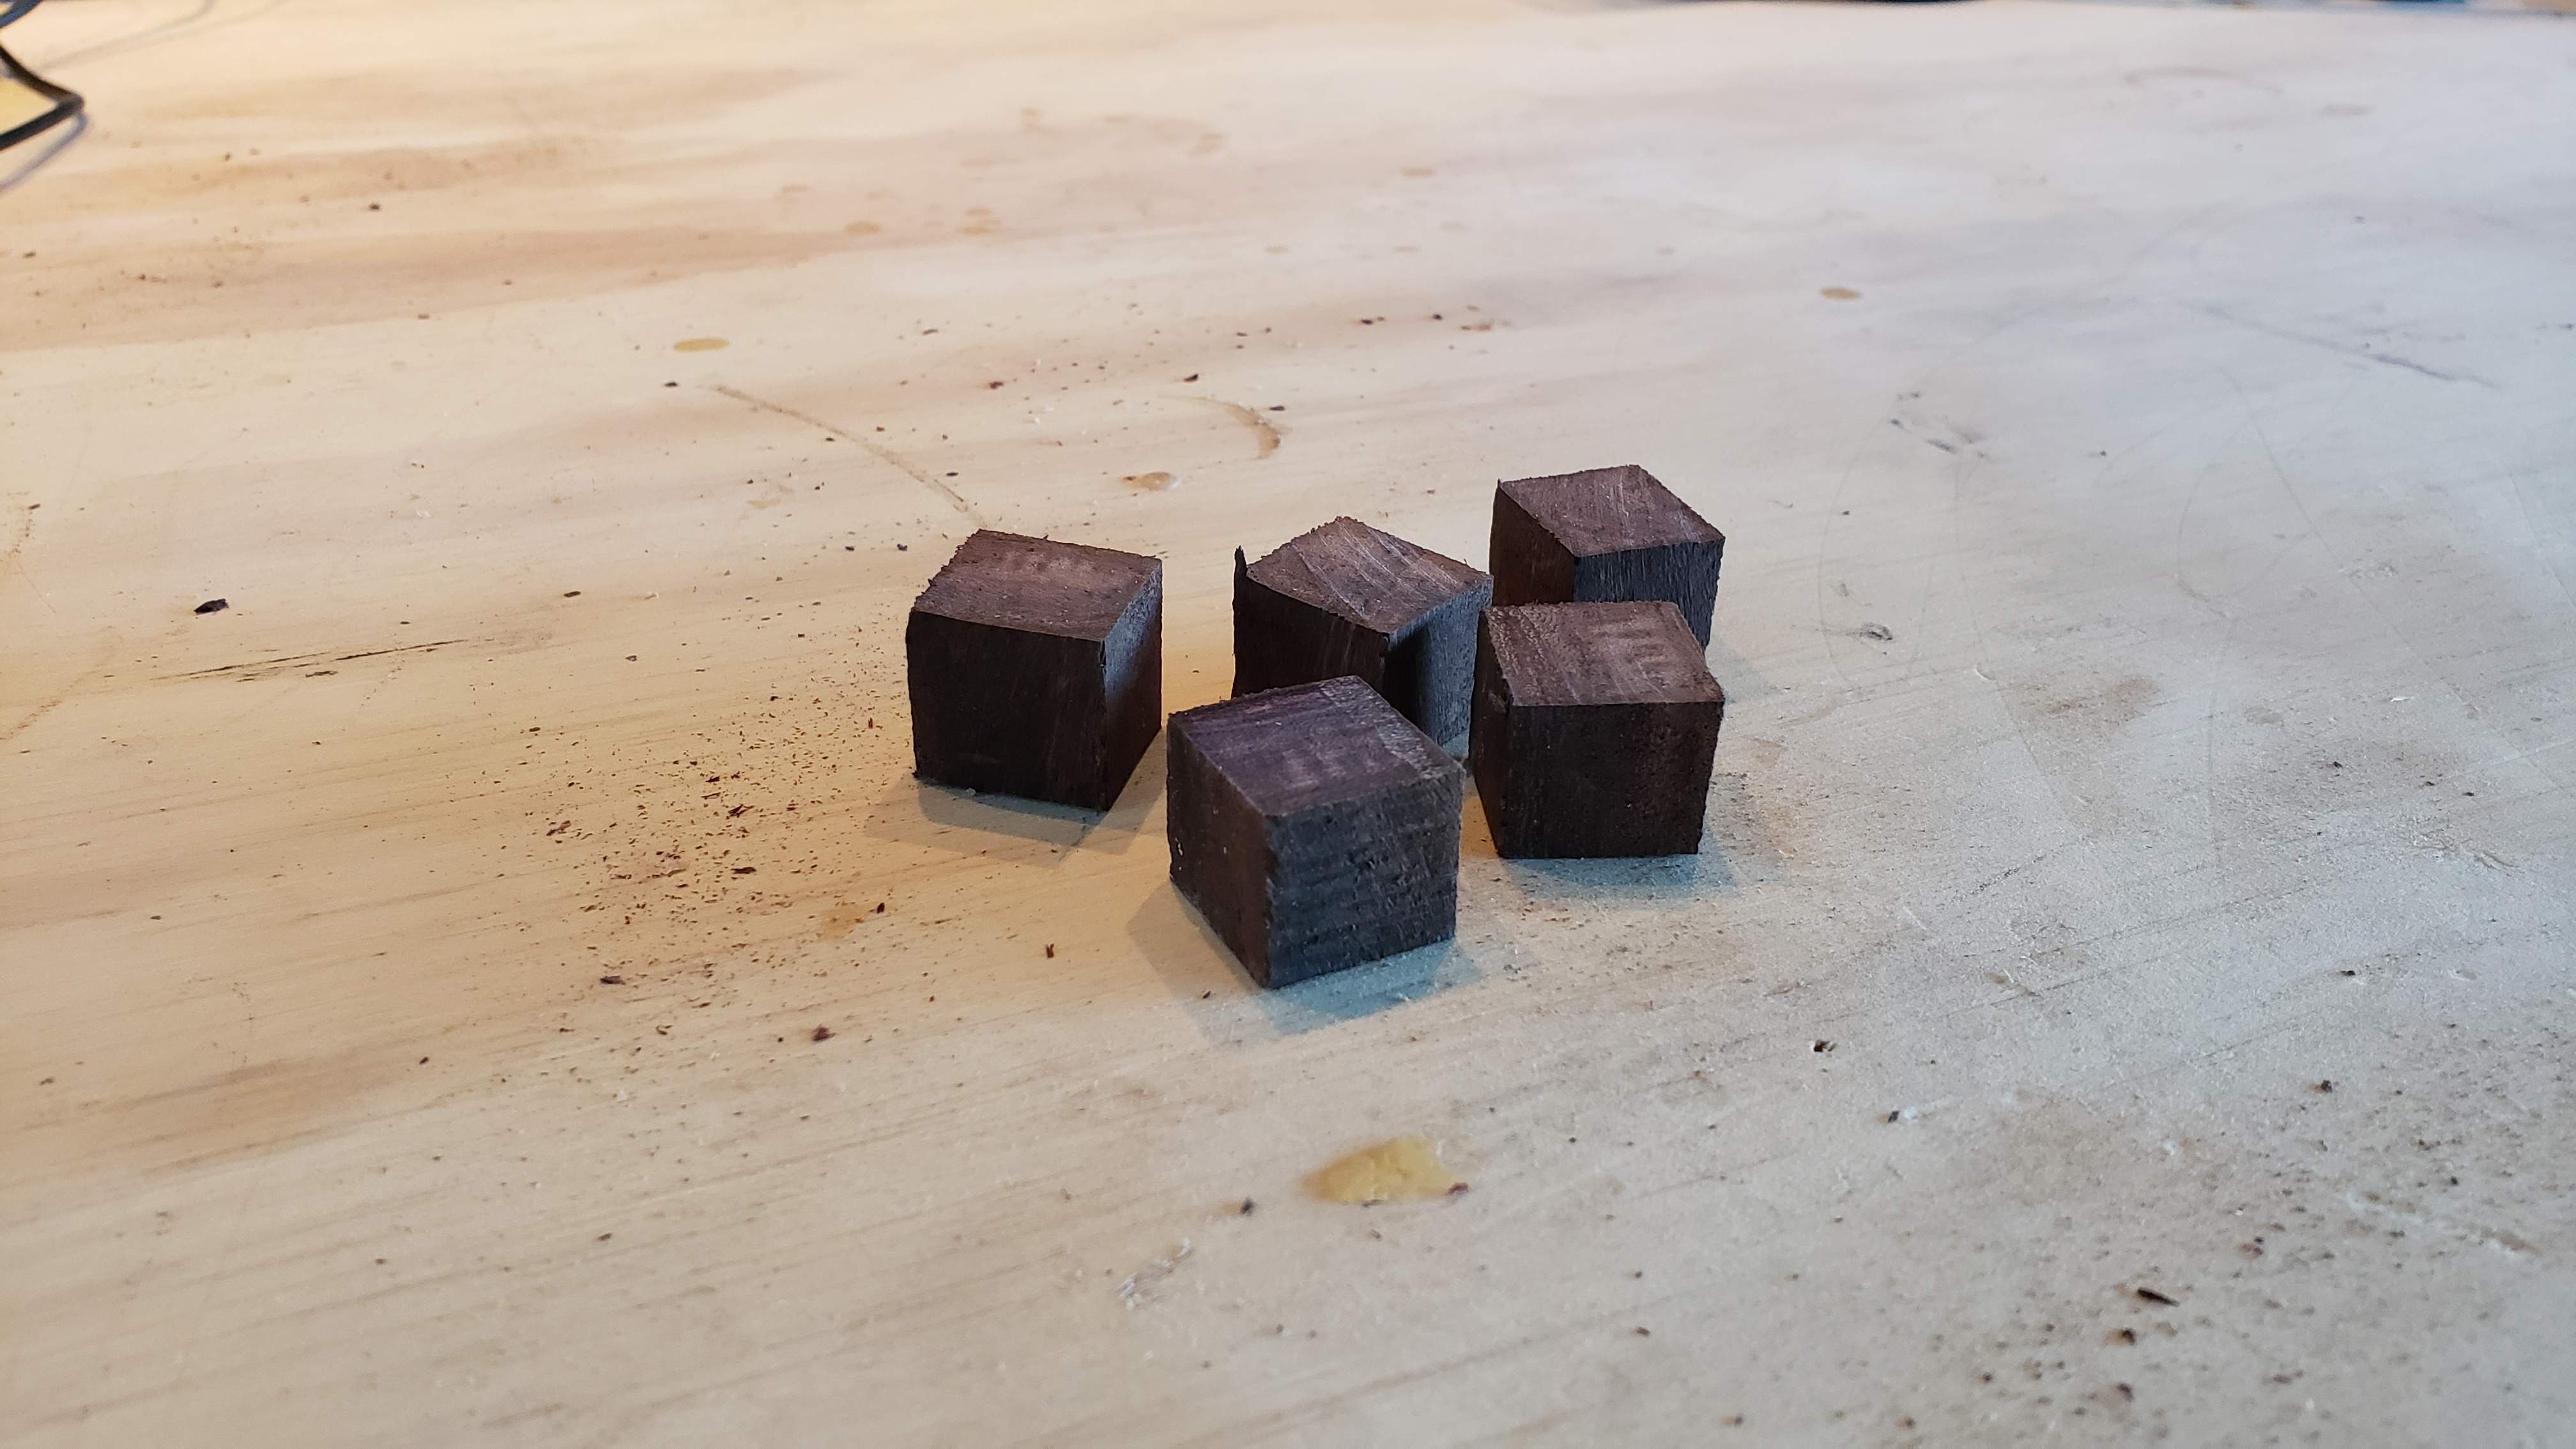
I bought some pen blanks in Indian Rosewood to match the body top on my current build. The stock is roughly 3/4" square. I marked the height I wanted each knob (11/16" in my case), and cut 5 squares.

Step 2: Add center marks
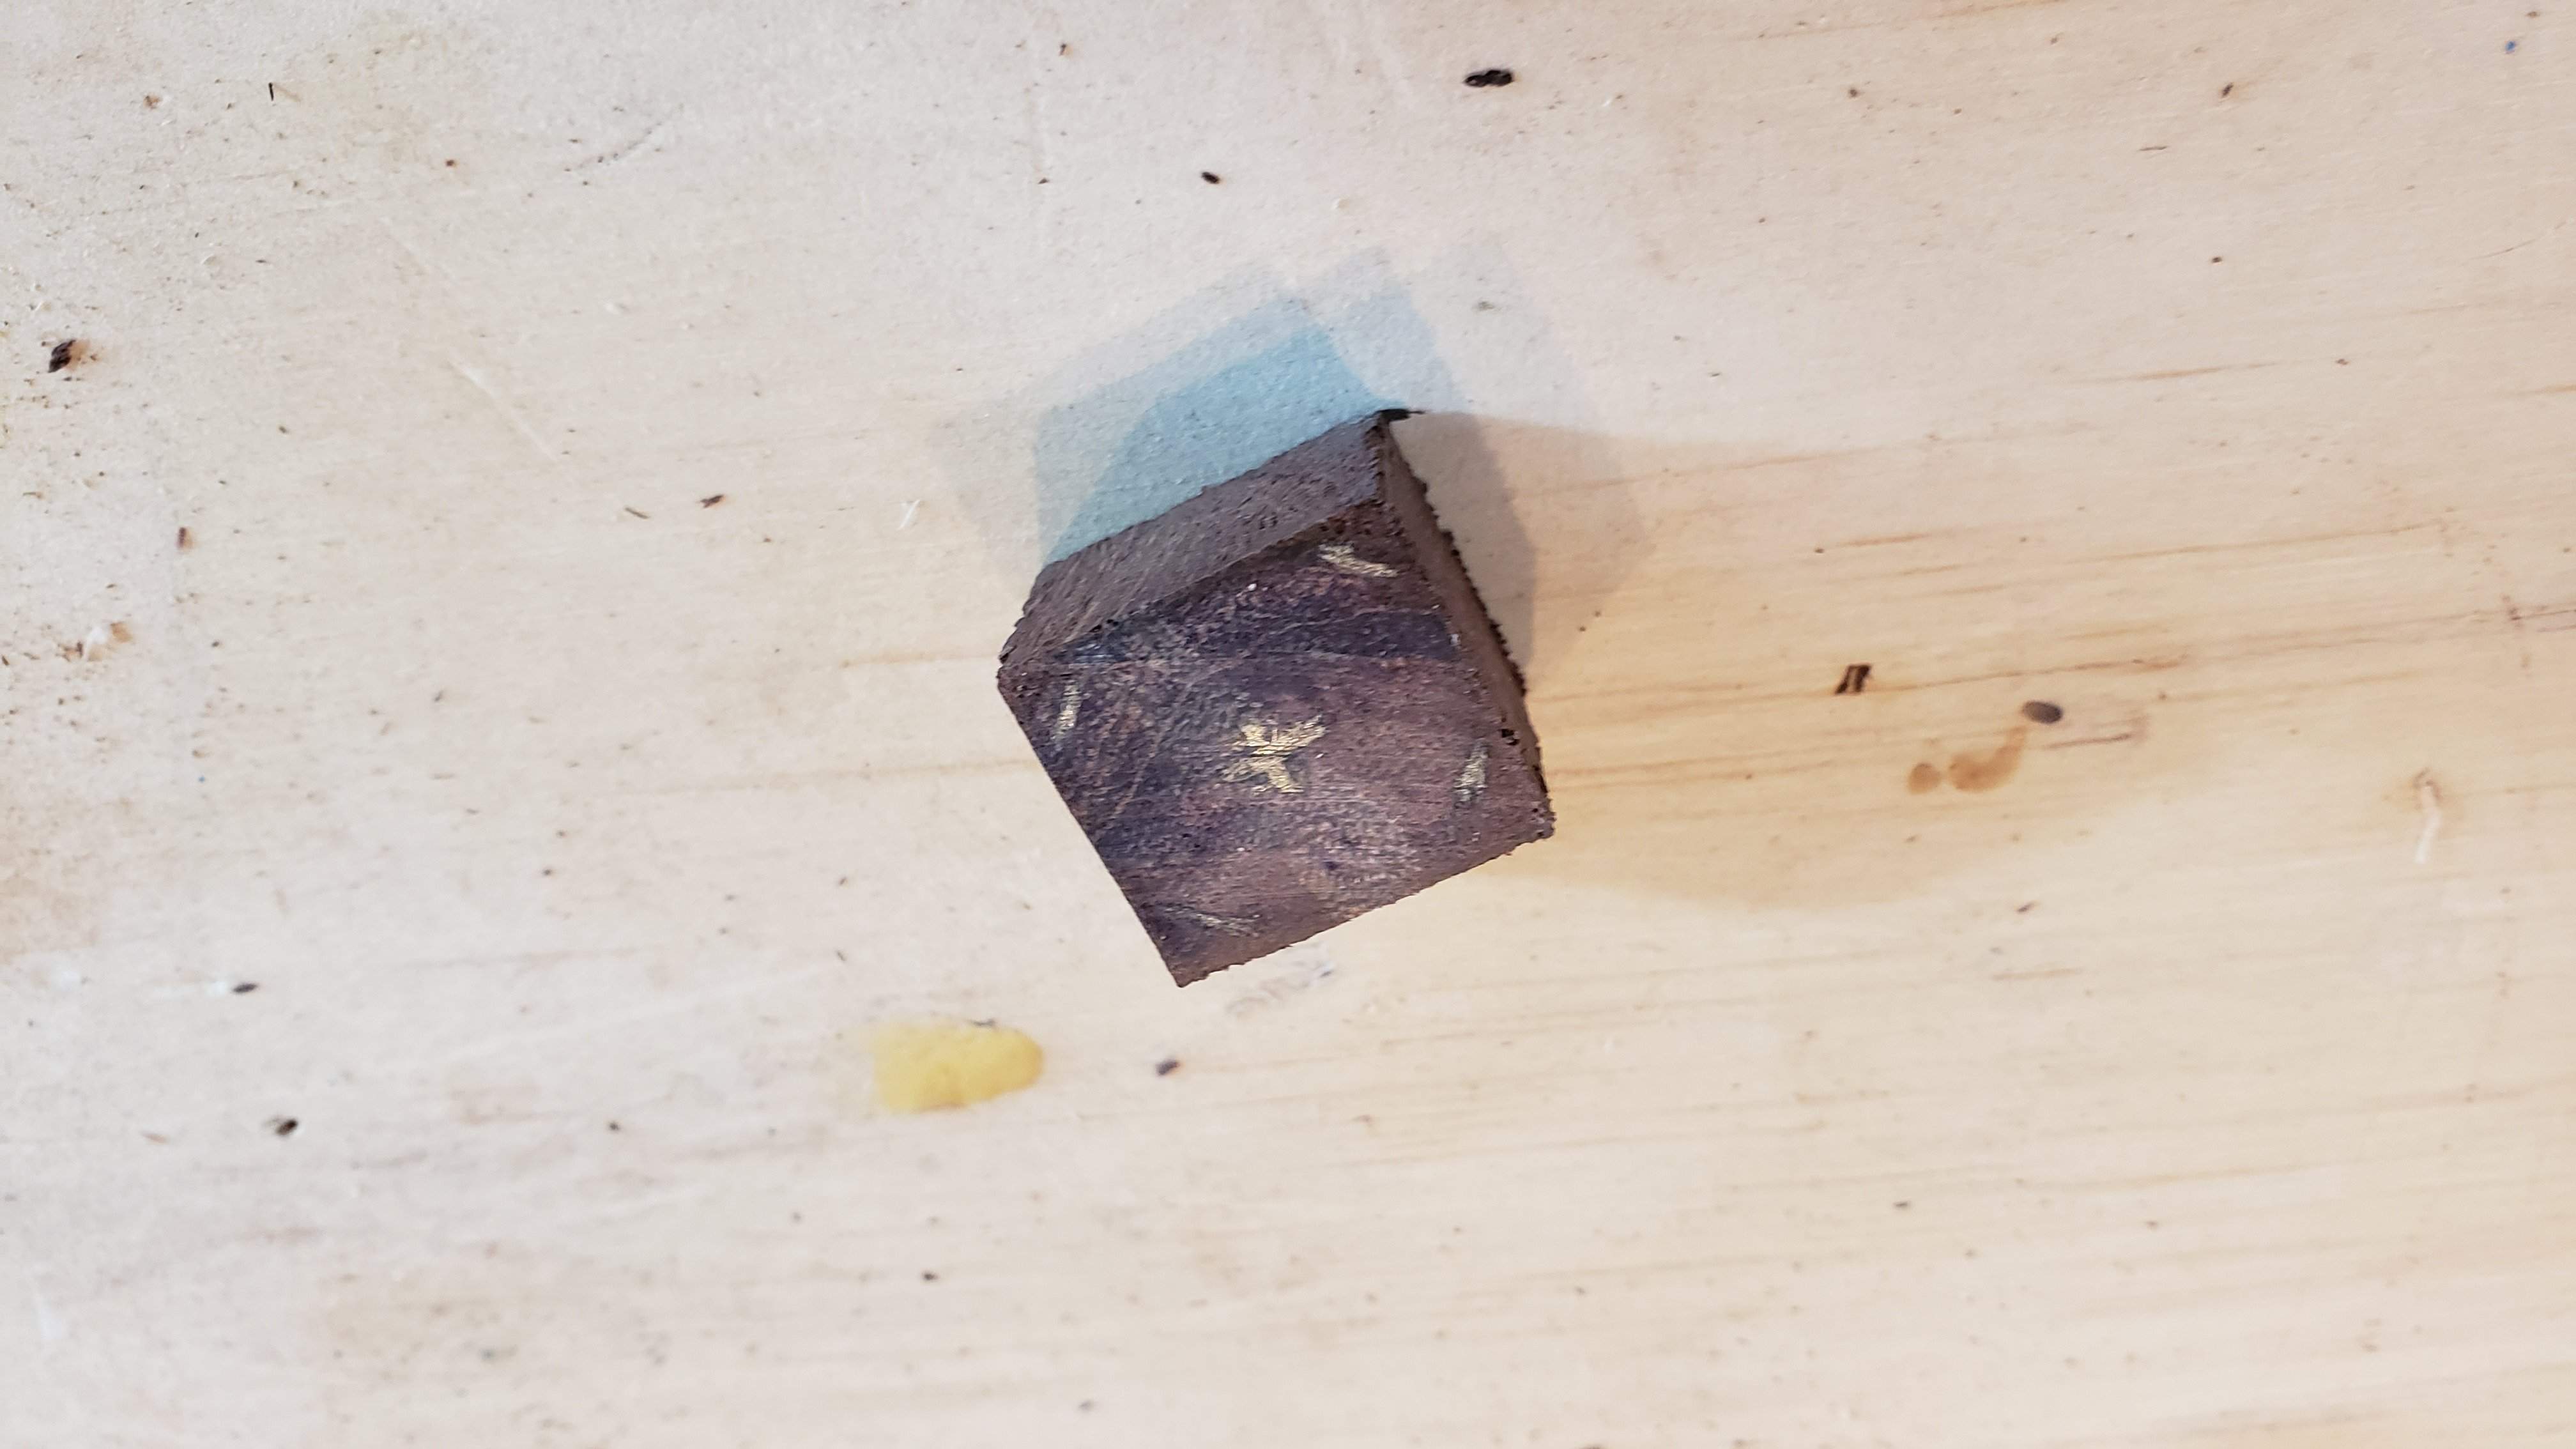
Next I marked the center on each square. This is where the shaft hole will be drilled. I also added reference marks for the corners by measuring the distance from the center to the edges. Be precise or your knobs may be smaller than you want
Step 3: Drill center holes
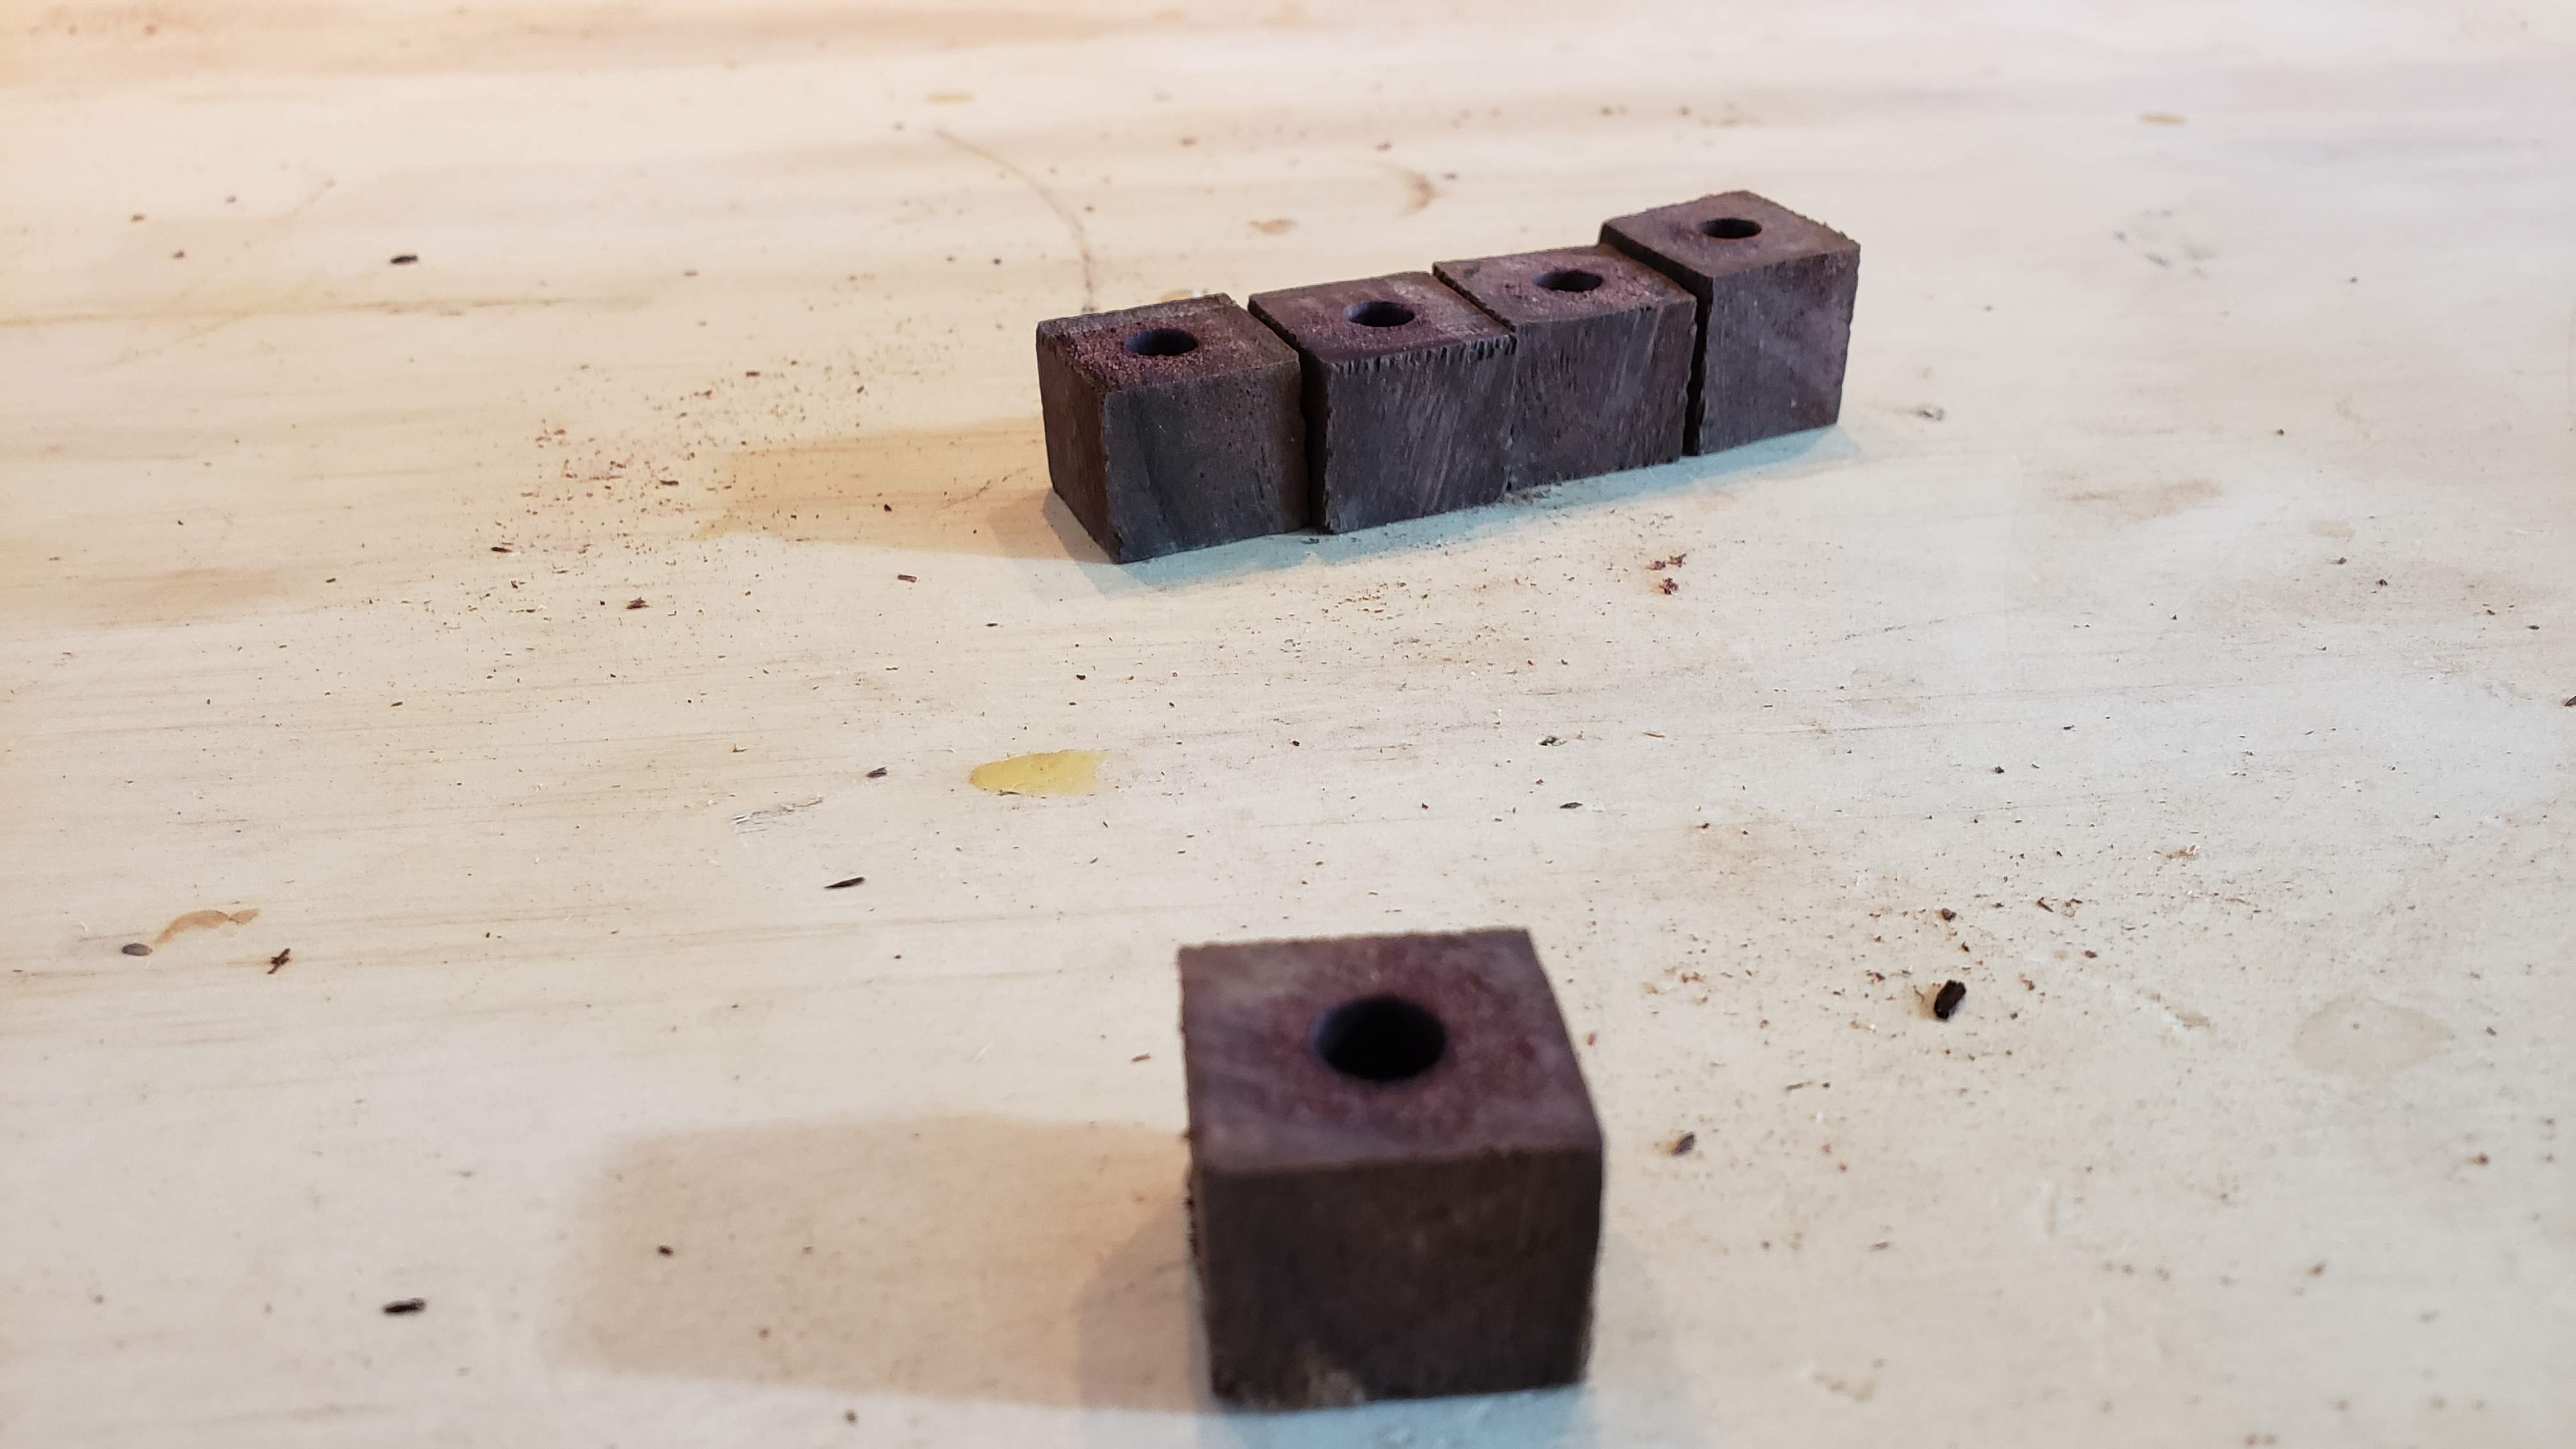
It is important to know what kind of pots you will be using and the shaft diameter. In my case I will have 6mm shafts for an Audere preamp. I drilled slightly larger holes (6.3 mm). You can also use the exact size, but they will have a super tight fit, this is a personal preference.
Step 4: Sand corners & install set screws
I hit the corners with my belt sander. This gets it a little closer to round and will save time later.
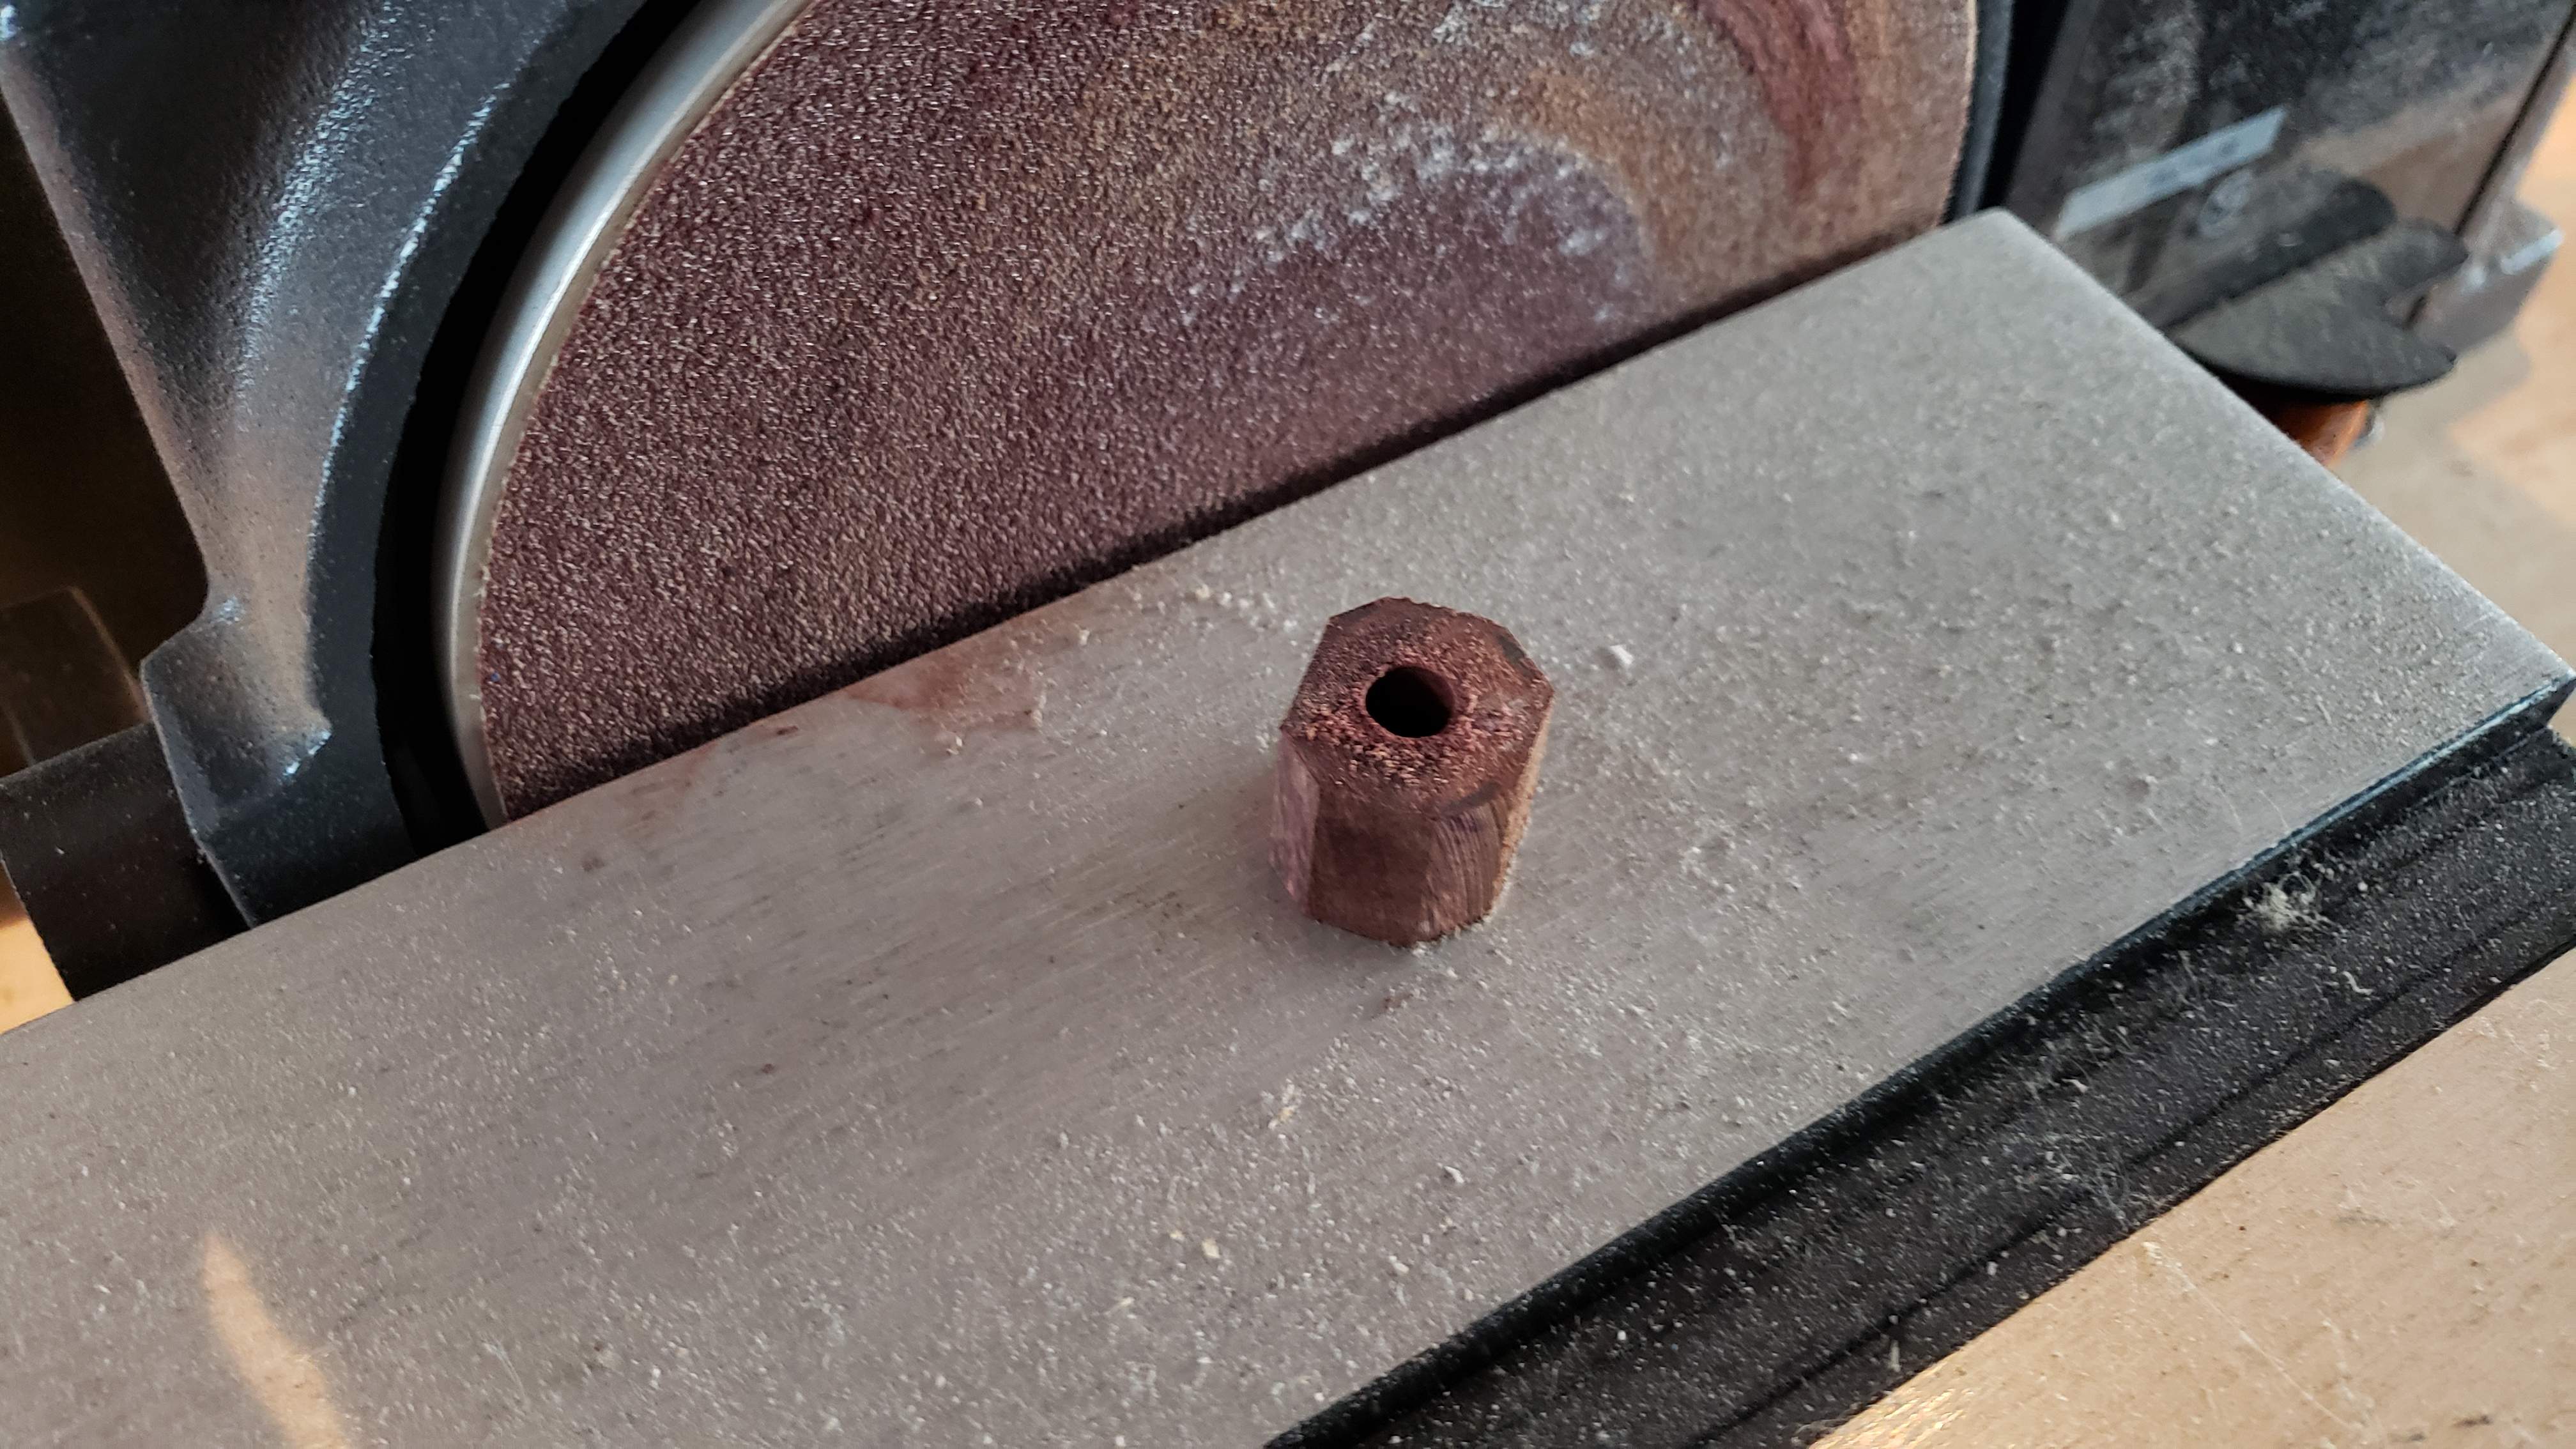
Next I drilled the set screw holes. In my case I used M3 5mm set screws. After a little experimentation, I ended up using a 1/8" drill bit. I also inserted the set screws at this point by screwing them in. I have found that if I insert them after the knobs are done, it can cause the wood to flare out or chip.
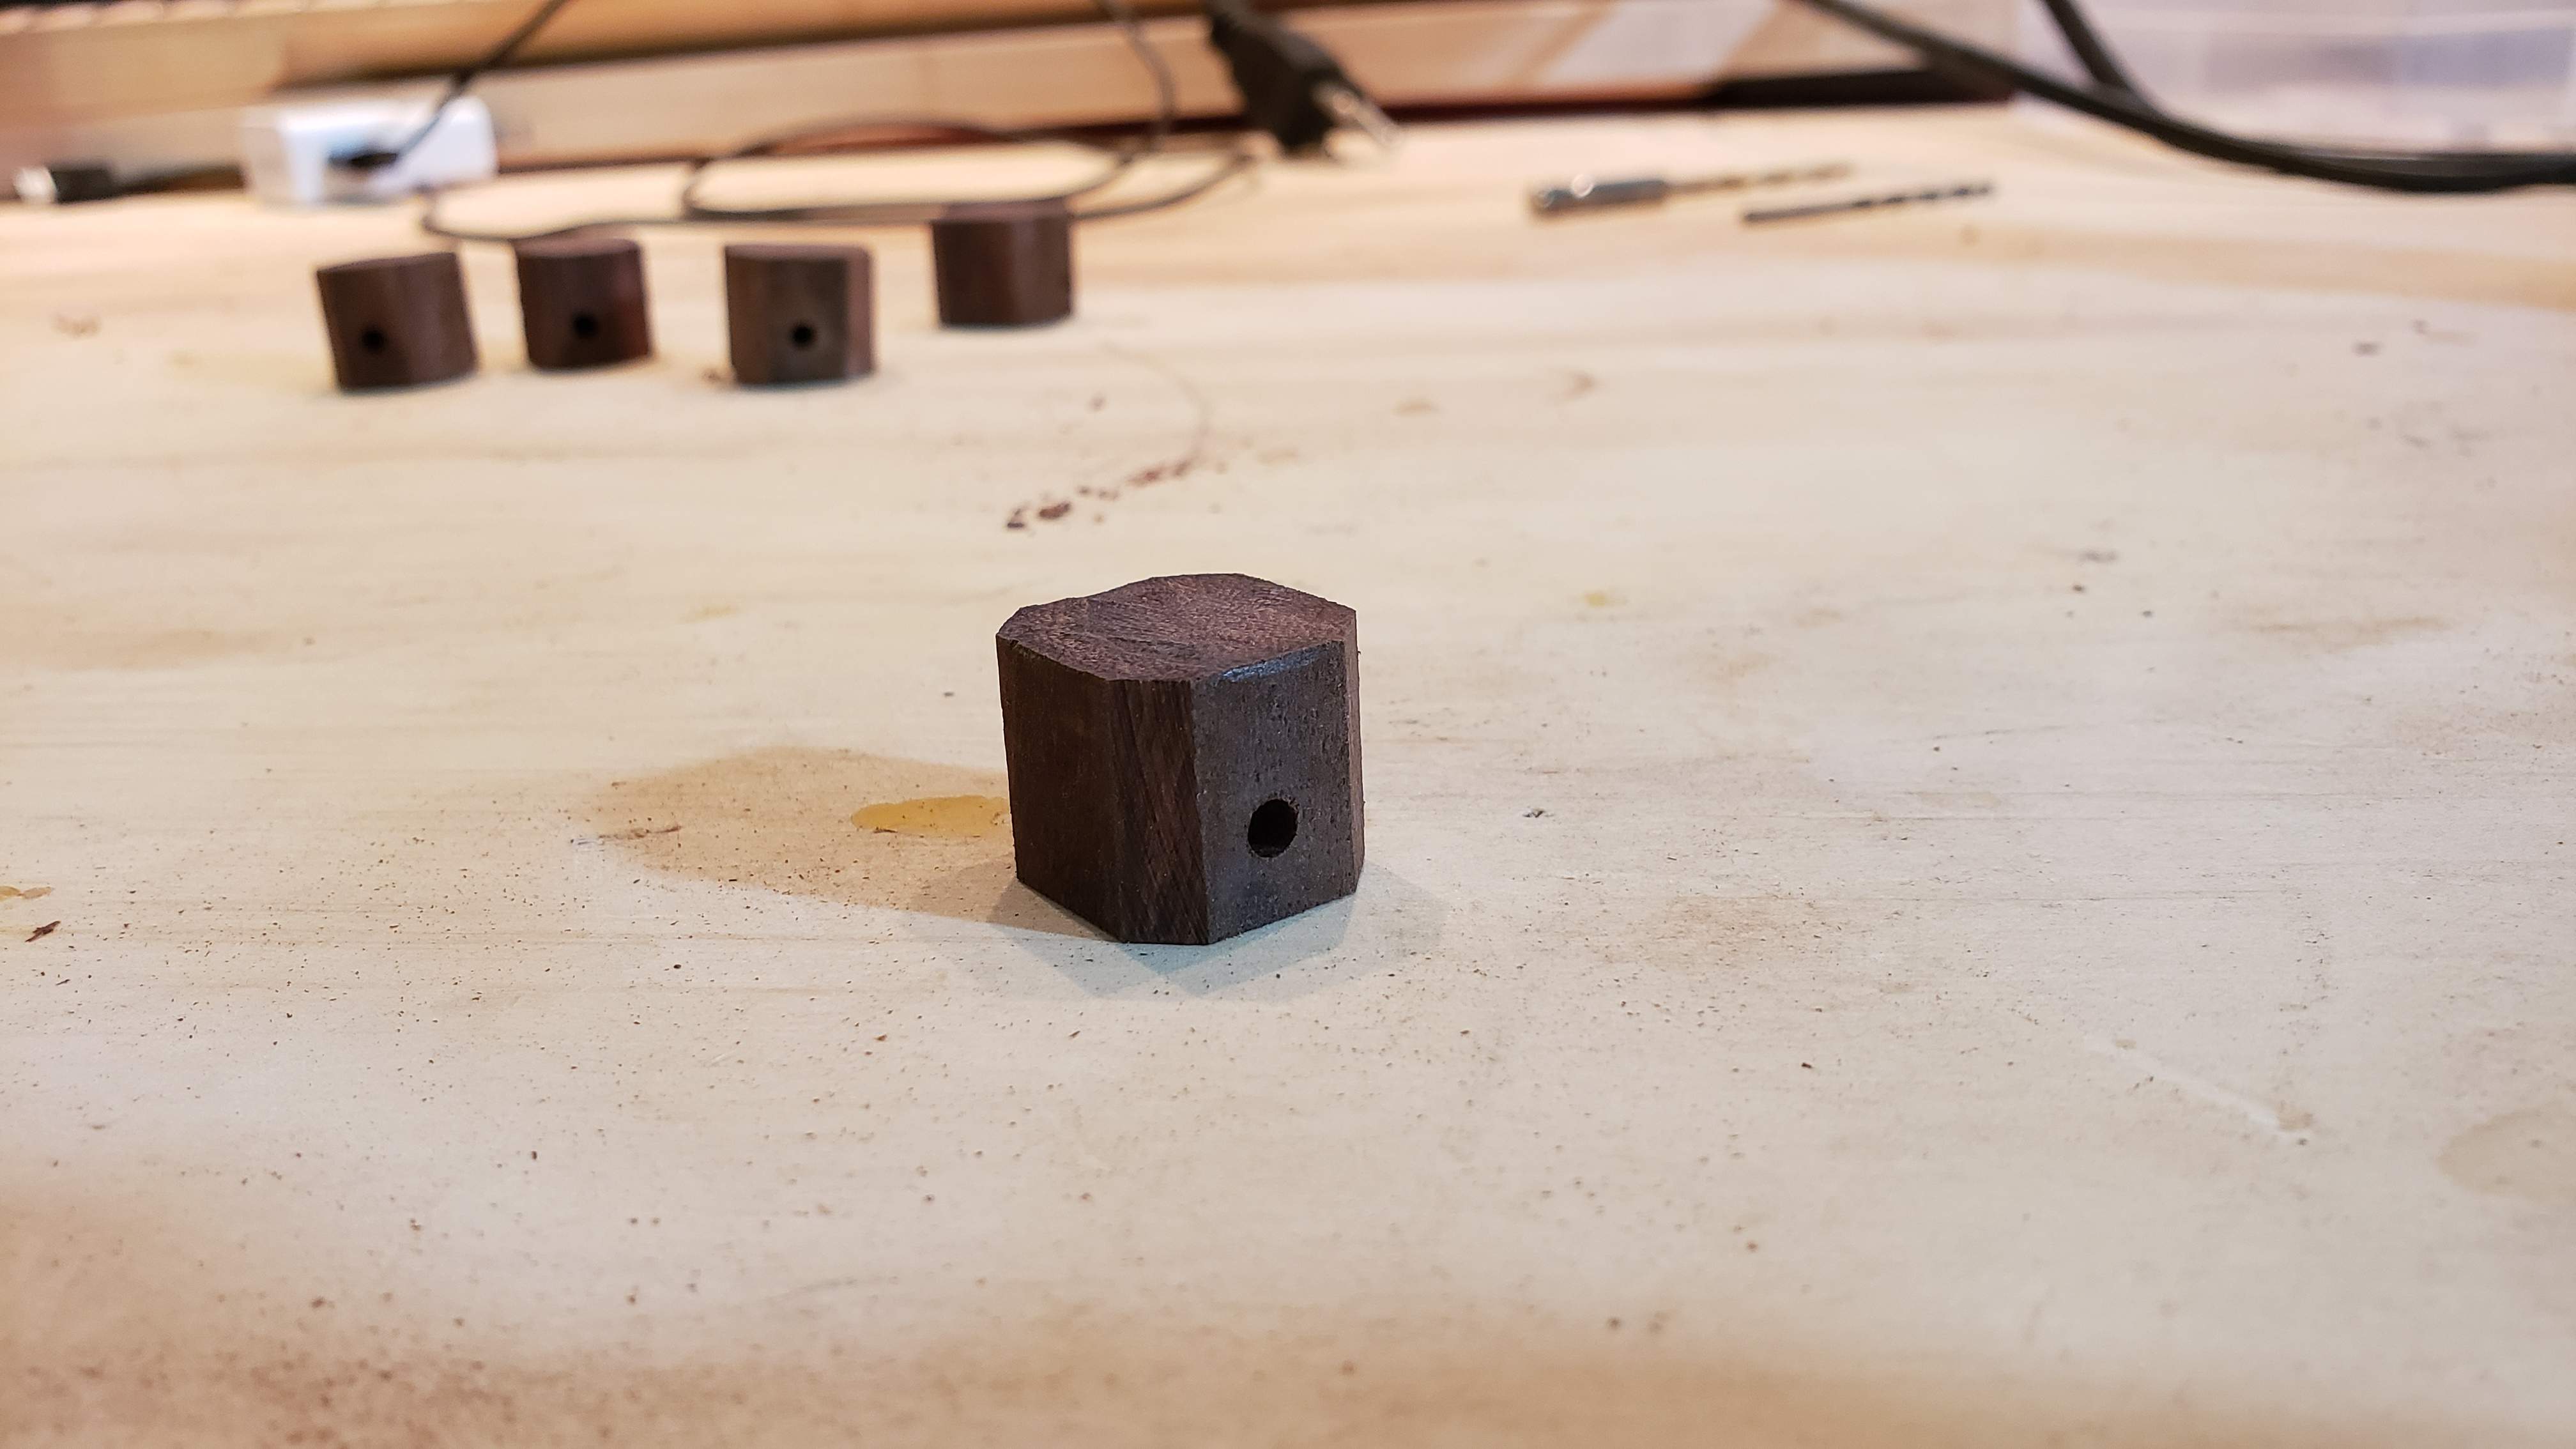
Step 5: Rough Sanding
Put the knob back onto the drill bit you used in Step 3. Using a sanding block (make sure it's square!) Begin rough sanding with coarse sandpaper. (I used 80 grit). Take it slow, don't press too hard against the bit. Just let the sandpaper do the work. Keep sanding until all the flat spots are gone, and continue until you get to your desired diameter. This takes anywhere from 1-5 minutes depending on how square your raw stock is.
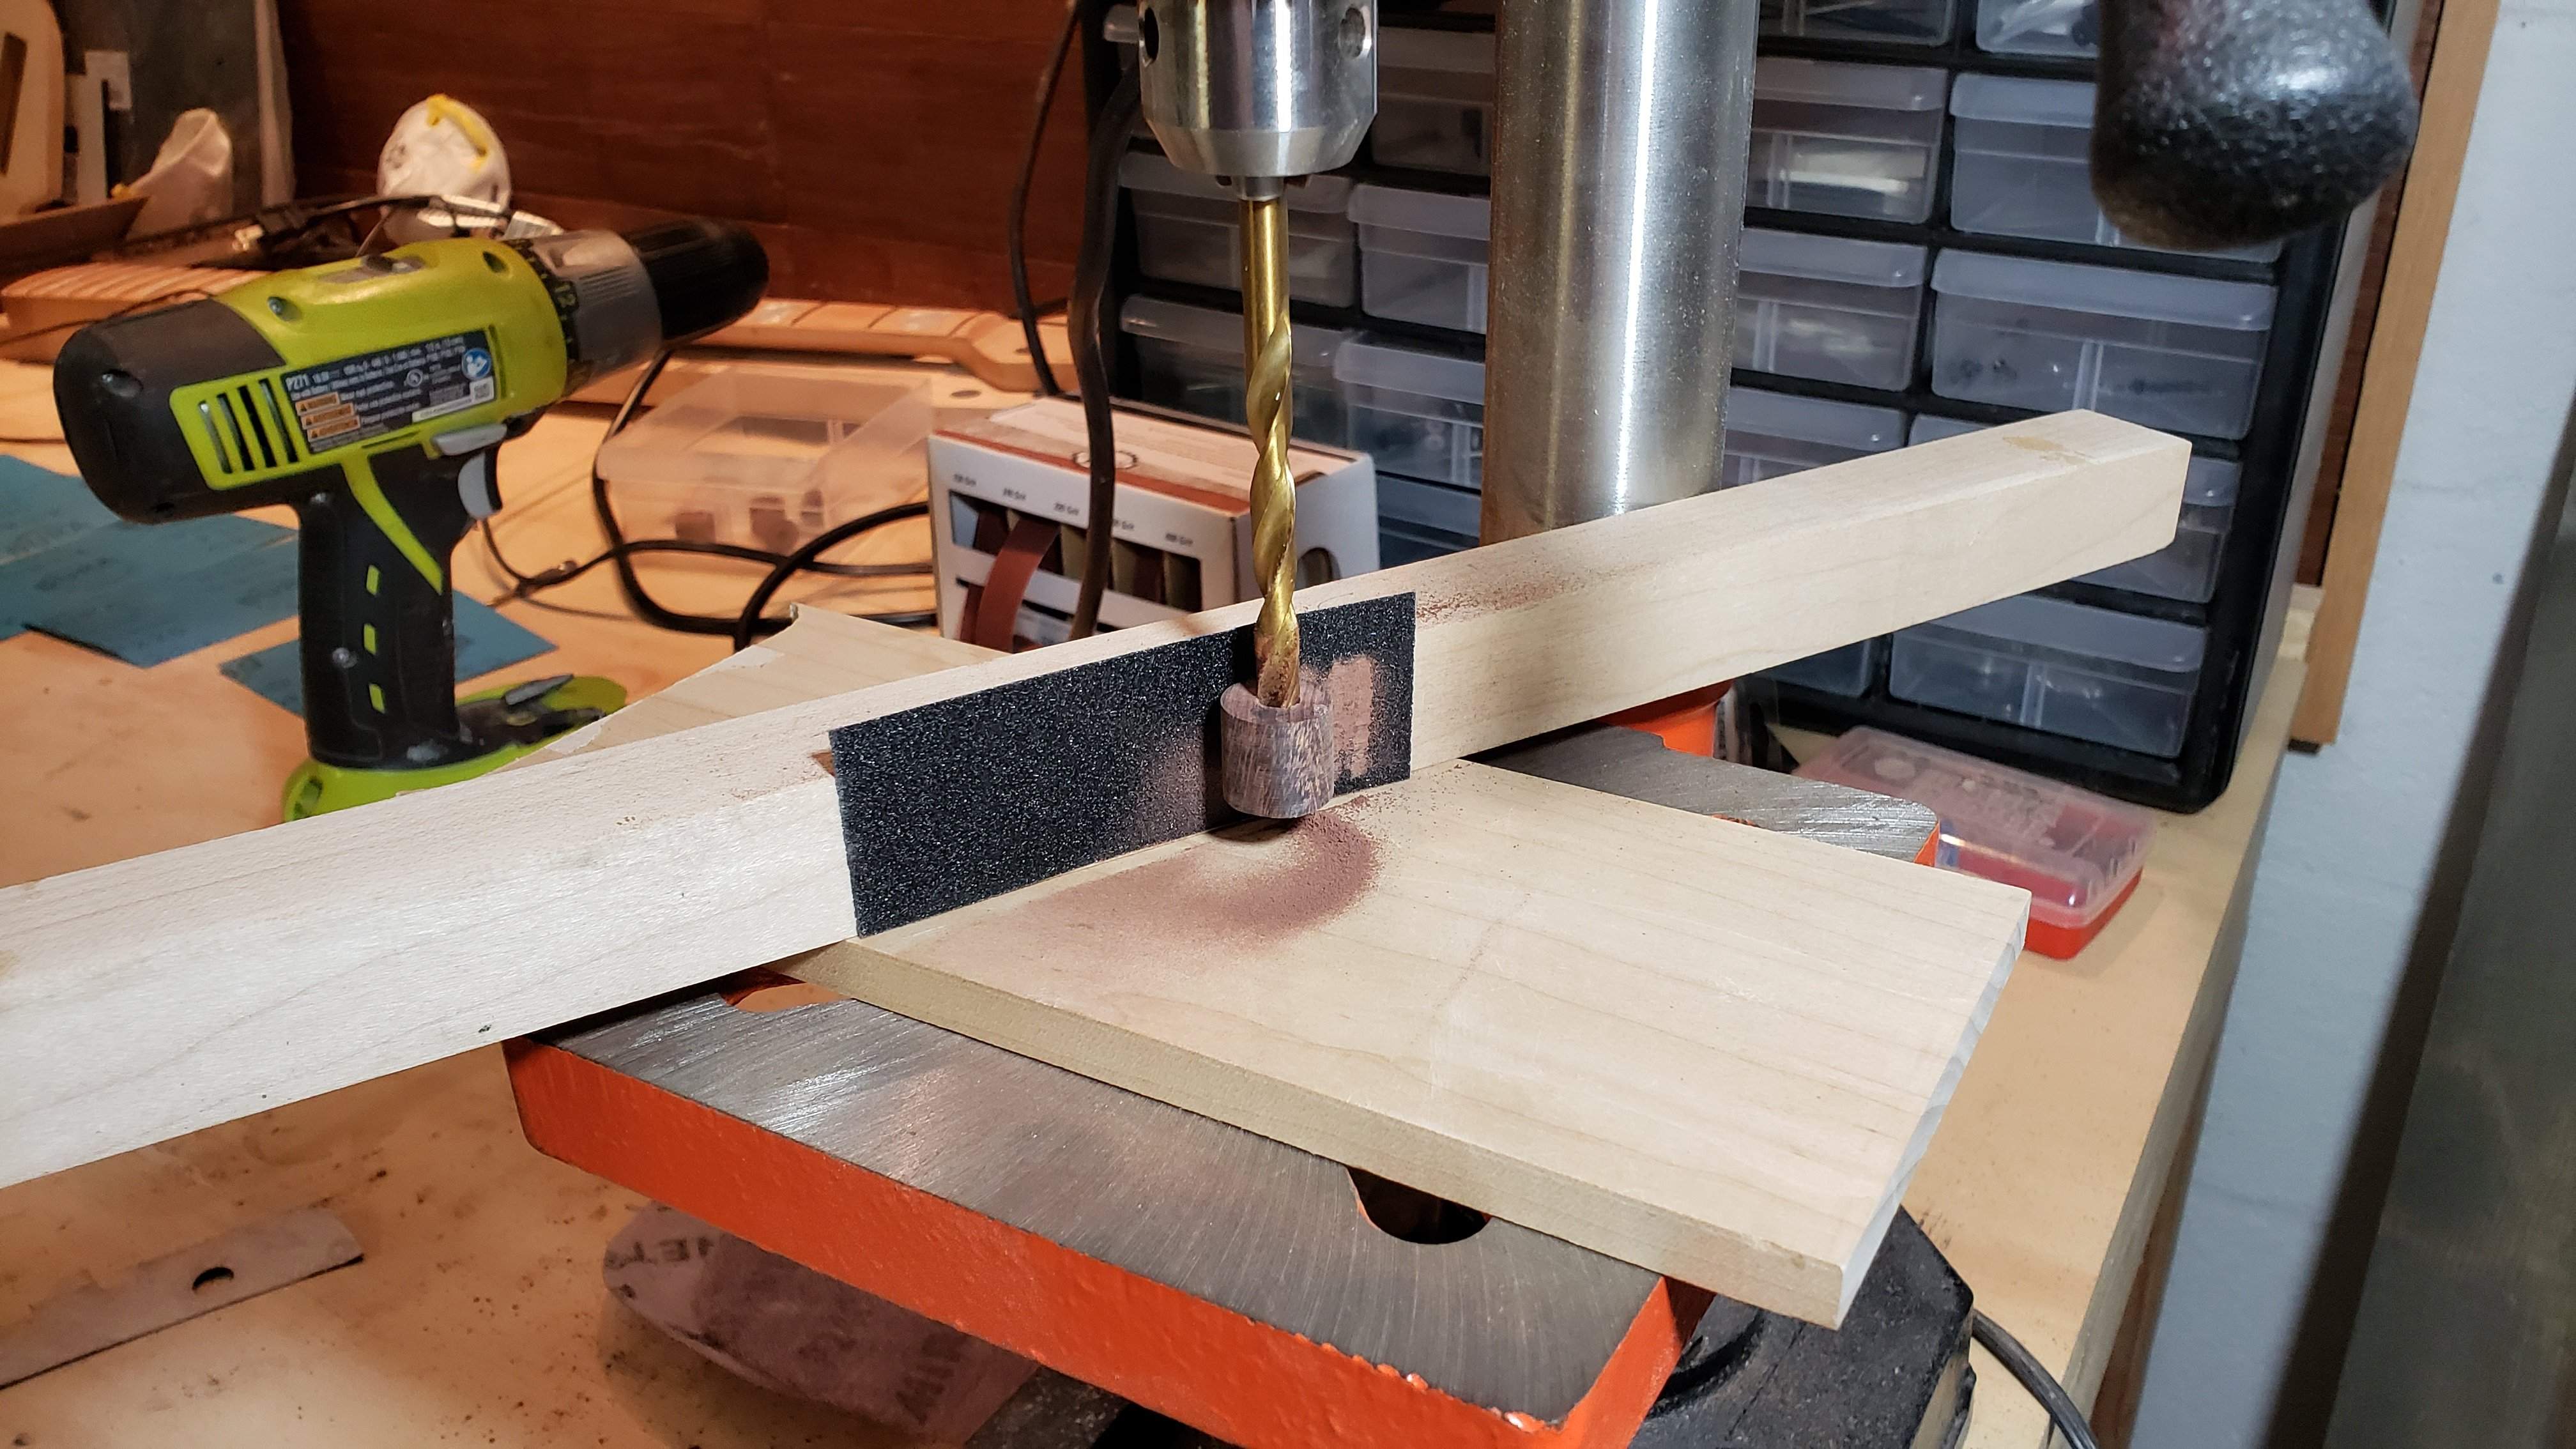

Step 6: Dot inlay
This step is optional. Remove the knob from the drill. I like to make a mark on the drill bit so I can put the knob back in the same alignment later. Drill a small hole for your inlay and insert side dot material with CA glue. Clip the inlay and put the knob back on the drill press.

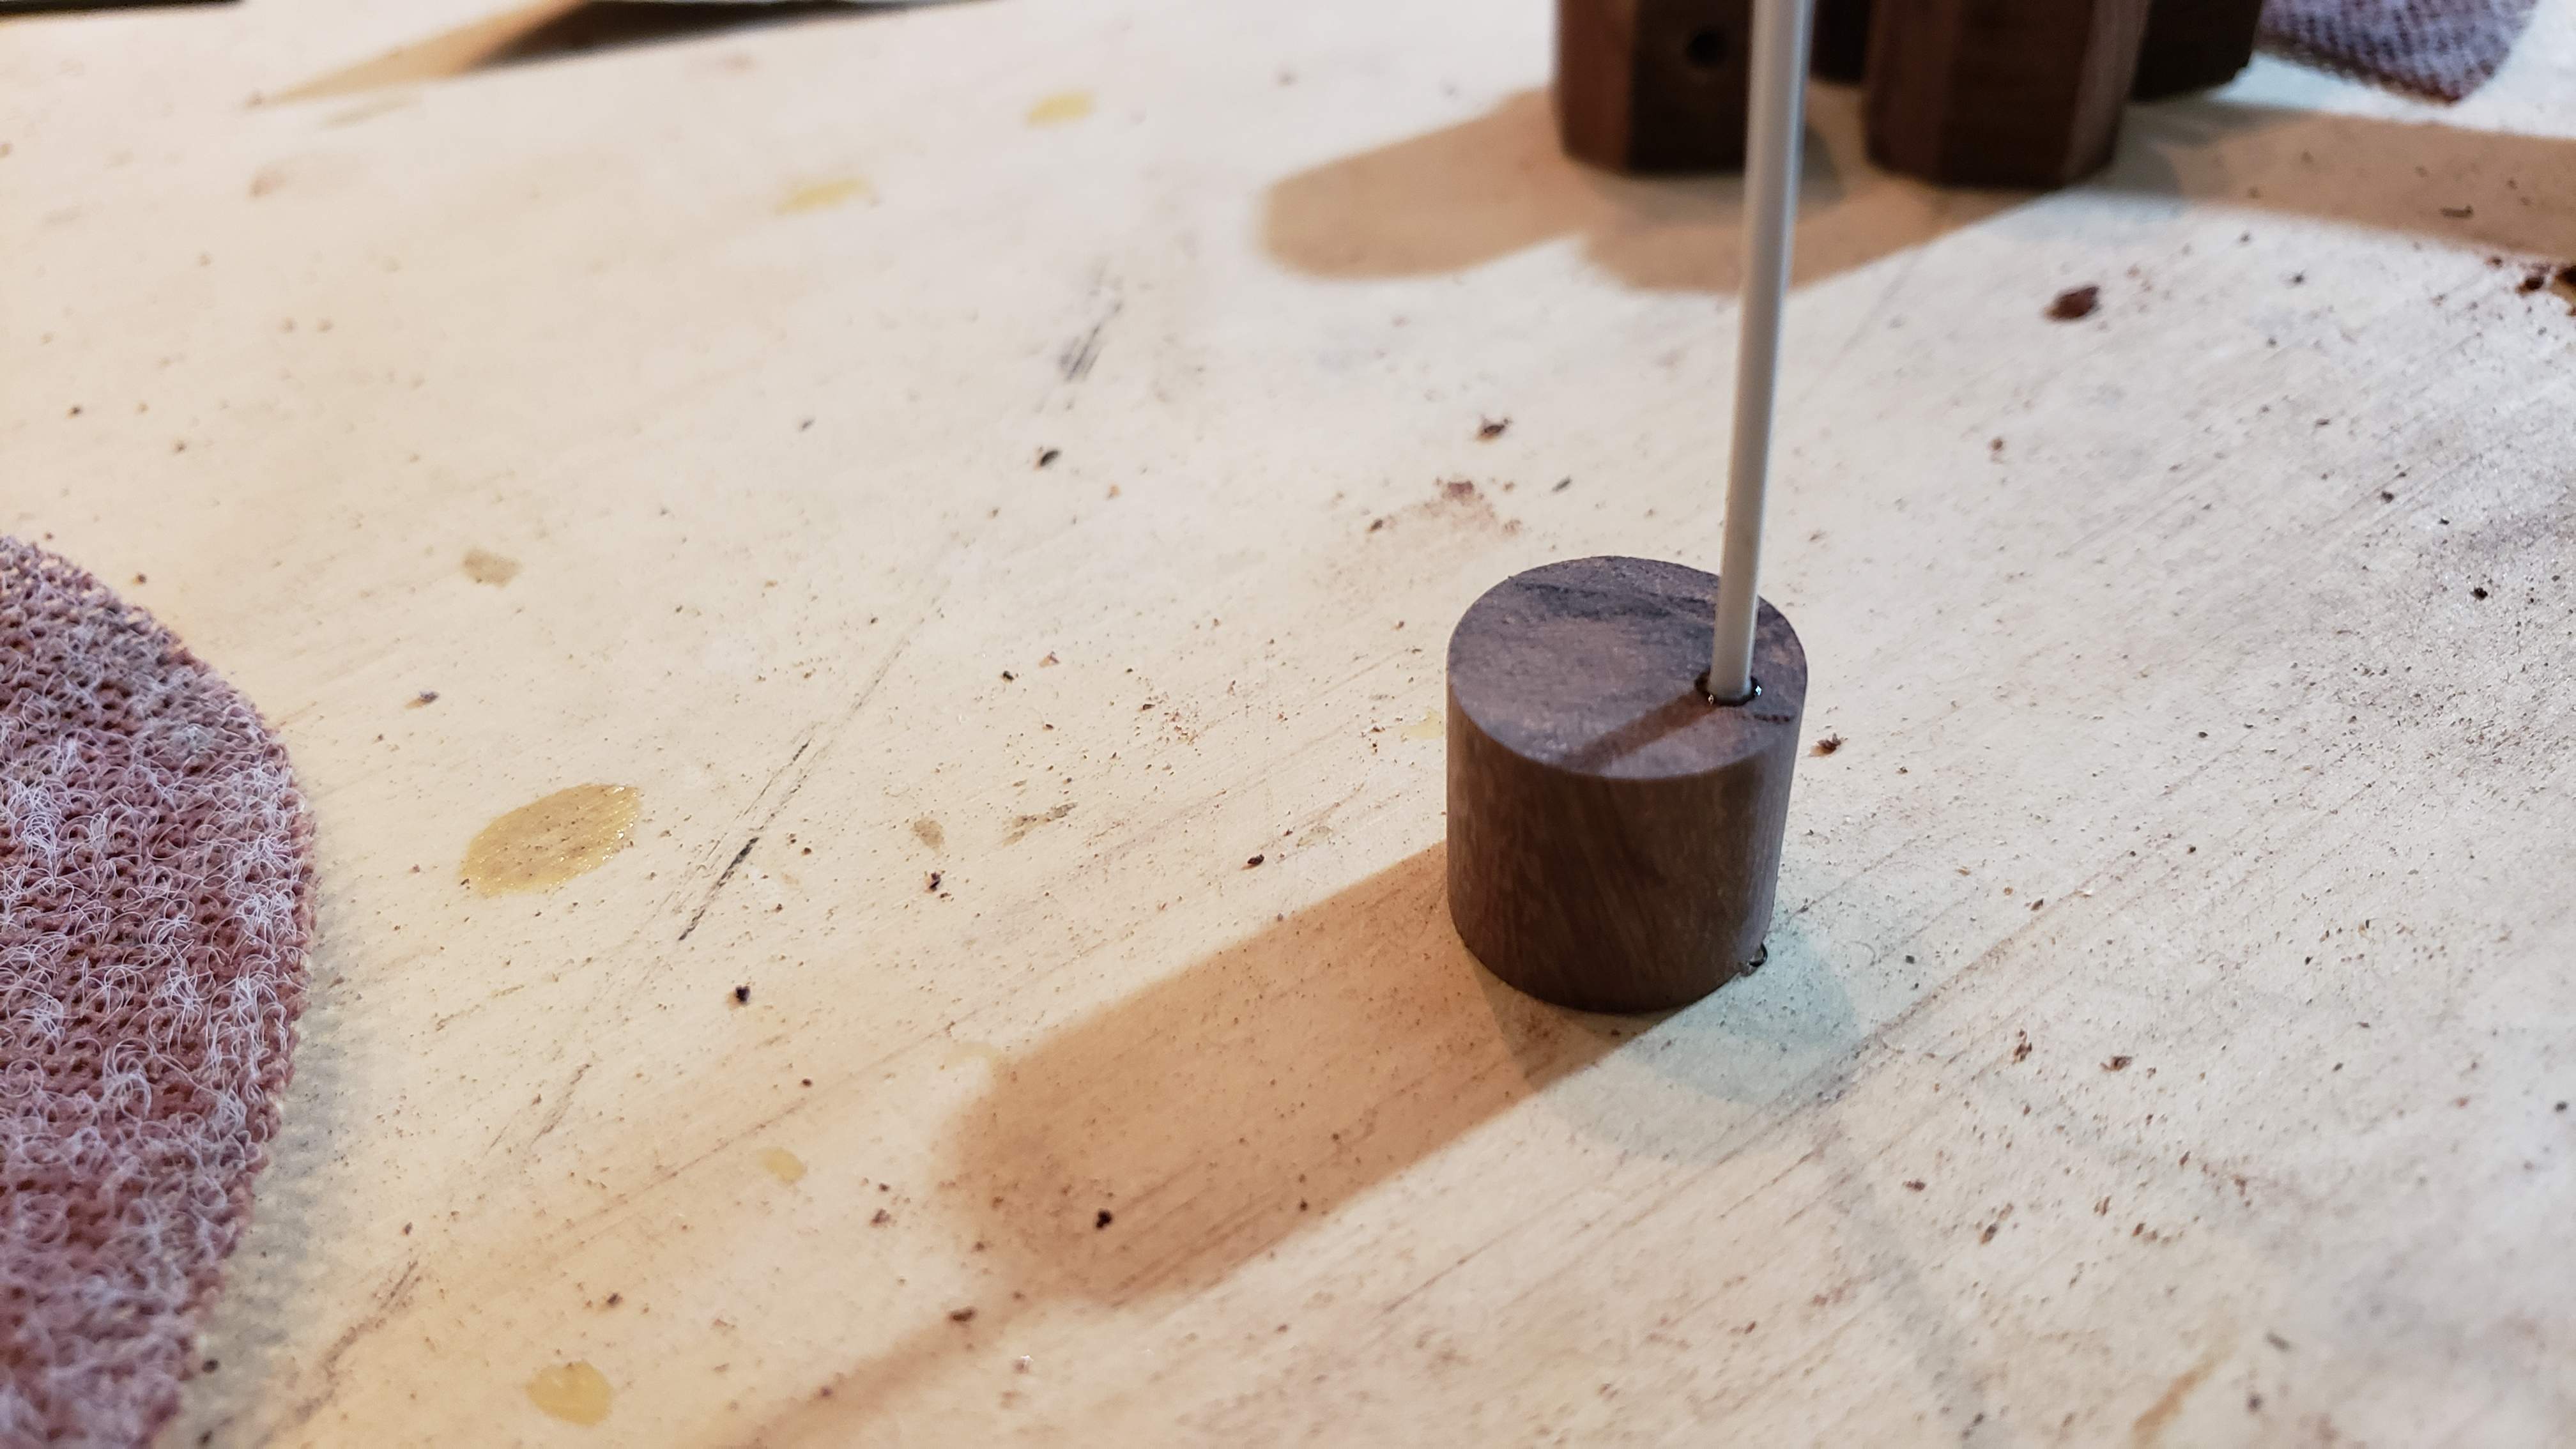
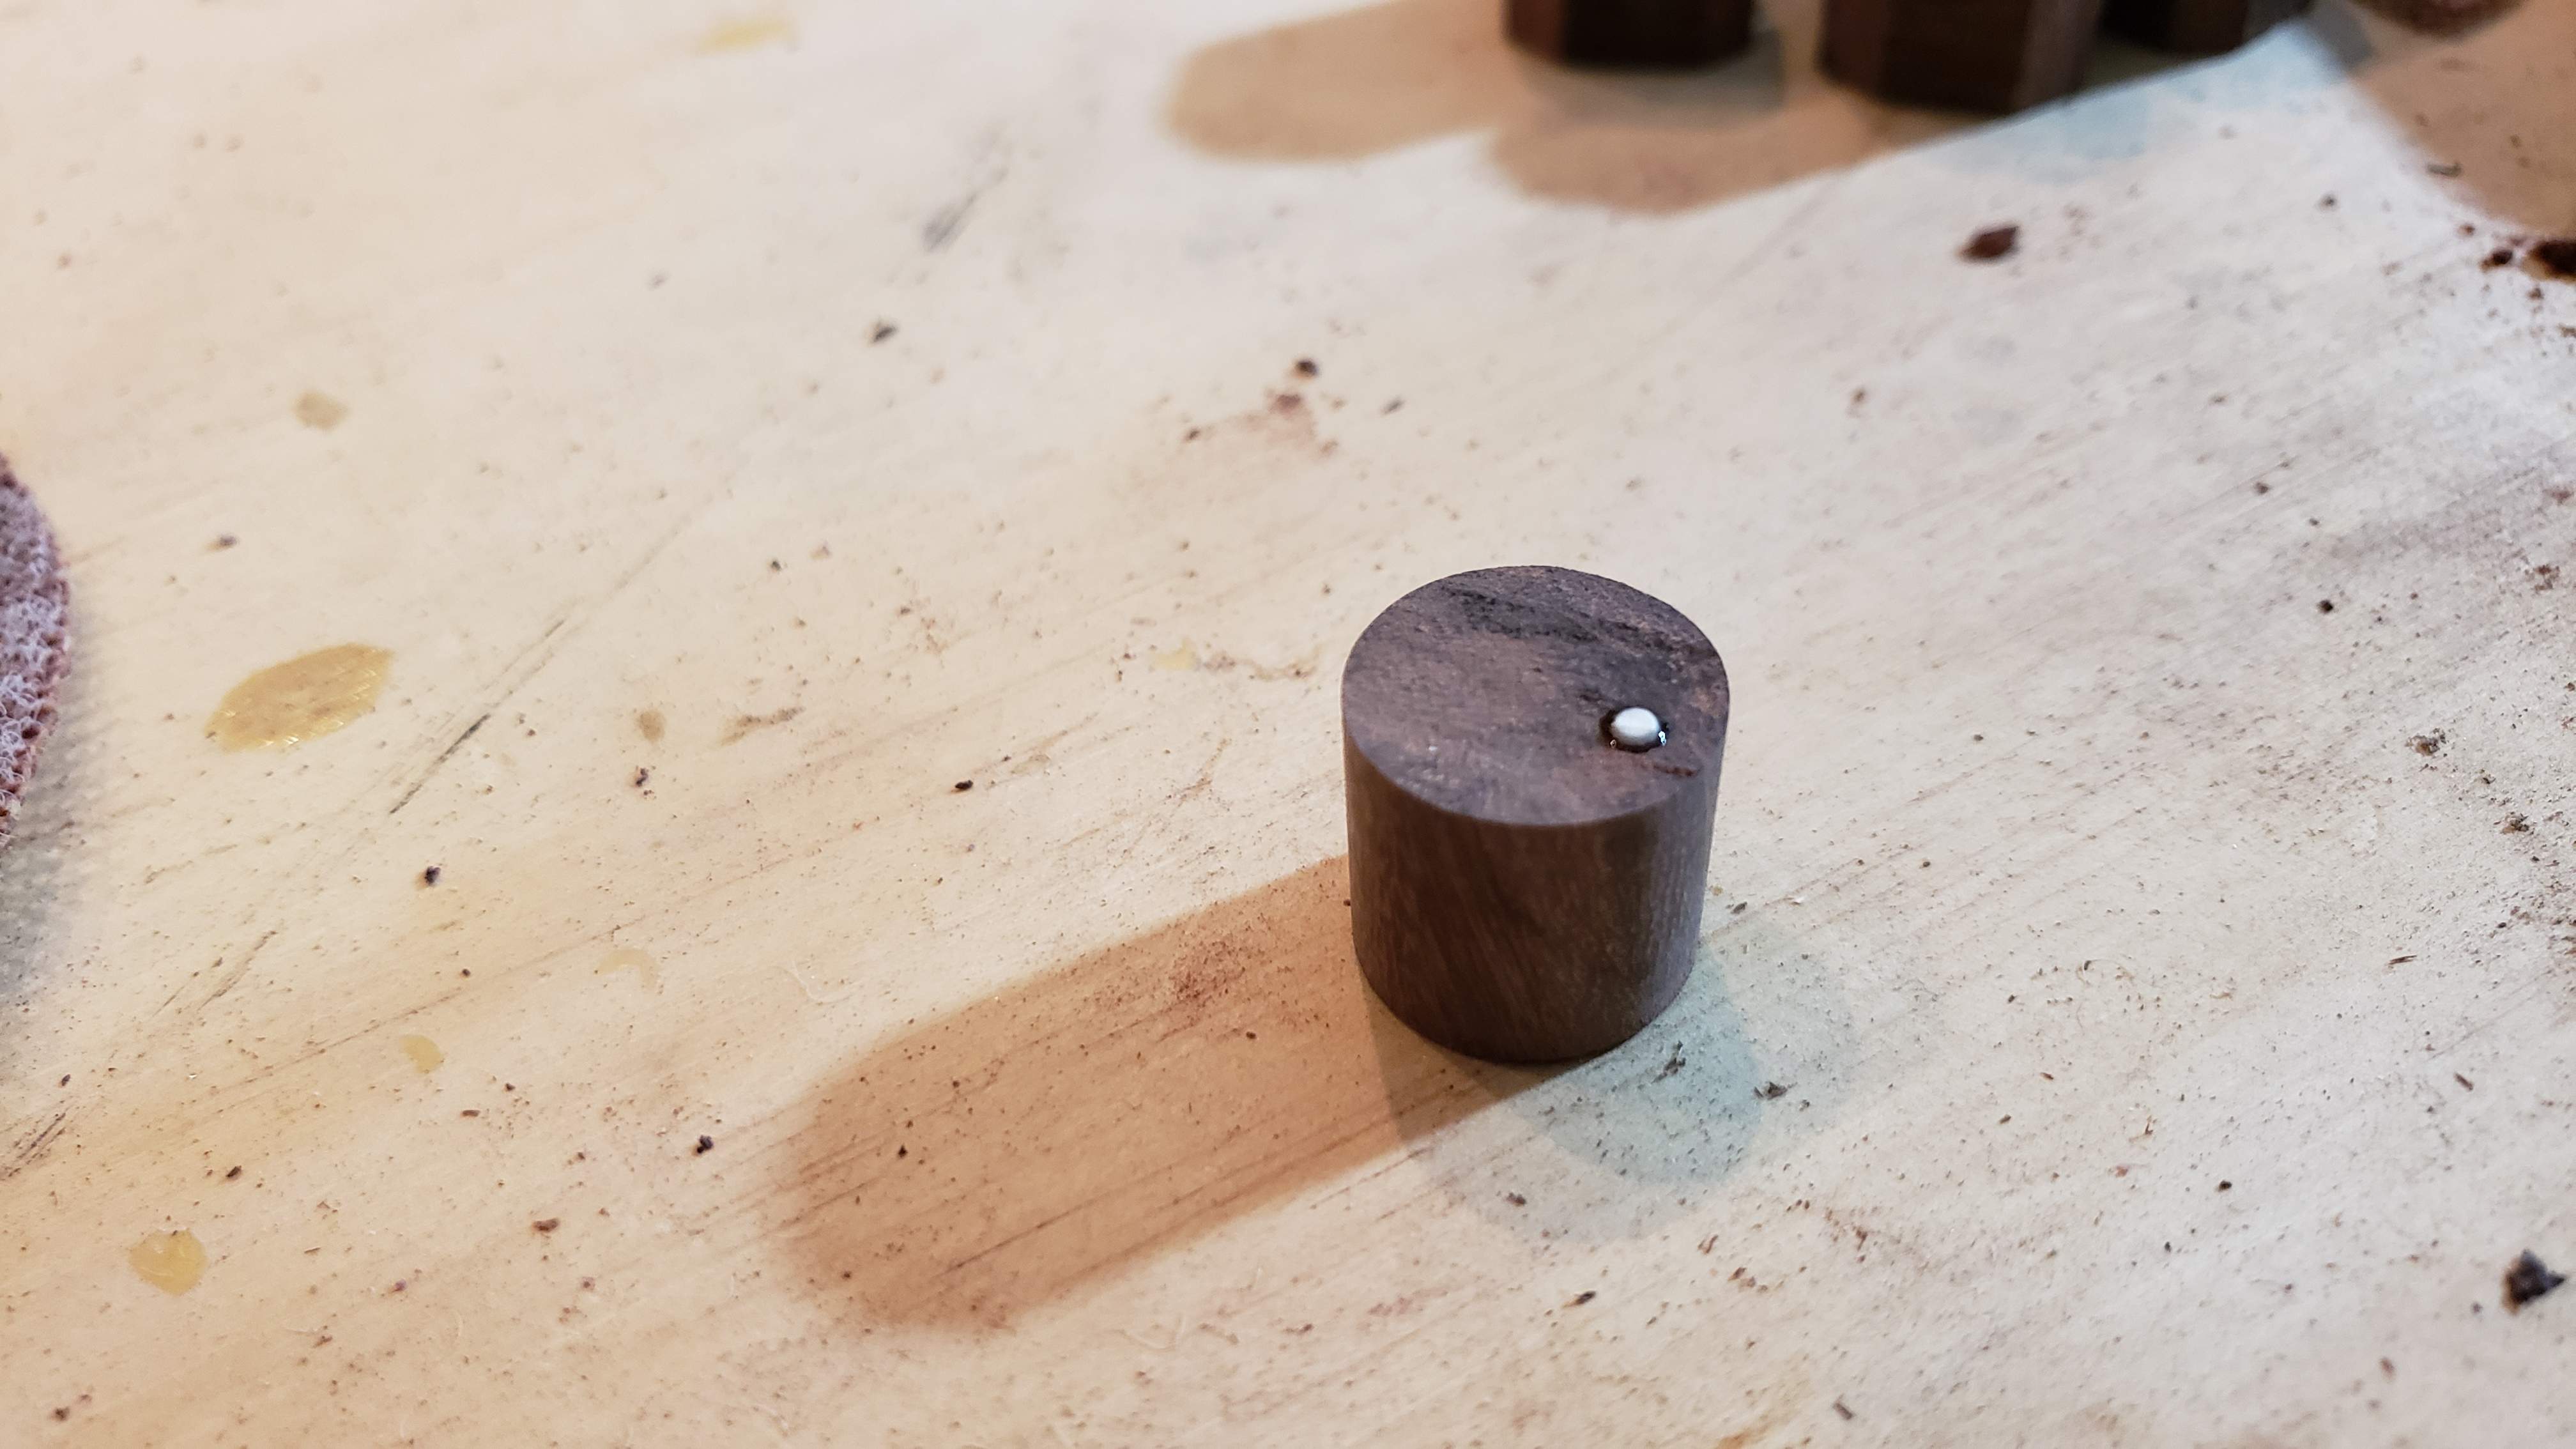
Step 7: Sand the top of the knob
I usually start with 150 grit here, and just hold the sandpaper on the top of the knob. You will need to sand this until all of the tool marks are gone from when you cut the knobs to length in Step 1. If you don't get all the tool marks out, they will be obvious later. Also run the sandpaper on the edge to create a roundover (to your liking).

Finishing it up:
Continue sanding the sides and the top through the grits until you get to your desired smoothness. In my case I went 80-150-220-320-400-600-800-1000. Each grit should remove all the scratches from the previous grit. Once you get past rough sanding (80 grit), the grits go much faster, maybe 30-60 seconds each. Once youre done, you should be ready to finish them!
In my case I put on a few coats of sanding sealer, followed by a few coats of matte clear.

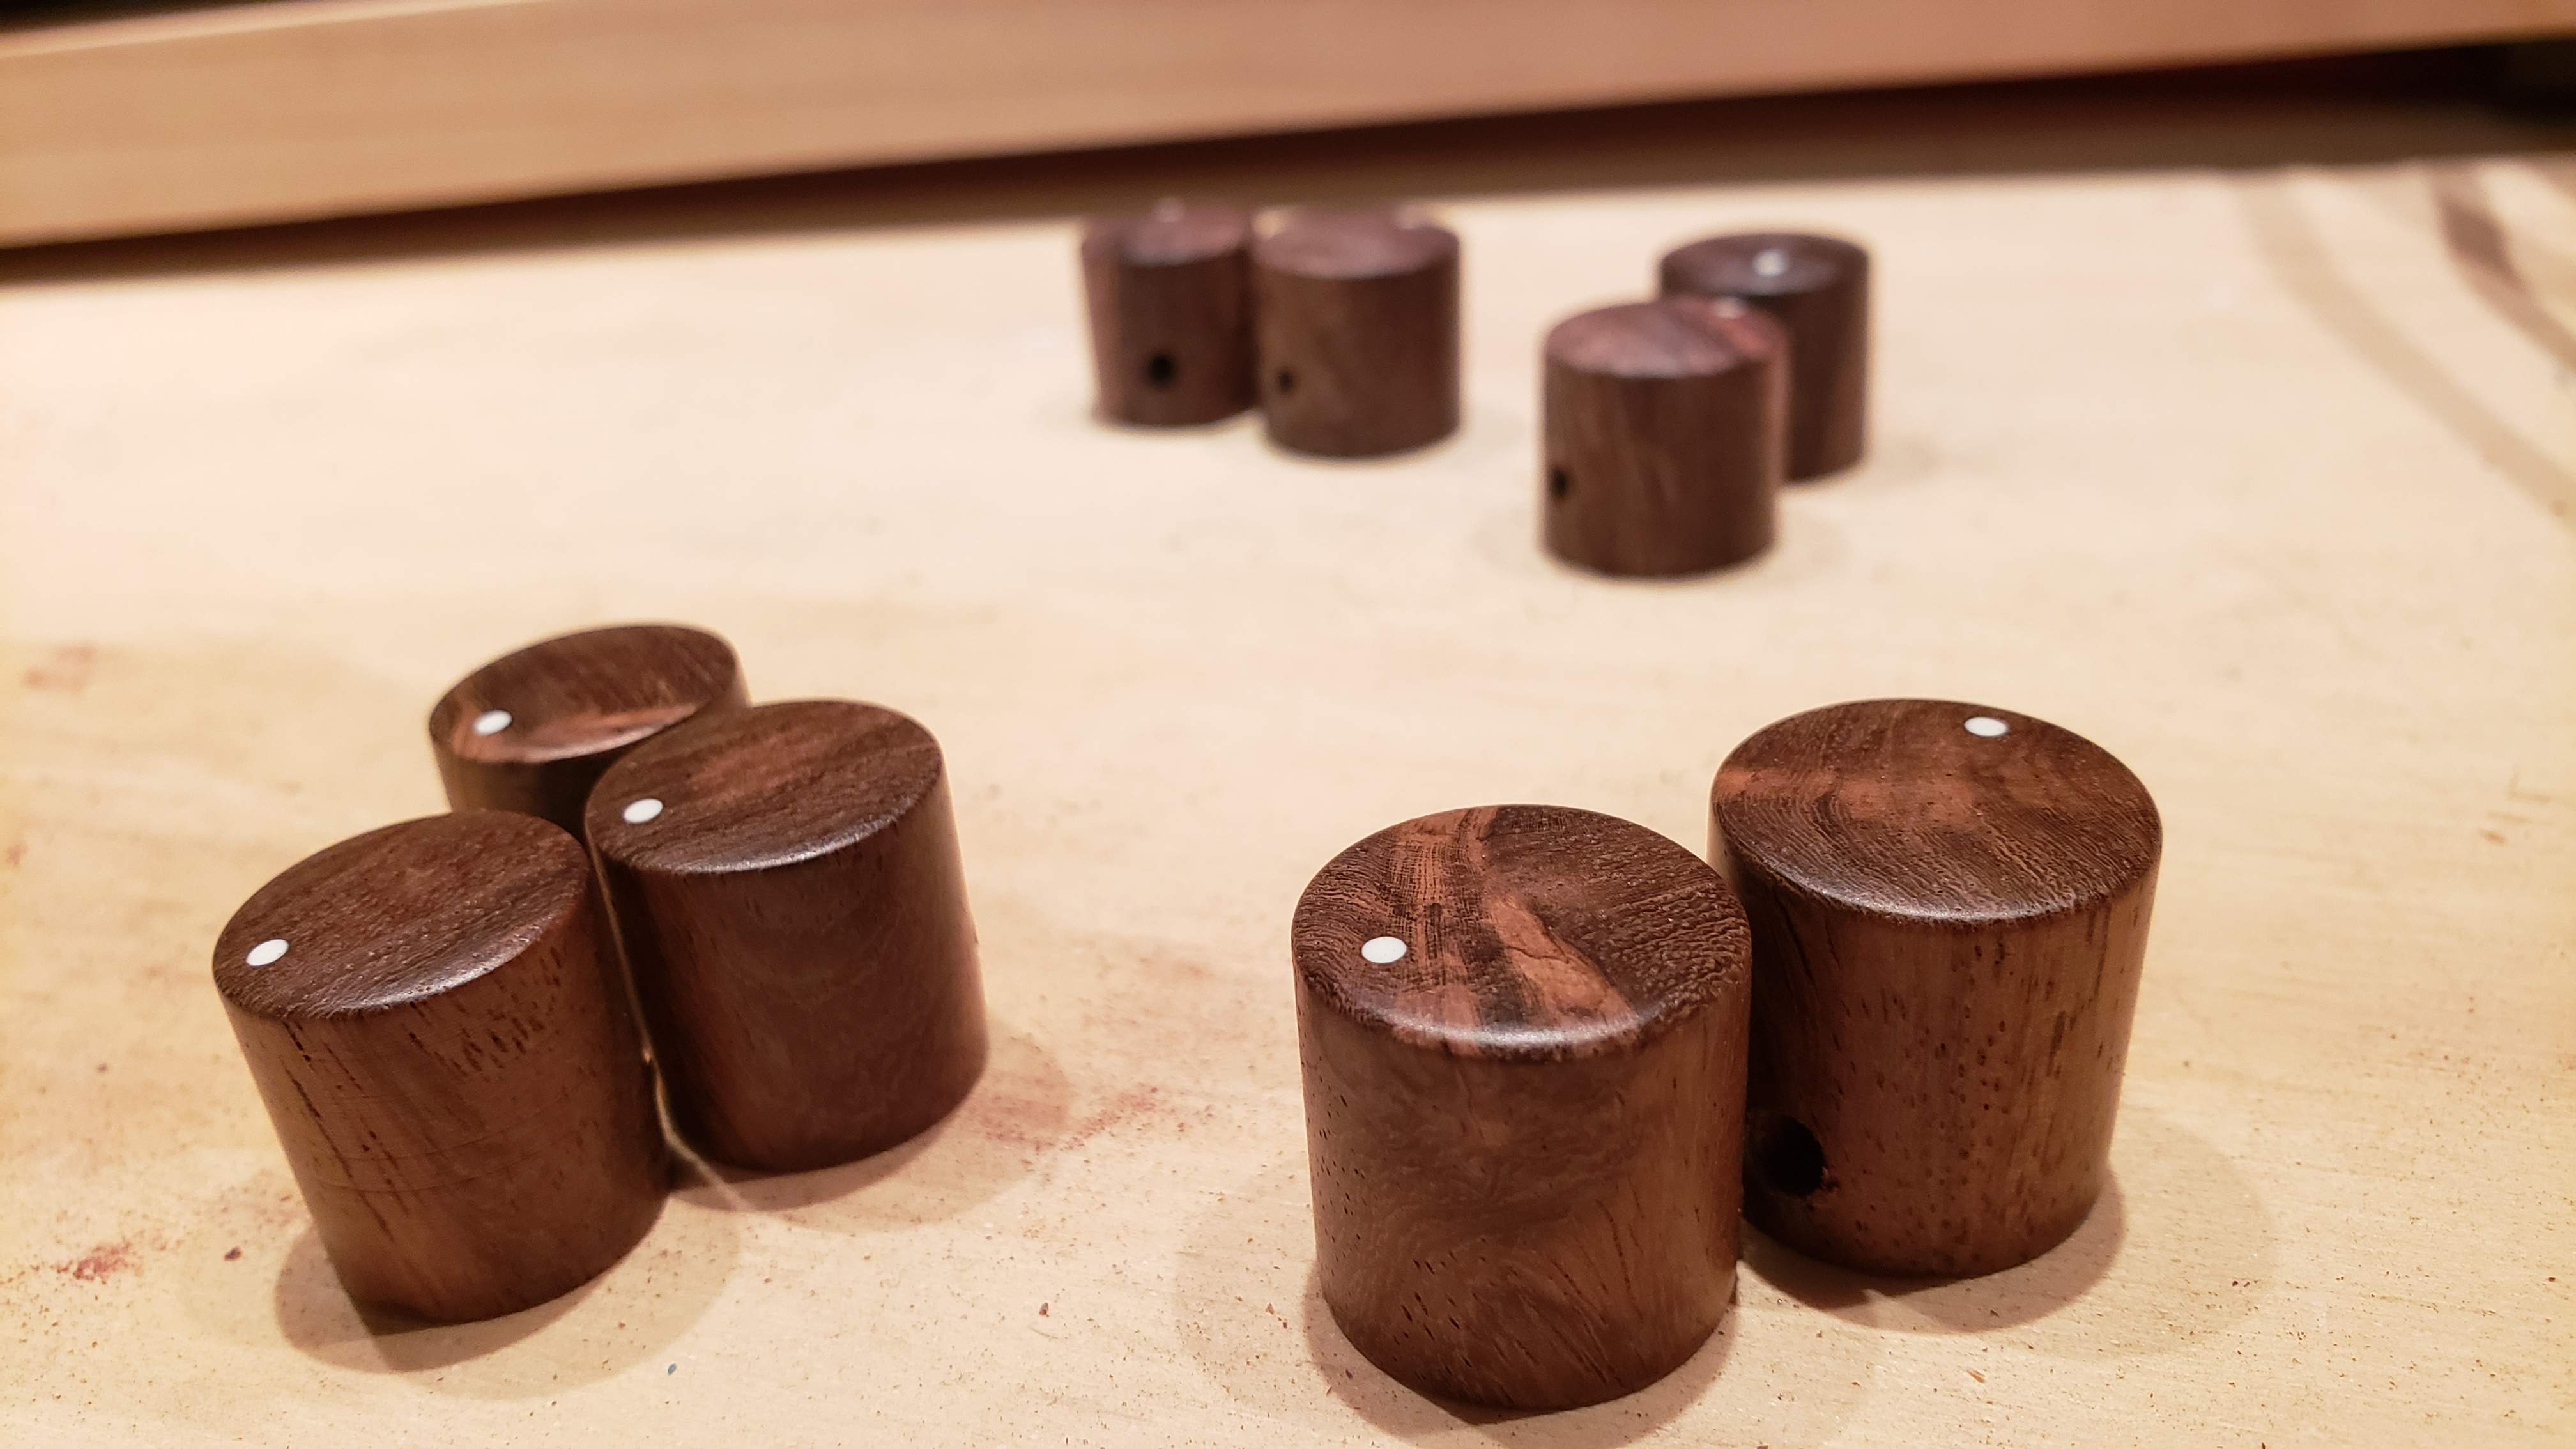
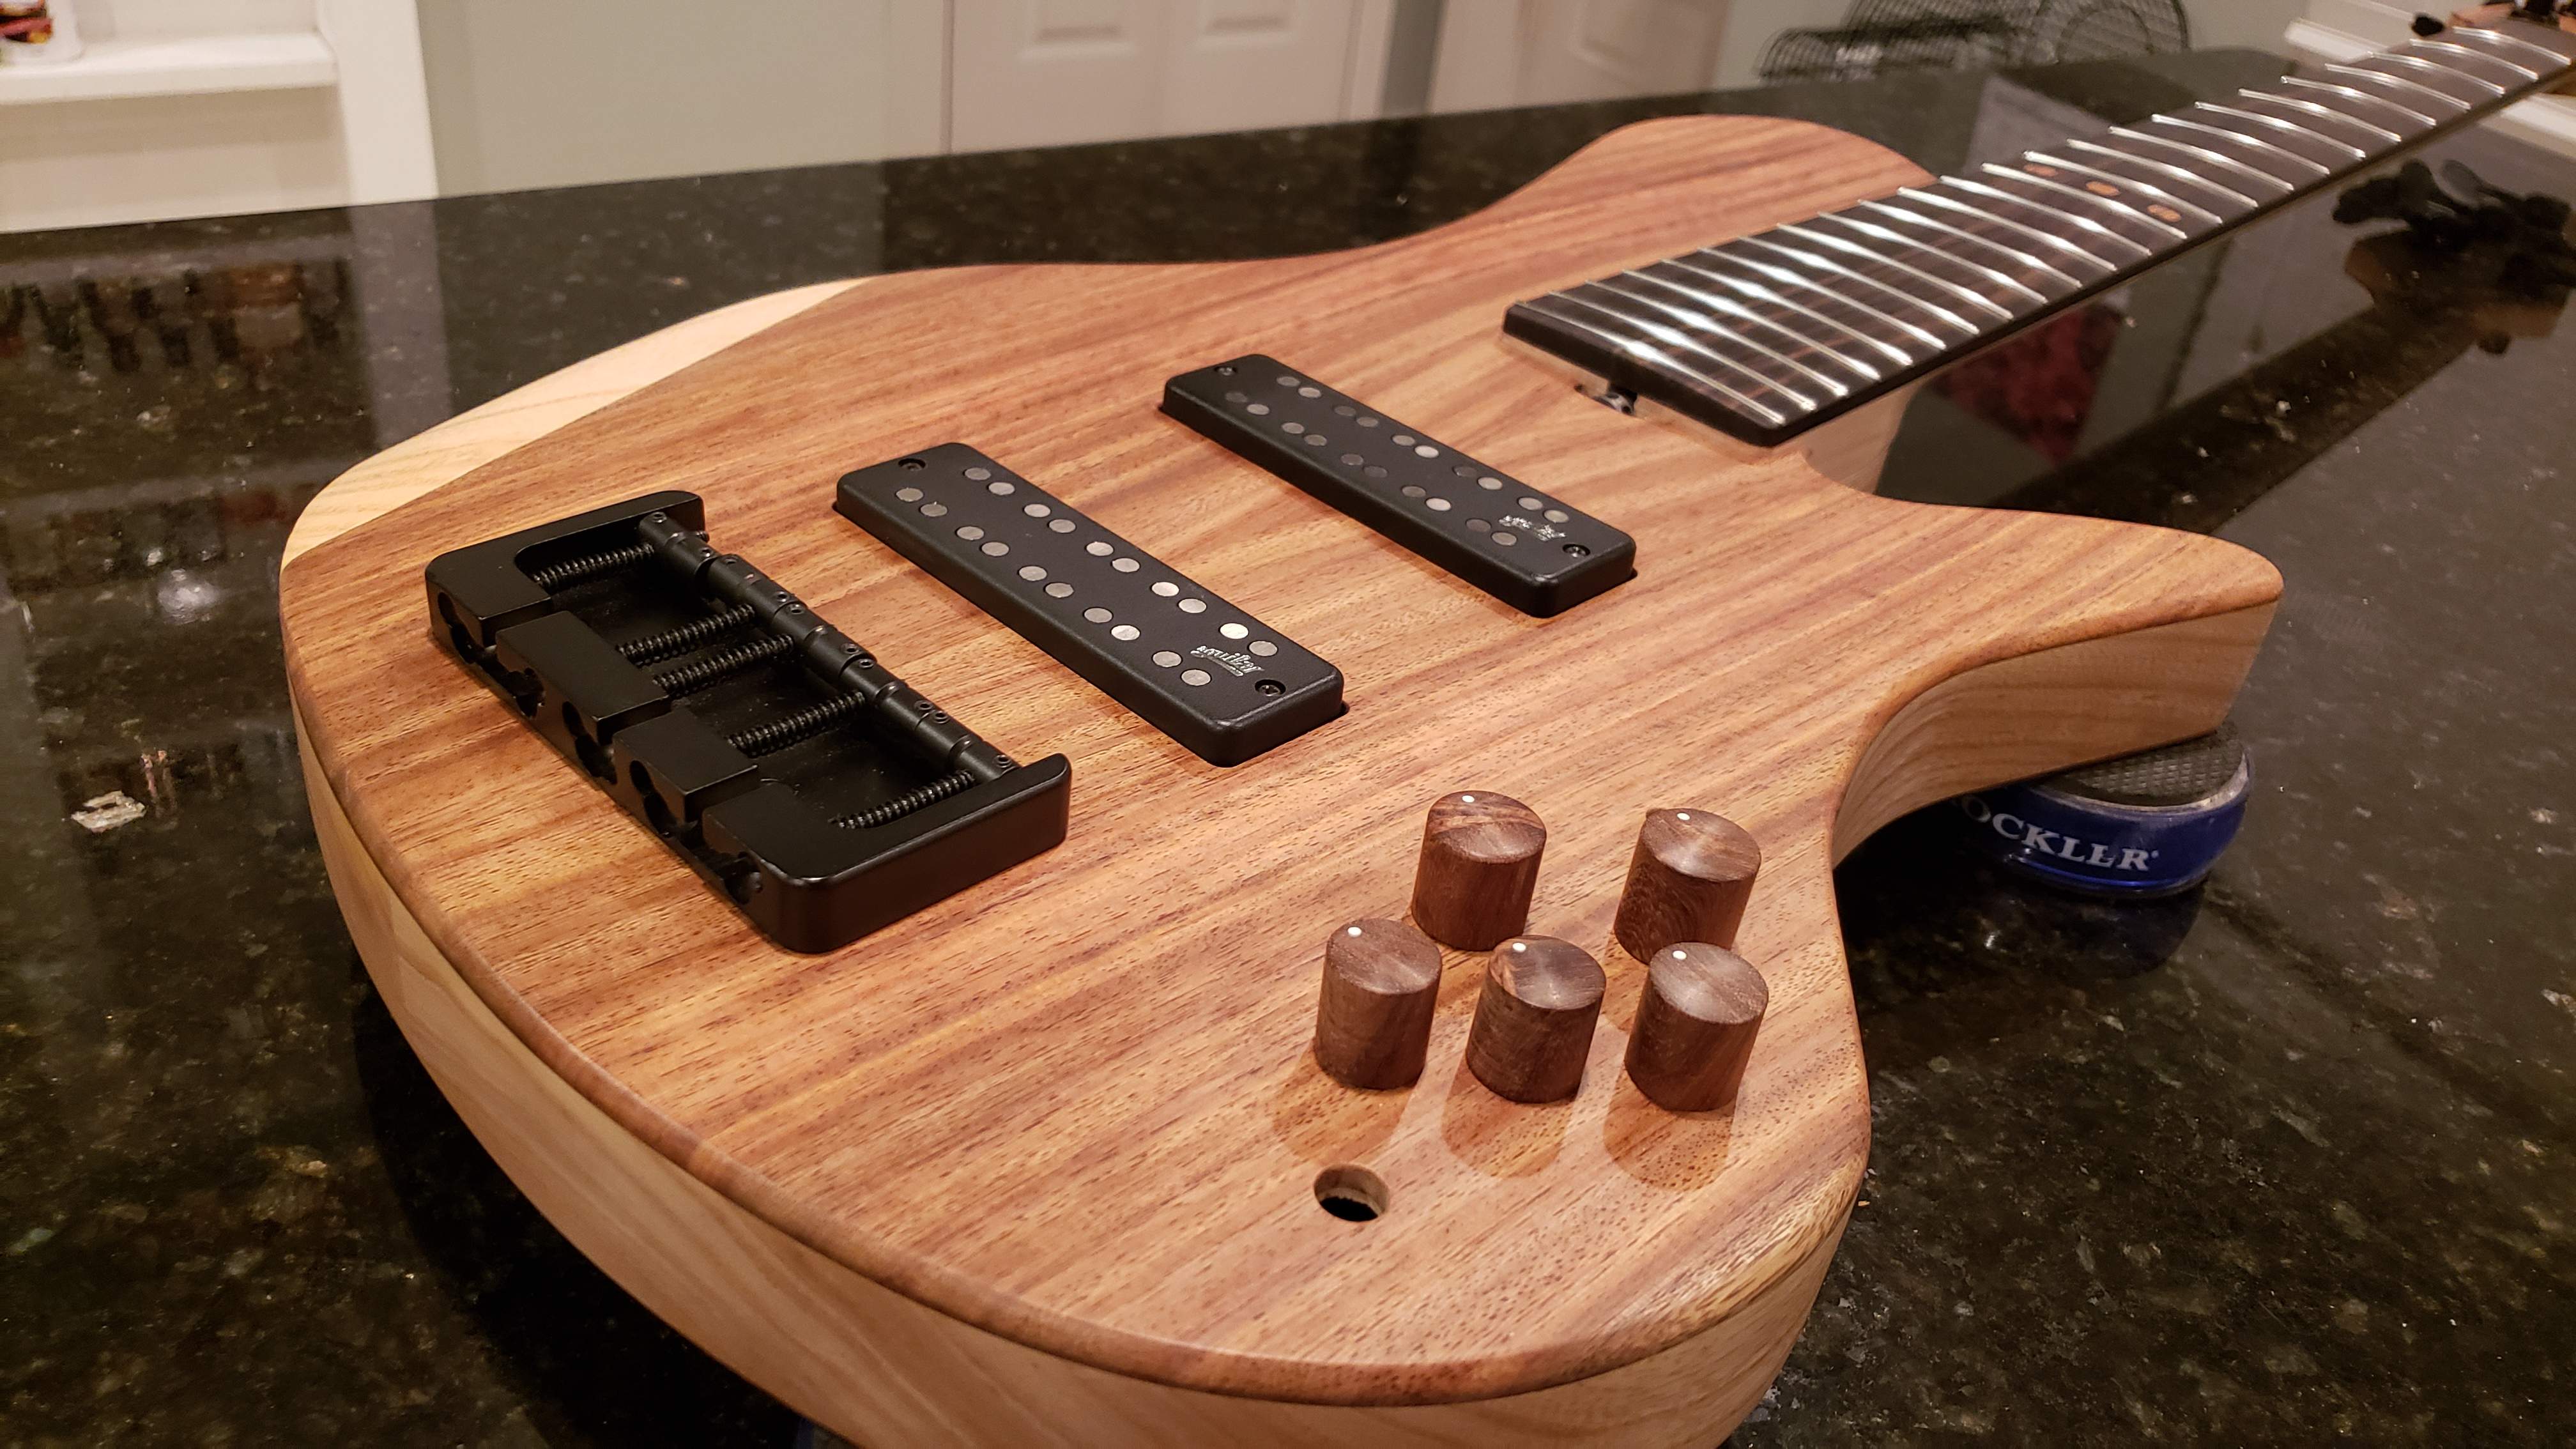
That's it! Hope this is useful to someone, feel free to ask any questions for clarification.
There are probably a ton of ways to do this, but here is how I did it.
Step 1: cut squares from raw stock
I bought some pen blanks in Indian Rosewood to match the body top on my current build. The stock is roughly 3/4" square. I marked the height I wanted each knob (11/16" in my case), and cut 5 squares.
Step 2: Add center marks
Next I marked the center on each square. This is where the shaft hole will be drilled. I also added reference marks for the corners by measuring the distance from the center to the edges. Be precise or your knobs may be smaller than you want
Step 3: Drill center holes
It is important to know what kind of pots you will be using and the shaft diameter. In my case I will have 6mm shafts for an Audere preamp. I drilled slightly larger holes (6.3 mm). You can also use the exact size, but they will have a super tight fit, this is a personal preference.
Step 4: Sand corners & install set screws
I hit the corners with my belt sander. This gets it a little closer to round and will save time later.
Next I drilled the set screw holes. In my case I used M3 5mm set screws. After a little experimentation, I ended up using a 1/8" drill bit. I also inserted the set screws at this point by screwing them in. I have found that if I insert them after the knobs are done, it can cause the wood to flare out or chip.
Step 5: Rough Sanding
Put the knob back onto the drill bit you used in Step 3. Using a sanding block (make sure it's square!) Begin rough sanding with coarse sandpaper. (I used 80 grit). Take it slow, don't press too hard against the bit. Just let the sandpaper do the work. Keep sanding until all the flat spots are gone, and continue until you get to your desired diameter. This takes anywhere from 1-5 minutes depending on how square your raw stock is.
Step 6: Dot inlay
This step is optional. Remove the knob from the drill. I like to make a mark on the drill bit so I can put the knob back in the same alignment later. Drill a small hole for your inlay and insert side dot material with CA glue. Clip the inlay and put the knob back on the drill press.
Step 7: Sand the top of the knob
I usually start with 150 grit here, and just hold the sandpaper on the top of the knob. You will need to sand this until all of the tool marks are gone from when you cut the knobs to length in Step 1. If you don't get all the tool marks out, they will be obvious later. Also run the sandpaper on the edge to create a roundover (to your liking).
Finishing it up:
Continue sanding the sides and the top through the grits until you get to your desired smoothness. In my case I went 80-150-220-320-400-600-800-1000. Each grit should remove all the scratches from the previous grit. Once you get past rough sanding (80 grit), the grits go much faster, maybe 30-60 seconds each. Once youre done, you should be ready to finish them!
In my case I put on a few coats of sanding sealer, followed by a few coats of matte clear.
That's it! Hope this is useful to someone, feel free to ask any questions for clarification.
Last edited: