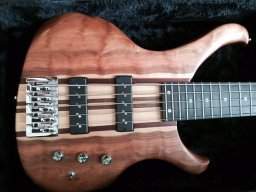
Hello all,
I have always been a huge fan of this forum but have just lurked around before. Seeing as I have learnt a lot from this site over the years and seen some beautiful basses, so having this bass to work on I saw it as a great chance to share something.
This is a build I have been working on for a while, it is a bass version of the Sirius guitar (pic below). It is a 32" scale 4 string bass. The top and back is of Cherry with an English Maple core. The neck features the same woods, a three piece laminate construction with a fingerboard again of English Maple. So 10 pieces of wood from only two species!
Electronics wise its going to be passive with two Kent Armstrong precision pickups.
The bass was actually started over a year ago now, but I got so busy with commissions this build had to wait. Unfortunately I didn't start taking pictures at the begining of the build, so the first picture you see is when I started documenting the build.
This is where I started documenting the progress. The shape has been cut out and the roundover to the body cut, though the neck profile has yet to be carved.

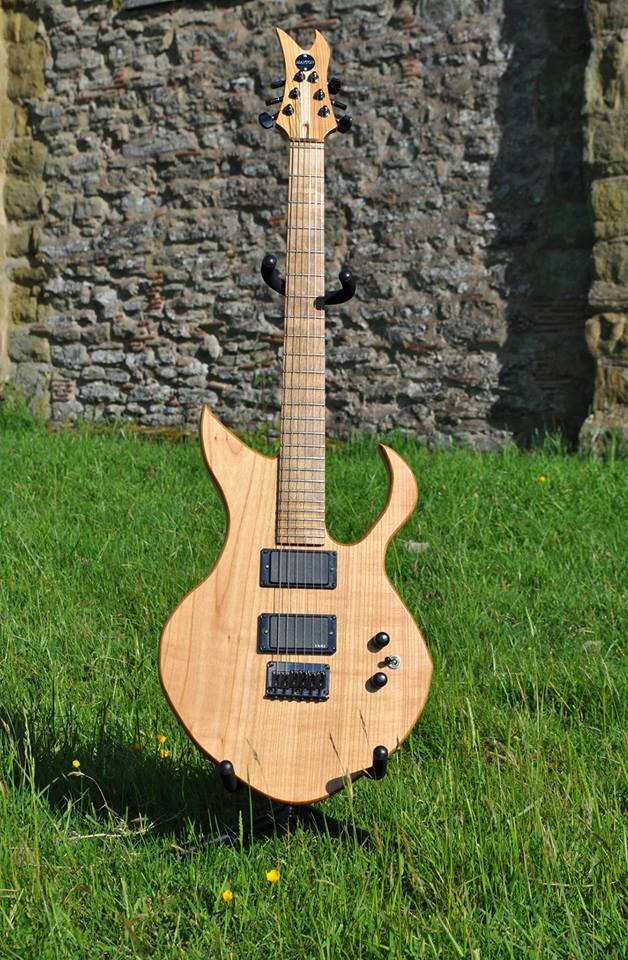
This is the little brother of the bass, the Sirius guitar. The same three woods were used for this instrument also. Though the body is a single piece of Cherry here, as apposed to the 6 pieces used for the bass body.
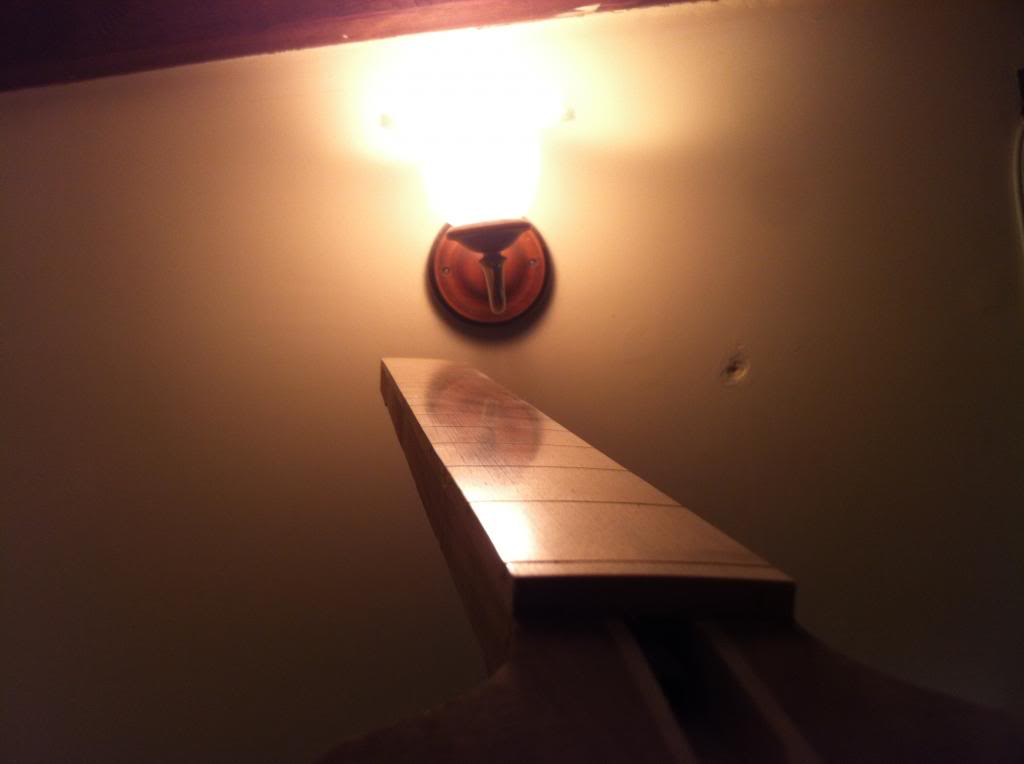
Time to polish the fingerboard to a high gloss; this was done with Micro-Mesh upto 12000 grit. There is no finish on the board here, the shine you see is just from the polished wood.
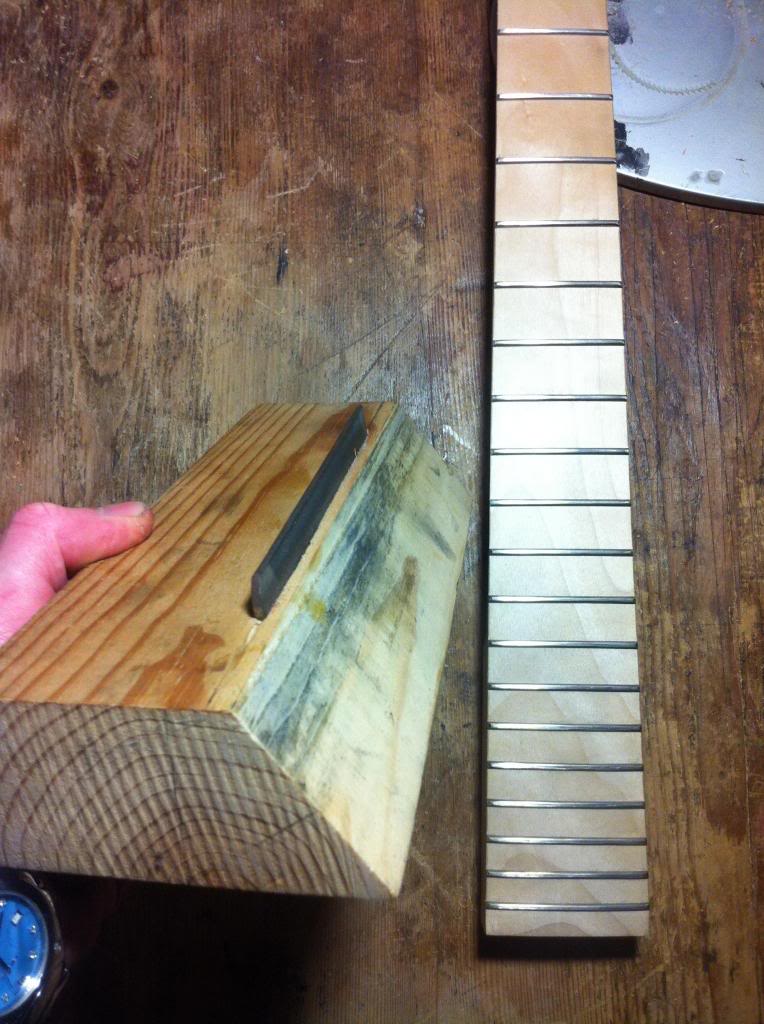
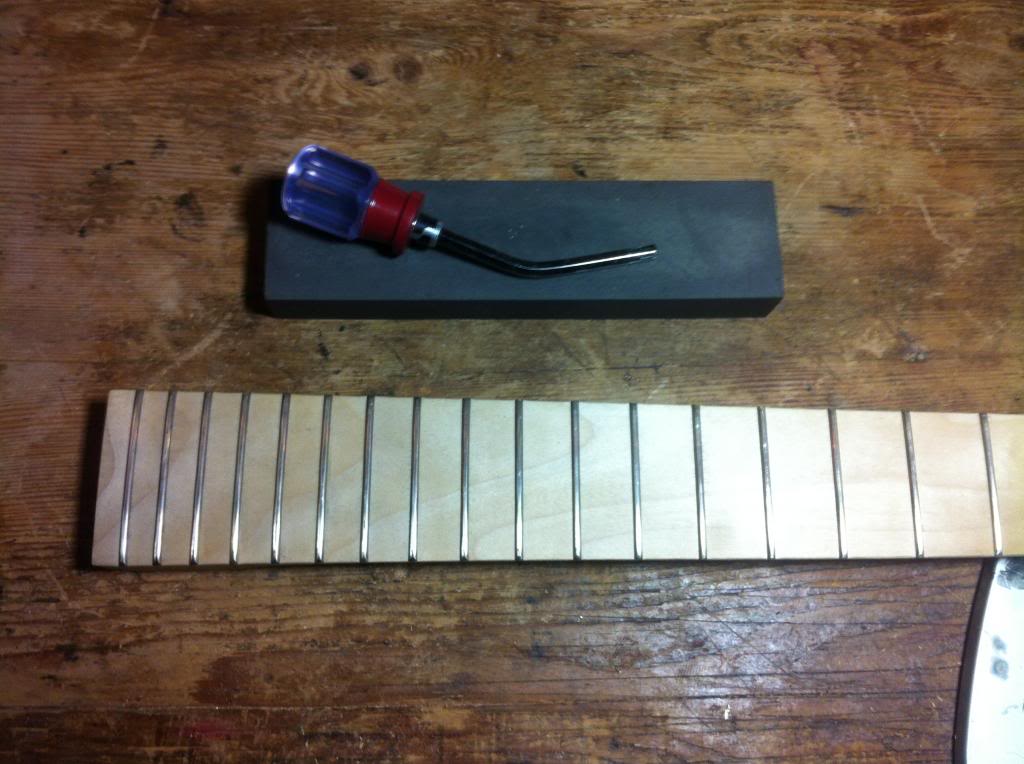
Next, I installed the frets. I prefer a hammer to do this as it's nice and quick (30 mins max) and gives good results. The wire is pre bent using a fret bender before this. I don't have a picture of this, in the picture here I'm beveling the fret ends using a home made tool which holds the file at the correct angle...It looks a little rough as it has been well used!
After that I level with an oil stone and crown with a crowning file. Then I sand/file smooth all sharp corners.
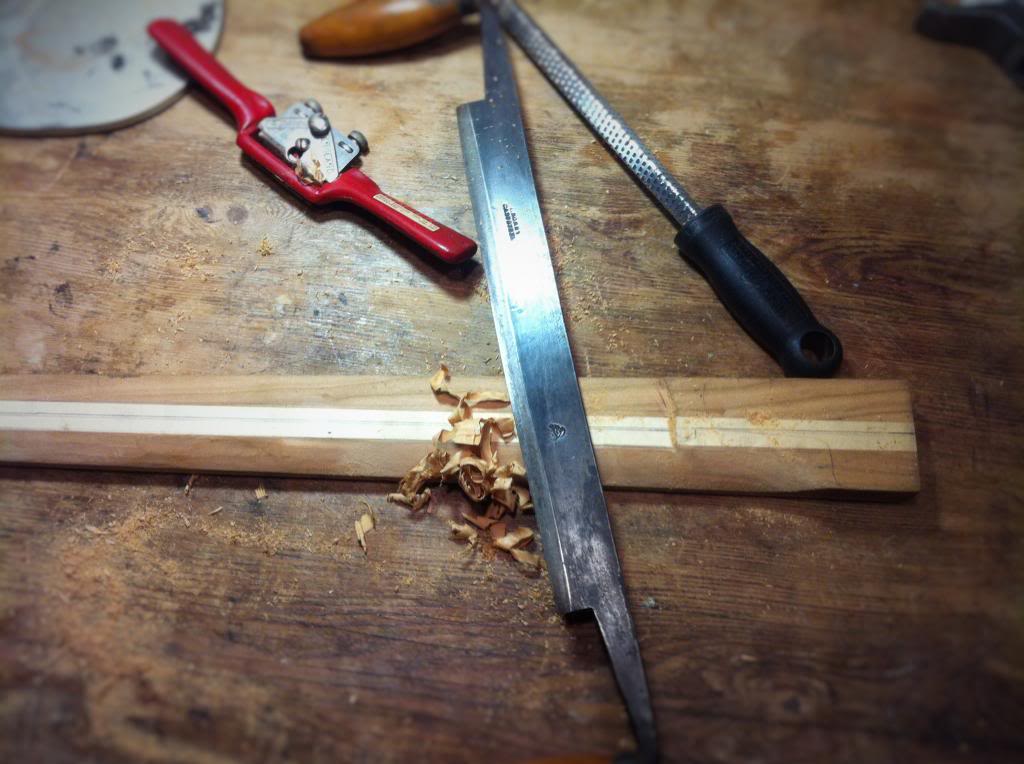
Onto neck carving, the most enjoyable part of the whole build for me! I start by marking up the facets which will create the rough shape, then carve to these facets. Following this more facets are drawn and carved and we are getting close to final shape, where it is then sanded to the finished contour. All of this is mainly done with the tools you see here, a Drawknife and Surform (not pictured) for removing the main meat of the neck, then spokeshave and micro plane rasp for the more detailed areas.
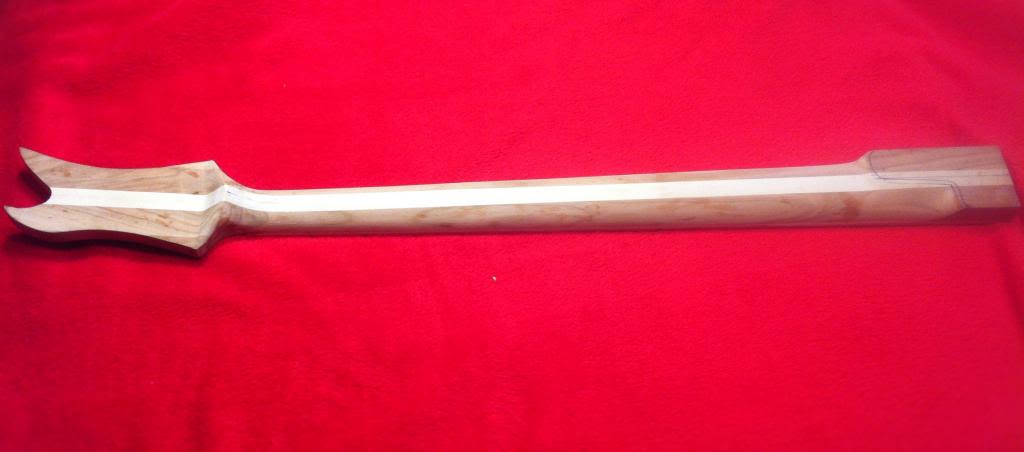
Here is the neck nearly finished, it still needs a lot of sanding but its close!
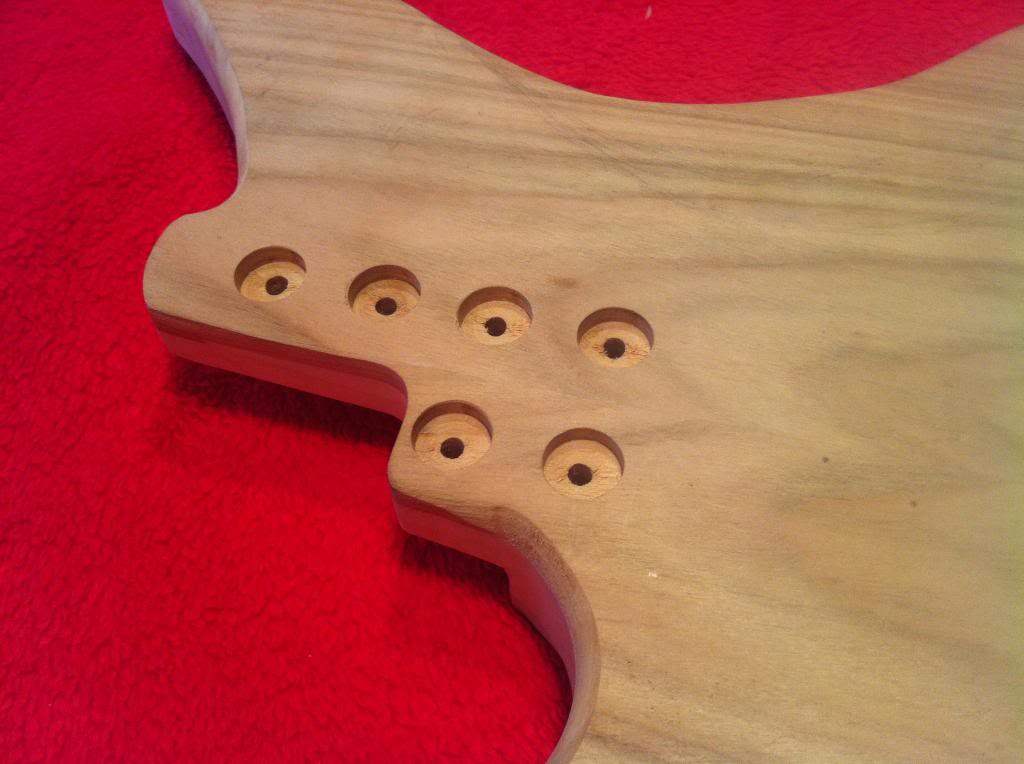
Jumping to body now, where I have drilled for the neck attachment ferrules and bolts. I have also made up a pickup template, so next update I'll be routing for the pickups.
That's all for now, check back for more updates soon. Thank you for checking out this build.
I have always been a huge fan of this forum but have just lurked around before. Seeing as I have learnt a lot from this site over the years and seen some beautiful basses, so having this bass to work on I saw it as a great chance to share something.
This is a build I have been working on for a while, it is a bass version of the Sirius guitar (pic below). It is a 32" scale 4 string bass. The top and back is of Cherry with an English Maple core. The neck features the same woods, a three piece laminate construction with a fingerboard again of English Maple. So 10 pieces of wood from only two species!
Electronics wise its going to be passive with two Kent Armstrong precision pickups.
The bass was actually started over a year ago now, but I got so busy with commissions this build had to wait. Unfortunately I didn't start taking pictures at the begining of the build, so the first picture you see is when I started documenting the build.
This is where I started documenting the progress. The shape has been cut out and the roundover to the body cut, though the neck profile has yet to be carved.
This is the little brother of the bass, the Sirius guitar. The same three woods were used for this instrument also. Though the body is a single piece of Cherry here, as apposed to the 6 pieces used for the bass body.
Time to polish the fingerboard to a high gloss; this was done with Micro-Mesh upto 12000 grit. There is no finish on the board here, the shine you see is just from the polished wood.
Next, I installed the frets. I prefer a hammer to do this as it's nice and quick (30 mins max) and gives good results. The wire is pre bent using a fret bender before this. I don't have a picture of this, in the picture here I'm beveling the fret ends using a home made tool which holds the file at the correct angle...It looks a little rough as it has been well used!
After that I level with an oil stone and crown with a crowning file. Then I sand/file smooth all sharp corners.
Onto neck carving, the most enjoyable part of the whole build for me! I start by marking up the facets which will create the rough shape, then carve to these facets. Following this more facets are drawn and carved and we are getting close to final shape, where it is then sanded to the finished contour. All of this is mainly done with the tools you see here, a Drawknife and Surform (not pictured) for removing the main meat of the neck, then spokeshave and micro plane rasp for the more detailed areas.
Here is the neck nearly finished, it still needs a lot of sanding but its close!
Jumping to body now, where I have drilled for the neck attachment ferrules and bolts. I have also made up a pickup template, so next update I'll be routing for the pickups.
That's all for now, check back for more updates soon. Thank you for checking out this build.
 .
.