

Milling the truss-rod and graphite reinforcement rod channels into the neck has always been a tedious affair due to my habit of using a "fan" pattern for my graphite rods.
So, I devised a jig that simplifies the whole process and cuts the time element down by 50%. It also produces repeatable results, which can be very helpful.
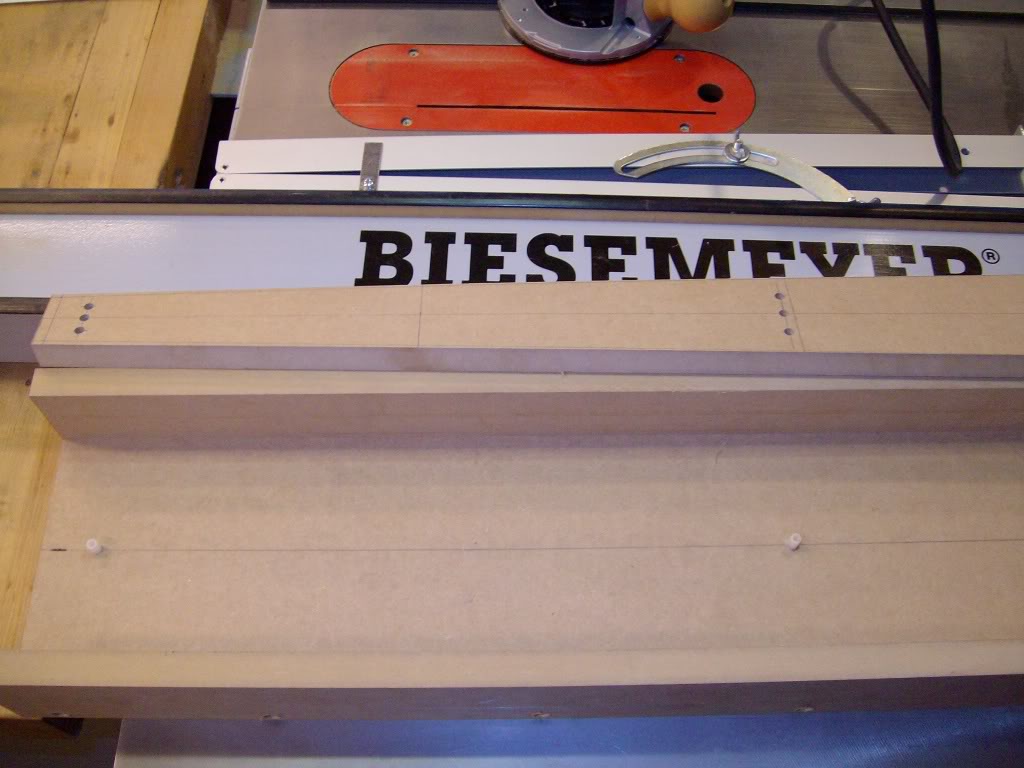
The design is very simple. First I have a channel whose width is exactly the same as the base on my router. In the bottom center of this channel I have inserted two 1/4" nylon pins:
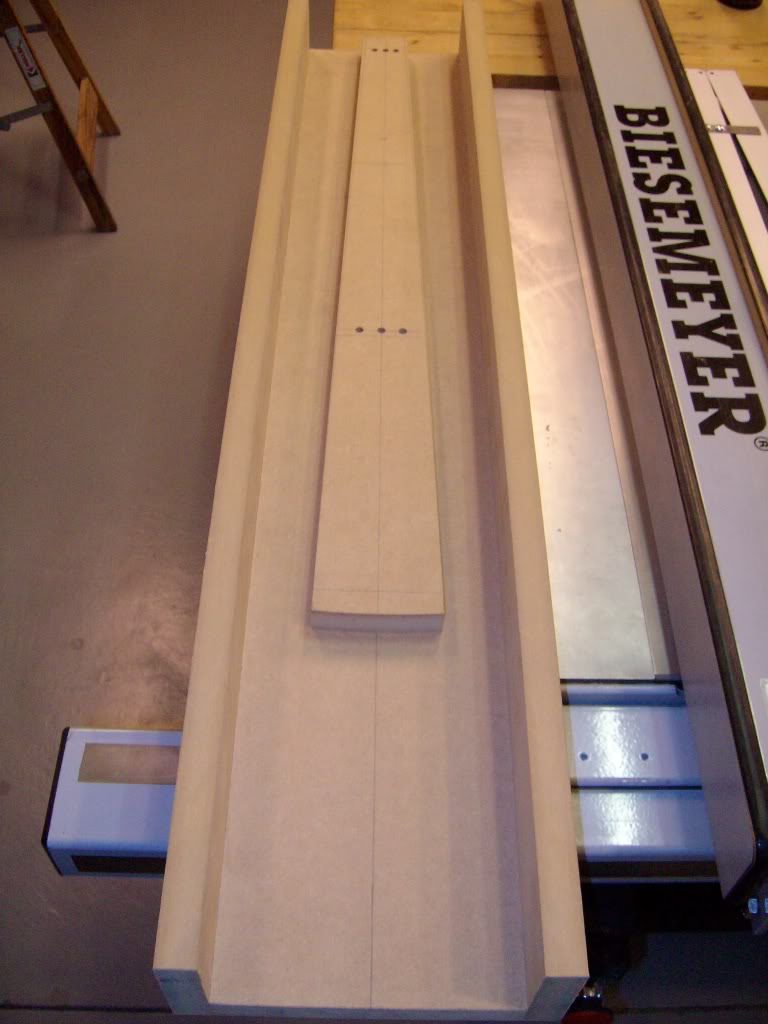
Then, I built a neck taper template/jig that is drilled with guideholes according to the "taper" I want on the graphite rods and truss rod (of course, the truss rod guide holes are down the center). I use this taper jig and a transfer punch to mark the back of a neck blank. Then, I drill shallow <1/4" holes in the bottom of the neck blank. The neck blank then fits over the guide pins. (For this illustration I am using the taper jig only):
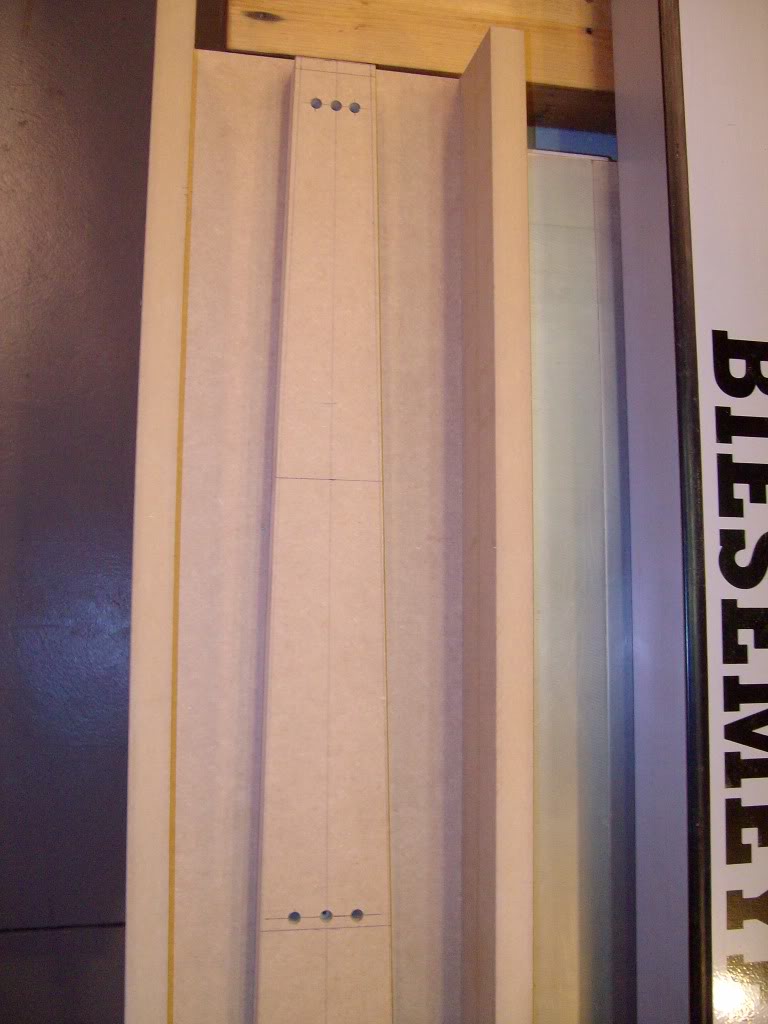
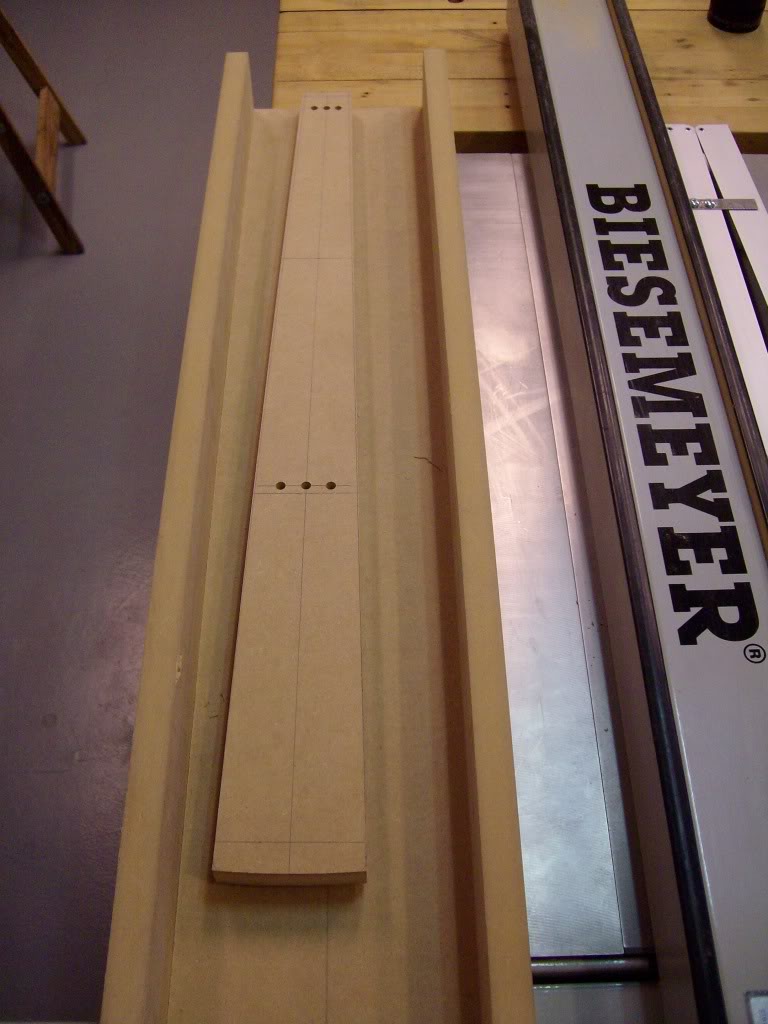
To change the pattern, just move the jig/neck:
The router then sets in the channel on top of the neck, set milling depth, mark the start/stop of your channels, and begin milling:
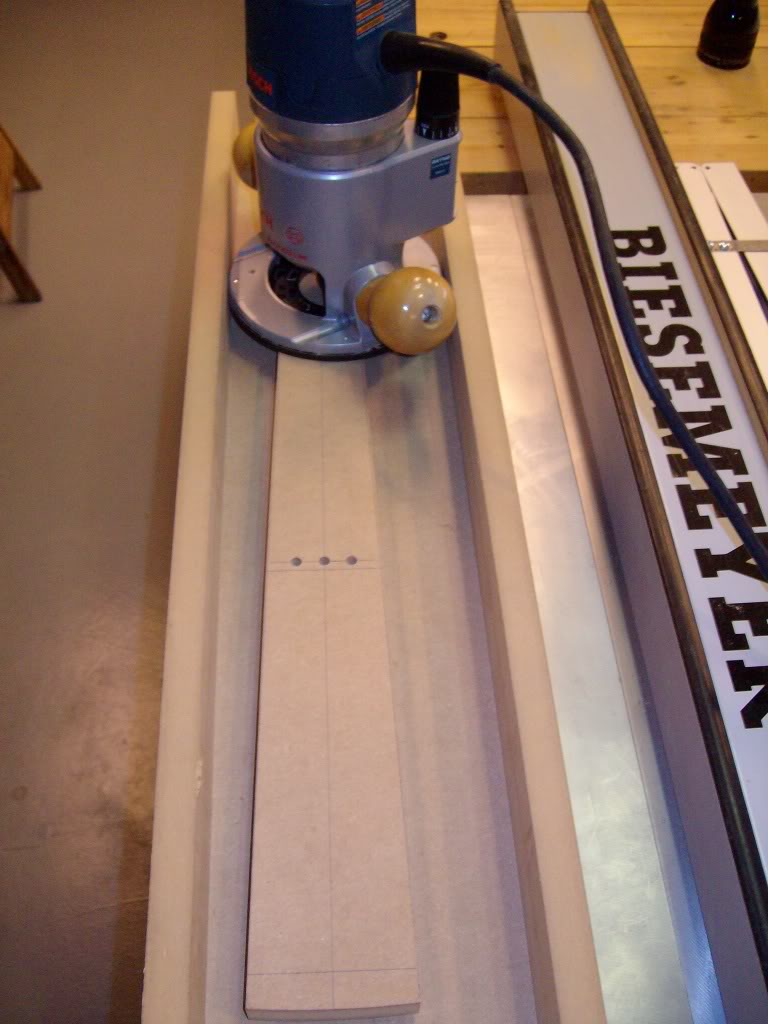
I have tested the jig this morning and it works perfectly. I will add photos later when I'm due to mill a neck showing the process whereby I align an actual neck blank.
I am also beginning the construction of a new fingerboard radius jig. After many months of brainstorming, I'm ready to try a significant improvement on my current jig. Stay tuned.
So, I devised a jig that simplifies the whole process and cuts the time element down by 50%. It also produces repeatable results, which can be very helpful.
The design is very simple. First I have a channel whose width is exactly the same as the base on my router. In the bottom center of this channel I have inserted two 1/4" nylon pins:
Then, I built a neck taper template/jig that is drilled with guideholes according to the "taper" I want on the graphite rods and truss rod (of course, the truss rod guide holes are down the center). I use this taper jig and a transfer punch to mark the back of a neck blank. Then, I drill shallow <1/4" holes in the bottom of the neck blank. The neck blank then fits over the guide pins. (For this illustration I am using the taper jig only):
To change the pattern, just move the jig/neck:
The router then sets in the channel on top of the neck, set milling depth, mark the start/stop of your channels, and begin milling:
I have tested the jig this morning and it works perfectly. I will add photos later when I'm due to mill a neck showing the process whereby I align an actual neck blank.
I am also beginning the construction of a new fingerboard radius jig. After many months of brainstorming, I'm ready to try a significant improvement on my current jig. Stay tuned.






