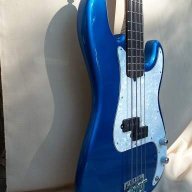
I was recently inspired to start this build after seeing this thread, posted by Darkhorse. I thought, "If he can do it with that few power tools, who says it can't be done without any!?"
I've also drawn inspiration from the growing popularity of pine as a body wood, with the likes of the Fender Custom Shop and Squier offering production models, as well as a plethora of small luthiers and shops.
First, I needed wood. I asked one of my coworkers, Dave, if he had a chunk of pine or other easy-to-work woods. Lo and behold, he has this mammoth pine board.
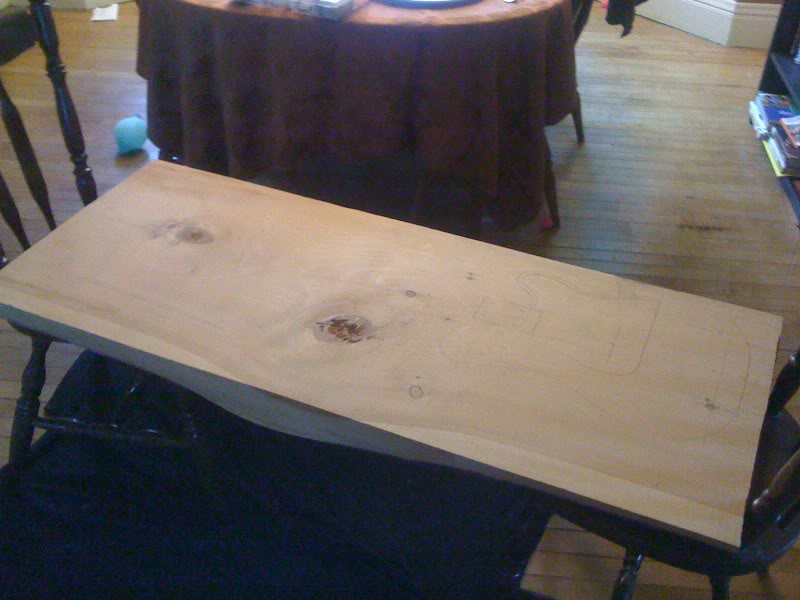
It's almost 4 feet long, 2 feet wide, and 3 inches thick! But it's still pretty light for it's size. Dave made himself a coffee table AND an end table out of the other end of the board... it was originally almost 14 feet long! It's local old growth, and there is only one stand of tree's like this left in the area.
My tool set is comprised off a cross-cut saw, a sanding block, a set of cheap chisels, sandpaper, a ruler, part of a combination square (as member gitlvr calls it, a "Thing"), a yardstick, and a miter saw. Not to mention sandpaper and the trusty Leatherman!
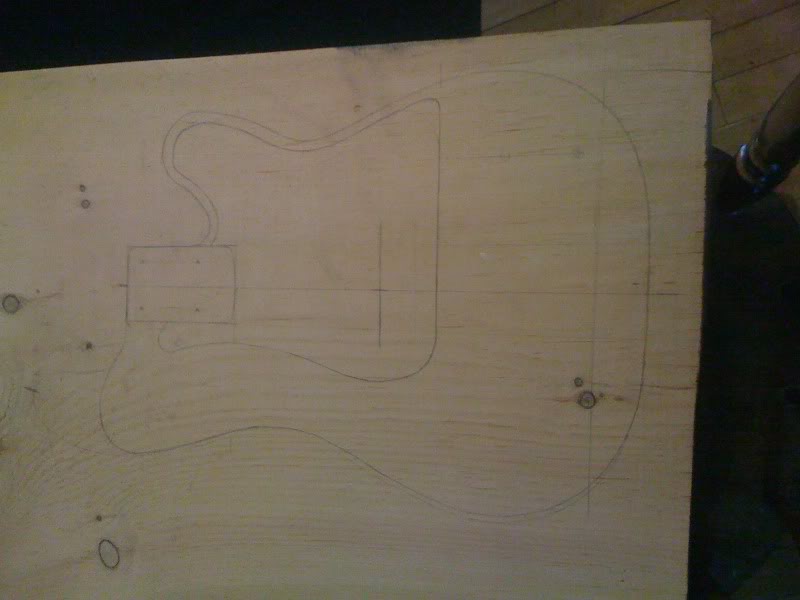
I traced one of my P-basses on the clearer end of the slab, and made some modifications until I had this. Yes, traced onto the wood, didn't make a template on paper first. Heresy!
After a moment of thinking, I realized a template was a good idea, so I made this with what was available; a piece of parchment paper from the kitchen. Laid it down, tacked it in place, and started tracing!
Notice, I shortened the lower horn.
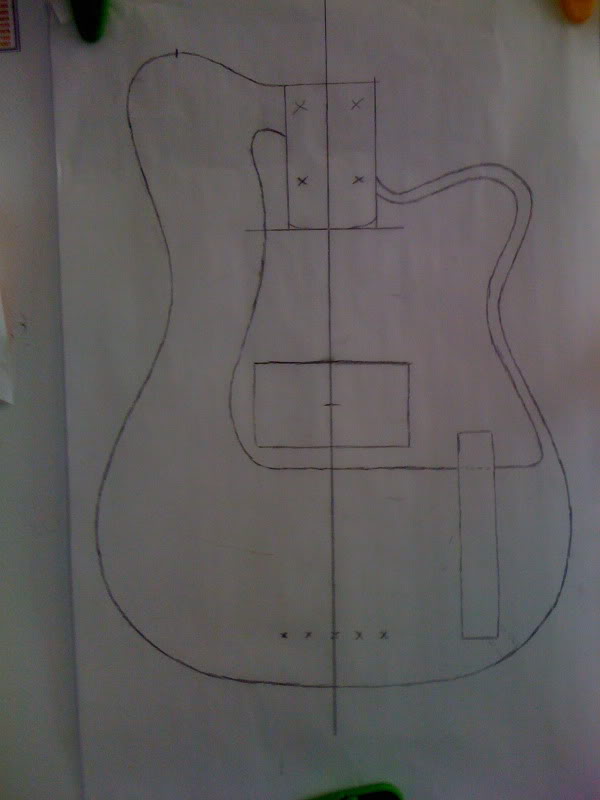
So far, there has been no real measuring, except some eyeballing of where the bridge screw holes are, where the neck pocket is and the centerline.
Took it back outside to my high-tech workbench... 4 cinder blocks stacked 2 high. Started cutting, didn't get any progress shots while I was freeing the end I was using from the main board, my wife had to help keep it stable by sitting on one end while I cut.
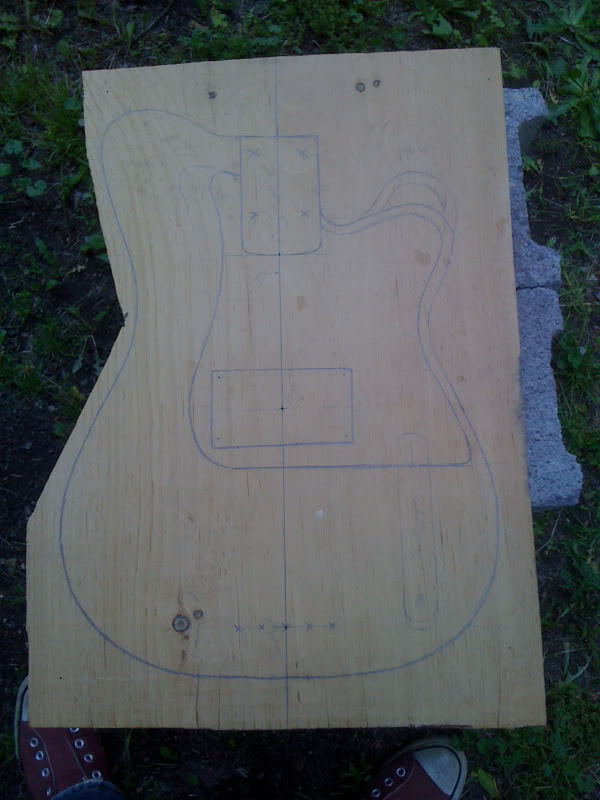
Now, I also did not get progress shots while cutting... its grueling work when all you're using is a cross cut saw from the early 90's (not the sharpest) and a miter saw. It's wonderful exercise though!
Jump ahead, and I started chiseling the perimeter shape. Again, no shots of this, but my wife took some video while I was working on it one day, which I'll edit down to a short clip later for everyone to see. Here's a pic of my progress to the point where I stopped chiseling.
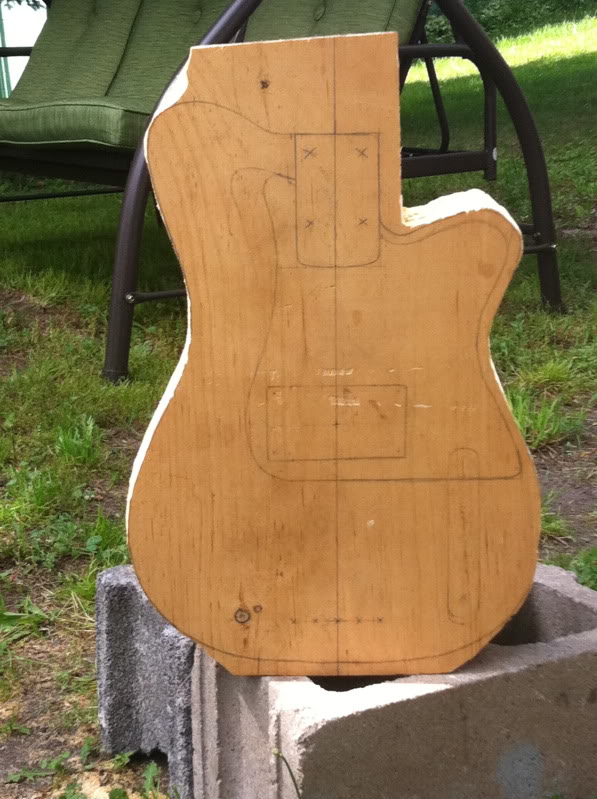
A few days later, I had made the decision to go with a Peavey T-40 neck for this body, so I had to cut a bit of wood away from near the neck pocket. My littler brother, also a bass player, approves.
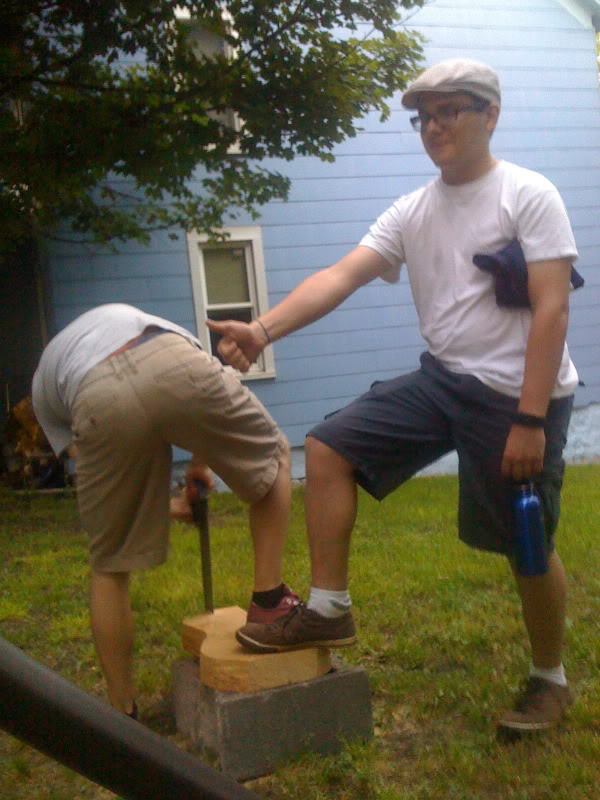
At this point, you'll notice I haven't thinned the board down. At all. It's a full 3 inches thick still. I decided to make a forearm cut, and a tummy cut. I also took a few hours and sanded the edges fairly smooth.
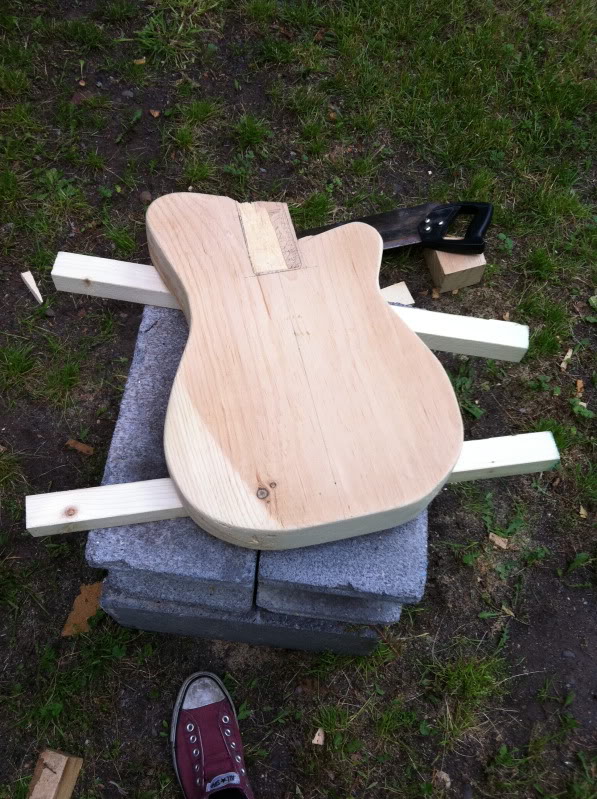
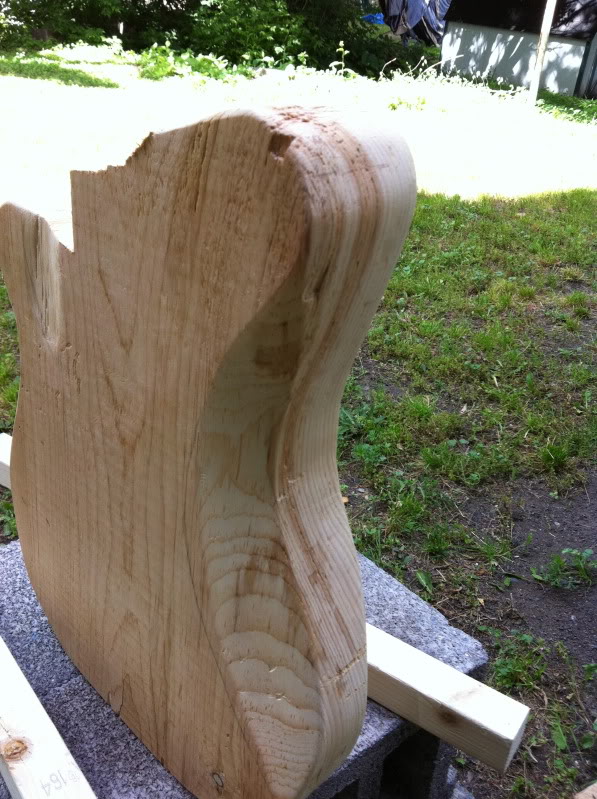
Some chipping on the top horn, caused by same reaction wood, which is quite brittle and sands kind of funny.
Later, I took the body up to the music room, grabbed a clamp, some string, the neck and bridge for the bass and measured/eyeballed/figured out where the bridge and neck pocket would be. No pics, but here's a shot of my progress on the neck pocket chiseling.
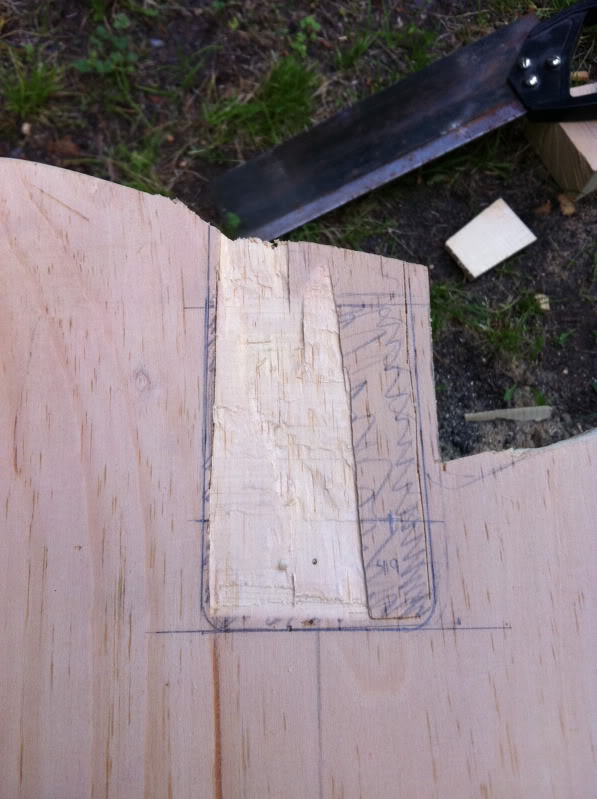
Very slow work, and I'm leaving a few millimeters of wood on each side, to allow for hand sanding for a tight fit.
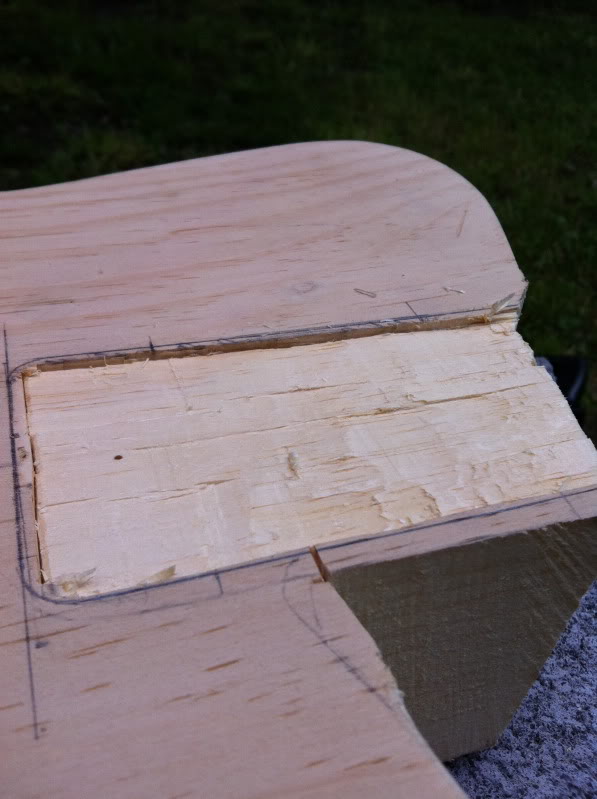
That's all I have pics of for today! I have since finished chiseling the depth of the neck pocket and started sanding it level, as well as putting a contour around the edges on the front. More pics to come!
I've also drawn inspiration from the growing popularity of pine as a body wood, with the likes of the Fender Custom Shop and Squier offering production models, as well as a plethora of small luthiers and shops.
First, I needed wood. I asked one of my coworkers, Dave, if he had a chunk of pine or other easy-to-work woods. Lo and behold, he has this mammoth pine board.
It's almost 4 feet long, 2 feet wide, and 3 inches thick! But it's still pretty light for it's size. Dave made himself a coffee table AND an end table out of the other end of the board... it was originally almost 14 feet long! It's local old growth, and there is only one stand of tree's like this left in the area.
My tool set is comprised off a cross-cut saw, a sanding block, a set of cheap chisels, sandpaper, a ruler, part of a combination square (as member gitlvr calls it, a "Thing"), a yardstick, and a miter saw. Not to mention sandpaper and the trusty Leatherman!
I traced one of my P-basses on the clearer end of the slab, and made some modifications until I had this. Yes, traced onto the wood, didn't make a template on paper first. Heresy!
After a moment of thinking, I realized a template was a good idea, so I made this with what was available; a piece of parchment paper from the kitchen. Laid it down, tacked it in place, and started tracing!
Notice, I shortened the lower horn.
So far, there has been no real measuring, except some eyeballing of where the bridge screw holes are, where the neck pocket is and the centerline.
Took it back outside to my high-tech workbench... 4 cinder blocks stacked 2 high. Started cutting, didn't get any progress shots while I was freeing the end I was using from the main board, my wife had to help keep it stable by sitting on one end while I cut.
Now, I also did not get progress shots while cutting... its grueling work when all you're using is a cross cut saw from the early 90's (not the sharpest) and a miter saw. It's wonderful exercise though!
Jump ahead, and I started chiseling the perimeter shape. Again, no shots of this, but my wife took some video while I was working on it one day, which I'll edit down to a short clip later for everyone to see. Here's a pic of my progress to the point where I stopped chiseling.
A few days later, I had made the decision to go with a Peavey T-40 neck for this body, so I had to cut a bit of wood away from near the neck pocket. My littler brother, also a bass player, approves.
At this point, you'll notice I haven't thinned the board down. At all. It's a full 3 inches thick still. I decided to make a forearm cut, and a tummy cut. I also took a few hours and sanded the edges fairly smooth.
Some chipping on the top horn, caused by same reaction wood, which is quite brittle and sands kind of funny.
Later, I took the body up to the music room, grabbed a clamp, some string, the neck and bridge for the bass and measured/eyeballed/figured out where the bridge and neck pocket would be. No pics, but here's a shot of my progress on the neck pocket chiseling.
Very slow work, and I'm leaving a few millimeters of wood on each side, to allow for hand sanding for a tight fit.
That's all I have pics of for today! I have since finished chiseling the depth of the neck pocket and started sanding it level, as well as putting a contour around the edges on the front. More pics to come!