

Enjoy the benefits of a premium membership!
Upgrade Account
-
TalkBass has been independent since 1998. Add your voice.
Create a free account to reply to discussions, view embedded media, and browse with fewer display ads.
Join free Log in
Want zero display ads or expanded classifieds tools? Compare plans.
You are using an out of date browser. It may not display this or other websites correctly.
You should upgrade or use an alternative browser.
You should upgrade or use an alternative browser.
5-String Fanned Hybrid Headless
- Thread starter Dave Higham
- Start date
More options
Who Replied?

Please consider making the B string anchor farther from the nut so there is less break angle over the nut to avoid stressing the string and to facilitate smoother tuning.
I confess to not understanding the idea of the break angle stressing the B string. But I've just had a look at my drawing and in its present position the theoretical break angle of the B string is 11.407°. If I moved it up to the same position as the A string it would be 10.928°. So would a reduction of 0.479° make much difference? As Martha says, the tuners are at the other end.
David, the pickup's height is going to be adjusted from behind?
That's right. I prefer four small holes in the back to two holes in each pickup cover.

Great work on that pickup.
Also I like the way you stepped the depth of the body cavities.
Thanks Pete. The stepped cavities, as you'll have realised, are because of the planned exterior body shape. I just hope I haven't made any mistakes in my calculations. I only have a 2D CAD programme, which is fine for most things, but I sometimes wish I had Pro Engineer which is what I used to work on.

adam.beauchene
Commercial User
Thanks for sharing your amazing work here. I was emboldened to try making instruments because of this little corner of the internet, but the level of workmanship coming out of the Luthier's Corner lately is mindblowing.


Thanks for sharing your amazing work here. I was emboldened to try making instruments because of this little corner of the internet, but the level of workmanship coming out of the Luthier's Corner lately is mindblowing.
Same here (and I definitely exclude my work from that). LC is almost entirely responsible for making me want to do this.


OK, heres a further instalment.
As Im trying to keep the instrument as light as possible Ive decided to make the neck from mahogany with a couple of walnut laminations and carbon fibre stiffening bars. I bought two mahogany billets 4 x 4 x 39 a few years ago and one of them was a lot lighter in weight (and colour) than the other, so Im using some of the lighter one. The walnut was reclaimed and must be about 70 to 80 years old. Heres the neck blank all sliced up and stuck together again.
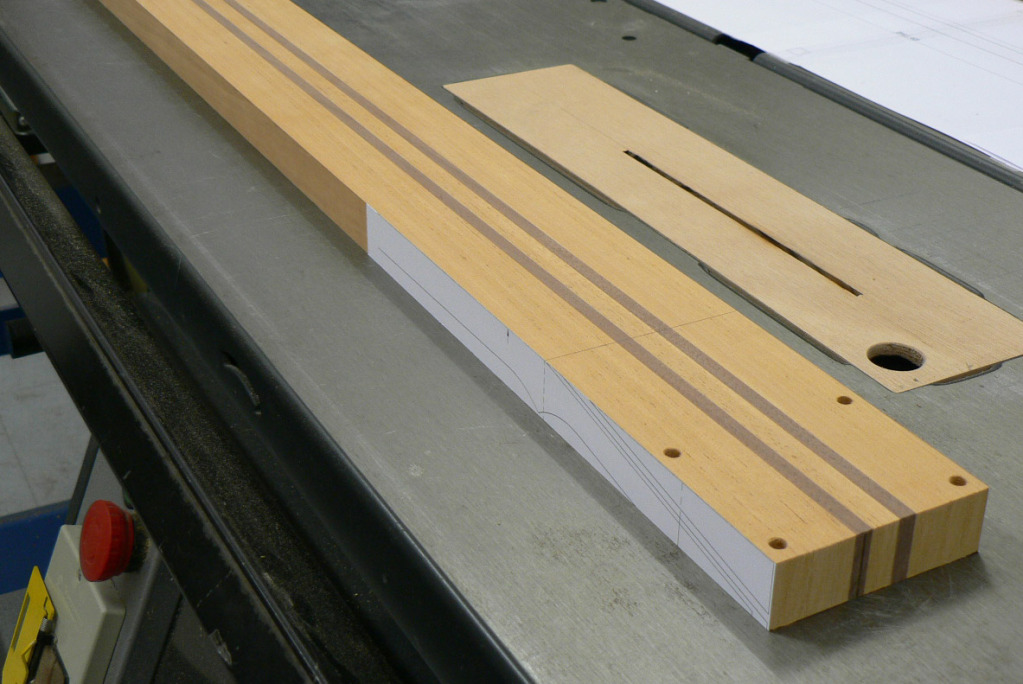
I do a sort of scarf joint but not in the usual way. Instead of cutting the piece off for the head and reversing it, I cut it off and then glue it on again at the back, like this.
1. Bandsaw the piece off.
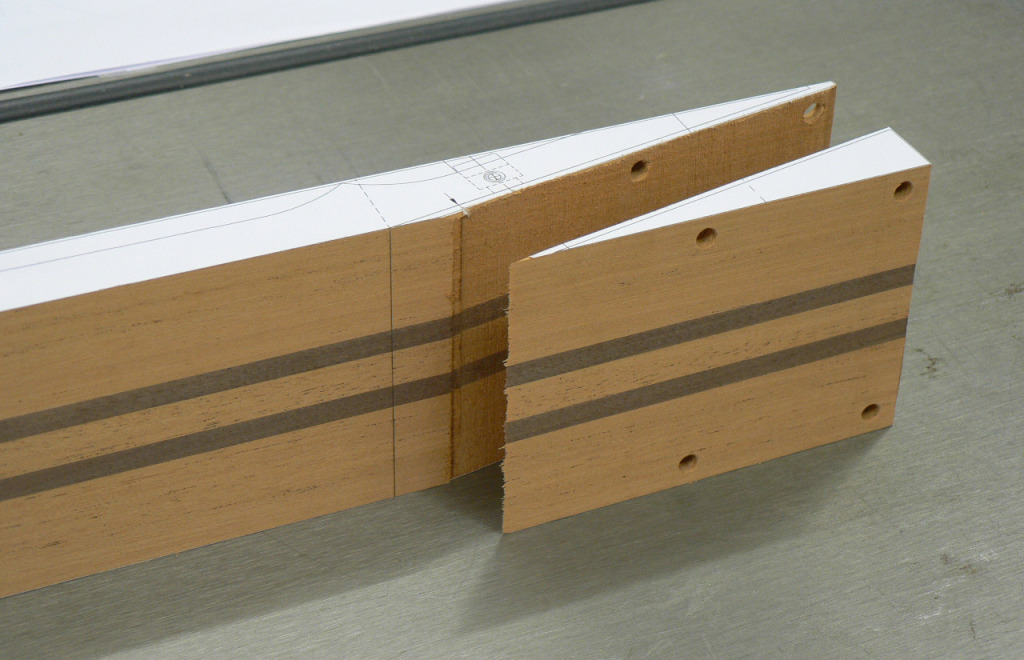
2. Move it round to the back.
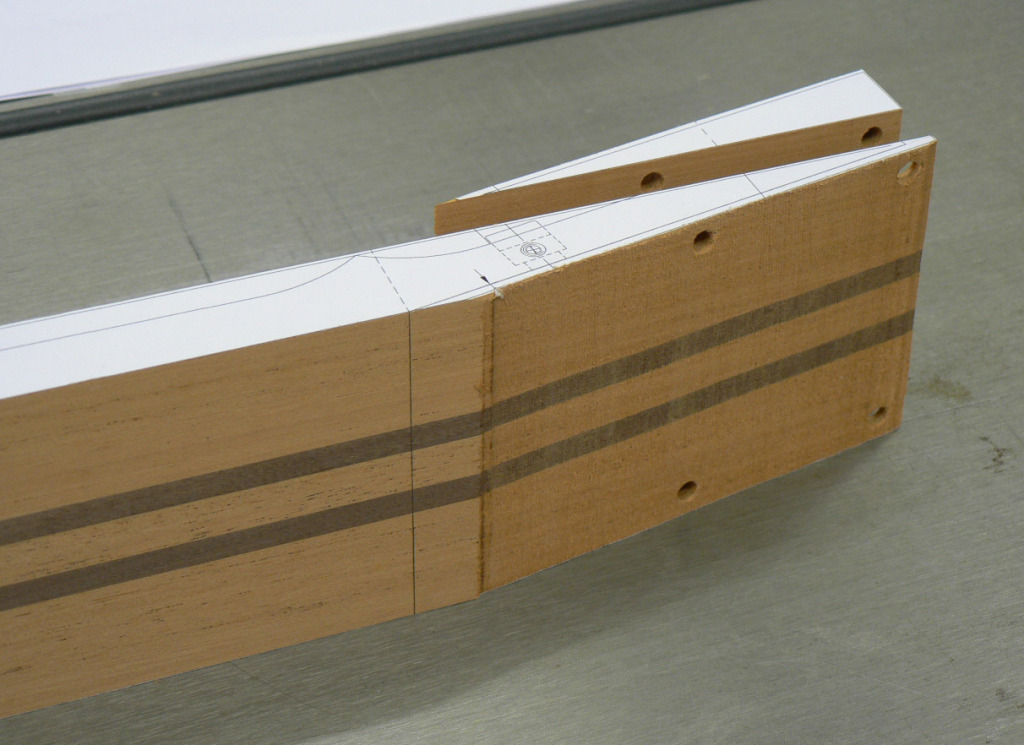
3. glue it back on. The holes, by the way, are for brass dowel rods to keep it aligned when gluing and are outside the finished headstock area.
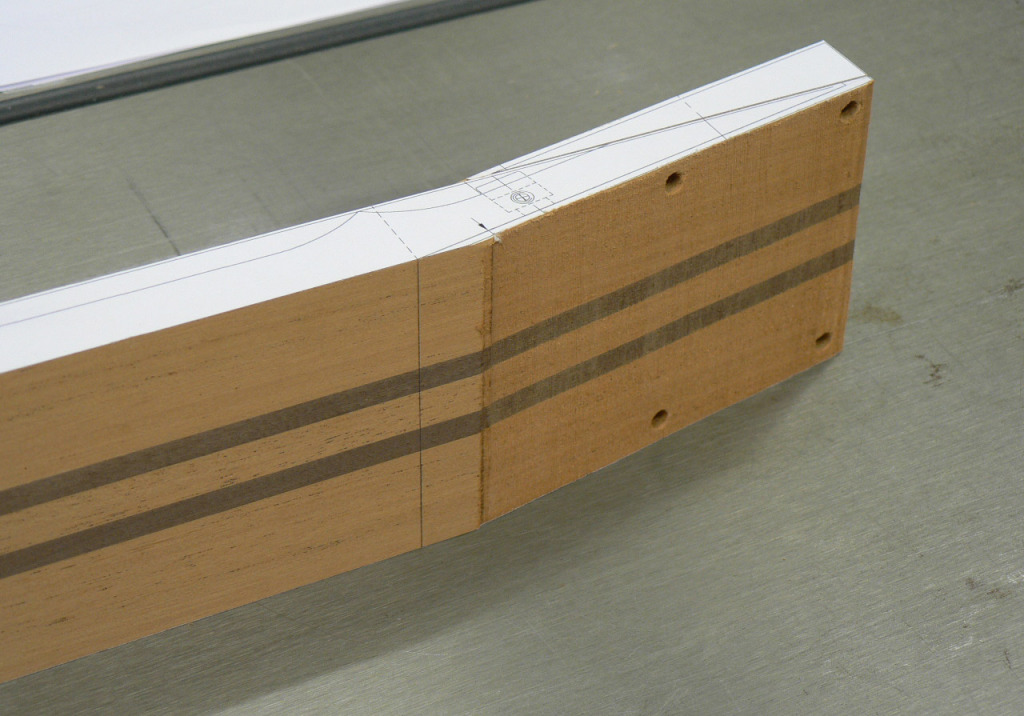
Here it is, glued. Its the equivalent of a neck and headstock cut out of one piece of wood, although probably stronger because of the glued joint, but without wasting a lot of precious wood. A lot of people dont like one piece neck/heads, especially when the truss-rod adjustment is at the head, and quote the number of Gibsons that have been broken. Should you build an instrument to withstand being dropped on its head? (They didnt break on their own).
Anyway, this one will have a volute, which should strengthen it up, and the carbon fibre reinforcement bars in the neck will run up through the neck/head junction so Im not going to lose any sleep over it.
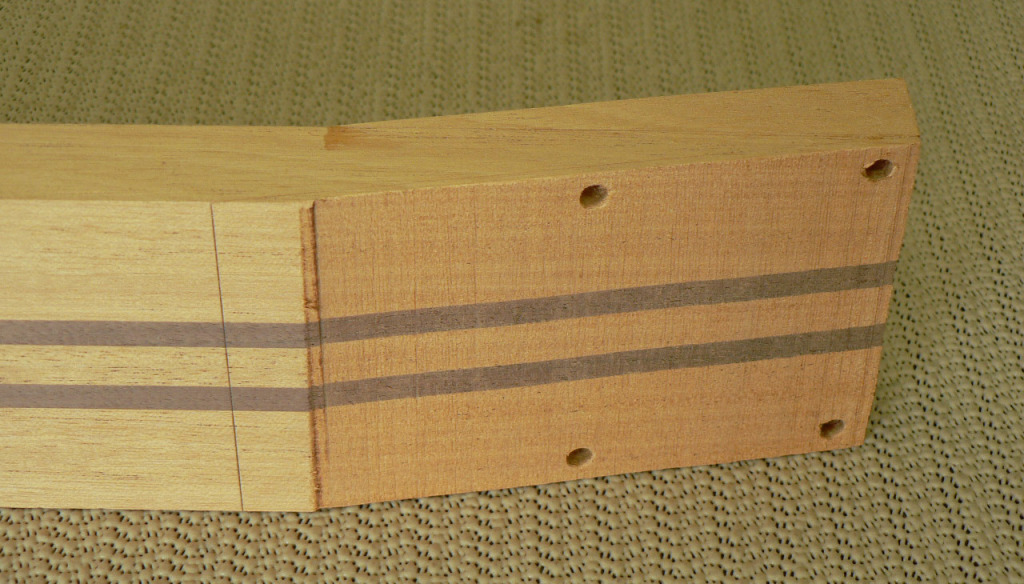
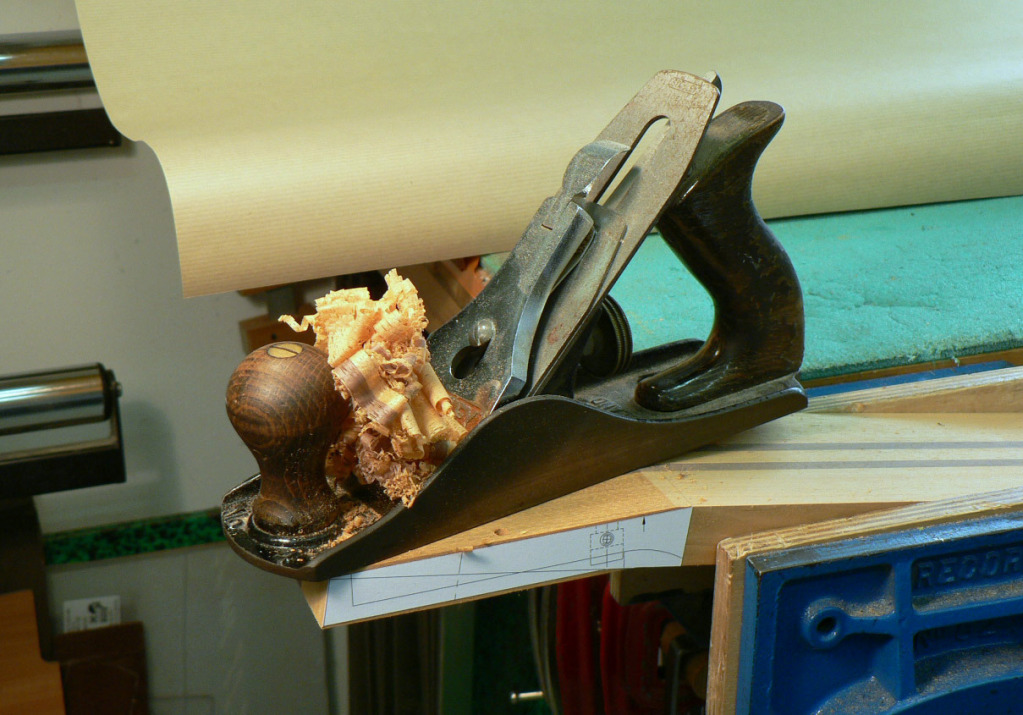
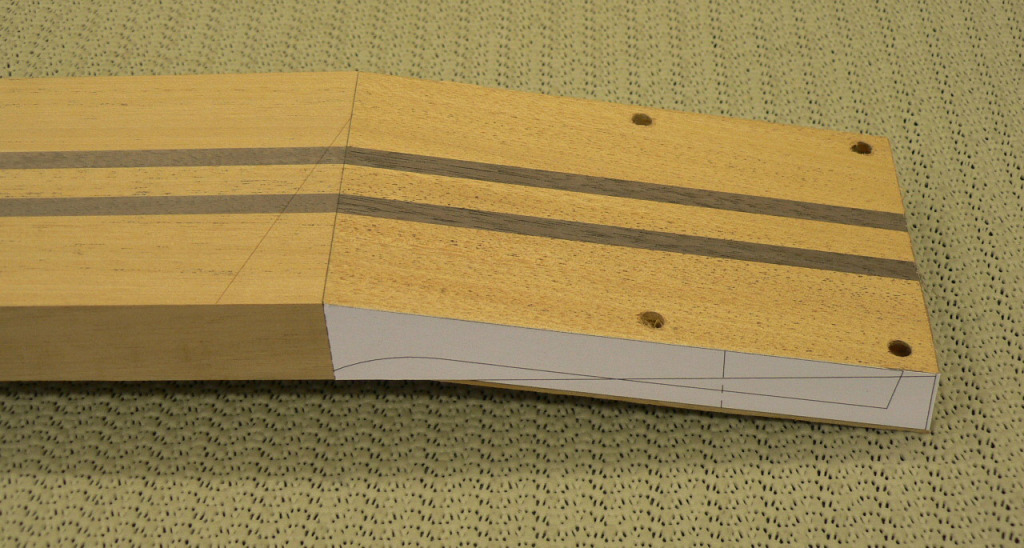
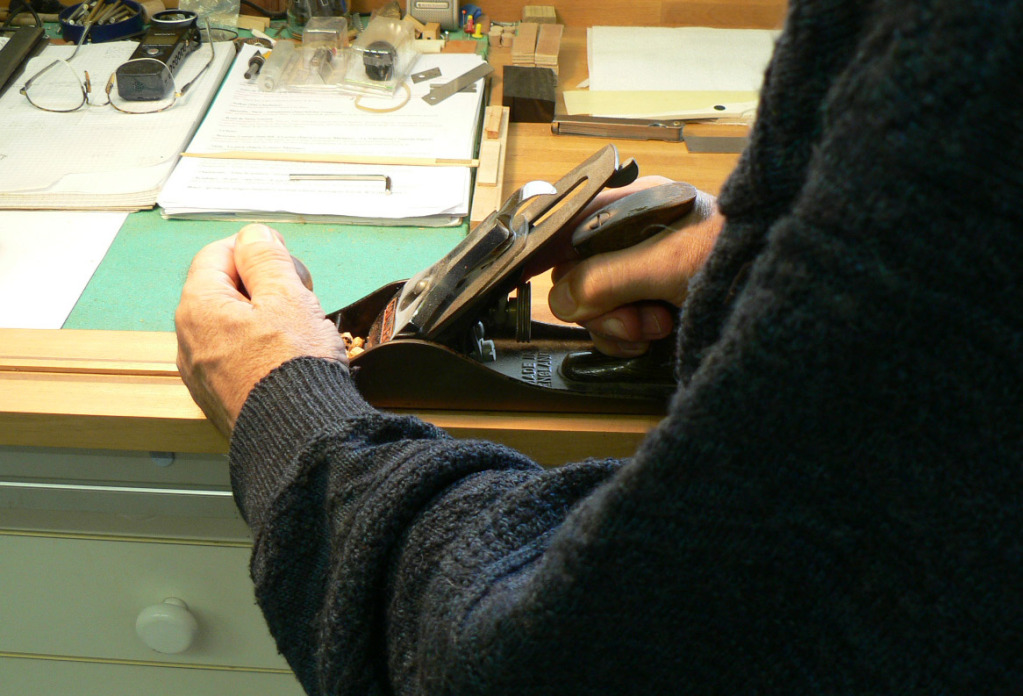
I then trimmed the surplus off the front of the headstock the old-fashioned way. I know that not everyone has hand-tool skills but, honestly, with a little practice and a well-sharpened blade its not that difficult, and its a hell of a lot quicker than setting up router jigs, etc.
Action shot
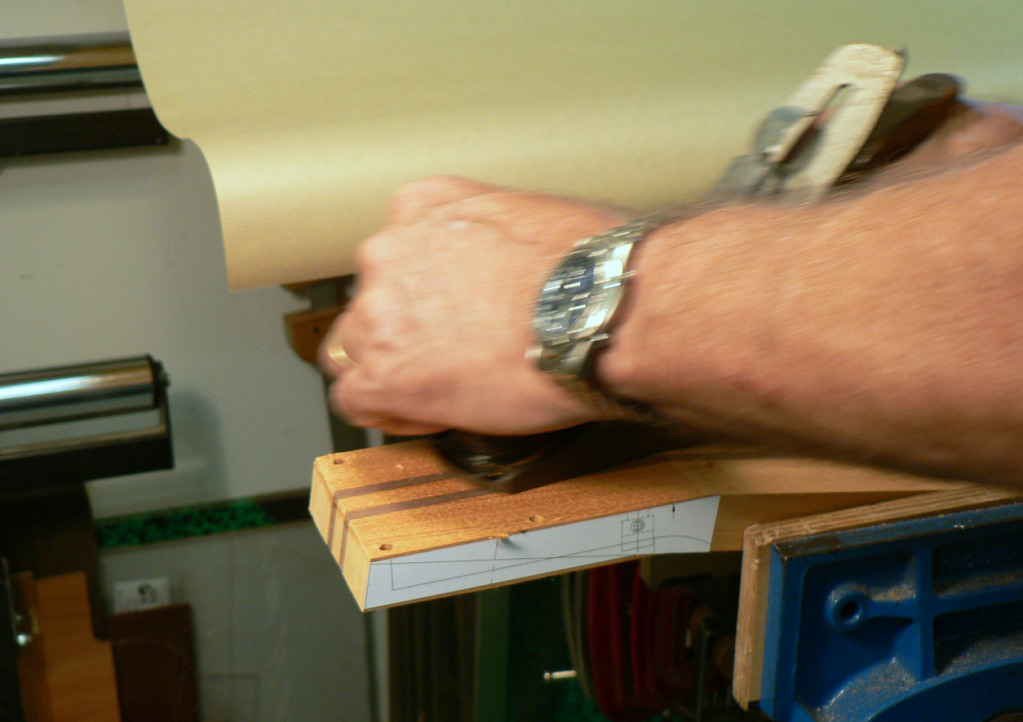
Theres something really satisfying about producing shavings with hand tools.
All cleaned up.
Back soon...
As Im trying to keep the instrument as light as possible Ive decided to make the neck from mahogany with a couple of walnut laminations and carbon fibre stiffening bars. I bought two mahogany billets 4 x 4 x 39 a few years ago and one of them was a lot lighter in weight (and colour) than the other, so Im using some of the lighter one. The walnut was reclaimed and must be about 70 to 80 years old. Heres the neck blank all sliced up and stuck together again.
I do a sort of scarf joint but not in the usual way. Instead of cutting the piece off for the head and reversing it, I cut it off and then glue it on again at the back, like this.
1. Bandsaw the piece off.
2. Move it round to the back.
3. glue it back on. The holes, by the way, are for brass dowel rods to keep it aligned when gluing and are outside the finished headstock area.
Here it is, glued. Its the equivalent of a neck and headstock cut out of one piece of wood, although probably stronger because of the glued joint, but without wasting a lot of precious wood. A lot of people dont like one piece neck/heads, especially when the truss-rod adjustment is at the head, and quote the number of Gibsons that have been broken. Should you build an instrument to withstand being dropped on its head? (They didnt break on their own).
Anyway, this one will have a volute, which should strengthen it up, and the carbon fibre reinforcement bars in the neck will run up through the neck/head junction so Im not going to lose any sleep over it.
I then trimmed the surplus off the front of the headstock the old-fashioned way. I know that not everyone has hand-tool skills but, honestly, with a little practice and a well-sharpened blade its not that difficult, and its a hell of a lot quicker than setting up router jigs, etc.
Action shot
Theres something really satisfying about producing shavings with hand tools.
All cleaned up.
Back soon...

Not sure how much learning of new software you'd want to do, but I know that there are several full featured free 3d cad programs for linux. Right now I'm teaching myself FreeCAD on a variant of ubuntu and I'm pretty sure with a background in cad it would be pretty simple to pick up, and can be installed on a flashdrive or side by side with windows.
Also, its looking like a great build, can't wait to see it finished
Also, its looking like a great build, can't wait to see it finished

That's a brilliant way to do a scarf joint..!! i assume it would be stronger than the conventional scarf joints because of the larger glueing surface..



Thanks for the nice comments guys (or gals? - that's the problem with pseudonyms...) they're very much appreciated.
To continue:
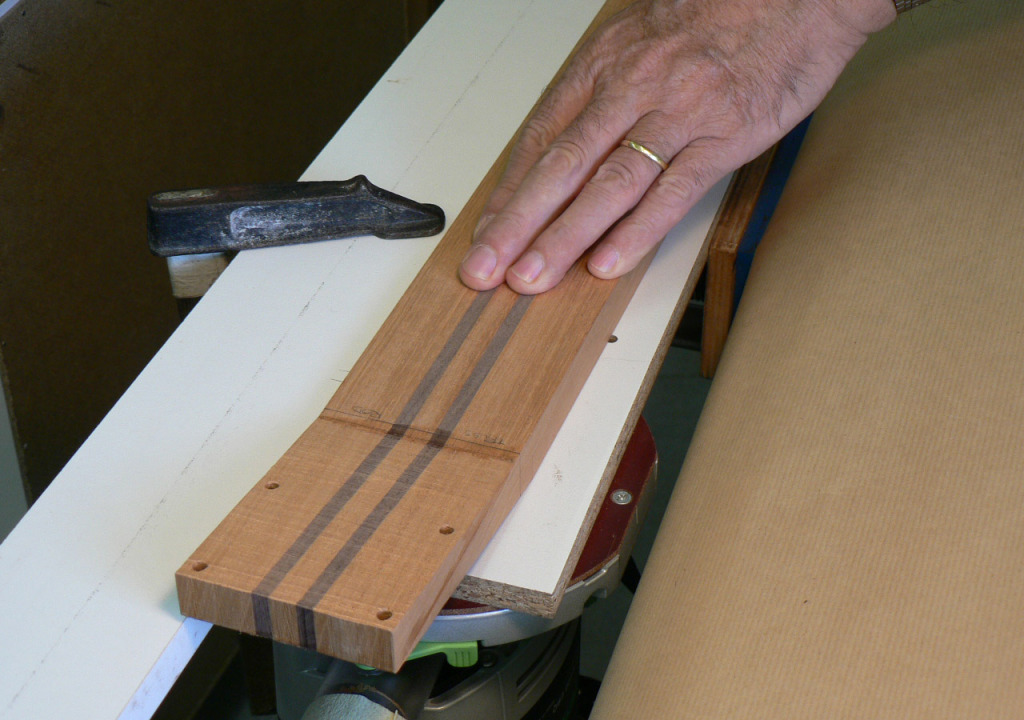
Next job is to cut the slot for the truss rod. I actually have a cheap router table which would have done the job except that the guides on the table dont move far enough away from the cutter at the limit of their adjustment . Serves me right for buying cheap Chinese rubbish. So this is a lash-up router table which does the job just as well. Theres a hole drilled through the other end of the guide and the table with a dowel pin in it so the guide can swivel. Fine adjustment is made at this end of the guide using the traditional fine-adjustment tool (hitting it with a hammer!).
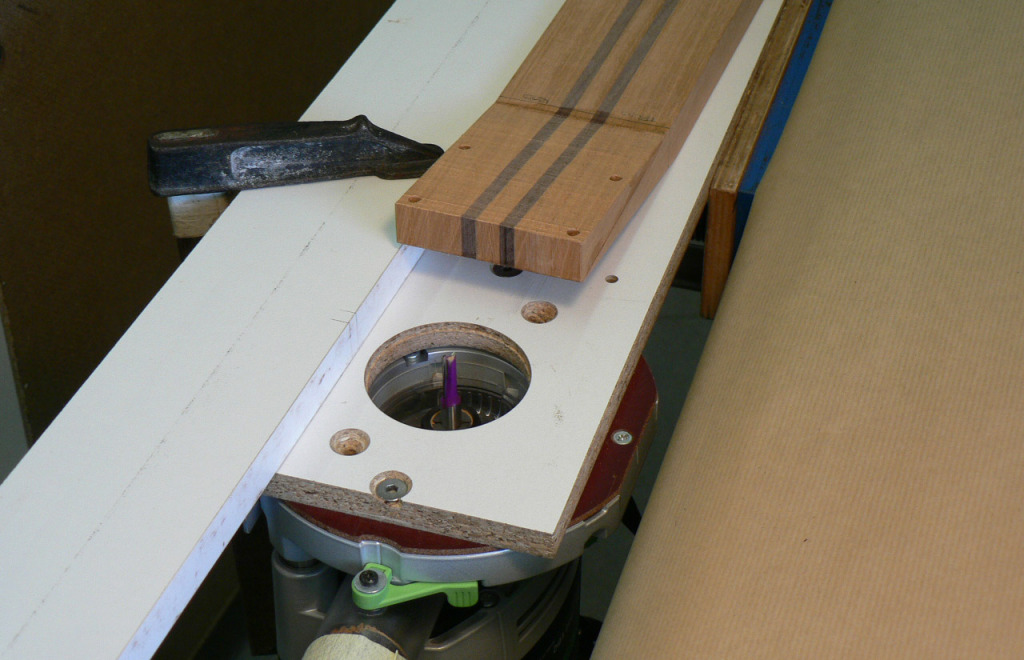
You may be able to see in this photo the pencil marks on the guide and the neck to show me where to start and stop the slot.
Slot cut. I forgot to take a photo, but there was some surplus length at the other end of the neck blank so when setting up I did short trial cuts at that end.
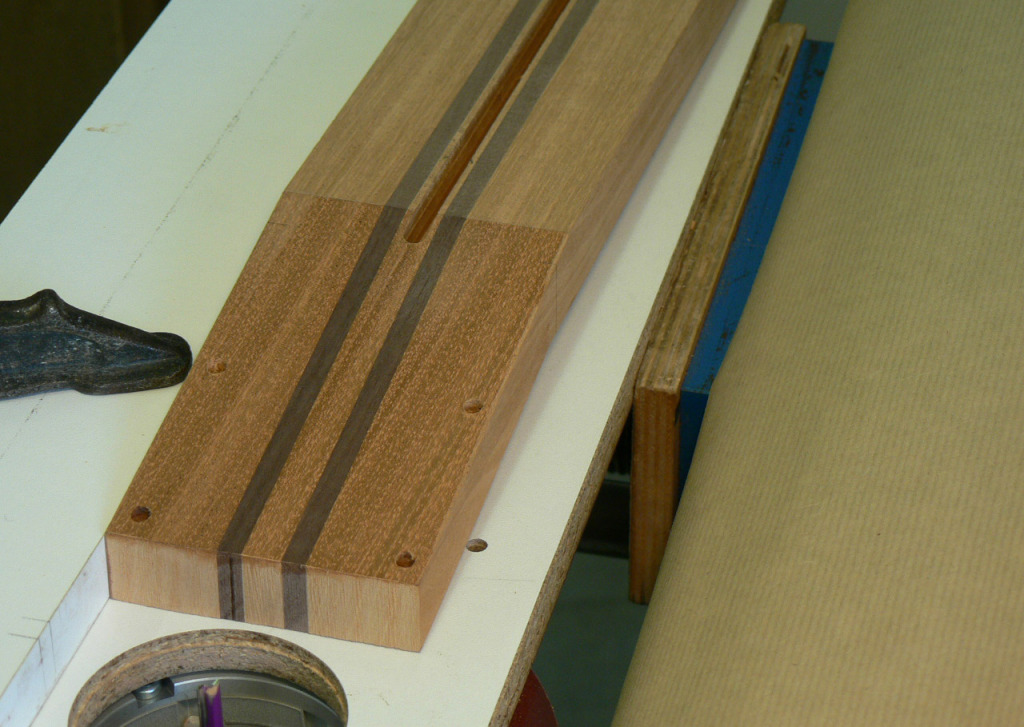
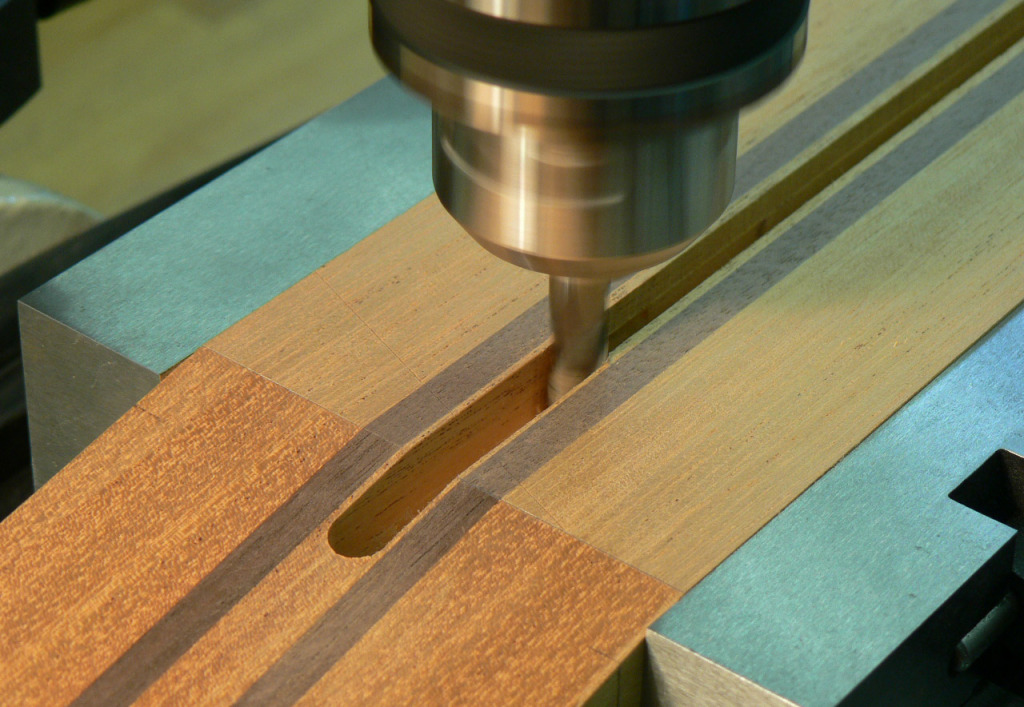
I then moved the blank onto the milling machine to widen out the end of the slot for the adjustment nut. I could have fiddled about and done it with the router but it was easier on the milling m/c.
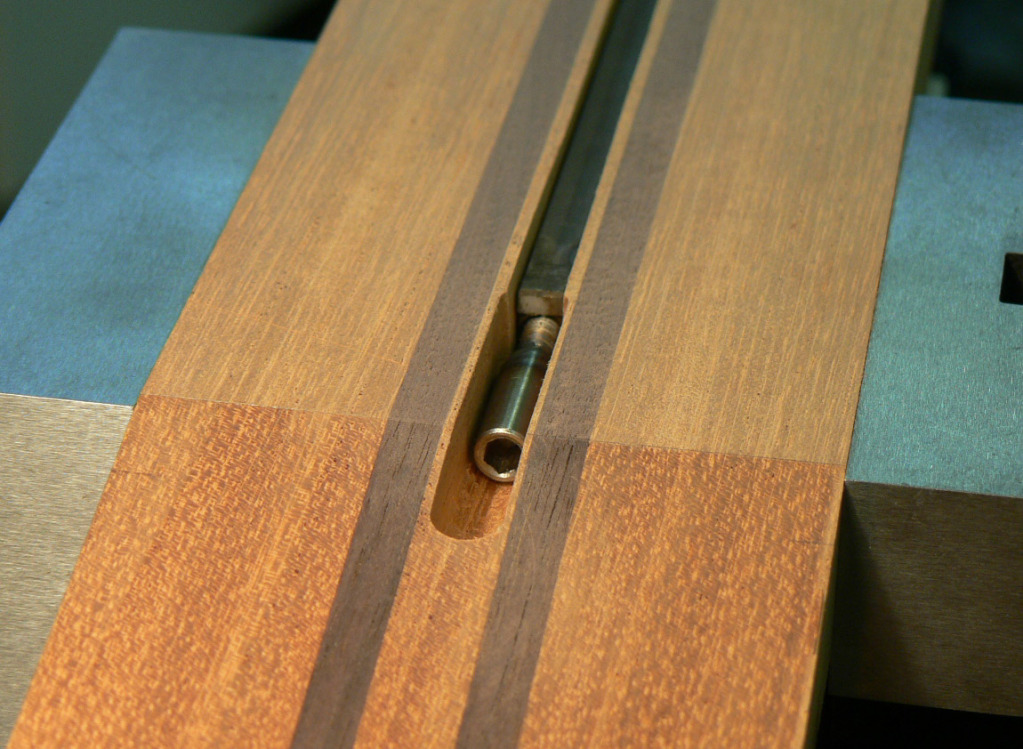
I cut the slot 2mm deeper than the depth of the truss rod to allow for a filet to be glued in on top of it. Heres the rod snugly sitting in its slot. I should mention that at this point I decided that the truss-rod wasnt in the right position so I modified the slots to bring the adjustment nut further up into the headstock. I thought Id better own up before some sharp-eyed person pointed out the difference between this photo and the next one.
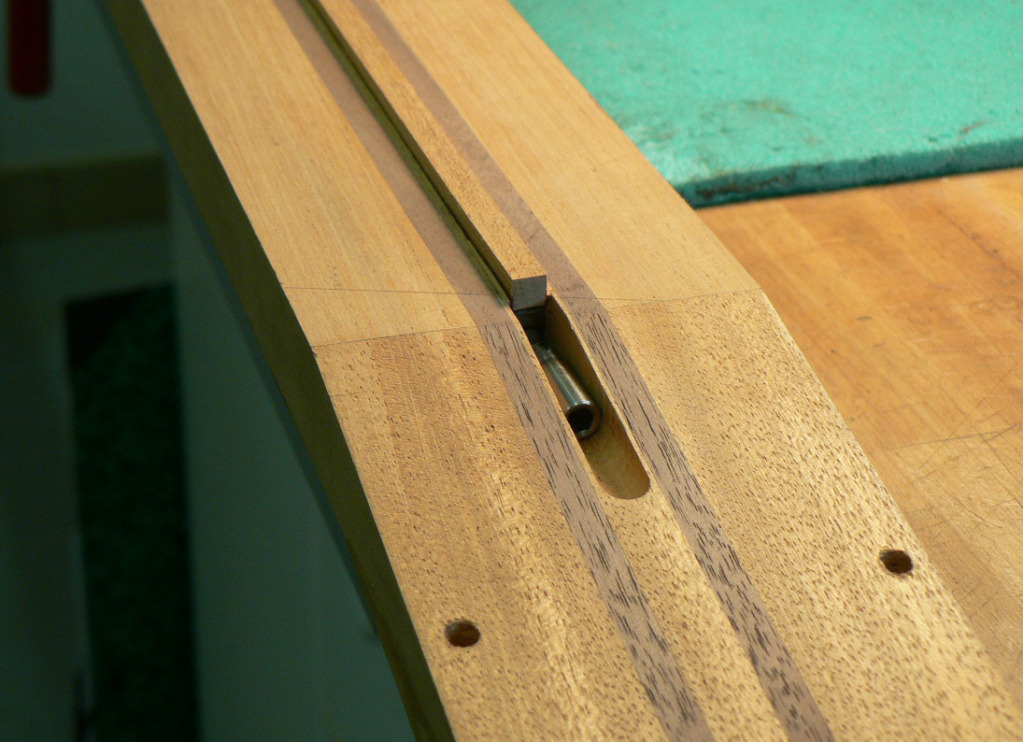
Next I made a strip of mahogany to glue in on top of the truss-rod. See the difference in the position of the rod?
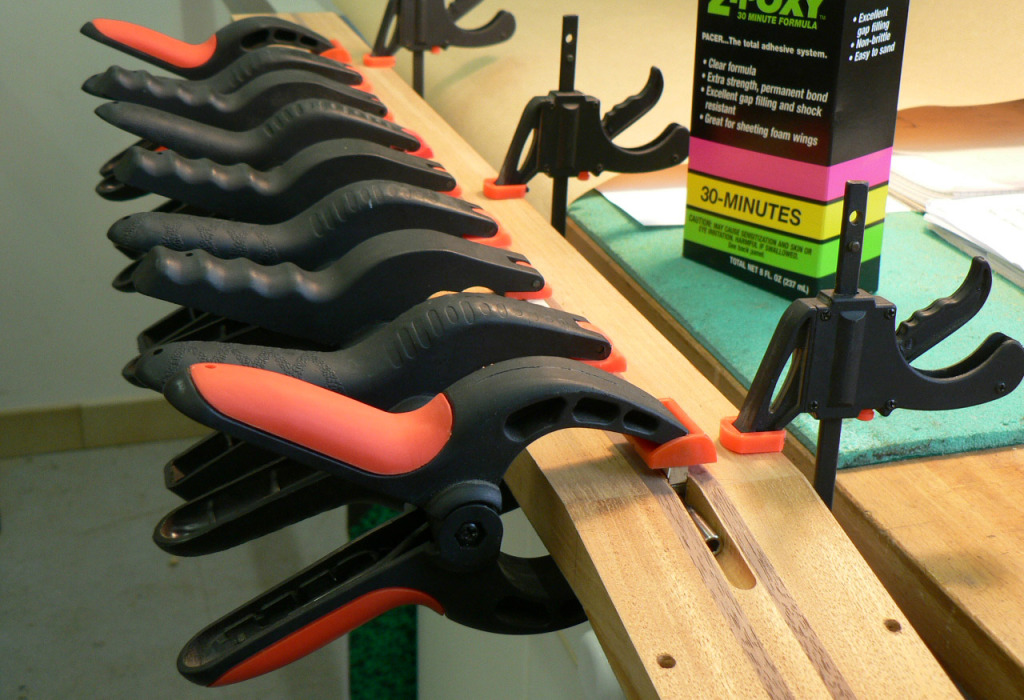
Gluing in the filet.
Trimming the filet down flush with the surface of the neck blank.
Thanks for looking; back later...
To continue:
Next job is to cut the slot for the truss rod. I actually have a cheap router table which would have done the job except that the guides on the table dont move far enough away from the cutter at the limit of their adjustment
. Serves me right for buying cheap Chinese rubbish. So this is a lash-up router table which does the job just as well. Theres a hole drilled through the other end of the guide and the table with a dowel pin in it so the guide can swivel. Fine adjustment is made at this end of the guide using the traditional fine-adjustment tool (hitting it with a hammer!).You may be able to see in this photo the pencil marks on the guide and the neck to show me where to start and stop the slot.
Slot cut. I forgot to take a photo, but there was some surplus length at the other end of the neck blank so when setting up I did short trial cuts at that end.
I then moved the blank onto the milling machine to widen out the end of the slot for the adjustment nut. I could have fiddled about and done it with the router but it was easier on the milling m/c.
I cut the slot 2mm deeper than the depth of the truss rod to allow for a filet to be glued in on top of it. Heres the rod snugly sitting in its slot. I should mention that at this point I decided that the truss-rod wasnt in the right position so I modified the slots to bring the adjustment nut further up into the headstock. I thought Id better own up before some sharp-eyed person pointed out the difference between this photo and the next one.
Next I made a strip of mahogany to glue in on top of the truss-rod. See the difference in the position of the rod?
Gluing in the filet.
Trimming the filet down flush with the surface of the neck blank.
Thanks for looking; back later...

... Fine adjustment is made at this end of the guide using the traditional fine-adjustment tool (hitting it with a hammer!).
Years ago when I was a bicycle mechanic, I recall that particular adjustment tool being commonly referred to as a Raleigh Wrench

Inspiring stuff here, by the way.
- Jeff


