• TalkBass has been independent since 1998. Add your voice.
    Create a free account to reply to discussions, view embedded media, and browse with fewer display ads.
    Join freeLog in
    Want zero display ads or expanded classifieds tools? Compare plans.

5 string single-cut build

I've been browsing this wonderful site for a while and finally getting around to posting the progress of my second bass build. I'm currently putting the finish on and will post the complete instrument. This has taken me a while to complete...I can't wait until it is finally done.

Specs:
-5 Piece Maple w/ bubinga stringers (middle stripe of maple is flamed)
-Birdseye Maple FB
-Ash Body
-Alder "Tone" block
-Walnut Top
-EMG J5 pickups
-Michael Pope Preamp w/ mid freq switch and mute switch
-Hipshot A style brass bridge
-Gotoh gold tuners


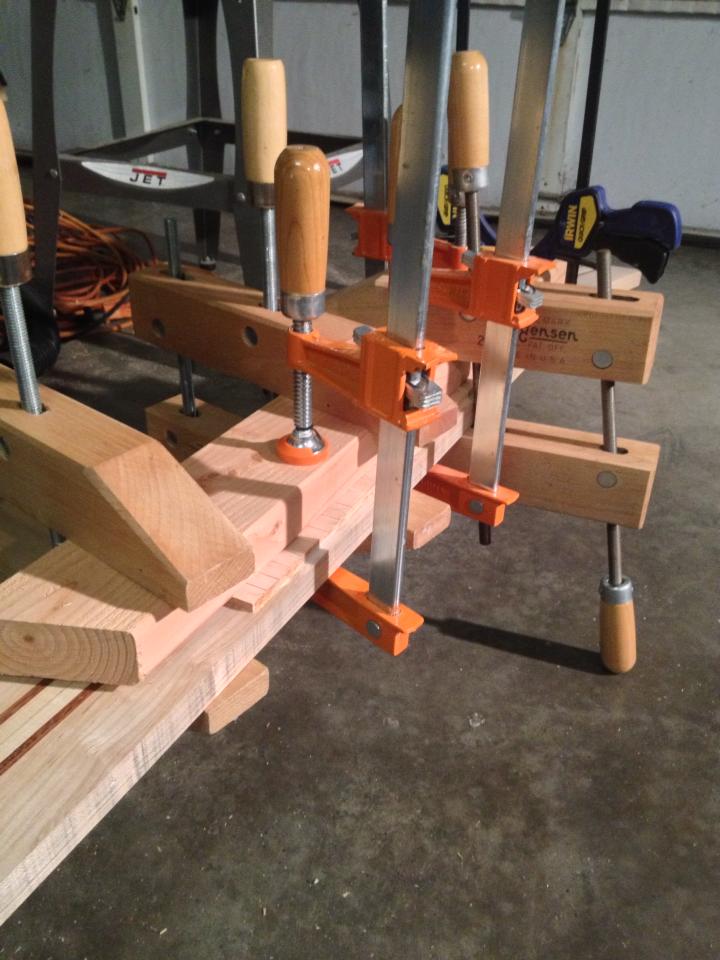
I started with making a template from my Yamaha BB605 and modifying it for a single-cut shape and gluing up the neck/fingerboard/tone block
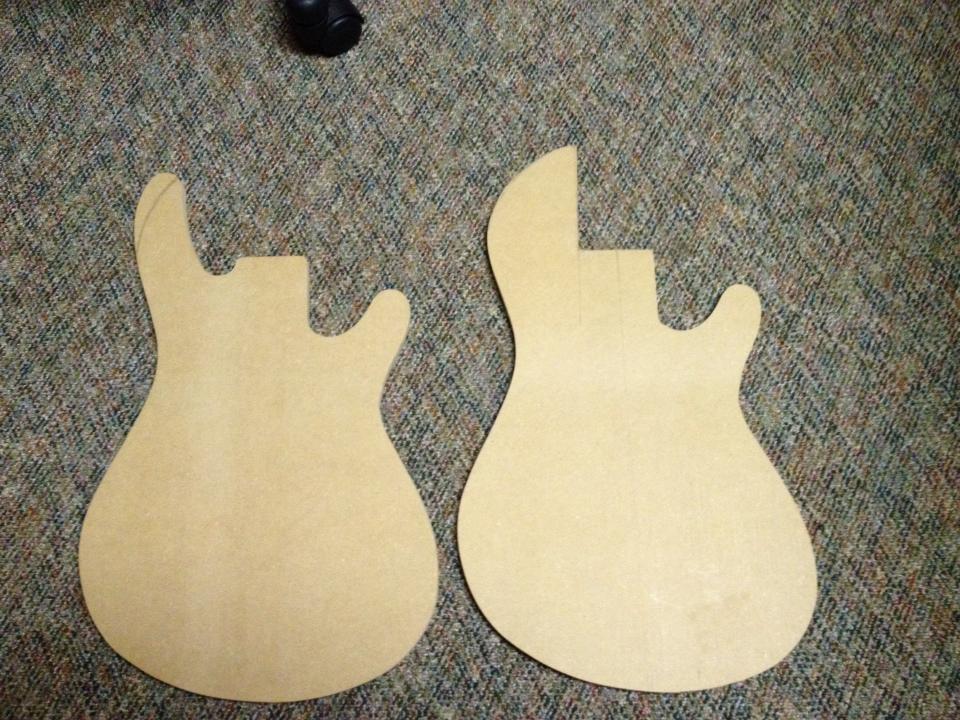
Templates_zpsb6d1eb26.jpg


479845_2114181647286_1762021086_n_zps6e757587.jpg


TrussRodCarbonfiberrods_zpsd6267771.jpg


Gluingfingerboardon_zpsef019bee.jpg


540036_2127099050213_1674252522_n.jpg


540094_2127810748005_459290921_n_zpsd771f20e.jpg
 
Now all of the shaping to the instrument. This part took the longest for me to complete but in the end very worth it.

1461107_2386885024700_785619965_n.jpg


1394434_2386885144703_1863112220_n.jpg


1450742_2386885664716_1777243030_n.jpg


12692_2389956261479_804372707_n.jpg


This Iwasaki curved file is probably one of my favorite tools now. It was so easy filing the contour of the neck heel after I chiseled out most of the wood.

580285_2395230153323_1973715119_n.jpg


1422508_2395230273326_1114458316_n.jpg


1460252_2395230393329_661626033_n.jpg


Progress photos of the neck heel :hyper:
1422508_2395232193374_1848374867_n.jpg
 
Everything else to make this bass complete! Mike Pope Preamp, knobs, strap locks, brass bridge, EMG J5's, and pickup routing templates from Best Bass Gear.

1549480_2451009707777_1548341239_n.jpg


Drilled the holes for the preamp and routed the cavities

1521898_2451009827780_1857250346_n.jpg


1521993_2451009987784_796752901_n.jpg


1011659_2451373276866_1502930121_n.jpg
 
Now to dry fit everything before putting the finish on!! I'm not a big fan of how one of the knobs is really close to the pickup but I'll make it work. It took some work to fit that preamp in the cavity but it is in there!

photo1_zps5f6492e4.jpg


photo2_zps94dabd5b.jpg


photo3_zpseb4c0a1d.jpg
 
A few days ago I inlaid my traditional "E3" into the headstock (My name is Eddie and I am the 3rd in the family....so why not make it mine? ;) ). Right now I am waiting for the finish to cure. The bass has a satin finish sanded all the way up to 2000 grit...it is super smooth!!


I forgot to mention in an earlier post that I put the finish on the fingerboard before putting the frets in...that's why it is taped up in the pictures below.

photo4_zps38628495.jpg


photo5_zpsa559c8ab.jpg
 
Congratulations! It looks really good.

Thanks!! I can't wait until it is completed...I had to put this bass on hold toward the end of the summer last year to move and start grad school. It just sat there staring at me so I decided to get everything done on it while we are out for Christmas break. There were a few very late nights of just sitting in the garage carving this thing but looking back it was worth the effort.
 

Latest posts