
Enjoy the benefits of a premium membership!
Upgrade Account
-
TalkBass has been independent since 1998. Add your voice.
Create a free account to reply to discussions, view embedded media, and browse with fewer display ads.
Join free Log in
Want zero display ads or expanded classifieds tools? Compare plans.
You are using an out of date browser. It may not display this or other websites correctly.
You should upgrade or use an alternative browser.
You should upgrade or use an alternative browser.
6 String Fanned for Alan
- Thread starter Phil Mailloux
- Start date
More options
Who Replied?
Hi Phil, more questions if thats ok 
I really love how youve managed to get the "V" grain at the glue line when you carve it! The seam is also really well matched
So, is that a rift-sawn board of swamp ash, cut in half length-wise, then one side rotated so that the end grain is in a "V" shape?
If thats the case, when you plane te face of the glue line, the grain will be going in different directions either side of the join - whichever way you plane, one side will always tend to tear. How do you deal with this? Very shallow passes?
Thanks!
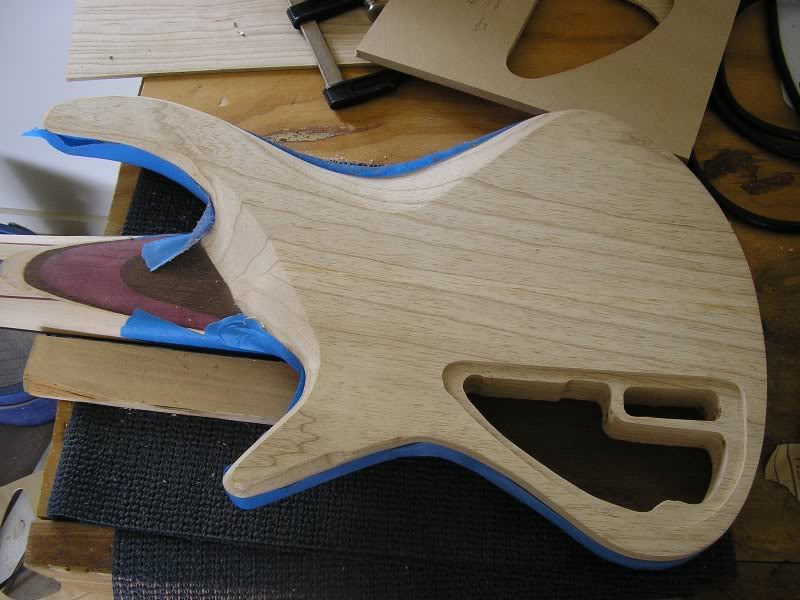
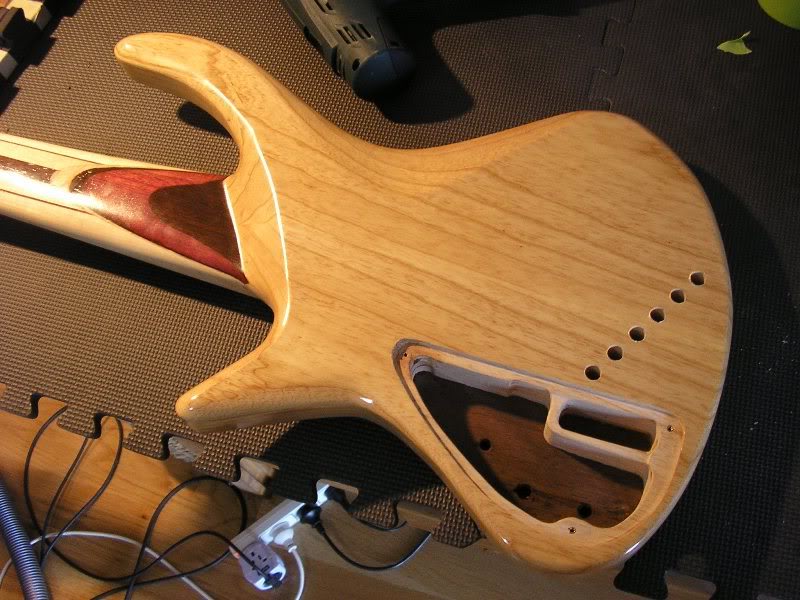
Routed the electronics cavity and cover. I made one of Swamp Ash and also a spare one out of the top material
I really love how youve managed to get the "V" grain at the glue line when you carve it! The seam is also really well matched
So, is that a rift-sawn board of swamp ash, cut in half length-wise, then one side rotated so that the end grain is in a "V" shape?
If thats the case, when you plane te face of the glue line, the grain will be going in different directions either side of the join - whichever way you plane, one side will always tend to tear. How do you deal with this? Very shallow passes?
Thanks!
- Mar 25, 2005
- 1,172
- 10
- Disclosures
- Builder: Mailloux Basses
Your question makes my head hurt  The blank planed like any other blank of wood, no tearing there. I'm not too sure exactly why you think it should be more sensitive.
Its one board of Ash cut in the length and glued together to make the grain look good together, pretty much like everyone else does. What was that name Larry said not long ago "slipmatch" or something?
The blank planed like any other blank of wood, no tearing there. I'm not too sure exactly why you think it should be more sensitive.Its one board of Ash cut in the length and glued together to make the grain look good together, pretty much like everyone else does. What was that name Larry said not long ago "slipmatch" or something?

Yes, the correct term is slipmatched. It also appears that you rotated it 90 degrees, which gives the "V" appearance.
- Mar 25, 2005
- 1,172
- 10
- Disclosures
- Builder: Mailloux Basses
I haven't updated this thread in an eternity. Watch out 56k guys, lots of pics coming!
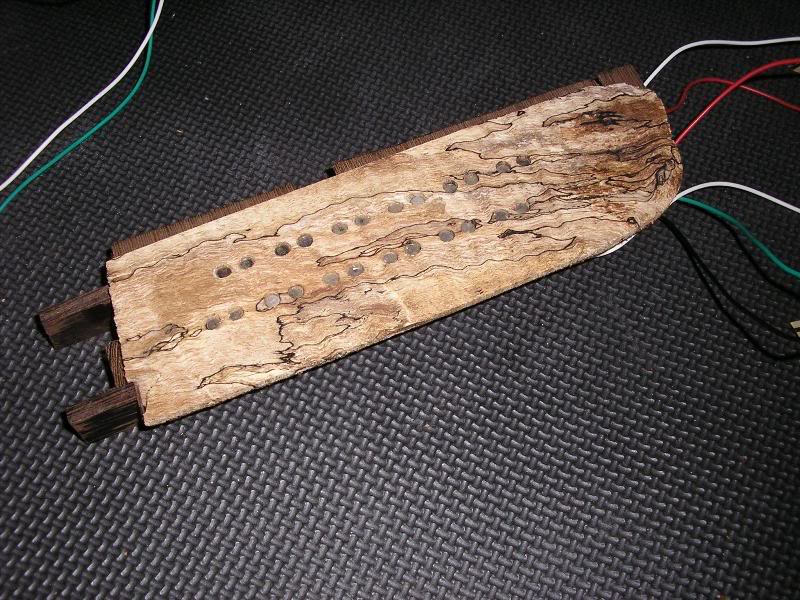
Some weeks ago I started building the pickup covers. Took leftover bits of the top wood and made a template to drill out the hole. I had already machined a steel pole piece drilling template last year while I was studying CNC's at college
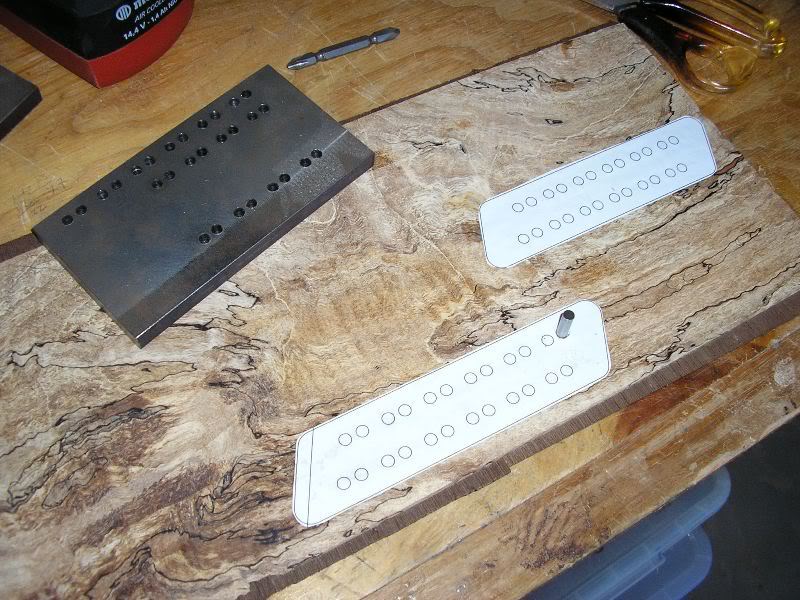
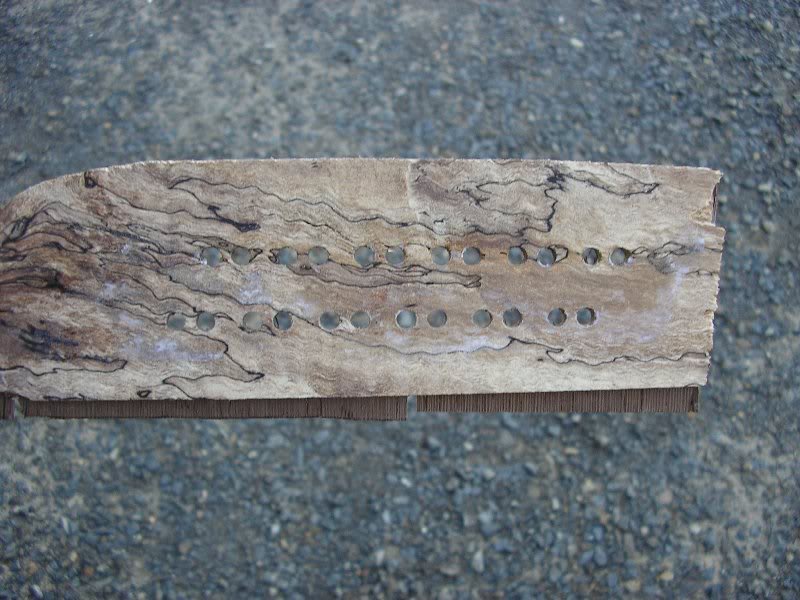
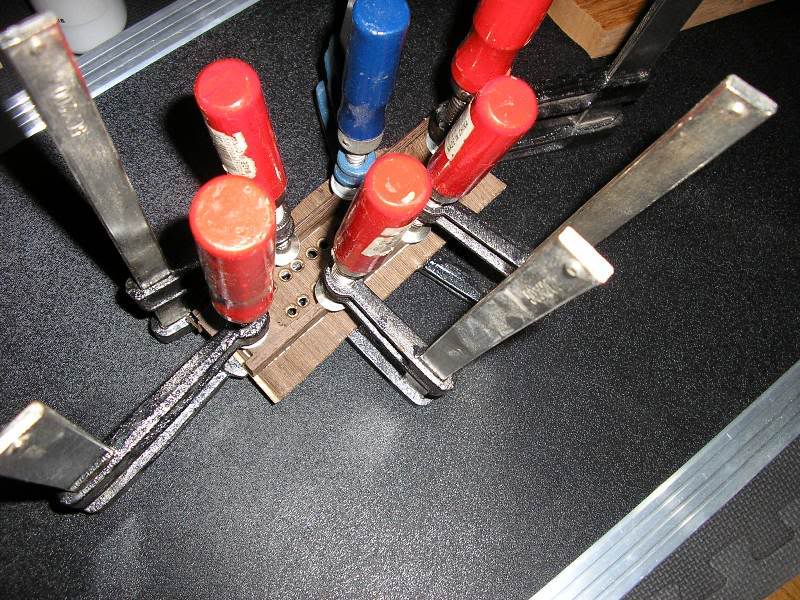
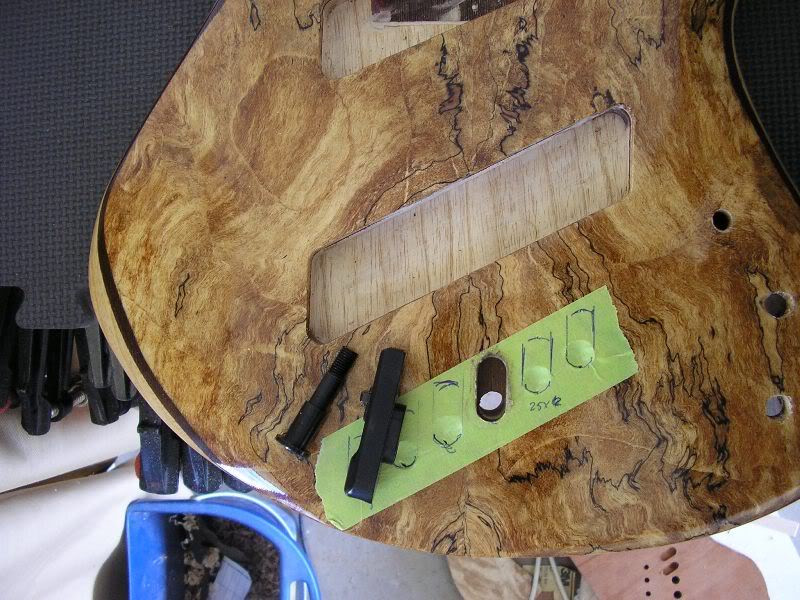
Some time after that I drilled all the holes needed in the bass; tuner screws, strap locks, knobs, jack and of course the most annoying and *challenging* (not t use harsh words ), the holes for the Hipshot Triple Lock Down bridges. The problem with those bridges is they have a nipple under the bridge that needs to be recessed into the body, they also have a tube that goes through the body for through-body string anchoring. These bridges will let you anchor the strings through-body or top-loading depending on the preference of the player.
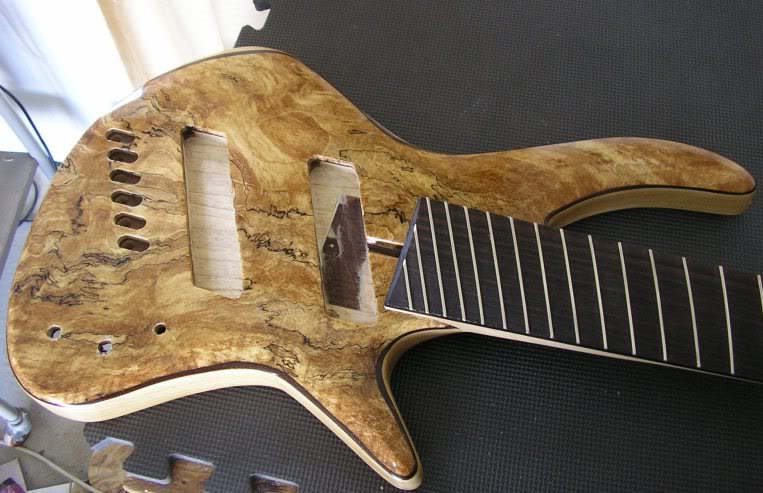
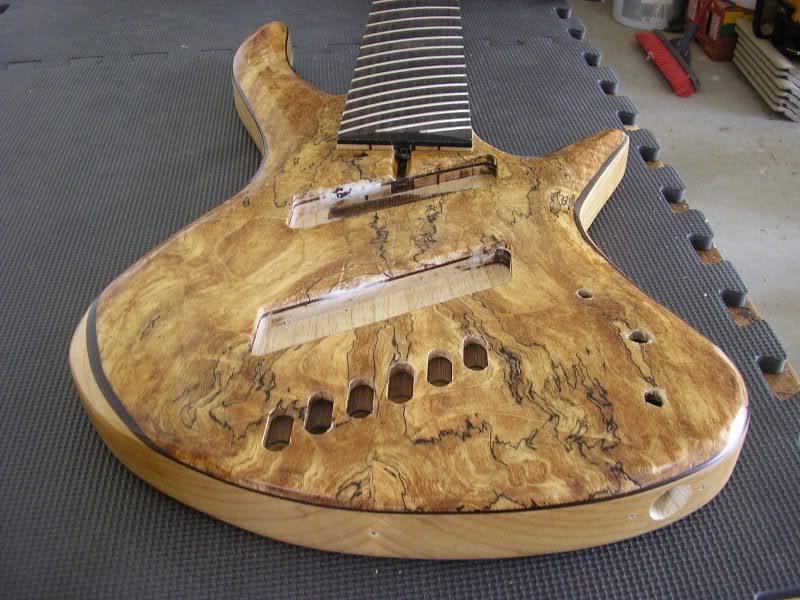
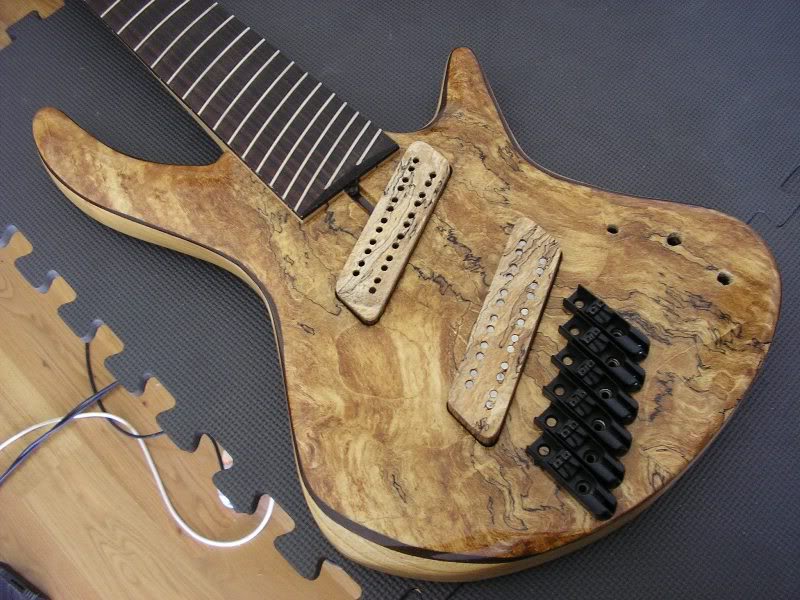
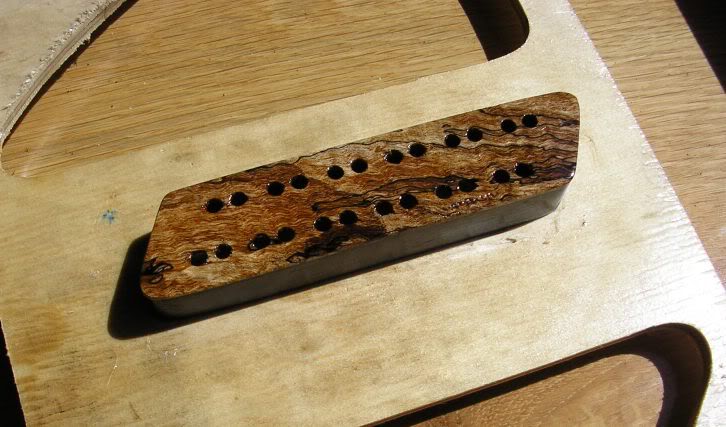
Here's a pic with the bridges installed and the two covers installed just to chek out the final look The bridge cover has the pickups in it, the neck is empty. The covers aren't lacquered at this point. The second pic shows a cover with a couple of coats of lacquer on it.
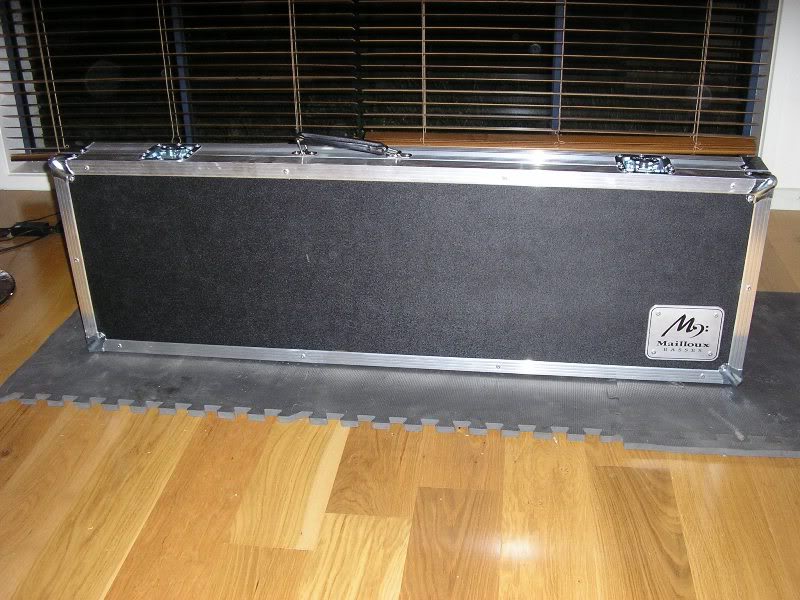
Since Alan's bass is 37" scale at the longest point it also means that the bass is juuusst outside normal dimensions for a case. So I built him a flight case out of extruded aluminium. I had to give it my touch though and got a mate to CNC me my logo on an Alu plate.
Some weeks ago I started building the pickup covers. Took leftover bits of the top wood and made a template to drill out the hole. I had already machined a steel pole piece drilling template last year while I was studying CNC's at college
Some time after that I drilled all the holes needed in the bass; tuner screws, strap locks, knobs, jack and of course the most annoying and *challenging* (not t use harsh words
), the holes for the Hipshot Triple Lock Down bridges. The problem with those bridges is they have a nipple under the bridge that needs to be recessed into the body, they also have a tube that goes through the body for through-body string anchoring. These bridges will let you anchor the strings through-body or top-loading depending on the preference of the player.Here's a pic with the bridges installed and the two covers installed just to chek out the final look The bridge cover has the pickups in it, the neck is empty. The covers aren't lacquered at this point. The second pic shows a cover with a couple of coats of lacquer on it.
Since Alan's bass is 37" scale at the longest point it also means that the bass is juuusst outside normal dimensions for a case. So I built him a flight case out of extruded aluminium. I had to give it my touch though and got a mate to CNC me my logo on an Alu plate.
It's been fascinating to watch this Bass come to life. Amazing work, Phil! Every thread, including this one, in the Luthier's corner has so many techniques that are so valuable for someone like myself who's just about to start building a Bass of their own. Thanks for the inspiration, and for sharing the stories of your great work!

I absolutely love that bass shape and body woods - it's unique and beautiful while looking completely ergonomic and semi-traditional.

- Mar 25, 2005
- 1,172
- 10
- Disclosures
- Builder: Mailloux Basses
Wow, I really want to see a build thread on this case!
Allright then
The hardware comes from Invalid Link Removed
On the first pic we see the extruded aluminium and some 1/4" plywood with a sheet of ABS bonded to it.
Next one is the hardware; corners, feet, hinges, lots of rivets and a new rivet gun.
I used my compound mitre saw for cutting the angles on the aluminium. This thing pretty much just builds itself. It think I spent an hour or two to build the shell.
I'll try to post pics of the insides and talk about it a bit more tomorrow.
I'll try to post pics of the insides and talk about it a bit more tomorrow.
If you could give us an idea as to what it costs compared to a store bought case, that would be cool. (I asked for the camparison because I know youre in Austrailia)
- Mar 25, 2005
- 1,172
- 10
- Disclosures
- Builder: Mailloux Basses
If buying an equivalent Warwick flight case you'd pay about $300AUD. Custom made flight cases for an instrument this size starts at about $550AUD. I paid $400 just for all the hardware, fabric and foam for this so it wasn't cheap. I've got a feeling you'd pay less than half of that for the same stuff in the US though.
- Mar 25, 2005
- 1,172
- 10
- Disclosures
- Builder: Mailloux Basses
Here's the last pics I was able to take of the bass before it went out.
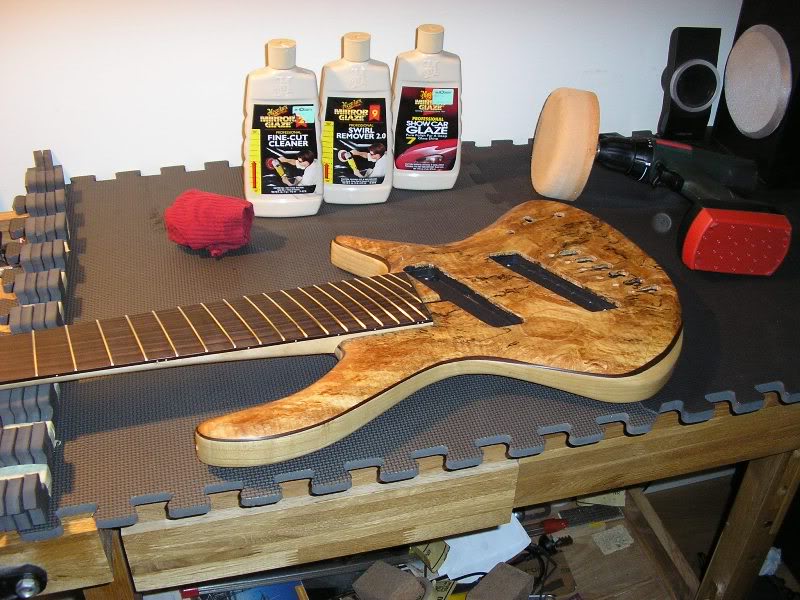
Buffing the bass
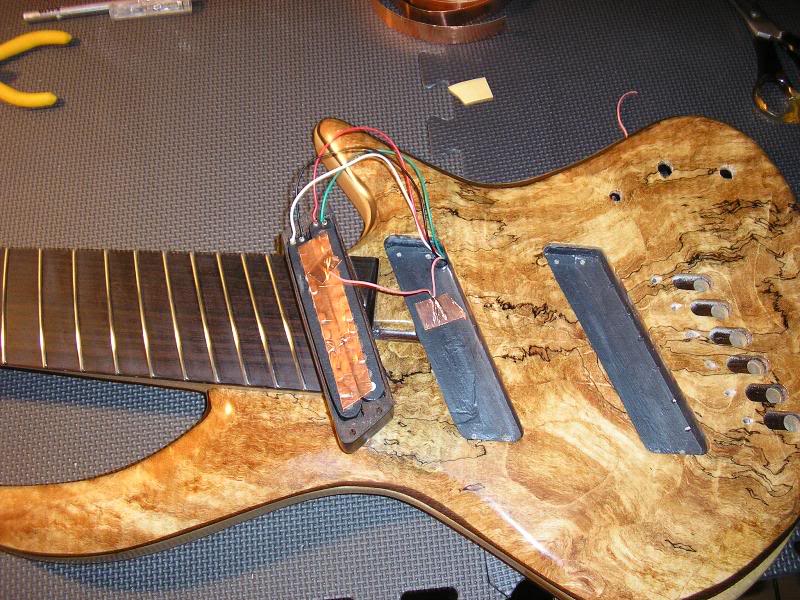
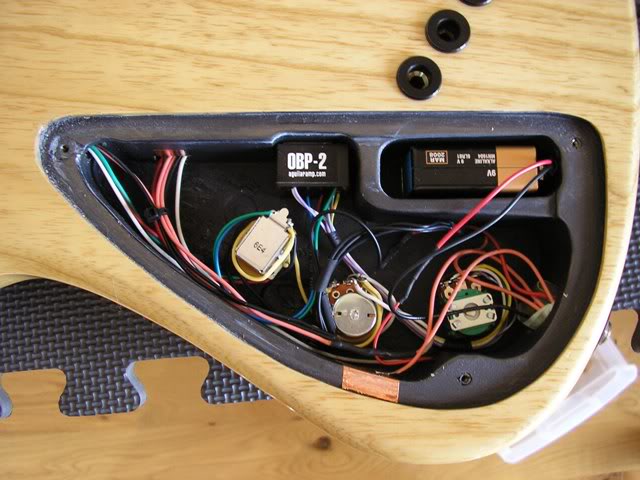
Connecting the electronics, the goal here is to have it as close to possible to no hum at all. To do that I made a Farraday cage i.e. I grounded all of the cavities together + all the magnets on the pickups with the help of both magnetic shielding paint and copper tape. I also did my bestest to have a neat electronics cavity., I hate to look at a big mess when I open up the cover. The separate battery compartment was also done to help clean the cavity from that mess and make sure the battery wasn't going flap all around there and screw up some connections.
Alan having a go at it just after receiving it during the Brisbane GTG.

A different angle of the bass, still at the Brisbane GTG

Buffing the bass
Connecting the electronics, the goal here is to have it as close to possible to no hum at all. To do that I made a Farraday cage i.e. I grounded all of the cavities together + all the magnets on the pickups with the help of both magnetic shielding paint and copper tape. I also did my bestest to have a neat electronics cavity., I hate to look at a big mess when I open up the cover. The separate battery compartment was also done to help clean the cavity from that mess and make sure the battery wasn't going flap all around there and screw up some connections.
Alan having a go at it just after receiving it during the Brisbane GTG.
A different angle of the bass, still at the Brisbane GTG

 Just from looking at it I feel an unresistable urge to play this beauty
- Mar 25, 2005
- 1,172
- 10
- Disclosures
- Builder: Mailloux Basses

JAUQO III-X
Inactive


