

Hello again.
This will also be a mini Neck through tutorial as well.
Back story:
D'Wayne had approached me about getting a neck made, for he wanted to build a bass, but was not so sure if he wanted to try building the neck on this one.
Specs:
6 string-
3 piece curly maple w/ purpleheart veneers.
Pau Ferro Fretboard
24 frets, "D" Mother of pearl inlay on the 12th fret.
35" scale
So...... It starts:
After drafting the general dimensions to scale, I had my rough measurements.
I started with the center lam (flatsawn) and the purpleheart laminates, cut to size (I opted to do the headstock without a scarf, so the headstock tilt is 12 degrees).

The laminate was thin enough to cut with a razor blade....
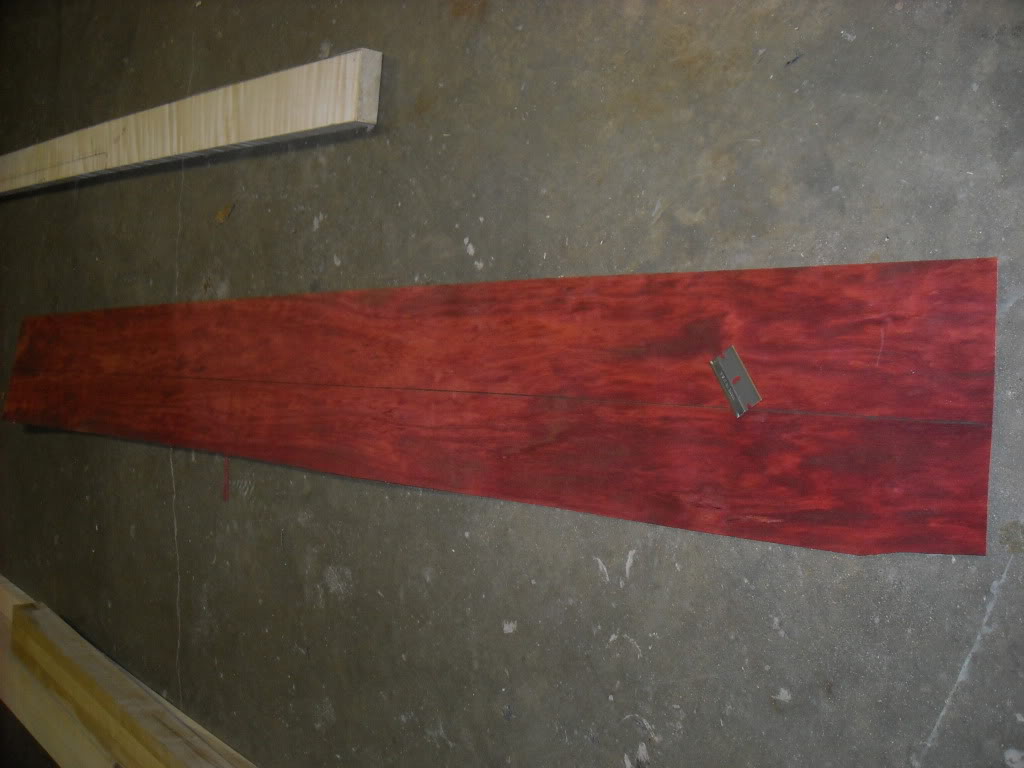
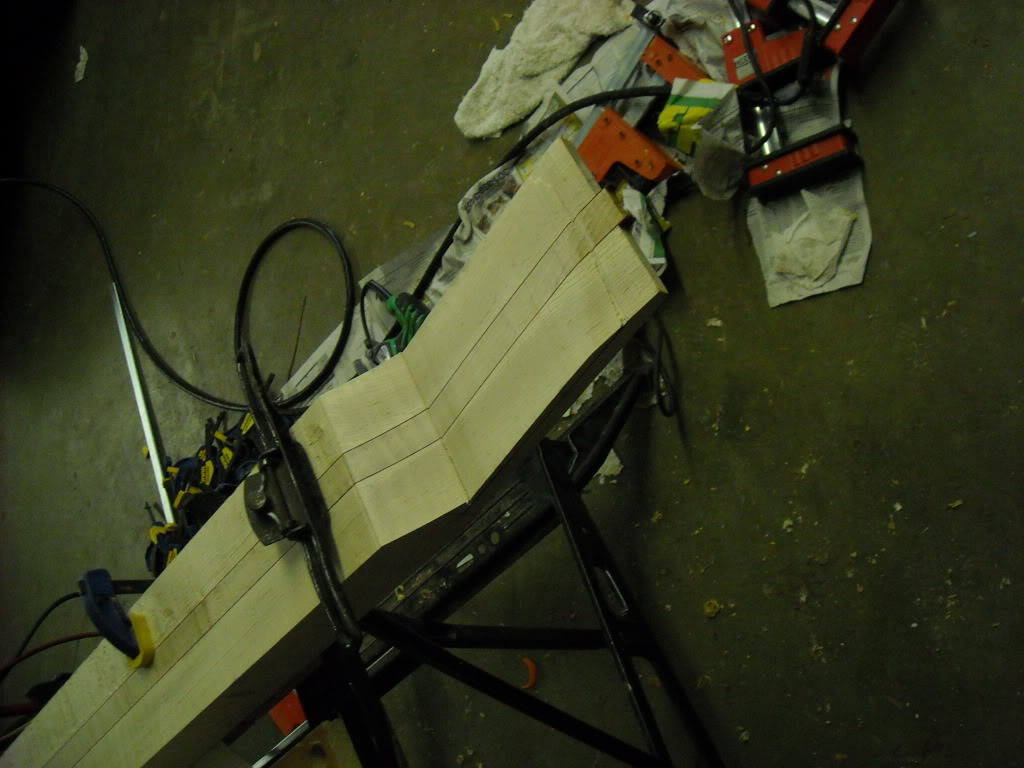
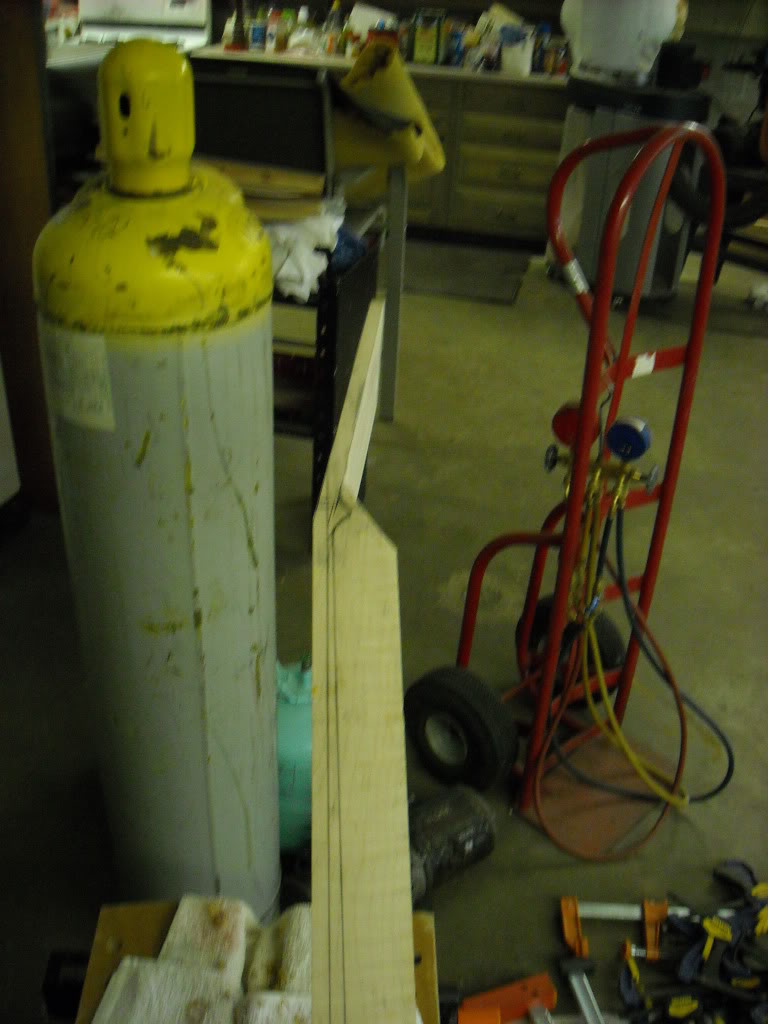
I went ahead, especially since the outer lams were acclimating to my shop conditions at the time, and drew out some of the line, so i could figure the layout.Here you'll see the tilt of the headstock, The thickness of the headstock (I made 5/8", although it would be 1/2", he wants a matching headstock).
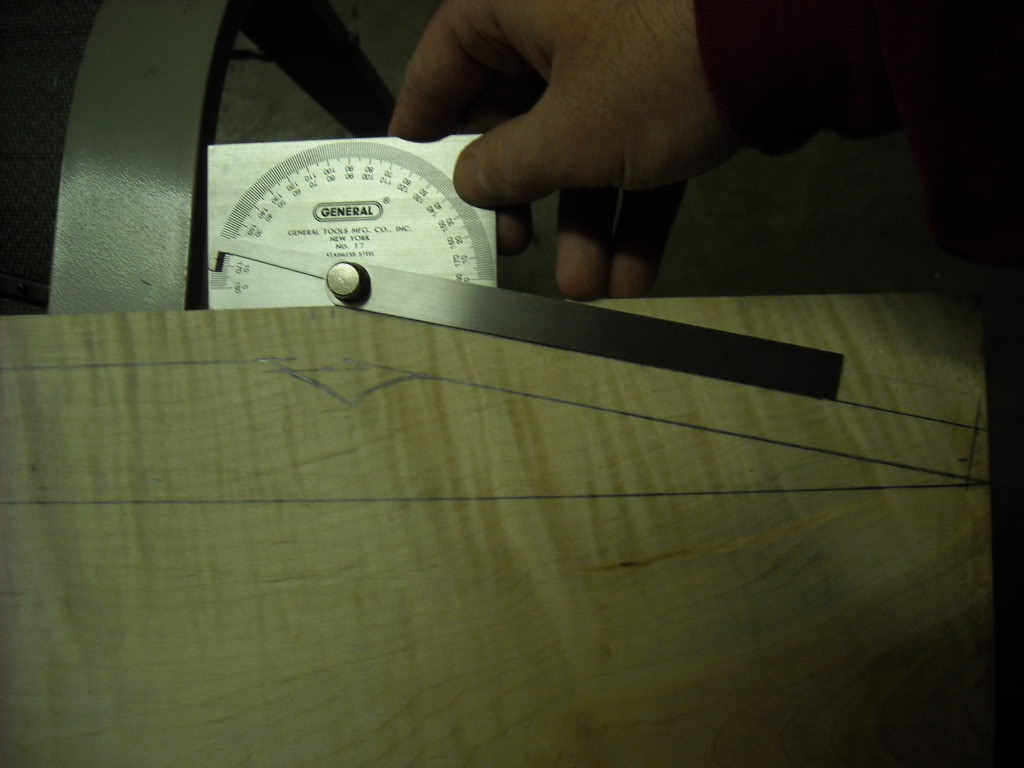
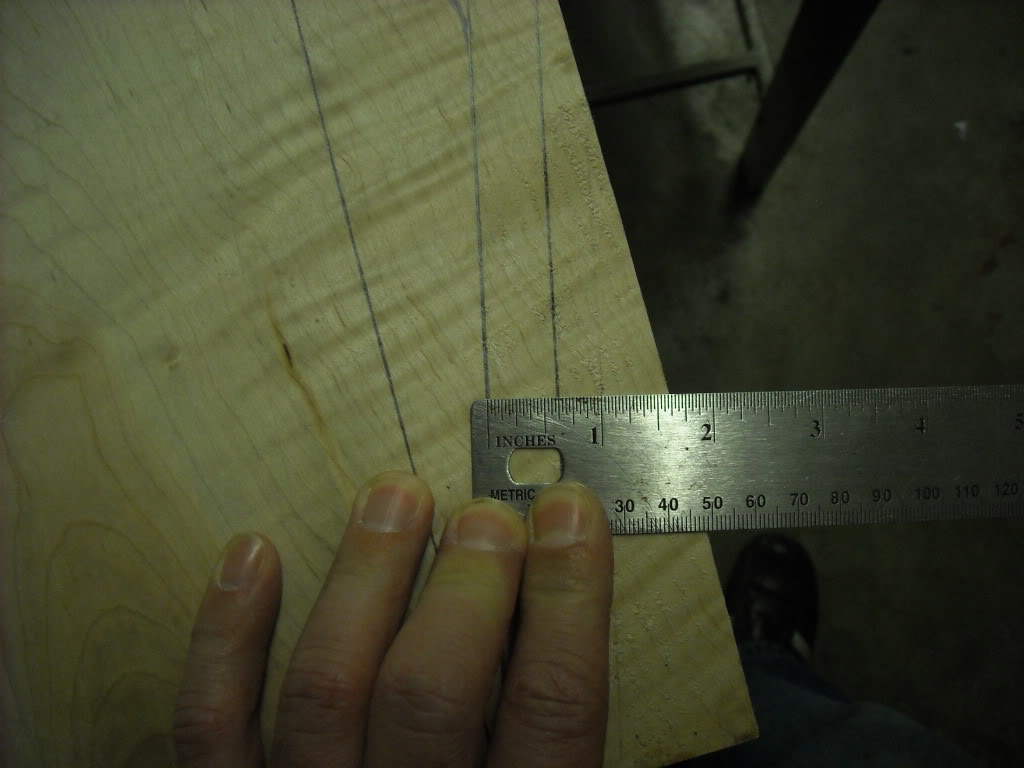
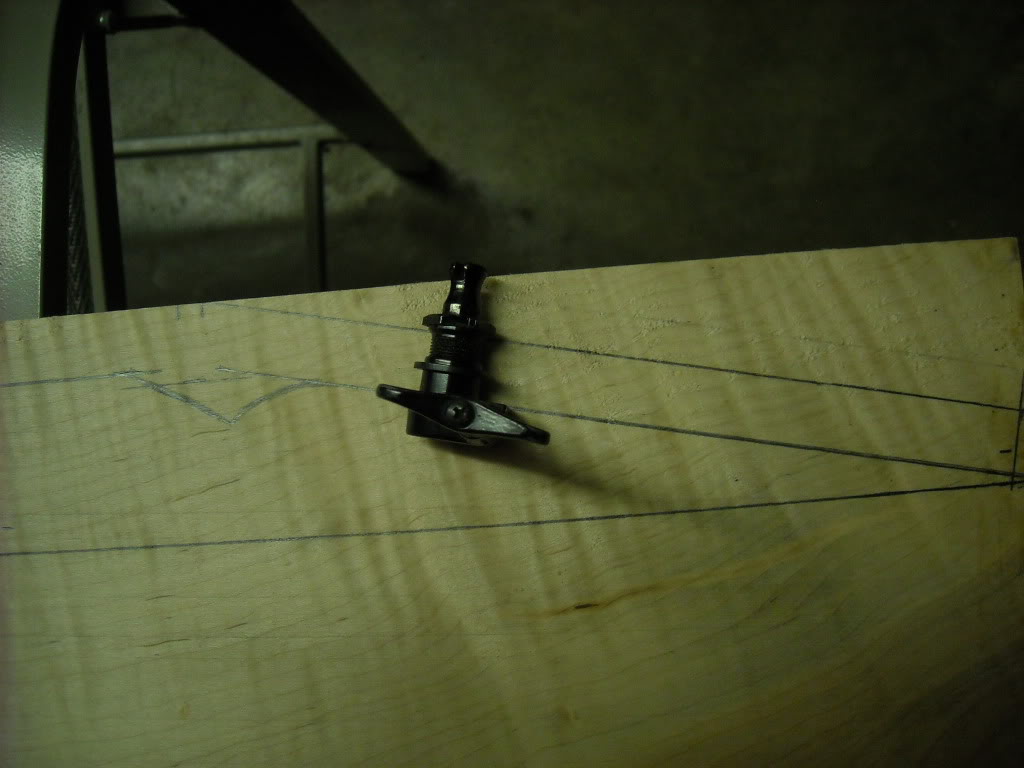
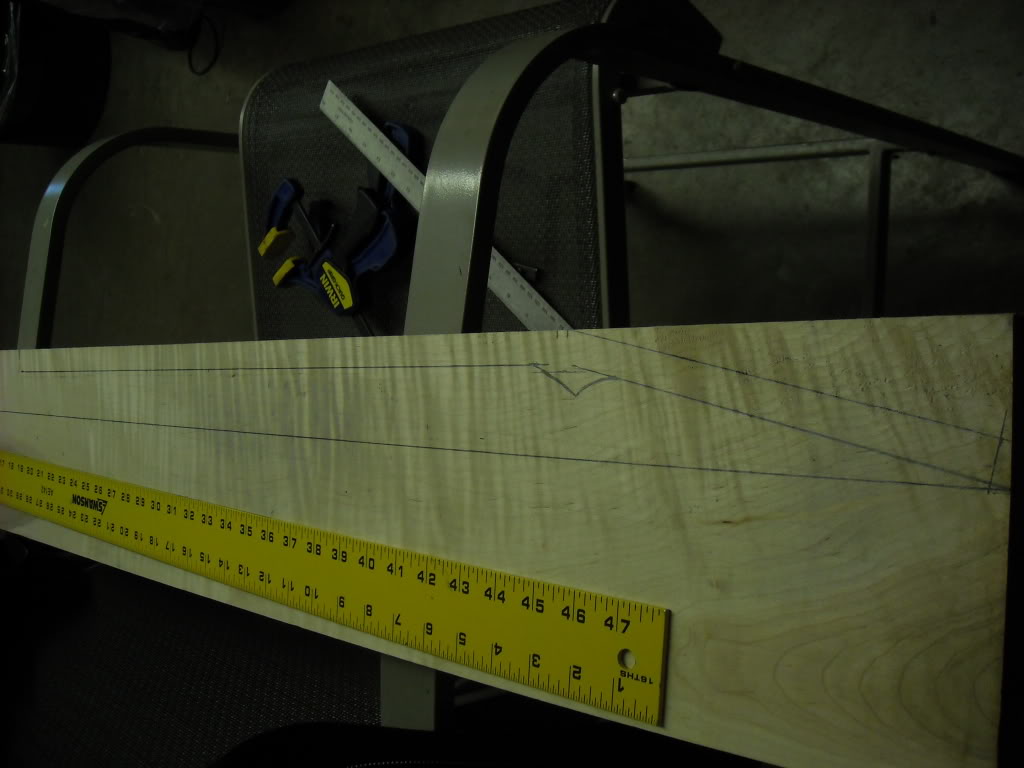
Once this was figured out, I waited until the out pieces were ready. This was originally on piece of quarter sawn curly maple (8/4), so i had to cut it in half.
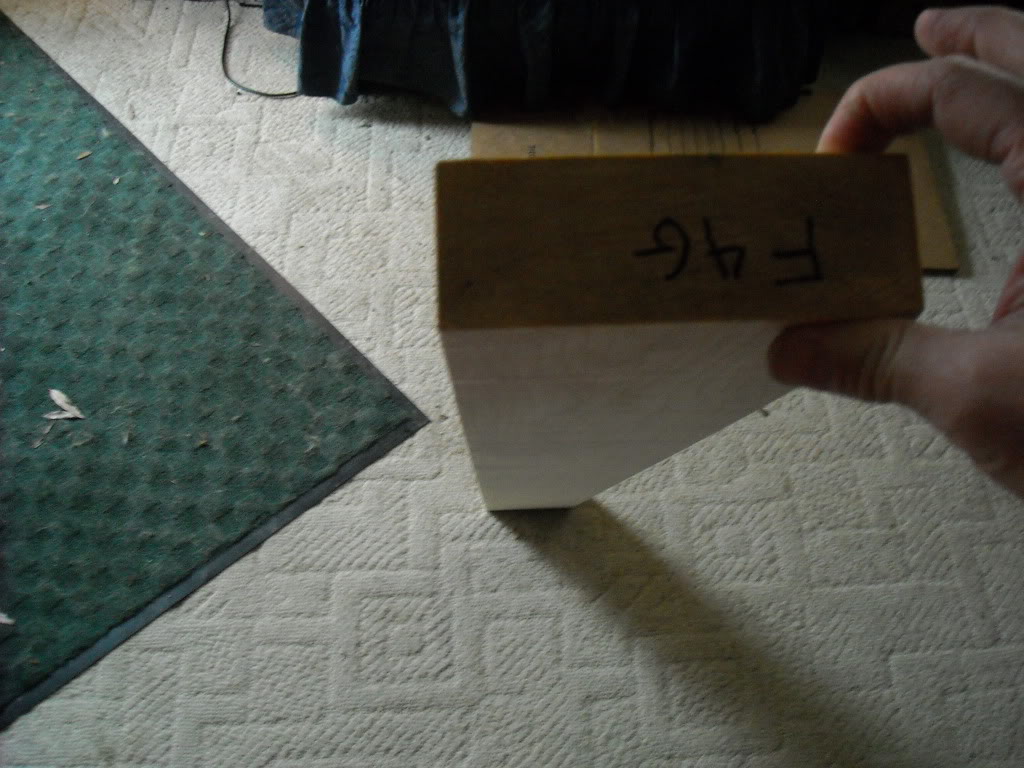
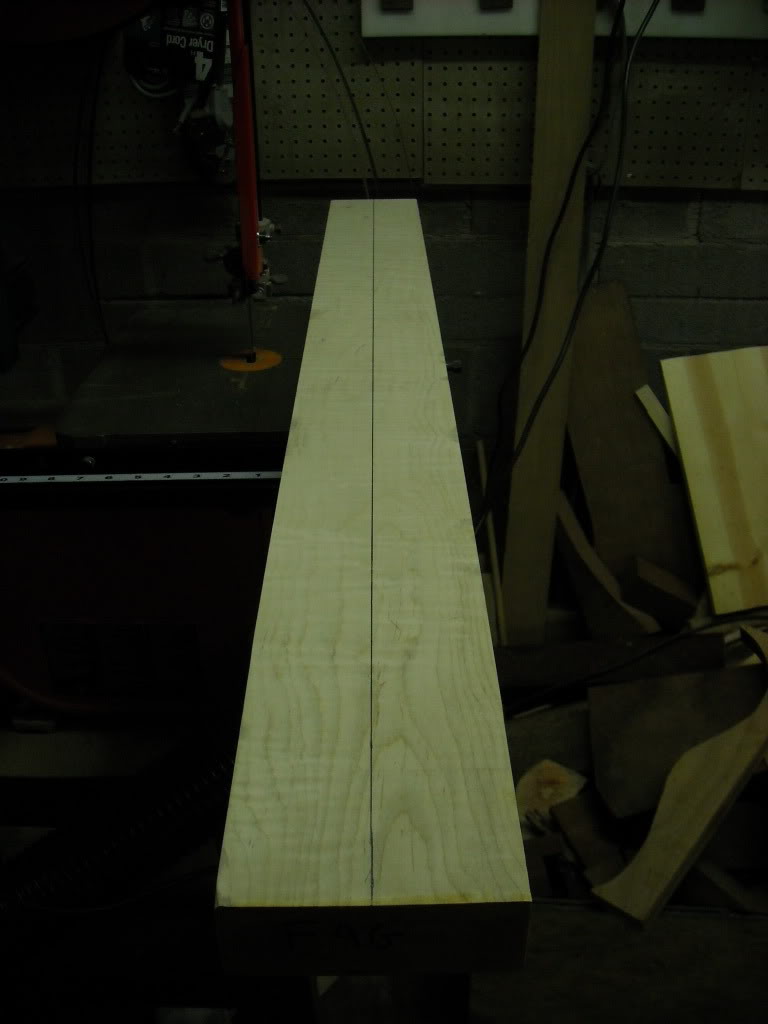
Total width ended up being 4 1/2" wide.
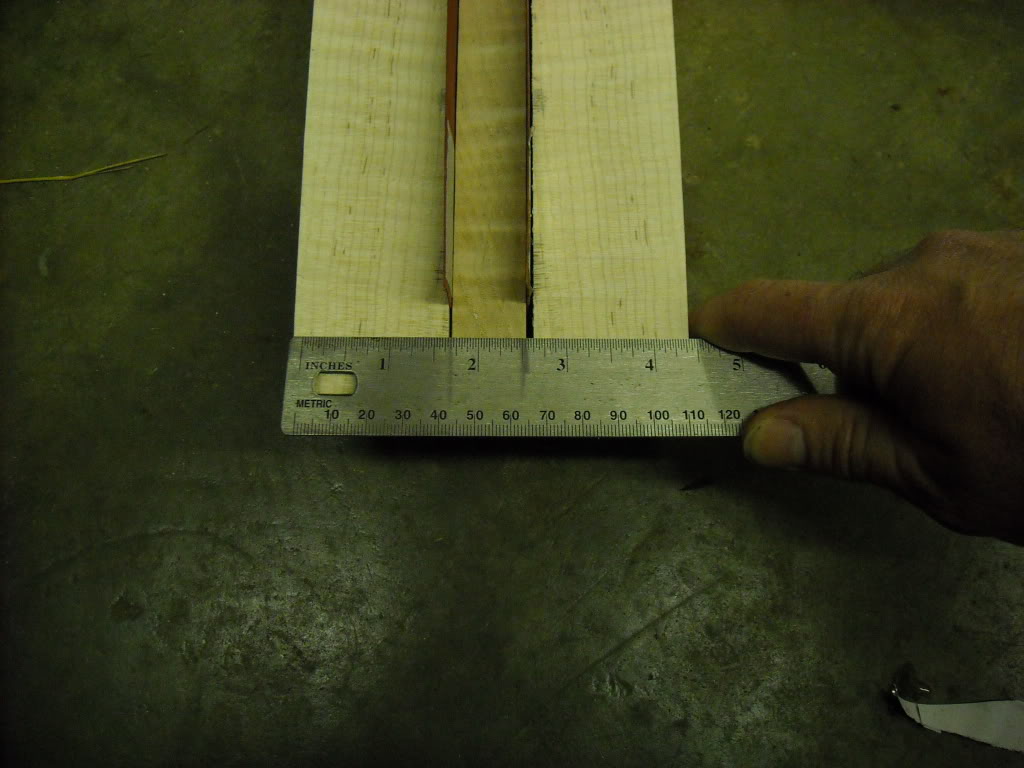
It was then time to glue this up and in my regular fashion, use a decent amount of glue (I'm trying for an endorsement from Franklin, but they ain't having it )
)
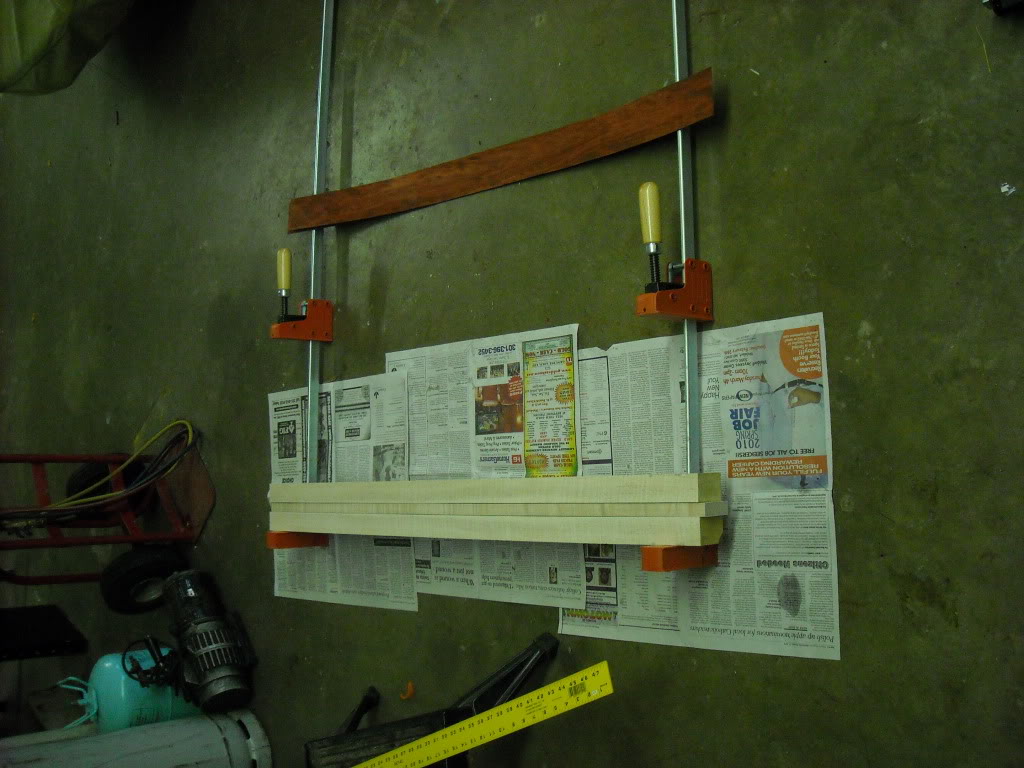
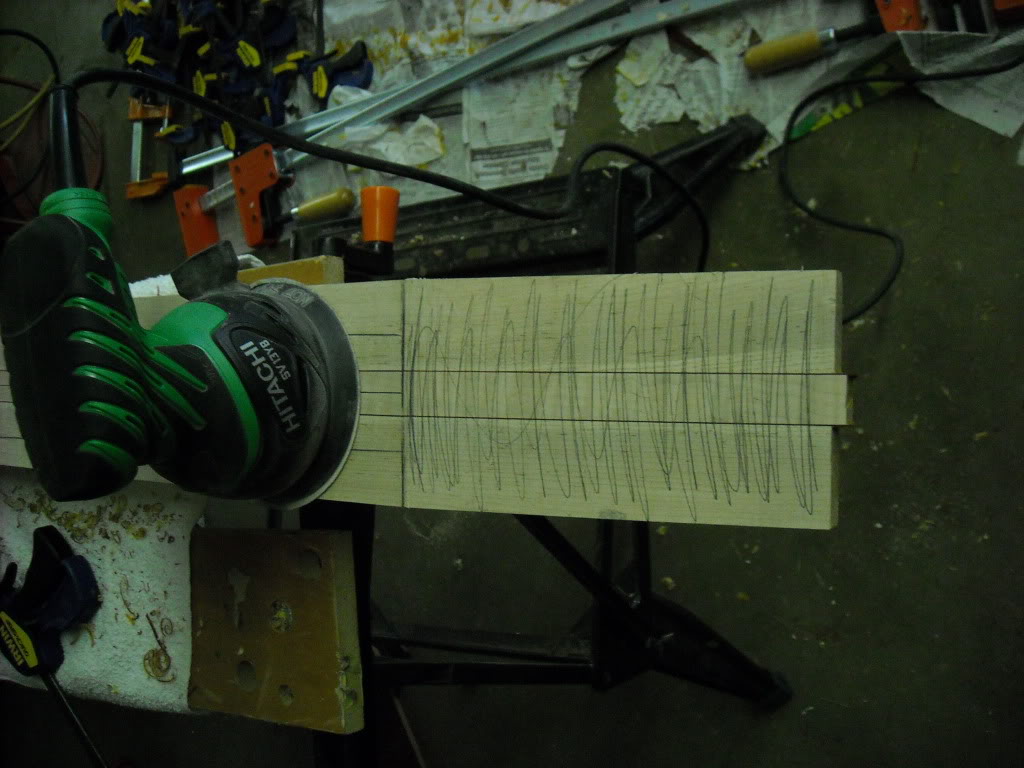
I start by sanding each side that will be accepting glue, with 120 grit on my orbital sander and get it nice and smooth (Did I forget to mention, I had previously ran each piece through my planer, beforehand?)
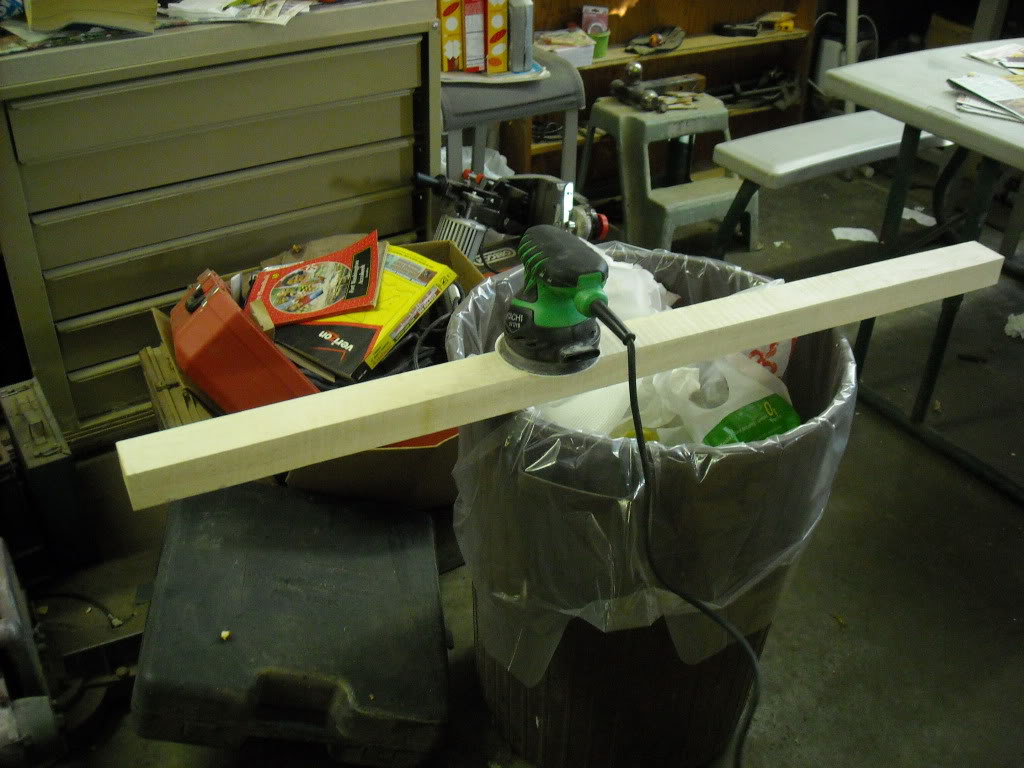
Now it's time to glue:
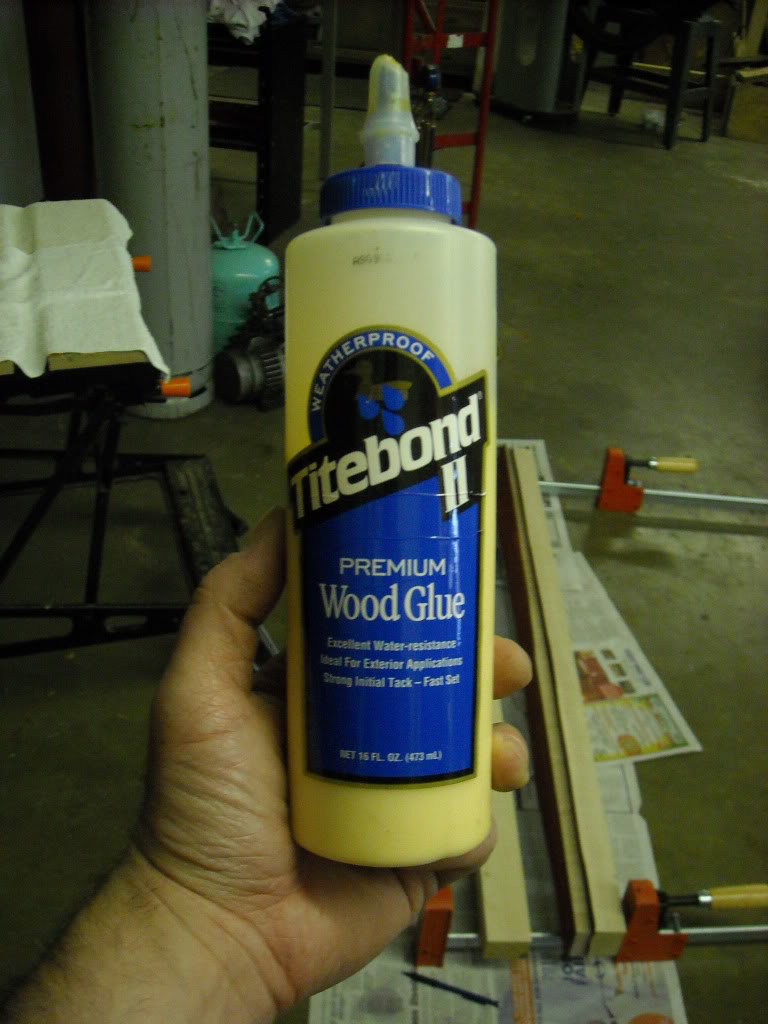
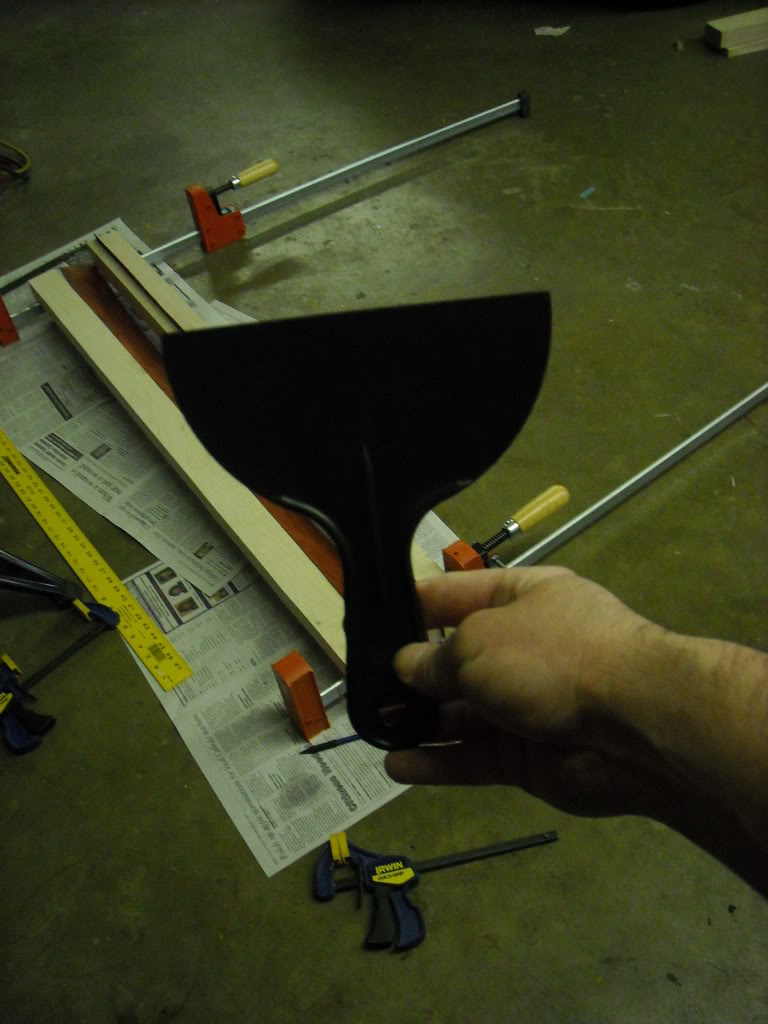

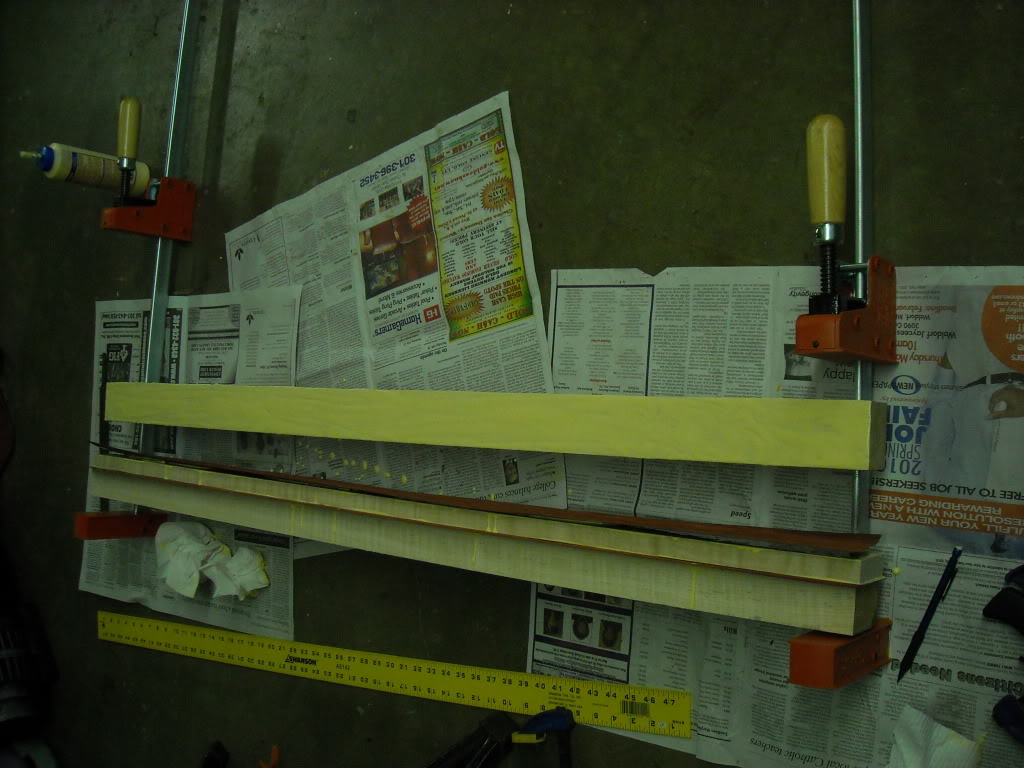
Now I don't wrench the hell out of it, but I do give it some tension. I start on one end and with the cabinet clamp, I gradually move it to the right, until it's all clamped up.
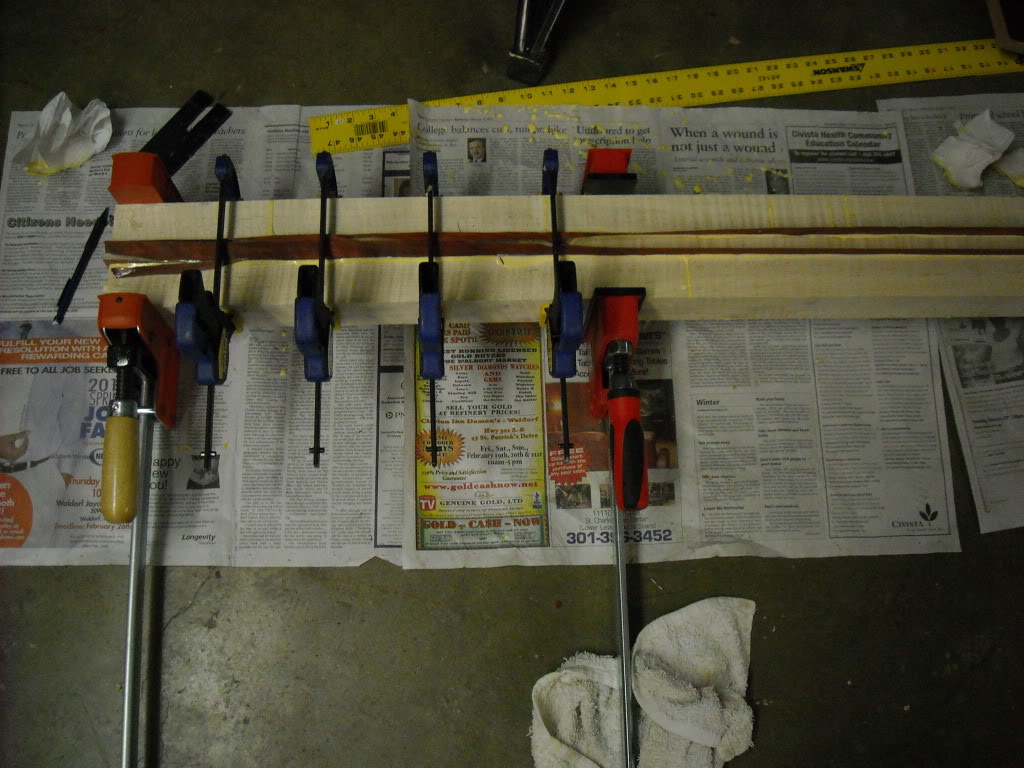
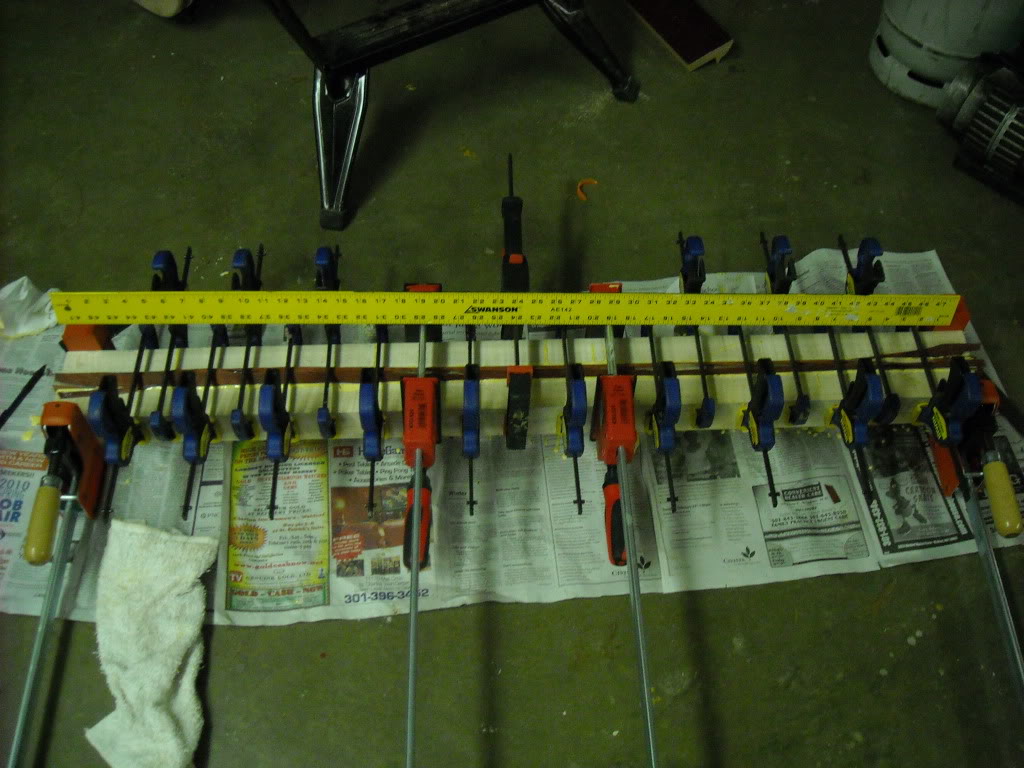
After it's sat for 24 hours, I unclamp it, let it sit for another hour or 2 and then run it through the planer until it's squared and close to the depth I want.
I will then start the process of marking some points up. I remark the headstock area, get my headstock to the length that I want (8 1/2" long). Also, I mark out the depth of the truss rod areas, make sure that the nut line is square, with a roofers square on both sides, etc.

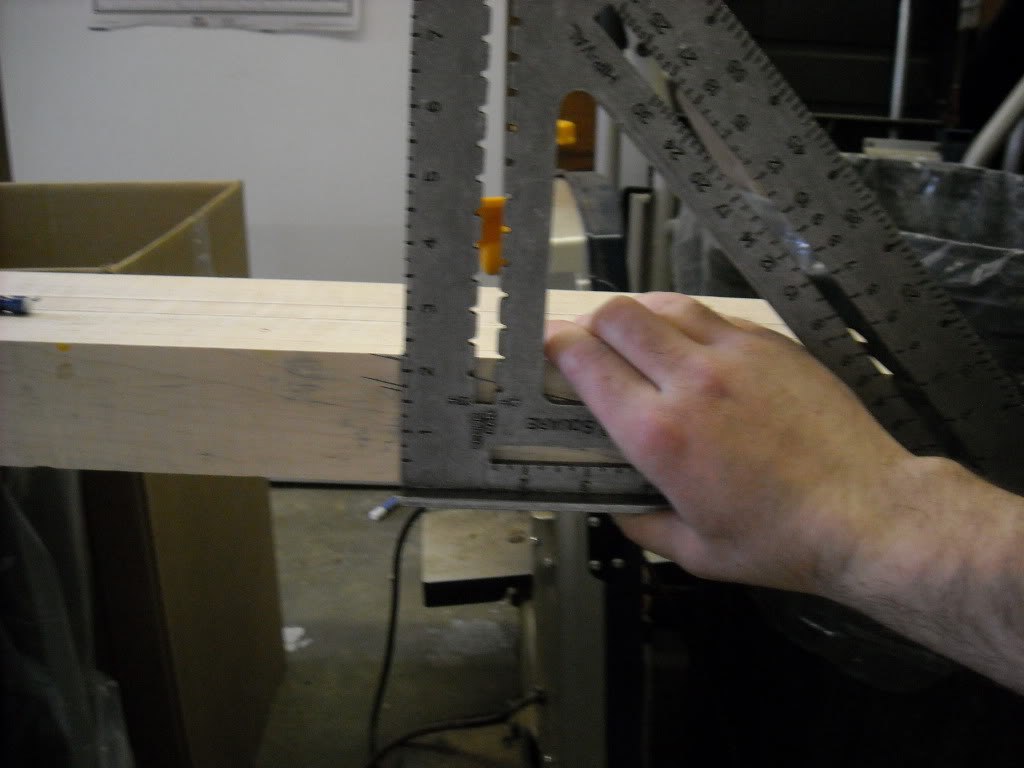
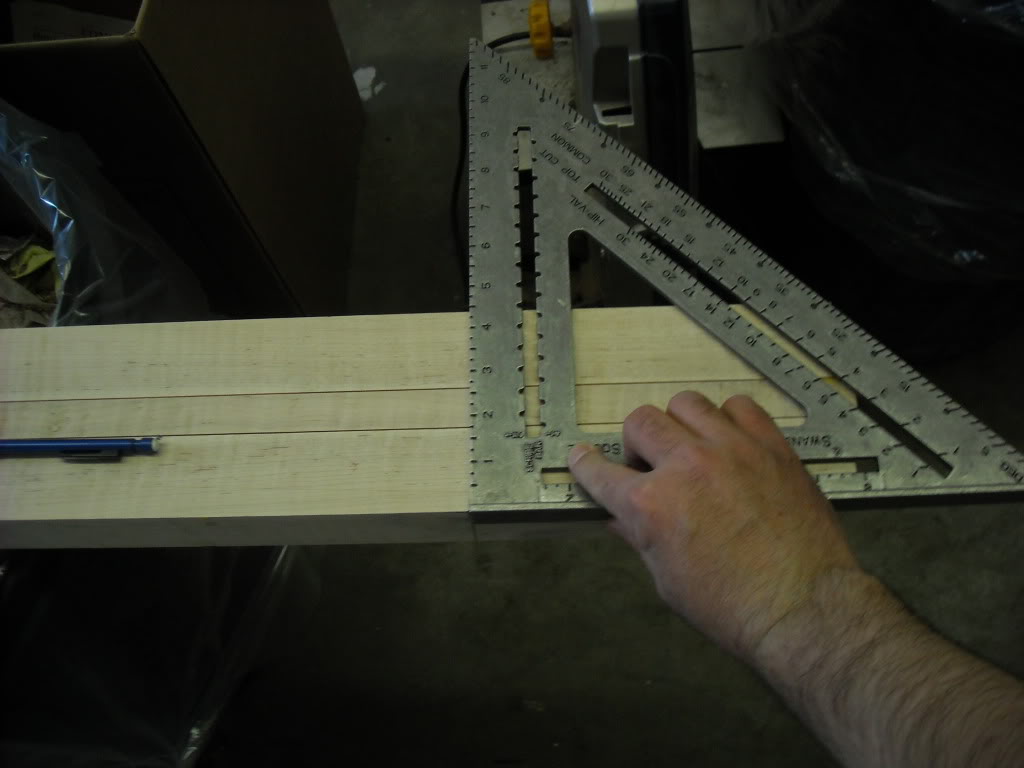
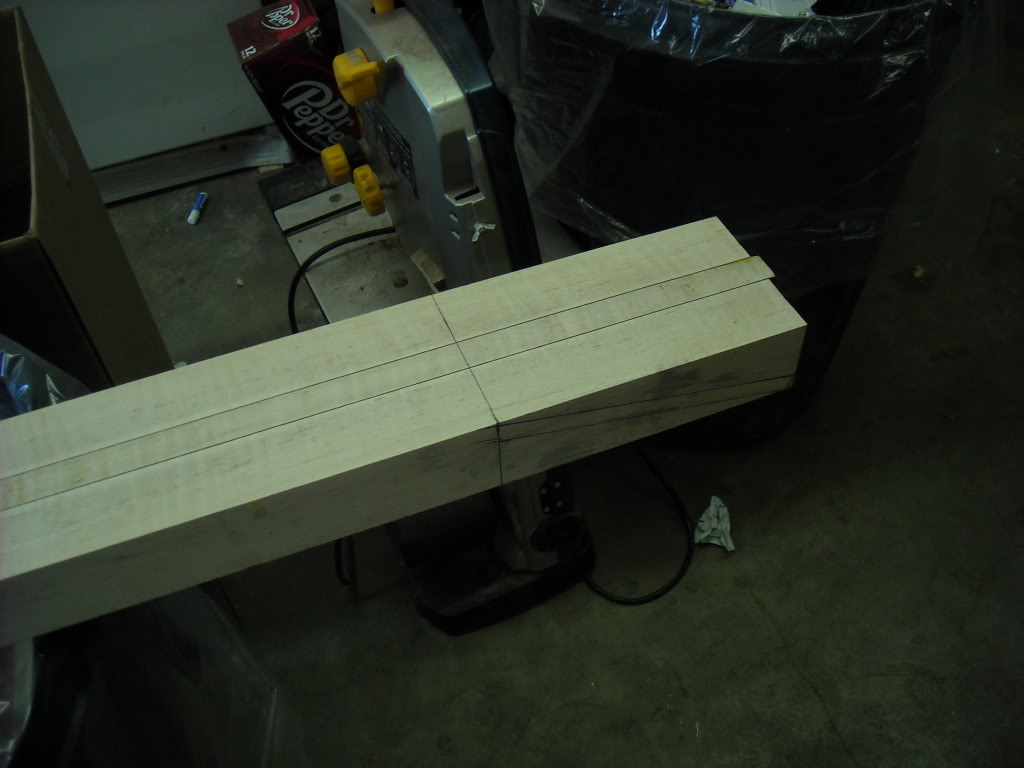
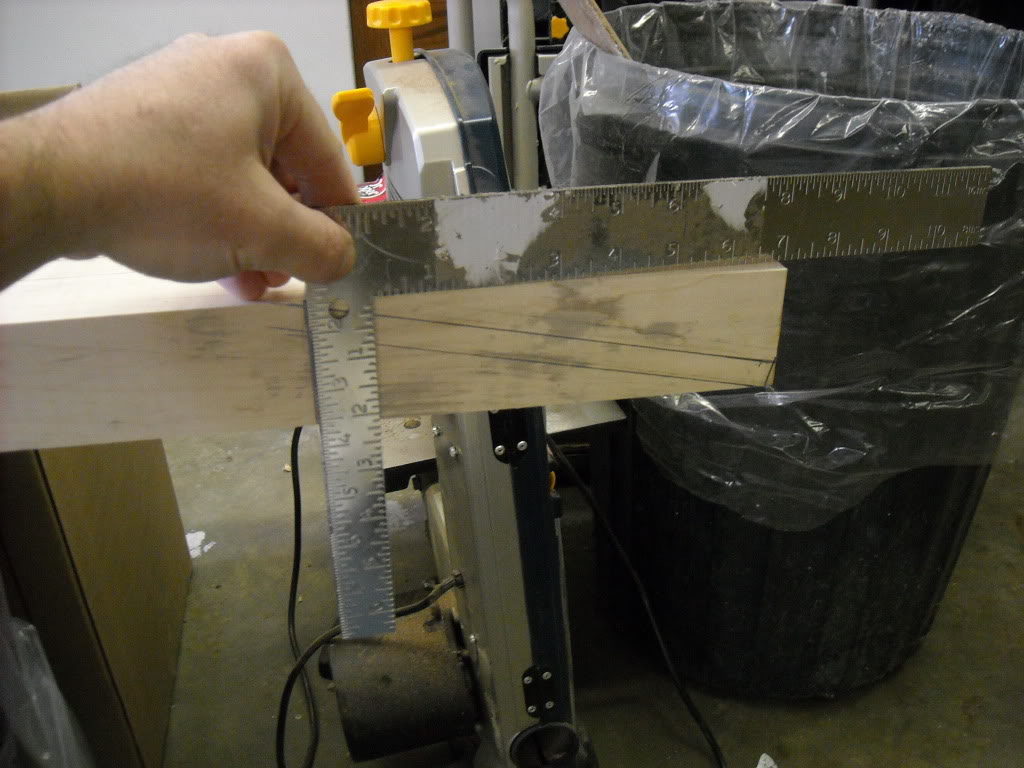
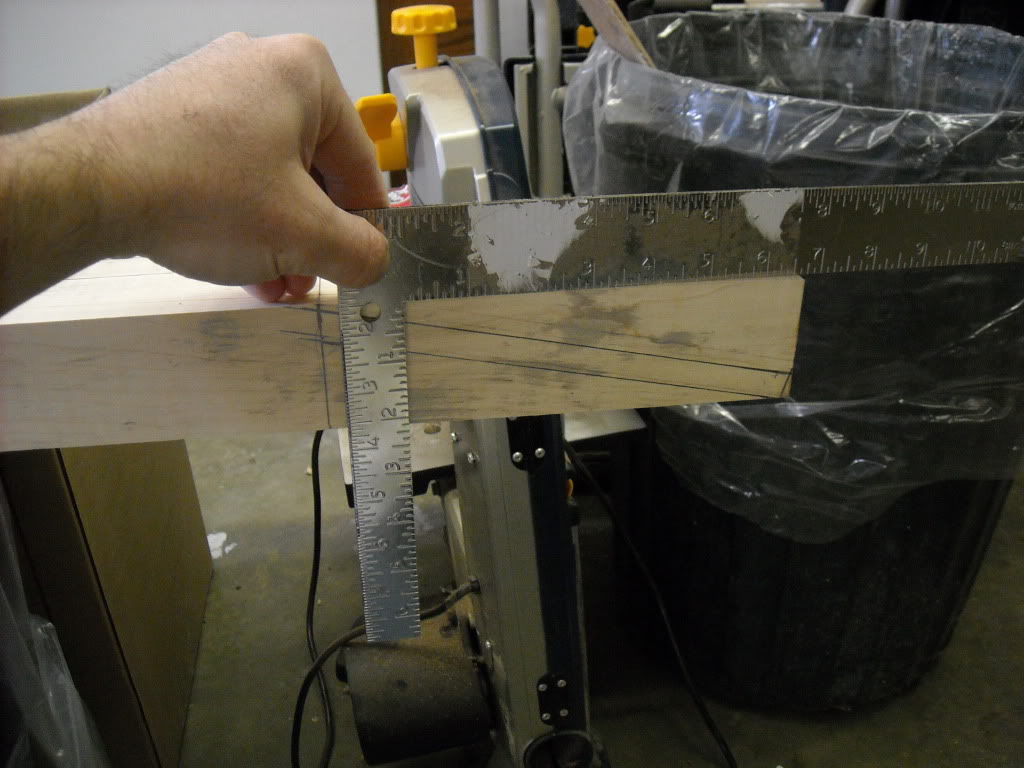
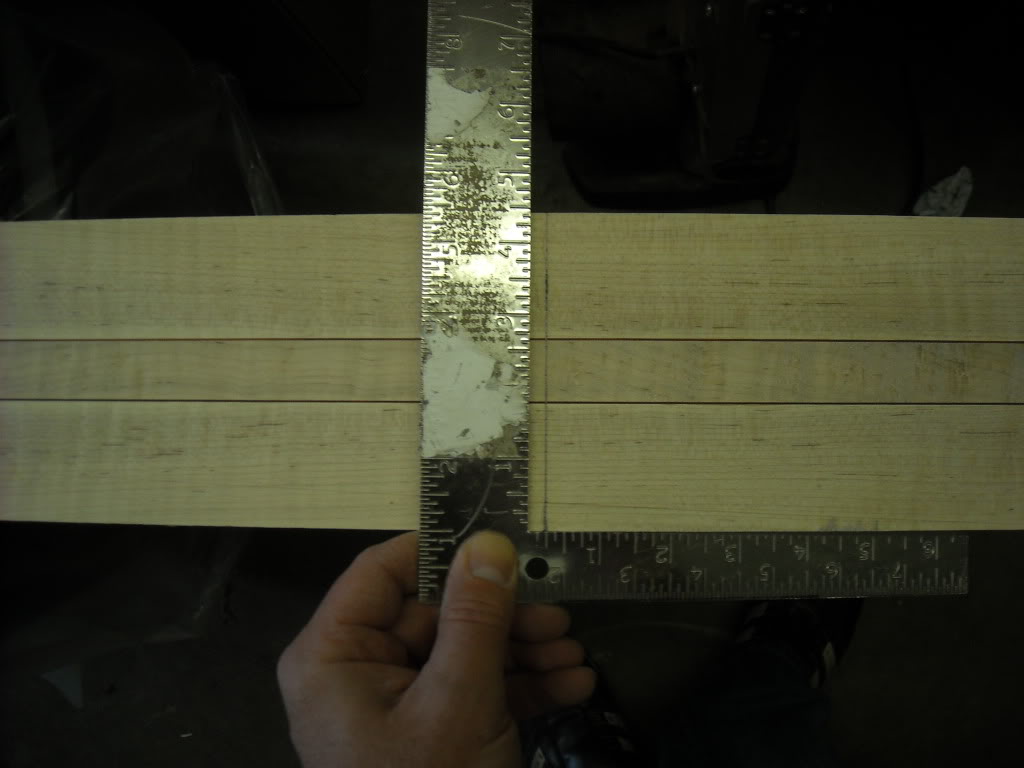
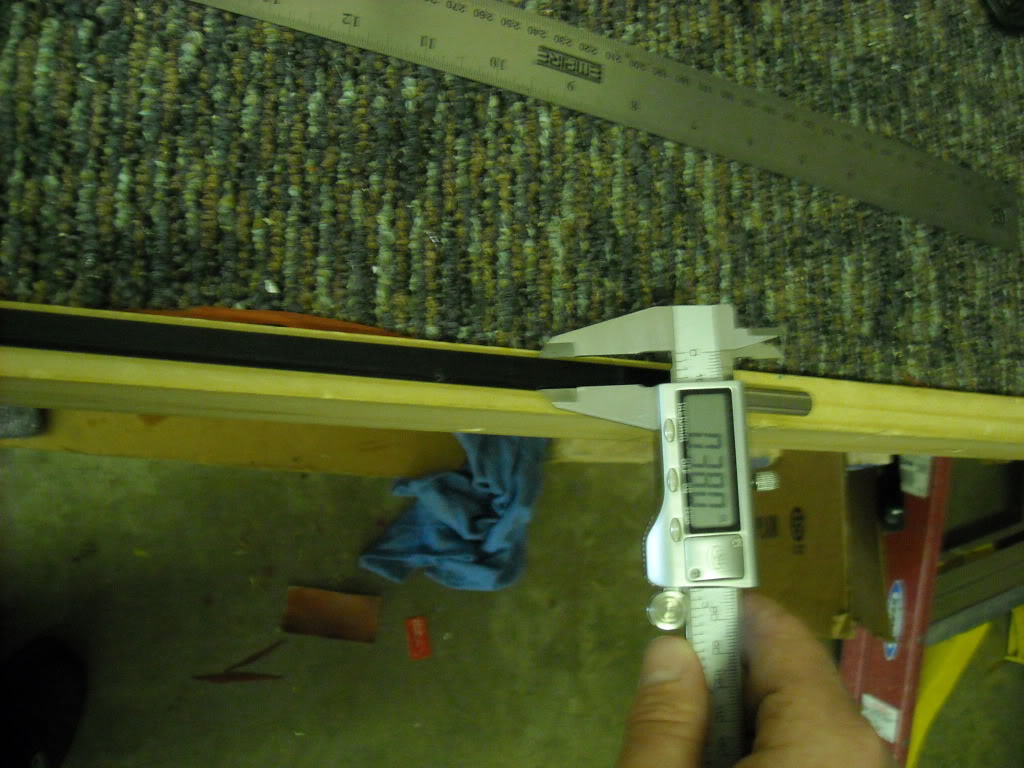
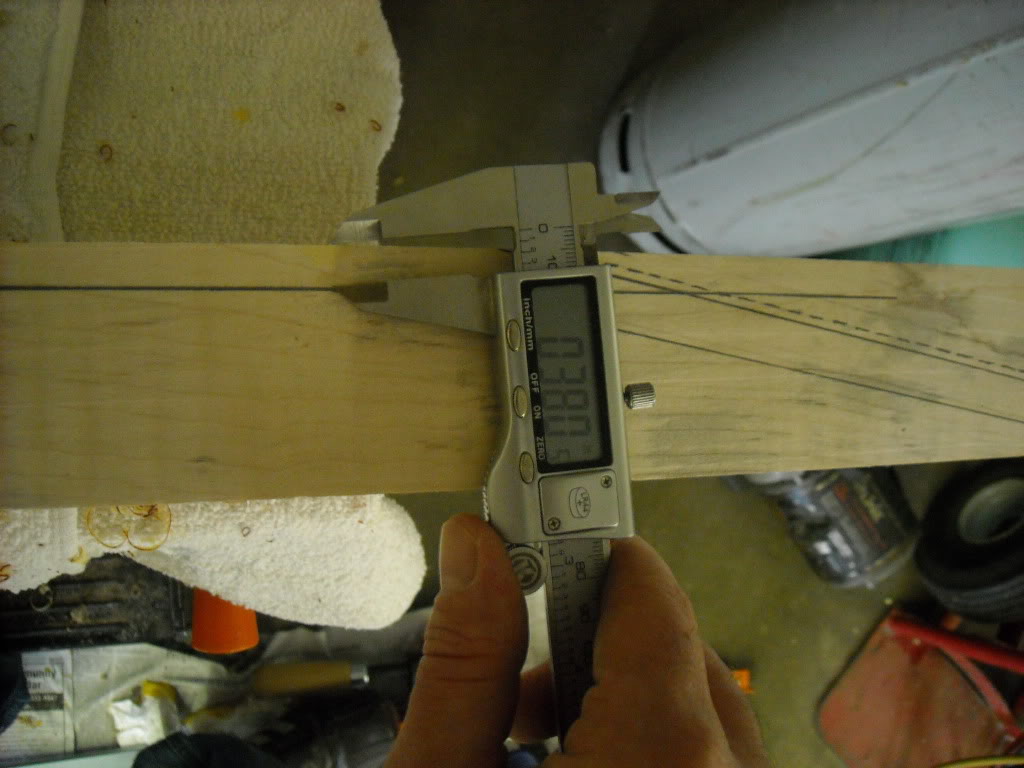
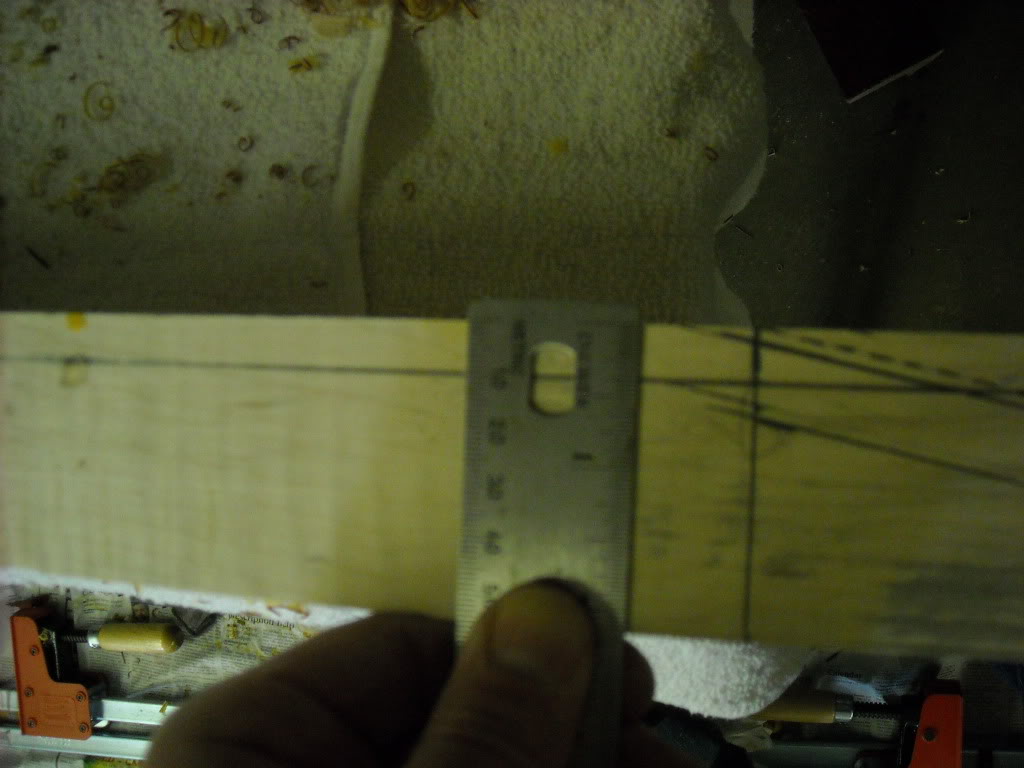
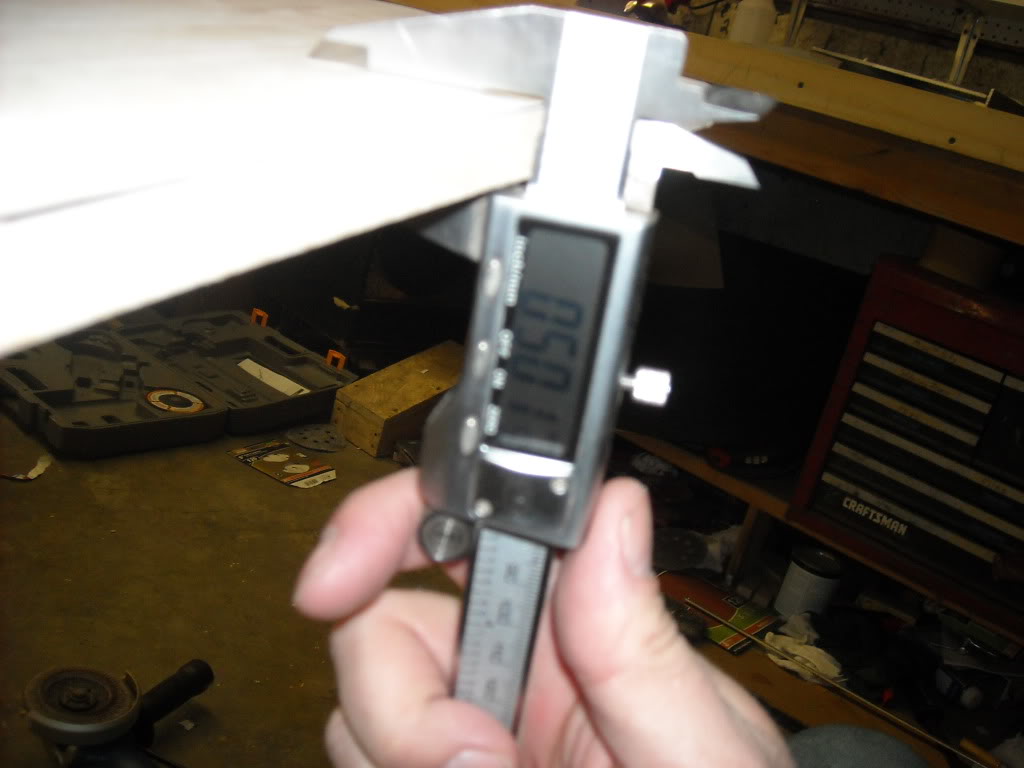
I then mark the proposed taper that i want to use (5/8" @ the nut and 3/4" @ the fb end)
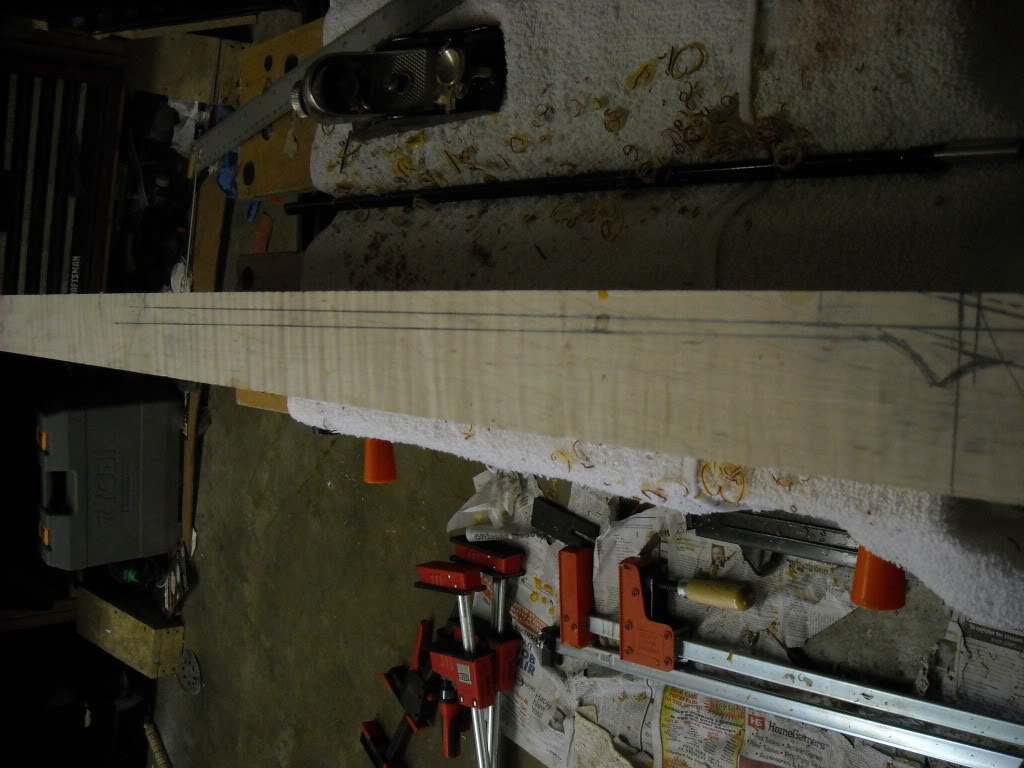
Now time to cut the headstock. I do this on my band saw, then level it after ward. I cut the top first, then cut the bottom.
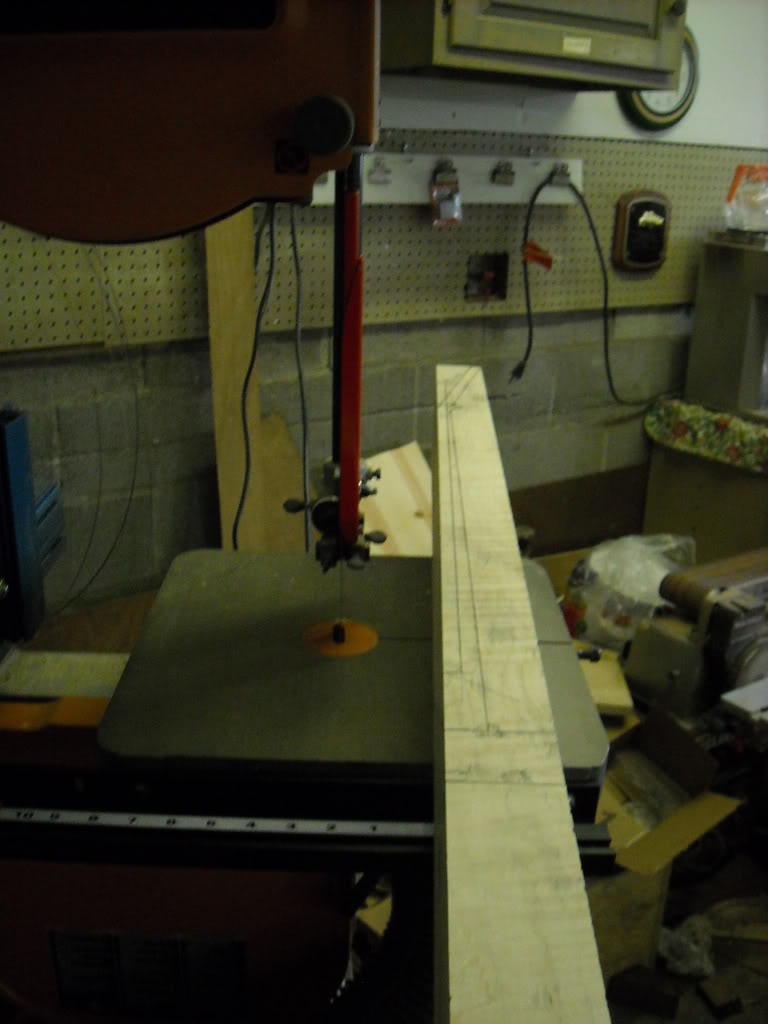
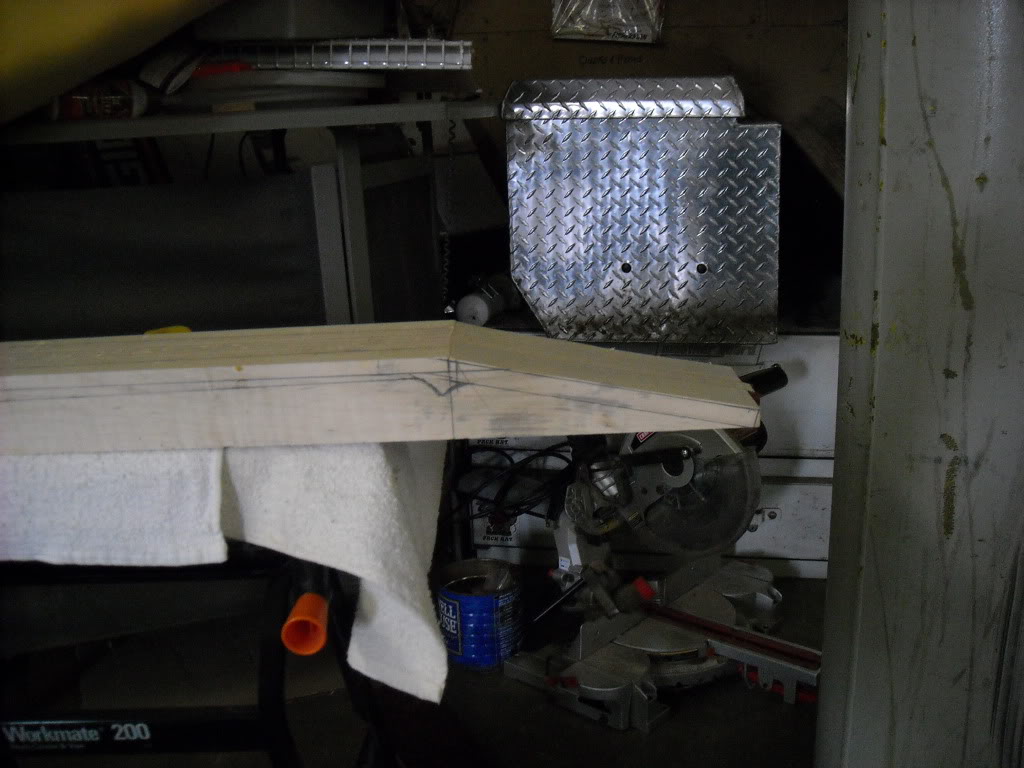
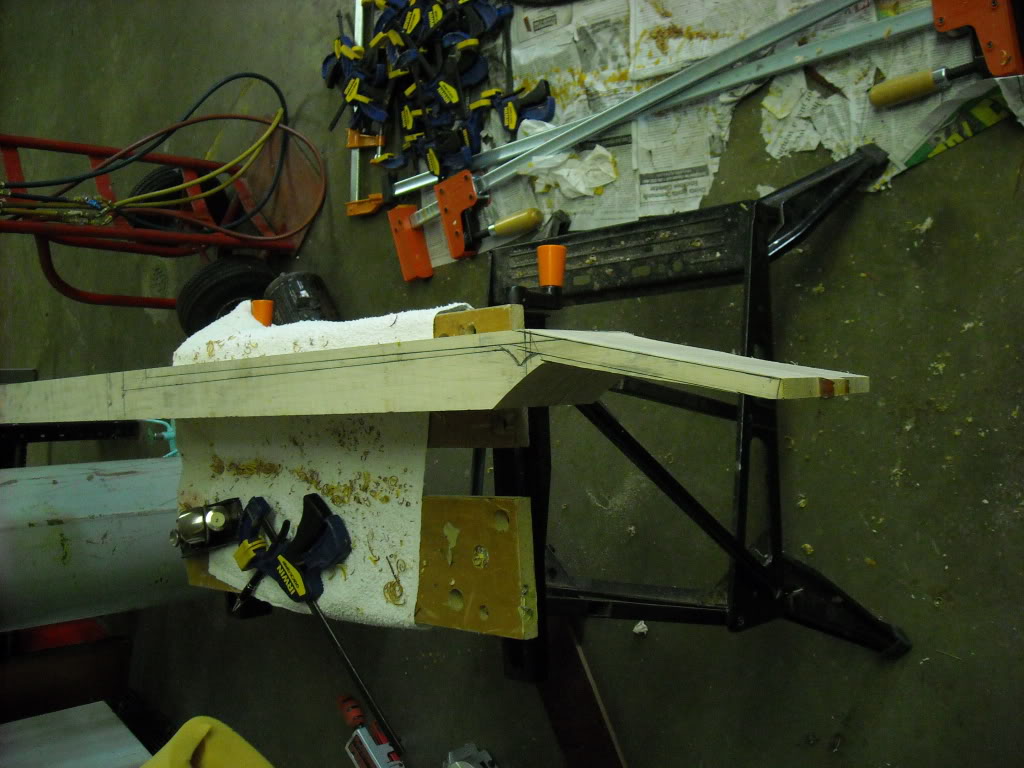
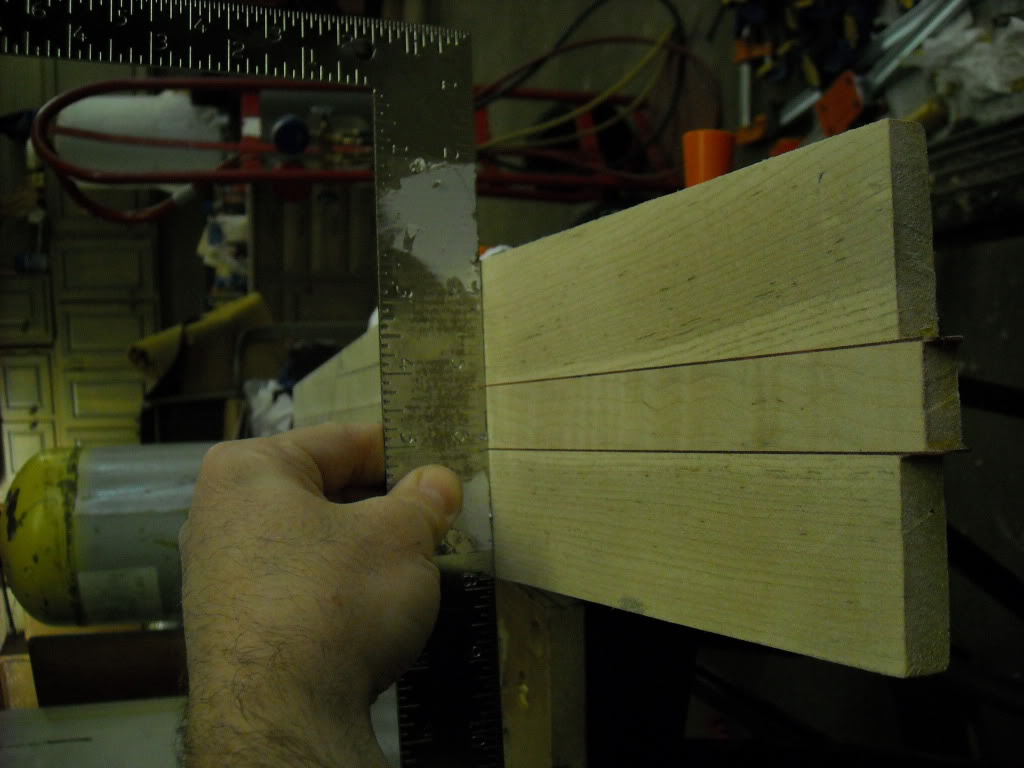
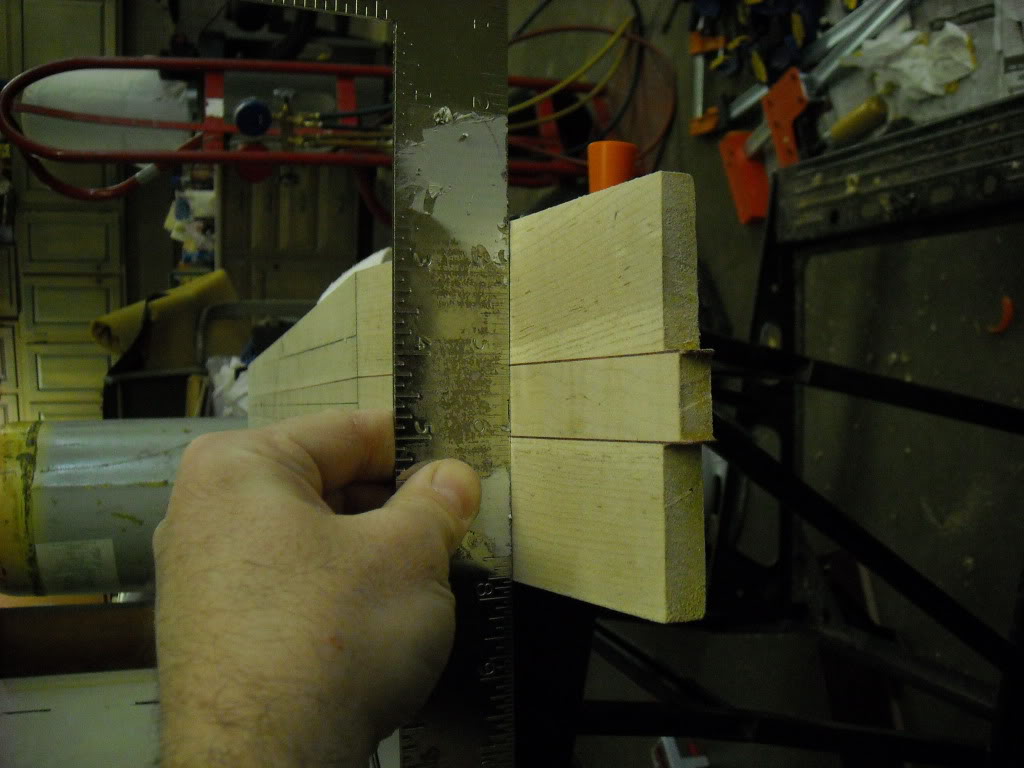
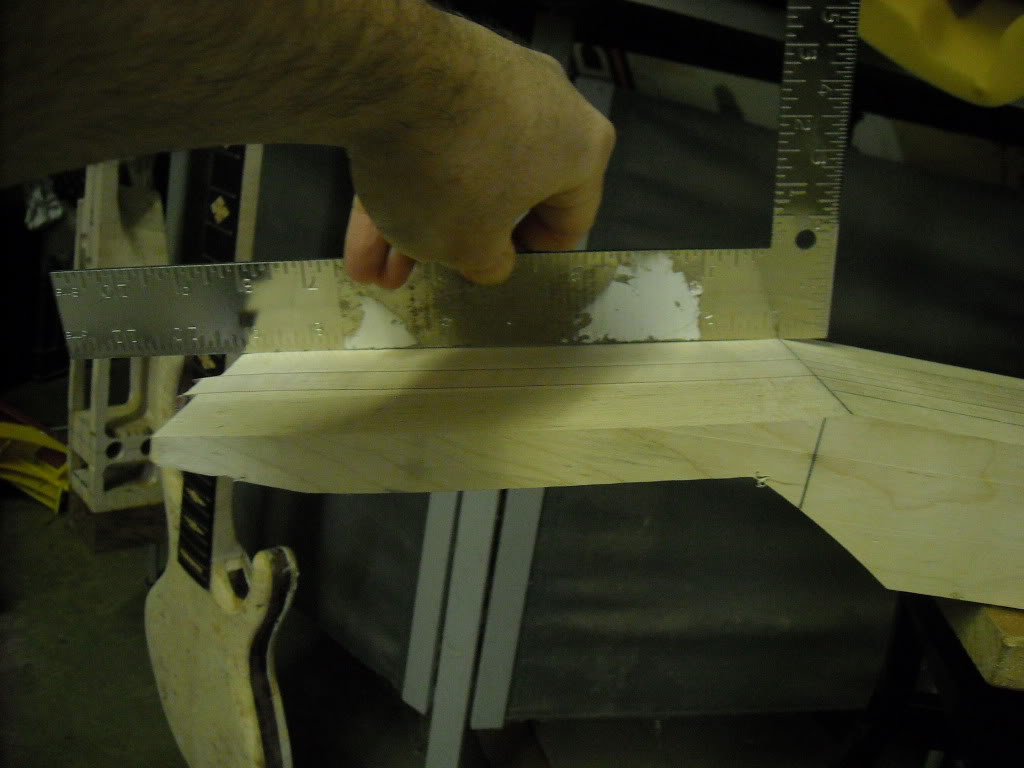
Then I start the level with a spokeshave, then use my orbital sander. I use a small square to check how level it is.

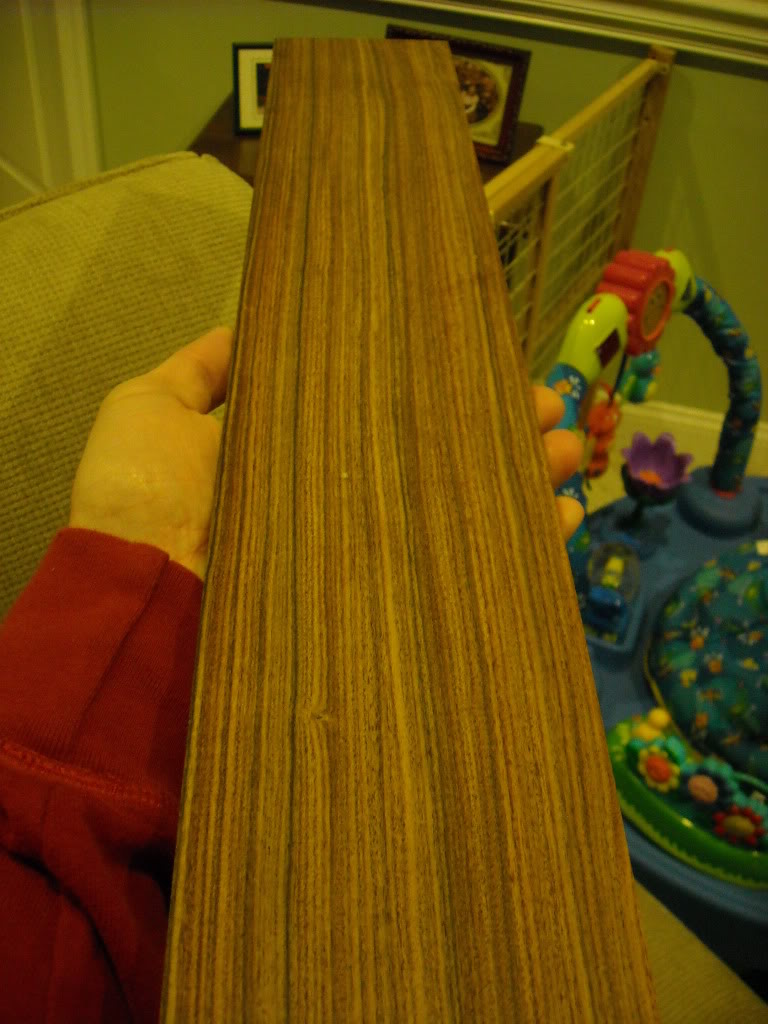
Pau Ferro makes it to the party at this point. She needed to be slotted. I had plans to get the circular blade, but have not yet, so this one's Old school.
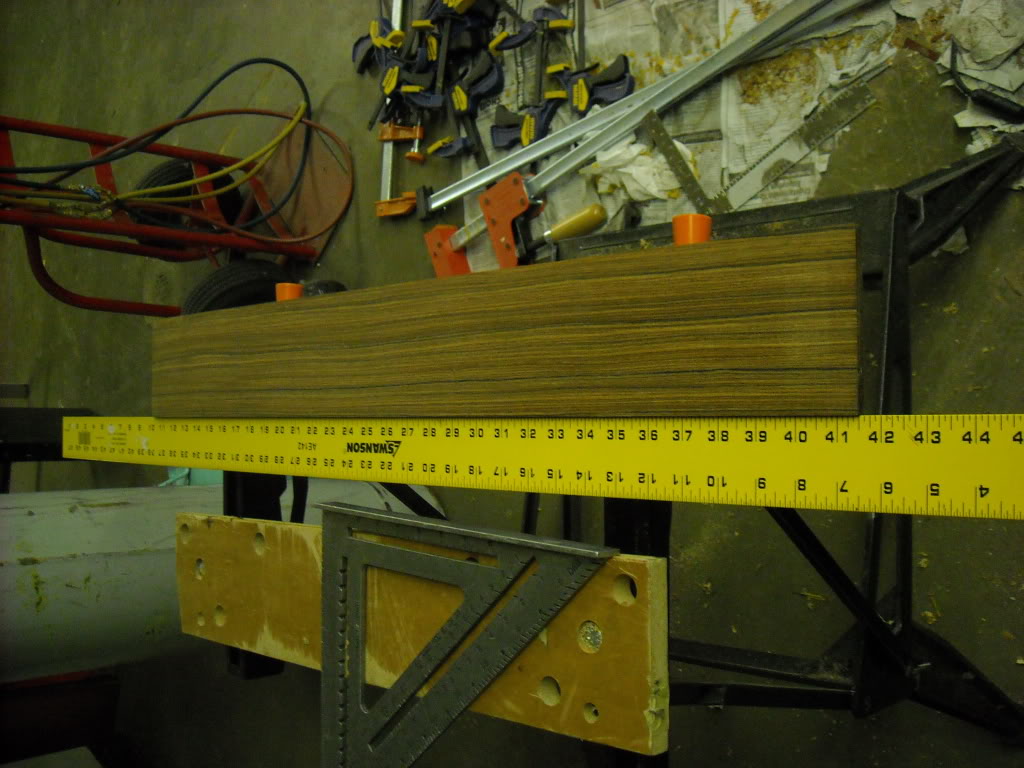
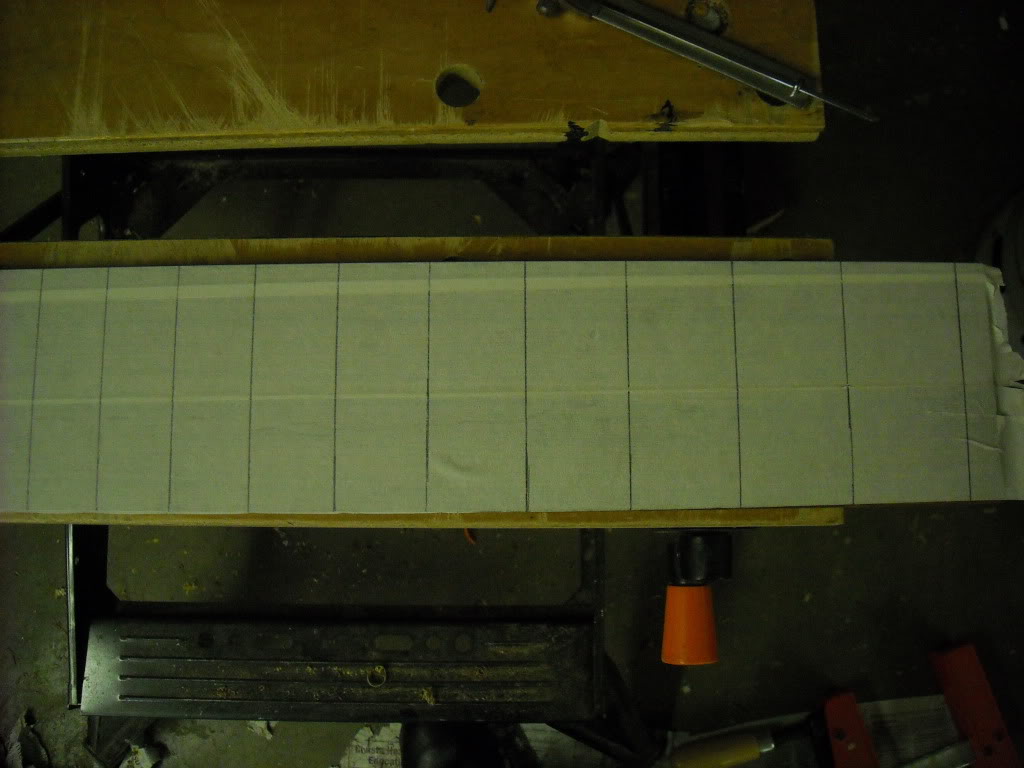
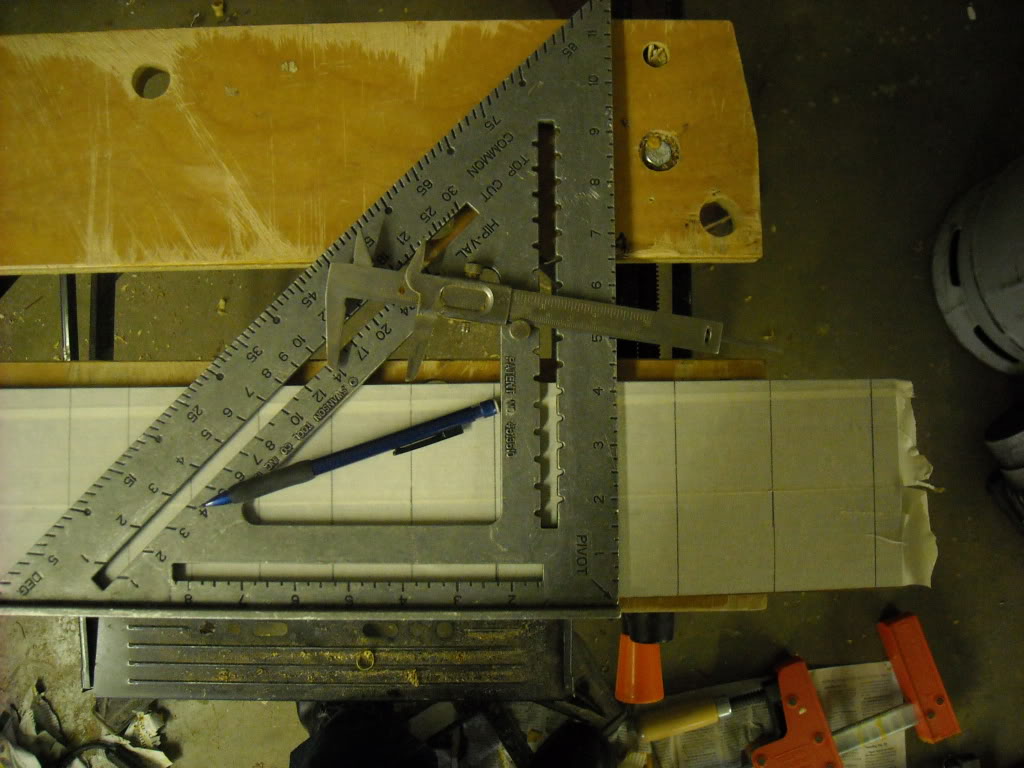
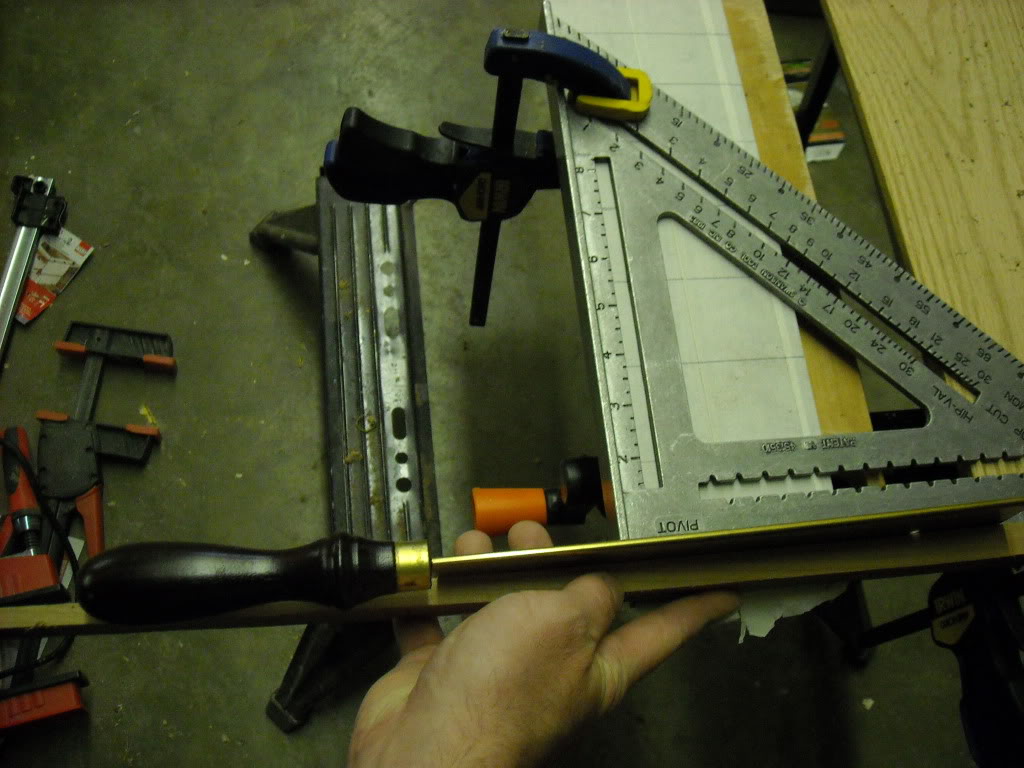
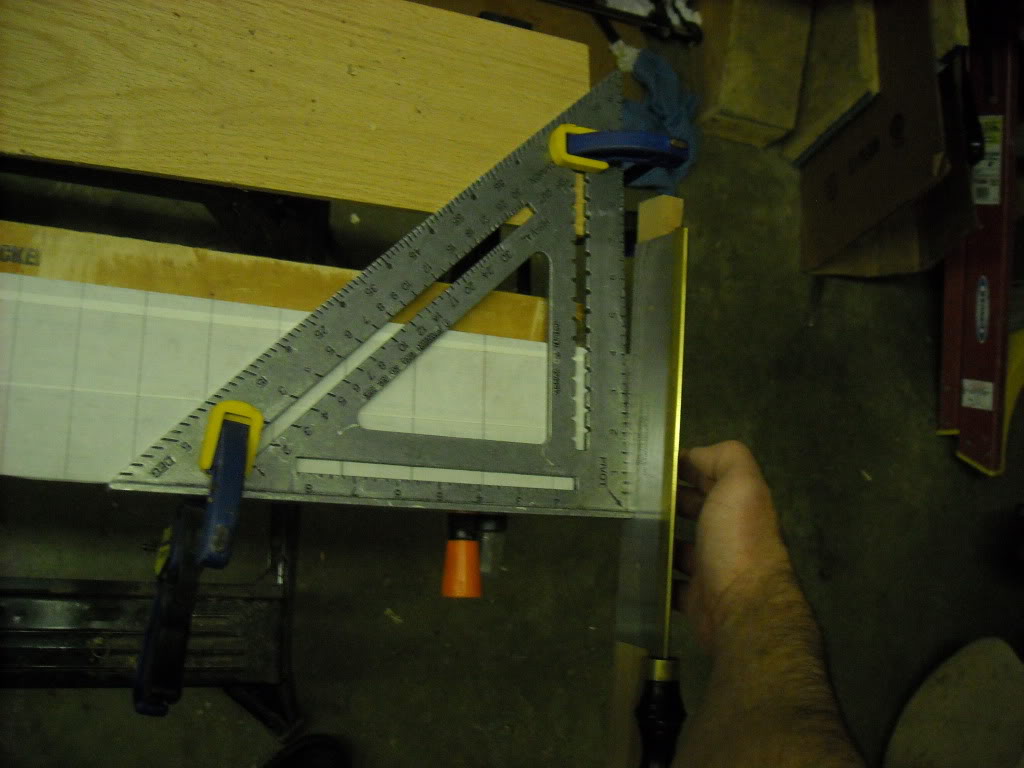
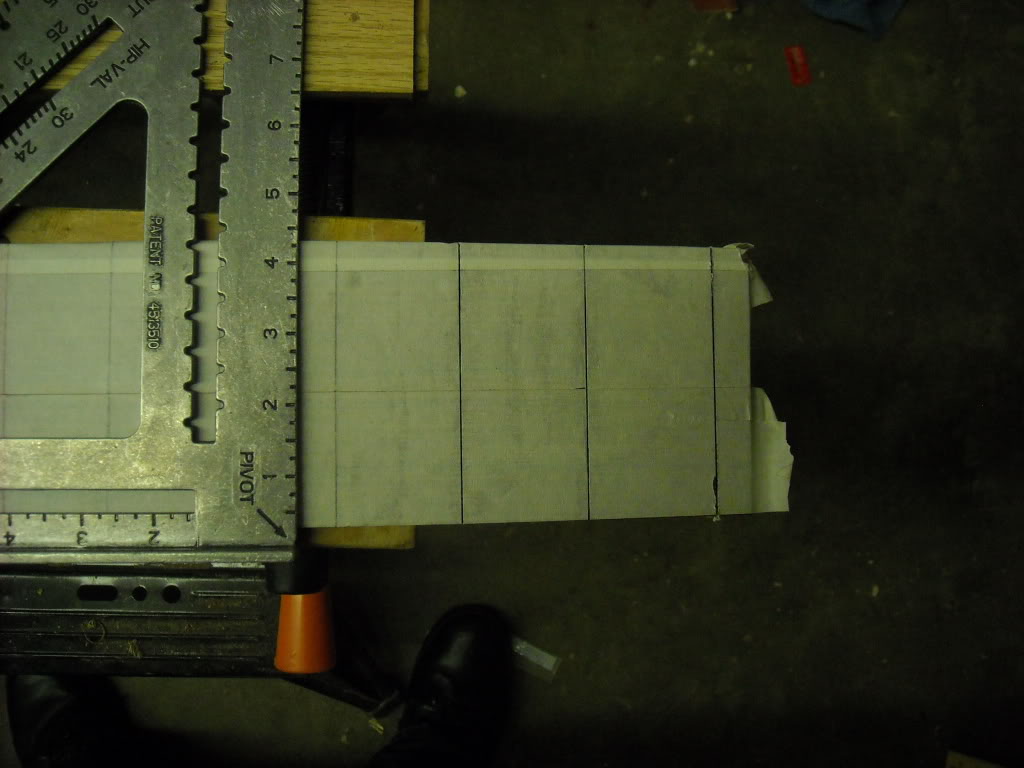
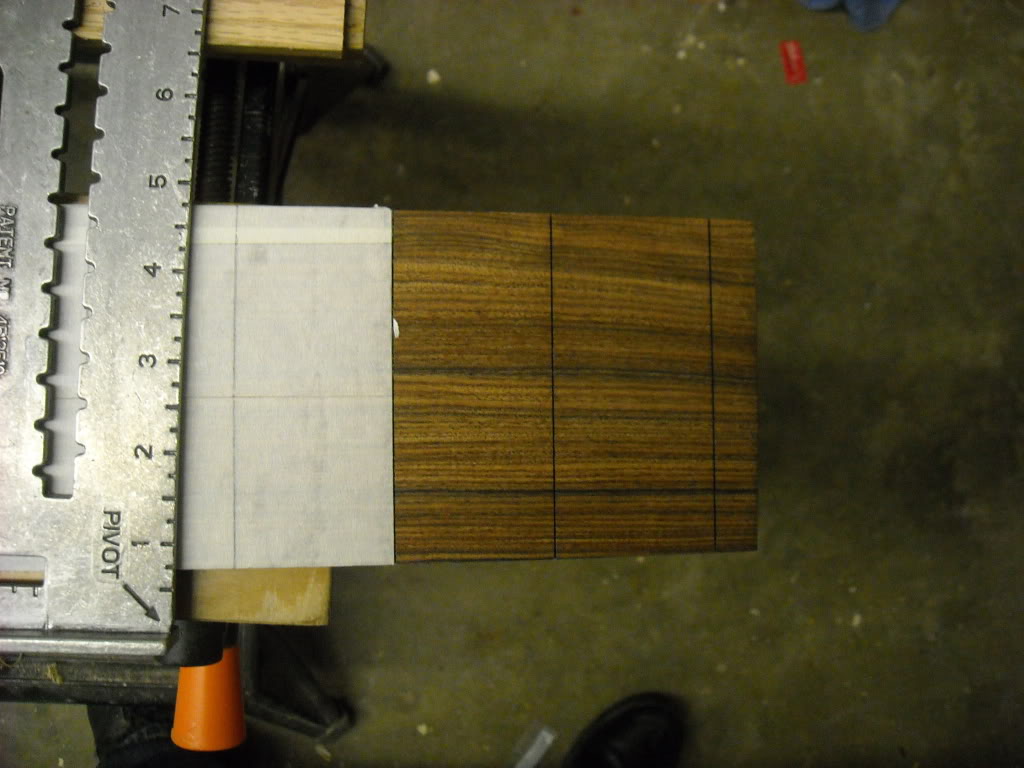
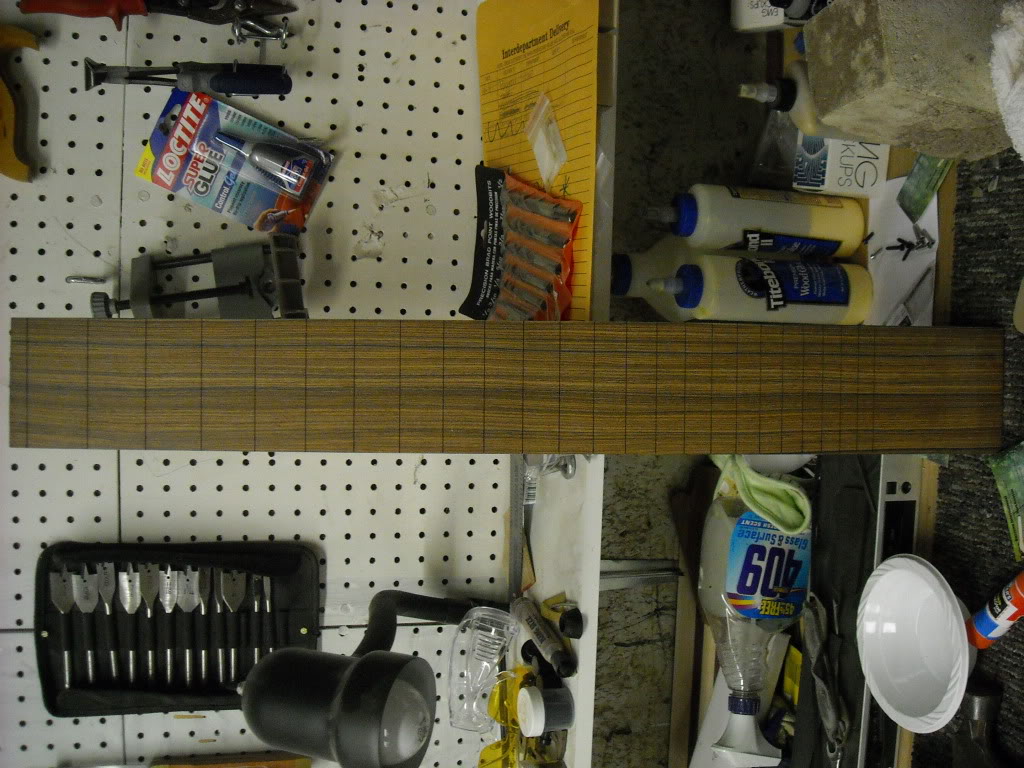
I did take a tip from LMI the last time i ordered a slotted board, I left some spare before the first fret and this one was plenty long enough.I made sure that one side of this was square, made my fret line from this side only. I used a "Black and decker" workmate, a roofer's square, masking tape, a small piece of 1/4" tick wood (for the roofer's square to sit on), a straight piece of scrap to hold between the square and the saw blade and last but not least a mechanical pencil.
D'wayne also wants a "D" inlayed (MOP) on the 12th fret, so I will need to find the right font for him. He will be sending the bridge that he'll be using and I have a graphite nut in transit. More to come.
I am also attaching an excel spreadsheet that I use to determine the fret measurements, depending on the scale that you enter.
This will also be a mini Neck through tutorial as well.
Back story:
D'Wayne had approached me about getting a neck made, for he wanted to build a bass, but was not so sure if he wanted to try building the neck on this one.
Specs:
6 string-
3 piece curly maple w/ purpleheart veneers.
Pau Ferro Fretboard
24 frets, "D" Mother of pearl inlay on the 12th fret.
35" scale
So...... It starts:
After drafting the general dimensions to scale, I had my rough measurements.
I started with the center lam (flatsawn) and the purpleheart laminates, cut to size (I opted to do the headstock without a scarf, so the headstock tilt is 12 degrees).
The laminate was thin enough to cut with a razor blade....
I went ahead, especially since the outer lams were acclimating to my shop conditions at the time, and drew out some of the line, so i could figure the layout.Here you'll see the tilt of the headstock, The thickness of the headstock (I made 5/8", although it would be 1/2", he wants a matching headstock).
Once this was figured out, I waited until the out pieces were ready. This was originally on piece of quarter sawn curly maple (8/4), so i had to cut it in half.
Total width ended up being 4 1/2" wide.
It was then time to glue this up and in my regular fashion, use a decent amount of glue (I'm trying for an endorsement from Franklin, but they ain't having it
)I start by sanding each side that will be accepting glue, with 120 grit on my orbital sander and get it nice and smooth (Did I forget to mention, I had previously ran each piece through my planer, beforehand?)
Now it's time to glue:
Now I don't wrench the hell out of it, but I do give it some tension. I start on one end and with the cabinet clamp, I gradually move it to the right, until it's all clamped up.
After it's sat for 24 hours, I unclamp it, let it sit for another hour or 2 and then run it through the planer until it's squared and close to the depth I want.
I will then start the process of marking some points up. I remark the headstock area, get my headstock to the length that I want (8 1/2" long). Also, I mark out the depth of the truss rod areas, make sure that the nut line is square, with a roofers square on both sides, etc.
I then mark the proposed taper that i want to use (5/8" @ the nut and 3/4" @ the fb end)
Now time to cut the headstock. I do this on my band saw, then level it after ward. I cut the top first, then cut the bottom.
Then I start the level with a spokeshave, then use my orbital sander. I use a small square to check how level it is.
Pau Ferro makes it to the party at this point. She needed to be slotted. I had plans to get the circular blade, but have not yet, so this one's Old school.
I did take a tip from LMI the last time i ordered a slotted board, I left some spare before the first fret and this one was plenty long enough.I made sure that one side of this was square, made my fret line from this side only. I used a "Black and decker" workmate, a roofer's square, masking tape, a small piece of 1/4" tick wood (for the roofer's square to sit on), a straight piece of scrap to hold between the square and the saw blade and last but not least a mechanical pencil.
D'wayne also wants a "D" inlayed (MOP) on the 12th fret, so I will need to find the right font for him. He will be sending the bridge that he'll be using and I have a graphite nut in transit. More to come.
I am also attaching an excel spreadsheet that I use to determine the fret measurements, depending on the scale that you enter.





 I think I'd work left to right, as I use a saw with my left hand, so would have the guides clamped to the right of the proposed fret line.


