• TalkBass has been independent since 1998. Add your voice.
    Create a free account to reply to discussions, view embedded media, and browse with fewer display ads.
    Join freeLog in
    Want zero display ads or expanded classifieds tools? Compare plans.

Alright, attempting to build a PVC EUB!

This will be phase 2.
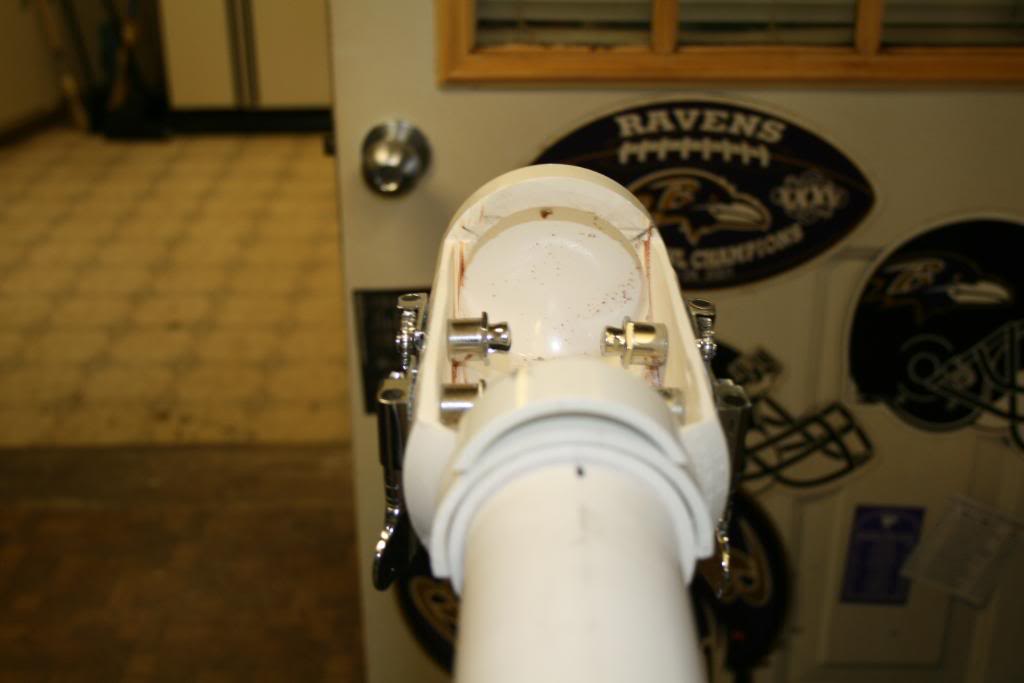
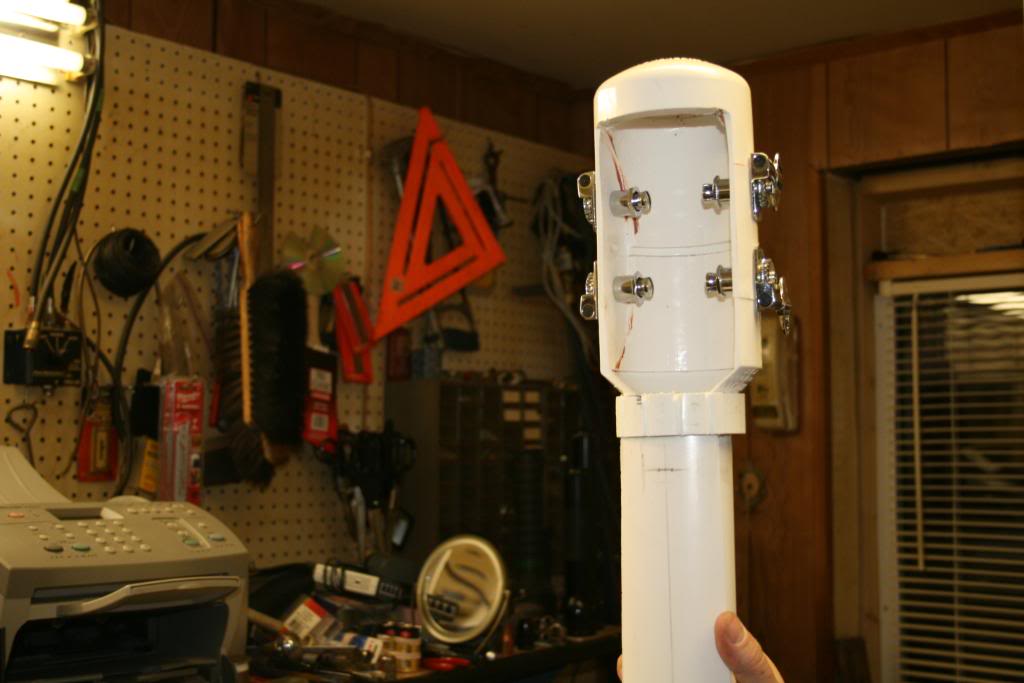
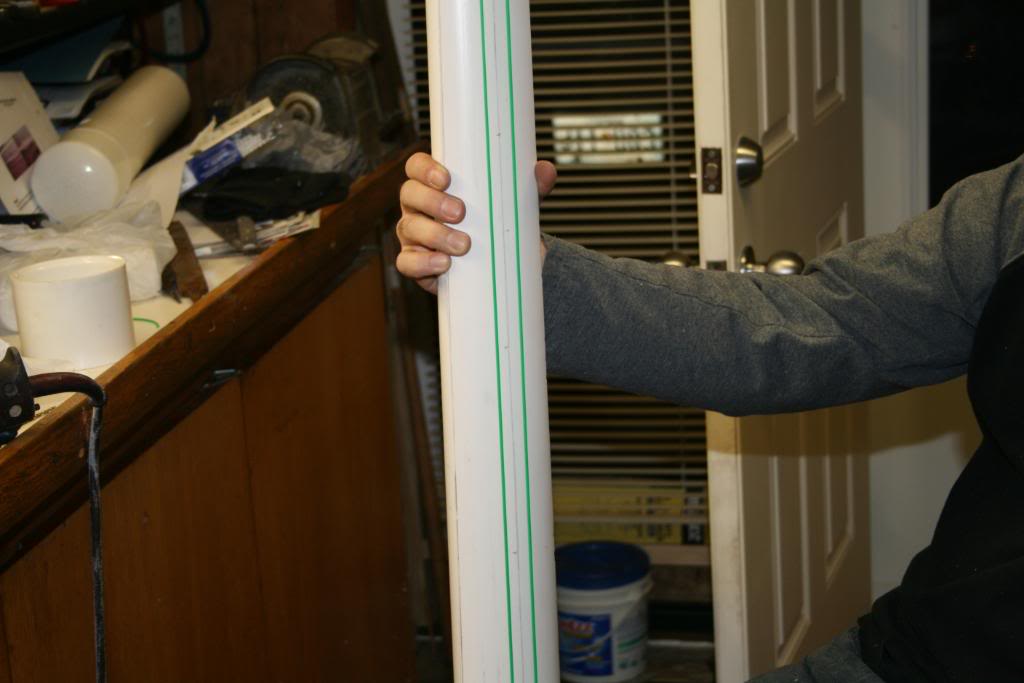
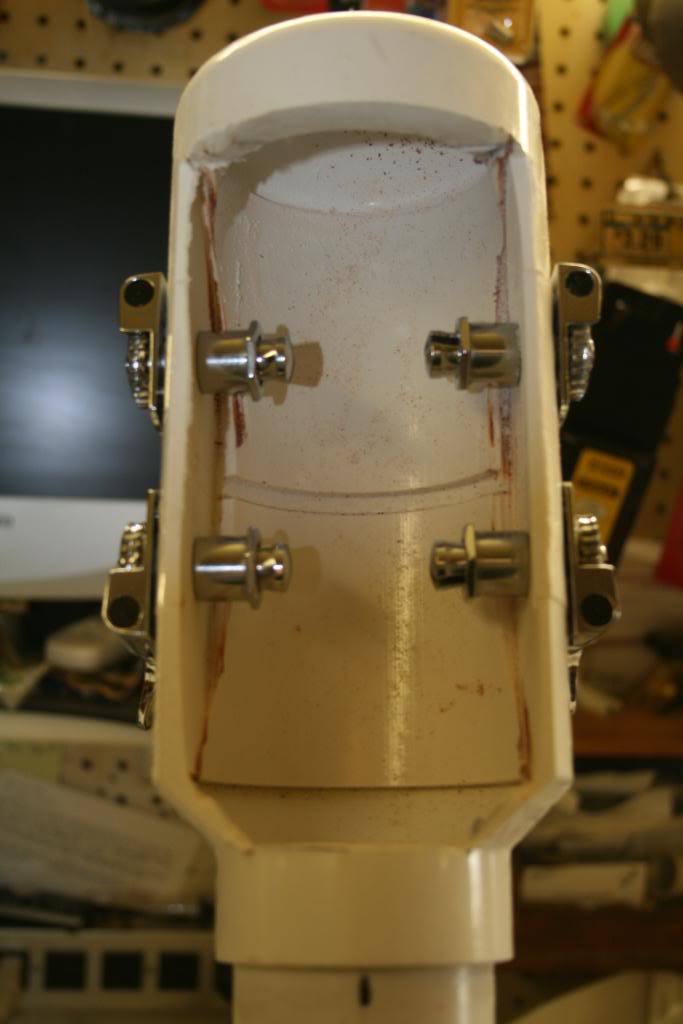
When I went by my uncle's, he was grinding the inside of the headstock to sit flat (He was a bit nervous about grinding it down too far, he said he might have had to change his underwear:p) so that the tuners would not have clearence problems.Used a 4" grinder w/ a fine sanding disk. We're finding out that alot of the work is actually in the headstock so far.Still have some detail work to do on it.Here are those pics:

2008BASS2025.jpg


2008BASS2026.jpg


2008BASS2027.jpg


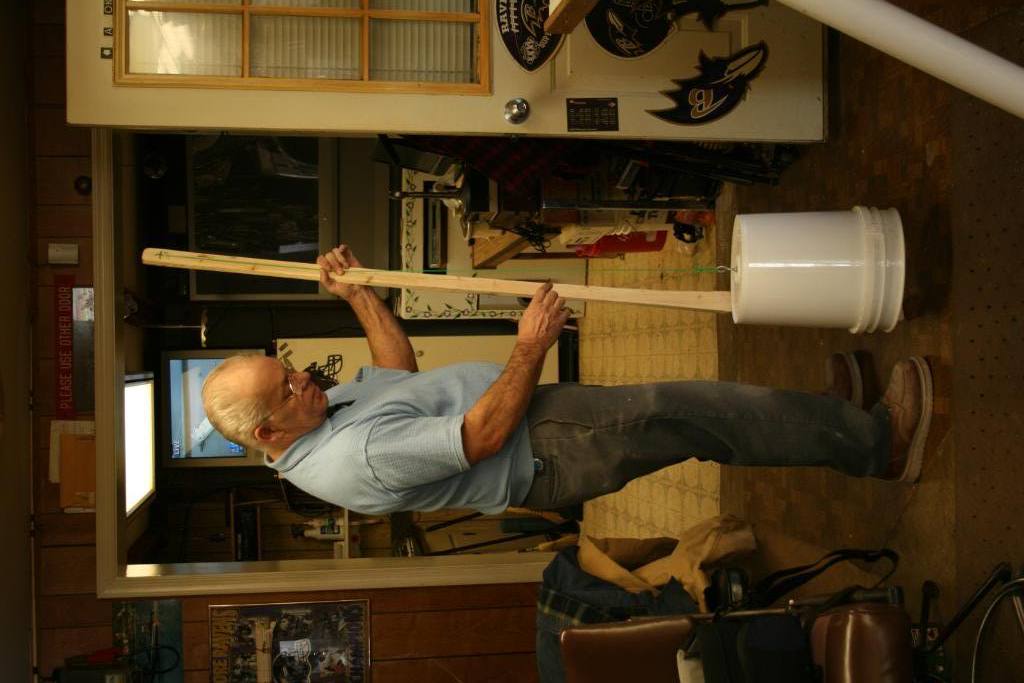
This is with the cut out fingerboard held up by Cecil.

2008BASS2028.jpg


Heres Cecil with his "Bucket", that thing is fun to play:D

2008BASS2029.jpg


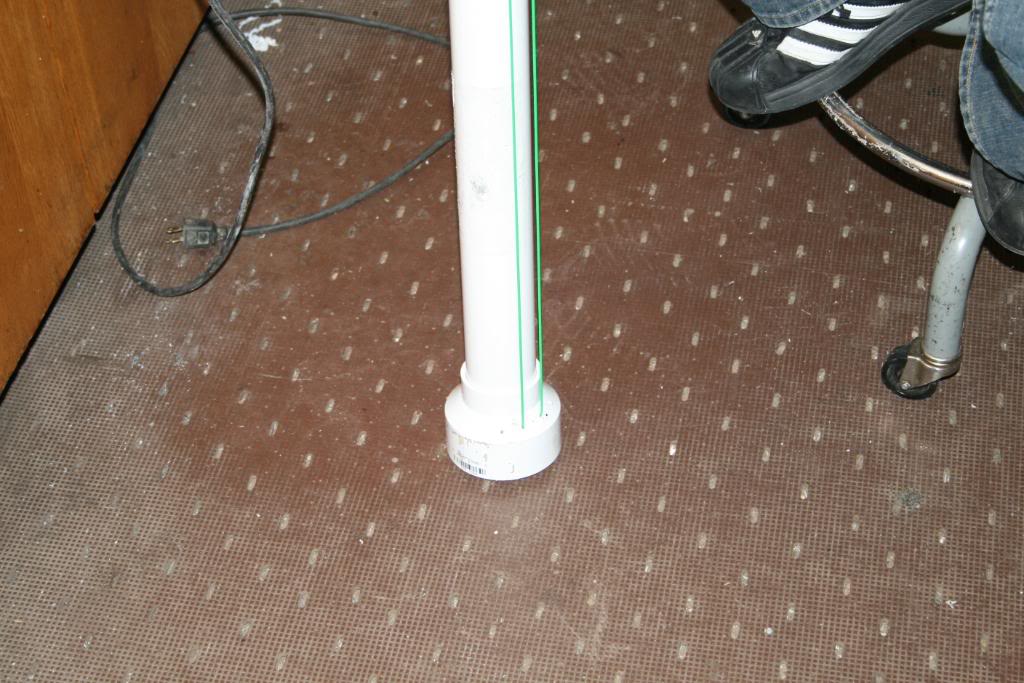
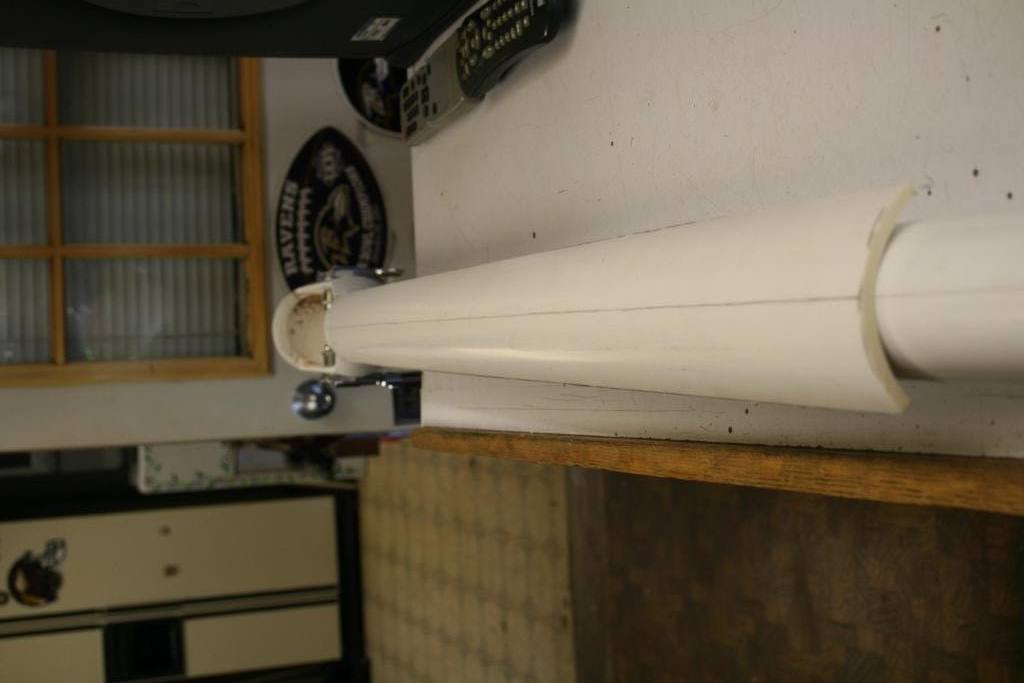
This is down on the table with the fingerboard resting on top.
2008BASS2030.jpg


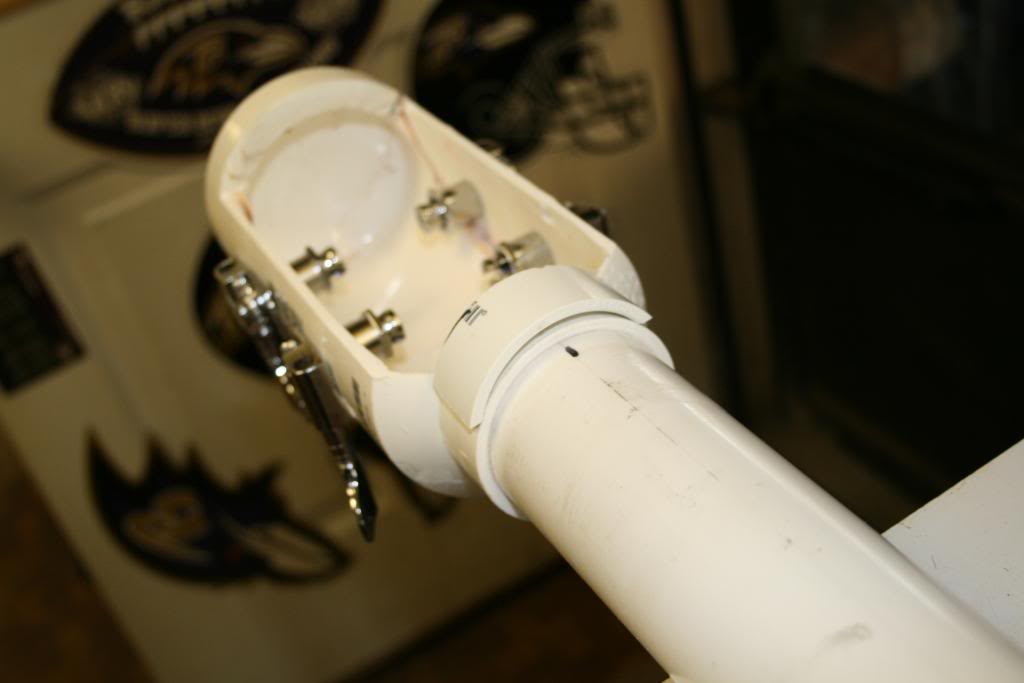
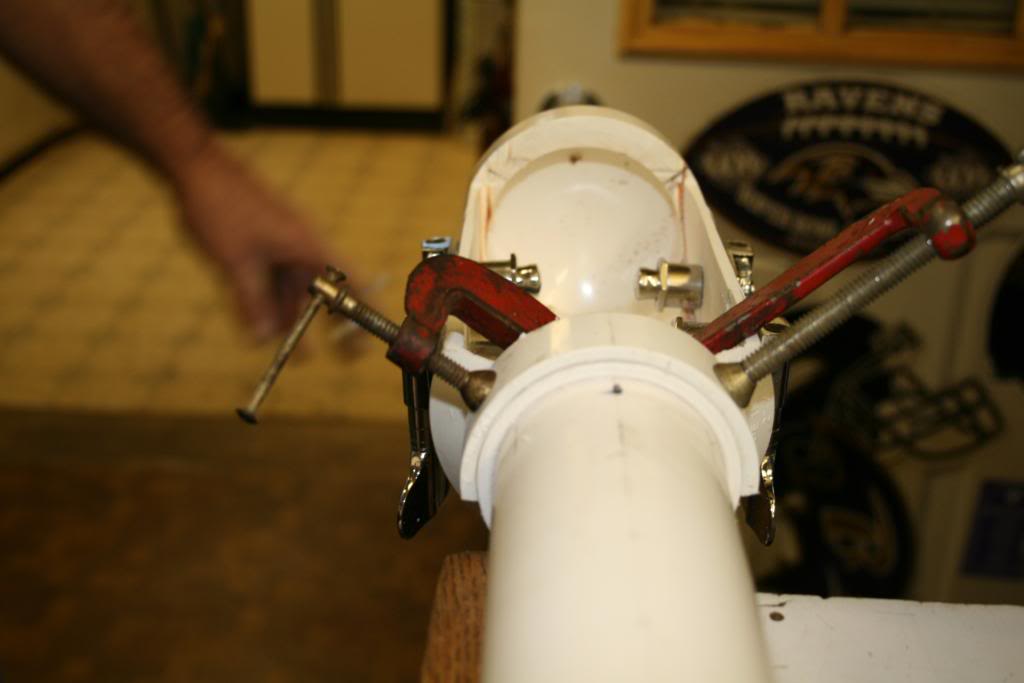
We ended up doing a 2 piece nut, to get the string height up to where we need it. These pieces were cut off of a 2" coupling, the bottom piece is slightly longer than the top piece.

2008BASS2031.jpg

2008BASS2032.jpg

2008BASS2033.jpg


Using pvc glue to attach these and also clamped 'em for about 15 minutes for each.
2008BASS2034.jpg

2008BASS2035.jpg

2008BASS2036.jpg


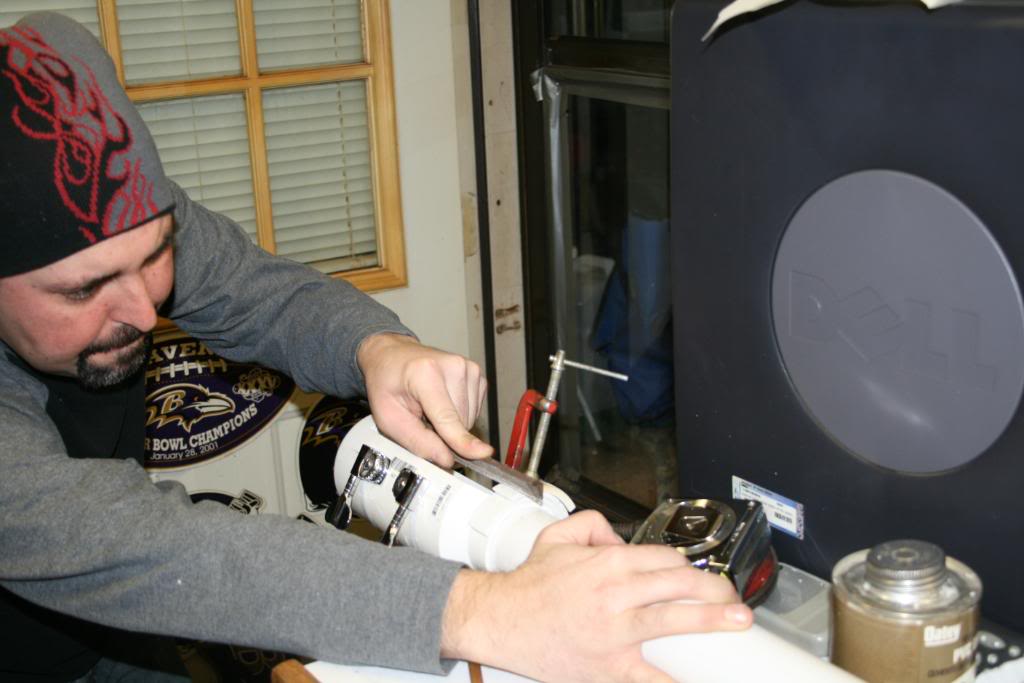
Had to file the nut once that process was through, here's me limping that process away.Looks alot like i'm enjoying it
2008BASS2037.jpg


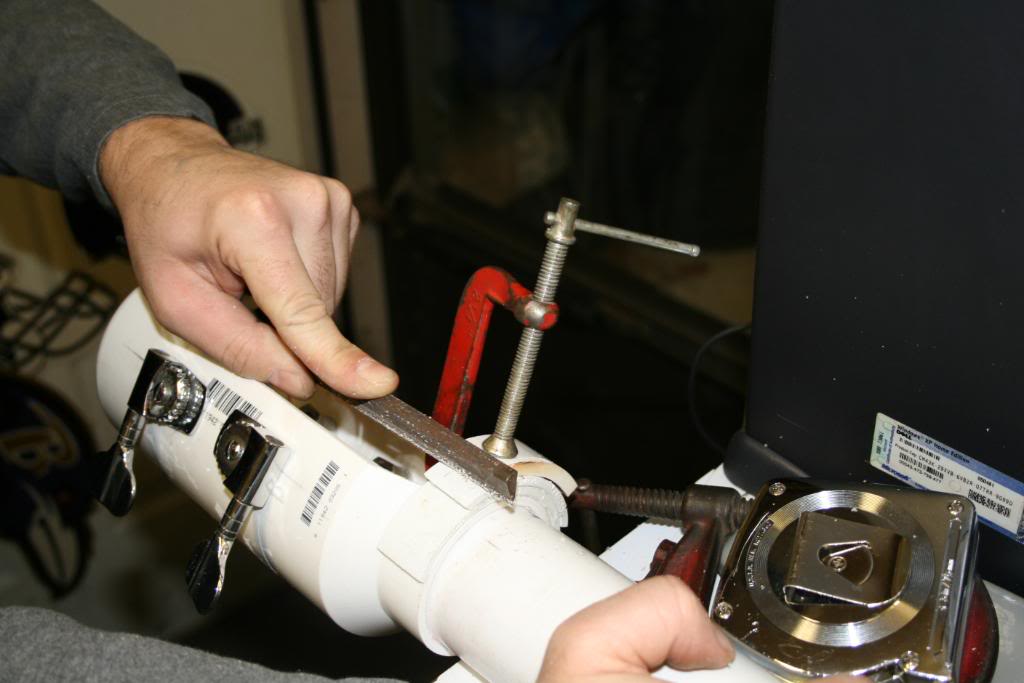
Notice I clamped a spare piece of pvc as a guide to be "keepin' it real". The spacing from "string to string is about 3/4", That's pretty WIDE!

2008BASS2038.jpg

2008BASS2039.jpg


Hard to make out the nut though.

2008BASS2044.jpg


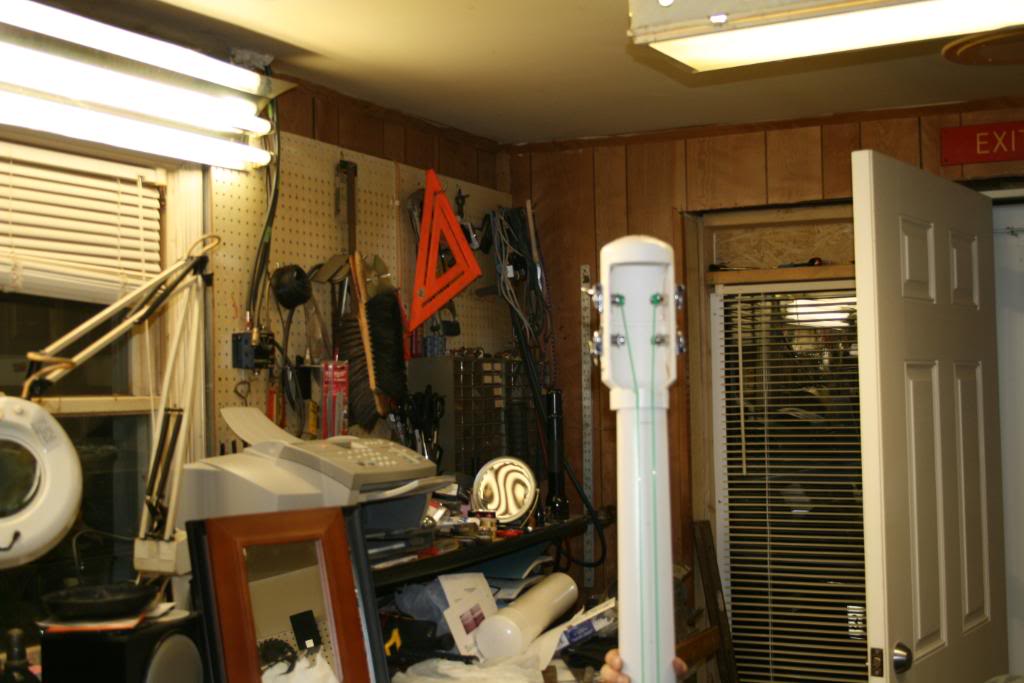
Mocked up the strings on it, not ready to attach the fingerboard either.
2008BASS2045.jpg

2008BASS2047.jpg

2008BASS2048.jpg


I think is a wee bit tall right now.....I feel like one of them "little people"
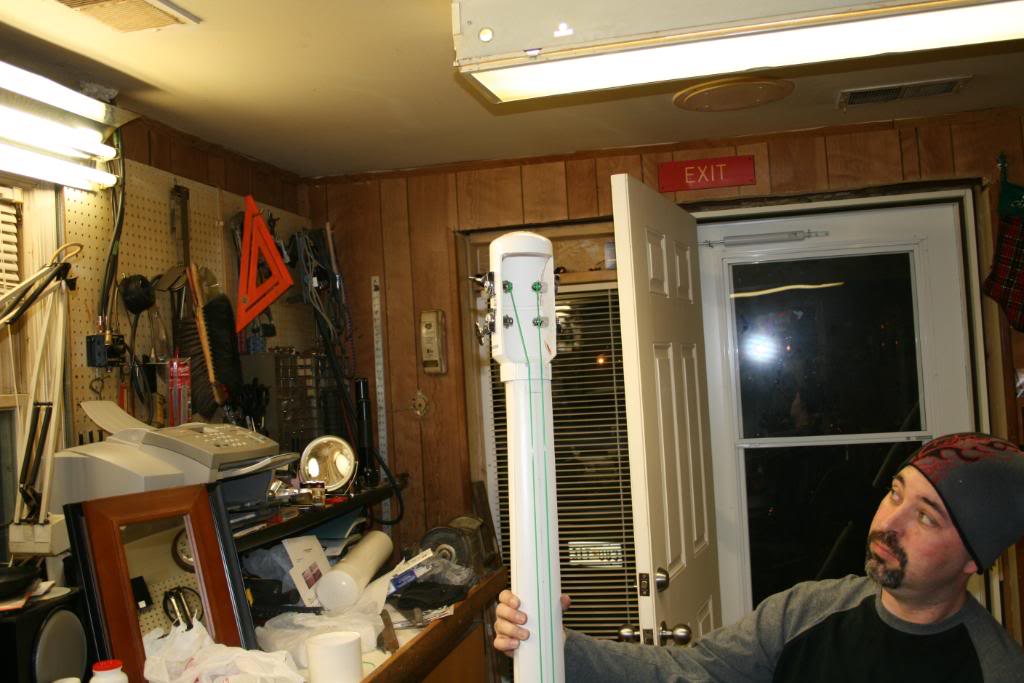
2008BASS2049.jpg


**Won't be working on it today (Friday) But, I am going to attempt to find gauges of weed eater string@ .105 .085 .065 .045 , There appears to be .105,but, I don't know if Lowes will carry it or not.
Also have to hunt down a decent peizo (From RadioShack, most likely), disassemble a preamp and a DI to integrate. In the process of developing a rudimentary "truss rod", will most likely look like this:
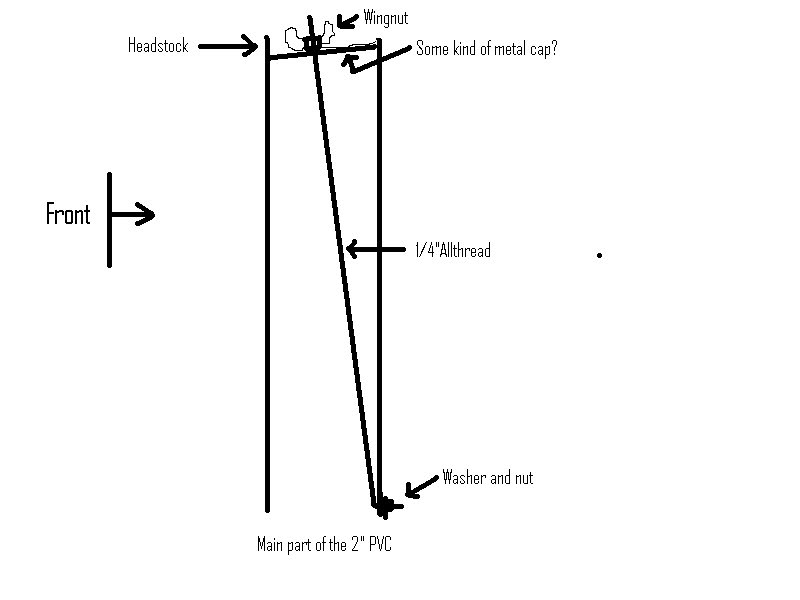

Trussrodplan.jpg


The "Bridge" will be made out of 3/4" thick "Poly" material (Don't know the exact terminology for it). will be cut out from a "cutting board".(The thick white plastic material)
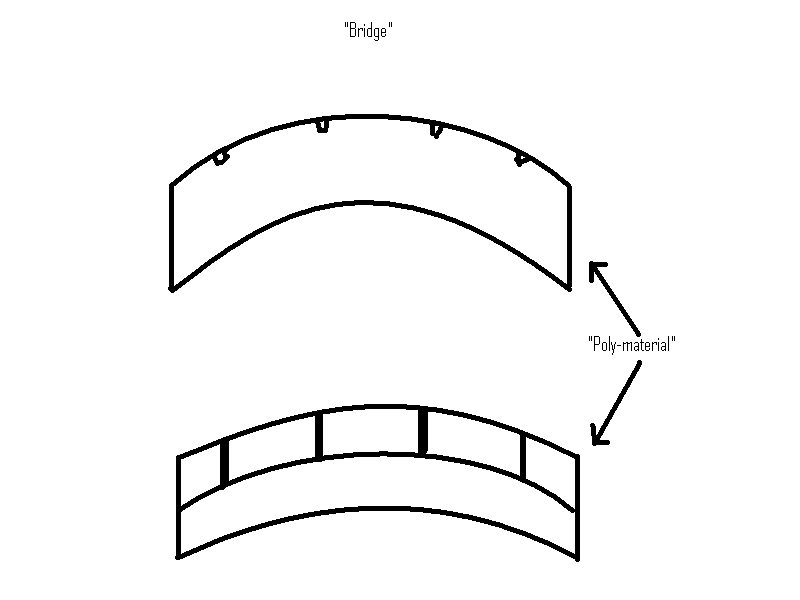
Bridge.jpg


***After looking on the 'net for a while, I believe I will be making the actual pickup (Well, I won't be actually creating the peizo, buy rather doing the rest thats necessary.)

Total investment so far : About $70. But, What we have is about enough material to do 2 basses though, i'm not counting some of the actual material that we had "on hand", for example I had two sets of tuners.

***** So far I have been able to locate .105,.080 and .060 guages, no .045 yet from my local Lowes, unfortunately two of the strings are silver, the other one is blue:hmm:
Found a few Piezo buzzers and also found a condenser mic element :hyper:,1/4 jacks and shielded cable from the Radio Shack near my work.About $12 there and $25 at Lowes. So, it's about $107 so far at this point, and this is just the first bass with plenty of material to build a second
:cool: Phase 3 is coming up!!!!
 
This will be the 3rd installment


These are some of the "goodies" I got from Radio Shack:
Peizo buzzers, 1/4" jacks, insulated cabling (a 5' 1/8" mono cable is what i picked up, but any similar shielded cable will do.Also out of curiosity, I bought a condenser mic element.

2008BASS3004.jpg


This is a Peizo buzzer from radio shack, if you put a 9v to it, it will beep. We're gonna change that though. Pry the bottom of the buzzer open with a punch or a "flat head" mini-screwdriver.
2008BASS3009.jpg


Notice, there are 3 contacts, we will only have to use 2, the "outer" portion is for ground (outside) on the shielded cable and the "Inner" portion (Does not matter which one you want to use) is for the insulated wire (inside). I purchased a mono 1/8" cable and cut it to size. Cut the leads away and carefully extract the element out of the housing, for if the element becomes too bent, it will most likely be no good
2008BASS3010.jpg


Here is the "element", stripped away from the actual product, this is the piece you want.

2008BASS3011.jpg


This is a plain old 1/4" jack, to be used to run from the peizo.
2008BASS3012.jpg


Once it's soldered together, it will look much like this (Beware, try and use a 10 watt or 15 watt iron, I used a 20 watt here and the solder joint "fell off" one of the elements, deemed it "useless".)On a side note, do your best to get the solder work done a fast as you can on the element, less heat as possible.Ultimately, once you're at this point, you can plug it in and tap on it to verify it works. It will be severely noisy without anything insulating it, this will be normal (worst part was, the only amp around at the time was an "EL Cheapo" Estaban amp:p
2008BASS3013.jpg


I used "sticky foam" to cover over the whole element.I did both sides and cut to size
2008BASS3018.jpg


Once both sides of the element were covered with foam, I reused the "buzzer" housing, pushed the foam covered element in it and backed the housing with another layer if foam.
2008BASS3016.jpg

2008BASS3017.jpg


This is the bridge that was made out of "poly", actually from a "cutting board" of sorts
2008BASS3006.jpg


Heres Cecil holding up the "progress", wait. that has 2 meanings, doesn't it?:D

2008BASS3007.jpg


He rounded up the bridge and started to slot it, ultimately the string gap is 1" apart.He shortened up the end, and used a 3" to 2" reducer, with the middle grinded out, so that it could be slid though the 2", this is the "tail piece".
2008BASS3014.jpg

2008BASS3015.jpg


Here is the "double" peizo, finished, tested it out in a few locations on it, works good. Had my cousin play his acoustic 6 string and placed the pickups on the top of the body, sounds really good.
2008BASS3019.jpg


Just have to re-cut another fingerboard, original one is too narrow. Debating on elevating the fingerboard on the "large end", though. Still have to do the "truss rod" too.

This is me holding "Phase 3".
2008BASS3021.jpg

2008BASS3023.jpg


Phase 4 is on the way!
 
Excellent documentation! Thanks for all the great pics and explanation!

I am definitely going to make one of these!


--tz

Awww ,
theres still ALOT more that this one needs done, fo sho!:p

Also, We're brainstorming the next one too.
may do a headless, horizontal version thats a bit shorter. debating about using schedule 80 on that one.
 
OMG! One of the drummers I jam with owns a commercial plumbing supply house! I'm so gonna build this! Excuse my excitement but I'm through building horizontal basses and I've been trying to find a way to plan and build an EUB for sometime now.This just lit the light. Proprietary parts are either scarce or too $$$$. This is gonna be cool. I relly dig this place, thanks folks.
 
OMG! One of the drummers I jam with owns a commercial plumbing supply house! I'm so gonna build this! Excuse my excitement but I'm through building horizontal basses and I've been trying to find a way to plan and build an EUB for sometime now.This just lit the light. Proprietary parts are either scarce or too $$$$. This is gonna be cool. I relly dig this place, thanks folks.

Just remember, if you're resourceful, you can make your own "proprietary" parts.:p

Also you might want to try schedule 80 since you've choose to go to a commercial plumbing supply (mainly because regular supply stores Depot, Lowes..etc. don't carry 80), instead of 40.
We may try 80 on the horizontal one, mainly because it will be 1.5" pvc instead and be shorter.
 
Phase 4!

Did more detail to the nut, Ground an angle in to it most of the work was done with a chainsaw blade file for the strings. Discovered that the E-string pictured here (gray) is a little too textured (very noisy, compared to the smooth strings, have to re-purchase smooth strings.
2008BASS4001.jpg

2008BASS4005.jpg

2008BASS4003.jpg


Another re-cut fingerboard, that is now wider, Only thing we found later, it's the only piece that is actually a "foam core" instead of solid PVC

2008BASS4002.jpg


Here is the "truss rod" that will be used.It's a 1/4" length of "all thread"
2008BASS4008.jpg


Marked out the hole right under the bridge for the truss rod.
2008BASS4007.jpg


Attached.....
2008BASS4012.jpg


Used some "diamond plate" aluminum for the truss rod inside the headstock, to bolt down the "truss rod".
2008BASS4004.jpg


Here's Cecil grinding down the truss rod plate.

2008BASS4006.jpg


Here it is, fitted.Notice that the bolts on the tuner heads have been cut down.
2008BASS4009.jpg


Finished, It definitely absorbed alot of this phase time.In fact, the time that took to do it, was worth it, as you will see from the "level test". Tightened the 'rod up at this time. In the "long run" this truss rod will eliminate any future bow this PVC may ever have.

2008BASS4011.jpg


This is with the strings tuned to 440, notice, there is NO bow in it! Sorry, I failed to take "before and after" pics.

2008BASS4010.jpg


These 2 are without string tension, you could easily slide a credit card under that gap!
2008BASS4013.jpg

2008BASS4014.jpg


Front shot
2008BASS4016.jpg


Back shot

2008BASS4015.jpg


Of course there will most likely be a few more phases, 5 is next!
 
That's awsome! great job- will you be able to get some sound clips?

Yes, there will be sound clips. But I think I will have a different approach, perhaps YouTube, instead of just sound clips, but I'm getting ahead of myself a bit, just a couple more phases.
We're still working on the placement of the peizos and I still need to make a decision on a preamp.
 
Do you think it would be sturdy enough for steel upright strings? I recall the other PVCEUB builder saying that the nylon strings didn't take to bowing very well... I am curious how this instrument would sound bowed.

If steel strings are not an option, is there an alternative bow that would work on nylon strings? It's been YEARS (over 20) since I've played with a bow. I'd love to be able to do that again and if this cool bass works with a bow, that'd be super!
 
Do you think it would be sturdy enough for steel upright strings? I recall the other PVCEUB builder saying that the nylon strings didn't take to bowing very well... I am curious how this instrument would sound bowed.

If steel strings are not an option, is there an alternative bow that would work on nylon strings? It's been YEARS (over 20) since I've played with a bow. I'd love to be able to do that again and if this cool bass works with a bow, that'd be super!

That has yet to be seen. Steel stings may be attempted, I'm waiting to see if someone my uncle and I know, if he has any extra "gut" strings first. I'm just as curious to know if flats will work (I'm wondering if length may be an issue for electric strings, the scale length is 42". Don't know right off hand if electric strings are long enough), although we're talking about 32-37lbs of pressure on each string.
We will most definitely experiment with these combinations, especially with the use of a truss rod, which should work in our favor. I'm foreseeing the next phase, dealing with Pickup placement and a decision on a preamp, although I'm open for suggestions on a peizo pre amp. Was gawking quite a bit at this (although it's about the same price as the entire bass):

GigPro.jpg

Ended up buying from my local store (Hot Licks in Waldorf,MD on a side note If you're local to So MD go on down and see Gene or Cricket, if you long not to go to the more "corporate box" stores).
 
Ok, so now is the "waiting game" on the L.a. braggs piece.
Cecil and I are having a debate, Cecil says" we need to use a wood bridge w/ the piezo's under it". I say that " if the poly is notched we can get close to the same sound by putting it under the poly bridge". So thats about where we are right now.

Anyone have an opinion on it?
 
Placed the puckups (hey, they look like pucks:p), Cecil had to re cut the bridge.Ran the wiring through the 2" and painted the puckups and cable on the front white. Used rubber "grommets" for the cable holes on both sides Pics:

Bass5002.jpg

Bass5003.jpg

Bass5004.jpg


Plan to hide the cable w/ 3/4" pvc cut in half up the middle,from the tail piece to around the back of the fingerboard.