• TalkBass has been independent since 1998. Add your voice.
    Create a free account to reply to discussions, view embedded media, and browse with fewer display ads.
    Join freeLog in
    Want zero display ads or expanded classifieds tools? Compare plans.

Condor 5/3 - Flamed Maple, Ash and Cocobolo

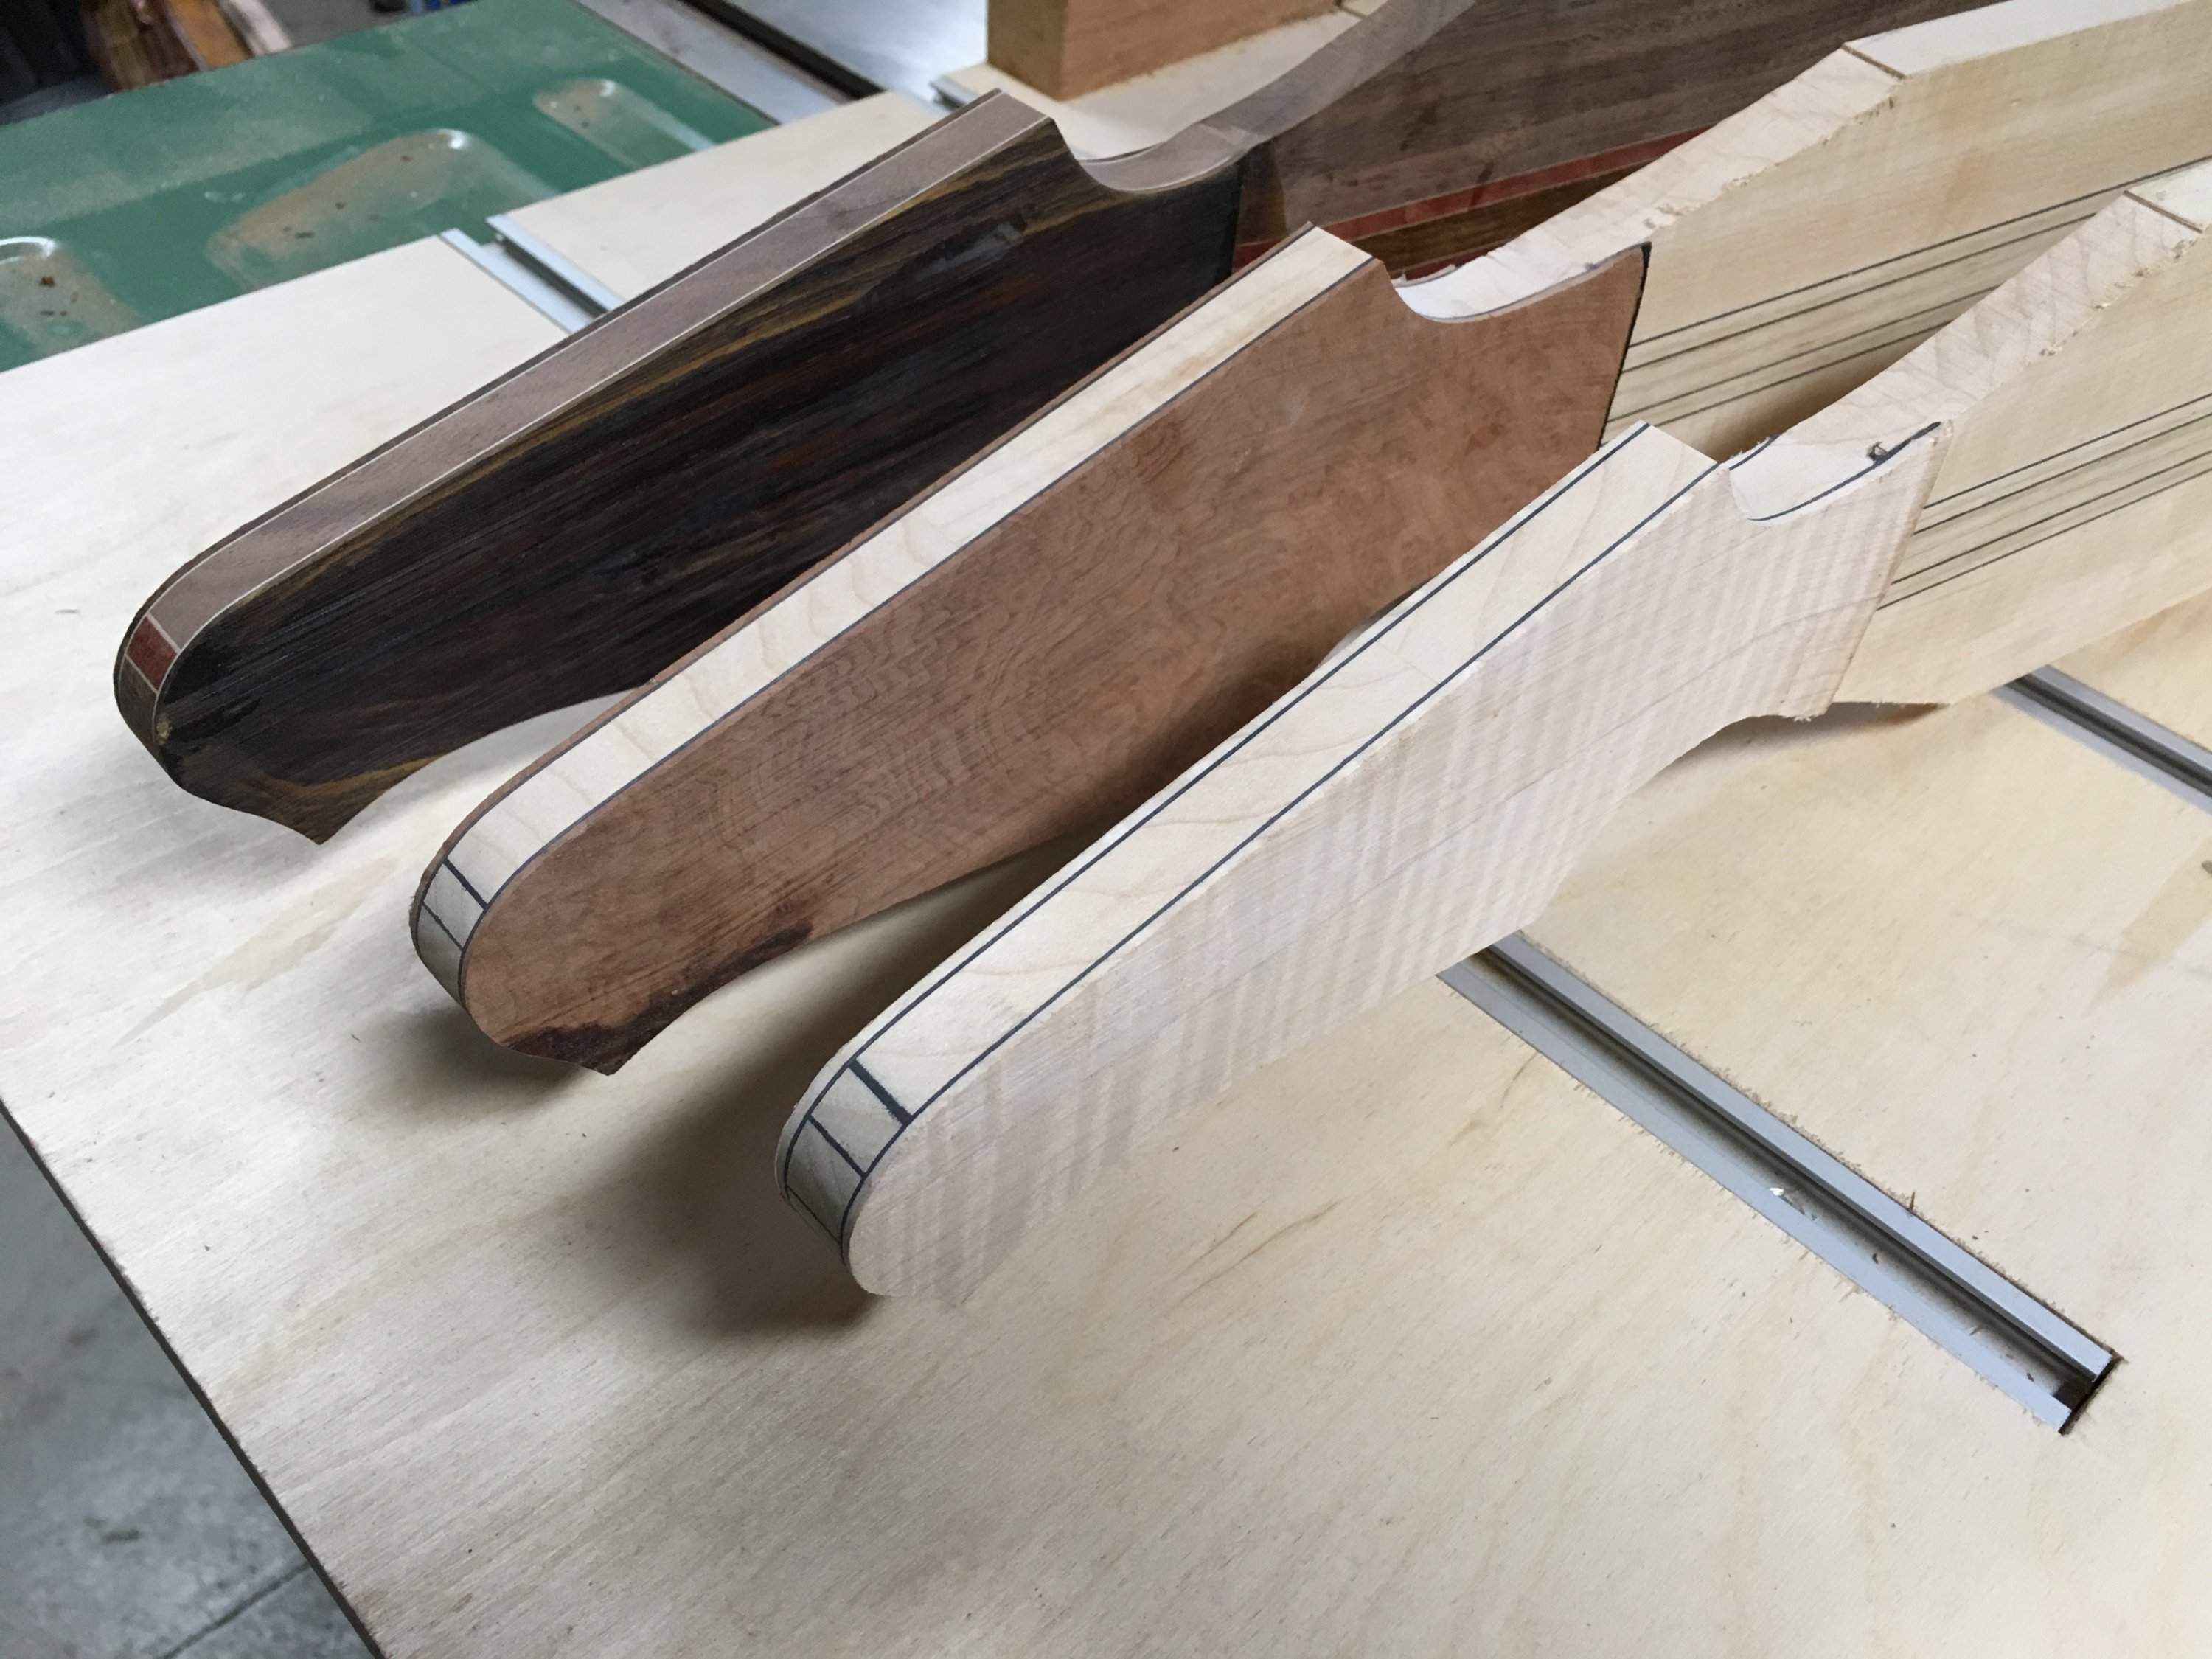
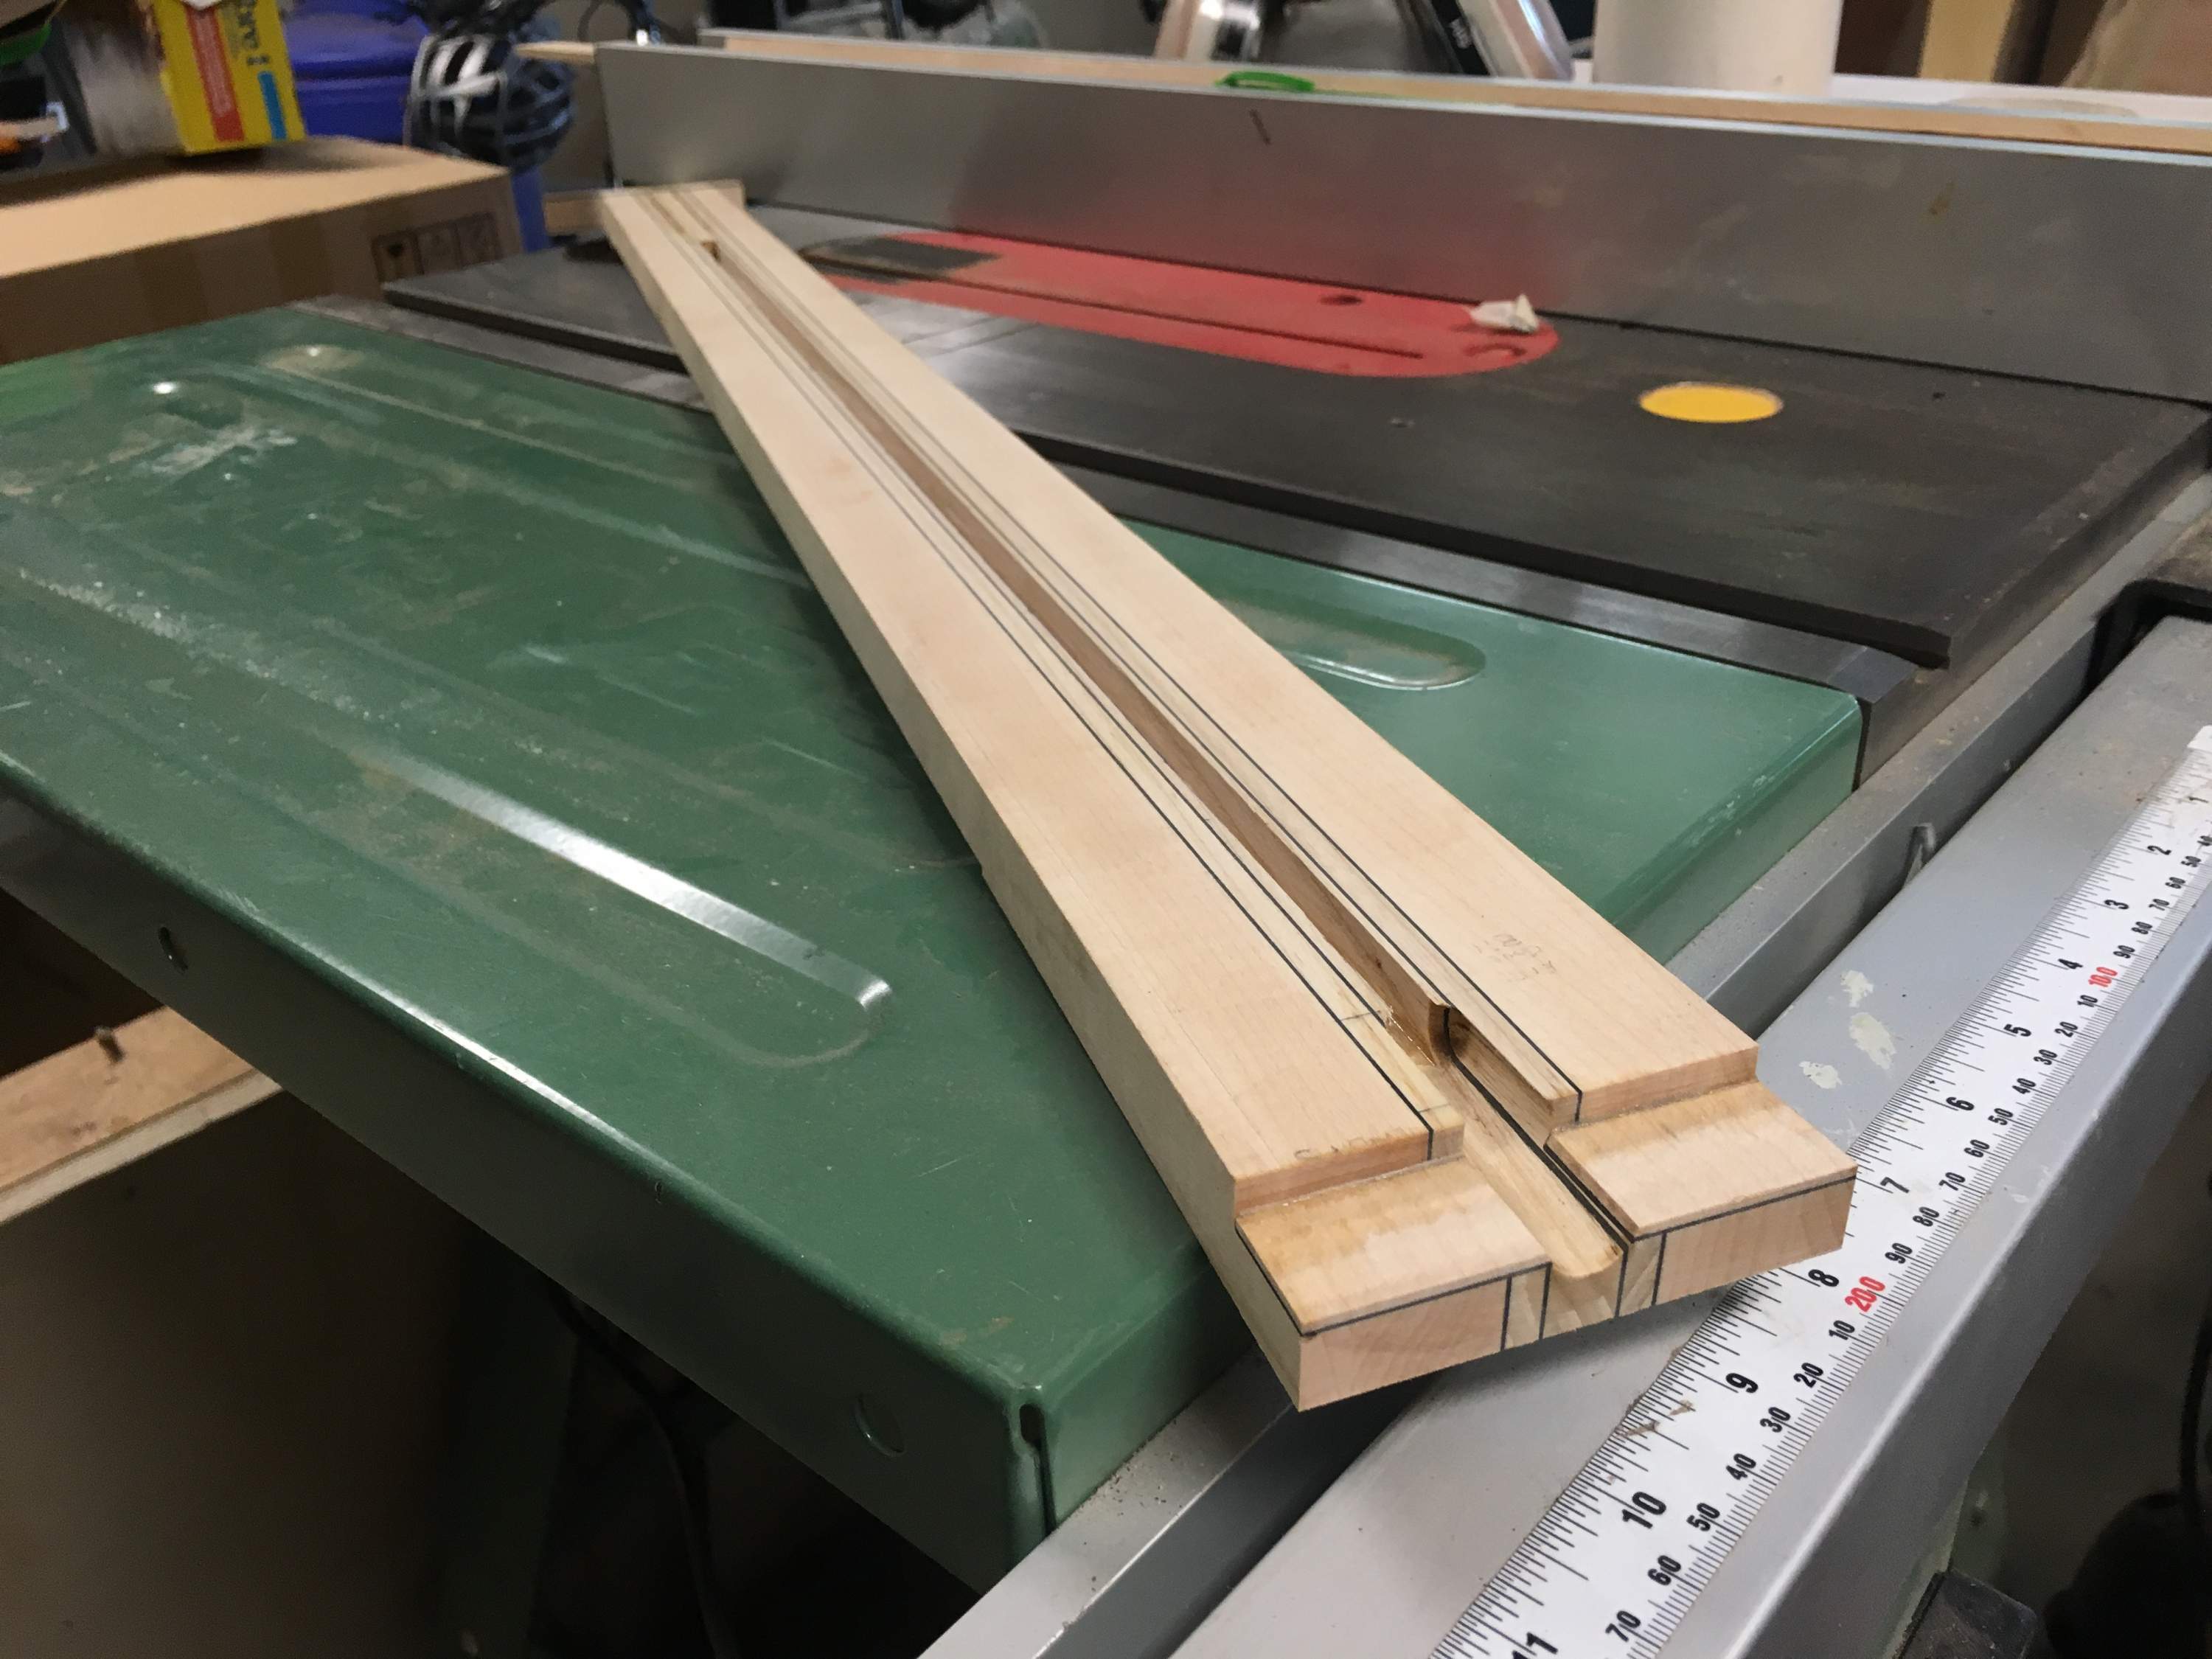
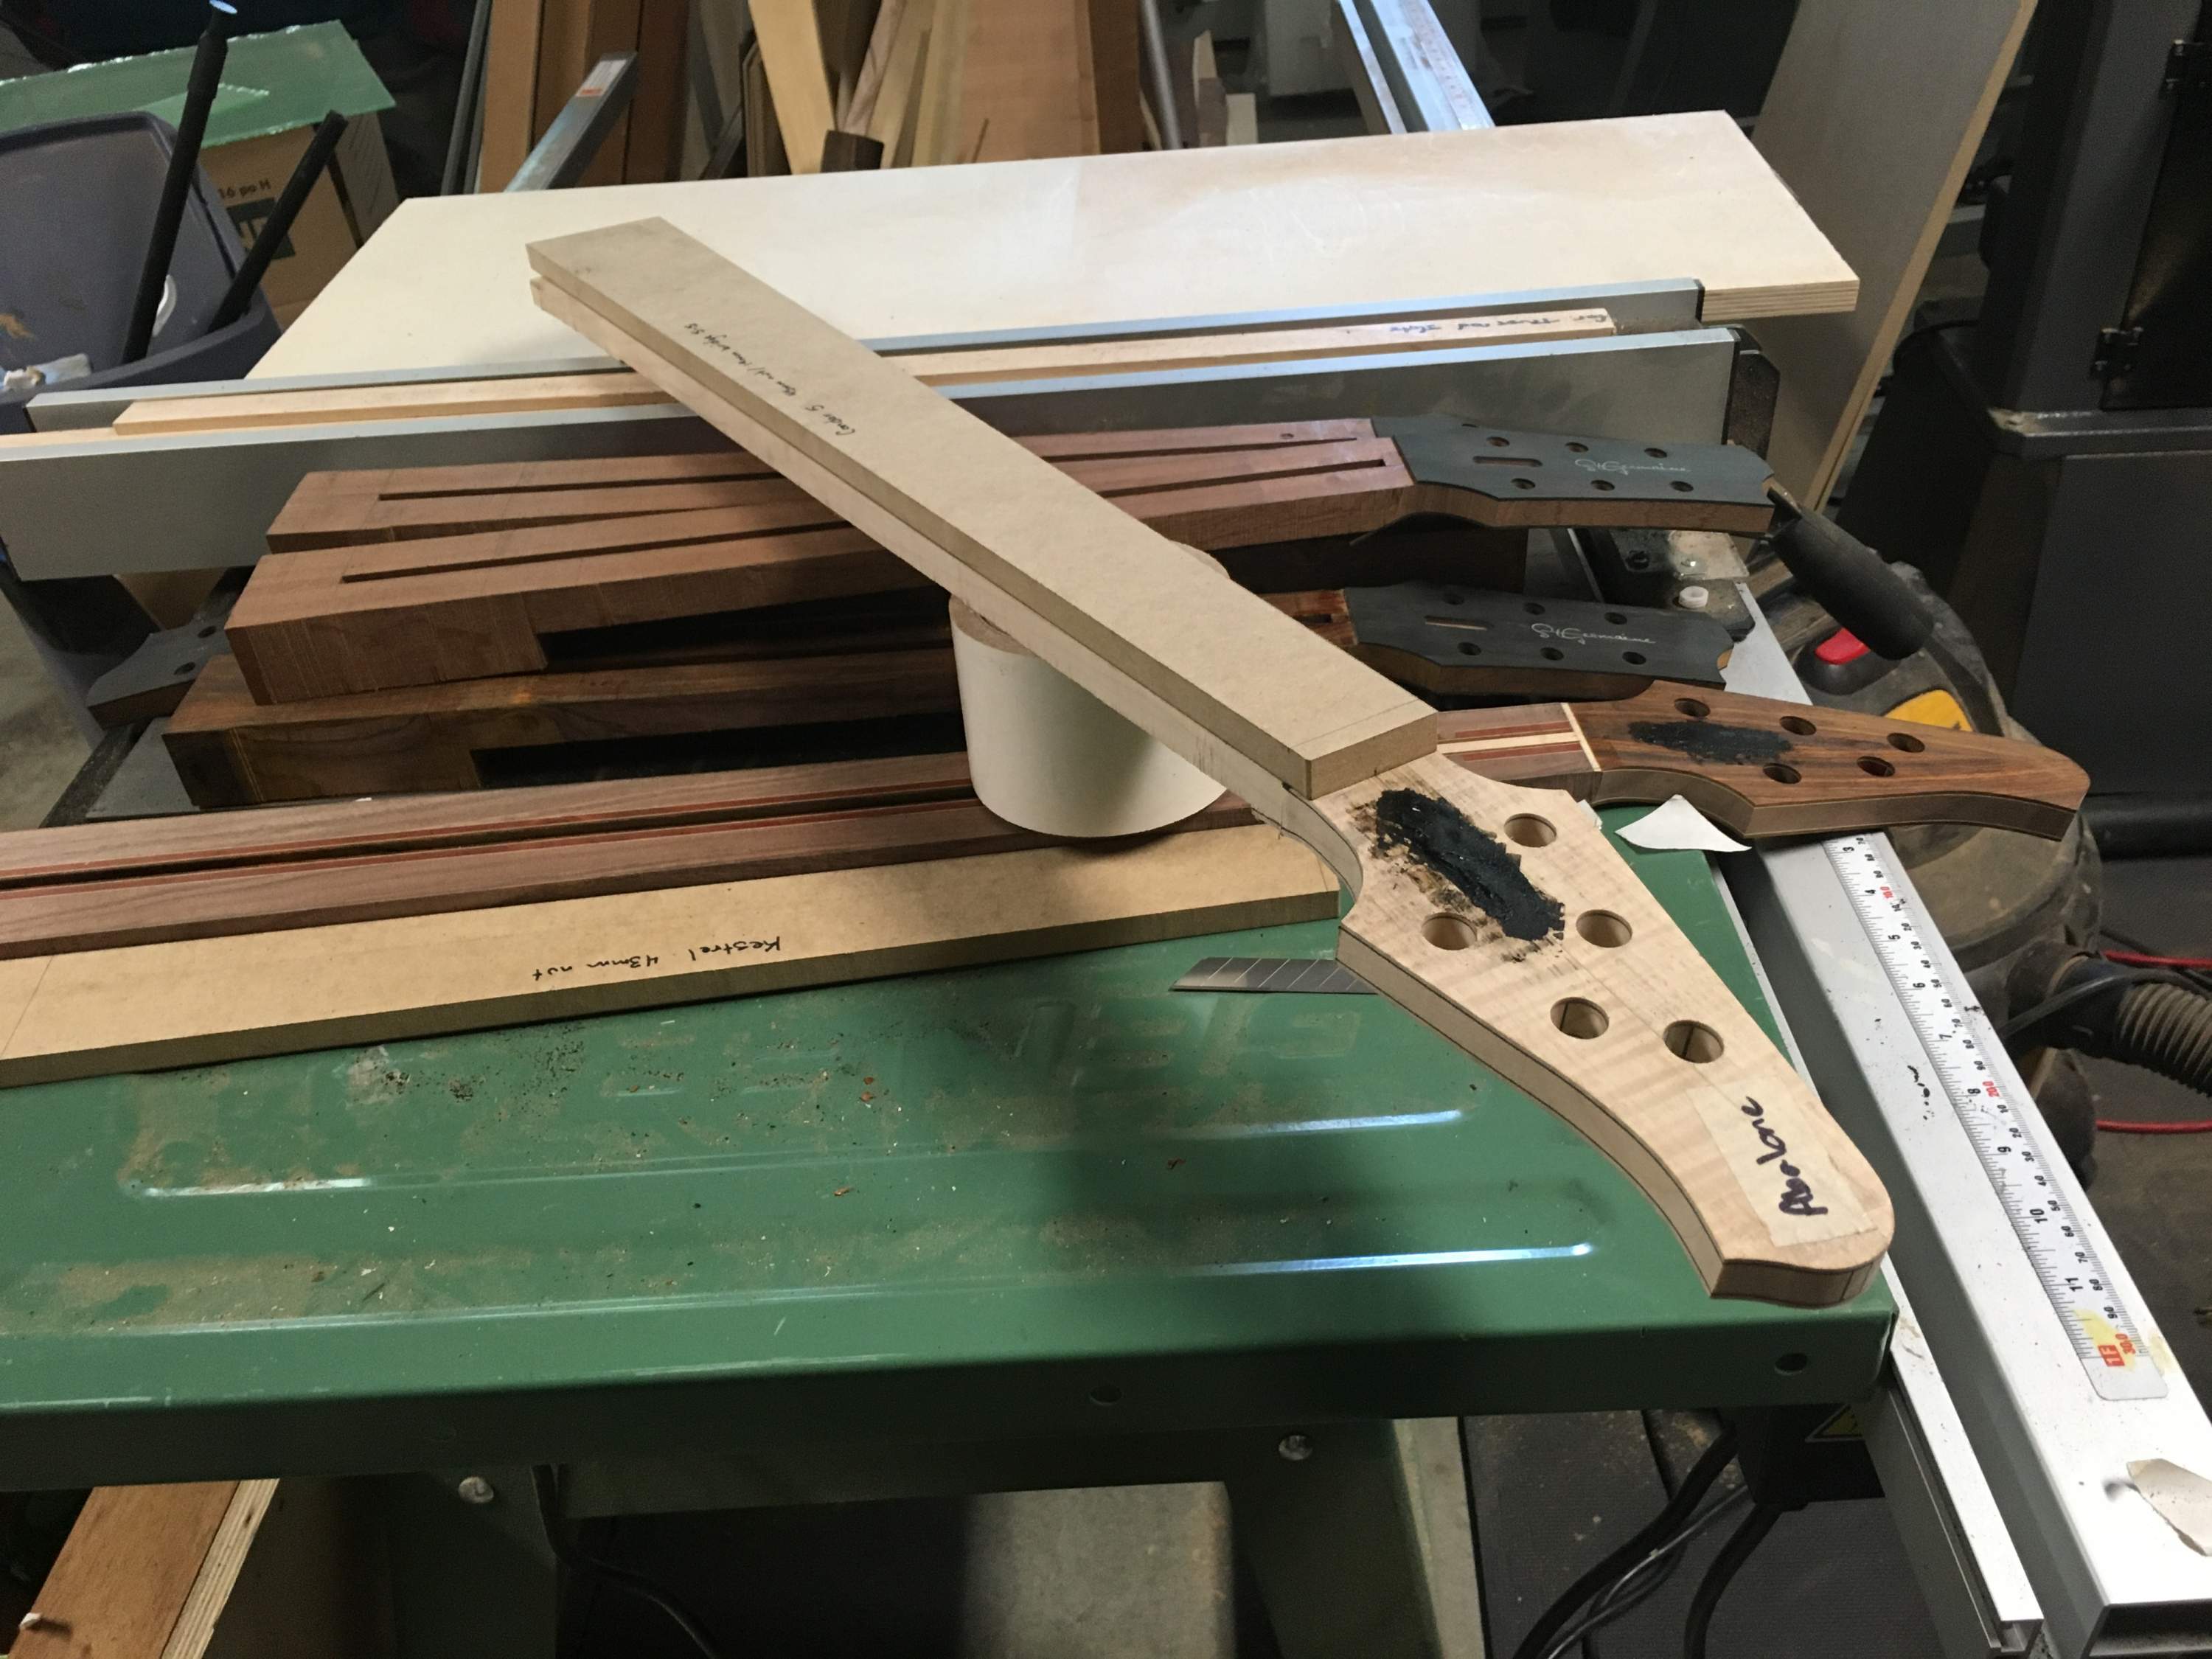
I planed down the end of the headstock flush to the fretboard. I get to use my favourite tool for this - my trusty Stanley No. 5. It was my late Grandfather's plane and I did a fair bit of work to it lapping the sole and blade amongst a few other things. I gave it a quite touch up sharpening and stropping and had it cutting tissue thin.

63AEAA6E-CE5F-4D05-BAEF-E344462B7F40_zpsiryibli3.jpg


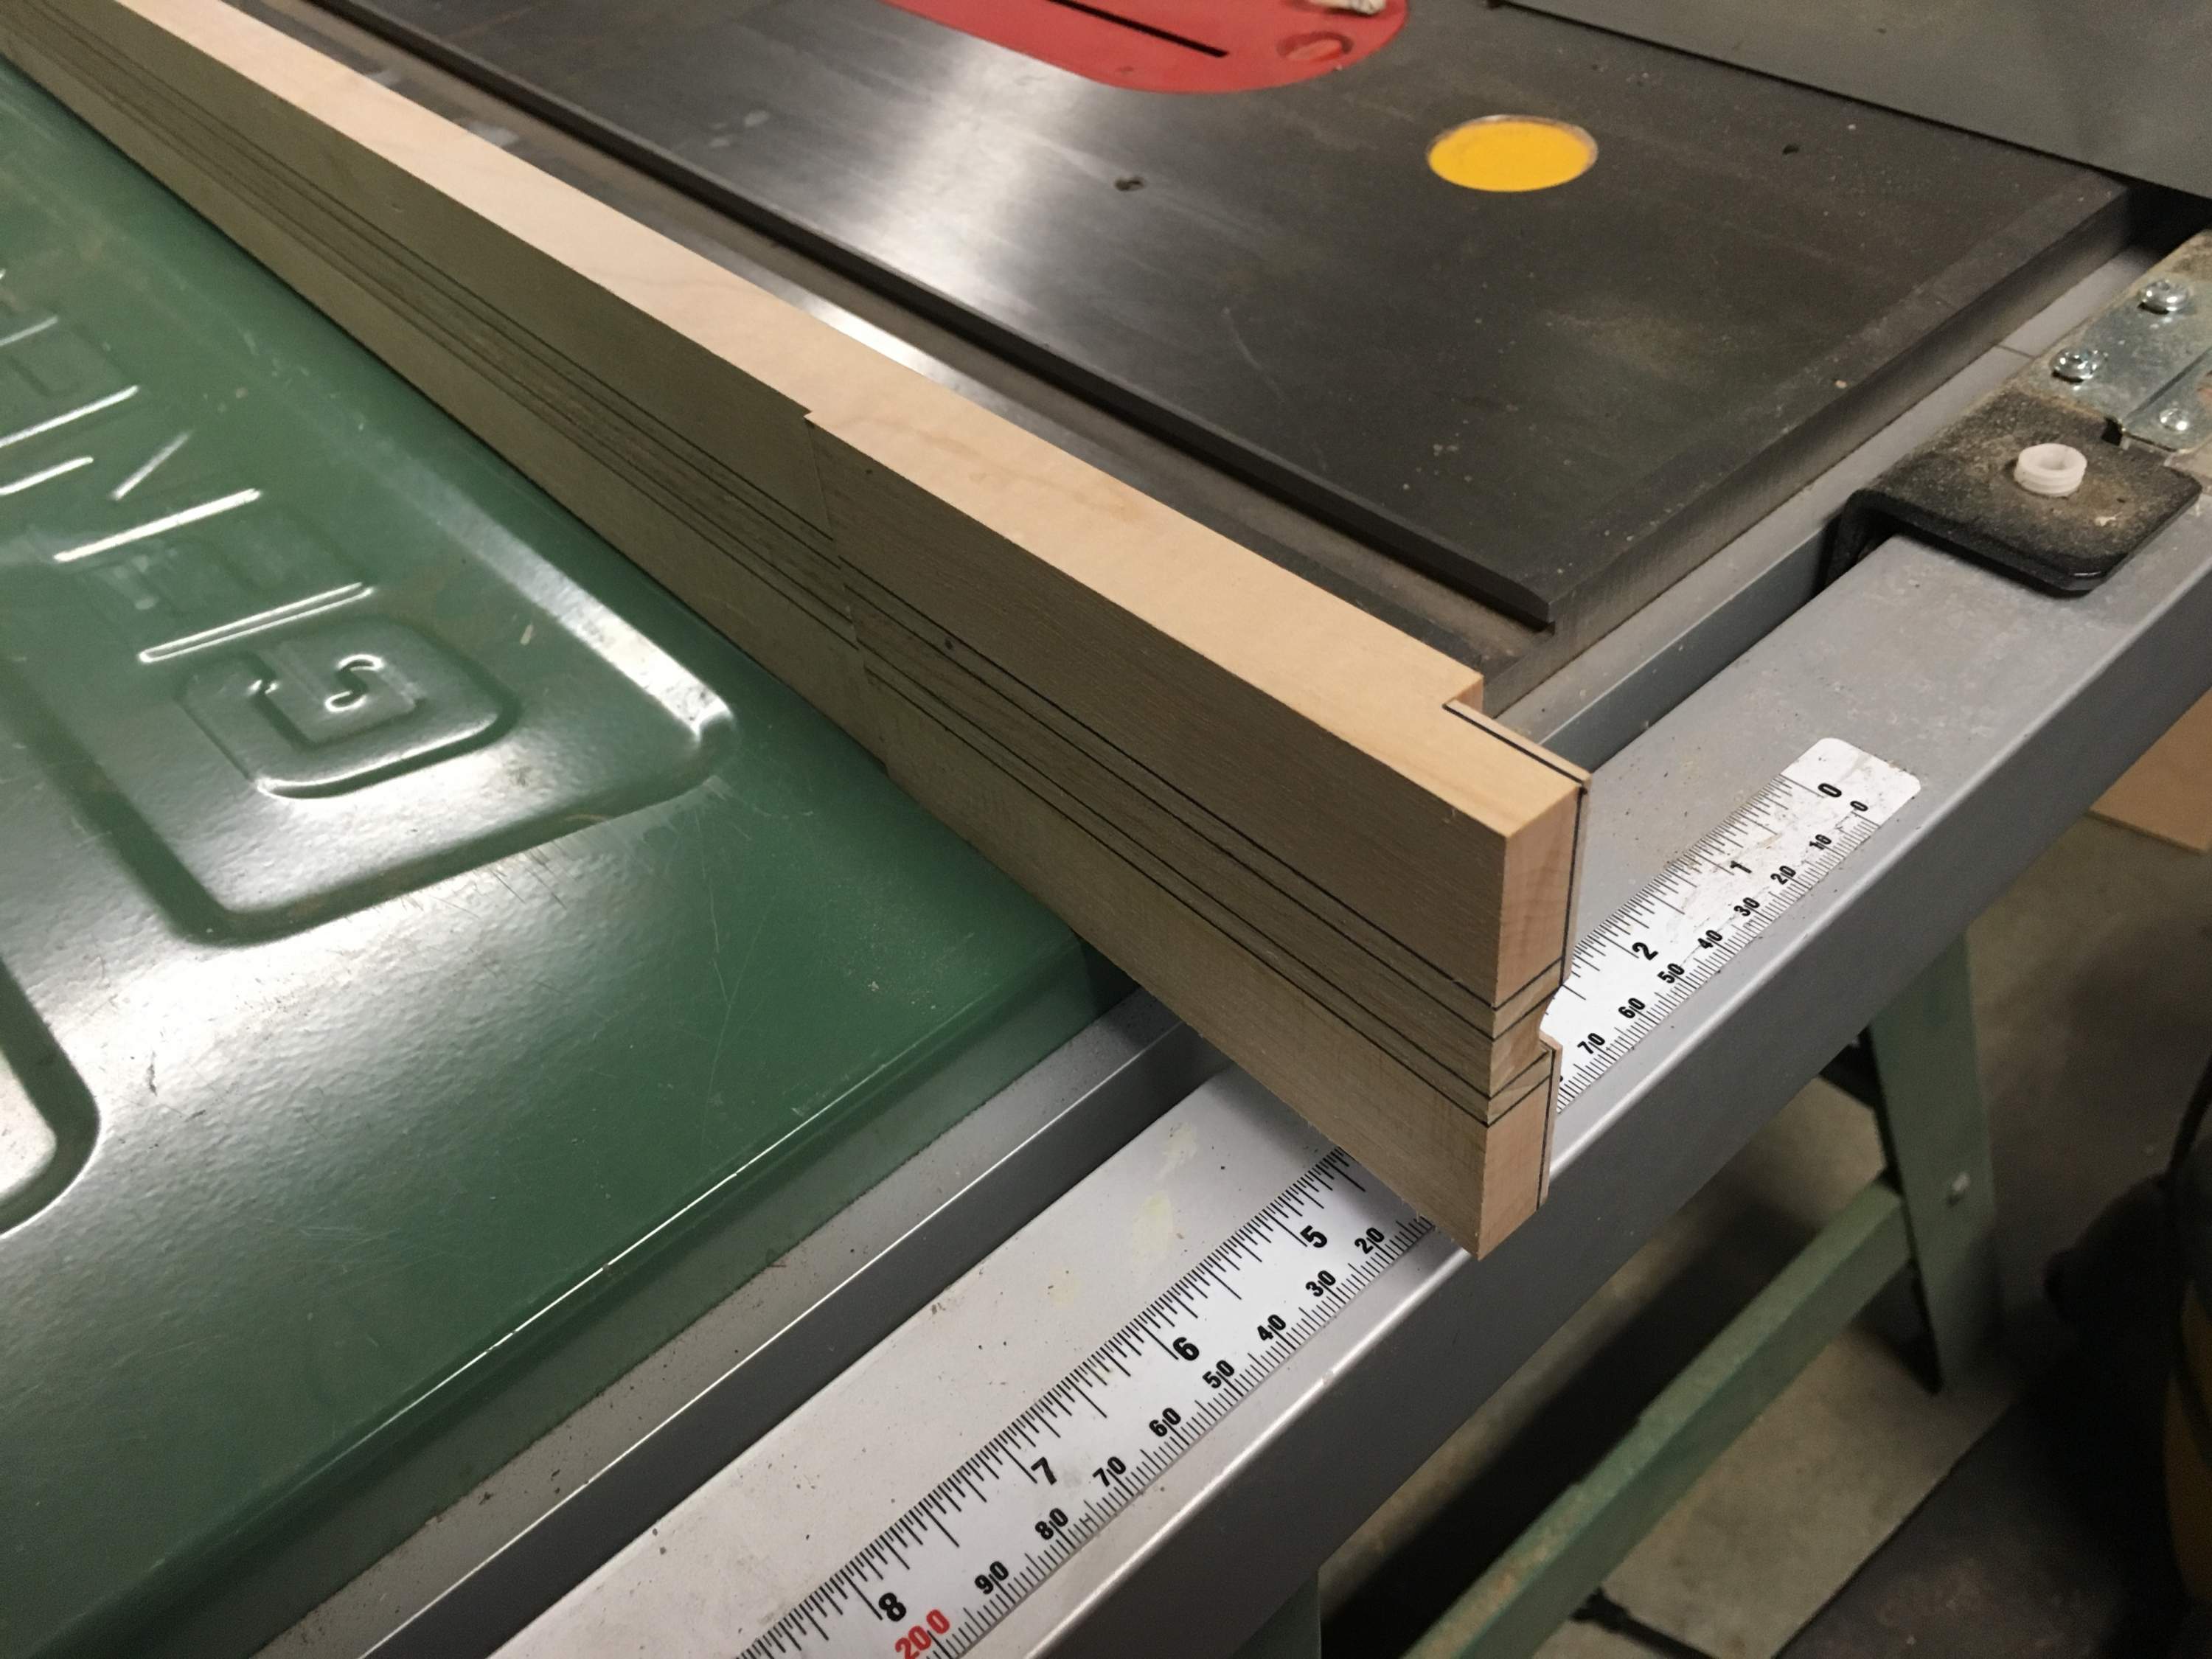
The laminates wound up very well aligned... which is tricky with all of these thin veneers. In the end it won't matter much as the fretboard and rear headstock laminate will hide the joints where the ash and black veneers are anyway.

E0463E4D-D236-4462-8964-35B66D78DBFB_zpsaecggpjk.jpg


310E64A3-16E6-4D5D-A39E-07D72B14D703_zpszxt7aimx.jpg


5172B587-F630-4A3F-88B8-0C716E58B2F8_zpsultfserm.jpg


This is the back of the neck. I'll need to thickness the back of the neck and transition it into the headstock before the veneer can go on, which will take care of the jagged looking end of the neck beam.

3C540398-F446-49AD-9DD9-3AA3401CD277_zpsel4uipvi.jpg


I'm still putting together some jigs that will allow me to more easily work on the back of the neck, so I'll be working on thicknessing the front and back flamed maple laminates to 1.5 mm next. Those plus two black accent veneers will take the headstock to final thickness. More to come.

Thanks for looking!
 
I finished sanding the flamed maple headstock veneers and heel cap to thickness (1.5mm+). My thickness sander will only go to about 3 mm, so I have a sled I run through that's just MDF with 100 grit sandpaper to hold the pieces in place. I had a bunch of Ebony, Cocobolo and Redwood Burl to do at the same time.

The sled (sorry for the lighting, took it last night long after I'd finished. During the day I get a lot of light from the windows at the front of the garage.

99C19CB1-5AD1-441E-83BC-BC78CB11543C_zps9i1umzin.jpg


The finished veneers:

C6AEC73C-6285-4A1A-910A-F6CEA28BC811_zpskgz9ioak.jpg


I took them down to around 1.6 mm, which should keep them close to 1.5 after sanding.

1E2A1D0D-F530-4201-9783-4A6EF4F480F5_zpsrqe4rq6b.jpg


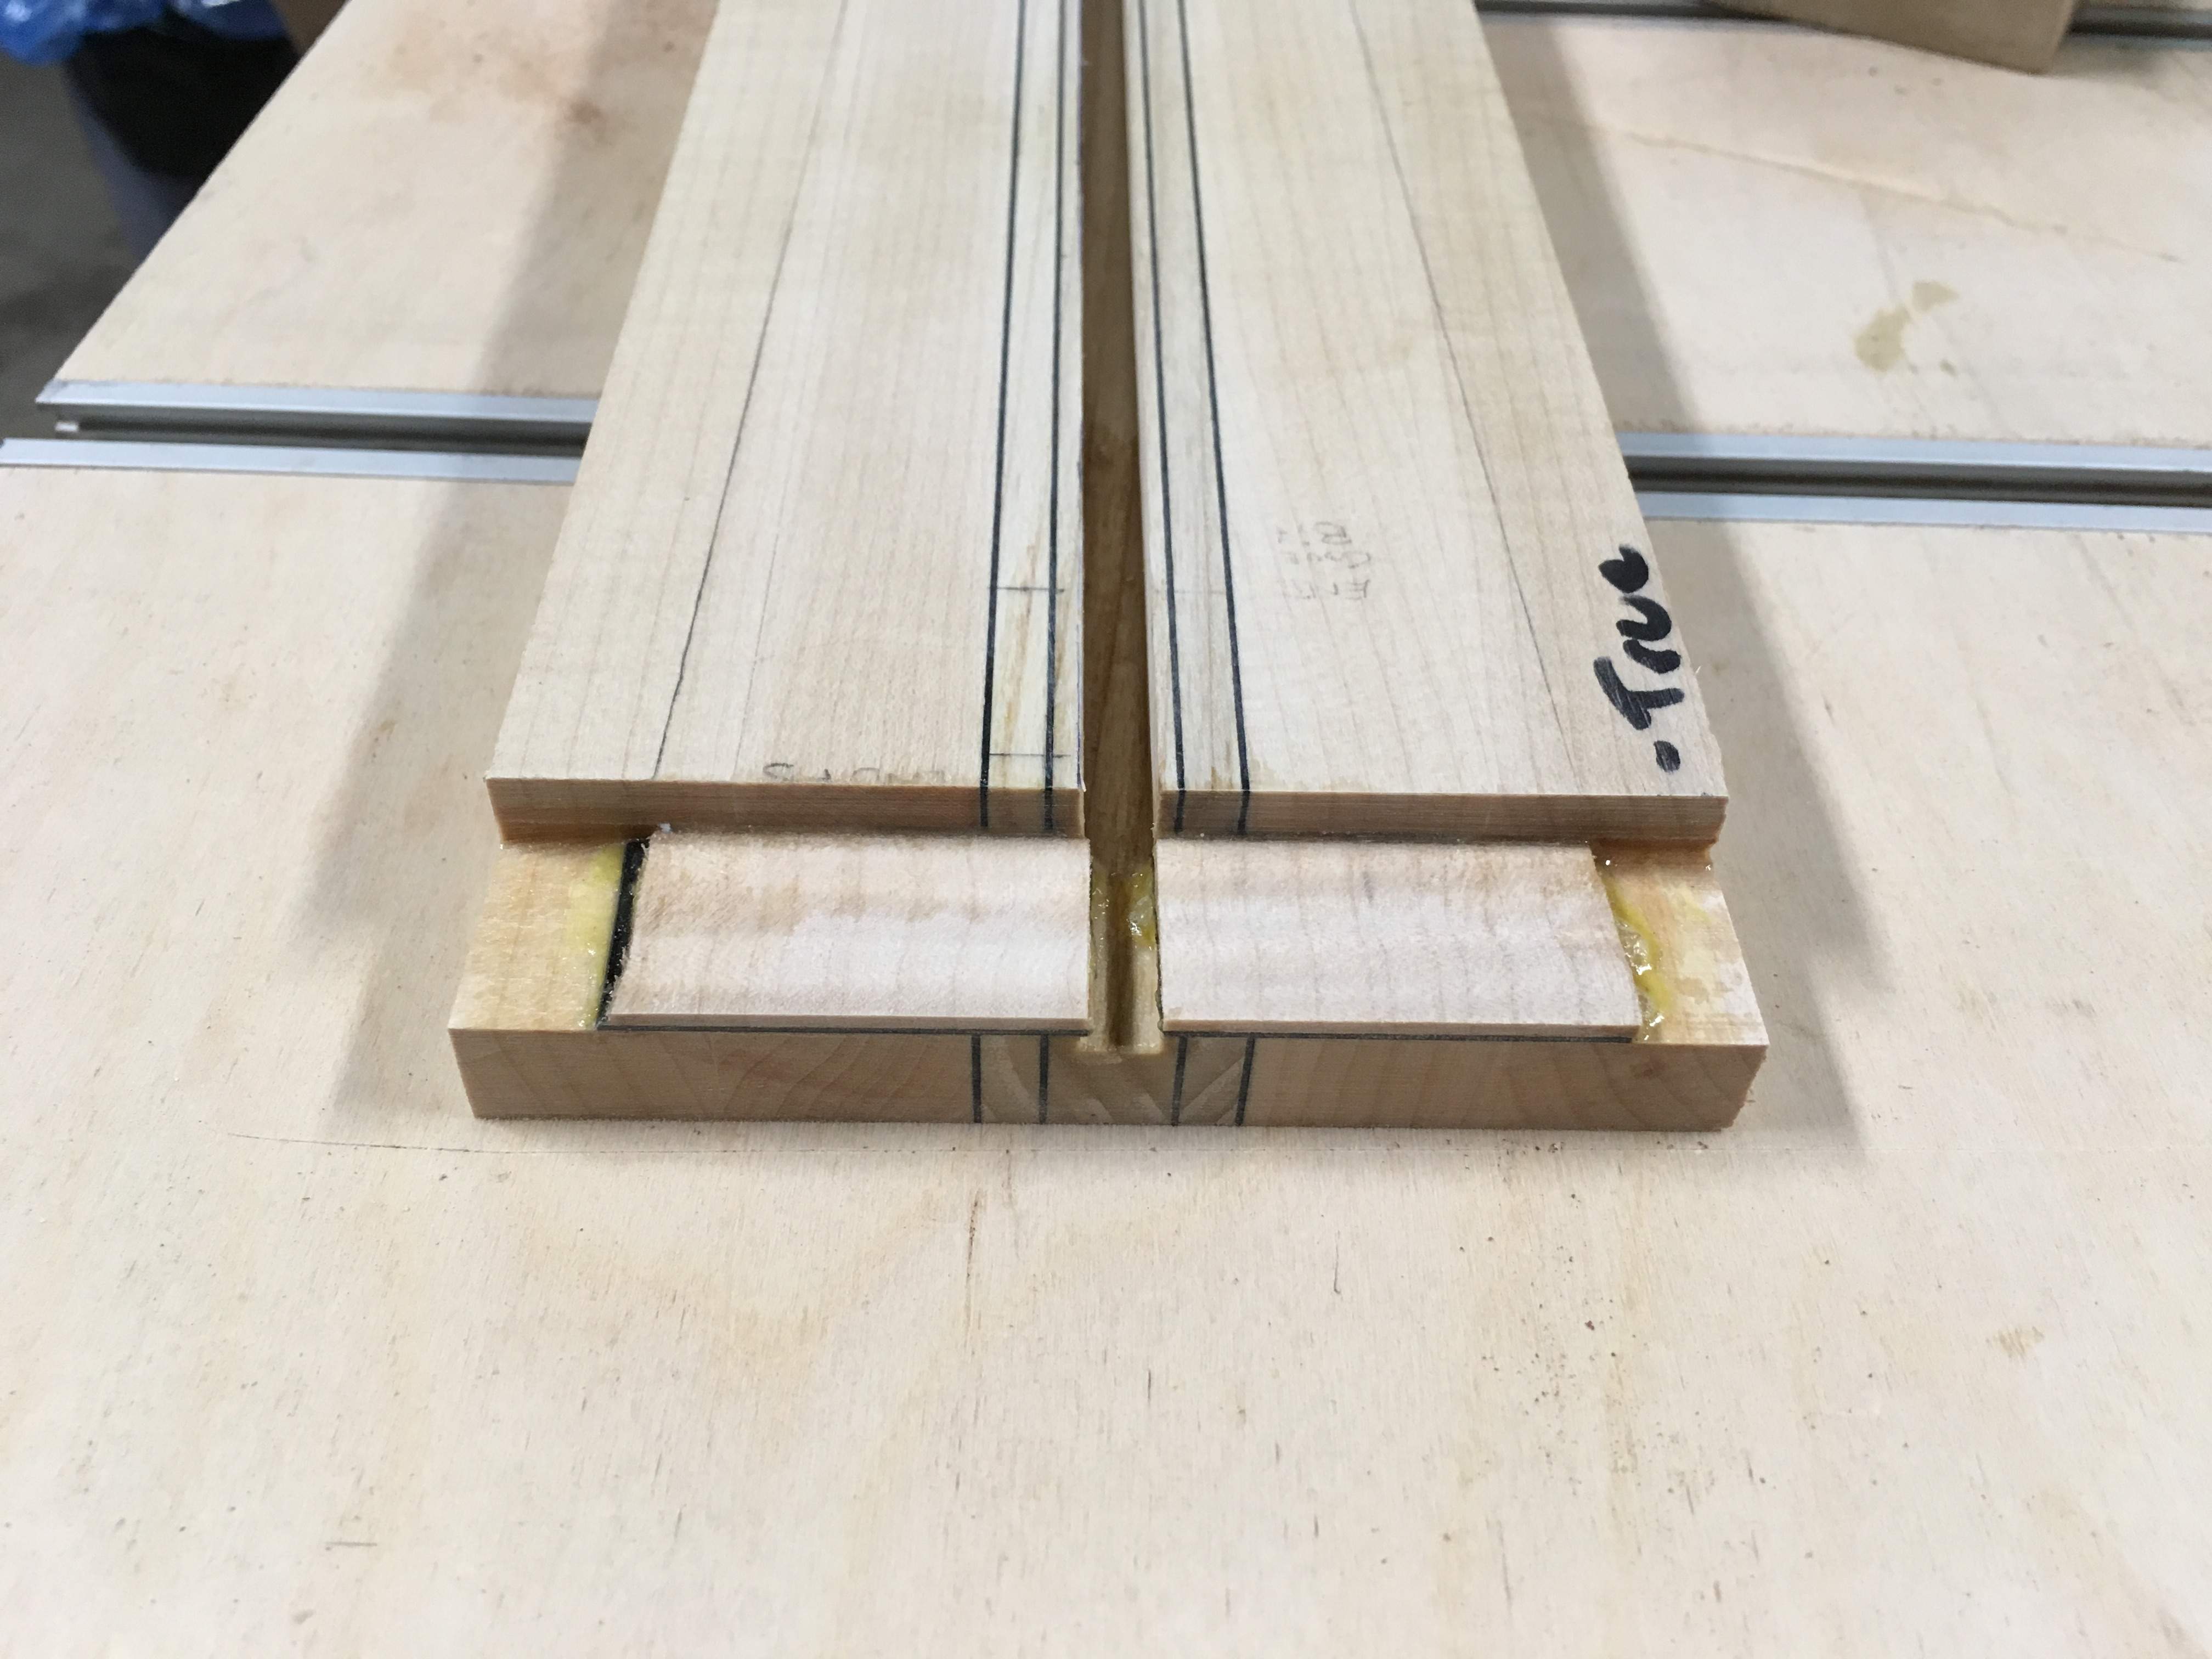
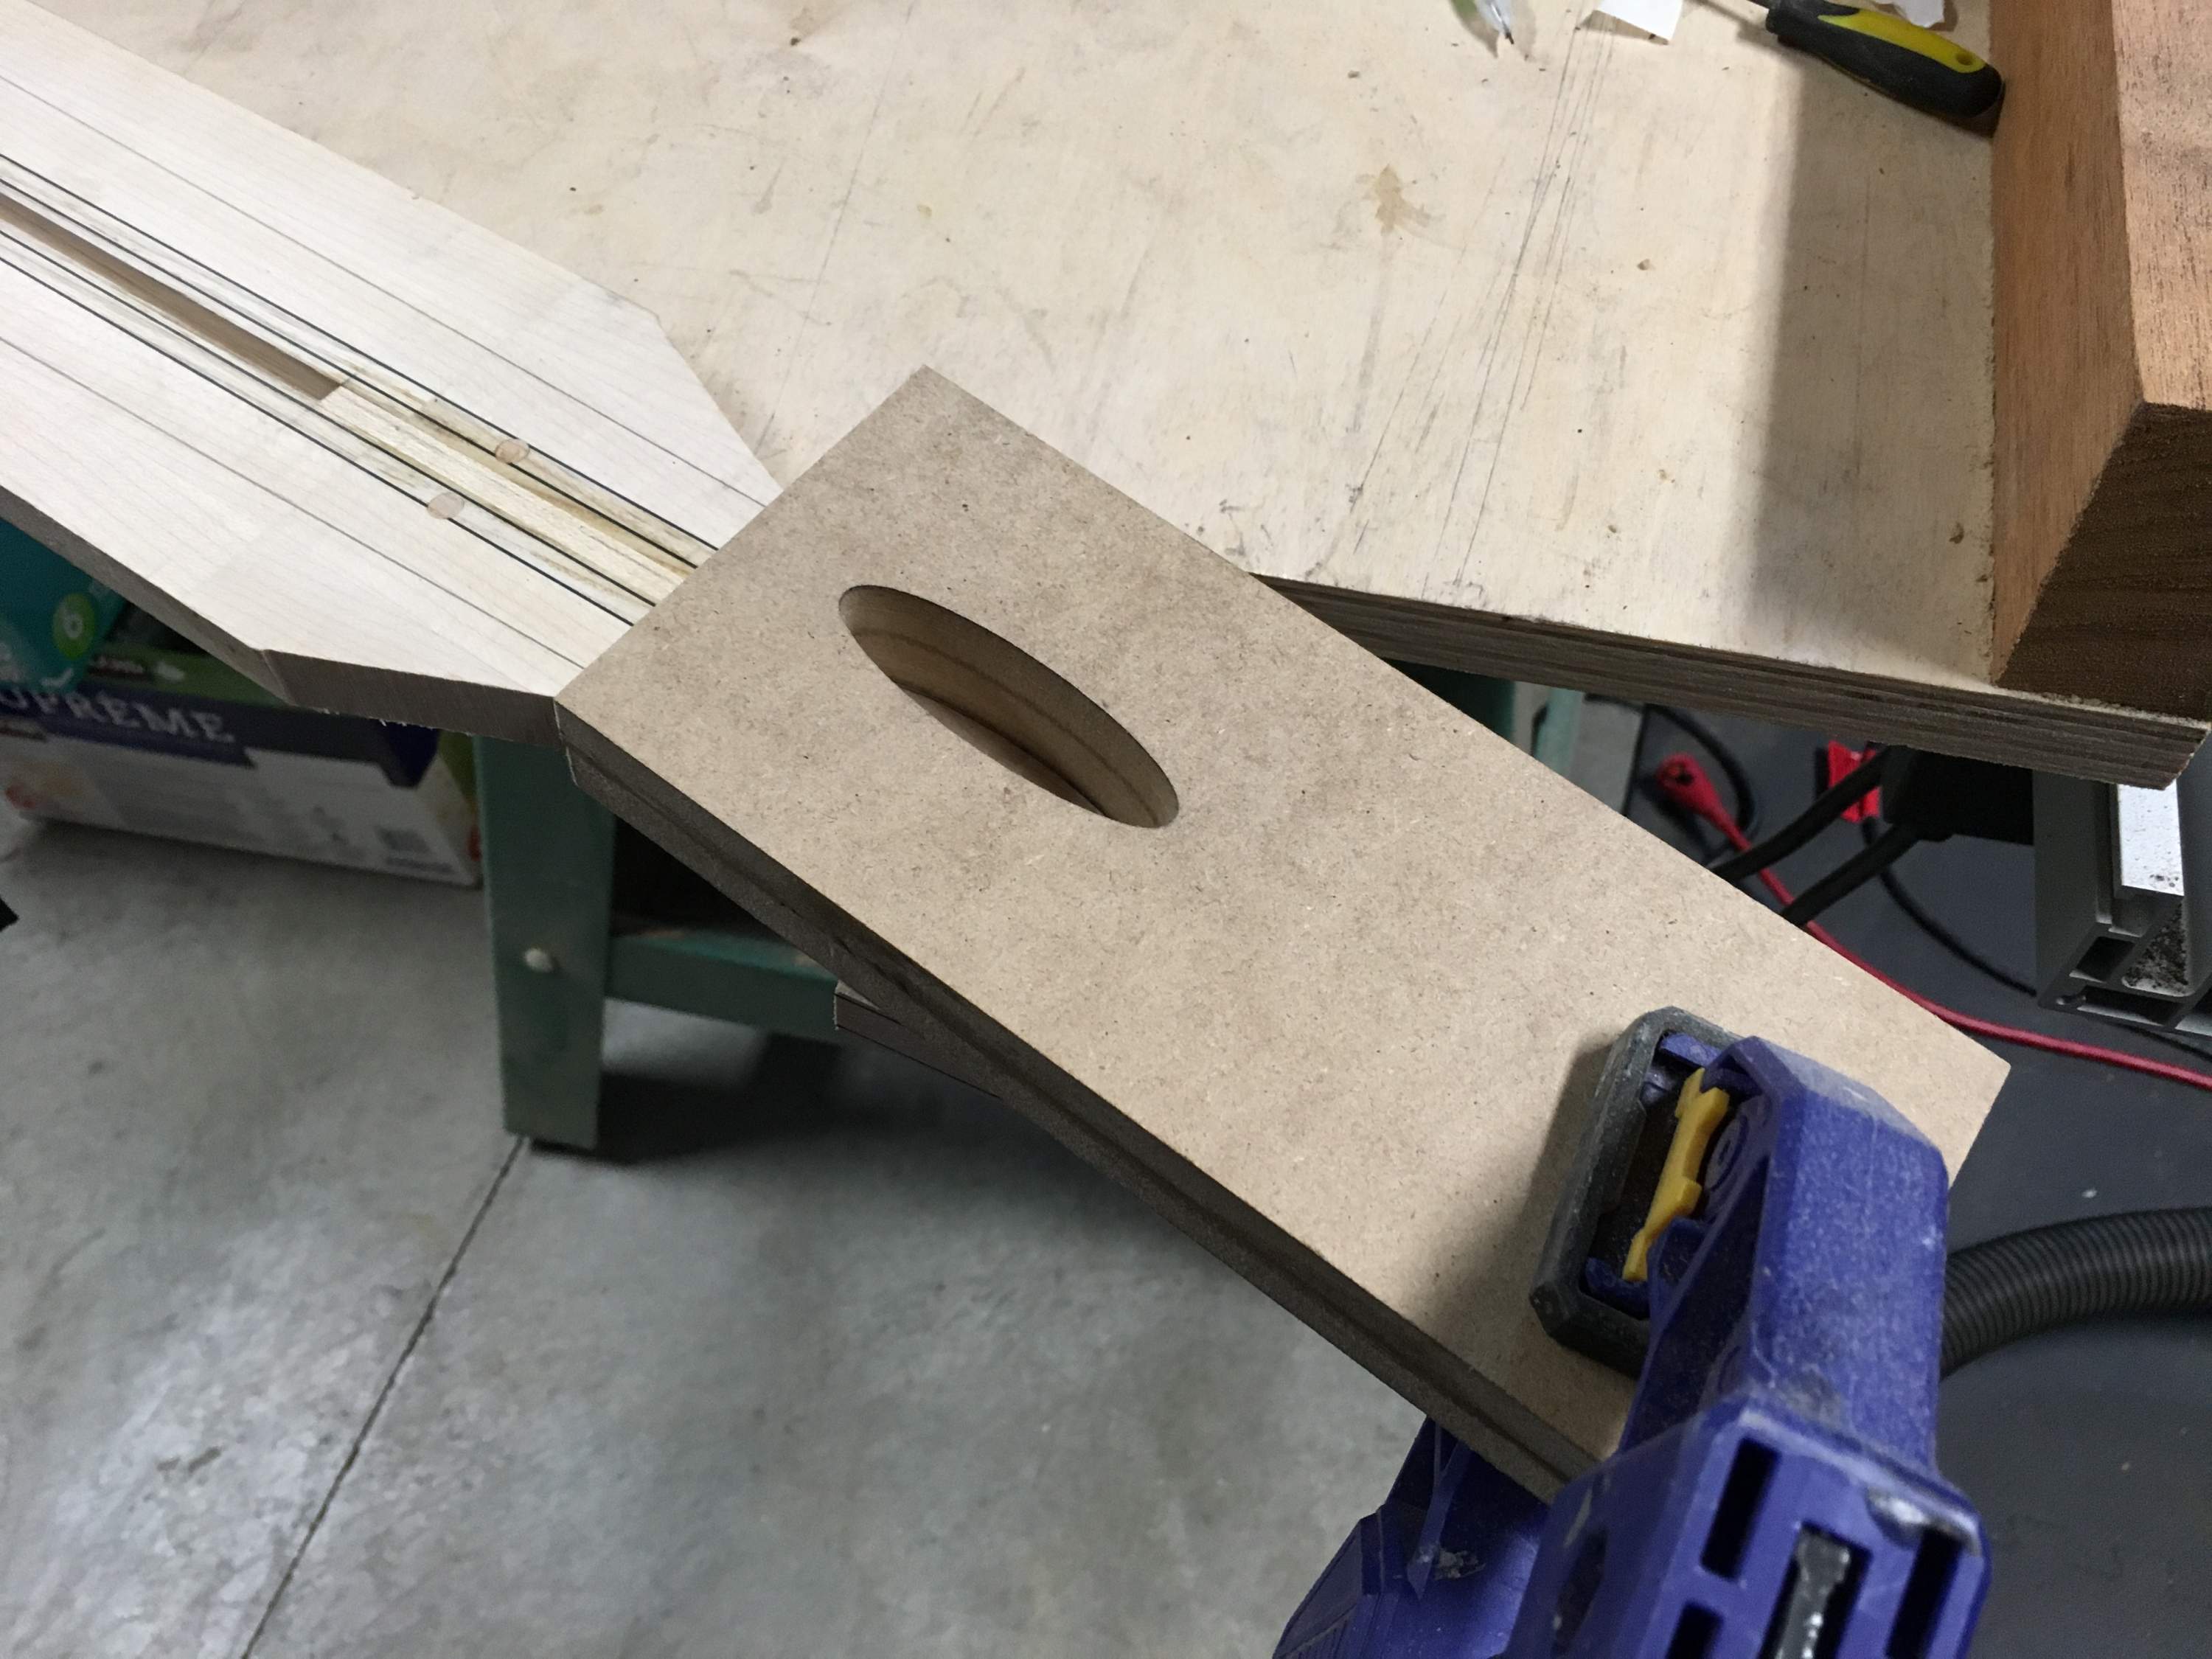
Then I cut the truss rod slot. I cut it straight through with a dado blade set for 1/4" and then use a filler strip to do the rest. I've used the router method mostly in the past, but I find this process a bit faster. I had a jig that I used to use for tapering fretboards that was essentially the same as this, but it was tired and needed to be rebuilt, so I rebuilt it with 3/4" MDF.

44709D25-ED6A-43CF-B604-EE09CF6ABCF9_zpsj0suzgsl.jpg


I adjust the fence so the jig runs right up against the blade stack. The depth is easy to adjust by placing the truss rod on top of the jig and adjusting the blade to depth.

E92AB947-43D6-4994-87E4-F567D4D43A94_zpsniea90zf.jpg


I'll be putting the filler strip in at the headstock end as the truss rod will be adjusted at the heel end of the neck.

D28A113D-D1CF-4EE3-ACAB-15F68FC43DF7_zpsqaufpggx.jpg


D01E62C0-277A-4913-966B-CD8446FA1C4F_zpsy9nwsus0.jpg


The truss rod fits quite snug in the slot. This is the Allied Lutherie truss rod and I'm very happy with them.

D286F624-5FE8-47E1-A479-3C016B526B53_zps0ys5jq76.jpg


One last point... if anyone's using guitar truss rods, then this is a plug for Mark Blanchard's. They're stainless steel. I believe that Allied Lutherie carried the same design for a time, though I believe they've switched. Unfortunately they don't come in a bass length, but I am using them in my guitars. They're a bit more expensive than Stew-Mac/LMII, but they're stainless steel and the adjustment is very fine and smooth and they're very well finished.

5E6BF9DC-9EC8-4F90-97FB-0EF7E1016BD0_zps6rnjwcgk.jpg


F31413F1-E15C-4E7C-B33B-44080EF2B39E_zpskakujqx2.jpg


8426F01B-6E93-4F74-90B3-C458388C8F60_zpsbbvopgck.jpg


Blanchard Guitars- Custom Handmade Acoustic Guitars
 
The headstock veneers are onto the front.

36DFD0B2-C12A-4C7B-A133-E0293EB526E2_zpsaqnqbvbj.jpg


36DFD0B2-C12A-4C7B-A133-E0293EB526E2_zpsaqnqbvbj.jpg


6CCF5984-9B95-469C-ABF9-8AE1950837AB_zpsyjuhkd8x.jpg


F2934596-AD49-4AB9-8005-88E964446469_zpsyvcgucl1.jpg


After they dried I cleaned them up with a small block plane so they're flush with the fretboard surface.

C2E9A97D-9EE1-4CF9-973E-B4F1EF778A28_zps5rgdqd8q.jpg


Next I'll be machining the back of the neck and headstock to final thickness. Then I'll sand in the subtle volute transition this bass will have and then I'll glue up these same veneers onto the back of the headstock.

Thanks for looking!
 
Well, photobucket comes through! I'll try to fix the old posts at some point.

I have been away for work for quite a bit over the past two months, so not a lot has happened. I've got a bit of time over the summer, so I'm starting to plug away at this one.

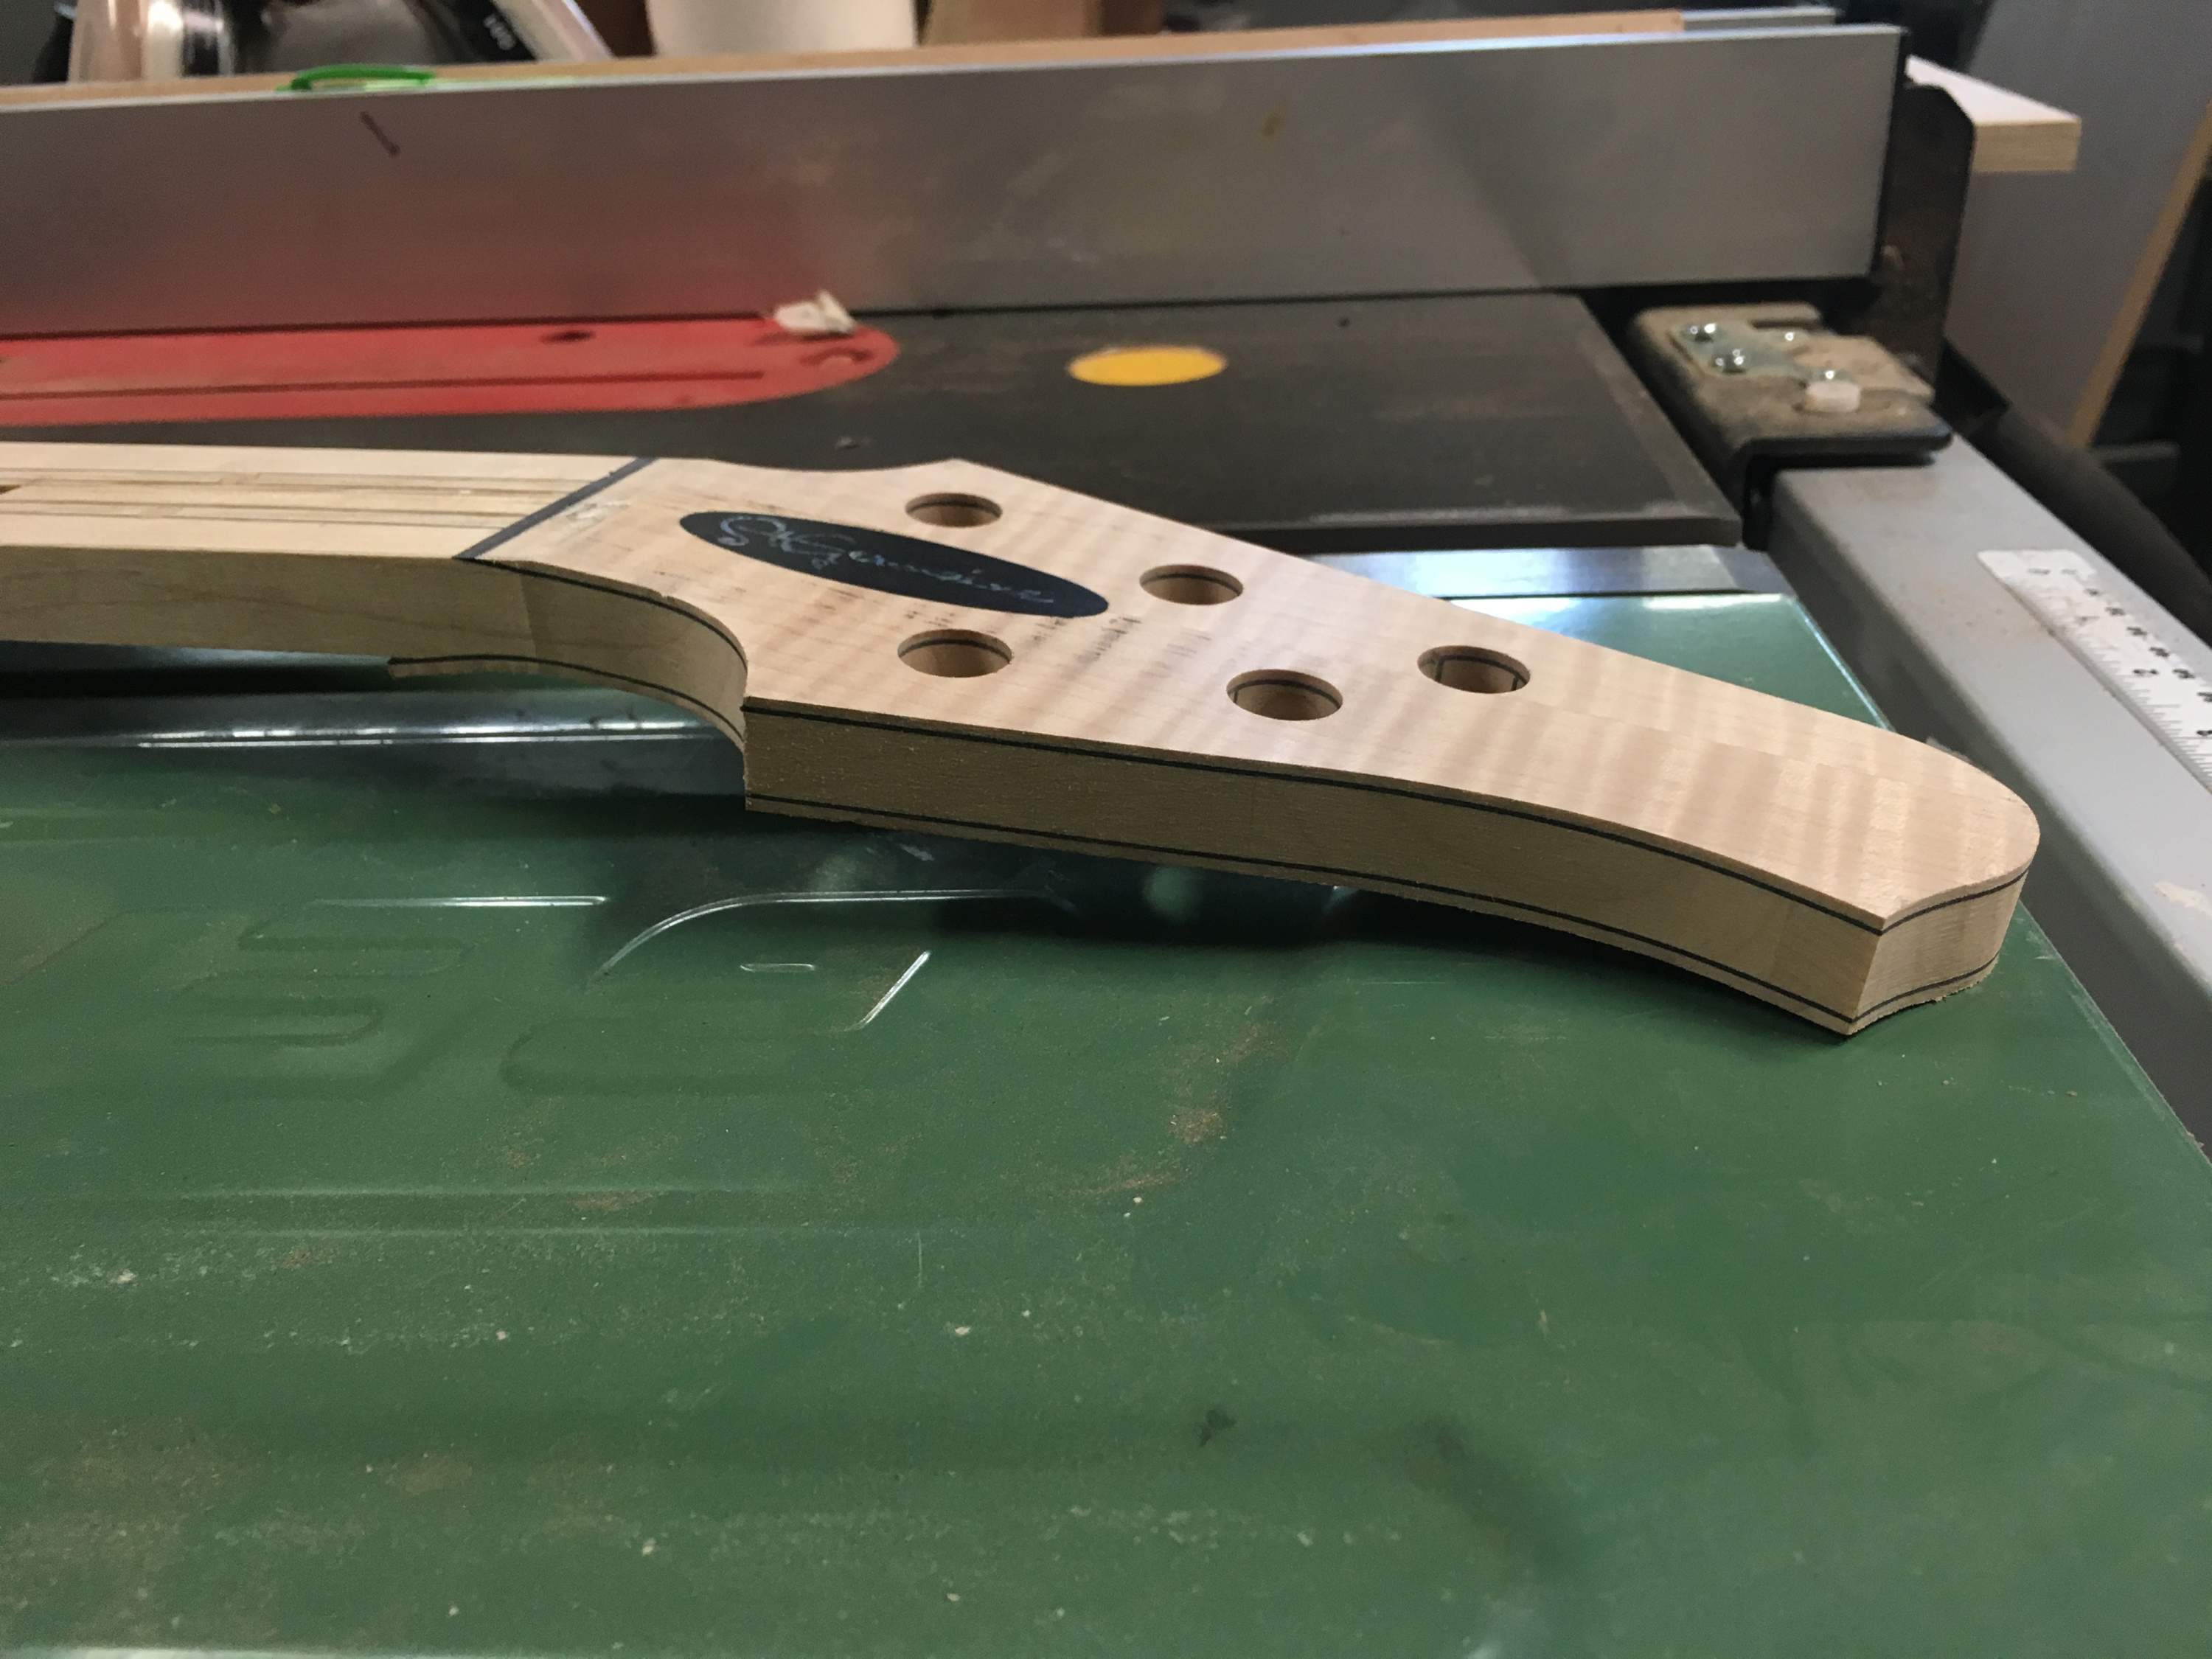
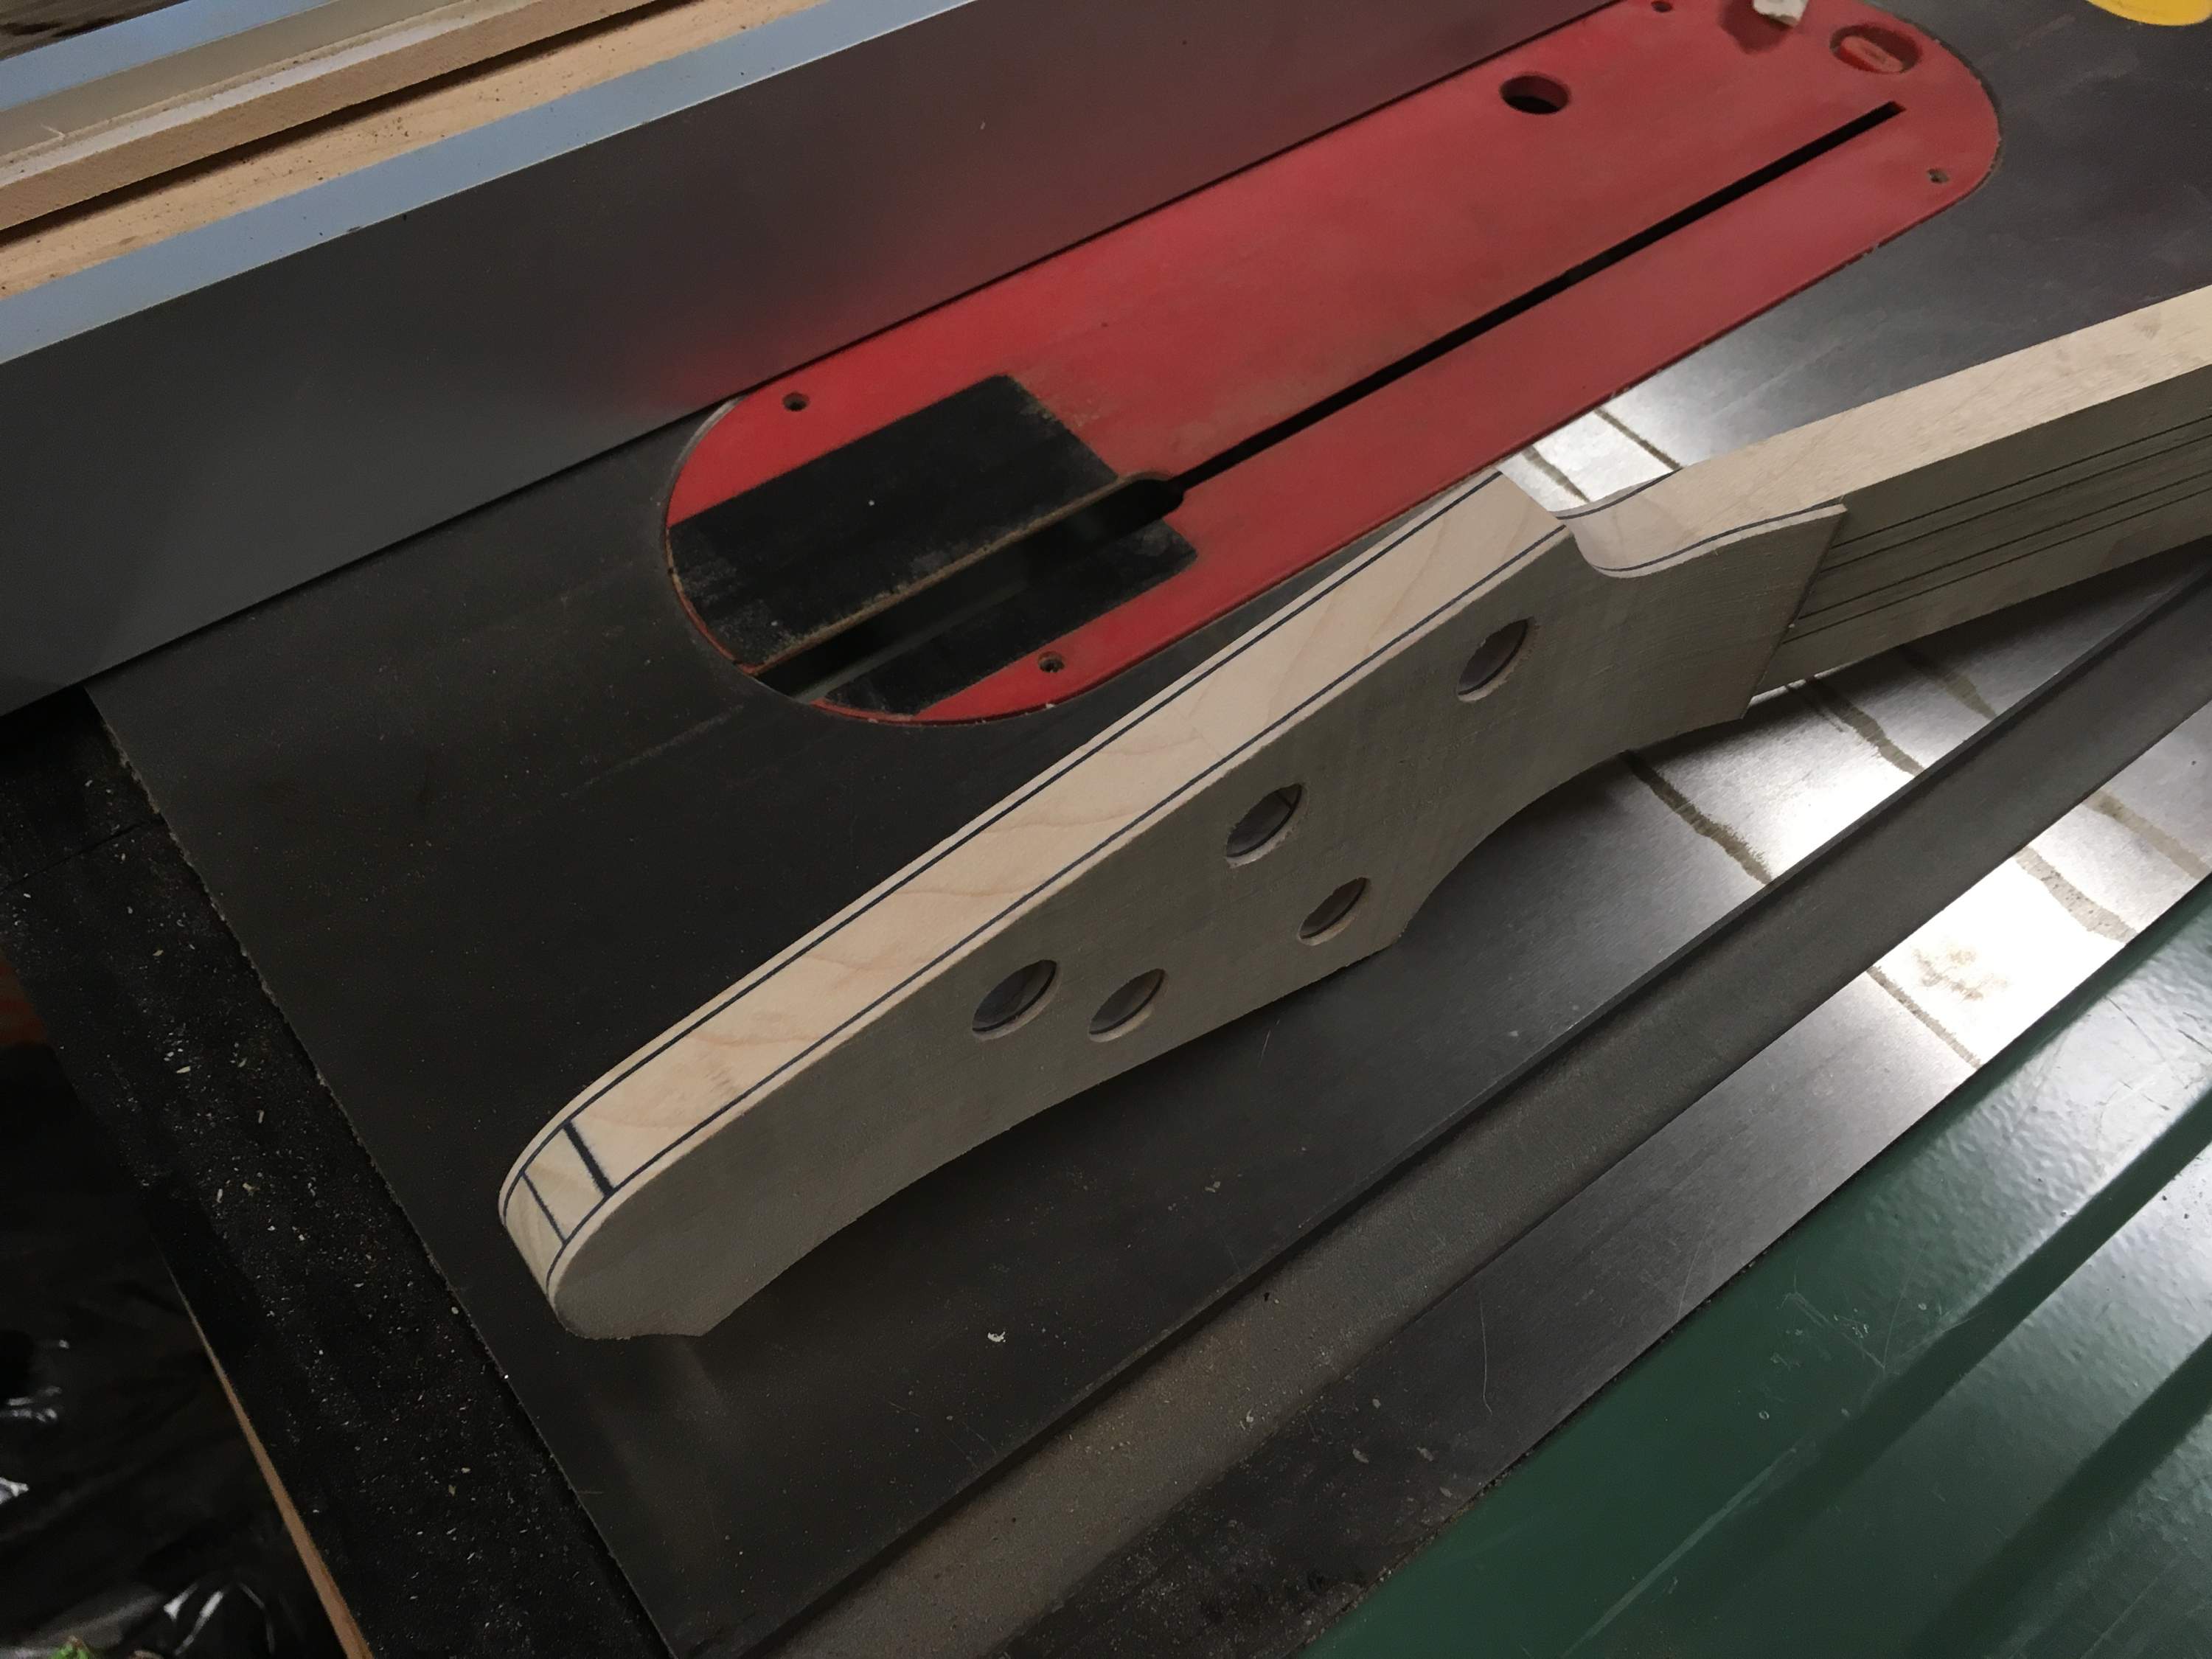
I got the front and back veneers done for the headstock and it's been machined to shape.


I'll be tapering the neck, drilling the tuner holes and then moving onto work on the fretboard.
 
  • Like
Reactions: chinjazz and Joe Ty
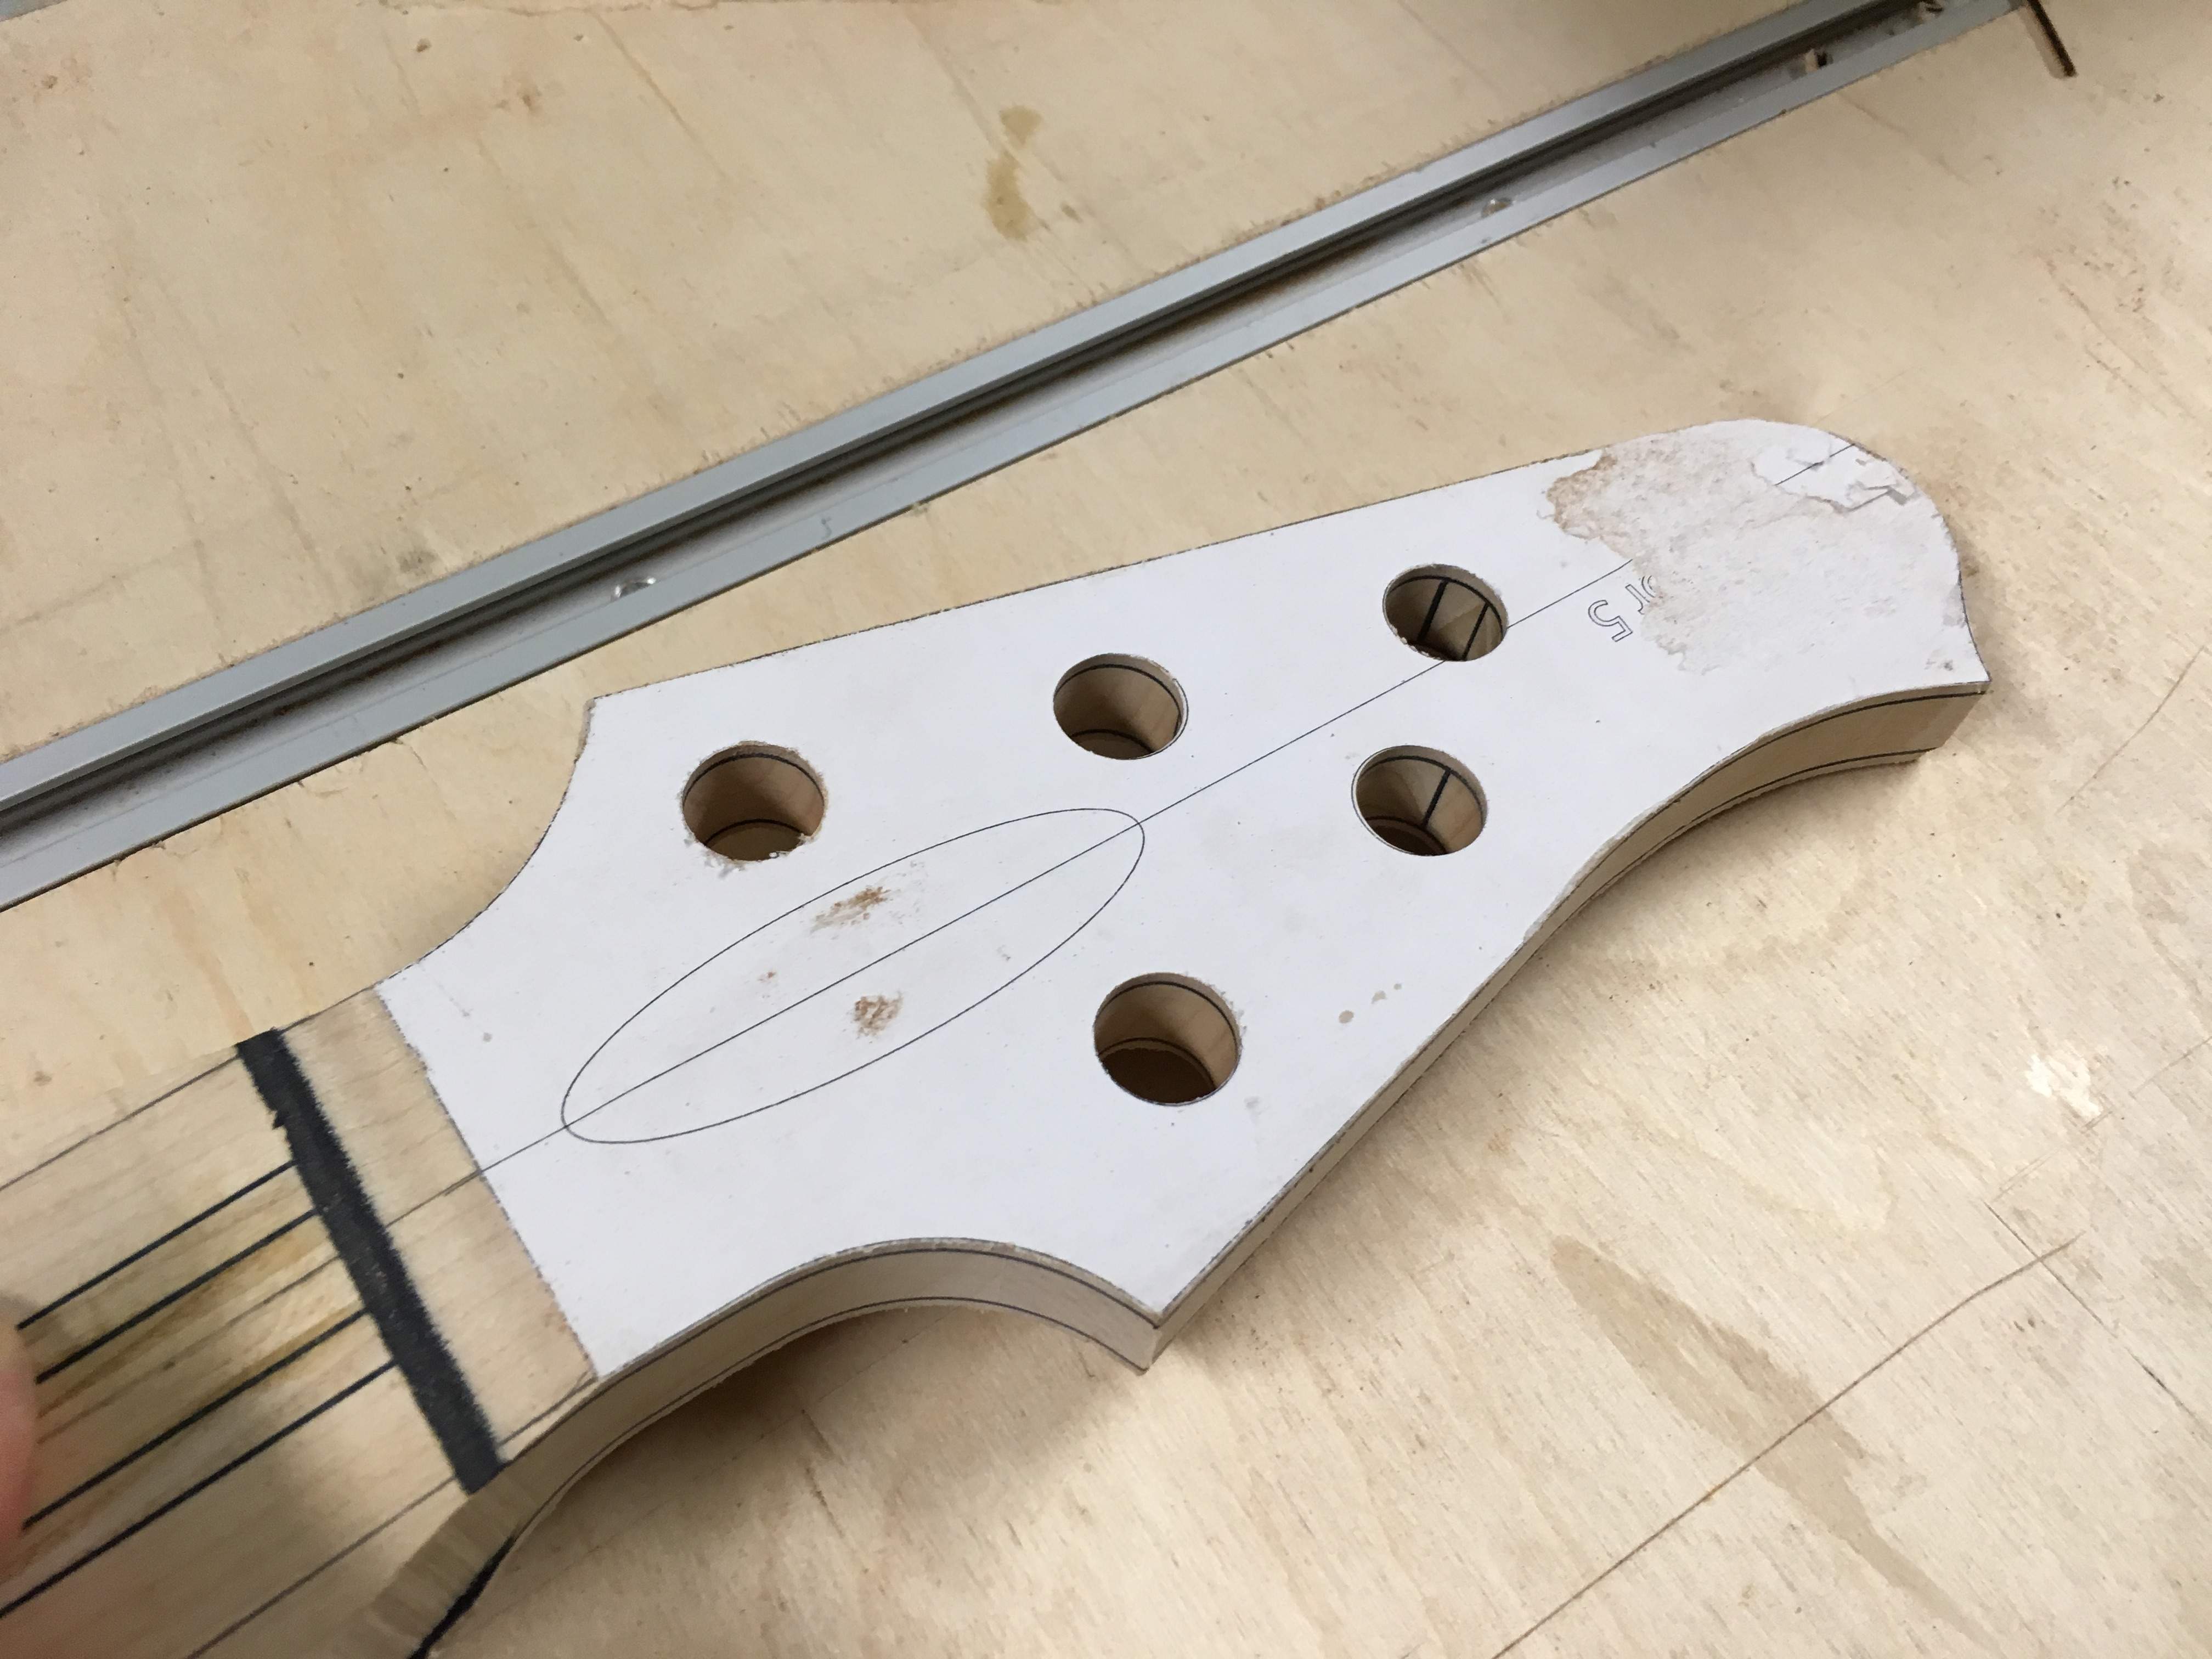
I drilled the tuner holes with my template. Two sided tape works well for this. I use a 9/16" brad point drill bit I got from Lee Valley. It does a wonderful job.


I glued up the heel cap yesterday. I cut a piece out of the body top before laminating it to the body core so that the grain will be an exact match. It has a matching black veneer with the body/headstock theme. Once the truss rod access is routed with a round nose bit the black laminate will be a little bit visible. Small detail.


I'll cut the truss rod access and then move onto tapering the neck and working on the fretboard. Thanks for looking.
 
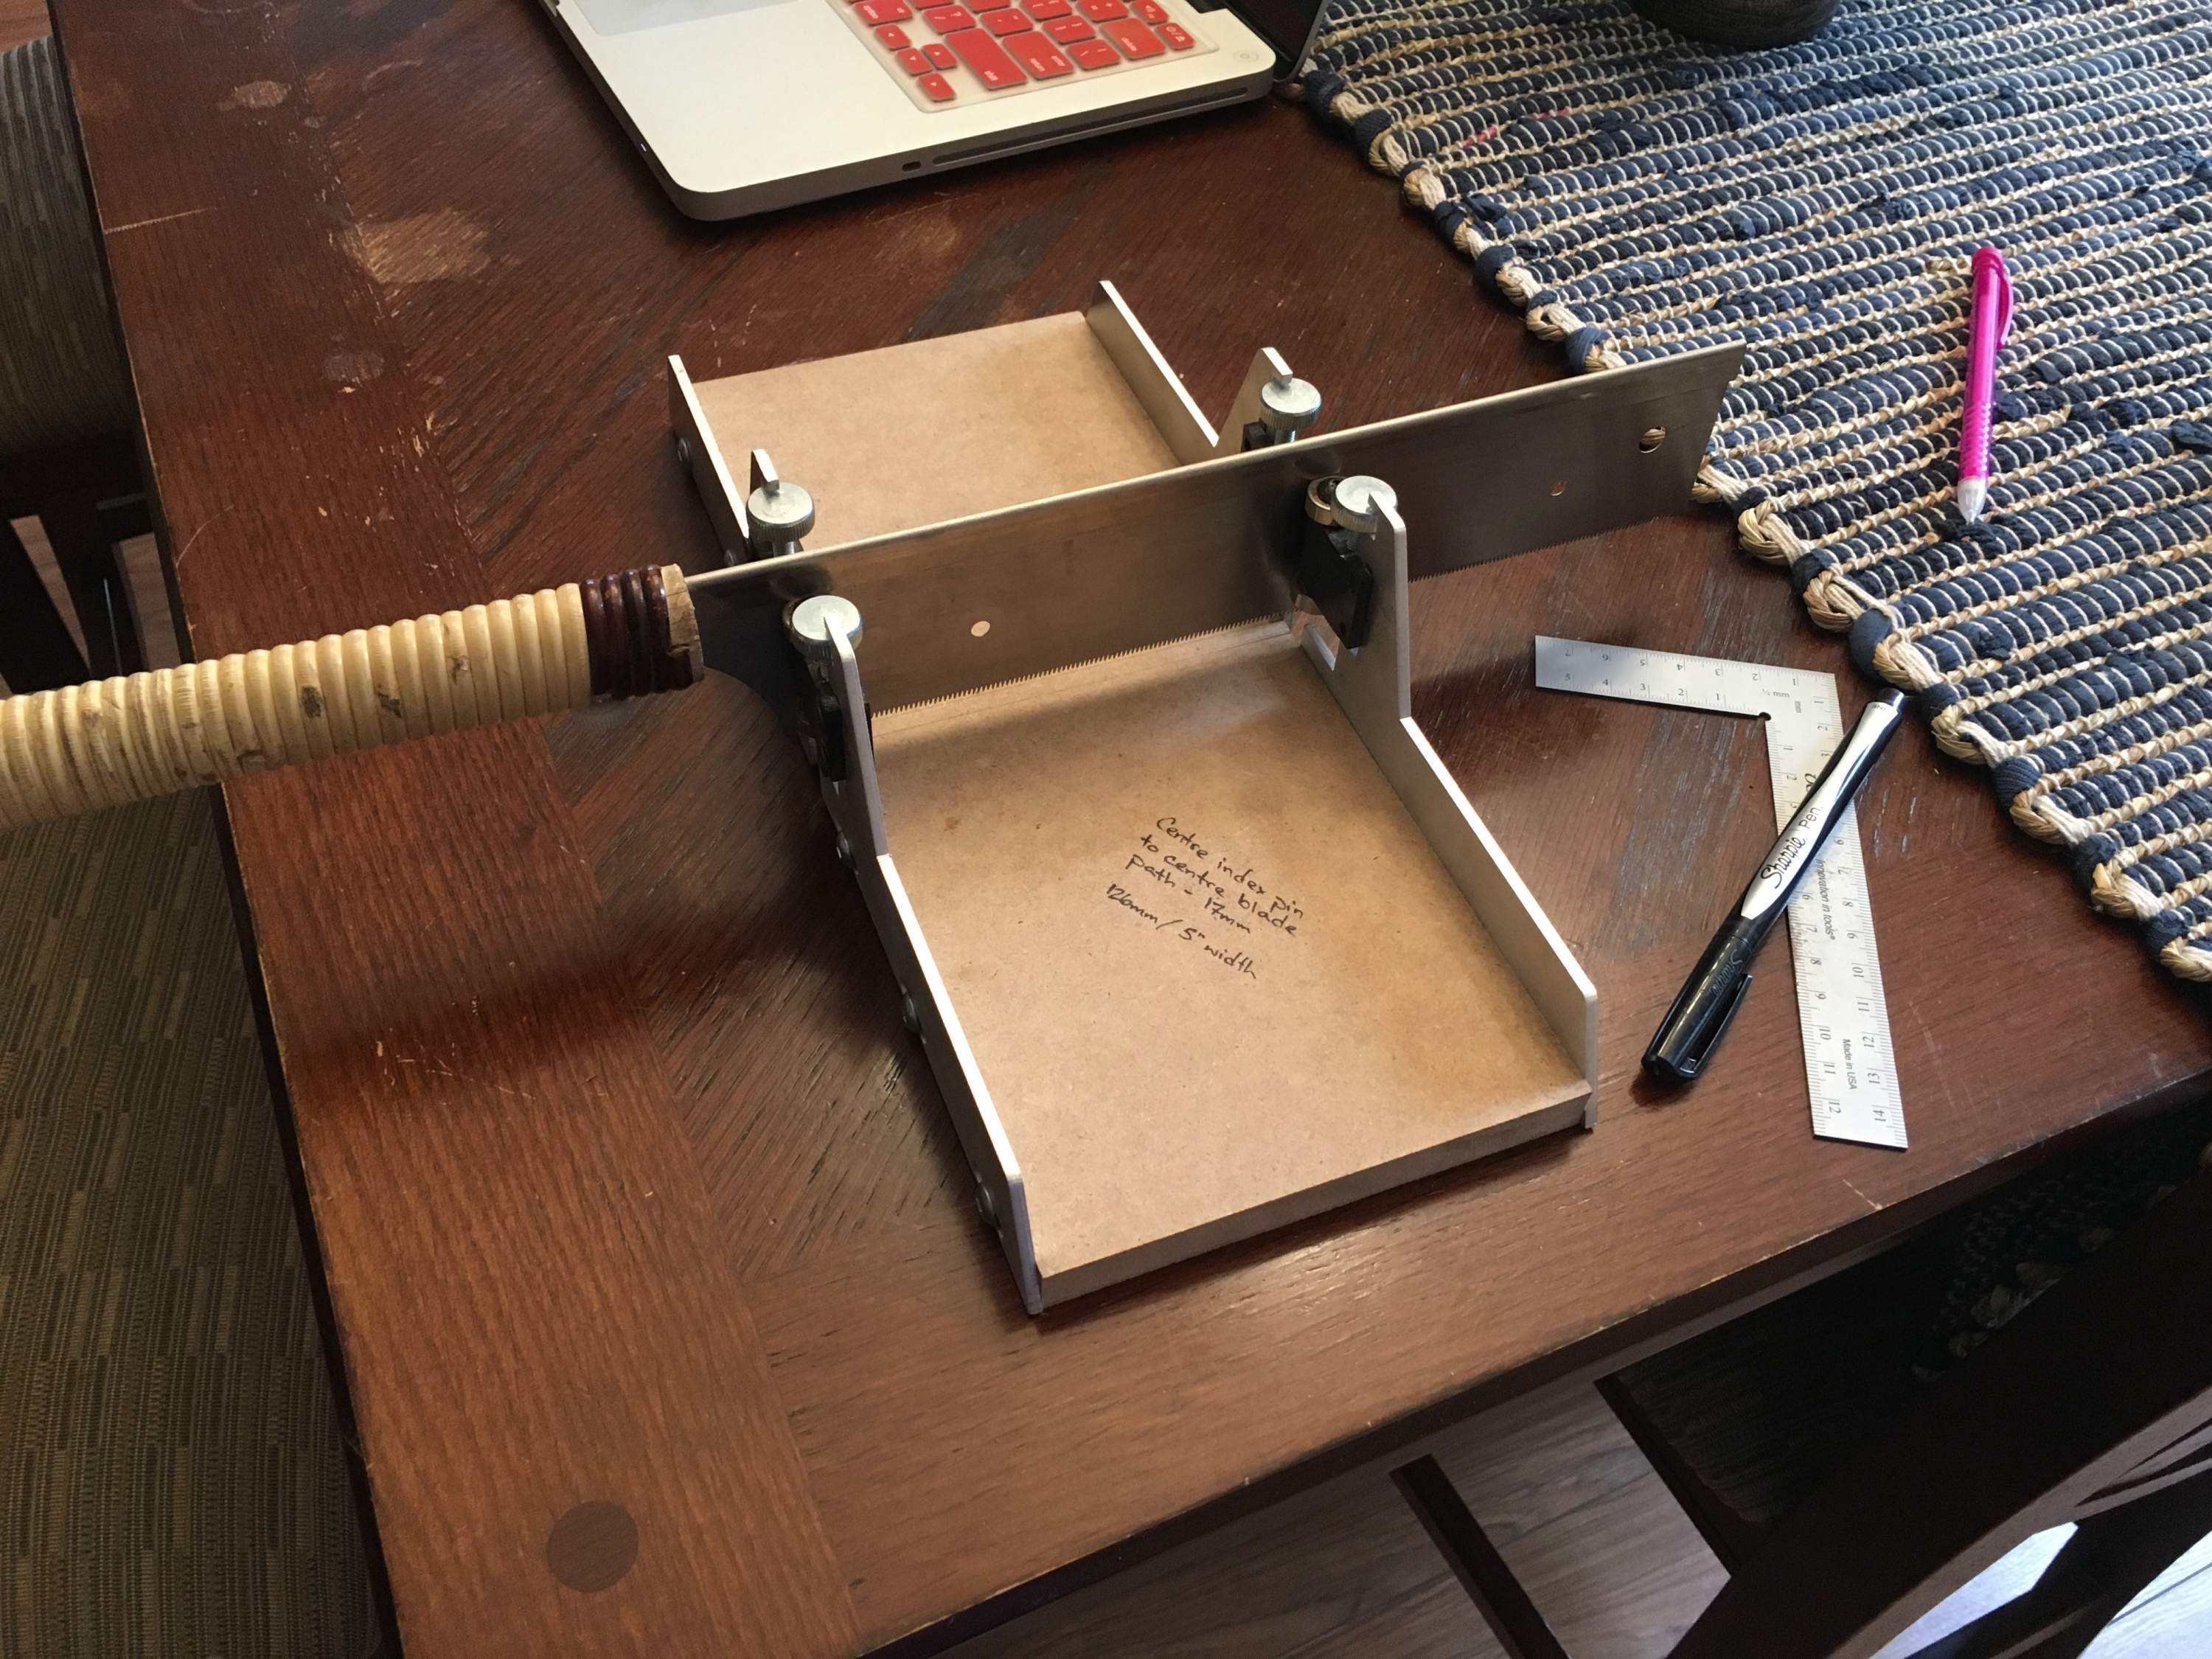
Ok, so I didn't quite move onto the fretboard. First. I had to modify the manual fret slotting jig that I have as it was unable to take a wide enough fretboard. I just swapped the aluminum base with a wider MDF base.


I wanted to get the neck work minus the fretboard finished before moving on. This meant the headstock inlay and the neck taper.

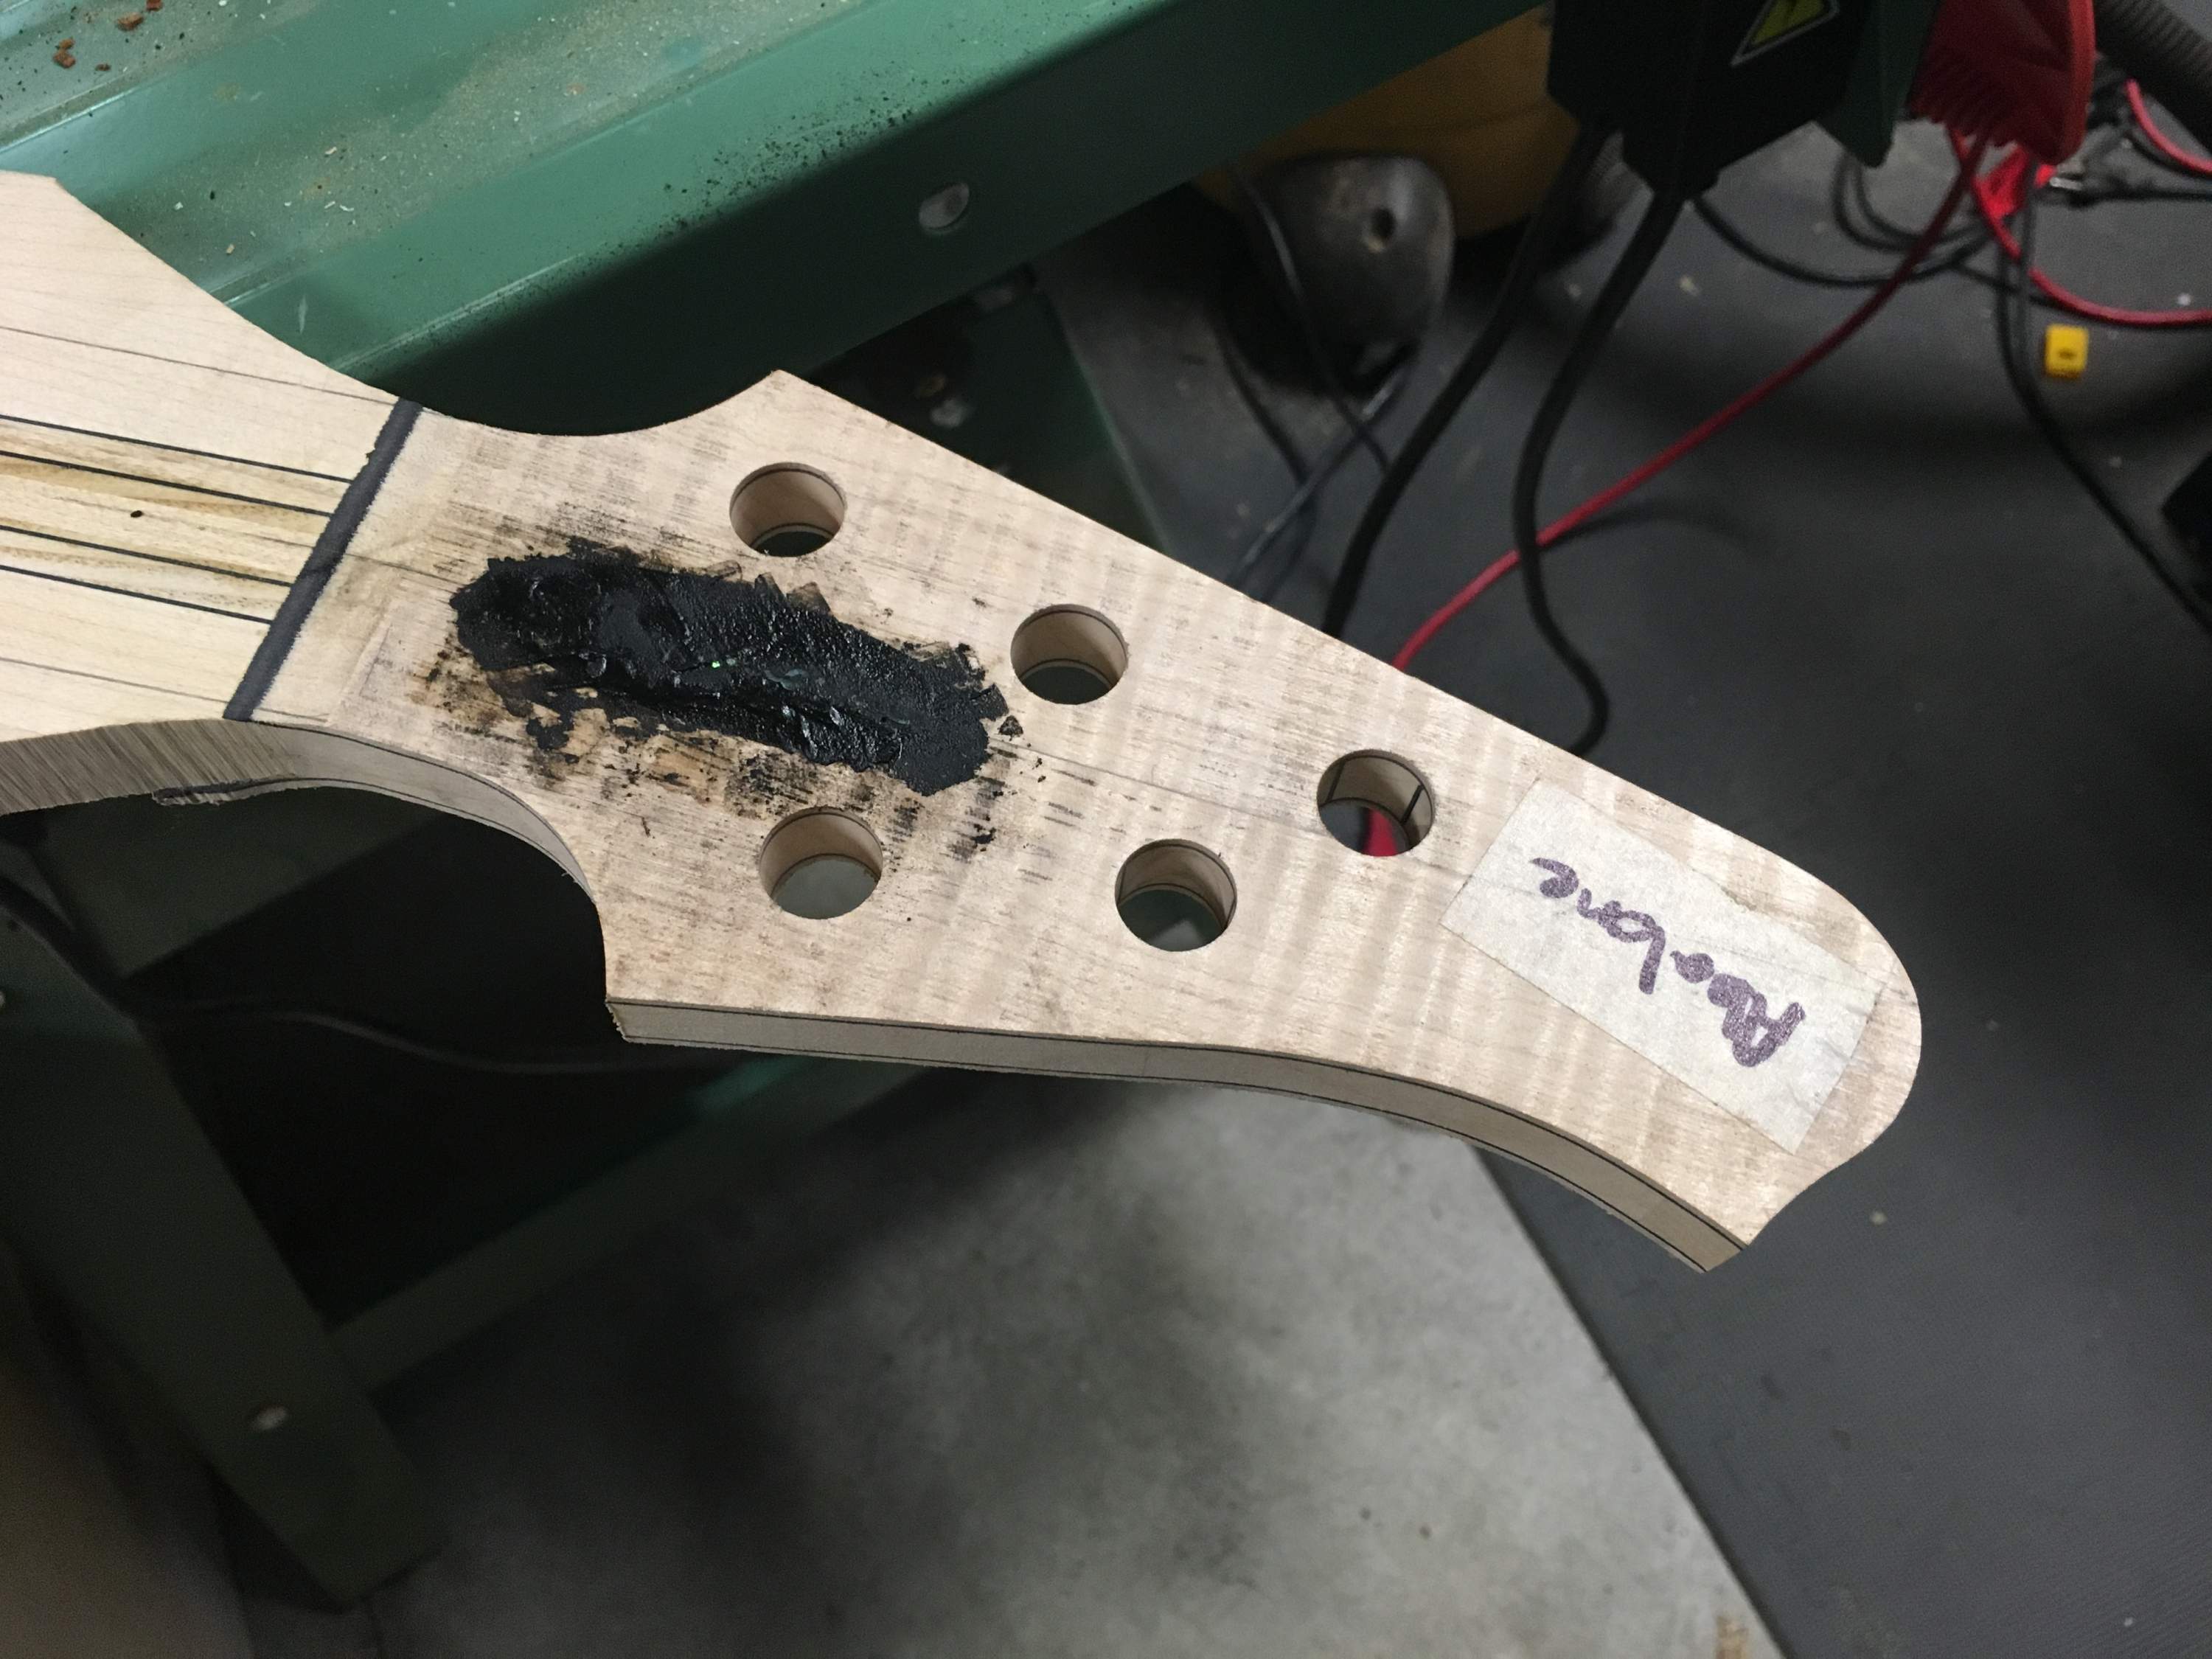
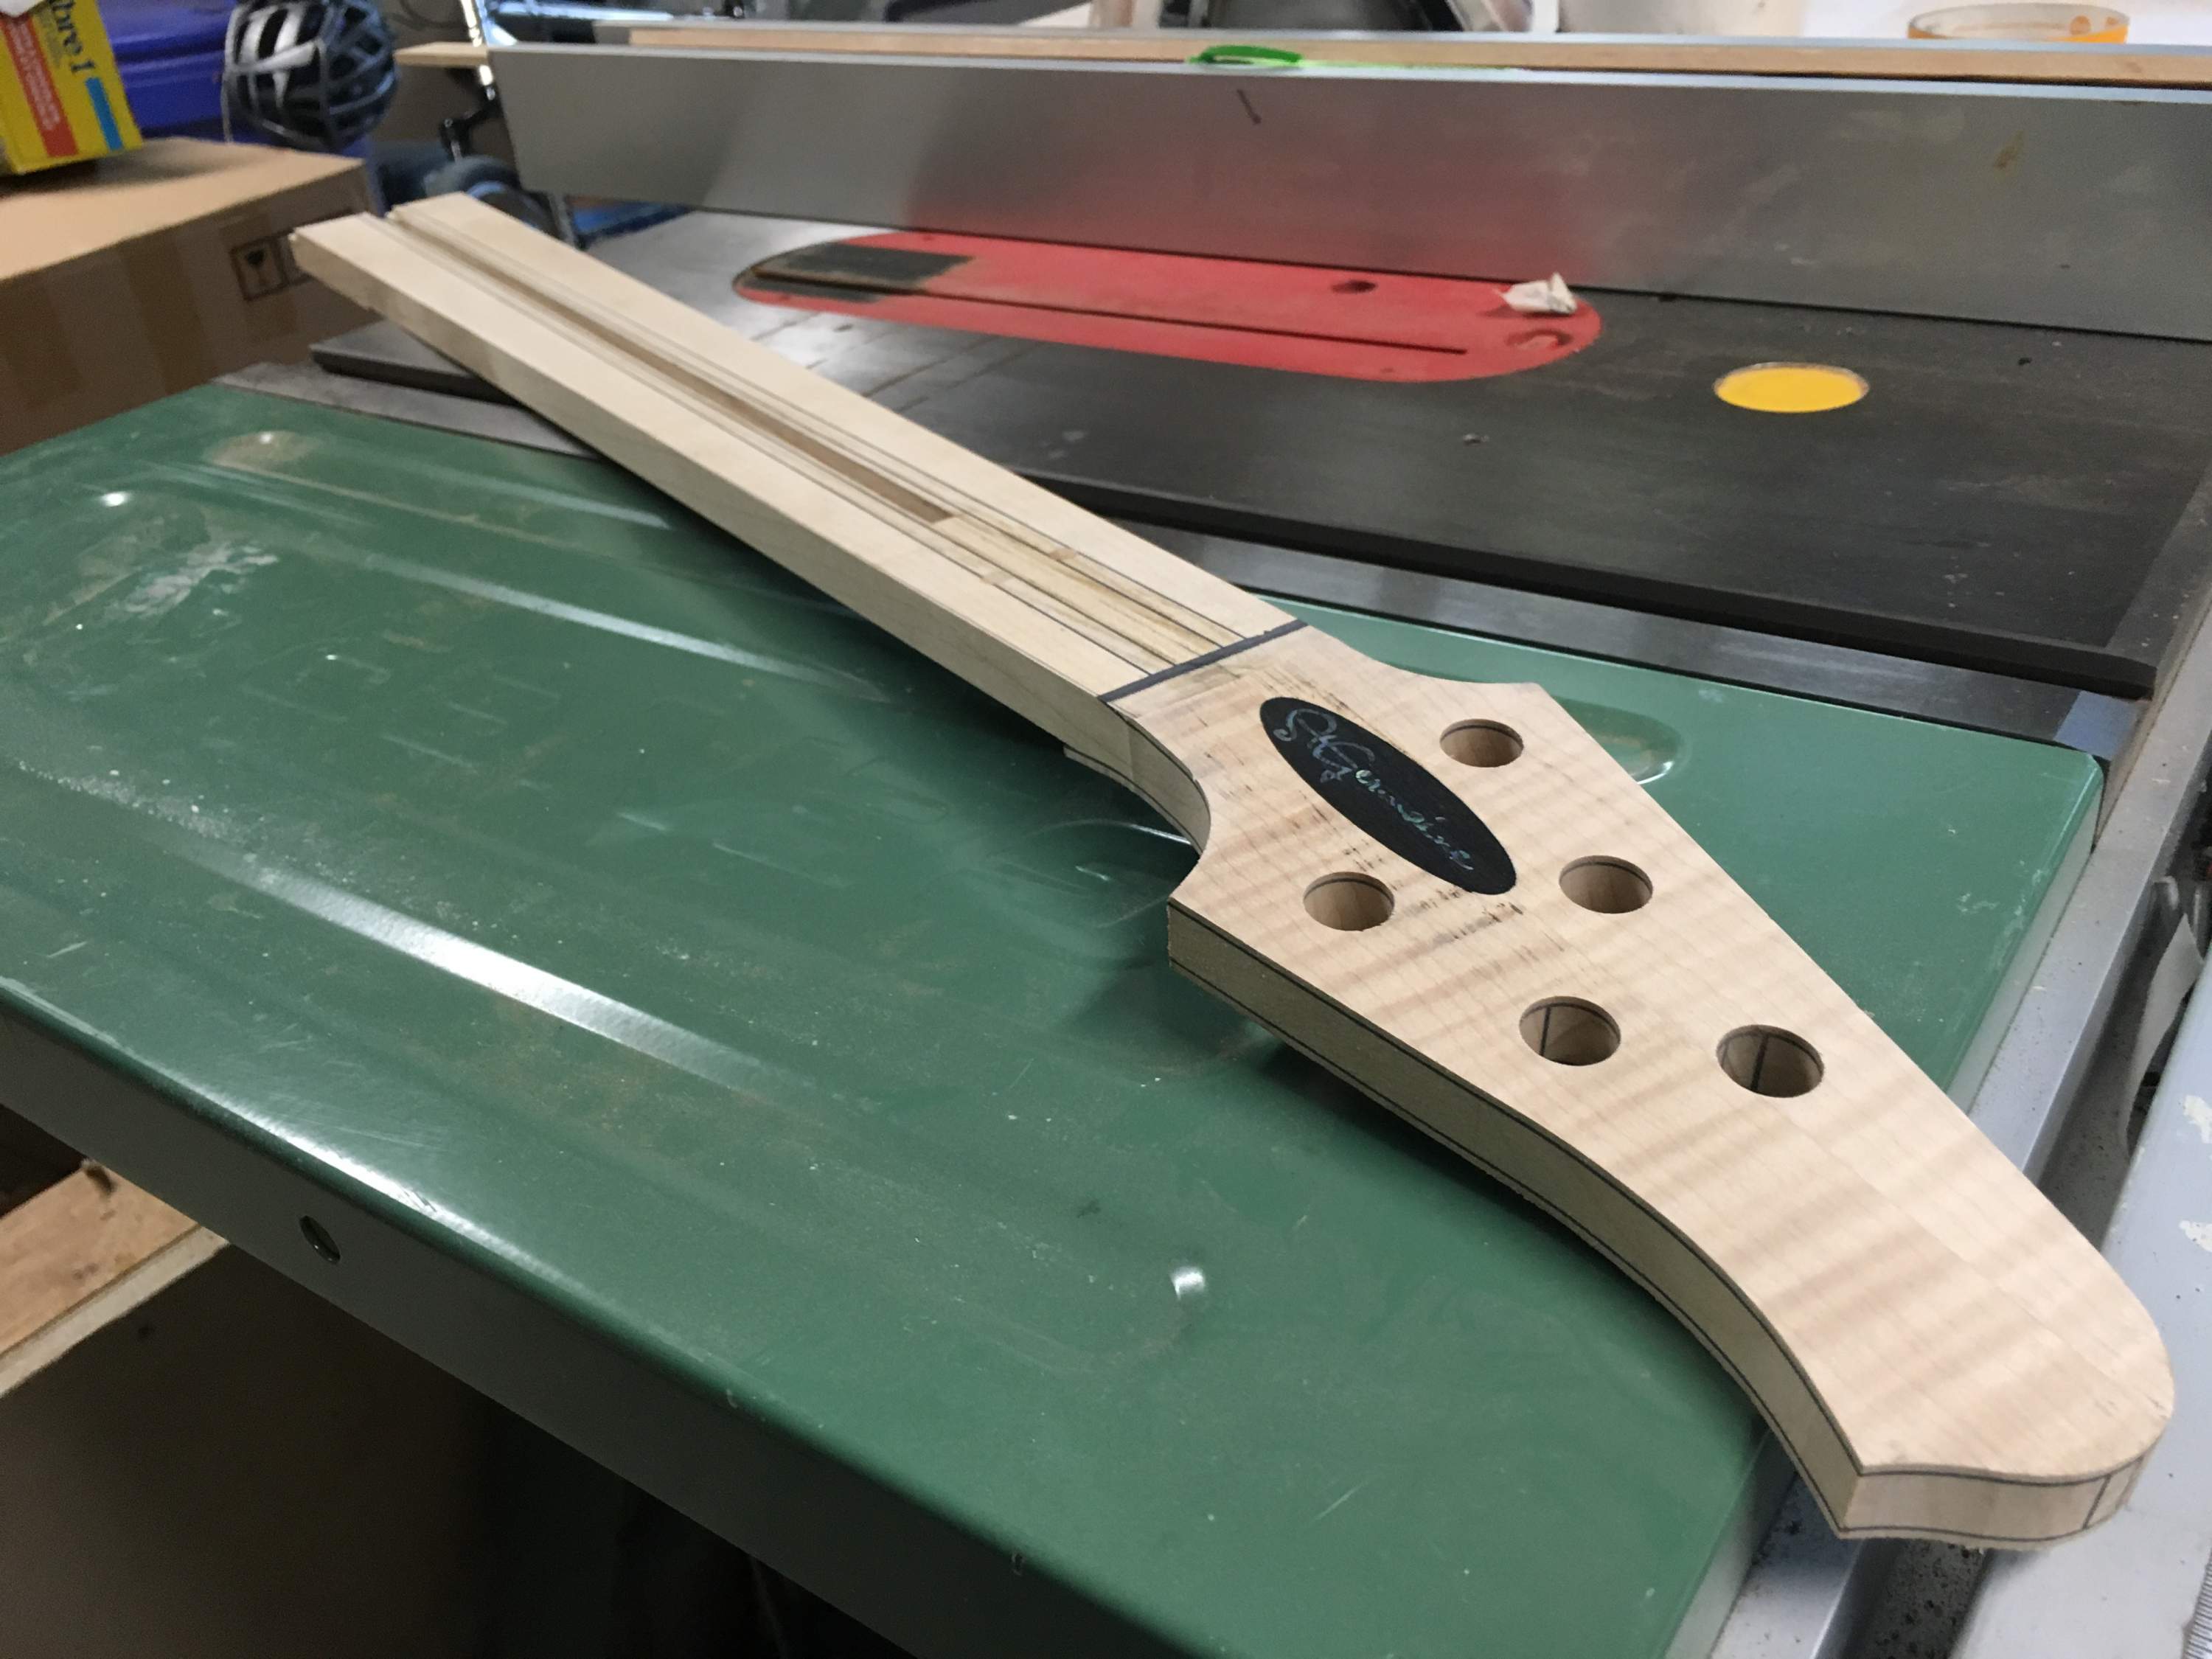
The headstock inlay on this one is an oval of Ebony inlaid with my Logo in Paua Abalone. I use a laser cut template of the headstock to make the oval recess for the Ebony.


I use a pretty small 3/16" Amana top bearing bit for this work as the curve of oval is too tight for a more standard sized template bit.

I inlaid the Ebony and then cut the channel for the Logo and smothered it in Ebony dust and CA to fill any small gaps around the Logo.


Next I moved onto my Laguna 1412 to take the neck down close to the taper.


Then it's onto the router table with an MDF replica of my laser cut acrylic master template. I use another Amana bit, a 3/4" top and bottom bearing template bit. The nicest thing about this bit is that it has the cutting edge at an angle, so the shear cutting is very smooth, unlike a lot of big bits I've used that have the cutters running along the same axis as the bit is spinning.


That gets us to here:


I'm working on a jig right now to allow me to cut a compound radius to the fretboard using my jointer. I'm trying to come up with as compact of a jig as possible and many of the router based jigs are quite large. I'd like to use a swinging arm setup with a belt sander, but I don't have a belt sander right now and I'm not sure that getting one is in the cards with my space limitations. I'm looking at a small CNC as my next investment, which will be able to do this work anyway, so I'm just building up something to use for the next 10-15 instruments and I think what I'm working on will only take about 30 minutes to put together and will be adequate for my short term needs. I'll be making that up next so I can cut the conical surface before moving onto slotting the board.
 
  • Like
Reactions: SaintMez
IMG_2222.JPG


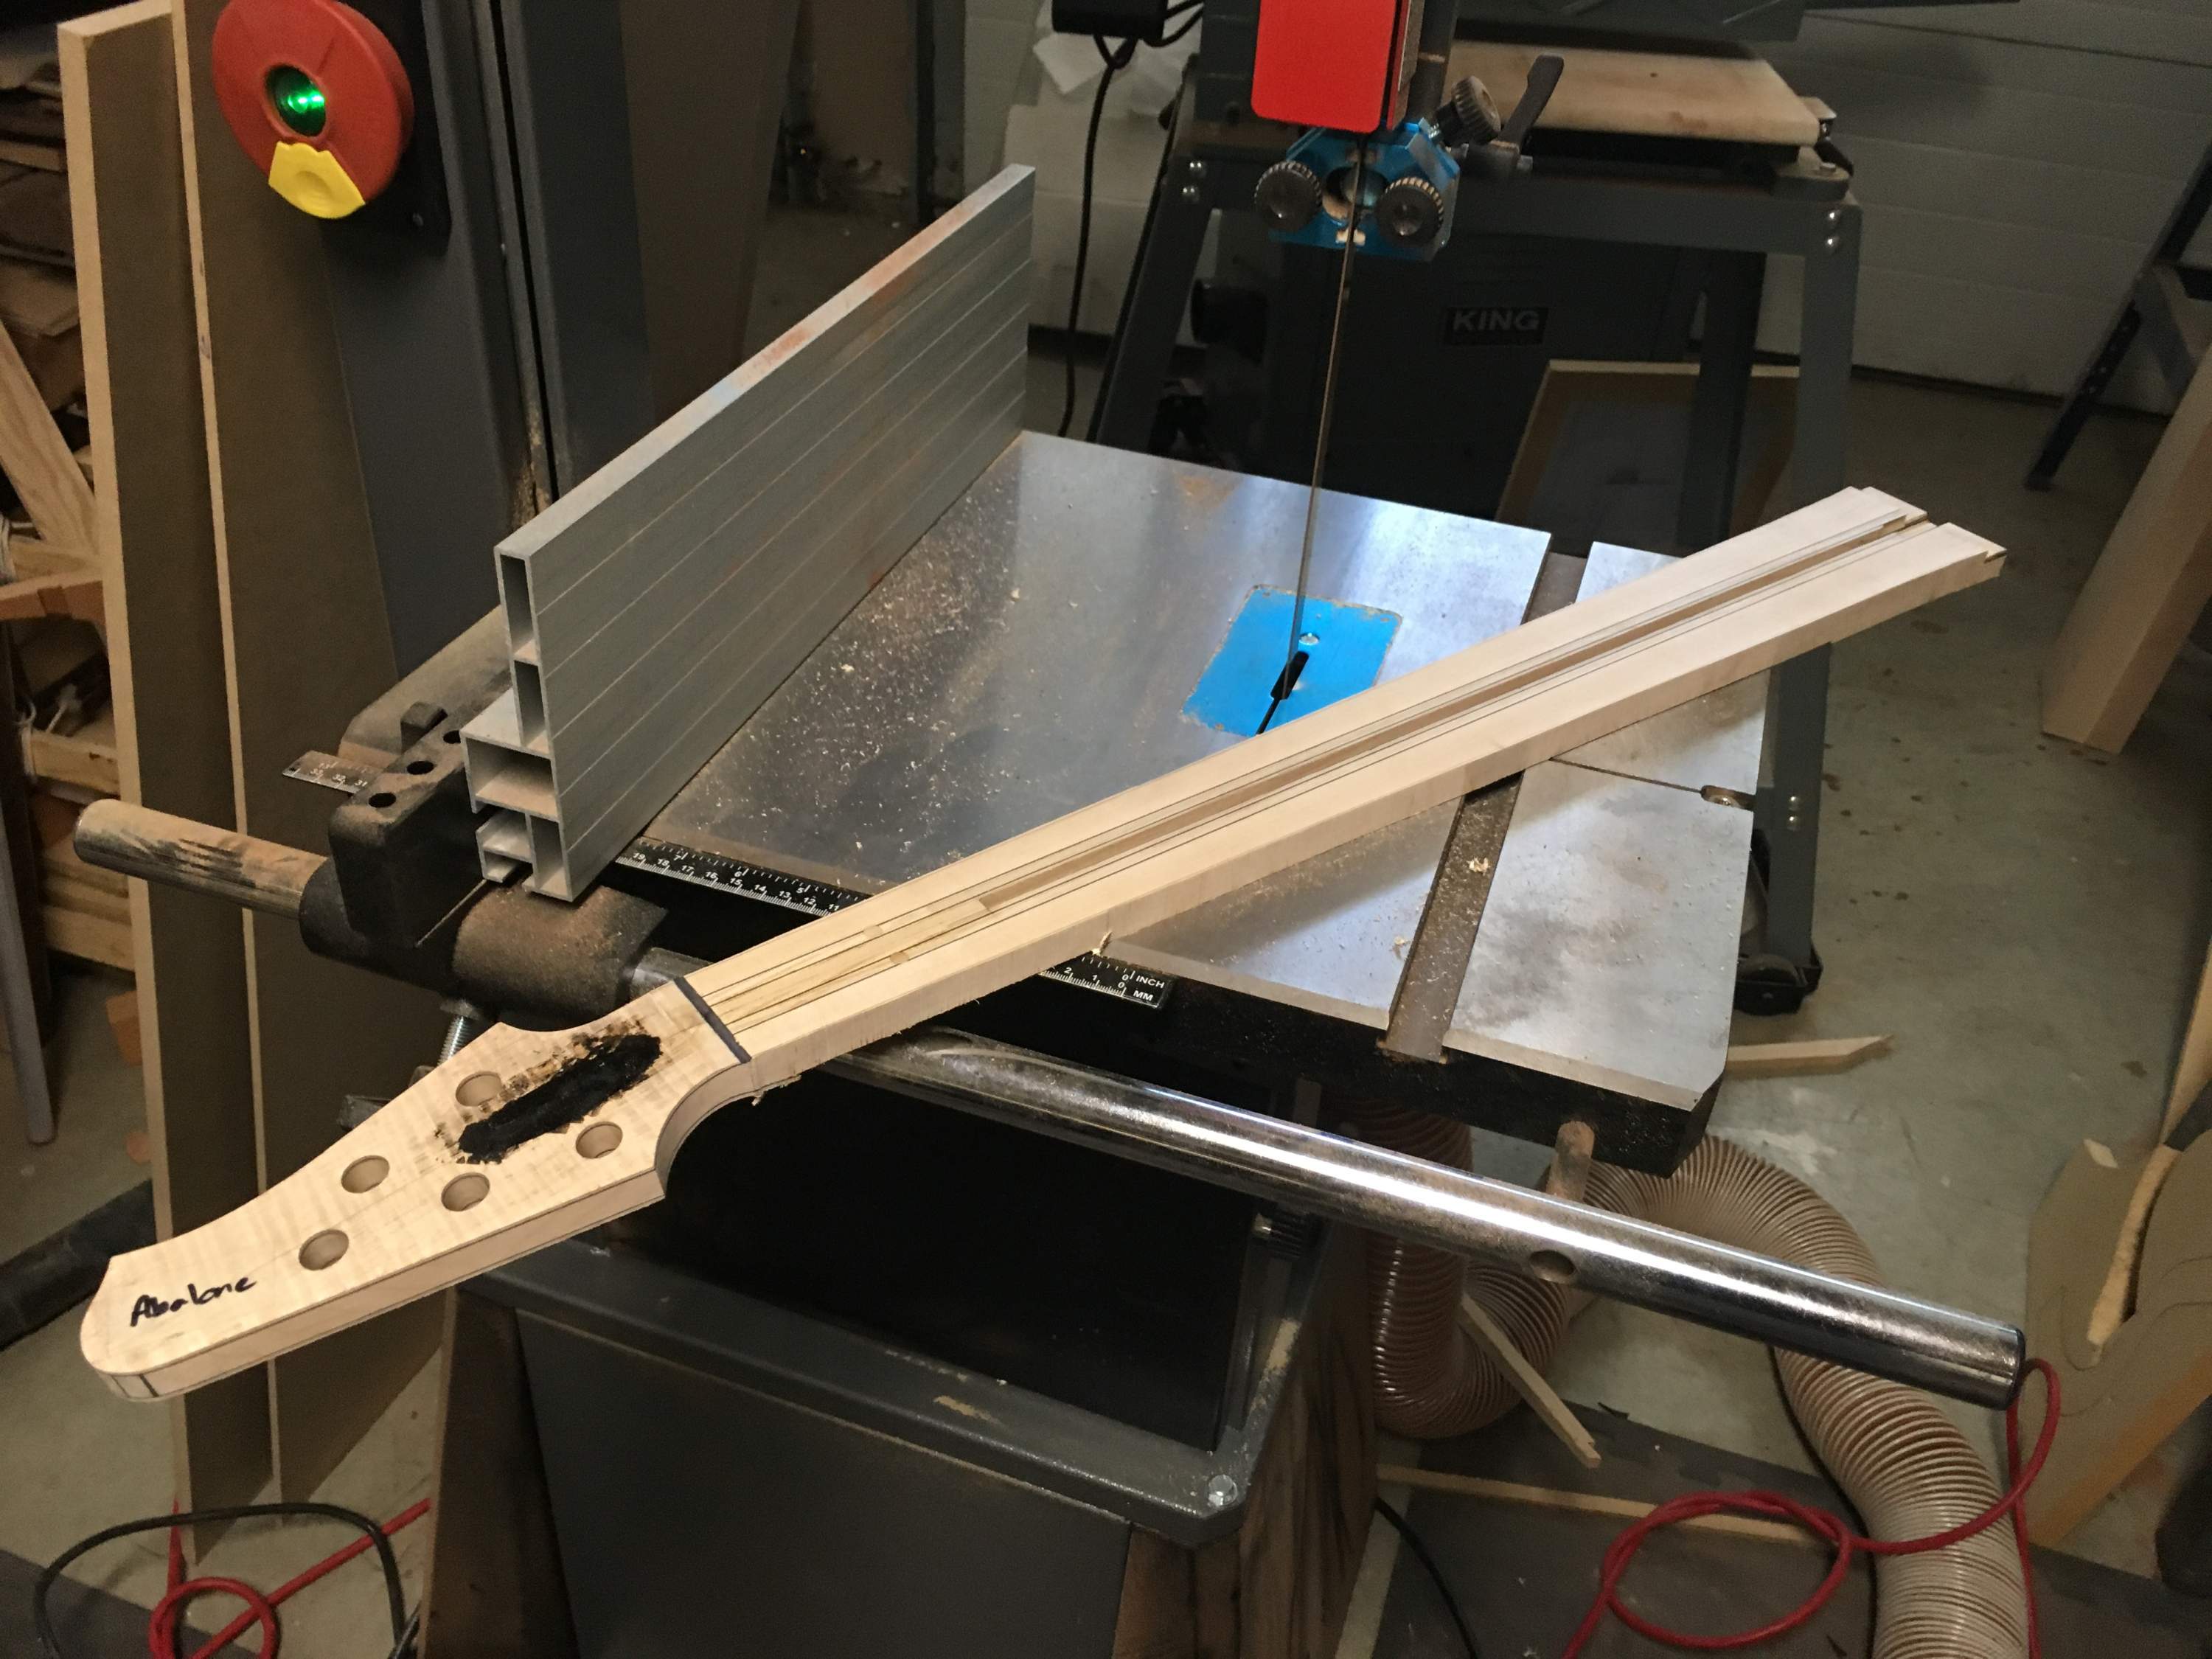
This pic is really scary . Here we have safety regulations that say only 8mm of blade is allowed to be visible over the sawn piece. I would never dare to saw with bandsaw that has this much blade visible. I work at school so I have to be very precise about the safety regulations.
The bass is looking very nice however.
 
  • Like
Reactions: metallicafan18
This pic is really scary . Here we have safety regulations that say only 8mm of blade is allowed to be visible over the sawn piece. I would never dare to saw with bandsaw that has this much blade visible. I work at school so I have to be very precise about the safety regulations.
The bass is looking very nice however.

The pics aren't sequential. The blade guard is so high as I'm resawing a bunch of tops on either side of the neck work and just threw the neck on the saw before and after. The blade tension is also almost zero in the second pic as it was after I cleaned up the saw and blade before being done with it for the week. I had to use a brass brush on the blade as I was cutting a bunch of Cocobolo necks and tops and it really gums it up. I certainly didn't have the blade guard at 8 mm as it wouldn't allow me to get the necks through with the headstock and heels (Cocobolo guitar necks not shown have 40 mm heels).
 
I machined/planed the compound radius into the fretboard, cut the fret slots tapered it and threw it into the vacuum back to glue it onto the neck. I use small wood dowels (aka toothpicks) to keep it aligned and West System 105/206 Epoxy as the adhesive.

IMG_2383.JPG


There's plenty of tape around the joint as you can see in the bag, so after it's done the tape peels off most of the squeeze out leaving only a very thin line of squeeze out maybe 1mm or so either side of the joint.

IMG_2376.JPG


Next I went back to the body to make some holes. Neck pocket and pickup cavities were first. Nothing really special about the procedure... forstner bit to remove the bulk of material and then onto the router. I'm using a 3/8" top bearing template bit from Amana for the pickup cavities. It matches well with the Bartolini corner radius. It's also on a 1/2" shank, which I quite like. It's a very nice bit.

IMG_2472.JPG


The neck pocket has square corners, so I use a chisel to form it from the round corner left from the router work.

IMG_2473.JPG


Pickup cavities were next. I just have a inset recess for the wiring clearance and foam to cut into the bottom of each cavity about 5mm deep.

IMG_2505.JPG


IMG_2509.JPG


IMG_2531.JPG


IMG_2535.JPG


I'll be doing the electronics cavity next and then the body edges and tummy/forearm contours. Mock up with the neck in the pocket:

IMG_2533.JPG


IMG_2534.JPG


Thanks for looking!
 
  • Like
Reactions: Dadagoboi
Sorry if I missed mention of this, but what is going on with the large cavity under the bridge area? Is this just for weight reduction or are you planning on burying a (brass) bridge ground in that cavity? (ala @Bruce Johnson)

Hey JIO, it's just for weight reduction. The bridge I'm using is a Hipshot D and mounts on a pair of 11 mm studs like a Tune-O-Matic, so they straddle this cavity.
 
Hey JIO, it's just for weight reduction. The bridge I'm using is a Hipshot D and mounts on a pair of 11 mm studs like a Tune-O-Matic, so they straddle this cavity.

Do you know of Bruce's bridge anchors? I've incorporated the concept on a couple basses and it really adds something special as far as tone. It's essentially a dynamic grounding of the bridge to the body - sort of like string-thru but even more substantial. Having a cavity there is interesting as it could offer something different to the mix. As I've never seen it done - I'd be interested if you determined it effects tone in one way or another.
 
It’ll probably be tough to determine - I have 4 basses in progress with this same cavity. Certainly the brass block is interesting (I think Greg Curbow did something similar). I’d probably be a bit more interested in it from a counterbalance perspective in a highly chambered body.

I’ve been thinking about running a Hipshot D with string through body routing rather than the separate tailpiece... too many ideas to try!
 

Latest posts