Thankfully, our minds aren't digital.Nah. Reality is just a crutch for those who can't handle virtualization.
Seriously, why should the virtual be limited by the actual? Go Beyond.

Enjoy the benefits of a premium membership!
Upgrade Account
-
TalkBass has been independent since 1998. Add your voice.
Create a free account to reply to discussions, view embedded media, and browse with fewer display ads.
Join free Log in
Want zero display ads or expanded classifieds tools? Compare plans.
You are using an out of date browser. It may not display this or other websites correctly.
You should upgrade or use an alternative browser.
You should upgrade or use an alternative browser.
Control cavity covers - "1 Weird Trick!!"
- Thread starter bholder
- Start date
More options
Who Replied?
I'm not convinced we're all not just a hallucination glitch in some cosmic quantum computer program.Thankfully, our minds aren't digital.


Another low-tech approach ive done: stick the body on a copier, works perfect as long as the back of your bass is flat. The one thing I have NOT mastered is cutting the cover out of the same piece of wood that the back is made of, so its literally the same piece of wood. Is there a tutorial someplace on that? I tried a few mockups on scrap with a coping saw, FAIL.
I did a version of that in my semi-hollow body fretless short scale build HERE.
(See photo #93 and #96.)
You could most likely do a pattern in CAD by embossing the shape in aluminum foil taped over the opening, scanning that to create a jpg image file to import directly into CAD.
One thing that makes life a LOT easier is to drill the screw holes in the cover and drill the starting holes after the cover has been fitted. Drilling the screw holes in the body first just seems like one of those "Why would I want to do that?" questions.


Yeah, I've done that before too, if it's corrugated it can take an "impression" of the surface - the foam just does it much better, easier to see.heh, mine is a piece of cardboard taped on.

That's probably true. But philosophically speaking, does it matter?I'm not convinced we're all not just a hallucination glitch in some cosmic quantum computer program.


A similar way would be to use rigid foam insulation. This would allow you to press with a little more force to make the impression and would also result in a template that is more reusable.Ok, so forgive me if this is way too basic, most folks here probably have their own way of doing this, but I thought of something silly stupid that actually worked - large (clean) styrofoam take out containers with large flat sections make excellent control cavity cover templates! Just cut a flat section bigger than the needed cover, cut slightly larger, then press into place to make an outline of the hole above the recess. Cut to that line all around, it should just fit in the hole, riding on the ledge, like a cavity cover would. Now go around pressing the foam against the shoulder of the ledge, to get an impression of the inner hole and screw hole positions. Pop it back out (pushing through pot holes with a chop stick or straw) Carefully poke the screw holes through the center with a toothpick, all the way through, then re-mount it, verify and widen the screw holes to the actual size of the holes. It's a bit delicate, but very accurate and sturdy enough to transfer to a suitable piece of wood or plastic. I should have thought to take stepwise pics, but I didn't think it'd work that well. Anyway, it's slightly sloppy, the cover will need to be edge sanded to fit anyway, here's a snapshot of the resulting foam template:
View attachment 4862505 View attachment 4862506
Pics don't really show the impressions well, but it worked really well - way better than the old tracing paper and pencil or charcoal.
Are there even better ways of creating control cavity templates using just the hole?

Spoken like a true hitchhiker.That's probably true. But philosophically speaking, does it matter?
I did a version of that in my semi-hollow body fretless short scale build HERE.
(See photo #93 and #96.)
You could most likely do a pattern in CAD by embossing the shape in aluminum foil taped over the opening, scanning that to create a jpg image file to import directly into CAD.
One thing that makes life a LOT easier is to drill the screw holes in the cover and drill the starting holes after the cover has been fitted. Drilling the screw holes in the body first just seems like one of those "Why would I want to do that?" questions.
That defeats the original point though. First, as a low tech answer goes, it's very precise, that foam is ideal, it's stable, and easily shows up detail pressed into it. Second, if replacing a damaged cover, using this as template and transferring to acetal sheet can make a perfect answer, using existing holes accurately, and with scissors, a hand operated drill, and a saw, and no power, let alone computation, the result might be as good as anyone could get with anything.

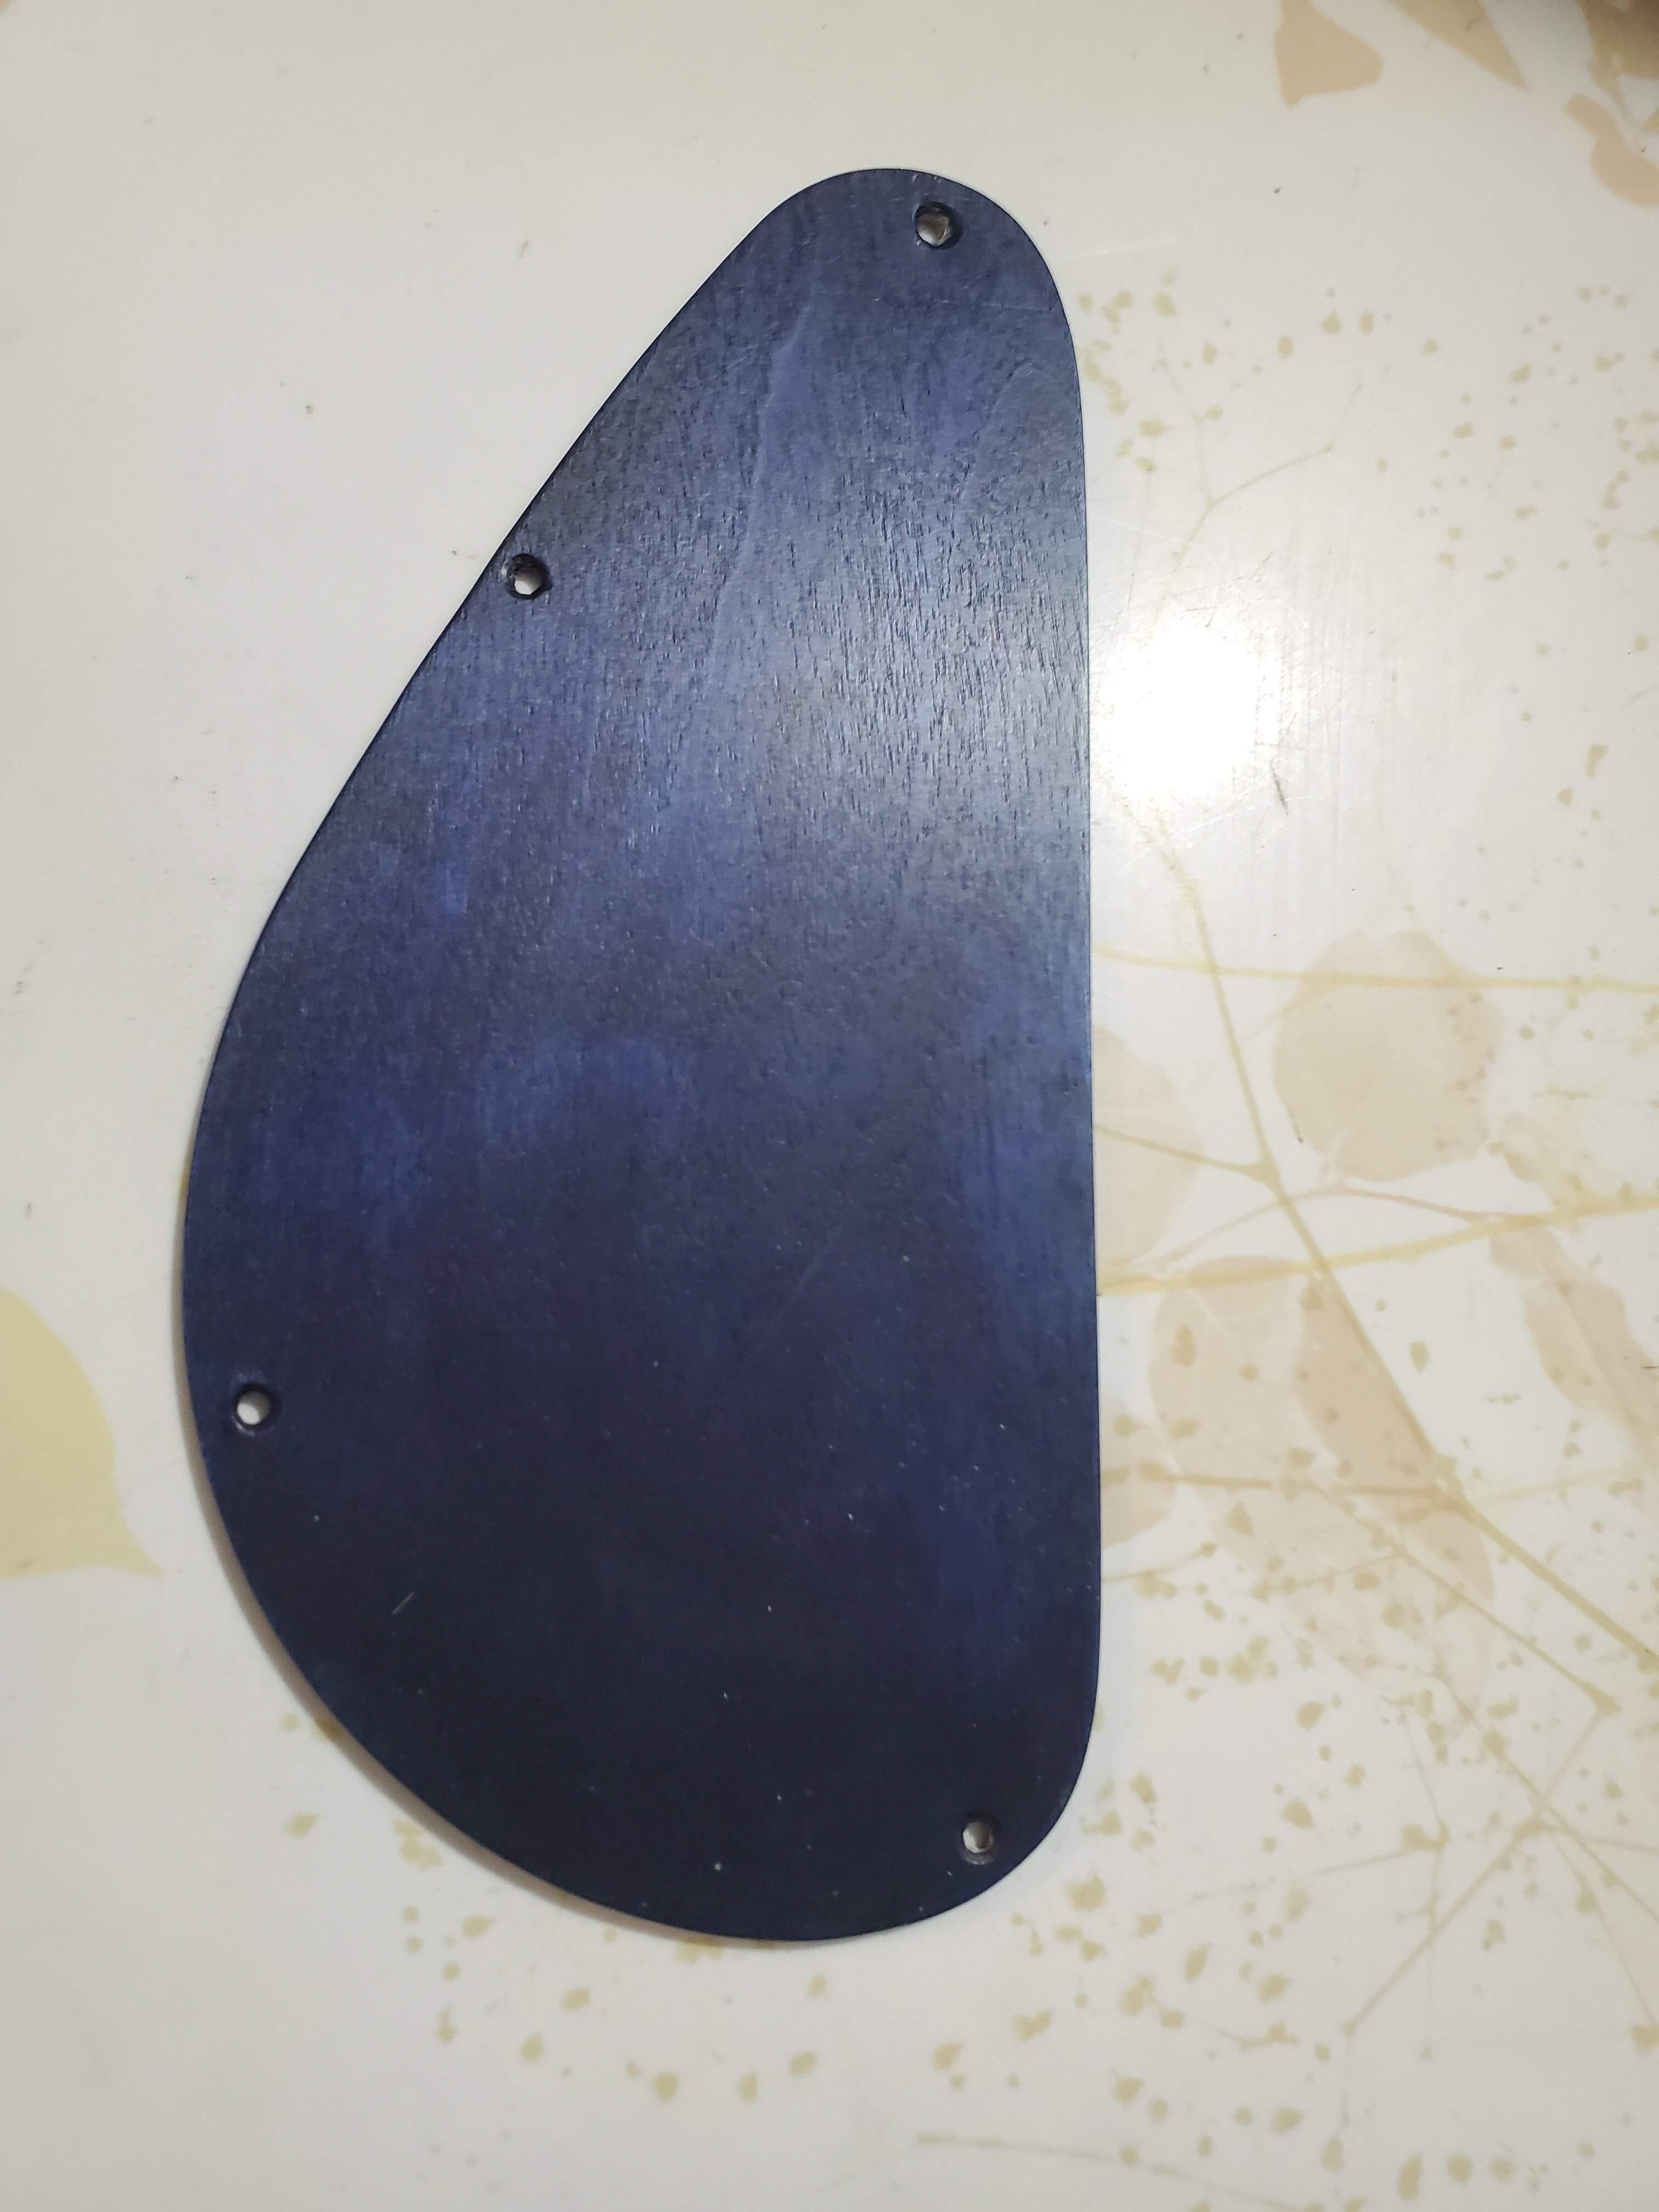
Just to follow up, here's how my control cavity cover came out. Pretty stoked. Not quite a perfect fit, but better than I expected to do given my skill / experience level lol. Cut out of a sheet of 3/32" birch model aircraft plywood.