

Enjoy the benefits of a premium membership!
Upgrade Account
-
TalkBass has been independent since 1998. Add your voice.
Create a free account to reply to discussions, view embedded media, and browse with fewer display ads.
Join free Log in
Want zero display ads or expanded classifieds tools? Compare plans.
You are using an out of date browser. It may not display this or other websites correctly.
You should upgrade or use an alternative browser.
You should upgrade or use an alternative browser.
DIY bass amp
- Thread starter 6thplanet
- Start date
More options
Who Replied?

Next up was layout for the front panel. I went with the font Megrim that I used on the PCB, thought it looked neato. I had the shop that did the chassis cut the plates, then sent them to a friend that does laser etching.
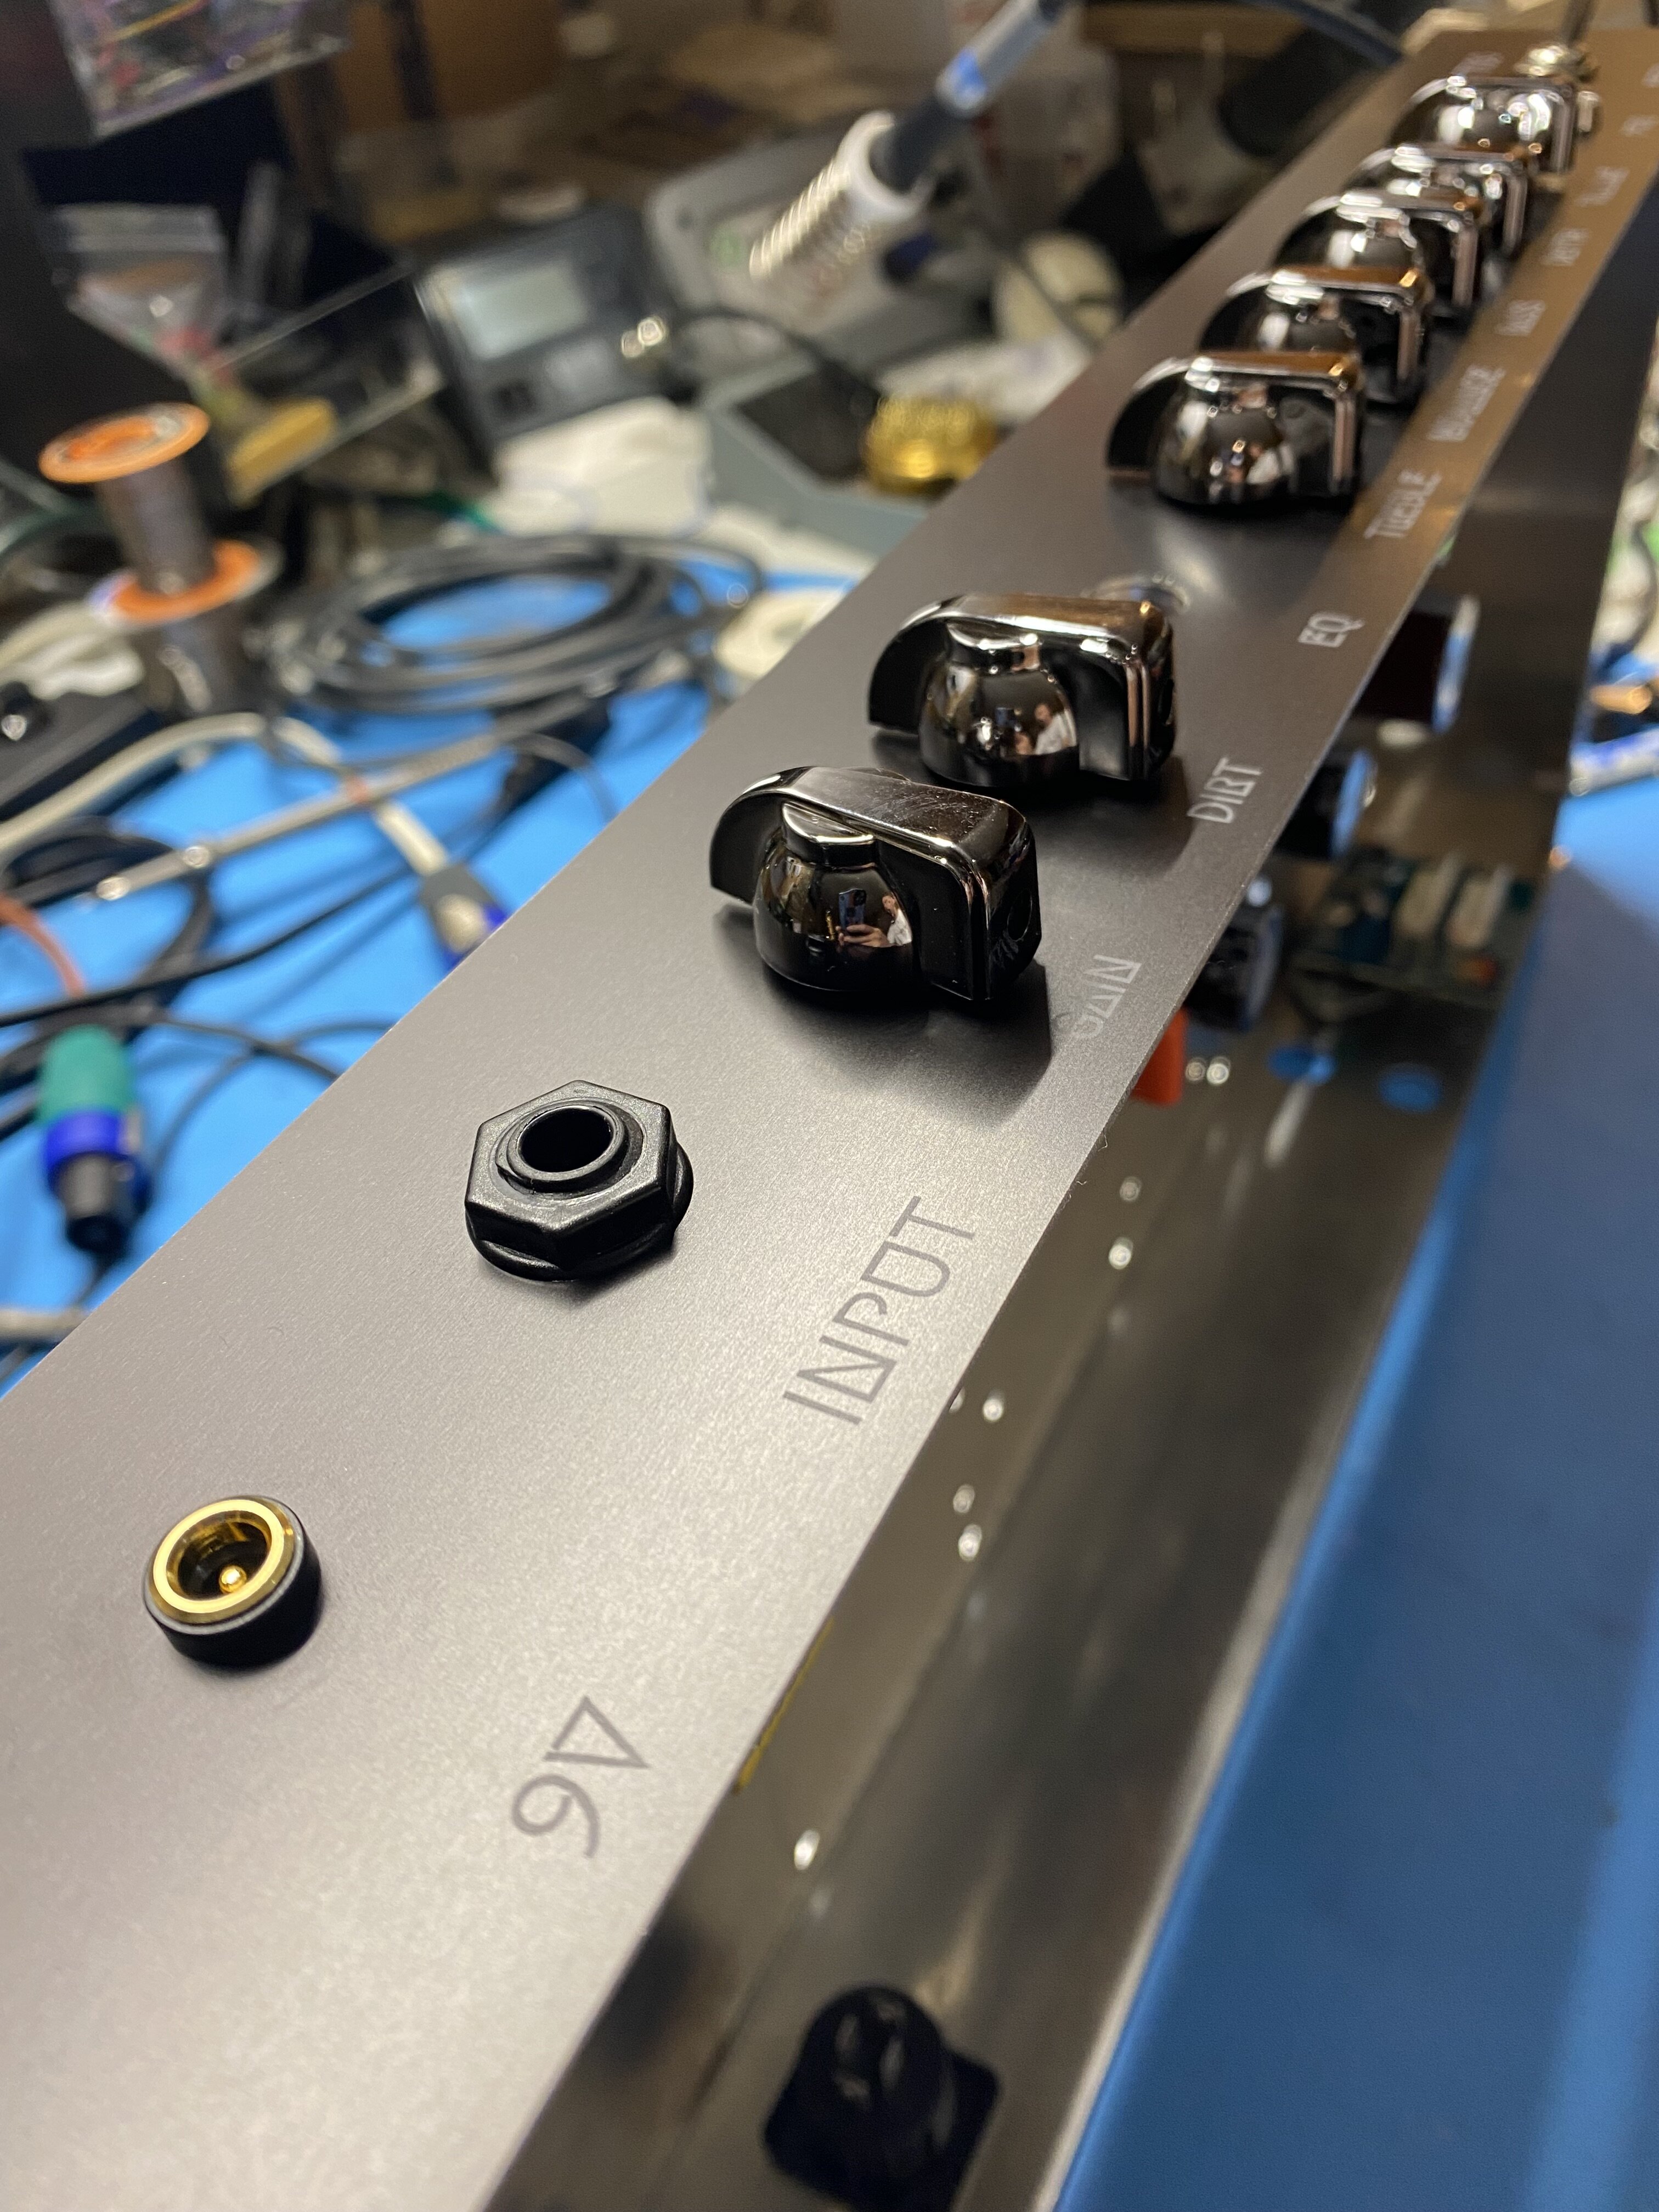
Went with a dark bronze aluminum, looks pretty snazzy if I do say so myself.
Went with a dark bronze aluminum, looks pretty snazzy if I do say so myself.


Looking at your lab setup, I am reasonably confident that you may be the first to notice any alien invasion in the works. Please keep us informed, thanks.

(sprays salt water on 6thplanet) .............................Well, that didn't work. 



Passinwind
I know nothing.
- Dec 3, 2003
- 23,079
- 46,041
- Disclosures
- Designer/Toaster Tech @ Passinwind Electronics
Silence,human!
...I'm still building the weapons of mass destruction....all in due time.
It's really freaking awesome how efficient these class D amplifiers are now. The heat sink I'm using on the test mule is 6x3.5" with 1" fins.
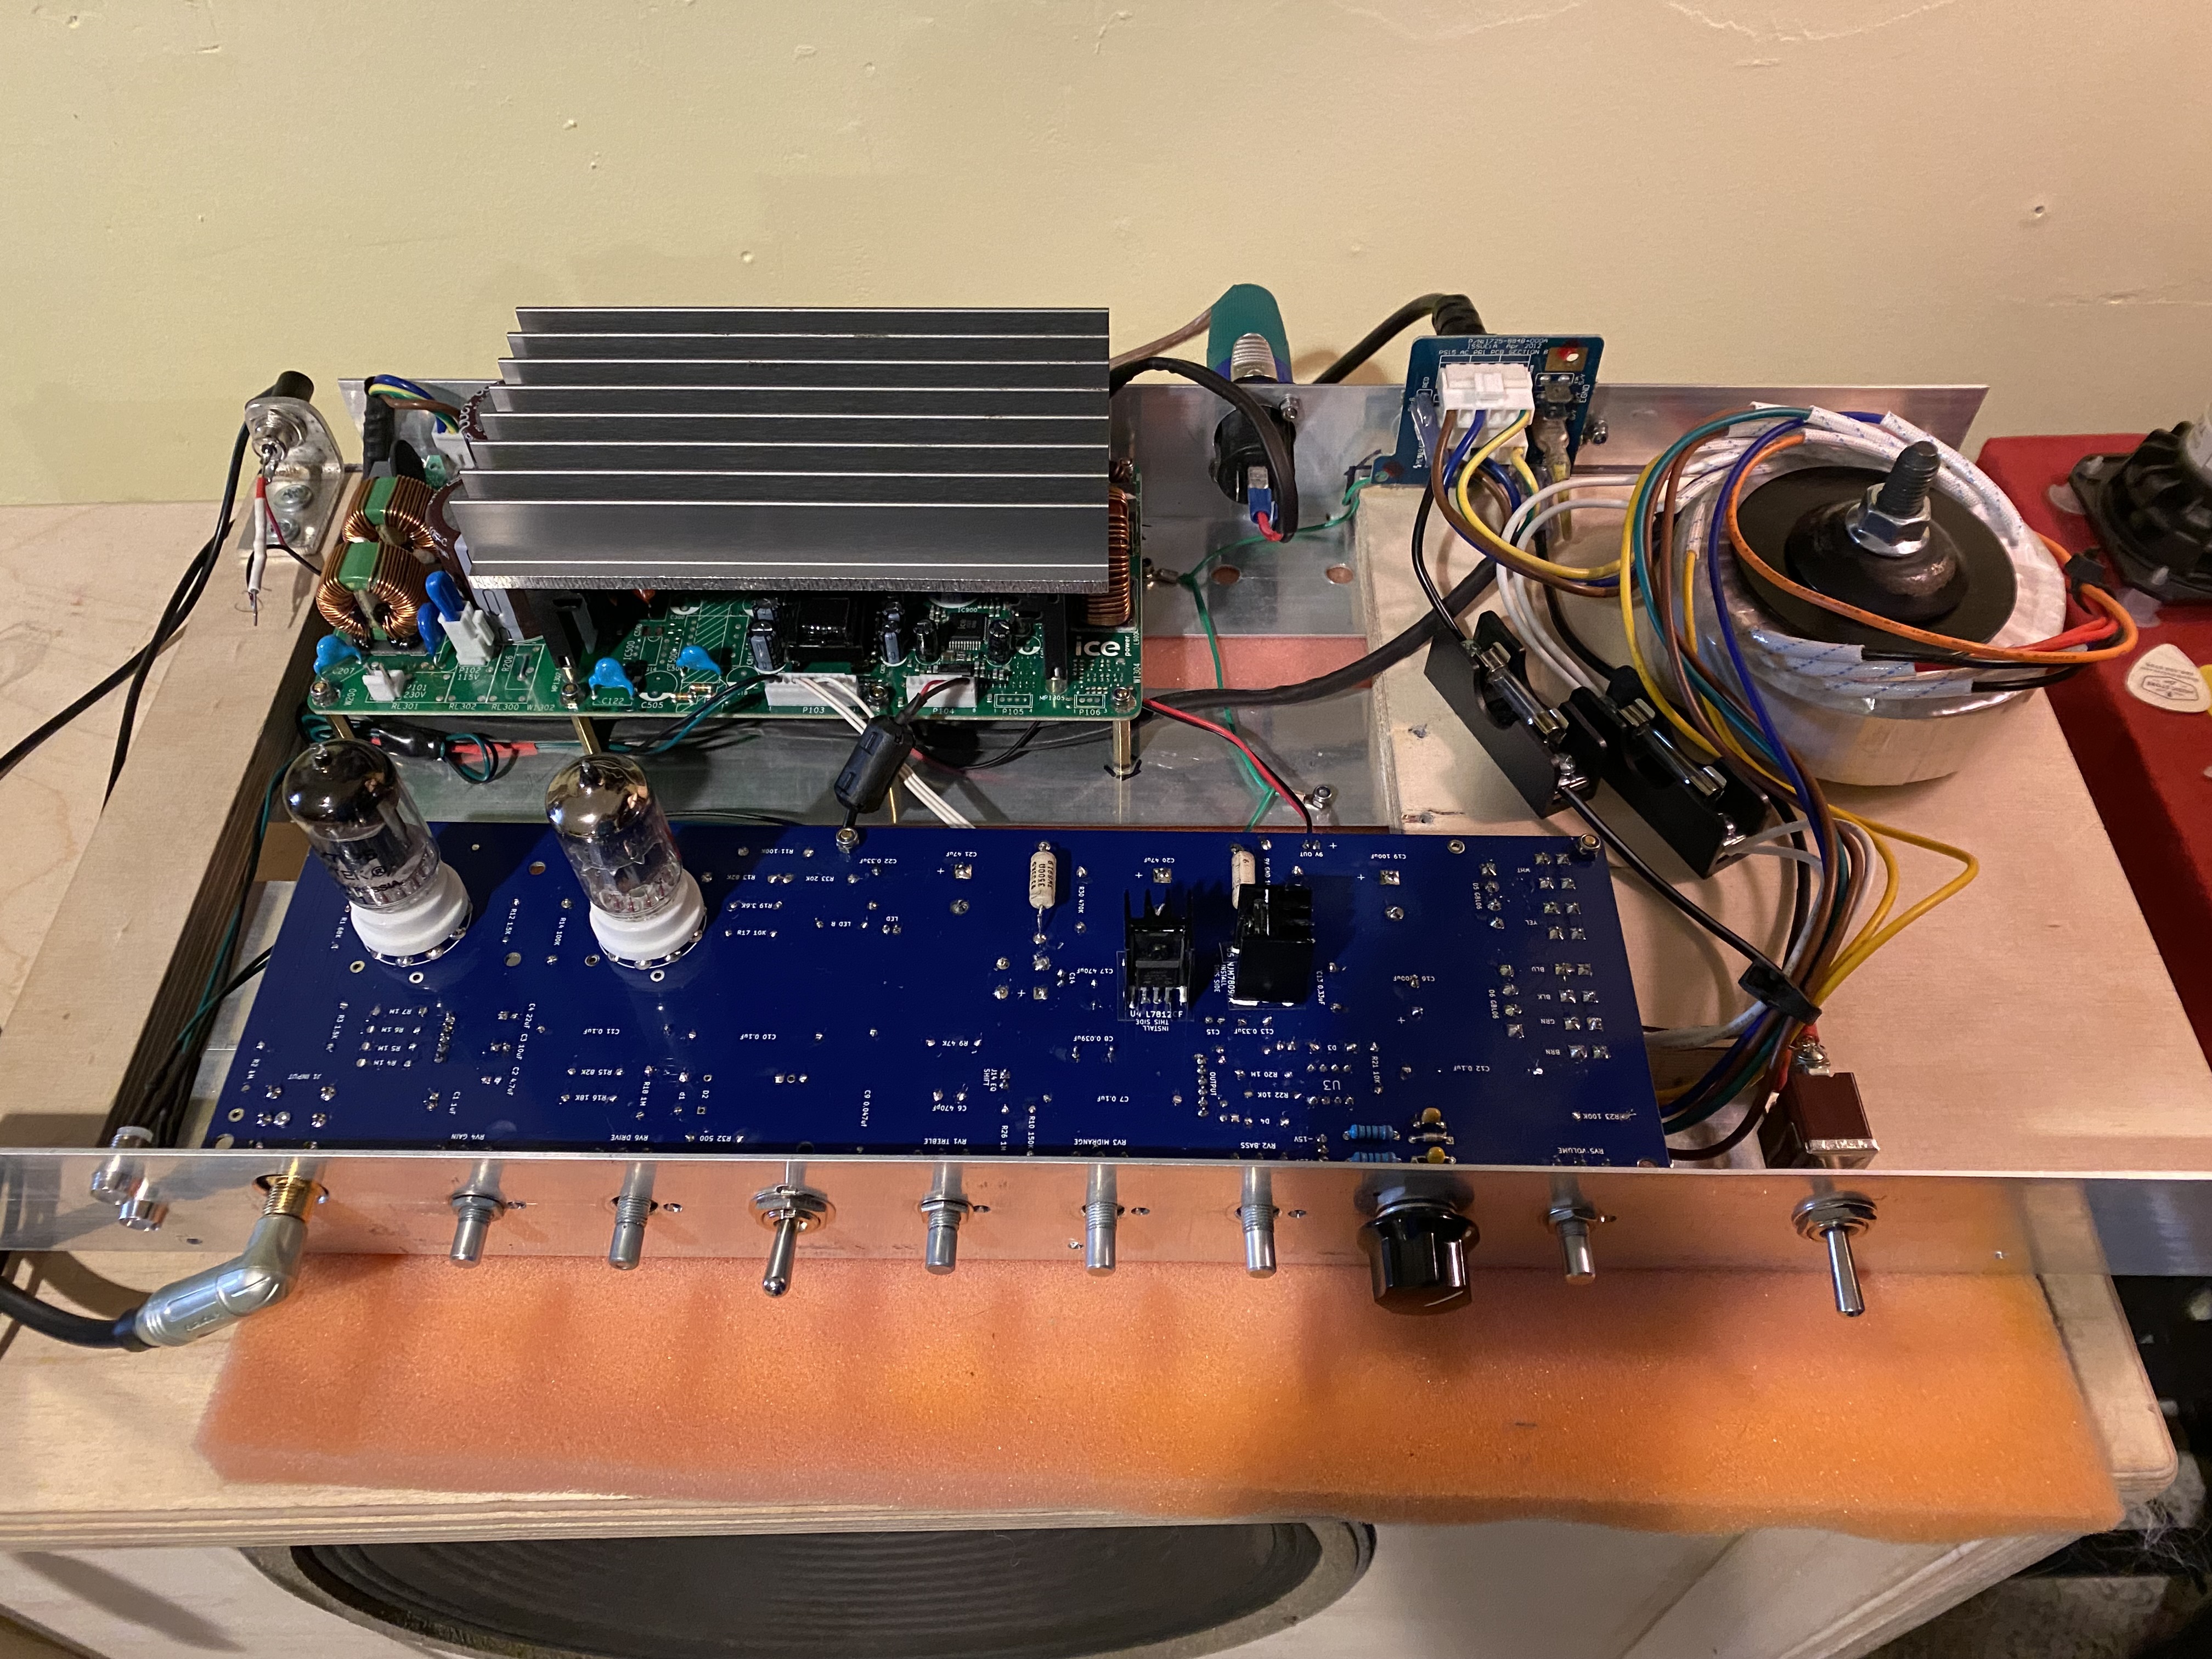
I play in a metal band. It's running at 4 ohm (8-10's), probably 3/4 volume, we can run through 5-6 songs, and I can turn around and lay my hand right on the heat sink.
Just blows my mind.
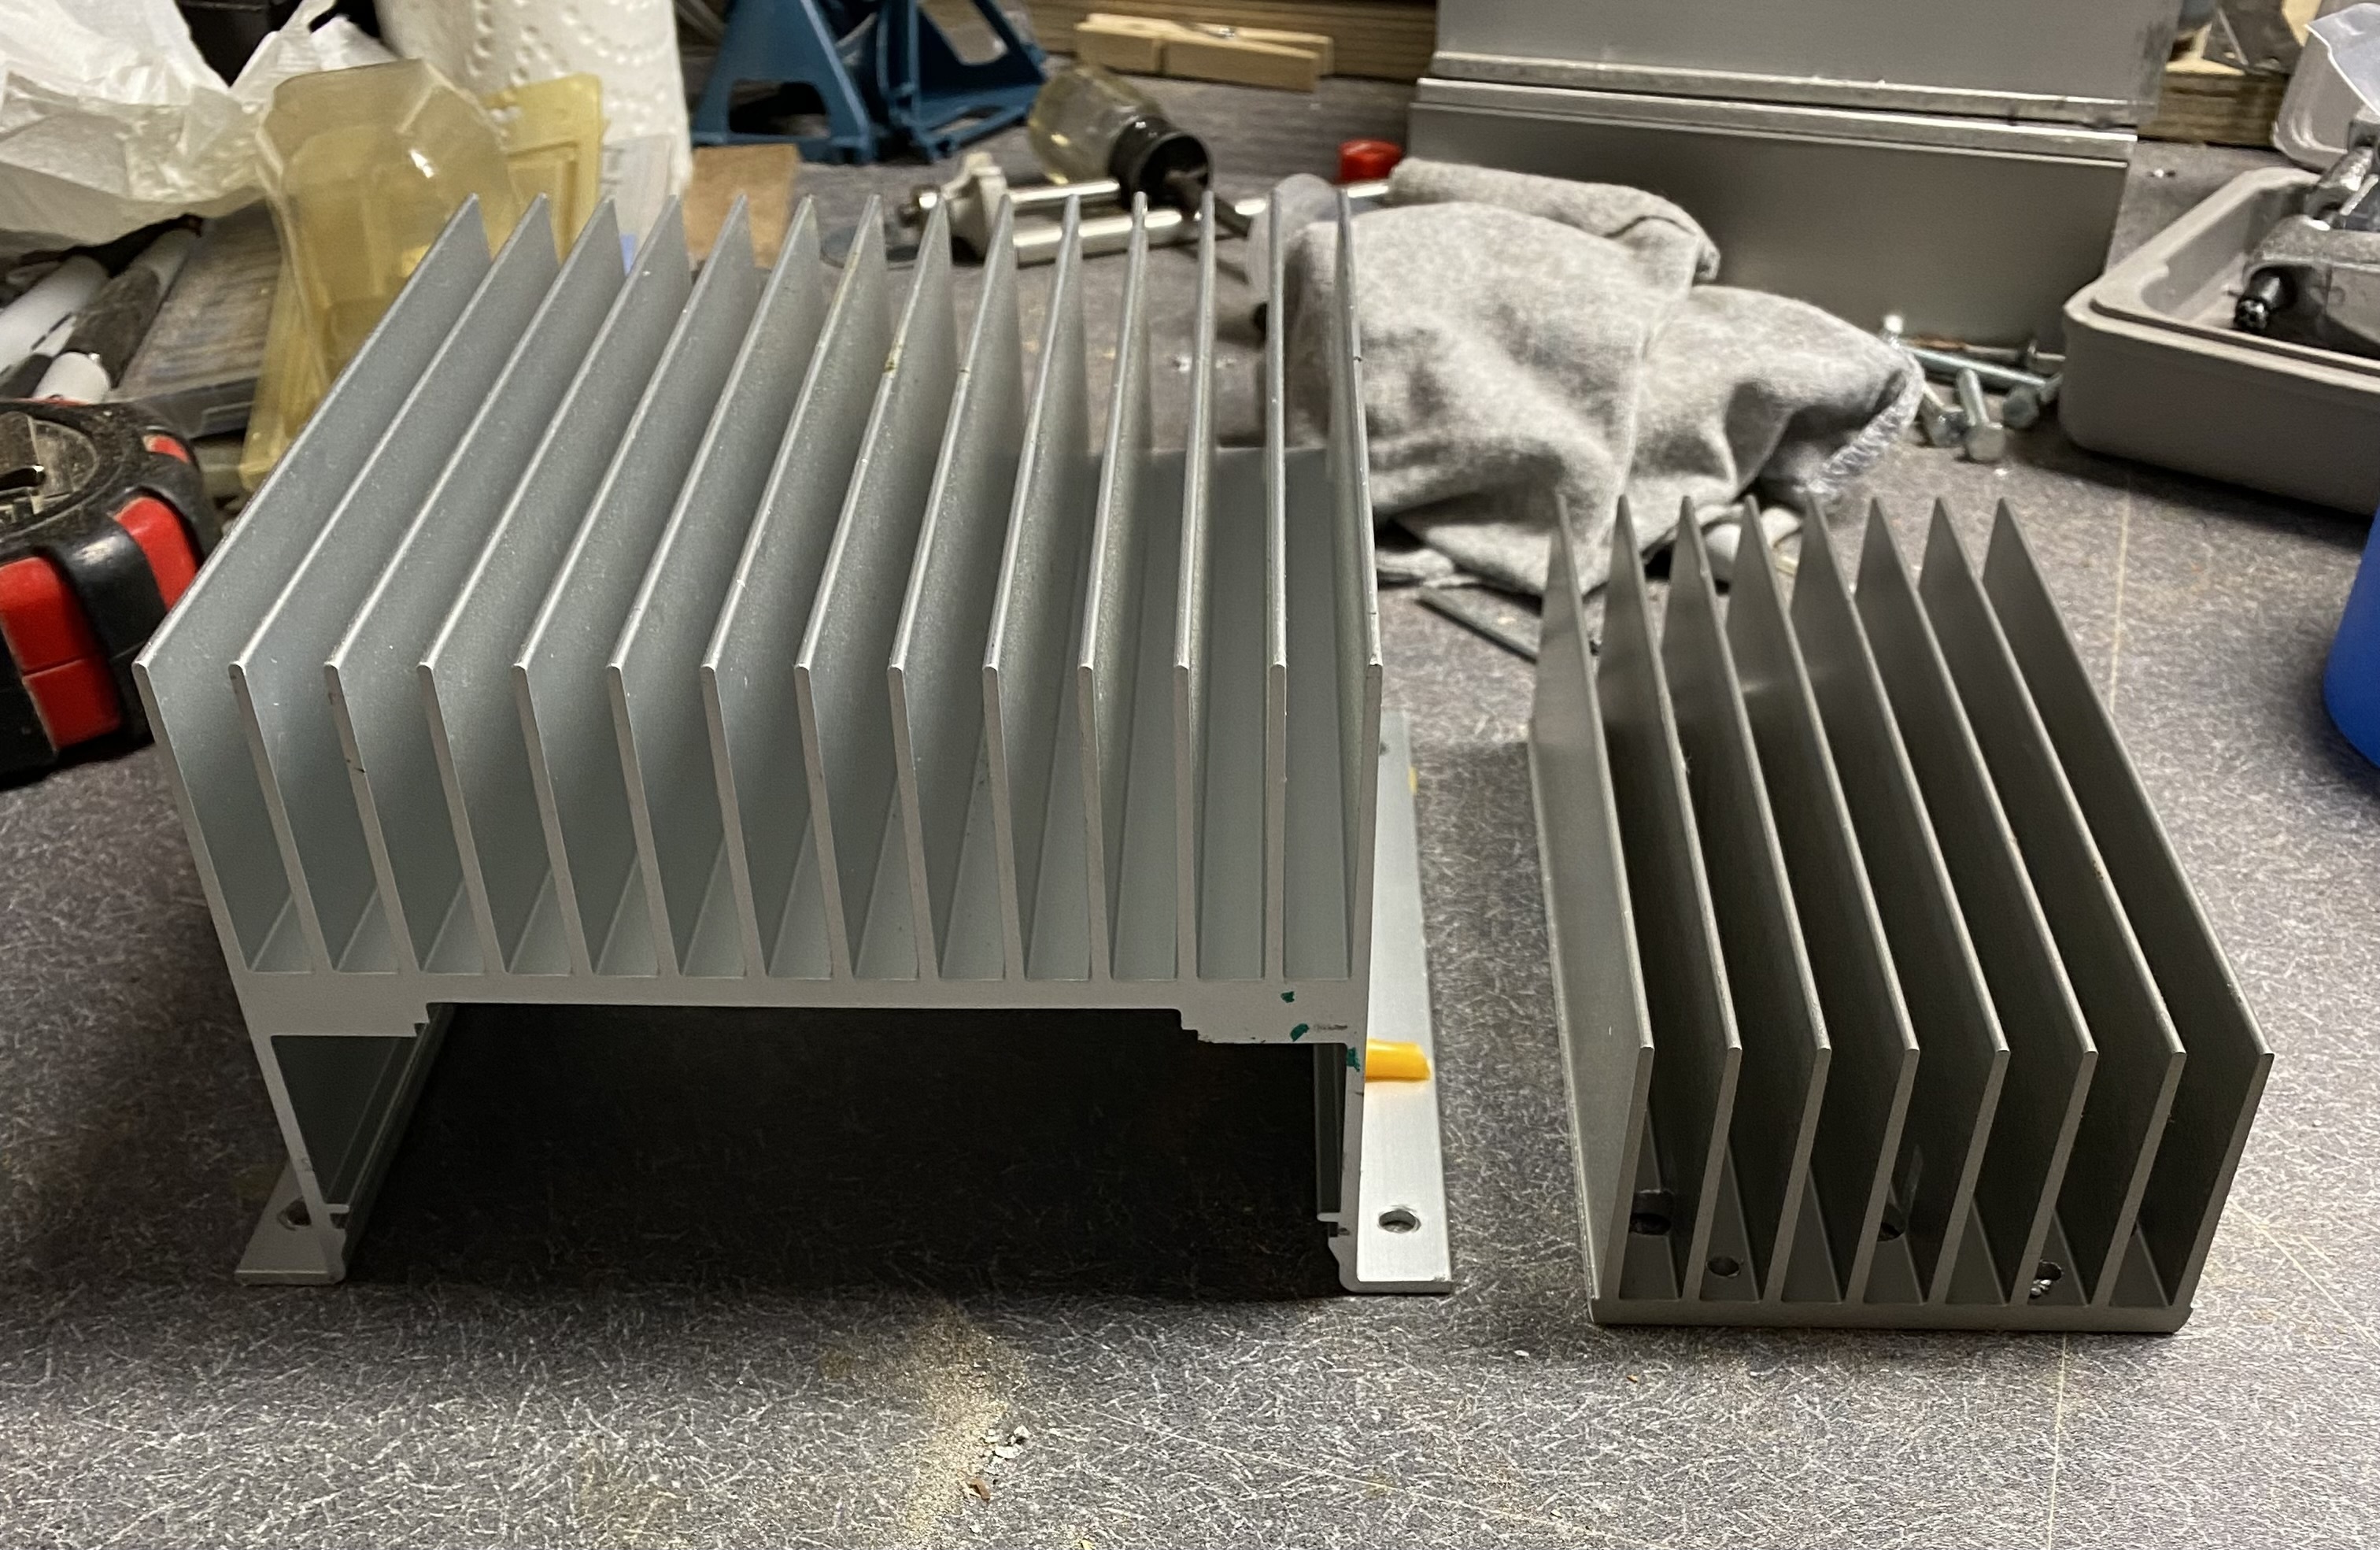
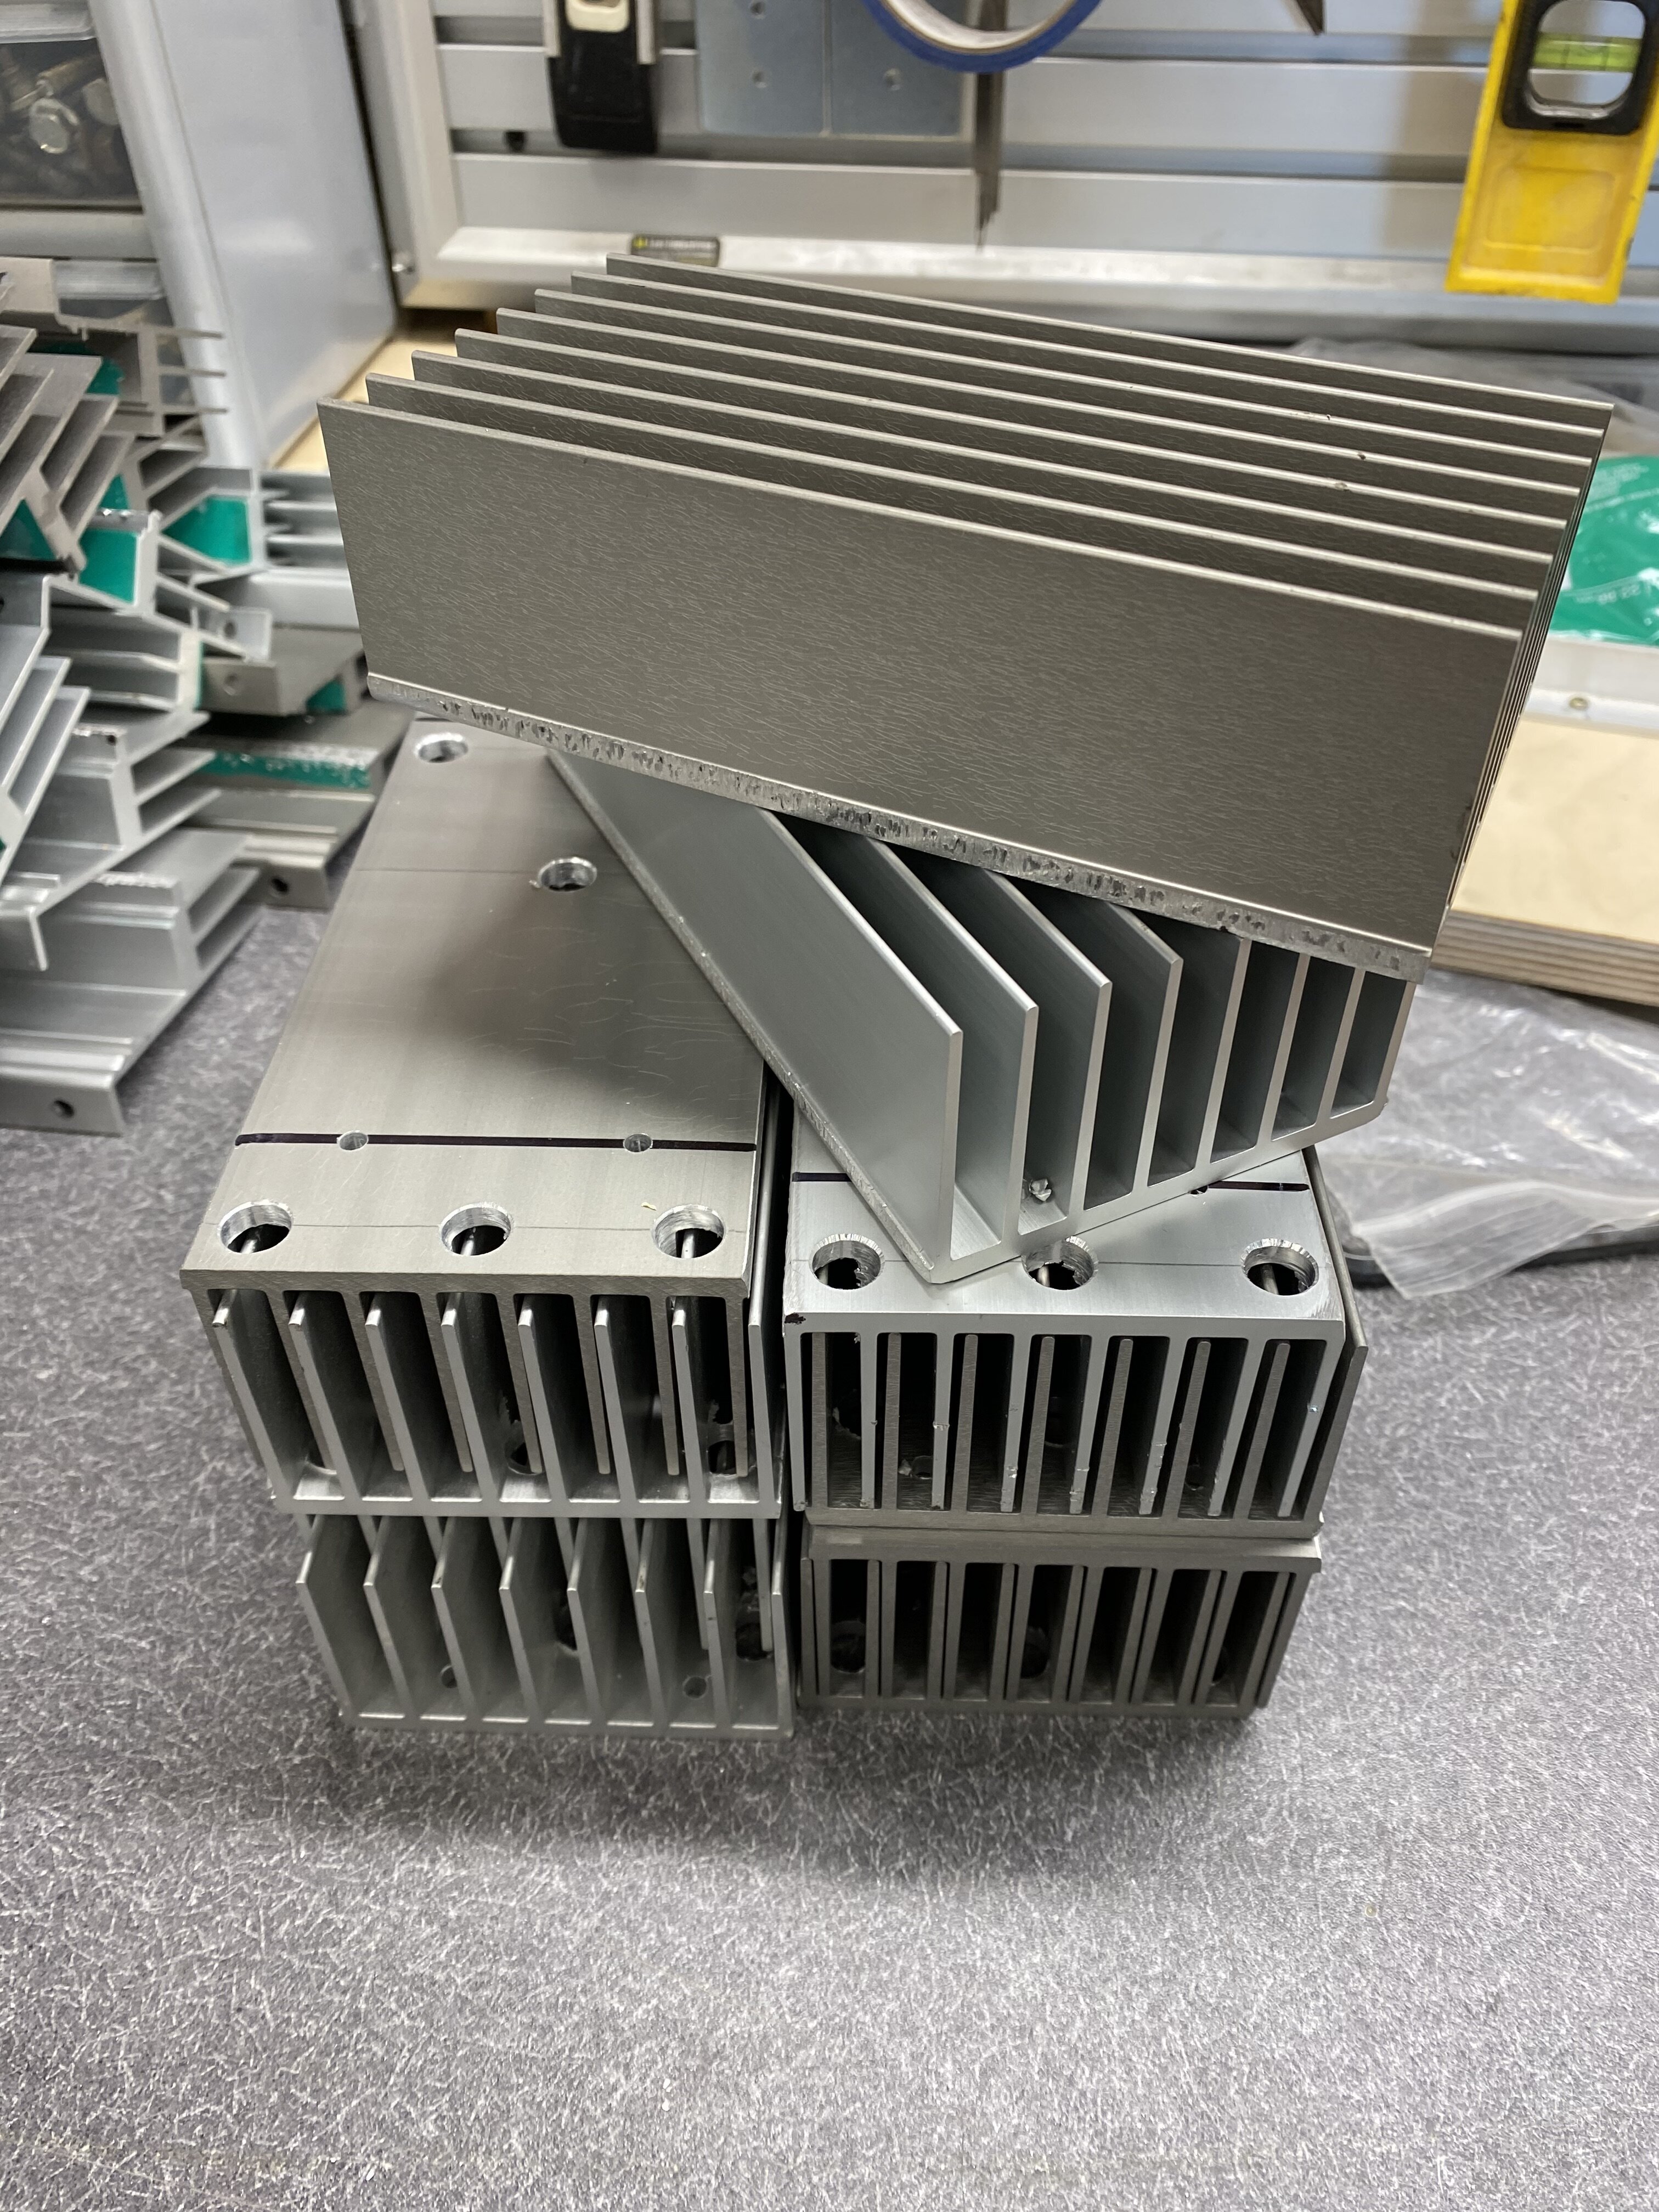
The heat sinks for my actual builds are twice that and will be mounted to an aluminum chassis. A side bonus for working as a repair tech at Bose is access to scrap. The heat sinks are made from heat sinks in one of their subwoofers. I cut them down to what I want and drill all the holes.
I play in a metal band. It's running at 4 ohm (8-10's), probably 3/4 volume, we can run through 5-6 songs, and I can turn around and lay my hand right on the heat sink.
Just blows my mind.
The heat sinks for my actual builds are twice that and will be mounted to an aluminum chassis. A side bonus for working as a repair tech at Bose is access to scrap. The heat sinks are made from heat sinks in one of their subwoofers. I cut them down to what I want and drill all the holes.

@6thplanet
Very nice progress.
Post #14 contains your name and home address. A security issue that's best deleted.
Very nice progress.
Post #14 contains your name and home address. A security issue that's best deleted.

Thanks beans, I've reported it and asked for permission to edit the post.
Man, making one of something is pretty easy, but ten...damn. Definitely takes some time. Luckily I like doing this sorta thing, buts it's the first time I've tried replicating something of this level.
Amplifier shells built. I used 3/4" Sande ply from Home Depot. I chose this because of the light weight. It's plenty strong for this application and is nice to work with. The few voids that showed up were puttied up.
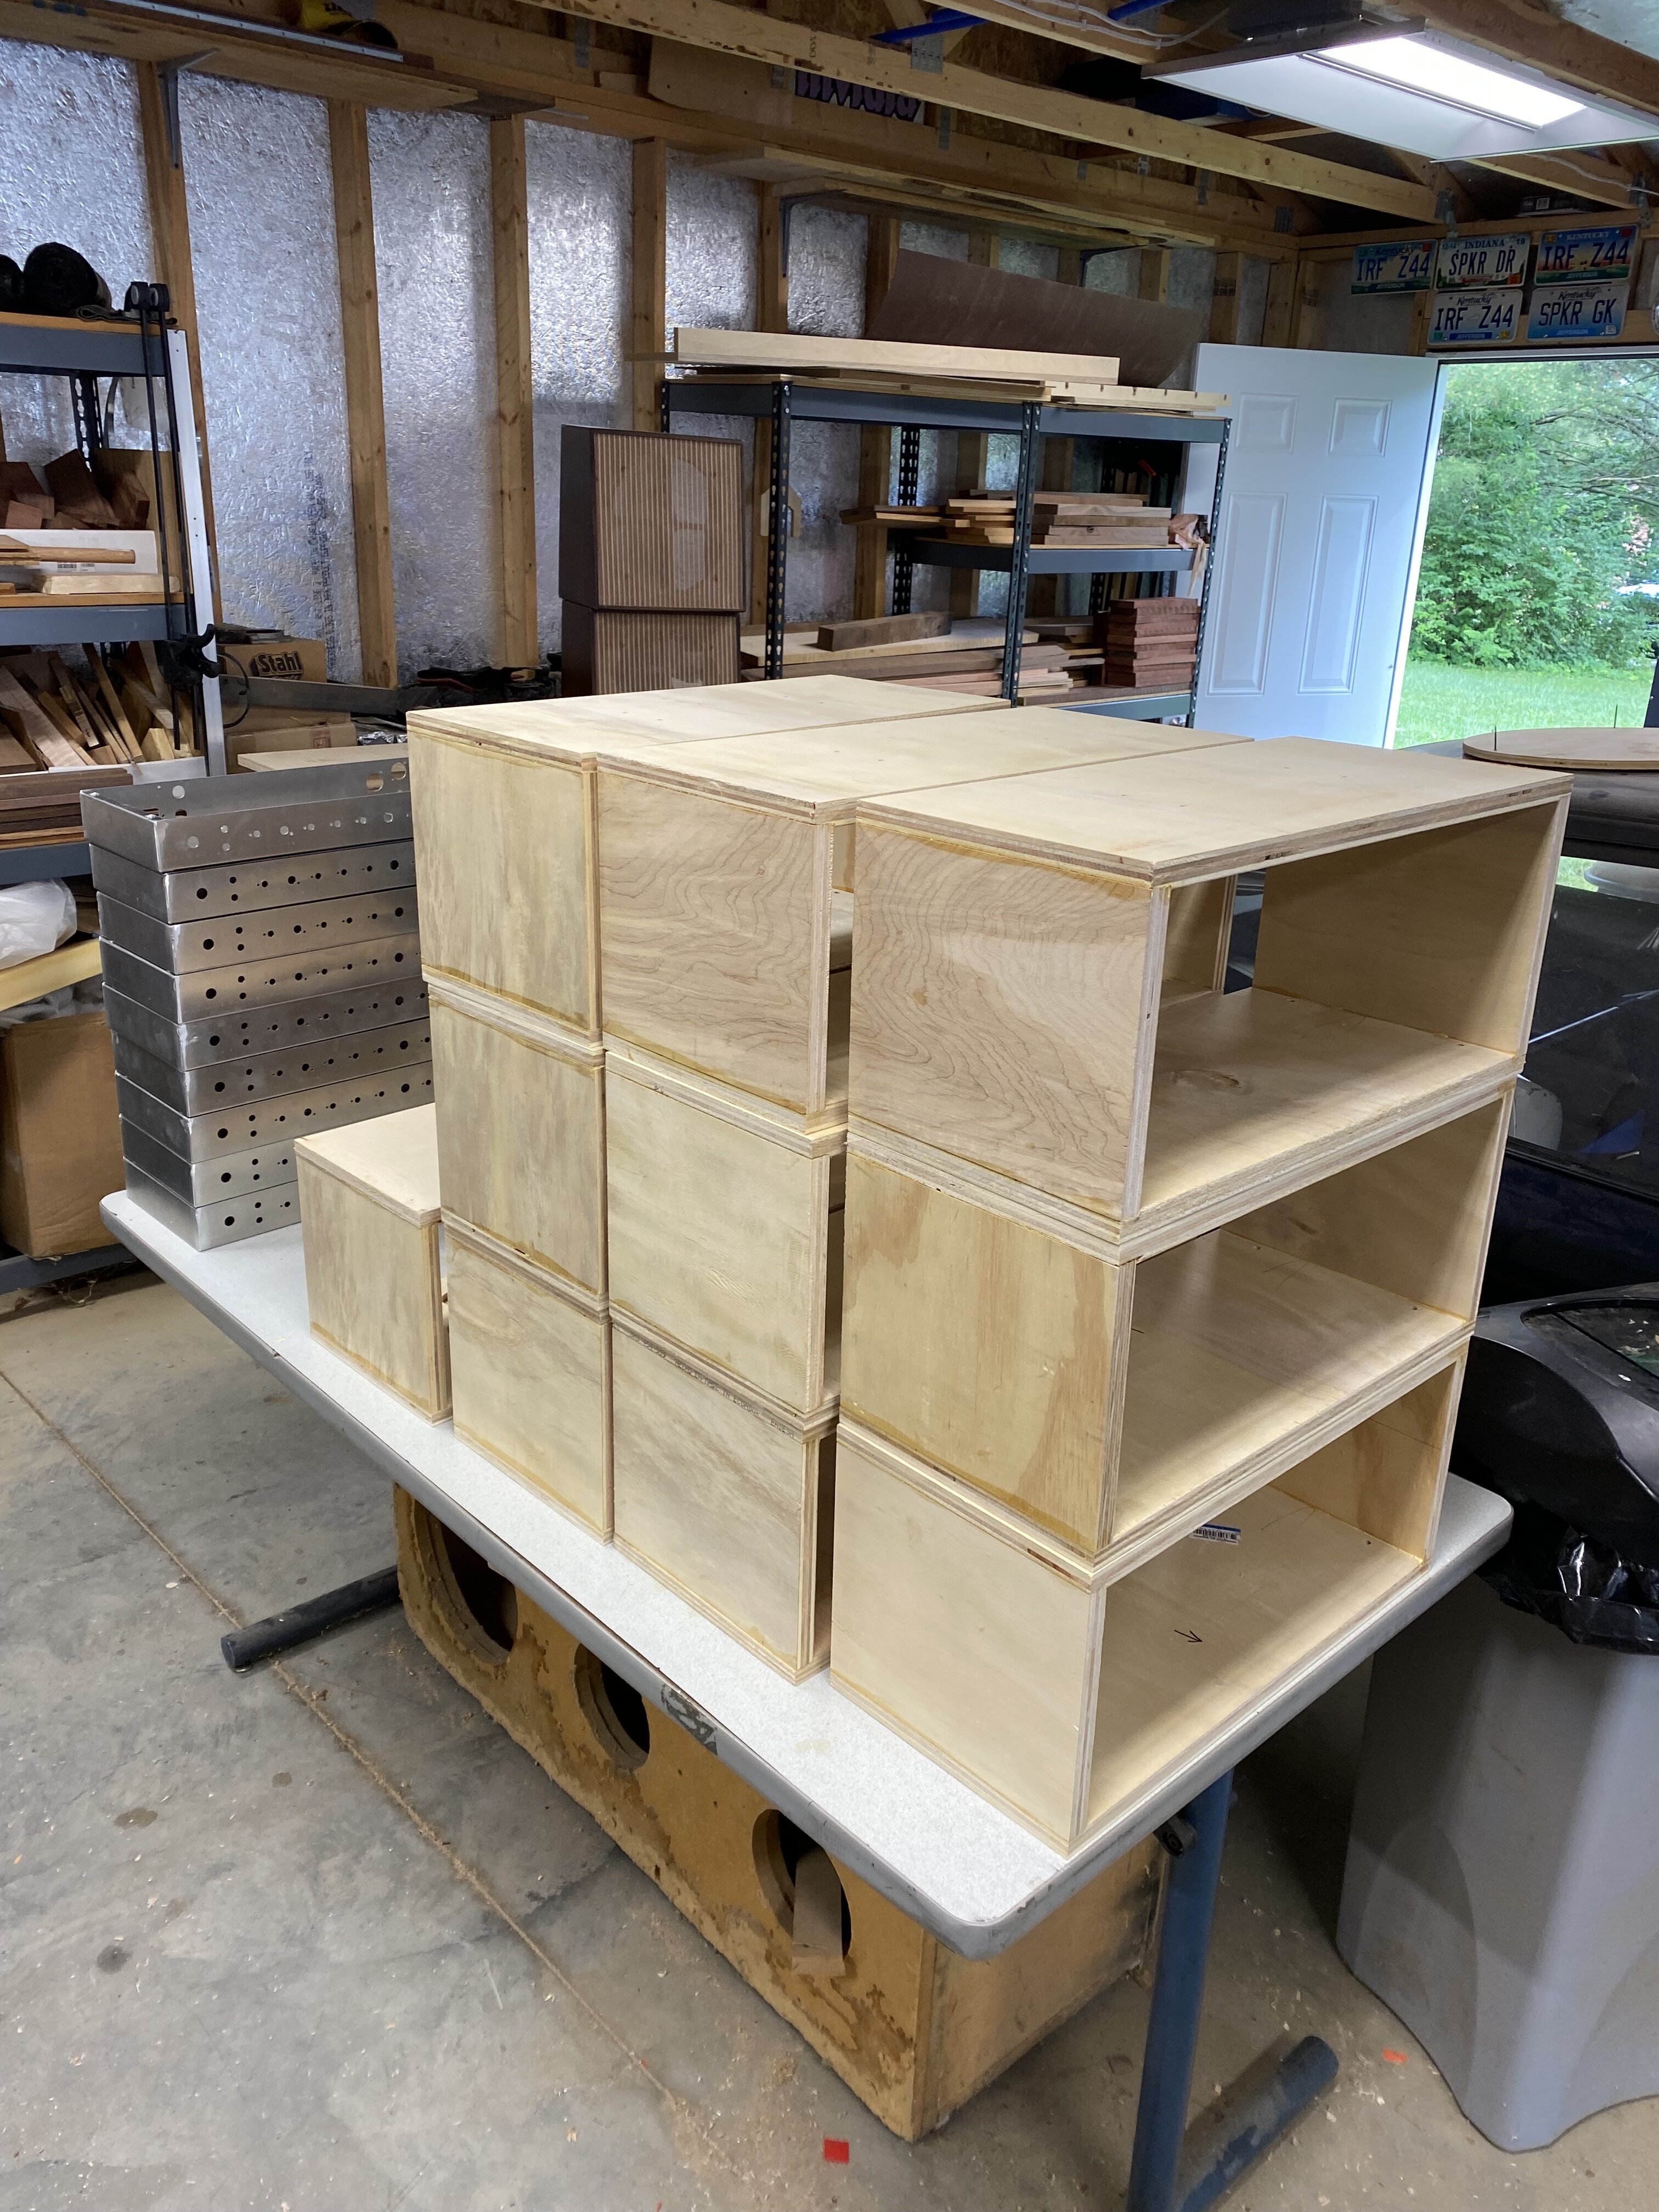
Everything got a 3/8 round over, vent hole drilled in the bottom, and sanded.
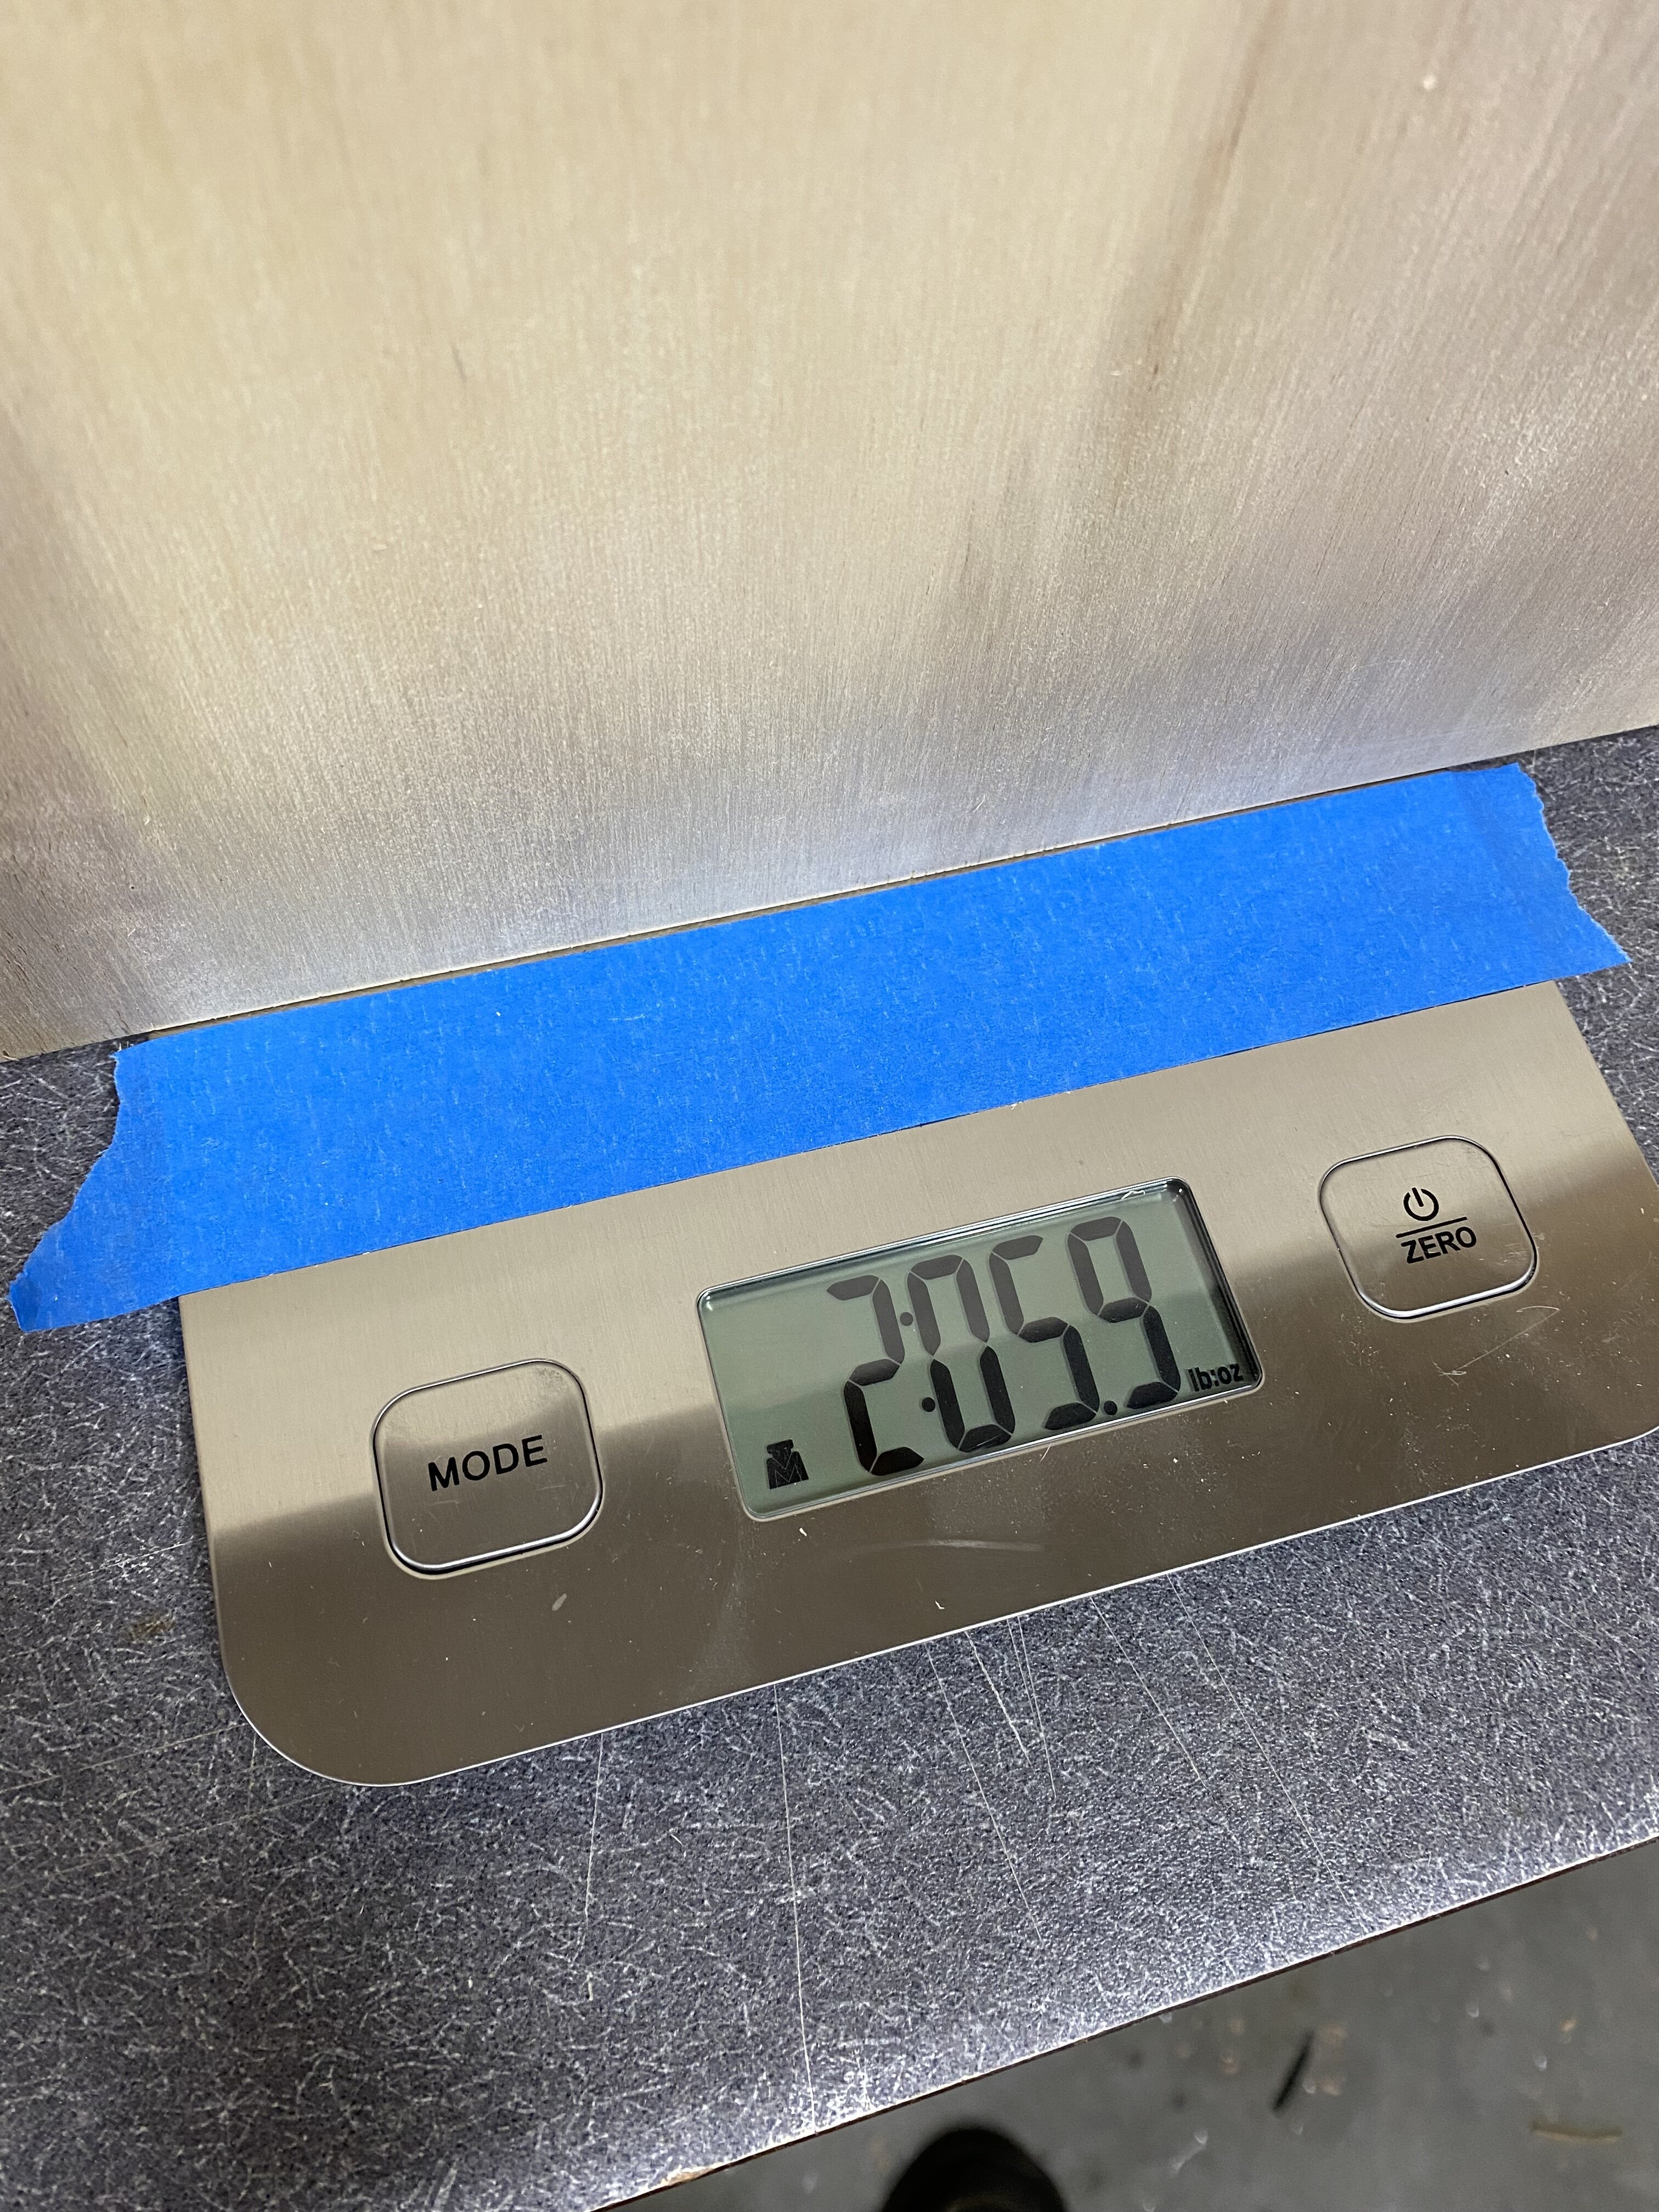
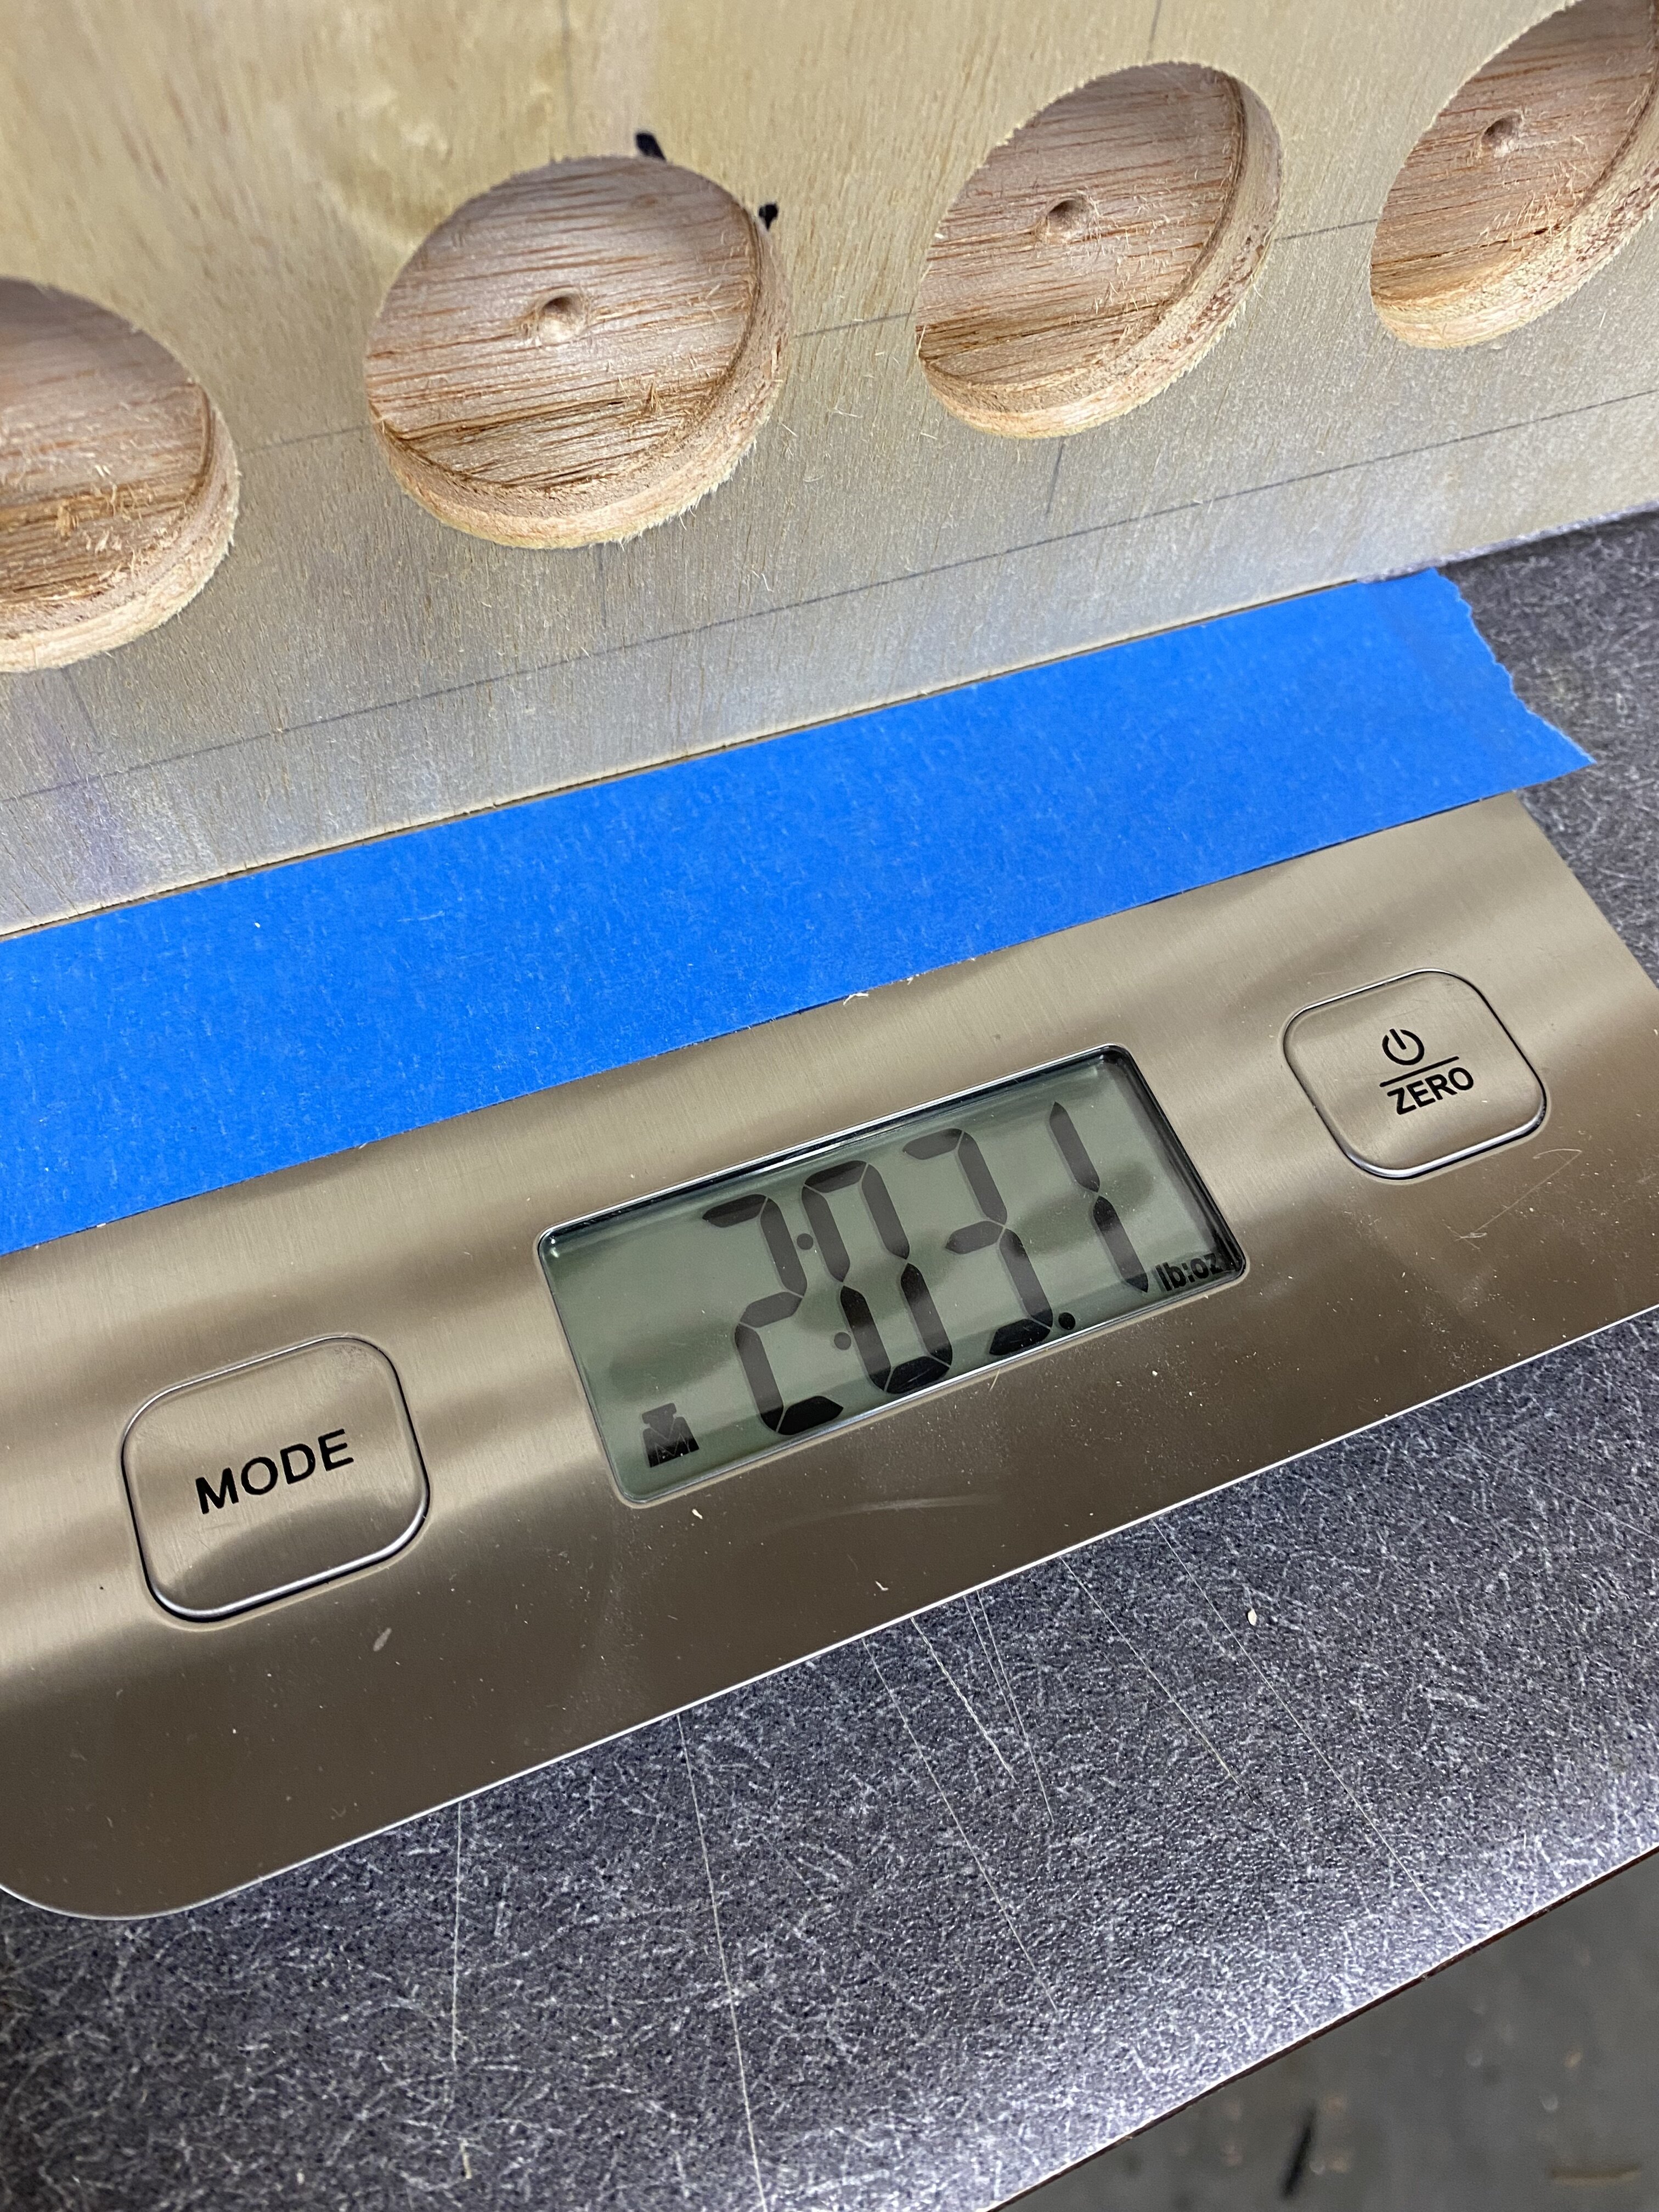
I did an experiment to lessen the weight a bit more. Drilled one of the panels with "speed holes" about half way through. In the end, not worth the time.
Amplifier shells built. I used 3/4" Sande ply from Home Depot. I chose this because of the light weight. It's plenty strong for this application and is nice to work with. The few voids that showed up were puttied up.
Everything got a 3/8 round over, vent hole drilled in the bottom, and sanded.
I did an experiment to lessen the weight a bit more. Drilled one of the panels with "speed holes" about half way through. In the end, not worth the time.
For fun, since Home Depot probably does provide specs… You can weigh a cutoff and extrapolate how much a sheet should weigh or estimate the wood weight of a cabinet. A rough estimate of the finished cab weight.
True, but that wouldn't tell me what this did to it.
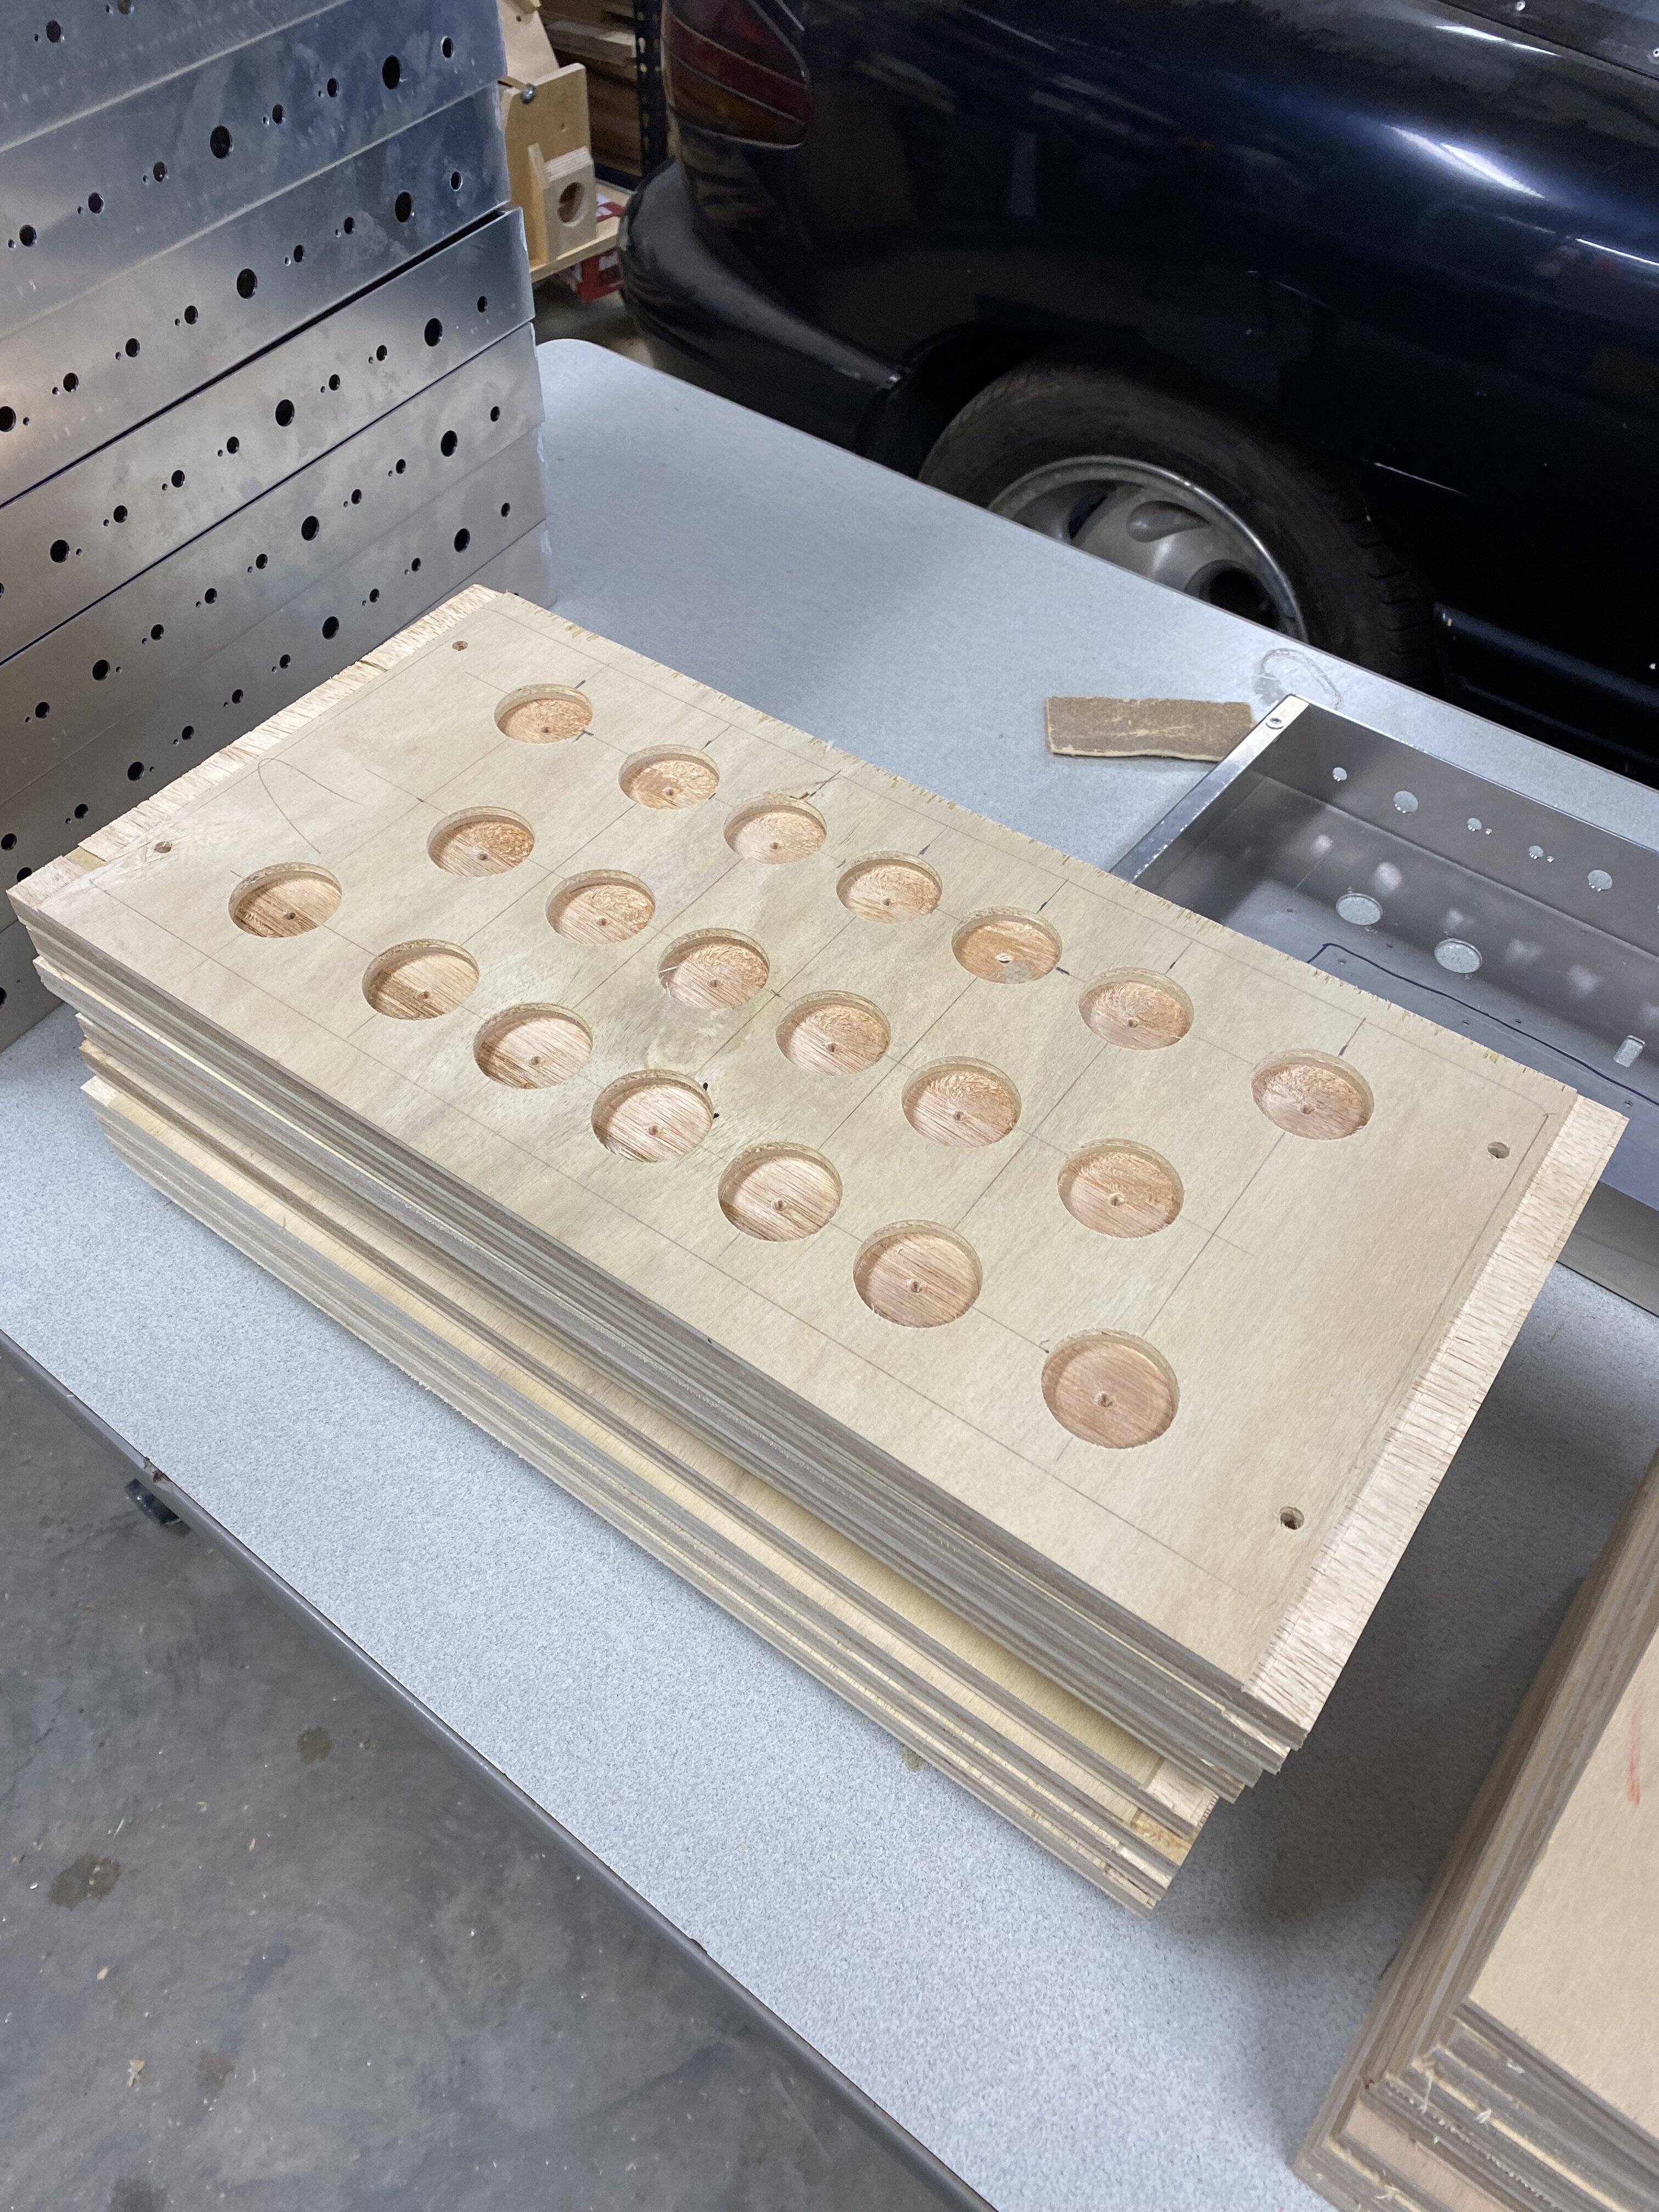
Having to layout, drill, and sand all those holes for 3oz, no thanks. These things aren't going to be that heavy, predicting maybe 15-20ibs?
I assumed it wouldn't be much with the weight of this particular plywood, but I like to experiment.
Having to layout, drill, and sand all those holes for 3oz, no thanks. These things aren't going to be that heavy, predicting maybe 15-20ibs?
I assumed it wouldn't be much with the weight of this particular plywood, but I like to experiment.
Guess I should address the elephant in the room. This is not a commercial endeavor. I am not getting into the amplifier making business.
Thing is every time I make custom things for myself, inevitably people ask "why don't you sell these?" or "how much to make me one?" Normally it's...well it's a lot of work and just not what I want to do. I have sold a few of my home speaker builds to friends...at a monetary loss, but I can't keep all of them and I know they'll be well cared for.
When I started this project, I felt like it was worth it to try to replicate. I know as people see and hear it, the question will be asked. So I decided to make ten. As I'm writing this, three are already spoken for. The others will be sold of locally.
I feel that if someone is going to like this amp, they should play it with their equipment. Take it on a gig or whatever. Dealing with shipping and all that at this point doesn't entice me. I'd love for everyone to check one out, but as mentioned before, just making ten of these is monetarily and time consuming.
Thing is every time I make custom things for myself, inevitably people ask "why don't you sell these?" or "how much to make me one?" Normally it's...well it's a lot of work and just not what I want to do. I have sold a few of my home speaker builds to friends...at a monetary loss, but I can't keep all of them and I know they'll be well cared for.
When I started this project, I felt like it was worth it to try to replicate. I know as people see and hear it, the question will be asked. So I decided to make ten. As I'm writing this, three are already spoken for. The others will be sold of locally.
I feel that if someone is going to like this amp, they should play it with their equipment. Take it on a gig or whatever. Dealing with shipping and all that at this point doesn't entice me. I'd love for everyone to check one out, but as mentioned before, just making ten of these is monetarily and time consuming.
The thing about custom pieces is the individuality. Making all these amps look the same isn't happening. I decided on three different tolex options (hint to a previous thread) and several different woods for the front panels.
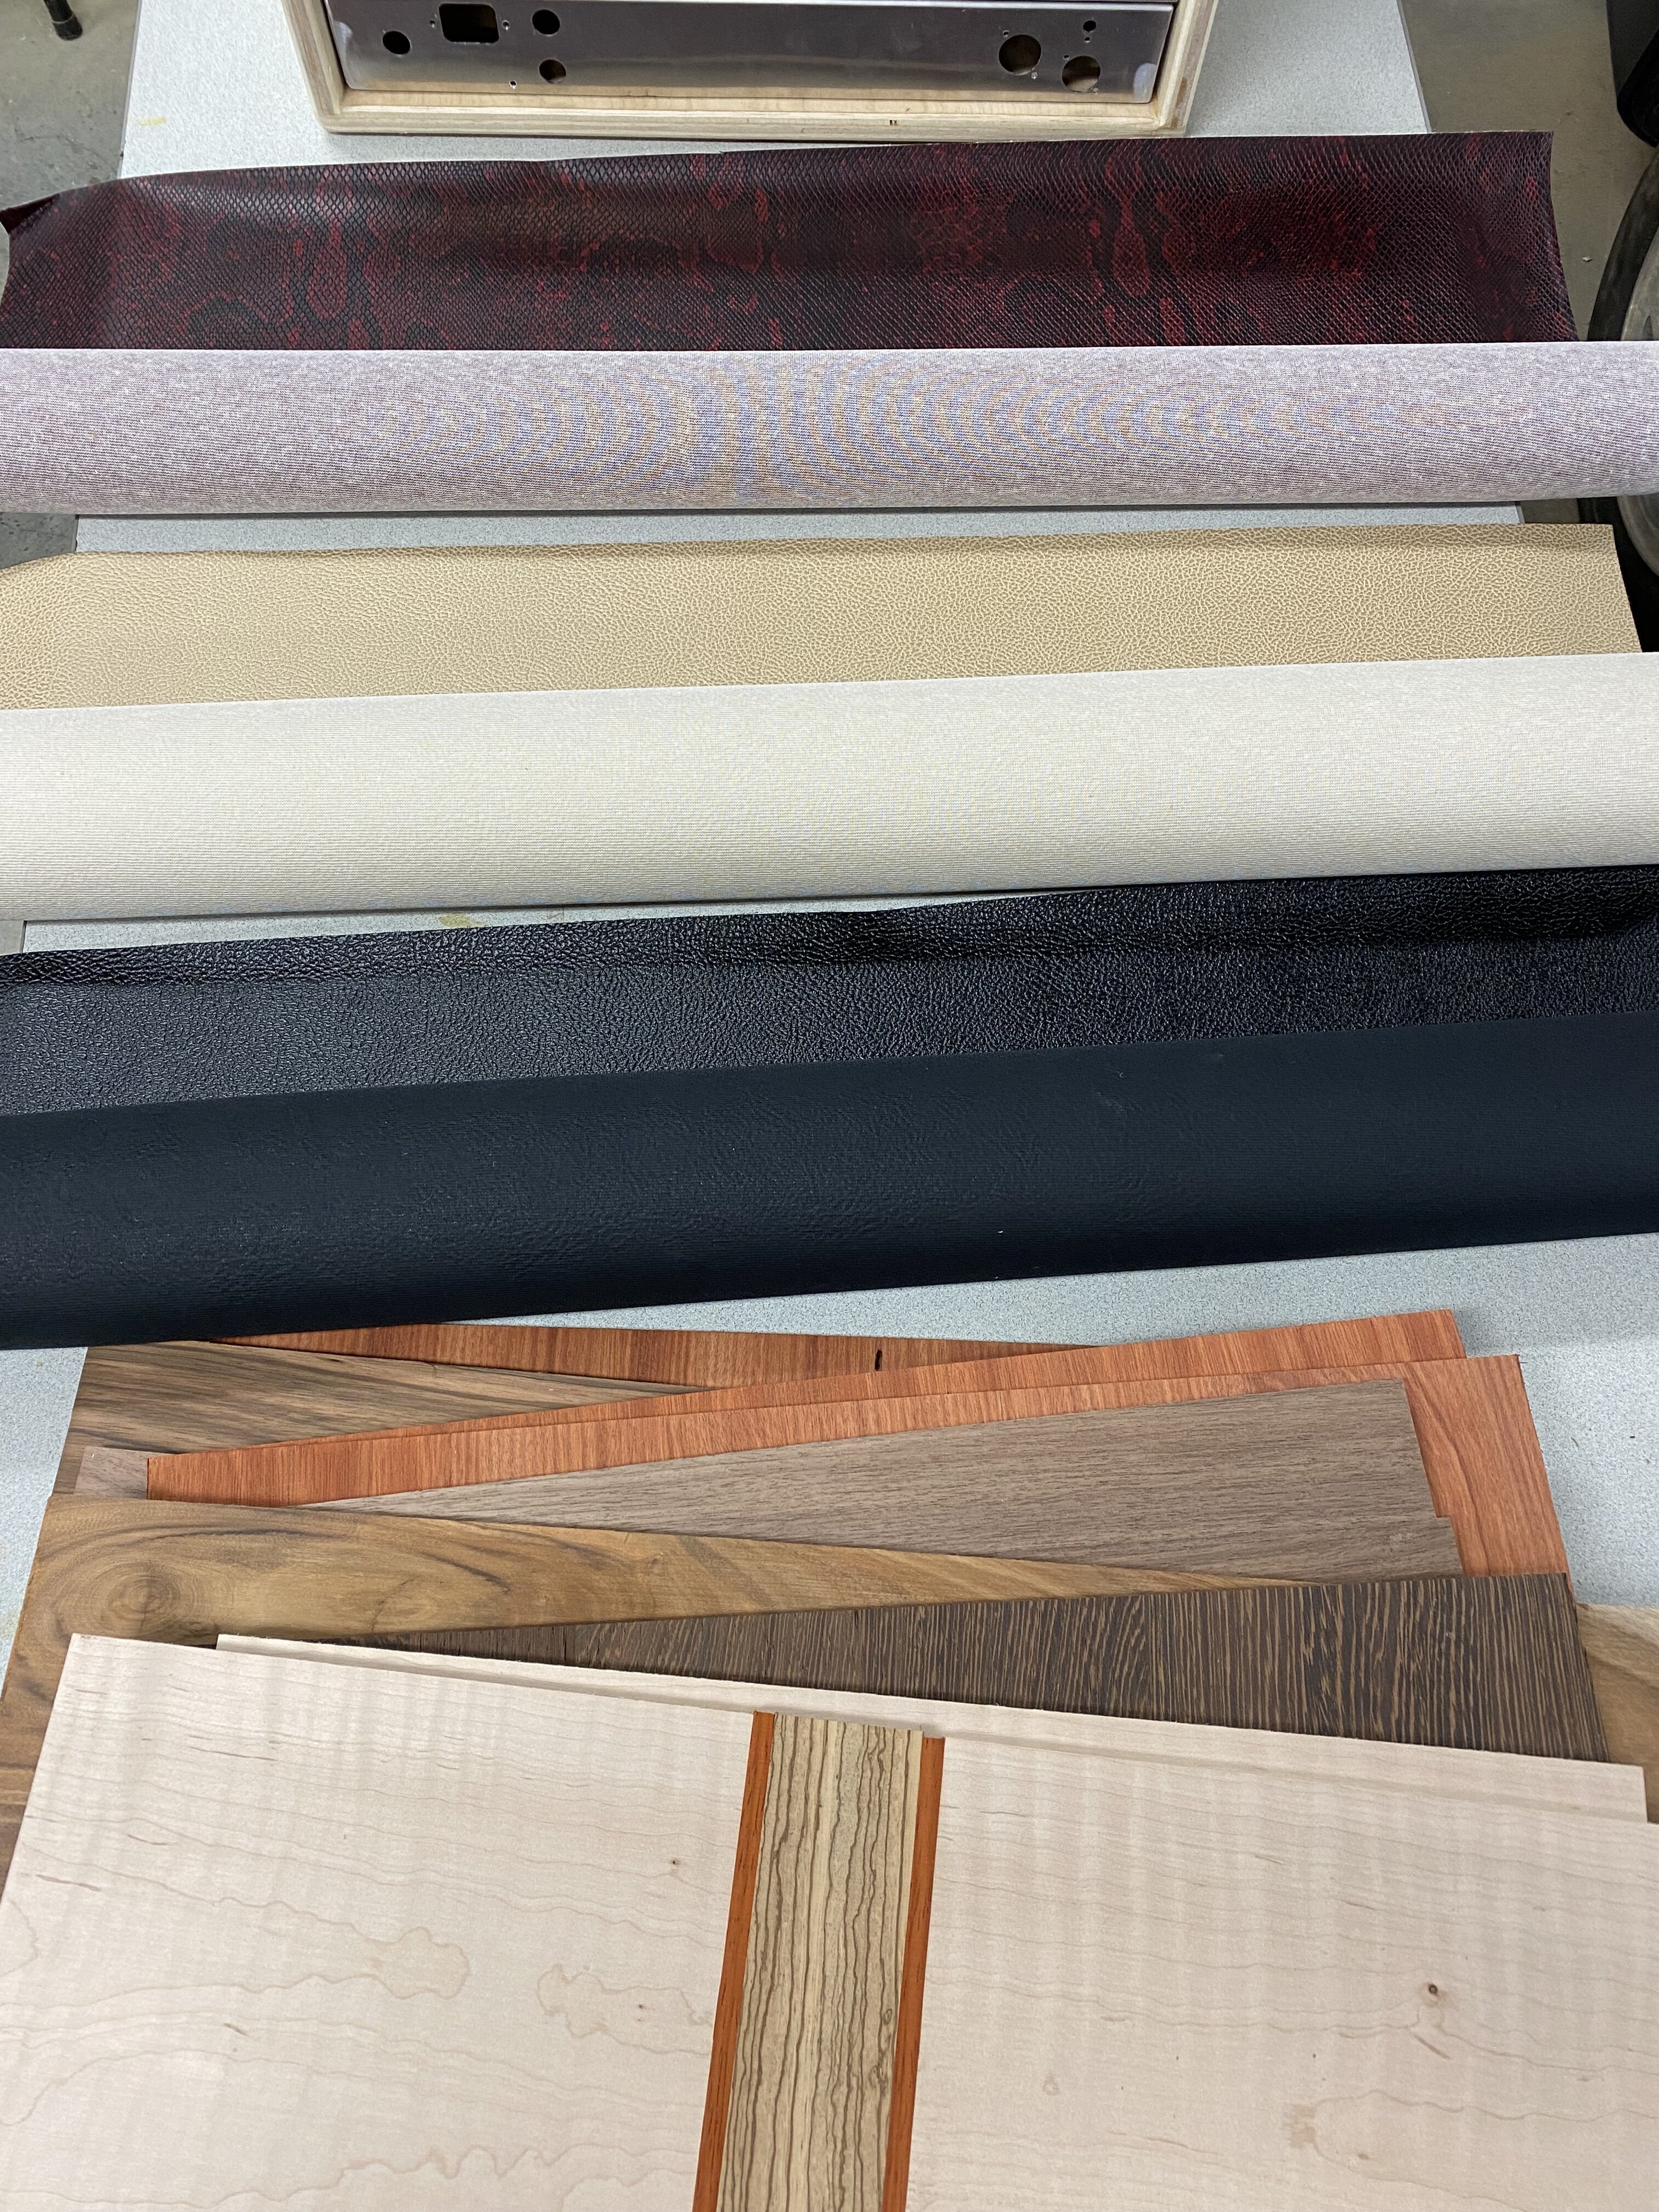
The tolex work is the least fun, but very high up on the rewarding scale. It's kinda a PITA. Once they're covered though...
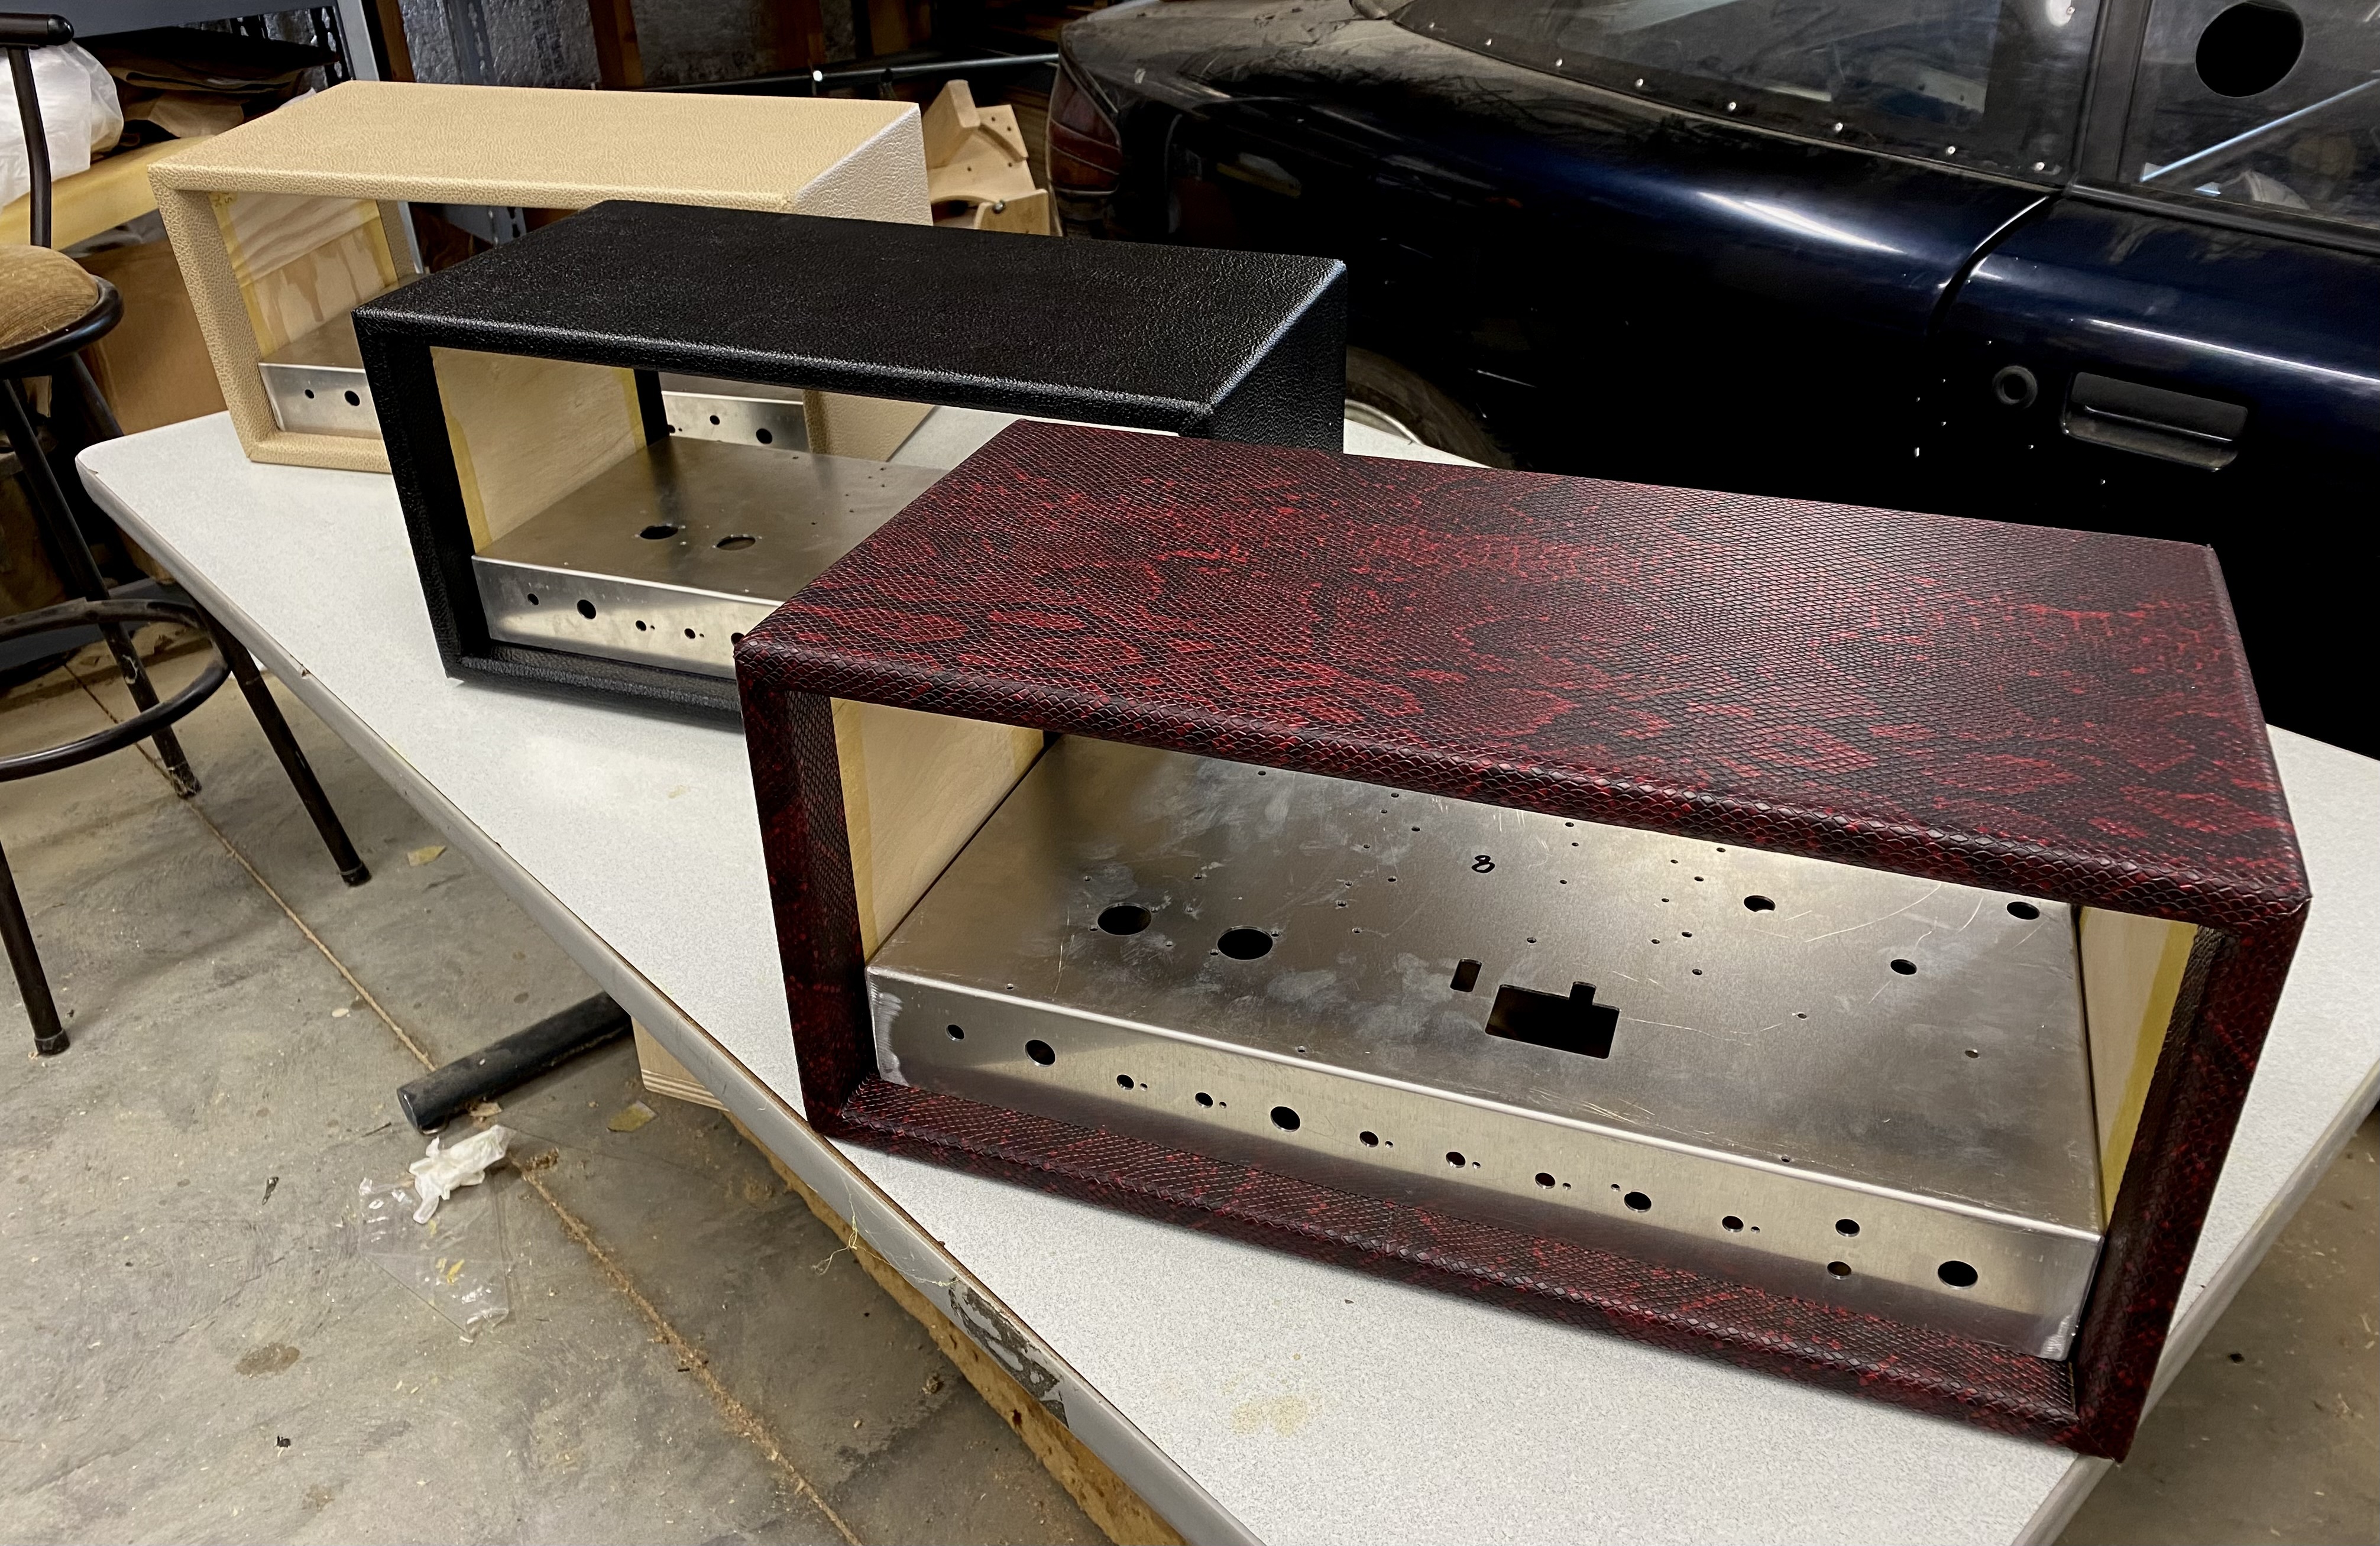
I'm probably 80ish% on the corner seams, but that's what fancy corner hardware is for.
The tolex work is the least fun, but very high up on the rewarding scale. It's kinda a PITA. Once they're covered though...
I'm probably 80ish% on the corner seams, but that's what fancy corner hardware is for.
Thanks for the openness! If you ever decide to ship one, I'd definitely be interested.
Eitherway, I'm in awe of the overall talent to do all the components of this. One day, I plan to be even a fraction of that capable.
Eitherway, I'm in awe of the overall talent to do all the components of this. One day, I plan to be even a fraction of that capable.
Got all the front panels cut.
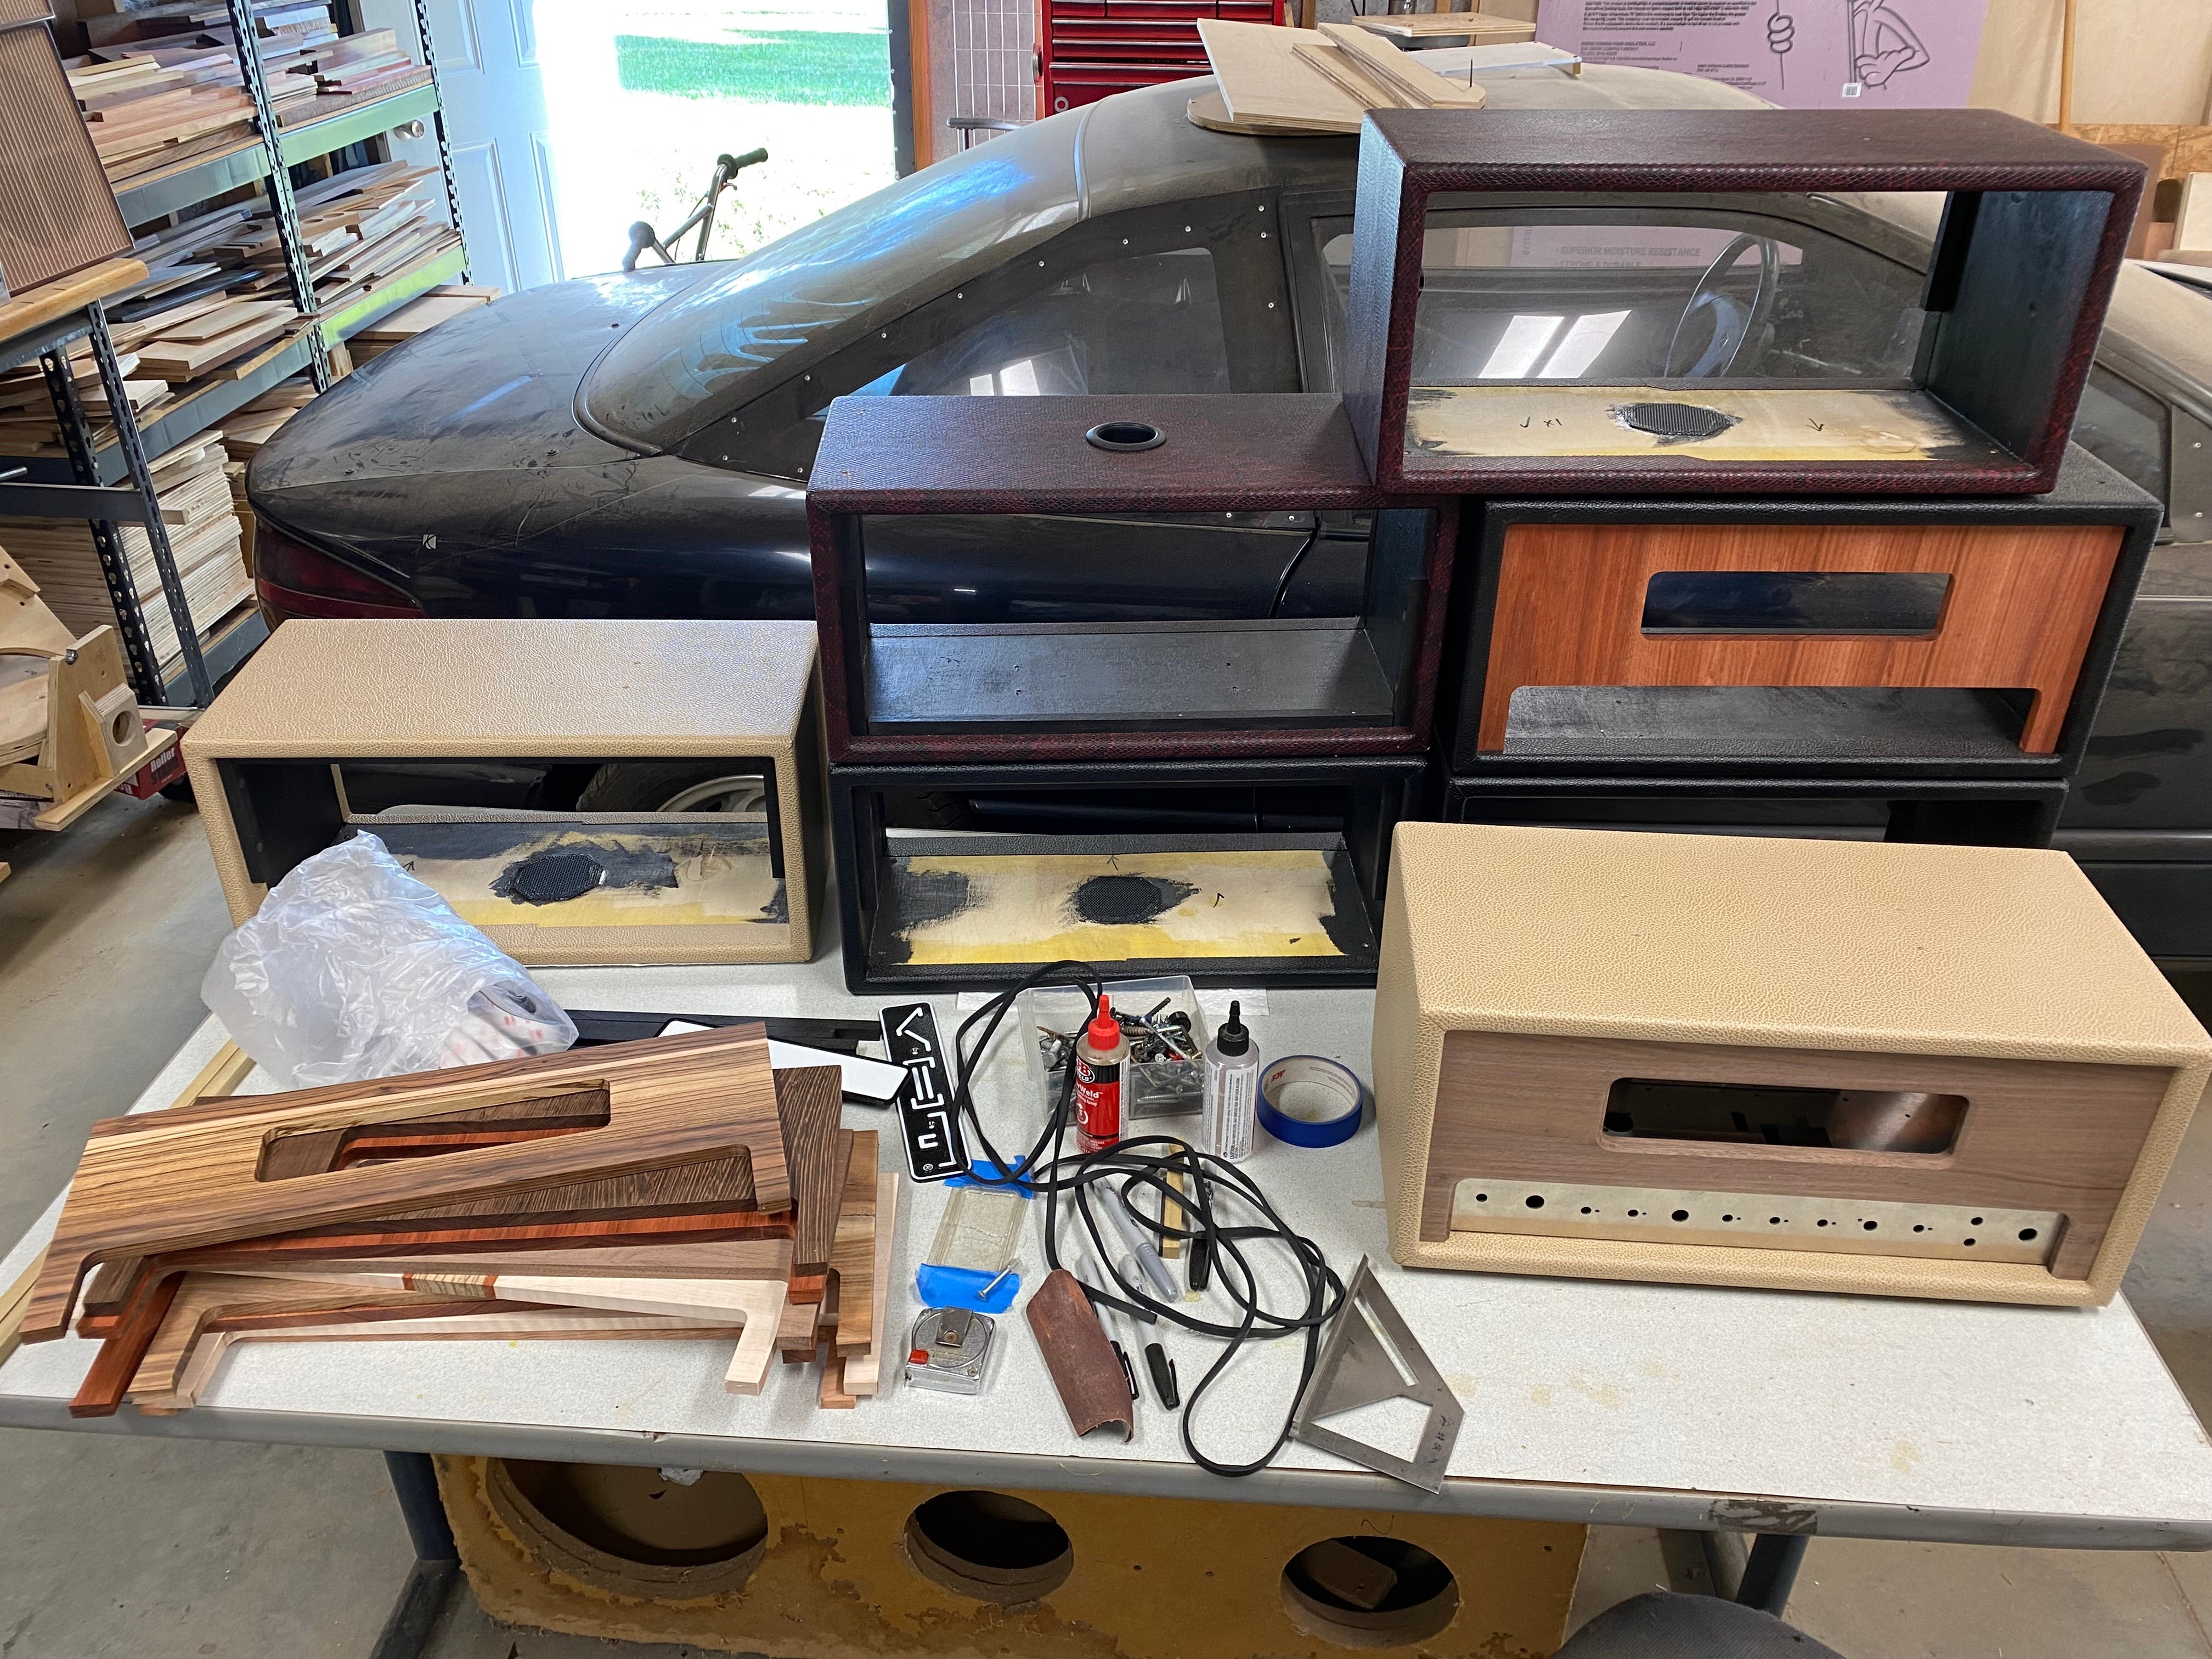
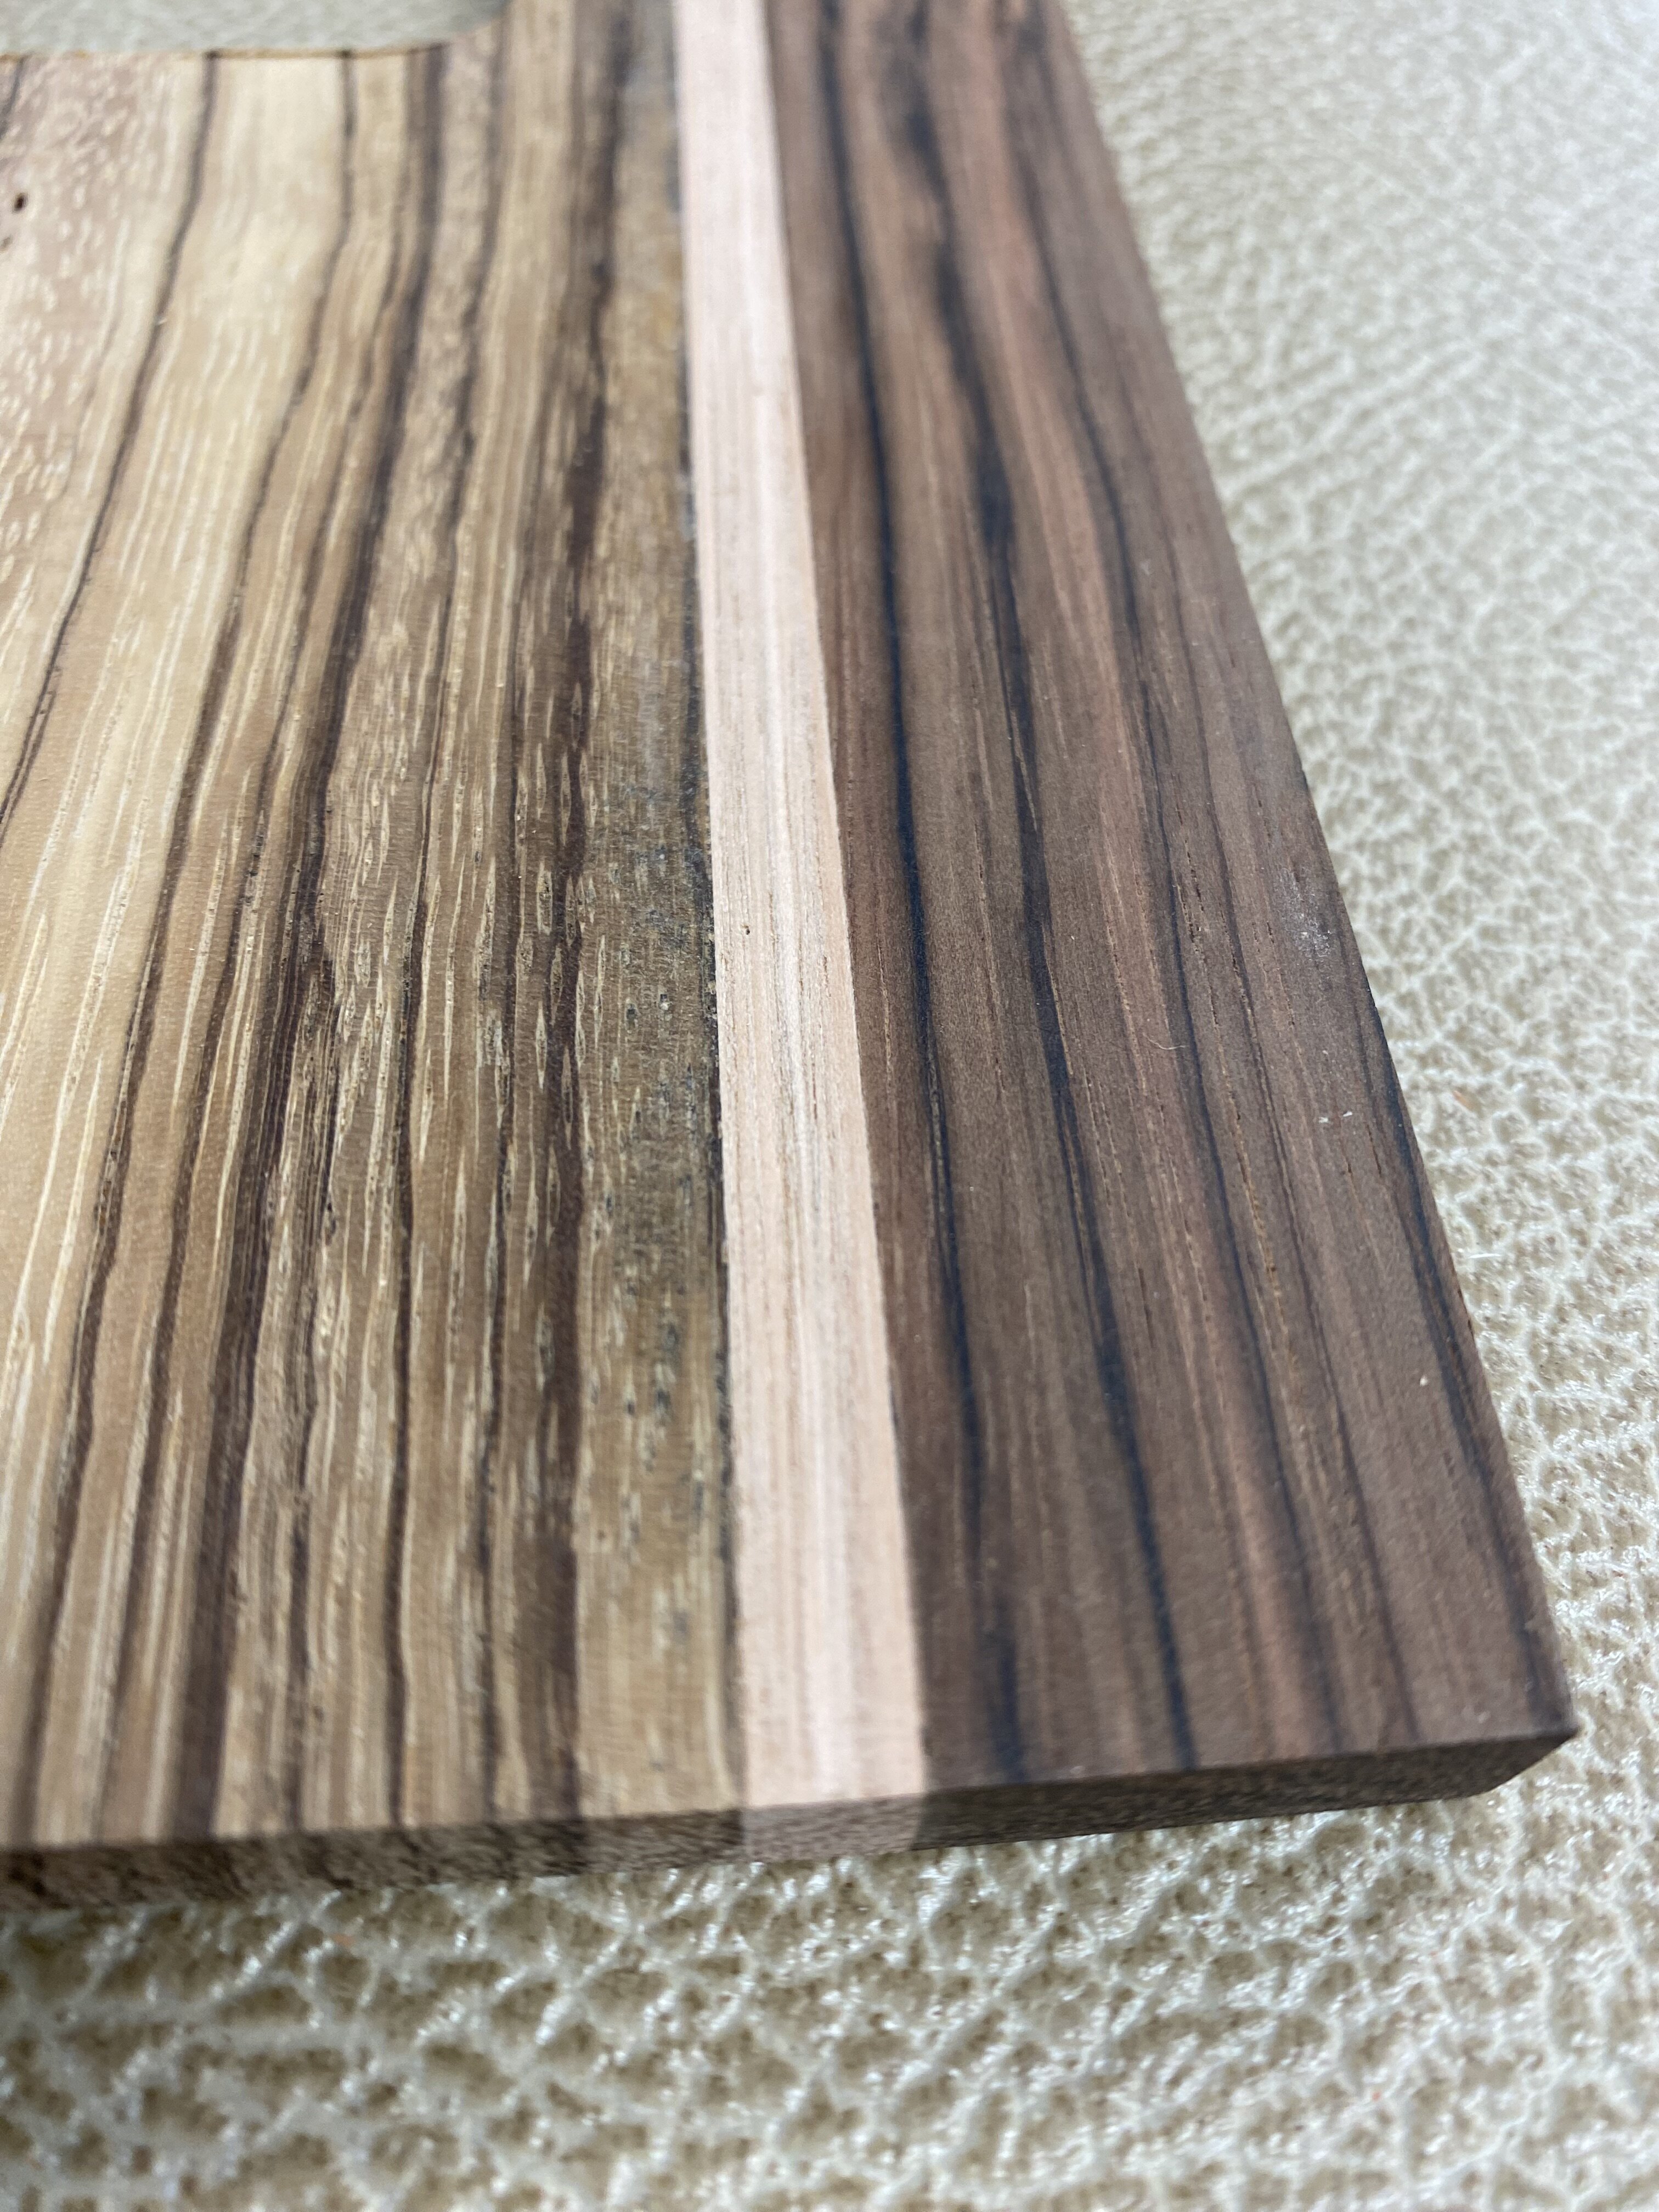
Luckily only one of them got pissy with me. Kingwood is some splintery stuff, I honestly thought the Wenge was going to be the bear. I was able to salvage the Kingwood one by cutting the center part out and adding some Zebrawood and a strip of Red Grandis. Kind of a blessing in disguise as it looks really nice now
Got a crazy idea to try to shine some light down onto the controls. Have some more experimenting to do....
Luckily only one of them got pissy with me. Kingwood is some splintery stuff, I honestly thought the Wenge was going to be the bear. I was able to salvage the Kingwood one by cutting the center part out and adding some Zebrawood and a strip of Red Grandis. Kind of a blessing in disguise as it looks really nice now
Got a crazy idea to try to shine some light down onto the controls. Have some more experimenting to do....


