Enjoy the benefits of a premium membership!
Upgrade Account
-
TalkBass has been independent since 1998. Add your voice.
Create a free account to reply to discussions, view embedded media, and browse with fewer display ads.
Join free Log in
Want zero display ads or expanded classifieds tools? Compare plans.
You are using an out of date browser. It may not display this or other websites correctly.
You should upgrade or use an alternative browser.
You should upgrade or use an alternative browser.
ES-335 bass build
- Thread starter 83_Silberpfeil
- Start date
More options
Who Replied?

Thanks for the foto. It looks like the "TR adjust barrel" is beyond the nut? Then, you glue in a piece of filet over the exposed threaded rod?
@Beej - do you cover the threaded rod as well? The area that will be under the nut?
@Beej - do you cover the threaded rod as well? The area that will be under the nut?
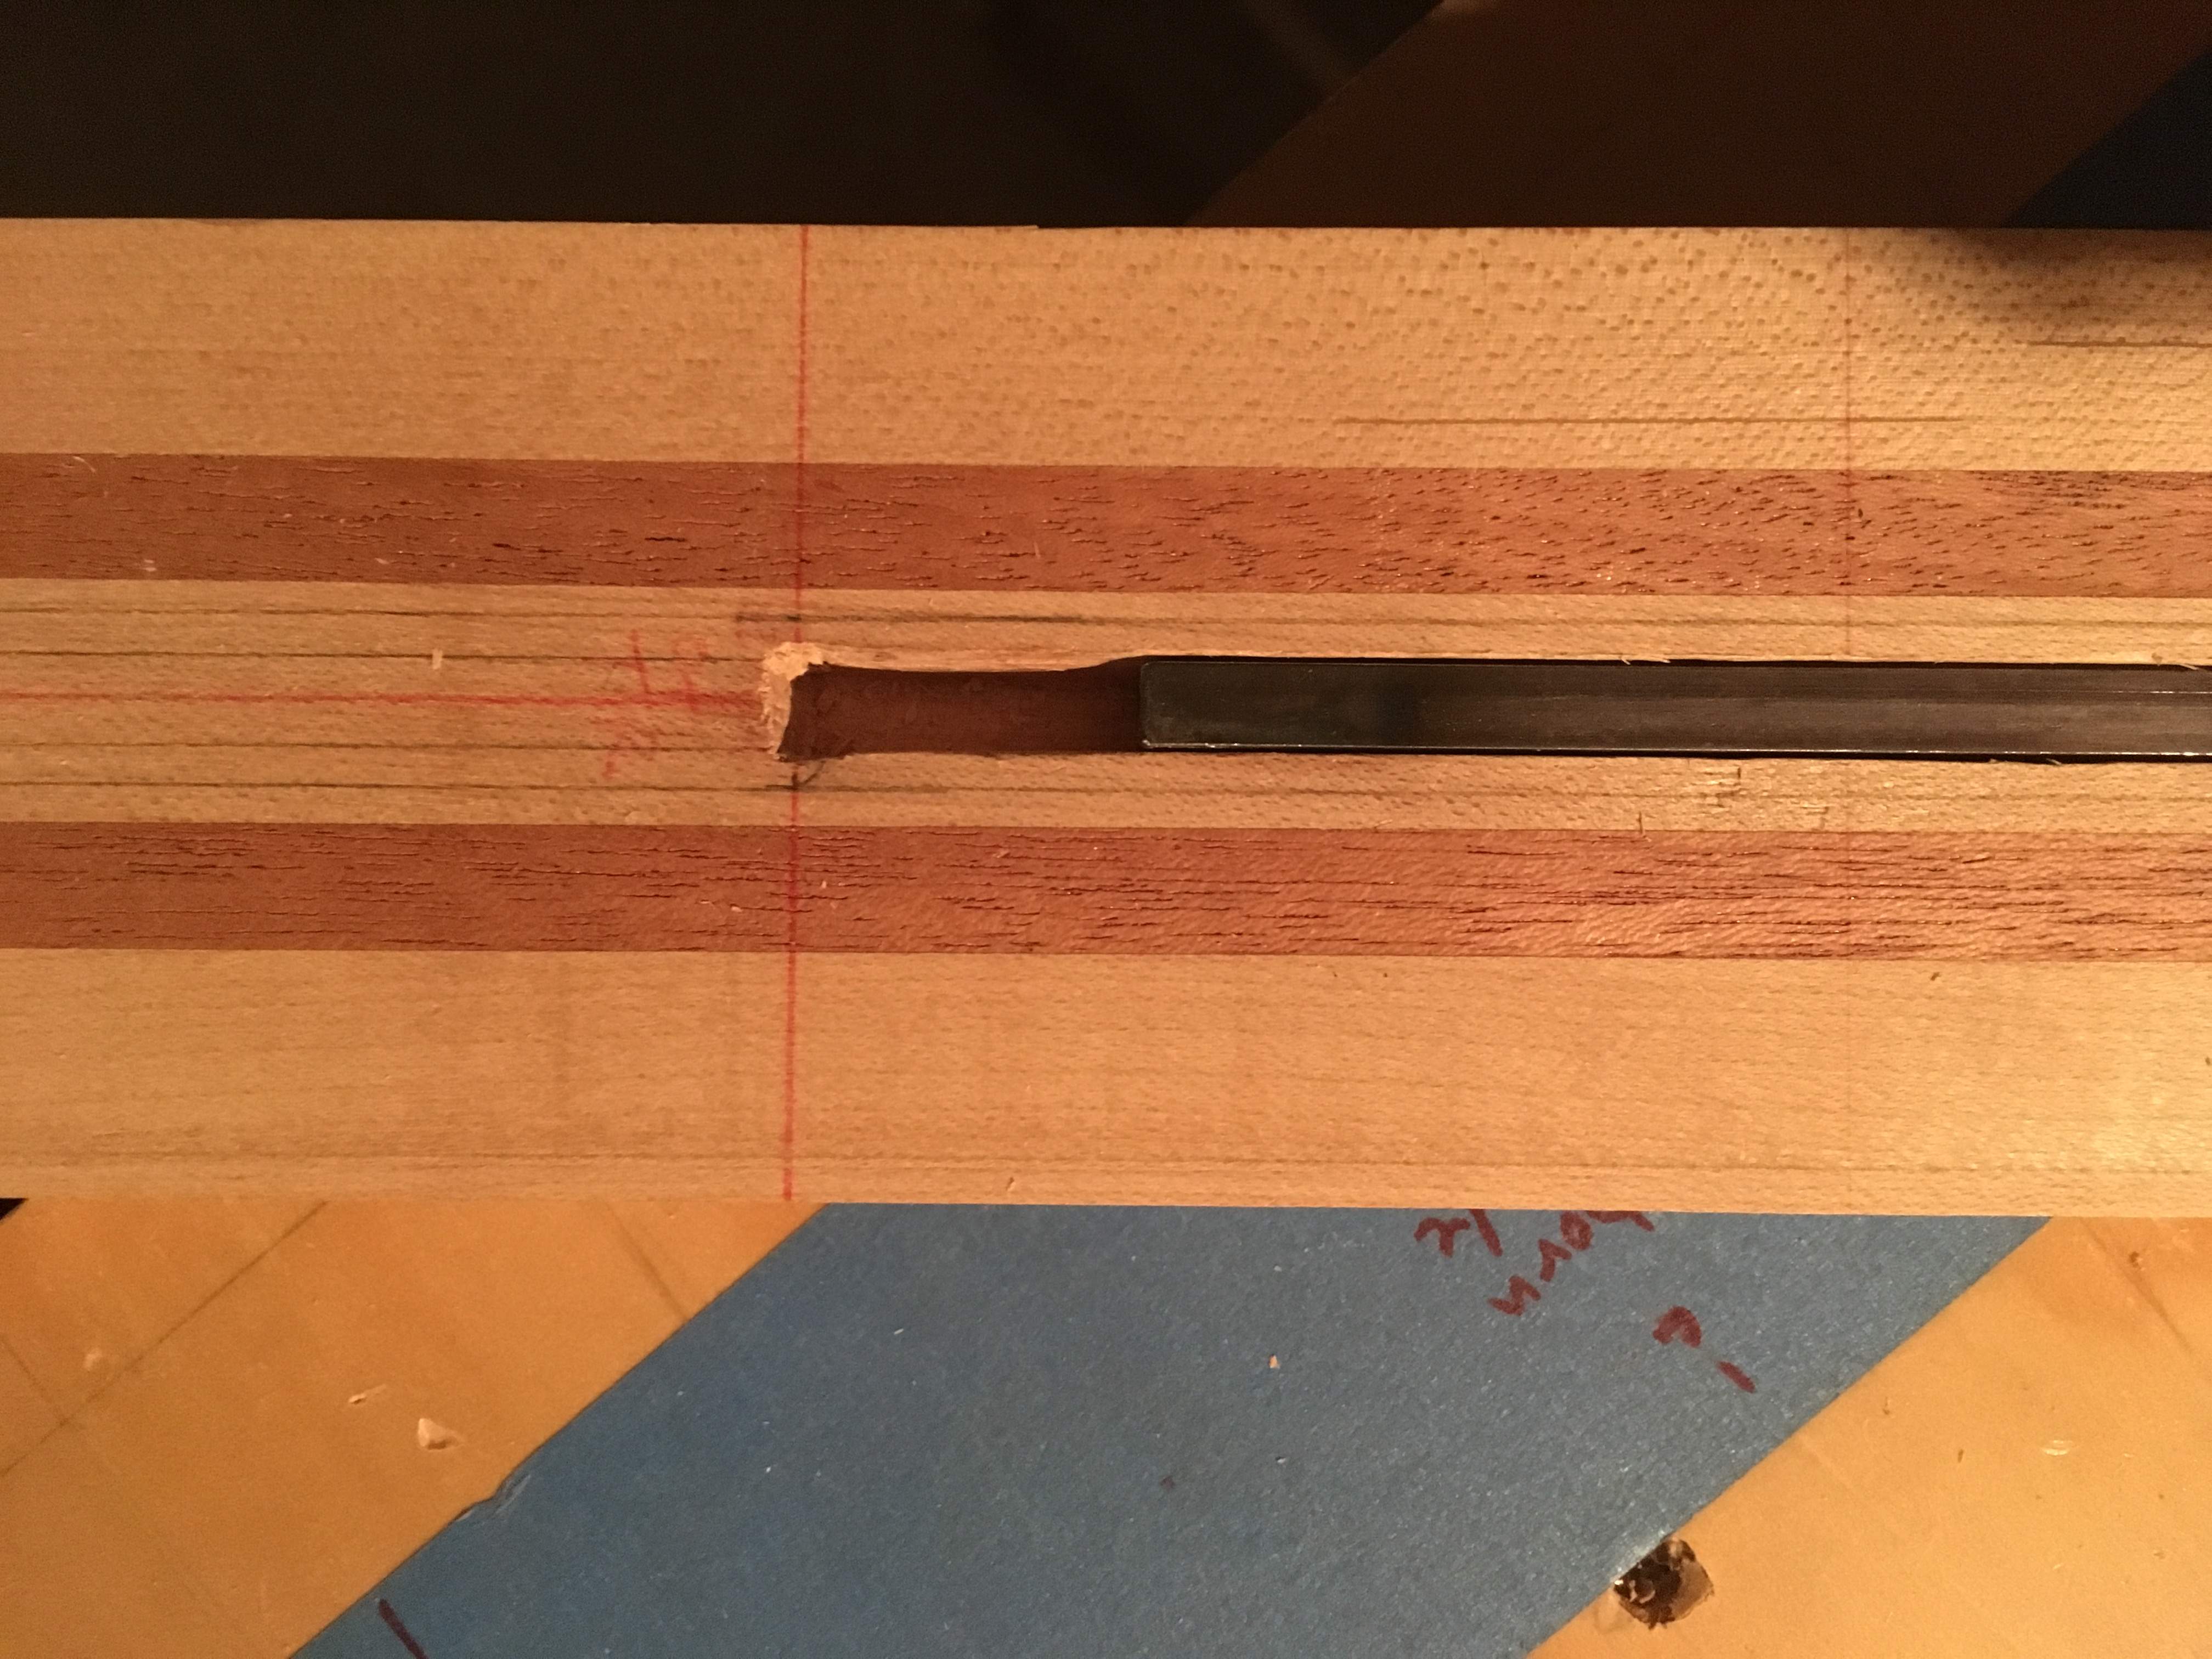
I hope others chime in as my first inclination would be to route it out basically extending the channel as I did in this picture. Granted my truss rod is further toward the end of the neck, but that shouldn't matter.

I don't cover it, but I've seen builders who do. I line mine up so that the trussrod nut end is in line with the headstock edge of the nut. I carve a little relief in the bottom of the nut and fretboard to give the truss rod nut room to move. 
I didn't do anything special. I put on the fret board and then a veneer on the head stock (to hide the scarf joint.) Neither of those touch the truss rod threads or adjusting nut. Since I didn't want a truss rod cover, I "tried" to make an adjustment hole that looked good. The space between the fingerboard and the veneer is where the nut for the strings goes.

End results looks like this

End results looks like this

Looks nice, I like the headstock shapeI didn't do anything special. I put on the fret board and then a veneer on the head stock (to hide the scarf joint.) Neither of those touch the truss rod threads or adjusting nut. Since I didn't want a truss rod cover, I "tried" to make an adjustment hole that looked good. The space between the fingerboard and the veneer is where the nut for the strings goes.
End results looks like this
Thanks for I'm waiting for the 12" x 1/4" drill bit to tunnel thru. So still contemplating if I keep layout as-is. Or move the TR farther up towards the headstock; then patch/fill body end of the TR with a short piece of 1/4" x 3/8" maple.
I don't cover it, but I've seen builders who do. I line mine up so that the trussrod nut end is in line with the headstock edge of the nut. I carve a little relief in the bottom of the nut and fretboard to give the truss rod nut room to move.
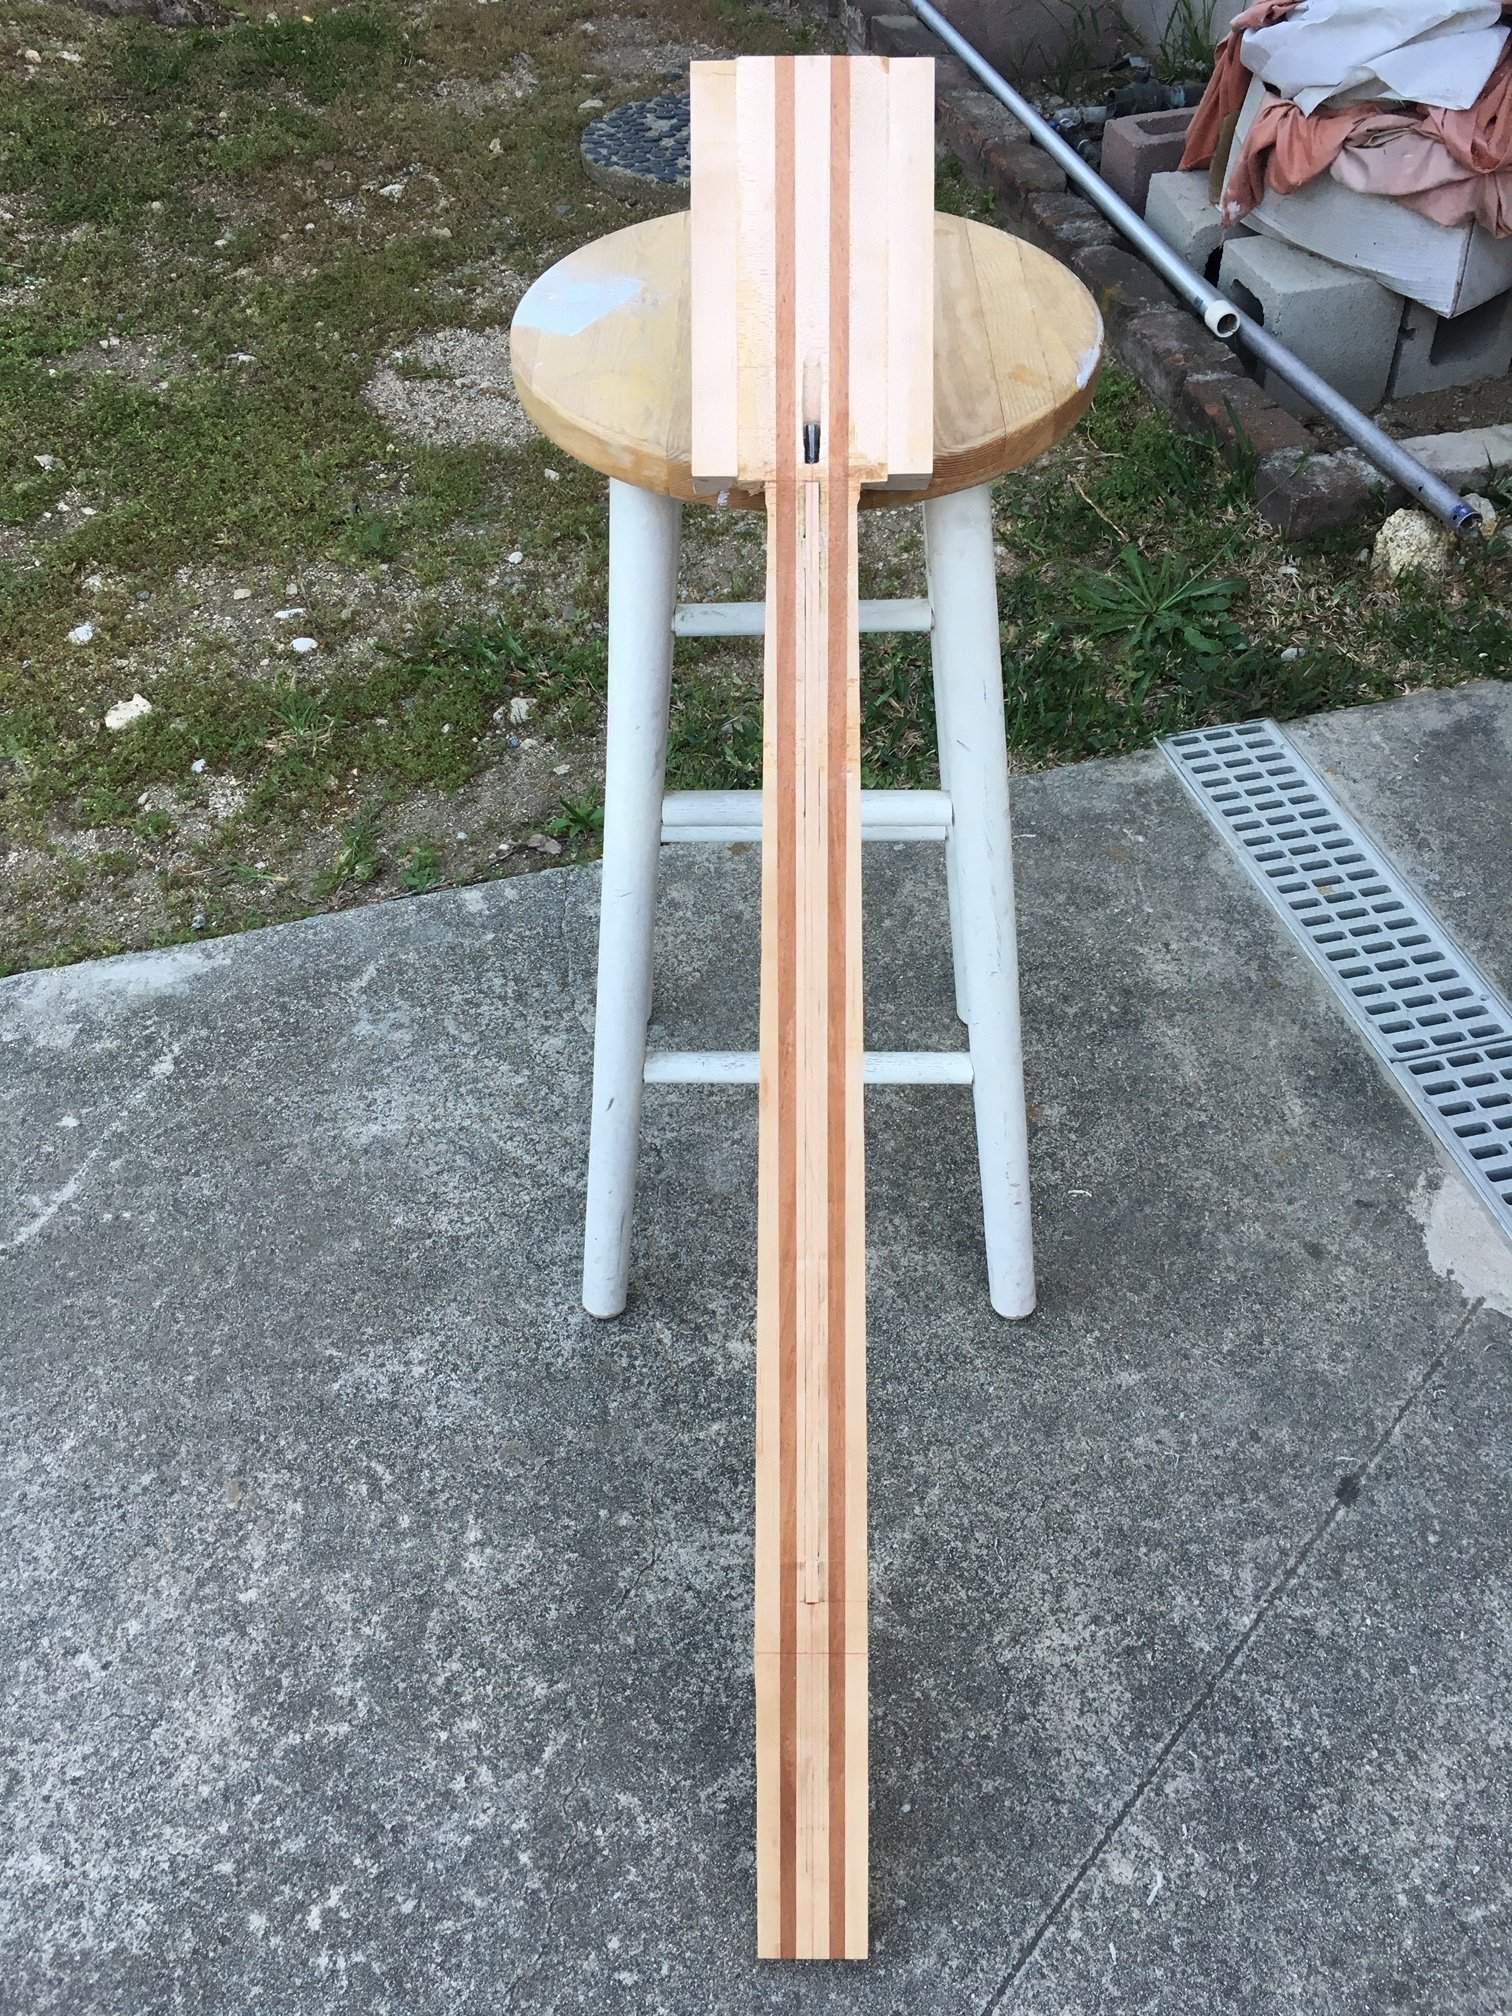
The 12x1/4 long bit arrived and I tunneled thru. Made a change, moving the TR up a bit farther towards the headstock. TR adjust nut/barrel now protrudes out to other side of the string nut. Will need to glue in a short piece of 1/4 x 3/8 filet to fill the other wnd of TR channel.

What is logical next step for the neck?
So I installed a thin filet to cover the TR channel, planed it, and card-scraper'd it. The angled headsock is also installed.
These are steps I'm contemplating, but not sure about the order...
A) install fretboard
B) cut the taper of the neck (w freboard installed) --- this is the width taper, not thickness
C) cut the neck thickness profile
D) glue"wings" to headstock, then top it with veneer
Of major consideration at each step is: can I get a reliable straight cut? And which order of operation (A ~ D) would allow for most straight cut each step w/o too needing much complicated jigs.
Thanks!
So I installed a thin filet to cover the TR channel, planed it, and card-scraper'd it. The angled headsock is also installed.
These are steps I'm contemplating, but not sure about the order...
A) install fretboard
B) cut the taper of the neck (w freboard installed) --- this is the width taper, not thickness
C) cut the neck thickness profile
D) glue"wings" to headstock, then top it with veneer
Of major consideration at each step is: can I get a reliable straight cut? And which order of operation (A ~ D) would allow for most straight cut each step w/o too needing much complicated jigs.
Thanks!

Freekmagnet
Commercial User
Here’s what I would do:
1) glue the wings to the headstock
2) cut the shape/taper of the neck and headstock
3) install the fretboard and trim to the shape of the neck
4) cut the thickness
1) glue the wings to the headstock
2) cut the shape/taper of the neck and headstock
3) install the fretboard and trim to the shape of the neck
4) cut the thickness
Thanks for the suggestion. For #3 install FB, how would you match the shape taper of the FB to the neck? Thinking out loud here, maybe cut the FB to approximate shape of neck (w taper) say to ~ 1/8", glue to neck, then do the final shaping? For final shaping, may be with a block plane, card scrapper, or router?
Here’s what I would do:
1) glue the wings to the headstock
2) cut the shape/taper of the neck and headstock
3) install the fretboard and trim to the shape of the neck
4) cut the thickness
Freekmagnet
Commercial User
Thanks for the suggestion. For #3 install FB, how would you match the shape taper of the FB to the neck? Thinking out loud here, maybe cut the FB to approximate shape of neck (w taper) say to ~ 1/8", glue to neck, then do the final shaping? For final shaping, may be with a block plane, card scrapper, or router?
I’ve heard of guys using a router, but I always get my fretboards pre-raduised and I can’t run the router over a curved surface. Besides, even if I could the thought of tear-out would freak me out.
I glue the fretboard on first and then cut it as closely as I can to the neck shape. ~1/8” is fine, but I try to get closer if I can. I’ll use a block plane, bastard files or a card scraper to do the final shaping.
I saw a Fletcher Guitars tutorial YouTube where he built a Strat neck. He had a cool trick using the heads of thumb tacks to pre-register the FB to the neck. It makes the glue-up a lot less nerve wracking.
This is great advise, suggestion, insights --- addressing same concerns that's been spinning inside my head. My FB is already pre-radius'd from LMI. So I've wondered how am I going to route that? Sounds like a bandsaw cut first, then glue to neck, followed by block plane and card scraper is way to go.
I watched the Fletcher Guitar tutorial you mentioned. Excellent! Now, back to planning out the steps, make sure I have the tools, etc. Thanks so much @Freekmagnet !!!
I watched the Fletcher Guitar tutorial you mentioned. Excellent! Now, back to planning out the steps, make sure I have the tools, etc. Thanks so much @Freekmagnet !!!
I’ve heard of guys using a router, but I always get my fretboards pre-raduised and I can’t run the router over a curved surface. Besides, even if I could the thought of tear-out would freak me out.
I glue the fretboard on first and then cut it as closely as I can to the neck shape. ~1/8” is fine, but I try to get closer if I can. I’ll use a block plane, bastard files or a card scraper to do the final shaping.
I saw a Fletcher Guitars tutorial YouTube where he built a Strat neck. He had a cool trick using the heads of thumb tacks to pre-register the FB to the neck. It makes the glue-up a lot less nerve wracking.
Freekmagnet
Commercial User
This is great advise, suggestion, insights --- addressing same concerns that's been spinning inside my head. My FB is already pre-radius'd from LMI. So I've wondered how am I going to route that? Sounds like a bandsaw cut first, then glue to neck, followed by block plane and card scraper is way to go.
I watched the Fletcher Guitar tutorial you mentioned. Excellent! Now, back to planning out the steps, make sure I have the tools, etc. Thanks so much @Freekmagnet !!!
No prob glad I could help.
I would glue the FB first and then trim on the bandsaw followed by block plane and scrapers or whatever. If it’s pre-radiused, I can’t really see a safe way for you to trim it with a router.
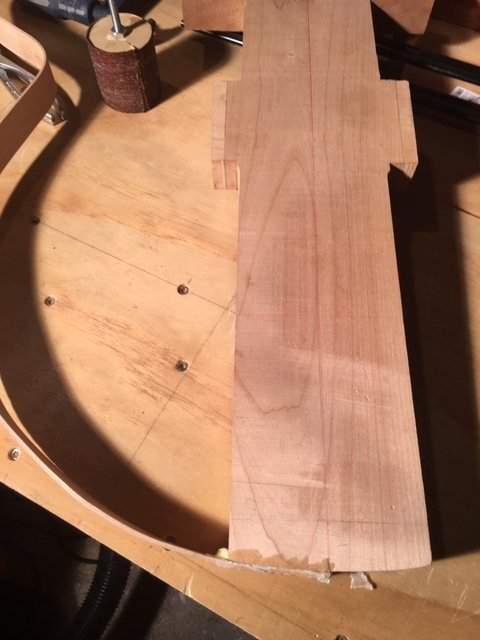
Glued up one side. A bit tricky to position the clamps at the correct angles, then handling the slipping of the pieces. But, managed one side OK. Compared to my Ibanez Artcore. My build will be a bit bigger, as intended. The second side is drying now. Will update more in a few days.
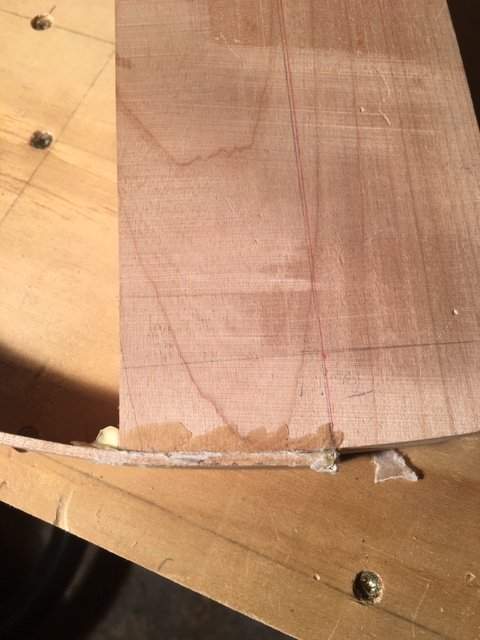
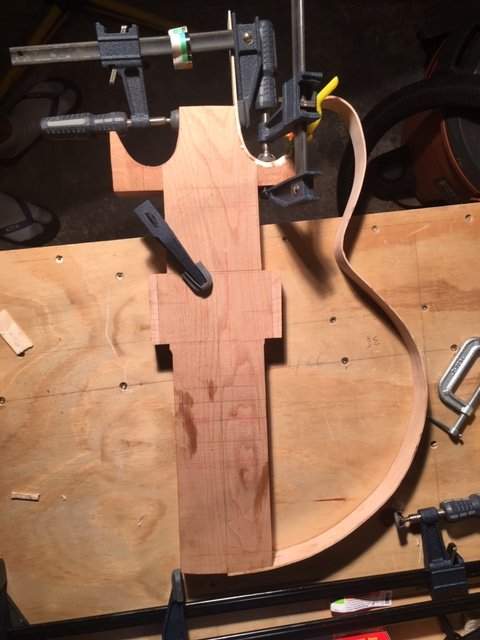
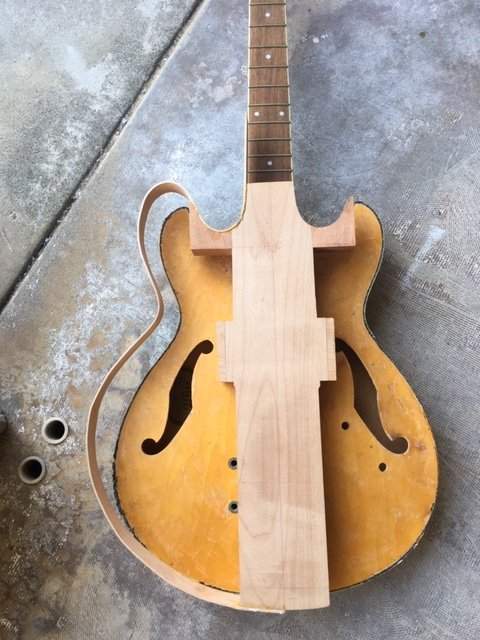
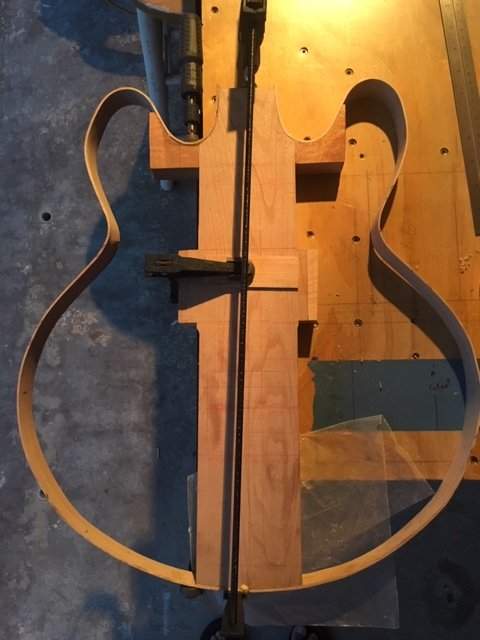
A quick preview of the other side while still clamped, and drying.
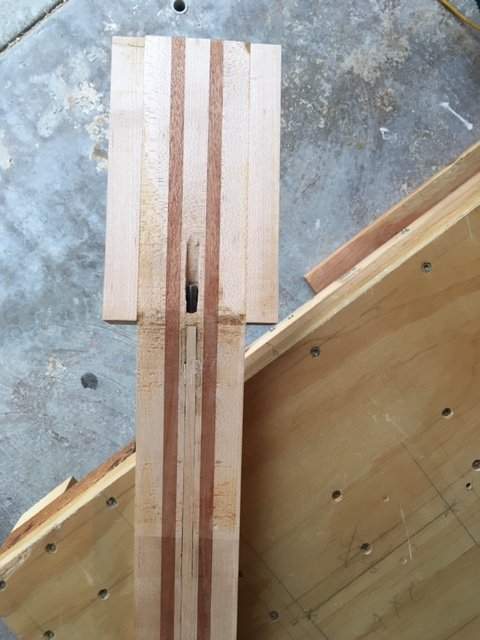
Back to the neck. The wings are now attached to the headstock. Looking more 'n more like a bass guitar

Wondering how thick the headstock should be. Based on this Schaller spec drawings here, looks like 13.5 mm (0.53") for fully closed/threaded.
I'm thinking final headstock thickness of about 5/8" (15.875 mm), including the veneer plate on top. This gives ~ the post about 0.1" of thread height to tighten.
Also --- I remember coming across a post somewhere that discussed (Gibson?) headstock thickness tapering --- thicker at top/end and a bit thinner at the nut. Is that all just for aesthetics?

I'm thinking final headstock thickness of about 5/8" (15.875 mm), including the veneer plate on top. This gives ~ the post about 0.1" of thread height to tighten.
Also --- I remember coming across a post somewhere that discussed (Gibson?) headstock thickness tapering --- thicker at top/end and a bit thinner at the nut. Is that all just for aesthetics?
Planning a bit ahead, and thinking about inlays. Certainly would be way less difficult to do the inlays on headstock and on FB before gluing them to neck.
Wondering if there are builders here experienced w doing inlays who have capacity to take a for hire job?
EDIT / FOLLOW-UP: I've found Keith Horne via search here, and reached out to him. Thanks TB/LC!!!!
Wondering if there are builders here experienced w doing inlays who have capacity to take a for hire job?
EDIT / FOLLOW-UP: I've found Keith Horne via search here, and reached out to him. Thanks TB/LC!!!!
Last edited:
Lots of router-ing today. Neck tapered. Where the neck and the wings was left as is, not router'd --- until I figure out the headstock shape/design. The foto doesn't really show the taper too well but it is there. 43 mm @ nut to 63 mm at 21st fret.