

Enjoy the benefits of a premium membership!
Upgrade Account
-
TalkBass has been independent since 1998. Add your voice.
Create a free account to reply to discussions, view embedded media, and browse with fewer display ads.
Join free Log in
Want zero display ads or expanded classifieds tools? Compare plans.
You are using an out of date browser. It may not display this or other websites correctly.
You should upgrade or use an alternative browser.
You should upgrade or use an alternative browser.
Faux Acoustic guitar build
- Thread starter gitlvr
- Start date
More options
Who Replied?
Ask and ye shall receive.
Sorry it's been so long since I've posted in this thread. But I did warn you that this could be a long build.
The reason it's taken so long are, firstly, that I have been busily engaged in the Challenge on the TDPRI. That build is in finish, so now I have time to come back to this one.
The second reason I've taken so long to get back to this build is as follows.
I found that I wasn't as happy with the joining of the top as I thought I was, so decided to re-do it. I have no pics of this process, but what I did was remove the top, separate the two halves, and re-shoot and re-glue the joint. I think it came out much better the second time around.
The problem comes because I had already sized the top for this guitar, so I lost a little bit on the sides.
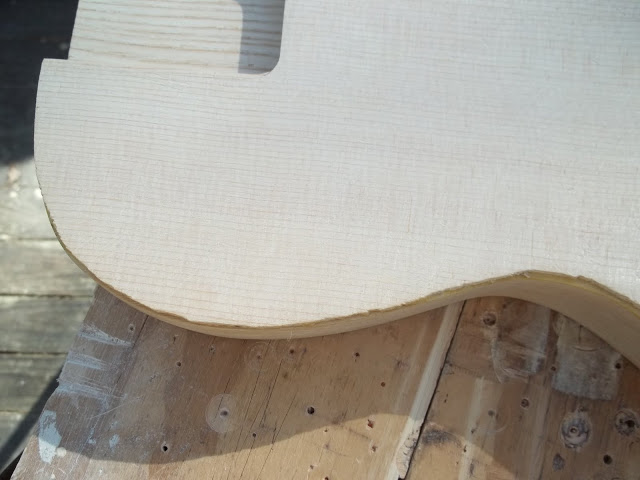
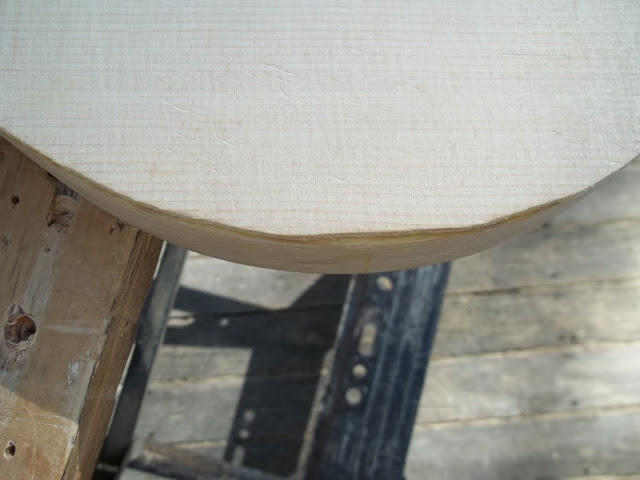
To fix this, I had decided to bind the top(this was not in the original plan for this guitar. It's a prototype, and I'm not spending a lot of cash on it.) I was waiting on the cash to purchase the bit and bearing from StewMac to rout for the binding channel. With the Challenge build started, I had kind of put this on the back burner.
But now, I've come up with another option.
I've decided to reposition the template on the top, so that I can rout the edges flush. Like so.
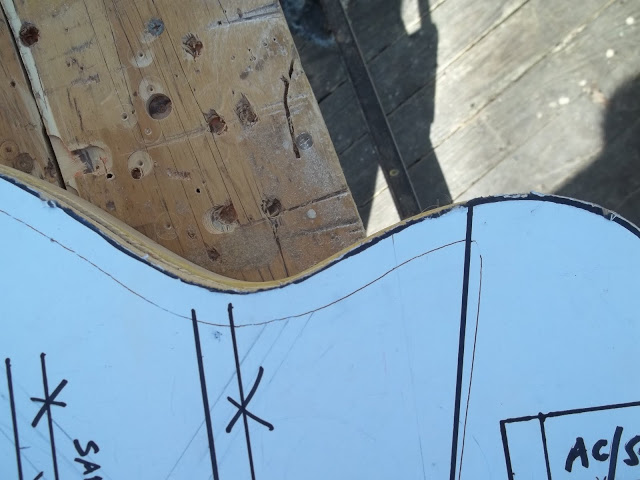
After routing the first pass with the template, I remove it....
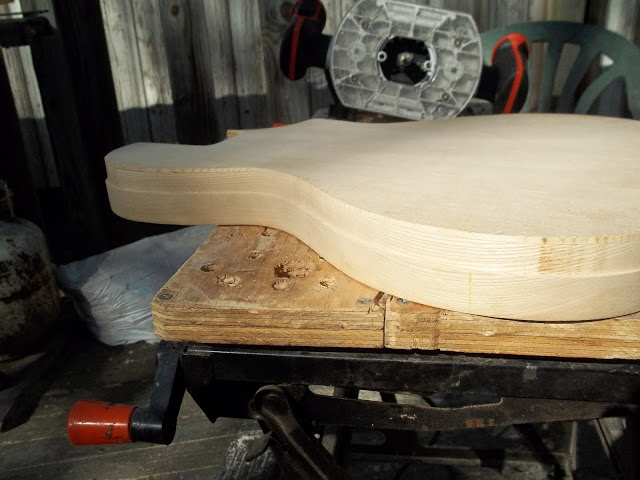
...and make a second pass.
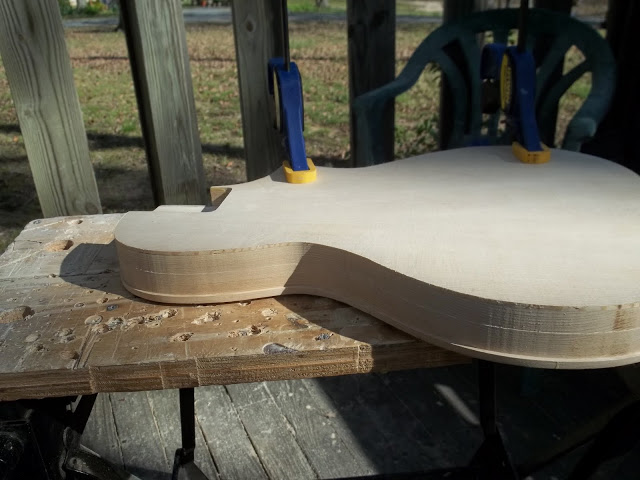
Sorry it's been so long since I've posted in this thread. But I did warn you that this could be a long build.
The reason it's taken so long are, firstly, that I have been busily engaged in the Challenge on the TDPRI. That build is in finish, so now I have time to come back to this one.
The second reason I've taken so long to get back to this build is as follows.
I found that I wasn't as happy with the joining of the top as I thought I was, so decided to re-do it. I have no pics of this process, but what I did was remove the top, separate the two halves, and re-shoot and re-glue the joint. I think it came out much better the second time around.
The problem comes because I had already sized the top for this guitar, so I lost a little bit on the sides.
To fix this, I had decided to bind the top(this was not in the original plan for this guitar. It's a prototype, and I'm not spending a lot of cash on it.) I was waiting on the cash to purchase the bit and bearing from StewMac to rout for the binding channel. With the Challenge build started, I had kind of put this on the back burner.
But now, I've come up with another option.
I've decided to reposition the template on the top, so that I can rout the edges flush. Like so.
After routing the first pass with the template, I remove it....
...and make a second pass.
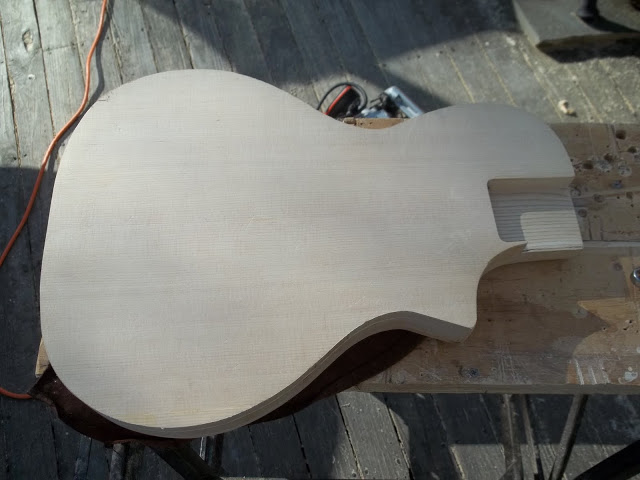
Then i pop a bottom bearing bit into my router(depending who you talk to/whether or not you're using a router table. I believe those using a router table would probably call this a top bearing bit. To me, it's a bottom one. You say tomato.....)....
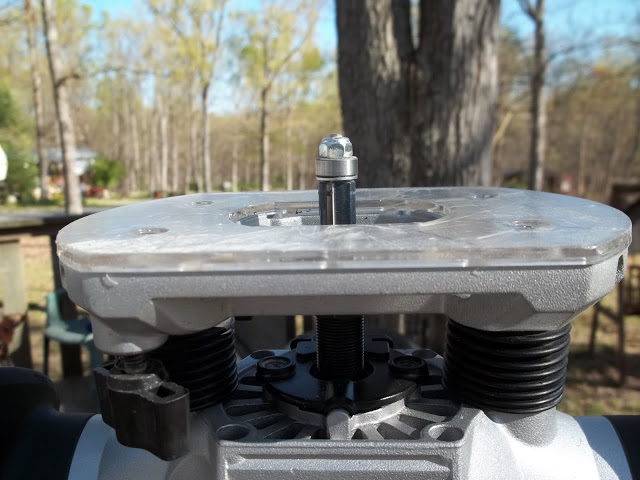
....flip the body over, and finish the rout.
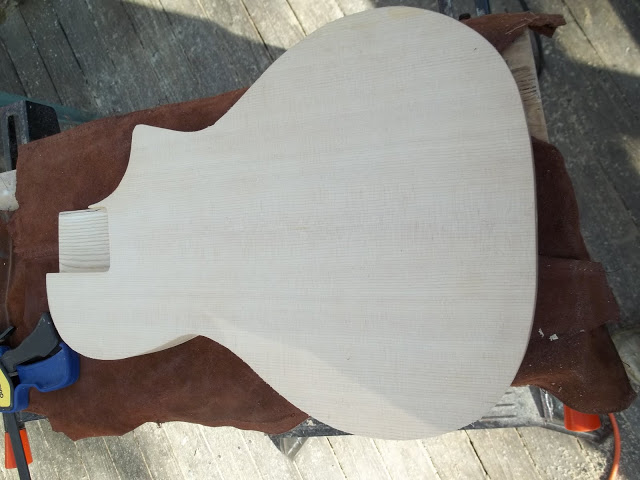
Looks good, except the waist to me doesn't look quite even. So what I did was reposition the template, and take the same amount(roughly) from the other side of the body.
There. That's better.
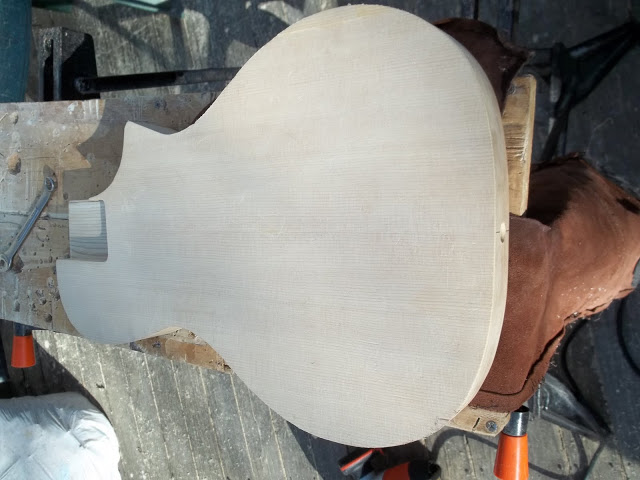
More to come. Thanks to those who've hung in there with me.
....flip the body over, and finish the rout.
Looks good, except the waist to me doesn't look quite even. So what I did was reposition the template, and take the same amount(roughly) from the other side of the body.
There. That's better.
More to come. Thanks to those who've hung in there with me.
Drilled for neck mounting holes today.
Most of you have seen this from me more than a few times.
I basically clamp the neck plate in place in the neck pocket, drill two holes, using "Thing" to keep them straight....
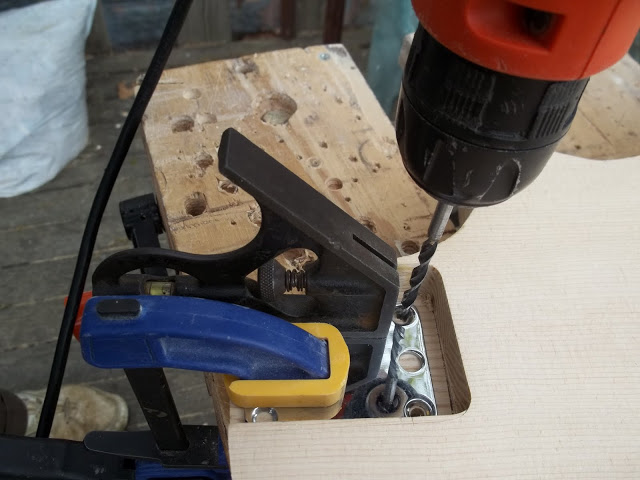
....then flip it over and drill the final two.
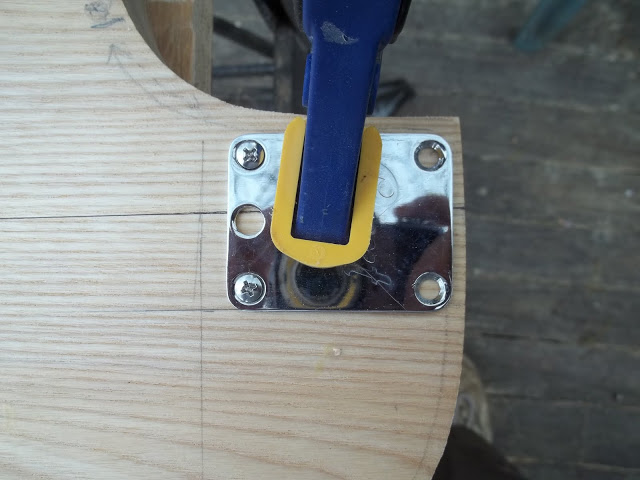
Again, Thing is there to lend a hand.
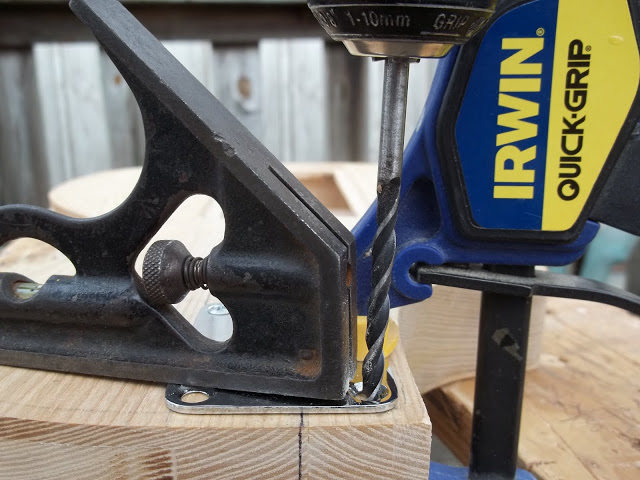
And, a shot of the alignment.
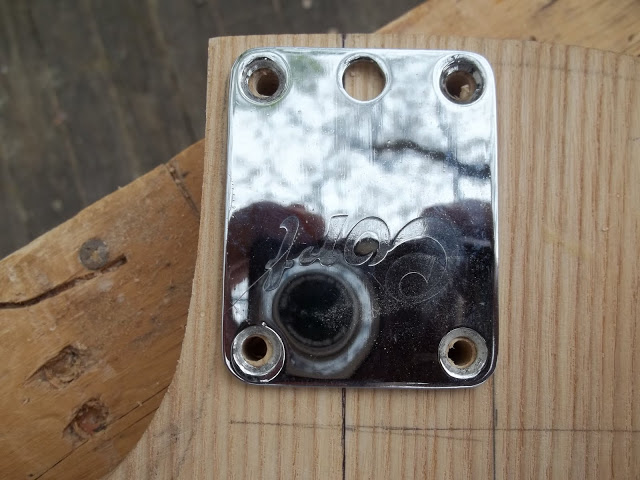
Yes, I know the neck plate says Cort on it. I had it laying around, and it will work just as well as any other.
Most of you have seen this from me more than a few times.
I basically clamp the neck plate in place in the neck pocket, drill two holes, using "Thing" to keep them straight....
....then flip it over and drill the final two.
Again, Thing is there to lend a hand.
And, a shot of the alignment.
Yes, I know the neck plate says Cort on it. I had it laying around, and it will work just as well as any other.
And, a shot of the neck attached, and the bridge taped down at the proper location.
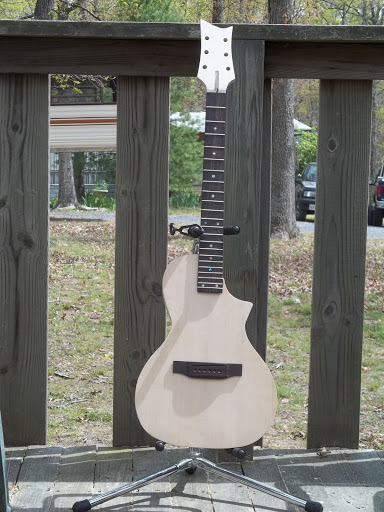
And.... I do not like it. A very strange looking bird. The body is way too small for the bridge. But there's no way to alter the bridge enough. I need the majority of that width because of the string spacing. I also don't like how the cutaway for upper fret access looks. Guess this is a good example of how sometimes things can look great on paper, but in person look like garbage. Looks a lot worse in person than you can see in the pic.
The body needs to be a lot wider in the lower bout, and the waist needs to also be widened. I'm thinking about the size of an L-00 ought to do it. The cutaway also needs a redesign.
Back to the drawing board. Stay tuned. Time to start over on the body. I'll keep you posted.
And.... I do not like it. A very strange looking bird. The body is way too small for the bridge. But there's no way to alter the bridge enough. I need the majority of that width because of the string spacing. I also don't like how the cutaway for upper fret access looks. Guess this is a good example of how sometimes things can look great on paper, but in person look like garbage. Looks a lot worse in person than you can see in the pic.
The body needs to be a lot wider in the lower bout, and the waist needs to also be widened. I'm thinking about the size of an L-00 ought to do it. The cutaway also needs a redesign.
Back to the drawing board. Stay tuned. Time to start over on the body. I'll keep you posted.
Colcifer, thanks. Yeah, that's a good thought. But I'm pretty confident that this design will work fine. I'm also not convinced that the results I would get with this smaller top would translate to the larger one. Now that I actually see it, the smaller top along with such a large bridge footprint would probably seriously dampen the top vibrations. I think a larger top would make a big difference, so I'd just as well jump in with both feet and see what happens. I glued up the new body blank earlier this afternoon.
I know it's been a while since I posted to this thread. I had a lot of things going on at once. Got back to this as soon as i could.
As I said in my earlier post, this build continues. There will be a few differences in the "redesign". Firstly, I basically just took the shape of an L-OO and added a cutaway. There will also be some slight differences in the bracing scheme, which I'll touch on when we reach that.
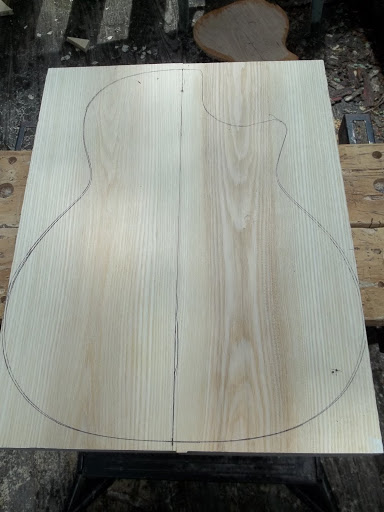
So the first thing I did was lay the new template on top of the body blank, and trace around it.
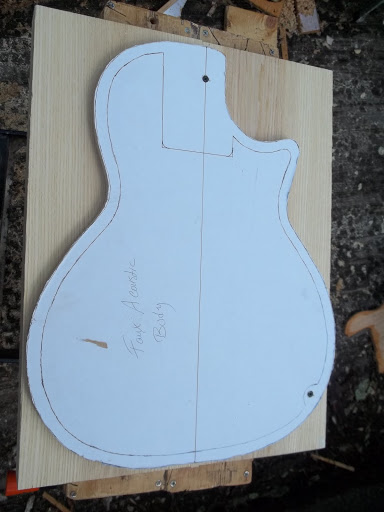
And, removed.
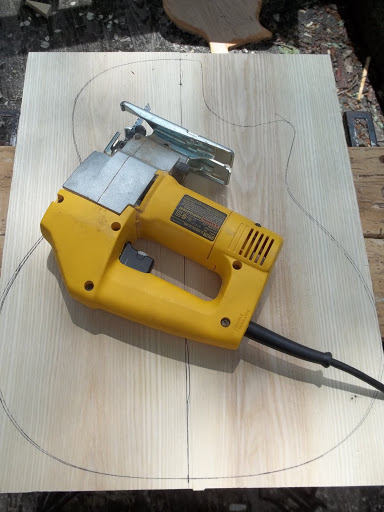
Then i break out my trusty jigsaw....
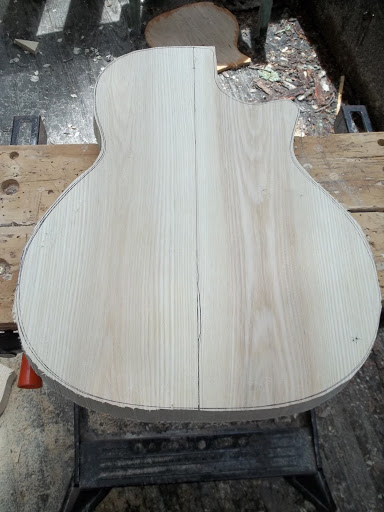
.....and remove some excess wood.
As I said in my earlier post, this build continues. There will be a few differences in the "redesign". Firstly, I basically just took the shape of an L-OO and added a cutaway. There will also be some slight differences in the bracing scheme, which I'll touch on when we reach that.
So the first thing I did was lay the new template on top of the body blank, and trace around it.
And, removed.
Then i break out my trusty jigsaw....
.....and remove some excess wood.
After rough cutting the body, i reattach the template....
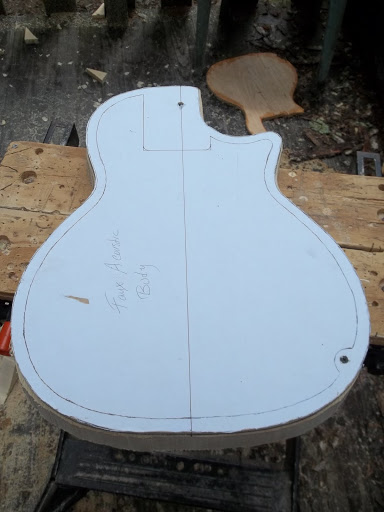
....and begin routing the sides to the template.
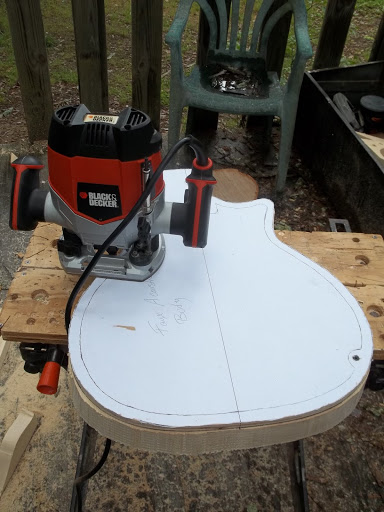
After the first pass with the router, i remove the template....
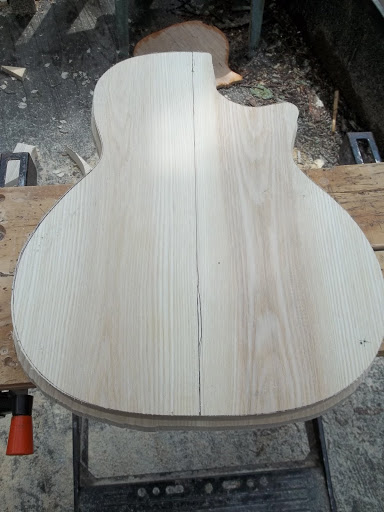
....and make a second pass.
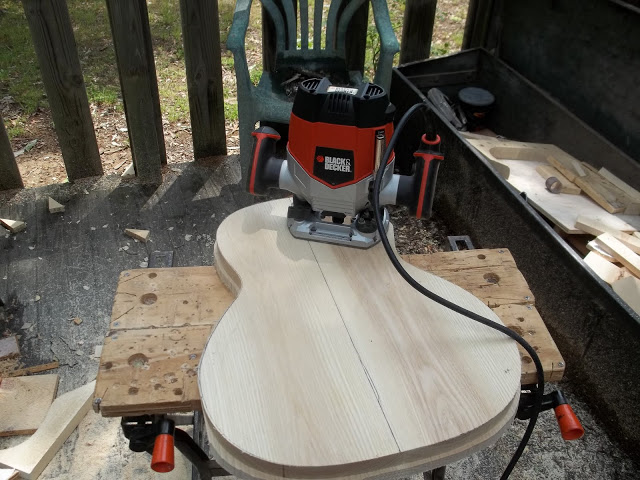
....and begin routing the sides to the template.
After the first pass with the router, i remove the template....
....and make a second pass.
After I make the second pass, I need to switch router bits. The body is too deep to rout all of the depth of the side with a top bearing bit.....
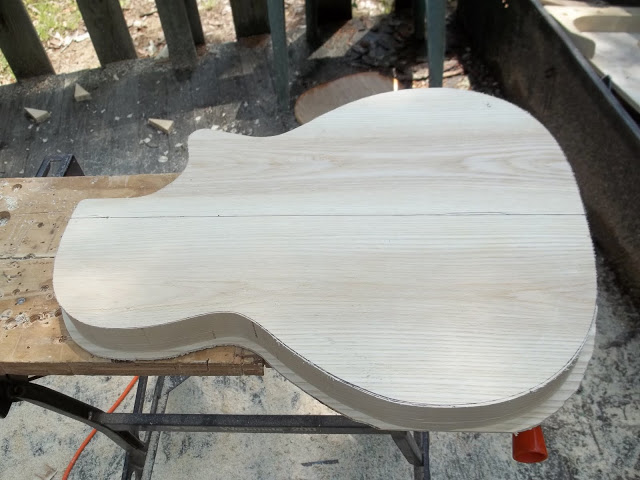
........so i chuck a bottom bearing bit in the router....
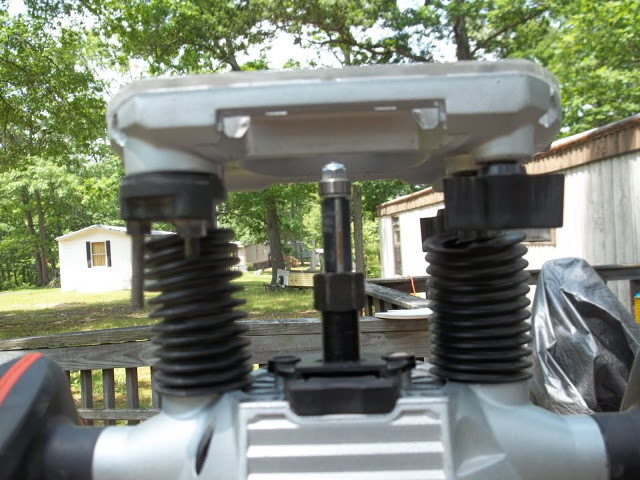
....flip the body over and finish the rout.
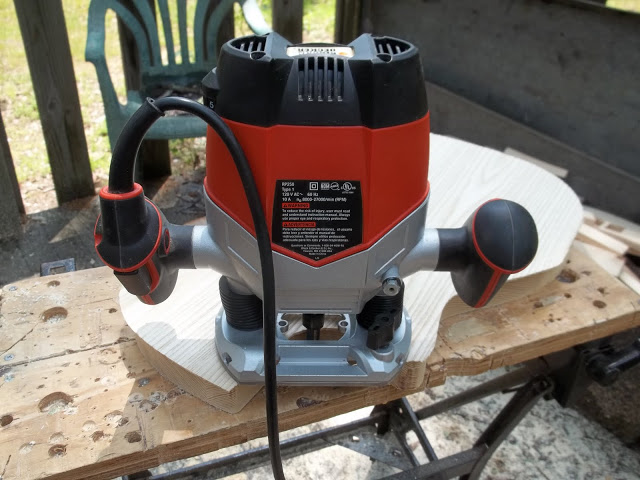
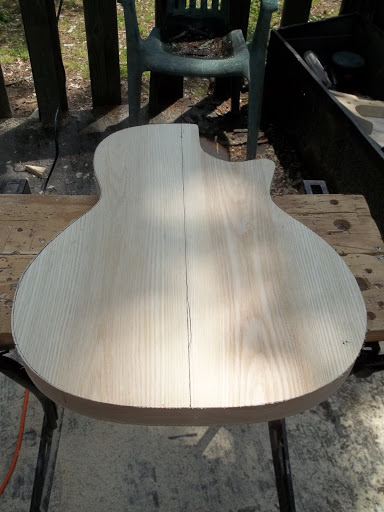
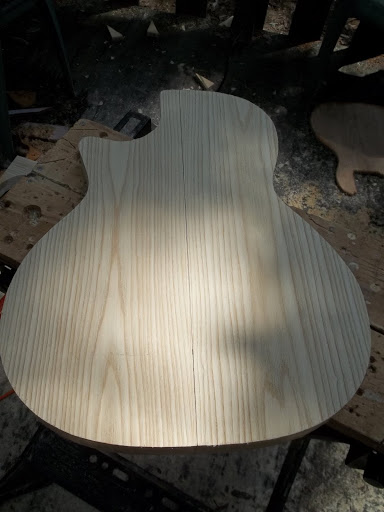
........so i chuck a bottom bearing bit in the router....
....flip the body over and finish the rout.

Hopkins
Commercial User
I really liked the first body man. I think a narrower headstock would have really made for a great looking guitar.
Yeah, that might have helped. But that headstock is "my" headstock for a 3x3, and it was already shaped and drilled, so I decided not to change it.
Now it's time to hog out the cavity. The first step for that is to mount the cavity routing template and draw out the boundaries on the blank.
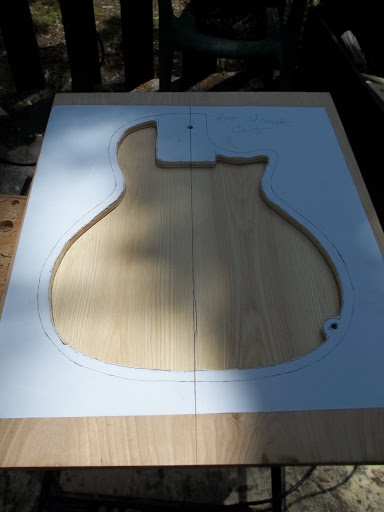
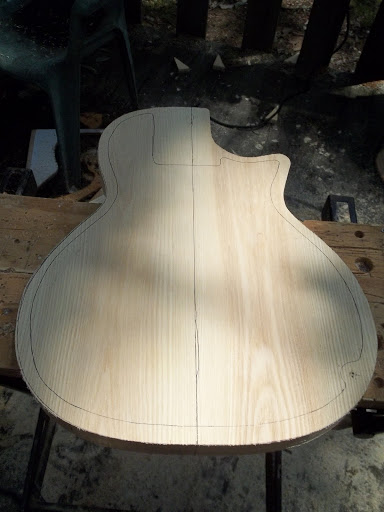
To hog out the bulk of the wood, the method is the same as before. first, i mark a 1" depth on my forstner bit with masking tape.
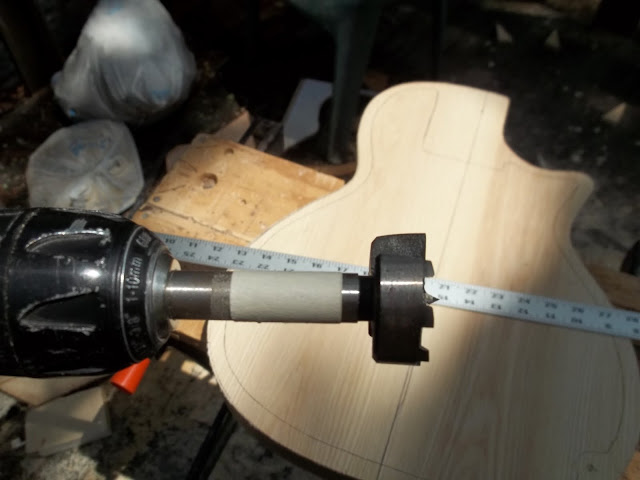
The following method is not perfect, but it works well enough. What I do is lay a straightedge across the top, and drill until the tape meets the straightedge. This lets me get an approximate 1" depth.
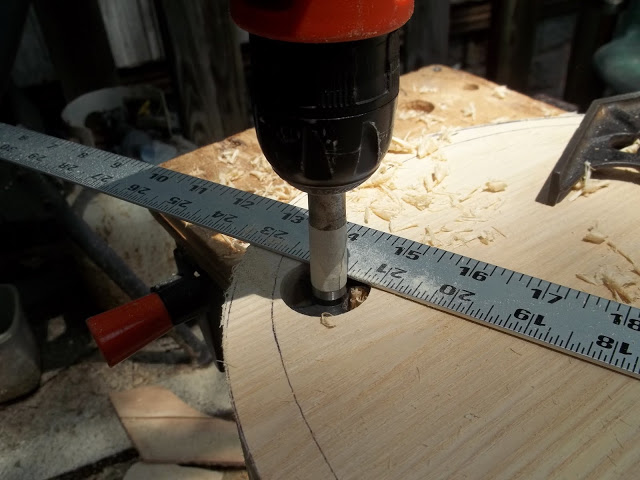
To hog out the bulk of the wood, the method is the same as before. first, i mark a 1" depth on my forstner bit with masking tape.
The following method is not perfect, but it works well enough. What I do is lay a straightedge across the top, and drill until the tape meets the straightedge. This lets me get an approximate 1" depth.
I repeat this process until I get the majority of the wood removed.
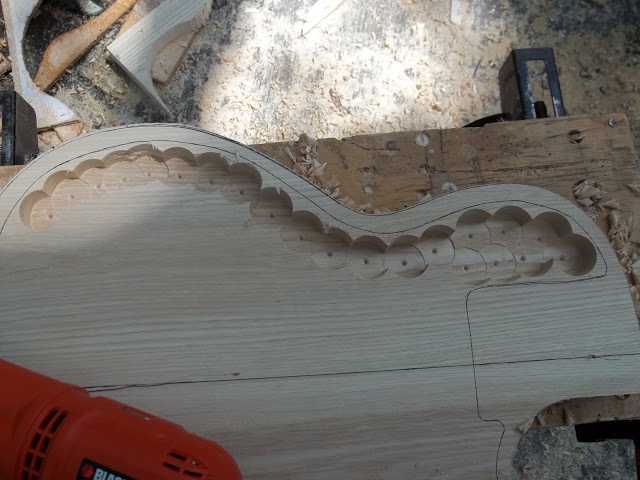
Getting there.
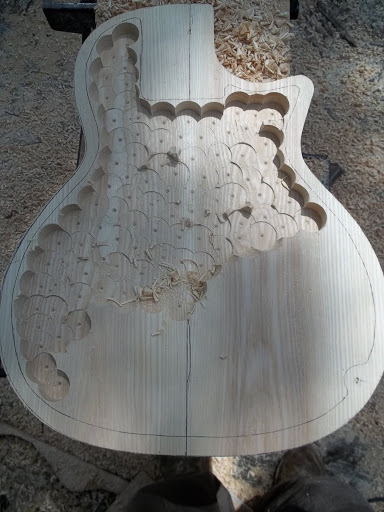
That's better.
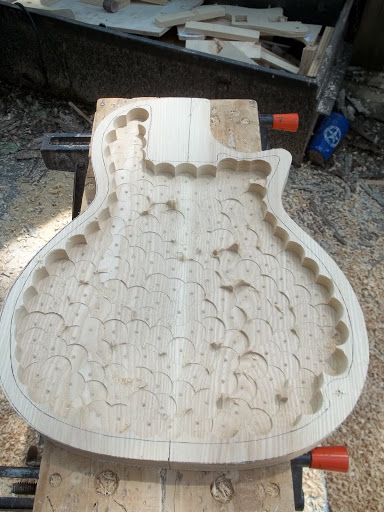
Getting there.
That's better.
Using my router and a piece of 1/2" plywood to span the width of the body....
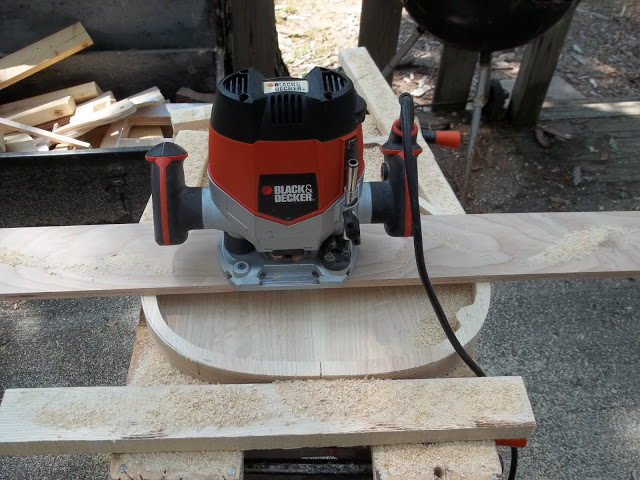
I rout the bottom of the cavity smooth, and take it down to a depth of 1 and 1/4".
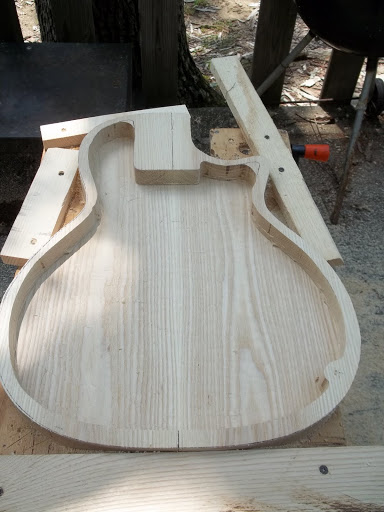
There, that's done. More to come.
I rout the bottom of the cavity smooth, and take it down to a depth of 1 and 1/4".
There, that's done. More to come.
Instead of using a hand plane and improvised shooting board, I went with a different method for jointing the top.
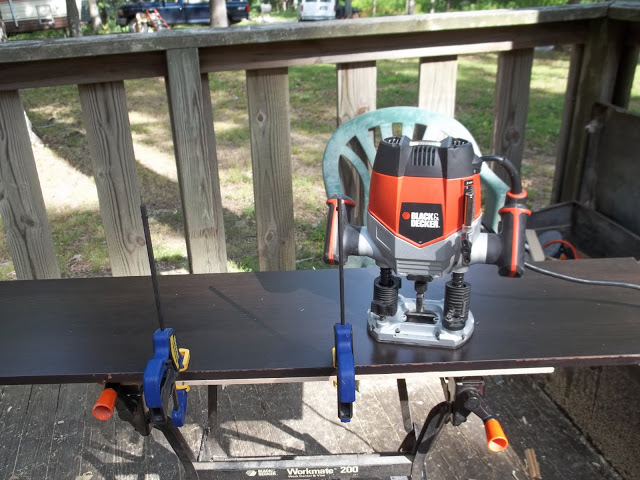
I used a piece of mdf shelving that I know has a true edge, and routed both edges at the same time.
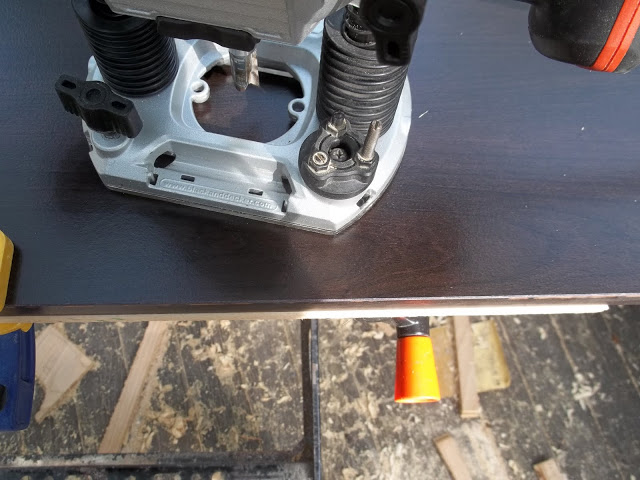
After joining(tape method, same as before), I flipped the top over, and marked the locations of the main braces, bridge plate, center line and the inside and outside lines of the sides of the body.
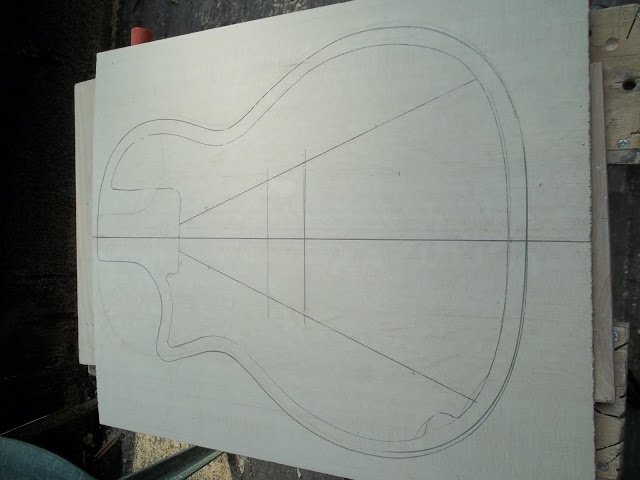
Then I broke out my trusty jigsaw...
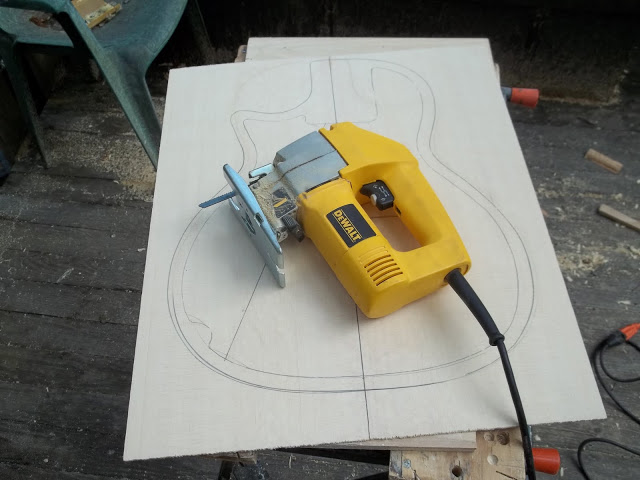
...and here is the top roughly cut out.
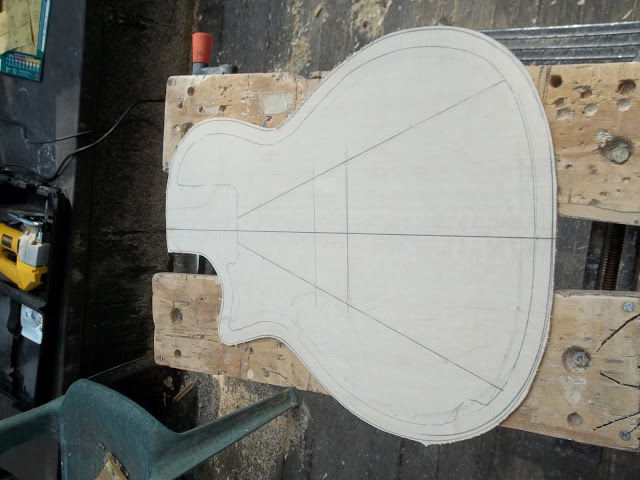
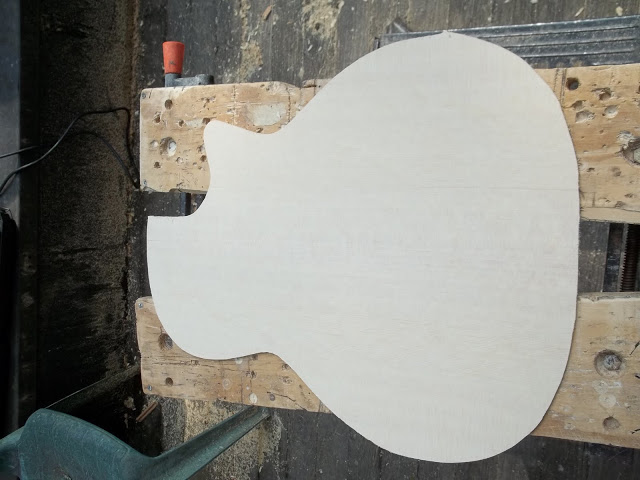
And the front.
I used a piece of mdf shelving that I know has a true edge, and routed both edges at the same time.
After joining(tape method, same as before), I flipped the top over, and marked the locations of the main braces, bridge plate, center line and the inside and outside lines of the sides of the body.
Then I broke out my trusty jigsaw...
...and here is the top roughly cut out.
And the front.
Now comes the change in the bracing. I've decided to use a much lighter bracing scheme than before. I've been looking at a lot of bracing patterns lately, and have come to the conclusion that the original design is way too much for what I want. I know the braces i've glued so far look huge, but they will be trimmed down a lot before I'm done.
I've also decided to add two tone bars past the bridge plate, like are found in most X braced designs.
Tone bar #1
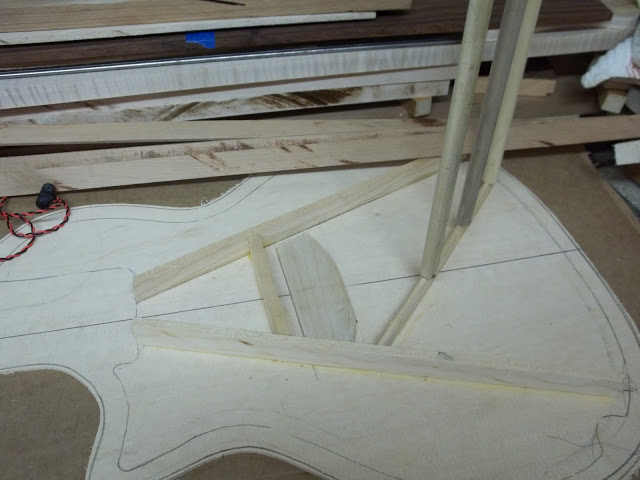
Tone bar #2
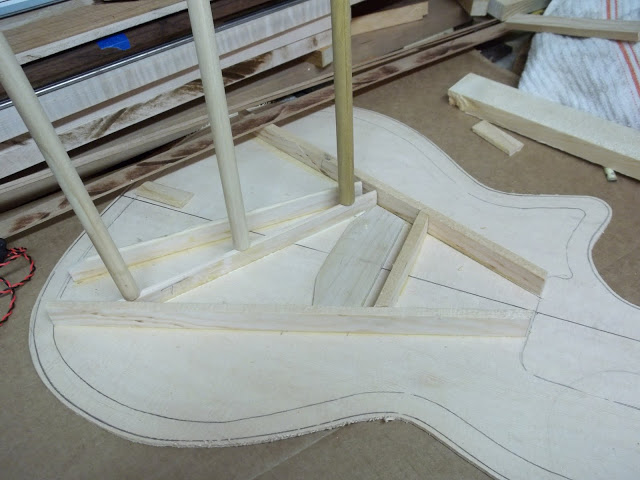
I've also decided to add two tone bars past the bridge plate, like are found in most X braced designs.
Tone bar #1
Tone bar #2
With the tools you see here I went from this.....
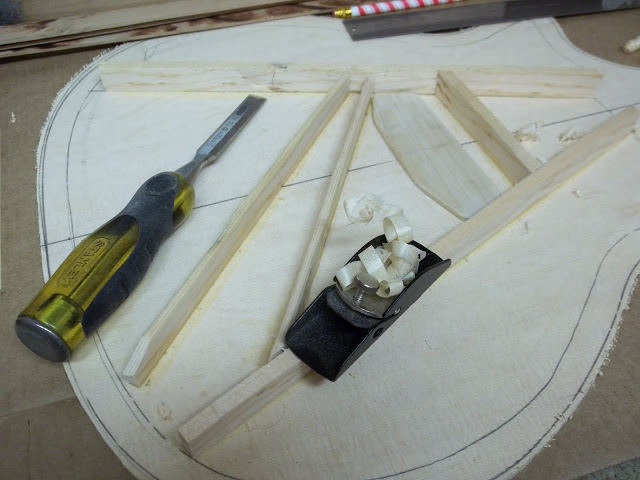
....to this.
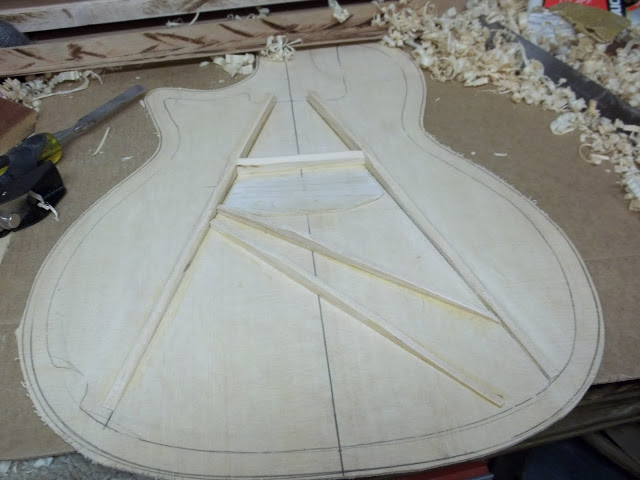
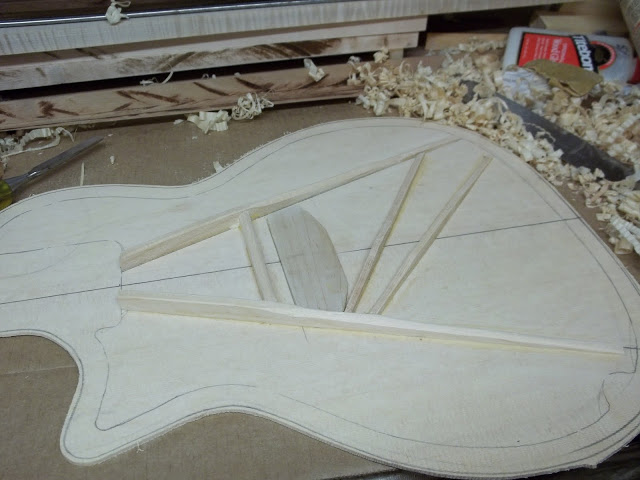
In designing this guitar, I moved the bridge and bridge plate forward(toward the neck) to give me a neck joint at the 16th fret, like an electric. That removed the possibility, at least at my current skill level, of an X braced top. So i ended up with a bracing scheme somewhere in between a twin parallel bracing pattern and a more acoustic type.
The top is approximately .118" thick. Thicker than a standard acoustic, but i think probably needed. The two main braces, and the cross brace in front of the bridge, are 5/16" thick. The two main braces taper from 1/2" tall, down to about 1/8" at the ends. The cross brace is 1/2" tall, and the tone bars I added are 1/4" thick, 1/2" tall at the highest point, and taper to almost nothing. Since the sides are 1/2" thick, I did away with the tone bars you normally see on either side of the bridge. I think the added stiffness of 1/2" sides, as well as the new location of the bridge, will give me plenty of stiffness there without those bars. The two main braces will be glued to the neck block, but nothing else will be notched into the sides. They'll end right before reaching them. I think the 1/2" sides will probably also give me plenty of stiffness without that being necessary, as long as the gap between is not too large.
It's a simple bracing patten, but I think that it will work. If it doesn't, I'll start over until i get it right. After all, it's not like I've never done that before, lol.
....to this.
In designing this guitar, I moved the bridge and bridge plate forward(toward the neck) to give me a neck joint at the 16th fret, like an electric. That removed the possibility, at least at my current skill level, of an X braced top. So i ended up with a bracing scheme somewhere in between a twin parallel bracing pattern and a more acoustic type.
The top is approximately .118" thick. Thicker than a standard acoustic, but i think probably needed. The two main braces, and the cross brace in front of the bridge, are 5/16" thick. The two main braces taper from 1/2" tall, down to about 1/8" at the ends. The cross brace is 1/2" tall, and the tone bars I added are 1/4" thick, 1/2" tall at the highest point, and taper to almost nothing. Since the sides are 1/2" thick, I did away with the tone bars you normally see on either side of the bridge. I think the added stiffness of 1/2" sides, as well as the new location of the bridge, will give me plenty of stiffness there without those bars. The two main braces will be glued to the neck block, but nothing else will be notched into the sides. They'll end right before reaching them. I think the 1/2" sides will probably also give me plenty of stiffness without that being necessary, as long as the gap between is not too large.
It's a simple bracing patten, but I think that it will work. If it doesn't, I'll start over until i get it right. After all, it's not like I've never done that before, lol.

I really like your thinking here. Well done and looking great.
I wonder if you've thought of the possible inclusion of a mic or piezzo p'up inside the cavity? Maybe with a VOL pot and small knob on the face to go along with whatever other controls you're gonna have.
I wonder if you've thought of the possible inclusion of a mic or piezzo p'up inside the cavity? Maybe with a VOL pot and small knob on the face to go along with whatever other controls you're gonna have.


