• TalkBass has been independent since 1998. Add your voice.
    Create a free account to reply to discussions, view embedded media, and browse with fewer display ads.
    Join freeLog in
    Want zero display ads or expanded classifieds tools? Compare plans.

Faux Acoustic guitar build

Removed the tape from the binding.
100_1031.jpg

100_1032.jpg


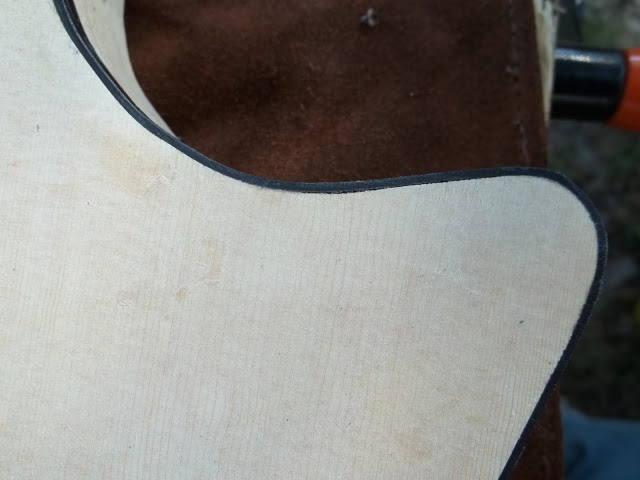
Binding was good all the way around except for this one area in the cutaway.

100_1038.jpg


I hit it with more glue, taped it up good and let it cure.
 
I don't think tape can pull hard enough to get the plastic to comply.

With the thicker binding you used, I believe you are correct. However, the tape had no problem pulling that little spot of my thin binding tight.
Once that was cured and I was satisfied everything was good to go, I starting scraping the binding flush. I tried several things, including a sharp plane iron, for a scraper. A single edged razor blade ended up working best.
100_1033.jpg


100_1034.jpg


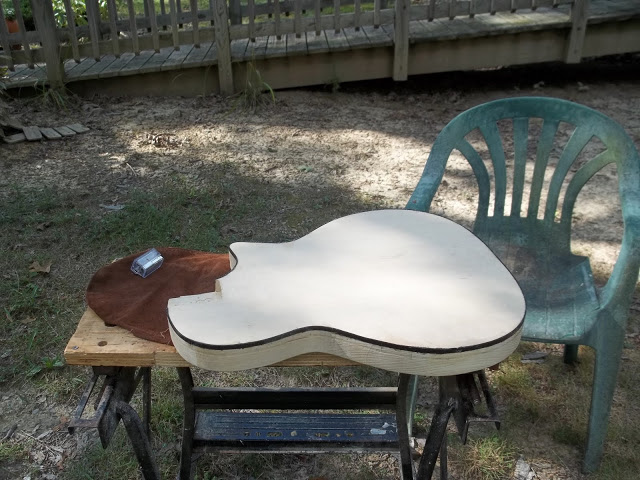
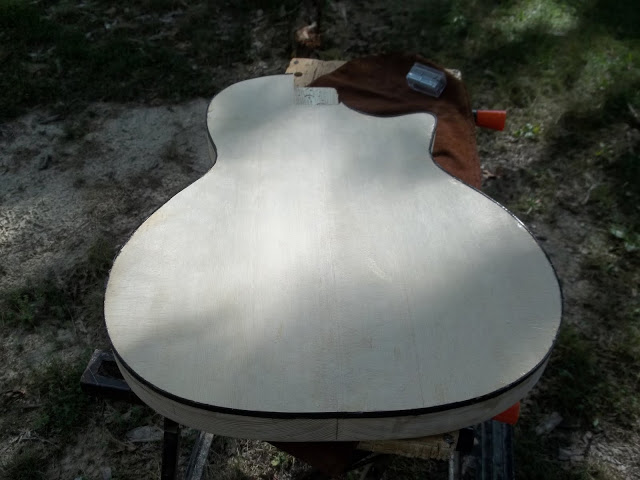
And a couple of finished shots.

100_1035.jpg


100_1036.jpg


100_1037.jpg


The sides still need to be sanded more, but the binding is flush. I assume that with final sanding in preparation for grain fill and finish things will clean up even more.
Thanks for looking.
 
I was all prepp'd to paint the Isuzu today since the temp is below 75ºF - but it's raining and thundering, so out with that idea. Interesting weather here in Montana.
Yeah , you gotta love it. Had a some time yesterday afternoon so thought I would work on this guitar. Looked good outside. Nice and sunny. Started dragging my Workmate out, and heard the rain hitting the tin roof of my trailer. So much for that. Glad I had a little time today.
Hope you get some decent finish weather soon.
 
Well - ya shamed me into working on a couple of basses today after I built my new woodwork bench yesterday. I found a nice used woodworkers vice for it and the bench is 8"x2"s and 38½" high like the rest of my benches.

No pixs yet of the bass or neck yet, but maybe tomorrow. I am trying to get a bass finished for a buddy who begs me every day for a completion date. I may surprise him with it next week if the weather holds up and stays dry, warmish, windless and bug-free.

He could beg better if he put some $$$ in my hand - but I'm only gonna recoop for the parts anyway.

I had a neck I built a year ago and although I had put frets into it, I just tore them out for him today and am refinishing the neck with contrasting plastic strips for inserts.

Right now I don't want to get into neck building for a few weeks. The weather's too nice to waste it not painting and finishing bodies right now.

This nest off the bench bass is another Tele-type slabish bass but with full-gut cut and forearm bevel on it, much like my previous 1956 Packard Green Tele-type last year.

It's gonna be a pastel blue 2-part with some interesting German type edges on the headstock - and of course, my Penguins!

Come to think of it - I may not give him the fretless neck anyway - I like it too much myself.

I want desperately and dearly to get into working on my Schaller/Hummer bass soon ! :hyper:

I think that's where the fretless neck is gonna go.
 
Sounds like you've got plenty of build work going. Good for you! Don't forget with all the pressure to get things done to have fun while you're doing it.
I've got a bunch of other non guitar building related projects I have to get done, so I'm slow on this and another build I've got going. I hope to find a day here some time this week to work on this build.
 
Got a little time, so I decided to drill the neck mounting holes. I centered the neck plate as best I could....
100_1047.jpg


....and drilled the holes.

100_1049.jpg


And here's a look at the fit.

100_1048.jpg


Not bad for using a hand drill. The bottom left corner(as you are looking at the picture) is a little off. The neck will fit as-is(I've already tried it), but I don't want any torque or twisting force at the neck joint, so I'll drill that one hole out from 3/16" to 1/4", to give me a little leeway.
 
After that I sanded everything smooth with 60 grit, making certain to get rid of any imperfections, and paying special attention to the roundover. I want to make sure to remove the "router look" and smooth everything out really well.
100_1050.jpg


100_1051.jpg


100_1052.jpg

I'll sand the back and sides down to 220, then grain fill. After that I'll final sand everything to 220, drill for the preamp jack, and this one will be ready for finish.
Thanks or coming along for the ride with me.
 
Douglas Fir is nasty is rough form, but once it's planed and sanded, it's great for a body. I used it once and another time with some Hemlock and they are both great.

I got a few planks here recently of Idaho #1 OR BETTER Douglas and it's lighter than you can imagine. Super clear, no knots and just straight as an arrow. I don't know if it's kiln dried, but as for sap: there is none. The grains stays down when you are sanding it, so it is very easy to get a good surface for sanding/sealer and primer.

One thing I've done is switched to an automotive catalyzed primer. It can only be wet sanded, but it is very easy and nice to work with. Don't try to dry open-coat sand it or it turns into rubbery balls.