
Enjoy the benefits of a premium membership!
Upgrade Account
-
TalkBass has been independent since 1998. Add your voice.
Create a free account to reply to discussions, view embedded media, and browse with fewer display ads.
Join free Log in
Want zero display ads or expanded classifieds tools? Compare plans.
You are using an out of date browser. It may not display this or other websites correctly.
You should upgrade or use an alternative browser.
You should upgrade or use an alternative browser.
First Build - 5 String Fretless!
- Thread starter Essen
- Start date
More options
Who Replied?
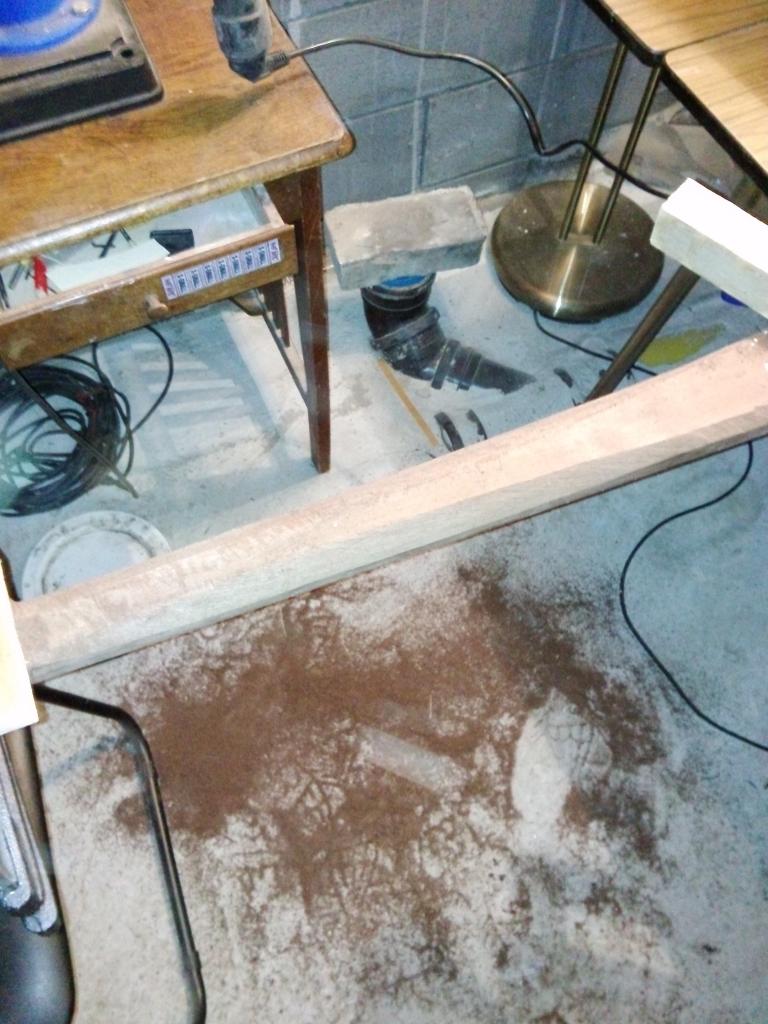
Shaping the neck:
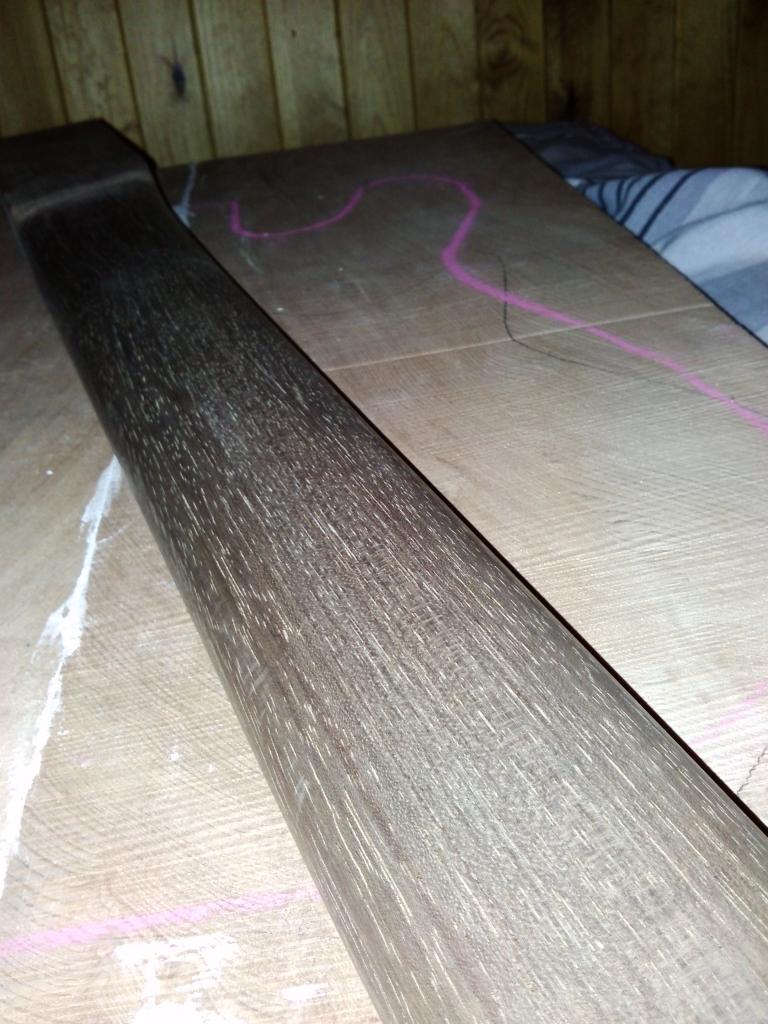
Pretty much done:
Just as I thought I'd run out of things to do I got some more packages

I have also been trying to make a templates for the control cavity, but it seems I better order them to insure a good result. I tend to get too eager, rush things, and then end up doing mistakes. I have to try to be patient I can still make the neck pocket while I wait.
I also have to figure out how I'm going to ground the bridges. I think I will top-route the ash body and then just glue the top on. Thus concealing all the wires and such.
Pretty much done:
Just as I thought I'd run out of things to do I got some more packages
I have also been trying to make a templates for the control cavity, but it seems I better order them to insure a good result. I tend to get too eager, rush things, and then end up doing mistakes. I have to try to be patient
I can still make the neck pocket while I wait. I also have to figure out how I'm going to ground the bridges. I think I will top-route the ash body and then just glue the top on. Thus concealing all the wires and such.
For safety's sake I ordered a set of neck screws. Although I wanted to build a set neck bass, I think it would be better to do a bolt on as a first build. That way, if there's every any issue with the neck I can replace it.

- Apr 18, 2008
- 16,006
- 1
- 31,700
- Disclosures
- I'm highly opinionated and extremely self-assured
I agree - I think it's wise to do a bolt-on as a first build. And bolt-ons can still be wonderful instruments. I always advocate using threaded inserts and machine screws, to get the best coupling between the neck and the body.
Put the side dots in. Didn't take any pictures of the process, you probably know how a press drill works anyway

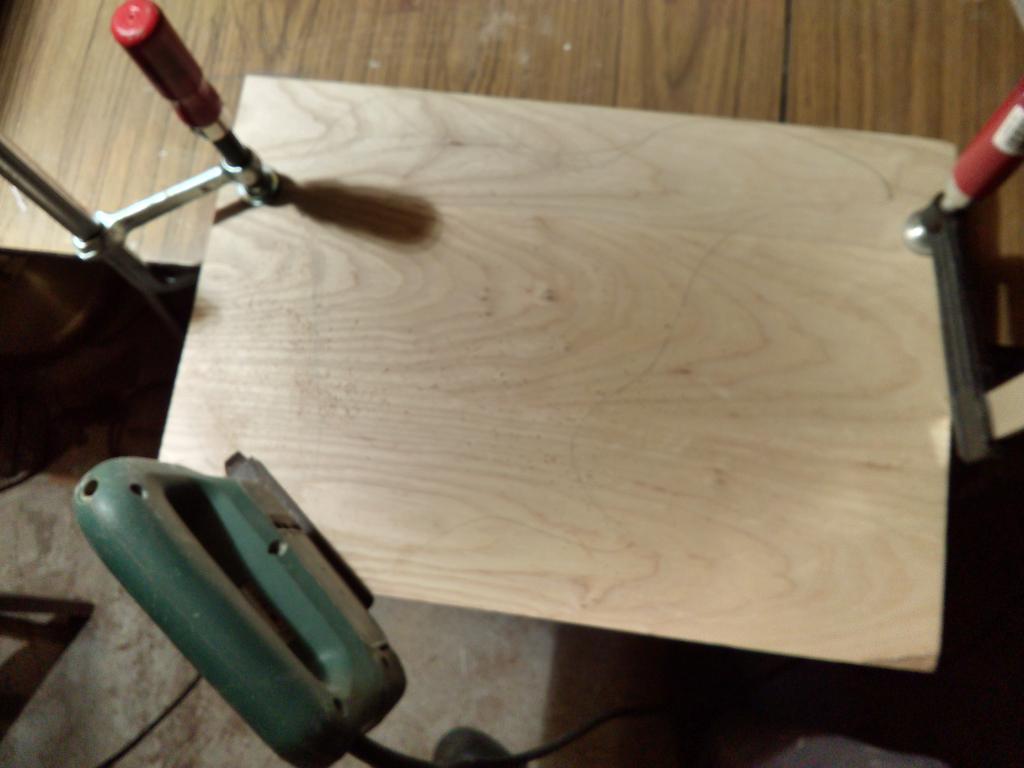
Routing the body shape:
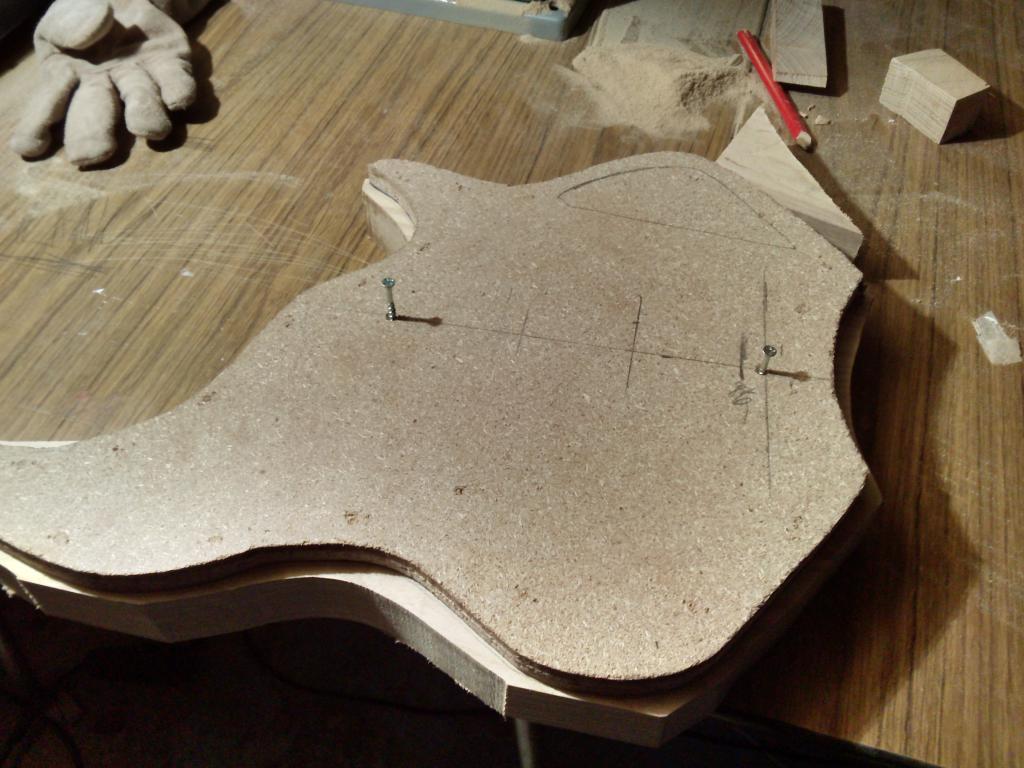
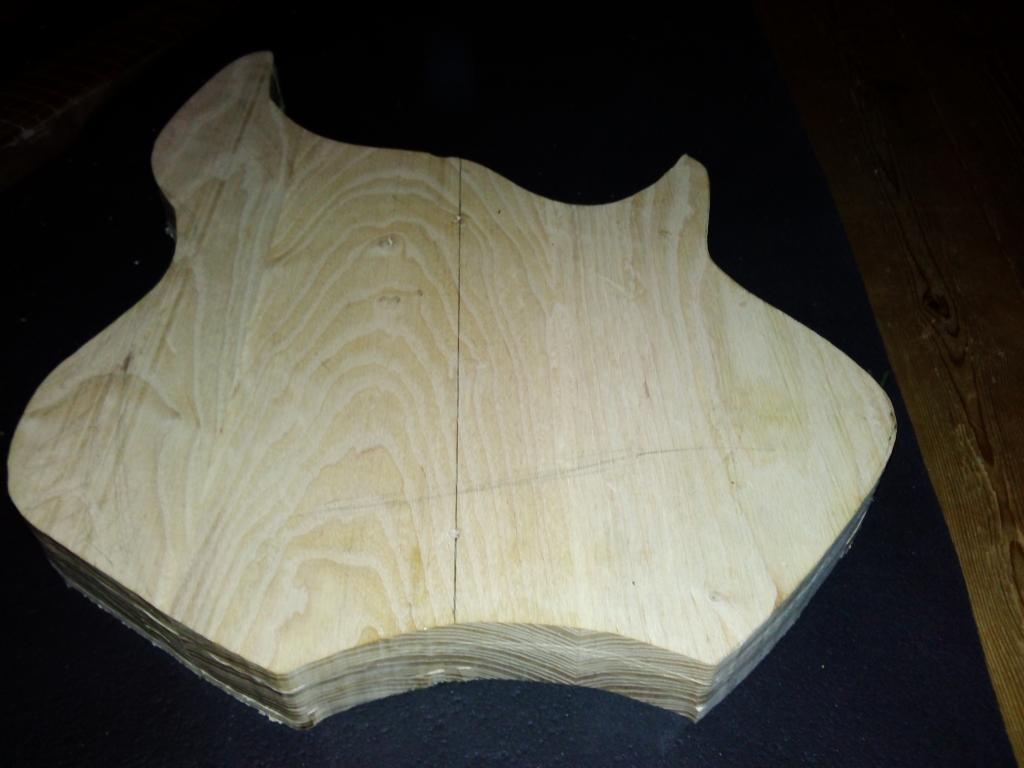
The bridge/tuners will be here by the end of the week (I hope).
Then I can finally calculate the neck placement and make the neck joint.
The bridge/tuners will be here by the end of the week (I hope).
Then I can finally calculate the neck placement and make the neck joint.
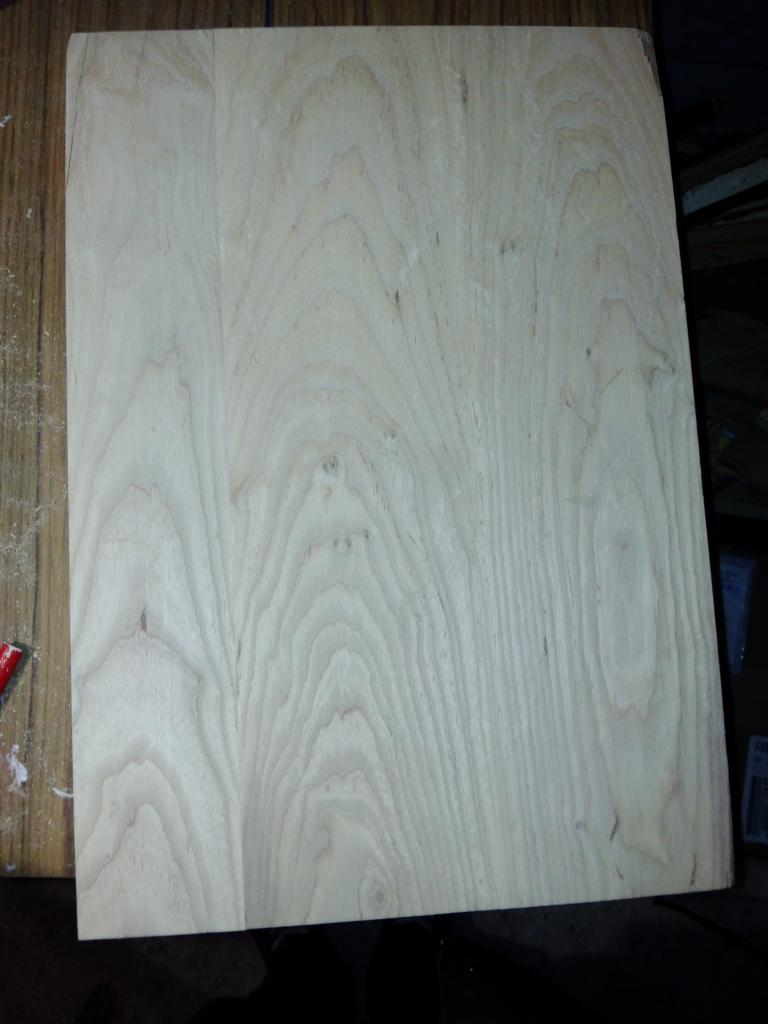
The rough-cut top with some naphtha to show the grain:
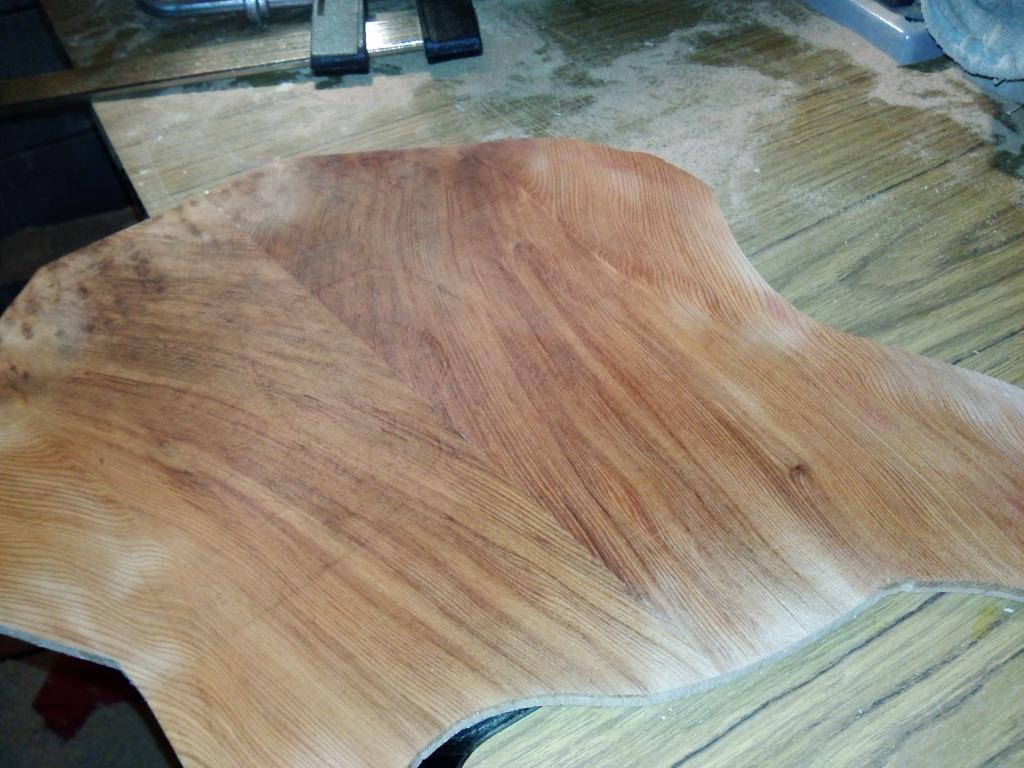
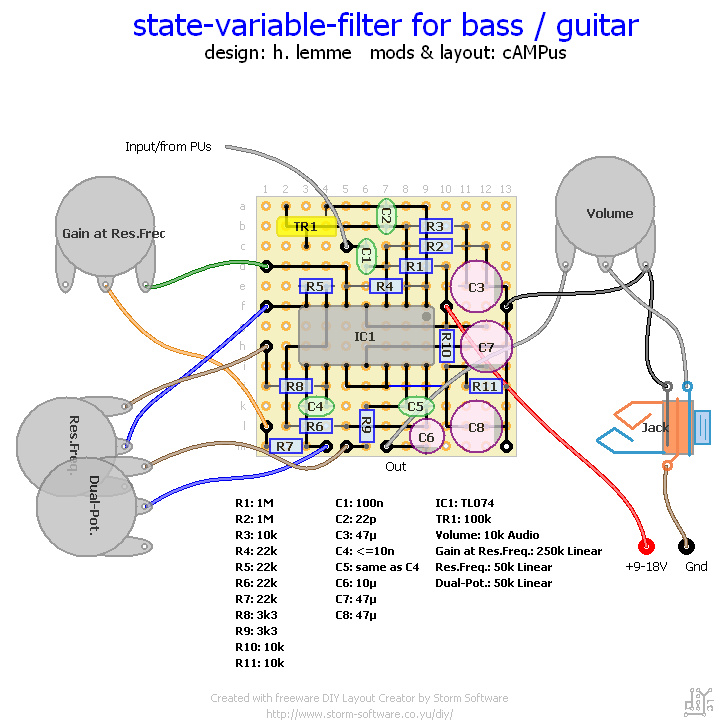
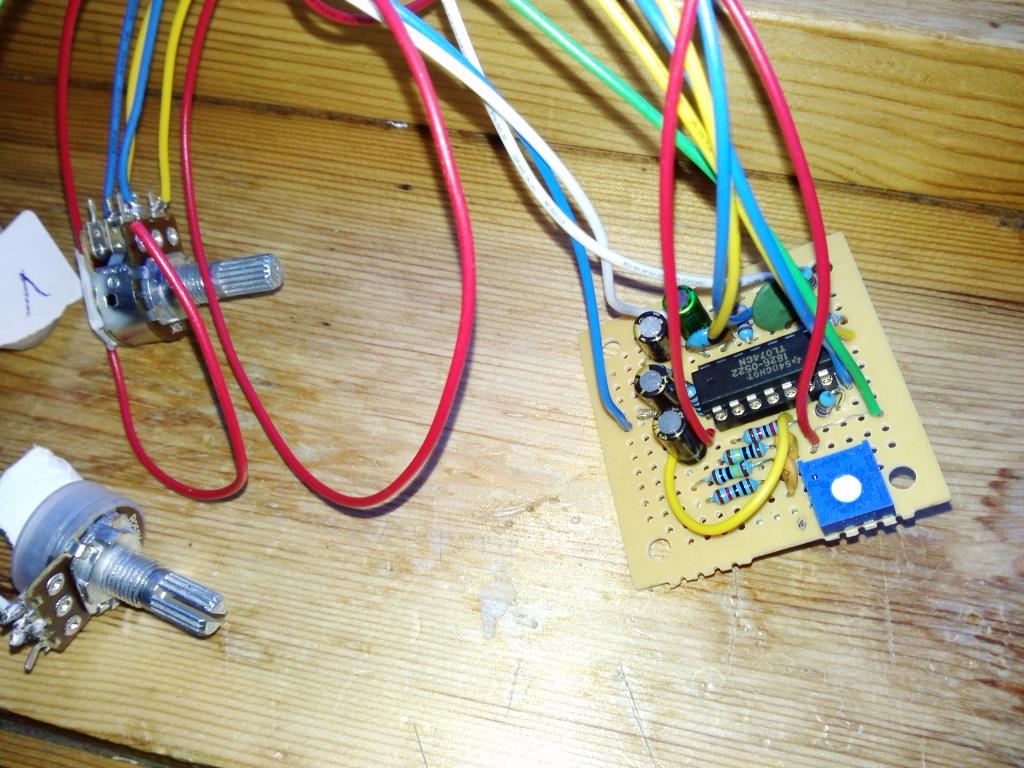
I also decided to try and build a preamp instead of buying one.
This is a state-variable filter, similar to what Wal and Alembic use I think.
I have been eager to try this schematic for a long time. It's been discussed in a couple of threads on TB before.
My soldering skills are quite limited and some of the components did not quite match up to the schematic in terms of size. So it might not work
I'll test it before drilling any holes for the pots, and if it doesn't work I'll just wire the bass V/T until I get the preamp working.
I also decided to try and build a preamp instead of buying one.
This is a state-variable filter, similar to what Wal and Alembic use I think.
I have been eager to try this schematic for a long time. It's been discussed in a couple of threads on TB before.
My soldering skills are quite limited and some of the components did not quite match up to the schematic in terms of size. So it might not work
I'll test it before drilling any holes for the pots, and if it doesn't work I'll just wire the bass V/T until I get the preamp working.
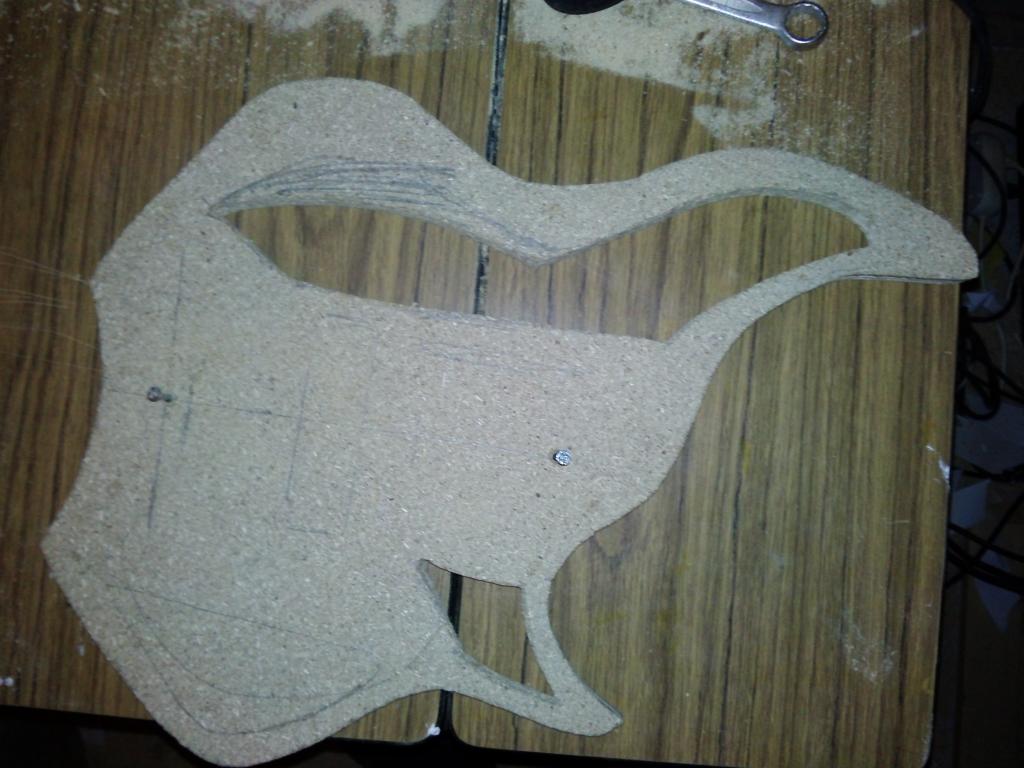
Routed the control cavity. It goes all the way through the body now and will be covered by the top.
I made a duplicate of one of the templates to make to recess for the back plate.
Needed something thicker than the acrylic one for the routing bit to follow.

Then I made a template for the chambers. The ash body was really heavy and I think the difference in tone will fit this bass nicely.
Getting there!
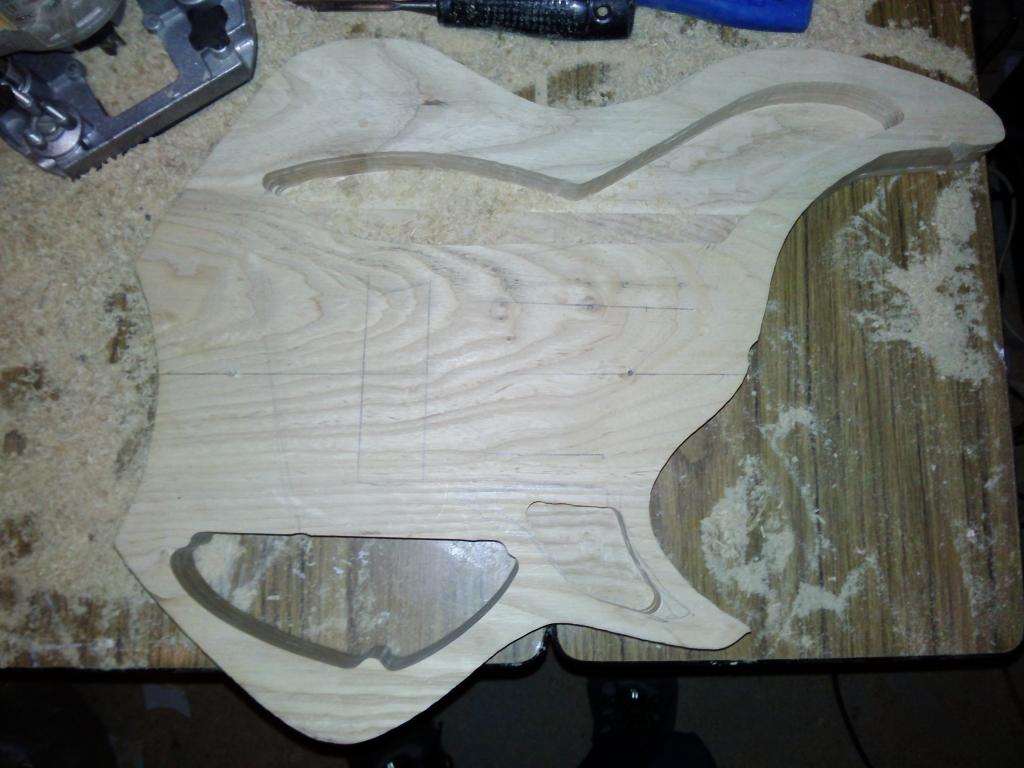
I was careful not to remove wood too close to the edges and I also avoided the belly cut and arm rest. Hence the strange shapes
I made a duplicate of one of the templates to make to recess for the back plate.
Needed something thicker than the acrylic one for the routing bit to follow.
Then I made a template for the chambers. The ash body was really heavy and I think the difference in tone will fit this bass nicely.
Getting there!
I was careful not to remove wood too close to the edges and I also avoided the belly cut and arm rest. Hence the strange shapes
Top is being glued:
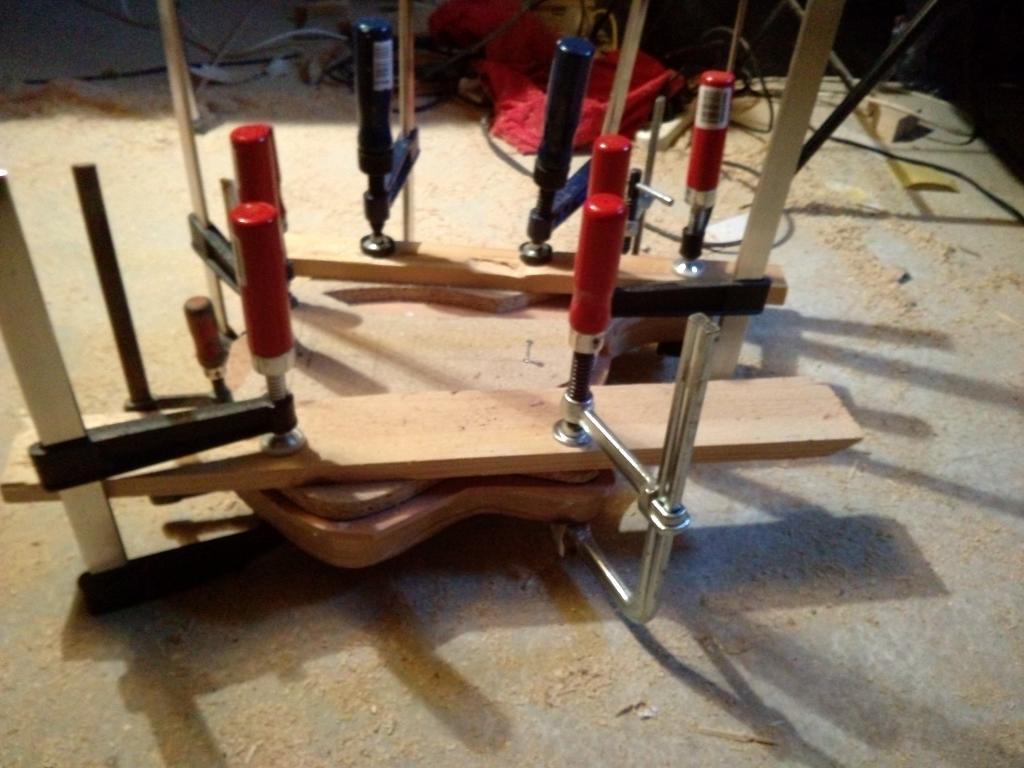
I guess I could tidy up while I wait for the bridges to arrive Ash dust everywhere!
The bridges took a while longer to get here than I had expected.. Should be here tomorrow according to the tracking info.
I guess I could tidy up while I wait for the bridges to arrive
Ash dust everywhere!The bridges took a while longer to get here than I had expected.. Should be here tomorrow according to the tracking info.
The body is now out of the clamps and I have routed away the excess.
I had some acrylic back plate material that I ended up ruining, so I made a new one out of redwood scrap. I soaked one side of it with CA to harden it. I see why it is often recommended to do hard finish when you're working with redwood.. It is soft, a lot like pine really. No pic of the black plate yet, sorry

Will get this cleaned up once I get a hold of a sanding bit (like a drum sander) for my press drill.
There is a smallish crack by the upper horn that I plugged with some CA and sawdust
Can't fully avoid making a few mistakes along the way on a first build. I'm at peace with that now
That's the only way to learn I guess.
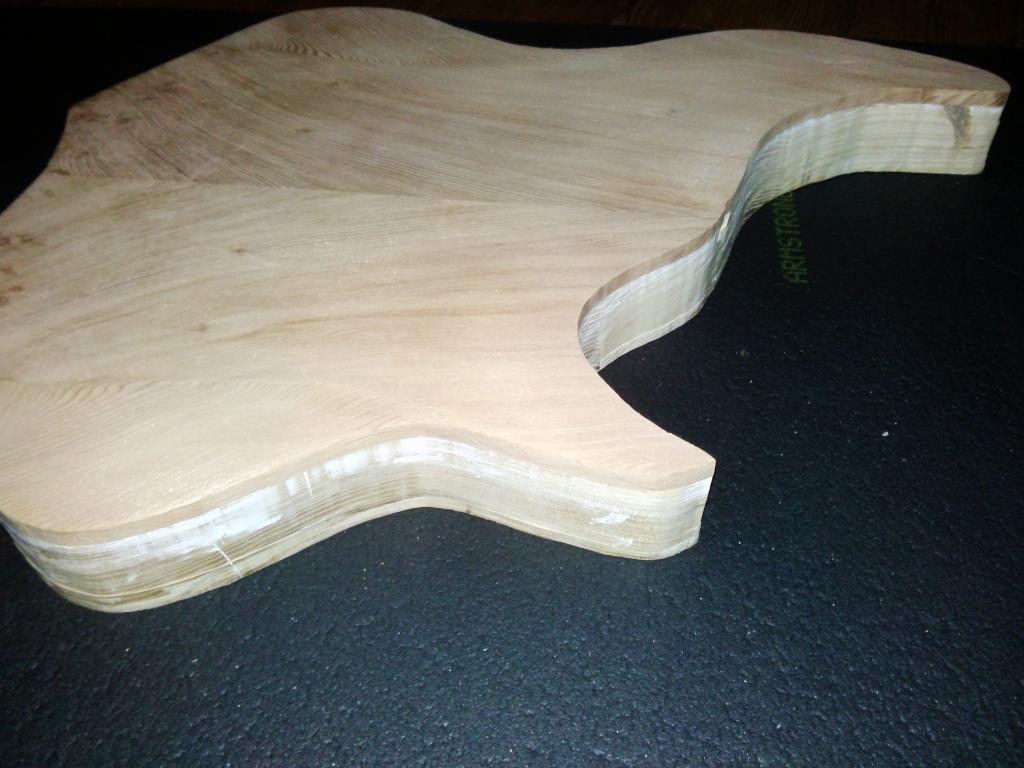
I had some acrylic back plate material that I ended up ruining, so I made a new one out of redwood scrap. I soaked one side of it with CA to harden it. I see why it is often recommended to do hard finish when you're working with redwood.. It is soft, a lot like pine really. No pic of the black plate yet, sorry
Will get this cleaned up once I get a hold of a sanding bit (like a drum sander) for my press drill.
There is a smallish crack by the upper horn that I plugged with some CA and sawdust
Can't fully avoid making a few mistakes along the way on a first build. I'm at peace with that now
That's the only way to learn I guess.
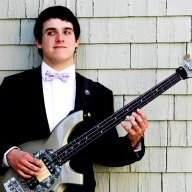
The body shape reminds me vaguely of a Skjold bass!
I too have a home-made bass, though I did it with lots of help from my father, and we did it from scratch. It's lots of fun!
Best of luck to you on this build!
I too have a home-made bass, though I did it with lots of help from my father, and we did it from scratch. It's lots of fun!
Best of luck to you on this build!
Thanks
I definitely put some Skjold elements in there; I tried to put most of my favorite designs into one.
I definitely put some Skjold elements in there; I tried to put most of my favorite designs into one.
I'm really getting worried that the redwood top might be too soft for an oil finish. I was planning on doing more of a glossy oil finish, like Drake did with this: http://www.talkbass.com/forum/f57/drake-custom-5-string-build-909479/
Will this kind of finish me hard enough to give some protection to the top?
Or should I do a laquer/poly/epoxy(?) finish?
Will this kind of finish me hard enough to give some protection to the top?
Or should I do a laquer/poly/epoxy(?) finish?
So.. while my bridge/tuners are having a really nice time at the customs office, I got around to clean up the body and started shaping. Obviously because my template was cut with a jigsaw, the body had to be smoothed out a bit. So my body is now about 0.2 inches smaller all around. I made sure to leave enough room for this when I routed the chambers though. Honestly, investing 10$ in a set of sanding bits made this build a 100% cleaner.
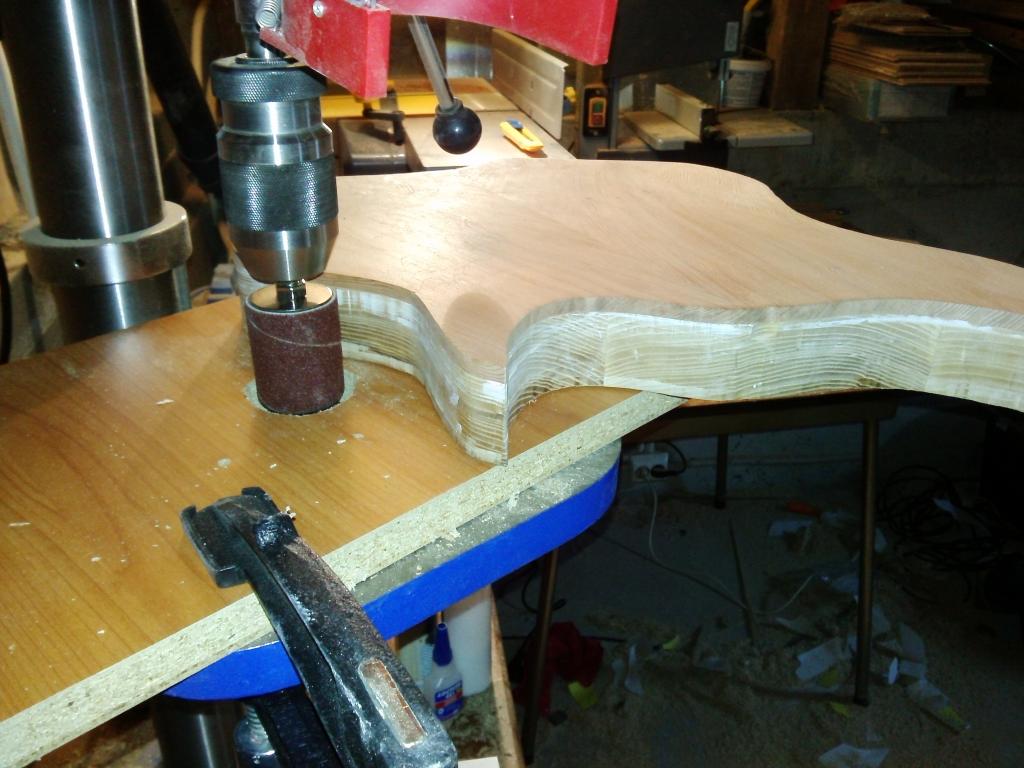
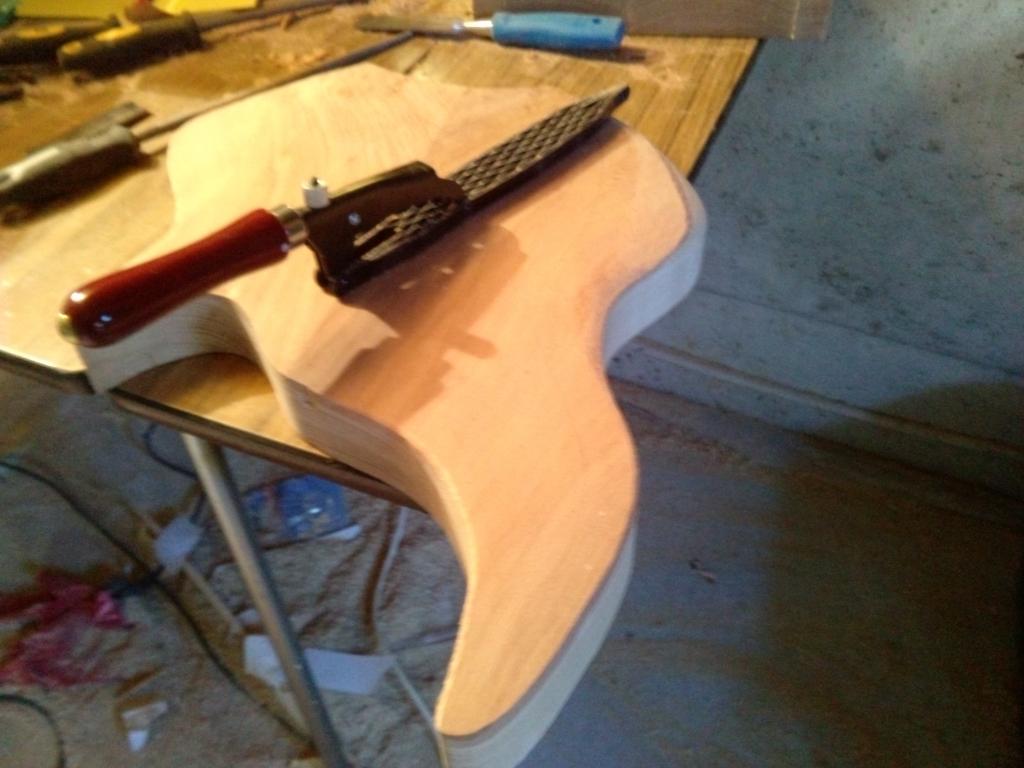
And this is where it's at right now:
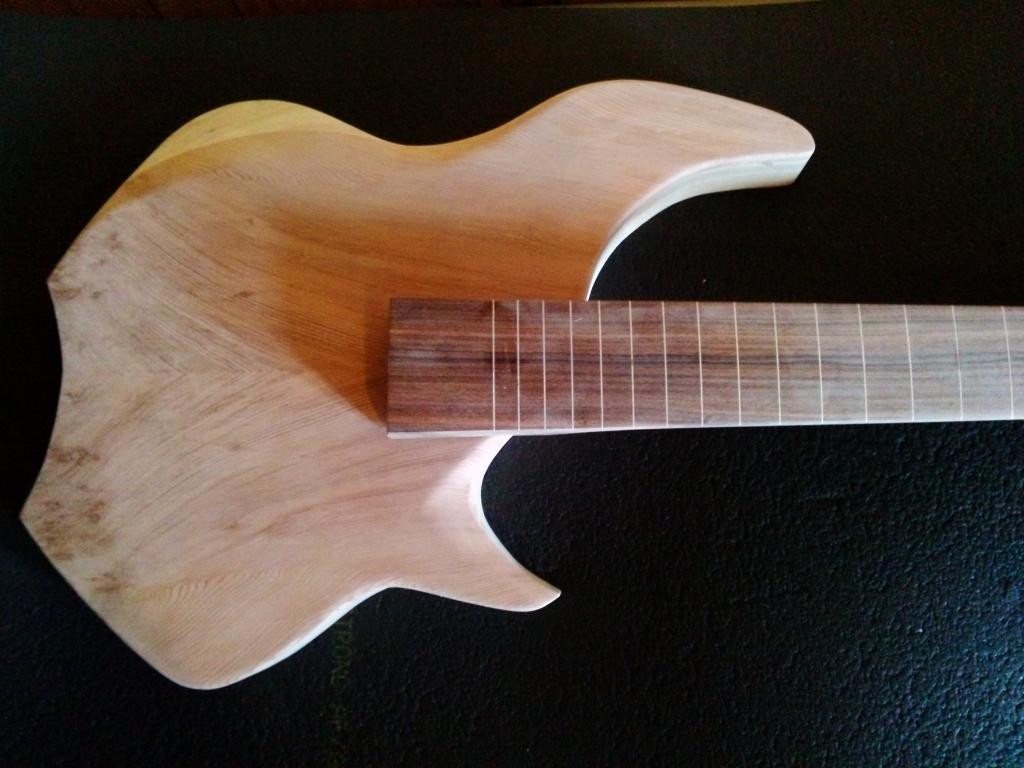
I have shaped it as much as I can before I place the neck. My bridges have now cleared customs, but it will probably be another day before they arrive.
I have shaped it as much as I can before I place the neck. My bridges have now cleared customs, but it will probably be another day before they arrive.
The bridges and nuts are finally here!
Now I can get started on the neck placement. I will also see if I can make a template for the bridges, if they need to be recessed. They can be adjusted down to 1cm, which might be just low enough, but we'll see..

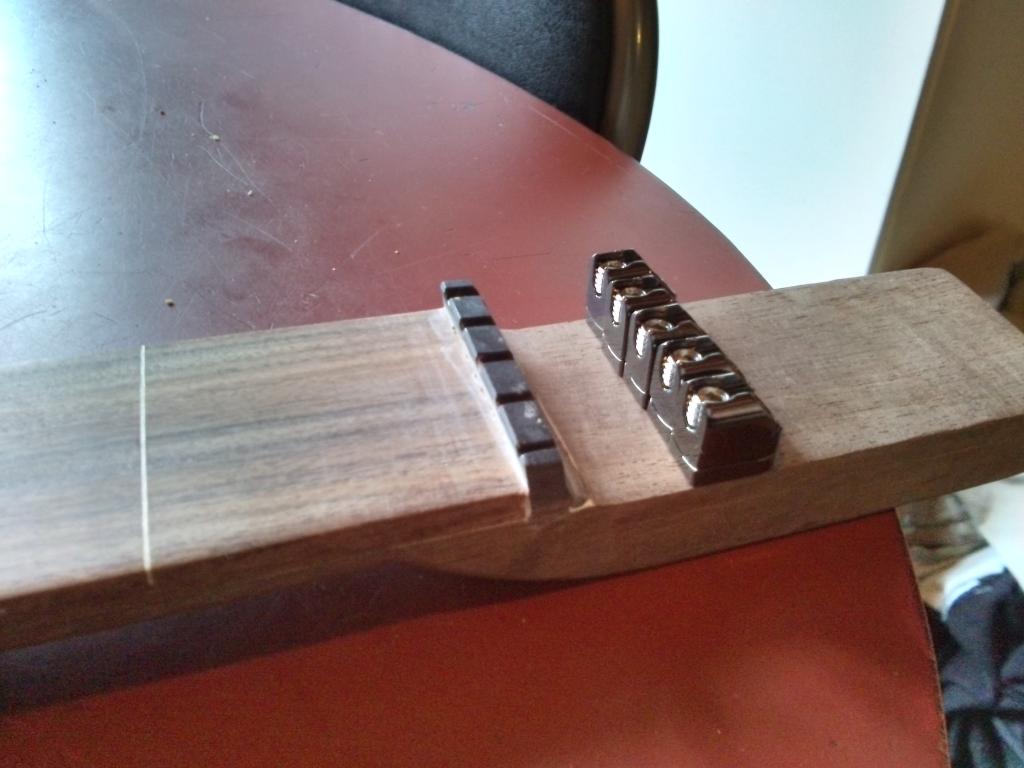
Now I can get started on the neck placement. I will also see if I can make a template for the bridges, if they need to be recessed. They can be adjusted down to 1cm, which might be just low enough, but we'll see..

I ended up just shimming the neck on my headless because I am lazy.
What is the plan for the headstock?
What is the plan for the headstock?
Haven't really decided how it's gonna look just yet. I'll probably place the nuts like in the picture and cut away the excess. I have some redwood and pau ferro scraps that I could decorate it with.
I figured I was over complicating the bridge recess issue. Routing a recess for each bridge would be an impossible feat without a template, and I was not feeling up to the task of making one. Solution: route the recess as I would have done with any other bridge. The gaps between the bridges are minimal anyway.
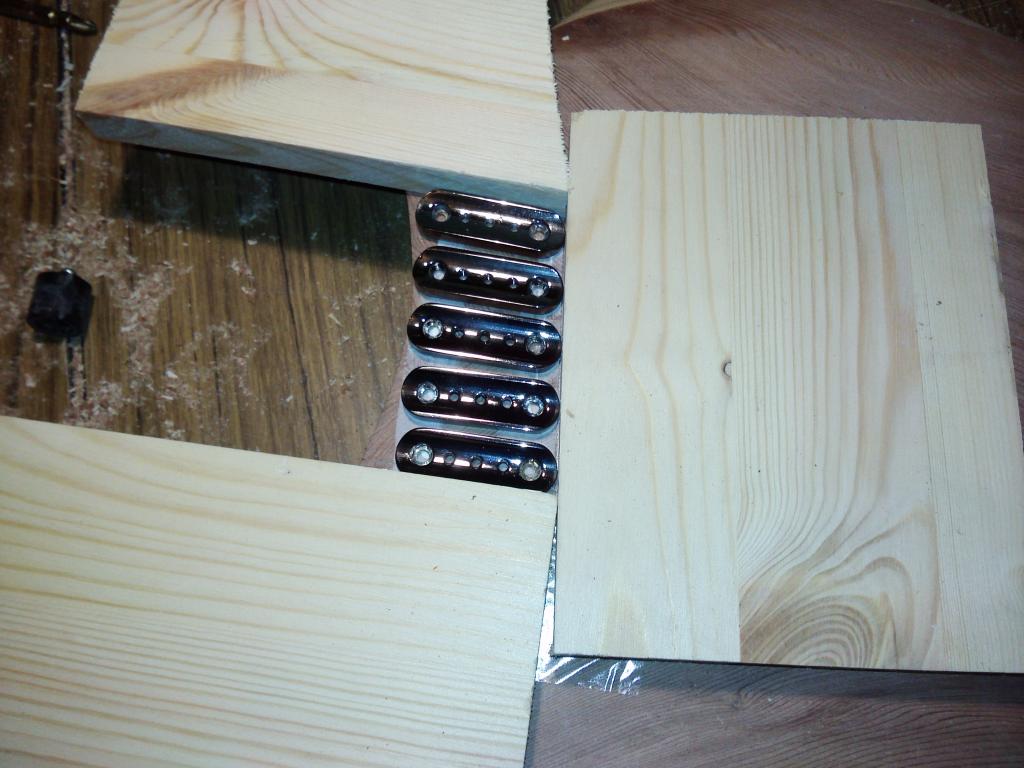
And voila! Also got working on the pickup route.

And voila! Also got working on the pickup route.


