• TalkBass has been independent since 1998. Add your voice.
    Create a free account to reply to discussions, view embedded media, and browse with fewer display ads.
    Join freeLog in
    Want zero display ads or expanded classifieds tools? Compare plans.

First Build - 5 String Fretless!

Update!
I have made some mistakes (which I will not show you out of embarrassment). First one is that I put the carbon rods in too close to the edge of the neck.
This resulted in me cutting through to one of them when I shaped the neck. Second one is that the redwood top is too soft for an oil finish and dings up too easily.

Lesson learned: I'm building a new neck and refinishing the body with a hard finish.

Now, I have made some changes. The scale is now 32" and the bass will be fretted. I realised that although a fretless bass is fun, I have no real use for it.
Today I got my package from LMII containing a new pau ferro fretboard, walnut neck blank, mandolin fretwire(like Dingwall), a truss rod and some other things.
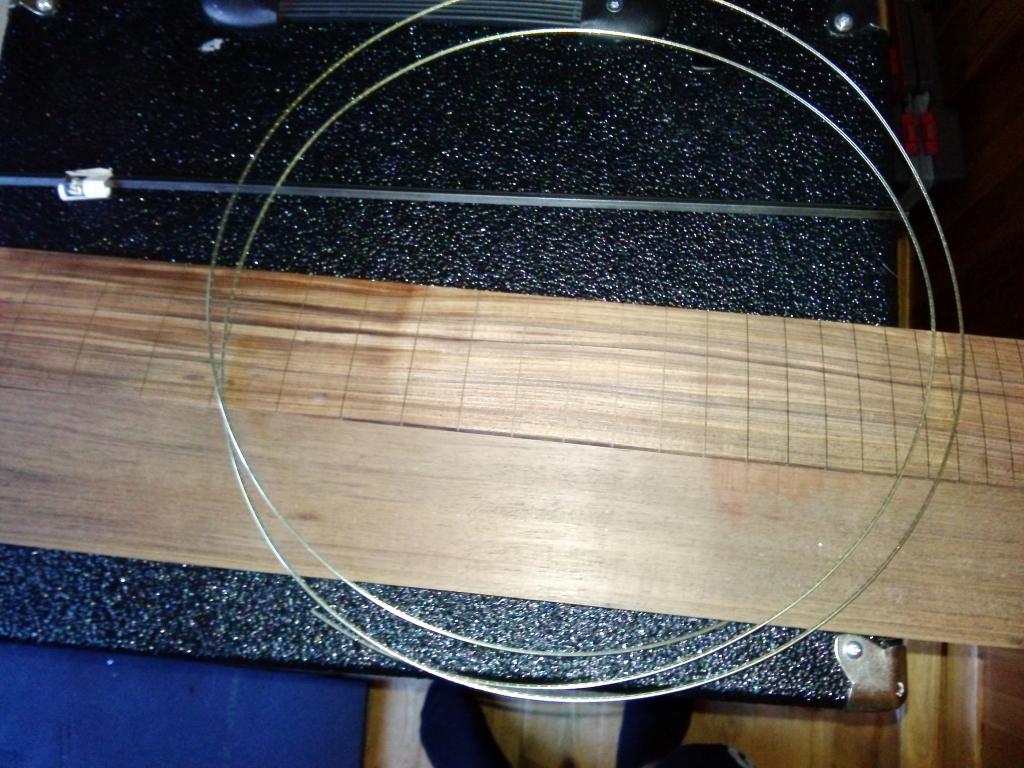
CAM00146_zpsa3ff18ca.jpg
 
I drew up the center line, routed the truss rod channel and used a bigger round bit to make the slot for the truss rod nut. The adjustments are made at the "head" this time.
I'm moving the nuts further up on the head stock to ensure they match up with the tapered part of the strings.
That's my one gripe about these locking nuts, they're a bit too sensitive to the thickness of the strings.

CAM00160_zps0b859424.jpg

CAM00163_zpsd915722e.jpg

6d367624-c241-49dd-b616-f19fe201c158_zps4c7d7687.jpg
 
Made the neck taper and glued on the fretboard. I'm not sure what to do with the headstock, so it remains a paddle for now.
32" 5 string sets seem to be pretty hard to come by, so I might have to move the nuts way back to compensate.
The screws I'm using for the nuts are a bit long, so I'm gluing some leftover redwood to the back in order to make it thick enough.
I have some maple veneer that could go well with that aswell.

CAM00189_zpsde8a2561.jpg

CAM00200_zpsbd314e3e.jpg
 
Also came up with a better solution as to how the jack was mounted.
Originally I had just drilled a hole in the back, but since the area was at a curvature, the jack didn't really fit perfectly.
Following the angle of the jack hole, I made a flat, recessed area for it.
CAM00214_zps747bdc35.jpg
 
Last time around I rushed a few important things. One of these was the neck joint.
I ended up with a joint that wasn't nearly tight enough.
This time the I copied the neck to a solid one piece template.
And after 3 attempts I finally got it right.
CAM00249_zpsd11f2506.jpg
 
Then on to shaping the neck.
First I made two cuts close to the intended thickness.
CAM00290_zpse189505b.jpg


Then I joined the two with my Shinto rasp.
I could have used the router to rout it to the proper thickness, but I couldn't be bothered with setting up a jig for it.
Kind of a rough approach, but the Shinto cuts nicely enough.
Then I drew out pencil lines on the back and on the sides.
I cut a facet between each pair and kept making smaller ones.
CAM00291_zpsd92b53b3.jpg


Eventually I sanded it smooth with first a block and then in a shoe-shine fashion.
I rounded the neck heel, blended the neck with it and voila!
CAM00326_zps7ee69f89.jpg


I cut the headstock into shape and mounted the nuts temporarily.
CAM00325_zps68238adc.jpg


Here is the bass with neck and hardware mounted.
CAM00322_zpse98842ec.jpg
 
Originally I intended to place the nuts in a similar fashion to Strandberg's design.
IMG_4332.jpg


I knew from previous testing that the nuts I purchased lacked the strength to "bite down" on the thick part of the strings, and since I couldn't find 32" 5-string sets I moved the nuts further up on the headstock to compensate.

But now it turns out that though this nut design may work well with guitar strings, they are far to brittle to be used with bass strings, even while holding down on the tapered part of the strings. The D-nut has already worn out its threads or it might actually be bent.
CAM00332_zps3fd20f4b.jpg


So now I'm on the lookout for a better designed nut/string lock. If it's solid enough to hold on to the string at their full thickness I won't need to have as much of a headstock as I do now.
 
Back again!

I finally have everything I need to finish this build:) I'm done with the body shaping and everything is sanded smooth.
Here are some picks after applying Z-poxy and sanding it down. I'm in the middle of shaping the end of the f/b to make it flush with the body.
I also added an "f"-hole on the lower cutaway which looks rather nice IMO.

CAM00508_zps17ea558e.jpg

CAM00511_zps4301efc5.jpg

CAM00514_zps7f4fc032.jpg


I'm also putting in jumbo size frets to give me more room when leveling the frets. There is a bit of a back bow in this neck as well.
There is just too much moisture in the air. One day I'll upgrade to a climate controlled workshop!
 

Latest posts